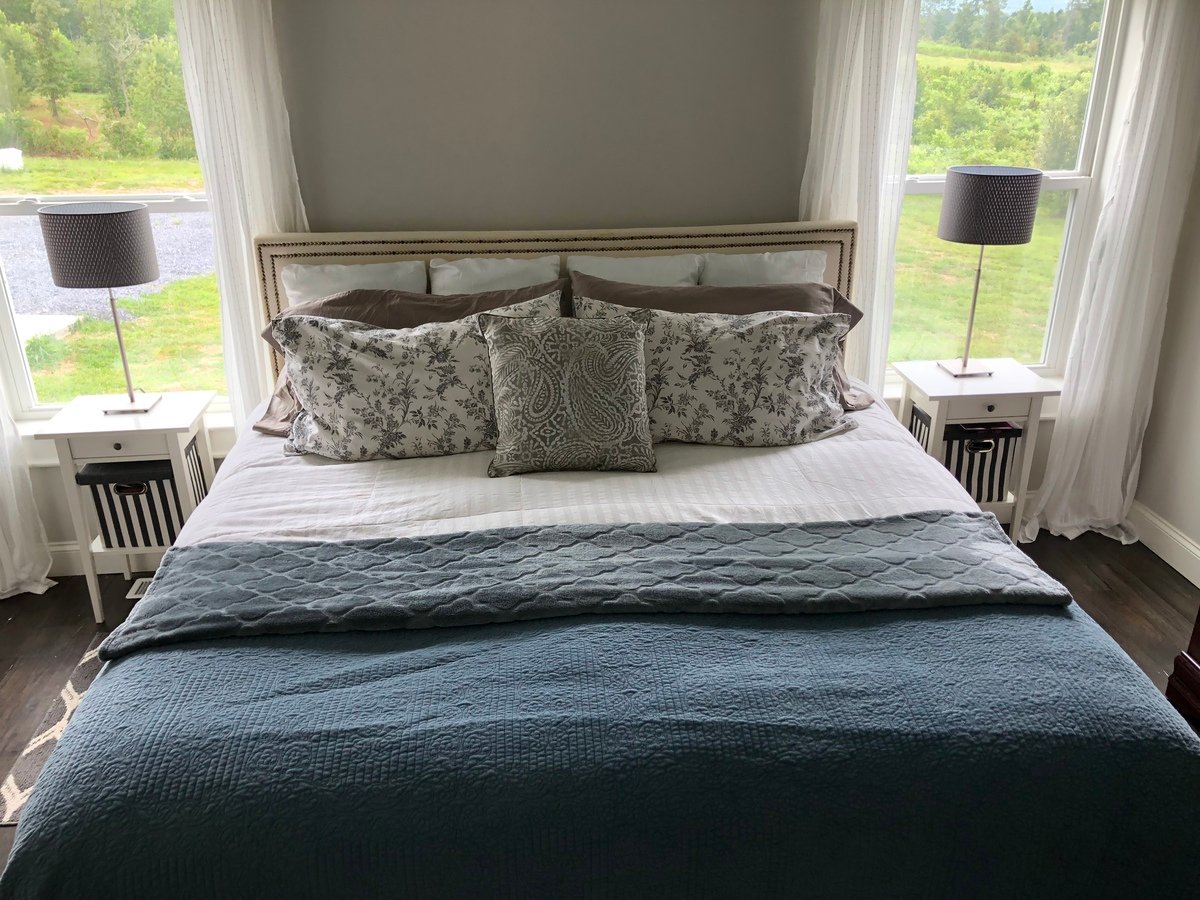
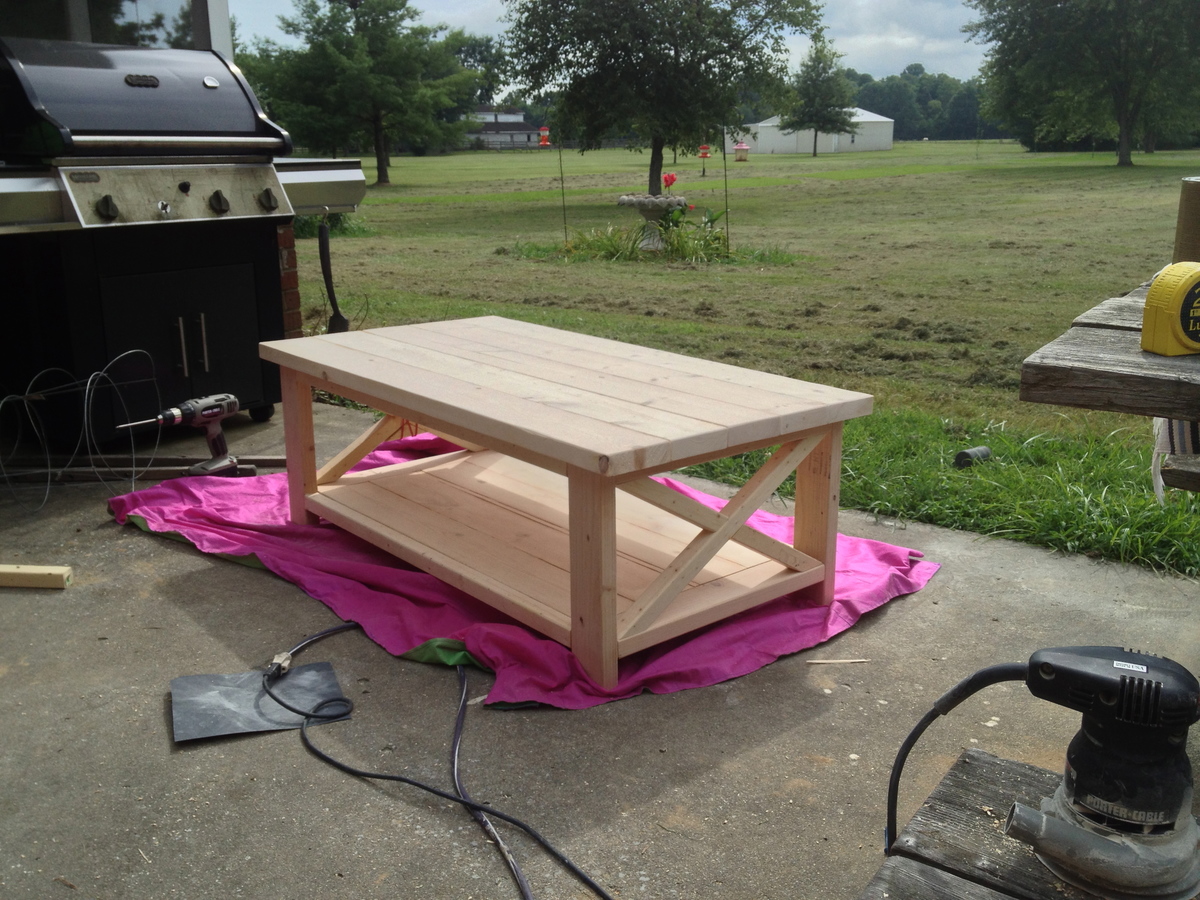
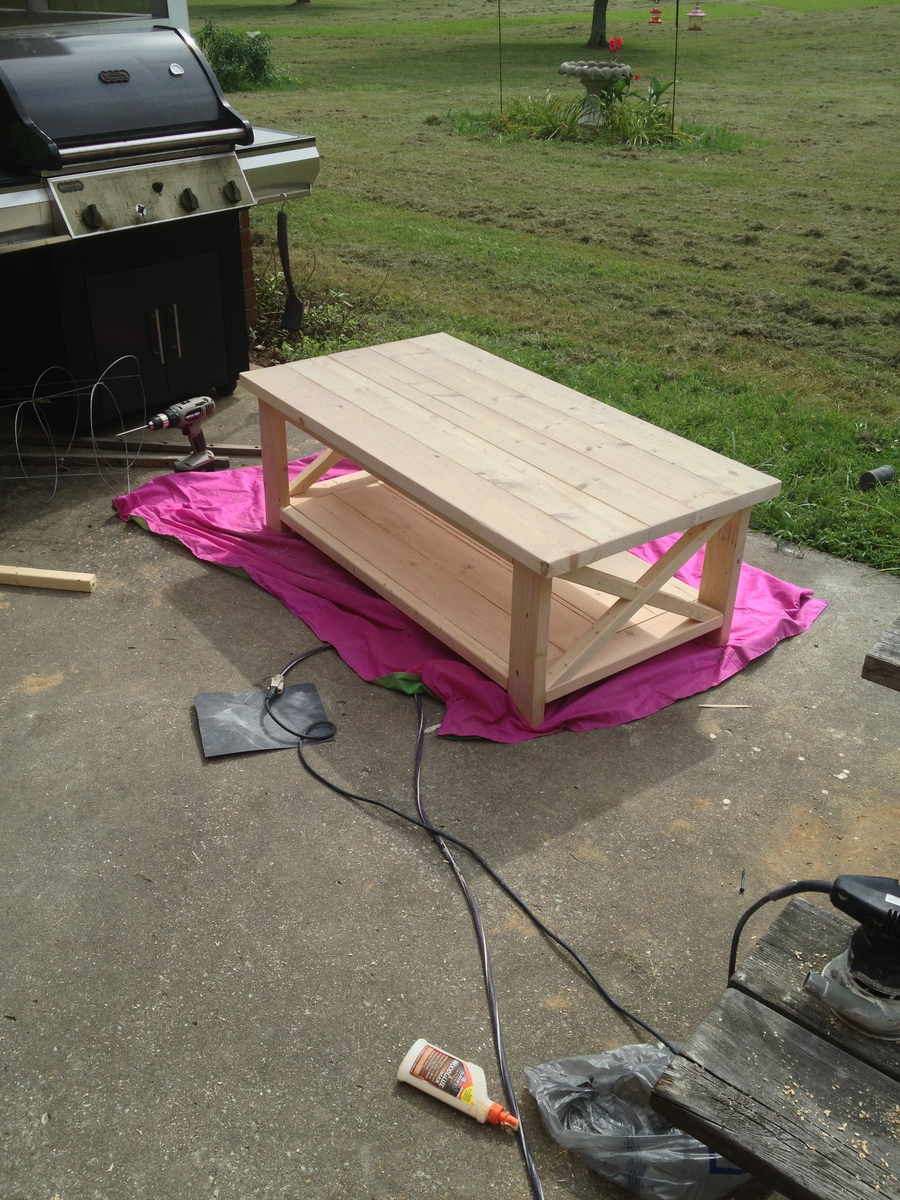
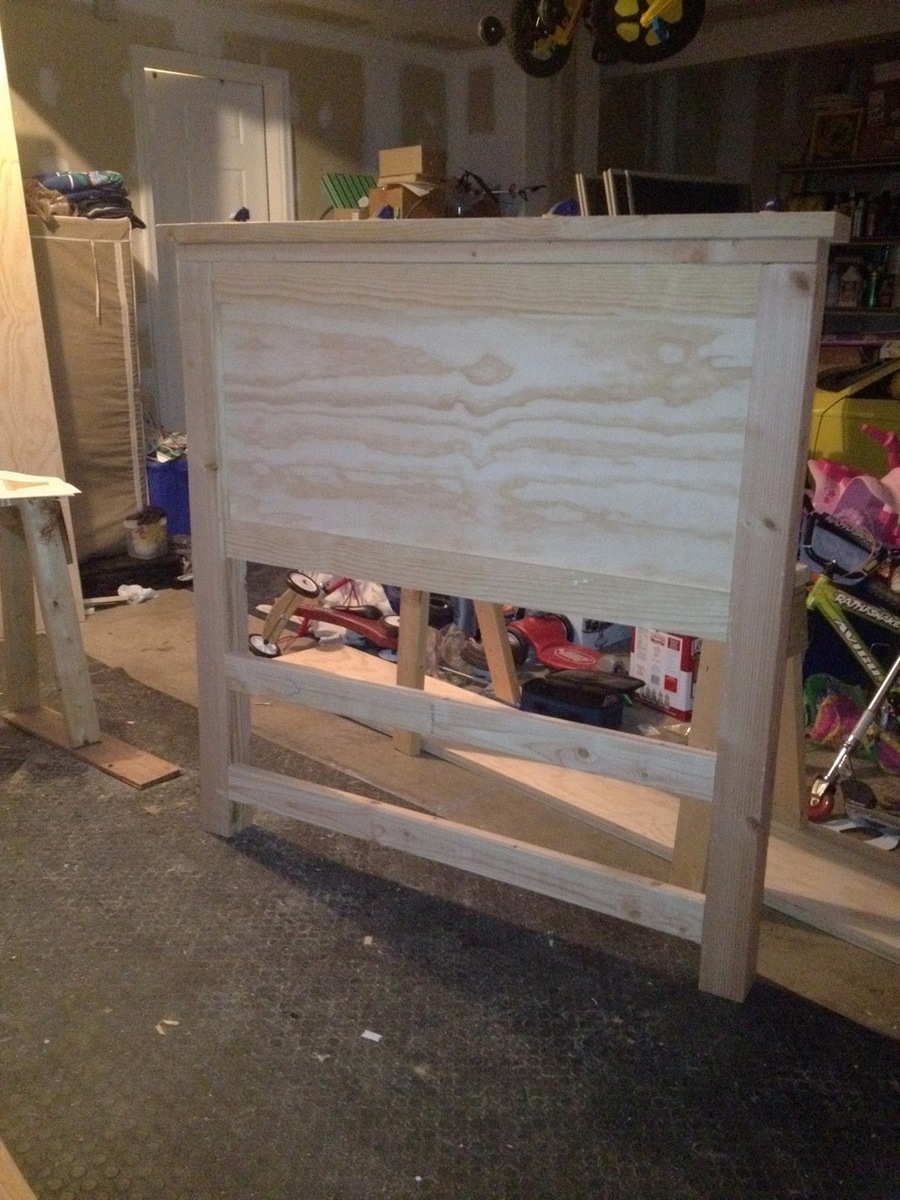
space saving farmhouse bed
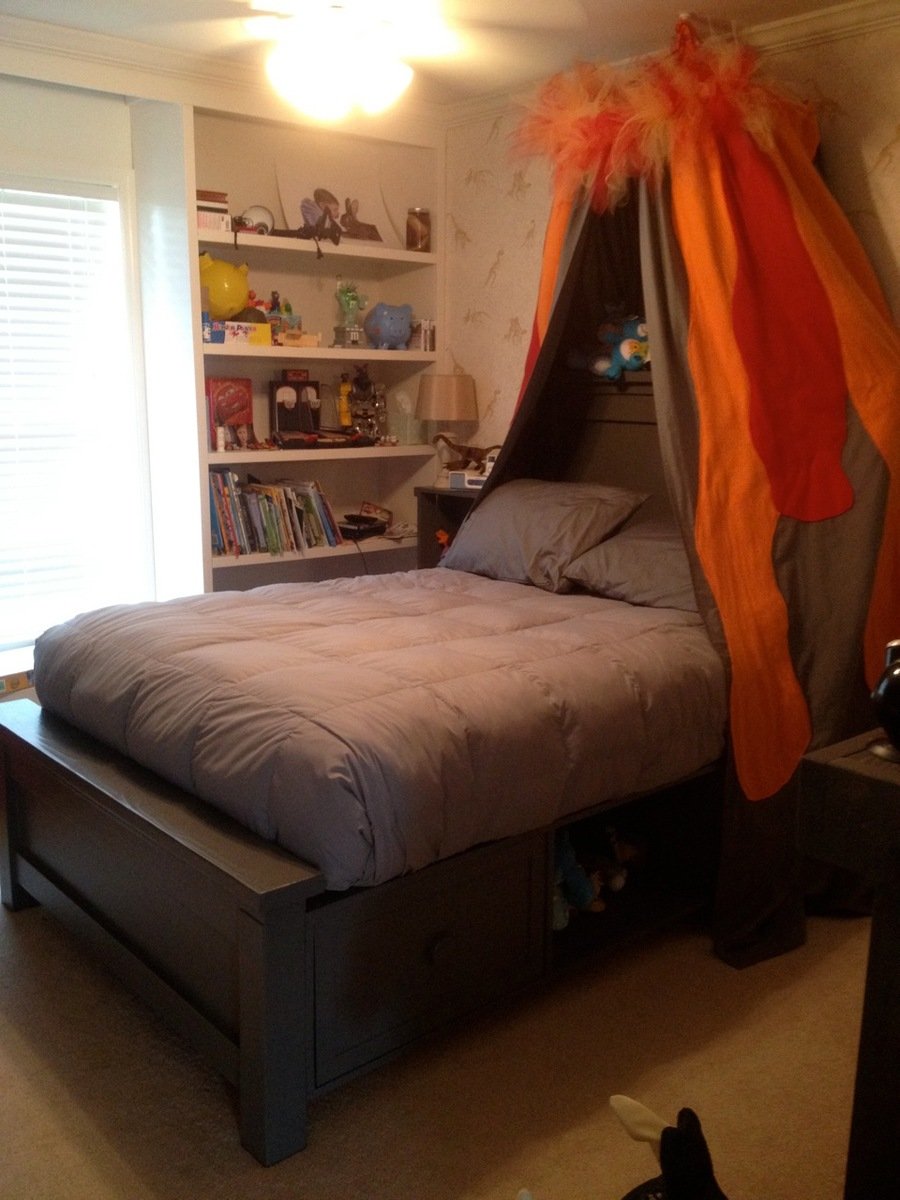
This bed is the perfect fit for my son's dinosaur room! I found tutorials for fairy canopies and modified it to create a "volcano" bed.
Built from Plan(s)
Estimated Time Investment
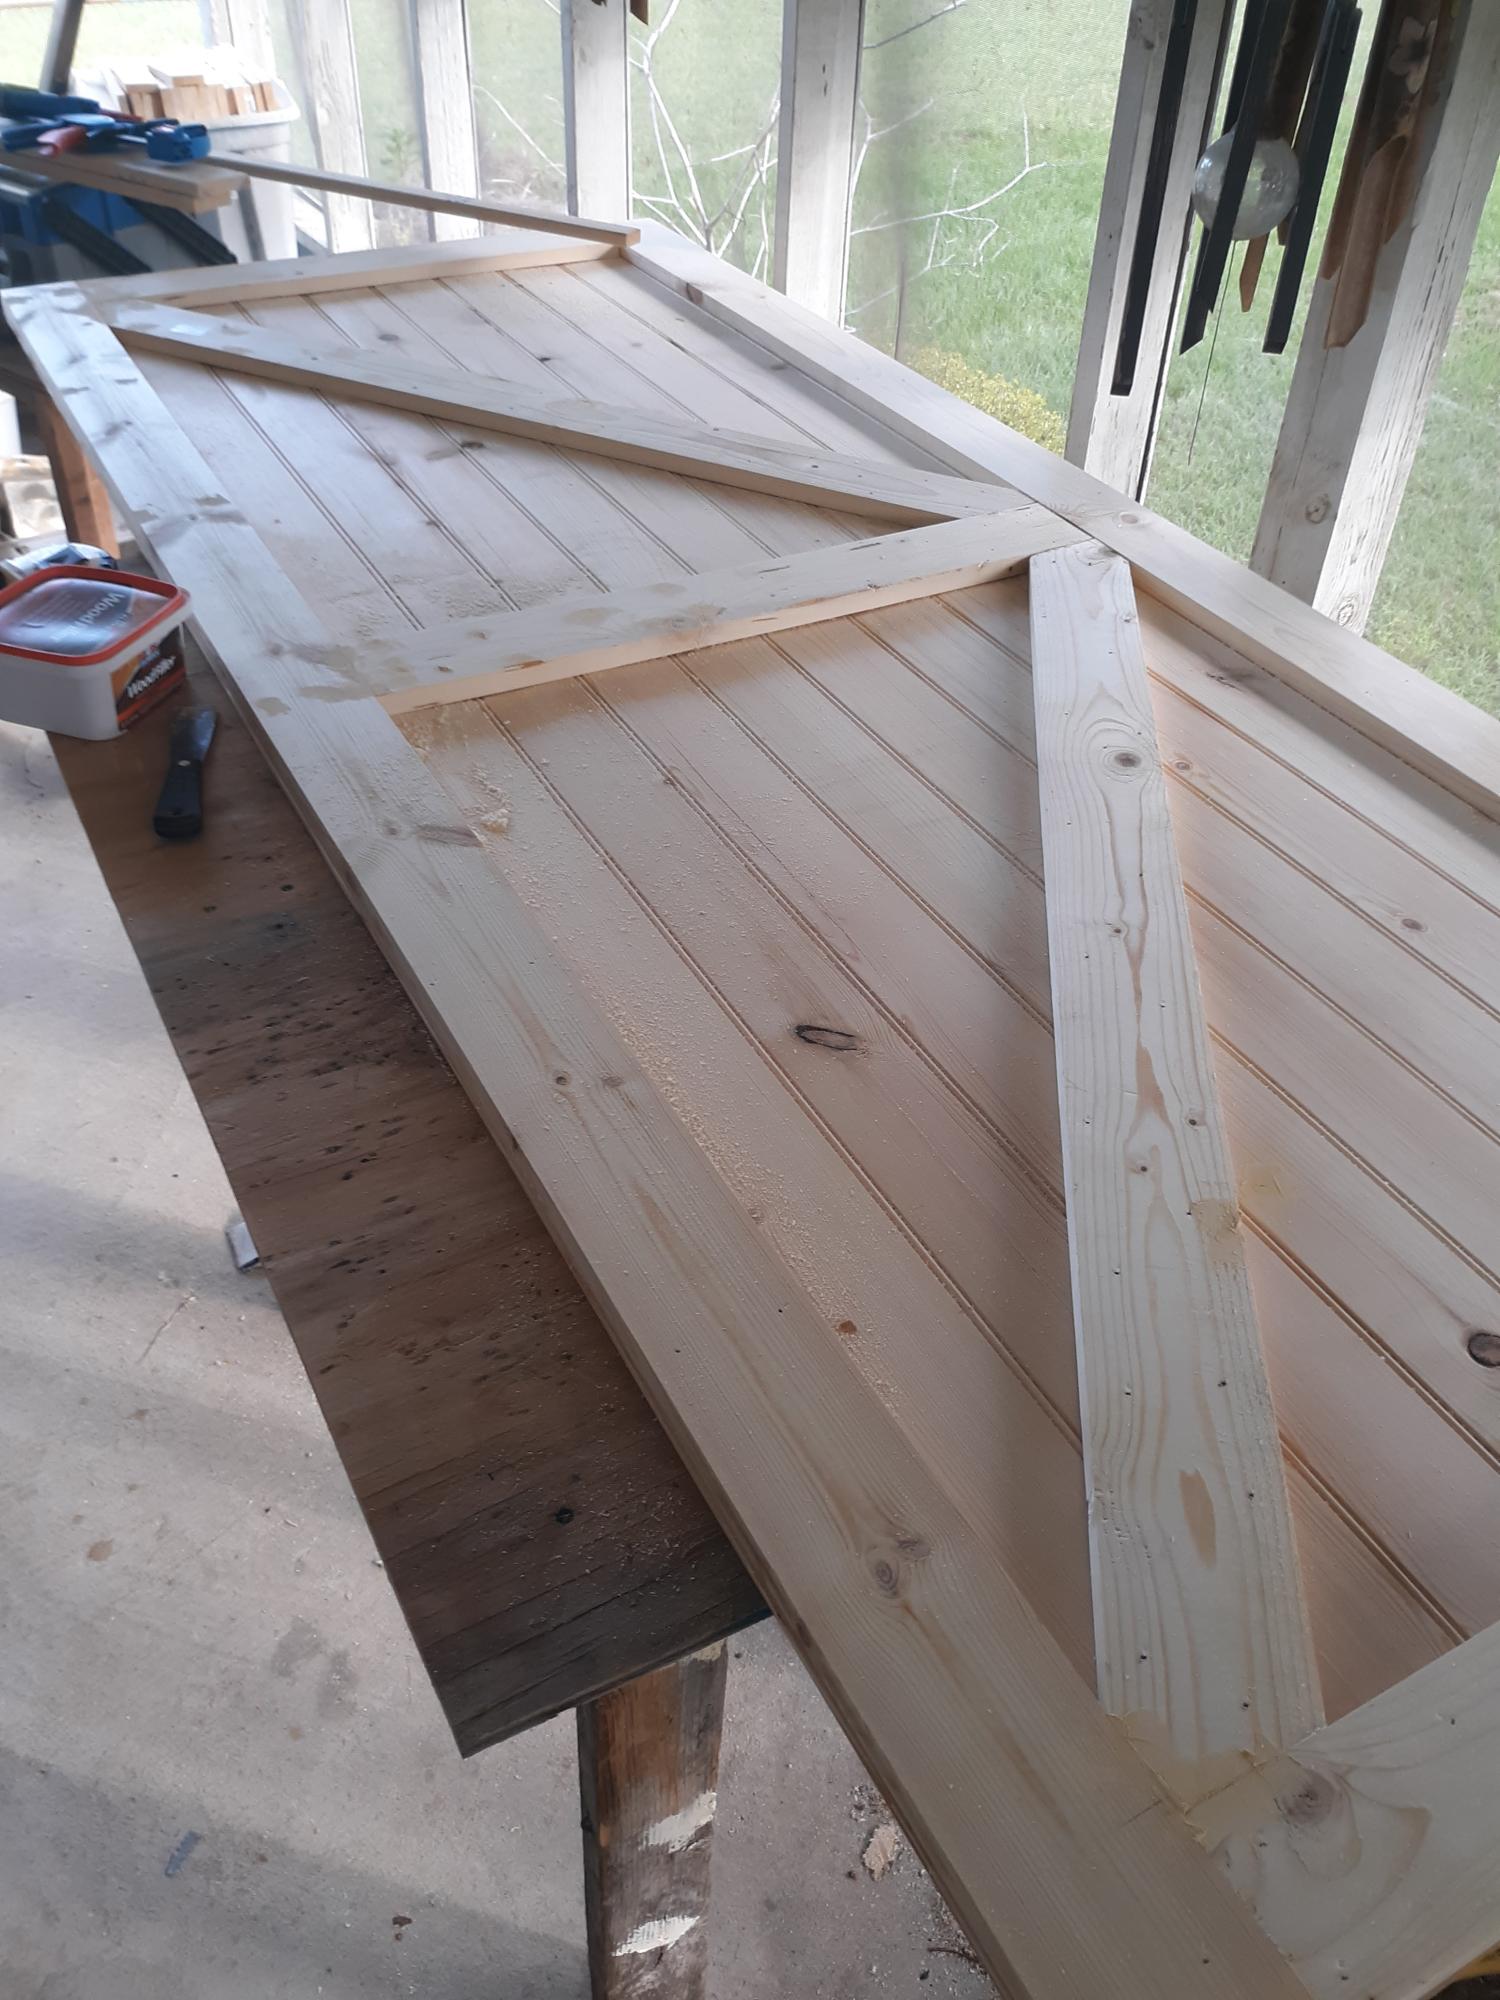
Week Long Project (20 Hours or More)
Finish Used
olympus paint/primer combination
Recommended Skill Level
Intermediate