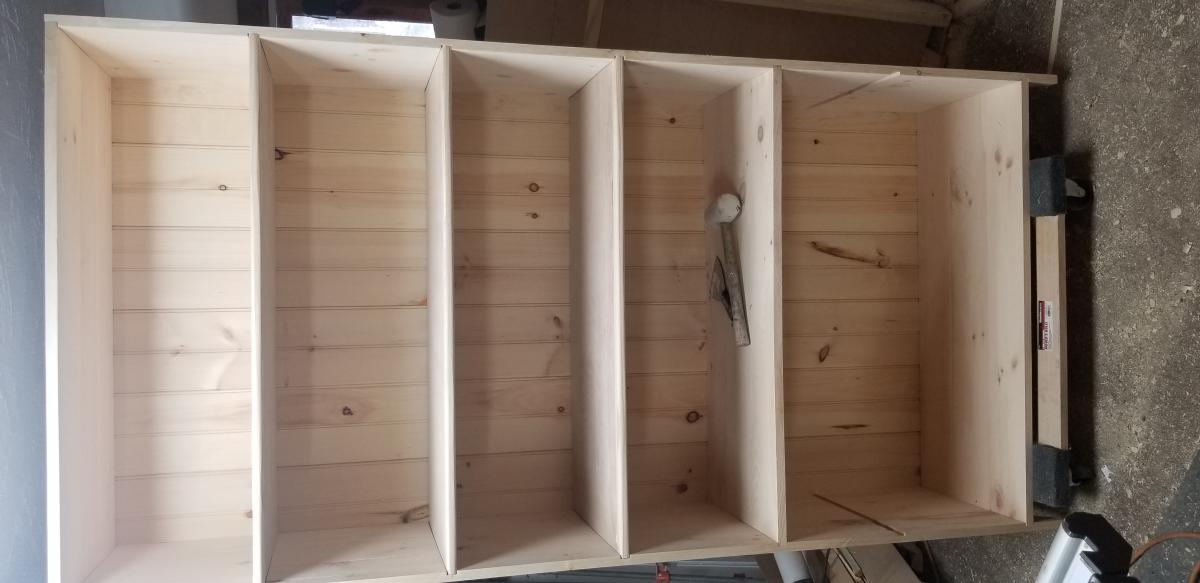
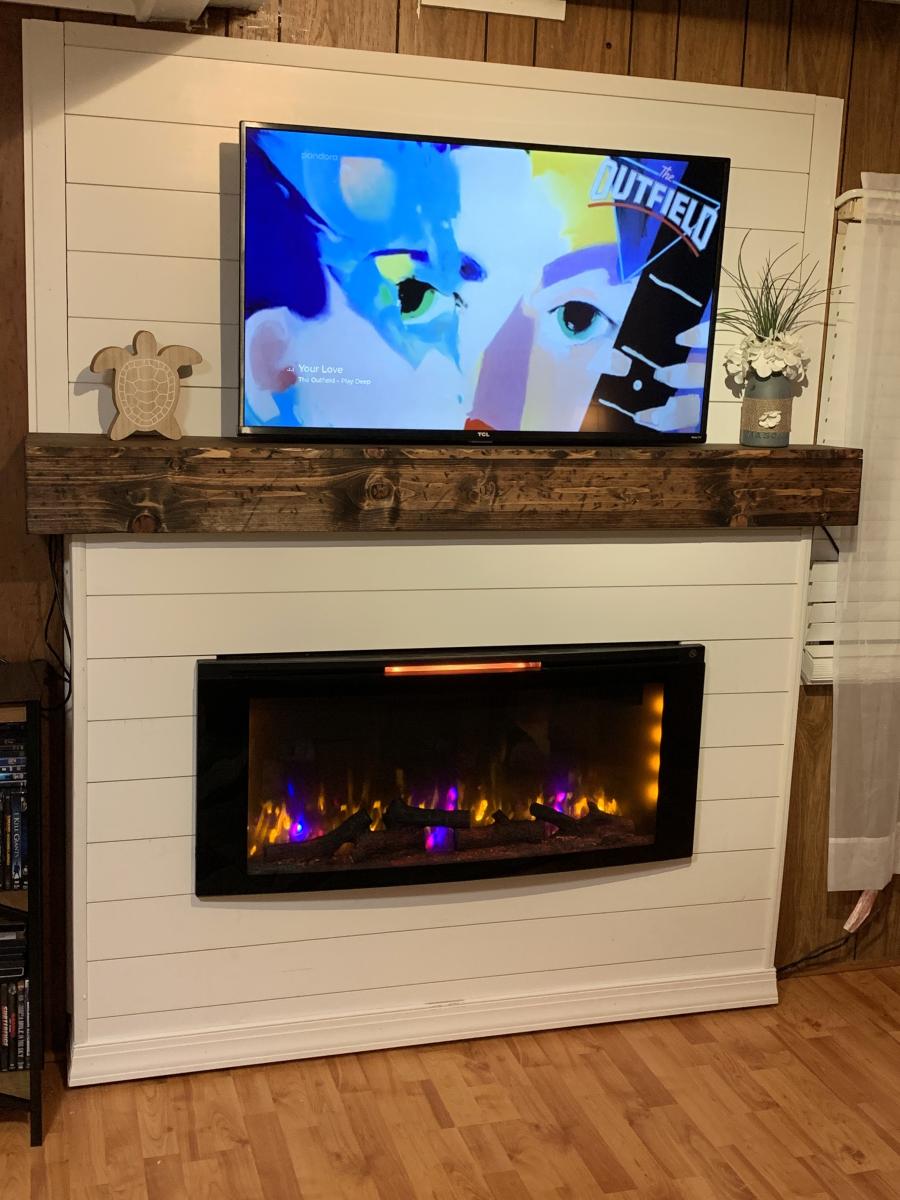
Shiplap Fireplace with Distressed Mantle
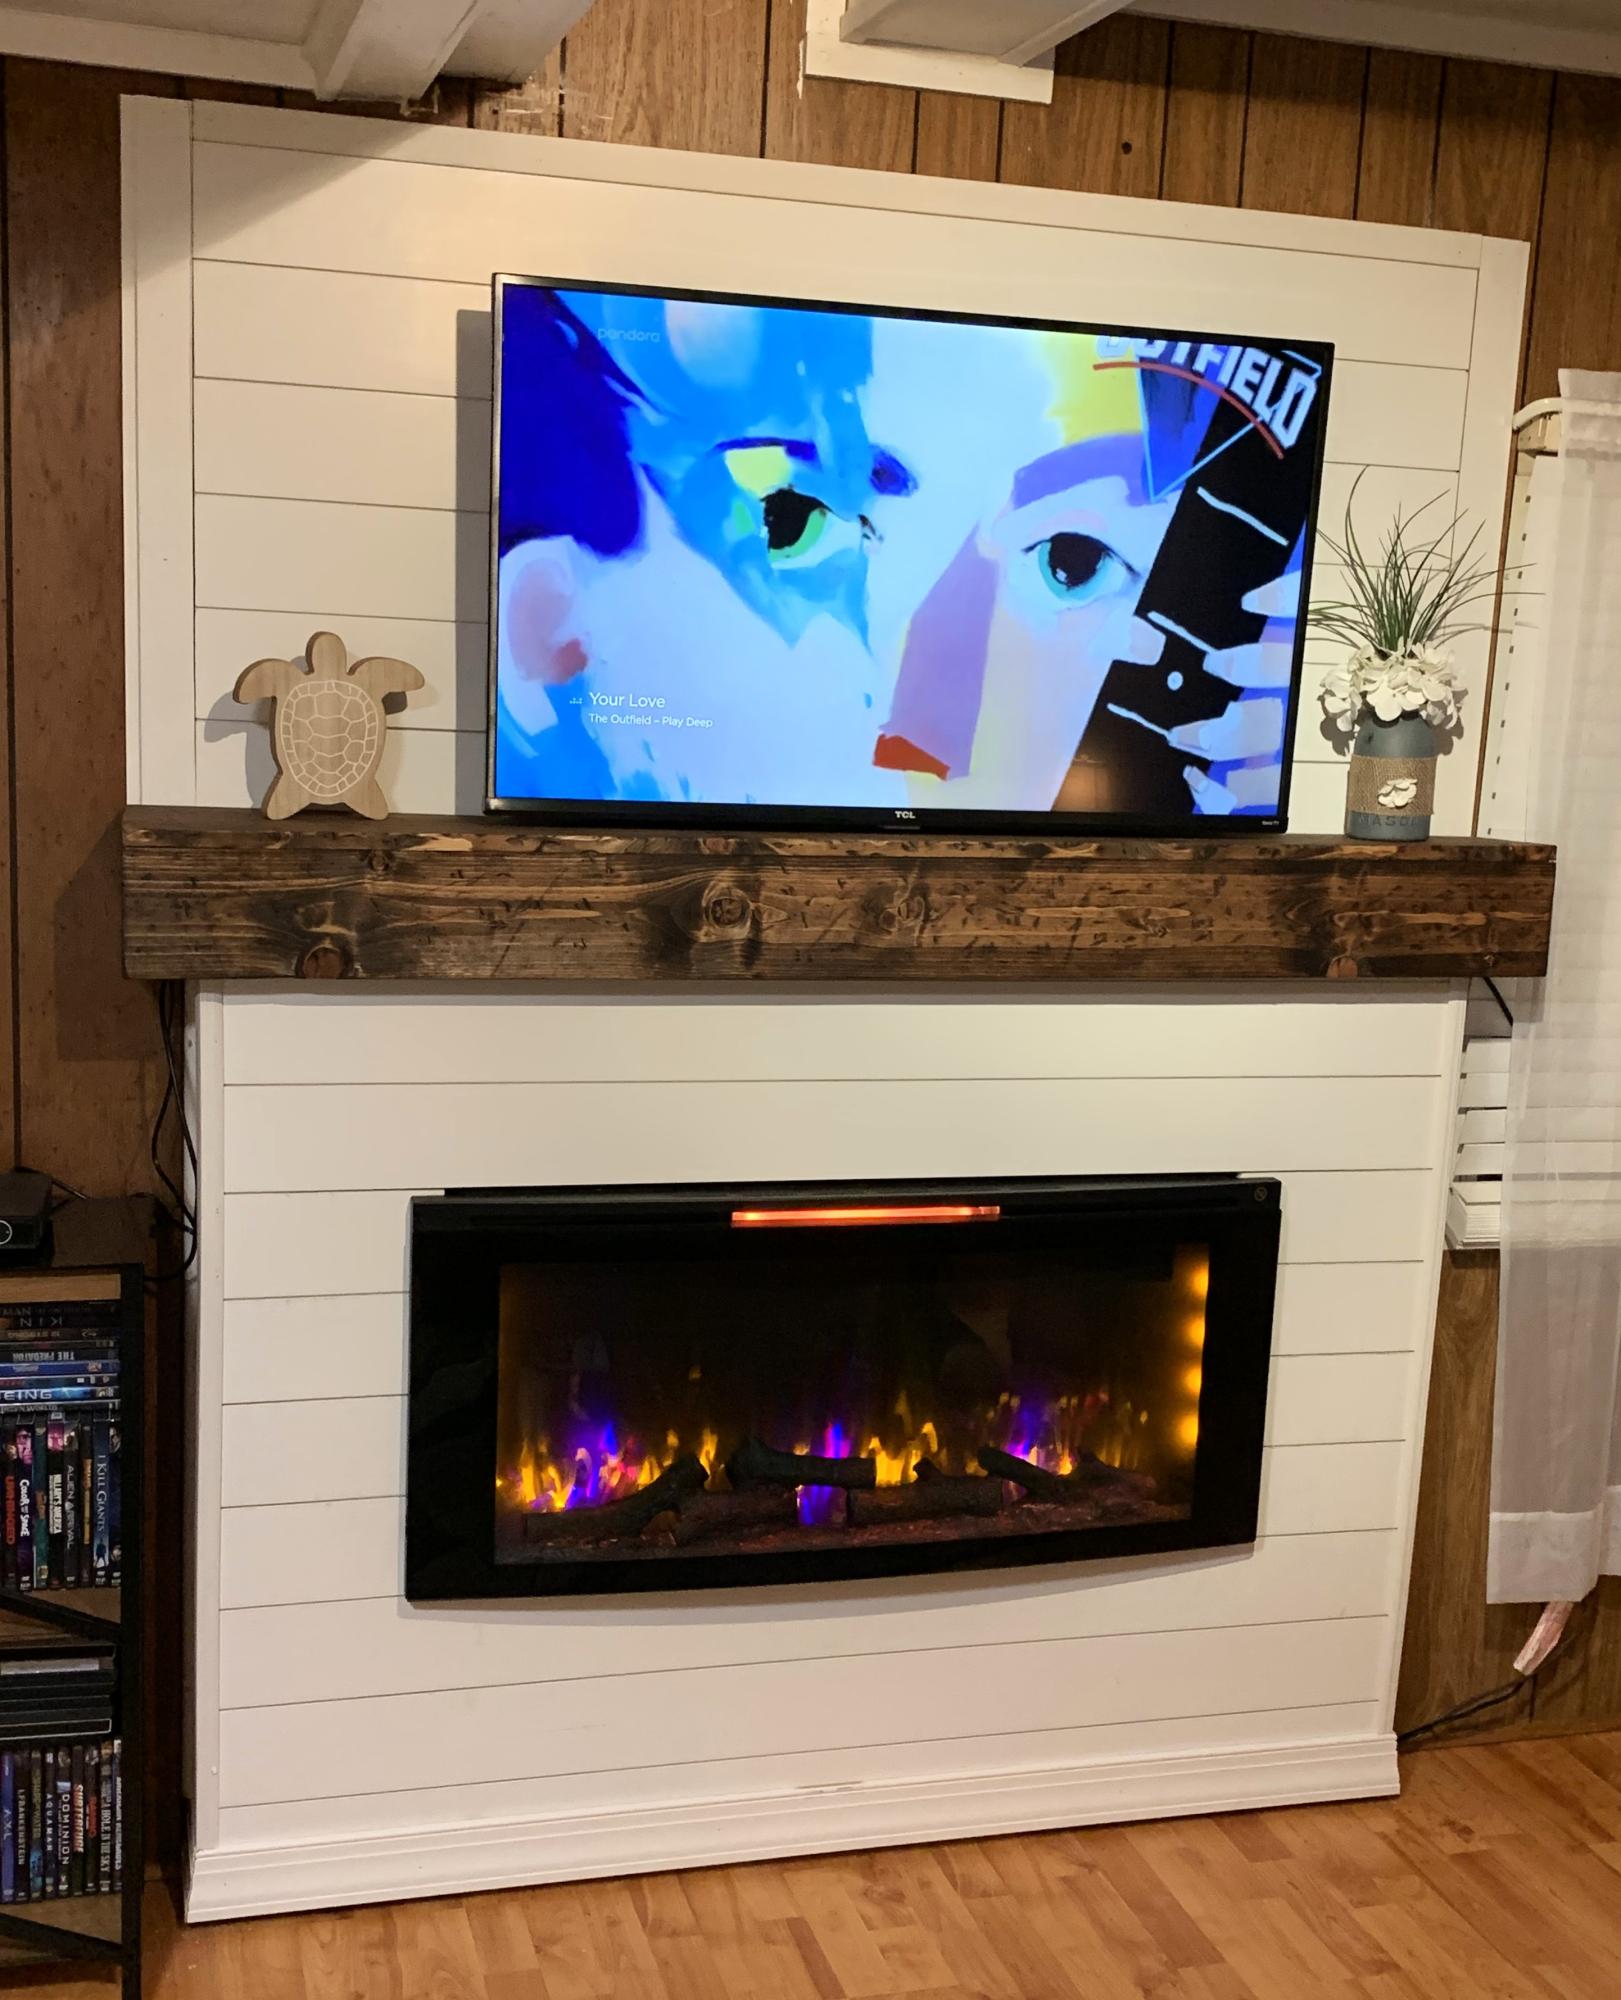
Shiplap fireplace and distressed mantle.
Tina
Built from Plan(s)
Shiplap fireplace and distressed mantle.
Tina
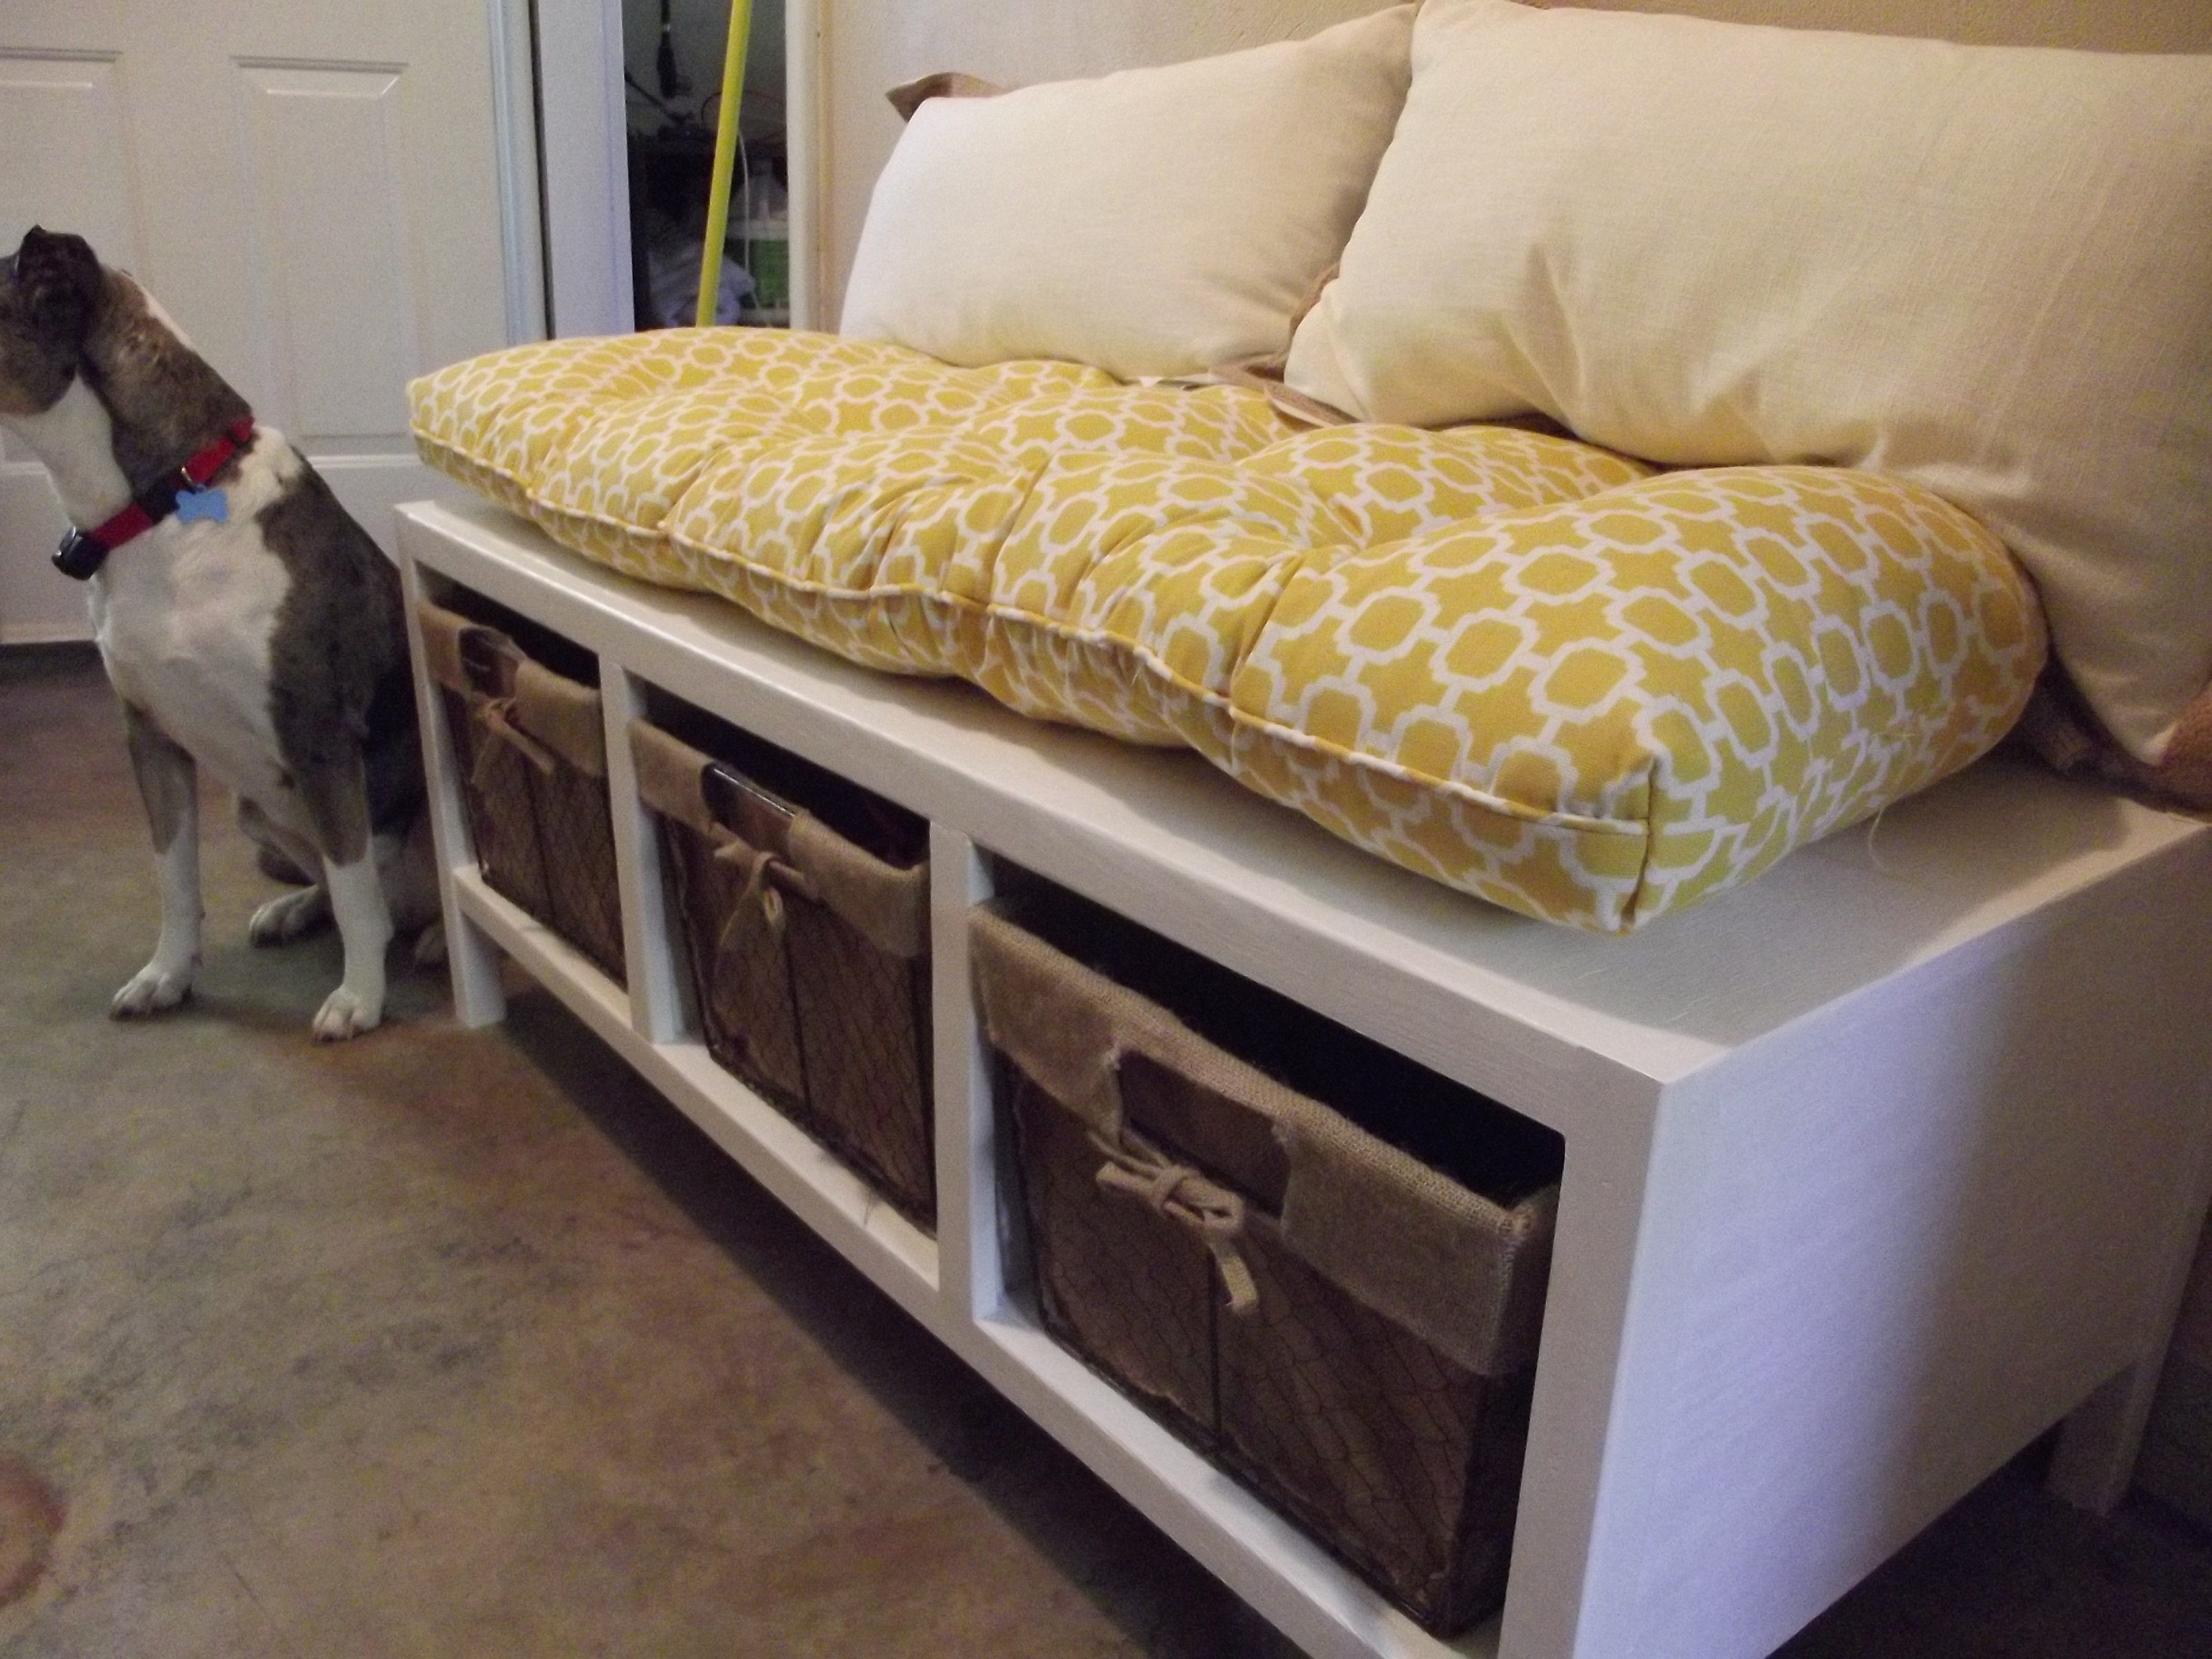
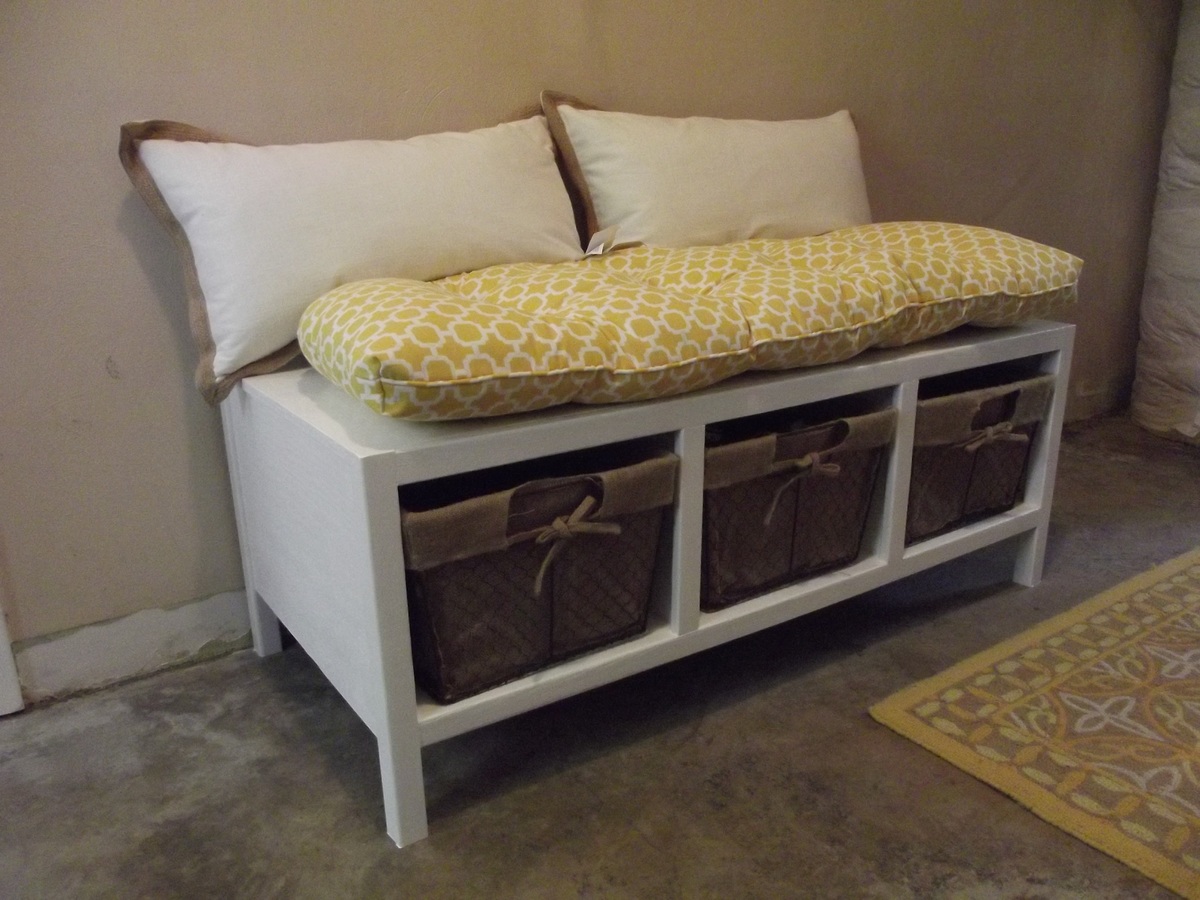
Loved using the plans, had to modify them to work around my baskets and a pipe sticking out of my wall. I'd say this is somewhere between beginner and intermediate, as I had to use the pocket screw for some added support when attaching the sides. I primed then used two coats of white "door and trim" paint. So far it has held up to the baskets being slid back and forth, if I had to do it again, I would add a poly coat for durability, at least on the bottom of the cubbies. Cushions and pillow from HomeGoods. Would have been nice to design the bench to fit more standard cushion sizes, but oh well!

A good starter project. I've had no experience working with wood before this. The instructions were great. I understood everything. I used Fir, and stained it a cedar color. Definitely should have stained my boards first.


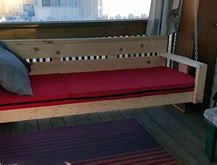
This is my version of the porch swing. I bought a folding mattress (easier to put away, because if I leave it out, my dog will eat it), and built the swing to fit. Great for swinging, and big enough for Sunday afternoon naps. Used the best ideas from several sets of plans.
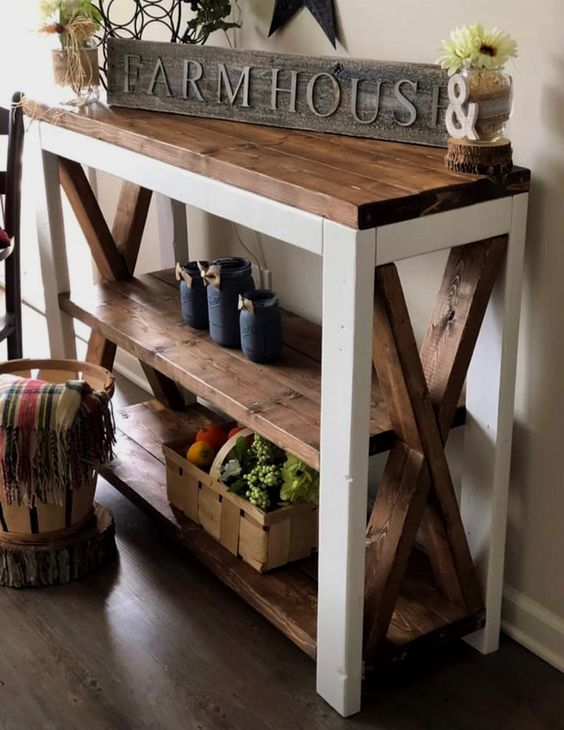
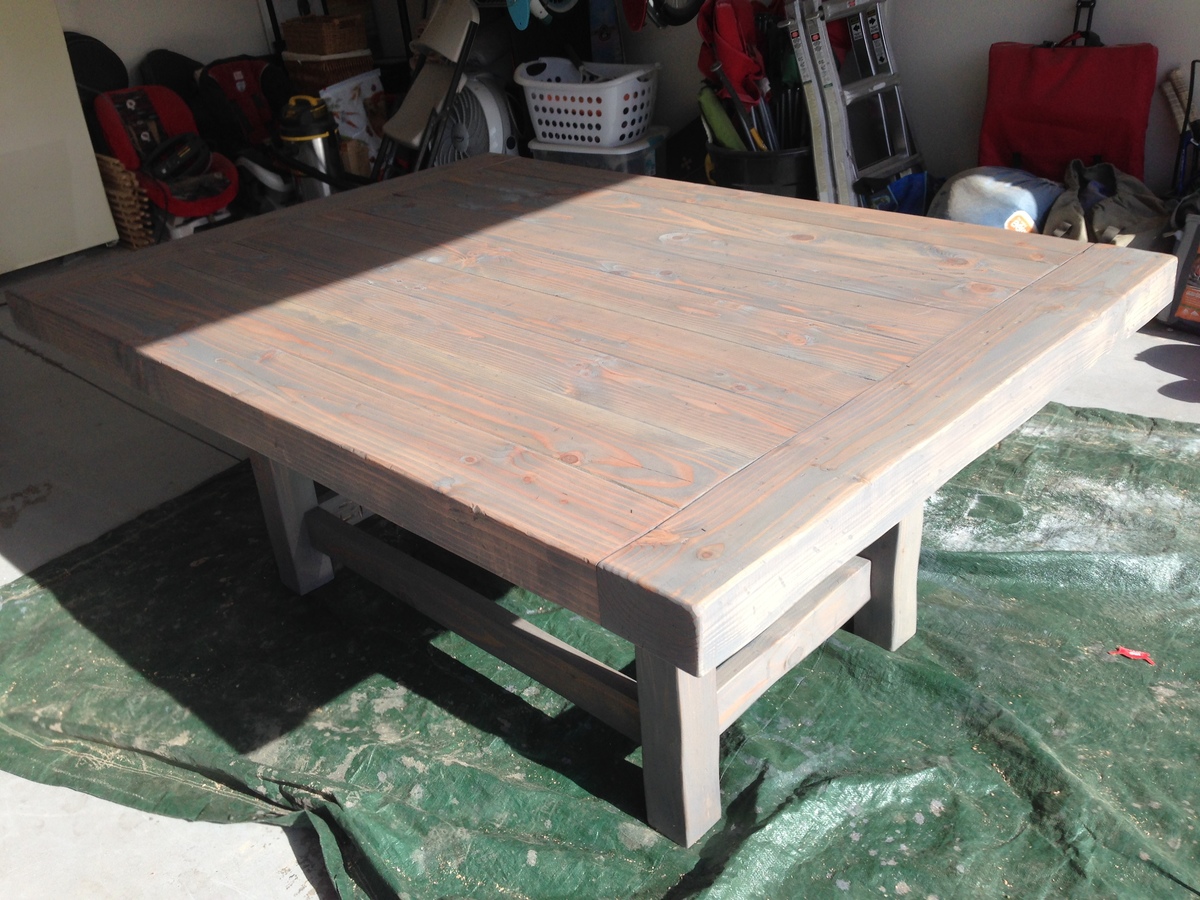
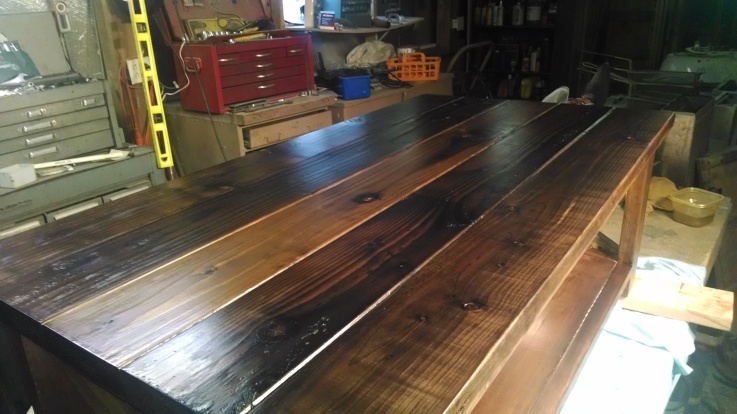
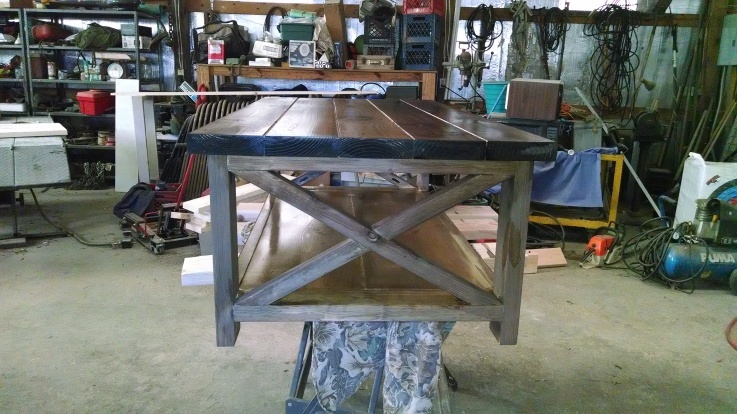
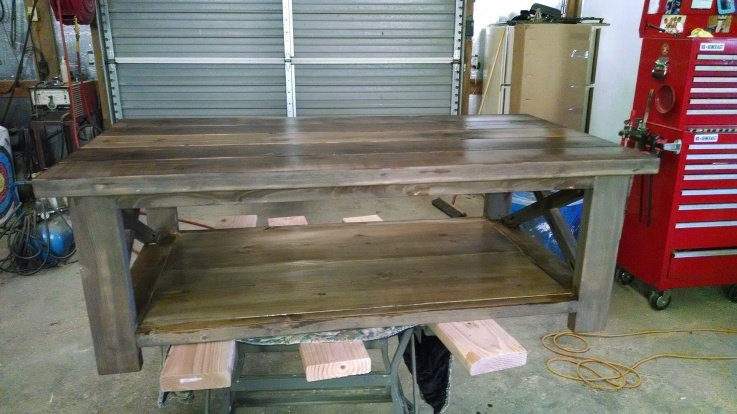
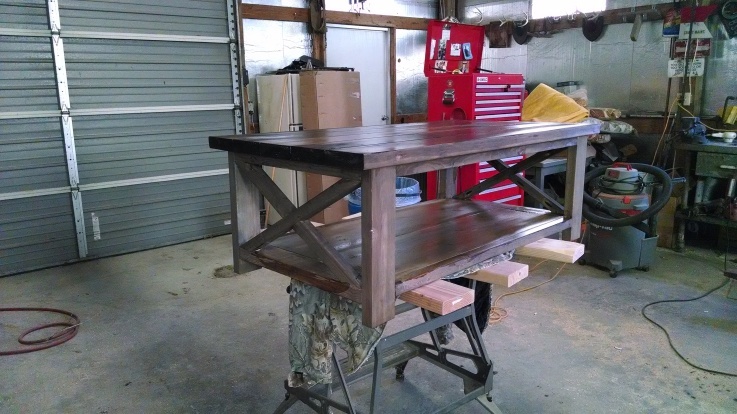
Rustic X Console Table with a Two Tone Finish
This is my first woodworking project ever. IT TURNED OUT AMAZING!!!
Got the inspiration here on ana white and then followed DIYpete on youtube.
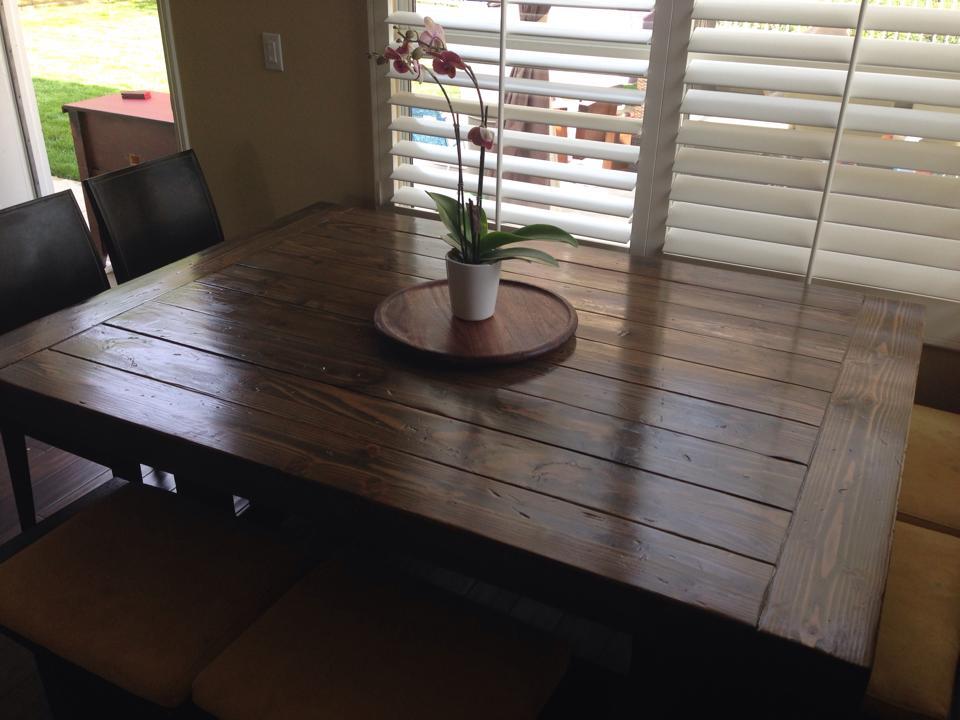
For my table I used 4x6 on the outside and all 2x6 on the inside, really gave it the look of a really thick table. Warning, it is really heavy. But felt pads on the bottom and it slides like a dream.
I did purchase a Kreg Jig and Kreg Screws for this project but other than that it was all douglas fir from HD and cost about 150 bucks.
Super fun, took about 5 hours to build and week to stain and poly.
We did a first coat of stain with weathered grey and the second coat with Dark Walnut. Looked a little odd at first, but the poly really made it pop.
Let me know if you have any questions. NOW on to the next project, I think I am addicted.

modified the 2x4 plan and used ski's cut to the 1x4 length, used 2x2 for the upper back brace since I didn't buy any of the 1x4's, also add 4" to the back seating area to keep the curved tips of the ski's from hitting a taller person in the head.
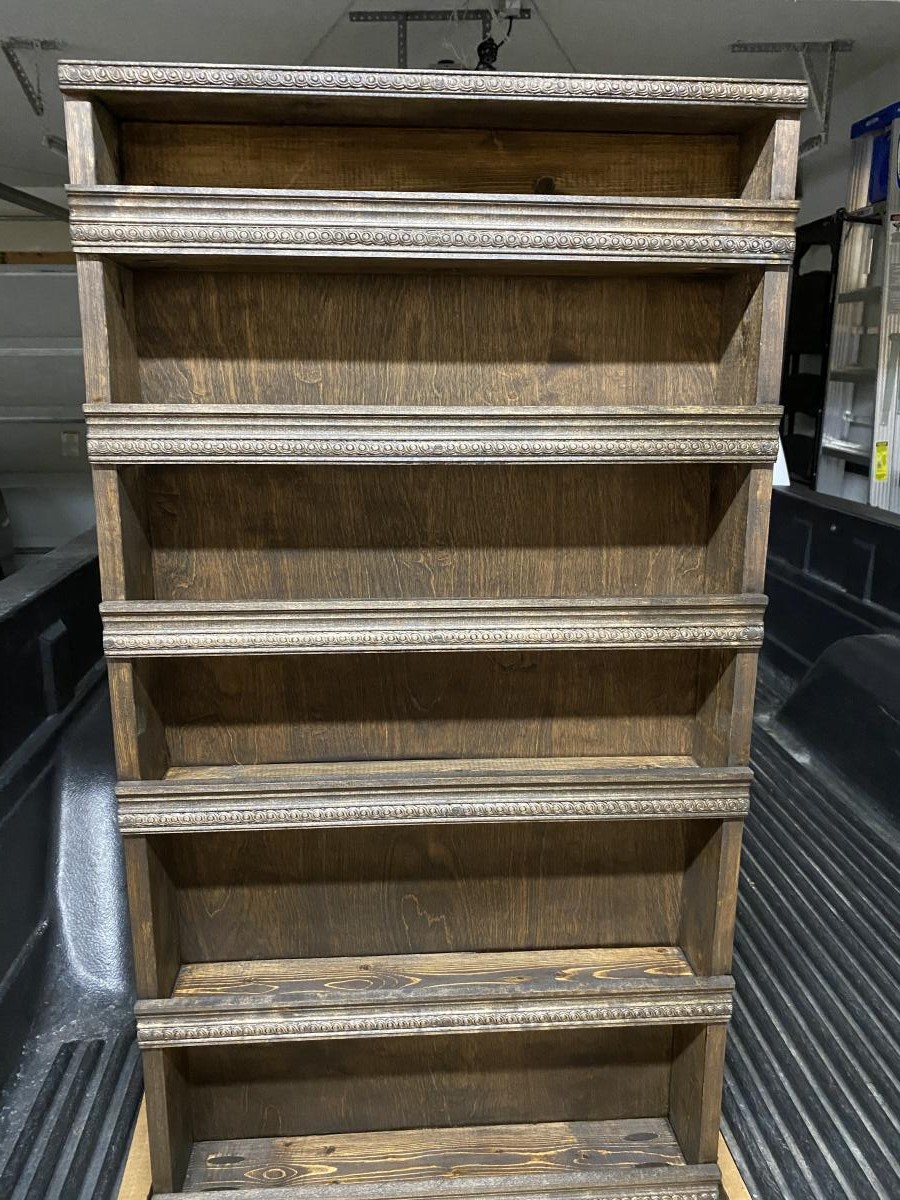
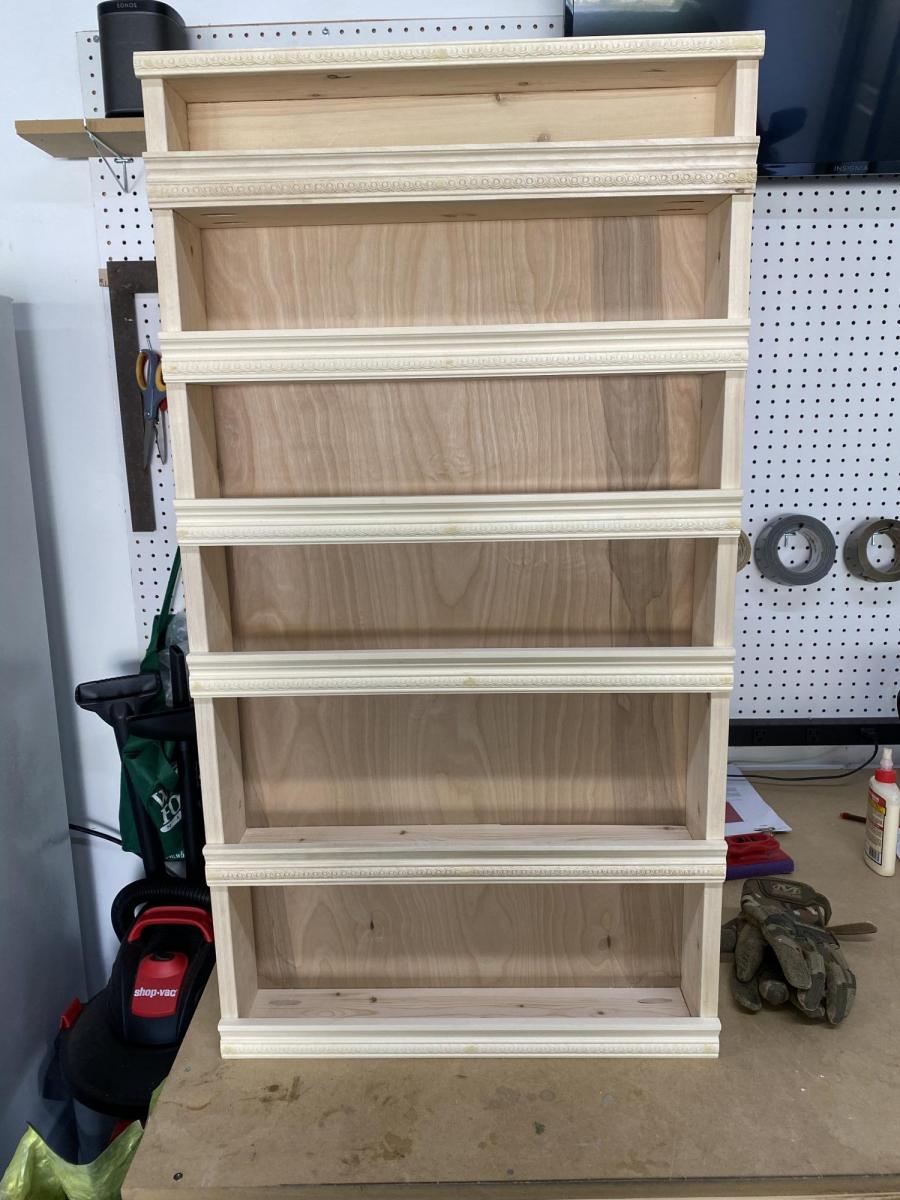
Change out the dowels with some molding and stained. Wife loves it!
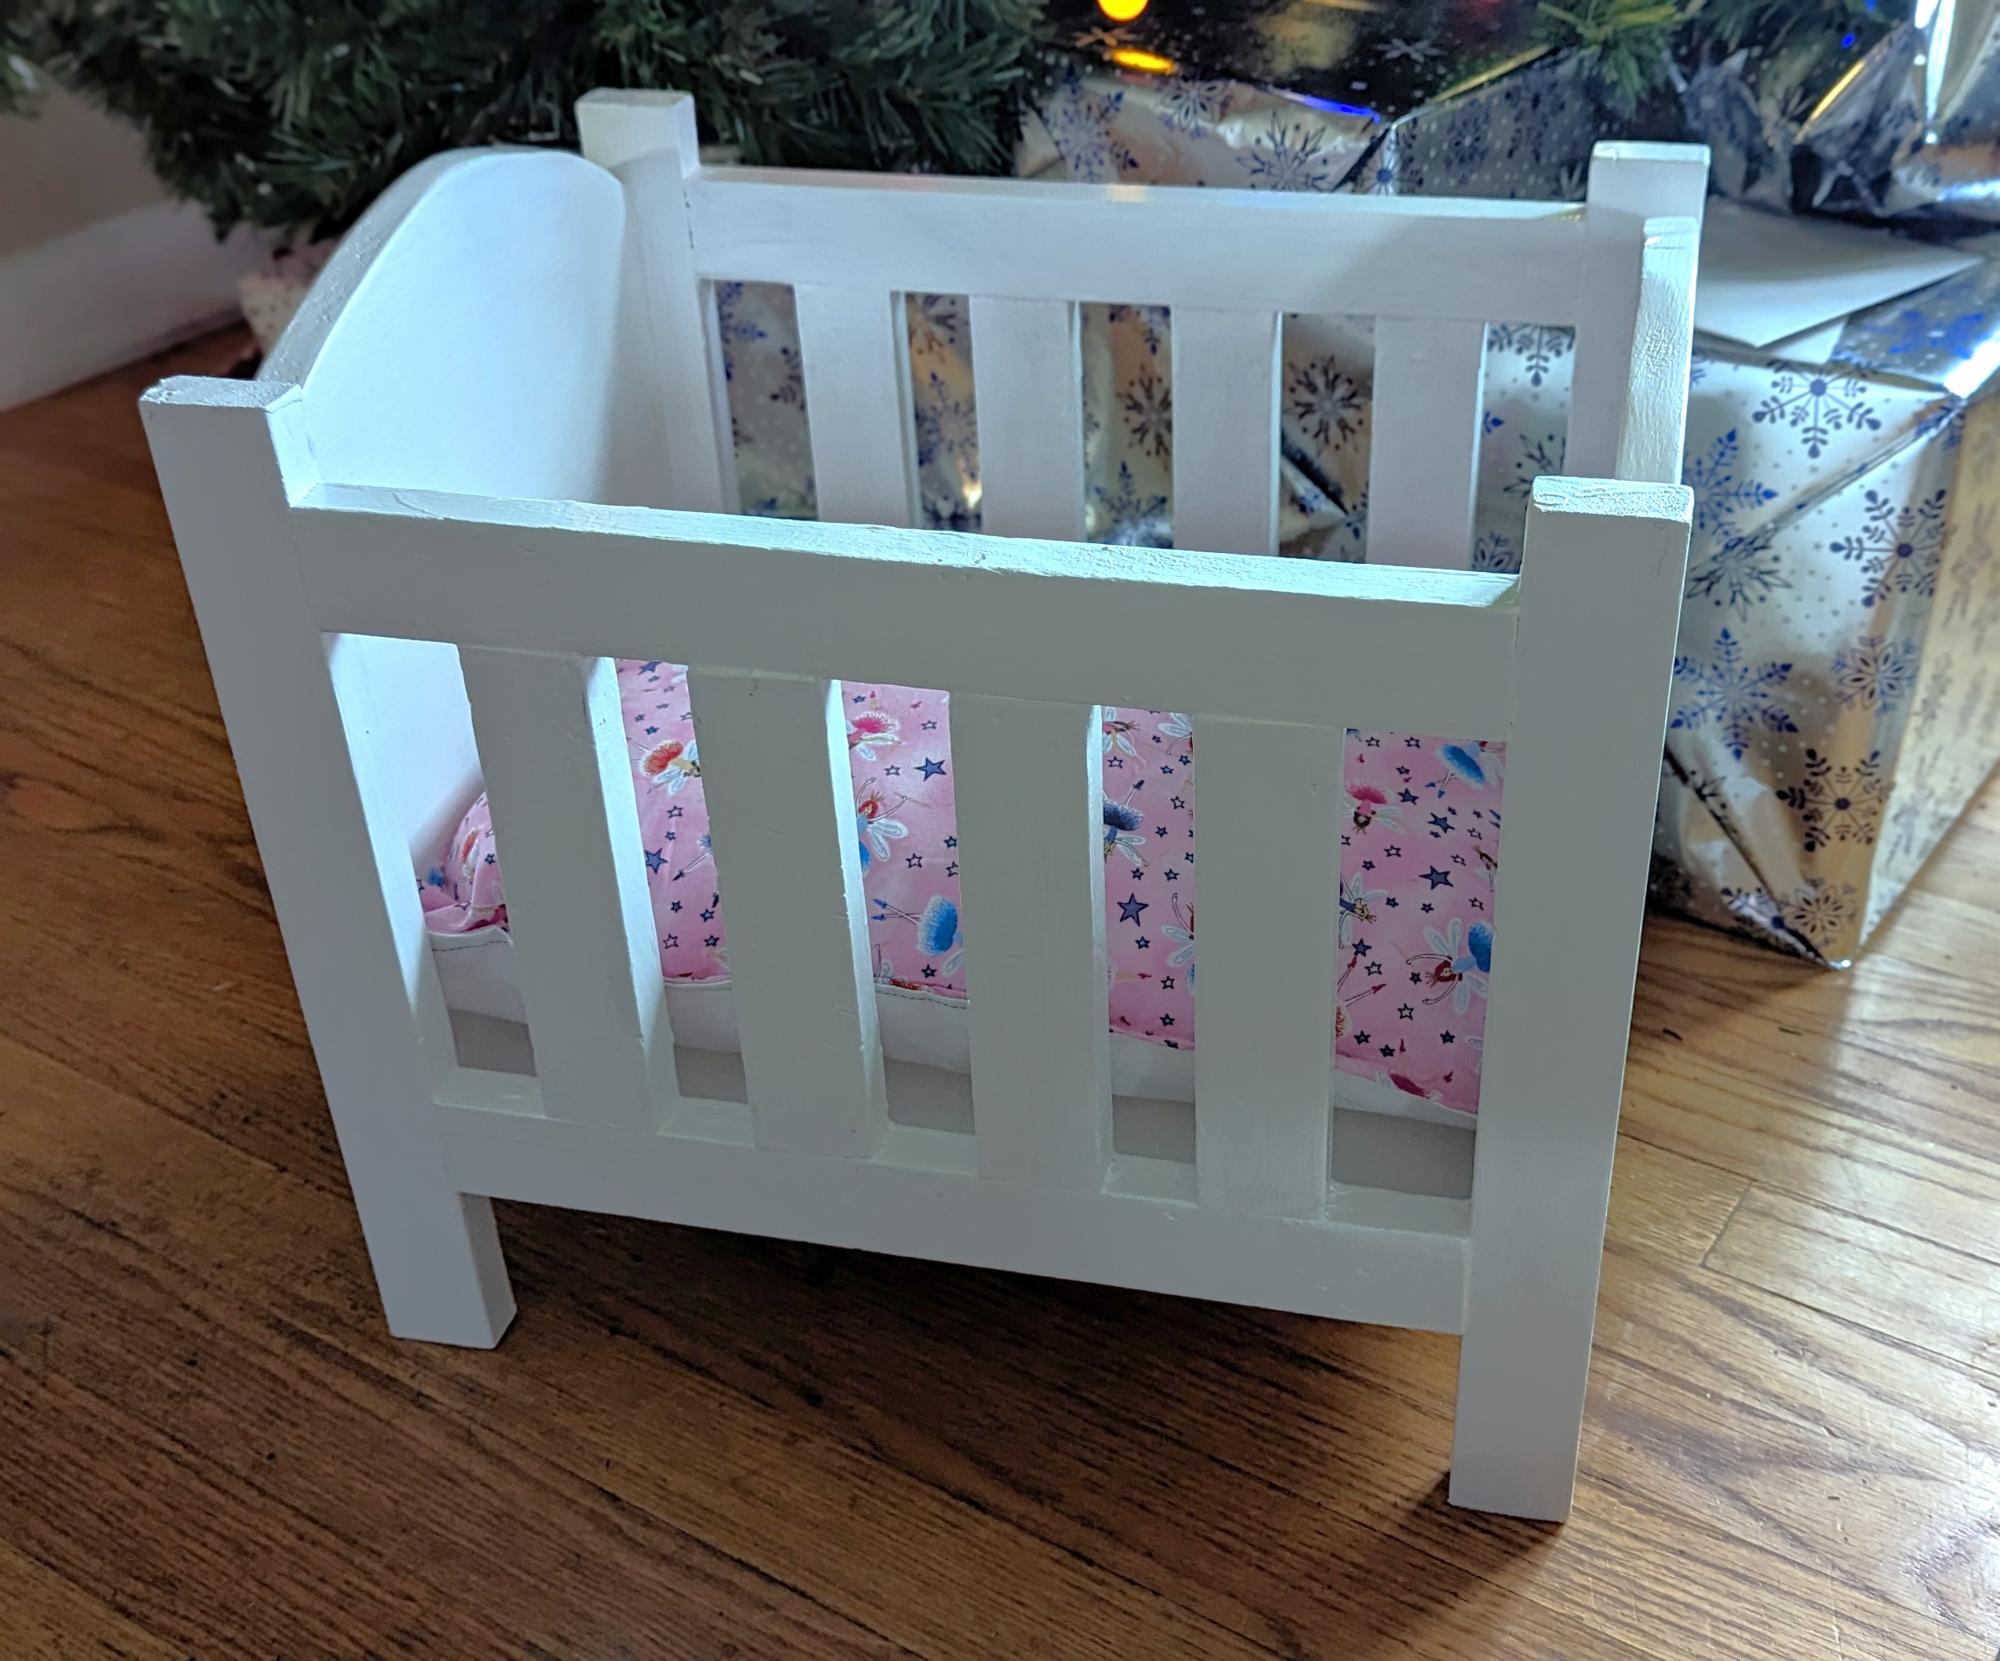
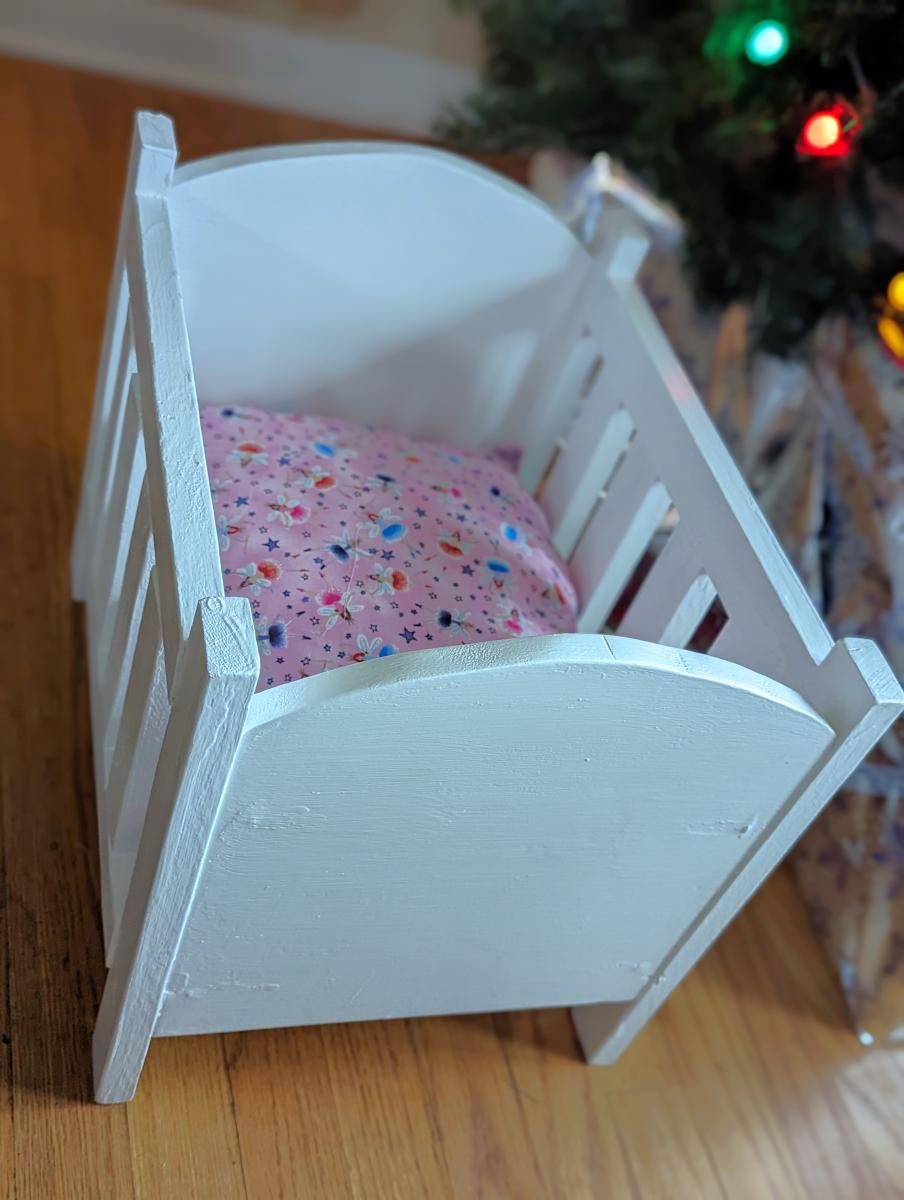
I built this doll crib for a girl we are helping make Christmas special for this year. It's all materials I had on hand (thanks scrap pile!). I love how it turned out. Loosely based on the fancy doll crib plans.
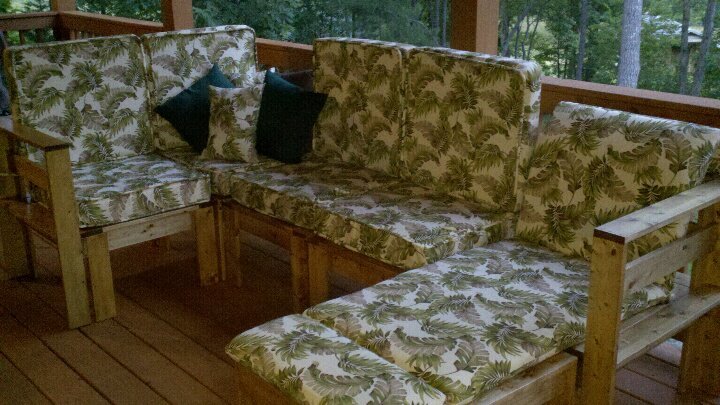
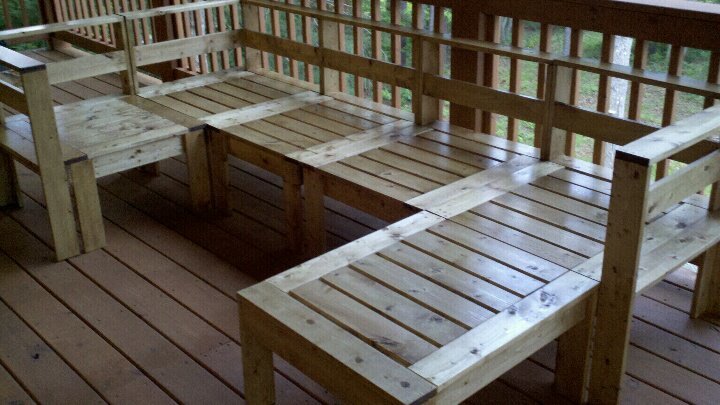
I found this after having spent hours looking for an outdoor sectional, but just couldn't justify the huge cost. We tweaked it a little, because we wanted it a little smaller then the plans and wanted to add the lounge section, but we loved the way it turned out!
I can't sew at all, so I found the cushions and pillows at Garden Ridge on 50% clearance!

This dresser was custom built for a customer who gave the dimensions they needed to fit their space. The dresser is a remake of the Pottery Barn Branford dresser but scaled down to the dimensions the customer wanted. It is finished in General Finishes milk paint and General Finishes high performance top coat. It took about two weeks working about a couple hours a day before work.


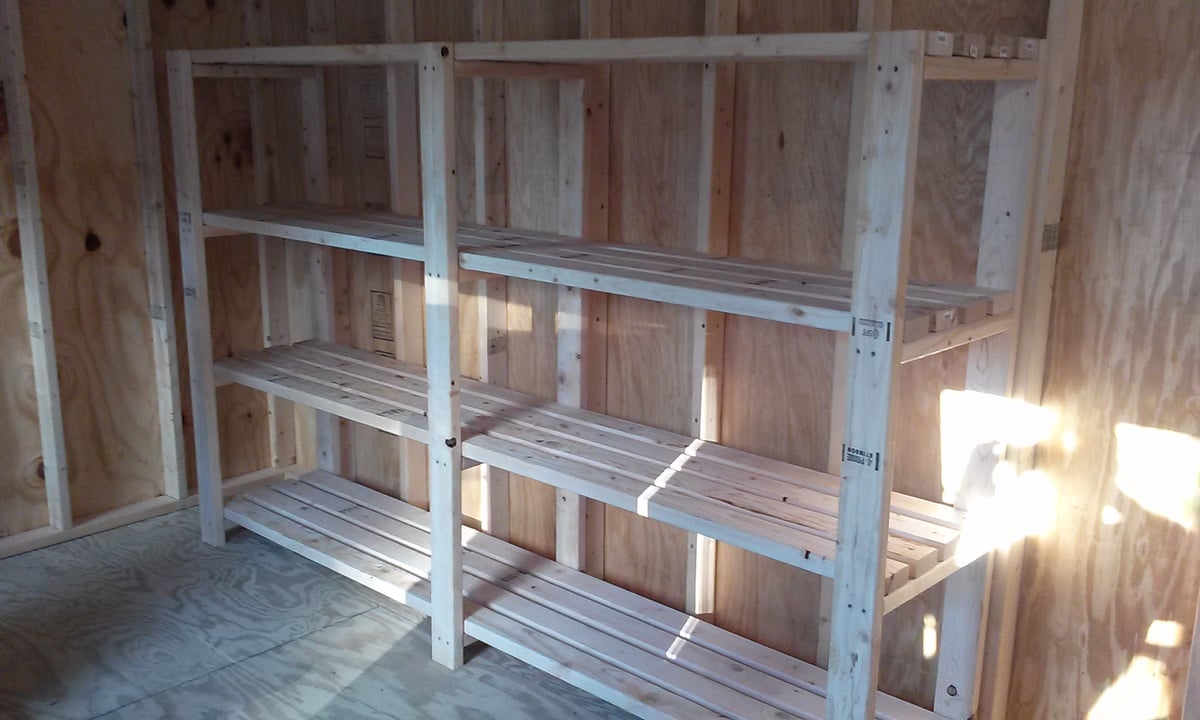
A great simple & useful project requiring 2 - count 'em - 2 different materials - screws & 2X4's. I would NOT go cheap on the 2X4's. Be careful picking over them and make sure they're as straight as possible. If some are bowed, that's OK. Just use them for the actual shelves, making sure the bow is up. I used bar clamps to hold any warped ones in place before screwing them down.
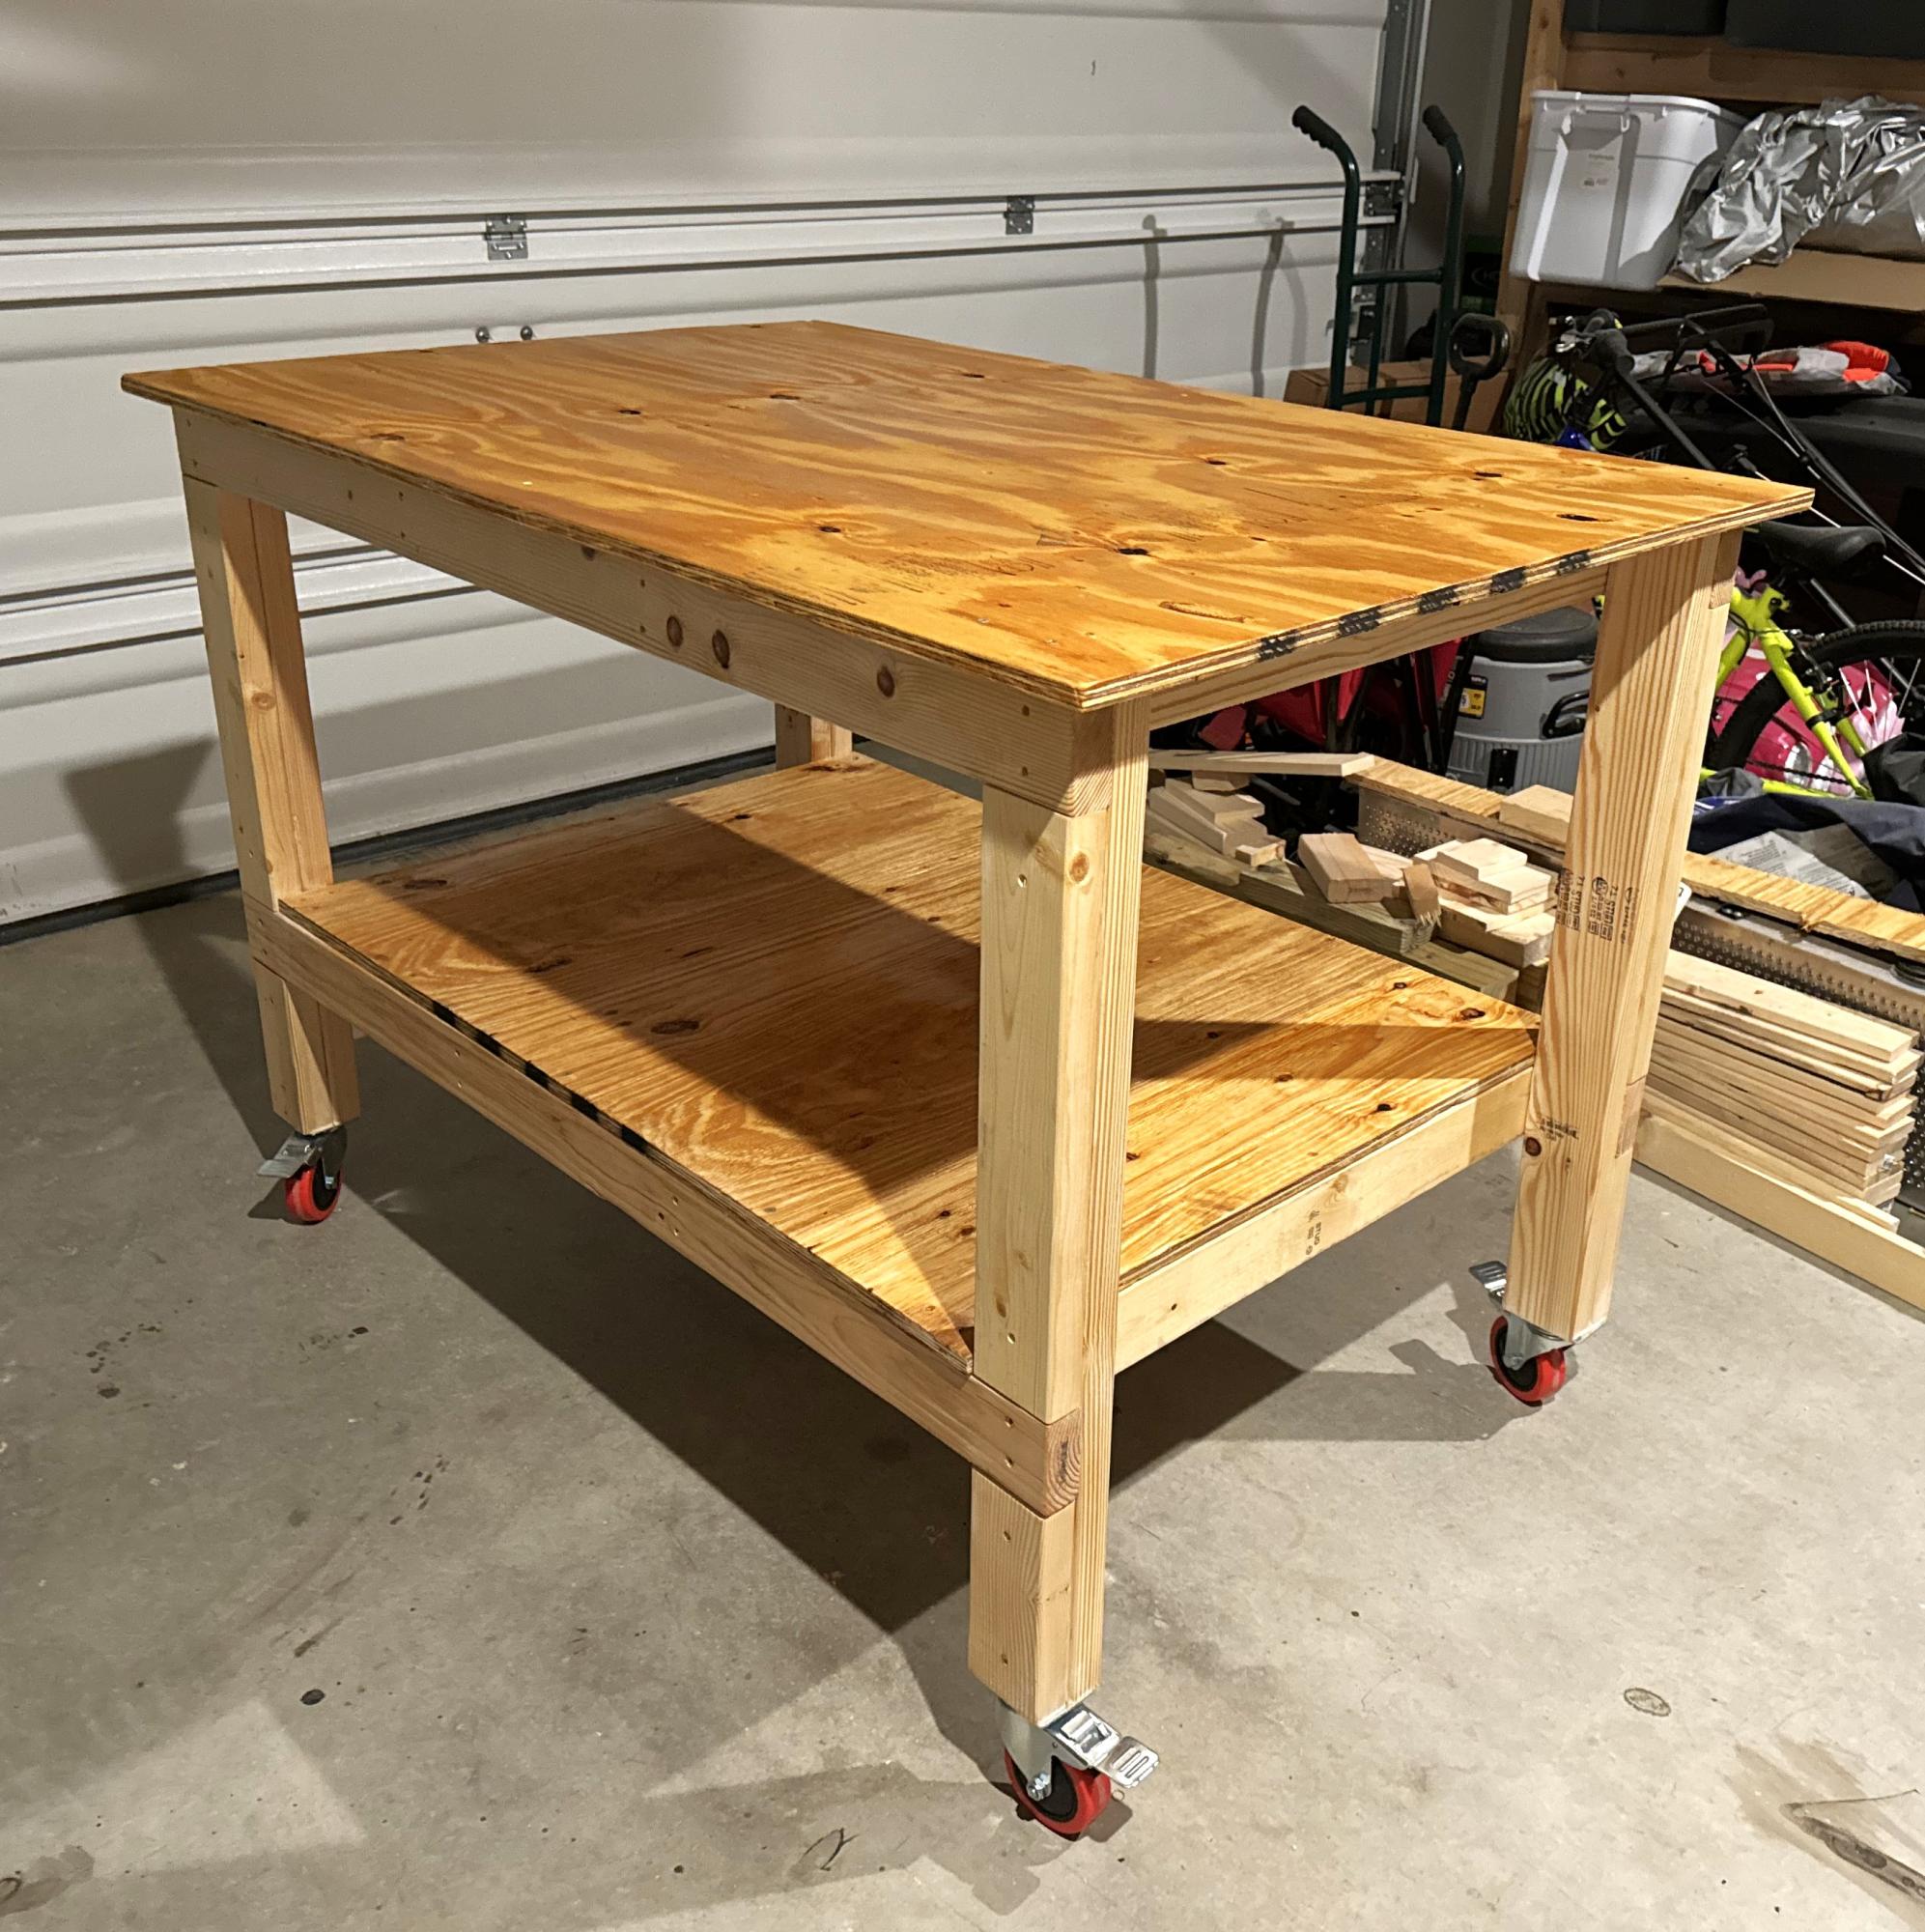
DIY Workbench
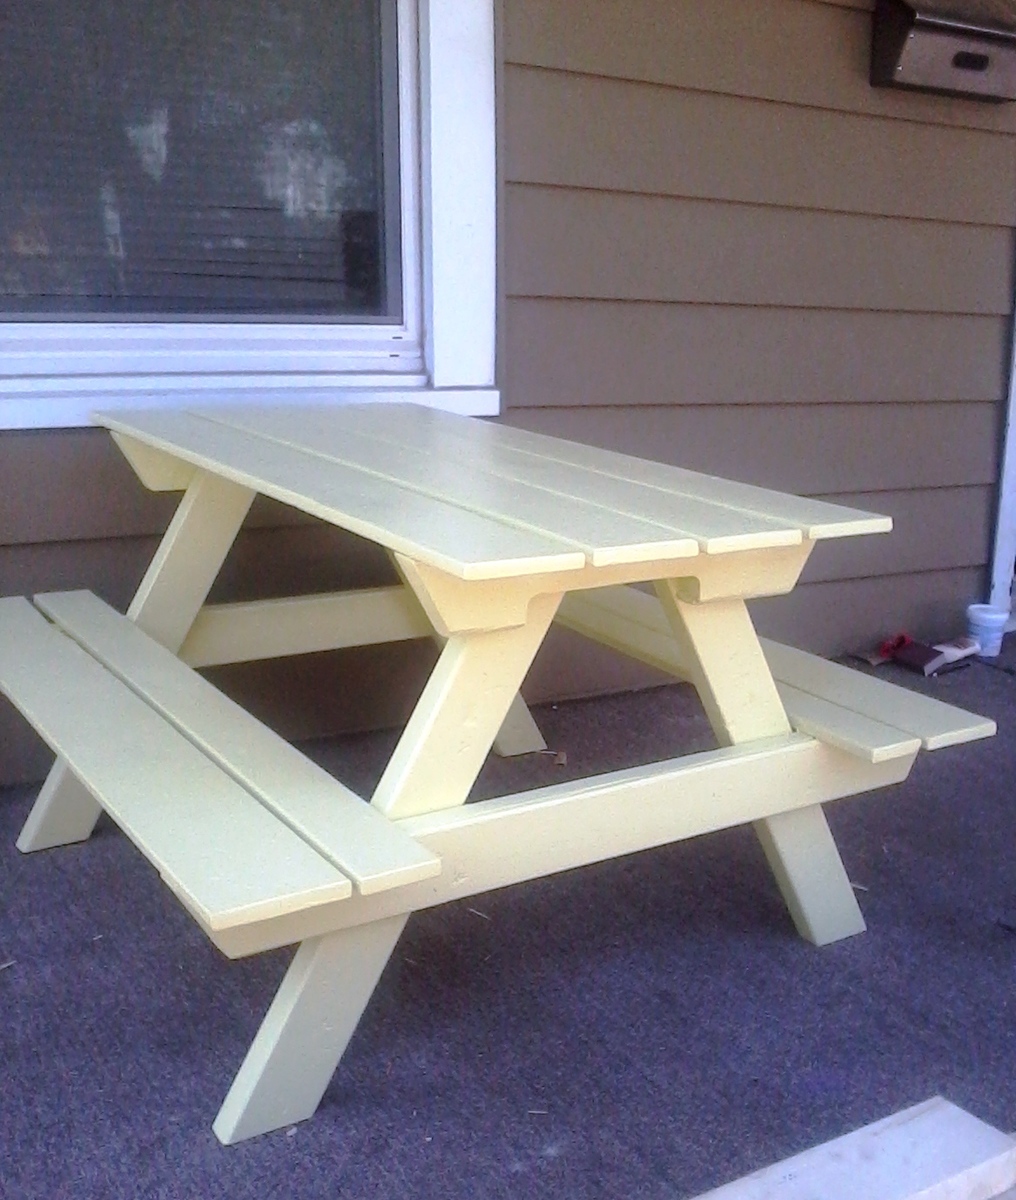
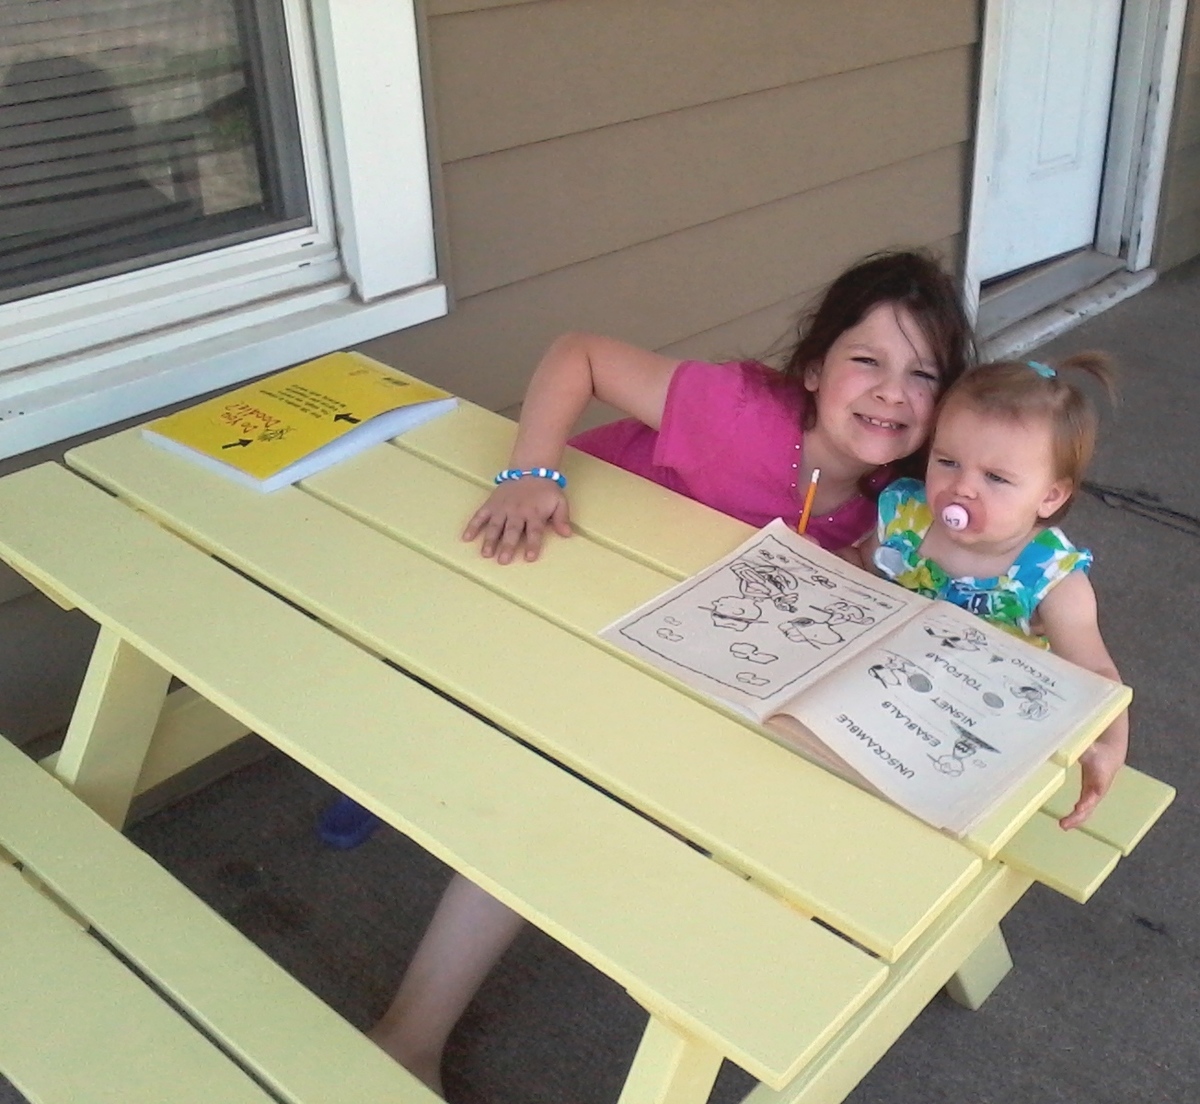
I've been looking at the Bigger Kids Picnic table and wanting to make one for awhile, so when I got some free pallets I went ahead and made it. The measurements were adjusted to work with what I had. We decided not to do the center support because we knew our kids would complain about it being in their way, and the table seems plenty sturdy without (ours isn't as long as the plan)
The only problem is our 1 yr old, who wants to be one of the big kids, likes it a little too much. Even after an hour of sitting there I had to pry her away from it. :-)
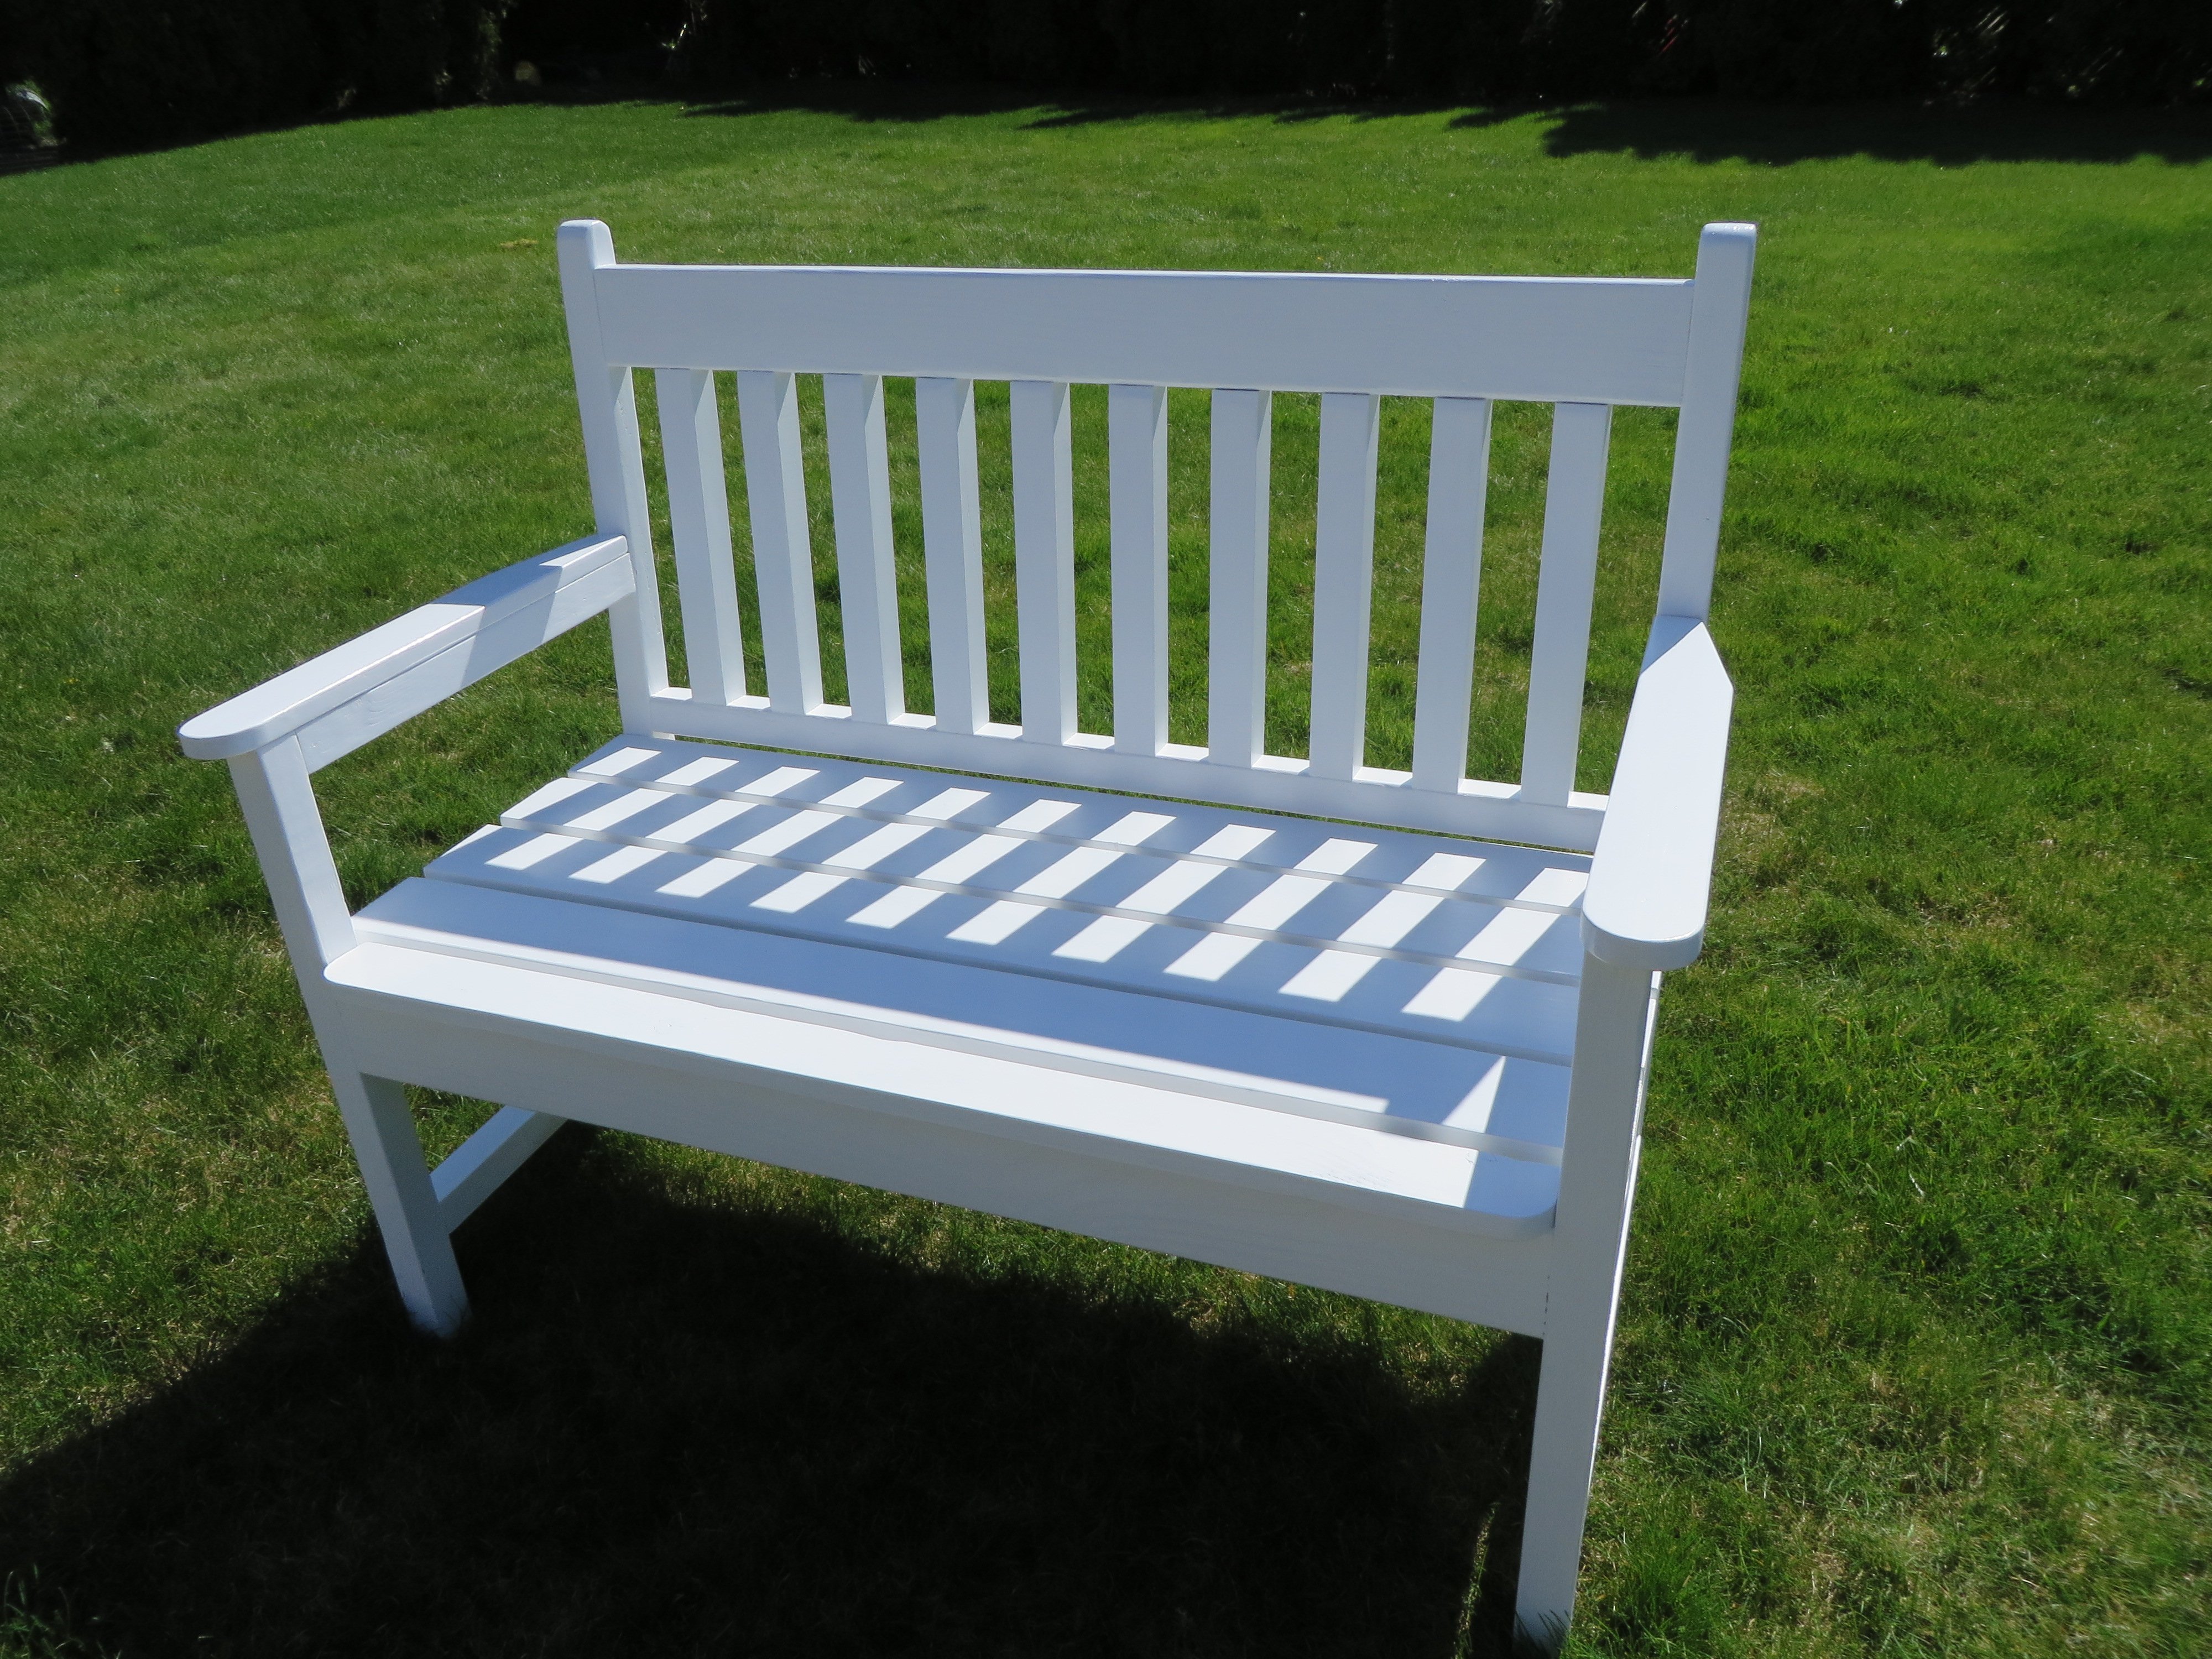
I modified the Woven Back Bench for this build. My brother's new front porch needed a bench, so I gave this as a housewarming present. The angle cuts on the back legs and armrests were intimidating before I started, but really pretty easy to do with a circular saw and a jig saw. Lots of sanding made everything work well. It was a fun build, but there were tons of pocket holes to drill and fill!
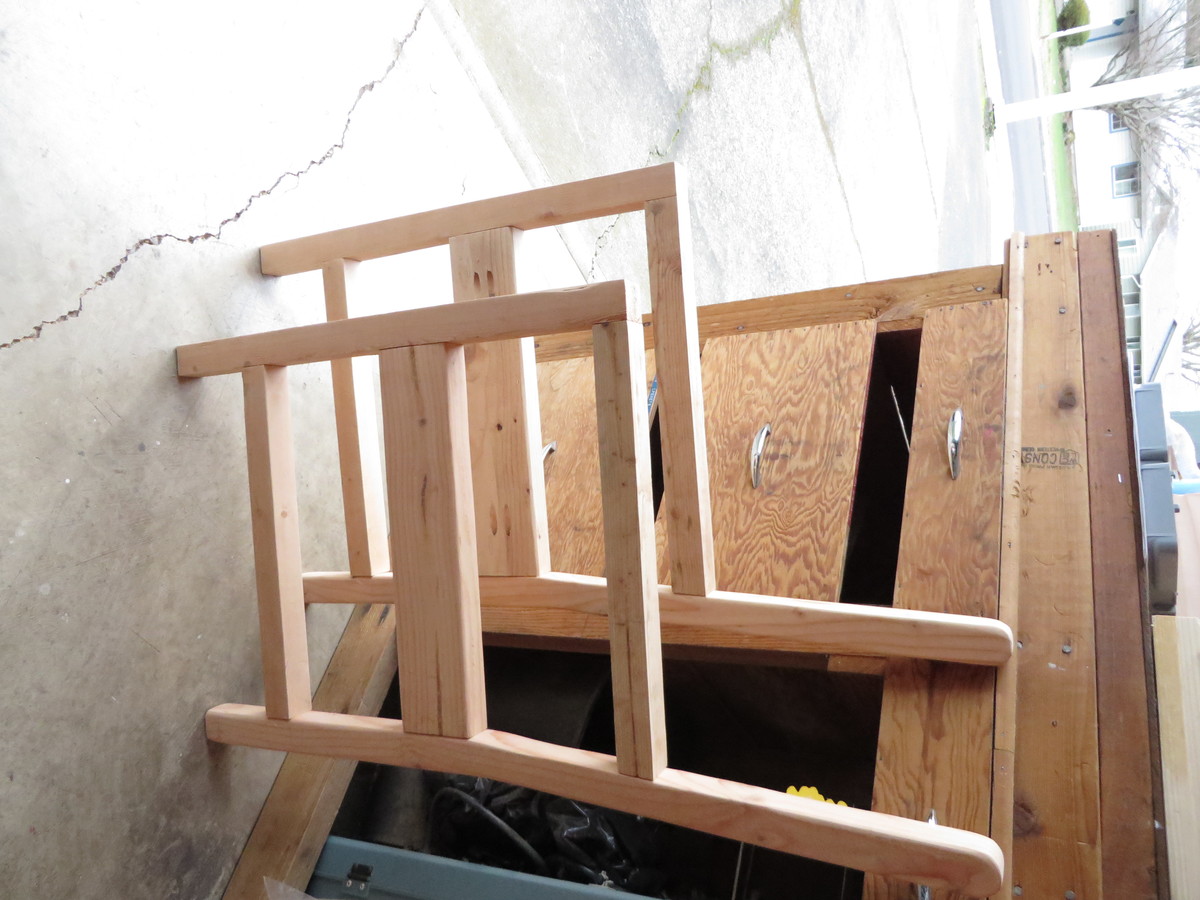
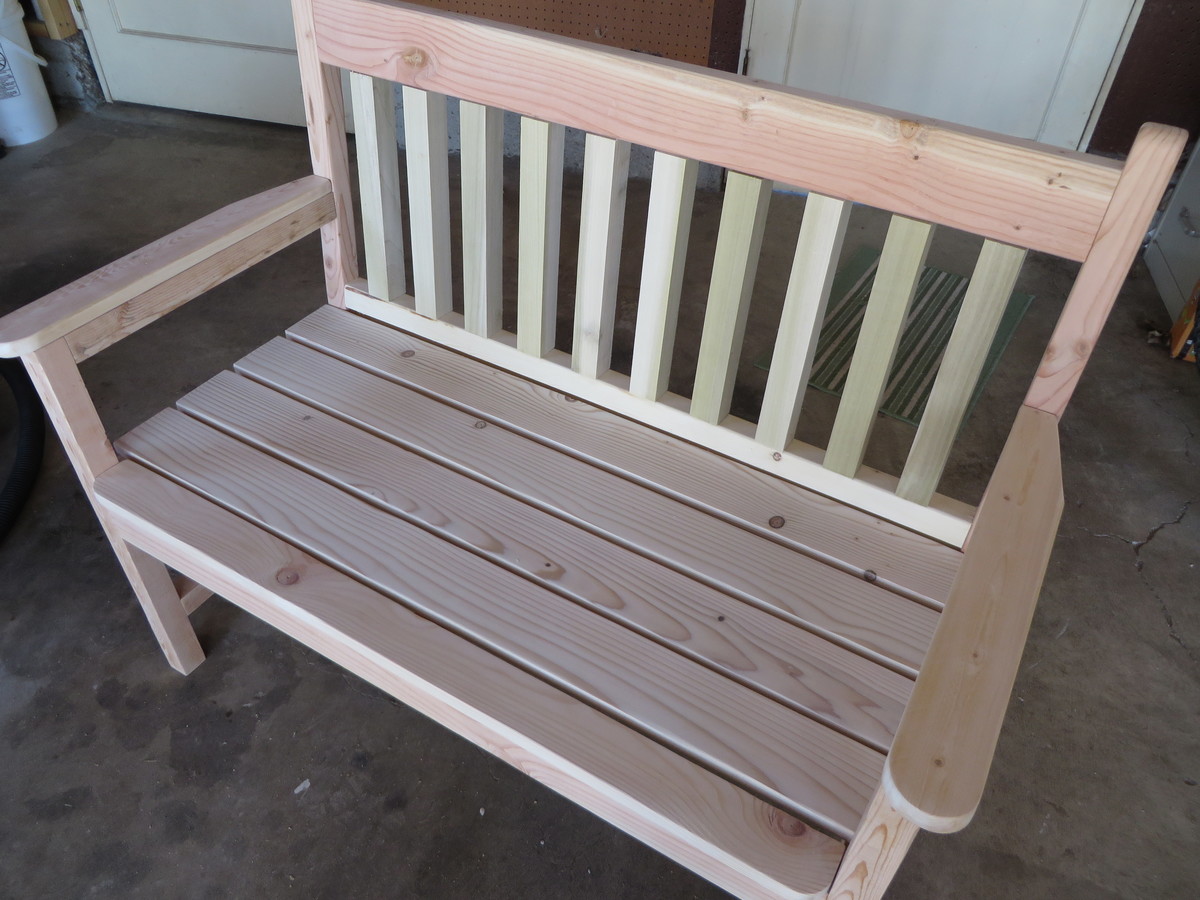
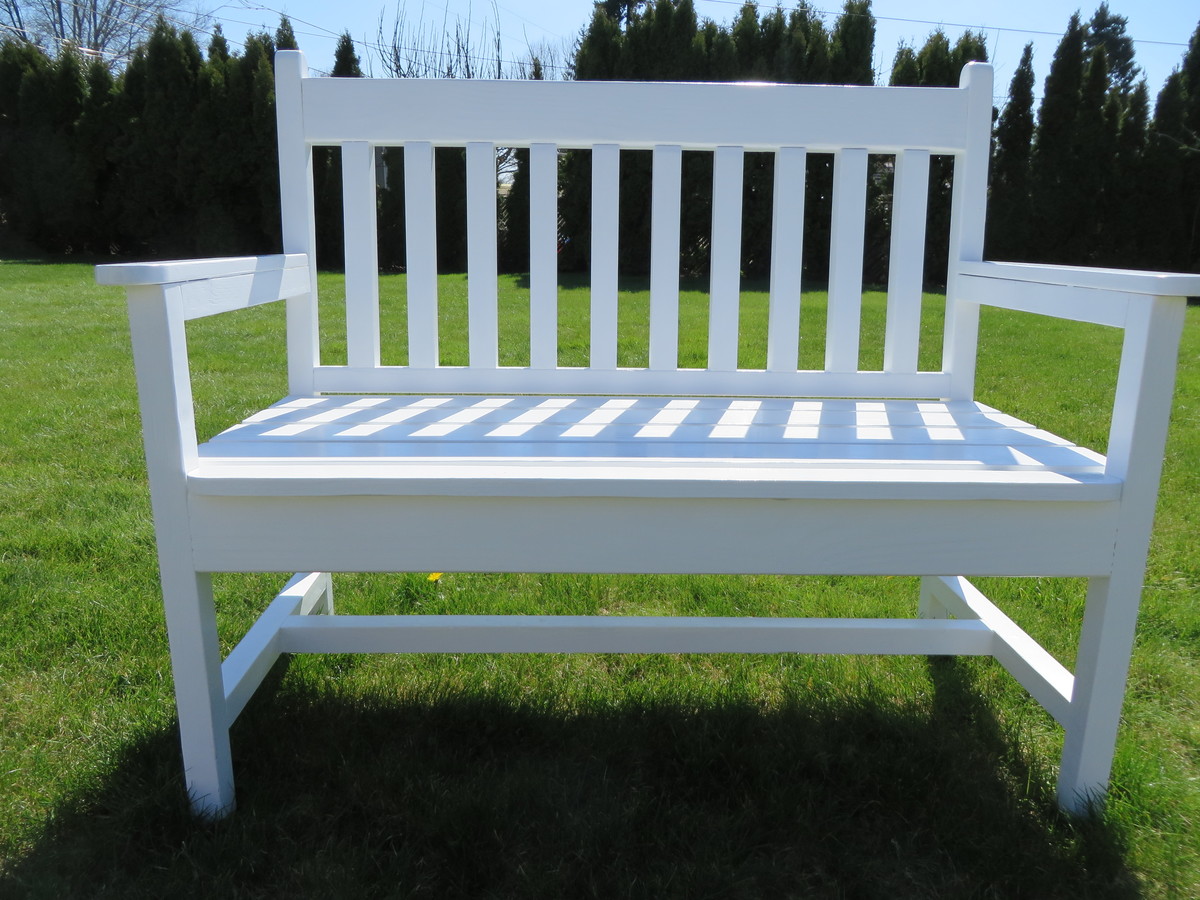
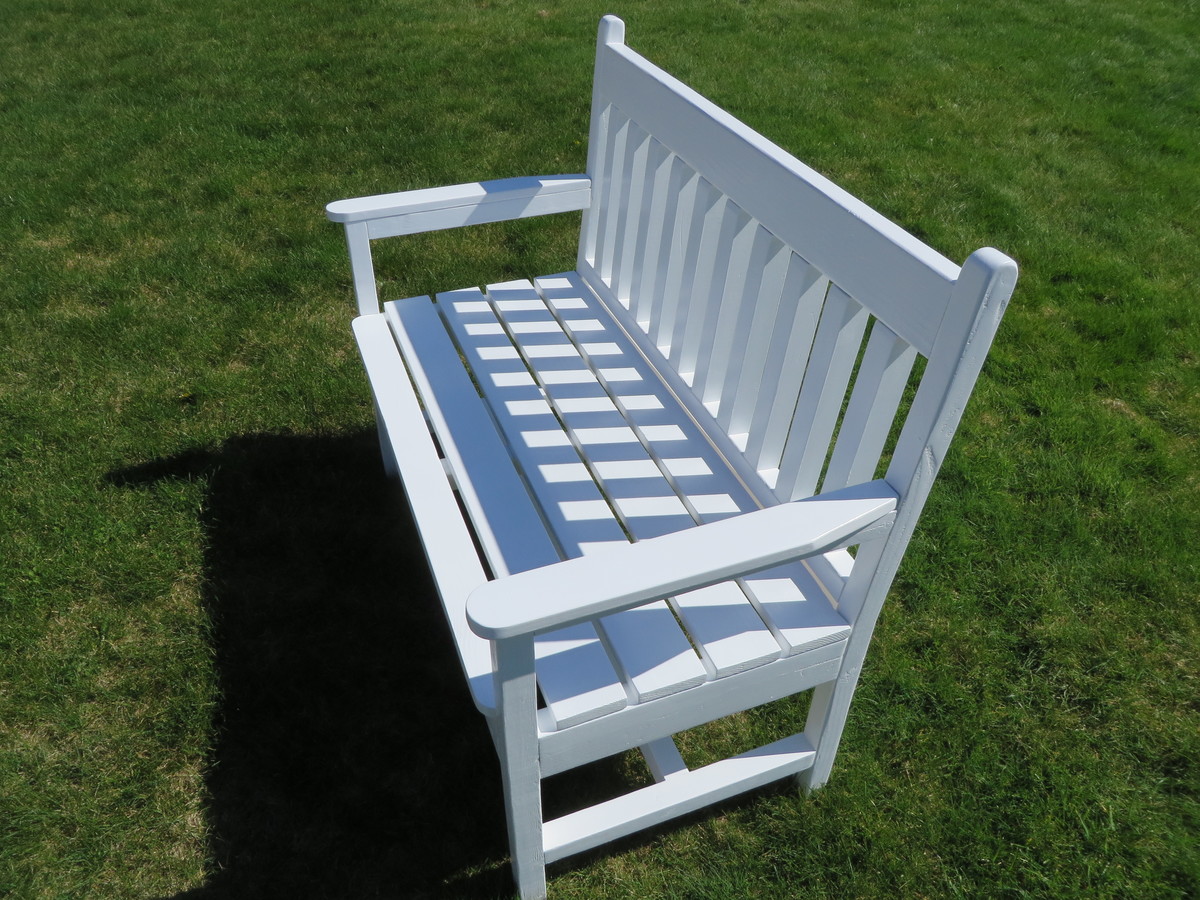
Added extra support boards for the breadboard ends, but other than that, plans were great.
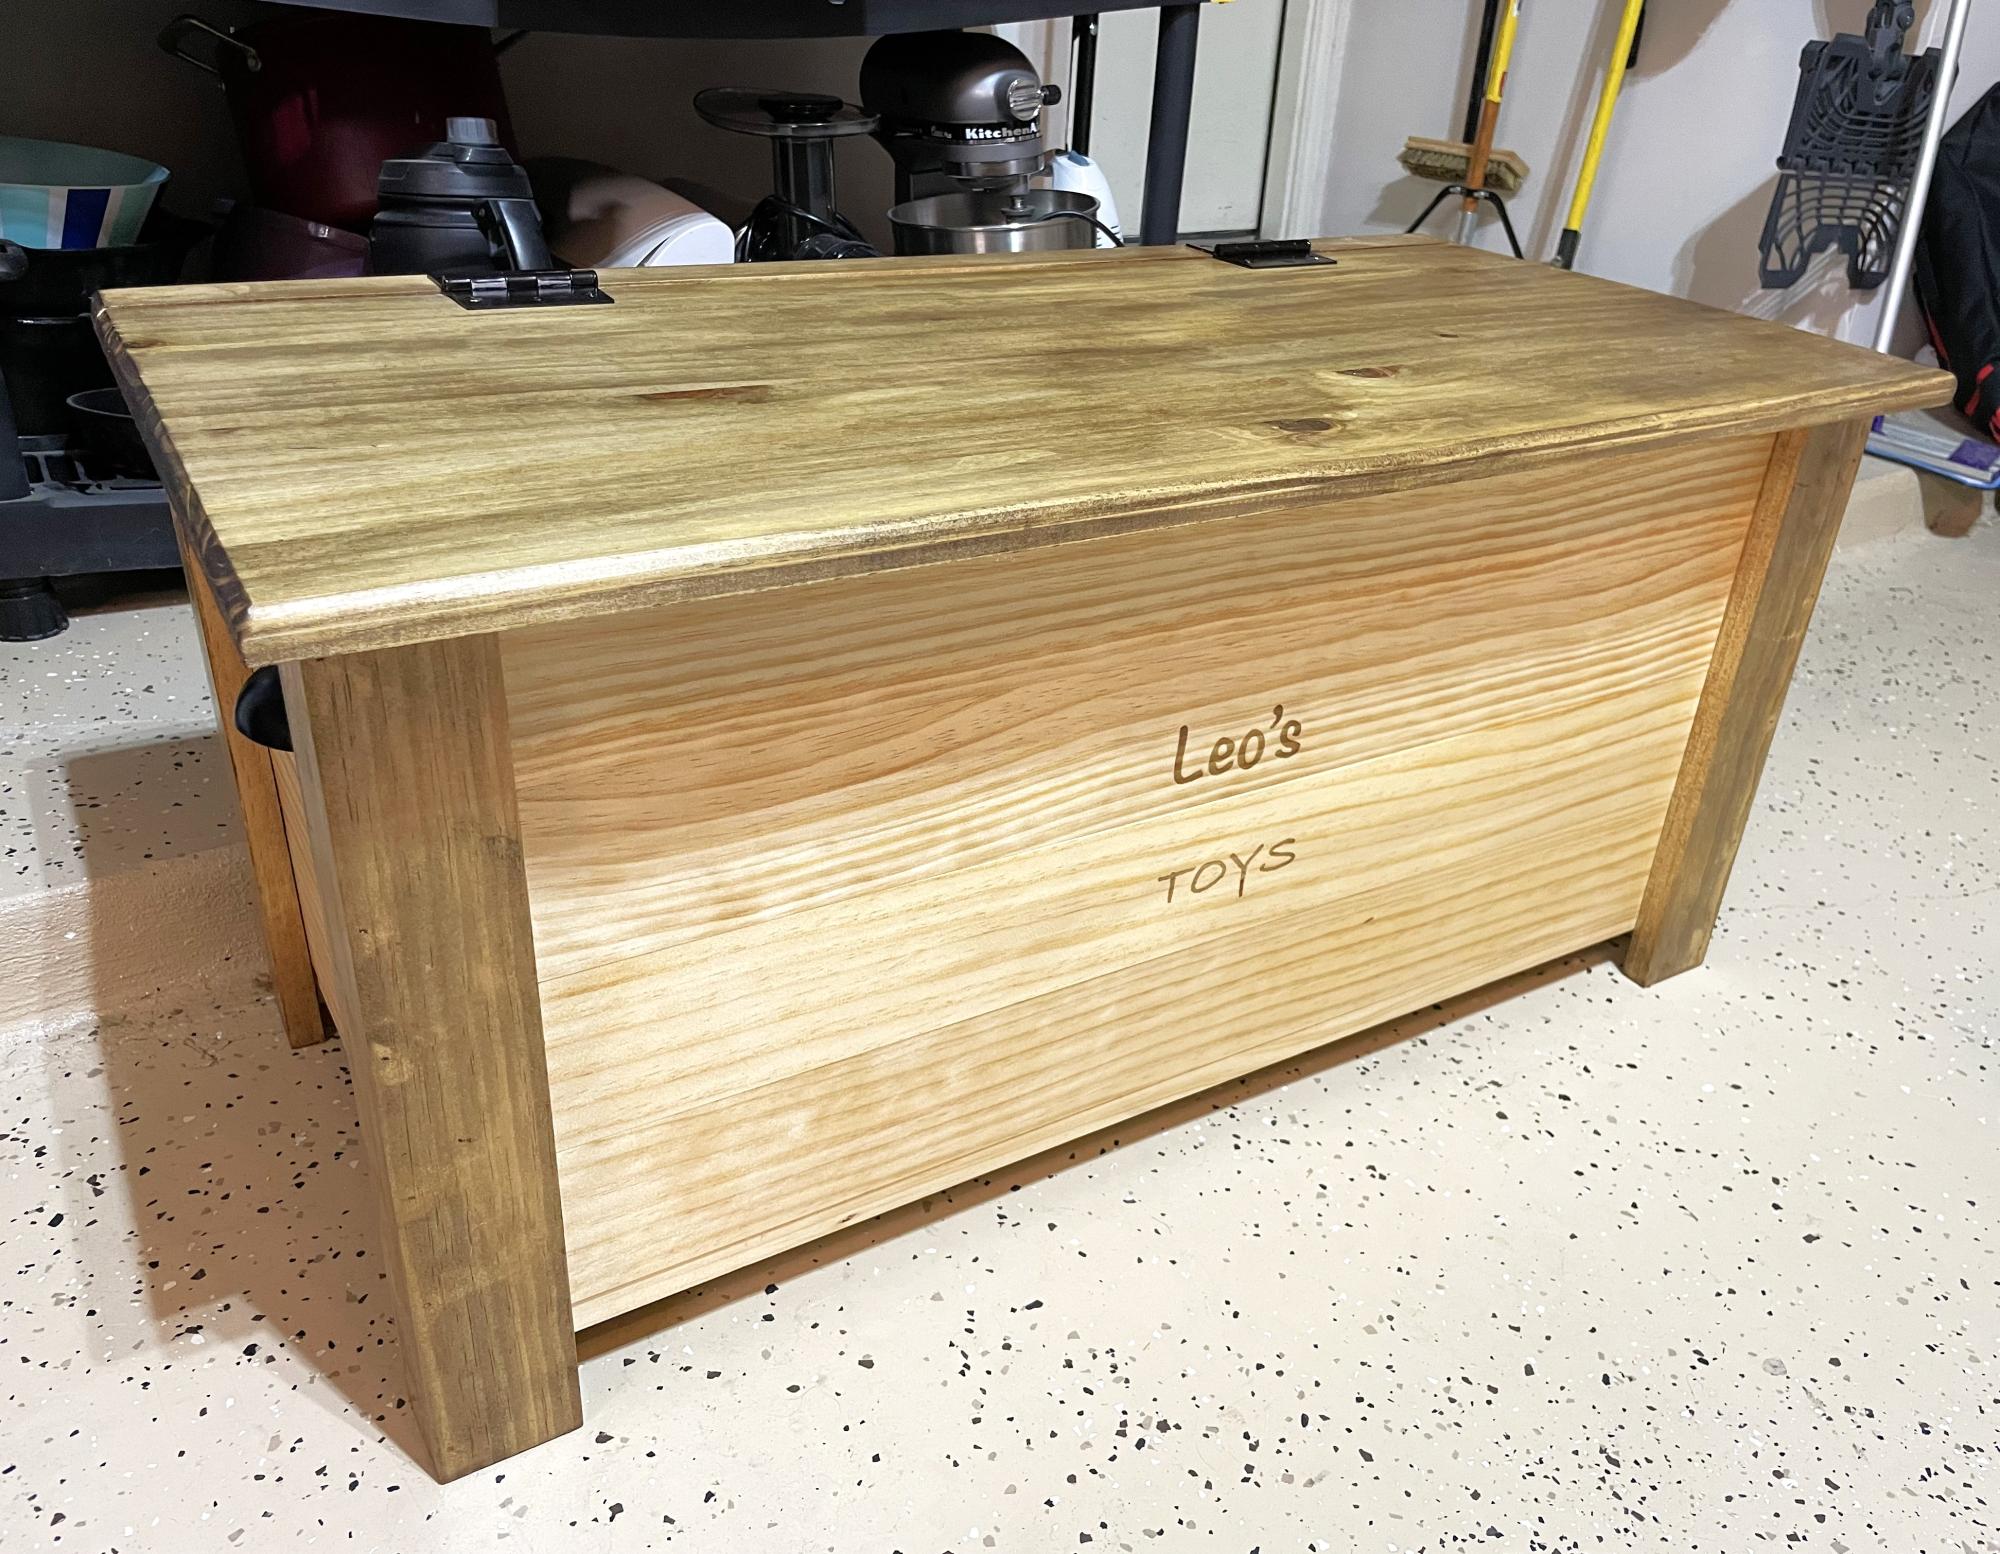
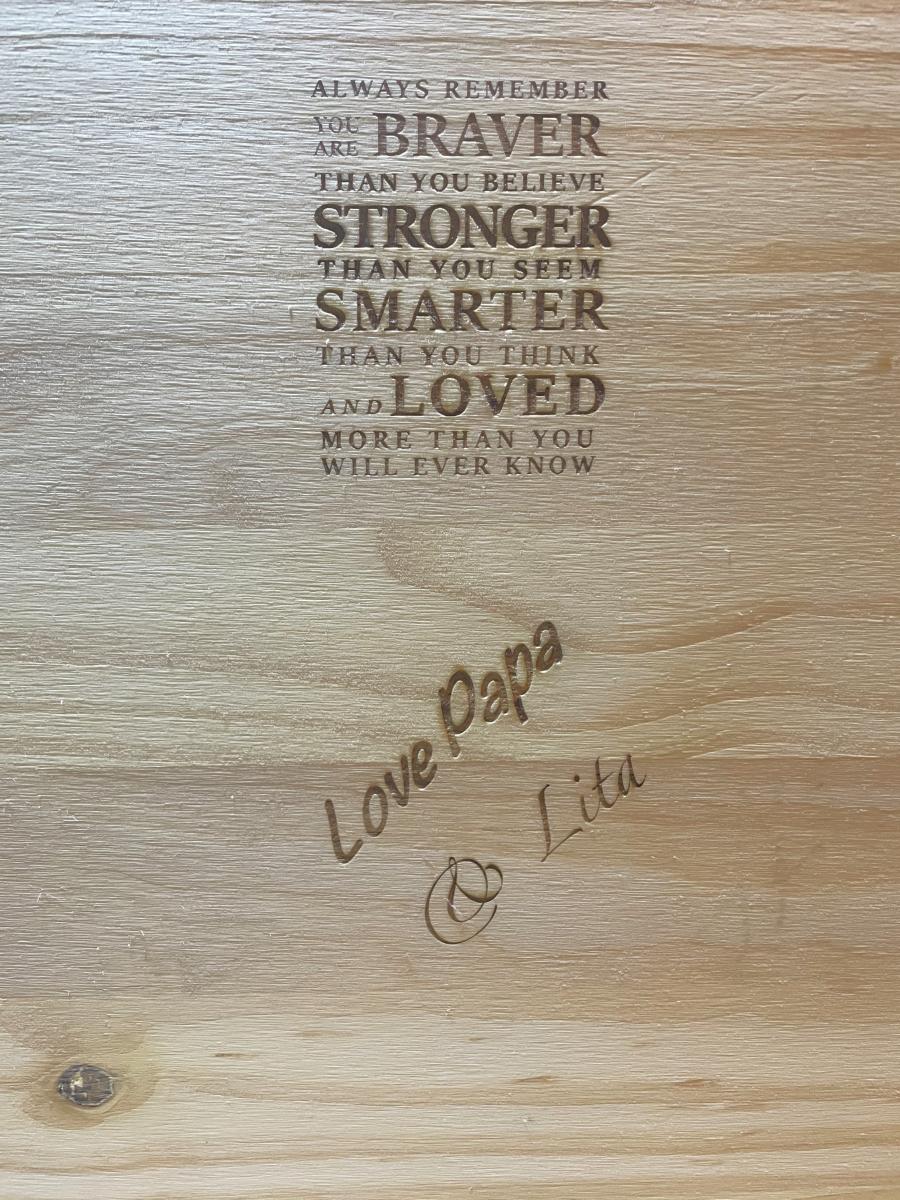
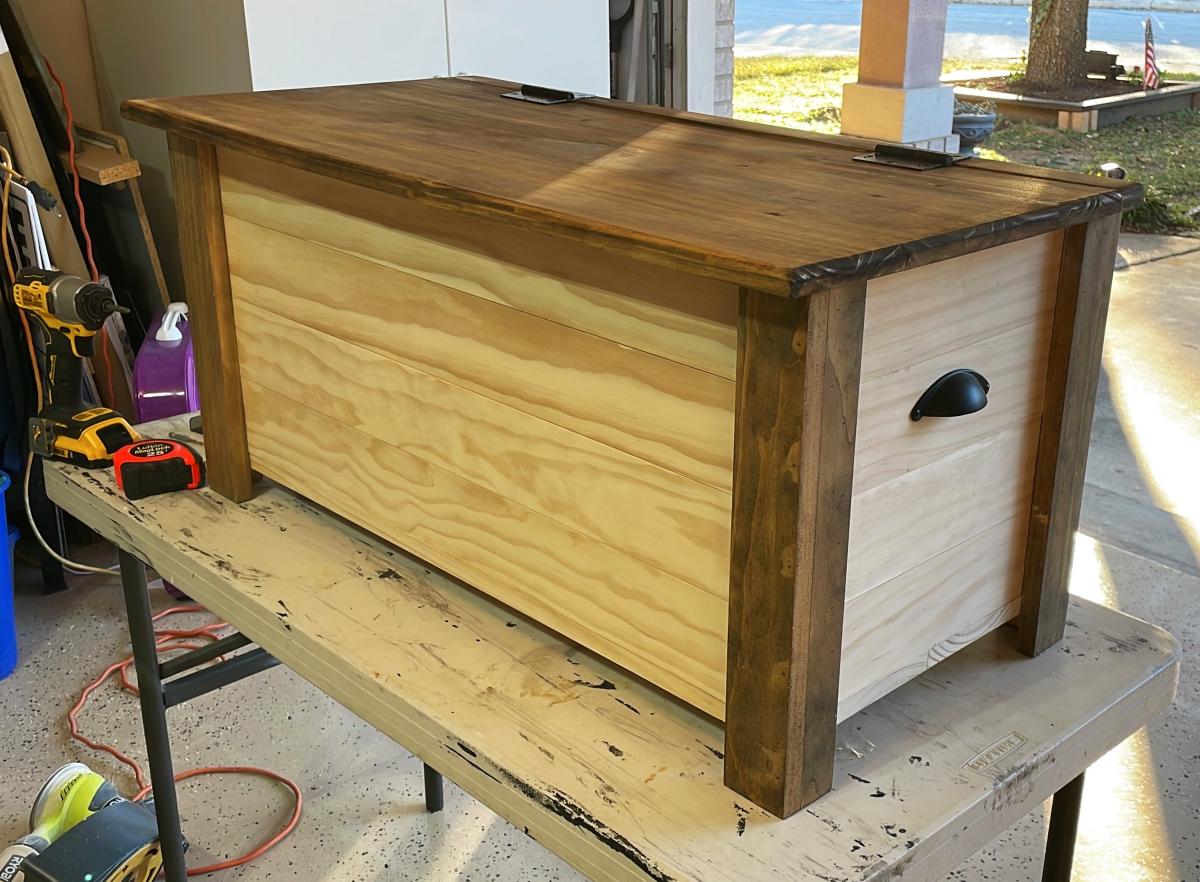
I made these toy boxes for my two grandsons for Christmas. They have been laser etched with their names and a special note on the inside of the top lid. "Always remember you are braver than you believe, Stronger than you seem, Smarter than you think and Loved more than you will ever know. Love Papa and Lita.
Jim Greaves https://www.facebook.com/jim.greaves.180

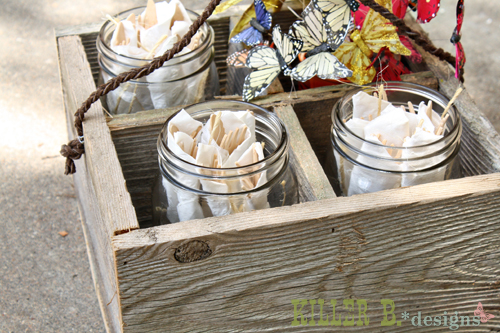
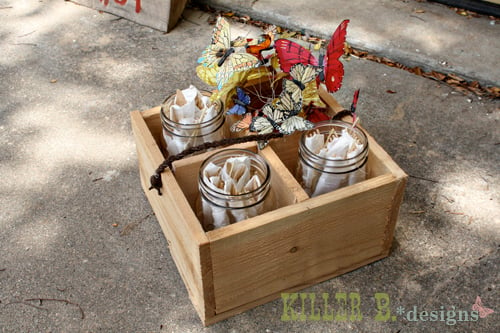
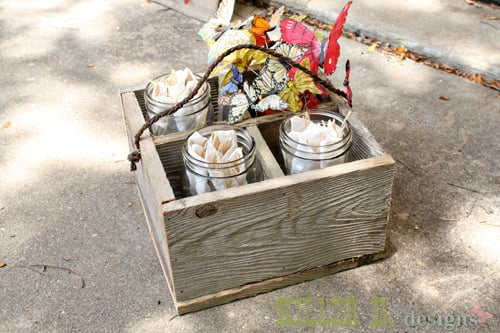
I had a large pile of fencing I picked up from the curb down the street, and needed something to do with them. I decided it would be quick and easy to make some Reclaimed Soda Crate Caddies. Since I didn't have any 1x8 size fence pickets, I decided to forgo the center piece with cutout handle and just use a 1x6 picket and staple some leather and twine to the sides to make handles. I think they turned out looking fantastic! I can't wait to make more and hopefully finish out my giant scrap pile ;)

Mon, 06/18/2012 - 05:08
Love these! Will those staples hold ok? I'd be afraid and drill a hole for the leather and twine. I knew I should have gotten those mason jars I saw at a yard sale! I've liked this since I've seen the plans (modified or not) and totally forgot about it. Anyway, great job and thanx for the reminder!

Mon, 06/18/2012 - 06:32
So far so good, though you could certainly drill holes and tie knots. Since the wood is just old fence pickets, it's not really meant to carry much weight anyway. I was leery of drilling holes and splitting the old wood. Plus they would be off center, and that would drive me batty! Oh, and if you don't have any mason jars, tin cans work just as well. That's what the butterfly bouquet is sitting in, an orange spray painted can
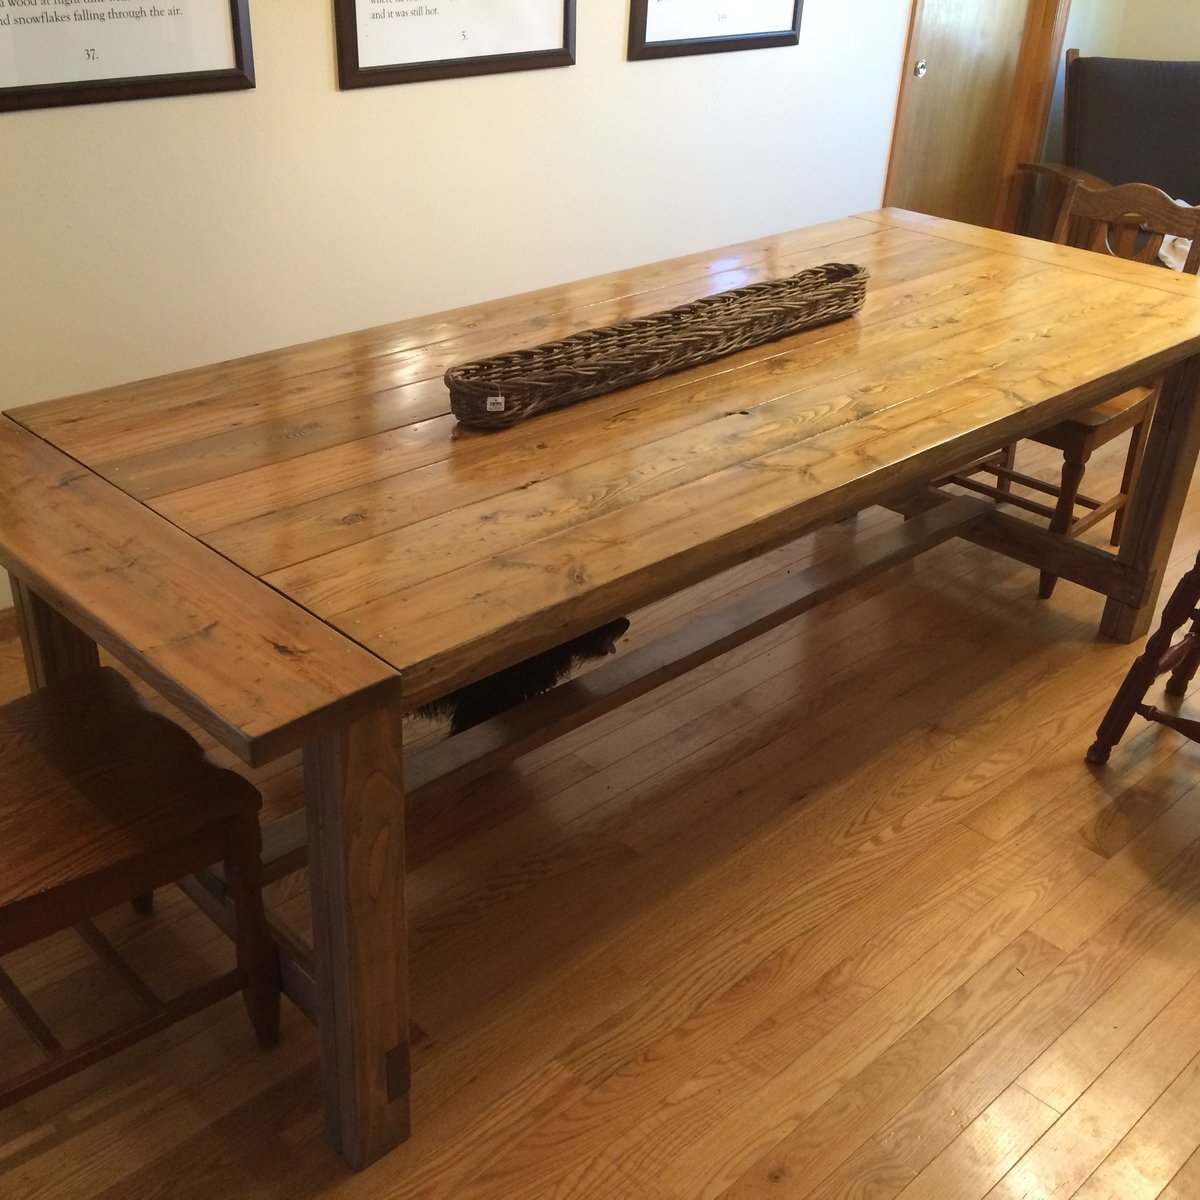
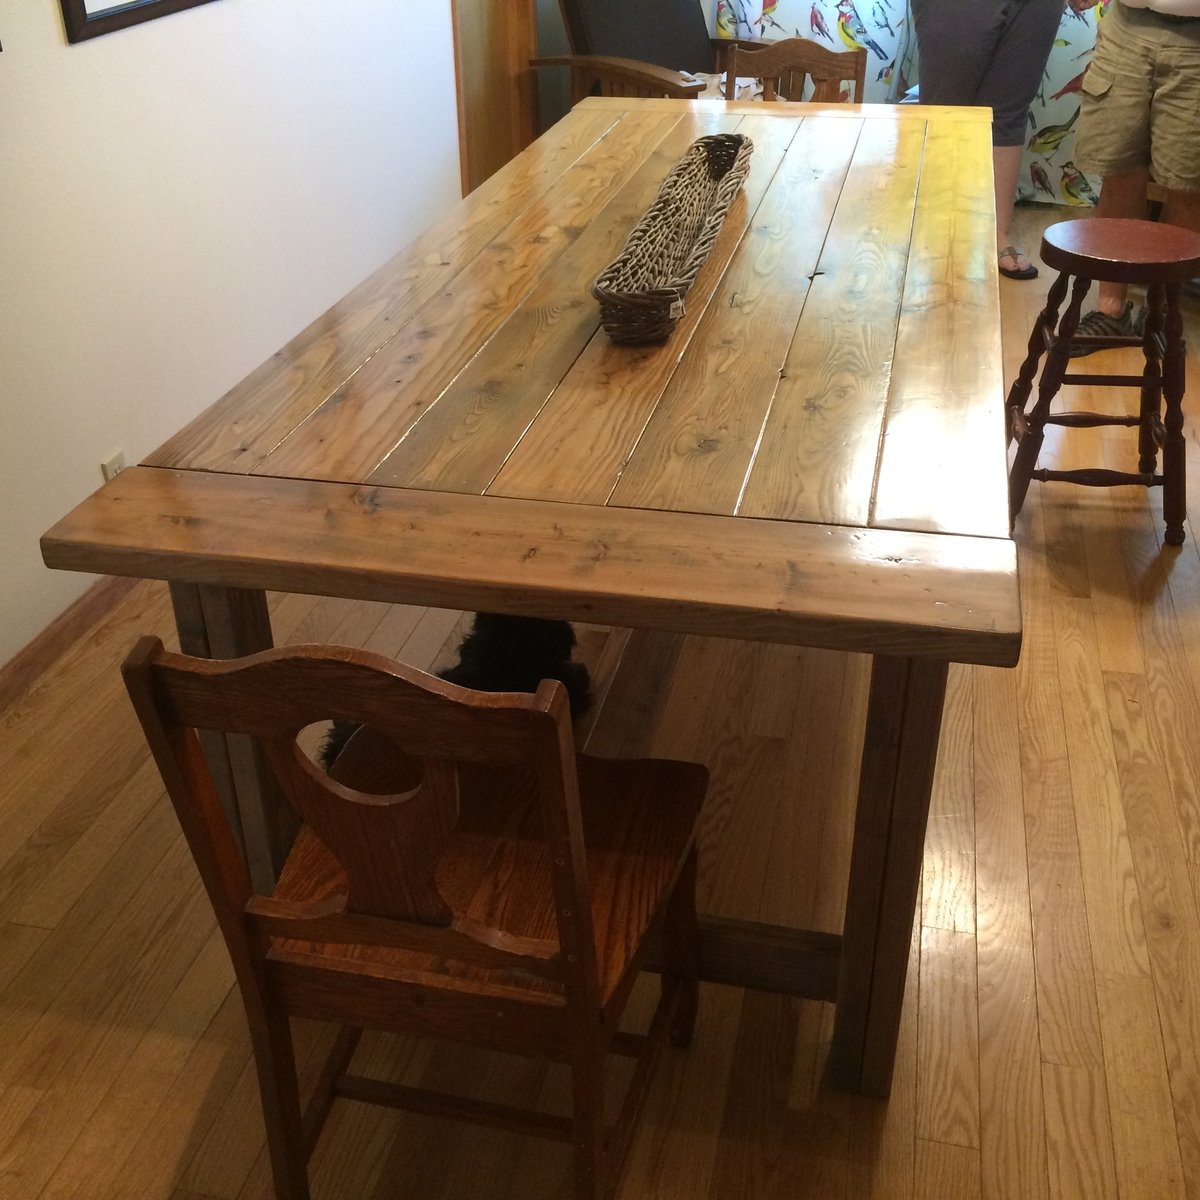
This was my first woodworking project in a long time and my first ever using a Kreg Jig. I love the way this table turned. My wife and I worked on this together and it was her first time building anything like this but we had a blast doing it and can't wait to start on the next project.
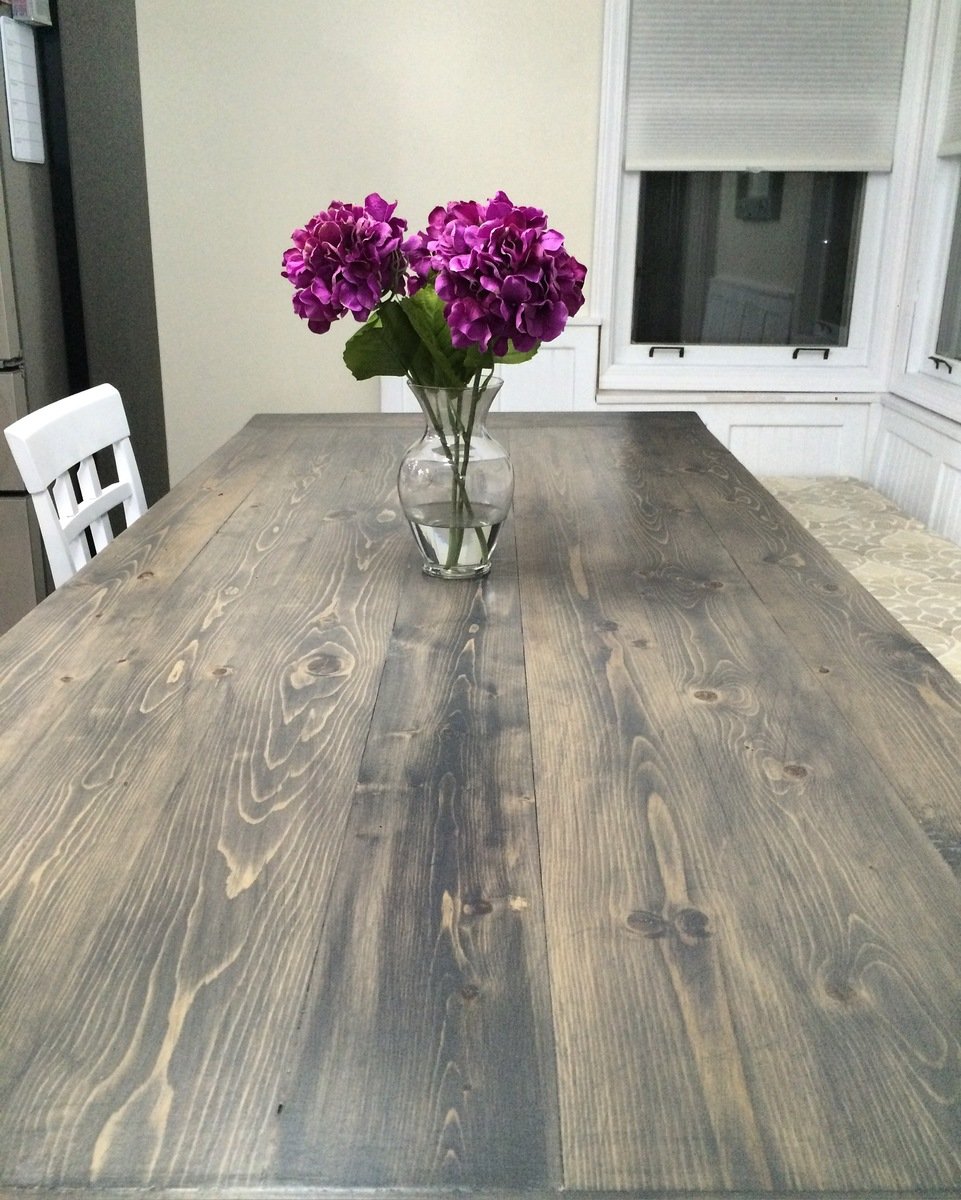
My hubby decided to build me this table for our dining nook. Came out gorgeous!