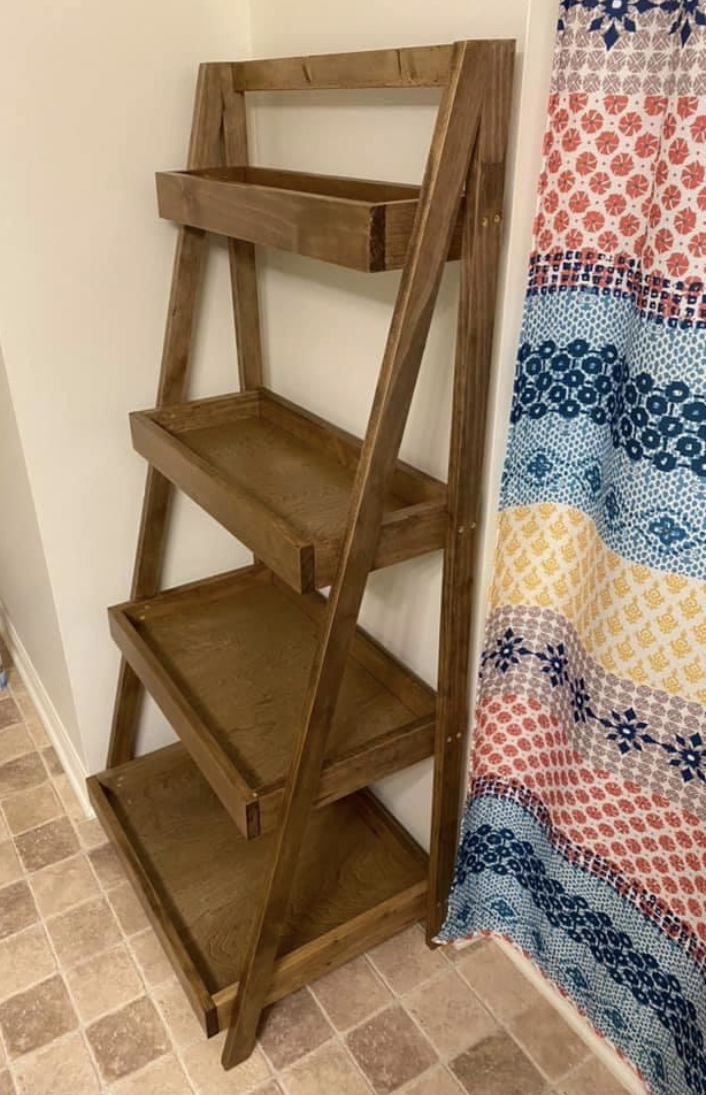
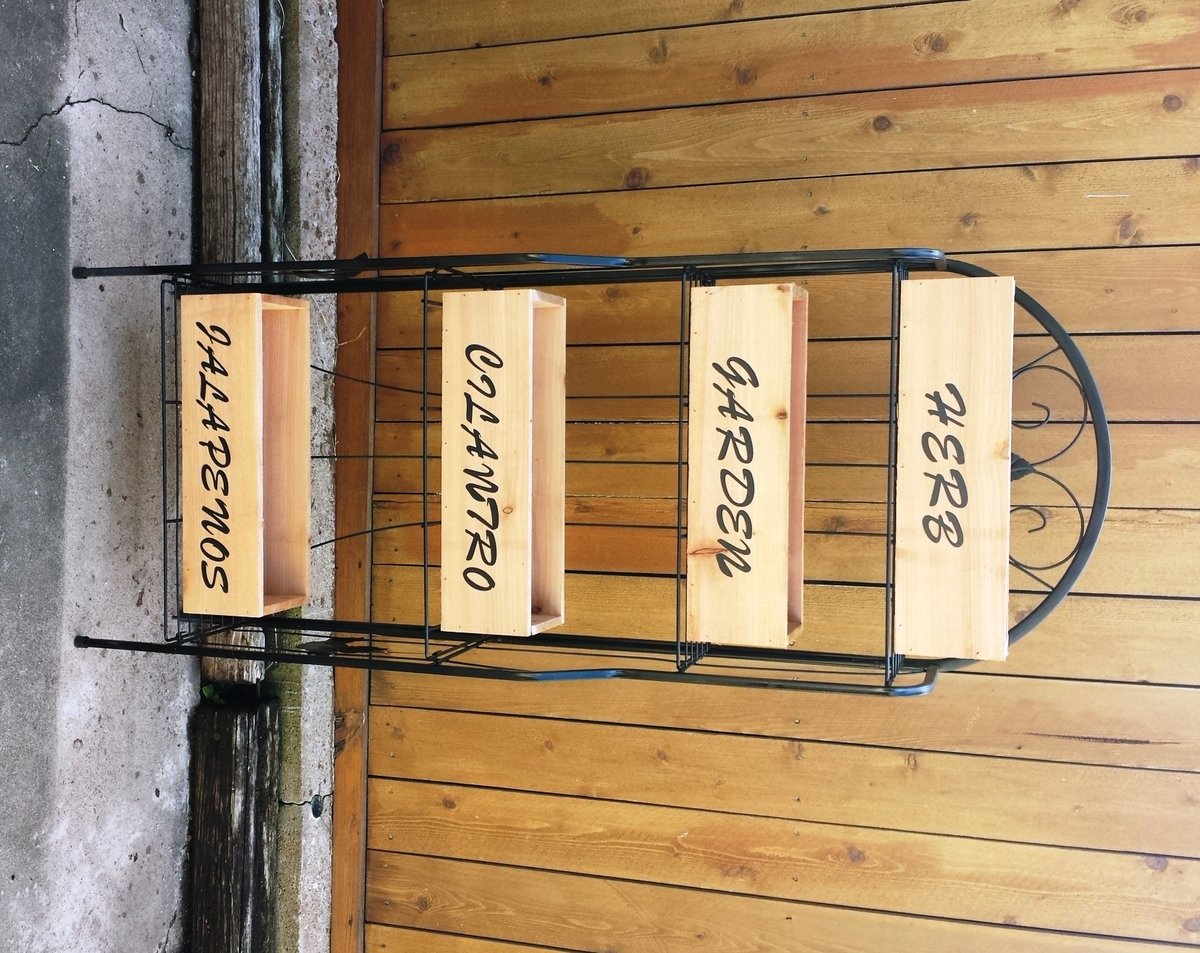
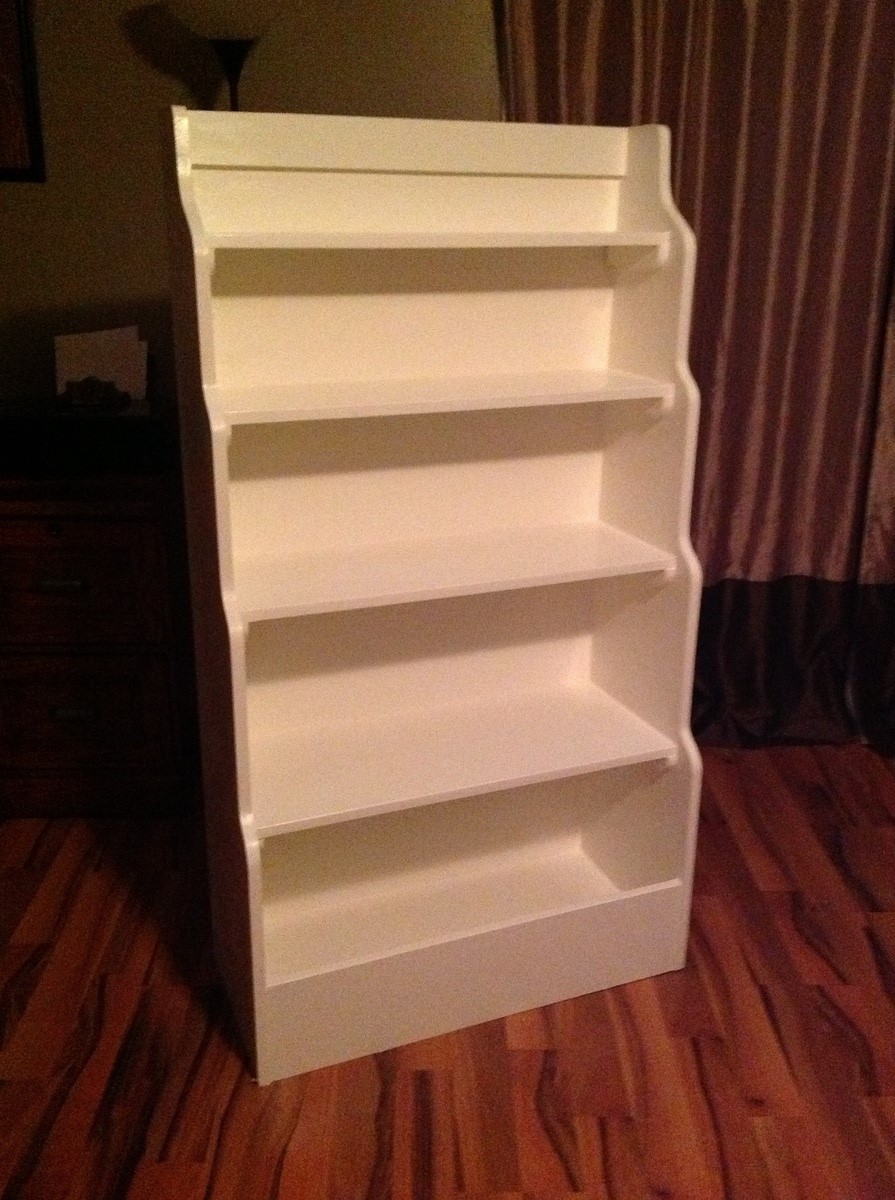
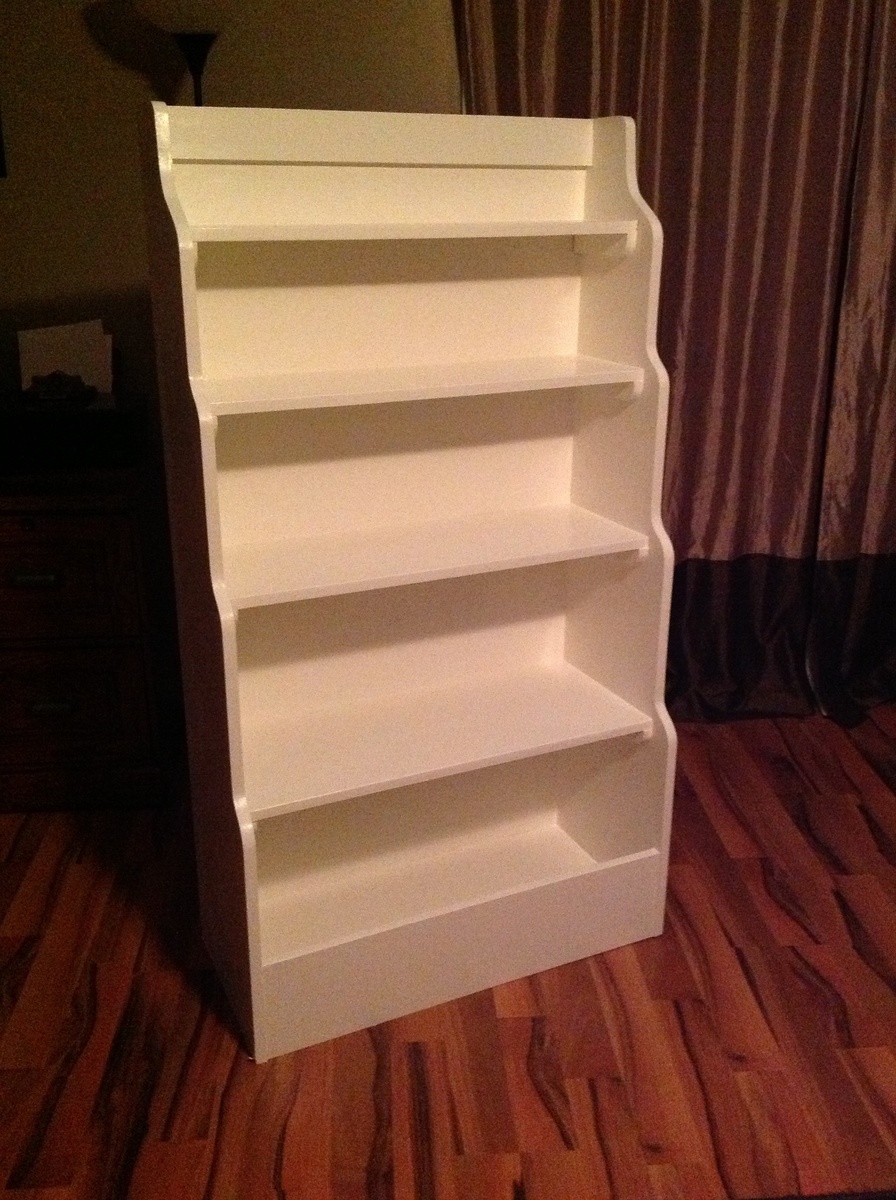
This was my first woodworking project. And even though it took me much, much longer than the afternoon Ana White said she built it in, I’m still happy with how it turned out.
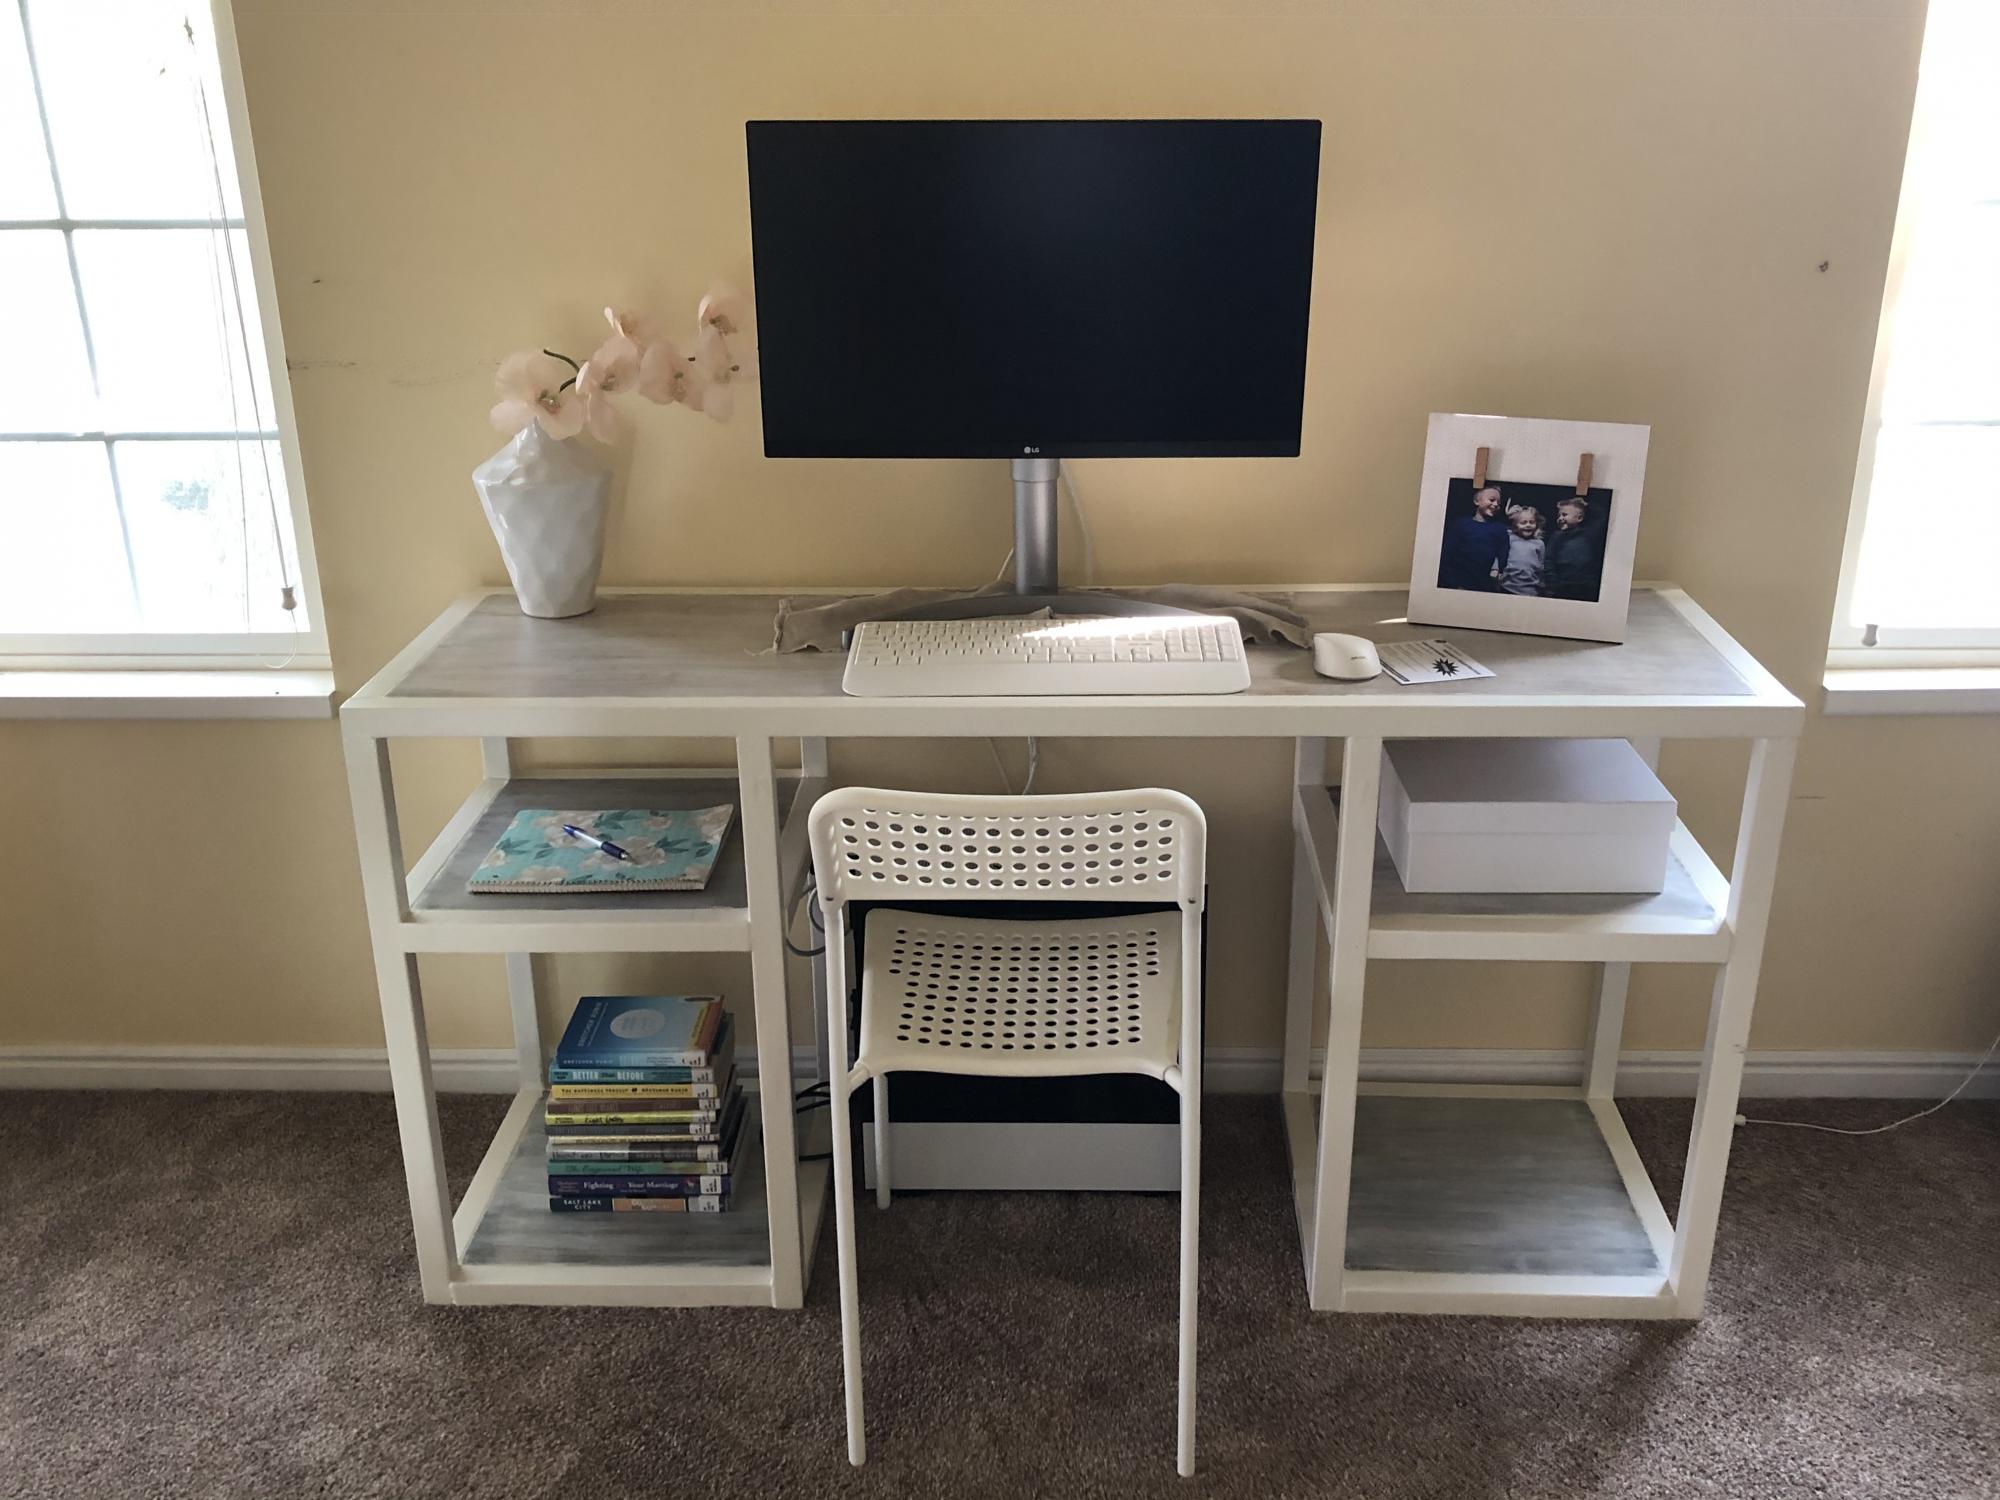
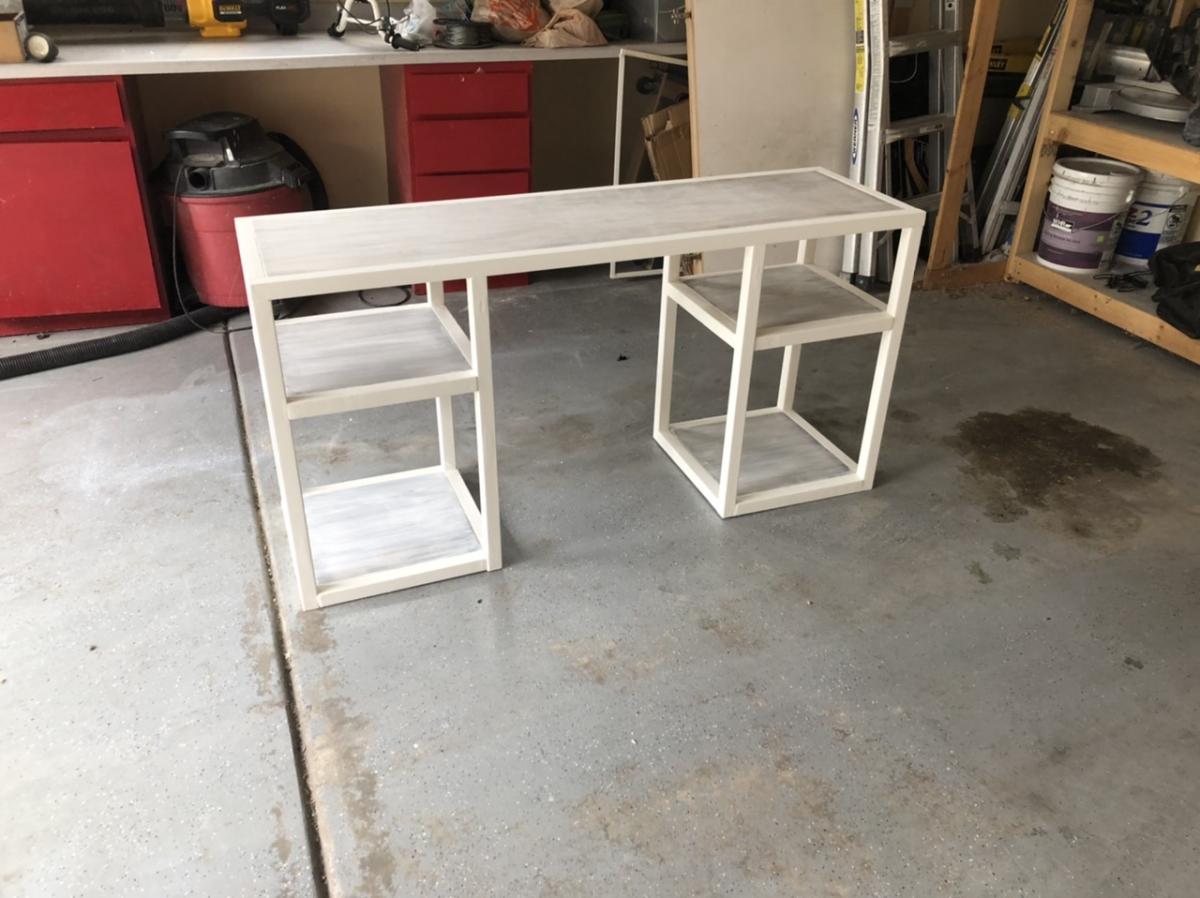
I changed the plans just a bit because I chose to make the shelves higher up, rather than even, so that I could have larger spaces and smaller spaces to store things. I also tried to match a two-toned look that a few pieces of our furniture already had by making the top and the shelves a different tone than the edging. The “weathered” wood I managed to create was more gray than the inspiration pieces, but they tie together well enough. I’m sure that trying to match that look was one big reason it took me so much longer than I expected, since I couldn’t assemble the desk and then paint the wood since I would risk painting or staining the wrong surfaces. Also, I made a bunch of rookie mistakes that I had to try to correct and that ate up time as well.
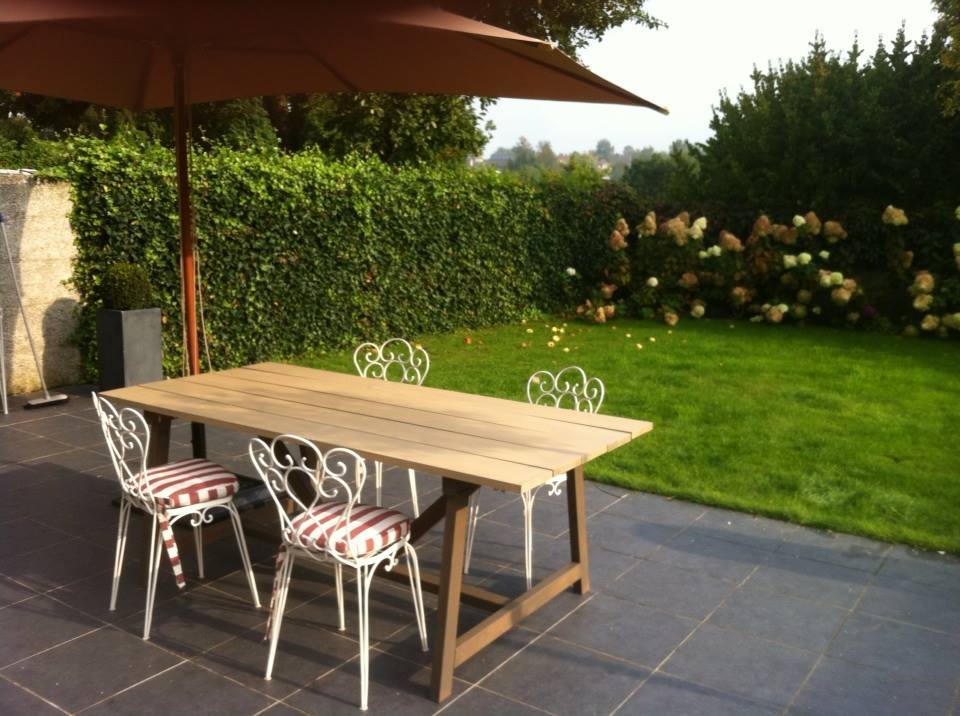
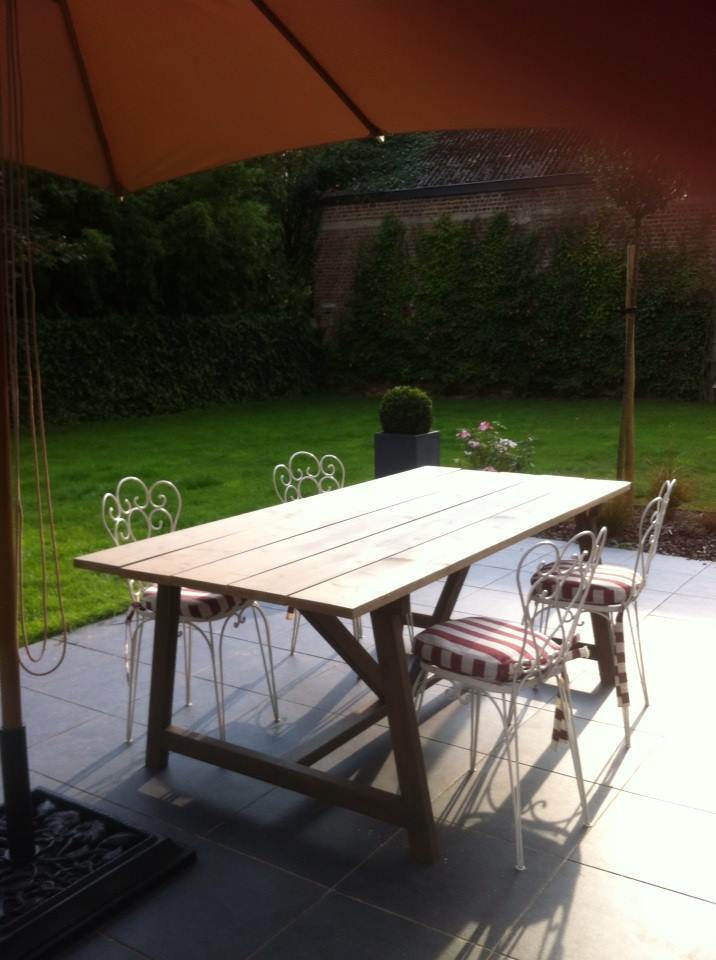
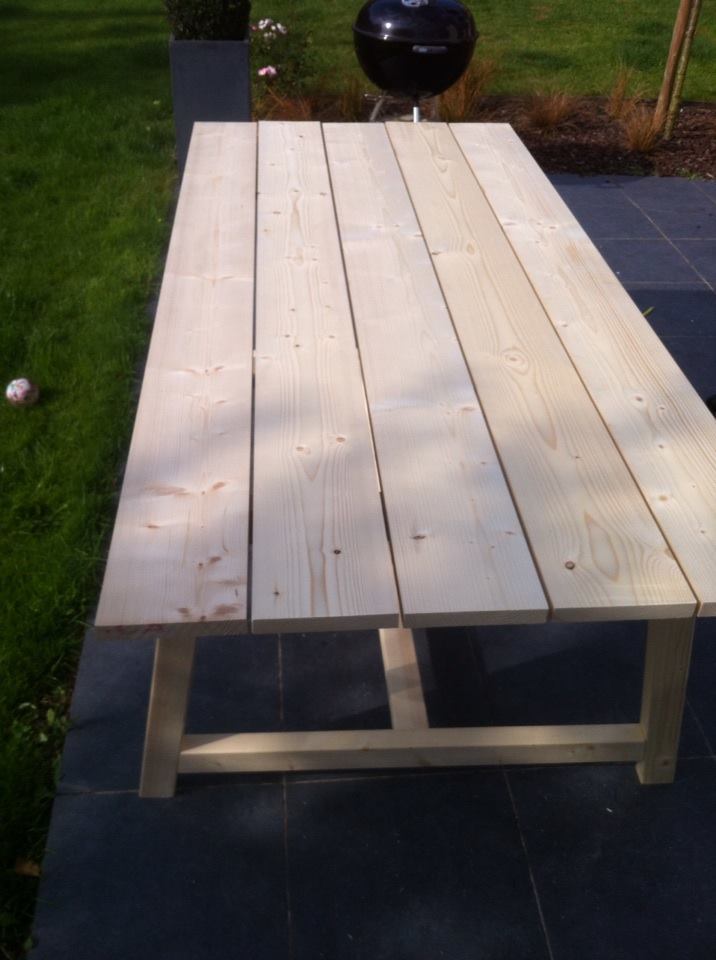
This project only cost about $35 since my husband has all the tools I could possibly need, plus had several large pieces of wood left over from home remodeling I was able to use for the top and shelves. We had leftover paint and leftover stain I was able to use as well, and he even had a kreg jig and pocket hole screws. Really all I had to buy were the 2x2’s for the legs and edging, plus some cheap plaster of Paris to make homemade “chalk” paint.
It is so amazing to look at this and realize that I made it. It’s a pretty big feeling of accomplishment, and I love the open clean lines of the desk as well as the fact I was able to match furniture I had in a way that wouldn’t be possible at this point with a store-bought desk. Thanks, Ana!
Estimated Time Investment
Weekend Project (10-20 Hours)
Finish Used
I used homemade chalk paint and a “weathered wood” finish created with stain and paint.
To create the chalk paint I combined a few tablespoons of plaster of paris with enough water to make a liquid solution, then added that to an equal amount of flat Benjamin Moore paint in white dove that we already had from painting our ceilings.
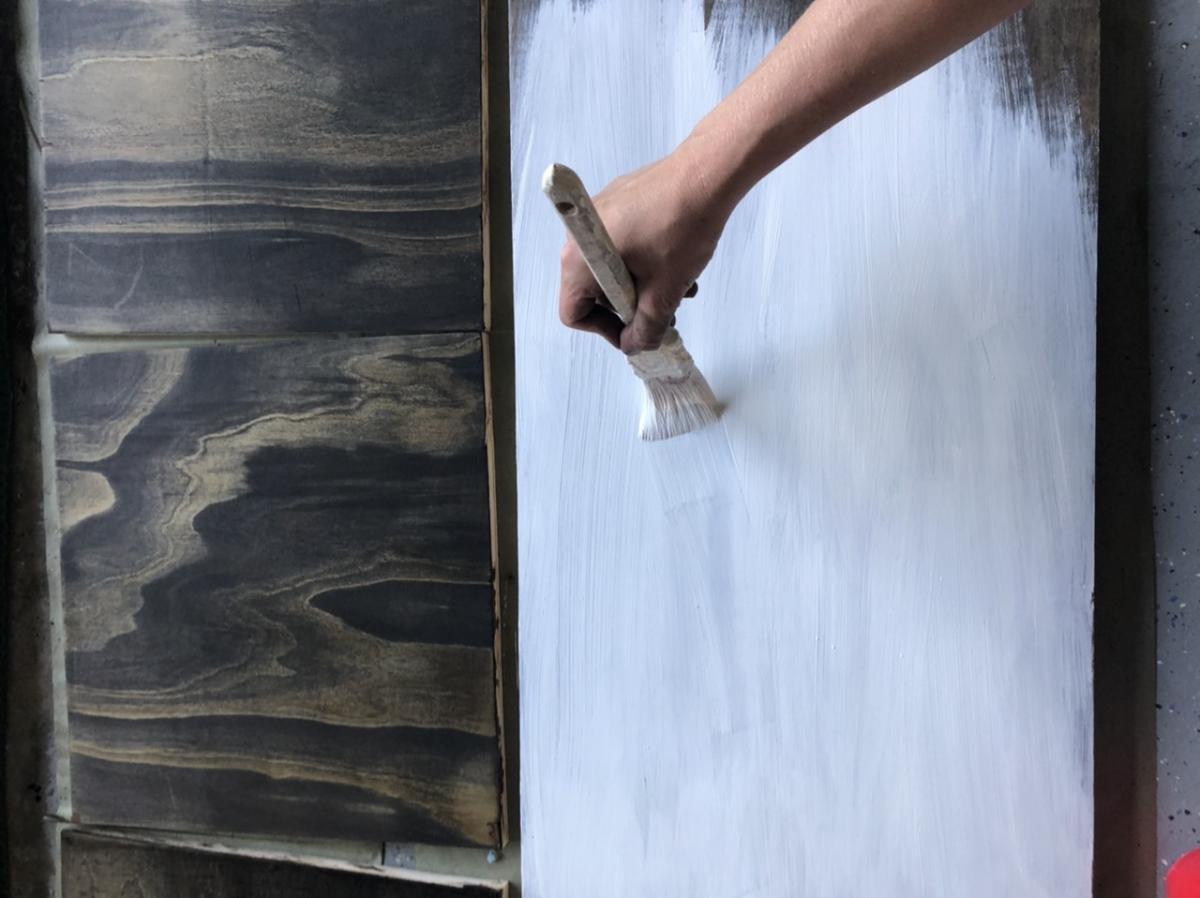
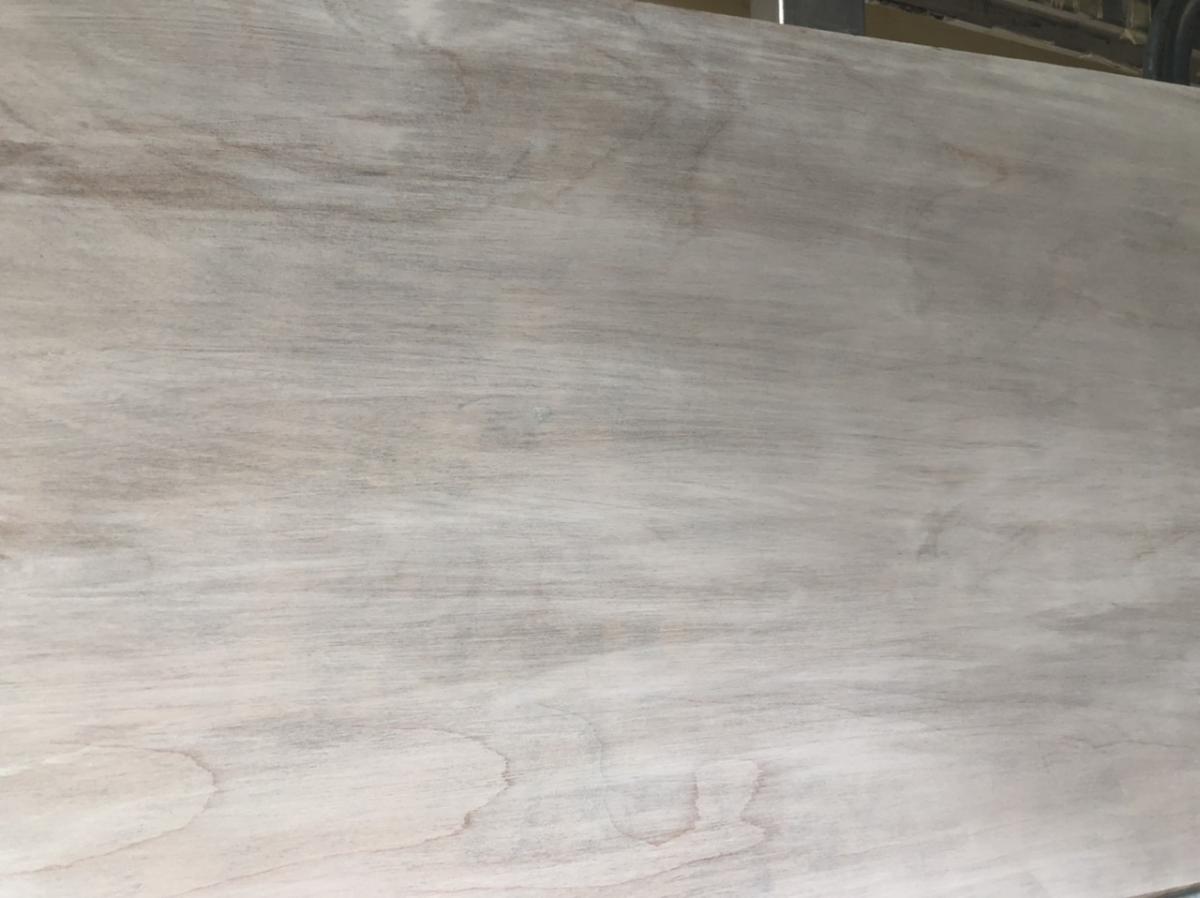
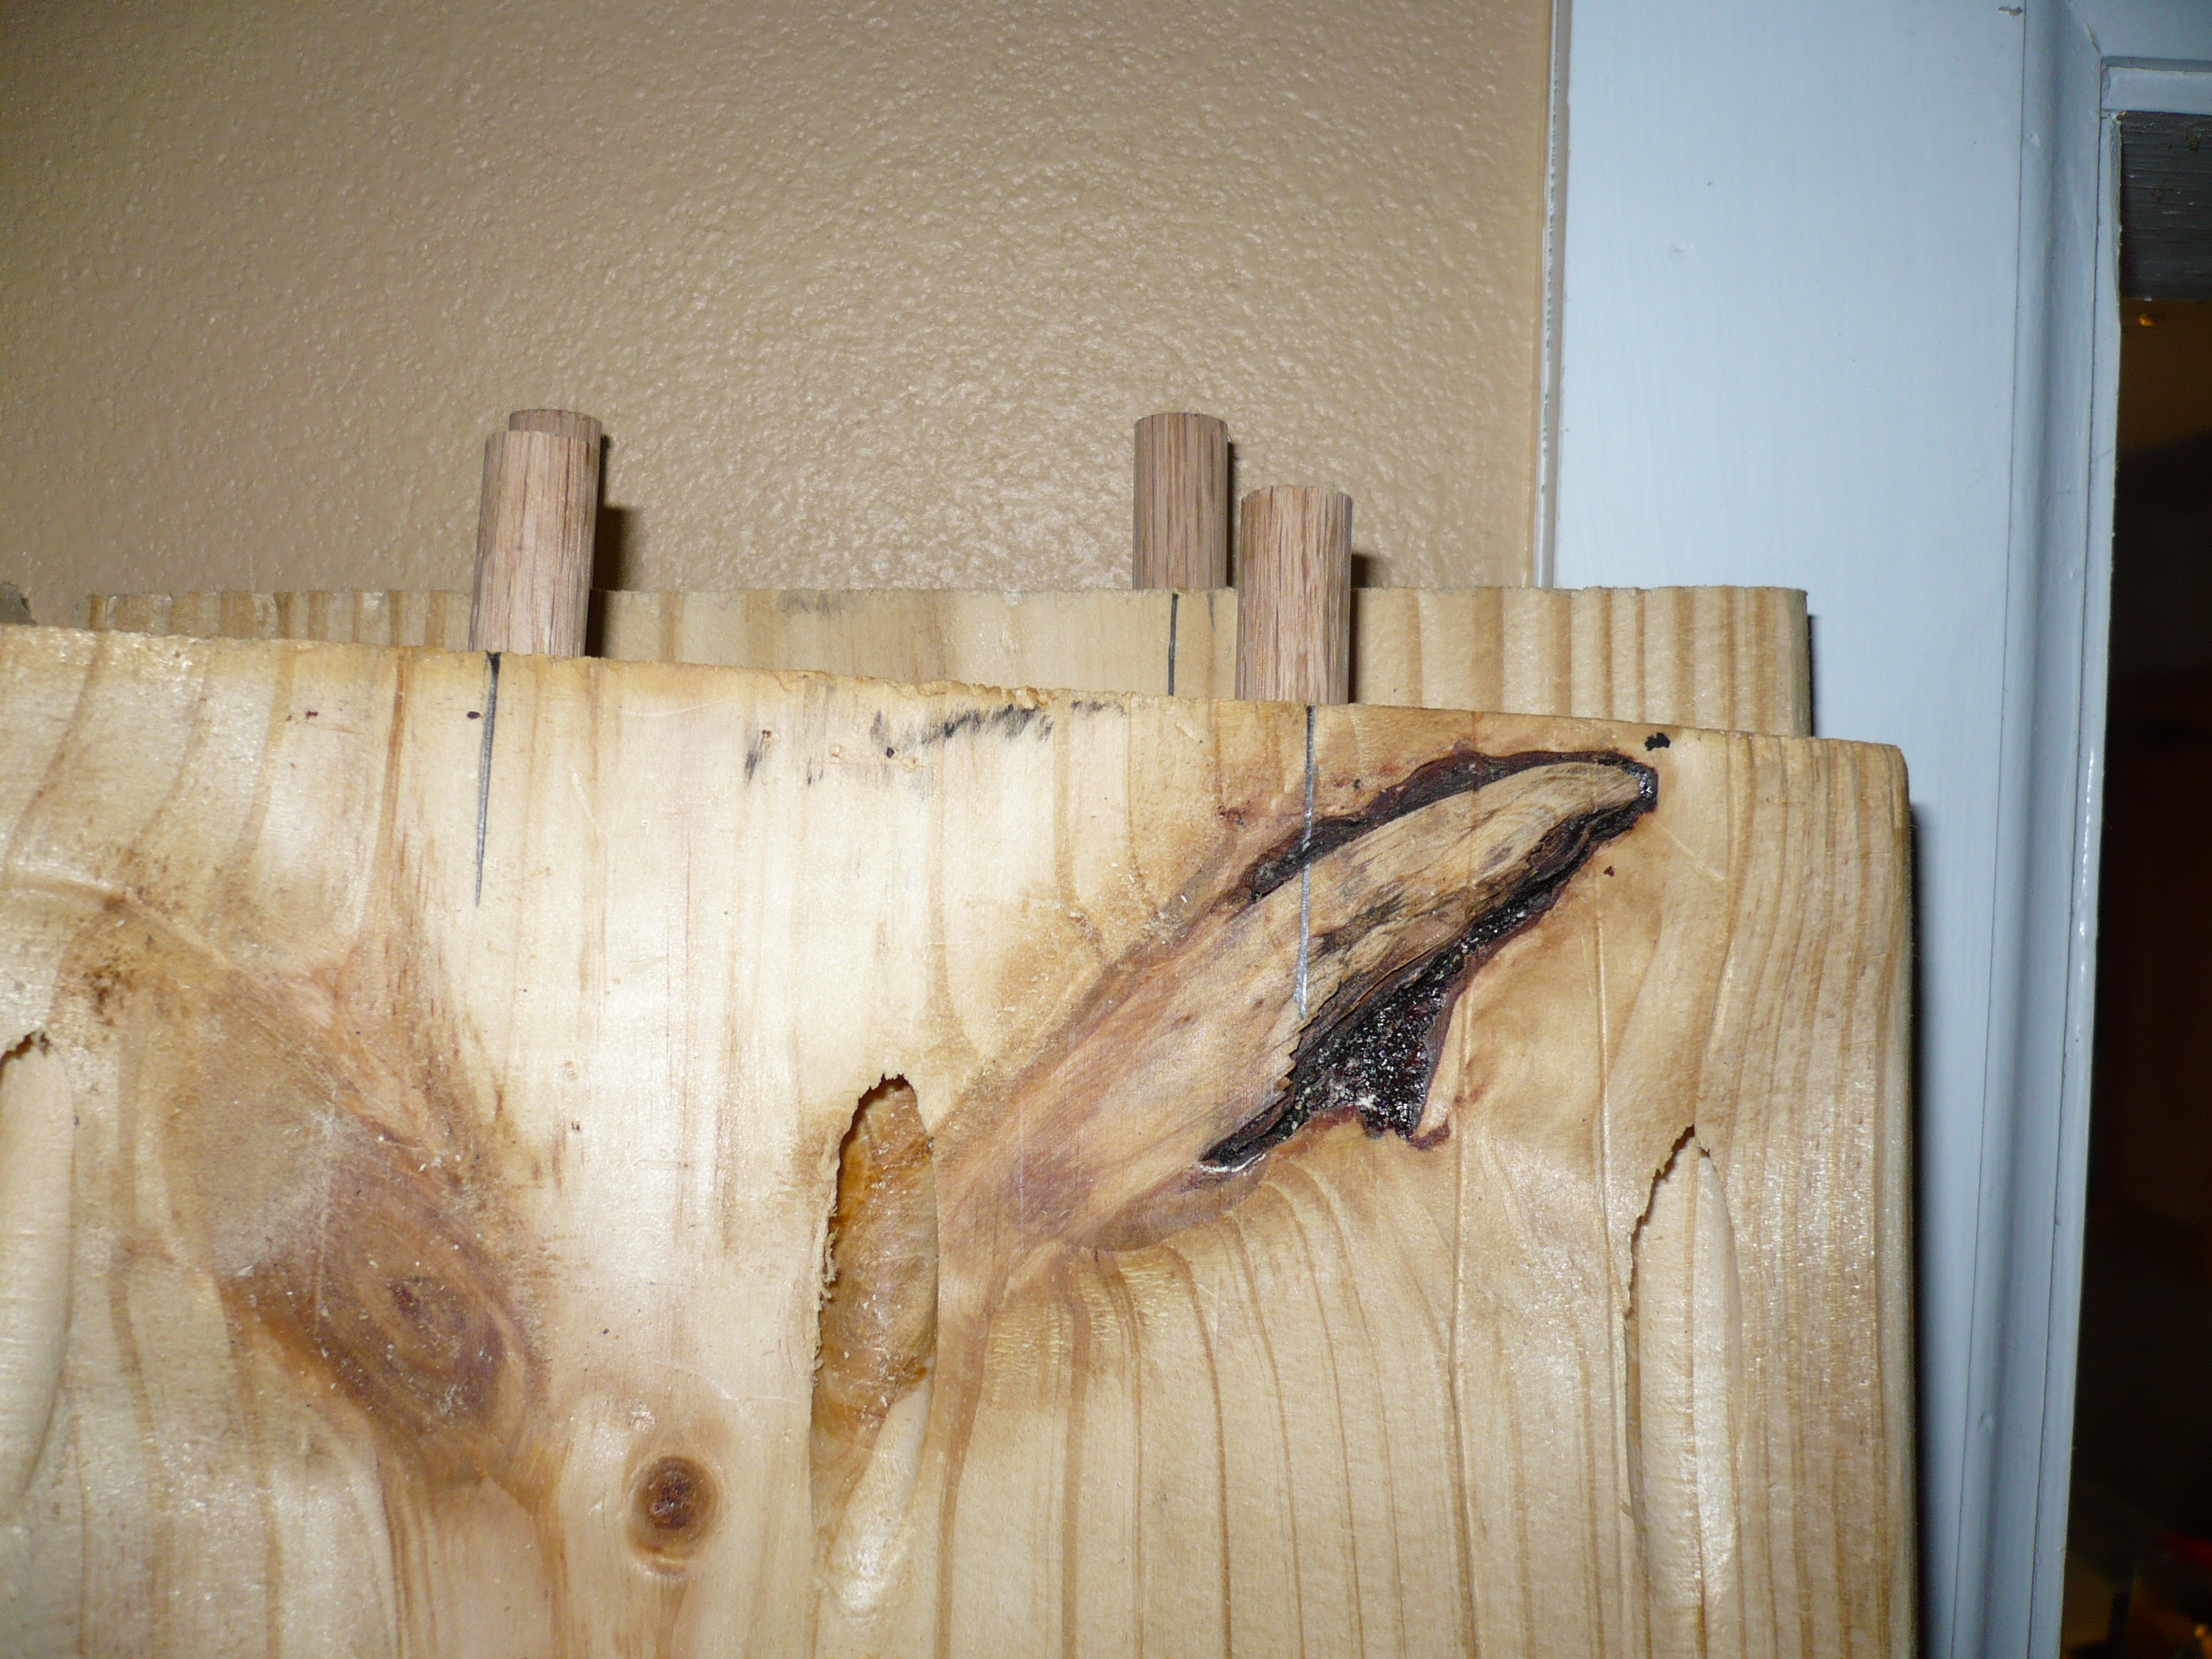
To create the weathered finished I first stained the wood in a dark neutral tone we already had. It was a custom color we’d ordered to match our hardwood floors, but it is similar to many dark stains with golden tones instead of red. I left the stain for almost 10 minutes so the stain would penetrate deeply and make the wood fairly dark before wiping it off. Once it dried I painted the wood with the same chalk paint I used on the 2x2s, but immediately wiped it off to reveal some stain and some areas that looked more gray. Once it was dried I sanded it lightly to reveal as much of the stained areas as I wanted, and then it was done.
I painted and stained everything before assembling so that I wouldn’t get the two finishes mixed up. Once it was all assembled then I filled all the holes that were visible, which were all on the 2x2s, sanded them, and repainted the white areas that needed it.
Recommended Skill Level
Beginner


Comments
Ana White Admin
Thu, 09/17/2020 - 10:15
I love a good scrap project!
Great use of leftover lumber! Thanks for sharing:)