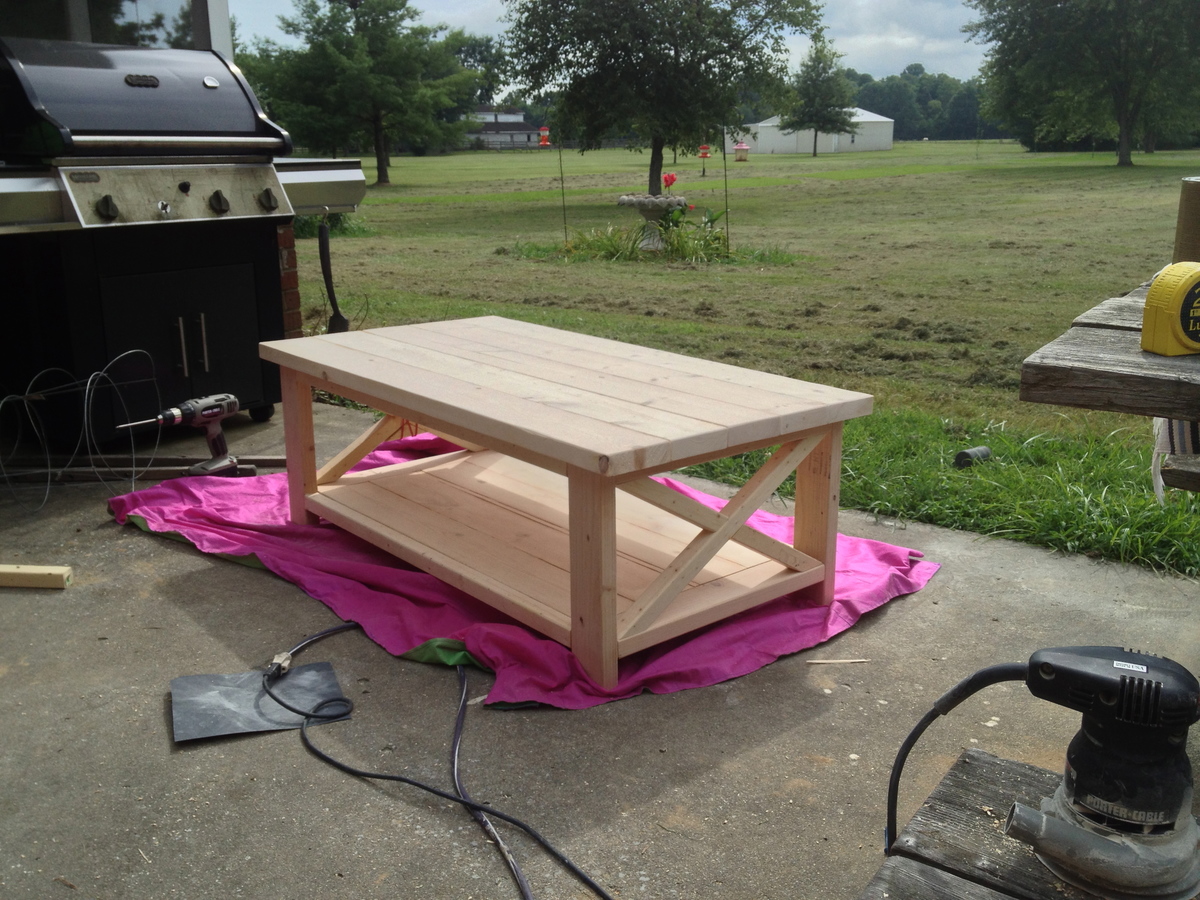
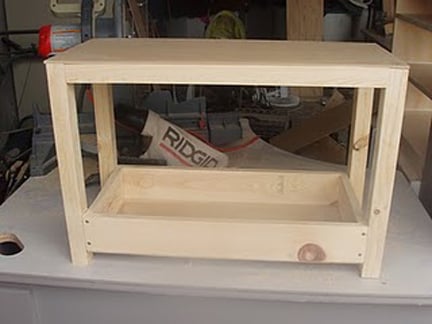
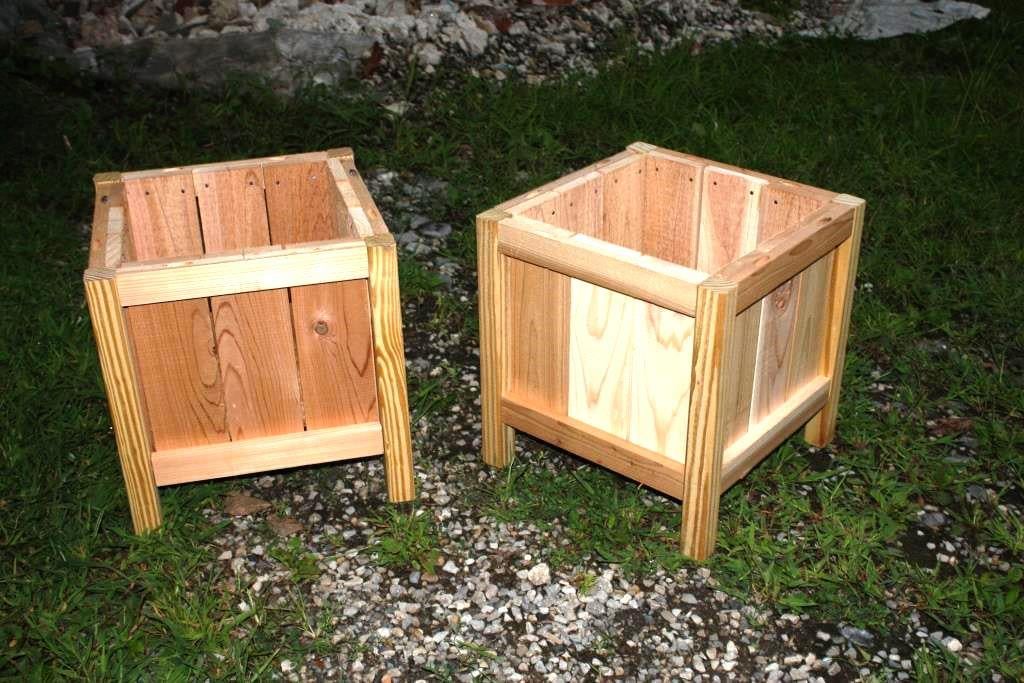
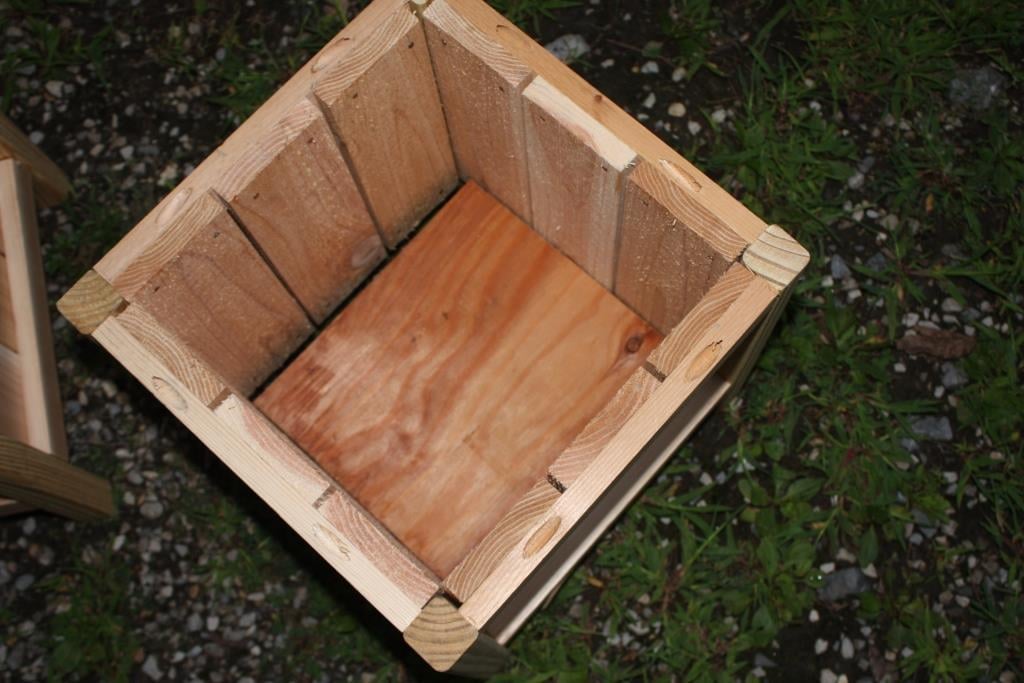
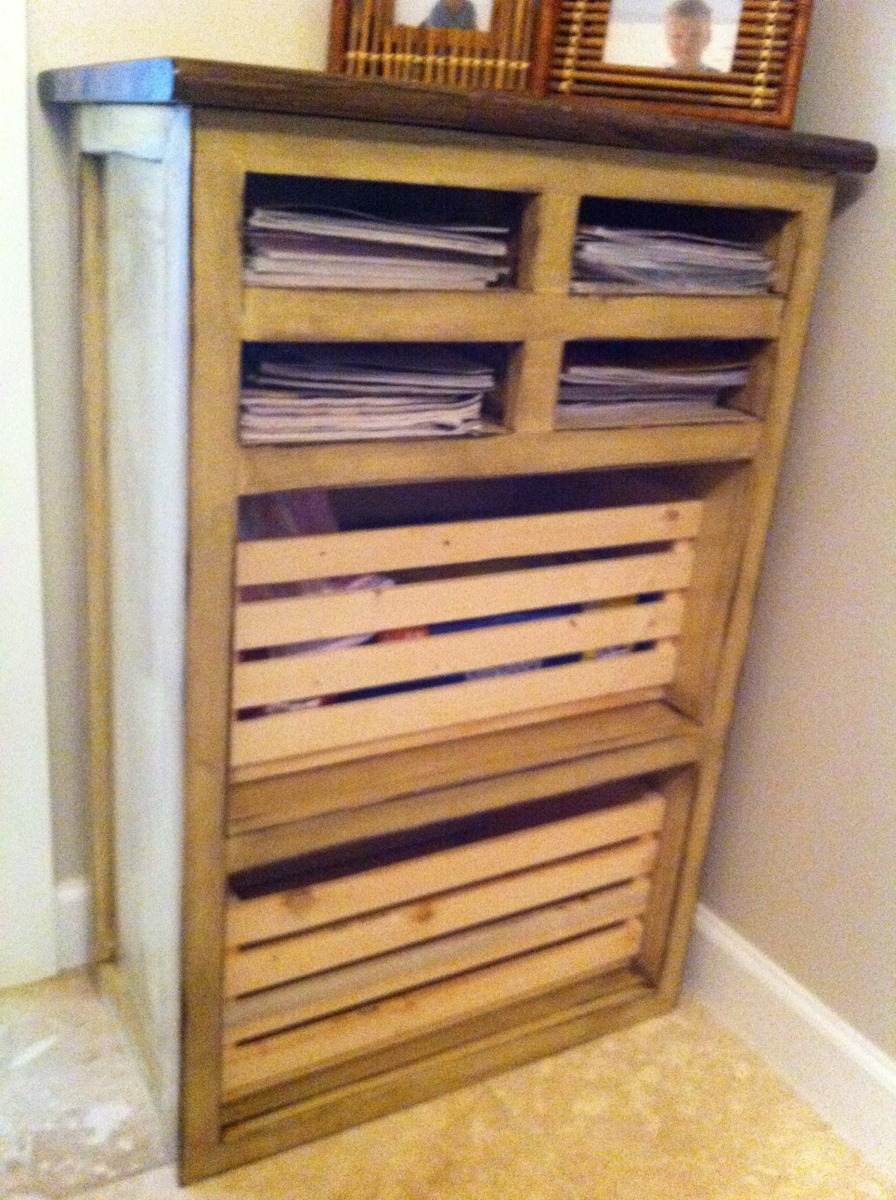
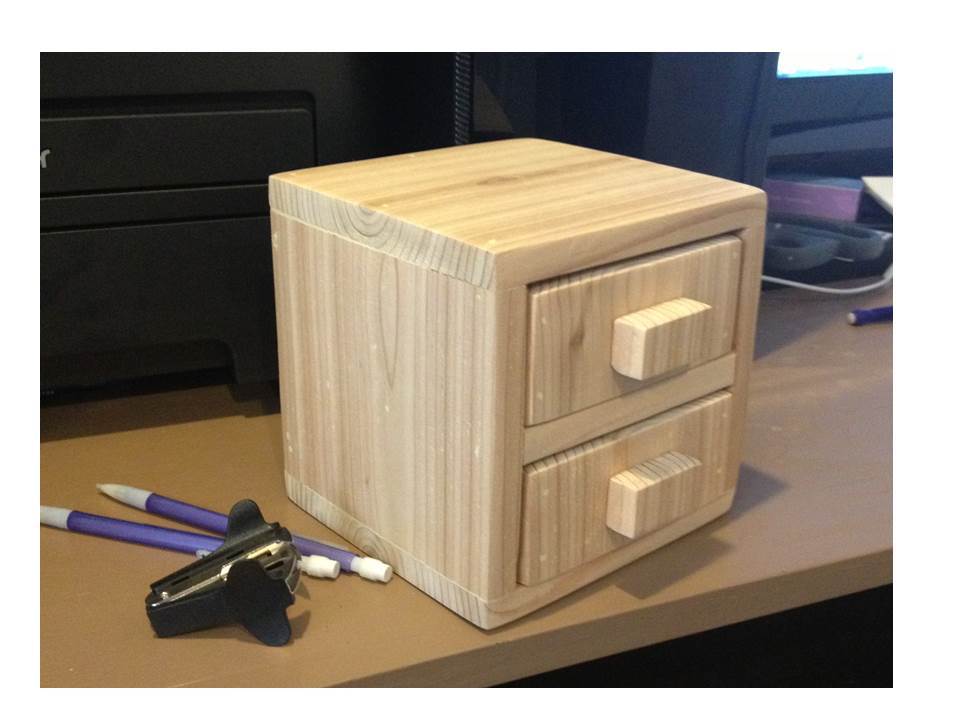
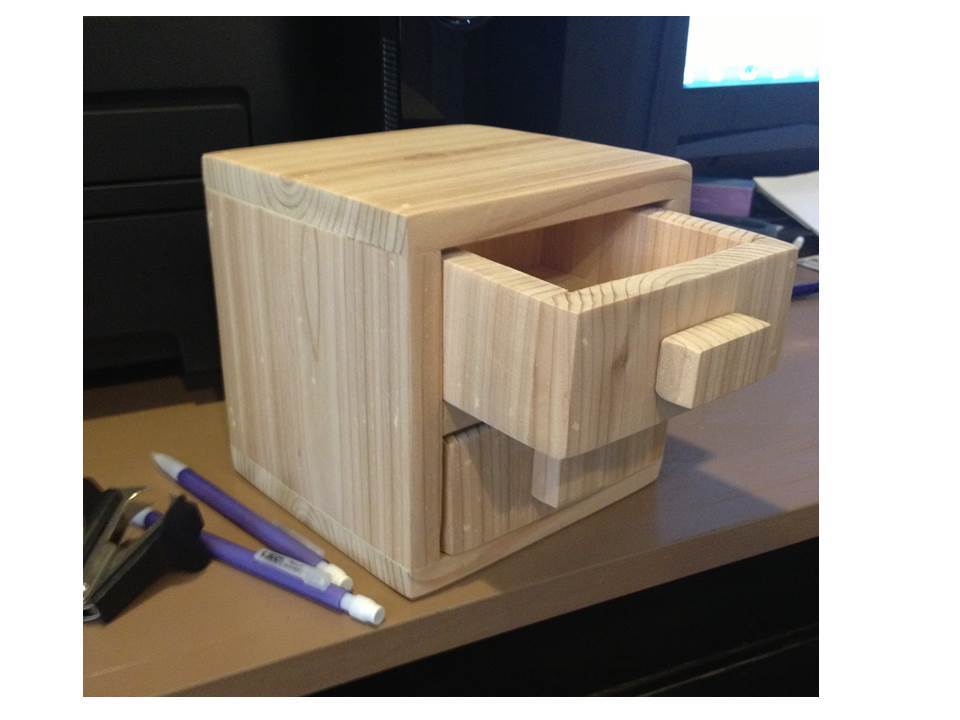
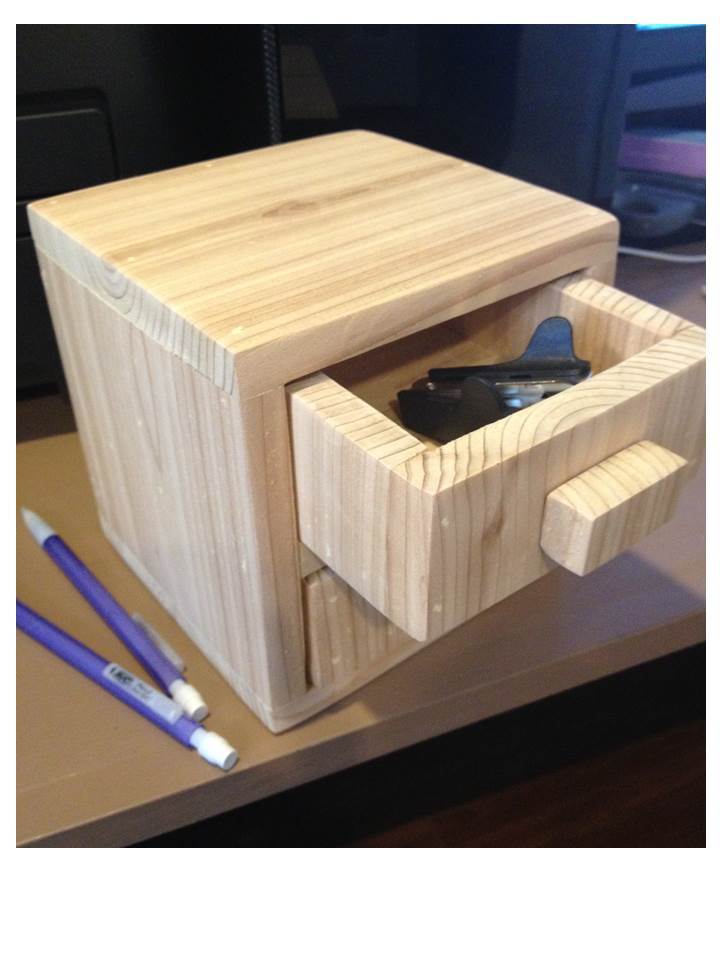
This is the prototype build for the Cedar 2-drawer desktop storage cube. It is made from 1 piece of ½” x 5 ½” x 6’ fence picket, about $3 for wood. I had based this plan on a board that is ½” thick and 5 ½” wide, and had identified areas in the plan where you’ll want to measure and cut as you build. I found this especially important on the prototype build, since it turned out the picket I bought was 5 3/8” wide, which affected the depth of the shelf, length of the drawer sides, and the size of the drawer bottom. Measuring and trimming as you go gives the best fit for all the pieces. Probably the most helpful thing besides keeping the measuring tape handy, was some 60-grit sandpaper. After everything was assembled, I used 60-grit sandpaper with my palm sander to sand down any high spots caused by cupping, to get the outsides nice and smooth. Followed up with some 220-grit for a nice smooth final sand. The pulls are some ¾” x 1 ½” pieces of the cedar, sanded well on all sides. I just cut these from the scraps, and they are glued on. You can use regular knobs or pulls if you like. You may need a shorter screw or a ¼” spacer, since the drawer face is only ½” thick. The screws for regular knobs are normally sized for a ¾” thick door or drawer face. This build took about 3 hours. Finishing time will depend on the type of finish used. My words of advice for building this would be: Take your time measuring. Measure twice before cutting. Sand thoroughly. Have fun!
Estimated Cost
$3 for wood, + finishing materials
Estimated Time Investment
Afternoon Project (3-6 Hours)
Finish Used
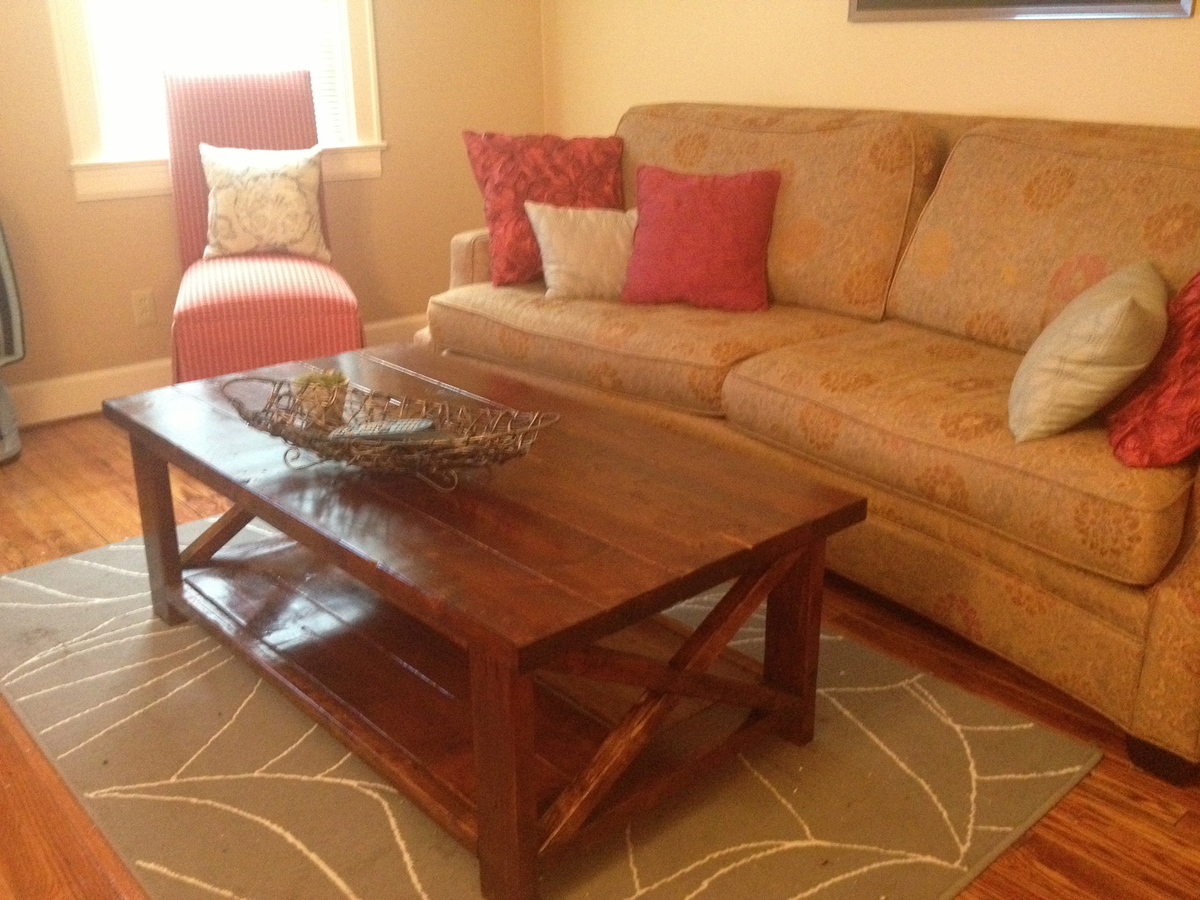
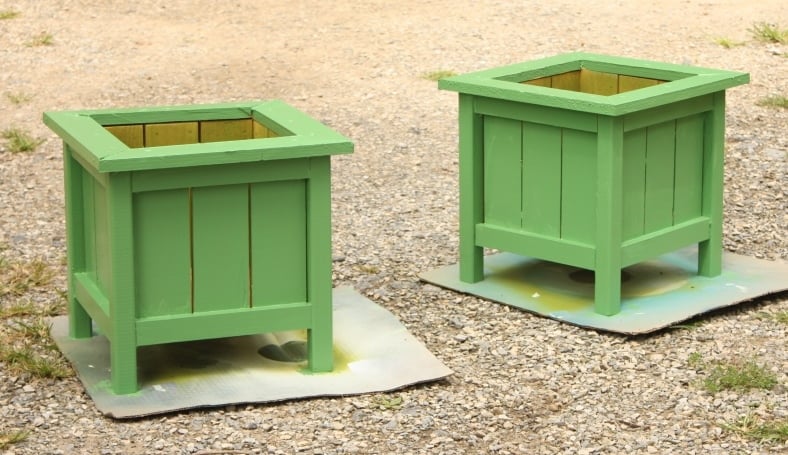
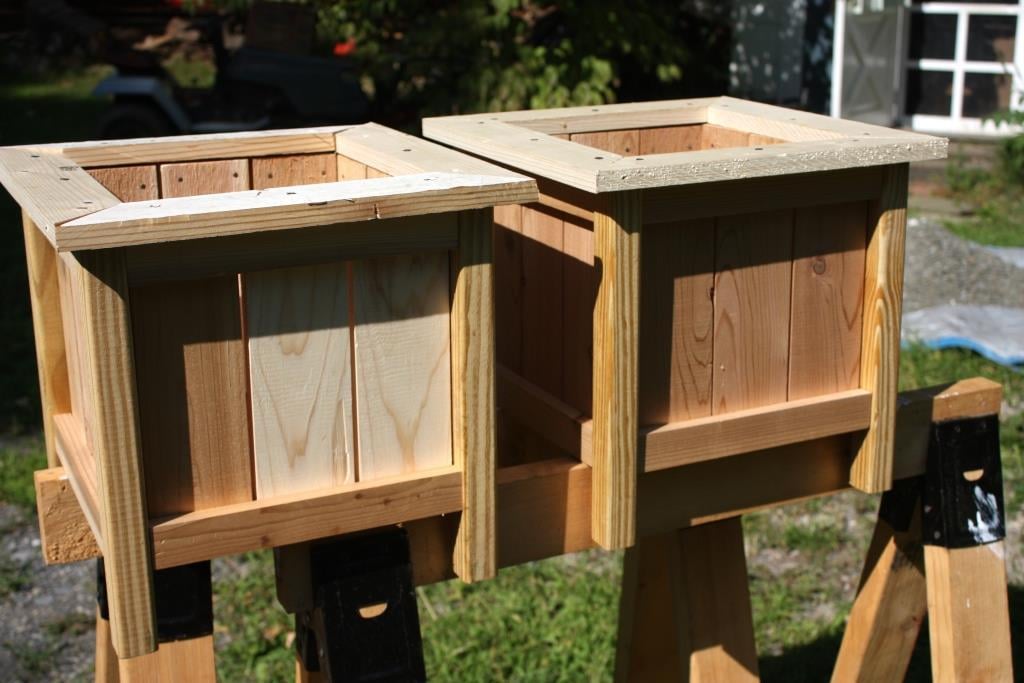
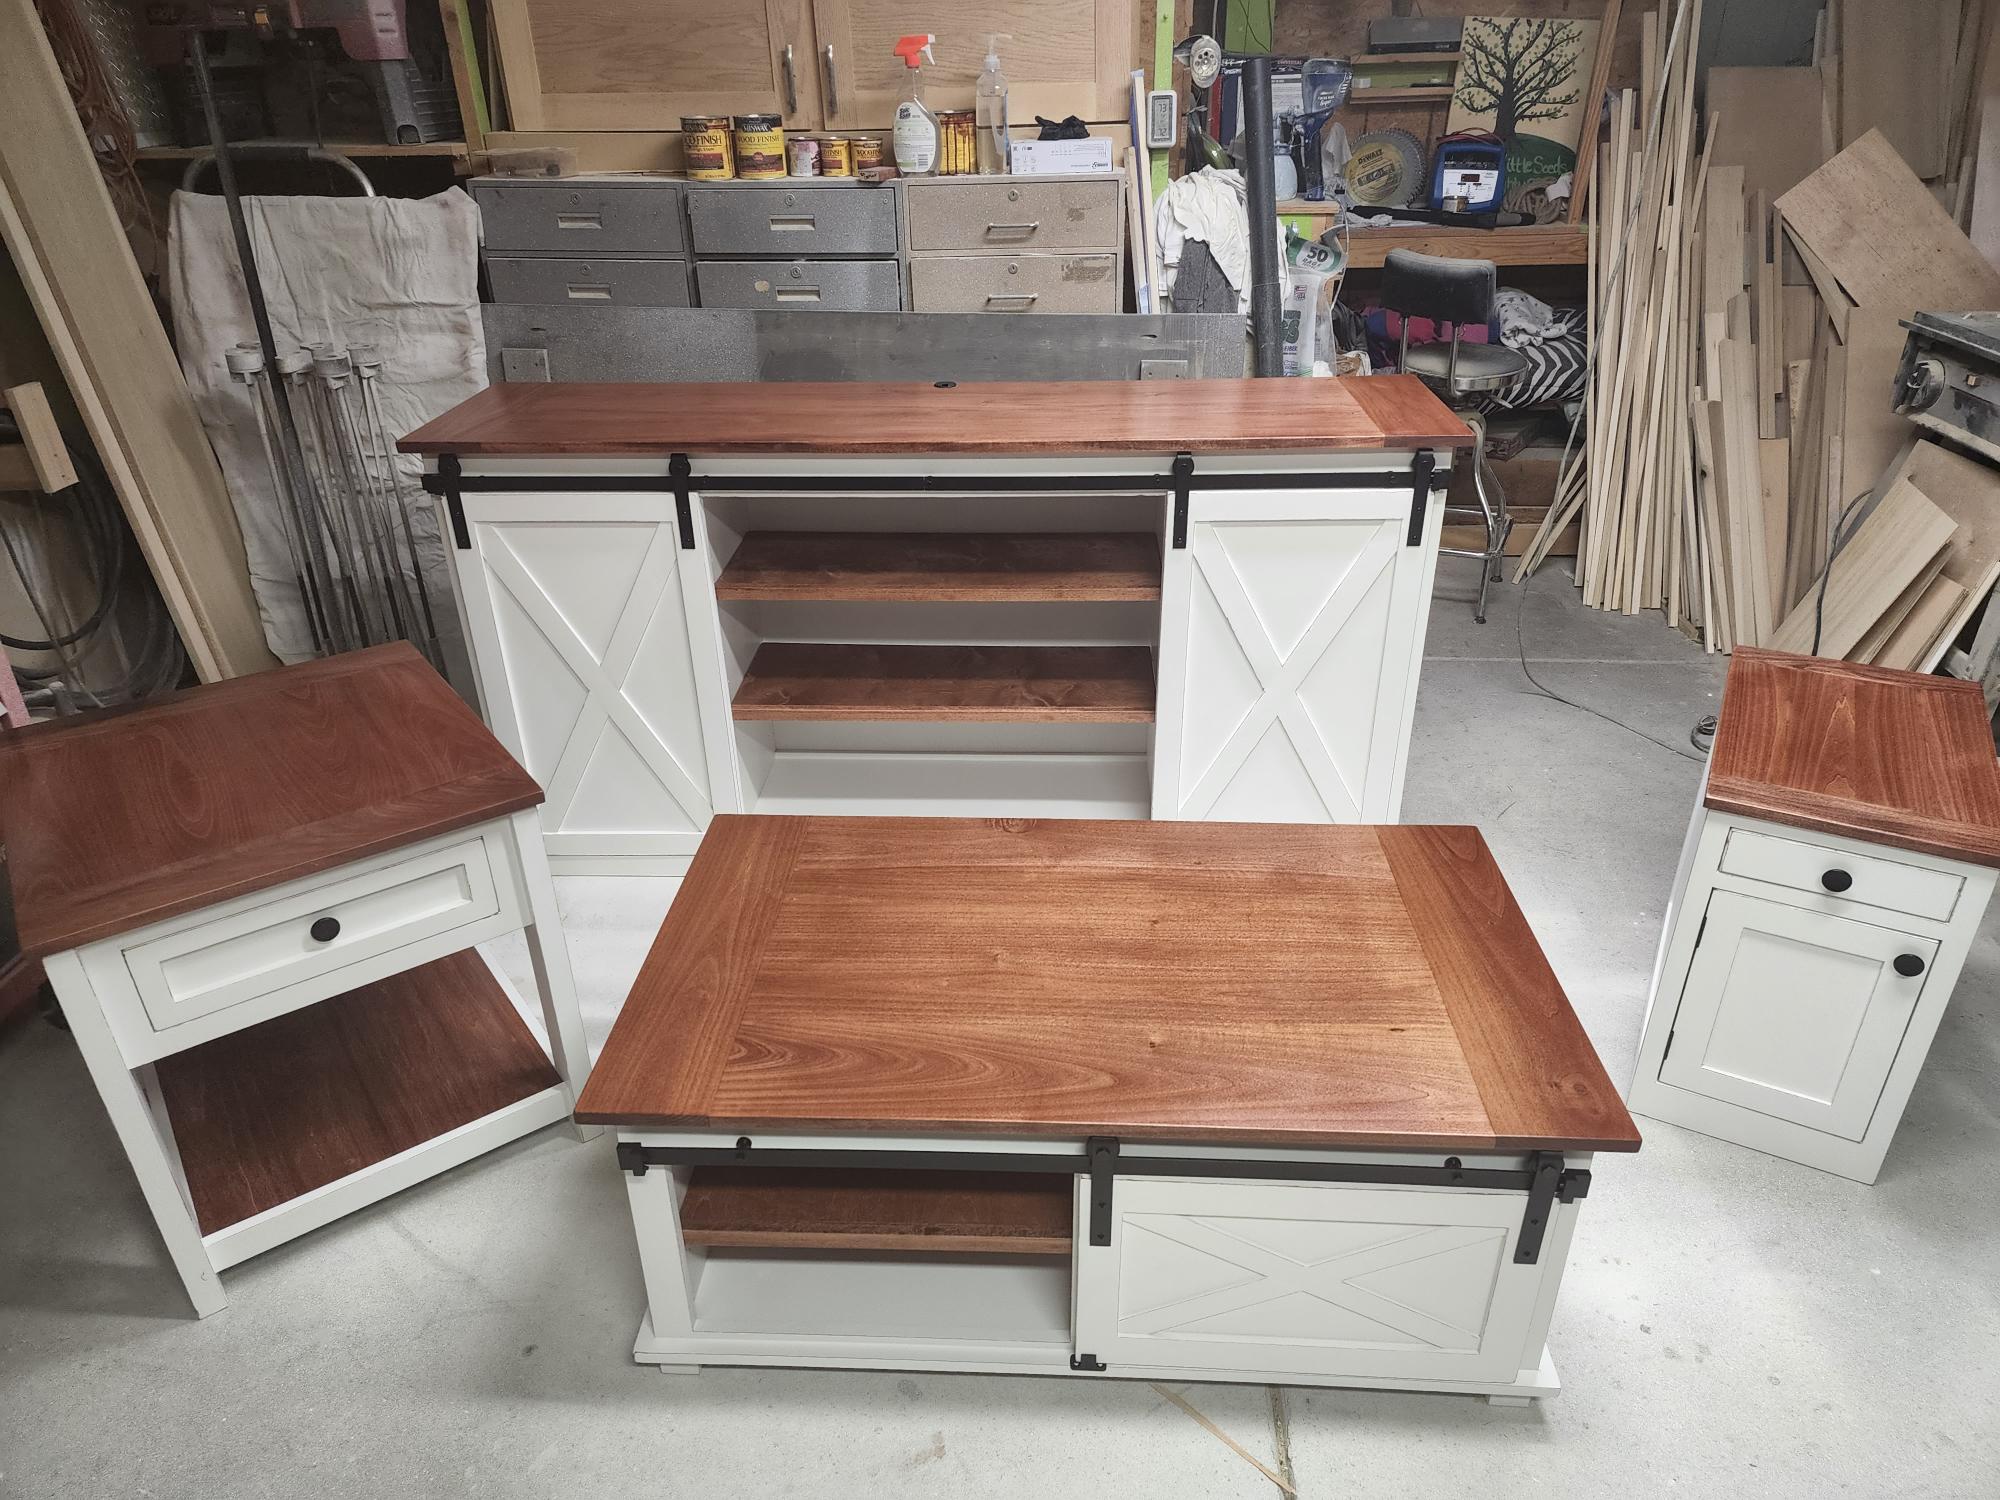
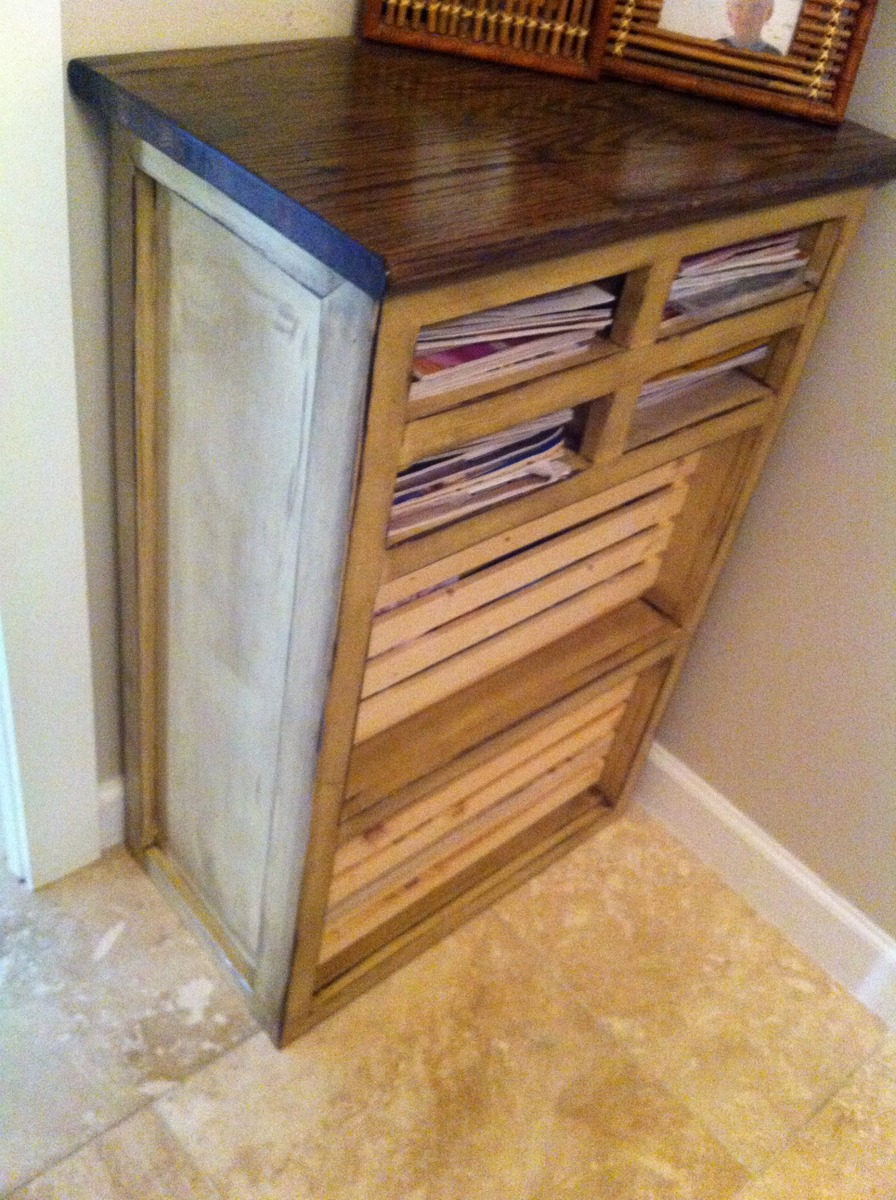
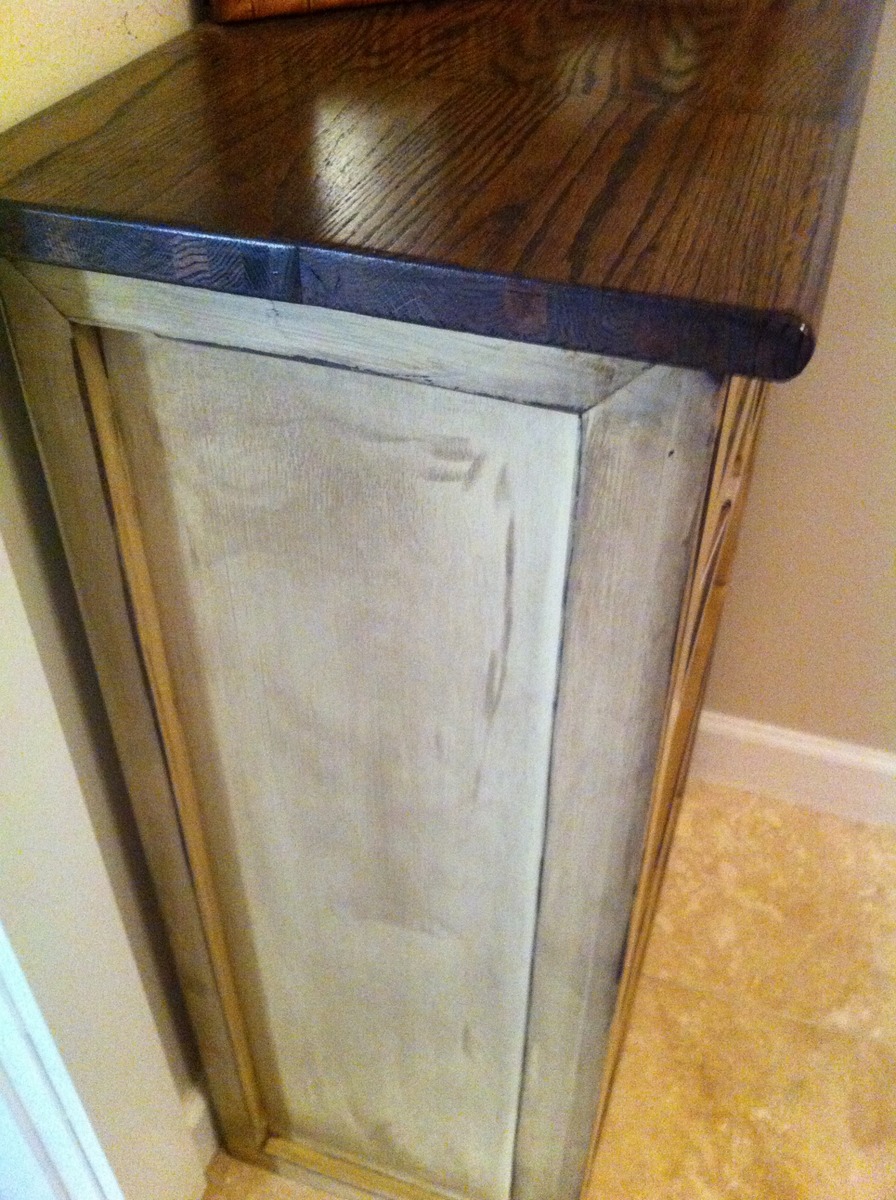
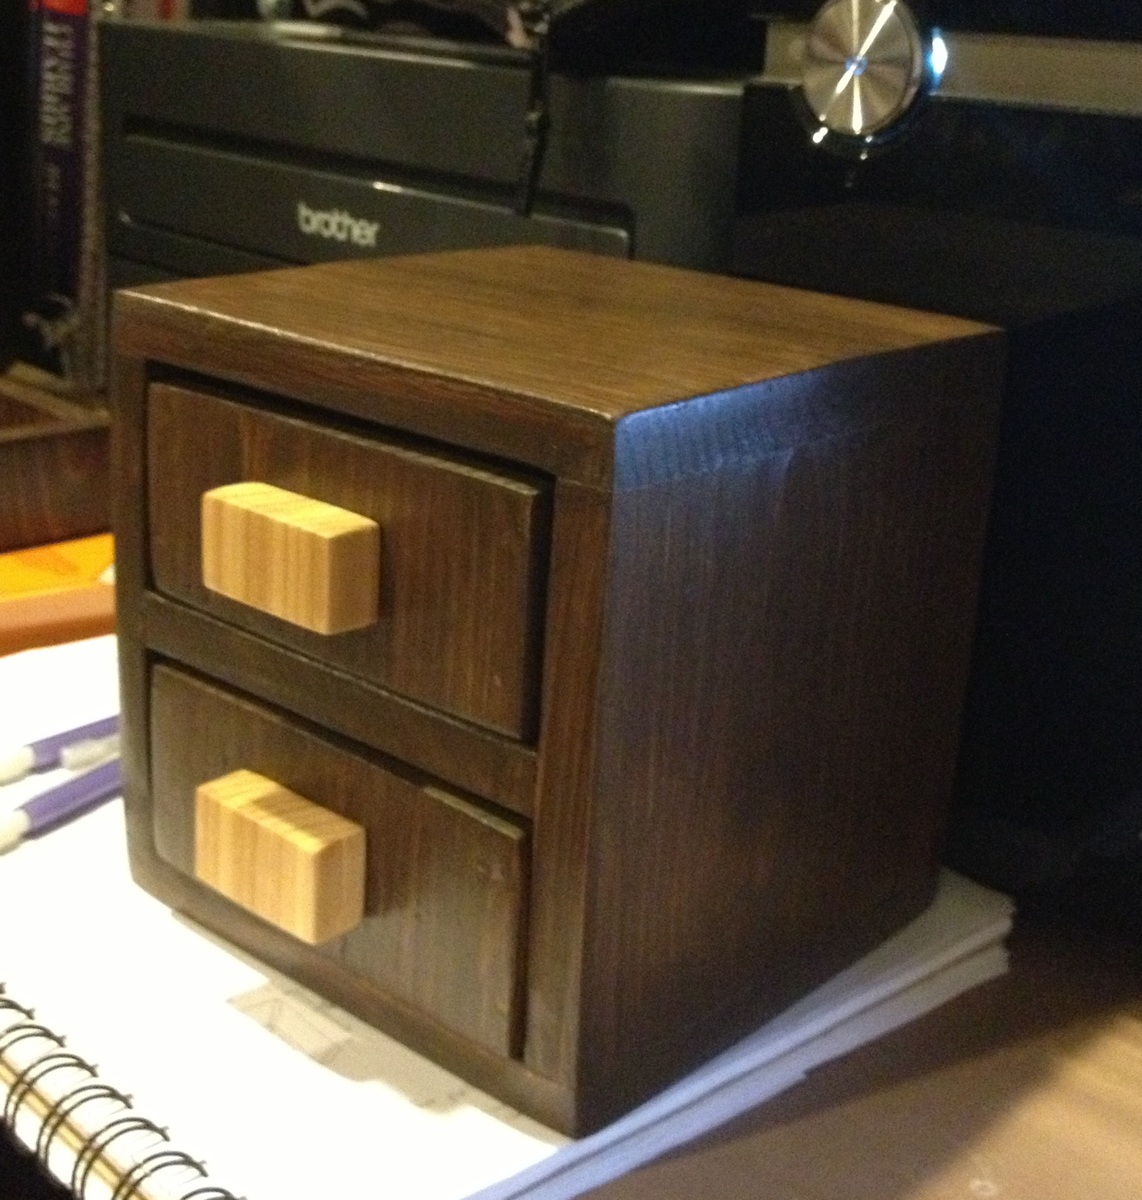
I plan to stain this with Minwax Express Color in walnut, to match the 1-board cedar desk accessory set that I posted last week. But I had to brag this one with it au naturale, because I thought the grain on the cedar was so pretty and I wanted to show it off. It has a neat kind of striped look which is pretty all on its own. I’ll add the stained picture of it below, later this weekend.
Recommended Skill Level
Beginner


Comments
heidii
Tue, 07/12/2011 - 10:09
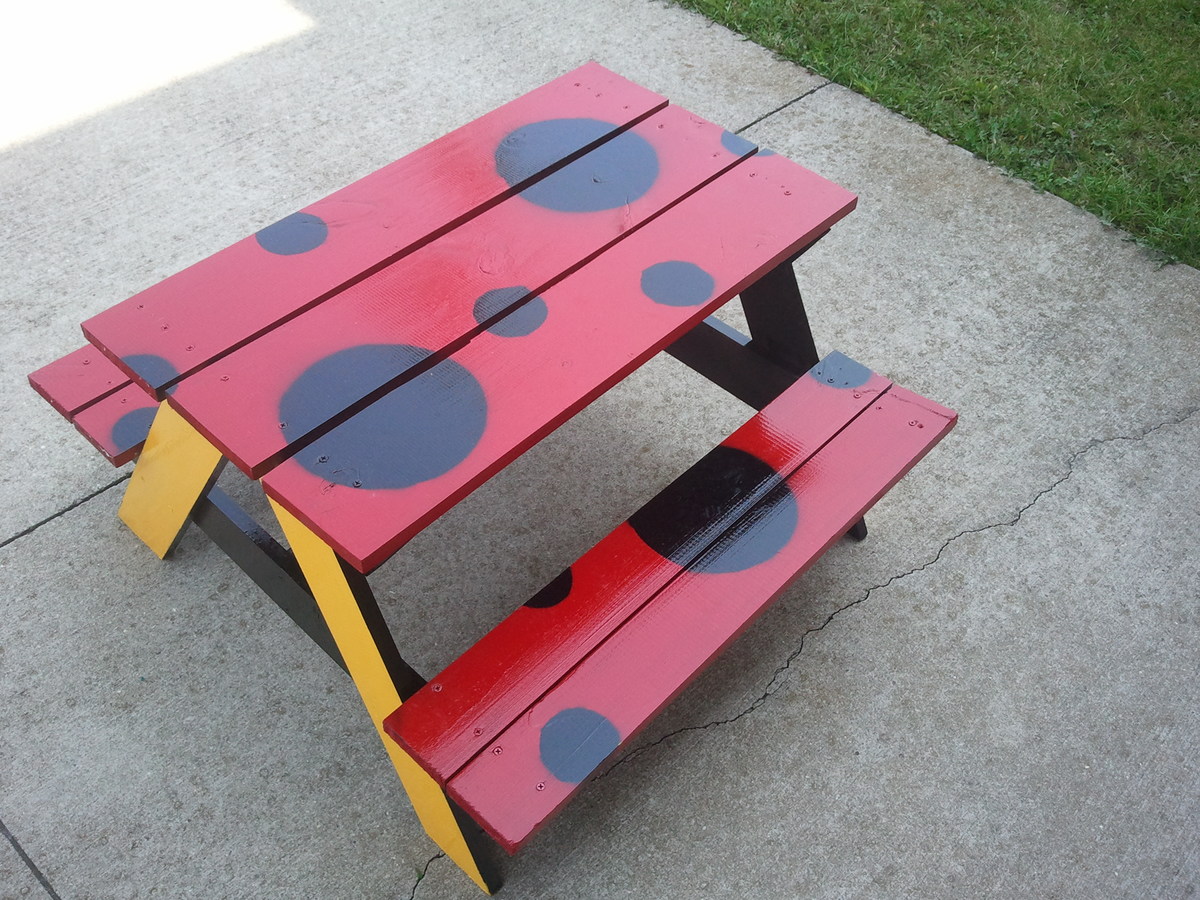
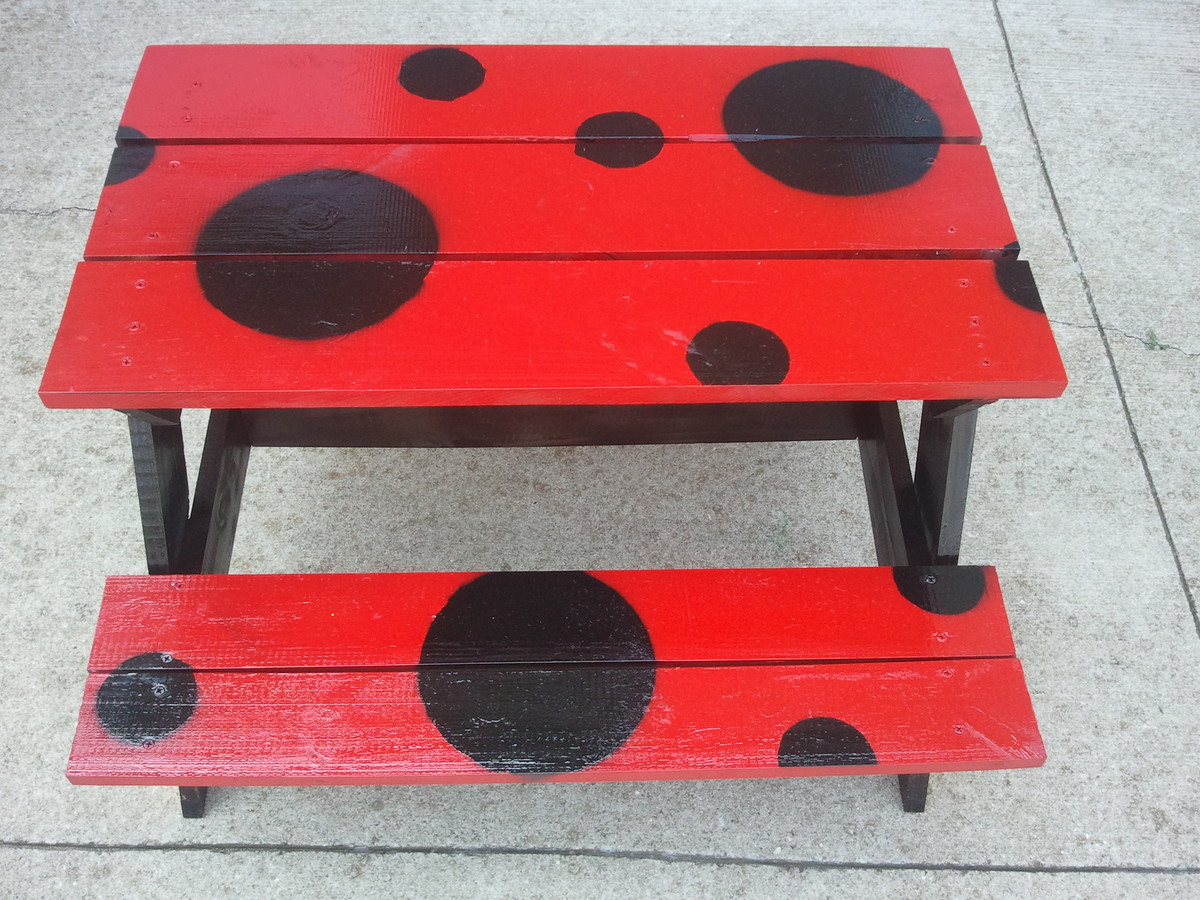
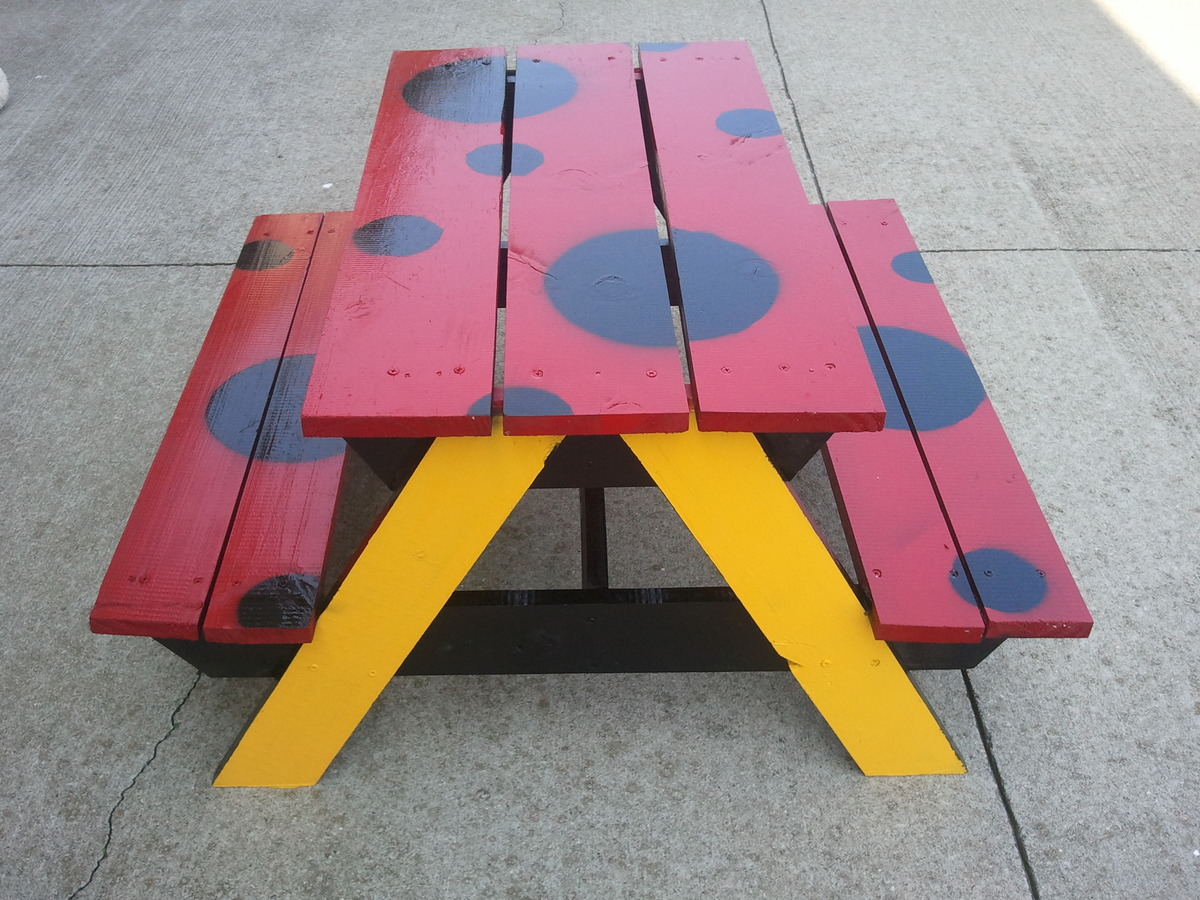
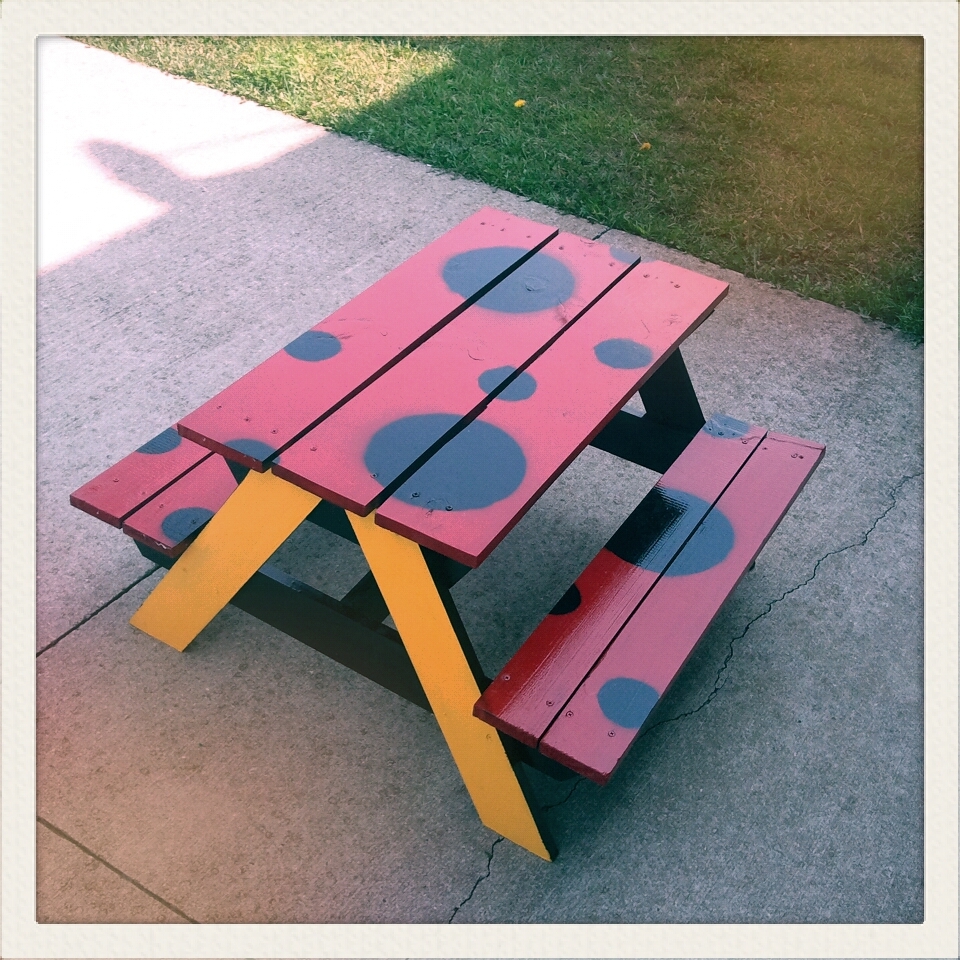
Spots
Use a piece of cardboard or sturdy paper to make the cut-outs for the spots.