Community Brag Posts
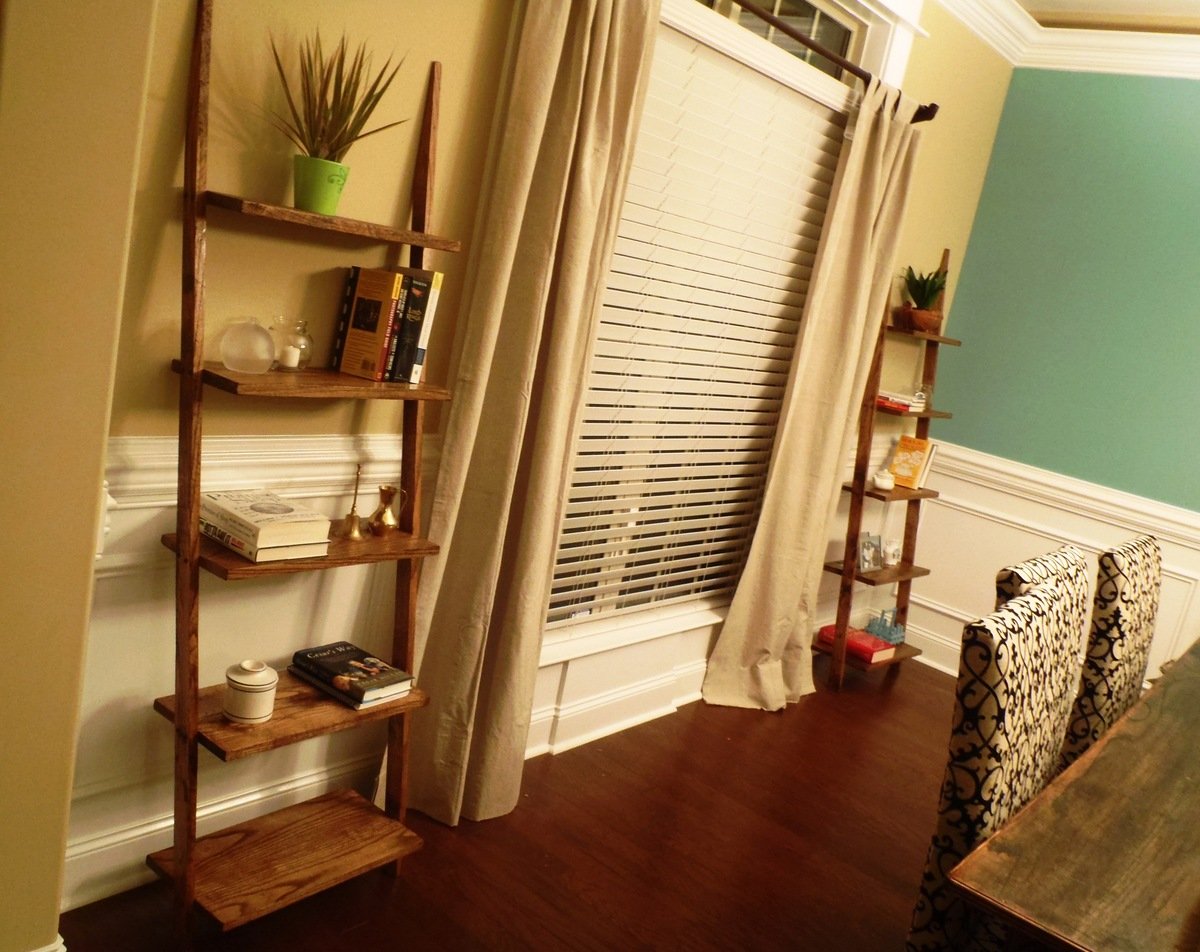
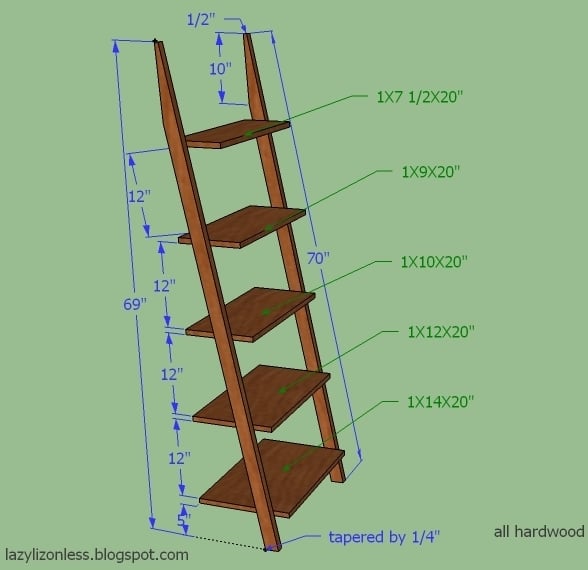
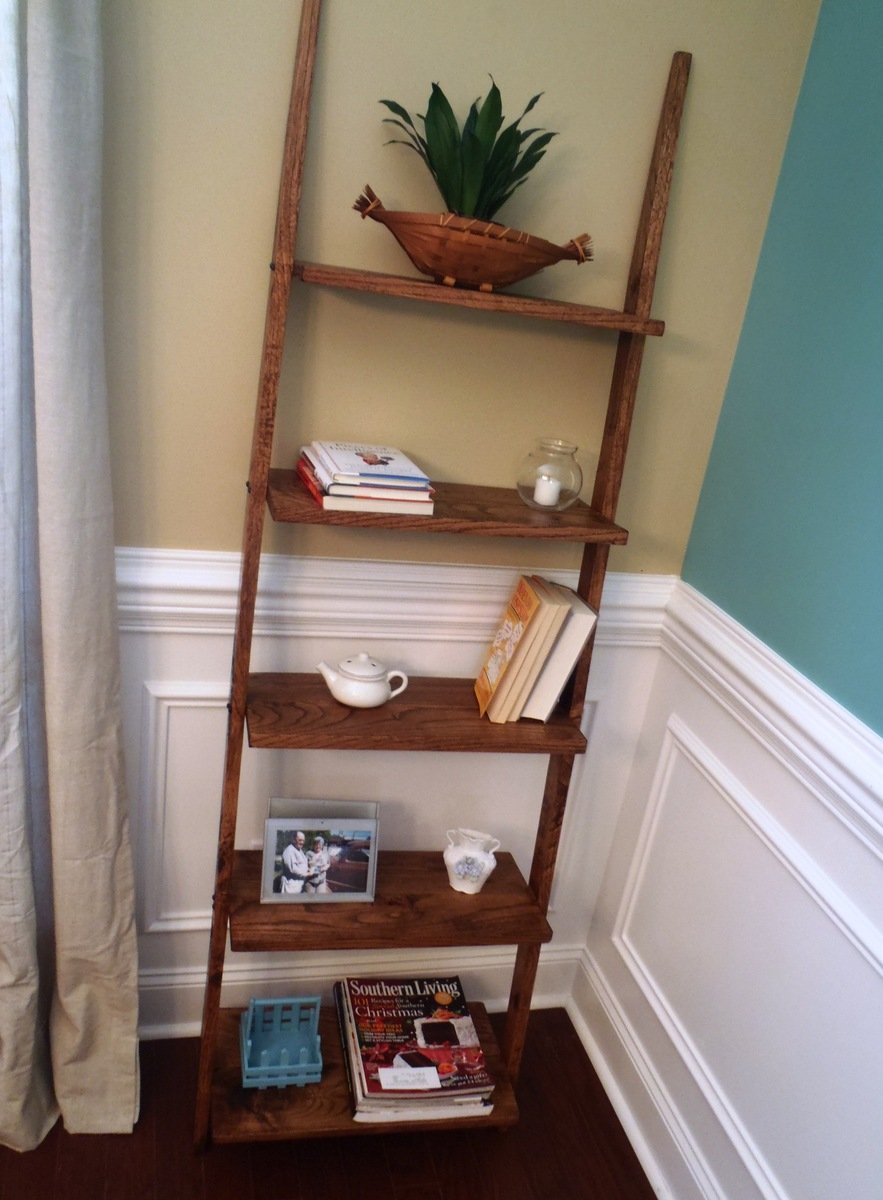
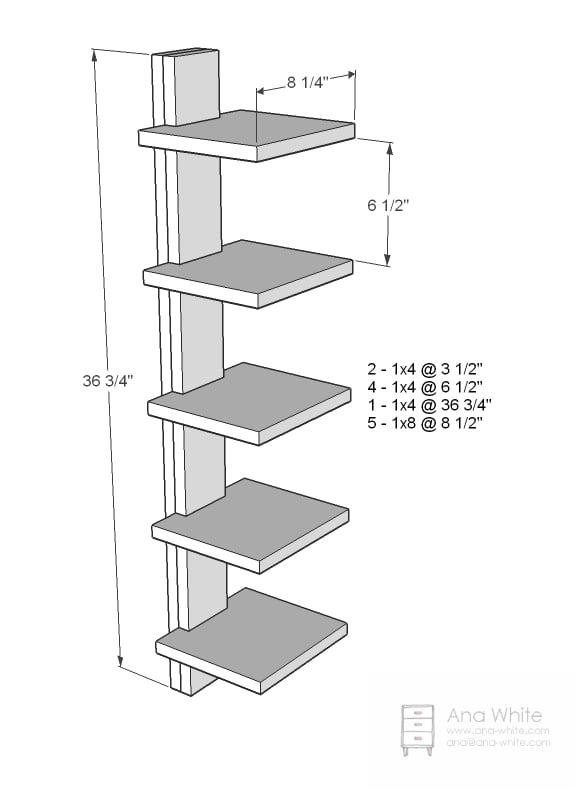
Ladder shelf
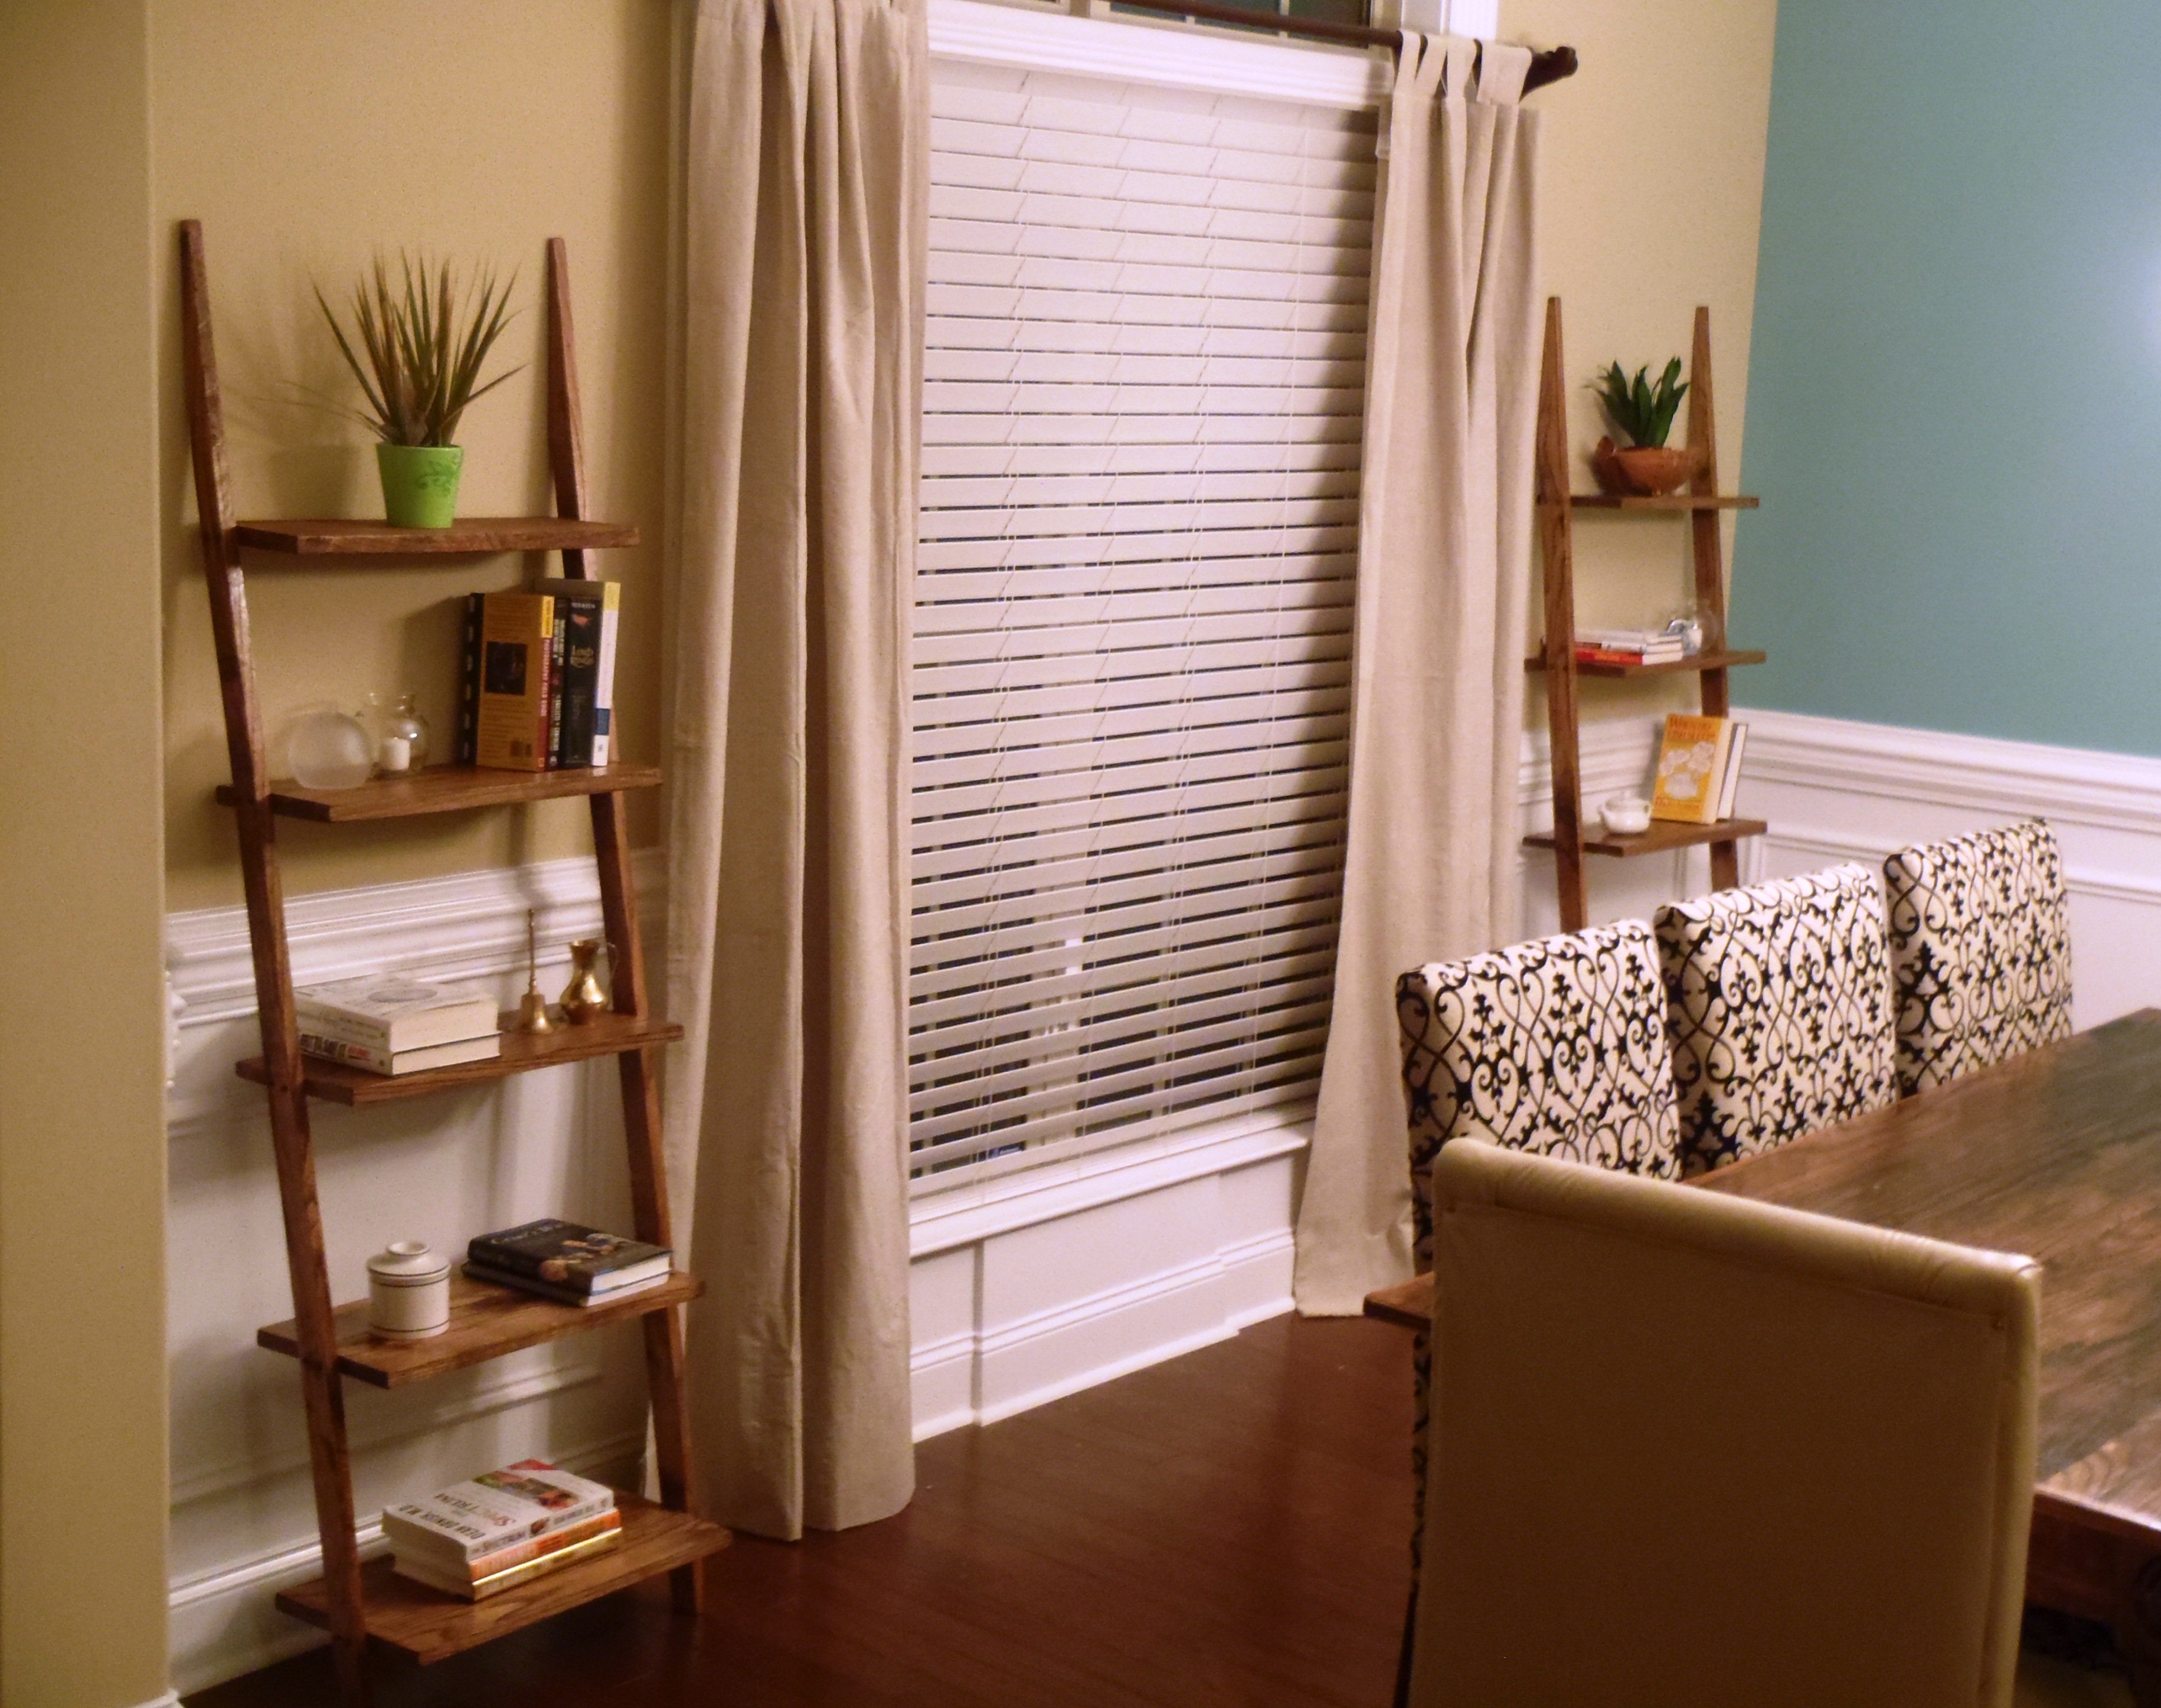
Since I used hardwood (red oak) I have to modify the plan and eliminate the sides of the shelves. Modifications and measurement is on the additional photo. Thanks again Ana, you're the best!

Built from Plan(s)
Estimated Cost
$30-$50
Estimated Time Investment
Afternoon Project (3-6 Hours)
Finish Used
minwax red oak and poly
Recommended Skill Level
Beginner
Comments


In reply to Well, those are just by birdsandsoap
Fri, 05/11/2012 - 08:22
thanks
..and very very easy to build:)
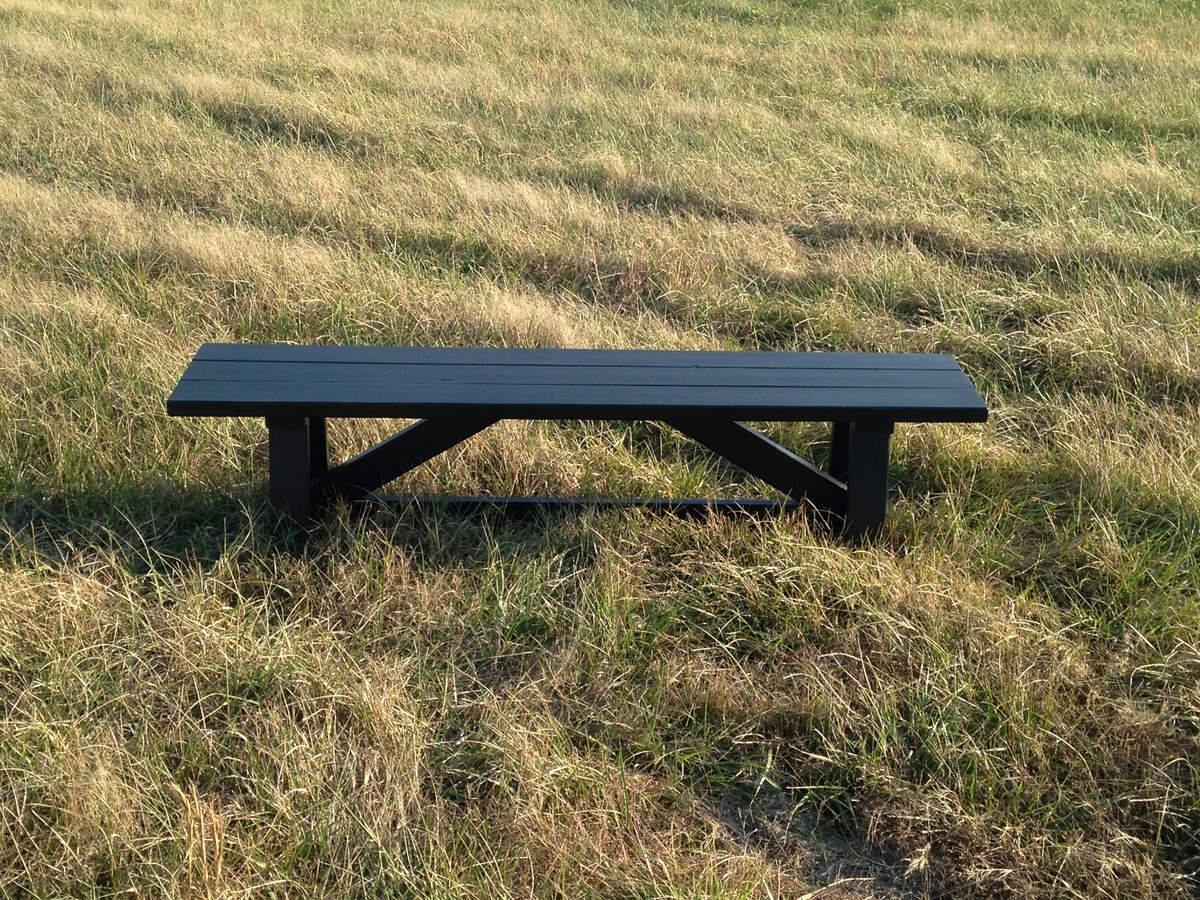
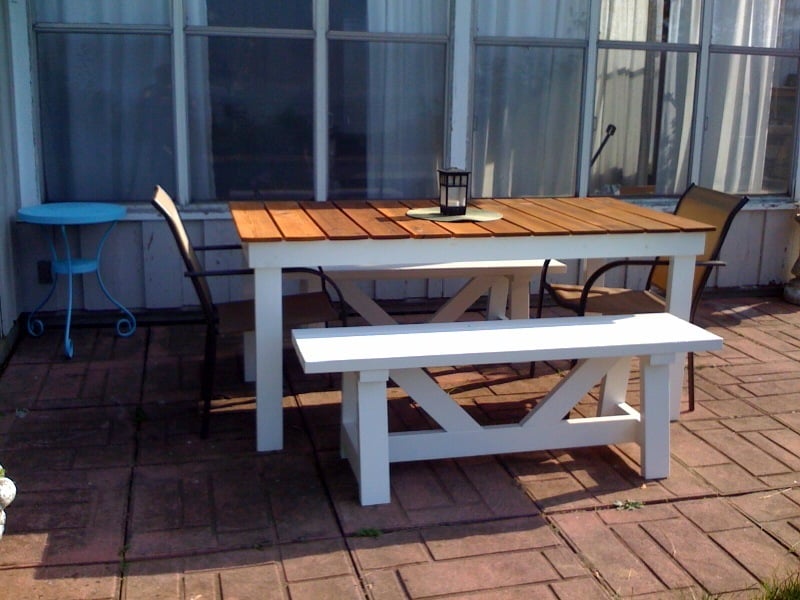
Great Simple Bench
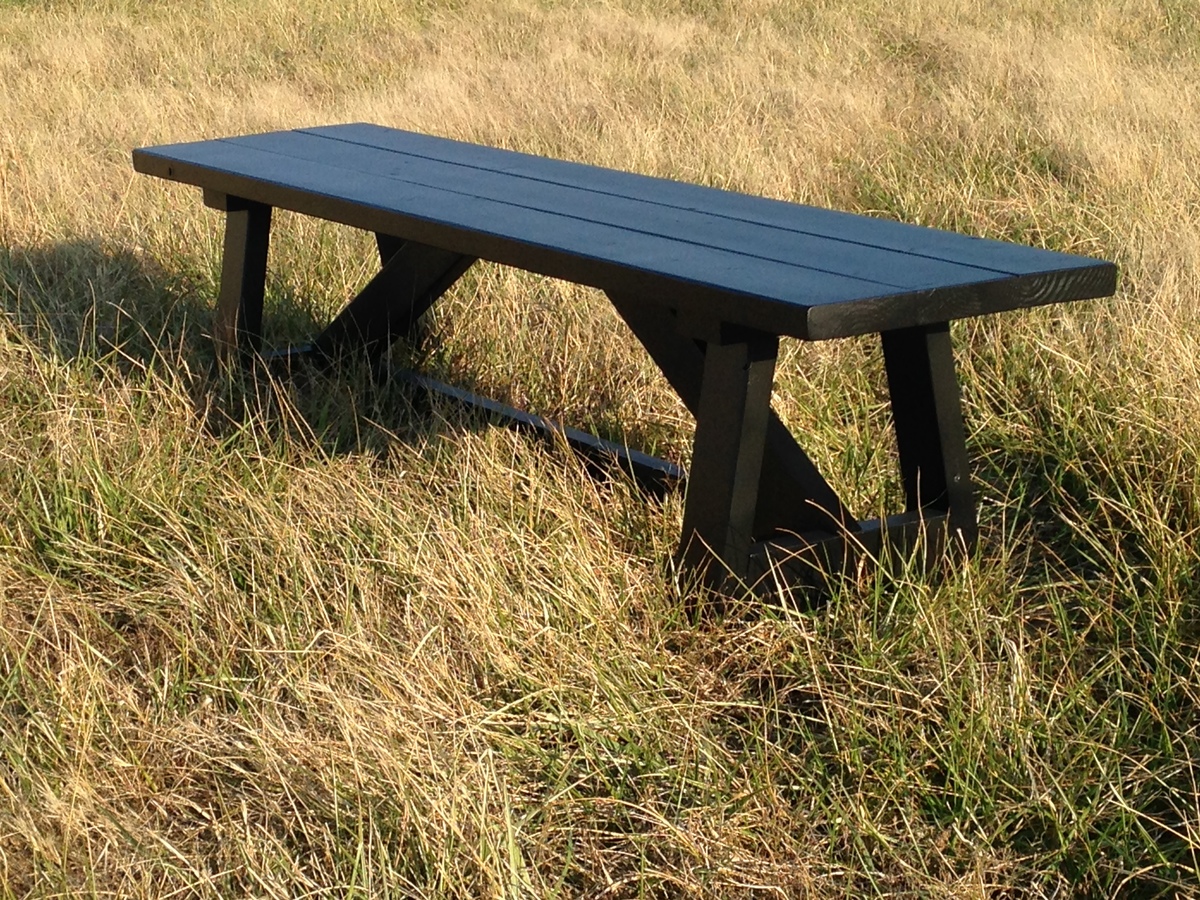
I loved the look of this bench. I made this for some of our friends that have a large family staying with them. I think one is in the future for us as well! I followed the plan as a guide, but made a couple modifications to meet the needs. It turned out great and the plans were easy to follow. 1) I used 3 - 2x6 boards for the top instead of 4 - 2x4's 2) the bench length was increased to 72" long 3) I reversed the angled cross braces to give support in the middle of the bench due to its increased length. 4) the angle on the cross braces was change to allow the braces to intersect with the top closer to the middle of the bench.
Built from Plan(s)
Estimated Cost
$60 with finishing materials
Estimated Time Investment
Afternoon Project (3-6 Hours)
Finish Used
General Finishes "Lamp Black" Milk Paint was brushed on and General Finishes "Flat" High Performance Top Coat. Both paint and top coat are water based. The paint was brushed on and the top coat was sprayed on in layers using a spray gun.
Recommended Skill Level
Beginner
Wood Planter
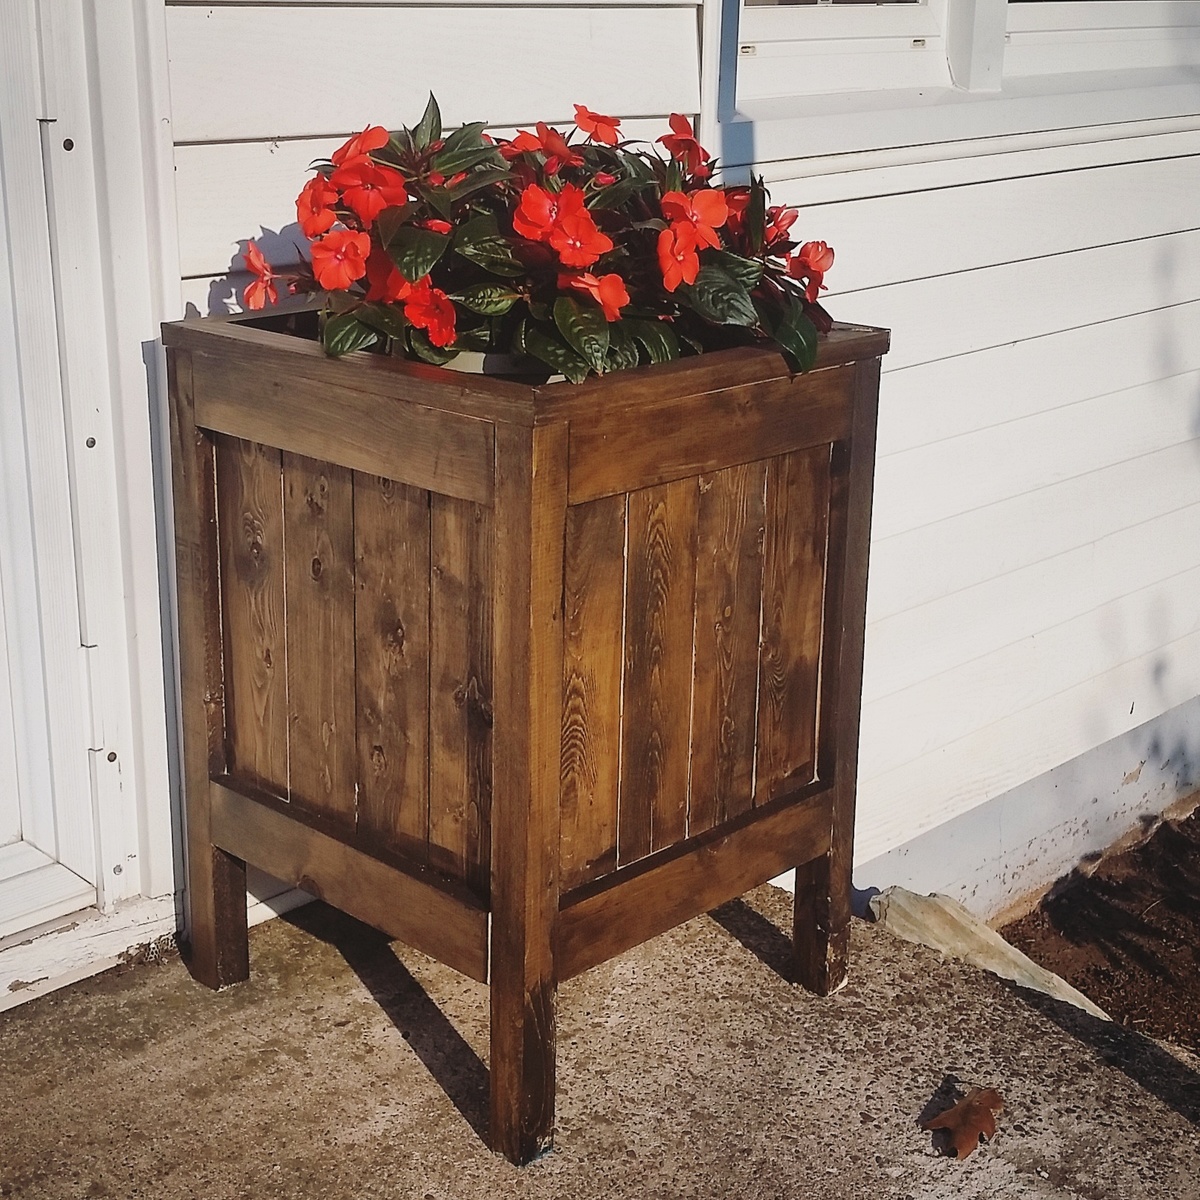
I created this wood planter using Ana's "Cedar Planter for under $20!" plans. They were so easy to follow, this project took me about 2 hours (having no clue what I was doing) and it turned out beautifully!!! I will be making more after discovering how easy it was and inexpensive. Thanks Ana for letting us in on your secrets!
Built from Plan(s)
Estimated Cost
$20
Estimated Time Investment
An Hour or Two (0-2 Hours)
Finish Used
Finished using a blend of Minwax Classic Grey and Jacobean
Recommended Skill Level
Starter Project
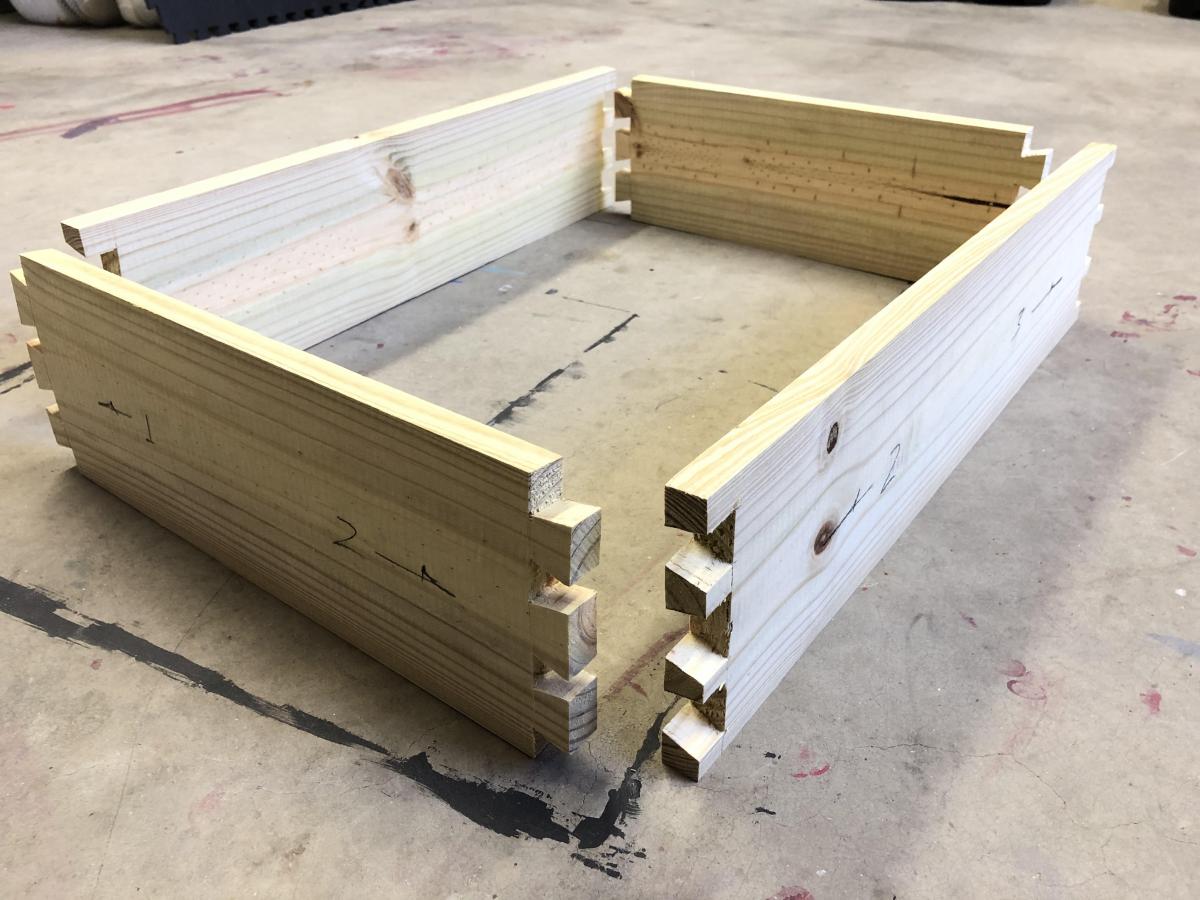
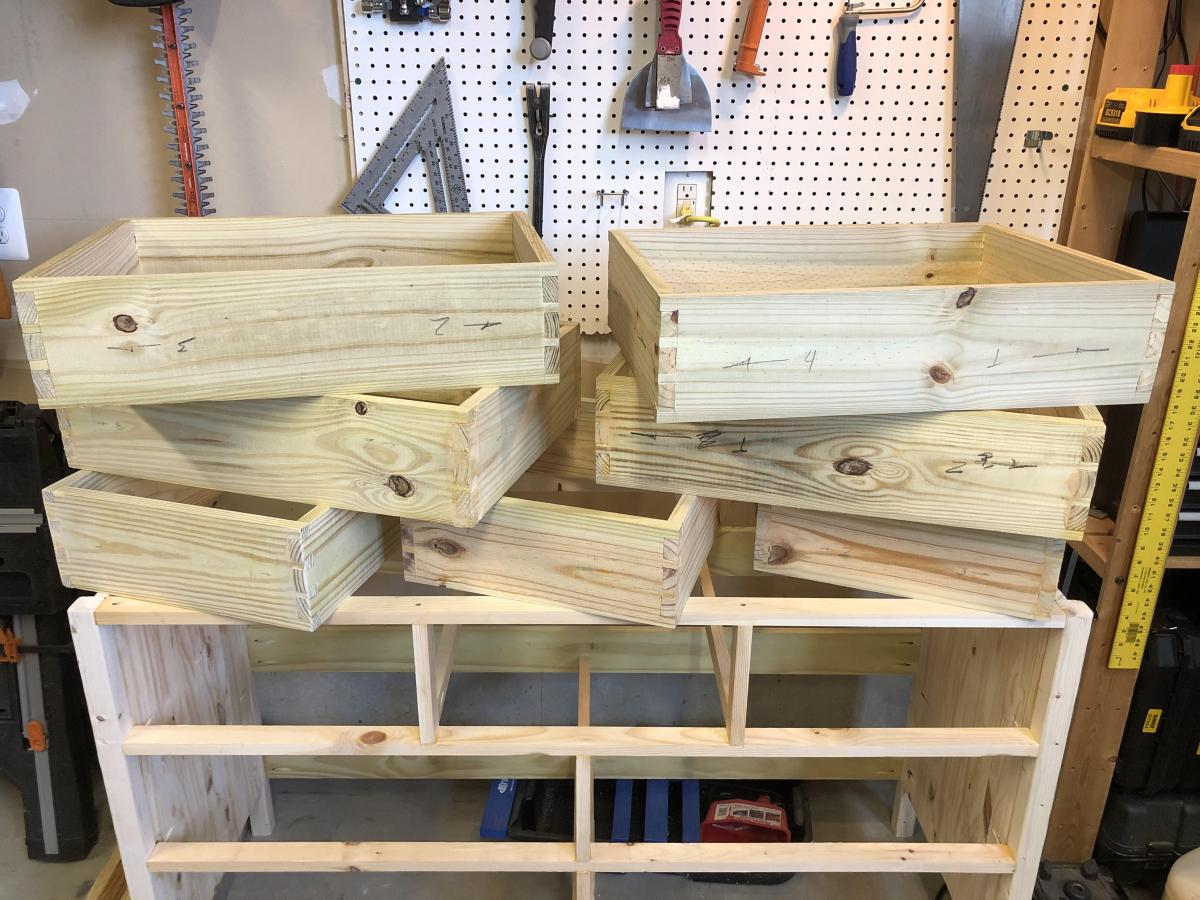
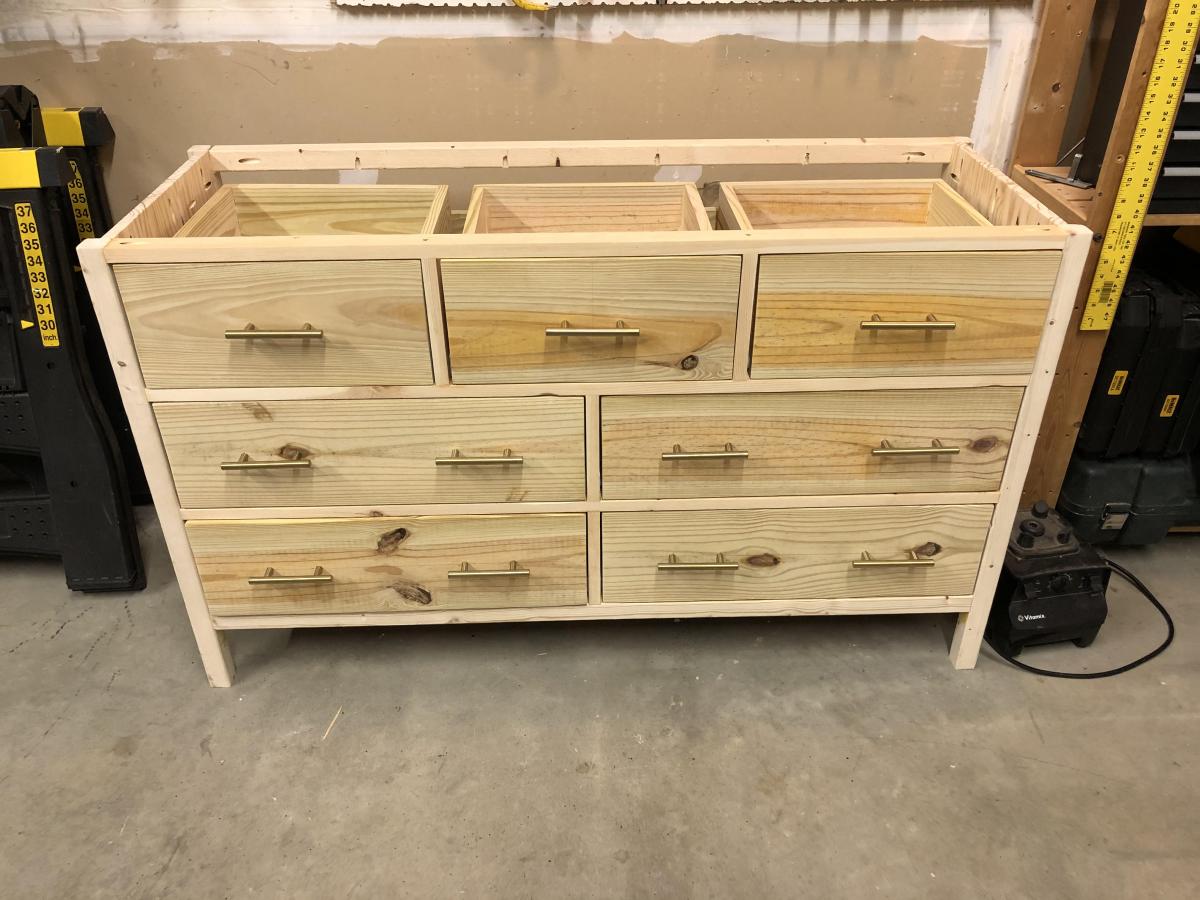
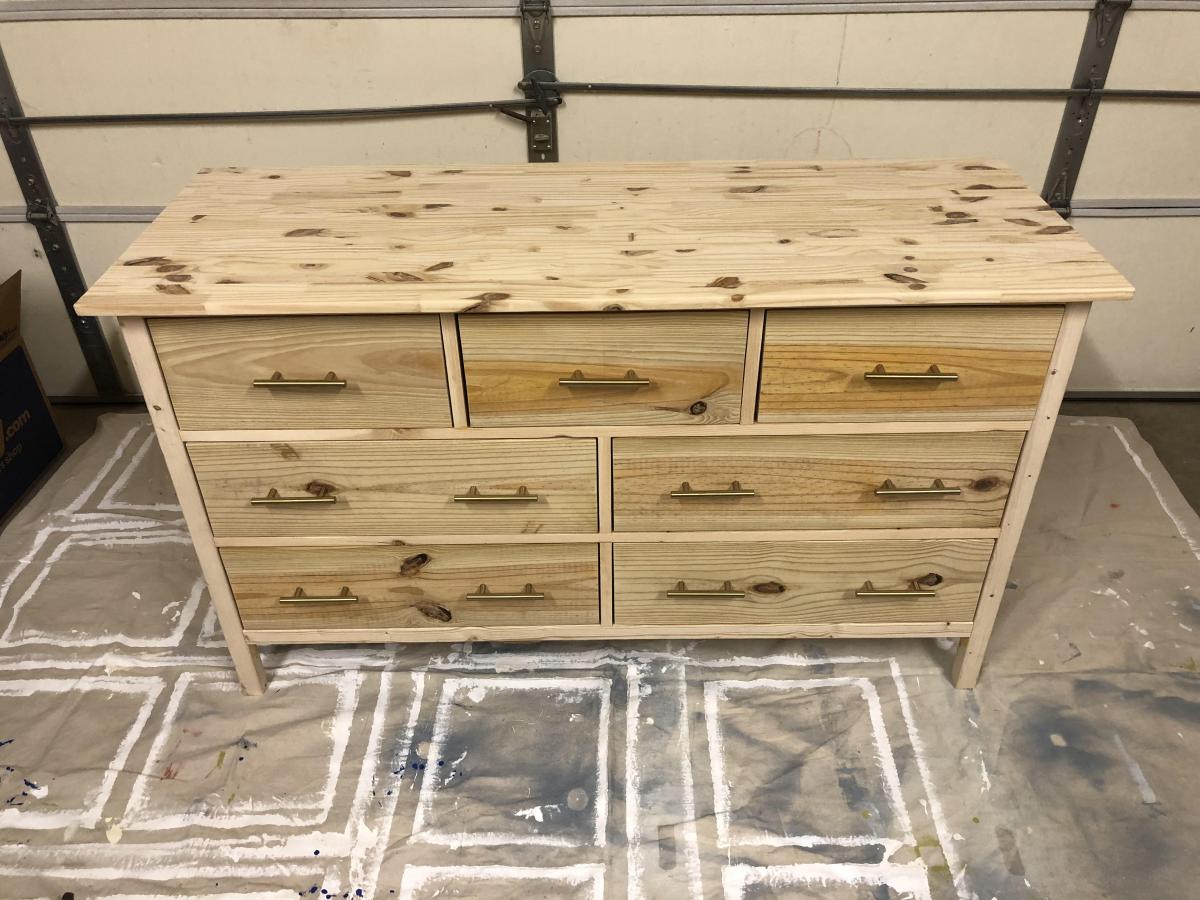
Kendal Extra Wide Dresser with Dovetails
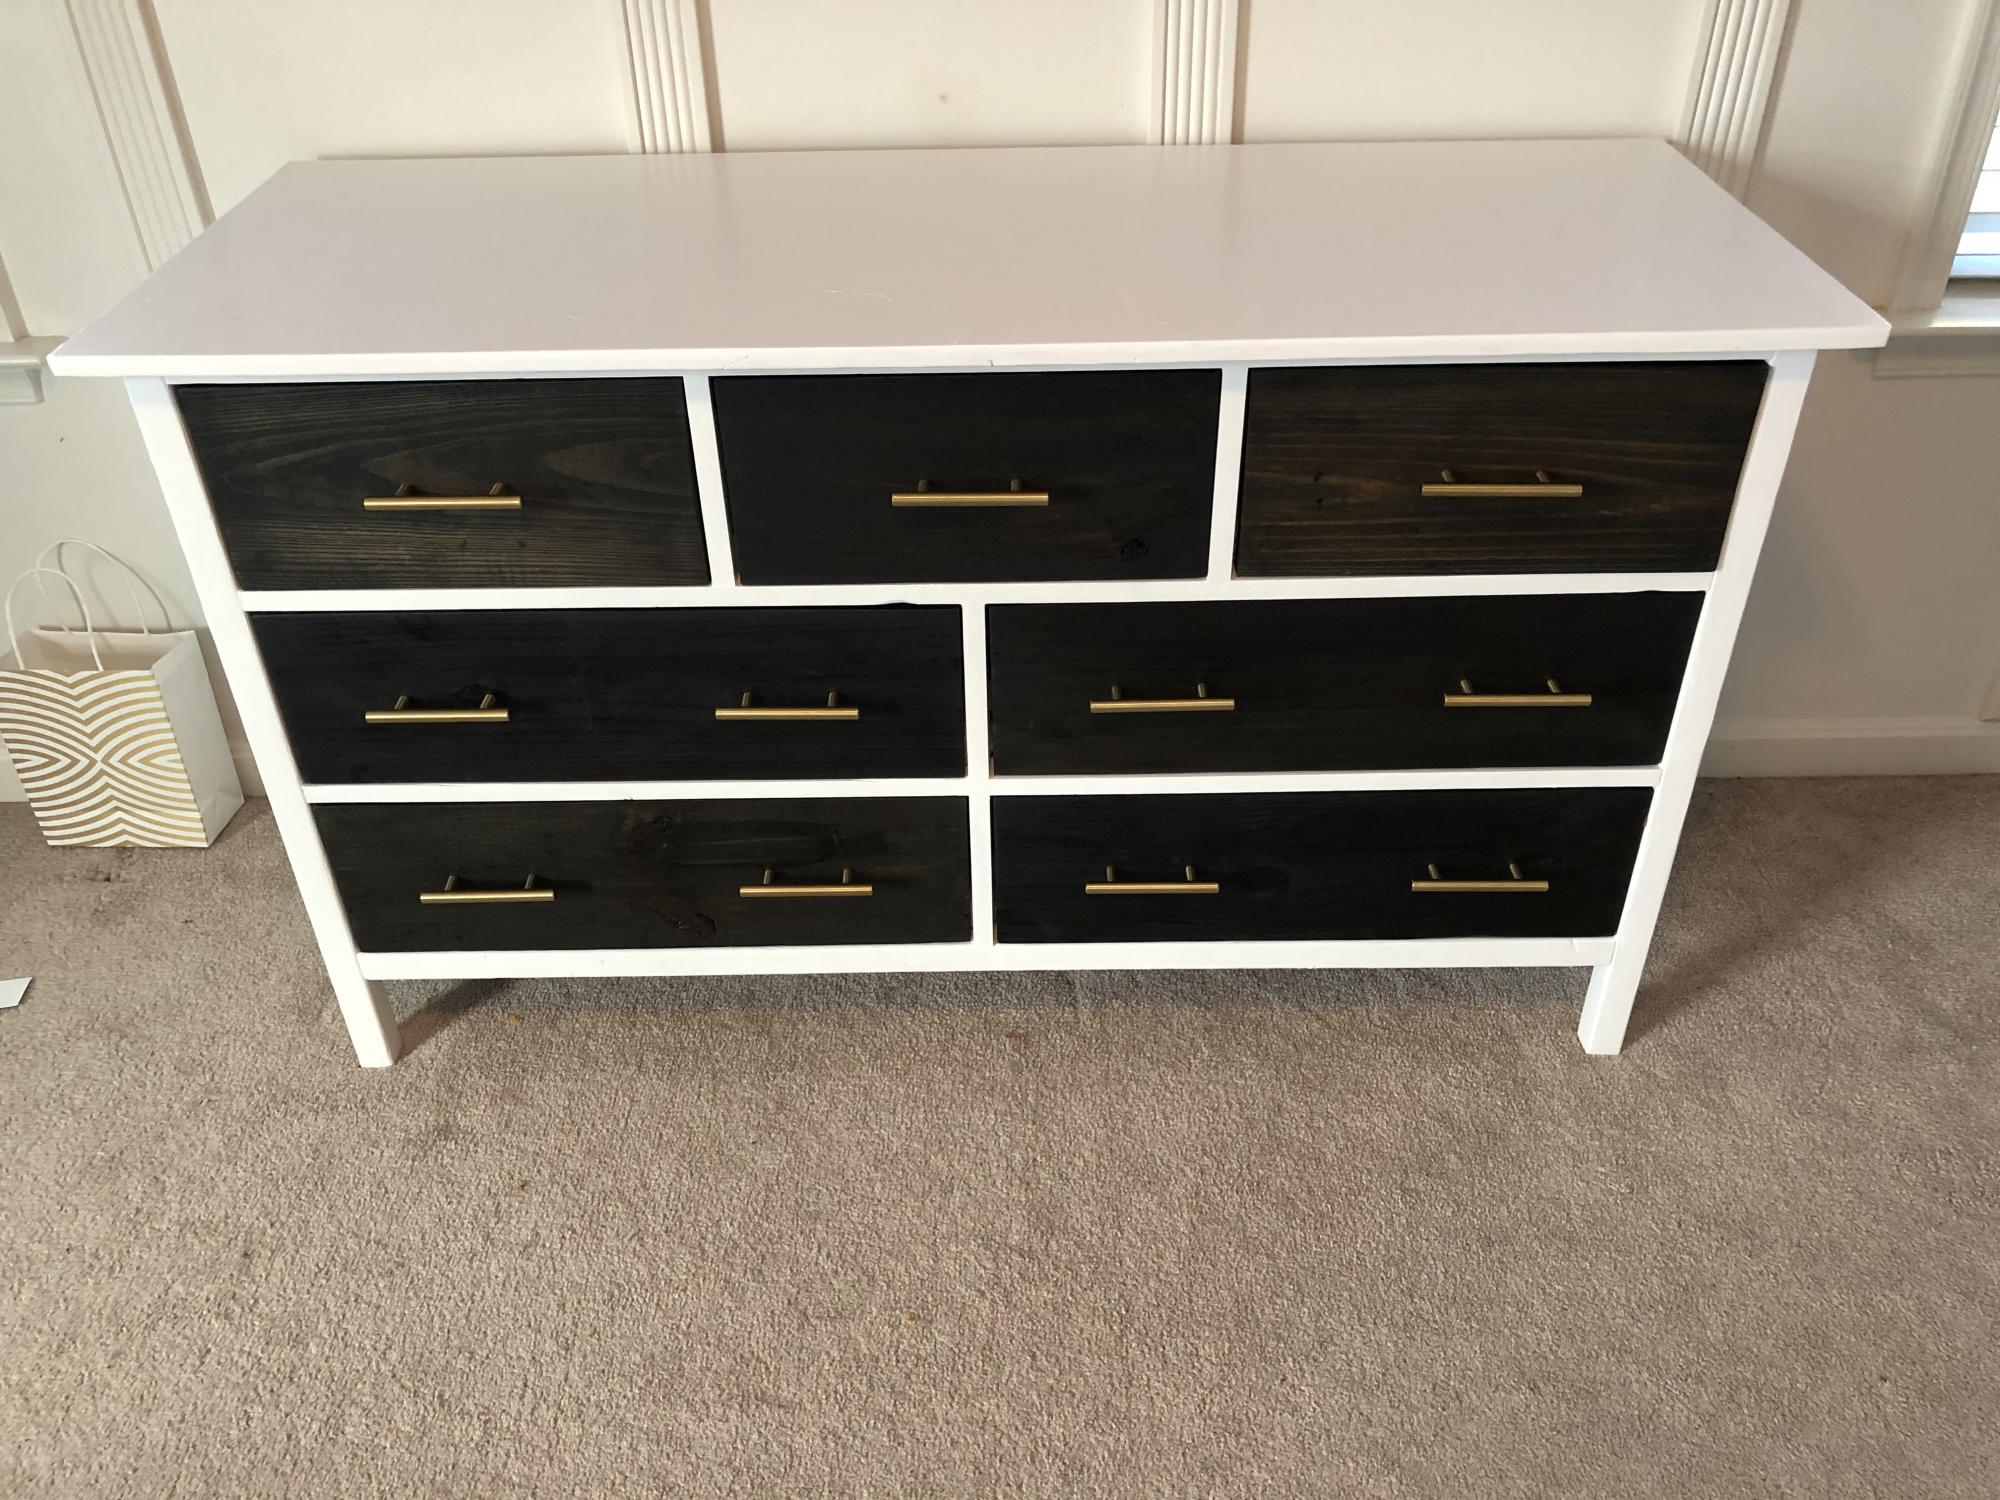
My daughter recently threw out a lot of her things because she wanted to have a grown up room and not a kids room. So she asked if I could make her furniture and wanted a dresser as her first piece. So I couldn't say no!
This was my second project from this web site and my first dresser. Boy was it tough, but I loved every minute of it! Even though the plans were marked Advanced, I made it even more so by trying out dovetailing for all the drawers. By hand. With just a Japanese pull saw and chisels. That added about 10 hours onto the total build, but it was for my daughter, so it was worth it!
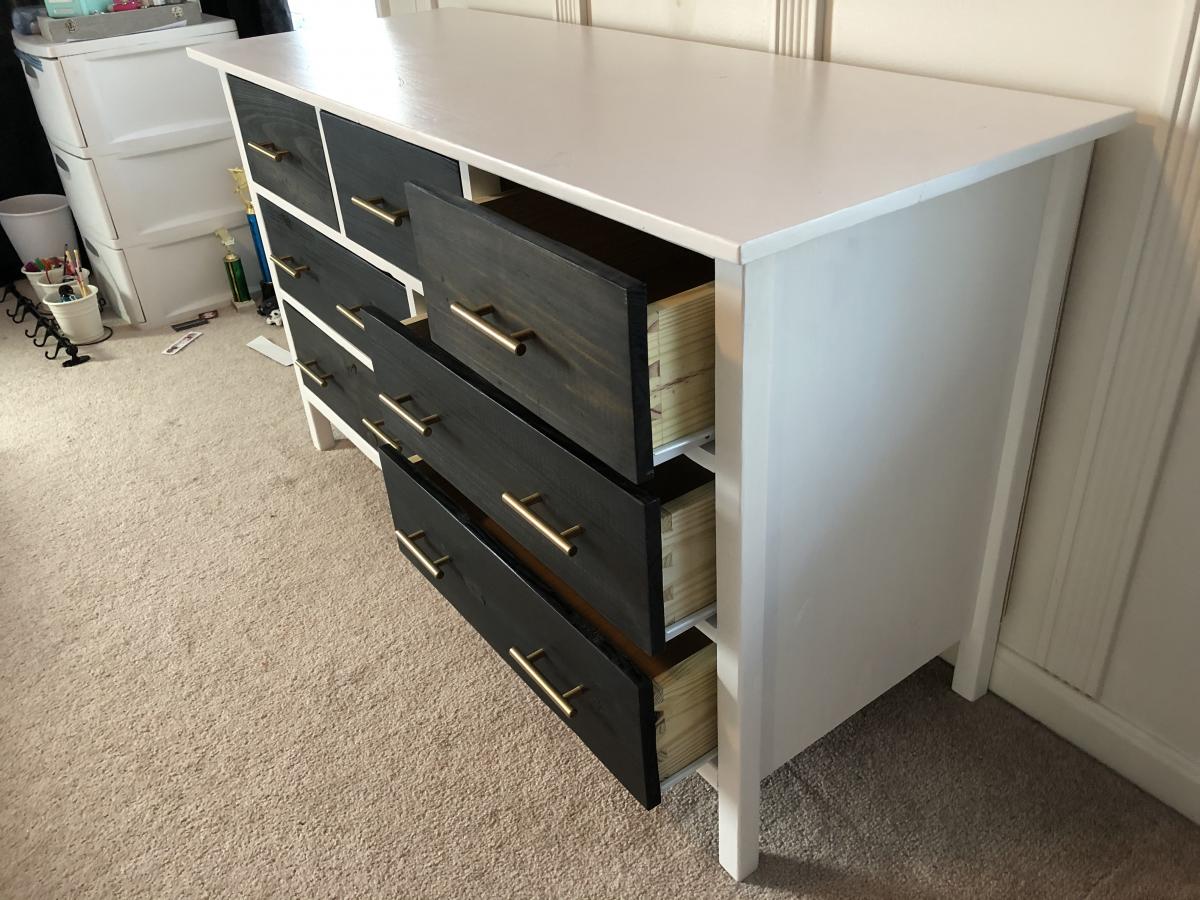
This is how it turned out.
Built from Plan(s)
Estimated Cost
Roughly $200
Estimated Time Investment
Week Long Project (20 Hours or More)
Finish Used
White Paint (3 coats) and Classic Black PolyShades wood stain and polyurethane by Minwax. Because the wood stain has polyurethane in it, it can get really messy really fast! If you get it on you, soap won't help for clean up. Try olive oil.
Recommended Skill Level
Advanced
School Bus Stop Bench

My daughter asked me to make a bench for her daughter’s school bus stop. After looking at many different plans I chose your plans for a 2x4 bench with modifications. I made it 7’ wide with an additional support piece in the center. I used pressure treated wood for the base and cedar for the seat and back. I finished it with a gloss “school bus yellow” and gloss black. It was very well received by the children and parents.
Ken Shallcross

Seasonal And Holiday
Rolling Rustic Wood Dresser
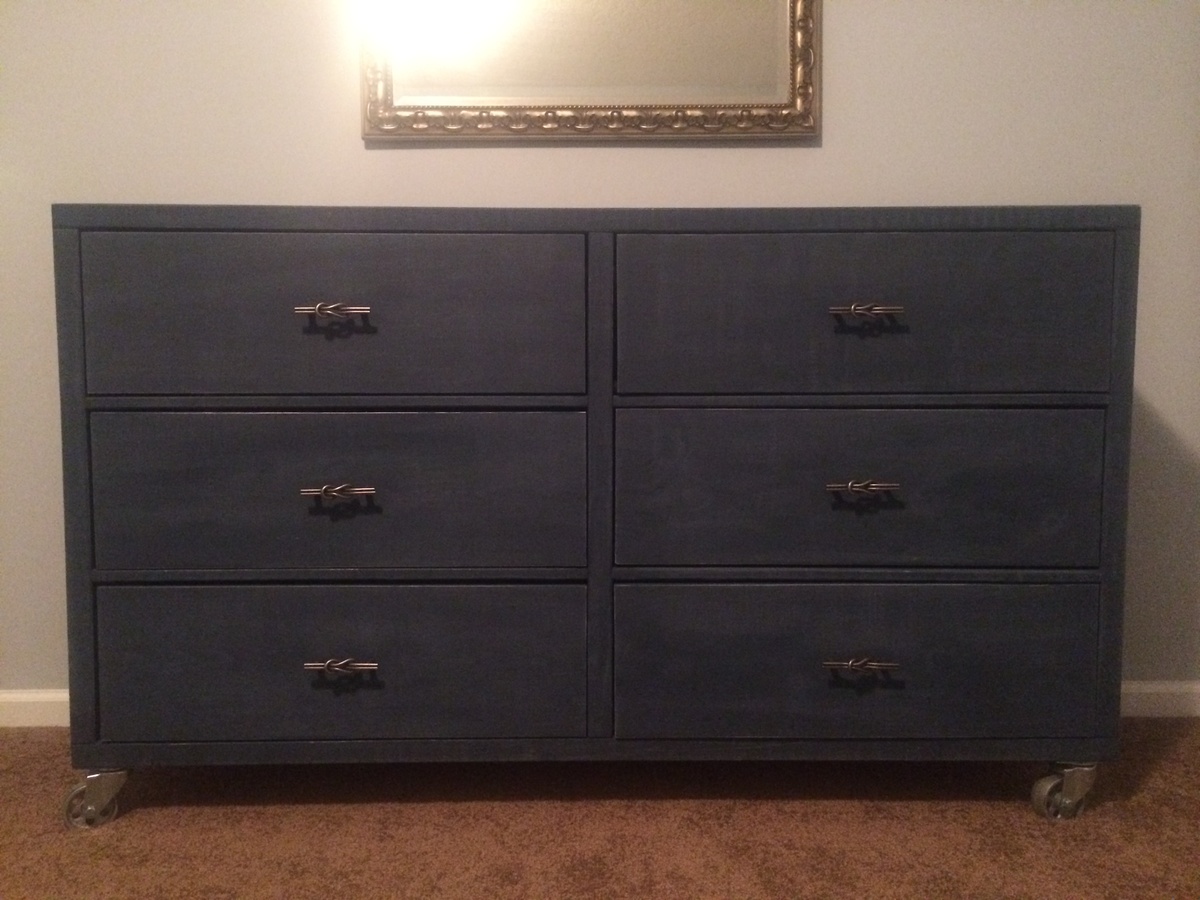
We need bedroom furniture desperately! So, I decided, for my second build I would start in our bedroom! The dresser first, because I was going crazy without a place to put my clothes!
Built from Plan(s)
Estimated Cost
$220
Estimated Time Investment
Weekend Project (10-20 Hours)
Finish Used
Homemade chalk paint
Recommended Skill Level
Beginner
Thanks Ana!
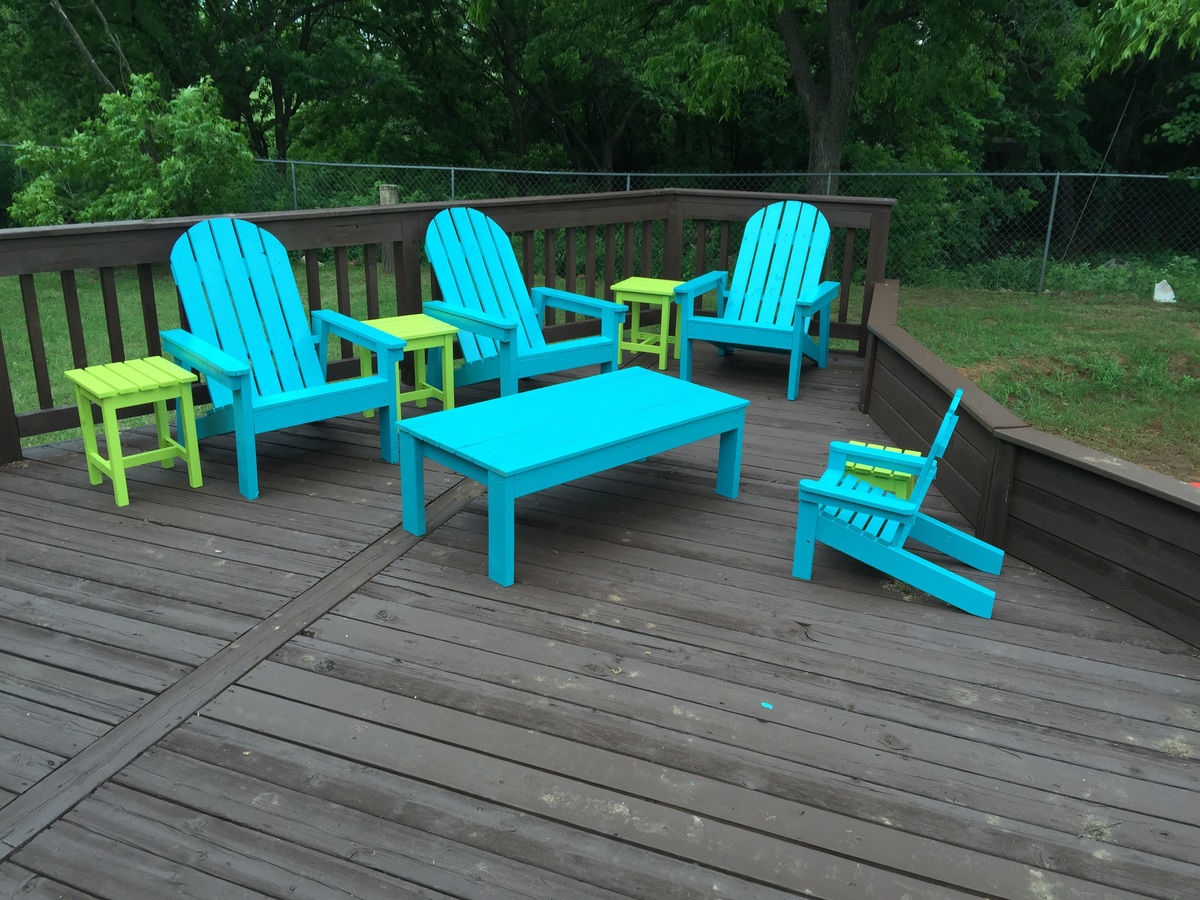
these chairs are so comfortable!
Built from Plan(s)
Estimated Time Investment
Day Project (6-9 Hours)
Finish Used
The blue is exterior hi gloss paint in aqua mosaic from Ace Hardware, the green is Key Lime gloss rustoleum 2x spray paint.
Recommended Skill Level
Beginner
Custom desk
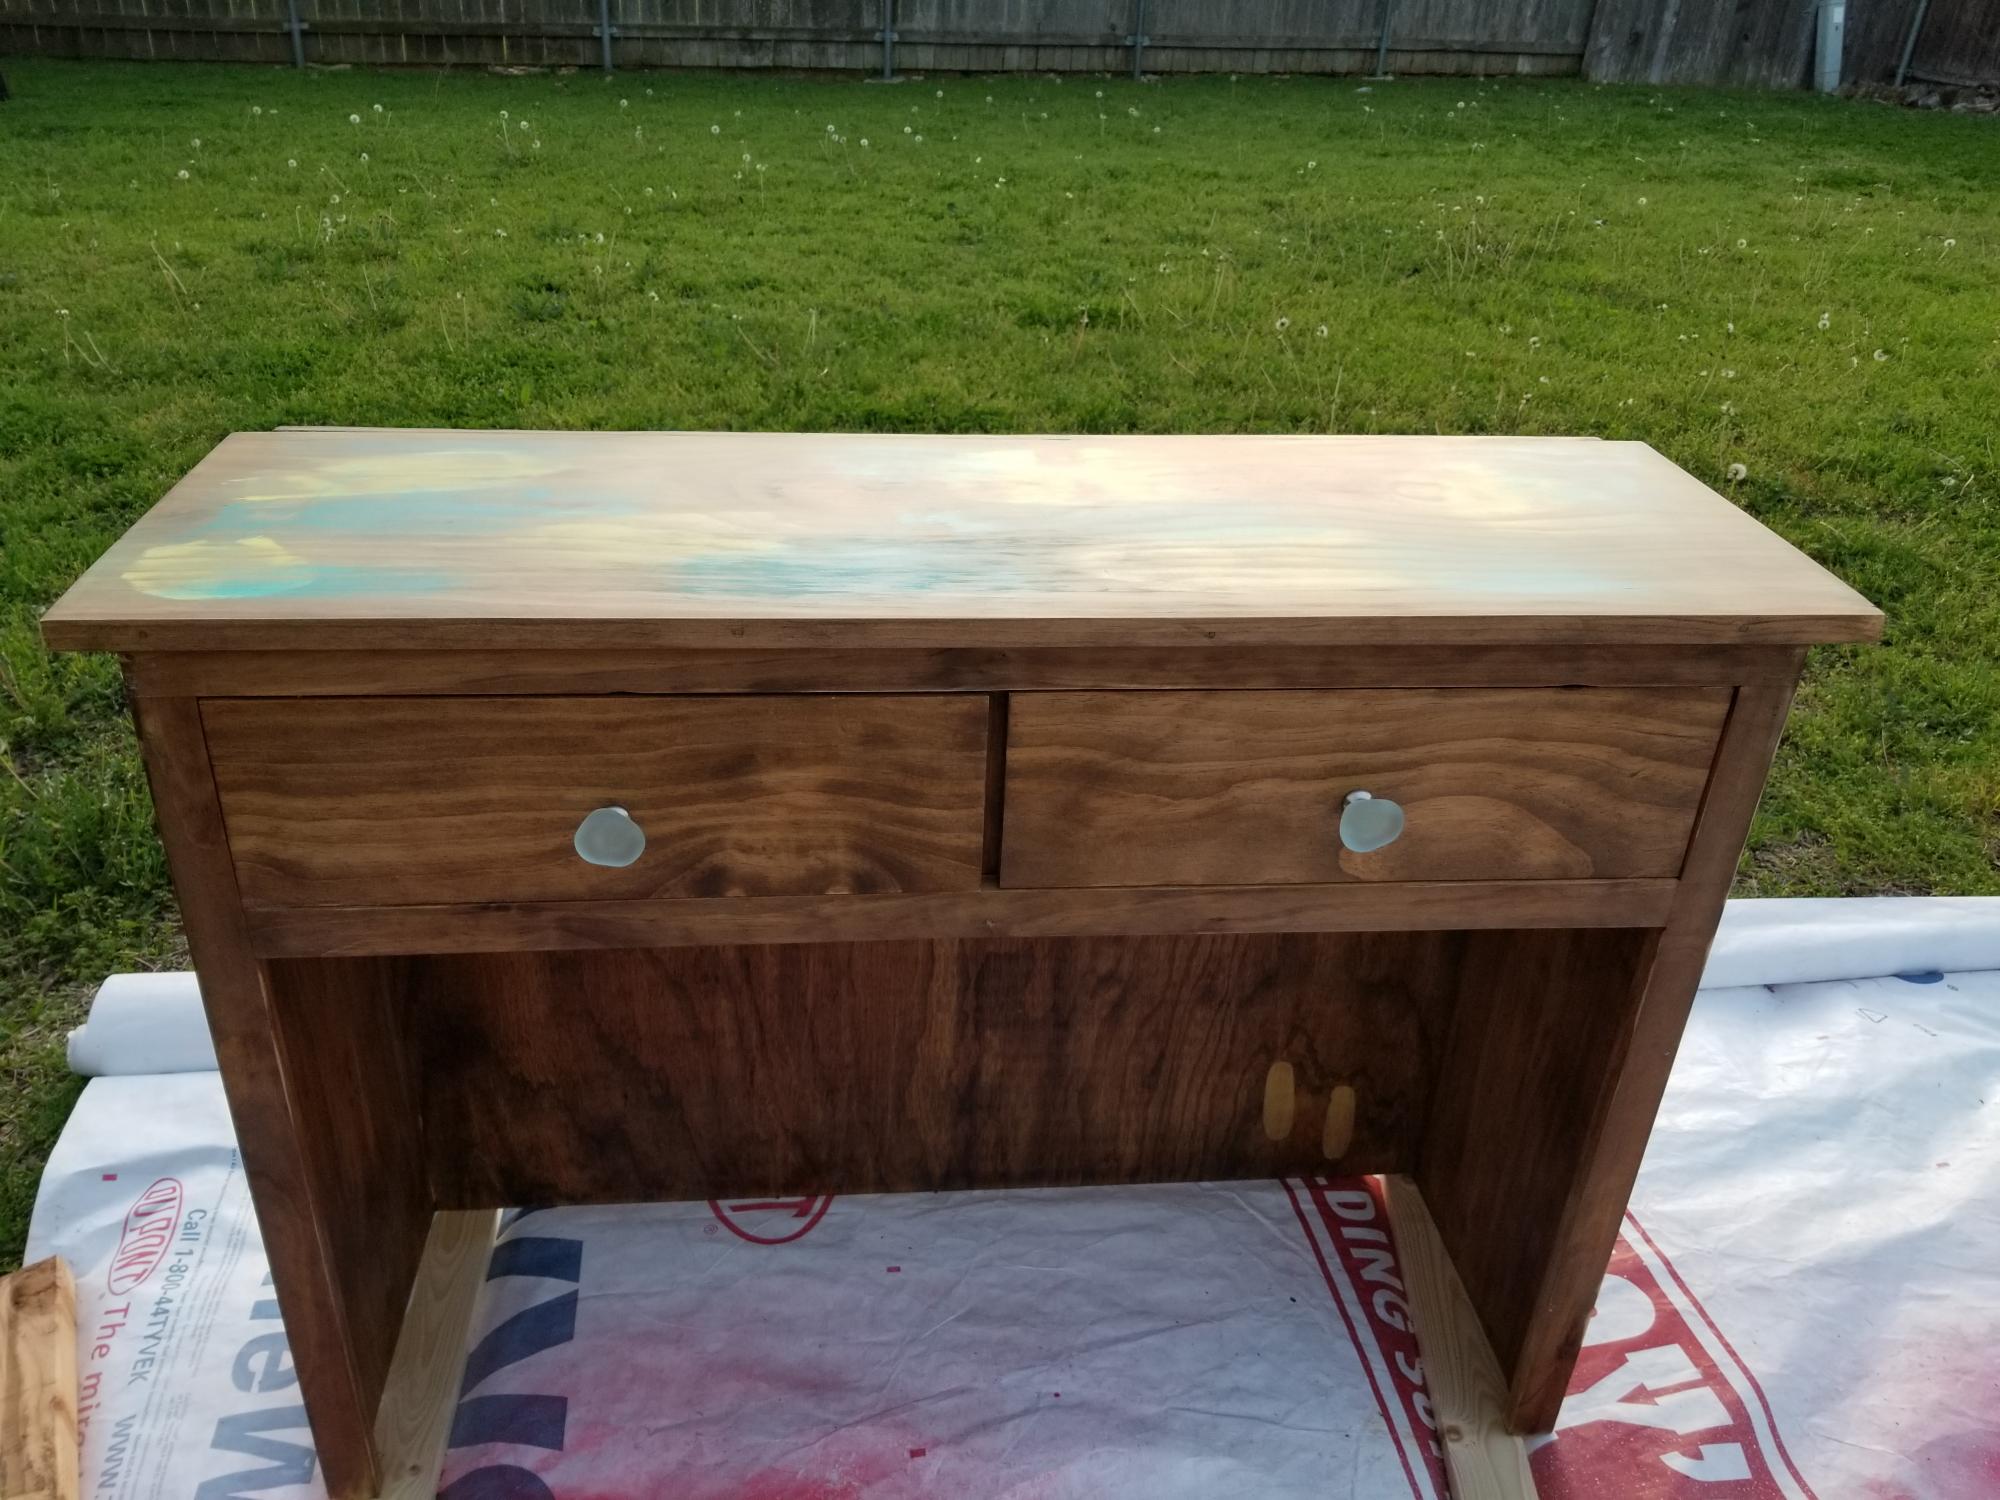
I started with the Cindy Wood Console Table and made some modifications. A friend wanted a desk that had colors added to the top.
Built from Plan(s)
Estimated Cost
$150
Estimated Time Investment
Weekend Project (10-20 Hours)
Finish Used
Mixwax Early American stain
Recommended Skill Level
Intermediate
Wood Console Table
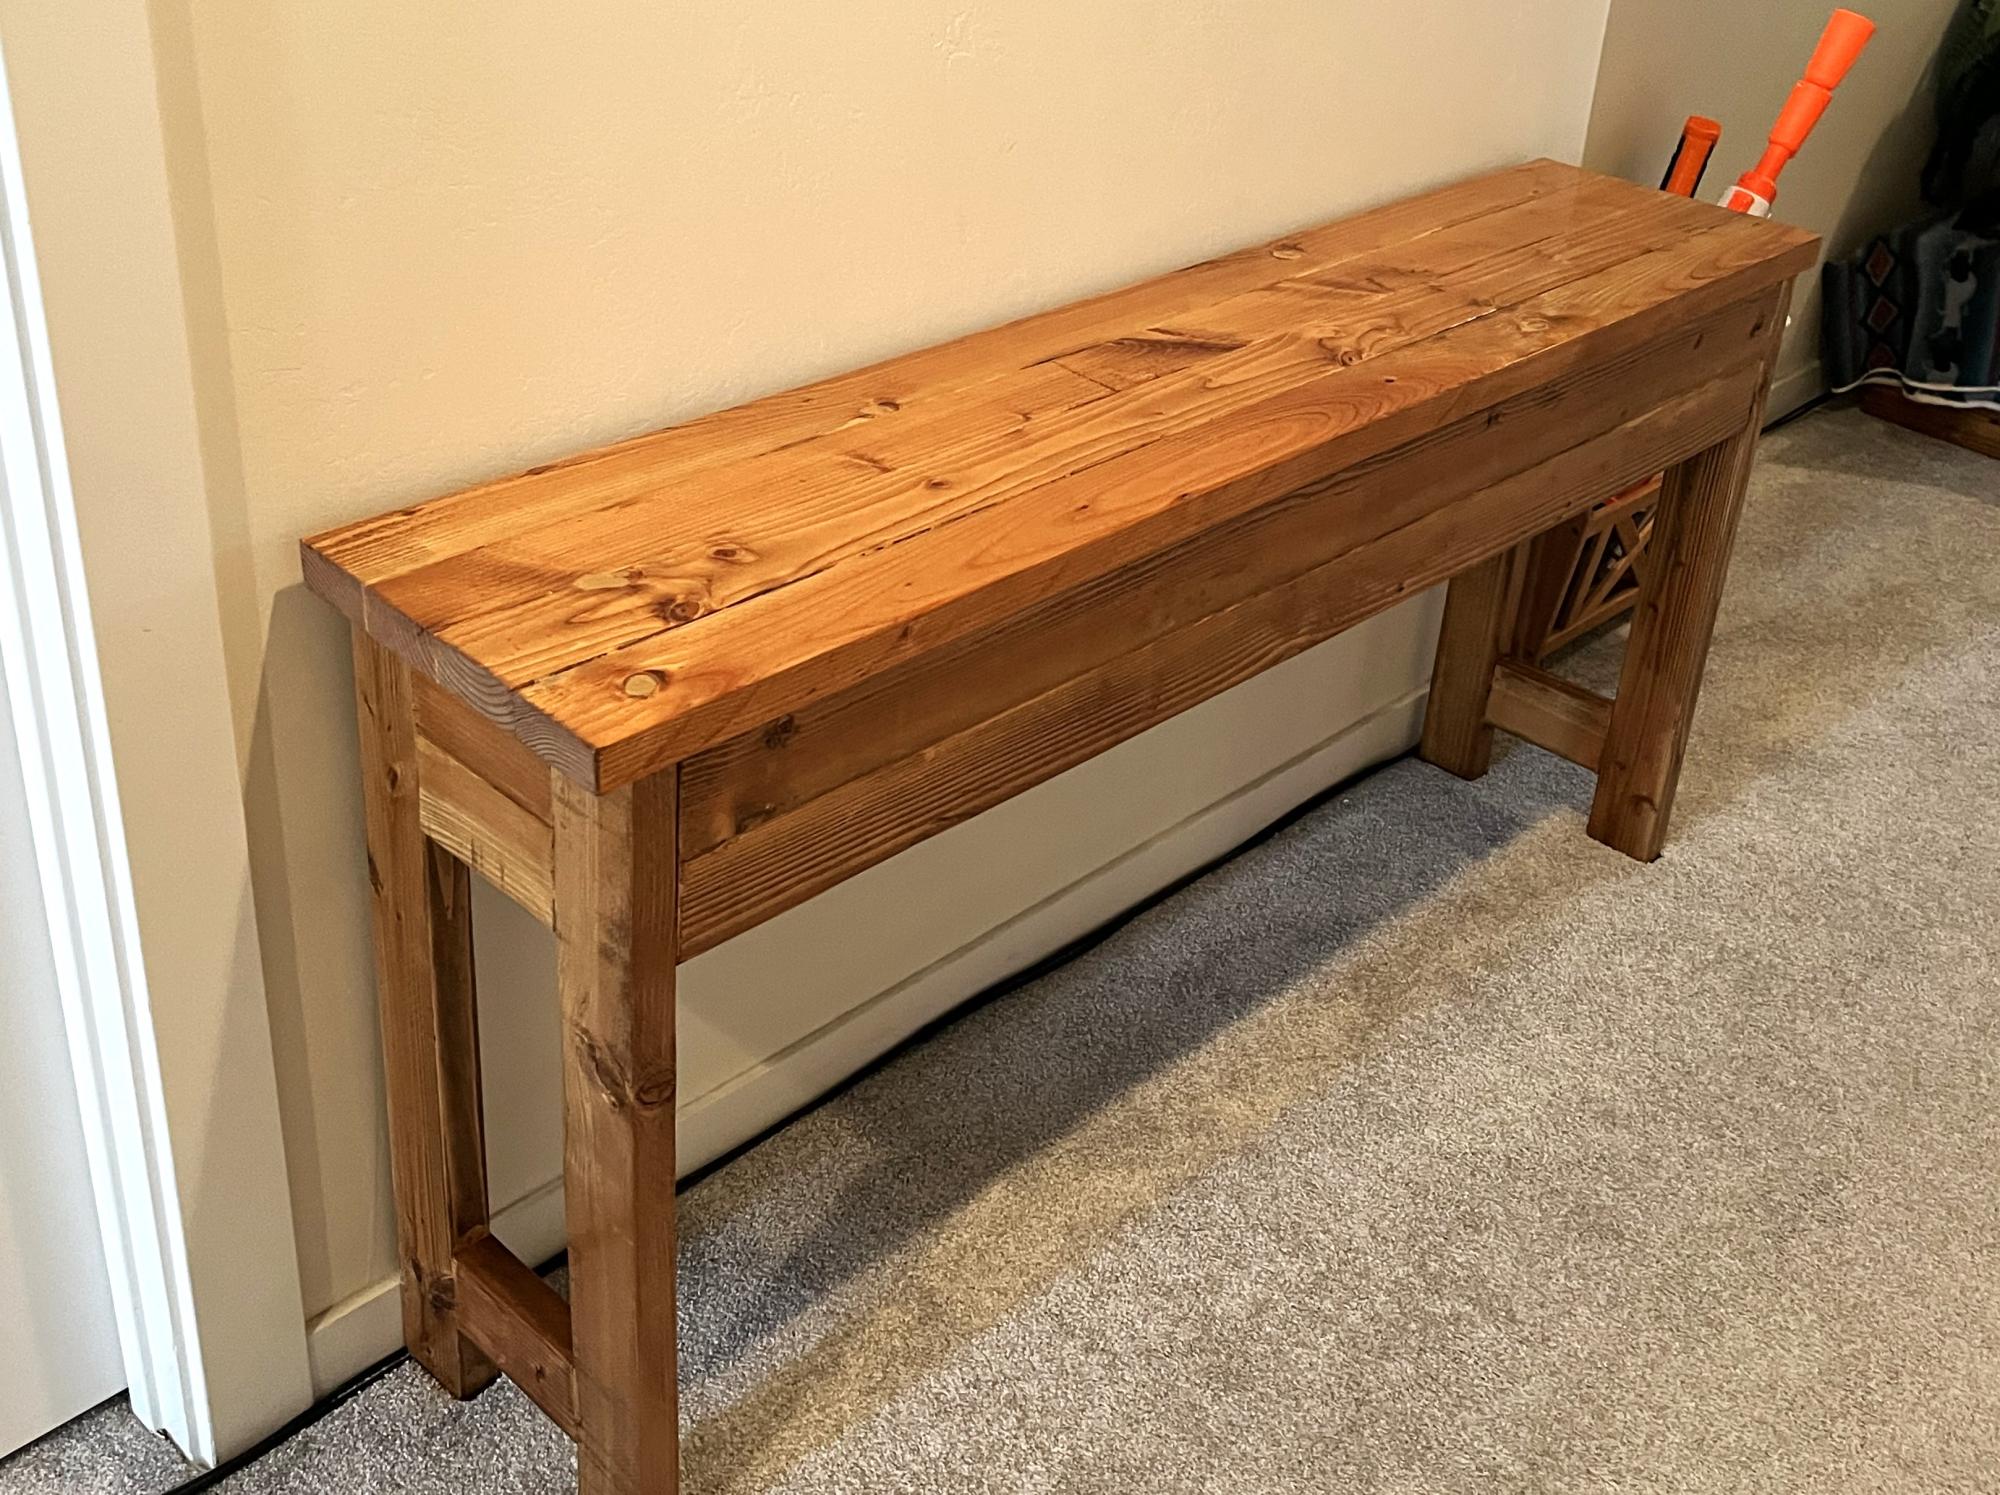
Used your idea with a few modifications
Built from Plan(s)
Dress Up Storage
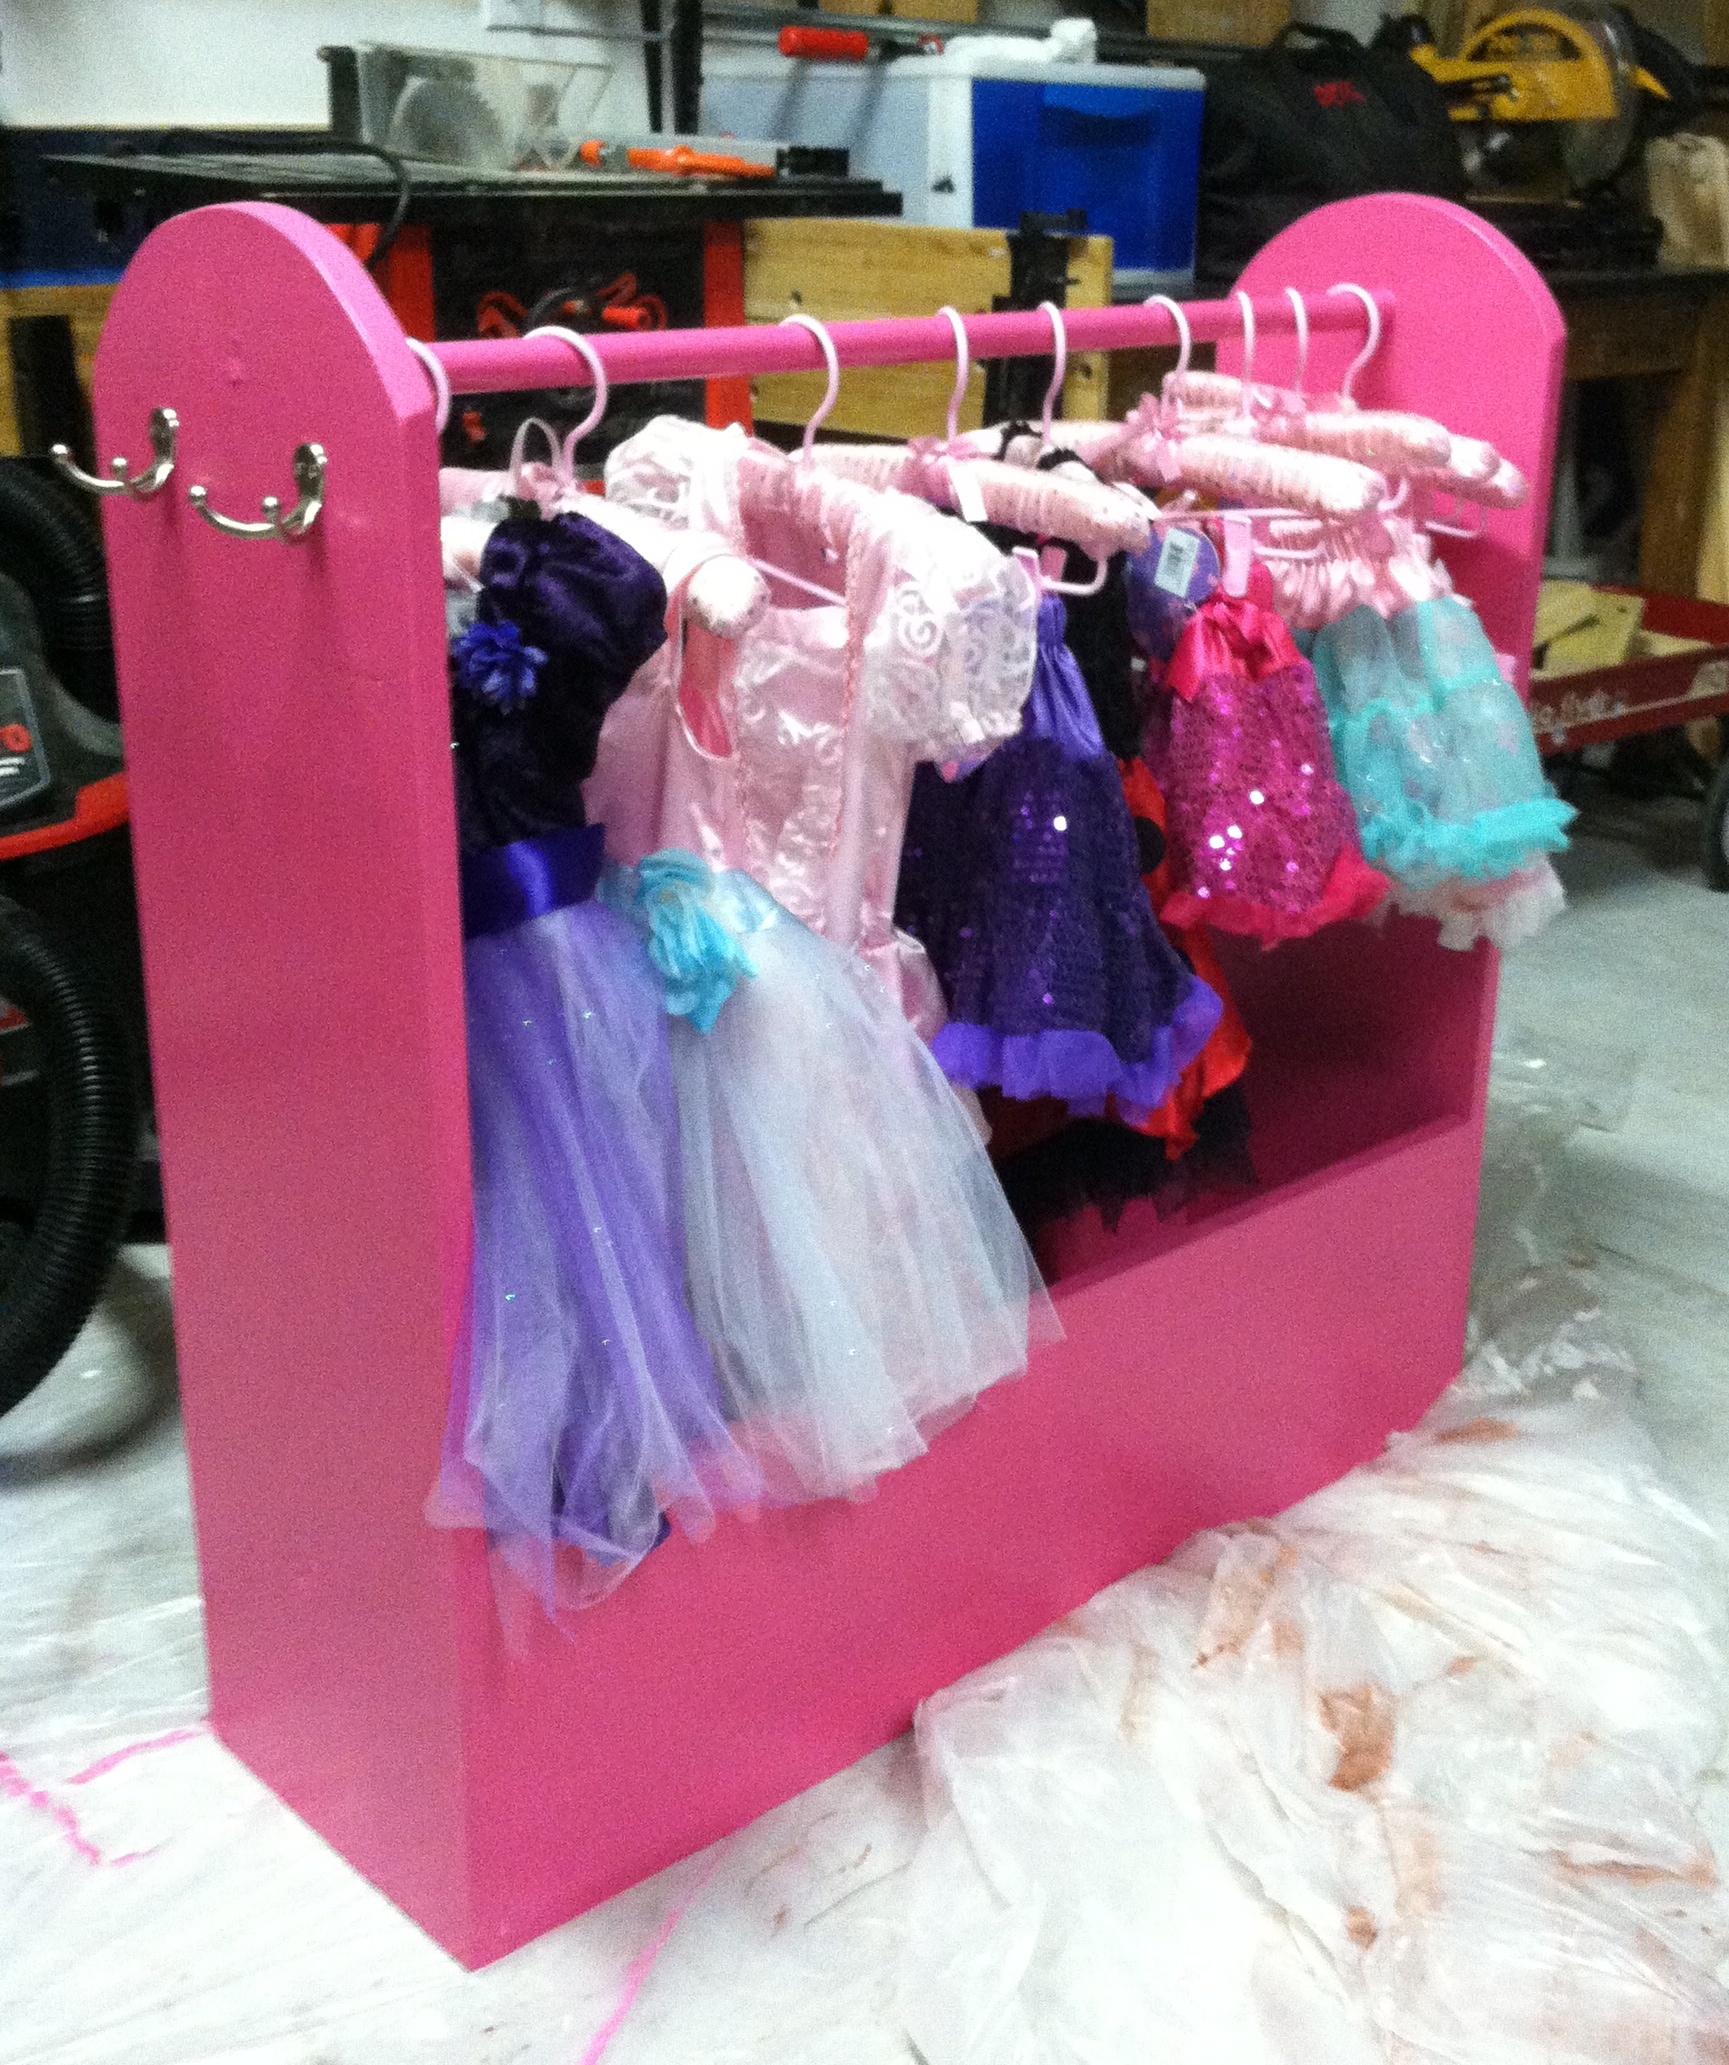
Built this for my daughter's 2nd birthday. Now her dresses, shoes, jewelry, etc. are organized and easily accessible! Of course she immediately threw out the clothes, called it a boat, and climbed inside. At least its being put to use!
Estimated Cost
$20 - had some materials on hand
Estimated Time Investment
Afternoon Project (3-6 Hours)
Finish Used
Flat pink paint and Polycrylic finish
Recommended Skill Level
Starter Project
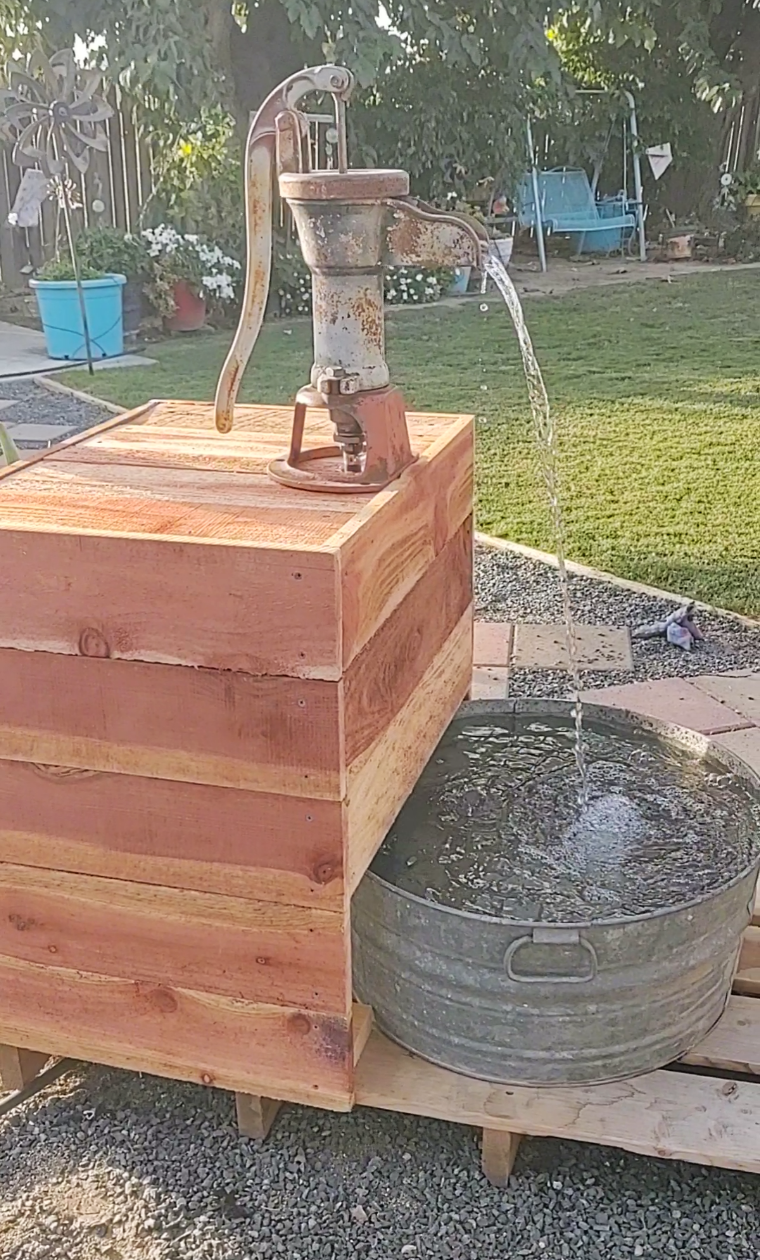
Not a great plan but I managed.
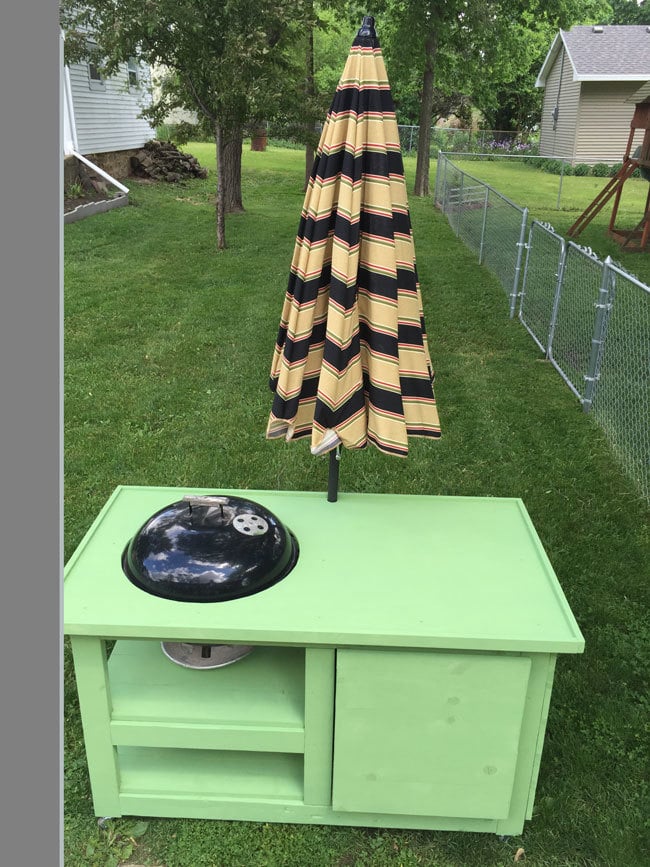
So not all of the measurements in this plan are correct, and it doesn't include any top for the table nor does it box in the back side of the tilt out. The instructions are also very scant. The table comes out very heavy and this design probably could have been done without the heavy 2x4's. I'm used to Ana's designs and this "lady goat" is not close to Ana's work. Definitely glad I have some experience otherwise this would have been a bust. Also with a little Googling, I found that 1/2" metal conduit clamps turned upside down work great for holding the kettle and keeping the heat off of the wood.
Built from Plan(s)
Estimated Cost
Without Grill $150-$200
Estimated Time Investment
Day Project (6-9 Hours)
Finish Used
Exterior Paint
Recommended Skill Level
Intermediate
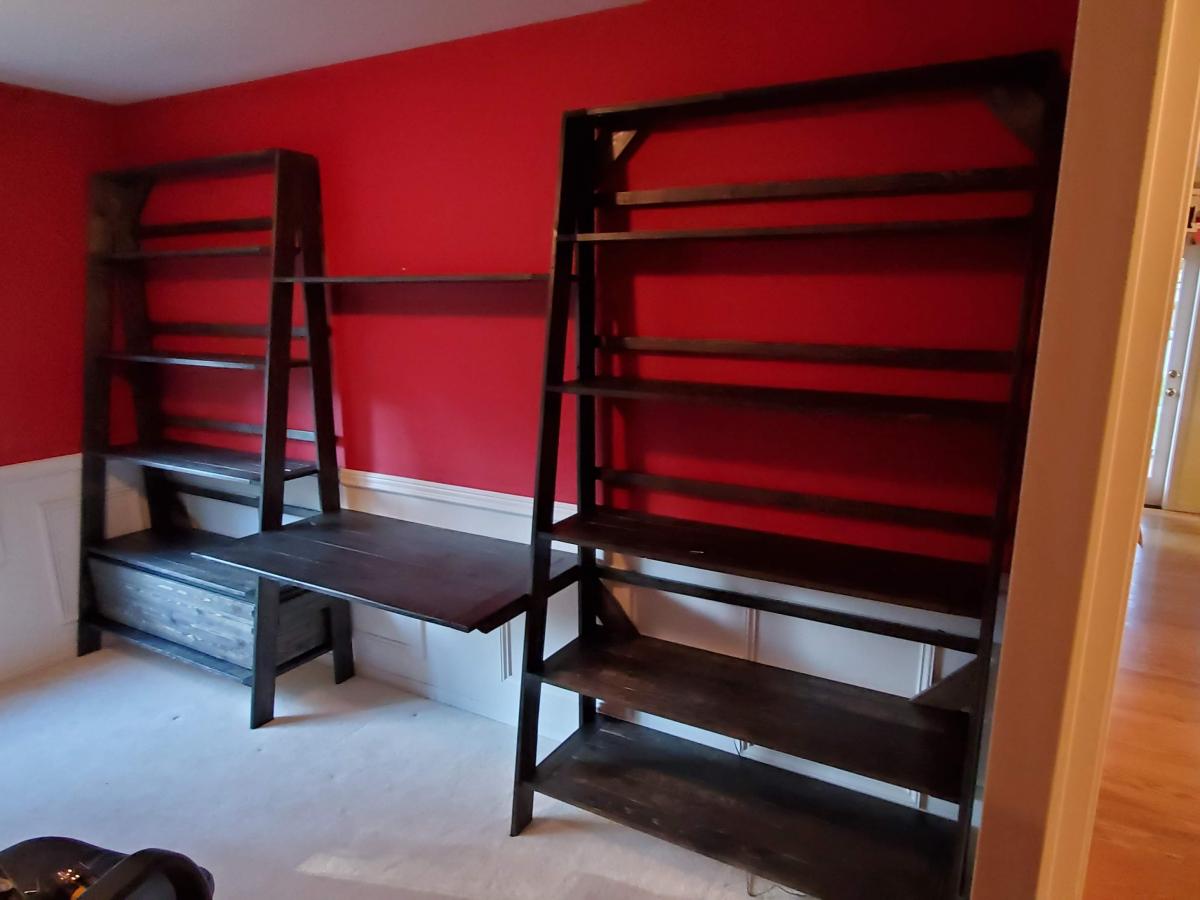
Ladder shelf wall unit with desk and file drawer
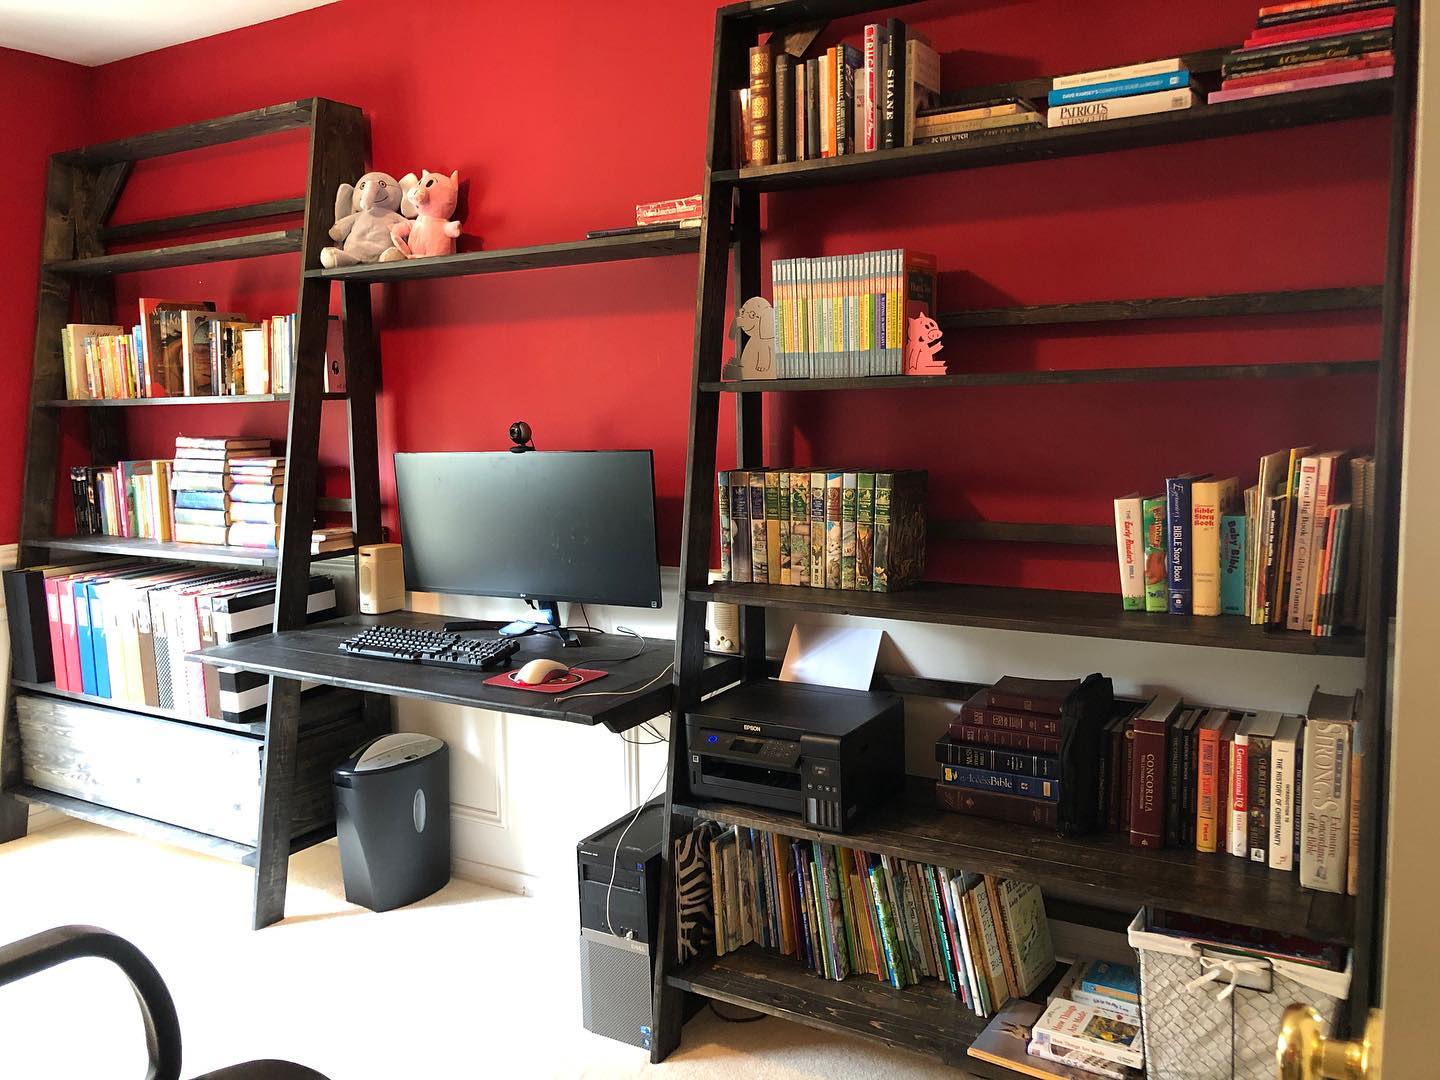
Been in need of shelving and new desk space for the family for a while. Used this post (https://www.ana-white.com/community-projects/ladder-filing-cabinet) as inspiration and then used Autocad to lay it out to fit its space. Took way longer than planned after hurting my back shortly after starting(unrelated) and then just having a busy life with work, family, church, etc. Very proud of the outcome.
I wanted to do the under drawer cabinet slides, but the width and weight of the drawer put too much stress on the slides, so I created pieces to hold the hardware on the sides.
It is just under 12' wide from end to end and 7' tall.
Built from Plan(s)
Estimated Cost
$300
Estimated Time Investment
Week Long Project (20 Hours or More)
Finish Used
Minwax Ebony stain and Varathane polyurethane
Recommended Skill Level
Intermediate


Providence Bench
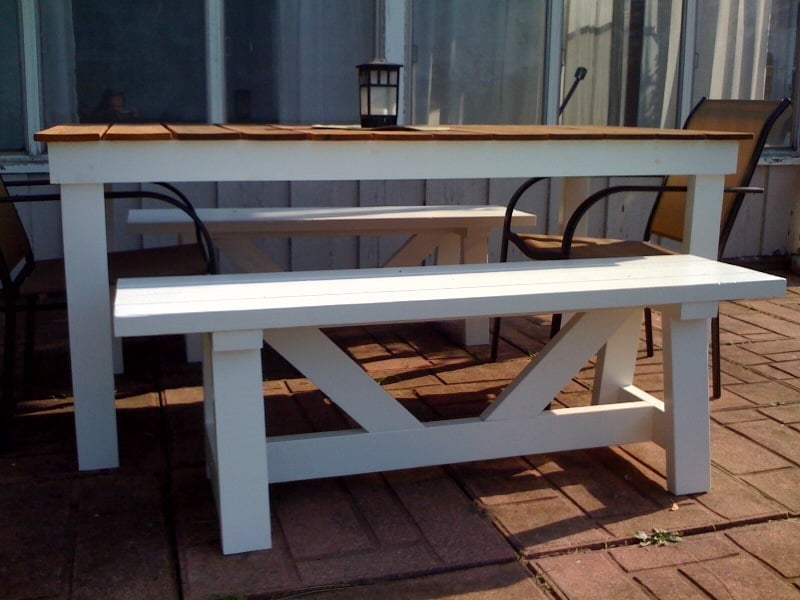
Oh. Em. Gee. The best bench ever. Like, ever, ever. Sturdy as all get out and dude, it's CHEAP. Each bench cost $12.50, man! Of course, this is minus glue, screws, paint, etc.... The second one went up so fast, I could hardly believe it.... I love these benches so hard.
The only thing I wondered about was the 45 degree, angled supports in the middle. In the ones that Brook put together for the plan's photos, they're angled differently than in the actual plans. I put them together according to the plans because I think they look a bit more balanced that way. Thoughts?
Built from Plan(s)
Estimated Cost
15
Estimated Time Investment
An Hour or Two (0-2 Hours)
Finish Used
Zinsser primer, followed by two coats of Valspar exterior semi in Bistro white.
Recommended Skill Level
Beginner
Comments
Mon, 05/21/2012 - 10:48
Your description had me
Your description had me laughing. I think it looks great!
Mirror Conversion

Had some tired old mirrors but needed some new ones for the house. Used some left over 6 by 1s to try out my new router and make some new frames. Also wanted to try out the new Minwax Classic Grey stain on something. I like the look it has given it.
Estimated Cost
$10
Estimated Time Investment
An Hour or Two (0-2 Hours)
Finish Used
Minwax Classic Grey
Recommended Skill Level
Beginner
King size Brandy scrap wood bed
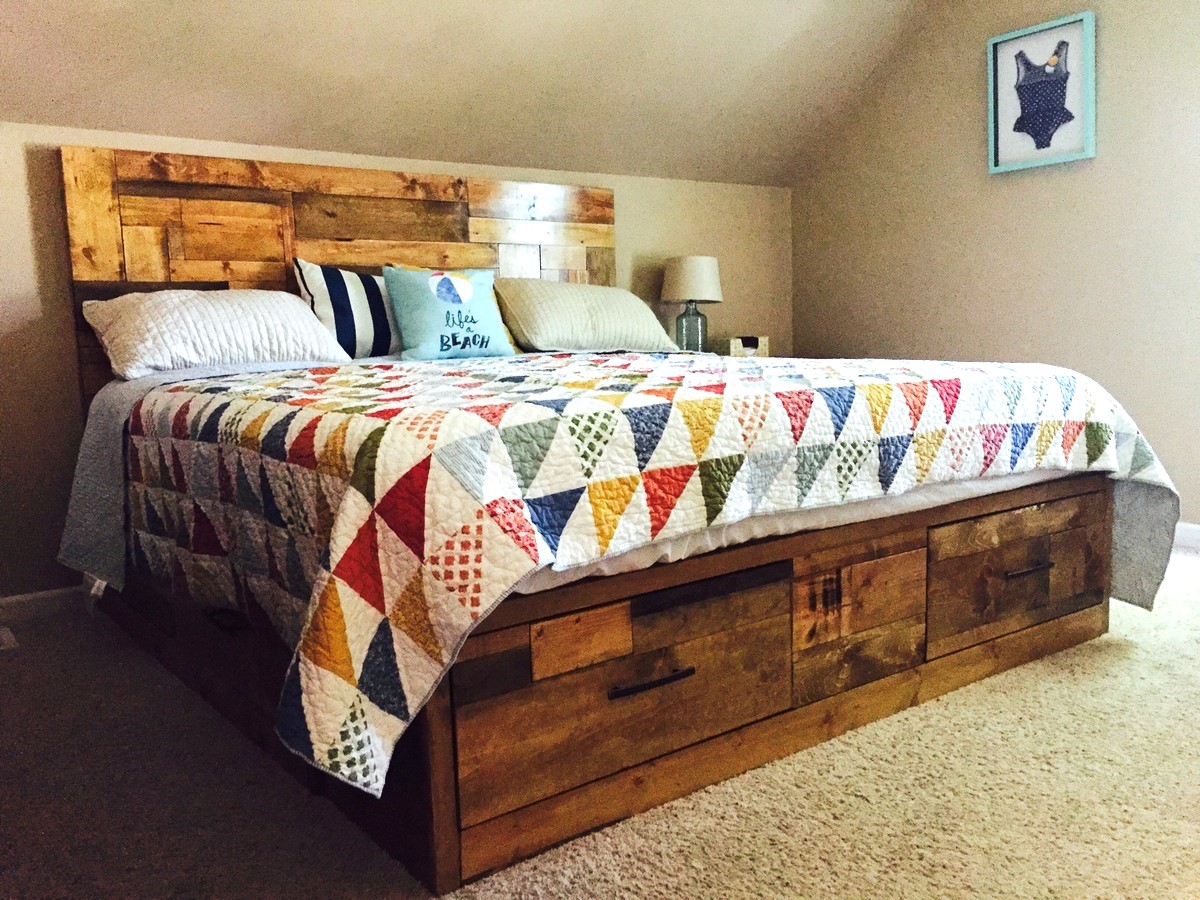
I built this bed for my wife for Mother's Day. I loved the idea of the drawers and I knew she would love the scrap wood look, and lucky for me it just so happened I had a lot of scrap wood. The build was pretty simple other than it was my first time doing drawer slides. I went with the ball bearing slides which were a little tricky to get just perfect, but with a little patience and finding a few tricks along the way I was able to complete this project in a couple days. I also added a simple headboard. I made 1x6 legs connected by (2) 1x4s horizontally with pocket screws. Next I cut a piece of 3/8 plywood the dimension of the headboard wanted so I would have something to nail the 1x scrap pieces to. Finally I trimmed the edges out with 1x2s and stained to match the bed. These are great plans and I loved the fact that I didn't have to be perfect when it came to staining it, all my whoops-a-daisies just turned into character instead of flaws like they normally would!!
Built from Plan(s)
Estimated Cost
$250
Estimated Time Investment
Weekend Project (10-20 Hours)
Finish Used
Golden Oak,
Early American,
Espresso,
Finished with Minwax wipe on poly
Early American,
Espresso,
Finished with Minwax wipe on poly
Recommended Skill Level
Intermediate
Comments
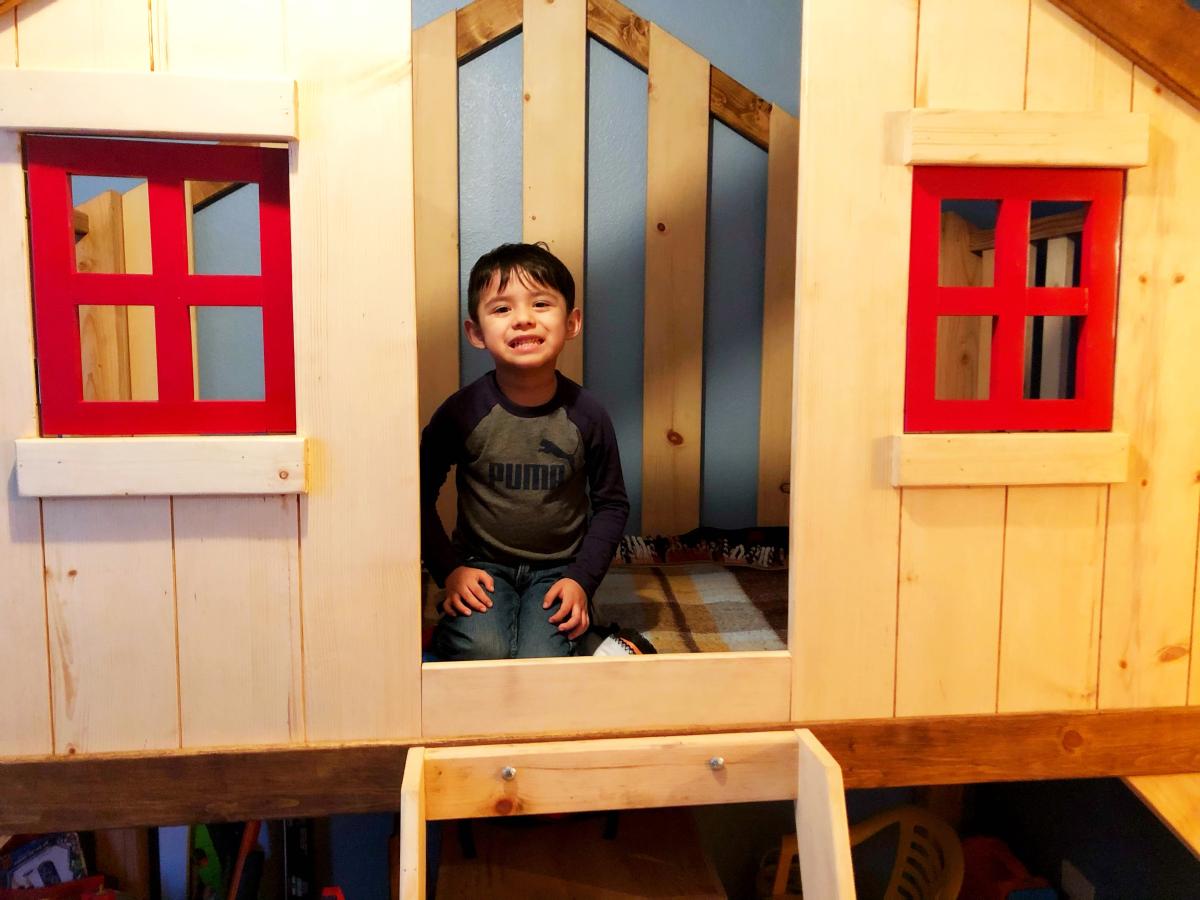
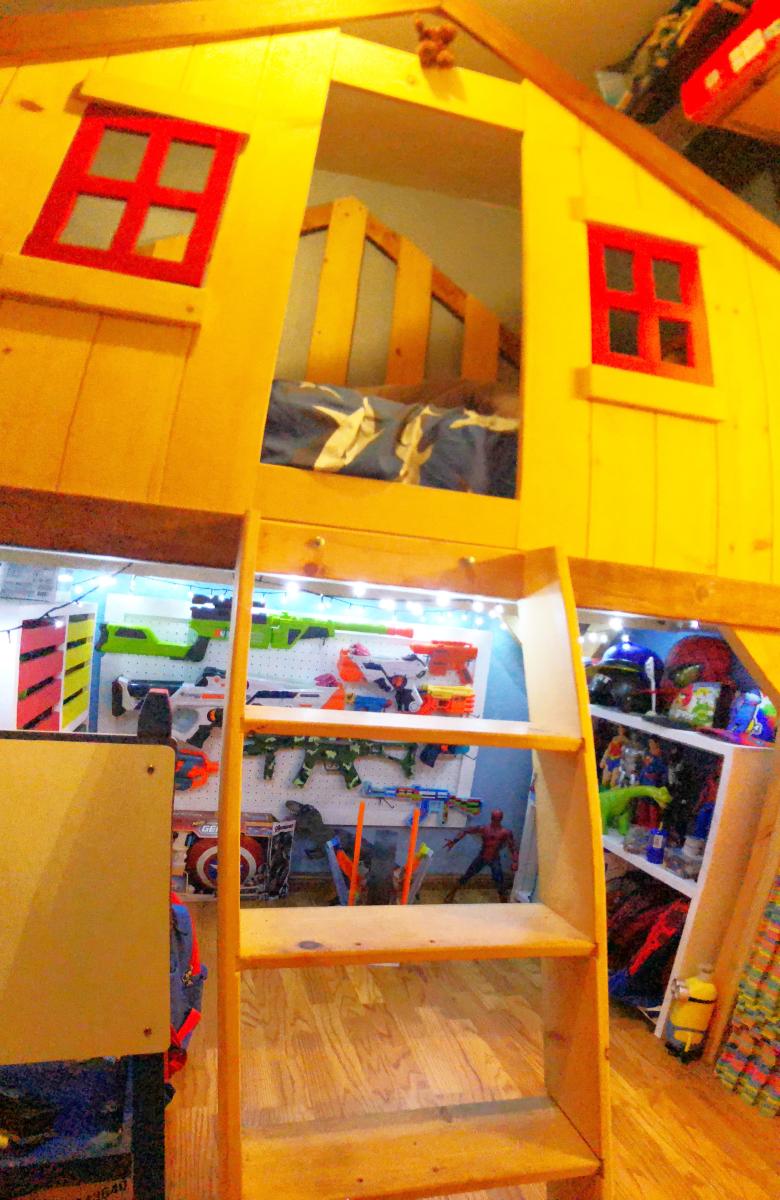
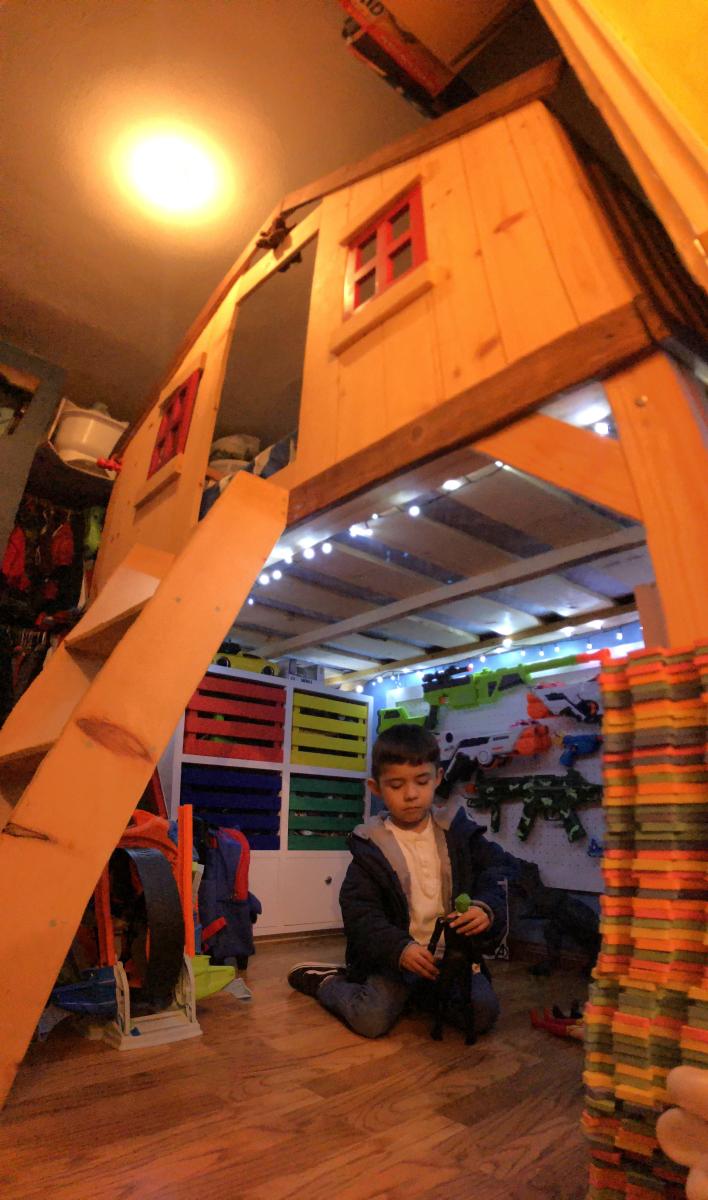
Kids Loft Playhouse Bed
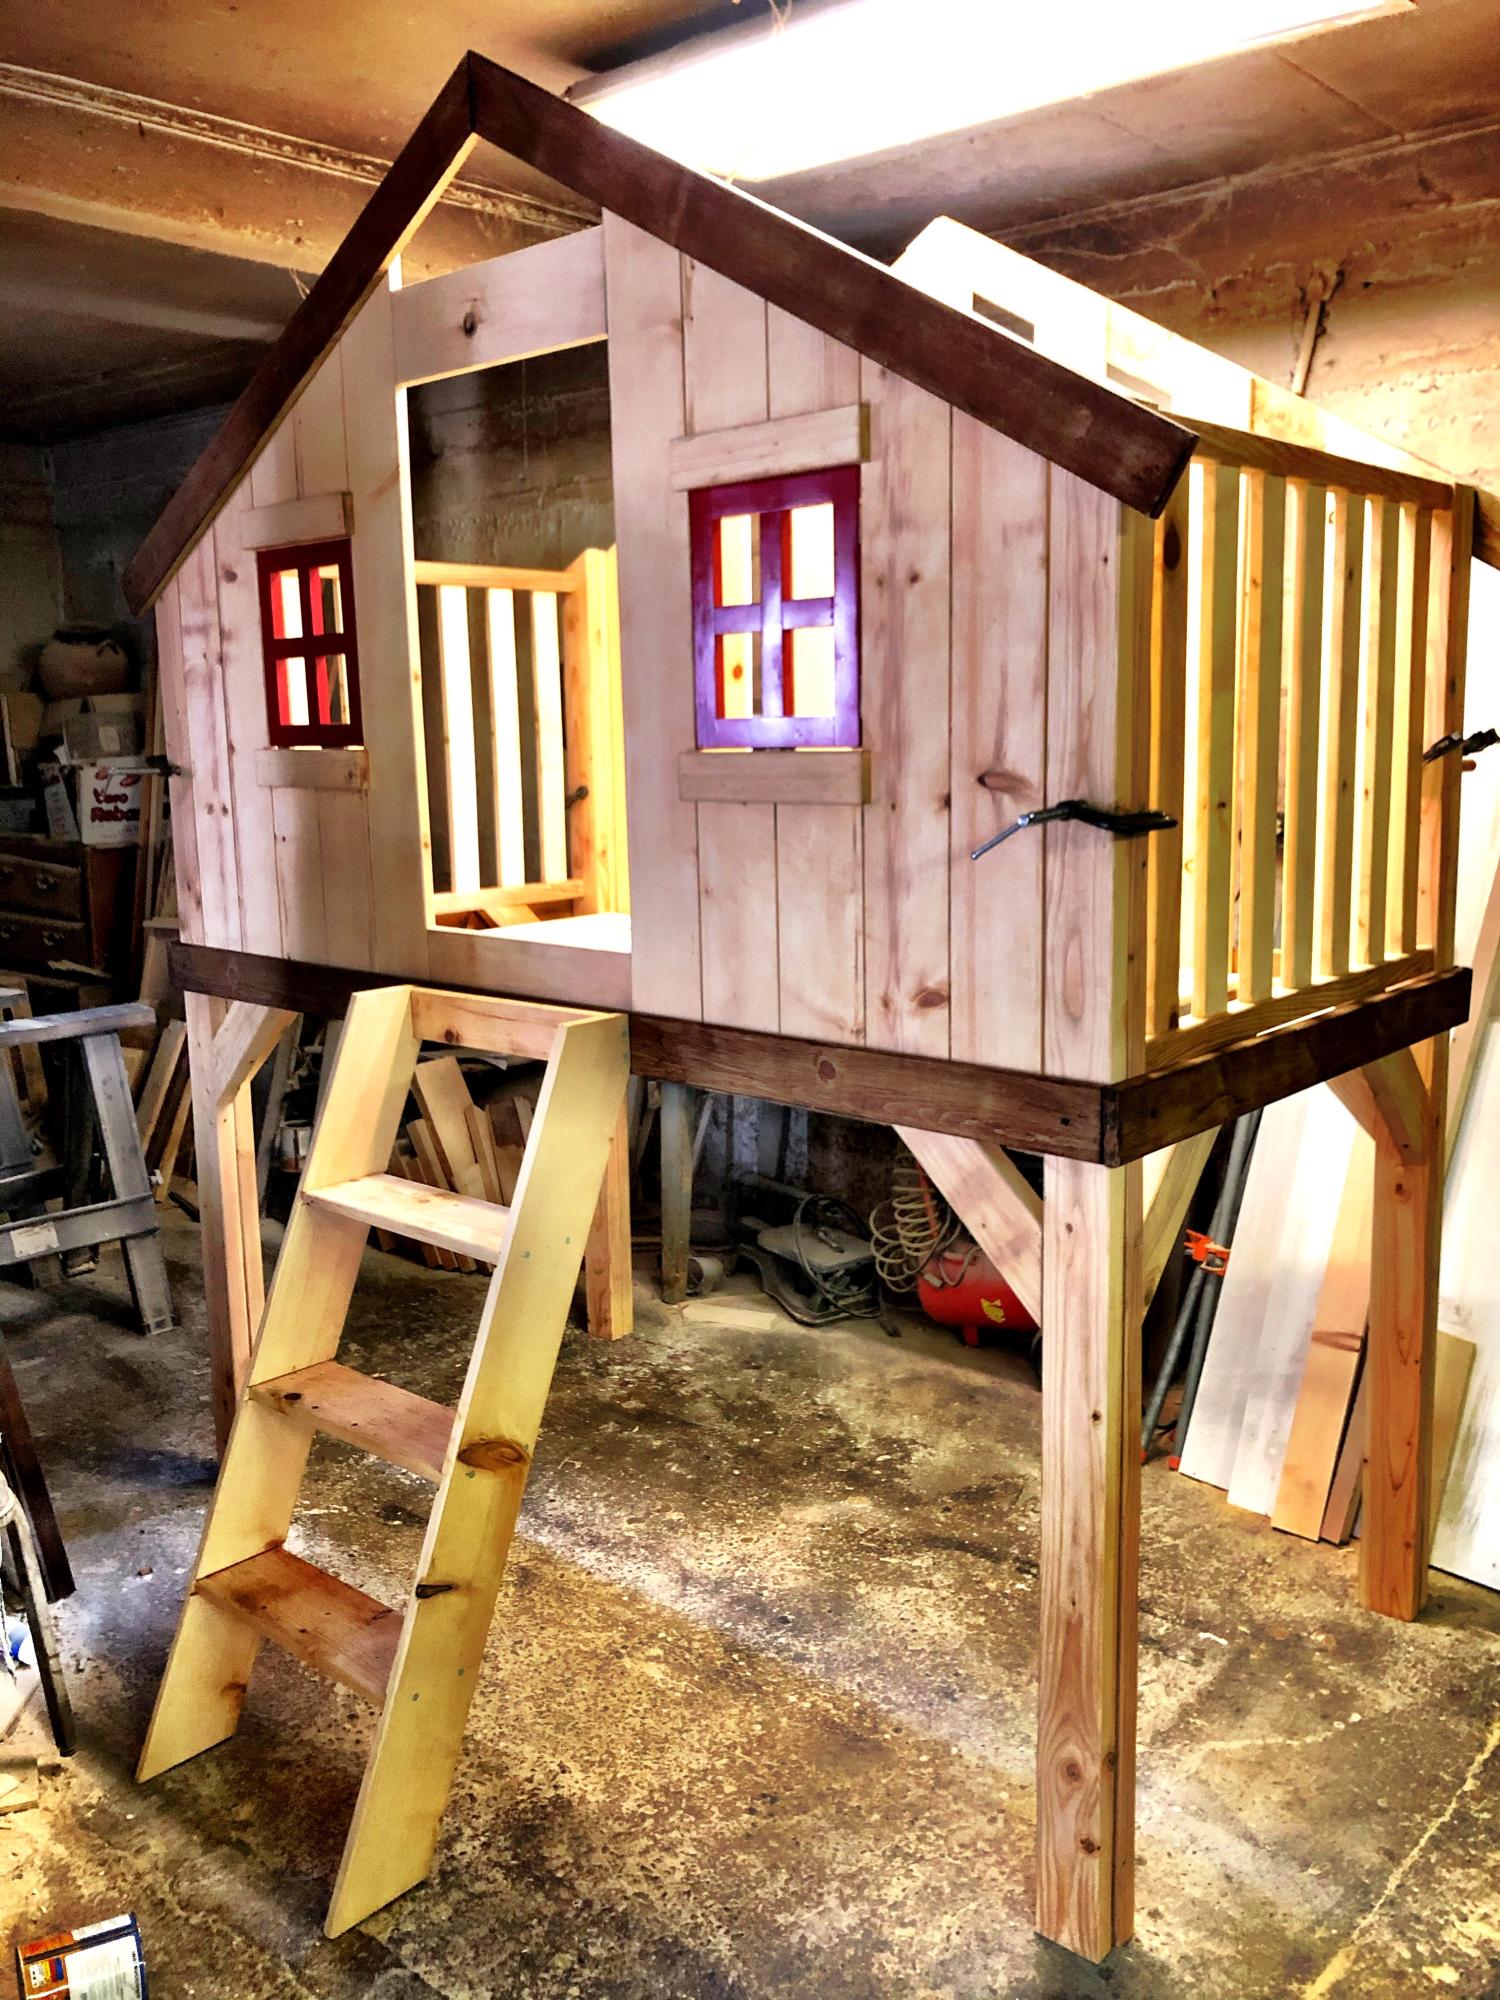
My Kid loved his new bed, I made an extra storage for his toys in the space under the bed so he can play.
Juan Carlos C.
Built from Plan(s)
Birthday see saw

I made this see saw for my baby boy for his 3rd birthday. He loved it! Thanks Ana!
Built from Plan(s)
Estimated Time Investment
An Hour or Two (0-2 Hours)
Finish Used
Flat latex outdoor paint
Recommended Skill Level
Starter Project
Comments

Sat, 05/11/2013 - 02:32
Birthday celebrations
There are several birthday ideas that can help creating mesmerizing moments, if applied correctly. Do not hesitate to explore your unusual side, if you want to surprise others.
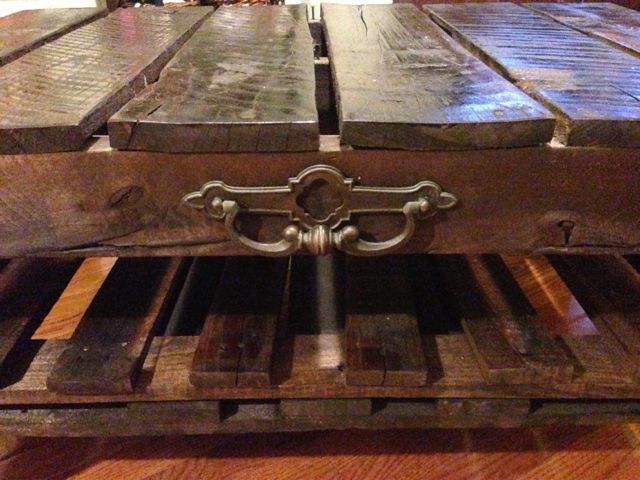
Pallet Rustic Coffee Table with Hinge Top

This is the first piece of furniture I have ever built. I am real happy with how it came out. Spent nearly nothing on it. All the wood is from oak and pine pallets I found on the street. The top piece ended up being the first piece I found and it came exactly as it is, not a typical pallet but was the perfect piece for the top. The brass hinges and lock were found around the house and the front handle is from an old dresser trashed on the curb. The top opens in order to create some easy access storage space. The wheels came off a vintage TV rolling table. Nothing I could afford would have looked this good.


Estimated Time Investment
Weekend Project (10-20 Hours)
Finish Used
Minwax Jacobean
Recommended Skill Level
Starter Project
Bathroom storage shelf
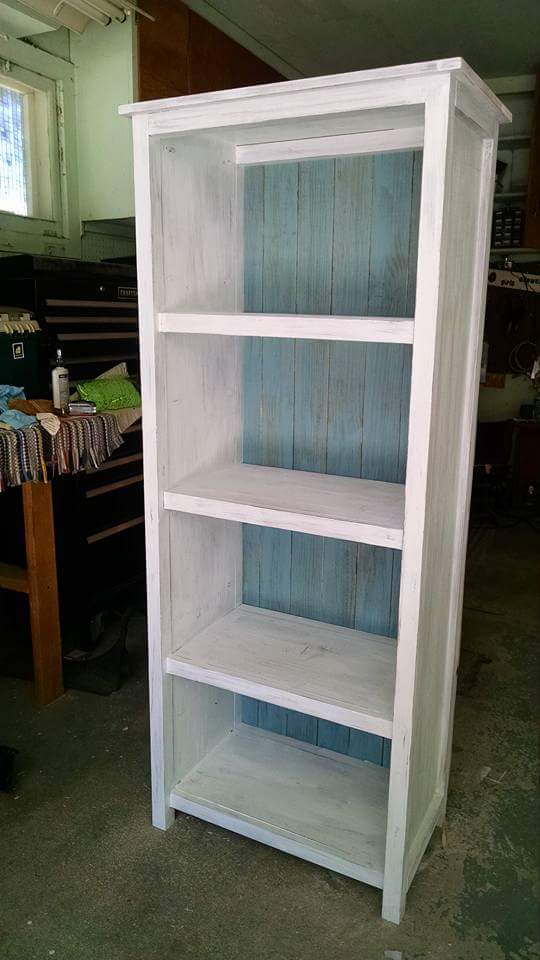
This was an awesome project and very manageable. My only problem (besides filling the pocket holes) was the measurement for the side trim (1x2x11 1/4) - my 1x12 measured a little larger so I had to re-cut those to fit. Should have checked it out earlier. I thought about adding doors to the lower half but then changed my mind because of how nice it looked. Love it!!
Built from Plan(s)
Estimated Cost
$100+
Estimated Time Investment
Weekend Project (10-20 Hours)
Finish Used
Stain and white and blue paint
Recommended Skill Level
Beginner