Community Brag Posts

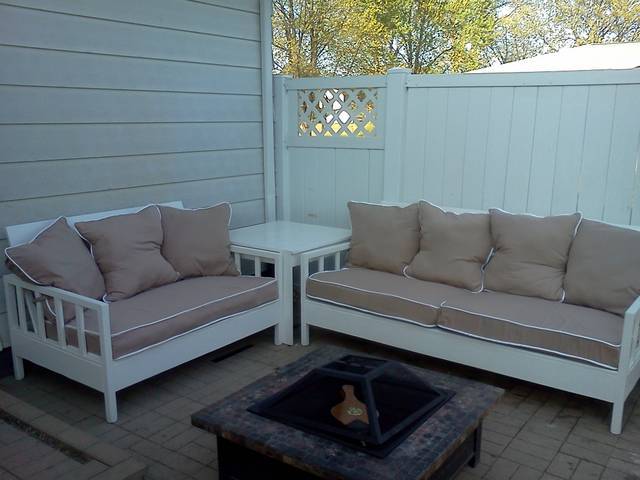
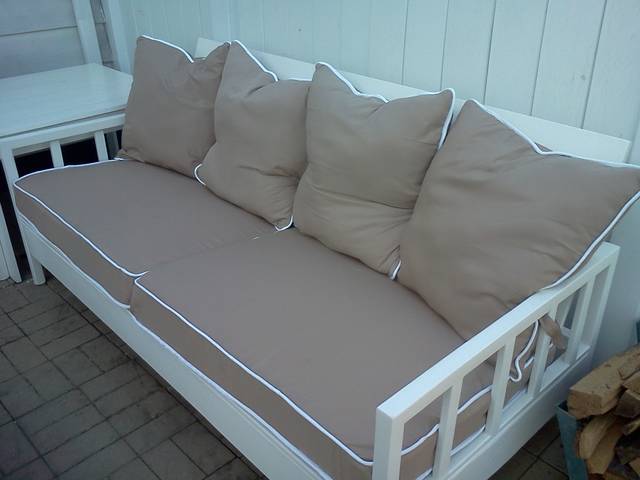
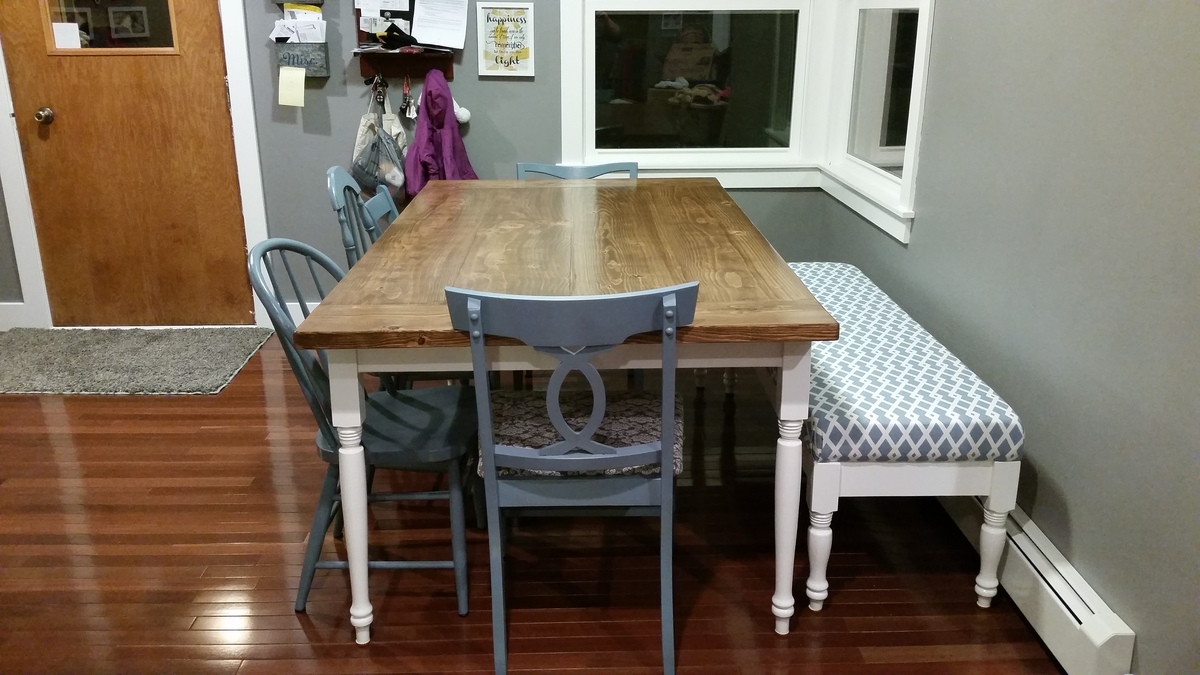
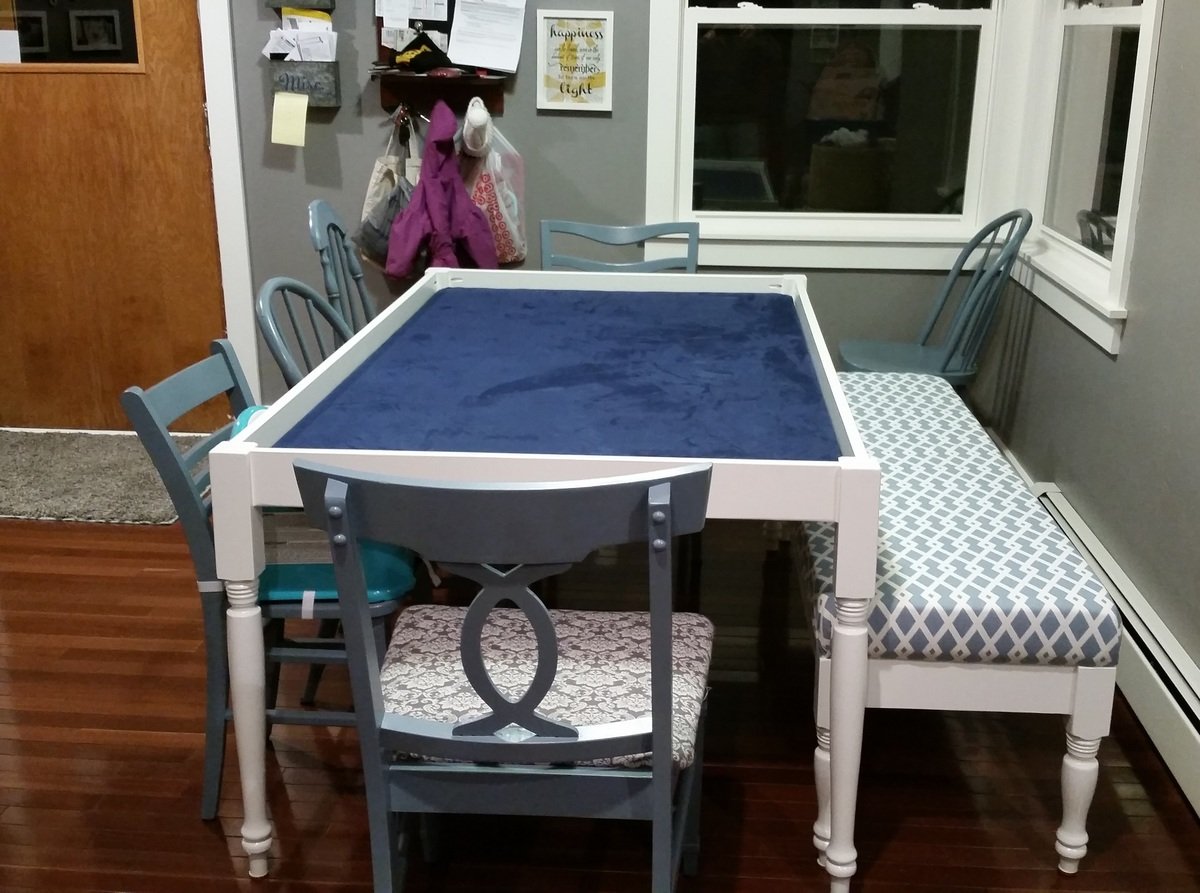
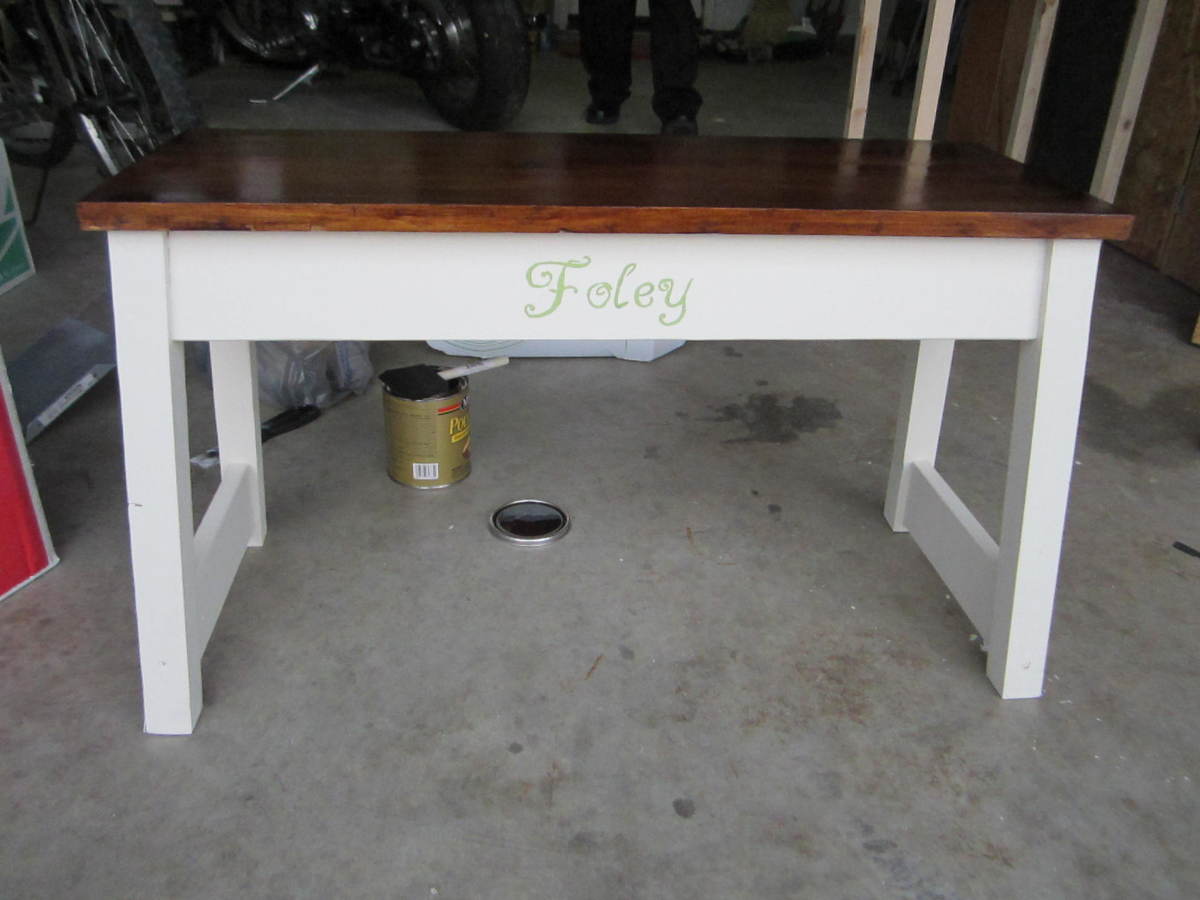
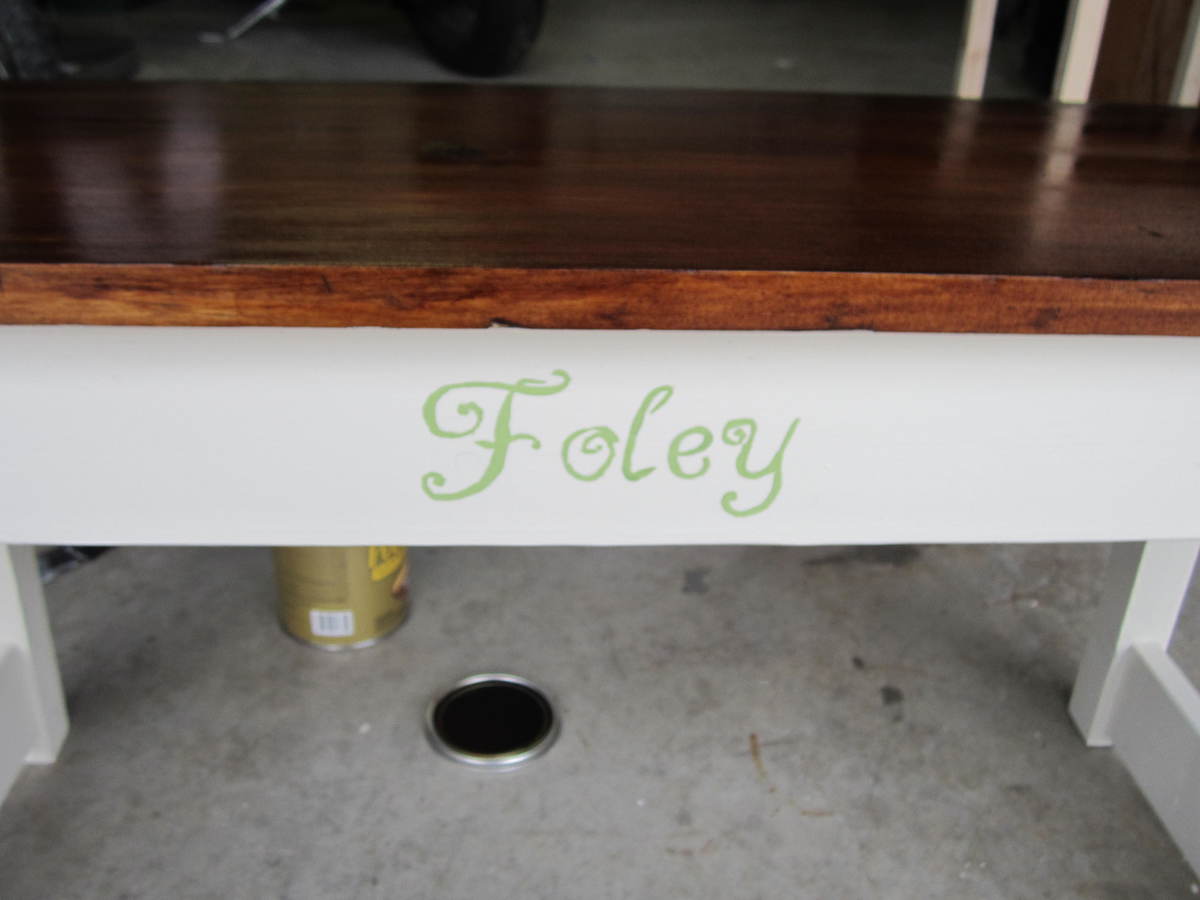
Simple White Outdoor Sofa and Loveseat

Submitted by Peoriajess on Mon, 04/09/2012 - 08:48

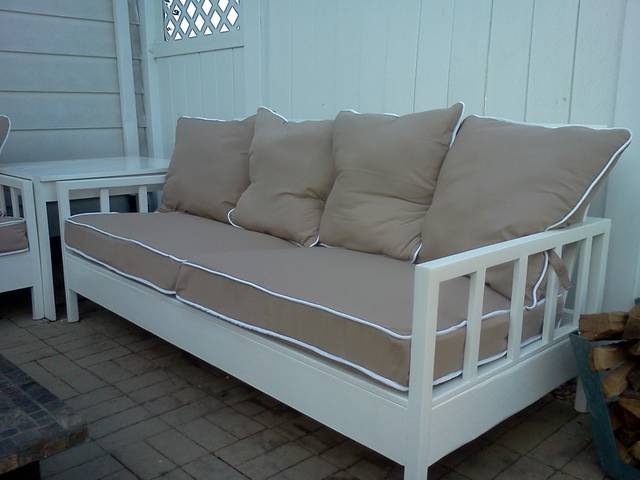
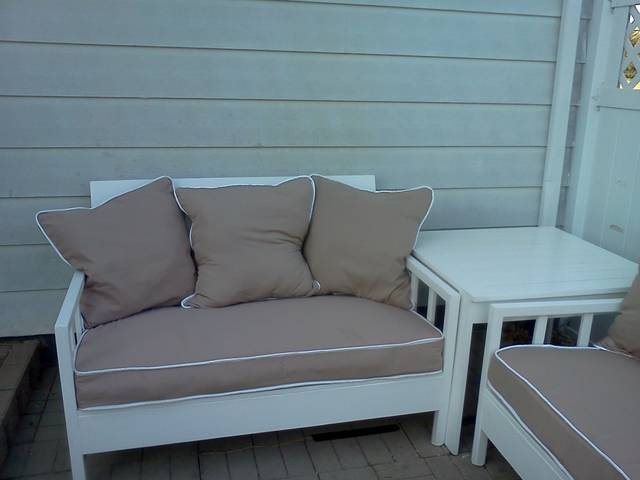
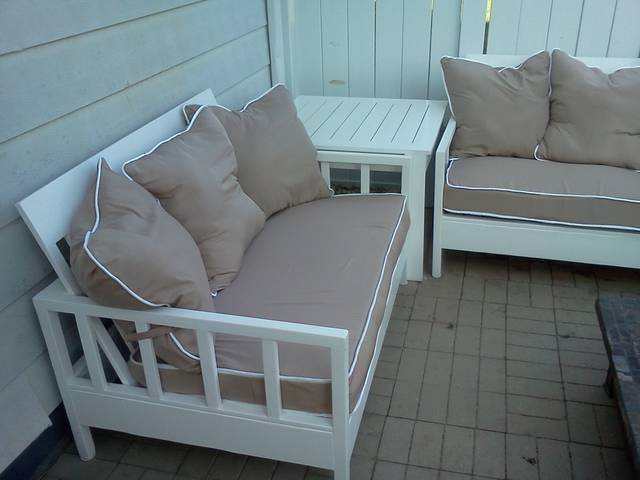
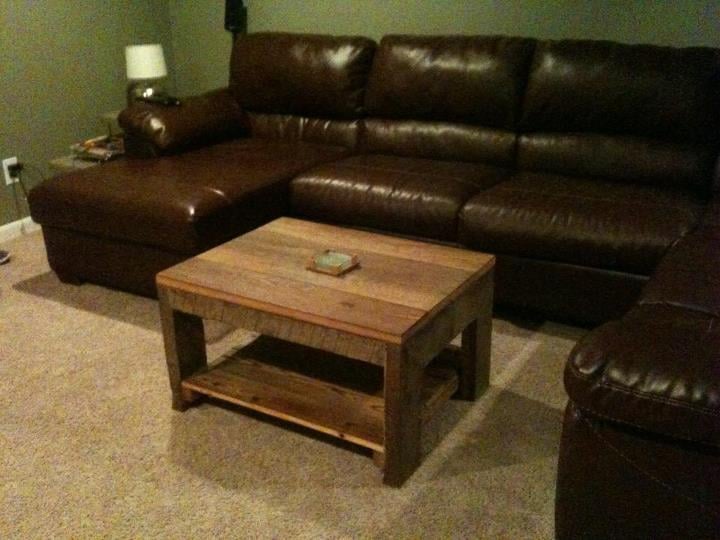
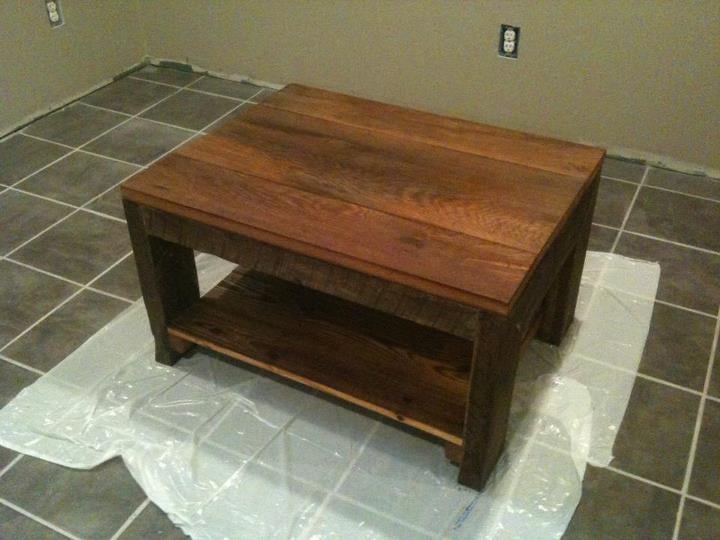
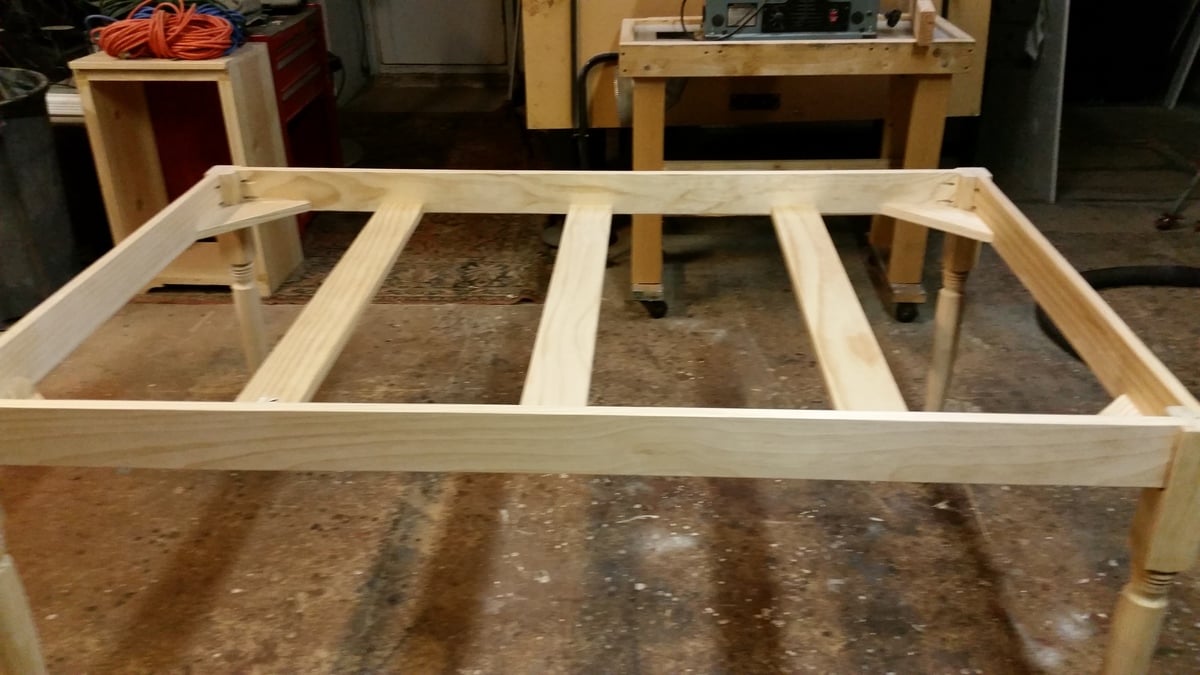
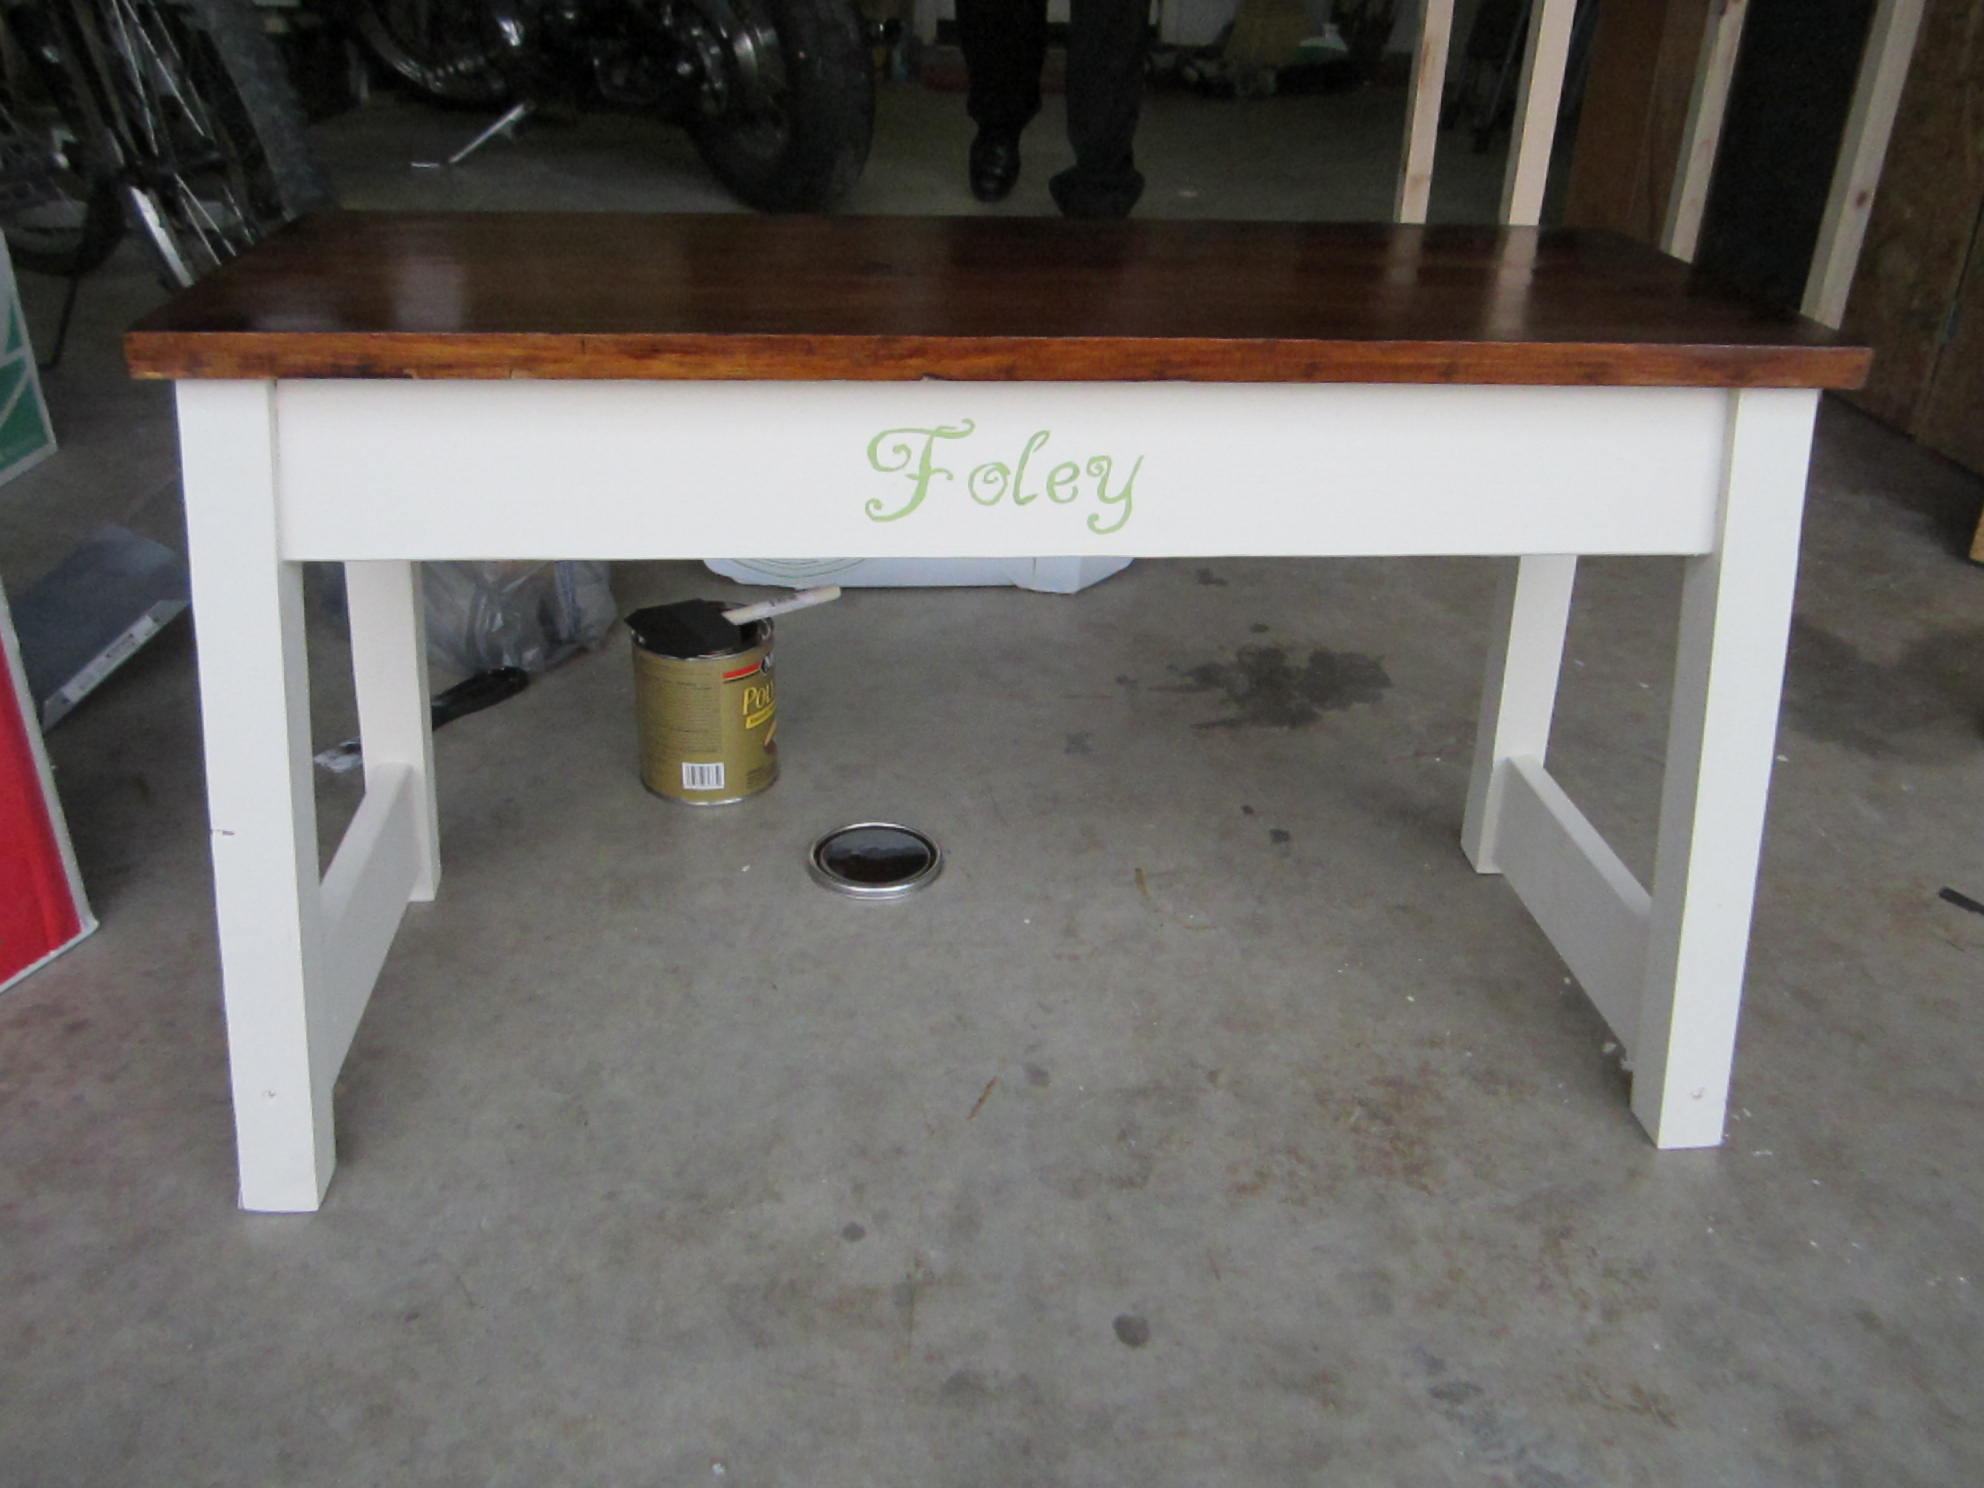
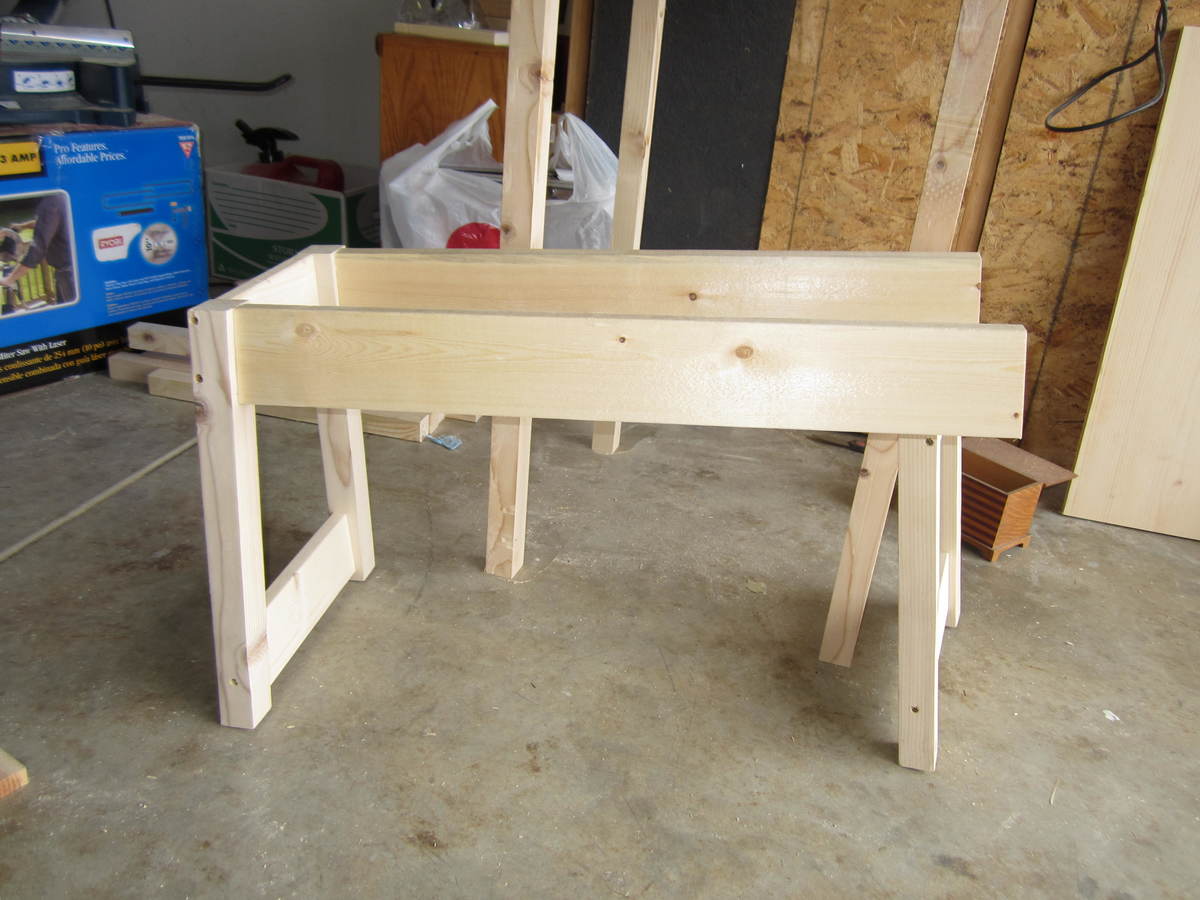
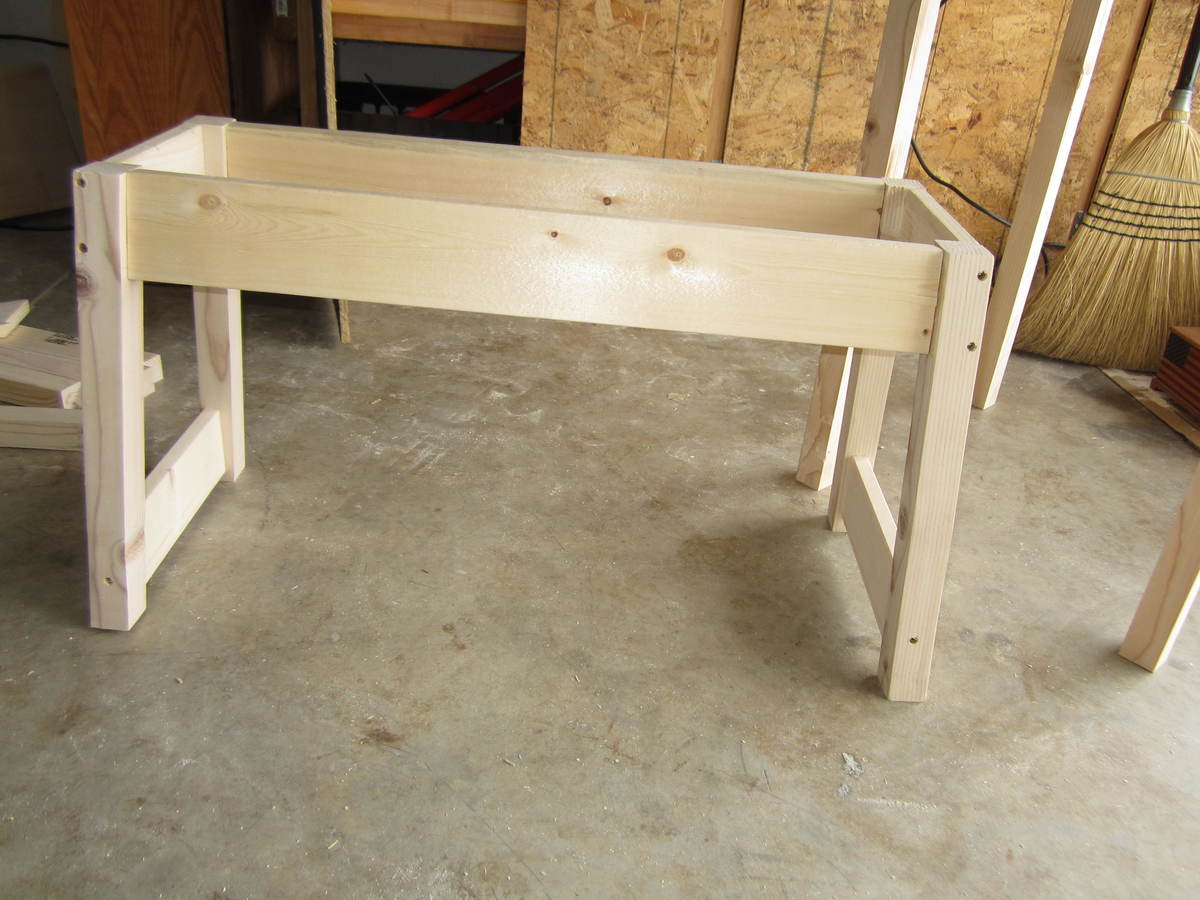
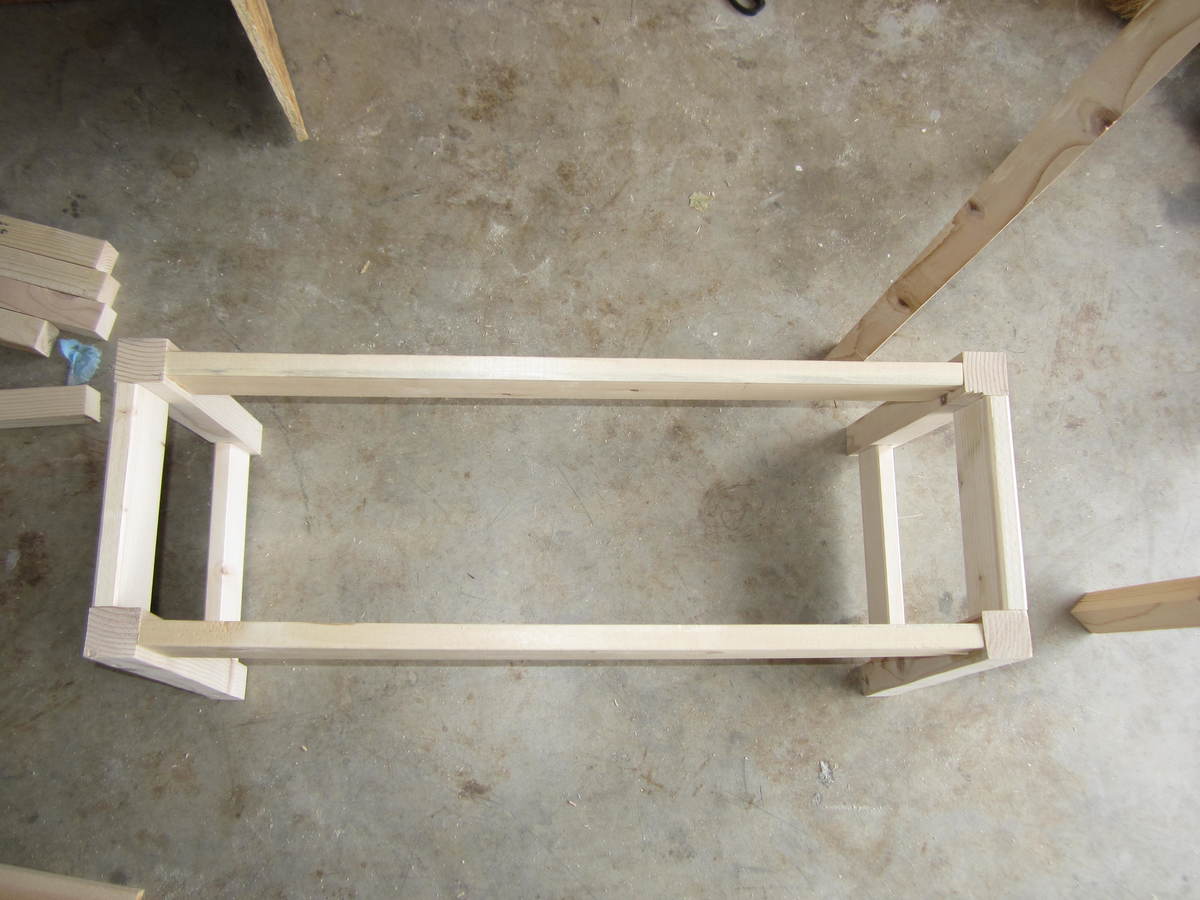
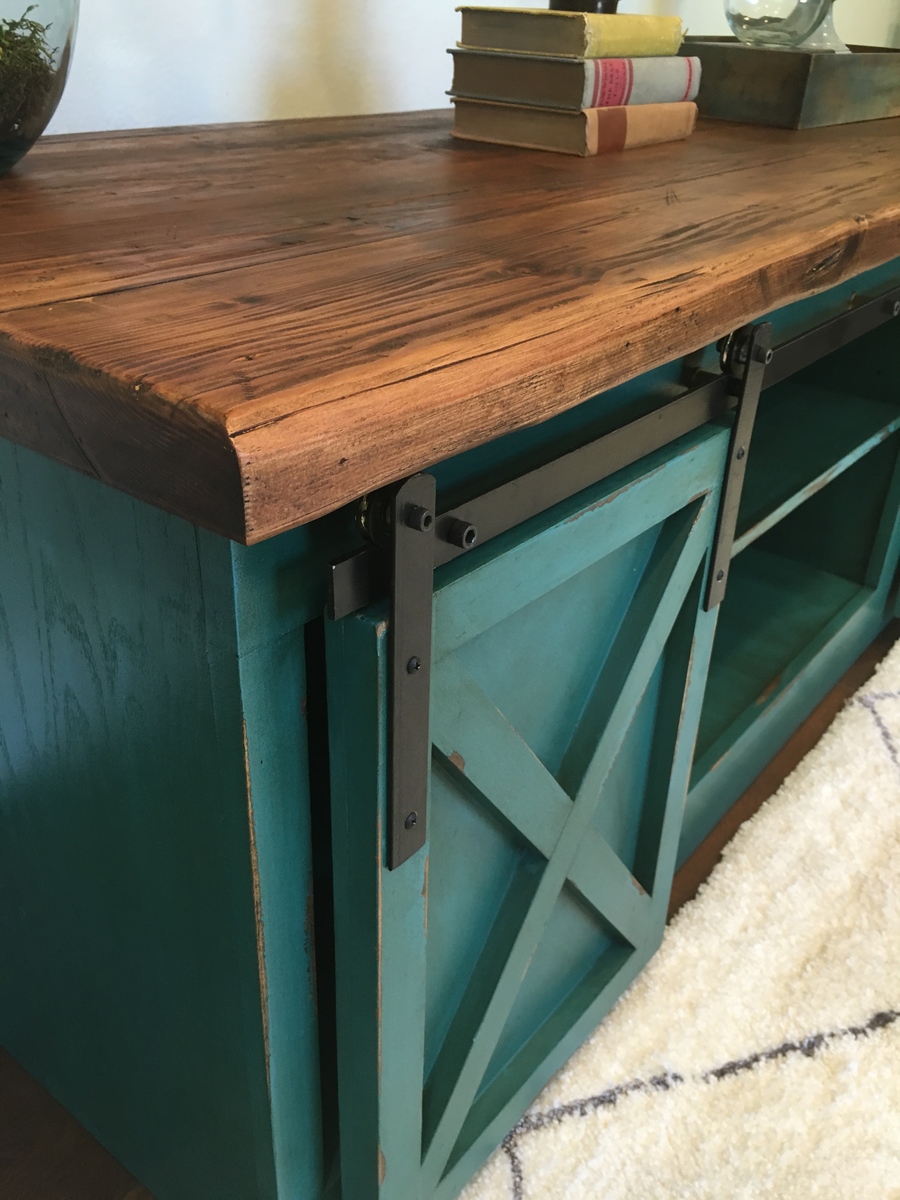
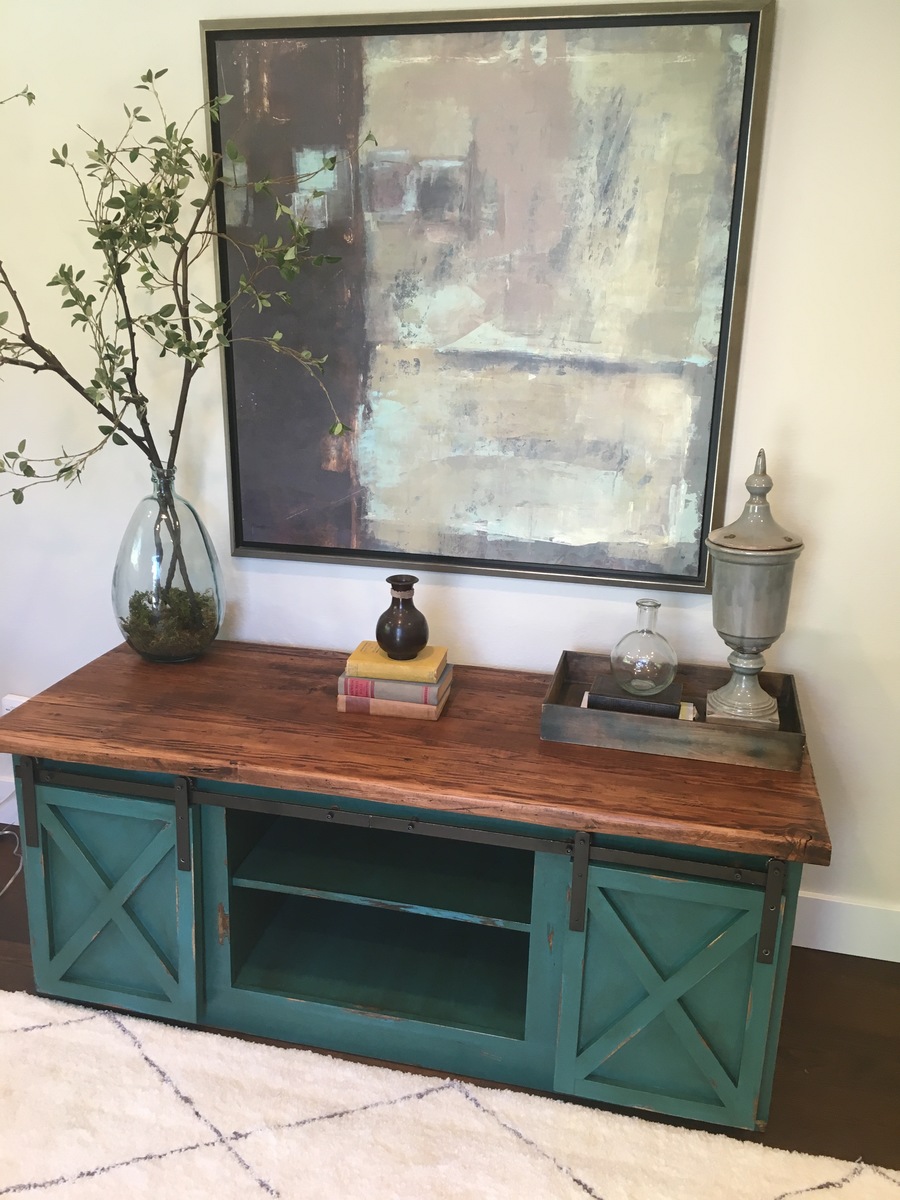
I built this set from the plans of the Simple white outdoor sofa. I did make a few changes to meet my needs. My original idea was to make 2 sofas but after doing some measuring I realized a loveseat would be better so I just took about 24" off of the length. I also did add slats to the arms, just to give it a different look. I found this project to be pretty easy with the plans that are provided and I used the link that is attached to the page for sew mama sew to make all of the cushions! I built the side table from the plans for the Ottoman or Accent Table for Simple Modern Outdoor Sectional although I made the table larger width wise (24 x 24) to fit nicely between the sofa and loveseat.
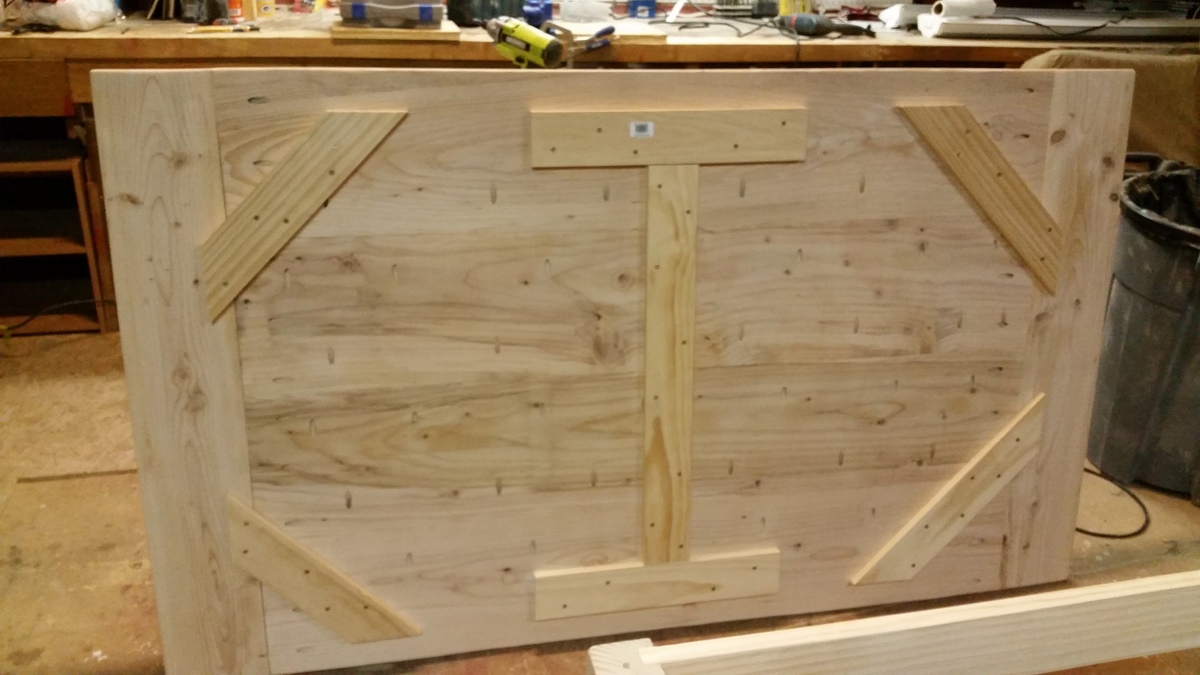
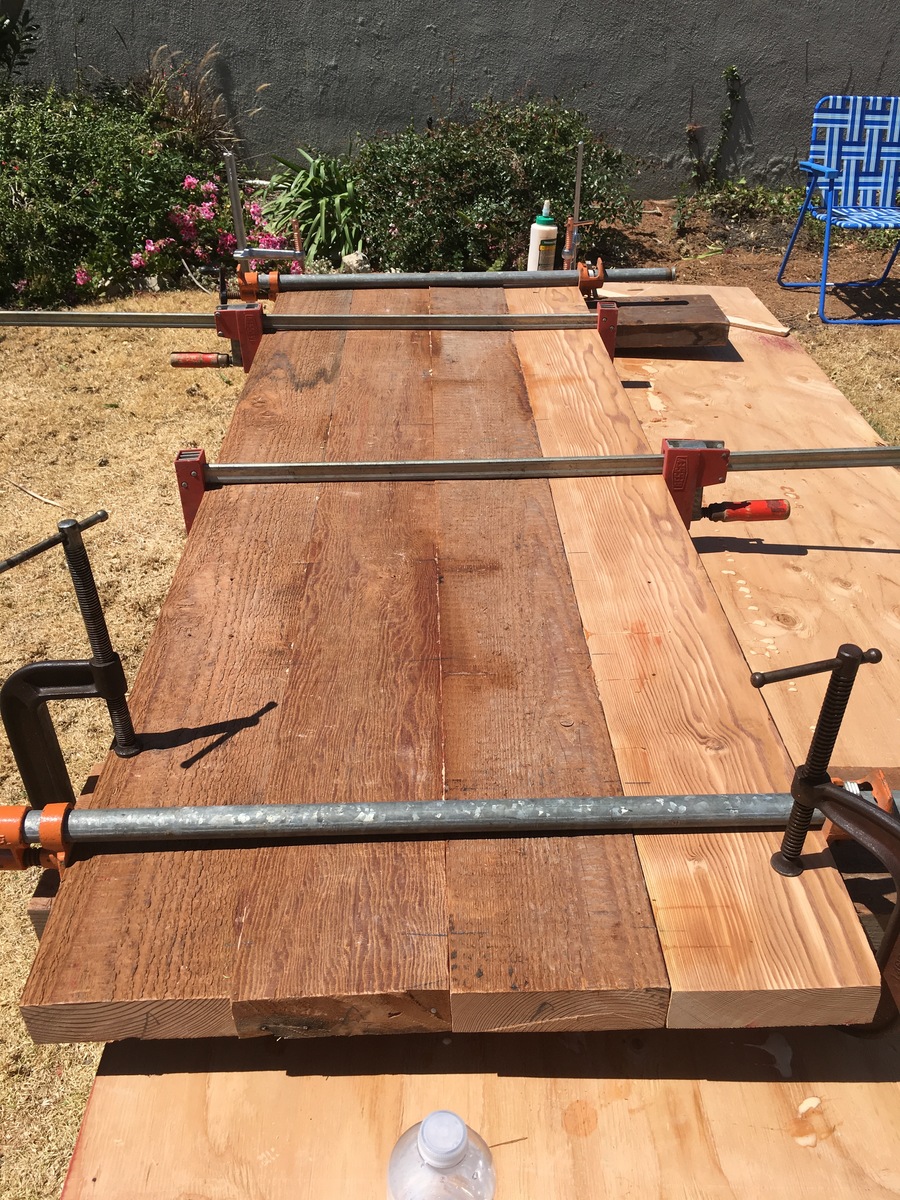
The only thing I would do a bit differently if I were to build it again would be to use a slightly better grade wood so I would have to use less wood filler and sand less ( That is what took the most time ) otherwise this could have been finished in half the time it took me. This is a great project that really transformed my back patio!

Estimated Cost
300.00
Estimated Time Investment
Week Long Project (20 Hours or More)
Finish Used
Dutchboy exterior white gloss
Recommended Skill Level
Intermediate

Comments

sgilly02 (not verified)

Mon, 04/09/2012 - 19:29

Fantastic job. It looks nice enough to be "inside furniture". I love the slatted arms, too.
I'm in total agreement with you about using a better grade of wood for some of my projects. For the time it takes to make the "cheap" wood paintable (forget staining it with all the filler and glue marks), it is so worth it for me to spend a bit more and have a finished product that looks so much better and took much less time!
Again, I love your finished project! Great job.

PA PA B

Mon, 04/09/2012 - 19:58

Are you concerned about using pine for outdoor use? I would like to do the same but I am not sure how to protect the wood from the elements here in Wisconsin. Any ideas would help

Peoriajess

Tue, 04/10/2012 - 05:37

Thanks so much for the compliments! I have used pine in other outdoor projects and have found that if you use a good quality exterior paint they are protected enough to endure the weather. I live in Illinois so I know what you mean about the elements but so far they have made it through just fine :) just use 2 coats of paint and make sure all of the exposed pine is covered with the paint. I also put plastic protectors under all of the feet so that no water will be absorbed that way. Good luck!

wishingbee

Mon, 08/26/2013 - 14:06

So I need new furniture inside the house and your photo has convinced me to build these for my living room. I've got a smaller home (670 sq/f) so it's a challenge to find furniture that fits- two loveseats of this design would fit well in our space. Beautiful job, well done, and thanks for the push I needed to get started.

Peoriajess

Fri, 11/08/2013 - 07:29

Hi,
To attach the side slats I countersunk long thin wood screws to the top and bottom rails. I put one screw at the top and bottom of each slat then filled the holes with wood filler. To be honest, if I were to do it again I would definately have used a Kreg (which Anna recommends for most projects) because it would have been a lot less time consuming. The sanding of the wood filled holes took a long time to get filled and sanded just right so there was no sign of the holes. Good luck!!!

SavannahSmiles

Sun, 11/10/2013 - 05:10

Thank you! I hope to have side arm slats installed tomorrow. I am going to 'frame' the slats with 1x2's and then insert the framed set into the arm. :-) we'll see how it goes.

Farm Table with 45 degree angle supports

I have used the farm table plan many many times! My customers always love the classic look the table offers. I decided to switch it up a bit by adding 45 degree angle support brackets to the legs. So far the look has been a hit!

Estimated Cost
$100
Estimated Time Investment
Weekend Project (10-20 Hours)
Finish Used
Watco Danish Oil - Natural
Recommended Skill Level
Intermediate

Comments

6 Laundry Basket Dresser

Submitted by Anonymous (not verified) on Mon, 04/18/2016 - 06:51

Took the plans from the laundry dresser and adjusted them so it would hold 6 laundry baskets. My wife wanted a counter she could throw the clothes on and fold right there so this worked well for our needs. Added some trim to the end to match the shoe bench we built in our drop zone right outside laundry room.

Built from Plan(s)
Estimated Time Investment
Day Project (6-9 Hours)
Finish Used
Sand, Primer and Latex Satin Enamel
Recommended Skill Level
Beginner

Comments

Ultimate lumber and plywood storage

Submitted by Anonymous (not verified) on Thu, 01/02/2020 - 16:00

I followed the plans for the wood storage rack pretty closely. The shelf brackets made from 2x4's are quite sturdy. The entire rack is easy to move around on the 4 inch casters. This project took about 4 days to build and was well worth the time and money. All my wood is in one place now- sheets, long boards and short boards. Everything is easy to find and my shop is a lot neater, now.

Estimated Cost
$100
Estimated Time Investment
Week Long Project (20 Hours or More)
Finish Used
unfinished
Recommended Skill Level
Intermediate

Barnwood Coffee Table

Submitted by imlewer on Wed, 04/11/2012 - 11:22

Got a load of wood out of a friends barn and decided it was time for a coffee table. Couldn't find anything that I really loved at any store or that wasn't made of saw dust or a million dollars. So I decided to make my own. Turned out pretty nice and its as solid as can be, actually quite heavy so it doubles nicely as an ottoman or extra seat.

Estimated Cost
$0
Estimated Time Investment
Day Project (6-9 Hours)
Finish Used
Satin clear poly
Recommended Skill Level
Beginner

Kitchen Island/Workbench

Submitted by elizarose on Sun, 01/26/2014 - 14:25

We don't have a useable basement, or a garage, so we knew that our first project had to be a multipurpose one- both a workbench and a kitchen island. We changed the dimensions of this plan to make it counter height as well as slightly wider and taller. Additionally, we had some concerns about being able to get the finished product out of the kitchen and out of the house if/when we eventually move. So, we made the pieces in the following parts:
-4 legs
-Shelf and shelf supports
-top and top supports

We then proceeded to use 2.5" 16 gauge bolts to bold all the parts together for easy disassembly. We are thrilled with the results!

Estimated Cost
100
Estimated Time Investment
Weekend Project (10-20 Hours)
Recommended Skill Level
Beginner

Comments

JoanneS

Sun, 01/26/2014 - 14:49

Great job on your island/work bench! What a smart idea too make it detachable for moving. And your finish looks super!

Craft table

Submitted by MindiL2 on Wed, 04/20/2016 - 06:45

My husband helped me build this awhile back. Not perfect, but for a first build, I am pretty happy with how it turned out. Still need some new baskets to go with;)

Built from Plan(s)
Estimated Time Investment
Weekend Project (10-20 Hours)
Recommended Skill Level
Intermediate

Entryway (mudroom) Bench

Submitted by Anonymous (not verified) on Wed, 01/08/2020 - 13:29

This was my first time building anything from scratch! I used the plan "Mudroom Bench with Easy Drawers" for the bottom section. I did not make any modifications, but I did have some trouble with the drawers. First I made the drawers 1/8" wider than the available space (after adding the hardware); so to resolve that I had to notch out the frame and sink one of the drawer slides.

I never realized how finicky drawers can be, but I learned a lot from this project, and my family loves the finished product.

I chose not to use the plan for the hutch, because the cost was starting to creep up, I didn't want walls on the left and right. So I just added bead board directly the wall (glue and brads) and added some trim. For the upper unit (cubbie), I just made a basic structure out of 1x10's, and I used some bead board scrap as a backer (turned the pattern out). I then sunk a couple of anchoring screws into the back (which will be hidden behind baskets) and added a couple of decorative shelf brackets for added stability.

Built from Plan(s)
Estimated Cost
$300
Estimated Time Investment
Week Long Project (20 Hours or More)
Finish Used
Bright White Acrylic Paint
Recommended Skill Level
Intermediate

Comments

Dressing Table and Mini-dresser Redux

Submitted by JoanneS on Sun, 04/15/2012 - 05:24

Used a Lowe’s gift card I got for Christmas, and built a larger dressing table which would give me more elbow room for hair and makeup, and also to hold my mini dressers. The drawers are a re-purpose of the mini dressers from my previous vanity desk, and I built 2 additional drawer boxes for them. The dressing table is a 36” wide Willy bookcase, with a 24” x 36” project panel trimmed in 1x2 as the top. The mini dressers are a miniature version of the Willy bookcase, with drawers made using Ana’s plan for the master closet system drawers. The 3 deeper drawers on the bottom right side hold makeup and cosmetics. I’ve named this my ‘bling tower’ because it holds all the jewelry gifts from my husband and son, several sets of the chunky bead jewelry that’s in style now, and all the little keepsake things my son made for me when he was in school. Gotta have plenty of room for those!

Estimated Cost
$ 55 for table, $35 for 2 dresser boxes (already had the stain and paint on hand, the drawers from my previous vanity are made from scraps, and the baskets were re-purposed from the previous vanity)
Estimated Time Investment
Day Project (6-9 Hours)
Finish Used
Dressing table: 2 coats high hiding white in semi-gloss on the bottom, 3 coats Minwax express color in Walnut + 3 coats Minwax satin polycrylic on the top; Mini Dressers: high hiding white on the dresser boxes, and the drawers fronts are the original white, plus a coat of the Walnut Express Color (dragged on using a chip brush)
Recommended Skill Level
Beginner

Dining / Gaming Table

Submitted by bette9182 on Mon, 04/25/2016 - 13:18

My wife and I were looking for a new dining table, the one we had was a bar height which worked well for our daughters high chair, but she was going to be transitioning to a booster seat . We shopped around and had sticker shock at the cost of a dining room set. We enjoy playing board games and I had been looking into possible buying a board gaming table, but those more expensive and some had long lead times as well. I tossed out the idea that I could make our table and my wife agreed but gave me a deadline. I had built a few smaller pieces before but nothing like this. I based my plans off the farmhouse table for the top and used store bought legs. The top needed to be sturdy since it is not attached to the base, I did add blocking on the back so the top doesn’t move around and it is heavy enough that it doesn’t flip up if you lean on it. I moved the typical supports down to the bottom of the side rails and added a ¾” piece of MDF that I had for the gaming top. We used spray adhesive to attach some batting and used blue suede for the gaming surface since we are fans of Doctor Who. I added handles to the top on the inside to help when it is moved off the table for gaming. I built the bench too and made it so we could slide it under the table to save on space when we did not need it. The other chairs are hand me downs and Salvation Army finds that we spray painted. The only addition that I have to make is to build some sort of cup holders.

Estimated Cost
$150 - 200 with all the chairs and fabric.
Estimated Time Investment
Week Long Project (20 Hours or More)
Recommended Skill Level
Beginner

Comments

Grandy Barn Door Console Modified

Submitted by Allan_F on Wed, 01/15/2020 - 19:30

Changed the width, added shelf dividers.  Used three six inch wide boards for shelves (actual width is 5 1/2 inches each) 16 1/2 total, perfect for the project.  Used poplar.  Mini barn door kit from Amazon.  Put a strip of felt with adhesive on the lower back side of the door and on the front inside of the U bracket guide to prevent scratching.

Built from Plan(s)
Estimated Cost
$450
Estimated Time Investment
Weekend Project (10-20 Hours)
Recommended Skill Level
Intermediate

Custom Horse Handle Teeter Totter

Submitted by Anonymous (not verified) on Wed, 09/13/2023 - 09:28

This is the Seesaw I made for our Granddaughters, plans were easy to follow and the girls love it.

sawhorseworkshop

Built from Plan(s)

Comments

X Bench with out the "X"

Submitted by Angel Rose on Tue, 04/17/2012 - 19:50

This was my first big project from Ana's site. I had so much fun building it, I didn't quite get the "X" right, so I left it off. Hope it doesn't hurt the strength. I made it for a friend of mine as a wedding present. I can't wait to give it to her.

My family was so struck by what I was able to accomplish!

Can't wait to make one for my home!

Built from Plan(s)
Estimated Time Investment
Afternoon Project (3-6 Hours)
Finish Used
I painted the bottom with some oops paint from one of our favorite box stores. Stained the top with two coats of stain and a coat of poly.
Recommended Skill Level
Beginner

Five Dollar Shelves

My wife wanted some low profile shelves for pictures on the wall so I decided to throw these together.

I made the "Ten Dollar Ledges" (http://ana-white.com/2010/10/plans/ten-dollar-ledges) from here for our son's room, but my wife did not like how big they were. I decided to make these out of 1/2 inch wood instead of 1 inch.

I bought 1/2" thick common boards. The bottom is a 1/2" x 4" board and the back is a 1/2" x 2" board. The front lip I made by cutting a 2" board in half so I could make 2 lip pieces out of one 1/2" x 2" board. The boards were just clamped and glued together. Use plently of glue and clamp them down on a flat surface. Wait about 30 minutes and then scrape off any dripping wood glue. The trick is to let it dry a little bit so that is scrapes off easily without getting glue all over.

I finished it with Dark Walnut stain and one coat of water based clear coat.

I simply drilled 3 holes in the back and screwed them into wall anchors.

Estimated Cost
$5 each
Estimated Time Investment
An Hour or Two (0-2 Hours)
Finish Used
Dark Walnut stain with water based Miniwax clear coat.
Recommended Skill Level
Starter Project

Castle Loft Bed

Submitted by Anonymous (not verified) on Thu, 04/28/2016 - 06:30

Modified plans to make a full size bed.

Estimated Cost
$500
Estimated Time Investment
Week Long Project (20 Hours or More)
Recommended Skill Level
Starter Project

Comments

Adirondack Chairs - Phoenix AZ

Submitted by mdoromal on Mon, 02/03/2014 - 09:14

Easy weekend project for chairs that I hope will last a decade. I used Painters Touch Gloss Navy Blue paint and primer. I put alot of paint to help withstand the Arizona summer sun. One change I made to the plans were as follows:

When I attached the back support, I initially used one screw on each side so that the support could swivel. This way, I could swivel the support to be flush with the back of the chair.

Going to try the outdoor loveseat next.

Estimated Time Investment
Weekend Project (10-20 Hours)
Finish Used
Painter's Touch primer and Painter's Touch Navy Blue Gloss. About $8 a quart.
Recommended Skill Level
Intermediate

Comments

Sliding Door Console

Submitted by carriesty on Mon, 05/02/2016 - 09:05

Distressed Sliding Door Console.

I absolutely enjoyed making this console. It's different and a conversation starter in our home. After figuring out how to make the hardware (pulling my hair out for a moment), I was off and running. I wanted to make my piece look old with character and charm. I searched for reclaimed wood and finally  found thick pieces of wood that were perfect for my top. After sanding for hours (literally hours!!), it was smooth and ready for a stain. I distressed the cabinet base after applying a teal paint. 

Built from Plan(s)
Estimated Cost
$300 - mainly because of the wood top.
Estimated Time Investment
Week Long Project (20 Hours or More)
Finish Used
Benjamin Moore - Teal ~
Stain - Dark Walnut
Recommended Skill Level
Intermediate

Farmhouse Arch Nightstand

Submitted by Anonymous (not verified) on Mon, 01/27/2020 - 14:06

I built a pair of these nightstands to go with the Farmhouse Headboard that I made from plans elsewhere on this site.
I used tongue and groove bead board for the tops and drawer fronts.
Decent 2 x 2's are hard to find so I ripped down 2 x 4's for the legs on my table saw.

Built from Plan(s)
Estimated Cost
$60 per nightstand
Estimated Time Investment
Weekend Project (10-20 Hours)
Finish Used
Honey Oak Stain
Water based polyurethane.
Recommended Skill Level
Intermediate

Full/Twin Simple Bunk Beds

This is a Twin over Full Simple Bunk Bed for my girls who share a room. The bottom bunk leaves plenty of room for even adults to sit down without hitting their heads. We mounted Large decorative flowers on the railing to match the room just in case my daughter woke up in the middle of the night and decided to look over the edge. We were nervous she'd hit the ceiling fan and it's too hot in South Texas not to have ceiling fans. The flowers work perfectly in that area and she loves it. We pretty much followed the plans found here: http://ana-white.com/2011/01/plans/twin-over-full-simple-bunk-bed-plans. We have not added a ladder yet, but are thinking about it. On a side note, the girls like to mount blankets and cover the bottom bunk to create their "own" personal space/fort and it's pretty cool. Special note: Untreated wood for this project was hard to find. Only one of the local home improvement stores had it and it wasn't from a large chain.

Estimated Cost
300-400
Estimated Time Investment
Week Long Project (20 Hours or More)
Recommended Skill Level
Beginner

Comments

Karli (not verified)

Wed, 12/05/2012 - 17:12

Hi! Your beds turned out darling. Is your total cost guesstimate including mattresses or just cost of building? Thanks!
Karli

Back