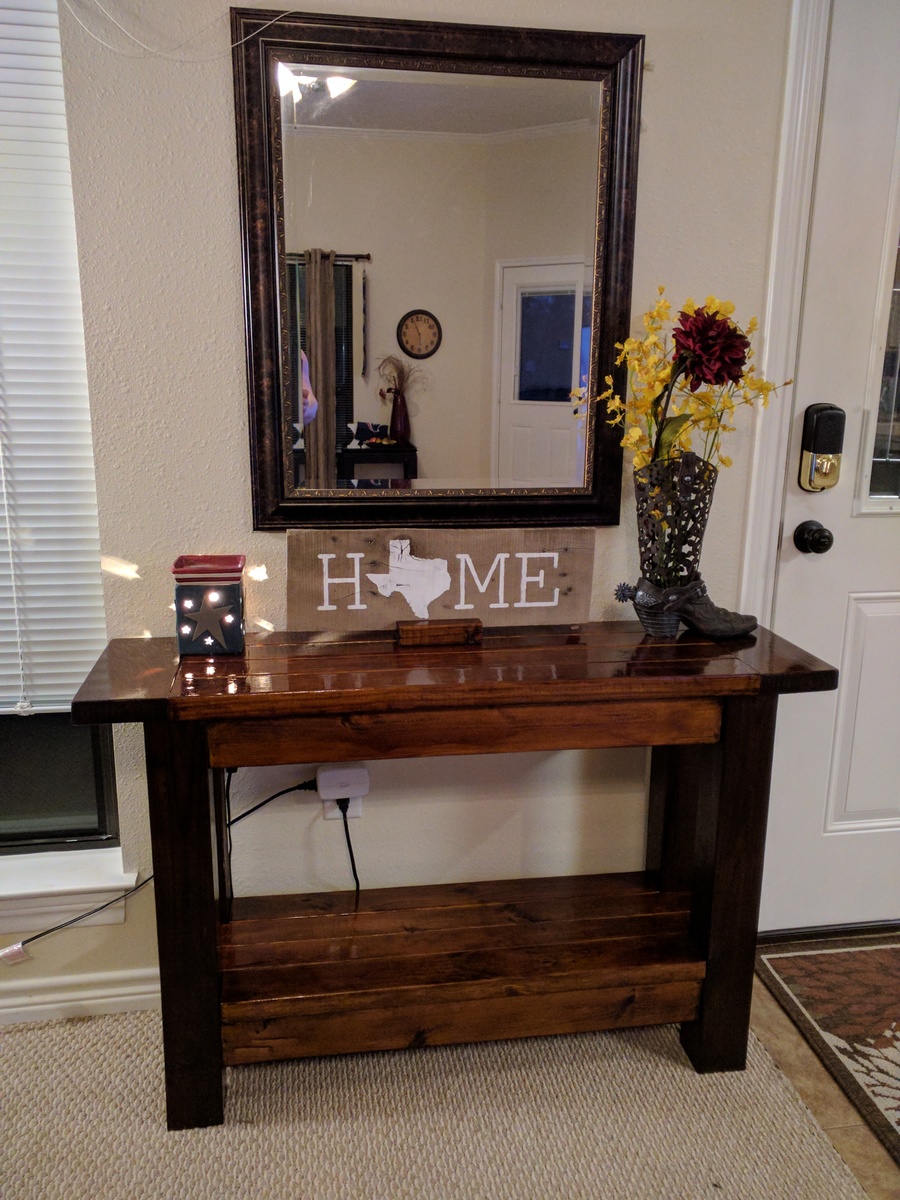
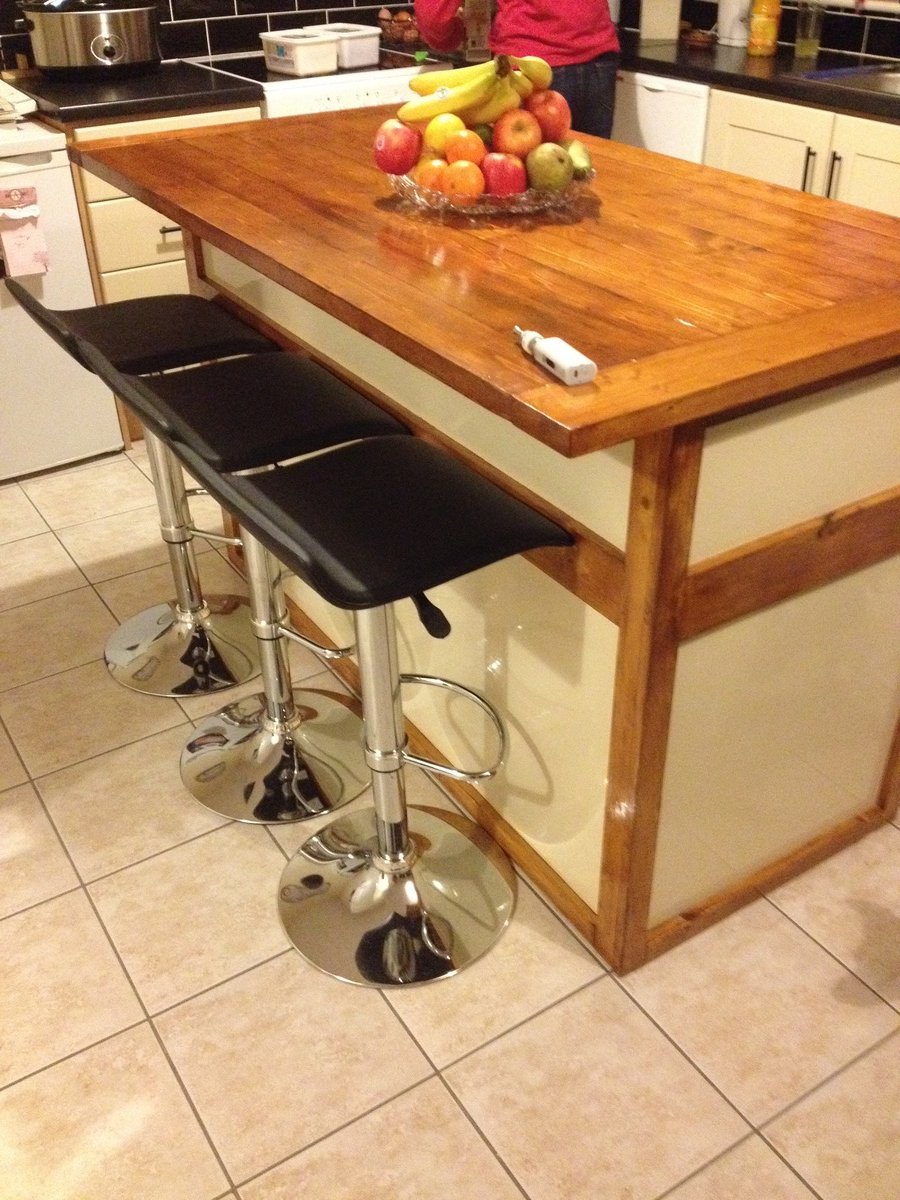
Salsa Console
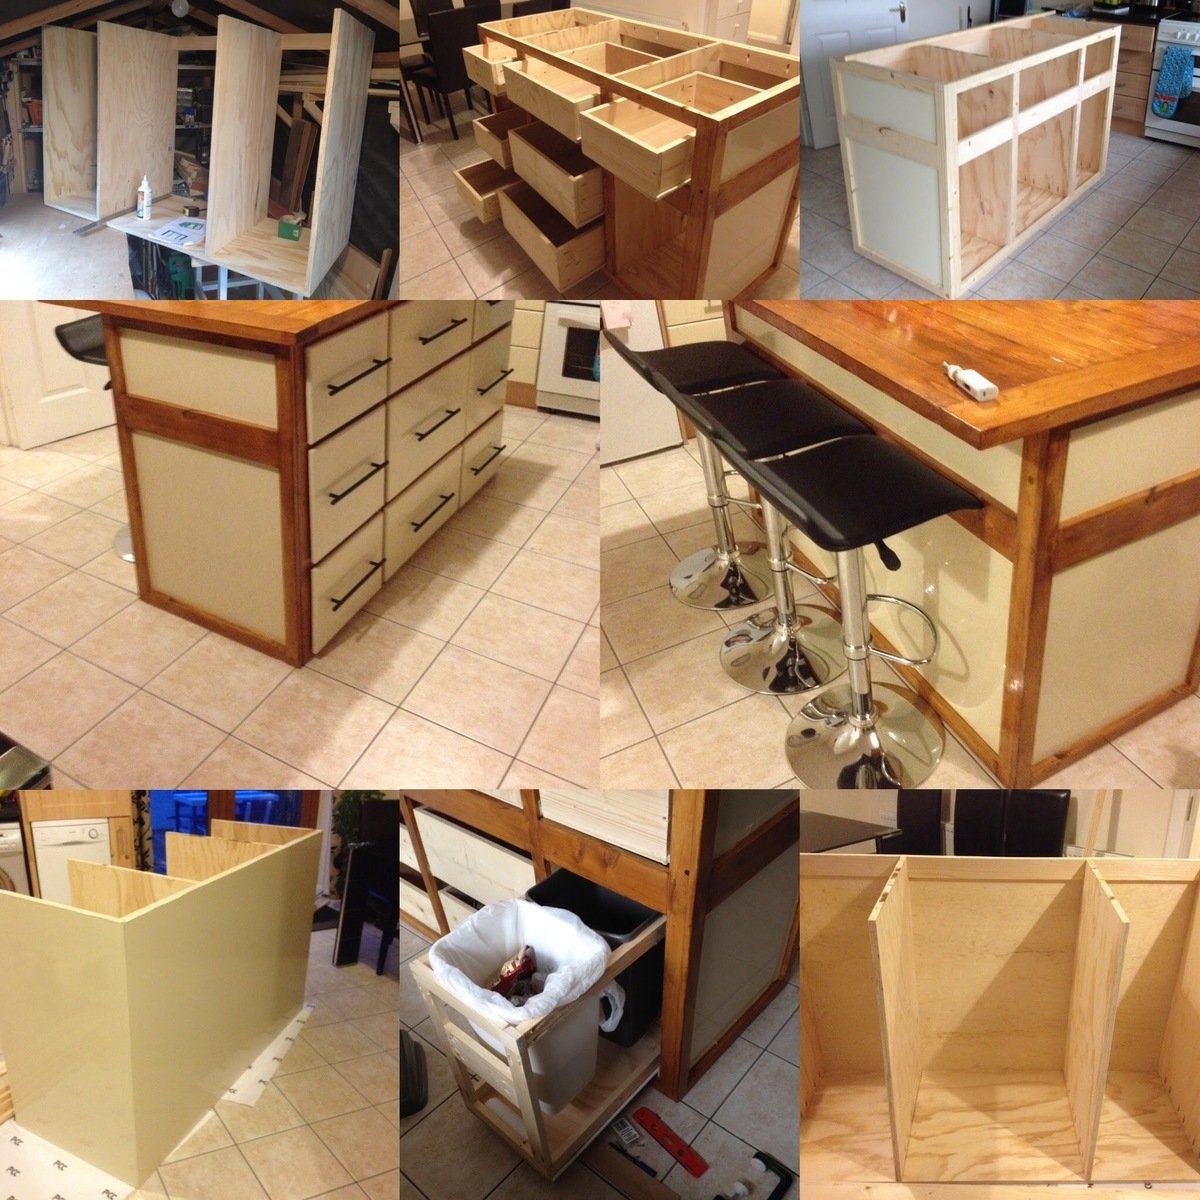
This was my biggest project yet and I am so proud of the final finish. I adapted the salsa console plans to make all drawers. I felt this made more use of the space in the island.
Built from Plan(s)
Estimated Cost
€500
Estimated Time Investment
Week Long Project (20 Hours or More)
Finish Used
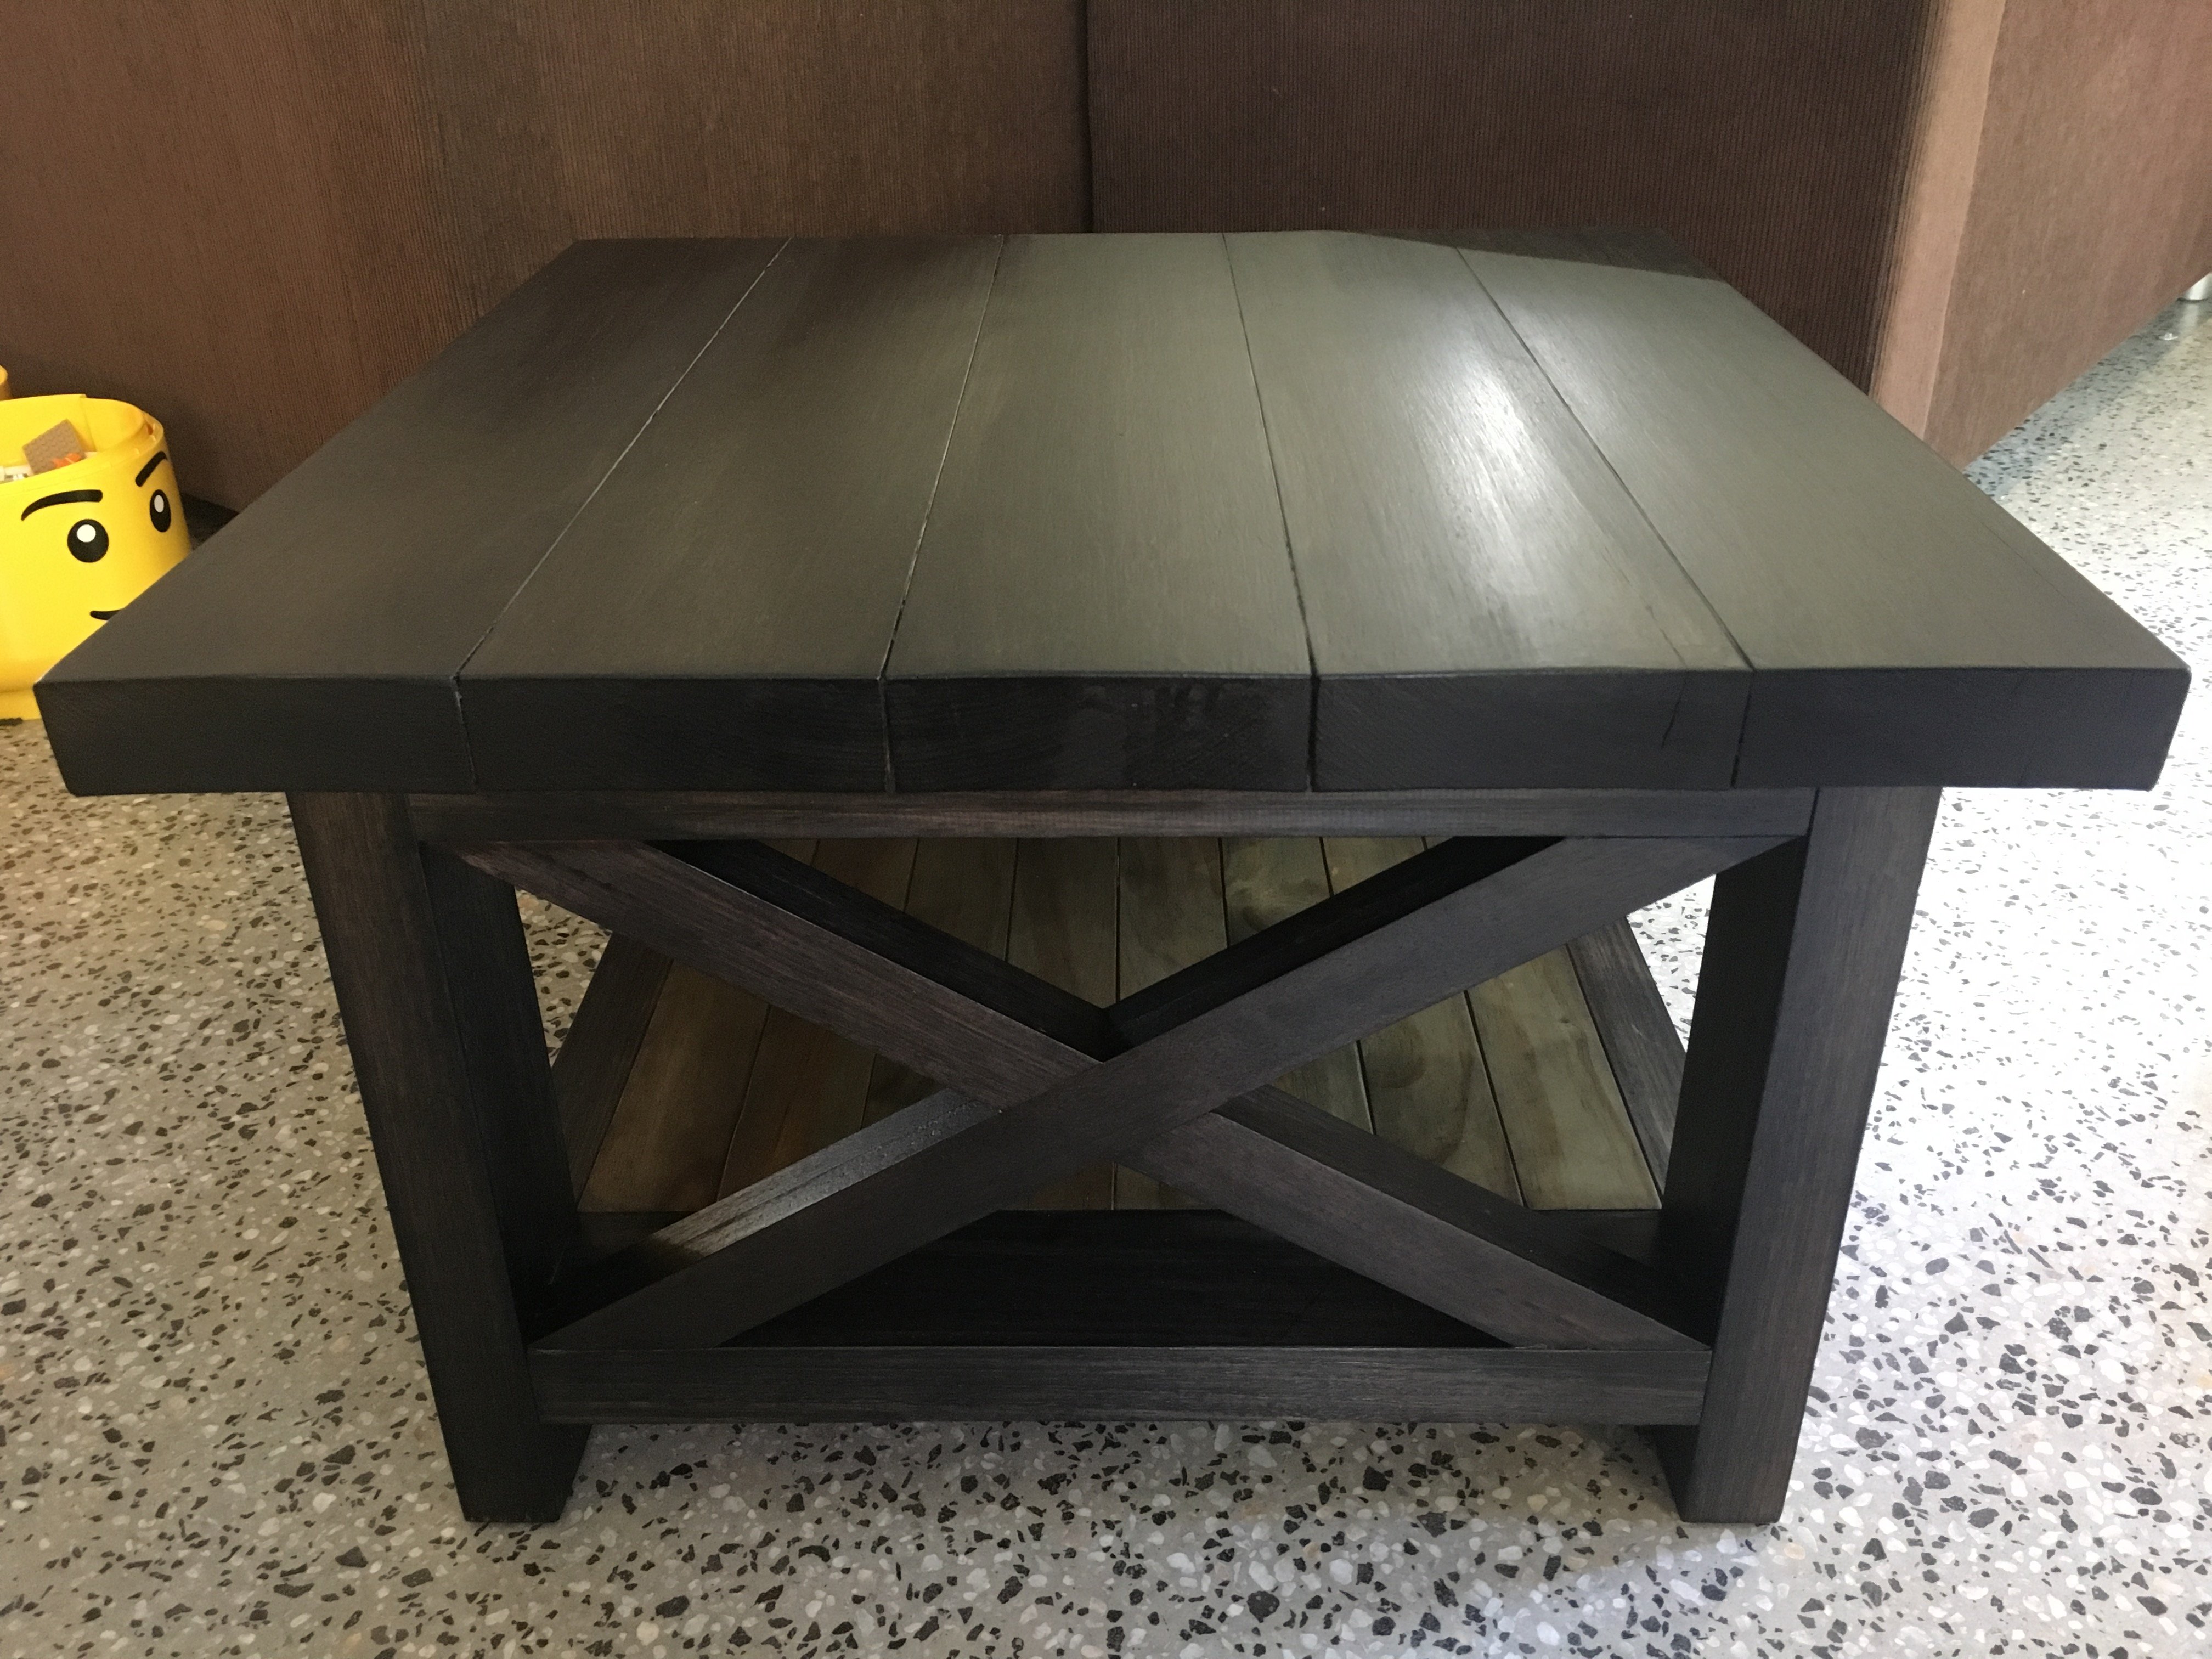
I wanted a cream gloss finish and figured out it was cheaper to use car wrap to give the same effect. It also saved time. Top is 2x4's glued and screwed together. Stained and varnished.
Recommended Skill Level
Intermediate