Farmhouse queen
![](/sites/default/files/IMG_20150525_083654945_0.jpg)
Modified for taller headboard and box springs. Also glued and screwed 2x4s together for post. Hard to find dry untreated 4x4 post. Antique white homemade chalk paint.
![](/sites/default/files/IMG_20150524_135024298_0.jpg)
![](/sites/default/files/IMG_20150524_134902838.jpg)
![](/sites/default/files/IMG_20150524_134921248.jpg)
Modified for taller headboard and box springs. Also glued and screwed 2x4s together for post. Hard to find dry untreated 4x4 post. Antique white homemade chalk paint.
Rustic Simple Farmhouse Table
60”L x 36”W x 32”H
top: (3) 2x12”
legs: (4) 4x4
Frame: 2x4s
secured with pocket screws
varathane Kona stain
3 coats gloss poly sanded between each coat (final sand with 600 grit)
Built this cupboard for a customer from sycamore we reclaimed from her barn. The windows were also found in the barn .
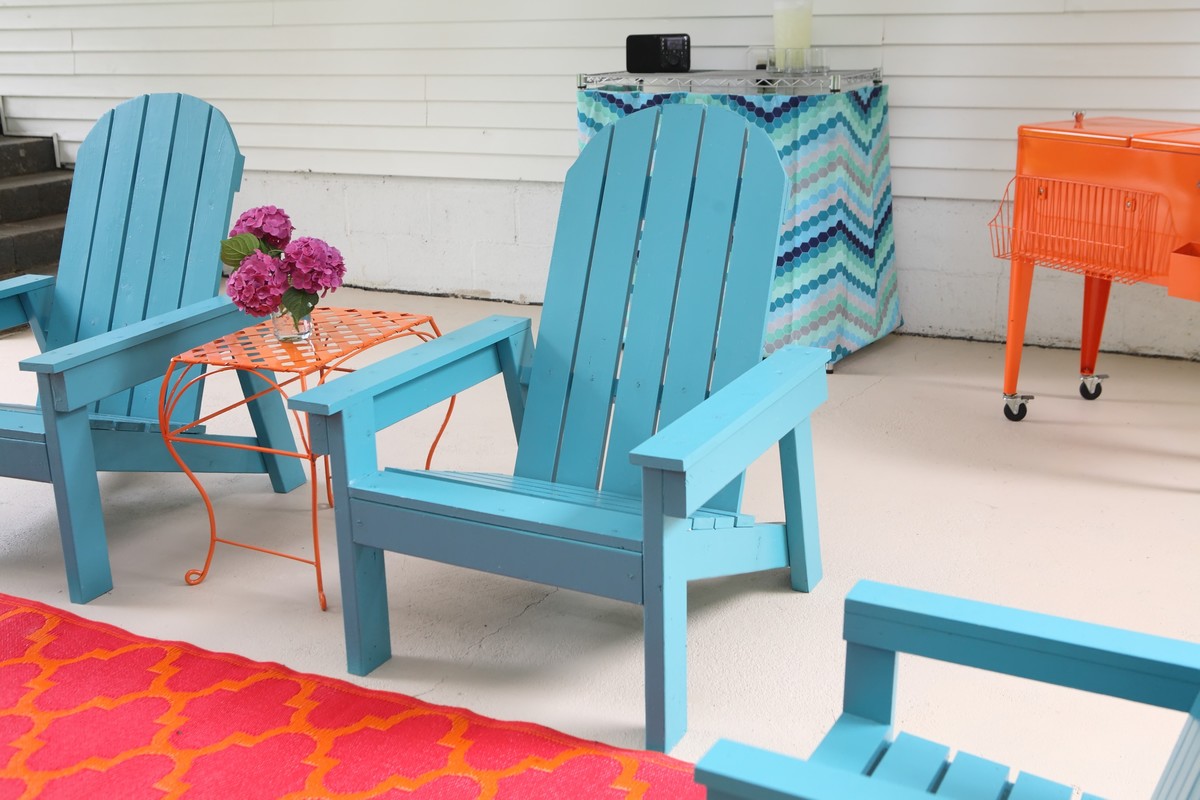
Aside from a small train table and a vegetable garden, this is my first furniture build! Sadly, I was not able to move past the first step without the help of my husband. I chose this chair because it seemed like a very simple build, but it was quite challenging, even with the help of my hubby.
This chair cost me about $34 to build. I had to buy screws, a square, top coat, and eventually a right angle clamp. The next chair should cost me $4 plus the cost of the paint.
On the next chair, we will definitely switch up steps 6 and 7. It was very difficult to screw in the screws on the very back seat slats once we attached the back slats. Also, side note, it didn't saw in step 6 or 7 which size screw to use, so we used the 1 1/4 inch screws. We used a size 8 in width. My hubby thinks we should have used a 6. I didn't even know screws came in different lengths AND widths!
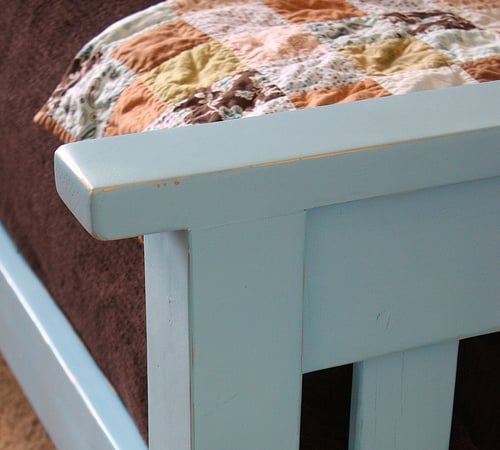
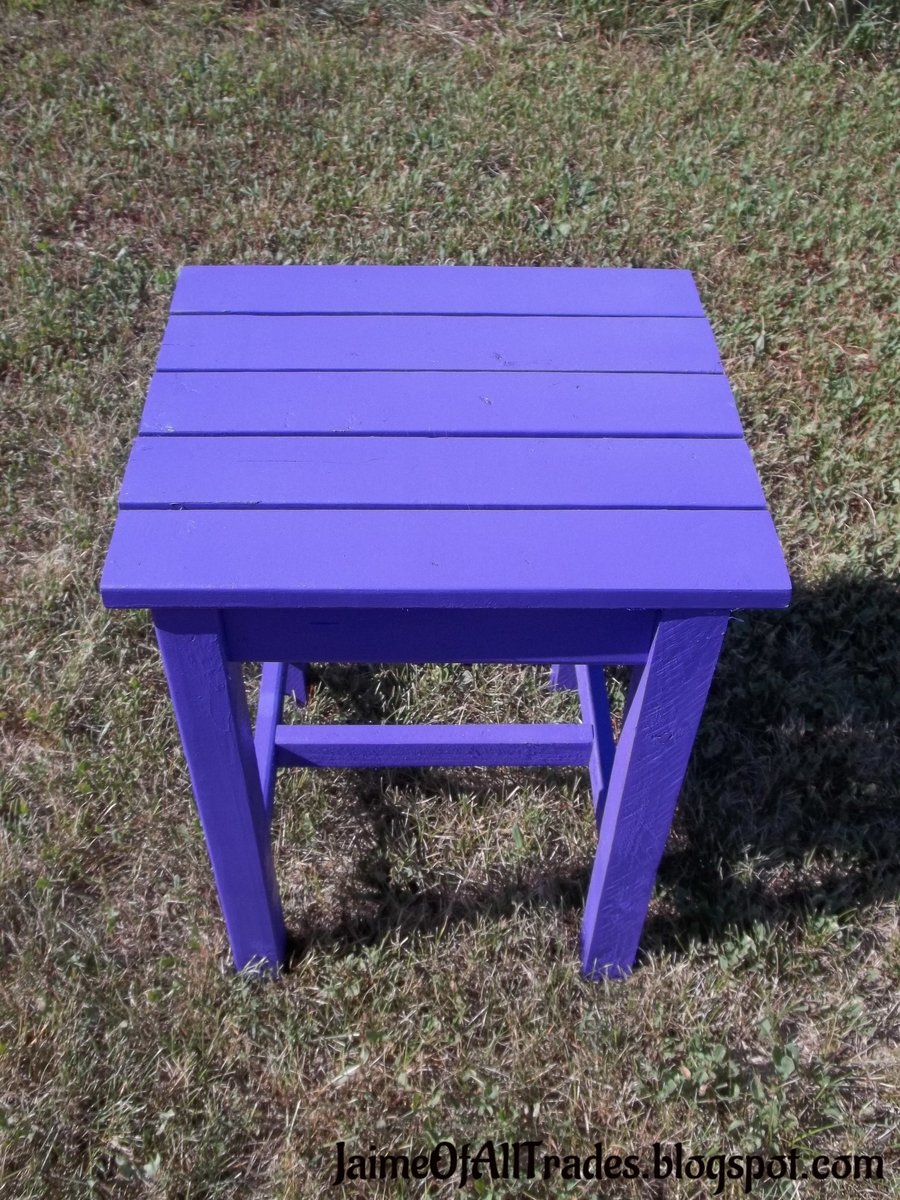
Our chair ended up a bit loopsided and rough in some areas. I wish I would have sanded it more before painting it. Also, I was way off on attaching the second back chair leg, so I had to cut off a little bit of the left over 1x2 and glue and screw it to the bottom of the leg (see pic below). Then, I shaved off some of the top of that leg with my mitre saw.
Also, I initially tried making this with pocket hole screws, but quickly learned that that level of woodmaking was above my pay grade. I switched back to the 2 inch screws and it was just fine. We used wood filler to hide the screws as much as possible.
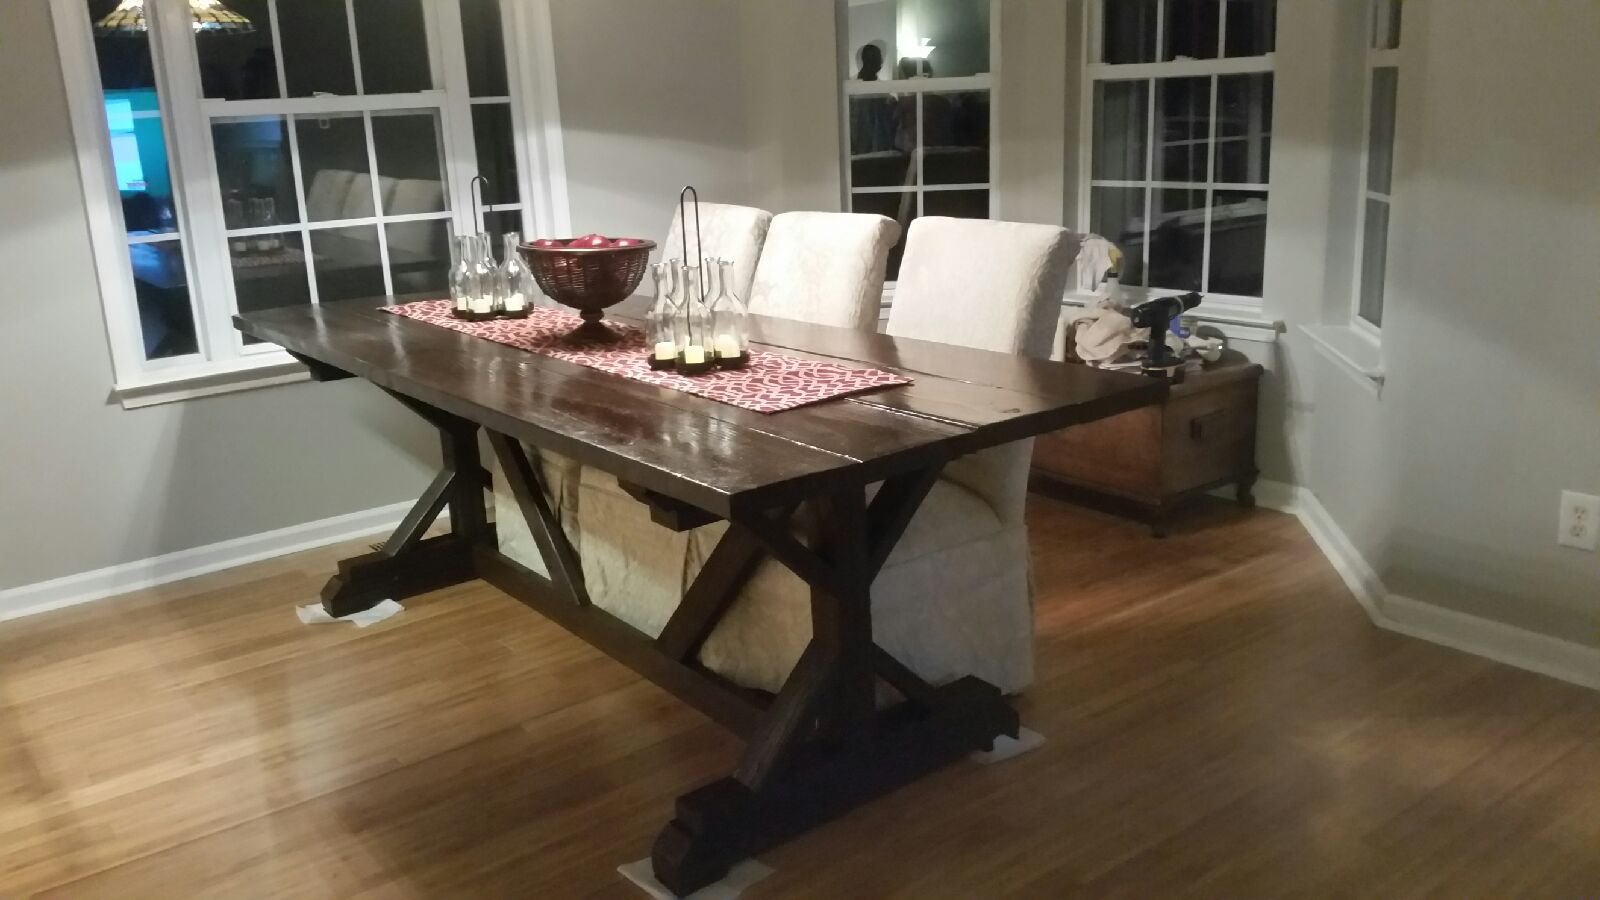
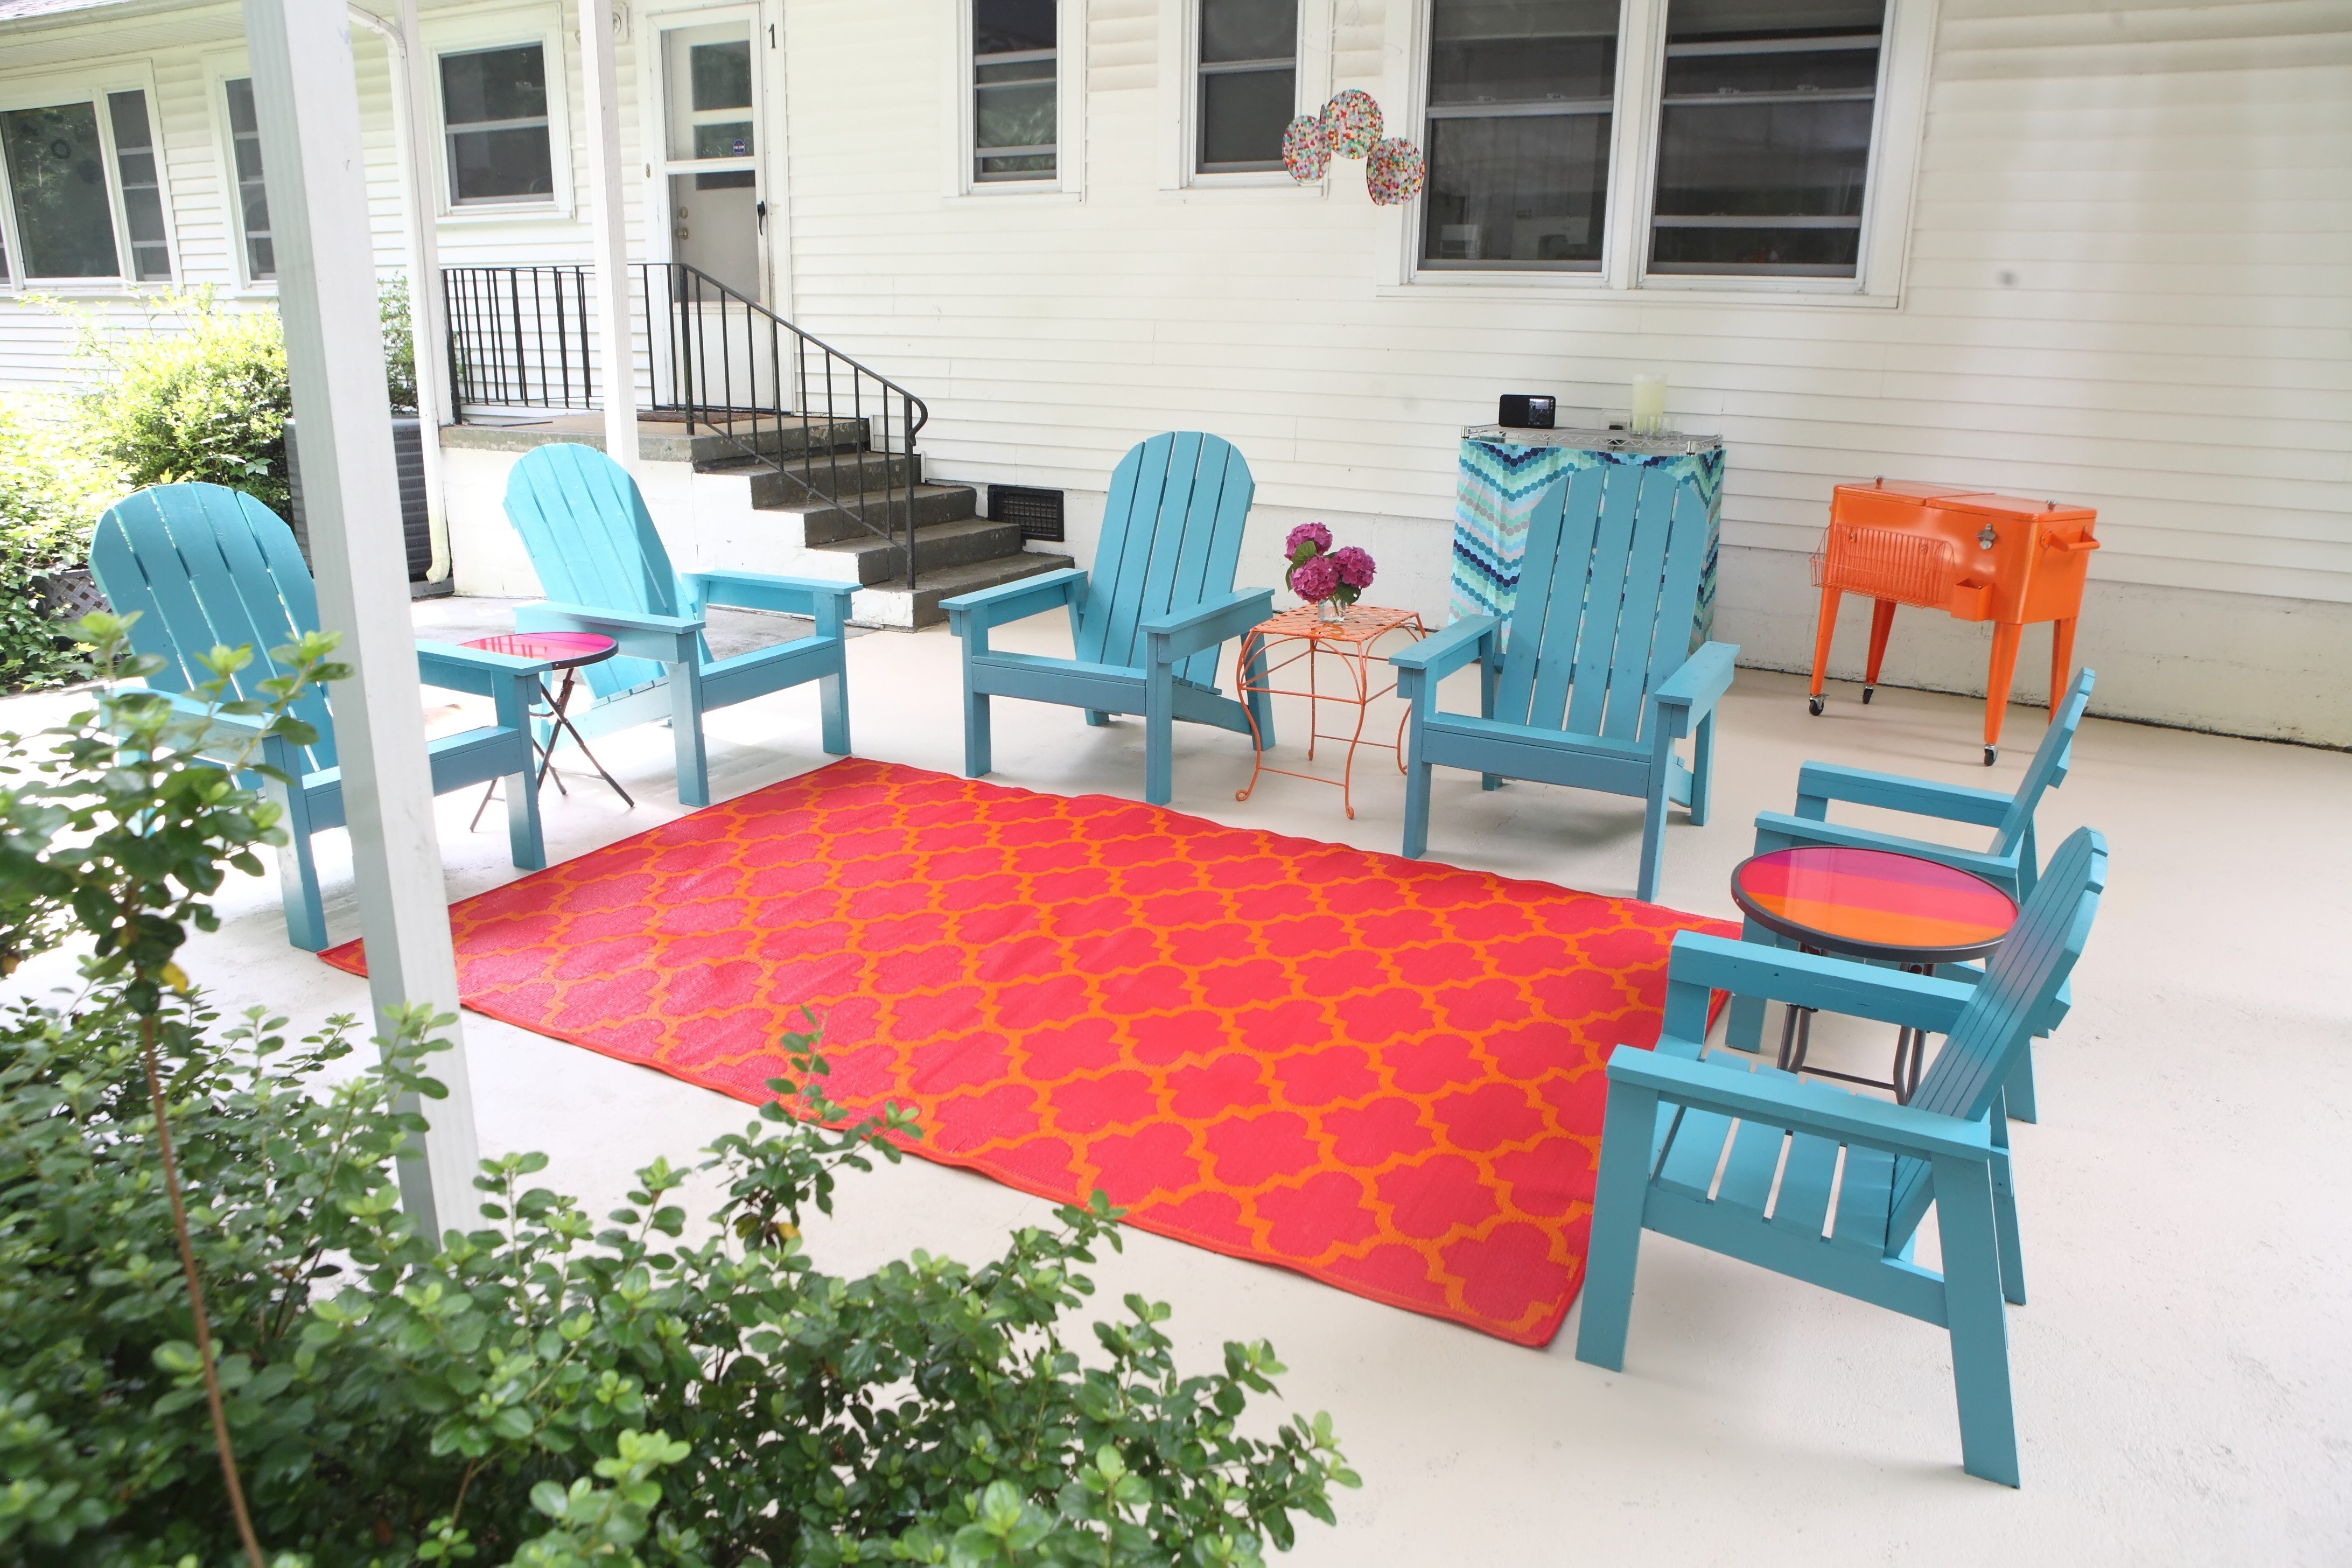
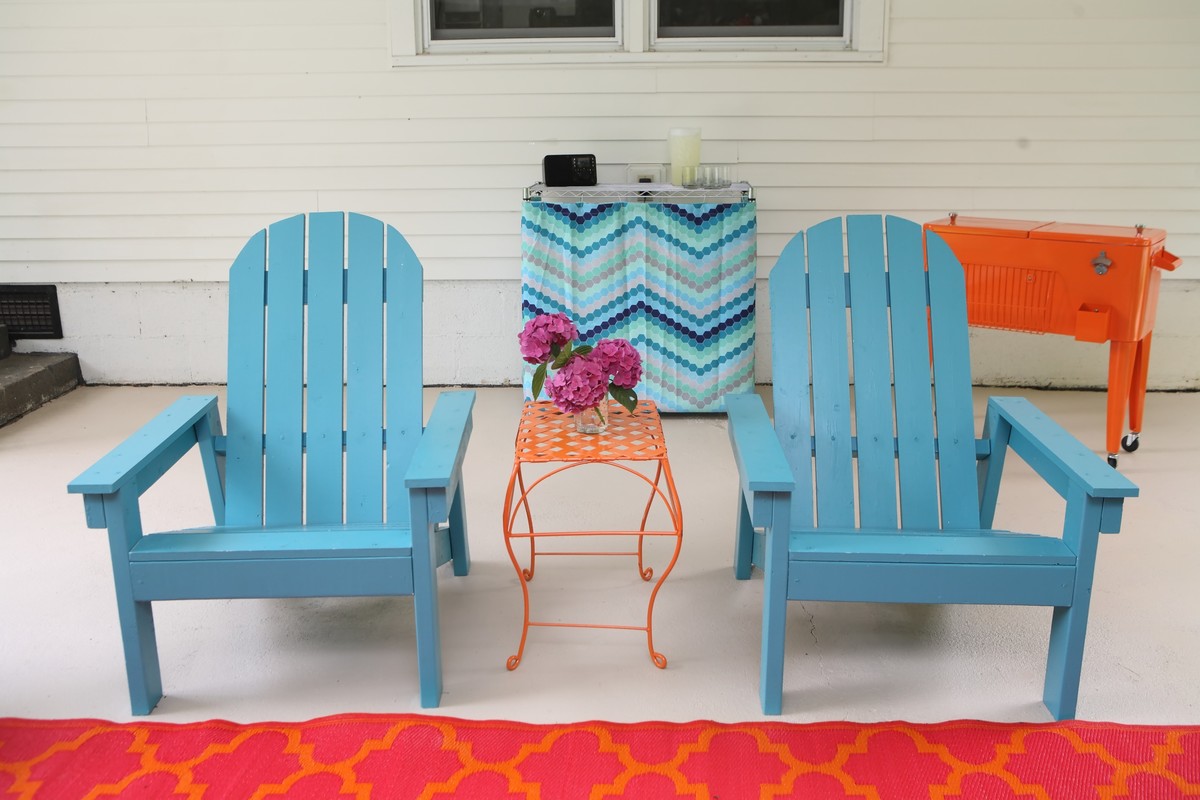
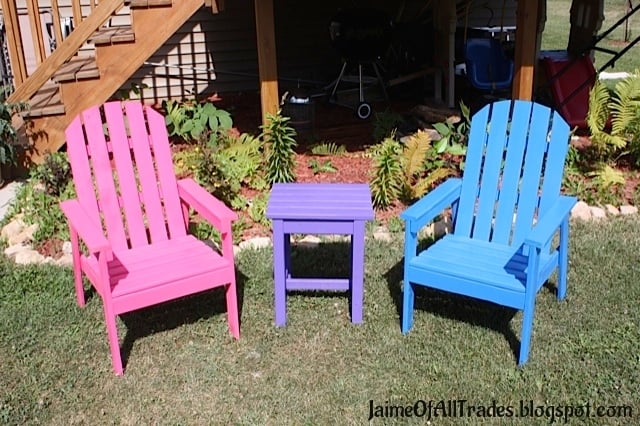
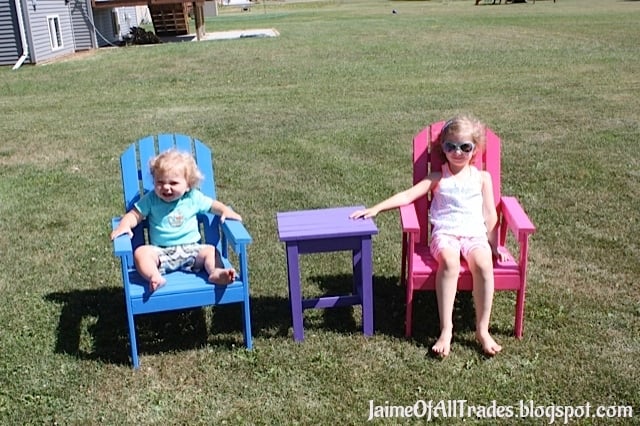
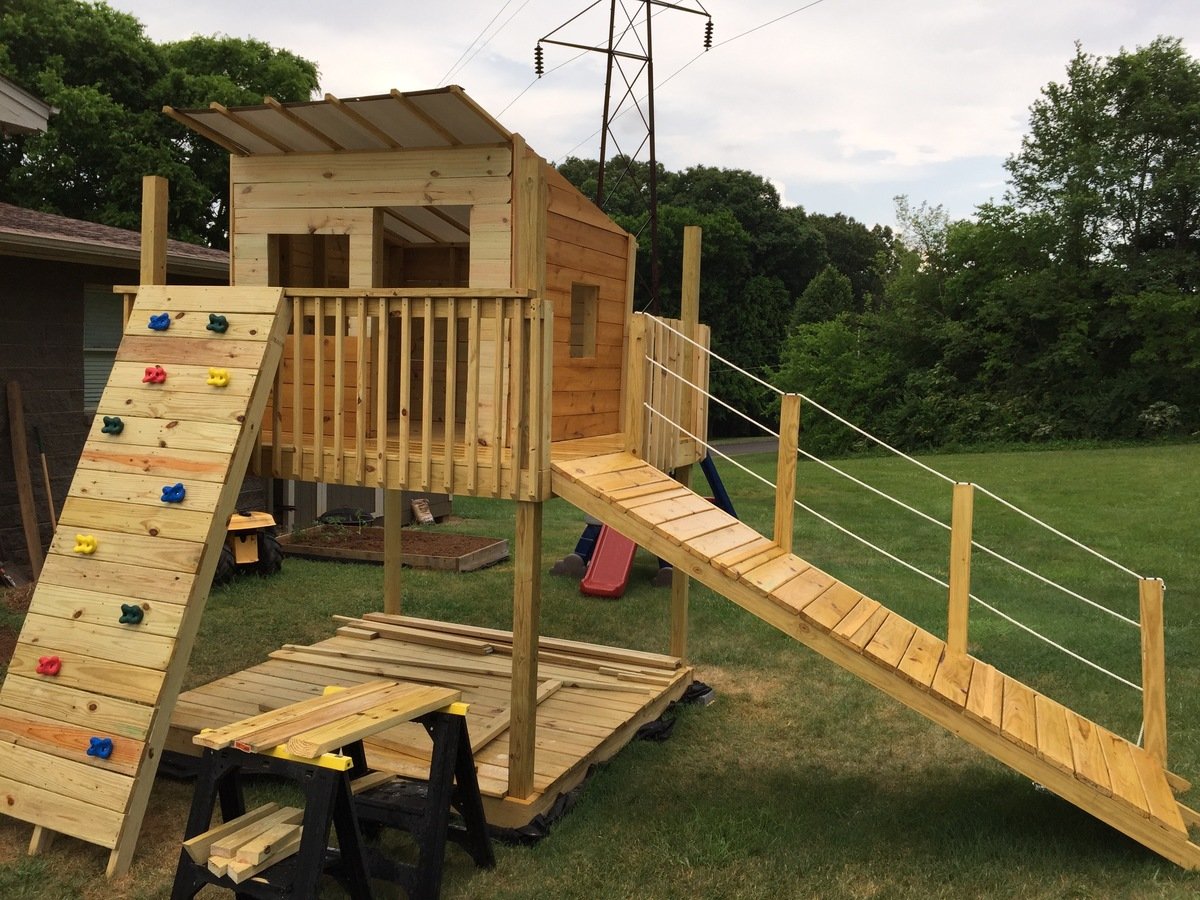
Despite how difficult this first build was, and despite how imperfect it is, I am totally in love with the chair and with woodmaking! My husband and I really bonded and enjoyed our time together making this. My 2 year old daughter just loves it (and it didn't break when my children sat on it!). I've already bought the wood for the second chair and, after that, have plans to move on to the Elementary Trestle Table!
Wed, 06/08/2011 - 19:43
Hi - I also thought this would be an easy build for my first project but it wasn't!! I also had a hard time keeping the pieces together (so they could be attached) and I kept having to check where I screwed previously, so I wouldn't put another screw in the same path as the previous one. Nice job and love the dedication it takes to fix and see through things to the end.
I'm so thankful for these plans! I love how these beds turned out, my daughters love them too! Whenever they have friends come over, this is the first place all of them want to go (not necessarily a good thing, I know).
I wrote about the project on my blog: sharethepants.blogspot.com
This is my third project that I've attempted since finding this amazing website and it's certainly my favorite!
I ended up leaving off the pergola due to an overactive climbing two year old. We are planning on adding some additional decorations as we have ideas. Mailbox and house numbers on on their way.
Thu, 07/25/2013 - 16:18
Wow, this looks super! The craftsman details look awesome, and I love the colors!
In reply to Great craftsman style! by JoanneS
Thu, 07/25/2013 - 18:57
I thought our color scheme might turn out odd, but I love it. I was surprised by how many other things I've seen with these color combinations since we put it together!
Fri, 07/26/2013 - 22:26
Oh, and I love the carpet on the stairs too! Ours are getting dirty and thrashed, it's just what we need.
In reply to Oh, and I love the carpet on by birdsandsoap
Fri, 07/26/2013 - 23:37
I can't tell you how great your plans are! I am so impressed by all the details you put into it. I changed some things (like paneling instead of the charming 1X3's and 1X4's, and leaving the back open) but I was so impressed by how everything came together--especially the stairs. You did a fantastic job.
Super easy and adds such a nice touch!
I used recycled oak to build wagons for four kids that year. My son Dakota, his cousins Colt and JoJo. the last one I gave to a boy with cerebral palsy who was being raised by his father and they lost everything to a fire just before Christmas. That is him in the wagon
I pulled up the ancient green carpet on our patio, gave away our old cheap rusted table and chairs, and built four adult-sized Adirondack chairs from the Home Depot DIH plans and two child-sized ones from the plans in Ana's book. All are painted in Olympic's Schooner. This took forever, but I love the result! A friend dubbed it "the partio." :)
Sat, 07/27/2013 - 13:47
This is absolutely beautiful! Love your color combination. Great job!
Sat, 07/27/2013 - 14:08
This is awesome. Colors you choose is really good. http://www.assignmentshelptutors.com
I adjusted from the plan to build the stools to 35 inches and found they remianed very stable! Used Cedar for the seat and aprons, and redwood for the legs and supports.
I used these plans and modified the height to create functional countertop and shelving in my garage. I added a little face framing too. Thank you for the inspiration Ana!
Made from Pencil Cedar from a tree felled at our church.
Finished with Danish oil
Had a Blast making these shelves for my daughters room last Summer! (sorry for just posting now) She had such a long plain wall I thought what a perfect way to take up space but still have places for her toys! She loves them as much as I do!
Wed, 06/15/2011 - 12:05
They look awesome! Love how the bins fit so perfect.
Before my daughter was born I started planning a play kitchen for her. Last week she turned two and this was my gift to her. I borrowed ideas for details that I had seen on this site from several different kitchens.
Spend some time on pintrest and made this nice Cupboard hard to find the right plan but its my first furniture so freebasing and a few misstake later.
Thu, 03/11/2021 - 06:08
No glass, replace with barn door look. Fix the bottom to look like dresser bottom.
This was something I made for my mom. Saw this design at a furniture store. Decided I could build it better. The bottom piece I used one of your plans (adjusted for the size I needed). Thank you for all your creative designs and plans.
by Jason
We are poorer than poor which I am sure some of you can relate to. This means I have been looking longingly at Ana's site for more than a year now with no hopes of ever getting anything of my own started. But, I borrowed my brother in laws tools. I started small and sold some stuff and now I am building (still slowly) with 100% money earned by my new craft, talent, and sweat! This means I only get to build something for me every two projects or so, but feels AWESOME not to be taking from a very tight monthly budget.
I sold everything in my daughters room that counted as storage to help along the process. So she has needed this for a while now. I am so excited that it turned out looking so well. It was a pretty easy build and I am so happy. She loves it too. THANKS ANA!
I extended the sides from the original plan so that it was all open and then designed a footboard. I'll post the plans for that extension.
Sat, 06/18/2011 - 12:55
So exciting that you paid for this bed from profits from other builds! I'd love to do that myself, and seeing this post is such an inspiration!
Sat, 06/18/2011 - 13:29
I do relate to this post, but just the first part. Poorer than poor and looking at the sight longingly. In fact, I haven't been on here for awhile because it just makes me antsy and frustrated.
I would love to get some tools. I told my sister in law that my brother should just gift me some of the old ones he wants to sell, in repayment for all of the back scratches and sunburn peelings I did for him. Haven't heard back about that yet :) But he lives a long way away so I could buy some cheaper than the gas prices to go get them :)
Sat, 06/18/2011 - 13:57
now THAT is what i call being a good steward(ess) of your money; and your daughter must be ecstatic to have her own beautiful bed!
Sat, 06/18/2011 - 20:15
Your daughter must be so happy! It turned out beautiful! Great job!
Sat, 06/18/2011 - 22:31
Thanks for the inspiration and congratulations on a great project!
Sun, 06/19/2011 - 02:53
Love your take on a storage bed. I'd been thinking about making a few adjustments to take the storage off the end of the beds. Looking forward to them.
Sun, 06/19/2011 - 06:58
I LOVE the headboard, i still have plans to do this in the near future...what a lucky girl!
Sun, 06/19/2011 - 11:43
Truly your determination touched my heart. Thank you for inspiring us all!
Sun, 06/19/2011 - 18:47
YOU should be very proud!.. This is very ecclectic, chic, elegant.. multipurpose grow with you bed.. AND YOU did it.. Awesome... !!! I bet your daughter is very happy with her bed....
I love the headboard.. Ingenious.. i've been thinking on how to integrate the tufted look with Ana's plans.. And now i have you to thank for the Inspiration....
Mon, 06/20/2011 - 10:36
Your candor and honesty about your situation really hit home with me .. though I suspect there are more than just a few of us struggling along. Thank you for sharing and proving again that it IS possible. Your daughter is fortunate to have such a great role model (and such an awesome bed and room!). Thanks for sharing - truly inspiring! And thanks again to Ana for helping us all to expand our roles as home-MAKERS!
Mon, 06/20/2011 - 12:51
I am so touched that everyone took time to look at my little project, and obviously read my story. Thank you all for such encouraging words. I LOVE that Ana has enabled us all to be a little "family" in our venture out of our comfort zones.
Tue, 12/04/2012 - 15:41
Hi redhead_61,
I love the projects you have posted on here and think it is amazing that you now build custom projects. I have just done a couple projects and want to do more because of the thrill of seeing something and making your own creation from it. If you don't mind me asking how did you start selling your projects? Do you have a website?
Tue, 12/04/2012 - 15:42
Hi redhead_61,
I love the projects you have posted on here and think it is amazing that you now build custom projects. I have just done a couple projects and want to do more because of the thrill of seeing something and making your own creation from it. If you don't mind me asking how did you start selling your projects? Do you have a website?
Wed, 12/05/2012 - 08:00
Hi redhead_61,
I love the projects you have posted on here and think it is amazing that you now build custom projects. I have just done a couple projects and want to do more because of the thrill of seeing something and making your own creation from it. If you don't mind me asking how did you start selling your projects? Do you have a website?
Fri, 06/24/2011 - 05:37
I have been searching for plans to make a bed for my daughter for over a month now. I found a few that would serve the purpose but were not quite what I wanted. This bed, however, is perfect! I love the storage and it seems easy enough for us girls to handle. I plan to pick up the wood tonight and make it over the weekend. Thank you for the great project.
Wed, 07/06/2011 - 18:55
I have been longingly looking at several plans from this site for awhile myself, but we too are poorer than poor! I mean like struggling to keep toilet paper in the house not sure where the groceries will come from next week poor! BUT your post inspired me:) I'm soo glad for you that you are able to build things for yourself from the profits of other builds. Your daughter is very lucky:)
Sun, 08/07/2011 - 11:28
Can someone give me instructions on how to make a headboard like this one?
In reply to I Love This Headboard by mkkayla
Sun, 08/07/2011 - 21:22
I just used a sheet of plywood (you could also use OSB which is cheaper) figured out my measurements and shape and then cut it out with a jigsaw. The good thing about this type is that it doesn't have to be a beautiful cut because it will be covered up. You will then need to pre drill your holes figuring out what type of design and where your buttons will be.
I used two layers of batting as my foam layer. Professionals use a thick layer of foam and spray adhesive it to the board. This could be VERY expensive depending on density and size. I had a friend tell me she used a couple of those waffle bed pads back to back (so the flat side is out) That would be cheaper and still give you some good tufted look. My buttons didn't end up indenting very much because I only used batting.
Then you cover foam with batting and then fabric and staple it all to the back of the board. Make sure to pull tight as you go and keep checking that your fabric looks good. Then you use thick thread or string or twine to thread through the back, through all the layers, through the button holes and then back through. You will need an anchor of some sort on the back to keep the thread pulled tight against the back of the board. You could use a nail, a dowel, or I just used another button because I had a bunch. You then pull as tight as you can and knot.
And then do it LOTS more times! Fairly easy but a little time consuming, but SO worth it. I used regular buttons and then hot glued big rhinestones onto them for a sophisticated bling!
Sun, 08/14/2011 - 19:10
I have been working on bunk beds for my girls for over a year now. I should be done soon. I can totally relate to the money being tight. :) Beautiful bed
Tue, 04/17/2012 - 07:48
If nothing else, you are certainly RICH in talent:) You did a wonderful, inspiring job, and you are teaching your daughter to be independent and resourceful. I am giving you a virtual pat on the back!
Sun, 01/06/2013 - 06:12
Hi! I'm so happy I found this because I'm in live with your design! I loved Ana's too but I didnt likehow the three benches came together and there was the block of wood on the side. Anyways, could you tell me what sized bed these dimensions are for!? It looks like a queen to me but I'd hate to second guess myself.
In reply to Hi! I'm so happy I found this by shwalton (not verified)
Sun, 01/06/2013 - 13:21
The bed pictured on here is a full size mattress. However, I have since put a queen size mattress on this same frame. It still fits pretty well. I did have to pull the mattress away from the headboard, but I had never attached mine, and since I have the little curtains hanging on the sides it hides the difference well. A queen is 6 inches wider and 5 inches longer if you want to add in the difference when you build.
Wed, 09/18/2013 - 21:07
Hi! I just went and bought all of the lumber and had the cuts made at Home Depot but when I got home to assemble I had some areas of confusion...
1. I thought I might be short one 1/2 plywood cut to 12" x 78" as the list only called for one but I thought these were being used as the back to the two side cabinets
2. Do two of the four 3/4 plywood boards cut to 11.5" x 78" need to be cut to 76.5" to be used as the bottom shelf of the cabinet?
Thanks!
Fri, 09/20/2013 - 13:49
Yes two of the plywood cuts are to 76.5". They actually sit inside the side legs of the cabinet space. Look again at the cut list pictures on here and it will show better. THANKS. good luck
I made this little Adirondack end table and chairs set for my niece and nephew. I made the end table following the Adirondack Stool or End Table plan. I made the chairs using the pattern found in Ana's book.
I wanted to build a structure for the kids to play in and on. I used the playhouse deck design and made it 8 feet by 8 feet. The "roof" is removable to provide shade when it's sunny. It's just 2x2 and a tarp - pretty simple, but it does the job. I used treated posts, dog eared fence boards andlots of screws. I stained and built the walls in my garage before assembling it. Once all of the wood at been stained, it came together pretty quickly with the grandkids help...Lol
Tue, 05/05/2020 - 06:43
What is the estimate cost of the entire playhouse with swing?
Here’s my Brag photo! This is the bedside table made from 2 x 4 and 2 x 6 lumber from your plan list.
by David