Rustic coffee table
![](/sites/default/files/13180963_10156975681255118_933323157_n.jpg)
This is a coffee table built out of pine, doug fir and redwood. I mistakenly bought redwood for the top, but I think it came out pretty nice! I had the "x" but decided I liked the look better without it.
Went with the horizontal slats and added a bottle opener on the left leg.
I had a friend who does cabinets, complete two drawers for me from your example. And he did two for my sister's place (one being a double decker slider because her drawers are deeper). Thank you for the inspiration!!
Michelle R.
This is the mini version of the Tommy Bookcase. I am using this piece as a storage bench in the bathroom. I loved what we did with the Tommy Bookcase, so we made a mini and used the leftover trim and moulding to make this piece. I love cherry wood, but it can be very pricey. We used cherry plywood to save on costs.
The one with the extra shelf is 3" taller than the one in the plan and I also took 3 inches from the bottom shelf as well as lowered it. The X's for the taller one were very challenging but turned out pretty good and I chose to use wood guides underneath instead of purchasing metal ones. the drawer fronts are 1x12's and sides are 1x8's. I used my router to cut a grove to hold the plywood bottom and added a support in the center. I have a dovetail joiner but haven't learned how to use it (hopefully will learn soon).
Overall I am very pleased with the way these turned out. I plan on making some with single drawers with the left over wood!
Thanks Ana I couldn't have done any of this had it not been for your site!!!
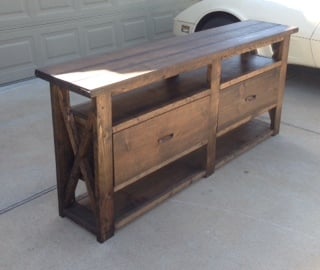
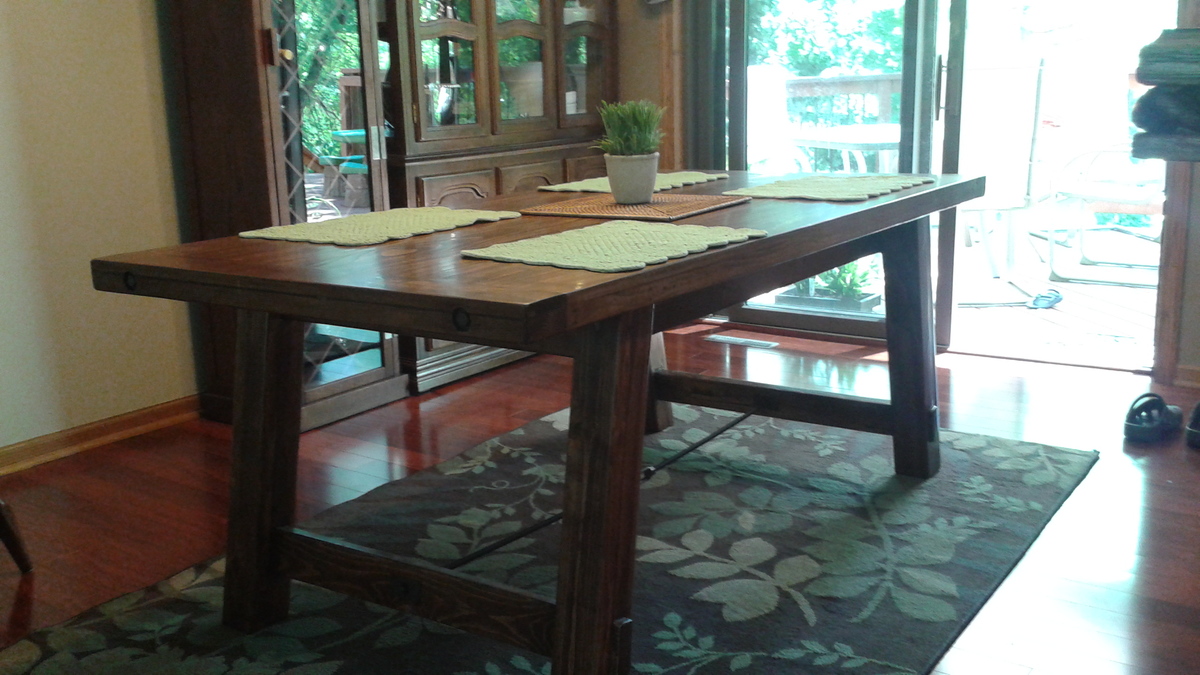
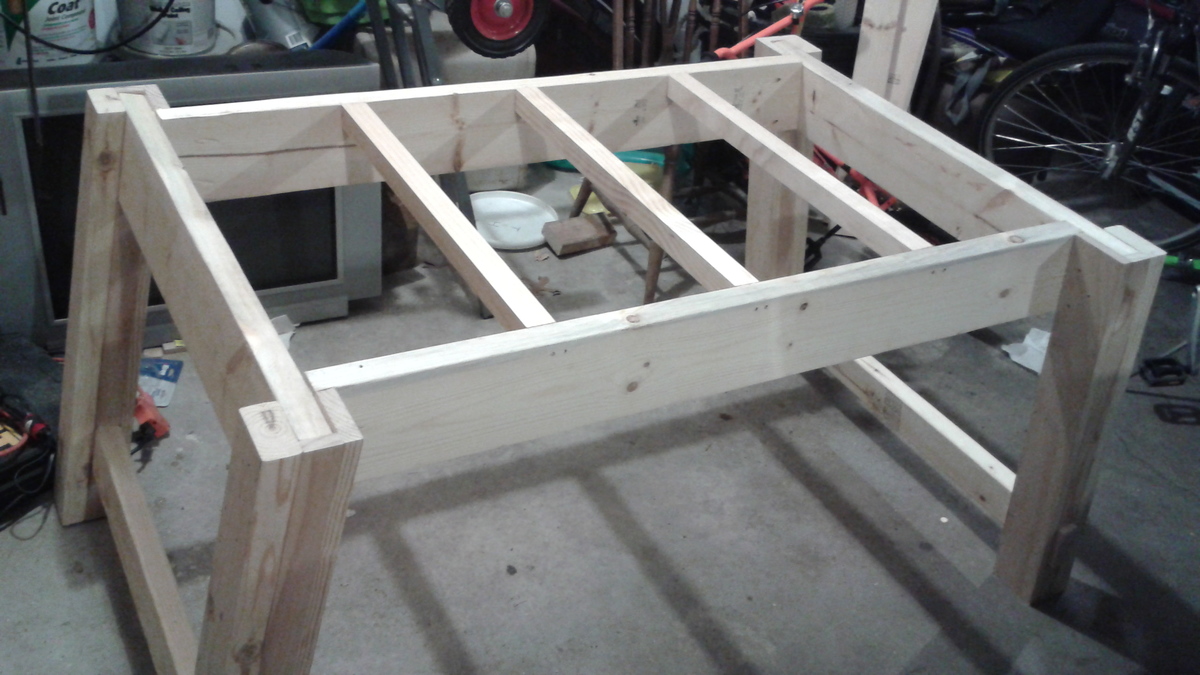
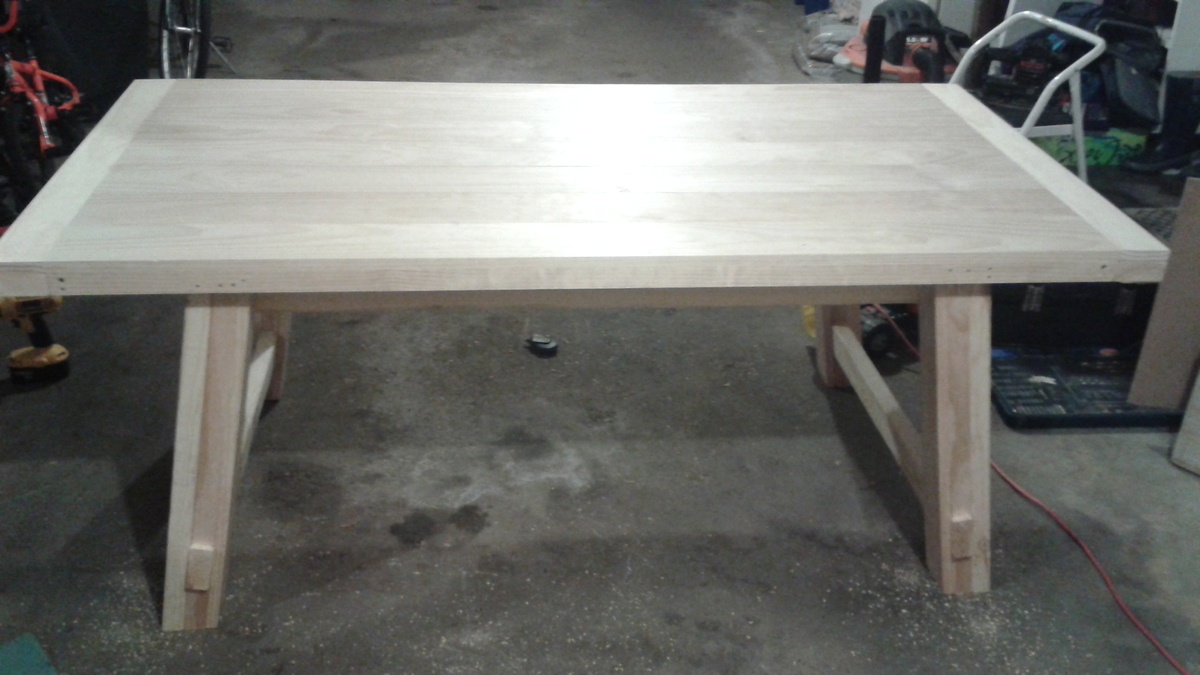
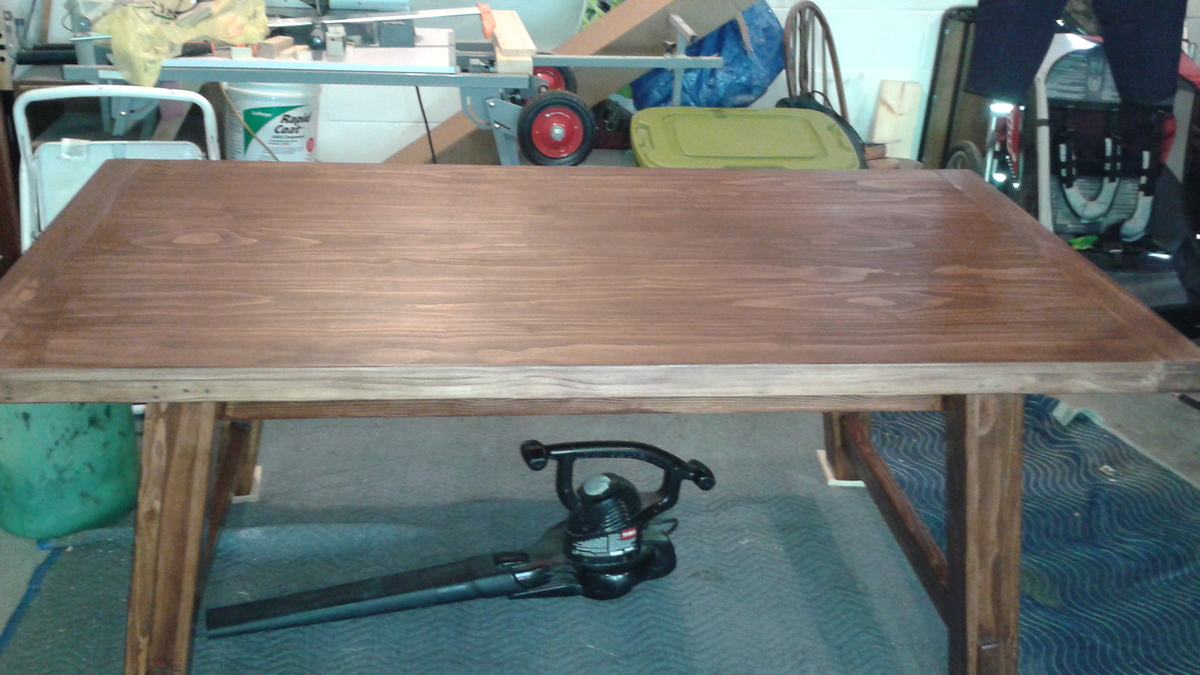
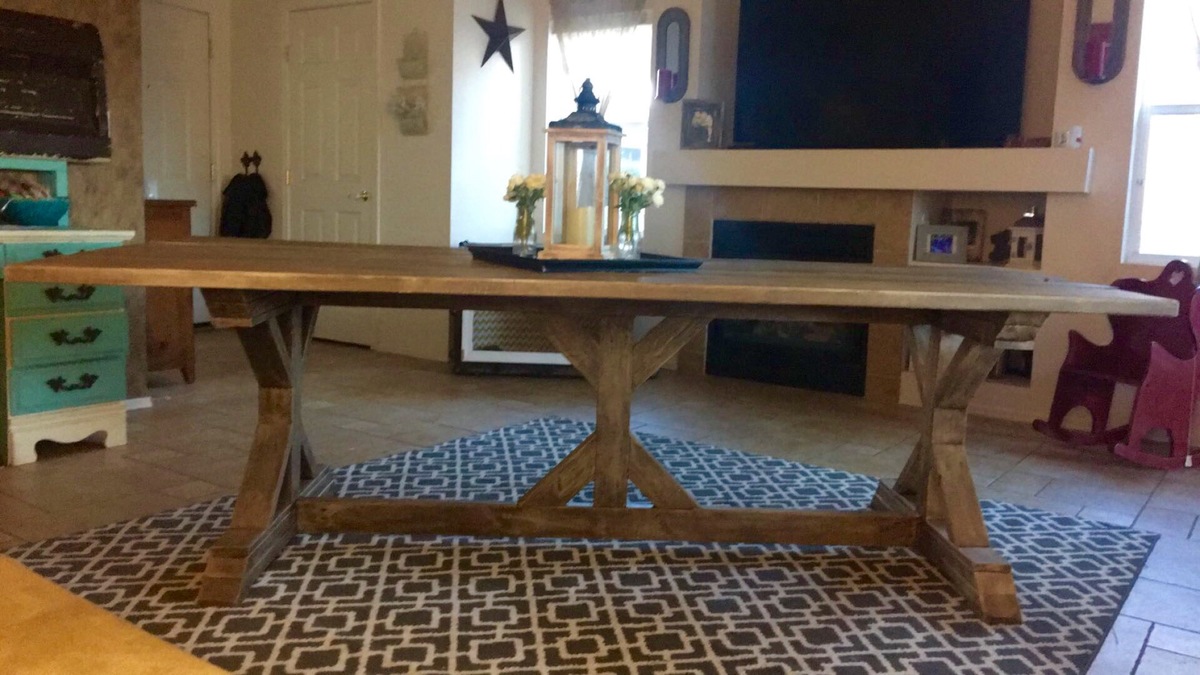
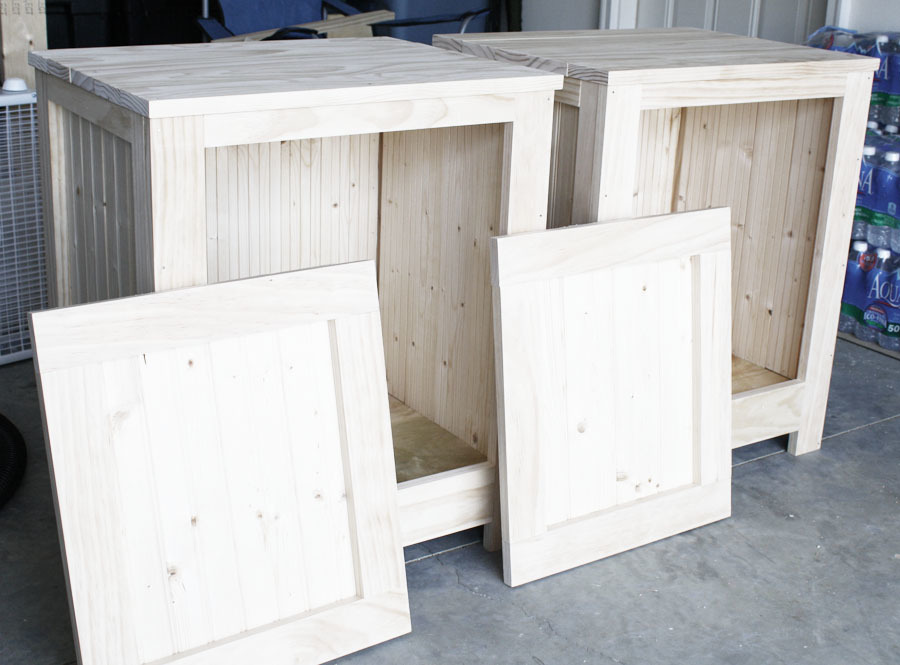
Put together mostly in accordance with the Ana plans, but this one is one 1x6 wider than the original plans with aprons, legs, breadboards, etc. widened as necessary. Also, the table-top is connected all from the bottom so I could avoid having to patch a bunch of nail holes on the top (lots of screws and pocket holes to pull it all together that way). I'd highly recommend a Kreg jig for the table, as it allows for most of the screwed connections to be hidden.
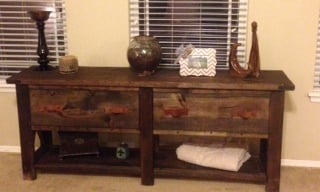
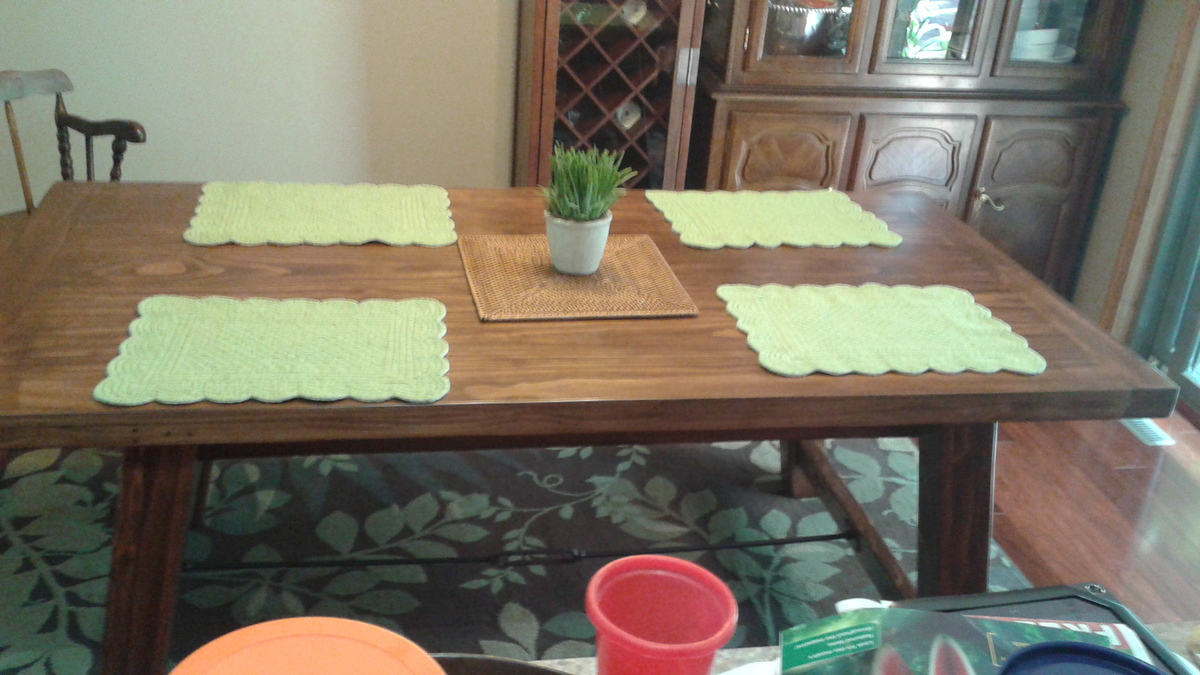
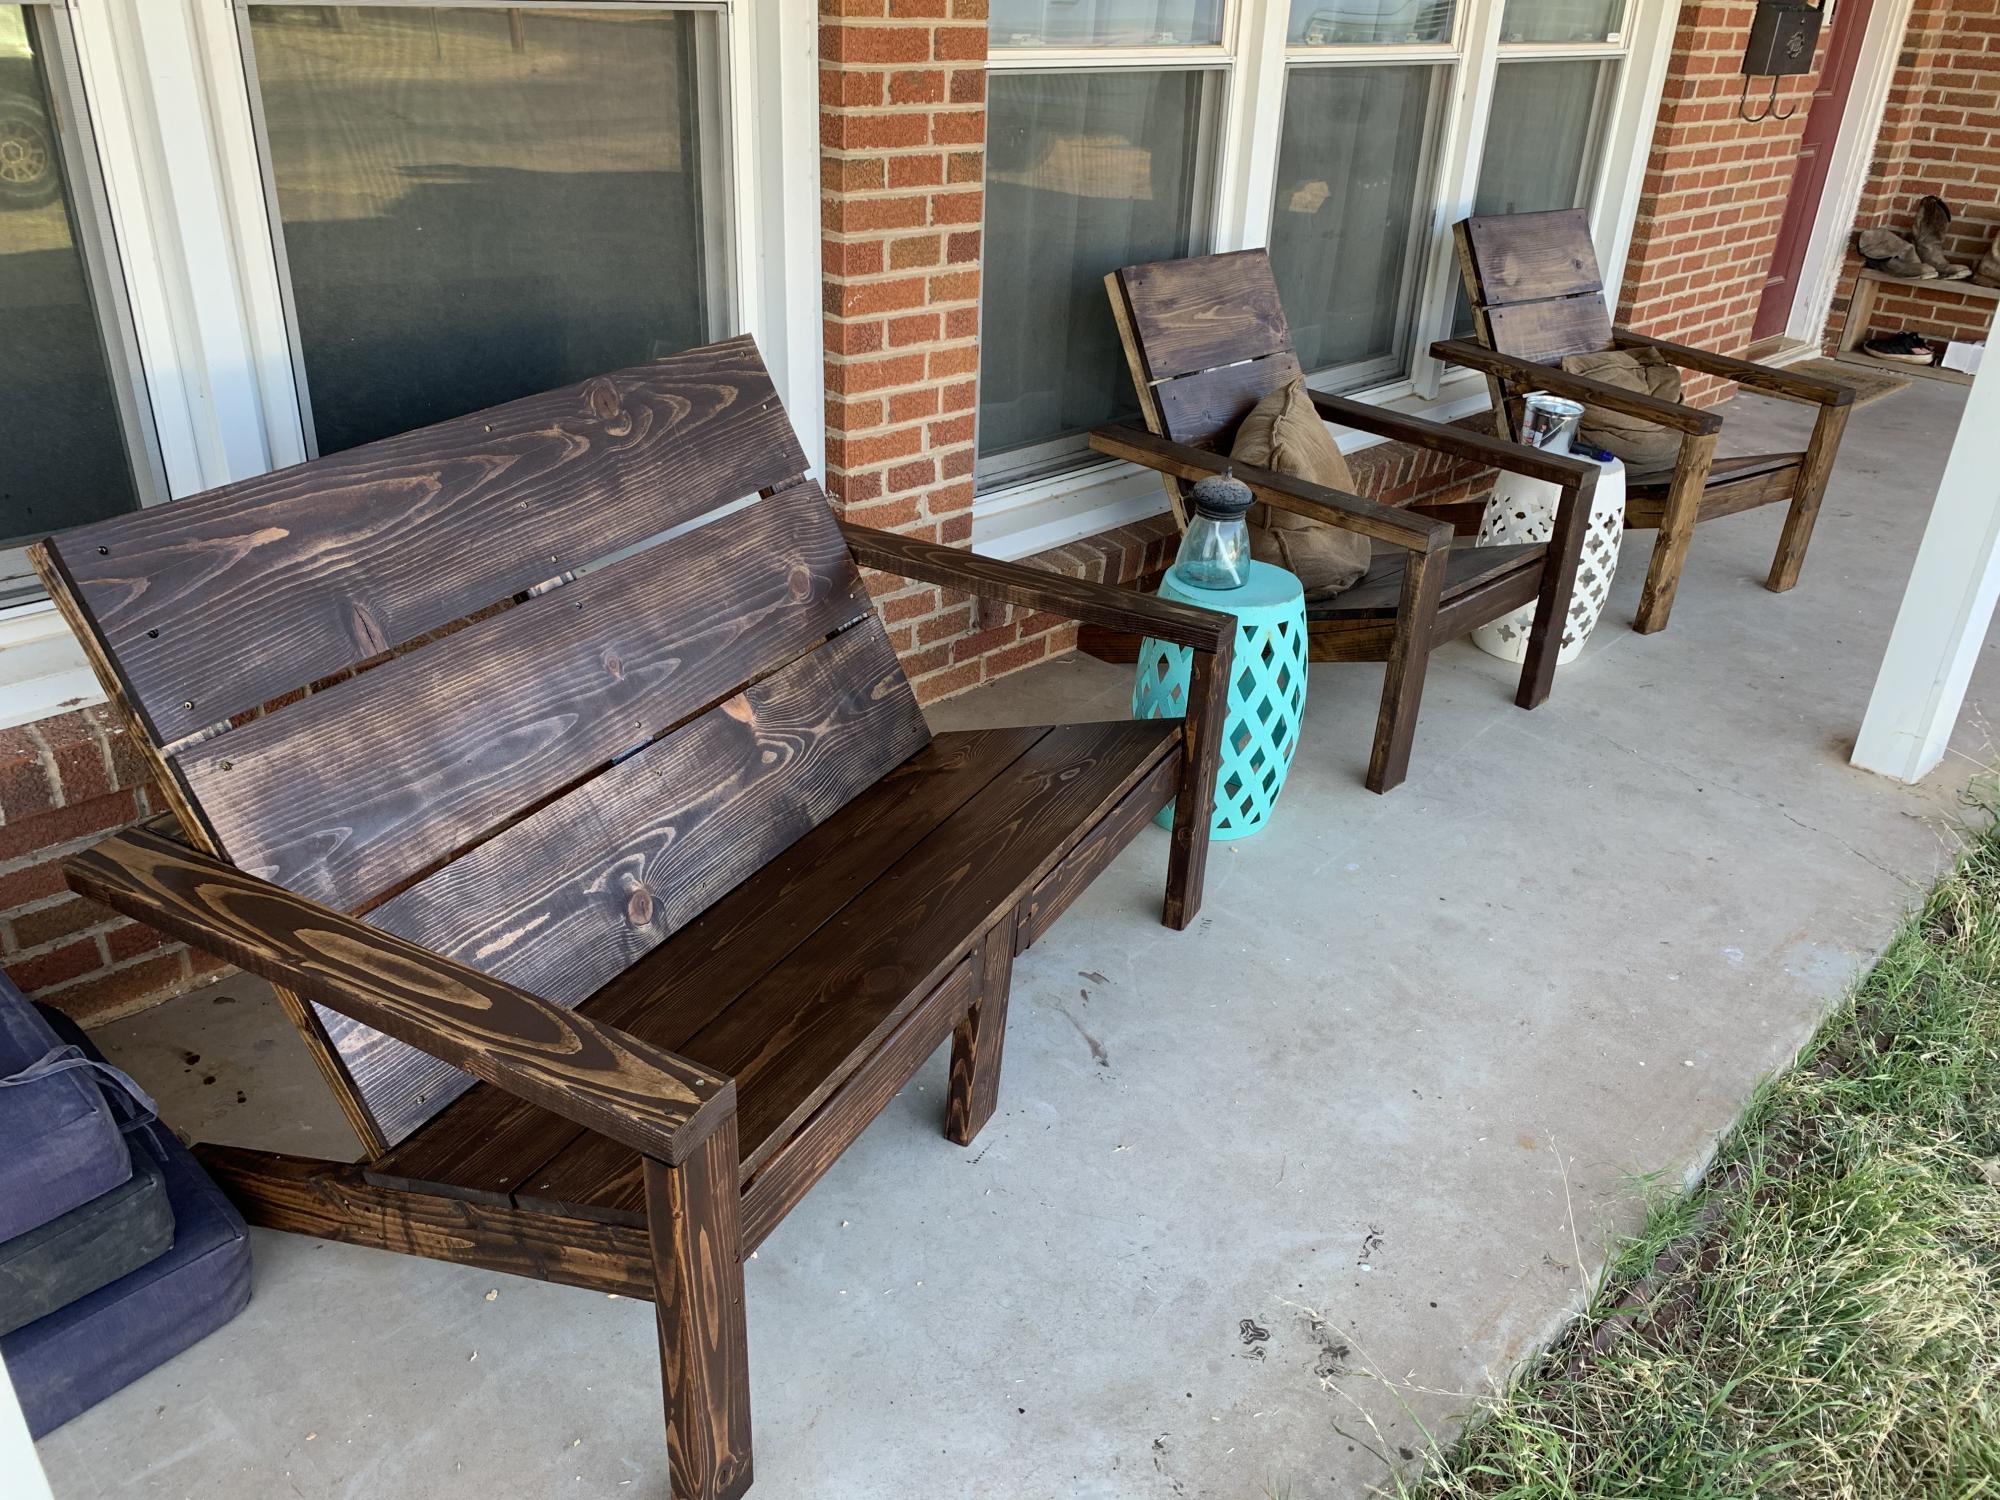
We're moslty just happy to have a rock-solid table that's easy to clean with our 3 and 5 year old boys. The table this is replacing was a hand-me-down antique that was quite shaky.
The matching benches will be coming along as well, but most of my stuff is put together after the kids go to sleep, so takes some time.
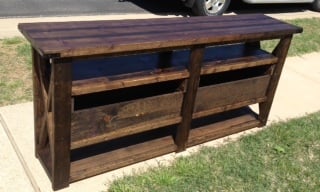
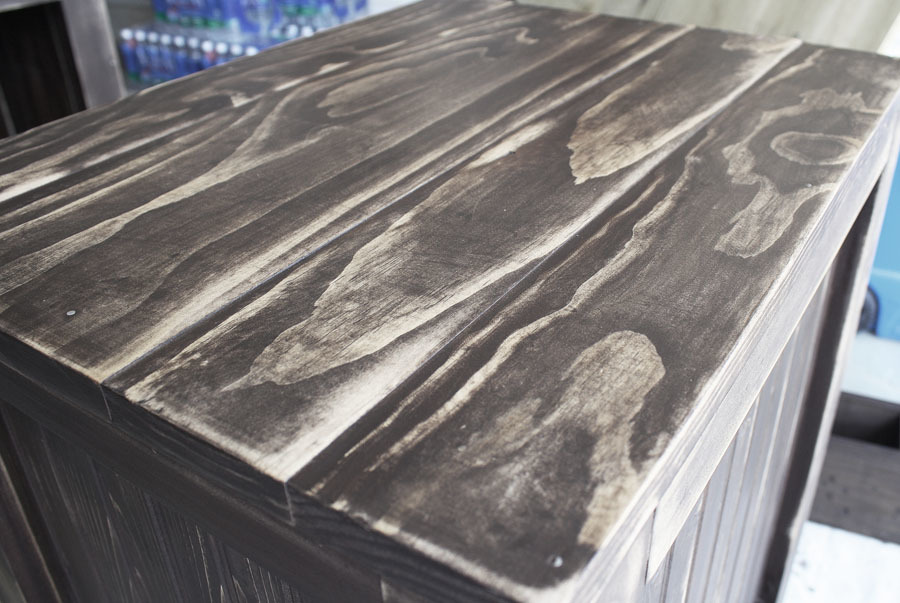
I didn't use wood conditioner prior to the stain - as I read from a good source that the gel stain will essentially do the same as conditioner + traditional stain, and somewhat wishing I would have, as there are a couple blotched areas I'm not happy with, but I'll probably notice them more than anyone else.
Like this chair! Changed the 3 1x10's on the back to 4 1x8's ripped down to 6 ¹⁵/¹⁶
This was a great first project, I now feel more confident to make more beautiful wood pieces, thank you for sharing the easy to follow plans!
Ayse
I made another turned leg table... this time on accident! Lots of finishing details on my blog. http://whitneysworkshop.blogspot.com/2012/07/the-accidental-table.html
Fri, 07/20/2012 - 05:28
Nice rescue job on the legs for both the find and the finish. They turned out very nice.
After searching for many months to find the perfect potting bench, it was clear I would have to create it myself. We finally used my moms old photography sink, that was lonely in our shed, to good use. My hubby and I just adjusted the dimensions to drop in the sink. It turned out so much better than I could have ever expected.
Tue, 12/27/2016 - 11:37
That is so nice! Looks great and I bet it is super handy to boot.
Took some liberties with this one and combined with another plan. My first stencil project.
Wed, 05/27/2020 - 08:28
I love this. Functional but also decorative. Would you mind sharing the plan for your version?
I love these plans, and my son loves his new bed!
Adam
I really enjoyed making these nightstands (I made a pair). They were pretty easy to make, and I'm 7 months pregnant! I highly recommend the Kreg Jig - they made building these nightstands super easy and efficient. They're really sturdy too! If I can build them, anyone can! I'm still unsure about the finish; I may sand them down again and re-stain them a different color in the future.
Check out my blog link for the full play-by-play!
Tue, 05/20/2014 - 13:33
The finish is awesome, have been searchin around for some inspiration for the next project and just found it! great job and thanks!
-Justin
With a little modification, we turned these plans into a bench! We love it!!
Really easy to follow instructions. Thank you!
This is all cedar with 6 coats of Urethane. Very nice project to undertake..
Fri, 09/05/2014 - 16:06
Thank you Reshhia! I apprectiate your comments! Thank you for visiting our site and happy building!!
This was a Christmas gift for our three girls. They each have an American Girl-like horse. I saw all the stables in the brag section with double stalls. But I decided to make it into a triple stall instead. It didn't add much to the cost of the project and only took a little longer to complete.
I added some hooks on the outside of the stalls so they could hang the bridle. Our girls love it.
Thank you for all the wonderful plans!
i used the modified plan of the tilt out waste bin that Shanty2chic put out as a three bin laundry sorter. It turned out great!
It is finished with chalk paint, lightly distressed.
Fri, 10/30/2020 - 10:44
Hi, you mentioned that you used the modified plan of the tilt out waste bin that Shanty2chic put out as a three bin laundry sorter. Can you share that please? Thanks!!