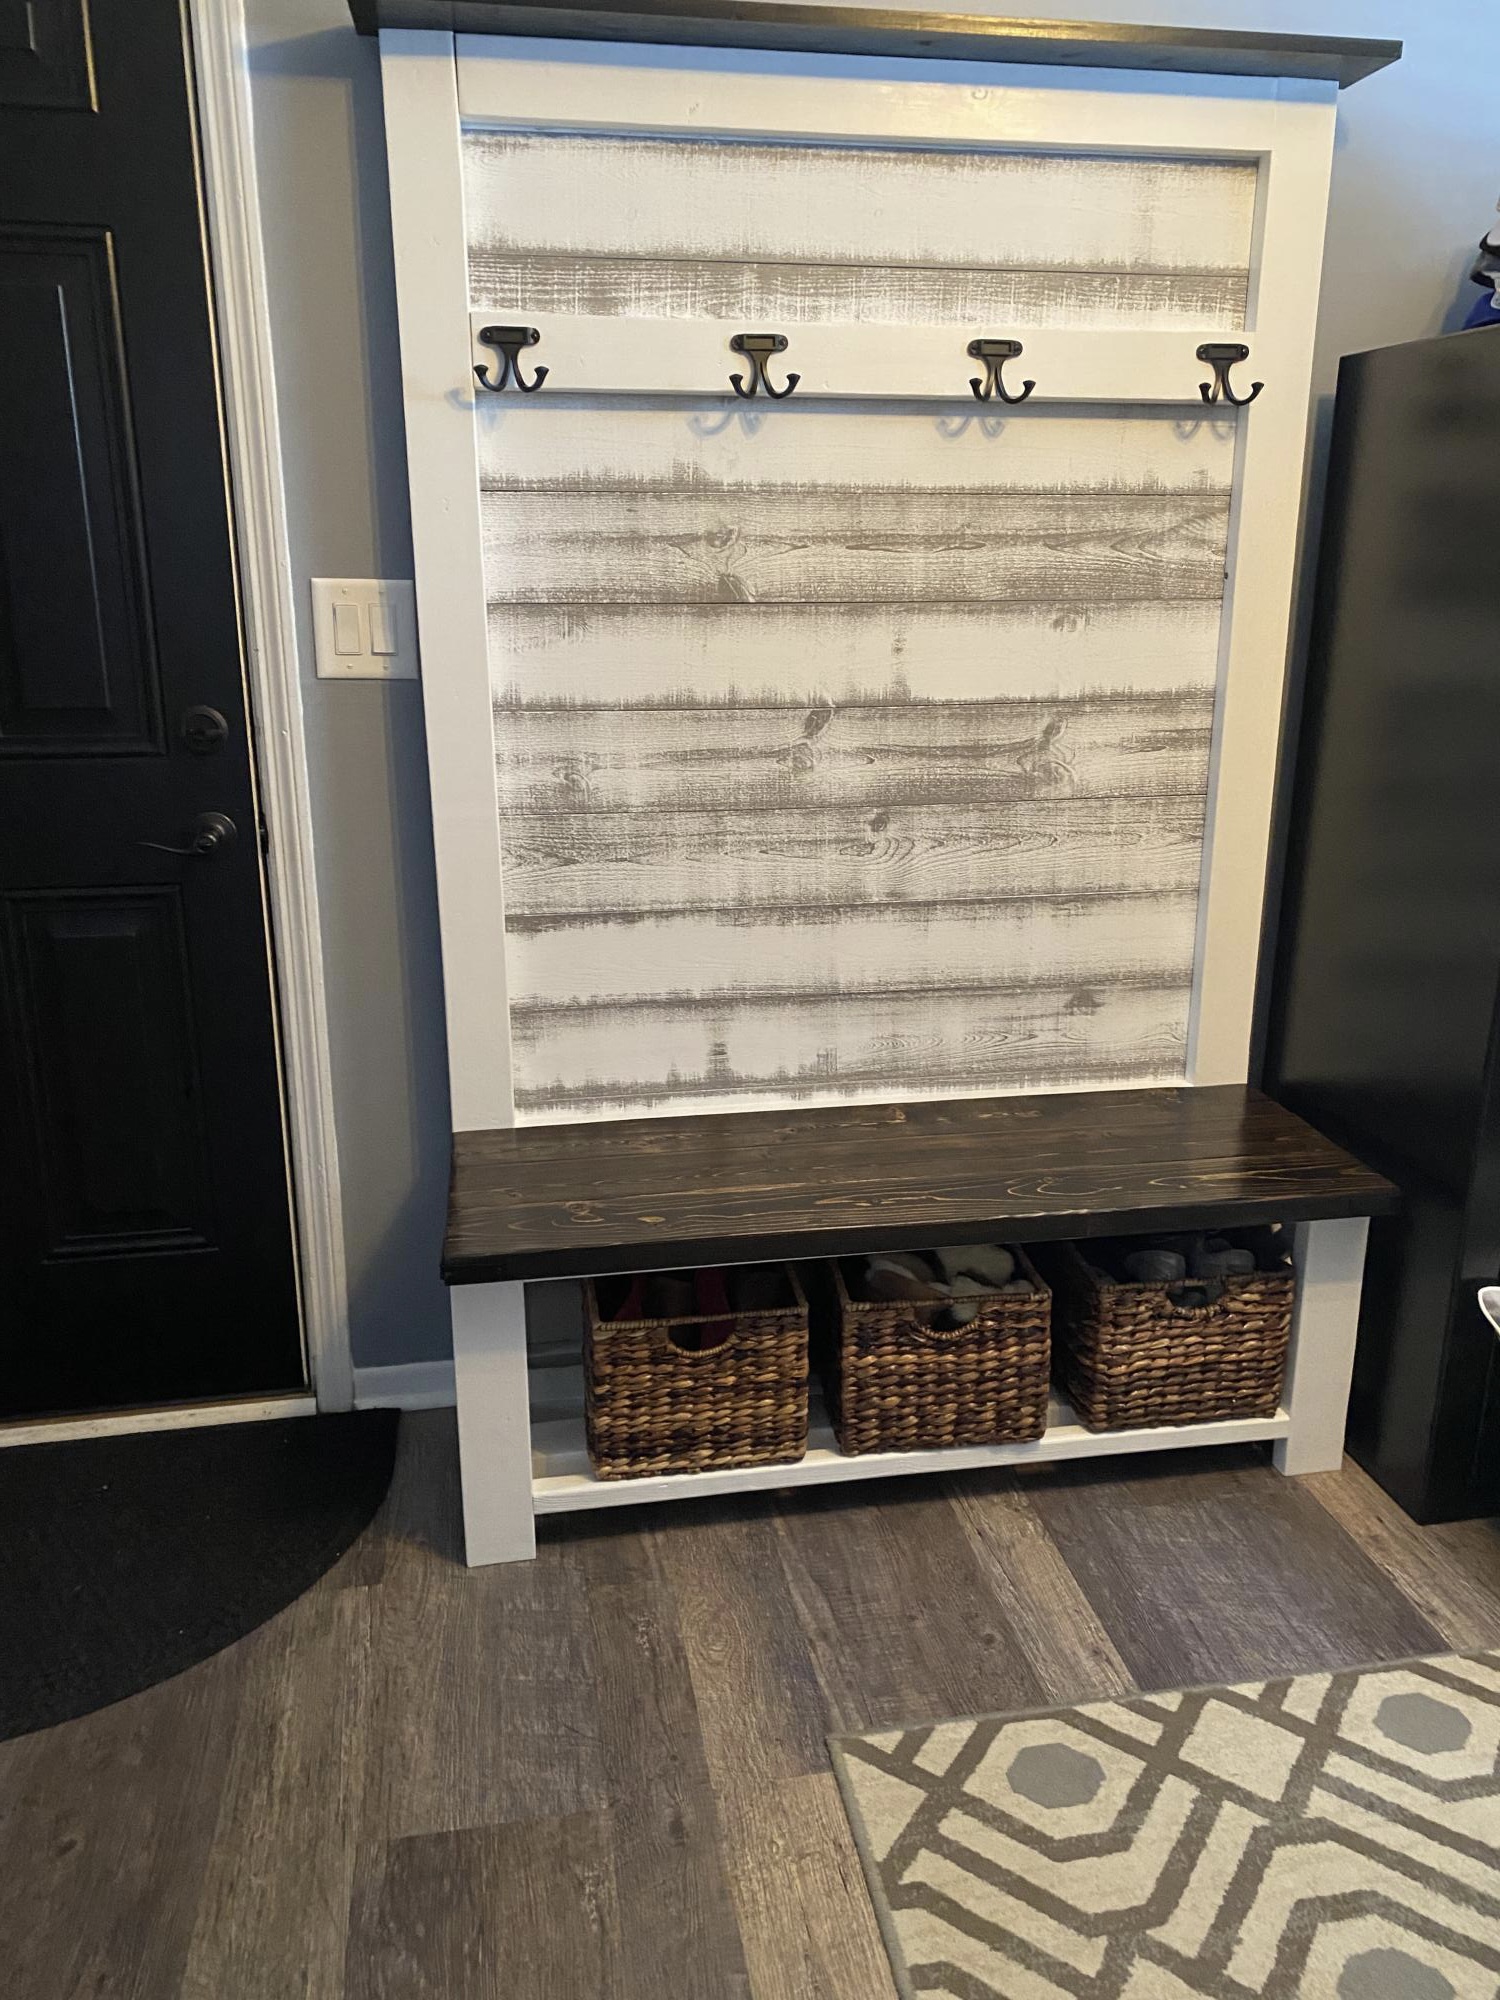
Storage Bench and Cabinets
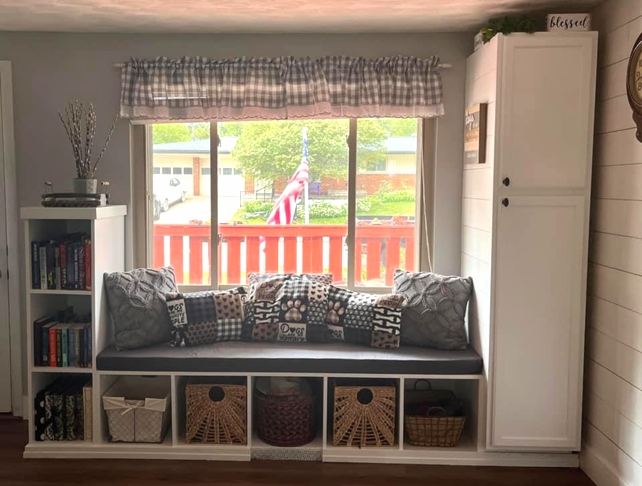
"Built this with Ana's plans, with a couple modifications. What was a dead space, now has purpose!"
Deb Klug Massar
Built from Plan(s)
"Built this with Ana's plans, with a couple modifications. What was a dead space, now has purpose!"
Deb Klug Massar
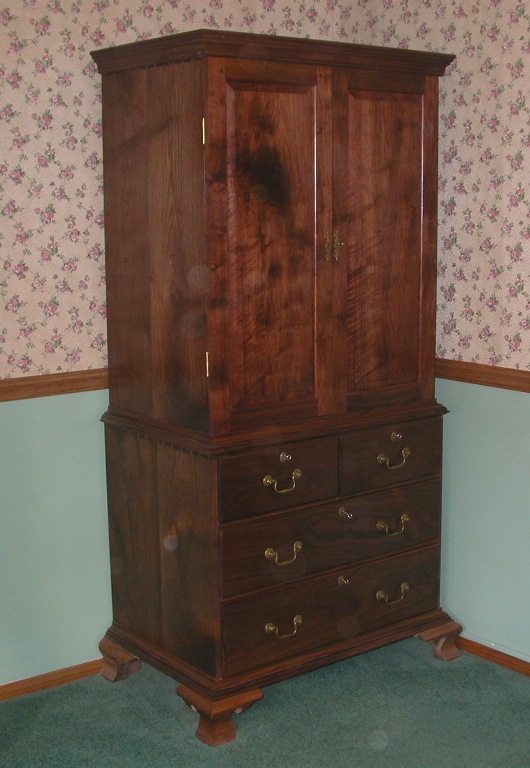
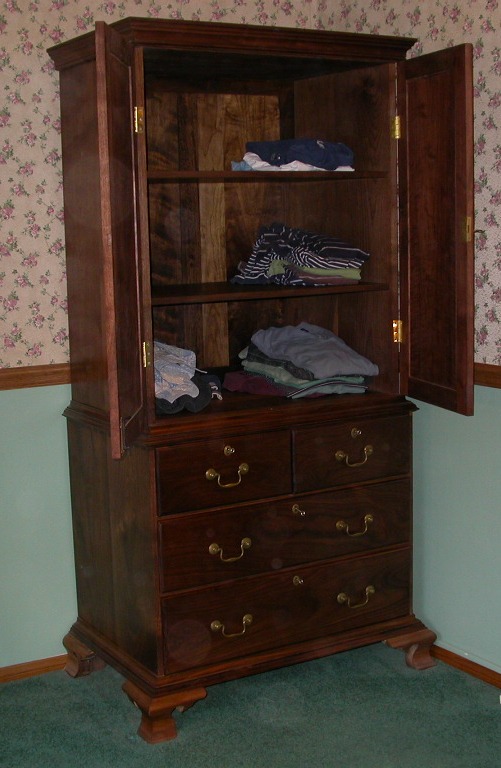
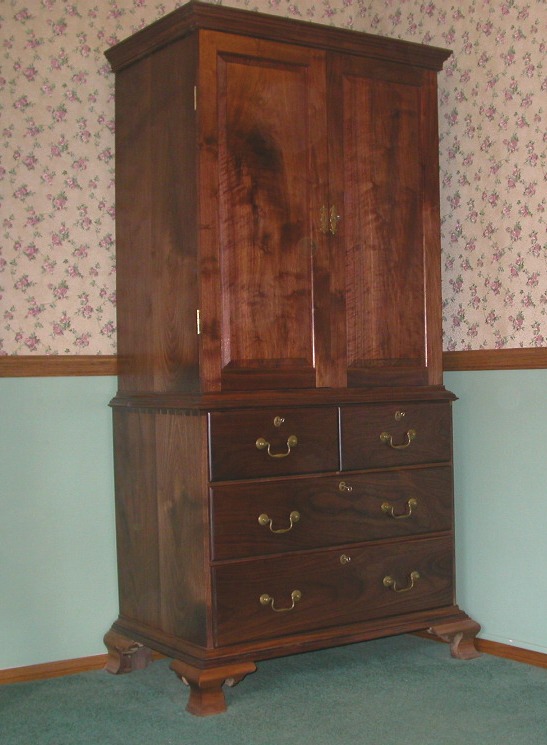
I made this from a design in Thomas Chippendale's "The Gentlemen and Cabinetmakers' Director". It has two internal shelves for storing clothes. All the drawers have working locks and the brass is from Londonderry.com brasses. Their motto is "When Authenticity Counts". It took about 250 hours. Wholly done with mortise and tenon (pinned) and dovetails. The carcass is dovetailed to avoid using any nails. The feet are typical Chippendale with ogee bracket feet. I used only rough lumber which I mill to final dimensions. The moulding is my own design.
Sun, 10/30/2011 - 19:51
Wow - quite an heirloom! I've always admired fine furniture, although I tend to go more rustic myself. Thanks for sharing!
Thu, 04/26/2012 - 16:00
Louis Vuitton Urban Satchel Bag-Art or Hype dollars for a bunch of crap! Are you serious? At least for The Olsen twins who just signed an advertising deal mounting to astronomical figures for Louis Vuitton Urban Satchel Bag, this so-called the most expensive and ugliest handbag in the world is not [url=http://www.toplouisvuitton-outlet.com]Louis Vuitton[/url] CHOO Shoes,Prada Shoes,MARC JACOBS Shoes,Hermes Shoes,JC Juicy Couture Shoes,YSL Shoes,TORY BURCH
embellish the whole beach. Top.3-louis Vuitton Xl Surya, Shiny As The Sun Surya, a well-known Hindu mode of worship of the devotional movements, is done at the rising of the Sun, known as Skrya namaskra (Sun Salutation). He represents soul, will-power, fame, general vitality, courage, highly placed [url=http://www.toplouisvuitton-outlet.com]Louis Vuitton Bag[/url] save a lot of money. Some sites allow you to save even more money when you by more than one item
you look at the border of the bag carefully, you may find the fading effects made by float-stone. With the time of usage, the color of LV leather will be deeper and deeper, while the color of main-body will be shallower and shallower. Monogram Multicolore:A new revolution of Monogram canvas made by [url=http://www.toplouisvuitton-outlet.com]Louis Vuitton Bags[/url] Vuitton released new style wallet in classic Monogram Canvas called nsolite? The Insolite wallet
in Vogue Italia. Gomes was born in Perth of Singaporean and Portuguese heritage. Now grounded in New York, she has toiled with DKNY and was the face of the Sean Combs Unforgivable fragrance. Kathy Ward from Sydney's Chic Management, which represents Rutt and Gomes, does not like to label the pair. http://www.toplouisvuitton-outlet.com watches.Swiss engineering,precision crafted timepieces.We are manufacturers and sellers of these top
people like Madonna to promote their products. This is without any doubt one of their best market strategies. This process called the process of brand association is without any doubt the best market strategy. It is an advantageous process not just for Louis Vuitton brand but also for Madonna. In
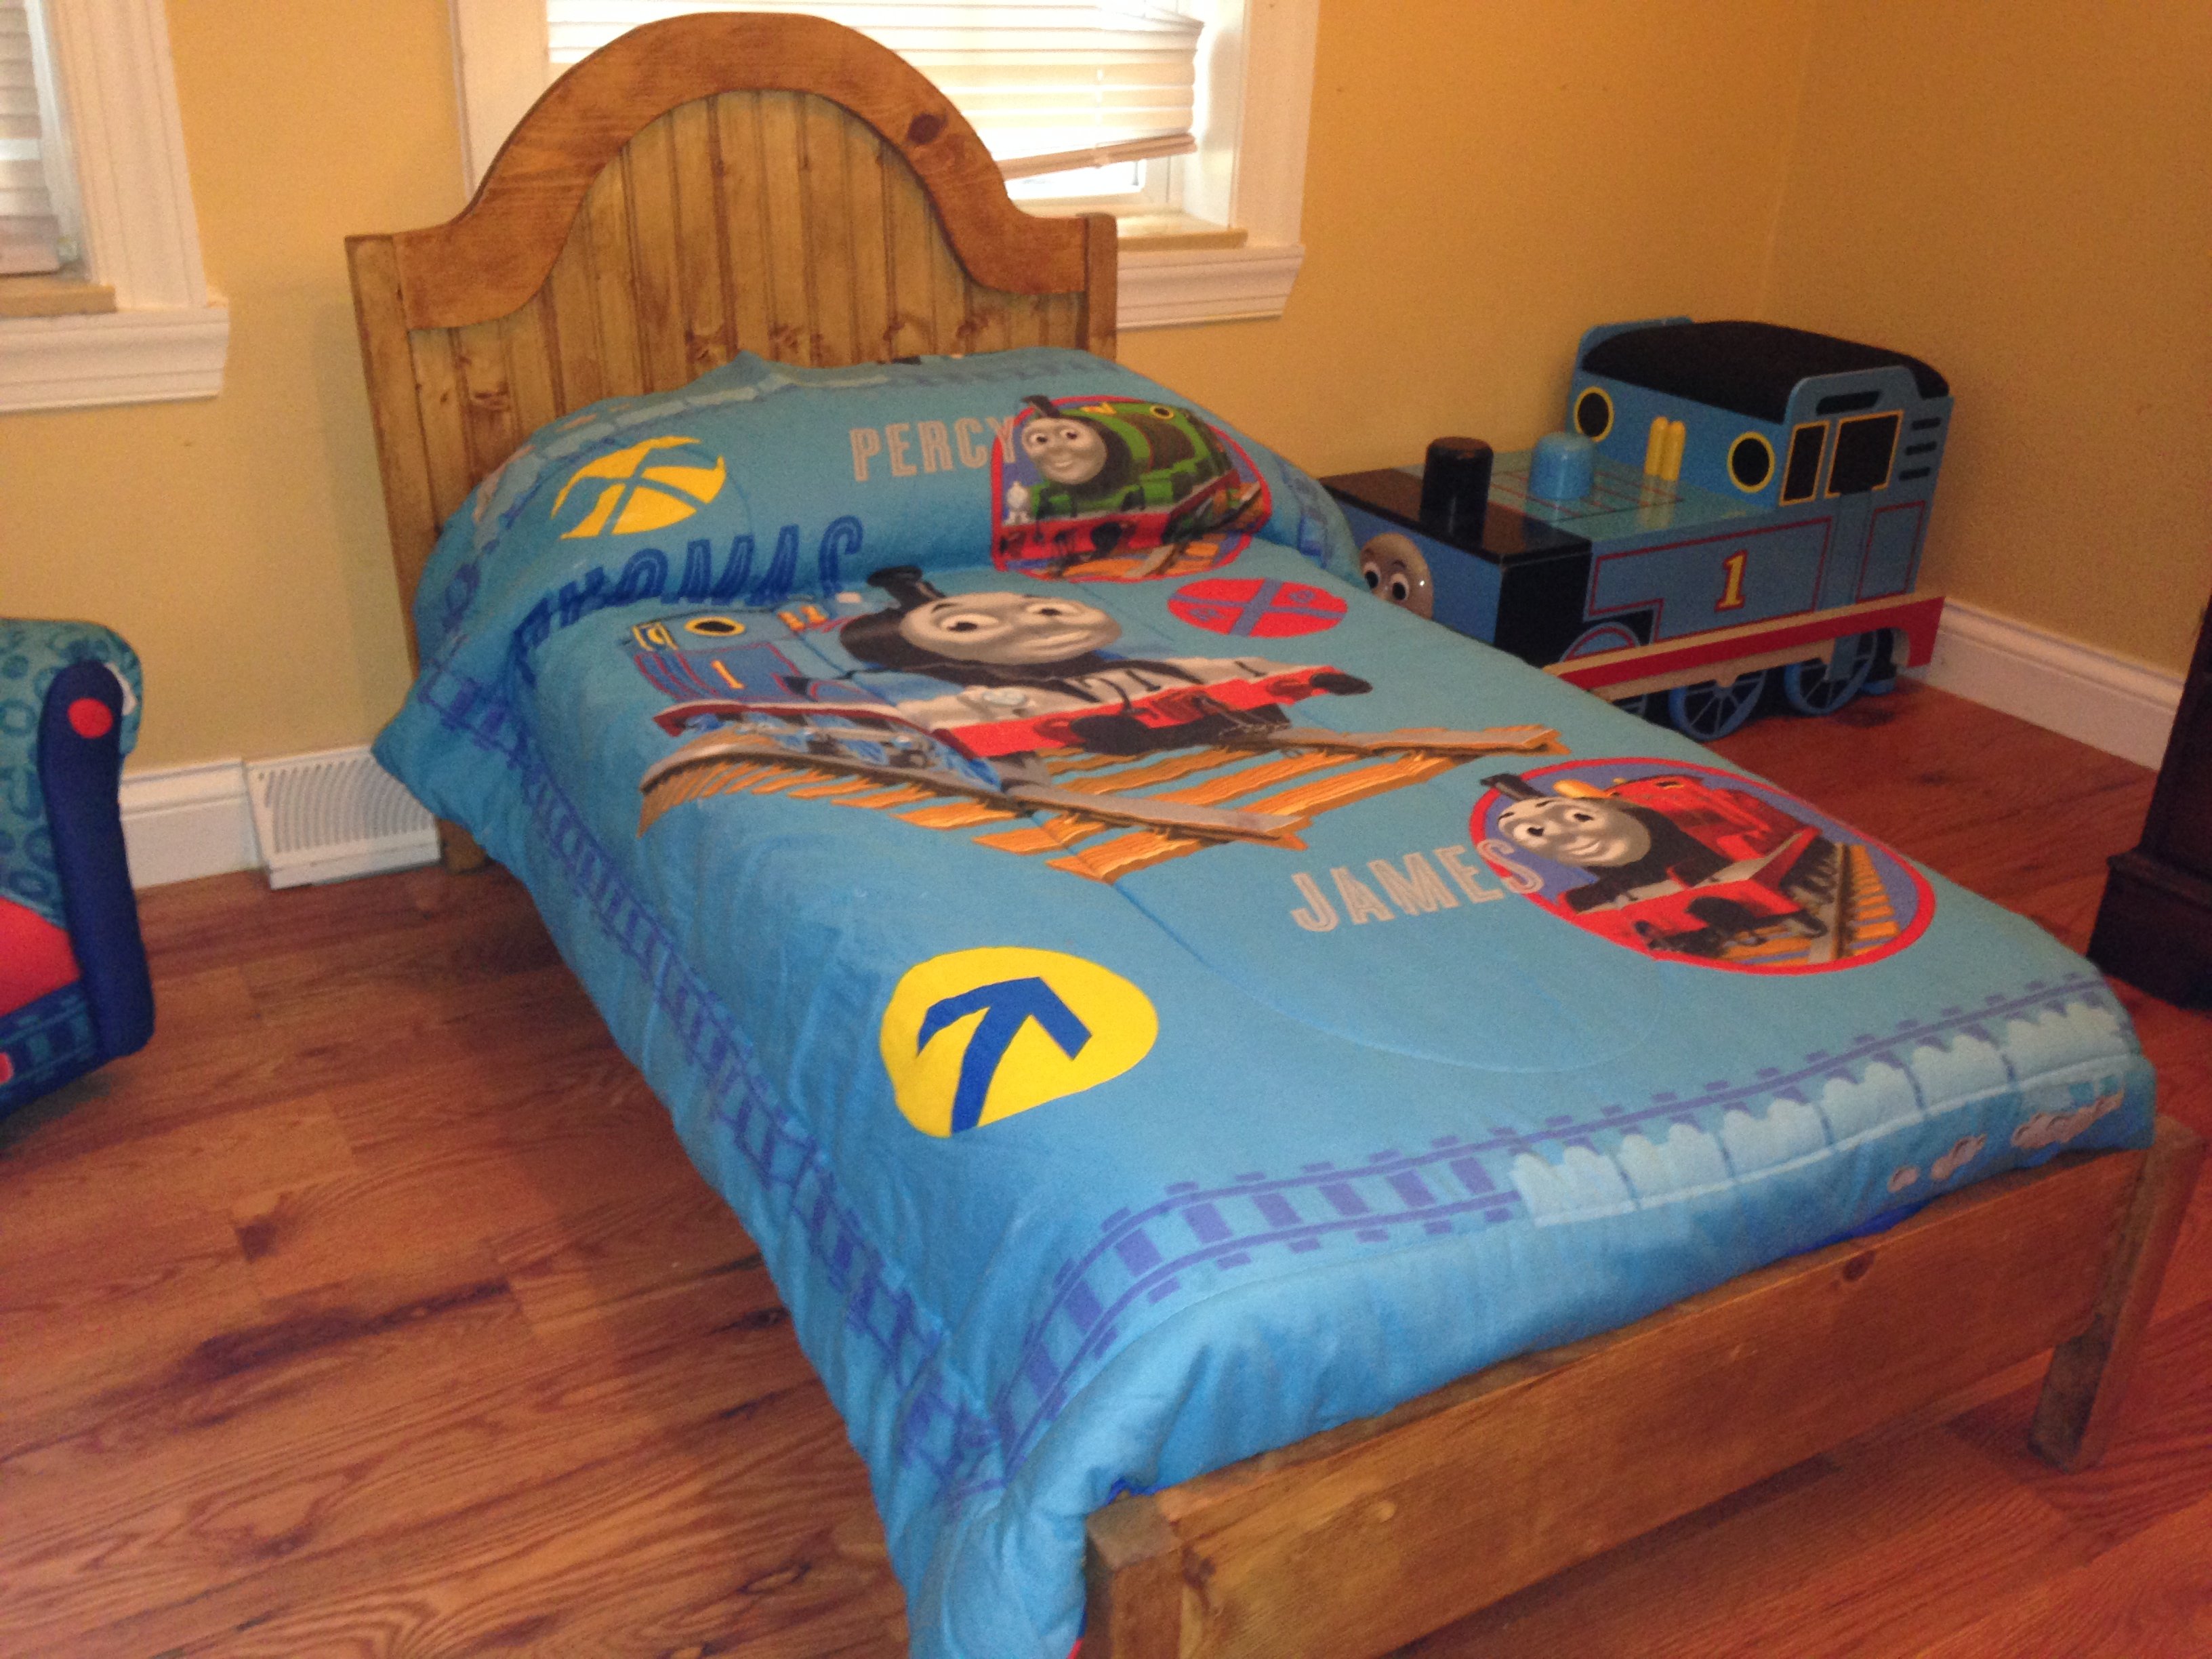
This is the biggest project I've tackled to date (I can count on one hand the little projects I've done before--stools, simple shelves, etc.). This is a beginner project, for sure. I made this bed one night when I couldn't sleep and it took about 4.5 hours to build the four main pieces: headboard, footboard, and two sides with the cleats. The next day I sanded, stained, added shellac, then assembled the 4 parts--"active" time about 1.5 hours. I used four simple L-brackets (about 50 cents each) to assemble so I will be able to easily take the bed apart... he'll outgrow it too soon.
Other than that, I followed the plans exactly as they were laid out. I like the overall look of the bed. For the guardrails: I attempted but did not like the guardrails from the plans. They were not the right size. Because his room is train-themed, I just wood-glued some extra train tracks in a crescent shape to a thin piece of scrap wood (cut and sanded to fit the tracks).
This is a fun little bed. If I had to give up my youngest's crib (so sad)... it could only be for something this cute.

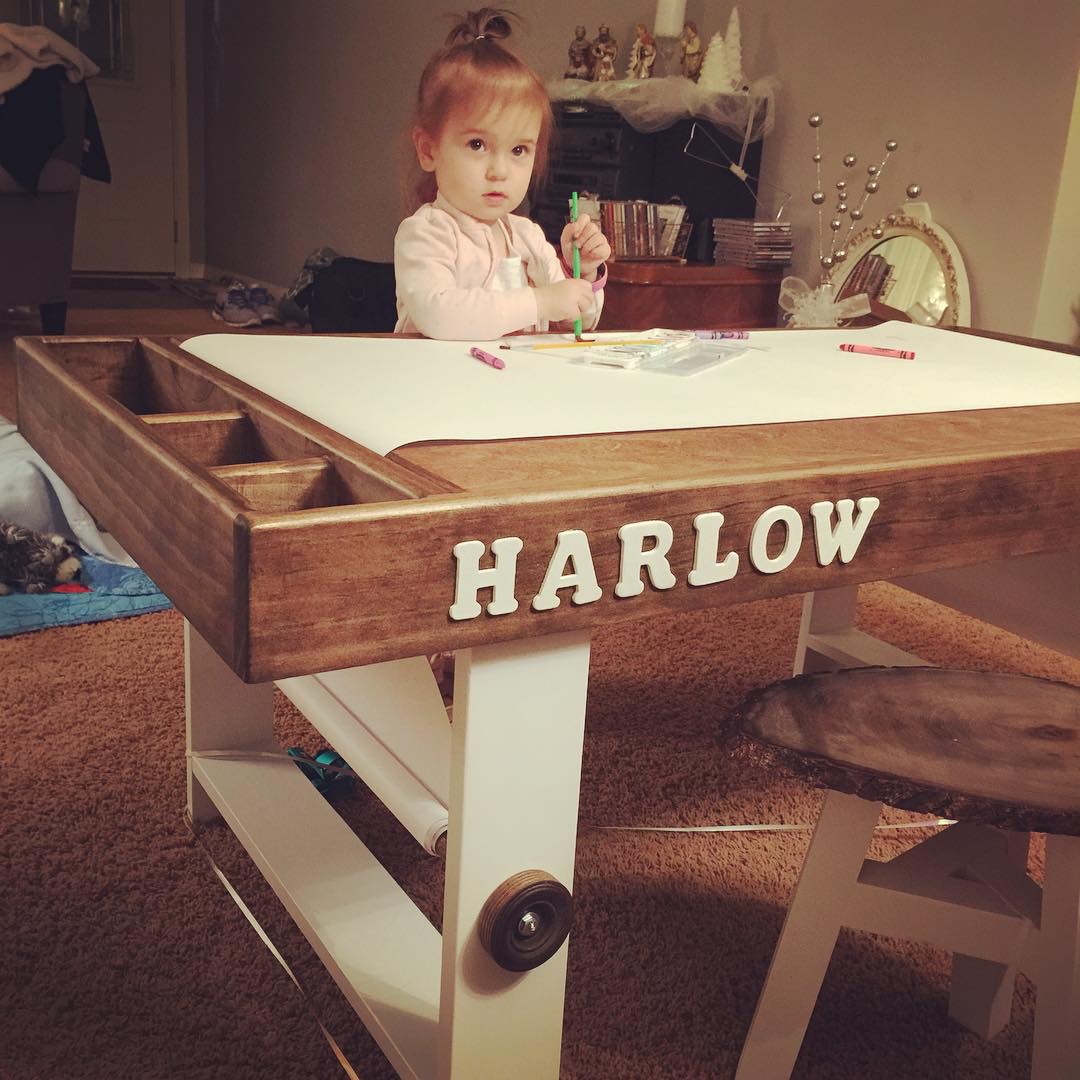
Followed an Ana White DIY to make a childs art table. Modified it a bit towards the end and I think it turned out OK!
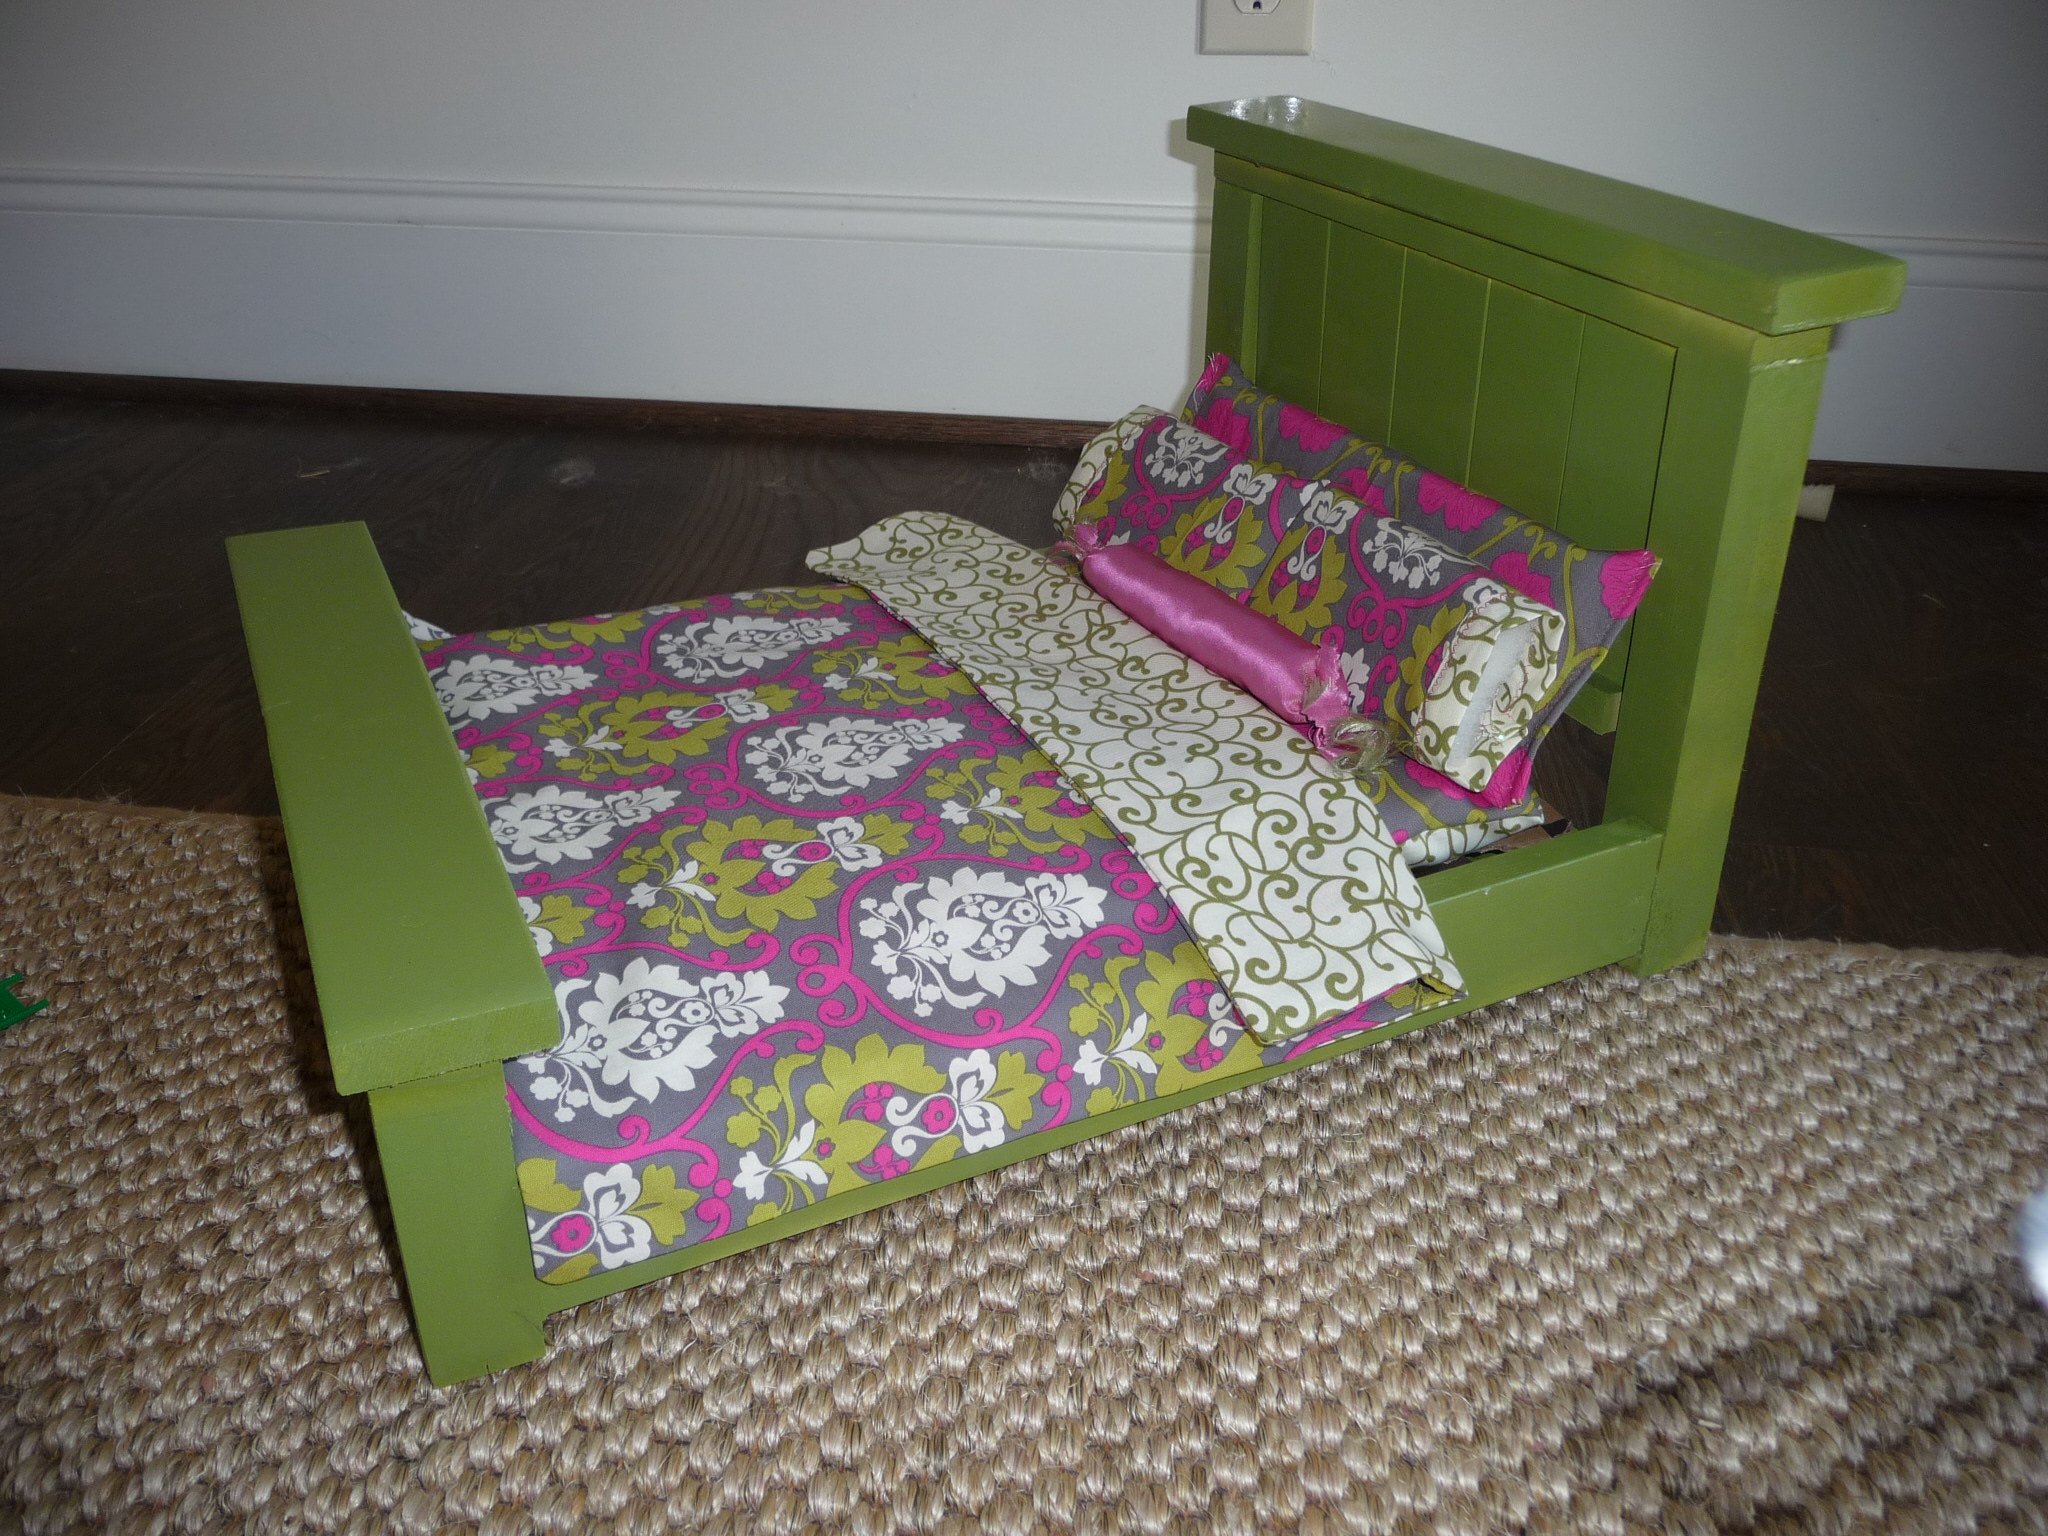
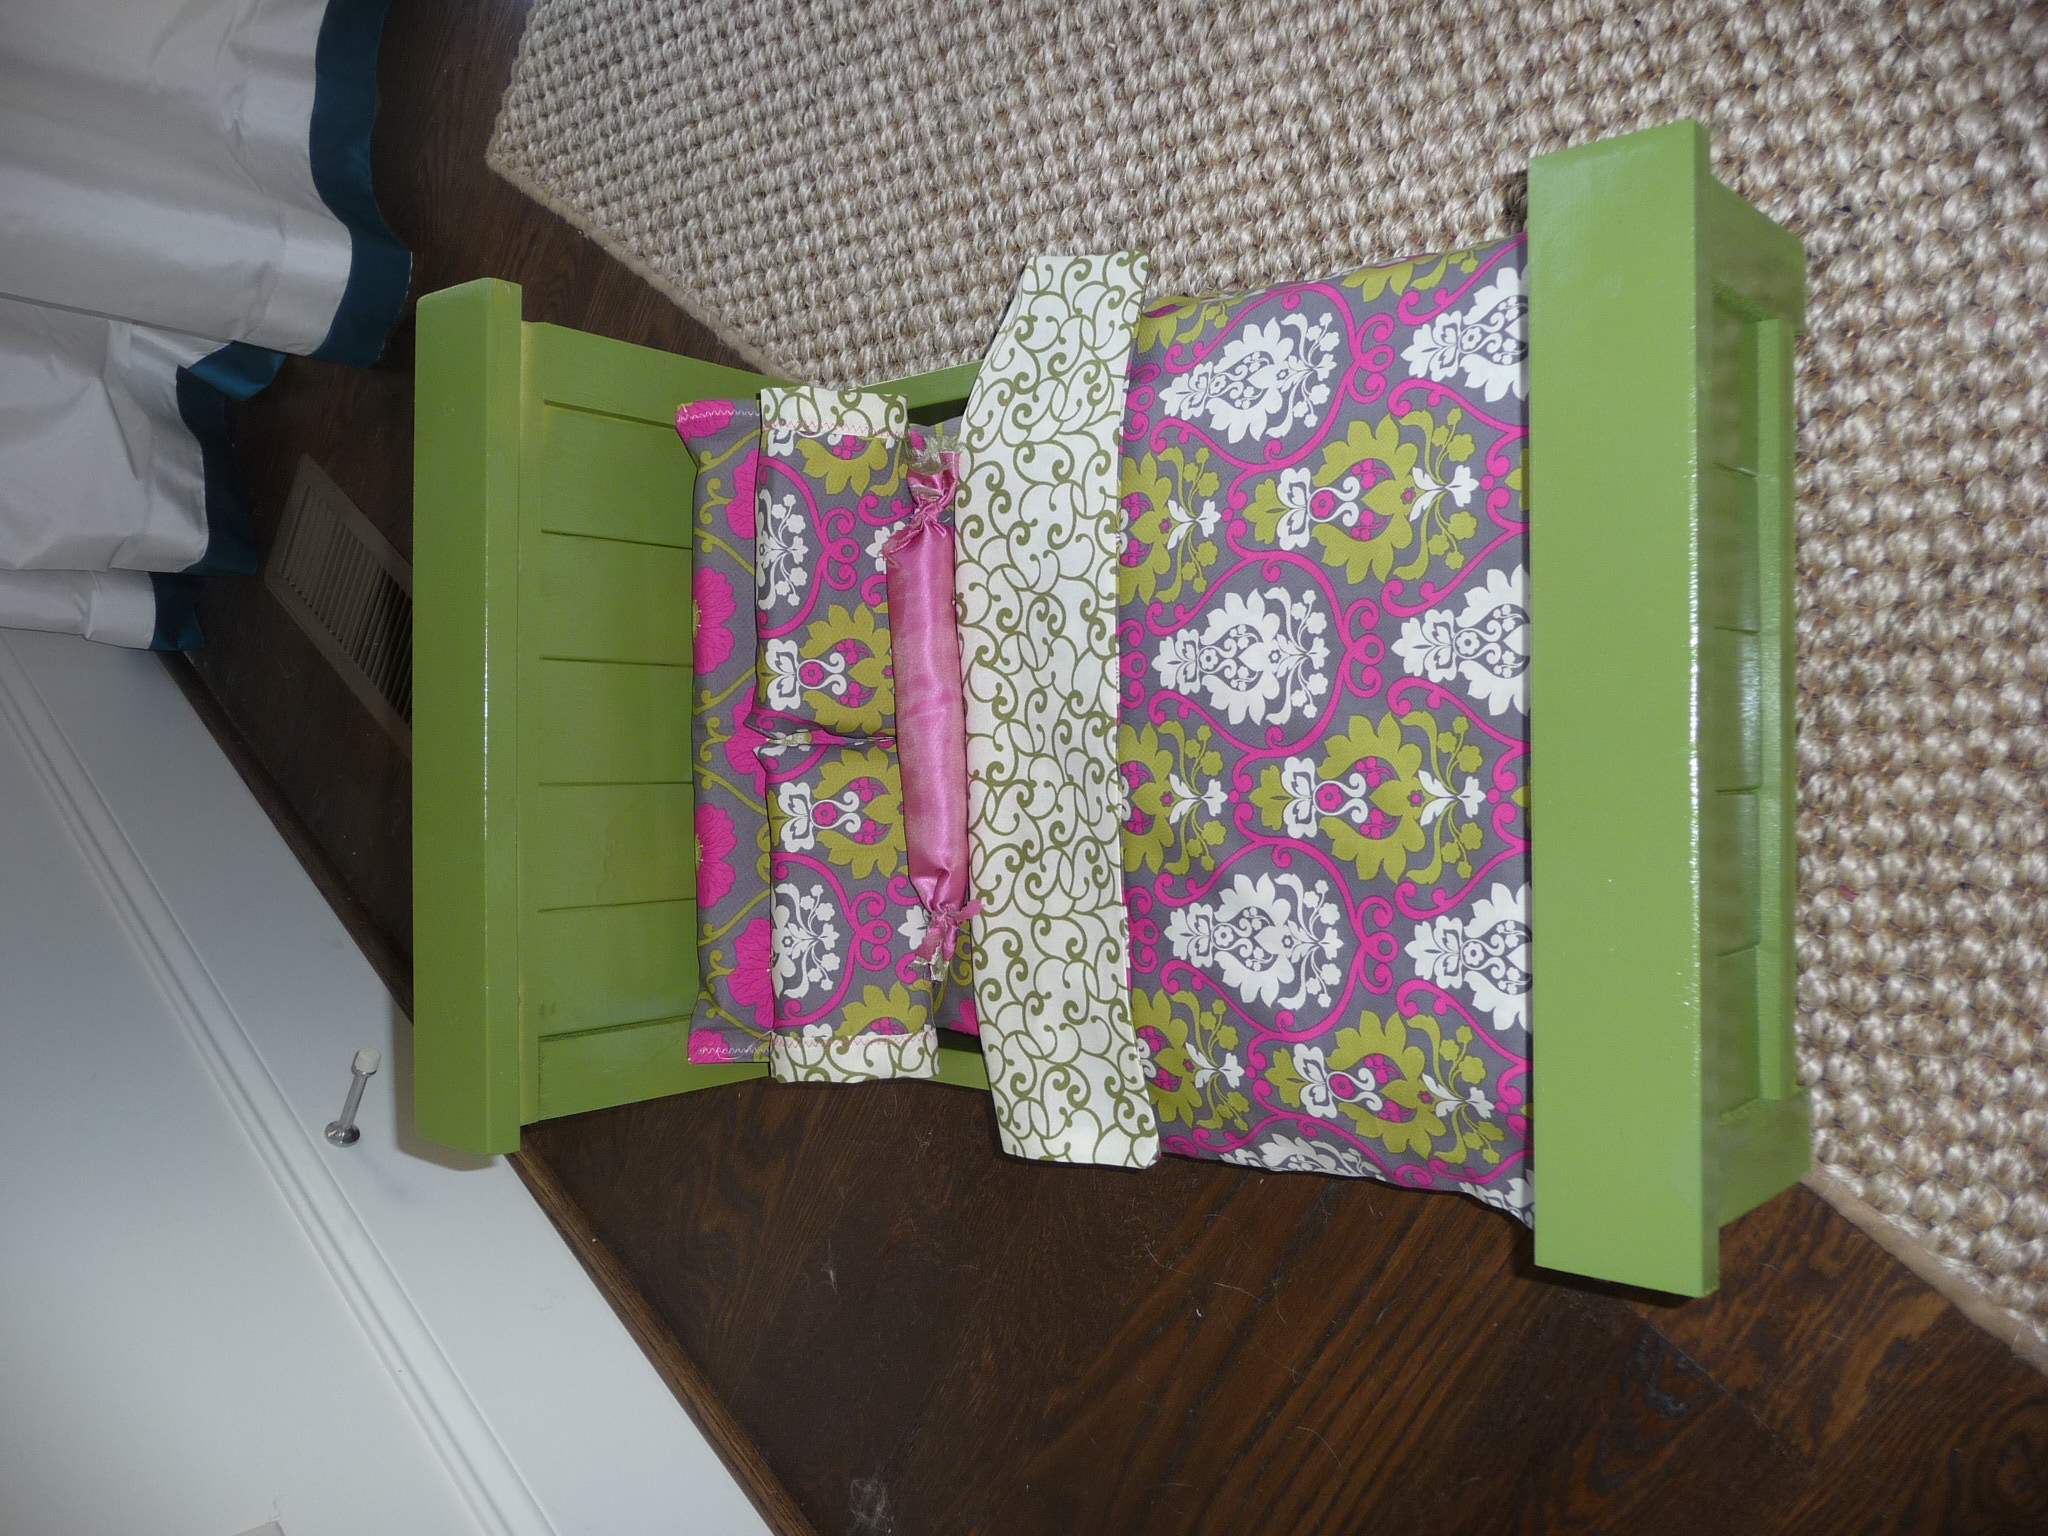
Third AG doll bed for my nieces - they are so much fun to make! I loved how the green turned out - I want to paint everything in the house this color!
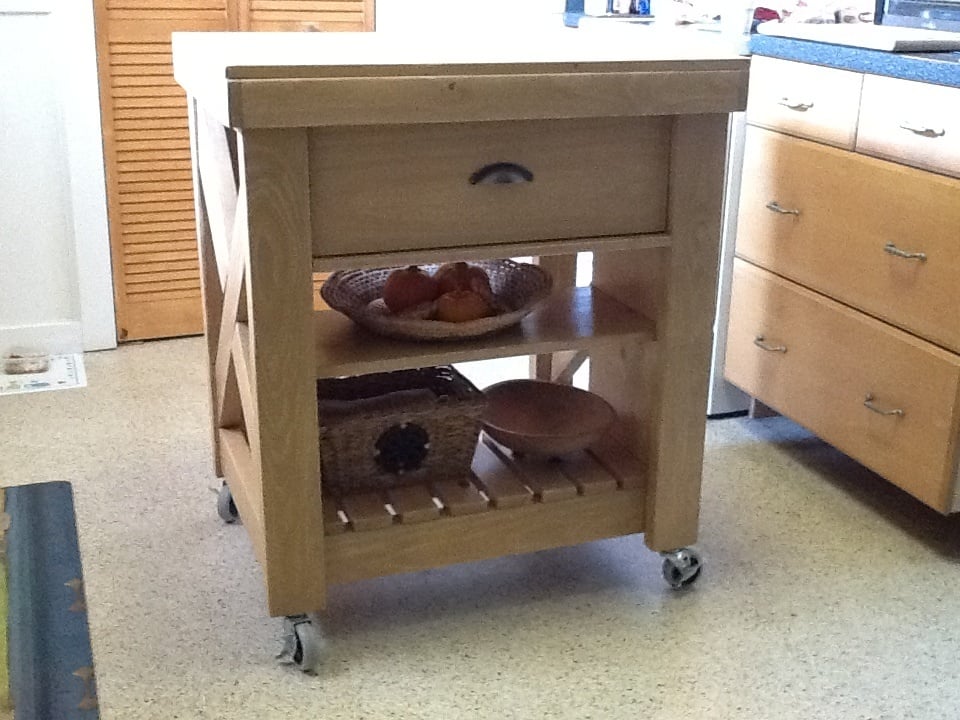
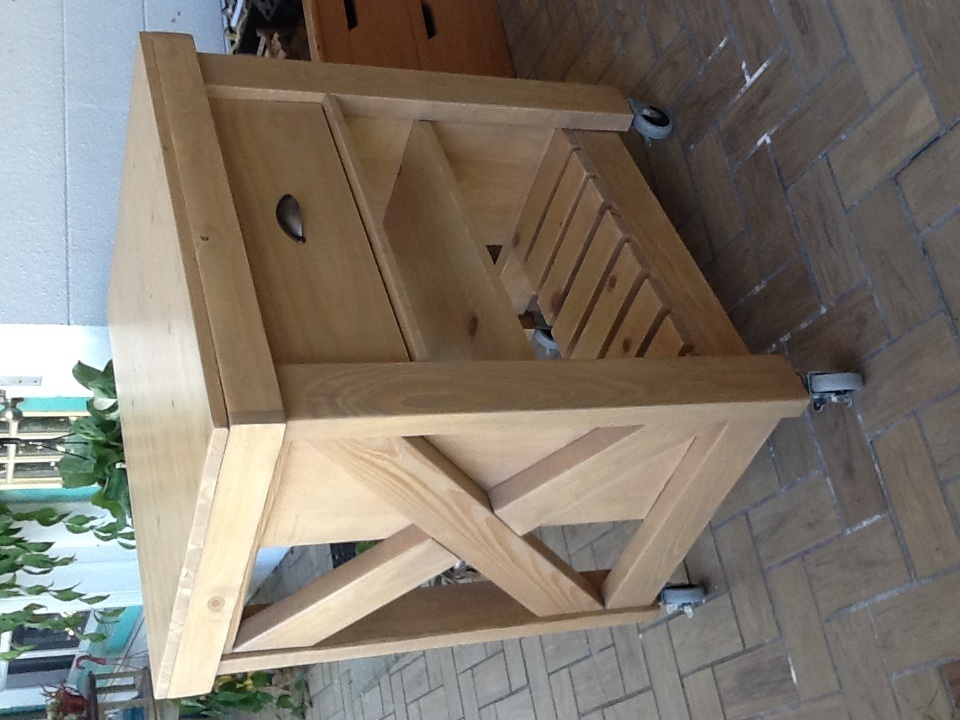
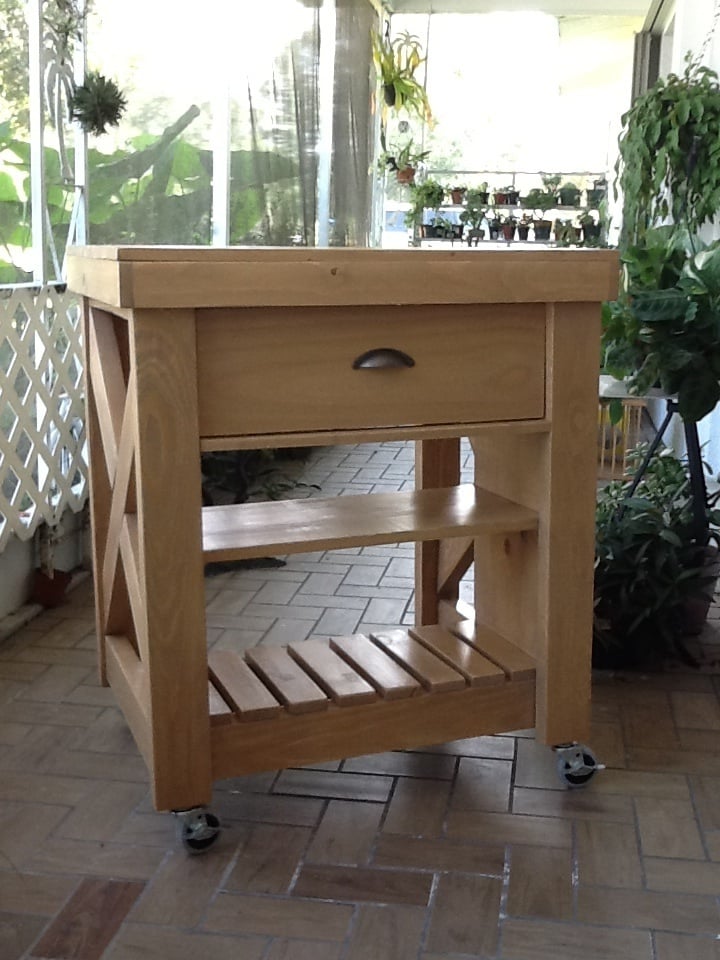
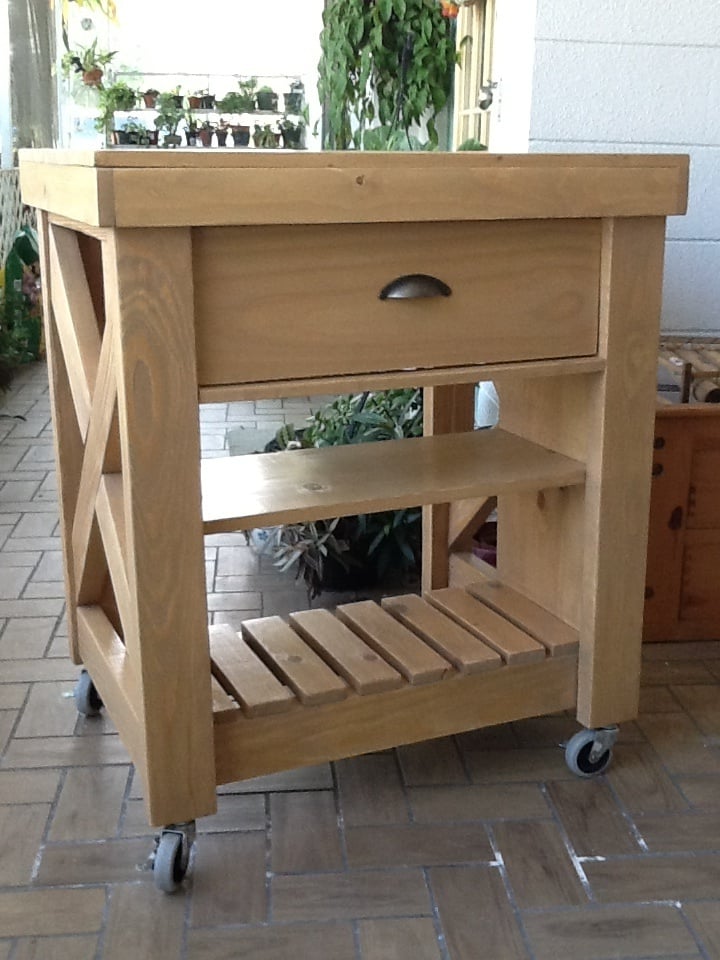
This was my first furniture build. I learned a lot and can't wait to build furniture for the rest of the house! I used off the shelf lumber for this and with all the supplies I needed it ended up costing around a hundred to build. I used a water based light stain to match the rest of my kitchen. (Desert Sand by Minwax). Thank you for the plans! :)

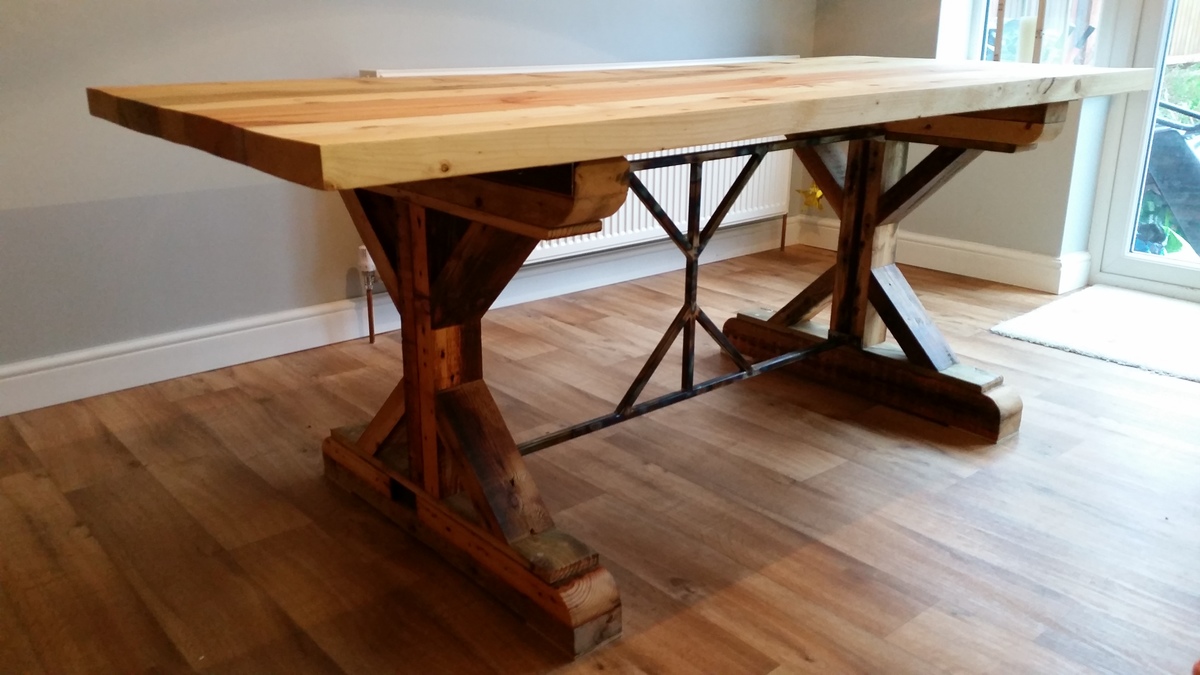
X Table made from reclaimed wooden joists and 2x4s. The table is stabilised using 20mm metal box section welded into the same X pattern as the wooden legs and then screwed into place at the top and bottom of each leg. The top is fixed to the legs using a section of right angle steel (from an old bed frame) which is screwed to the legs and the top. The table planks are joined using biscuits (no, not the edible kind!). I'm an amateur when it comes to woodwork though I do enjoy DIY projects of any kind. Using reclaimed wood made the whole project very tricky as it was warped, dirty and full of holes. I love the character of the wood, especially once it was sanded and oiled, but getting everything lined up and straight took a lot of planing and sanding! I finished the top with a food-safe type oil/wax mixture.
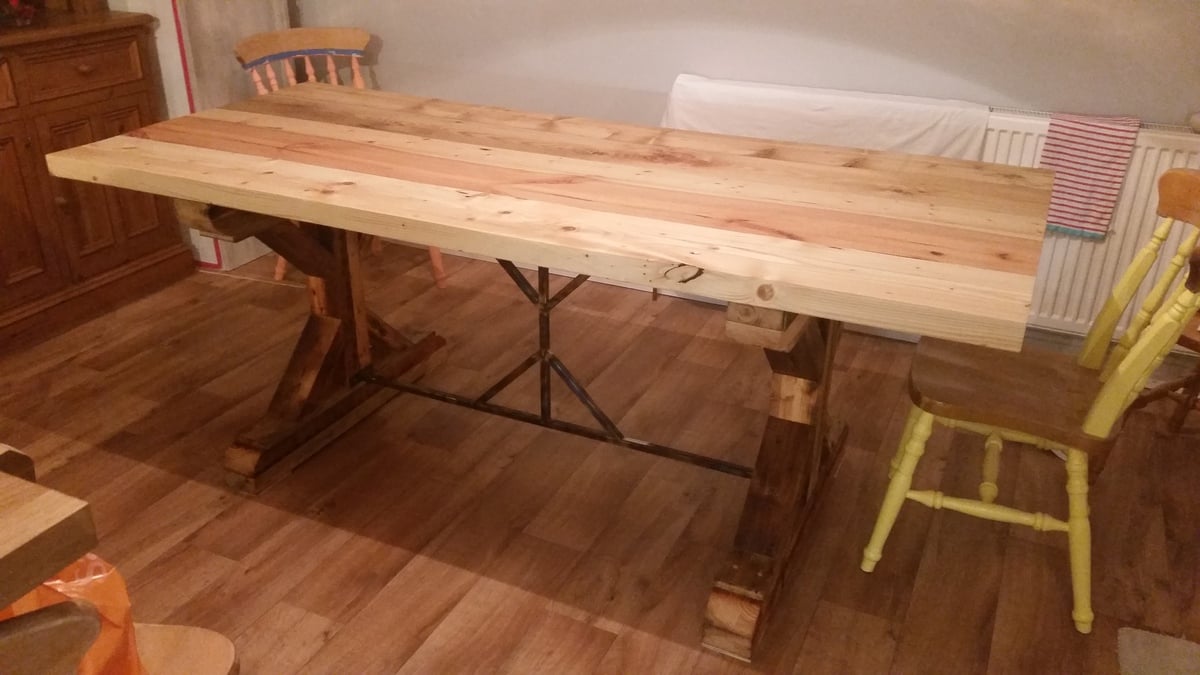
I had a lot of fun making this. Thank Ana, I enjoy looking at your work and doing new projects.
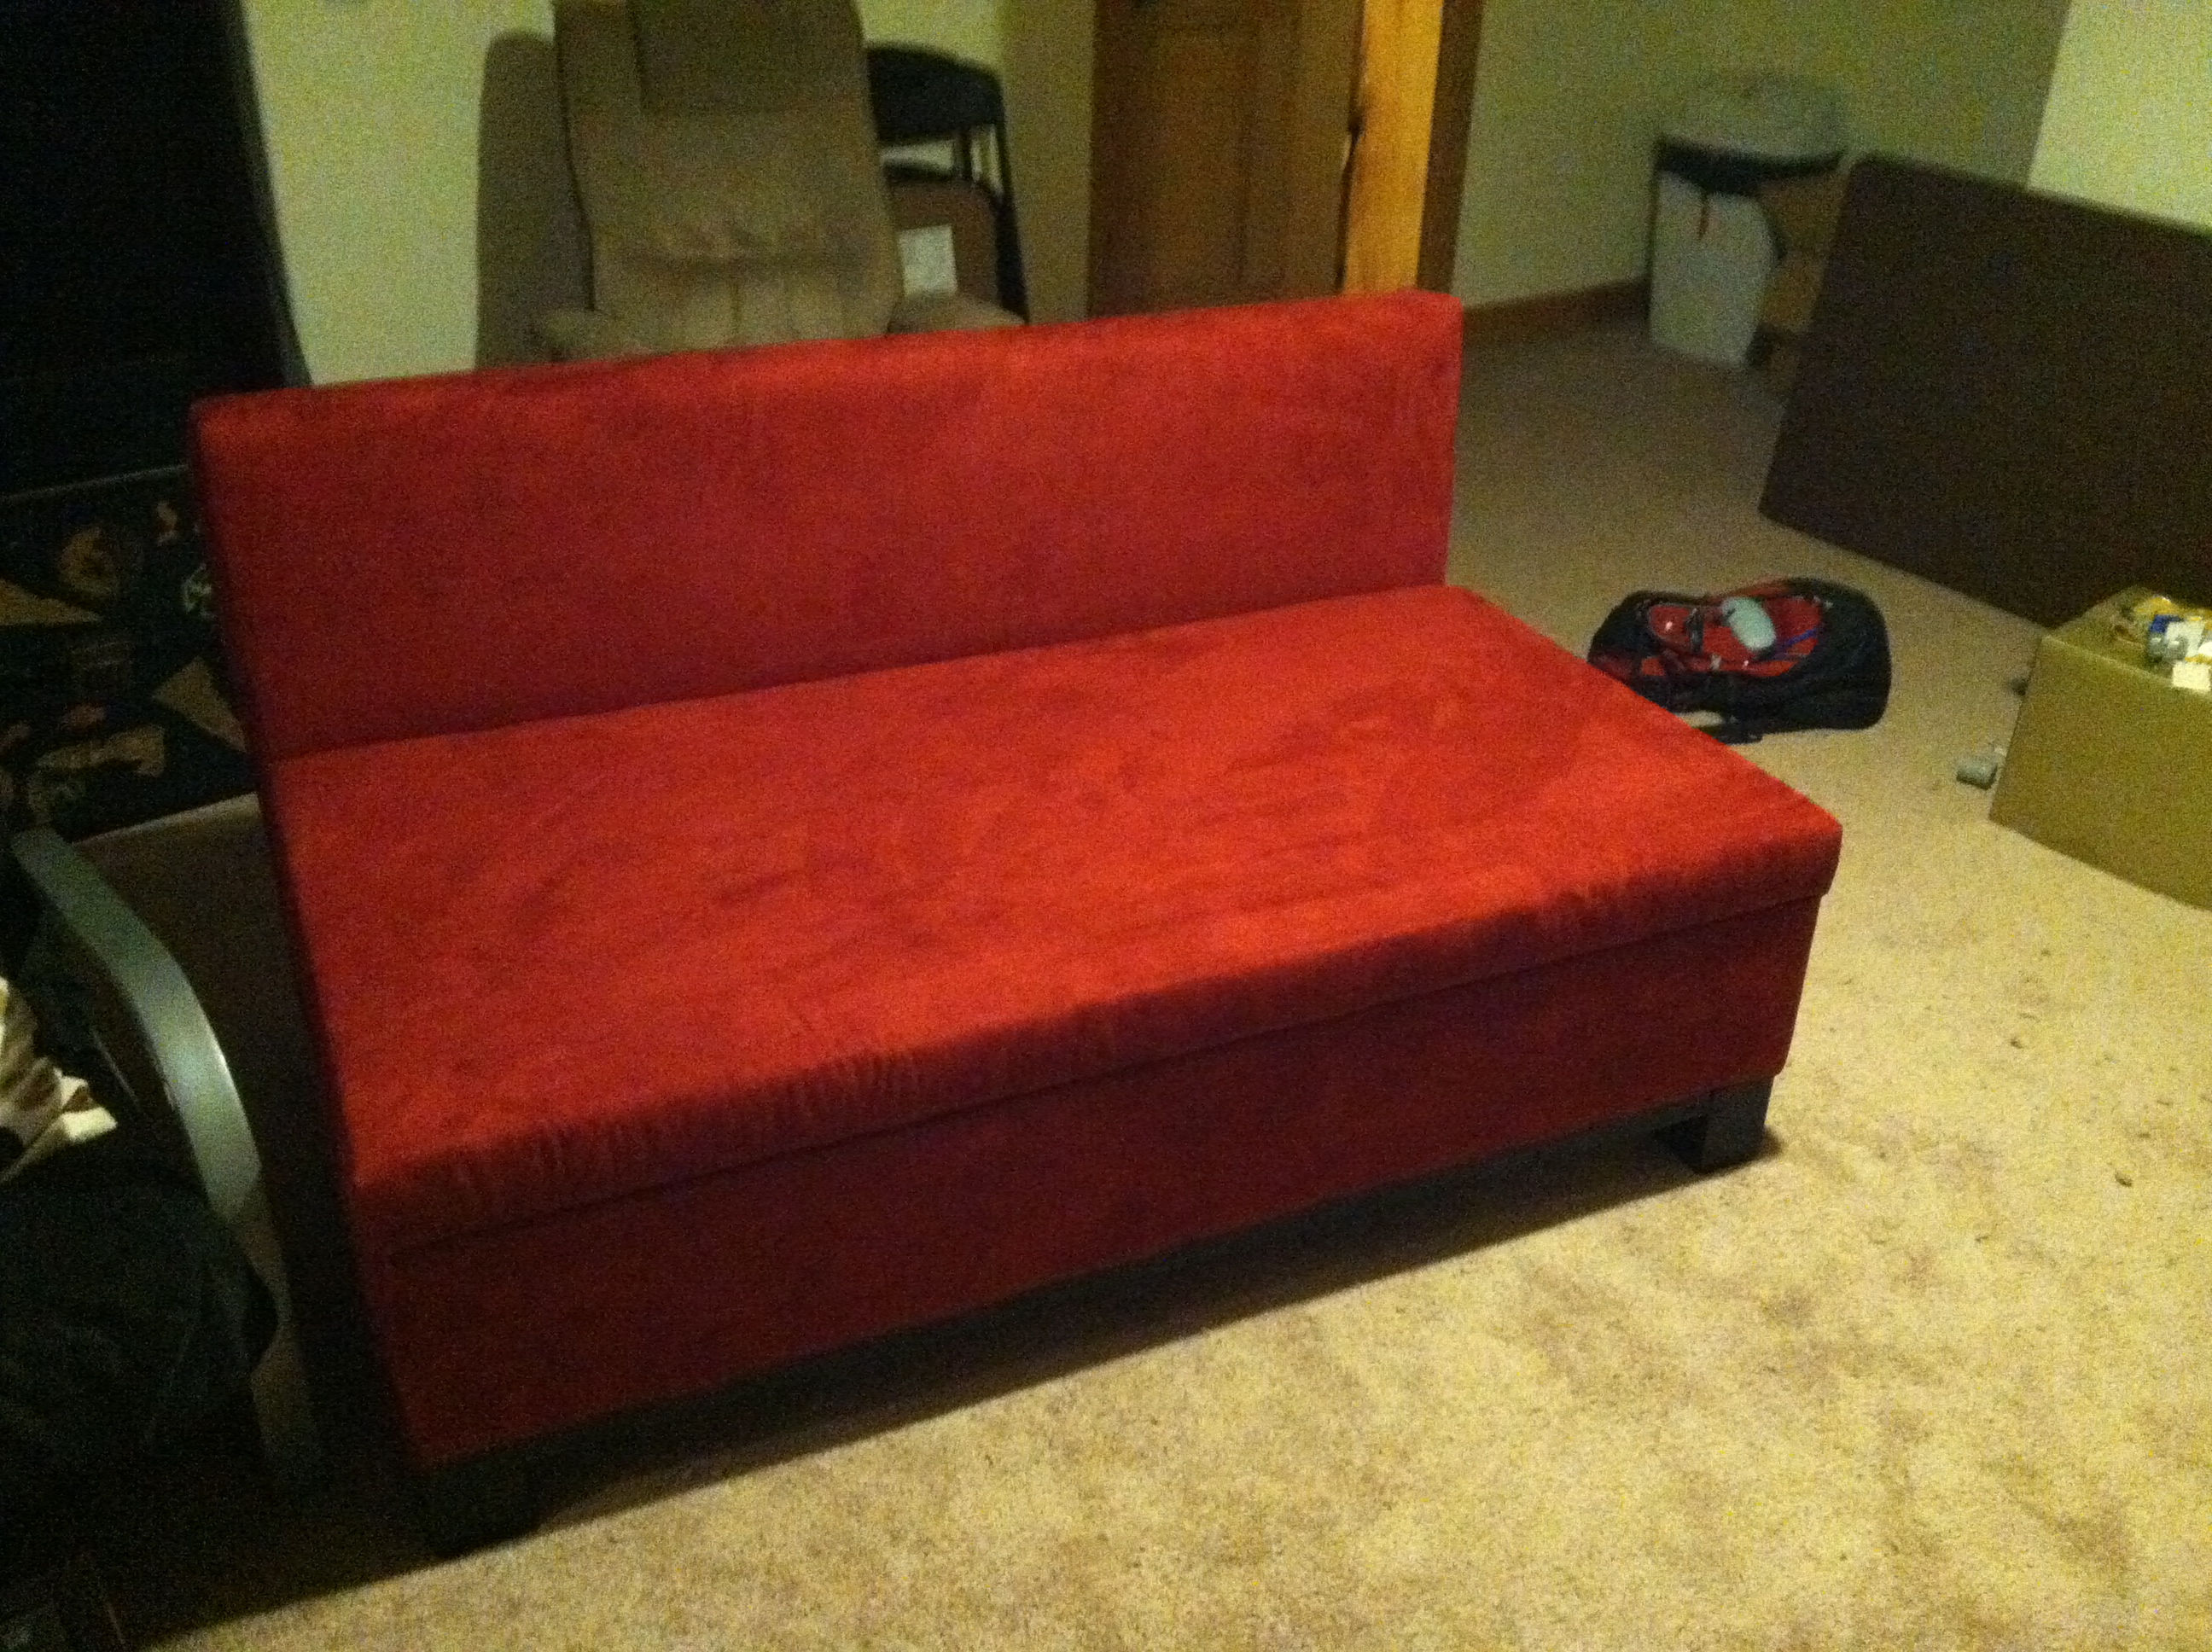
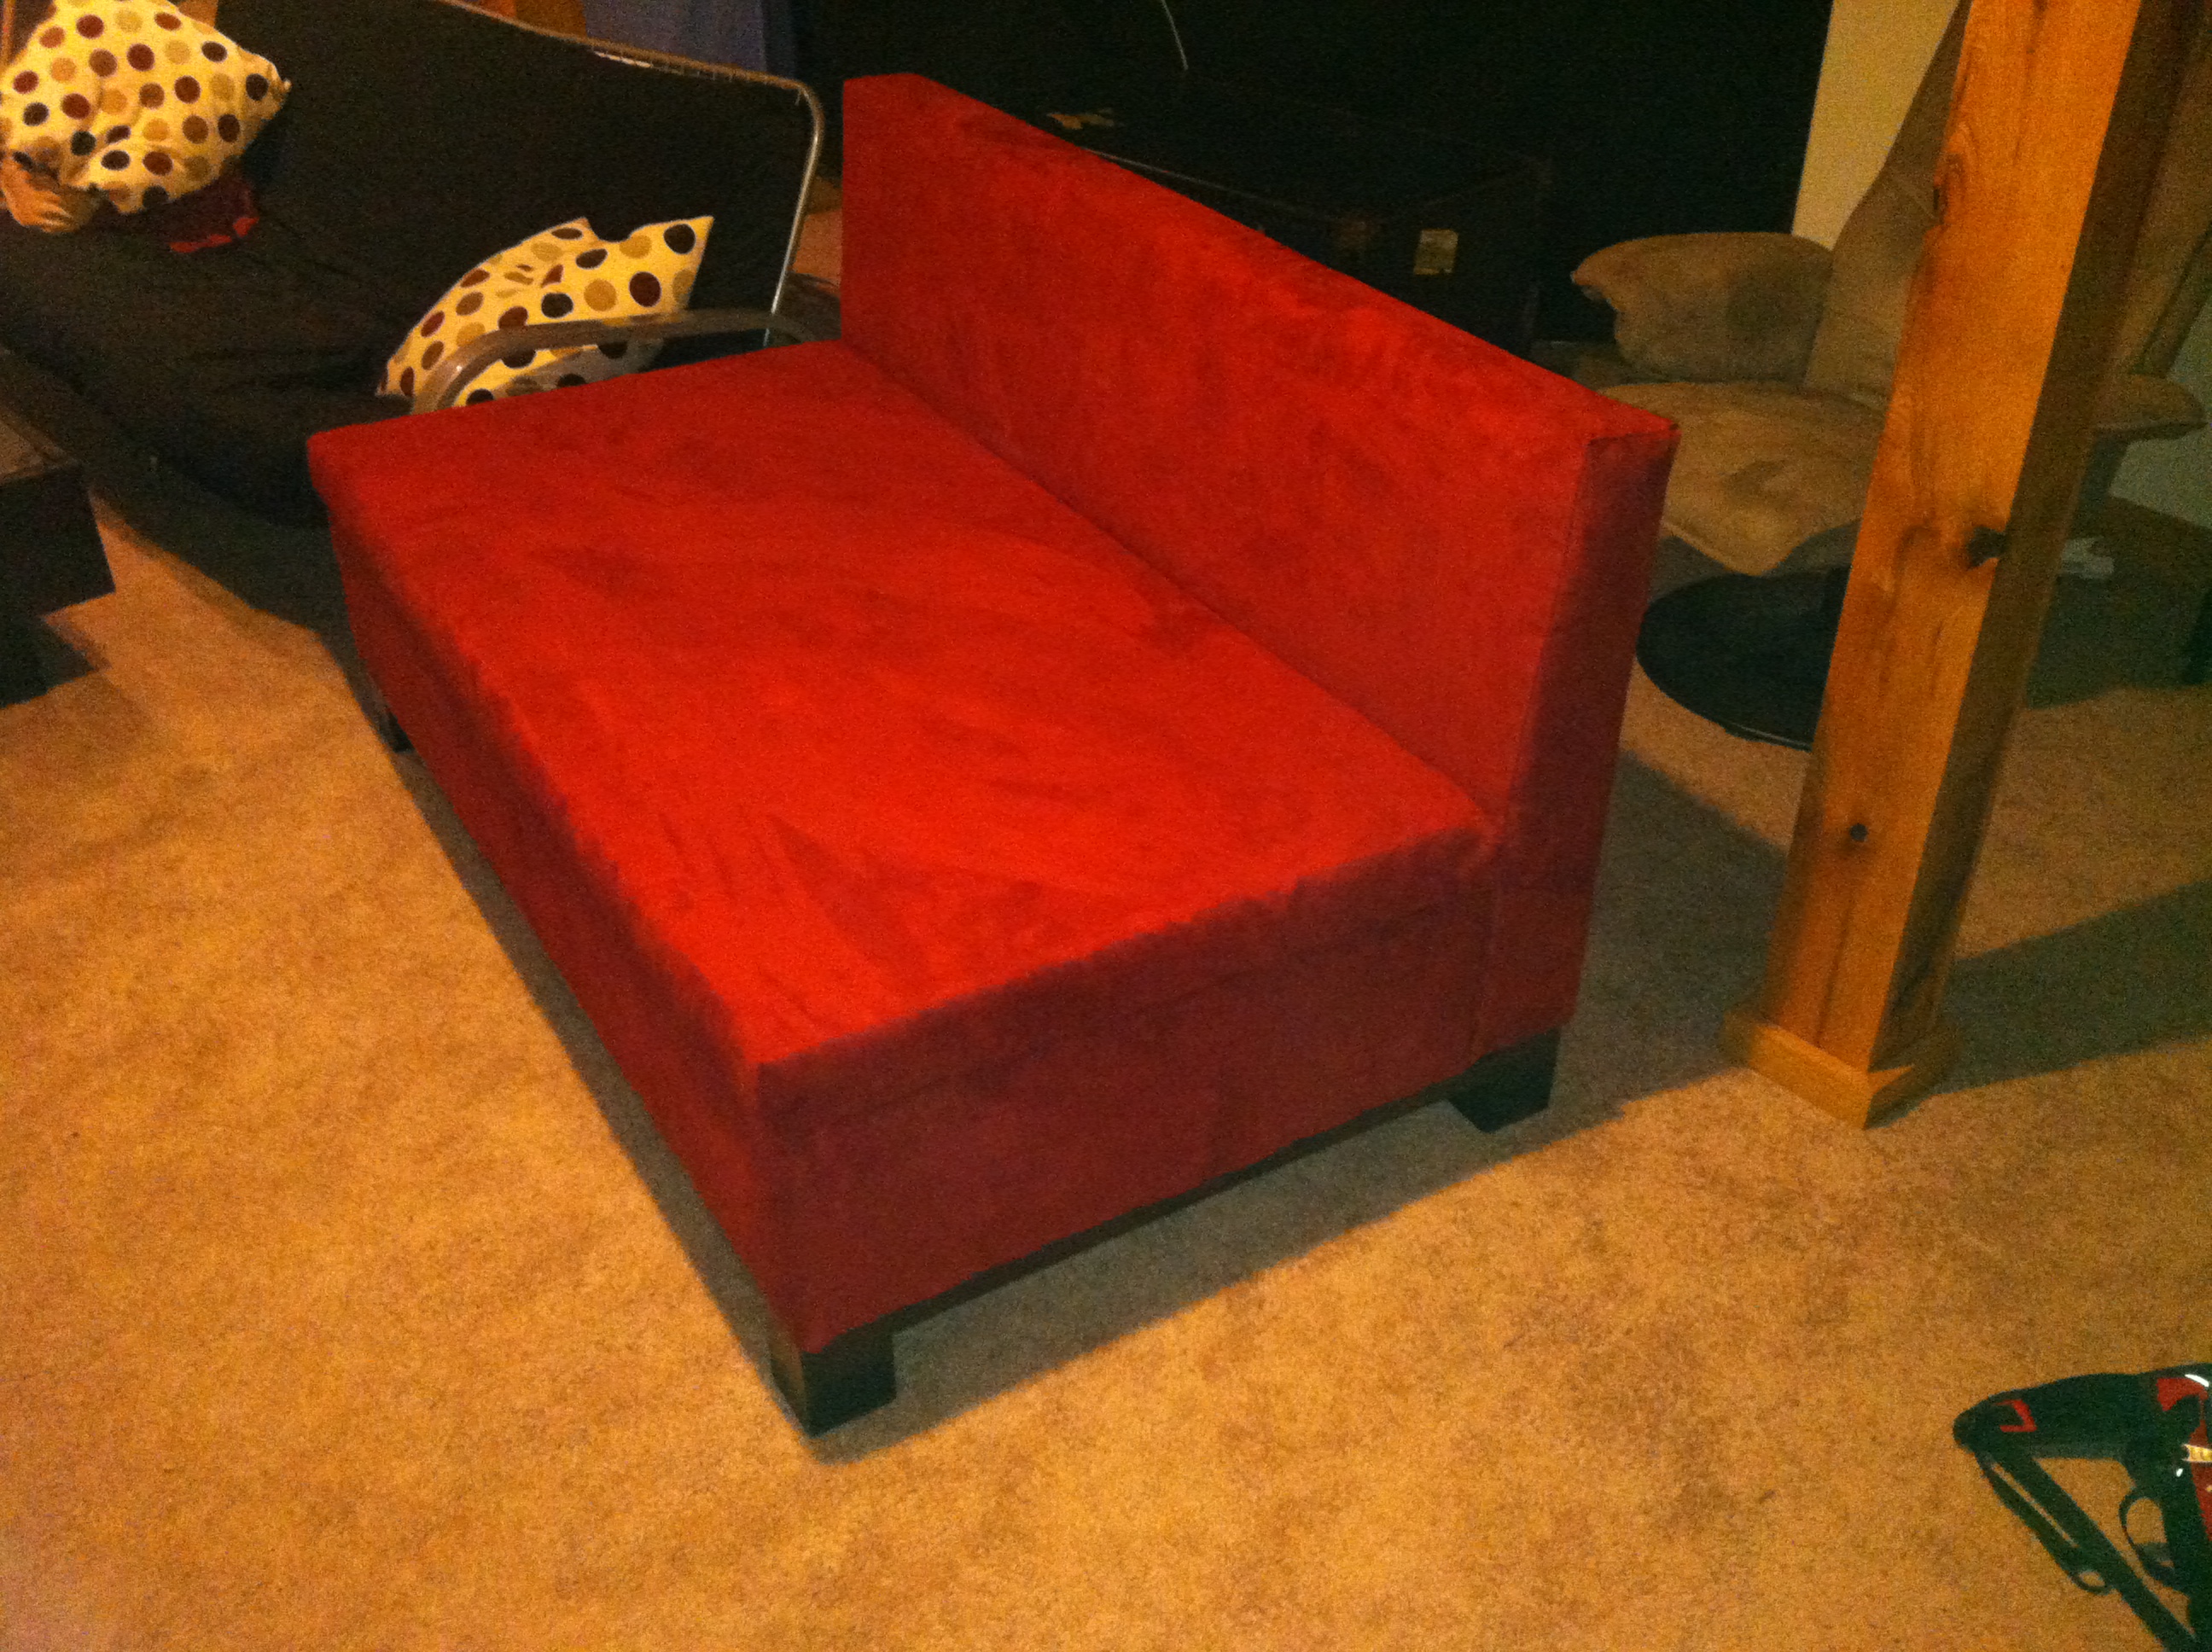
Thanks Ana White for the blue print to an awesome storage sofa. I used the similar dimensions except mine is a bit shorter in width (60 inches wide). Now I just need to find awesome pillows to go with it.
Sat, 12/08/2012 - 05:39
How has the sofa held up? Also how much did it cost to make.
Sat, 12/08/2012 - 05:41
How has the sofa held up? I want to make one, and also would like to know how much it cost to make.
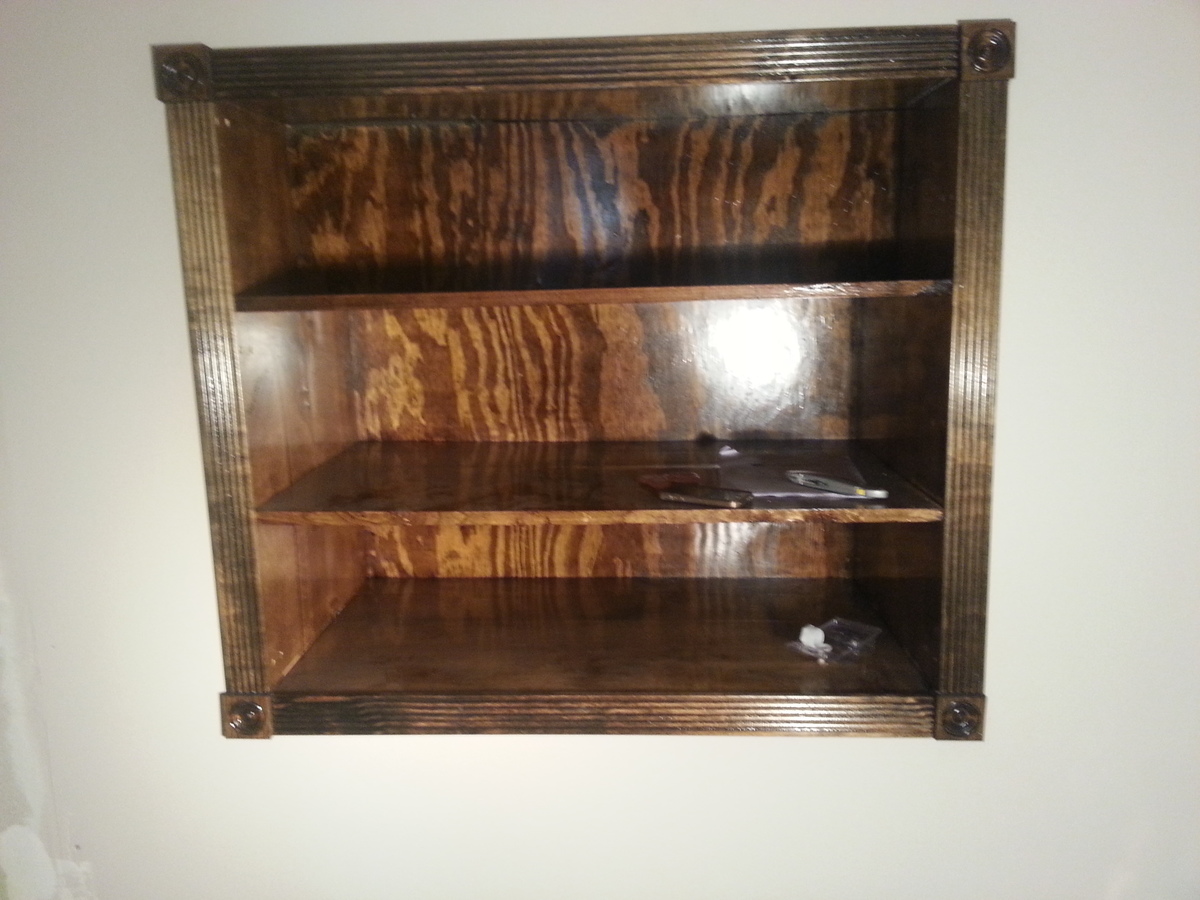
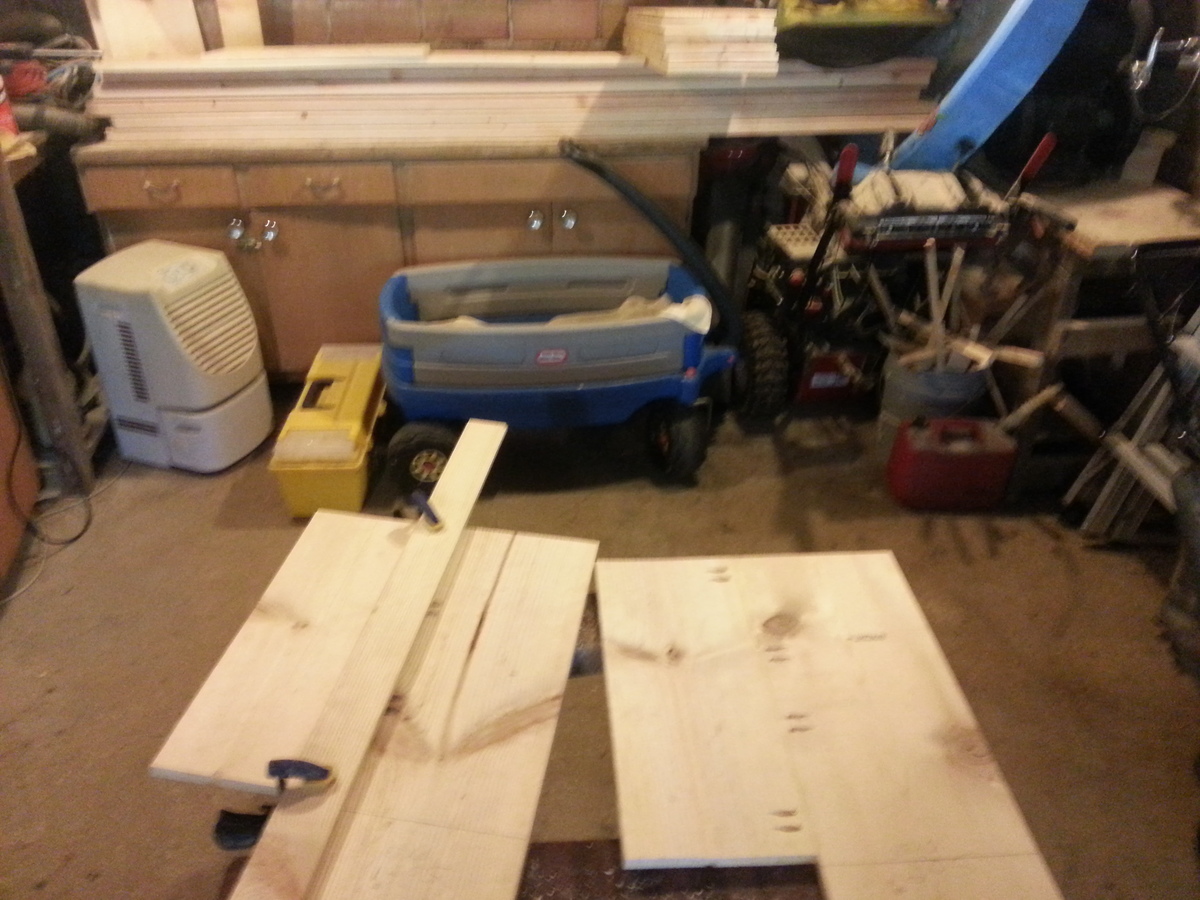
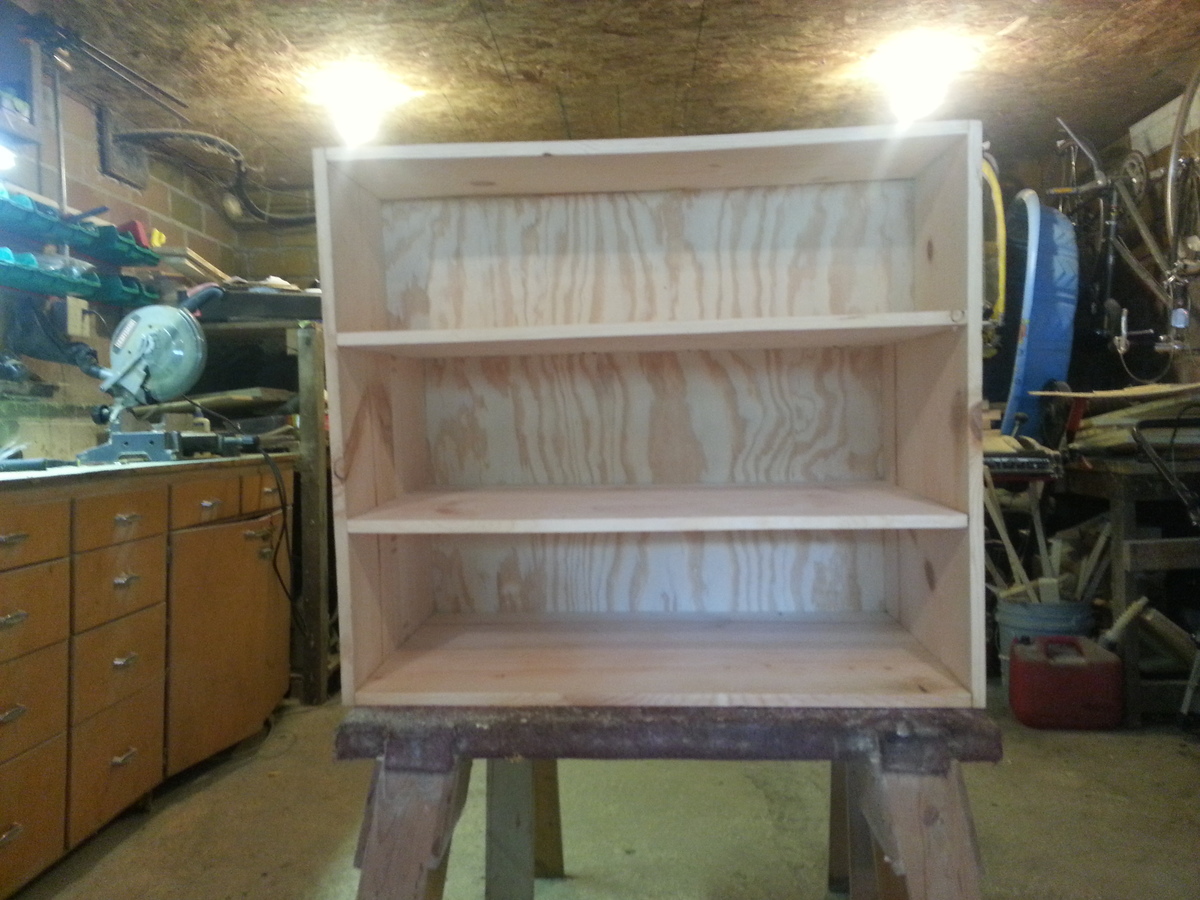
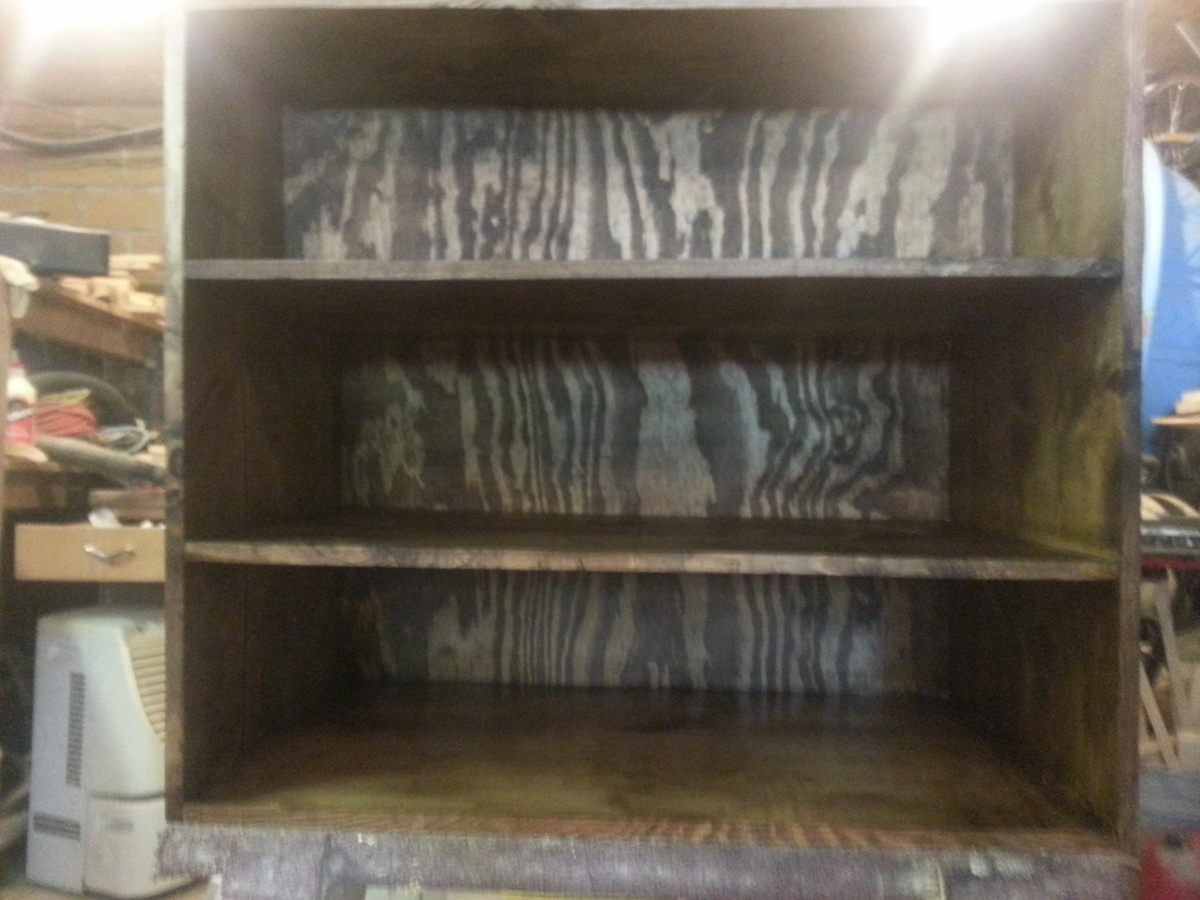
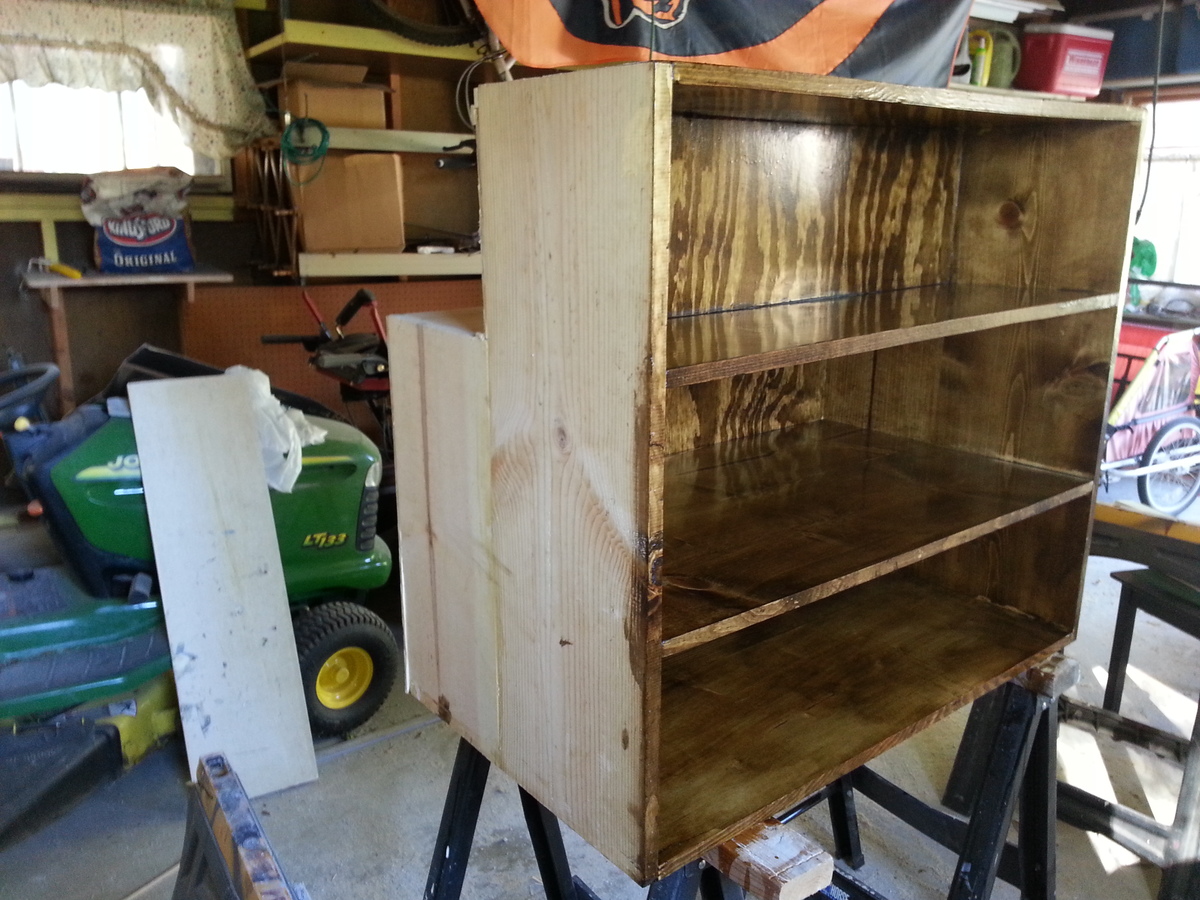
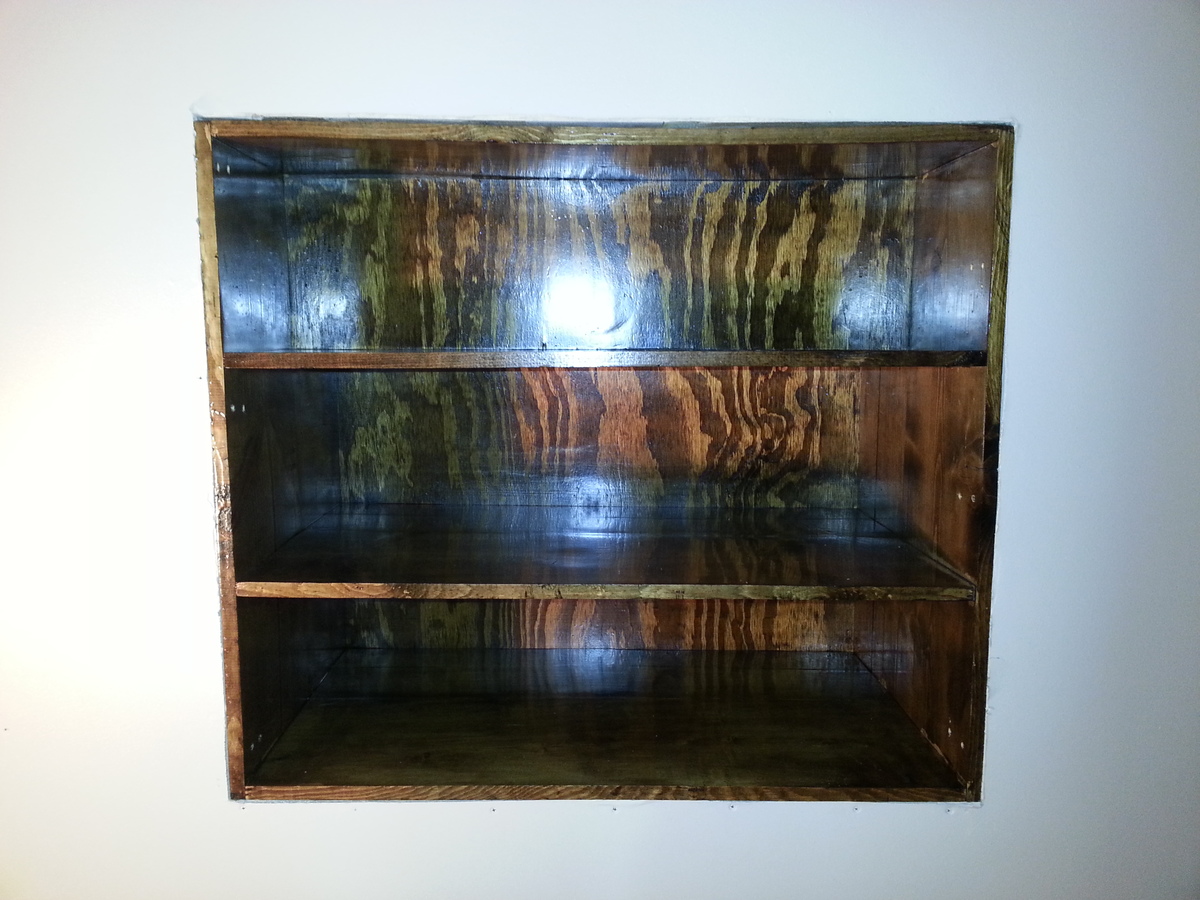
My brother and I just re-did his entire upstairs bathroom. We gutted it re-did some walls and he asked me to build some shelving because it was a small space. I framed off a wall and this is what I came up with is what you see. (it's big 37.5' 'L x 33' ' W x 21'' D) I shouldn't here him complain about not enough shelf space on this one...
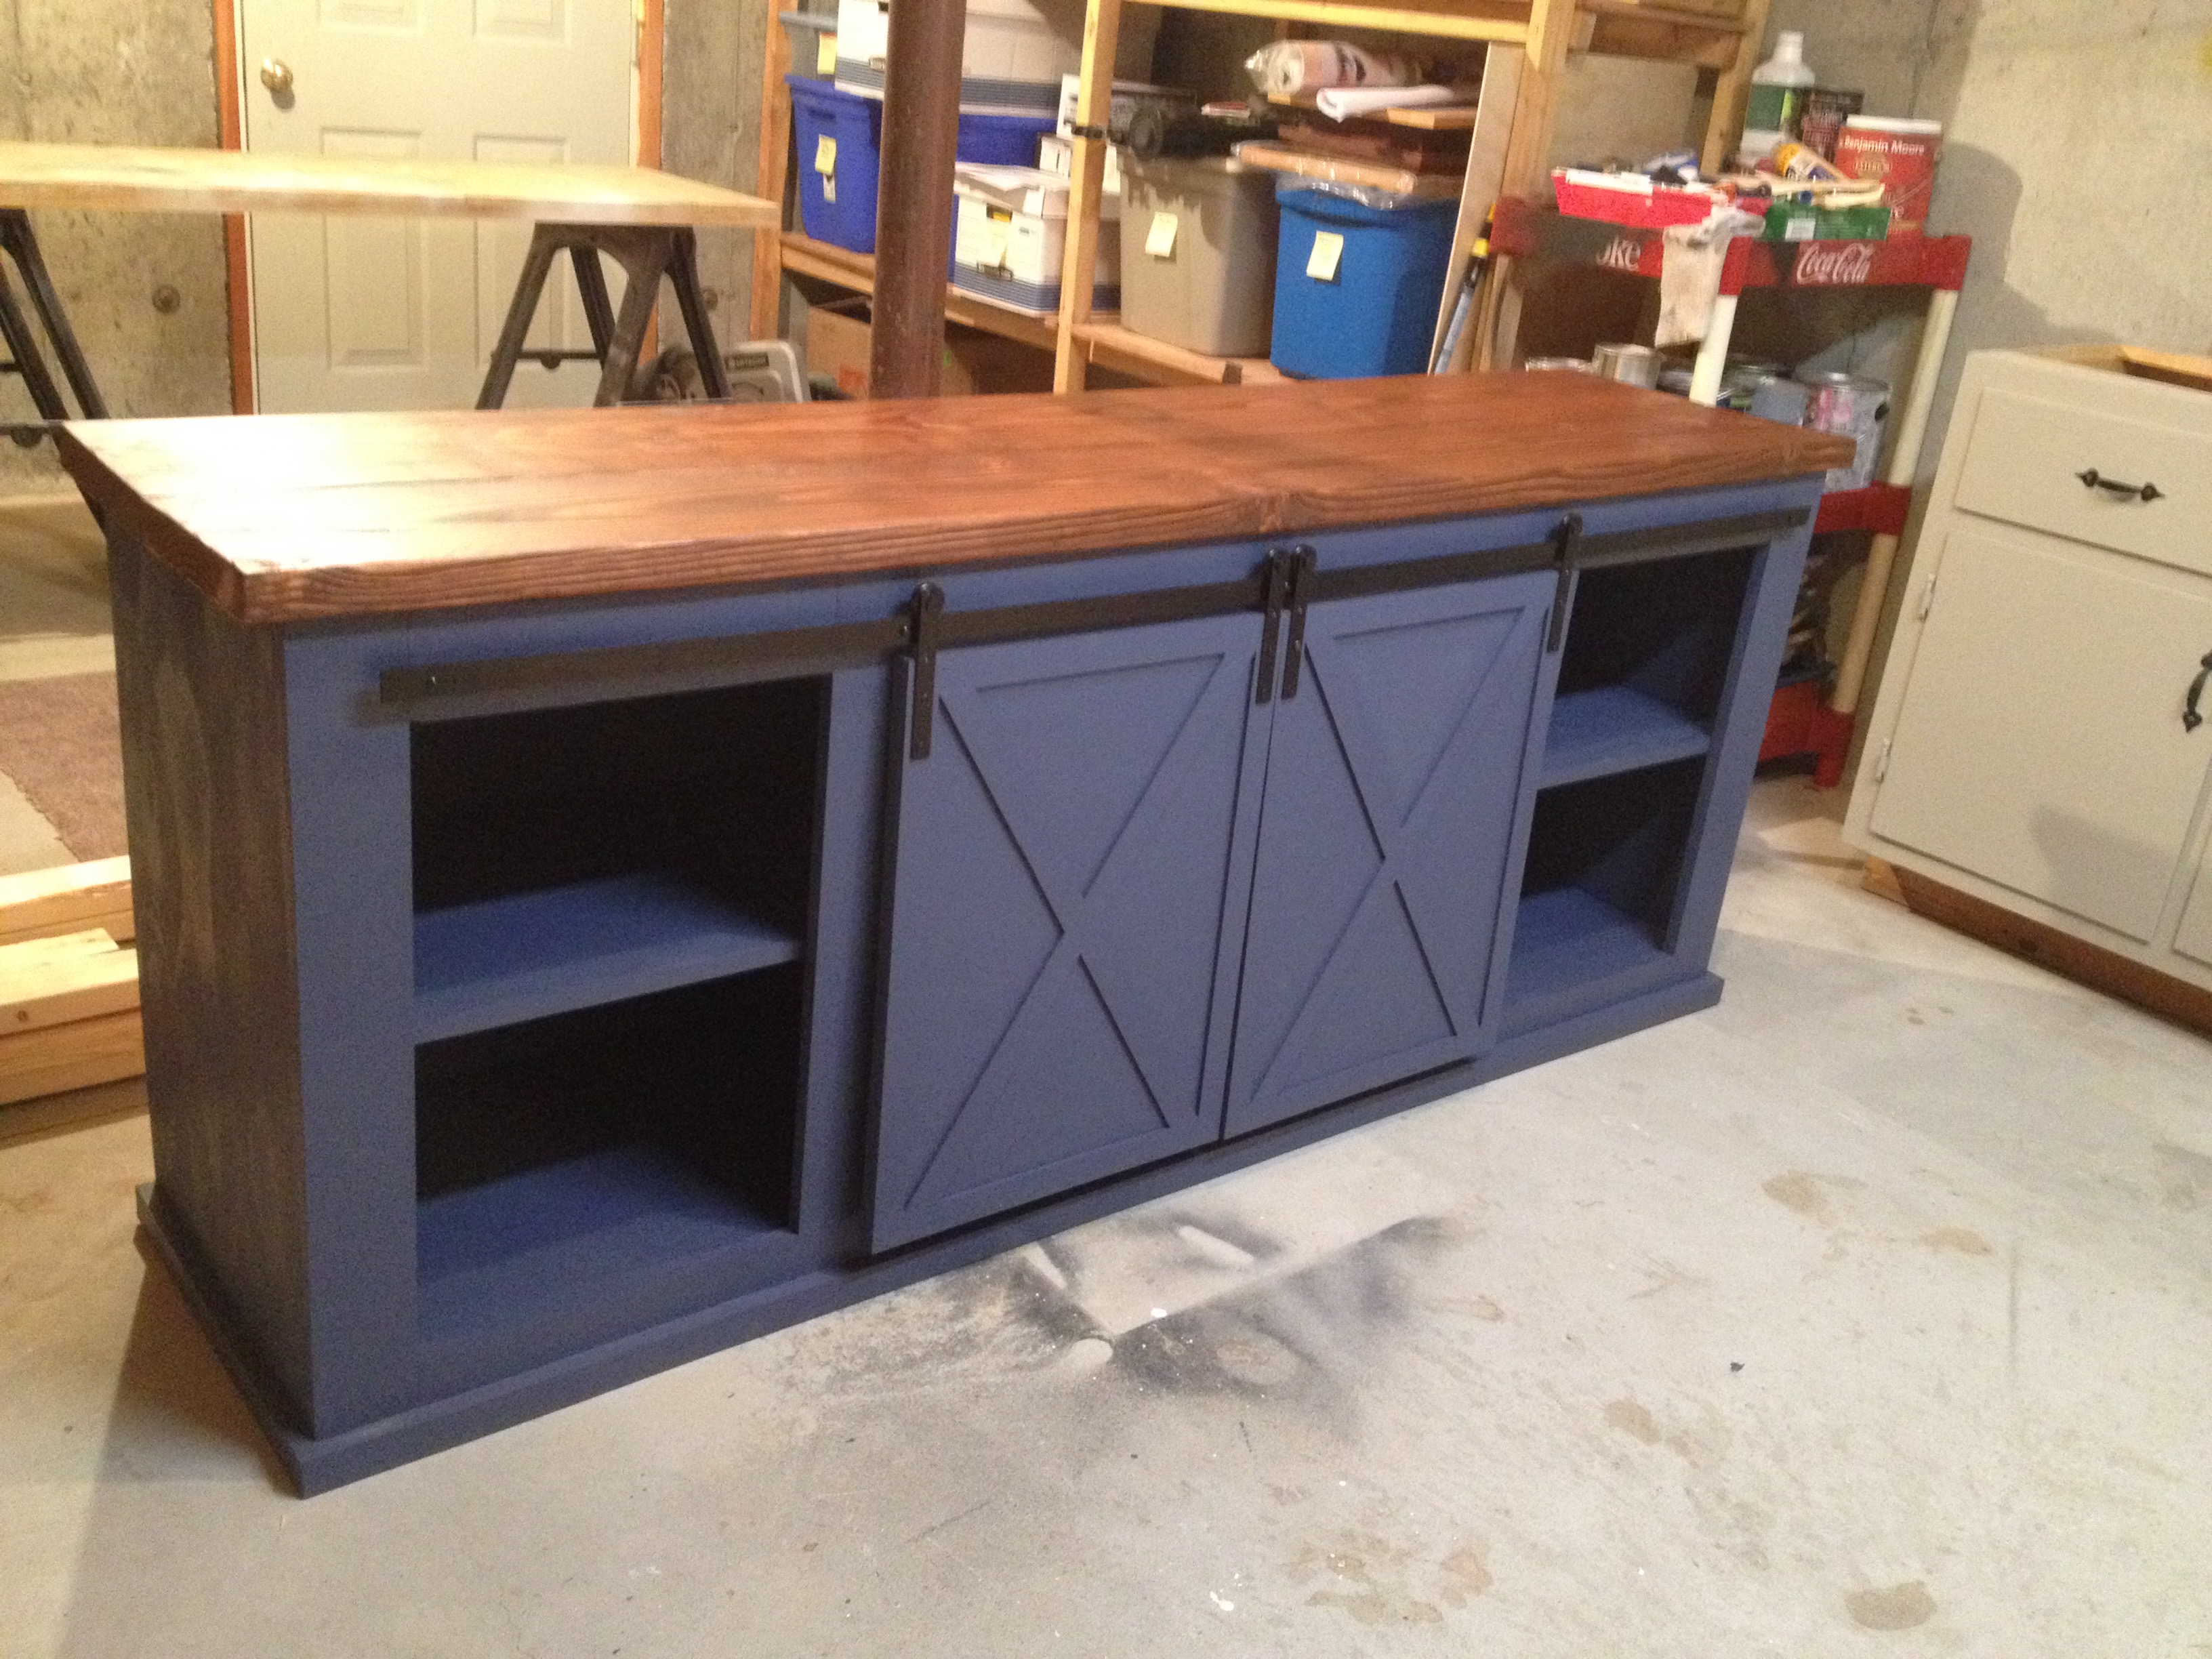
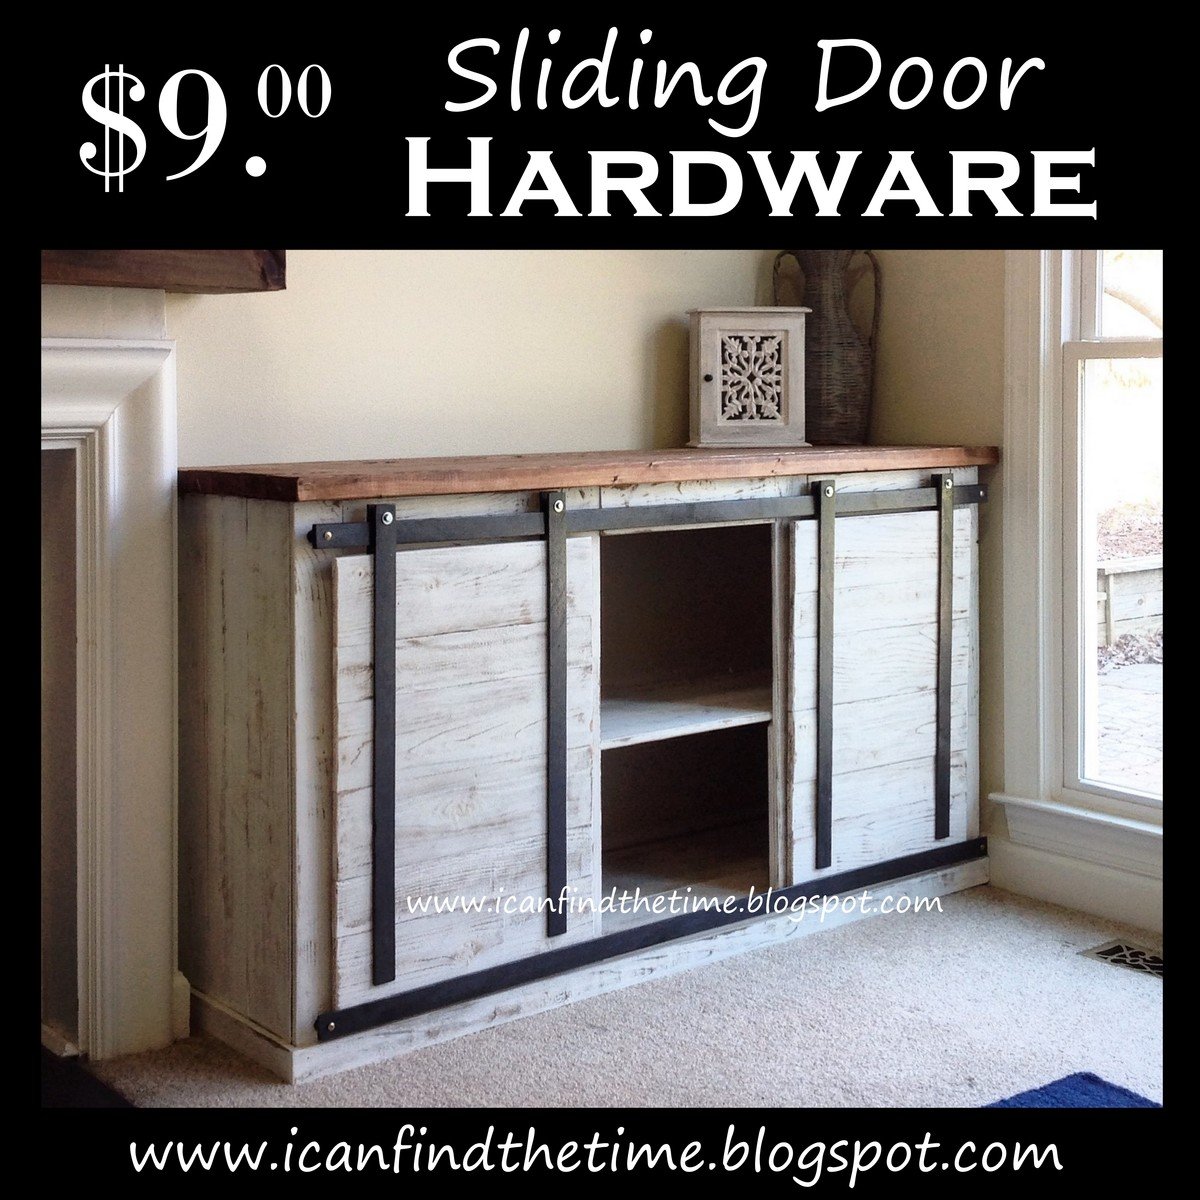
The original size of the unit was too big for our needs so we cut down the size of the unit to 72" long and 30" high. Used patio rollers for the doors.
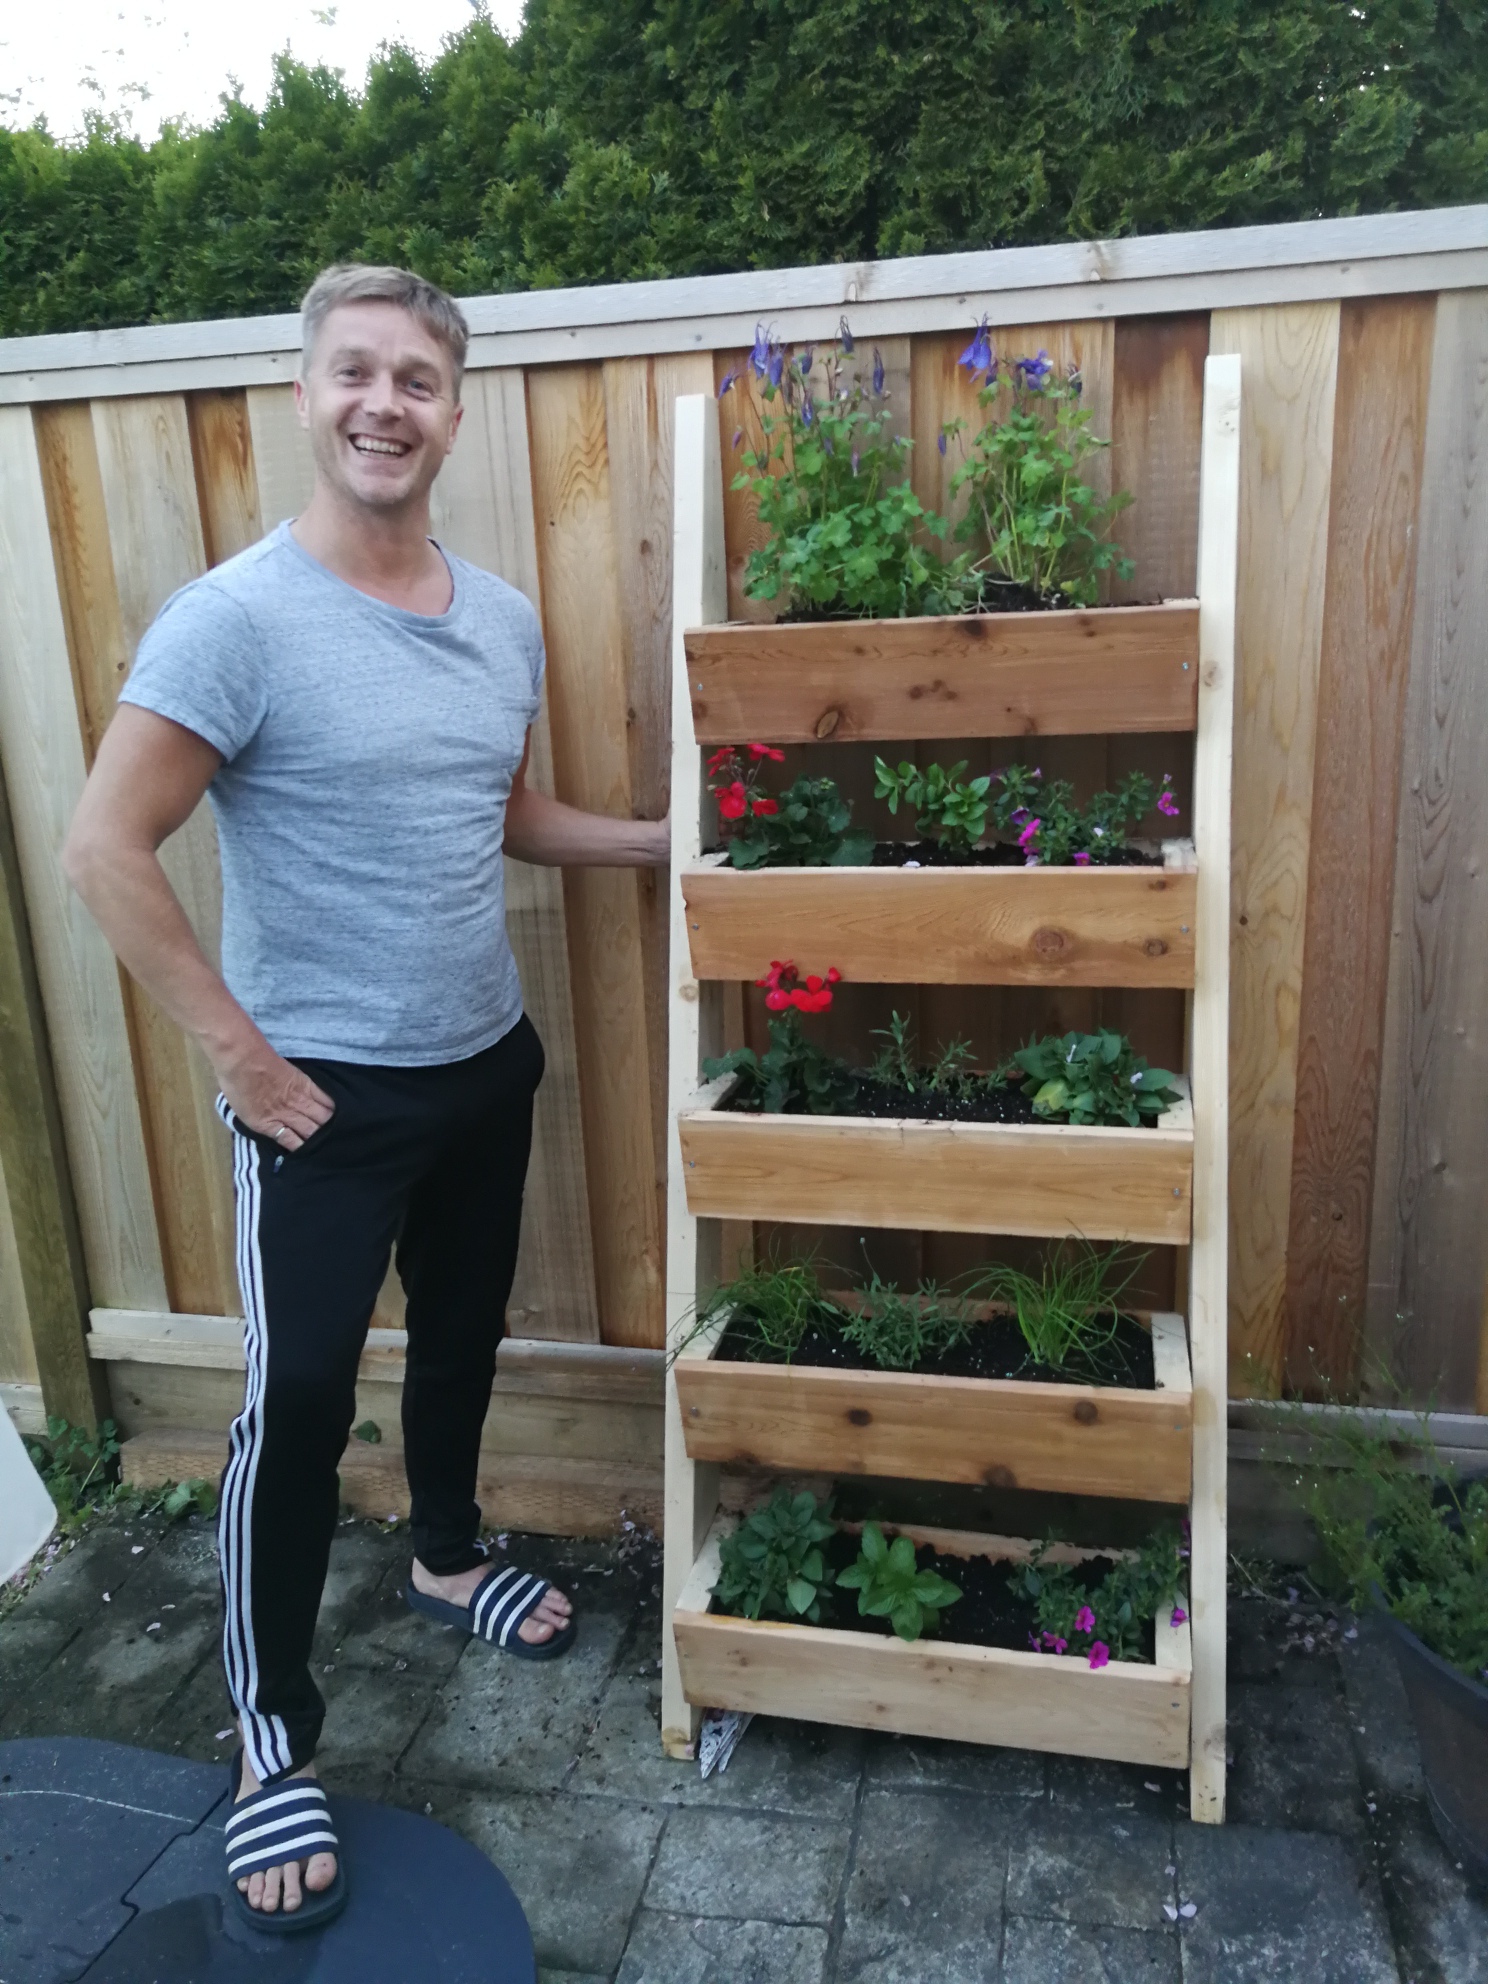
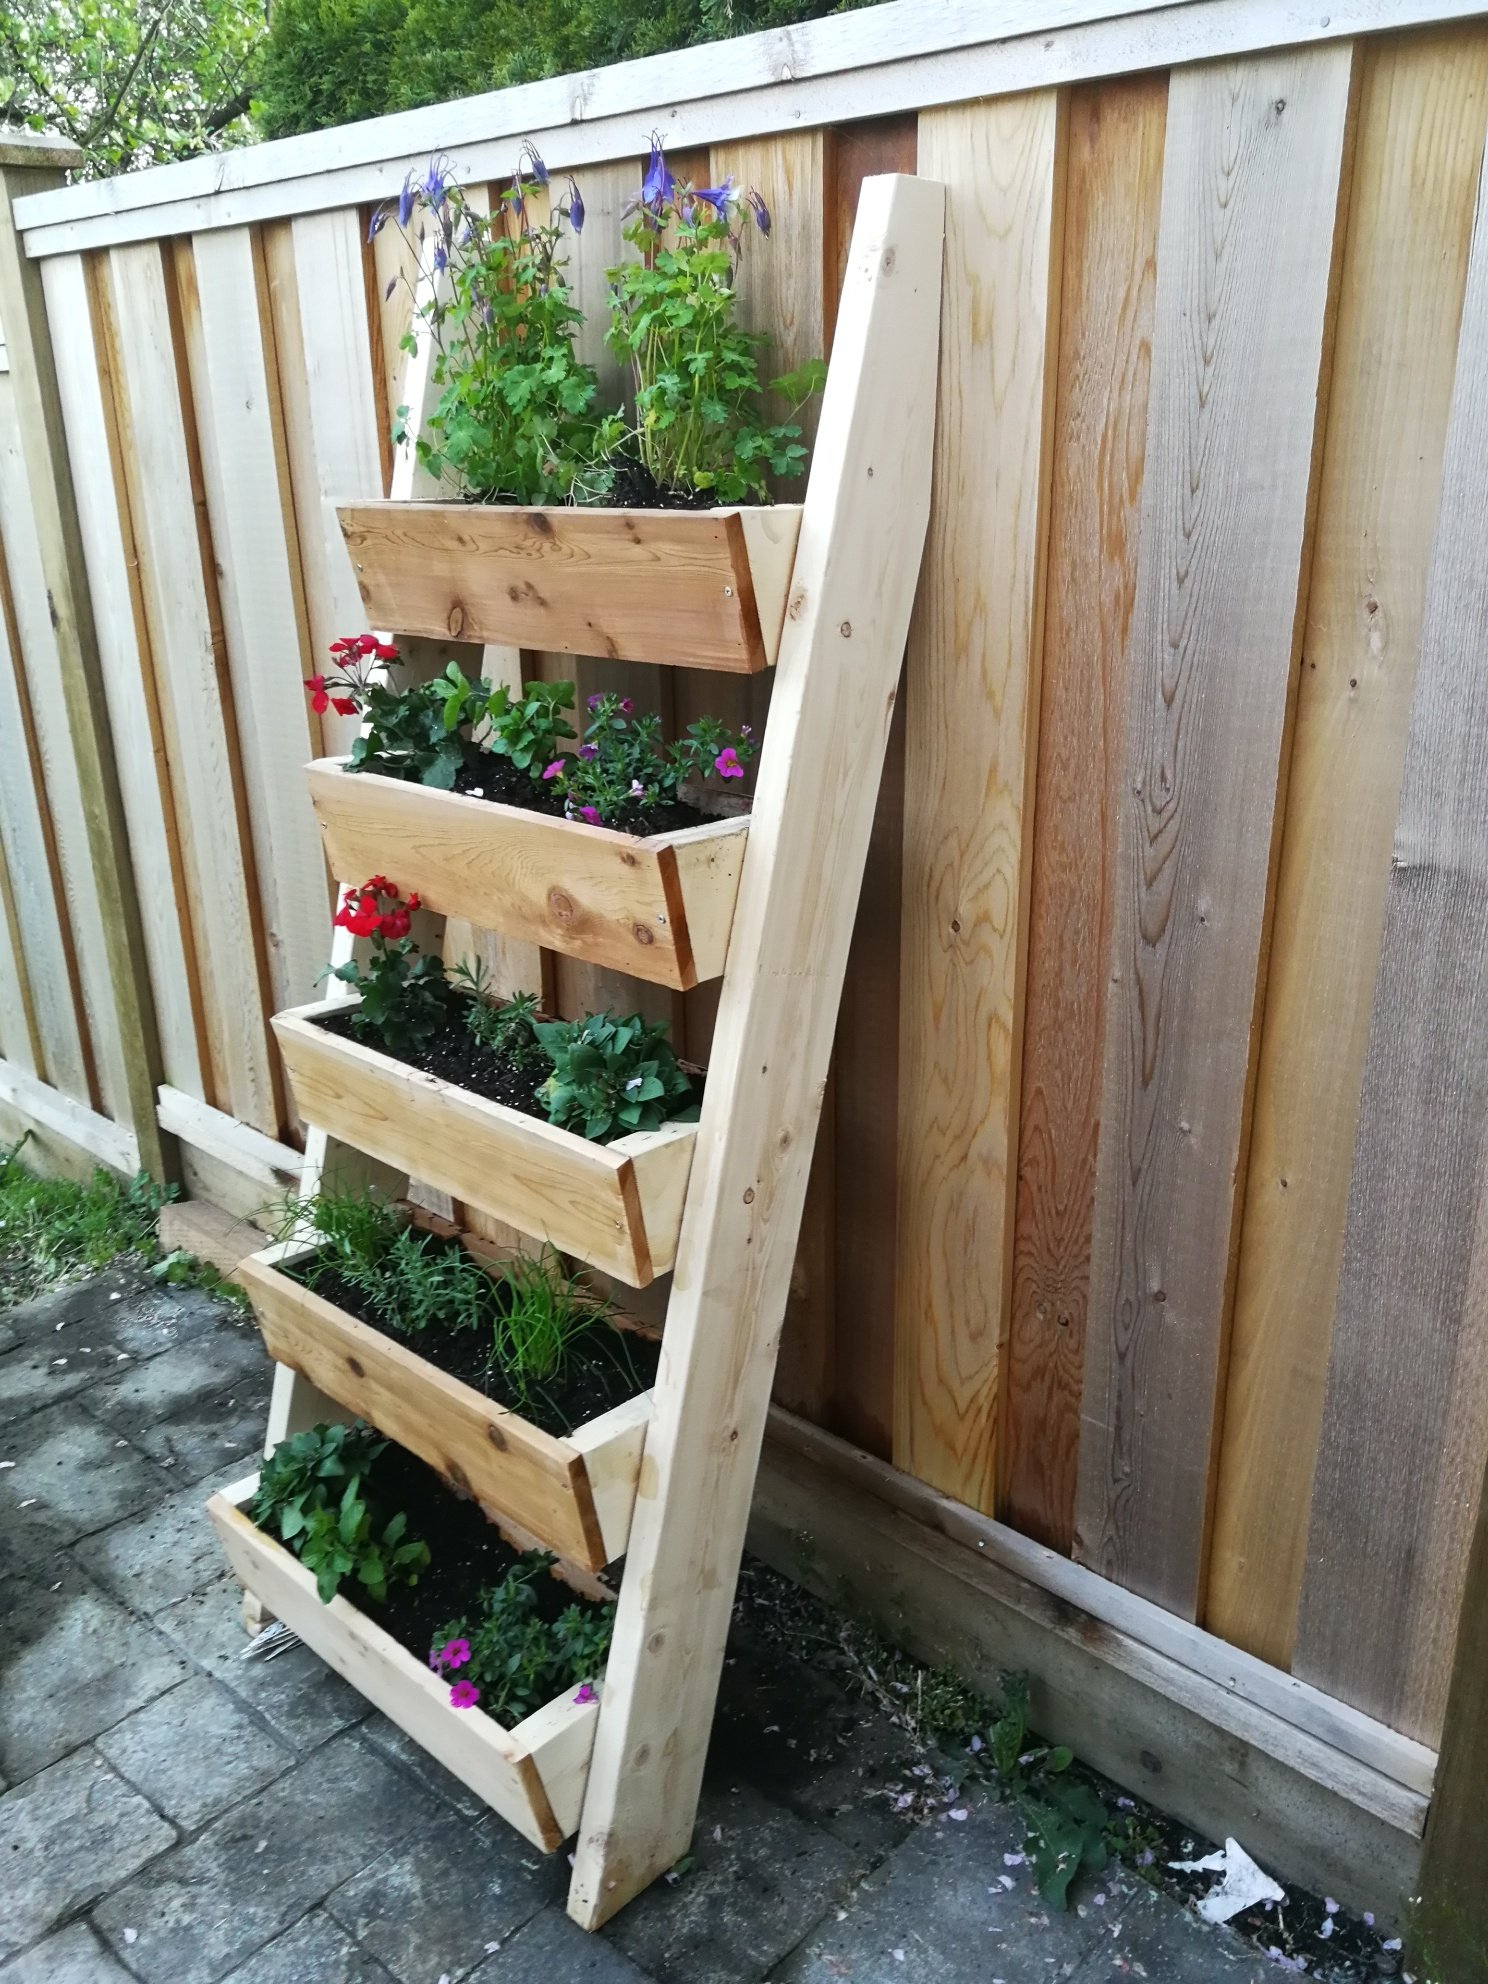
Thanks for these plans! I was able to complete this planter in one afternoon.
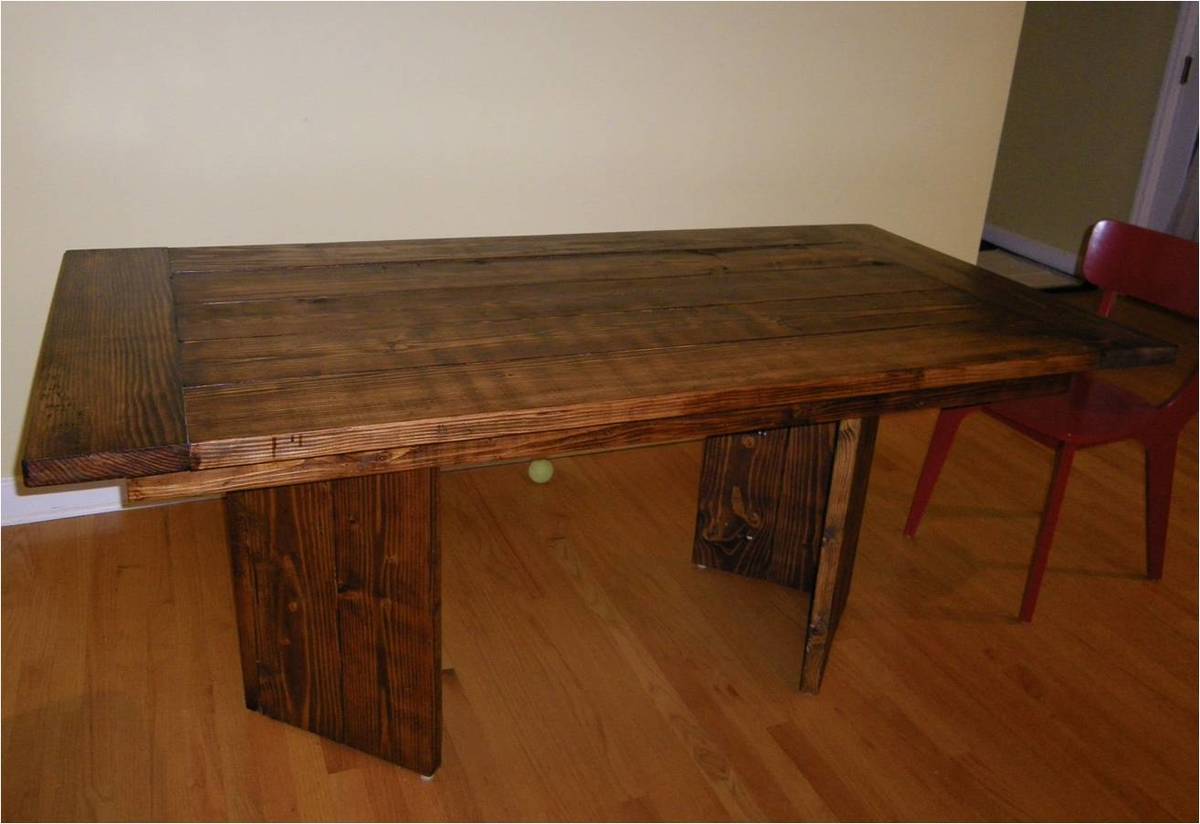
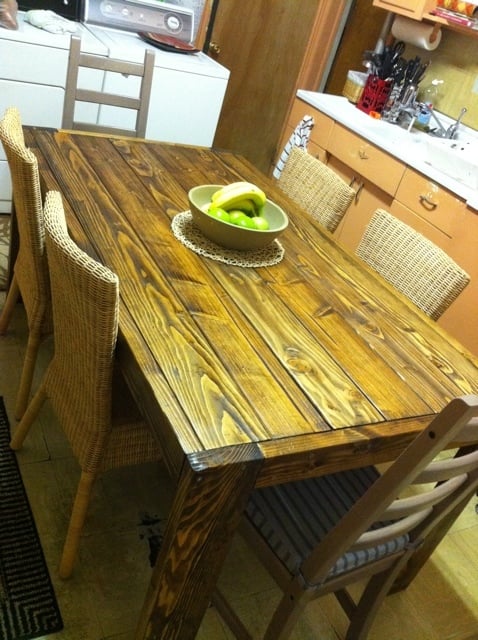
I looked at the Tryde coffee table and some of the brag posts and used that as my inspiration for my dining table. Other than that, it isn't too similar to any specific project plan, but borrowed aspects from several.
I spent about $70 on wood - douglas fir - and completed the entire project for under $150.
The legs are four 2x8 boards. I wanted to do something a bit different, a bit modern, and I think this achieved the goal.
This was my first staining project. Next I am going to build some matching chairs.
Full rundown: http://our-big-house.blogspot.com/2011/11/project-dining-table.html
Wed, 11/23/2011 - 08:19
I really like the way you did the legs. I may use that idea myself. You did a great job!
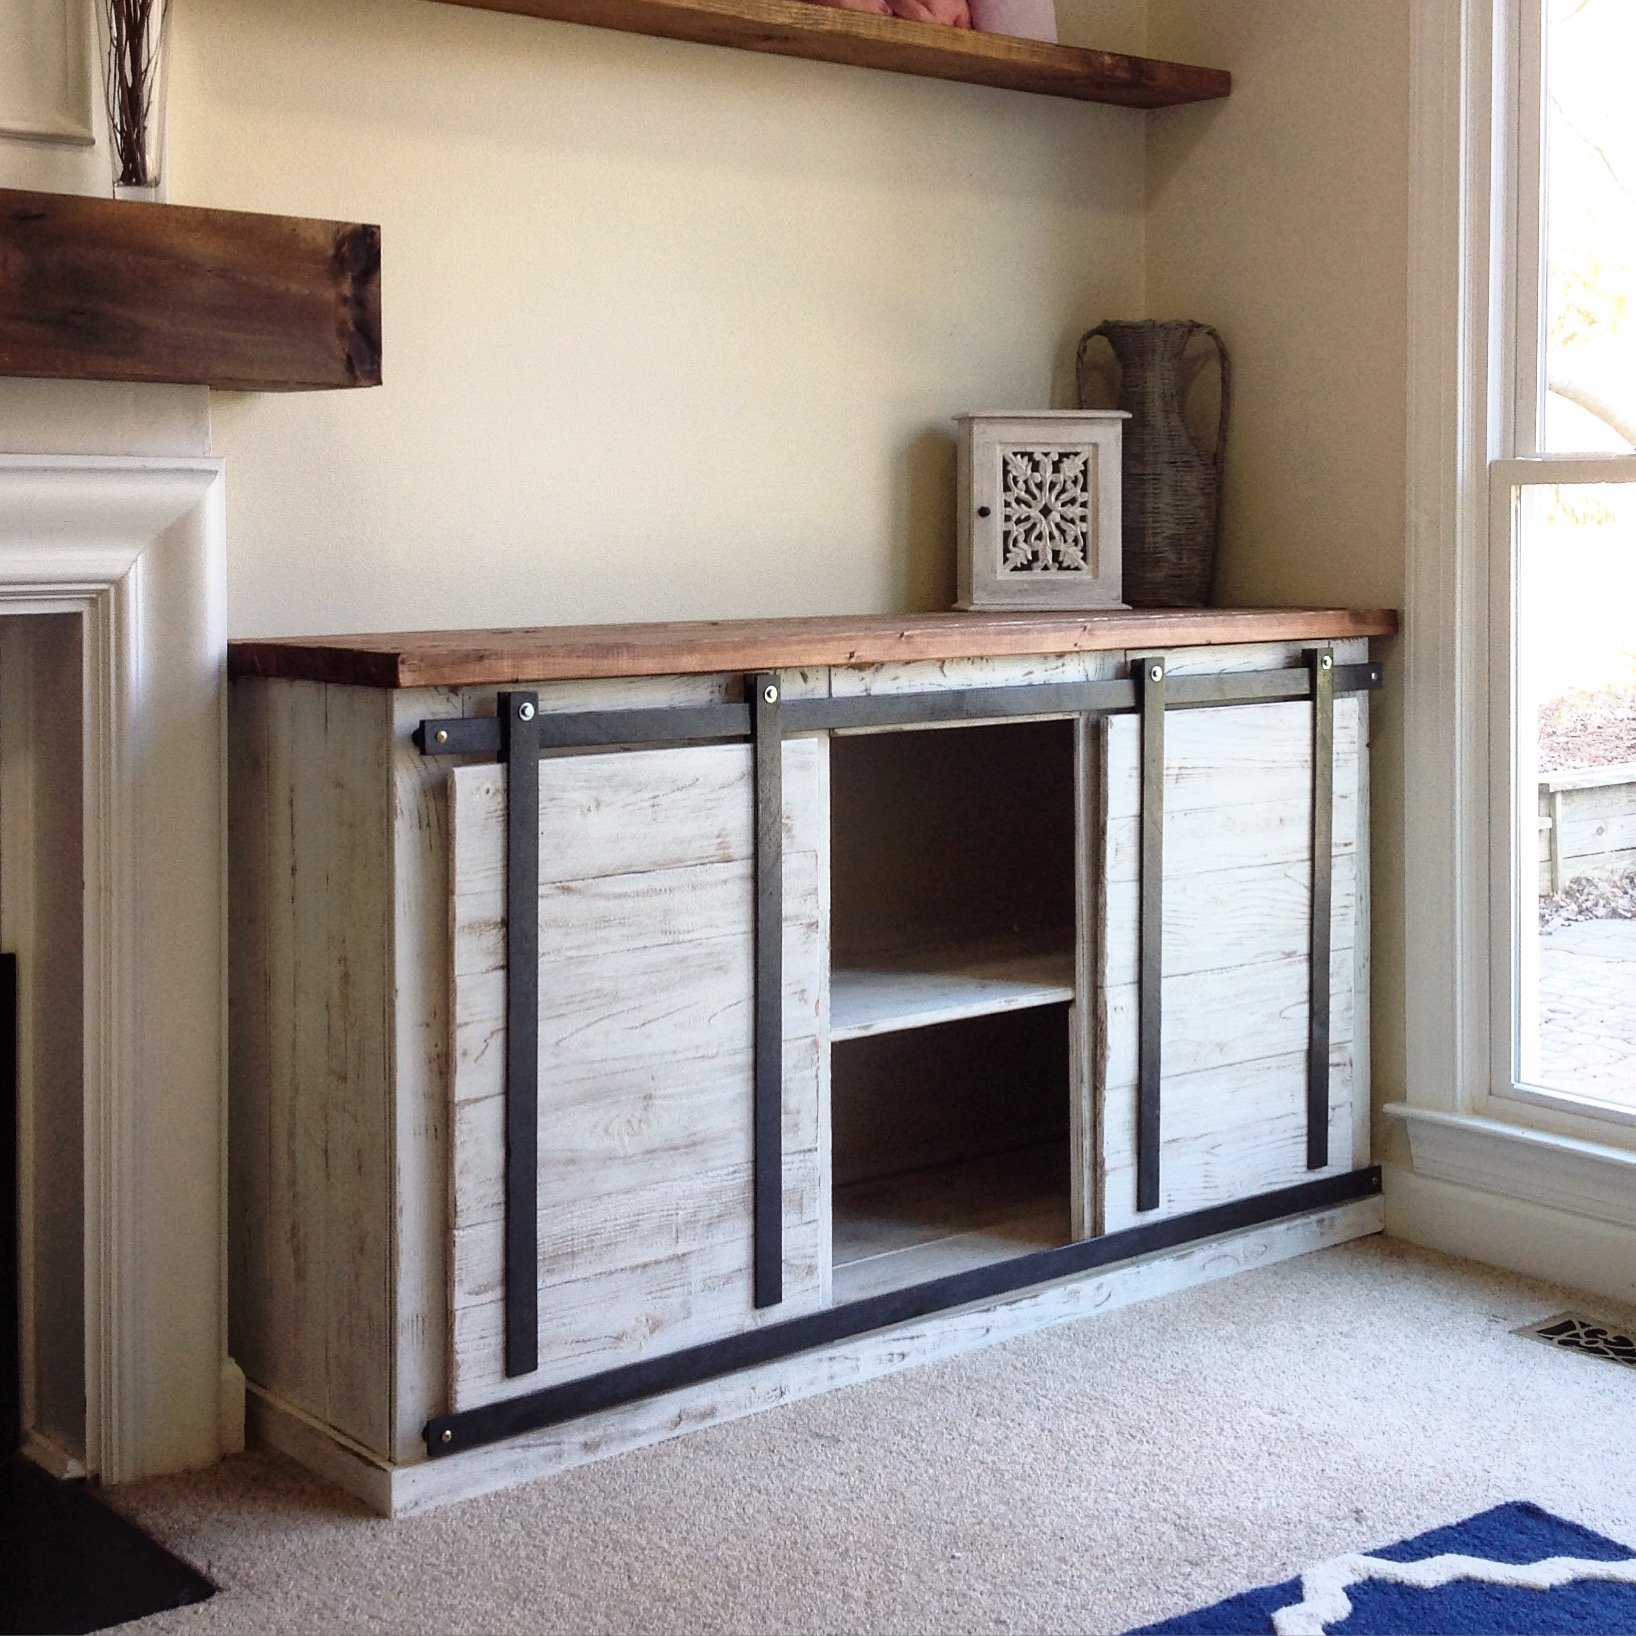
My first big build and I love it! I followed the plans in concept but changed the materials. My frame is still 2x3, but all the trim and siding is cedar fence pickets. I love these! They need a lot of finish work (sanding for days!), but the look is so rustic and real.
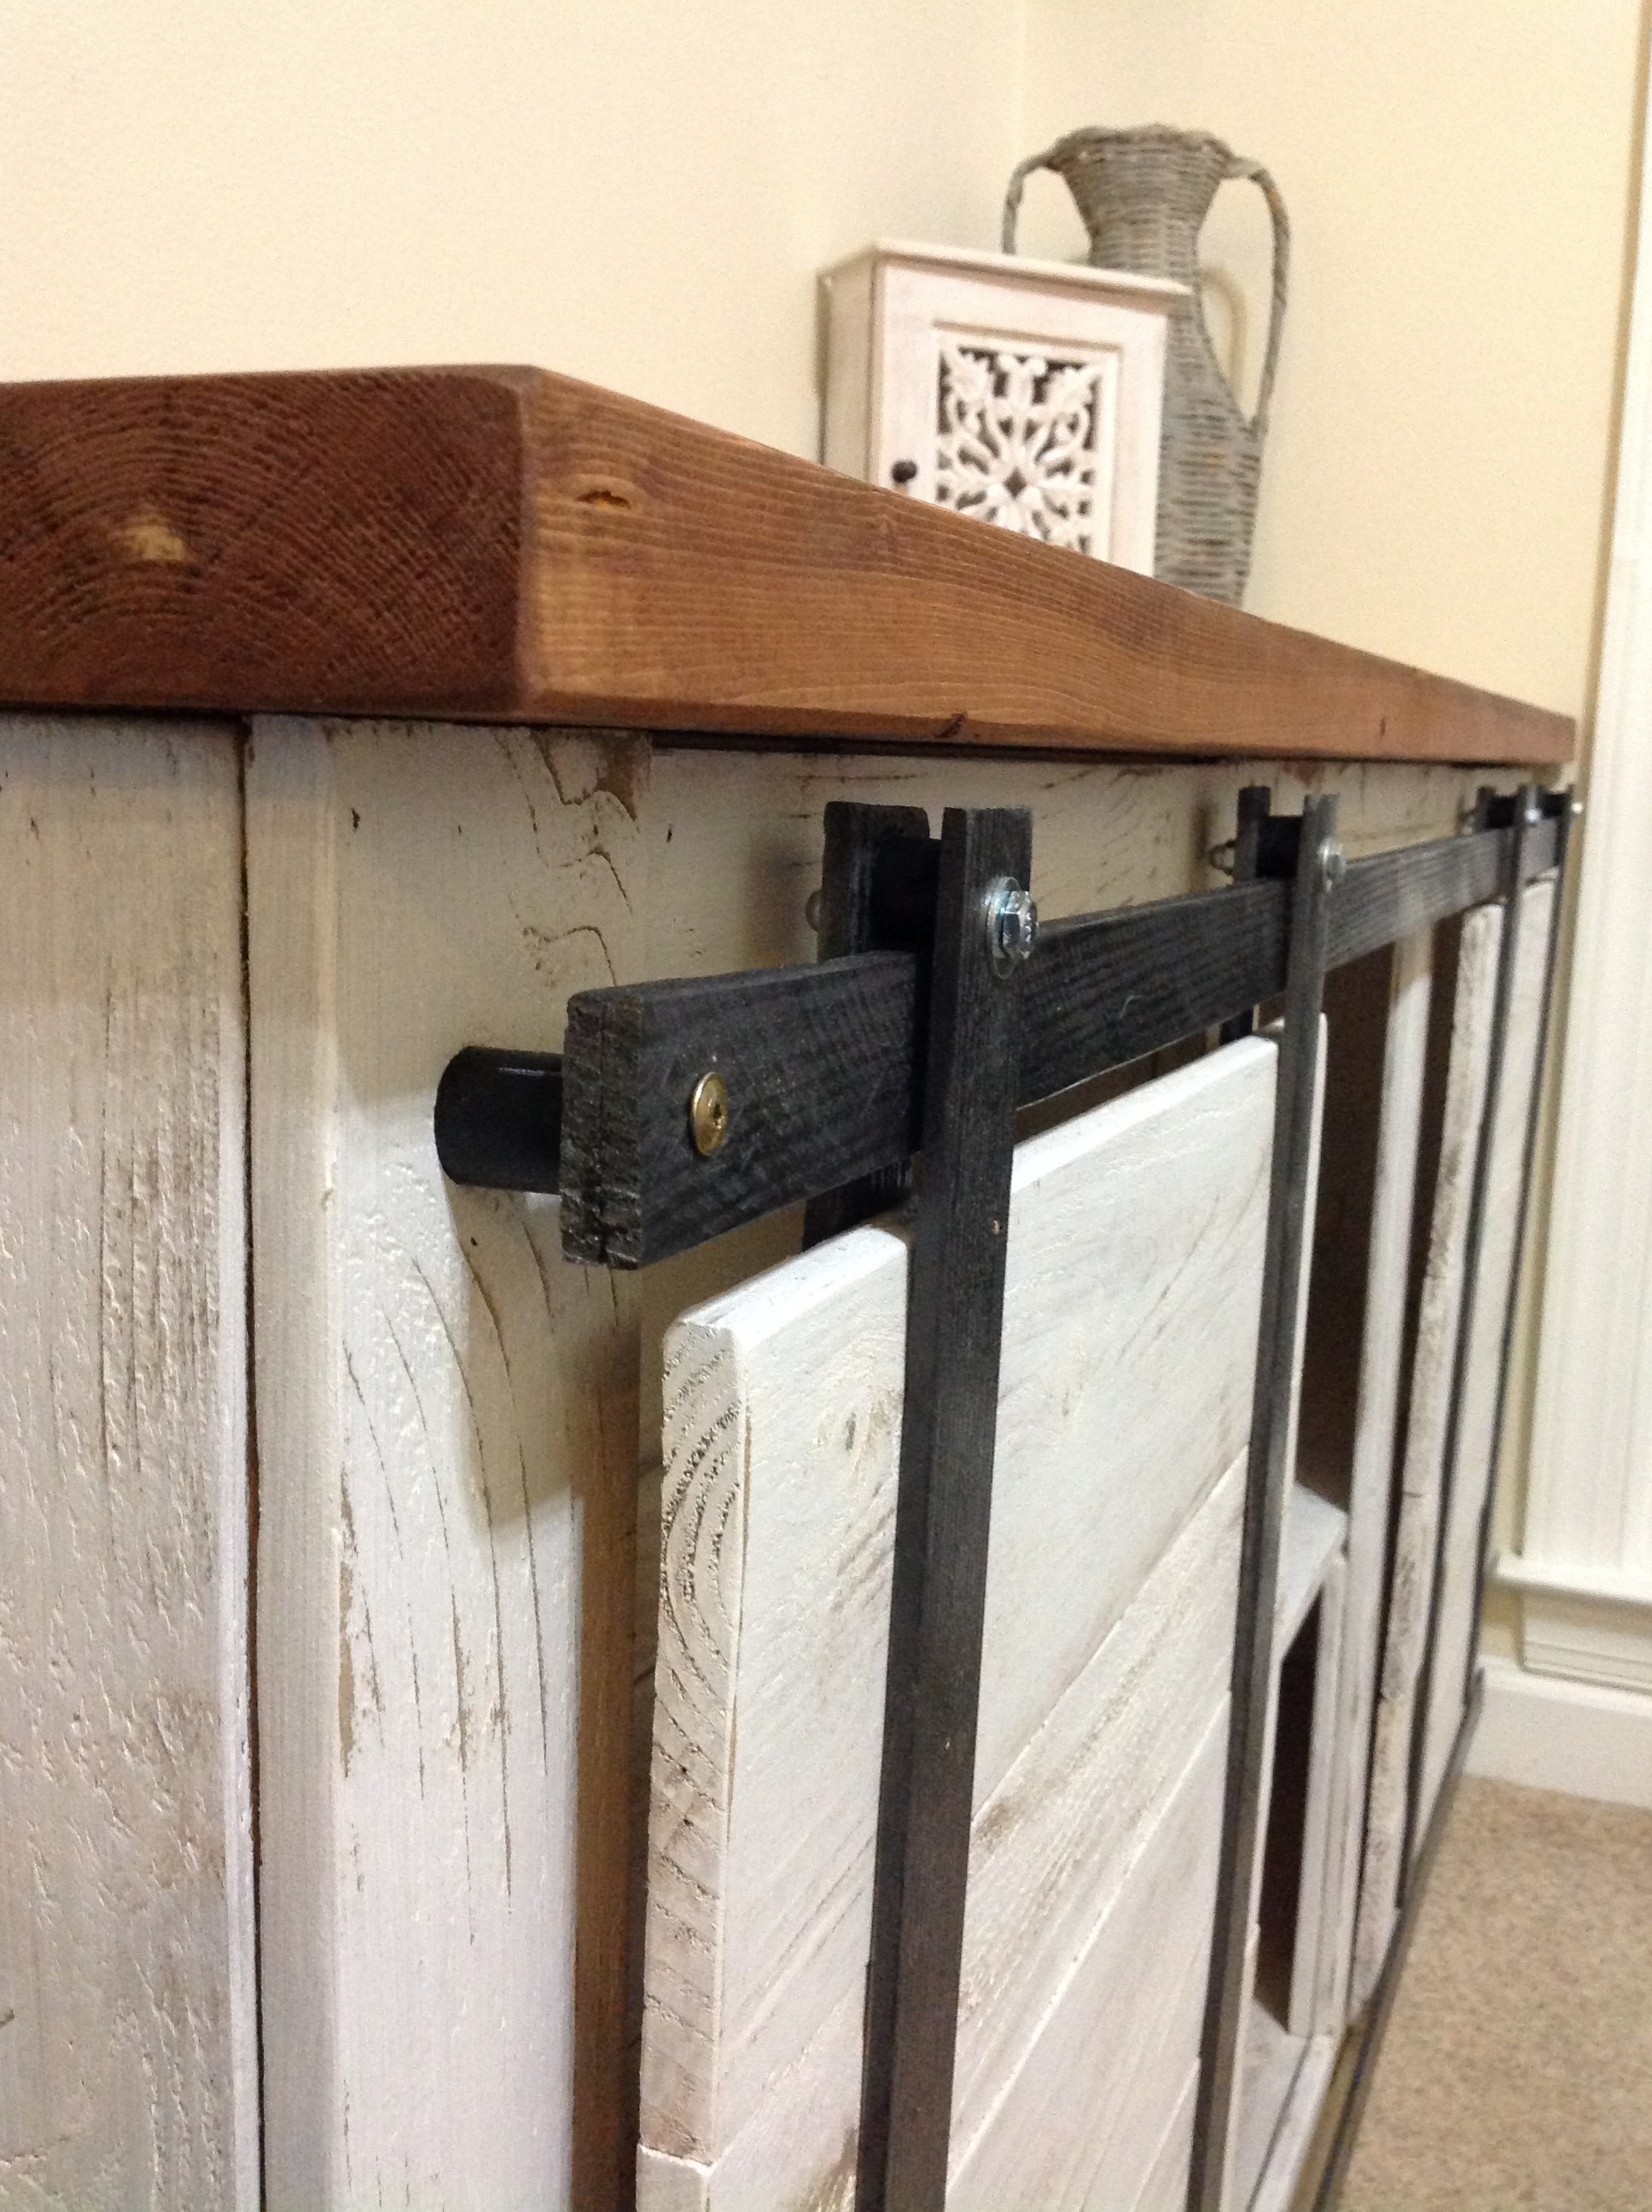
I also came up with a great way to get the sliding door look for only $9 in materials. The other tutorials I found online would have been $60+ and I just didn't want to spend that much. Make sure to check out my tutorial for the sliding door hardware.
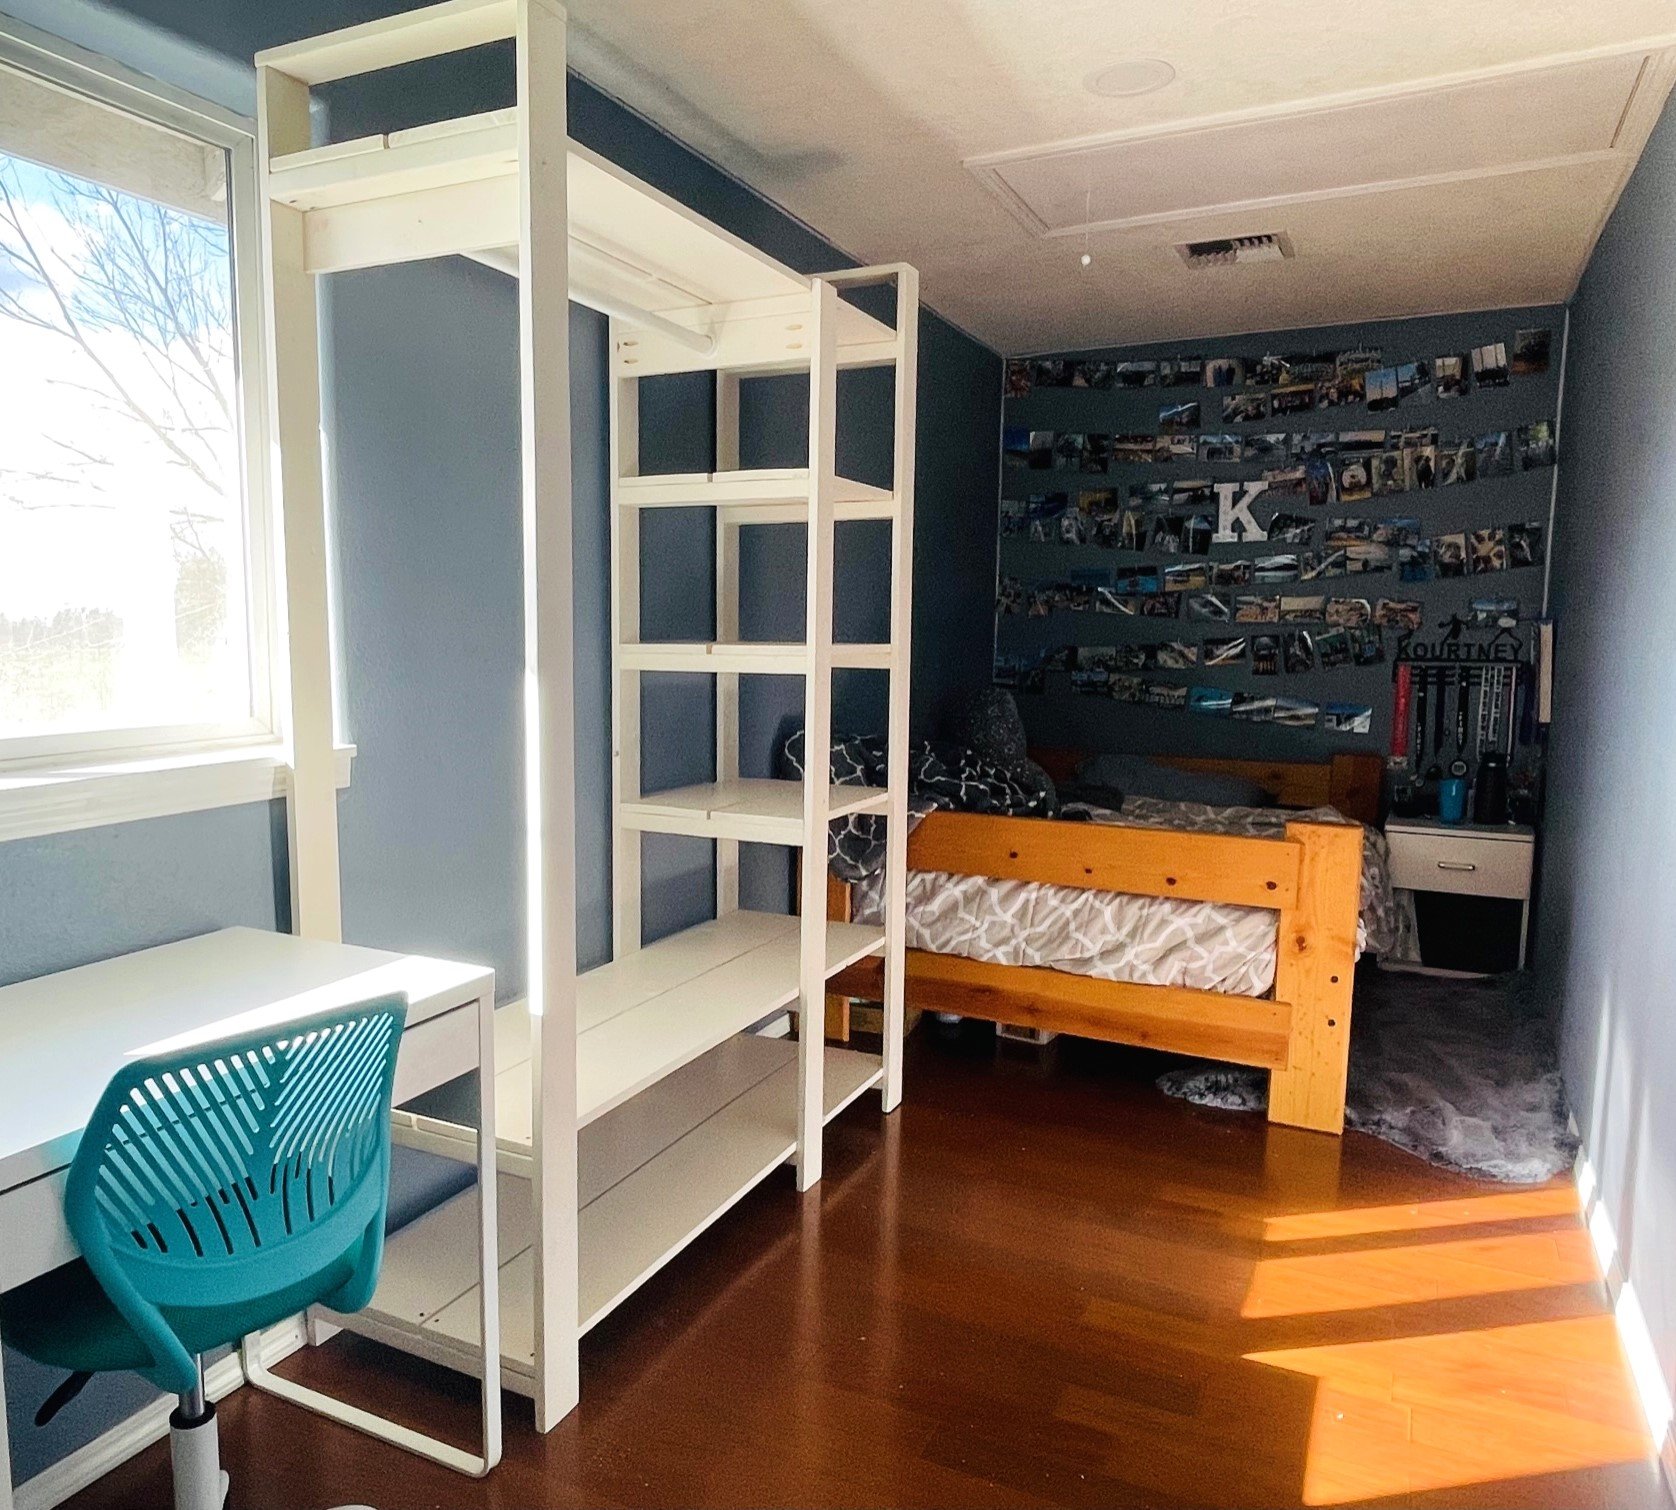
My friend asked if I could build a closet for her daughters narrow room, this worked perfect. I have used this plan many times now and each outcome is different and customized for the space.
Started on Saturday Afternoon around 5pm and finished building on Sunday, sanding on Monday, stain and poly on Tuesday and we ate Thanksgiving Dinner on it on Thursday. All that is left is the wood putty! Not perfect but VERY happy with it :)

This bed was built based on the Kentwood bed plans. The are a few adjustments to the size, and slats were used instead of the vertical trim pieces. The 54 slats were cut from 2- 50 count bundles of 48" lath boards. The side rails were re-purposed from an old King size waterbed.


Ana sent us the plans for this bench and it worked out great!

Mon, 06/03/2019 - 11:34
This looks awesome! Thank you so much for sharing, great job! I love the table in the middle
Thu, 09/16/2021 - 06:32
How can I get plans for this? I love the idea and want to build these for my fire station.
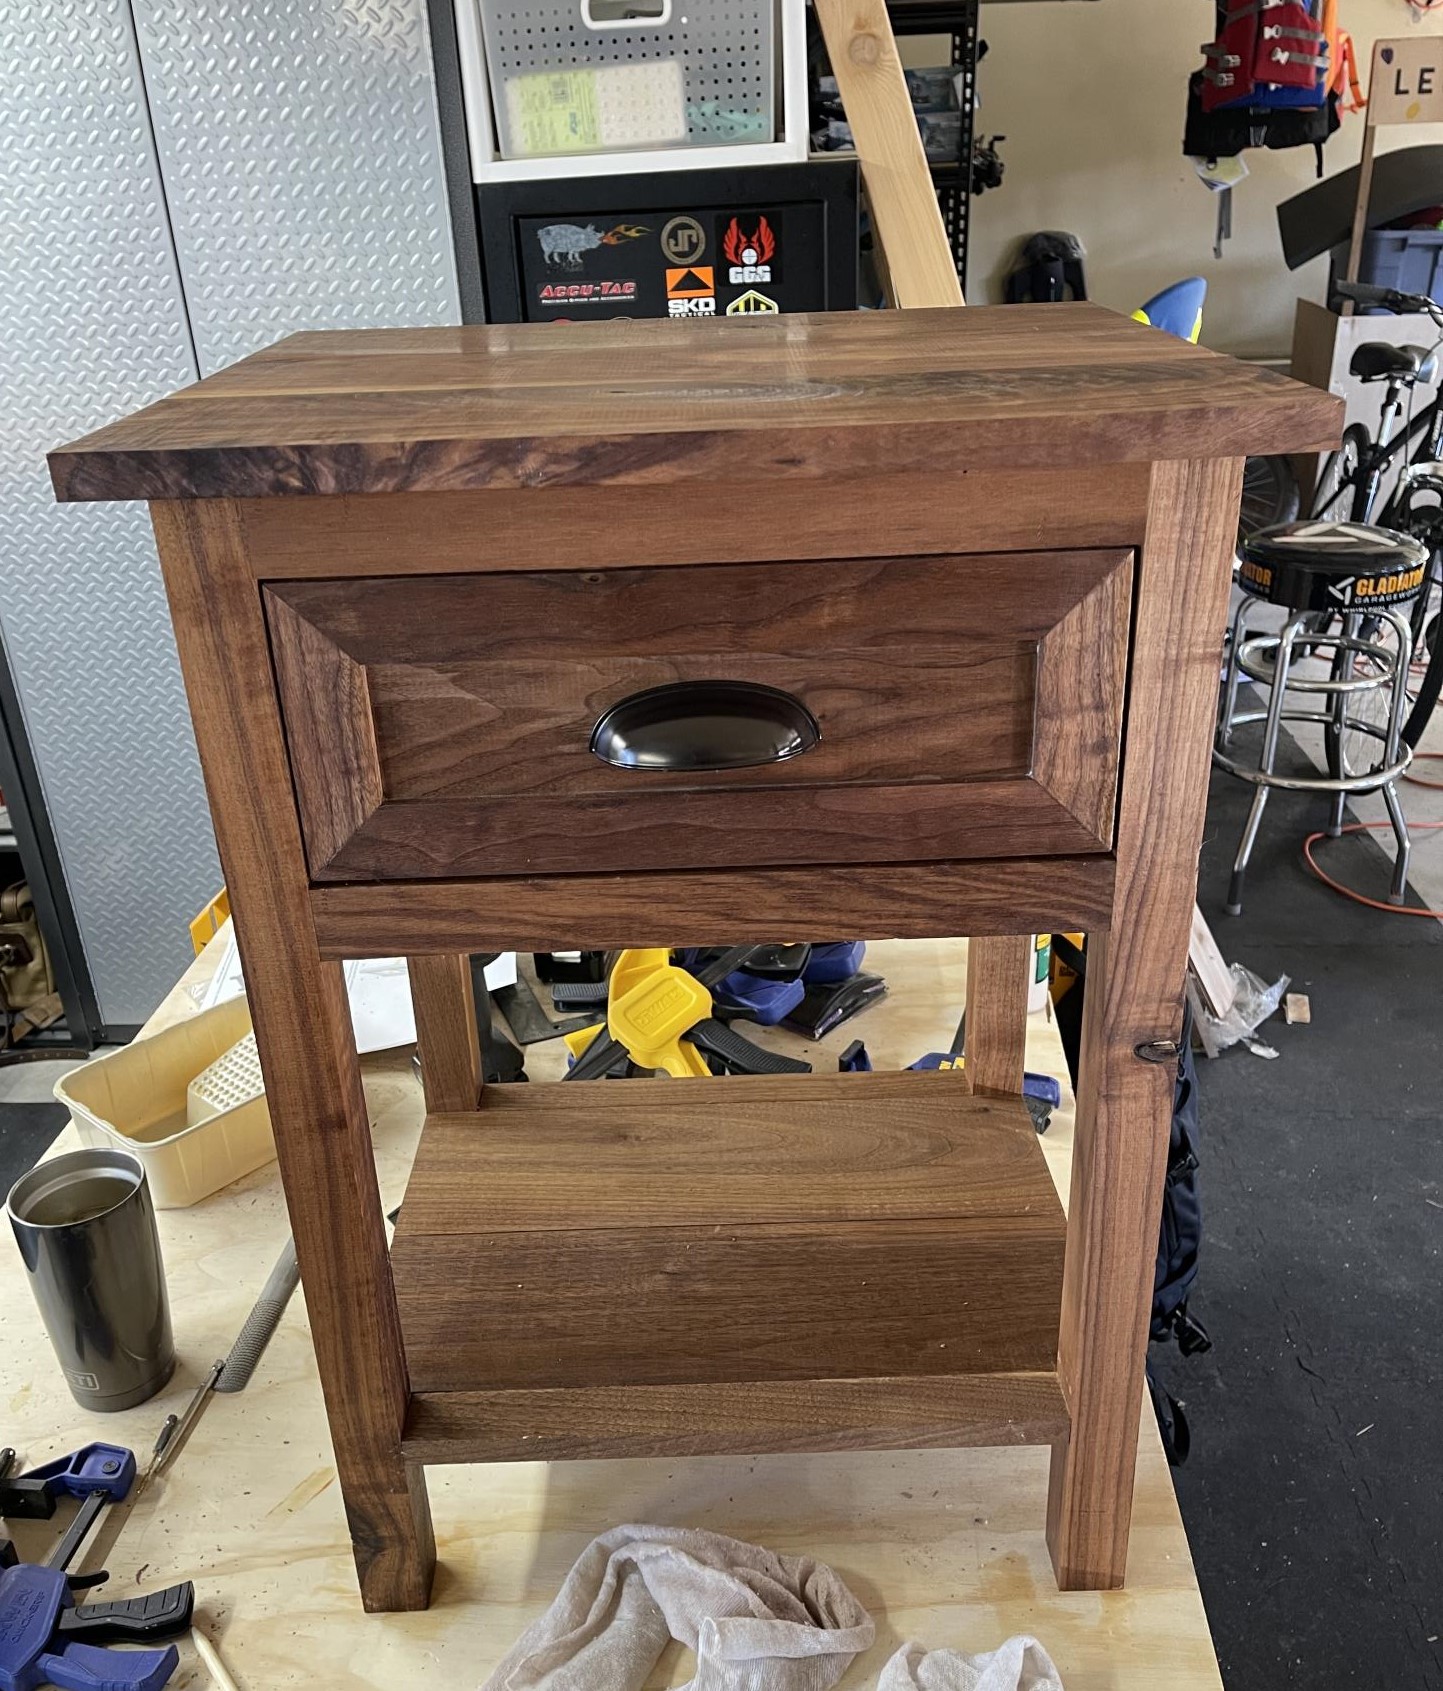
The sublime beauty of the natural wood grain upstages my (considerably) modest skill but we are very happy with our nightstands. Thanks so much for the plans! Rendered in Walnut with Tung Oil finish. Slight modification in dimensions and drawer facing.
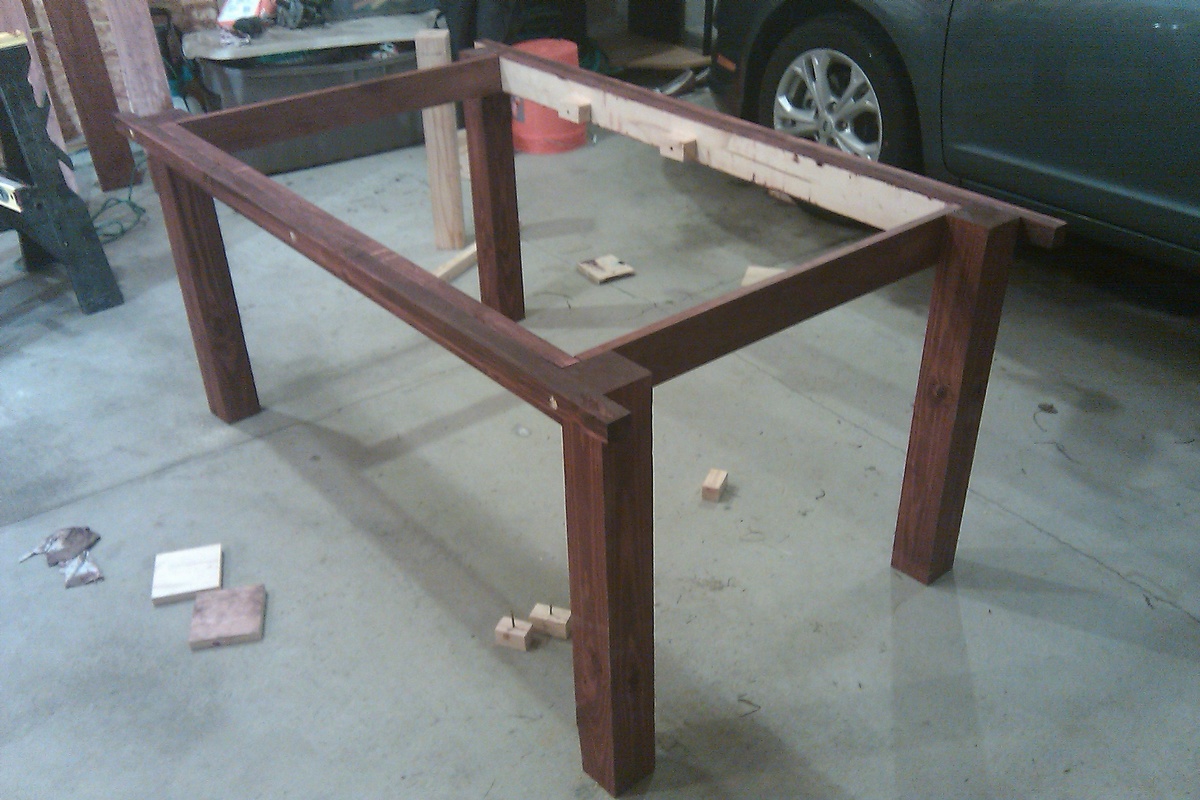
Well, this is my second project and was built to replace the first one I did about 2 years ago.
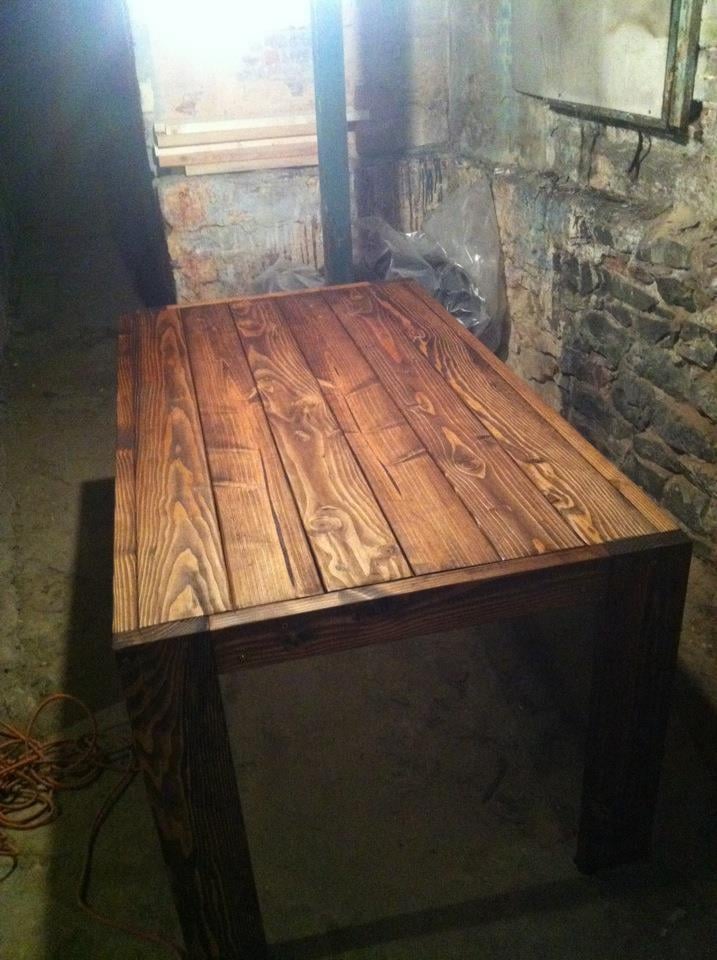
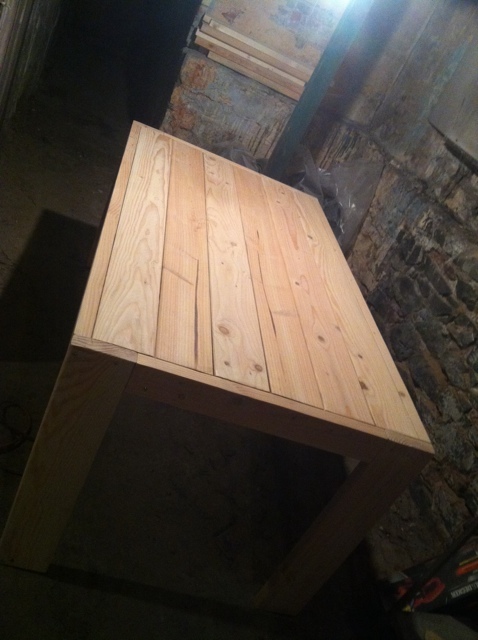
Two summers ago I built the Modern Farm Table and, quite frankly, screwed it up. I rushed that job, not taking the time to be selective about my lumber and forgetting to heed the old axiom of "measure twice, cut once". In short, the table turned out 27" wide and the the table-top surface was as uneven as a highway's rumble strips. Yeah. I know. A sad showing on my part.
This project was a different story. I took my time; and by time I mean it took about 10 hours total, including 3 trips to Home Depot to buy things that I didn't take into consideration (like mineral spirits for brush clean up after polyurethane).
Anyway, this table is a mix between a regular Tryde Table and the Benchwright Table. I liked the thick, heavy look of the Benchwright Table's top, but did not want to sacrifice the ends' leg space by including the trestle.
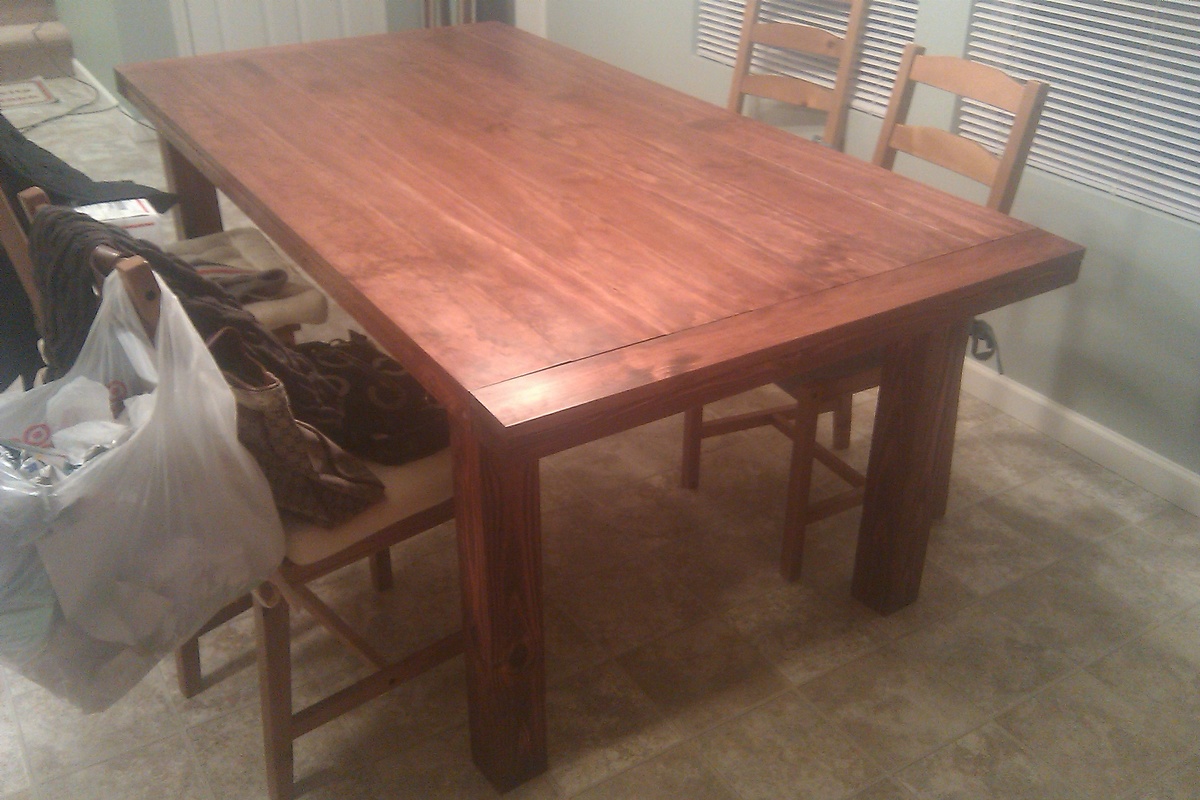
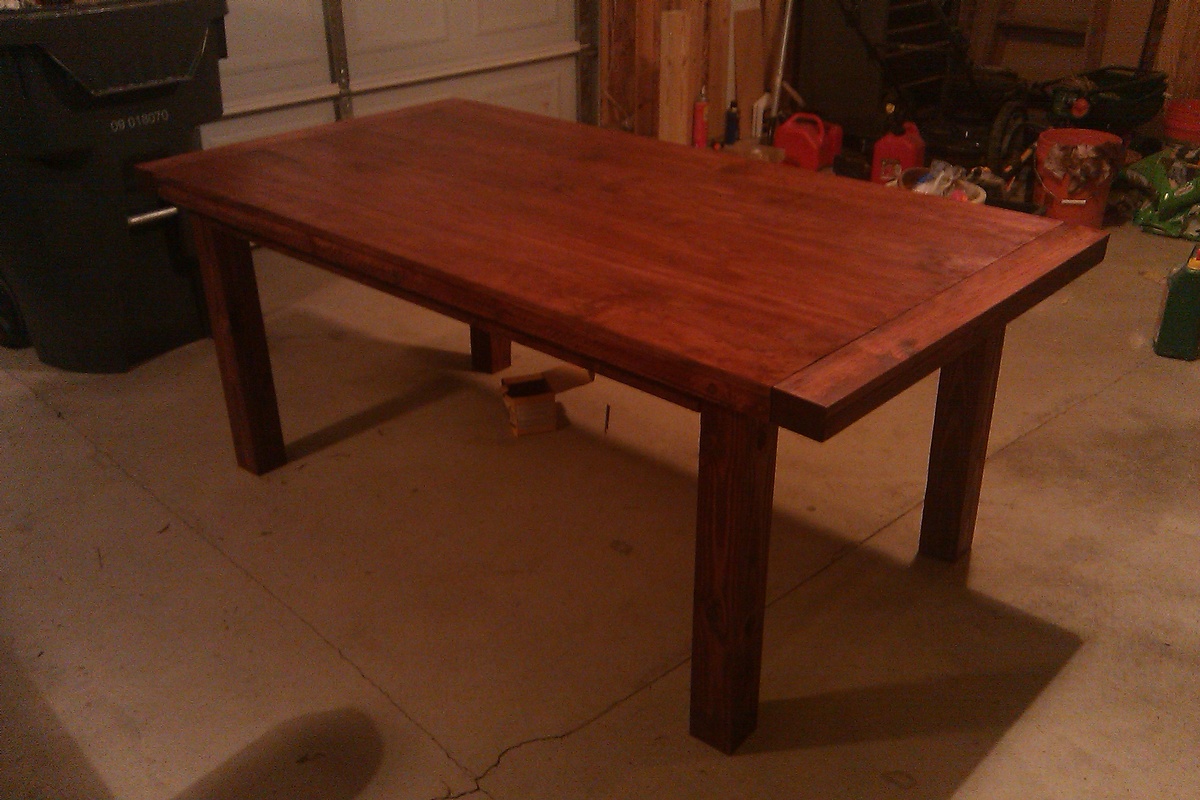
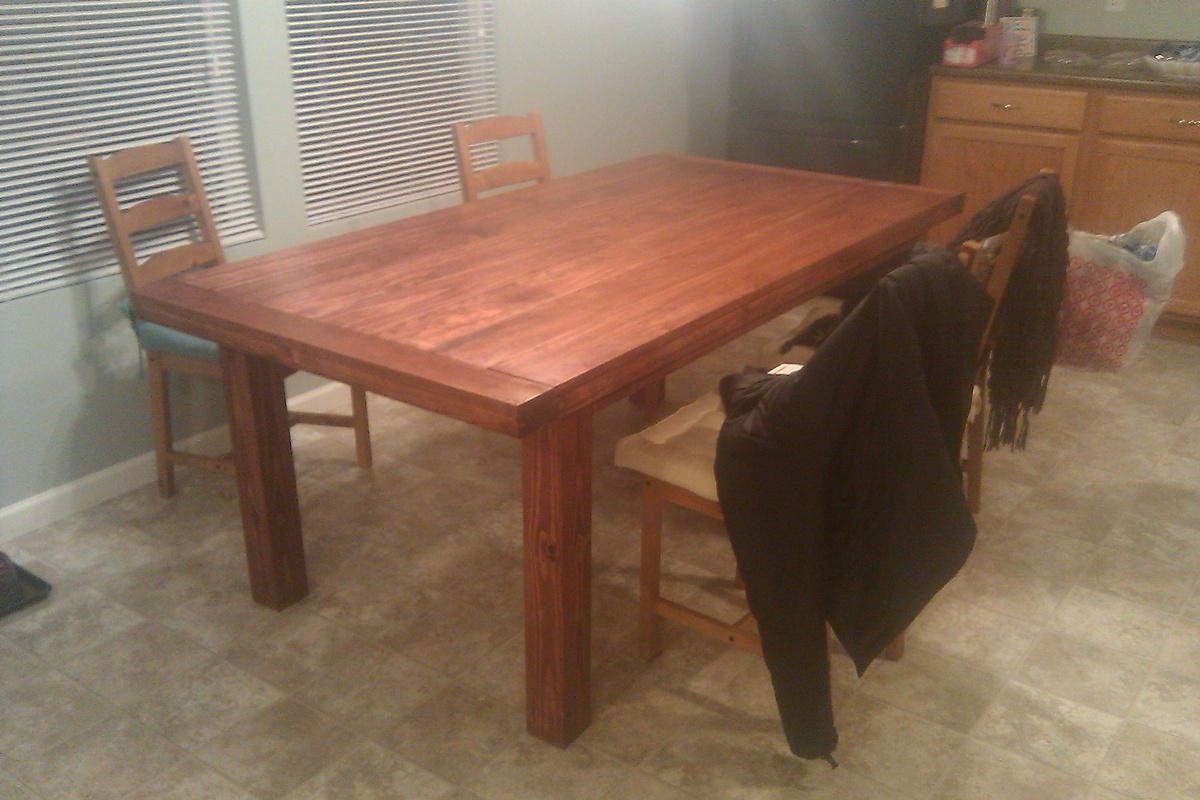
So, this is pretty much a Tryde Table, with the faux-thick top of the Benchwright and 4" x 4" legs. I used Select Appearance Pine for the top boards. I did this more to ensure I got straight edges than for the surface finish quality. But I like the end result.
Dimensions: 74 1/4"L X 38.5"W X 30"H
Lumber: 4" X 4" legs, S4S 1" pine boards top, 2" X 4" aprons.
Finish: Red Mahogany
Cost: $160
Total time: 10 hours.

Mon, 12/05/2011 - 17:28
You should be proud of yourself for not only doing a wonderful job on this table but for trying again! I love Ana's site because it allows each of us to begin small and build (no pun intended) bigger and more complicated as we learn!