Community Brag Posts
Farmhouse Headboard
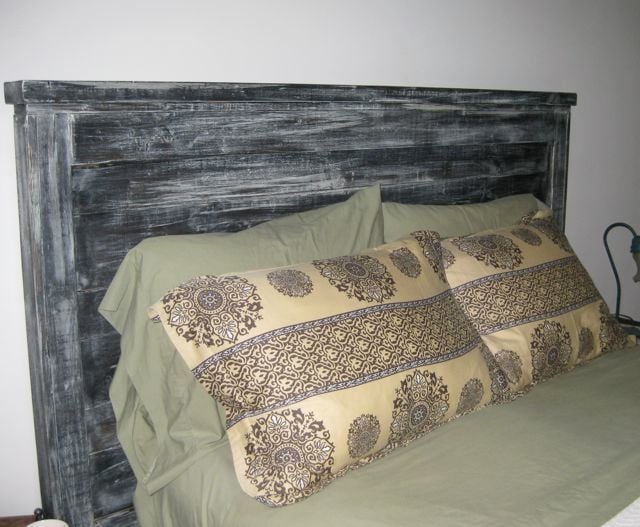
I followed this plan (http://ana-white.com/2010/03/plans-mason-headboard-its-all-in-finish.ht…) and my headboard turned out beautifully!
I chose to stain my headboard prior to dry brushing with paint.
While a beginner can complete the headboard, distress it, and stain it in a few hours, the stain needs to dry at least 24-48 hours prior to distressing/painting. And then the paint needs to dry at least 24 hours prior to wiping on the poly finish. I'd give yourself one week from start to moving it into your room.
Built from Plan(s)
Estimated Cost
$75
Estimated Time Investment
Afternoon Project (3-6 Hours)
Finish Used
Minwax woodstain in Espresso
Behr semi gloss paint in Swiss Coffee
Minwax wipe-on polyurethane
Behr semi gloss paint in Swiss Coffee
Minwax wipe-on polyurethane
Recommended Skill Level
Beginner
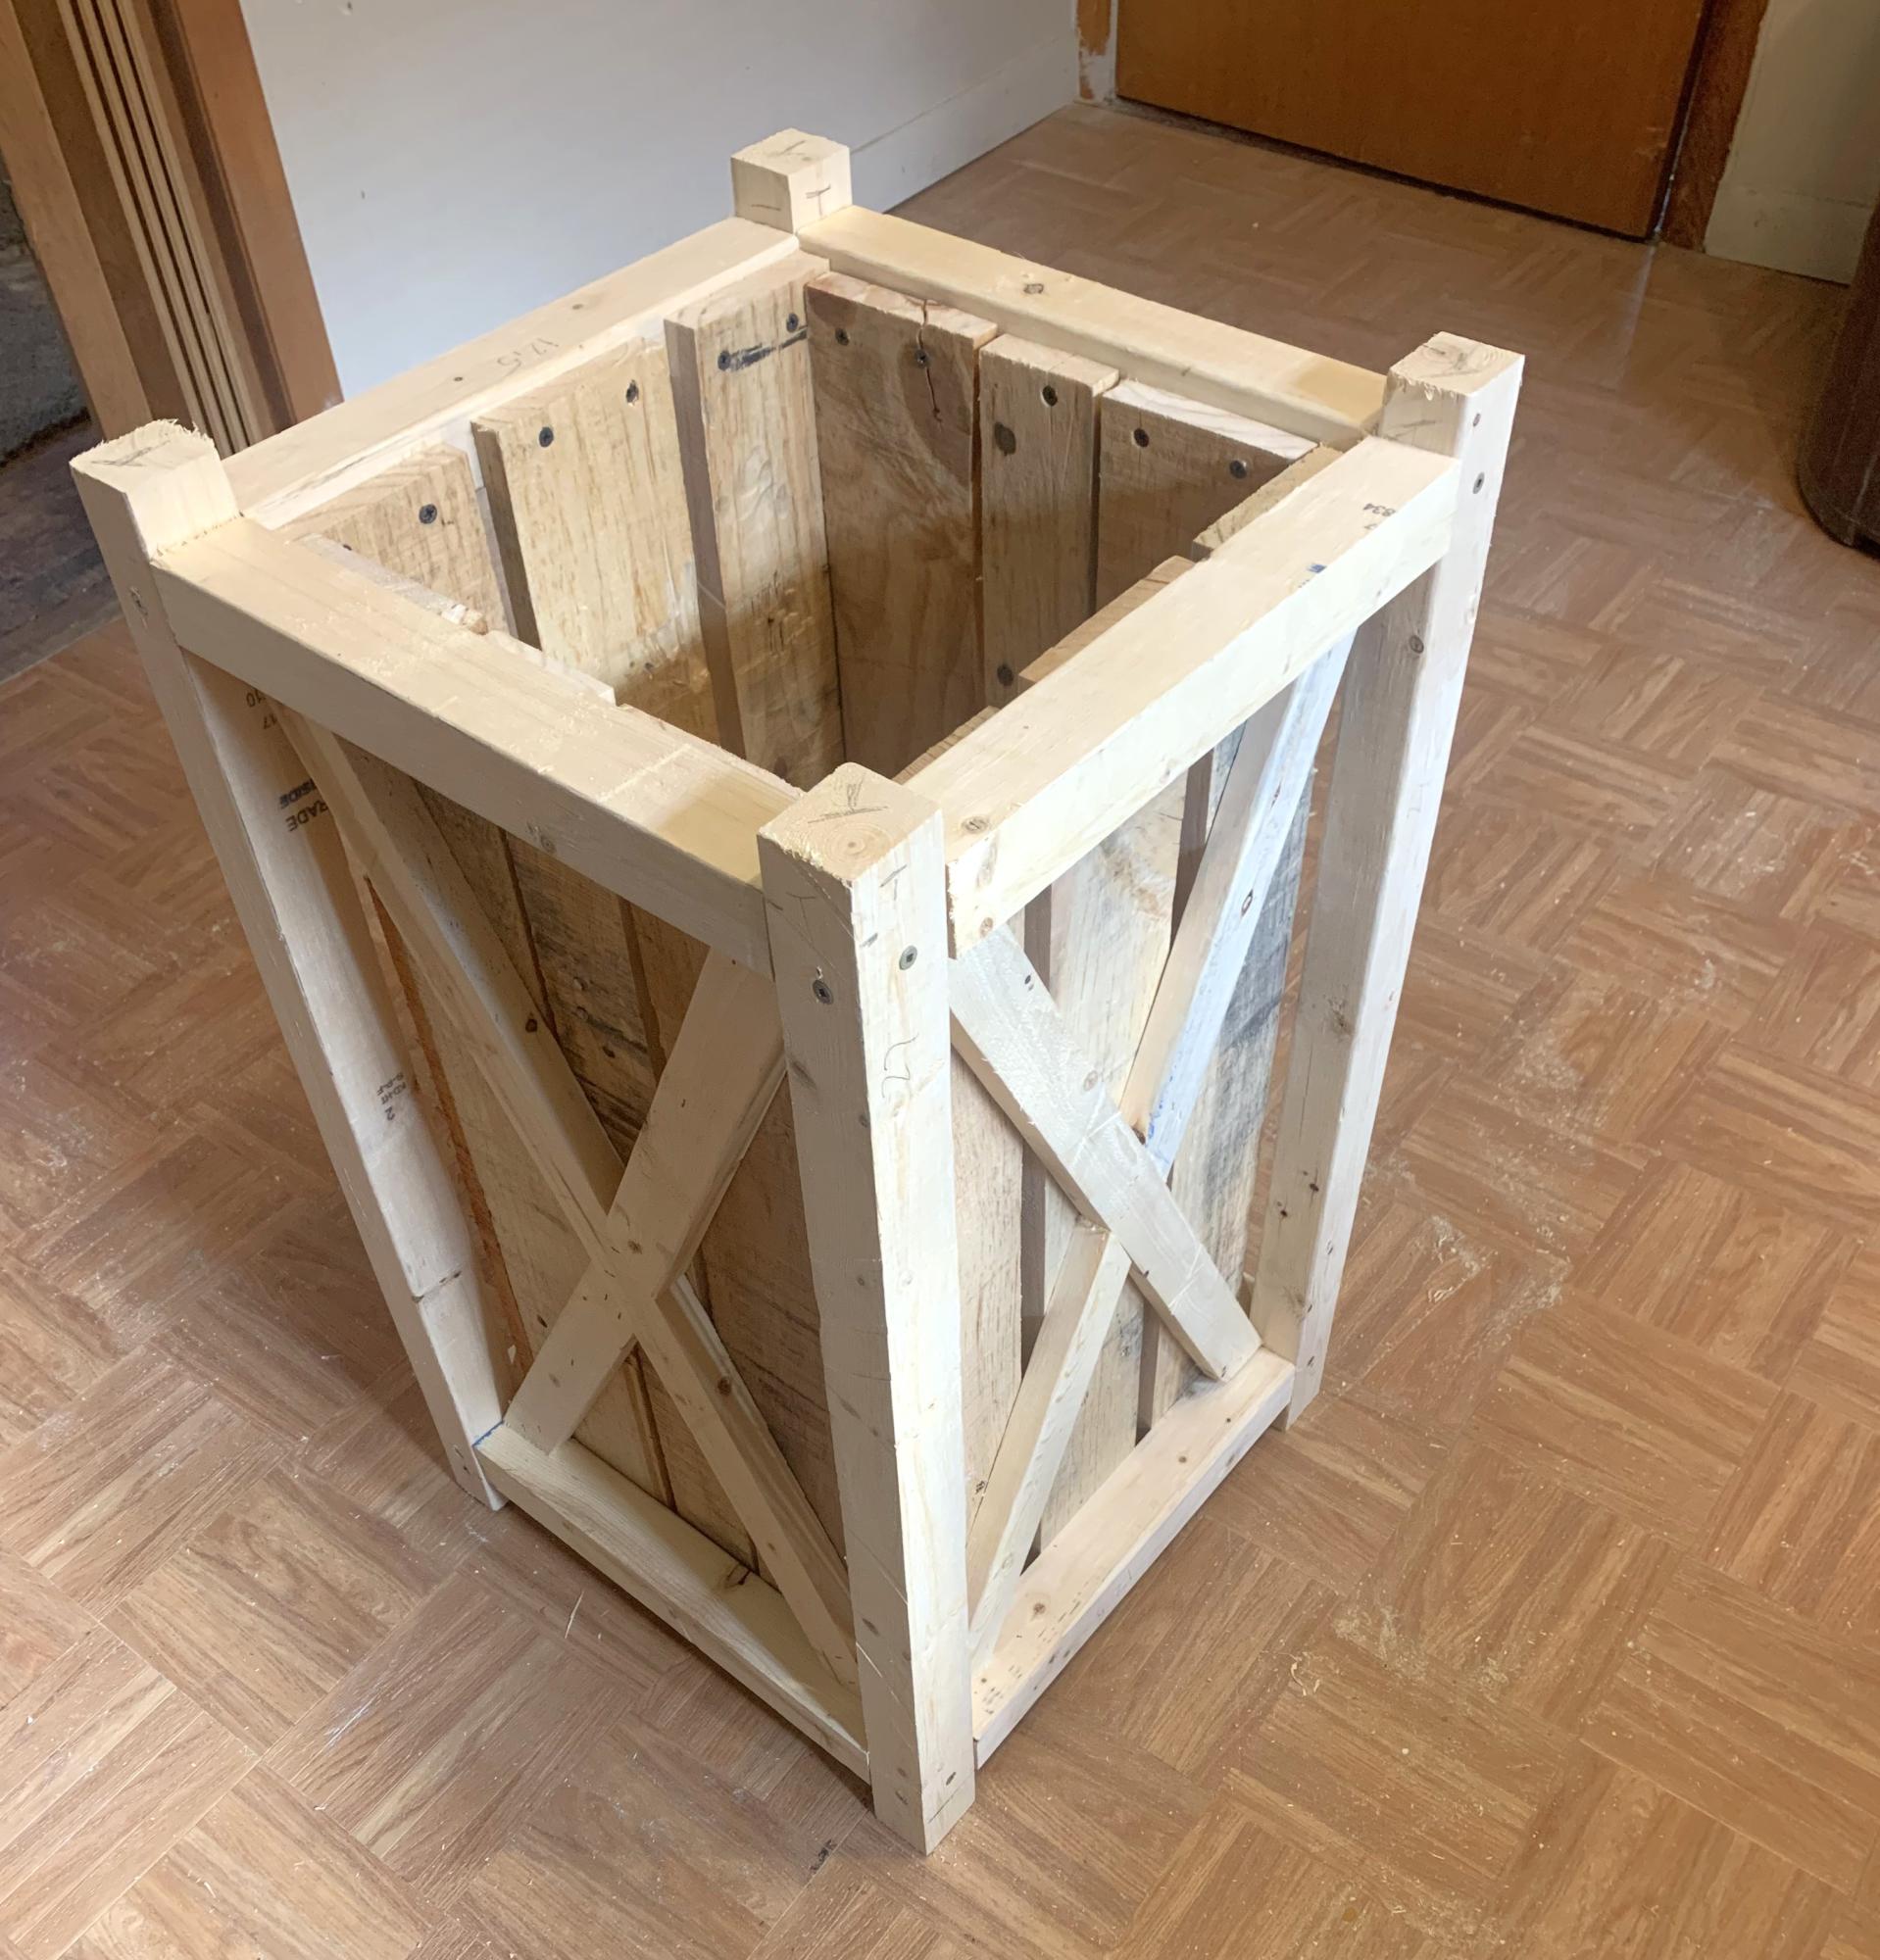
Mother's Day Planter Caddy

Fun to build, good skill level assessment. Time estimate on point. I decided not to apply a finish so my wife could choose what she liked. Re: materials, I found a set of four 1 5/8" casters @ HD for 5 bucks. Not sure if as good, better or not as good as what is recommended by the plan details, but they are working so far. The sizing was perfect for our big round IKEA pots. I will make 2 more for the other two pots. Keep up the good work.

Built from Plan(s)
Estimated Cost
$15
Estimated Time Investment
Day Project (6-9 Hours)
Finish Used
None yet
Recommended Skill Level
Intermediate
Genell Goodman
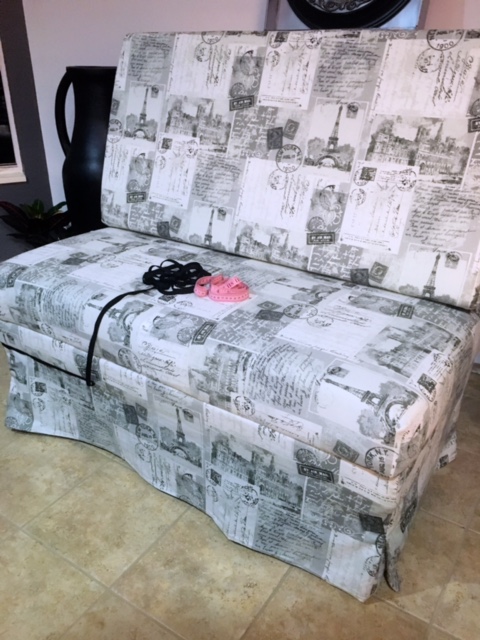
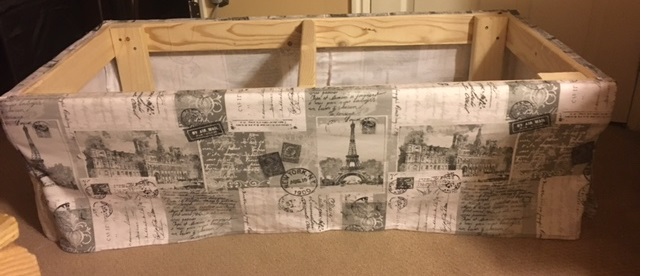
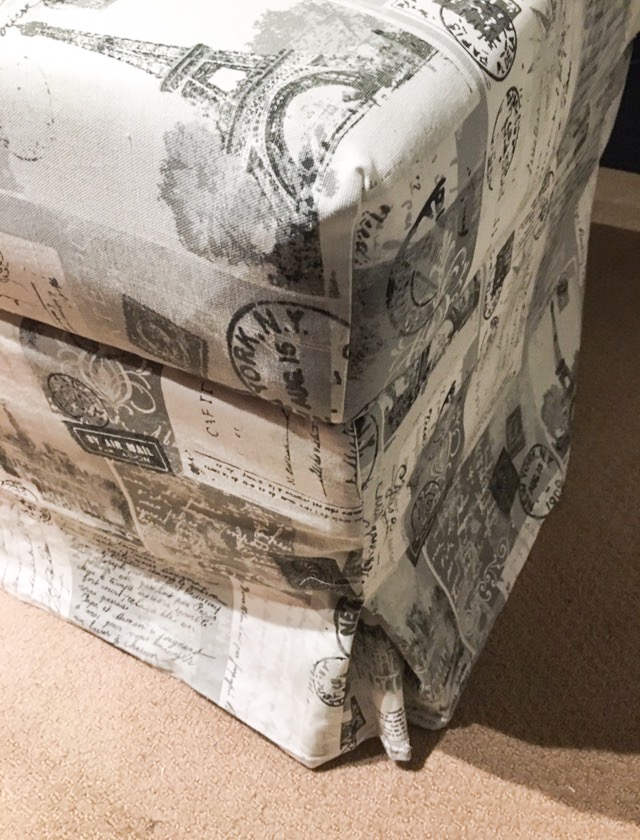
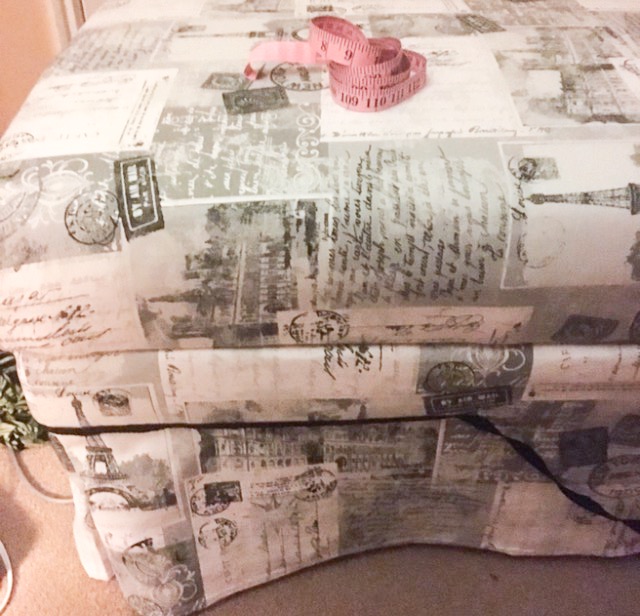
I was excited when I seen Ana's diy sofa and could not get it out of my mind. I ended up making a copy of her instructions and figured out how I could do it at as little cost as possible. I downloaded JAF app on my phone. Signed up for JAF with my email, which got me an additional 20% off my total purchase, and then I printed up a 50% coupon from JAF website. I was able to use all of my coupons after waiting until no one was in line and telling the clerk that if she didn't let me check everything out seperately in order to use my coupons, I wouldn't be able to afford it, and they would have to put everything back, and that would really be sad.
Yea!! Out of the goodness of her heart, or the annoyance of my begging, she did it! God Bless Her.
I ended up using
2 50% off coupons
1 40% off coupon
1 20% off coupon
My beautiful material was already on sale for 50% off which made me feel like the sun was shinning really bright on me that day. It rained the next day.
I went to homedepot with my plans and asked them to cut the pieces of wood out for me because I didn't feel like arguing with my husband about using his saw again. He bought me my own but it's not a nice table saw like his. He thinks I'm stupid. He bought me a jig saw.... Crazy!!!
Then he tried to lock me out of his tools, but I just put every combo I could think of into his big lock and Pop goes the Weasel!!! I did lose one of his bits, though. I'm very sorry about that and I hope he don't notice. I've been praying on that part.
I used 3 & 5 Density Foam. The foam is where you will need to use your coupons because it can get really expensive. I would have ended up paying about $100 more if I didn't use my JoAnn coupons.

Estimated Cost
$160
Estimated Time Investment
Day Project (6-9 Hours)
Finish Used
Printed Paris fabric.
I would suggest painting the feet before building the sofa. I know that's logical thinking but I was to excited to think very logical at the time. I'll use my common sense the next time because I'm sure I'll be a little more calm, unless I find some drop dead gorgeous fabric. I lose my mind at the fabric store sometimes.
I would suggest painting the feet before building the sofa. I know that's logical thinking but I was to excited to think very logical at the time. I'll use my common sense the next time because I'm sure I'll be a little more calm, unless I find some drop dead gorgeous fabric. I lose my mind at the fabric store sometimes.
Recommended Skill Level
Beginner
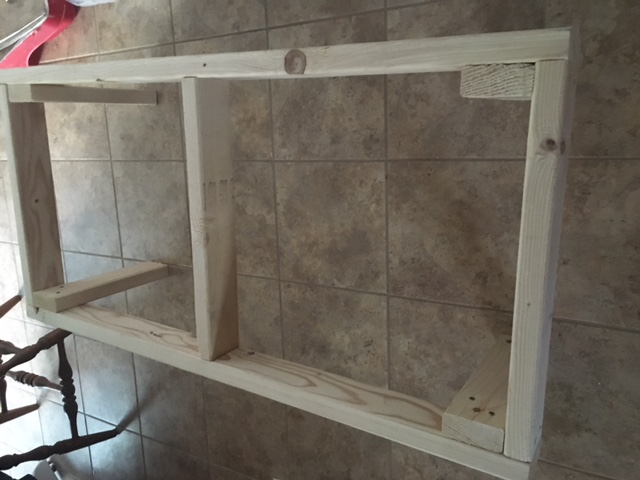
Custom Rustic Hall Tree w/Bench
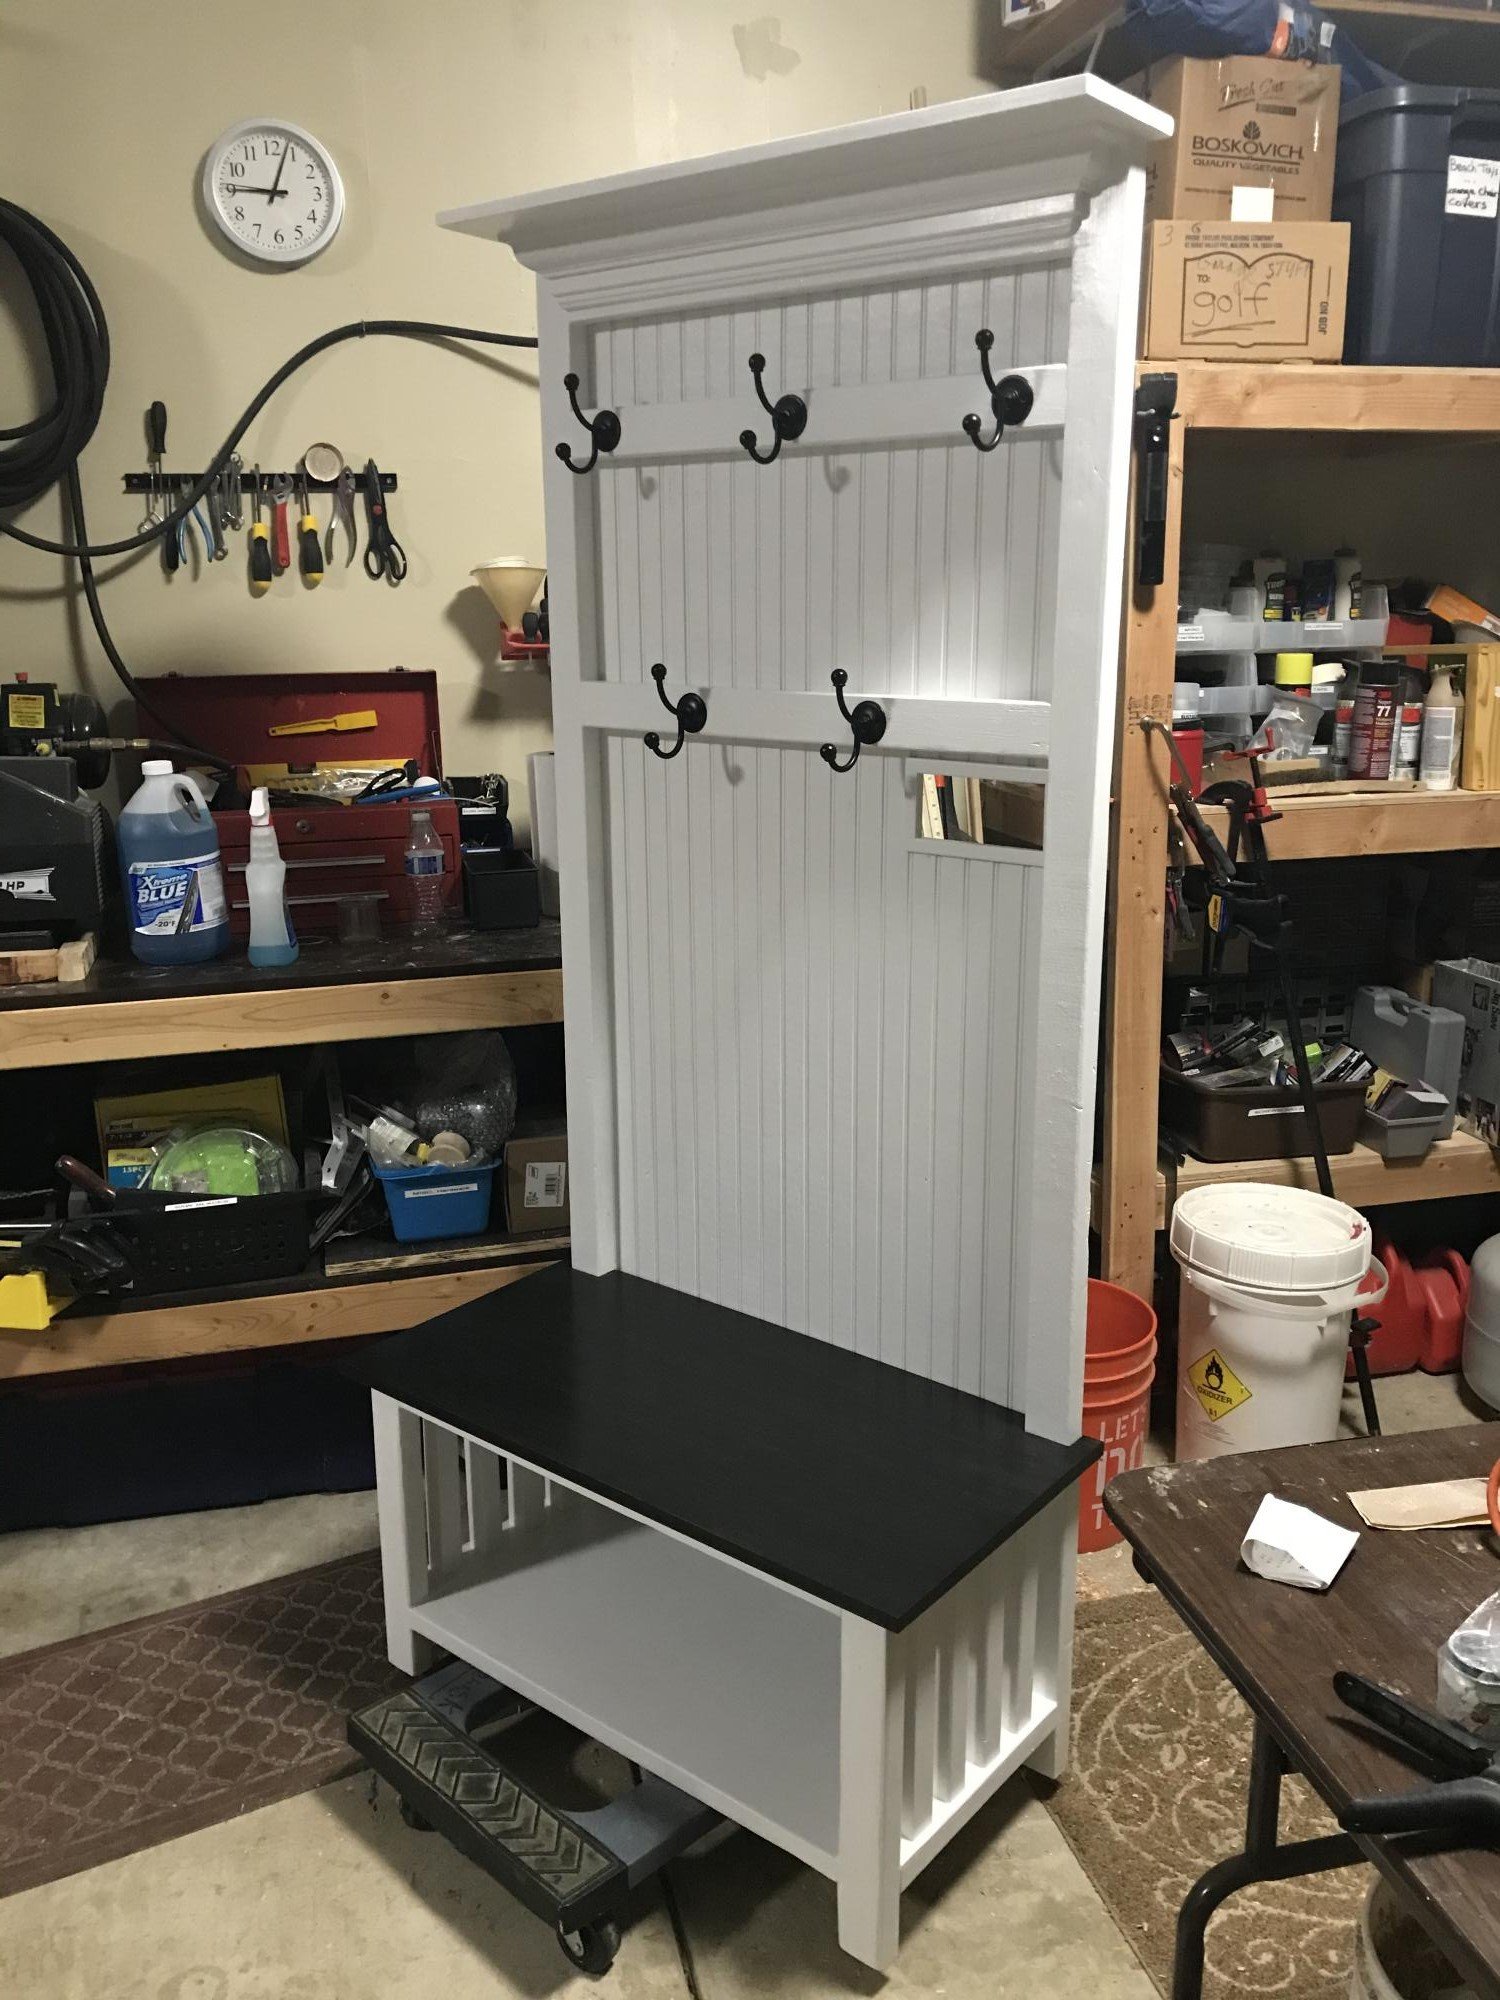
Thanks for the inspiration Ana! My daughter wanted a custom size hall tree and bench with a light switch cut out - basically your plans with an ebony stained poplar seat and bead board backing (to match her wainscoting). I had a little crown left from another project so I added a little detail to the top shelf.....And a Couple of lower level Hooks for the grandkids coats! She loved it and it was fun to make!! Mike in Columbus, OH
Built from Plan(s)
Estimated Cost
$98.00
Estimated Time Investment
Weekend Project (10-20 Hours)
Finish Used
Ebony varathane stain(seat) with varathane ultimate polyurethane oil based semi gloss Interior finish on seat(4coats)
Kilz2 primer/stain blocker interior white
Finish paint Behr marquee Semi gloss custom white to match room color.
Seat sanded to 400 all other areas to 220 before paint. Between seat coats of ur at hand used 0000 steal wool lightly with soapy water mixture.
Kilz2 primer/stain blocker interior white
Finish paint Behr marquee Semi gloss custom white to match room color.
Seat sanded to 400 all other areas to 220 before paint. Between seat coats of ur at hand used 0000 steal wool lightly with soapy water mixture.
Recommended Skill Level
Intermediate
Rolling Storage Cart
Home Depot Rolling storage cart for our Berkey!
Leon
Built from Plan(s)
Entryway Bench/Shoe Shelf
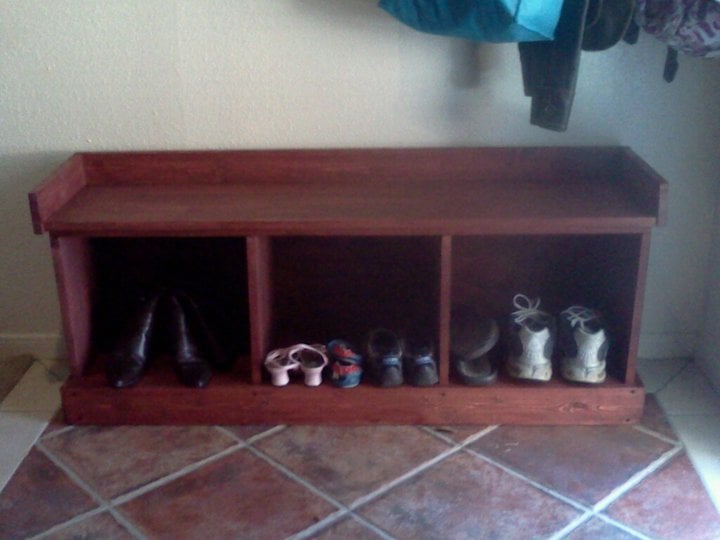
This was the second project I've ever built. It was an easy project.
Built from Plan(s)
Estimated Time Investment
Afternoon Project (3-6 Hours)
Finish Used
Stain, no polyurethane
Recommended Skill Level
Beginner
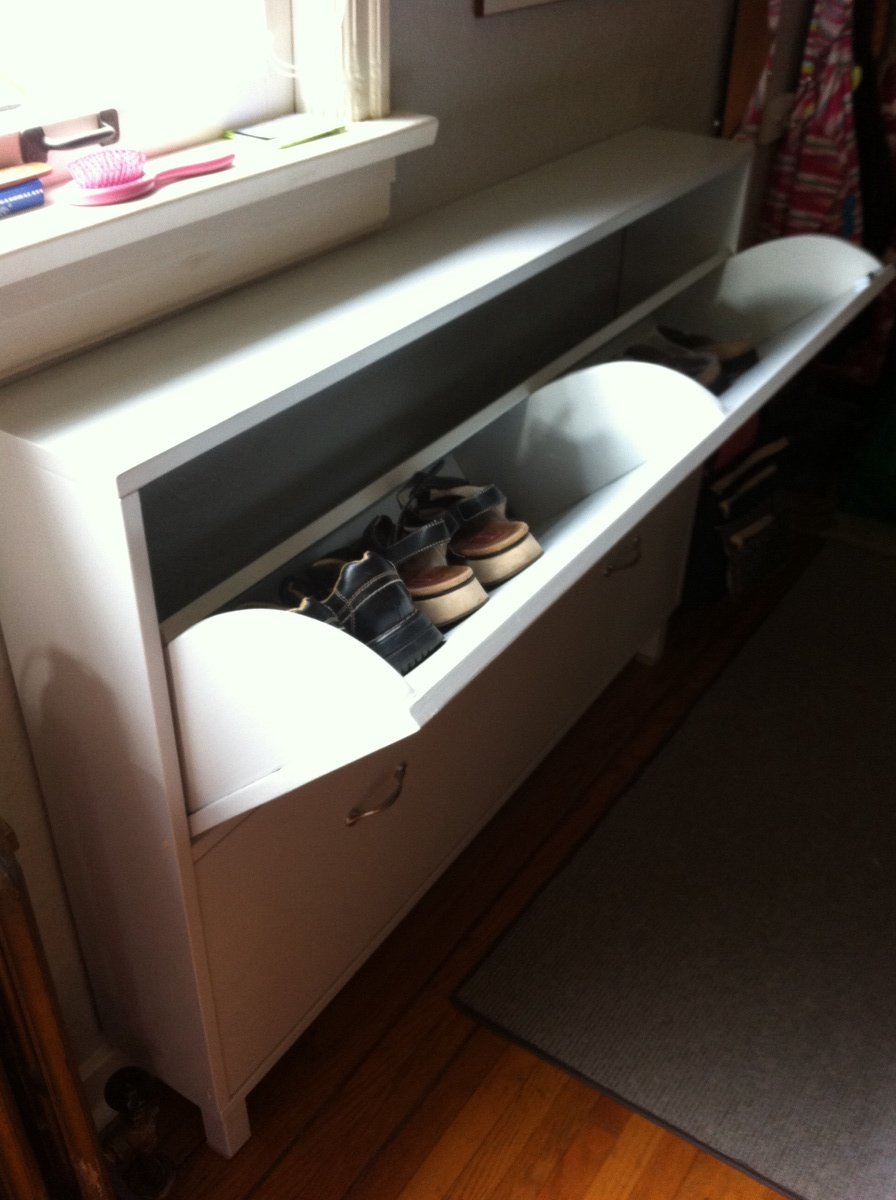
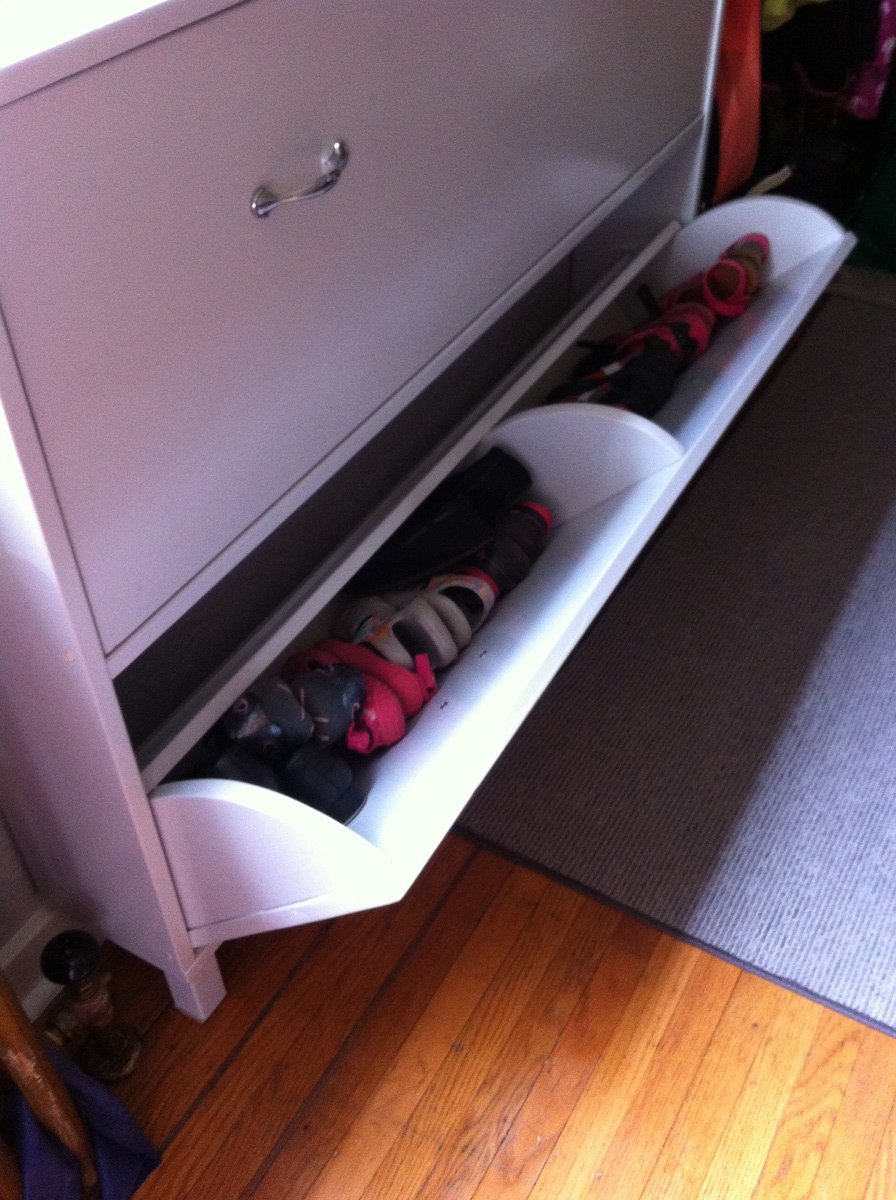
First build--shoe cabinet!!
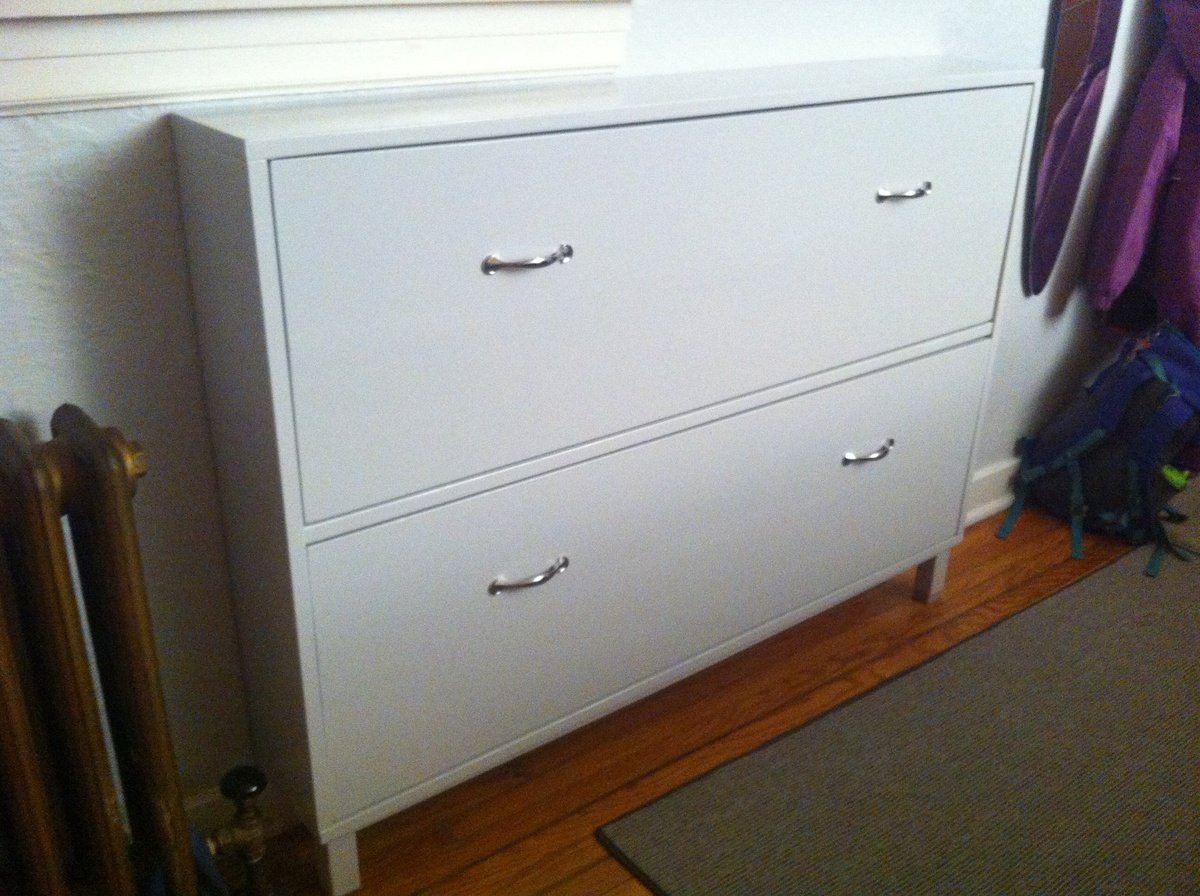
Had a horribly messy front entrance so really needed this shoe cabinet. It's dimensions suited my space better than an Ikea one, and accommodated more shoes. This being my first project, I am glad I started with this instead of a loft bed, since I made alot of mistakes (& corrections) along the way. Although some of the problems occurred because of pieces that ended up being convex. I chose to fill in the gap between the two boards on the front of each bin. It worked out really well.
Really love the Kreg Jig! So worth the investment.
Could not figure out how to properly use magnet catches. Did apply one to one side of the top drawer but it doesn't work too well--pulls the bin too far in.
Built from Plan(s)
Estimated Cost
$80
Estimated Time Investment
Week Long Project (20 Hours or More)
Finish Used
Used latex primer (which I hated because it behaved like an alkyd & destroyed a couple of brushes) & high gloss paint for high durability.
Recommended Skill Level
Beginner
Farm Table, Bench and Chairs
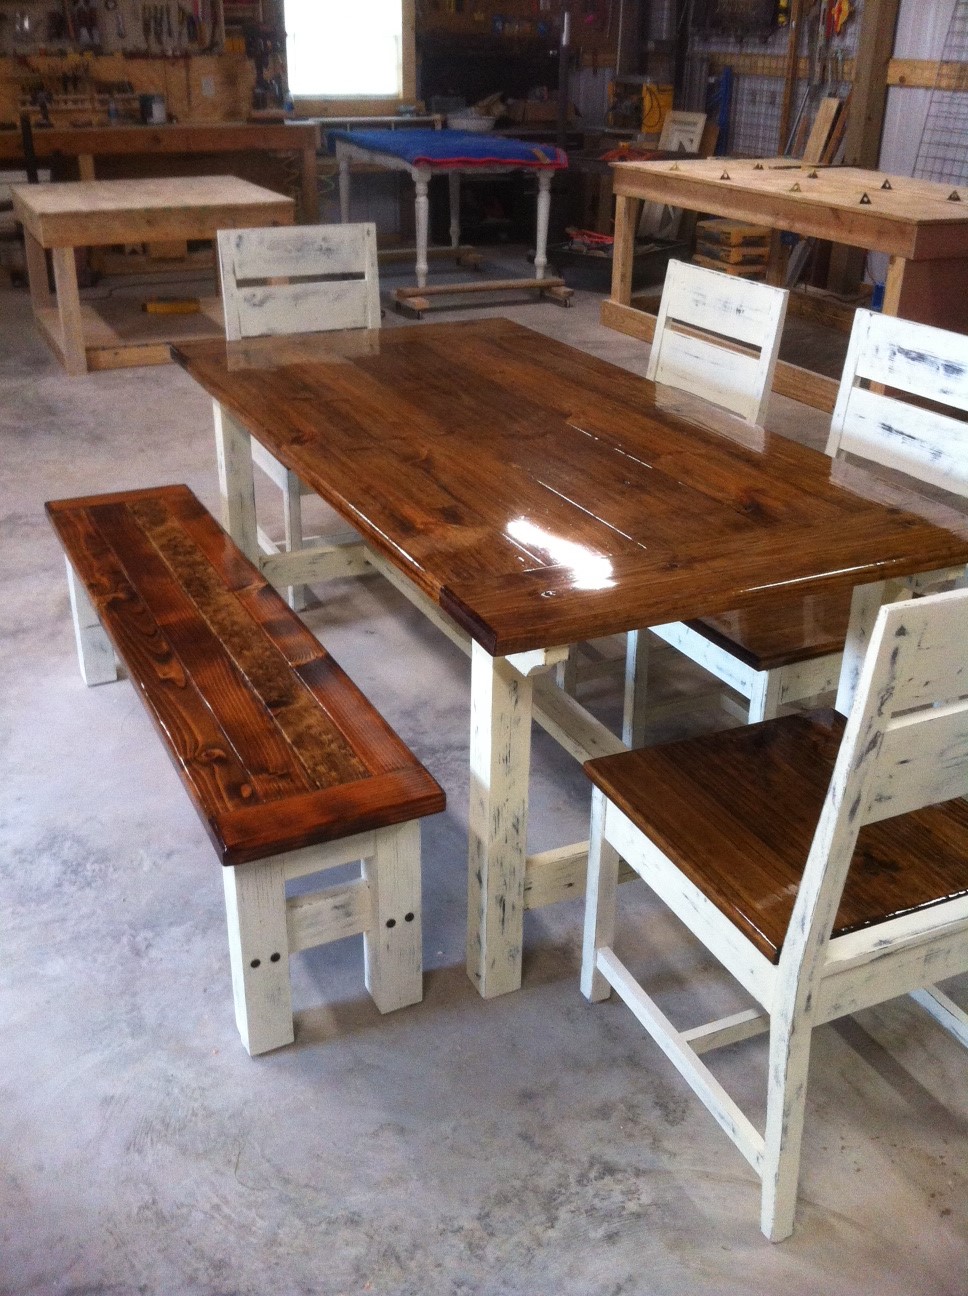
Easy to follow plans, made the table, Bench and four chairs as a set. I used valspar new black paint in a flat and top coated with valspar Woodrow Wilson linen. Hand sanded for the distressed look. I jointed the edges of the table top, rounded the outside edges and stained with minwax provincial oil base stain then top coated with six coats of minwax helmsman high gloss poly.
Estimated Time Investment
Week Long Project (20 Hours or More)
Recommended Skill Level
Intermediate
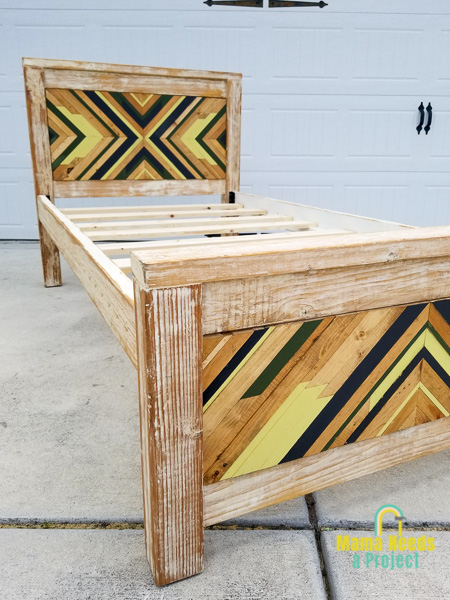
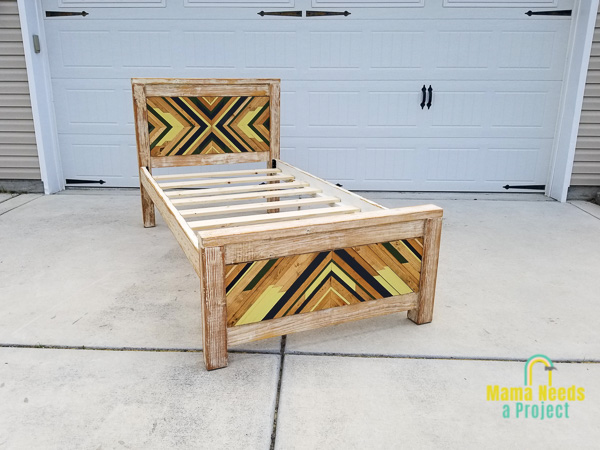
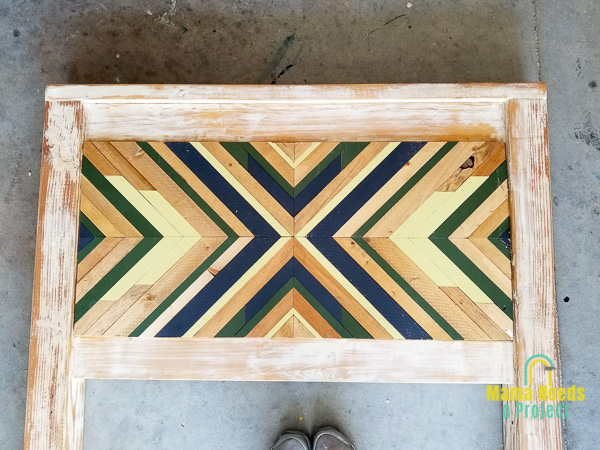
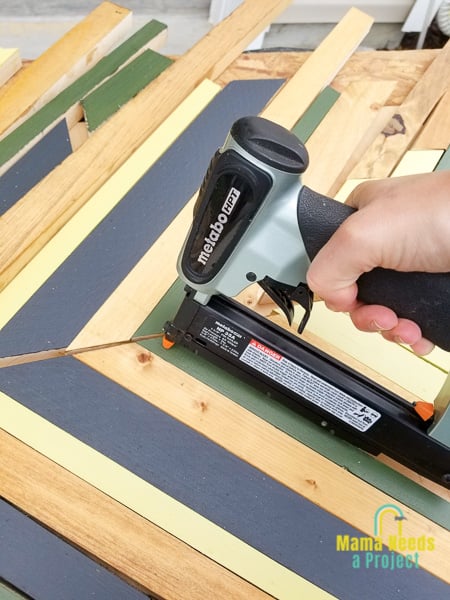
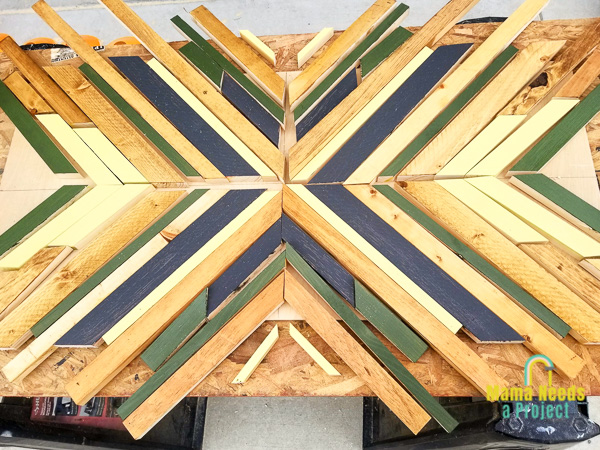
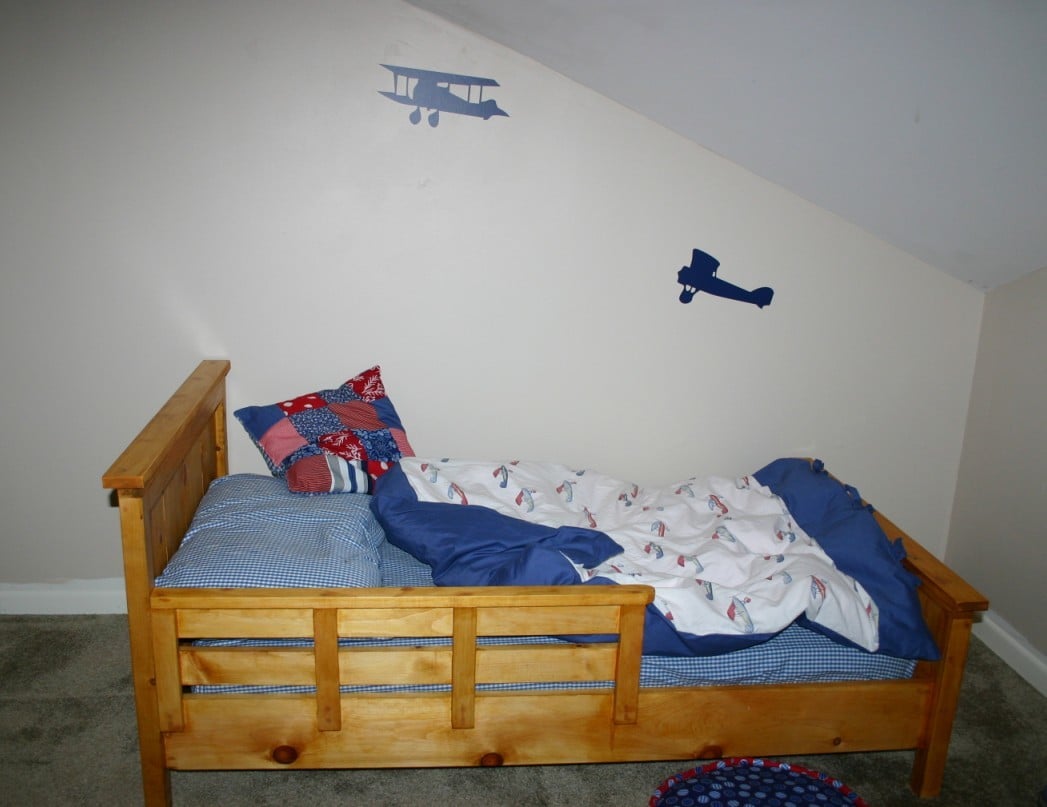
Twin Bed Frame with Geometric Art
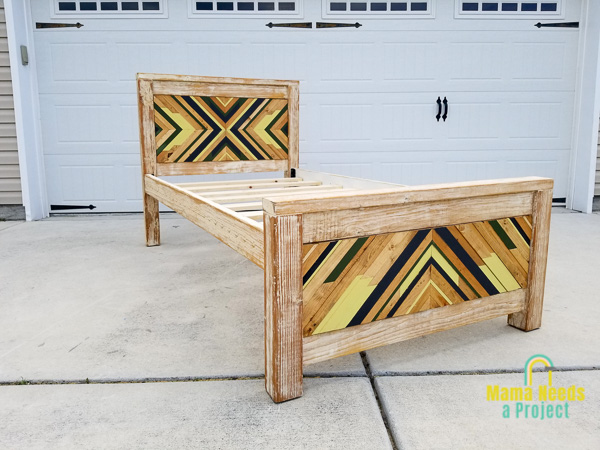
I was given this bed frame by a neighbor whose children had outgrown it and wanted to make a few changes before putting it in my son's room. I took the original frame (built from Ana's Farmhouse Bed woodworking plans) and stripped most of the existing finish. Then, I stained over the stripped paint to give it the distressed look. Next I created the DIY geometric wood art to fit in both the headboard and the footboard. To do this I cut down scrap 1" thick lumber to varying widths and arranged it into a geometric pattern. This was such a fun project and I absolutely LOVE how it turned out! I wrote out every step of the process in this blog post: https://mamaneedsaproject.com/diy-twin-bed-frame-with-geometric-wood-ar… Thanks!
Built from Plan(s)
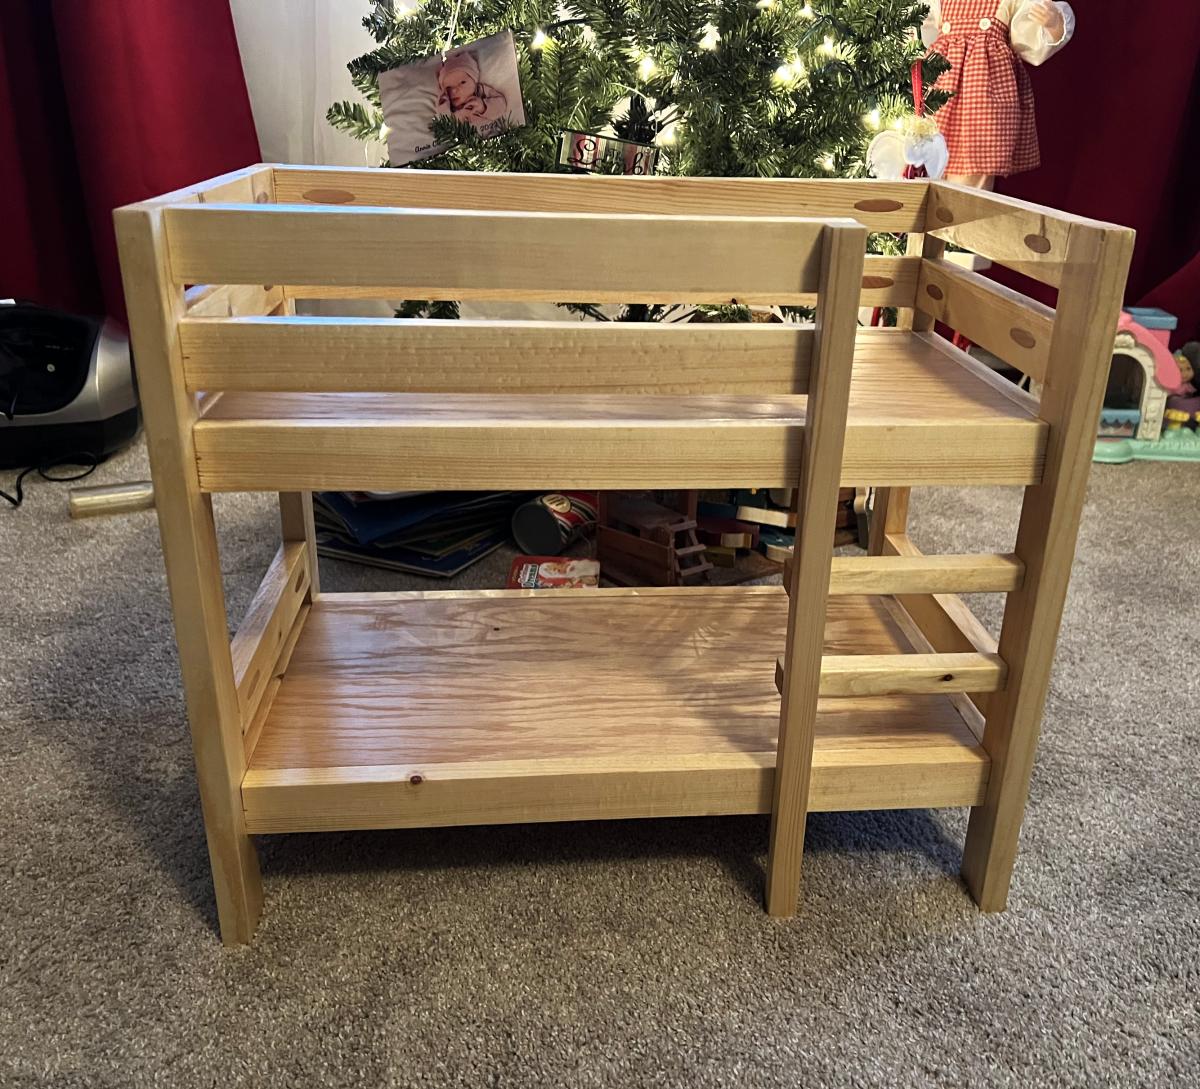
Doll Bunk Beds for the Grands!
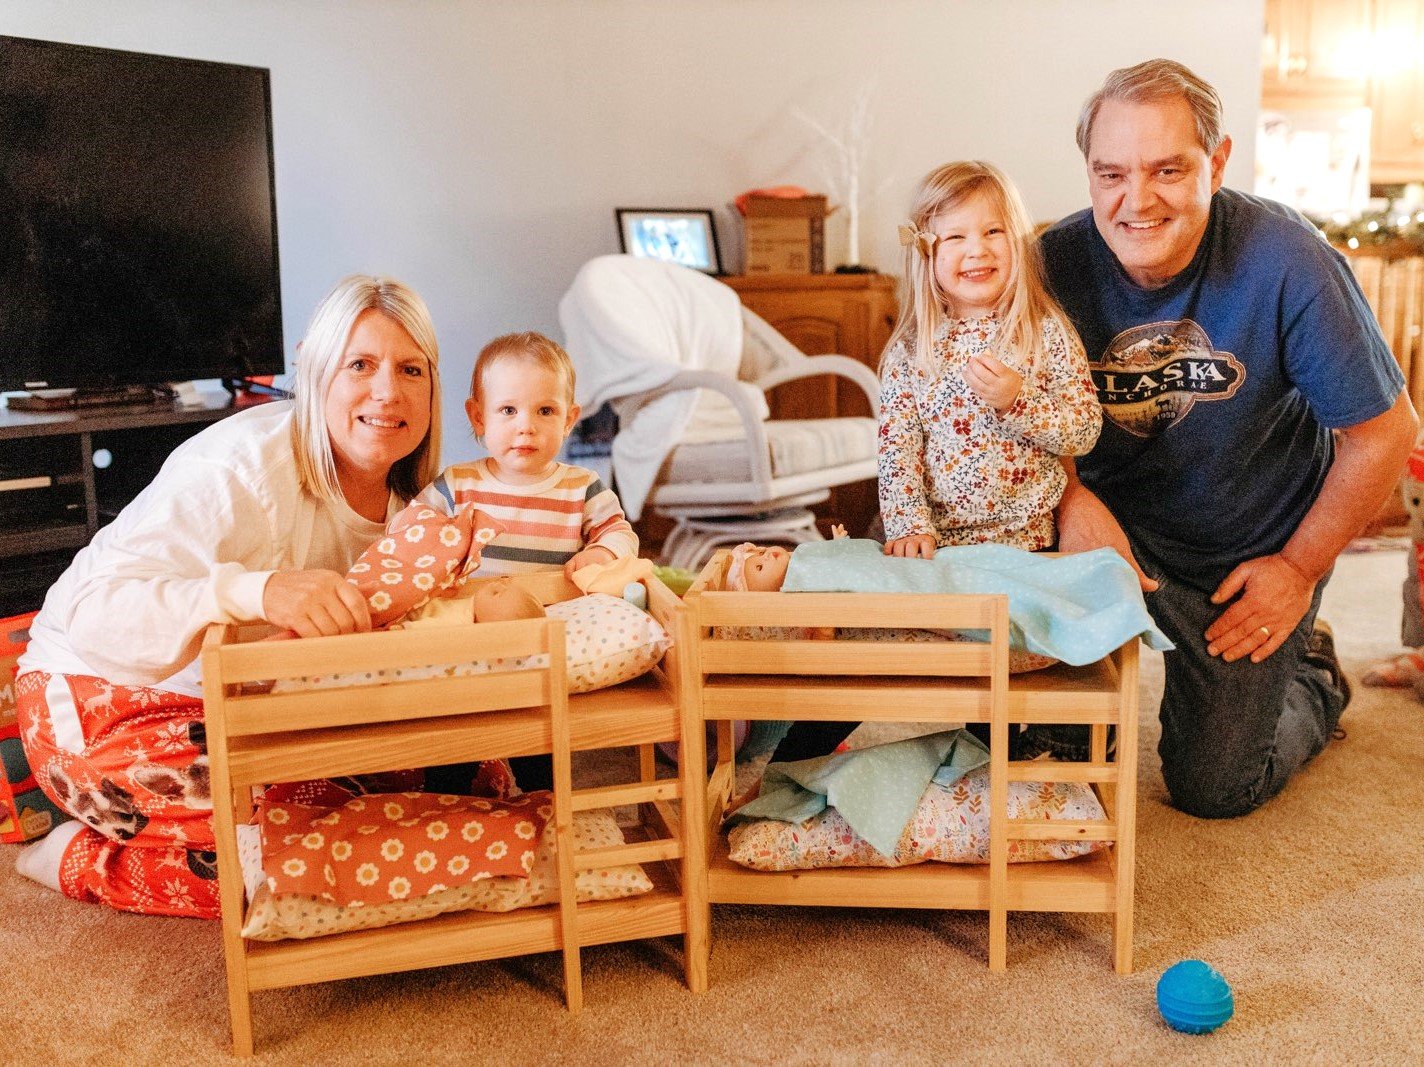
My husband made this doll bunkbeds for our granddaughters for Christmas! They loved them!!
Built from Plan(s)
Farmhouse Nightstand
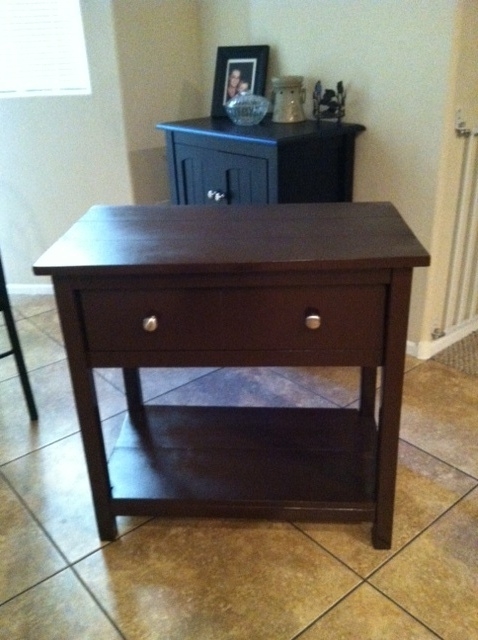
My husband and I put together this nightstand together over a period of a week. We have a curious and energetic 3 year old boy so had we been able to stay on project we could have finished over the weekend. It was our first time doing any build that had a drawer and our first time doing pocket holes. Our bedroom now has the farmhouse queen bed, a refinished matching dresser and finally the farmhouse nightstand. It was a learning experience but we are very proud of the outcome. Thanks Ana! It's a very rewarding experience to be able to do something like this. I wouldn't have started any of this without your inspiration. Looking forward to many more builds :)
Estimated Cost
$60
Estimated Time Investment
Weekend Project (10-20 Hours)
Finish Used
Semi gloss Espresso
Recommended Skill Level
Beginner
3rd and 4th Projects - Modern Farmhouse Table w/Benches
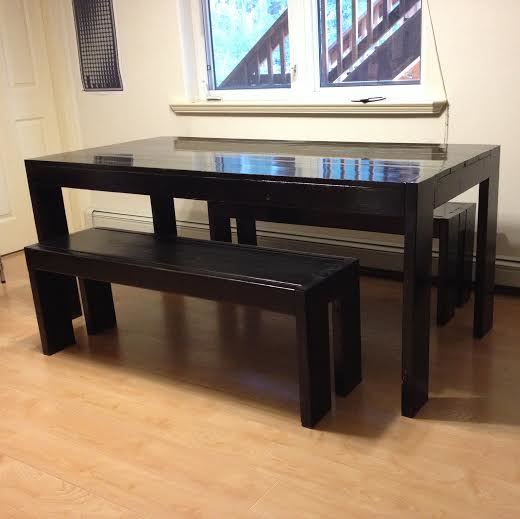
I worked on the benches and table for three weekends. All are finished in Ebony by Rustoleum. I used the non-Kreg plans for the benches and the updated Kreg jig plans for the table. I spent a lot of time at Home Depot selecting straight, flat boards for the table top. I literally dug through all of their 1 x 6's and laid them out on the floor in the store to find a good fit. I finished the benches with three coats of Minwax semi-gloss, and I finished the table with three coats of Minwax gloss. I prefer the higher gloss so I may put a coat of gloss on each bench so they all match. I also put some heavy duty furniture felt on all of the legs so they slide easily across the wood floor without scratching! I've been using a sad hand-me-down table and folding chairs for the past couple of years. I couldn't be more pleased with how this turned out.
I live in Alaska and the lumber for the benches cost about $35. The lumber for the table cost $65. I spent about another $100 on wood conditioner, stain, polyurethane, screws, sand paper and a brush. So all total, I have about $200 invested.
Built from Plan(s)
Estimated Time Investment
Week Long Project (20 Hours or More)
Finish Used
Rustoleum Ebony
Minwax semi-gloss (benches) and gloss (table)
Minwax semi-gloss (benches) and gloss (table)
Recommended Skill Level
Beginner
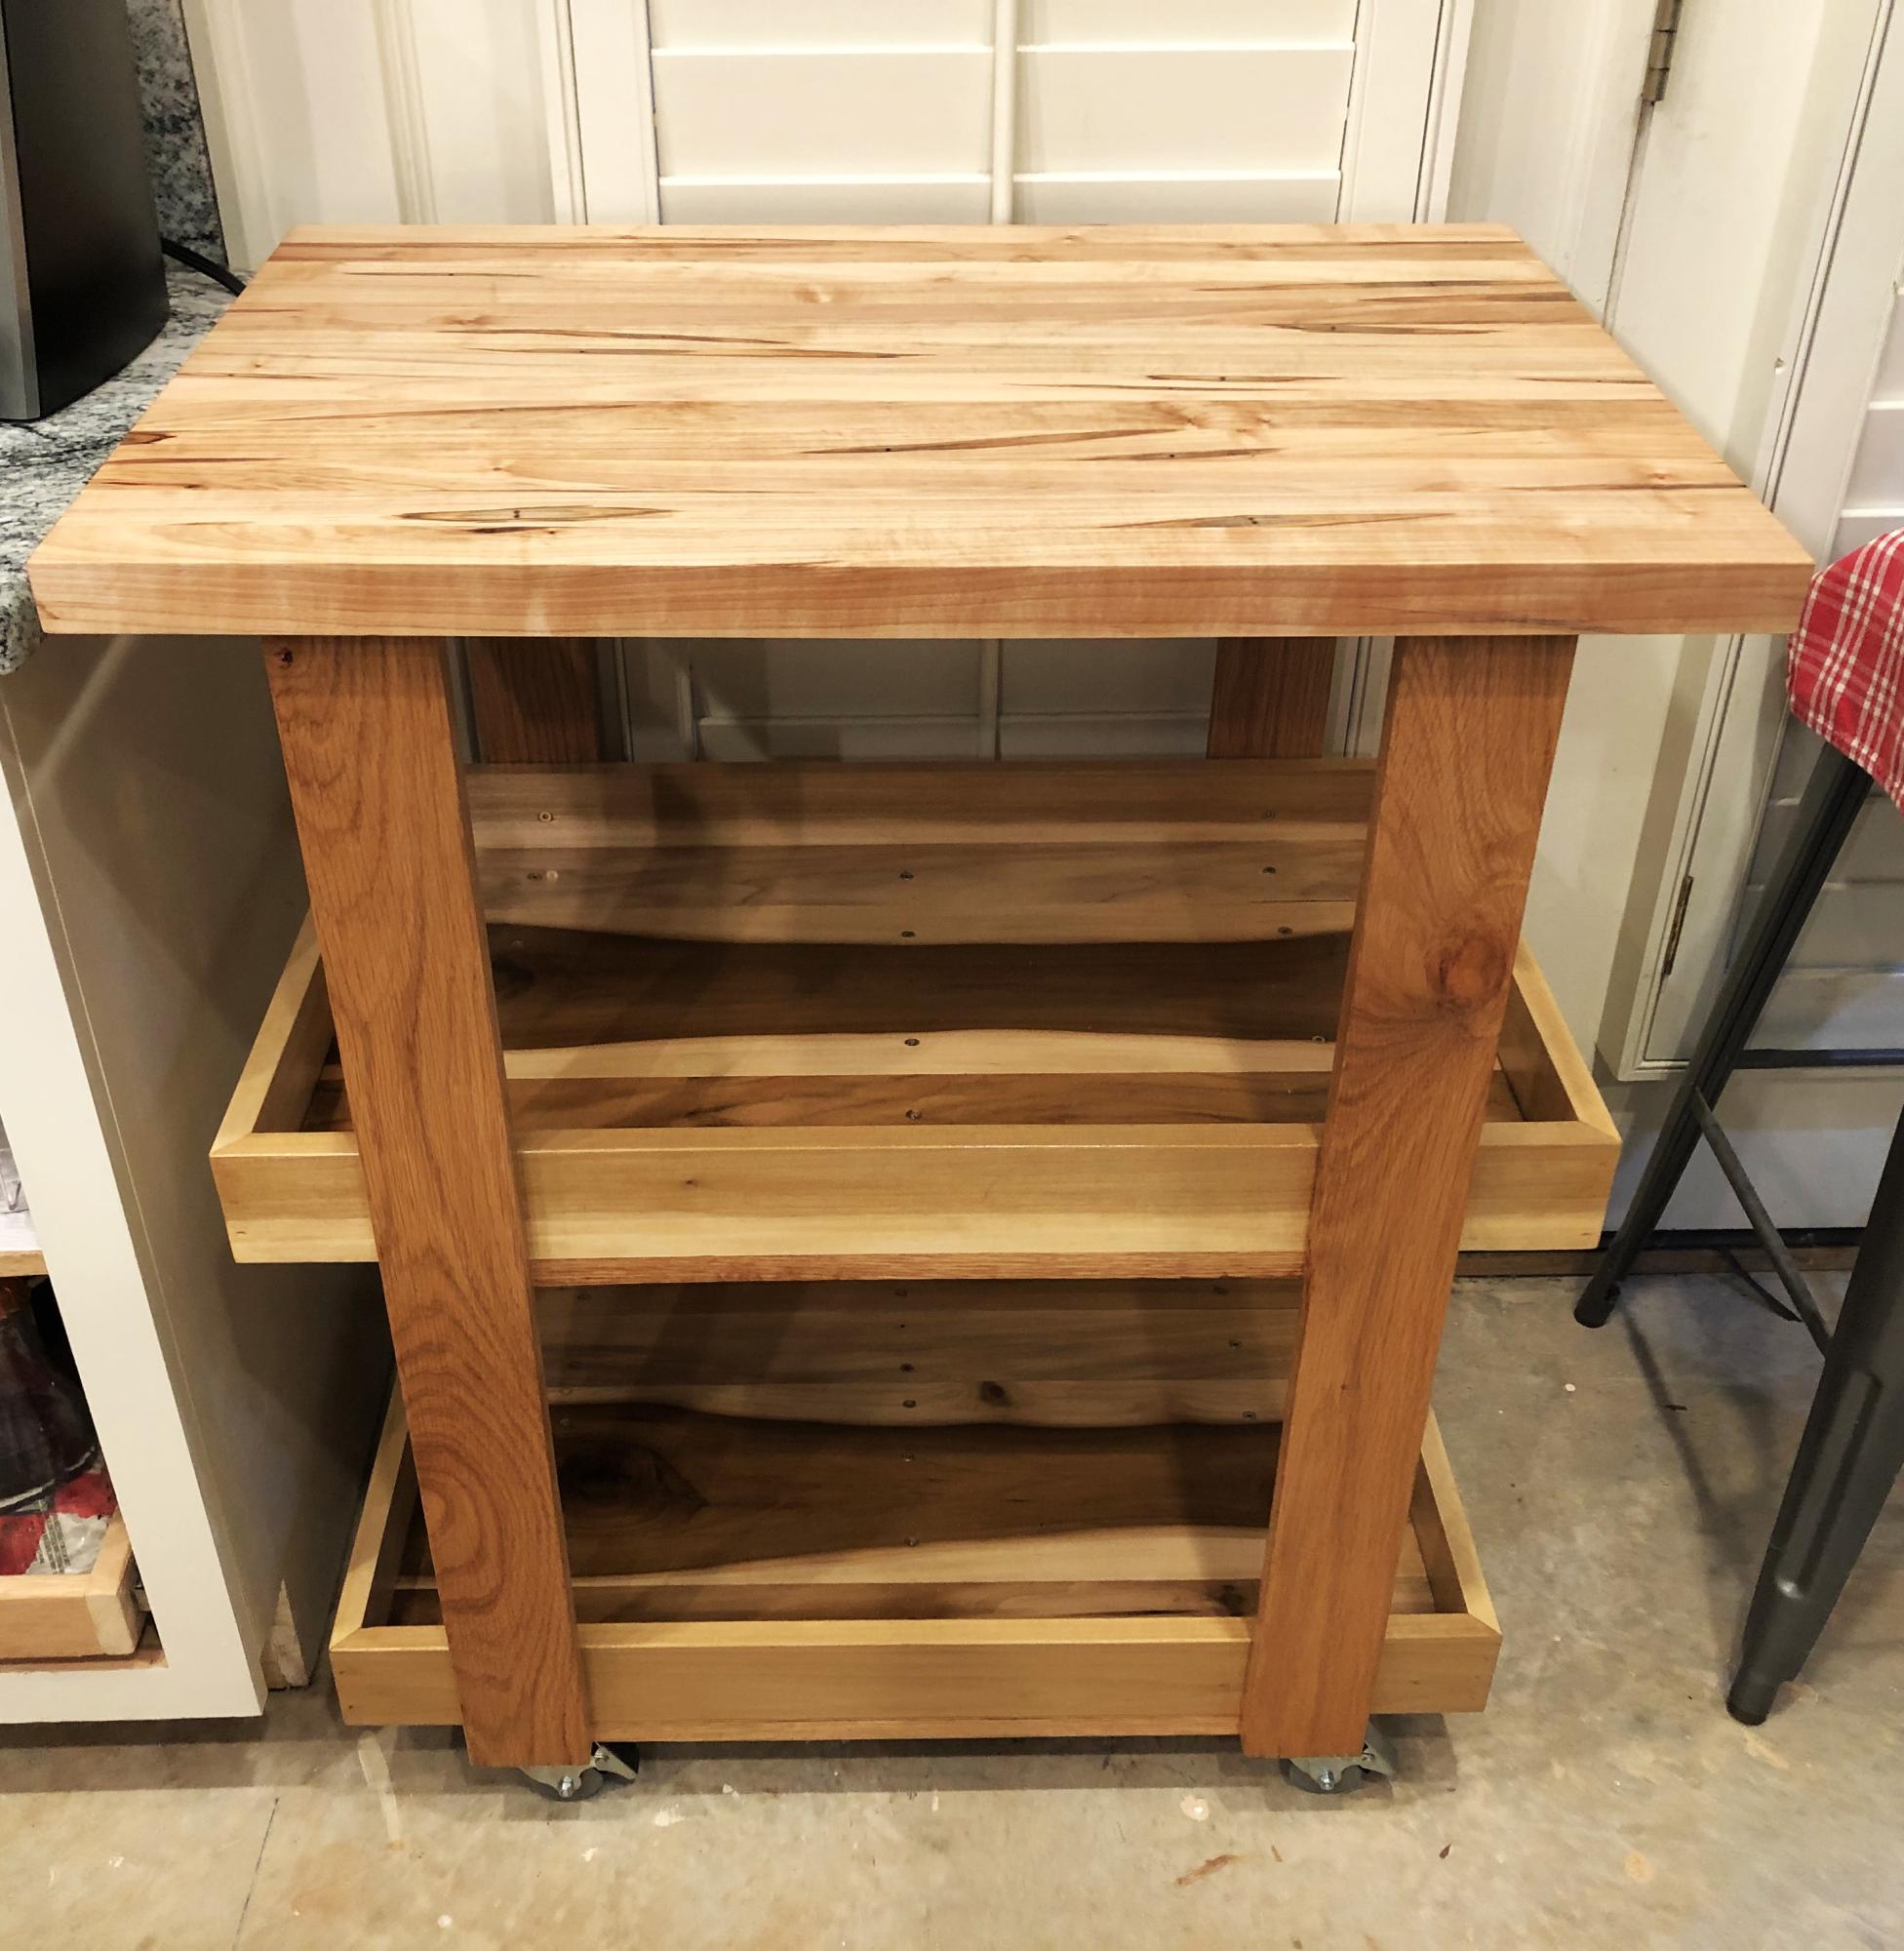
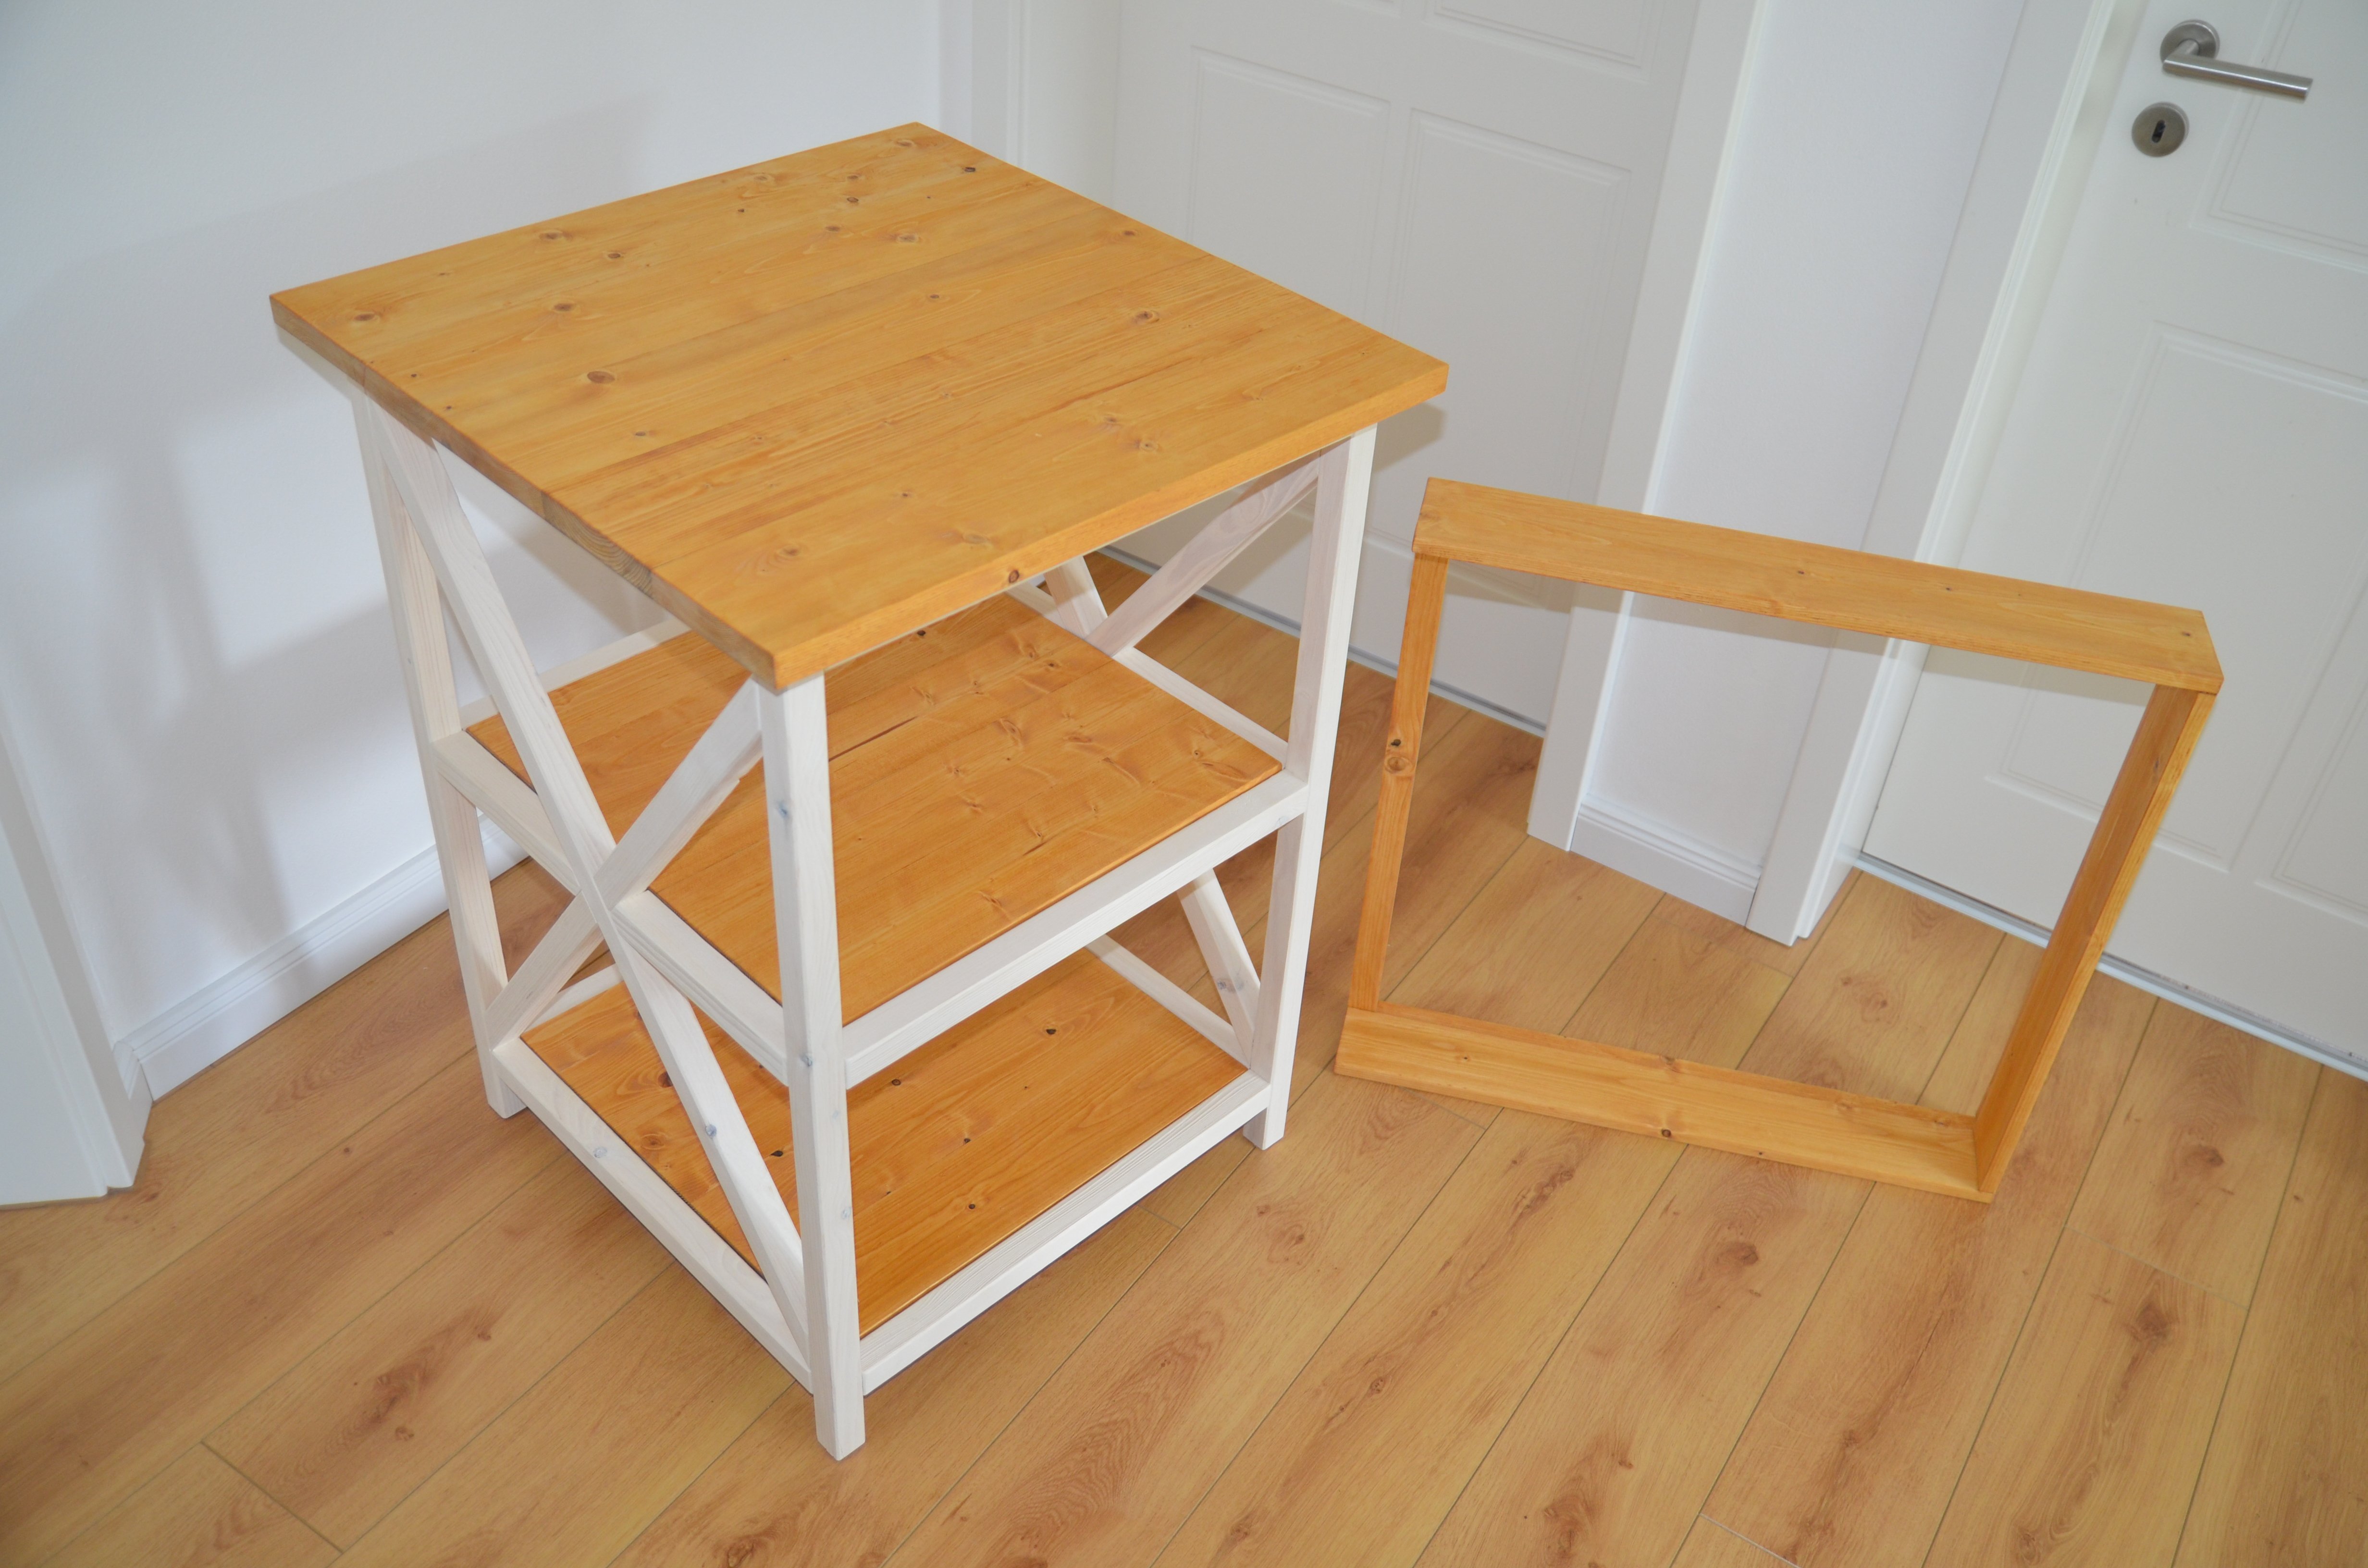
Baby Change / Kitchen Island
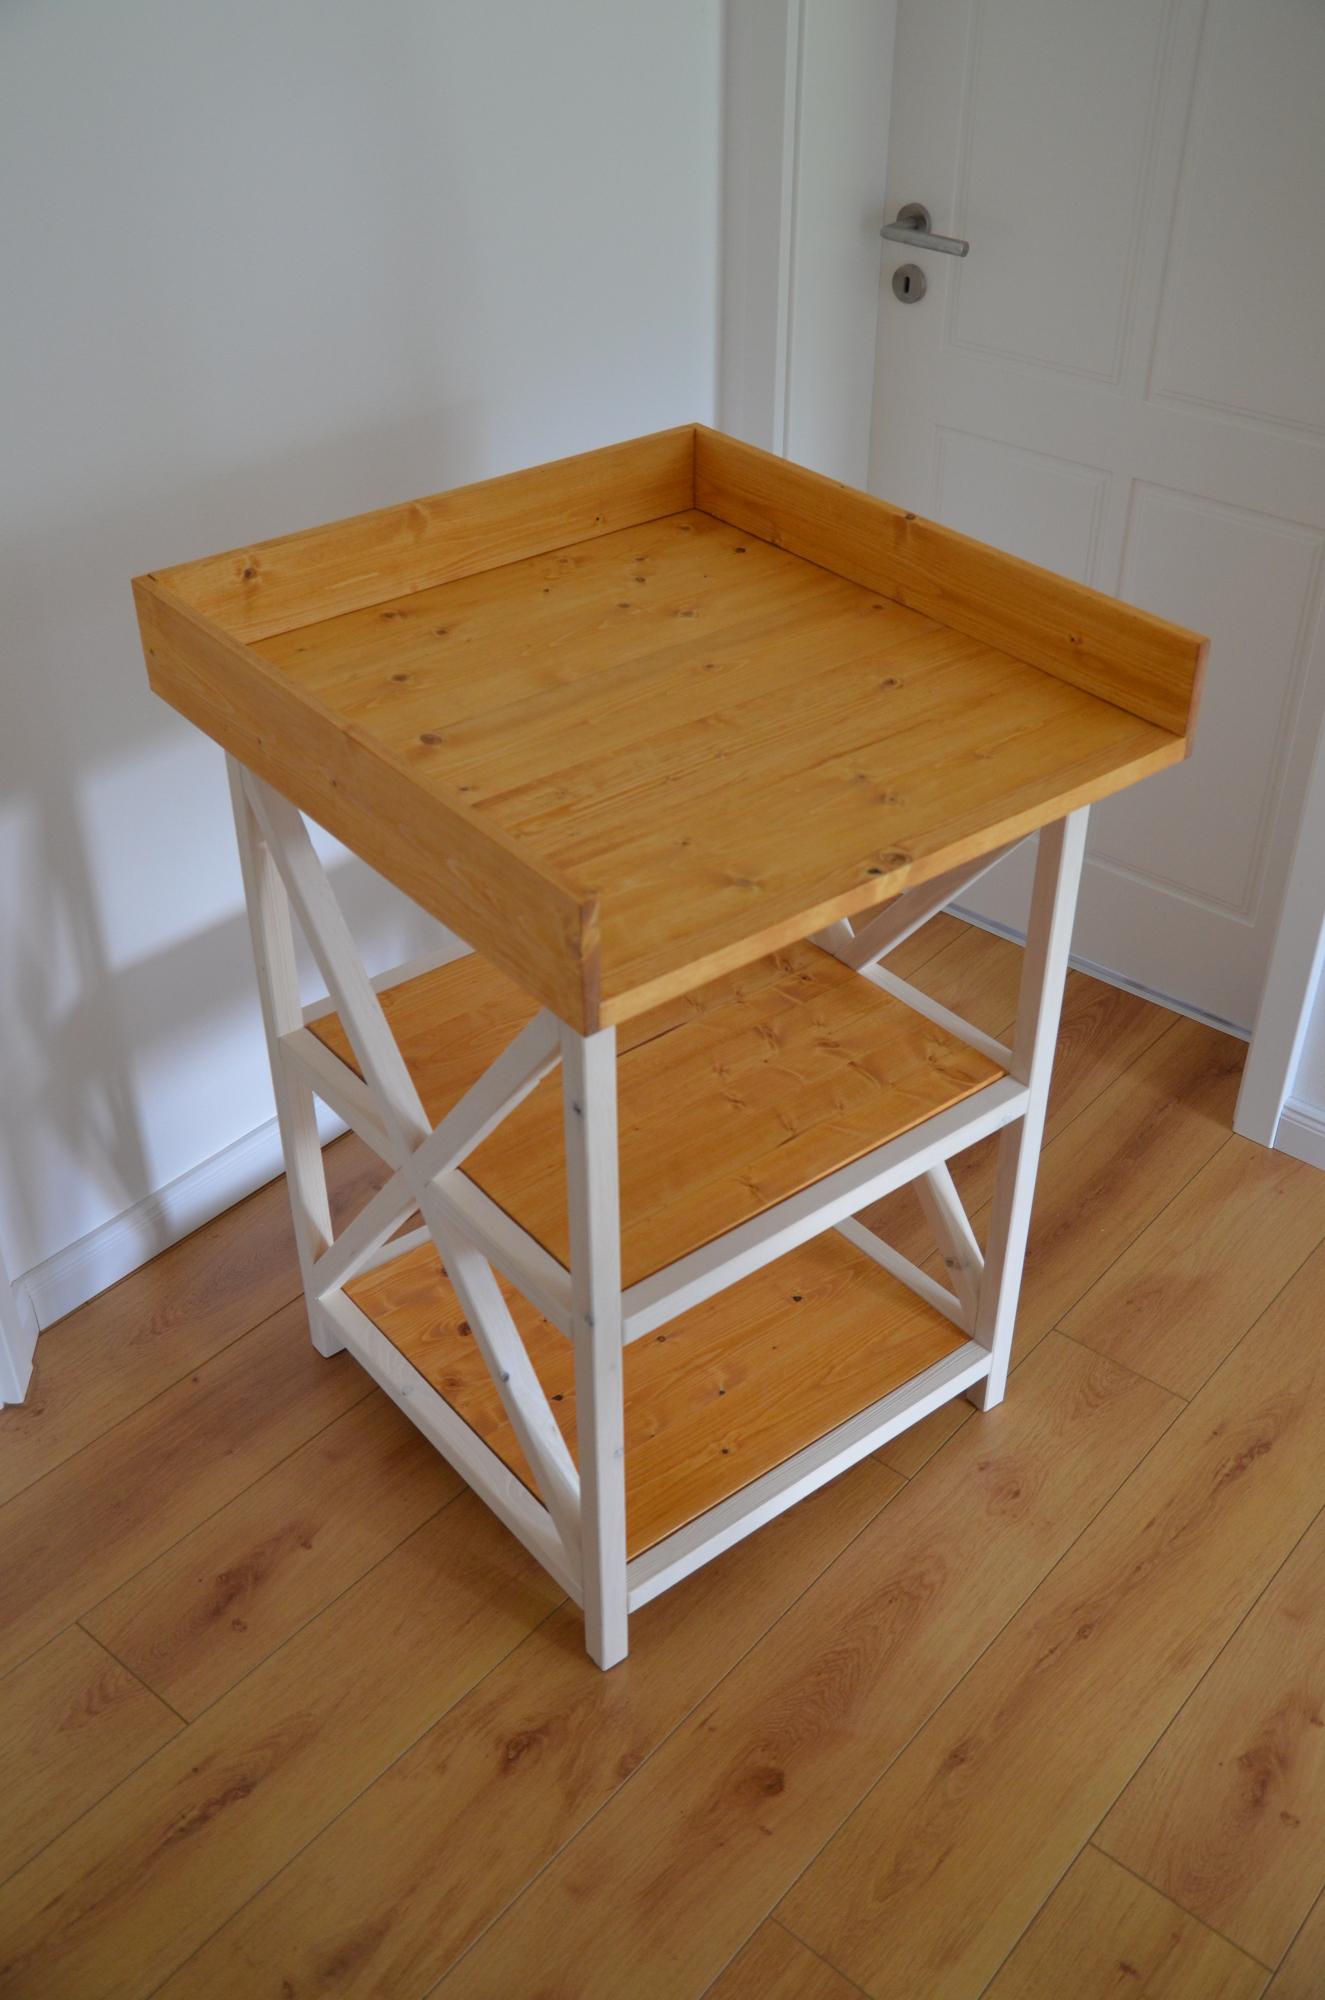
Made this baby change for our newborn. Later it can be used as kitchen island or grill table. The top has a removable fence.
Built from Plan(s)
Estimated Cost
70 USD / 60 €
Estimated Time Investment
Weekend Project (10-20 Hours)
Finish Used
Amber linseed oil (Linos Bernstein) for the top and the shelves
White linseed oil (IKEA Behandla) for the frame
White linseed oil (IKEA Behandla) for the frame
Recommended Skill Level
Beginner
Kids Custom DIY Closet
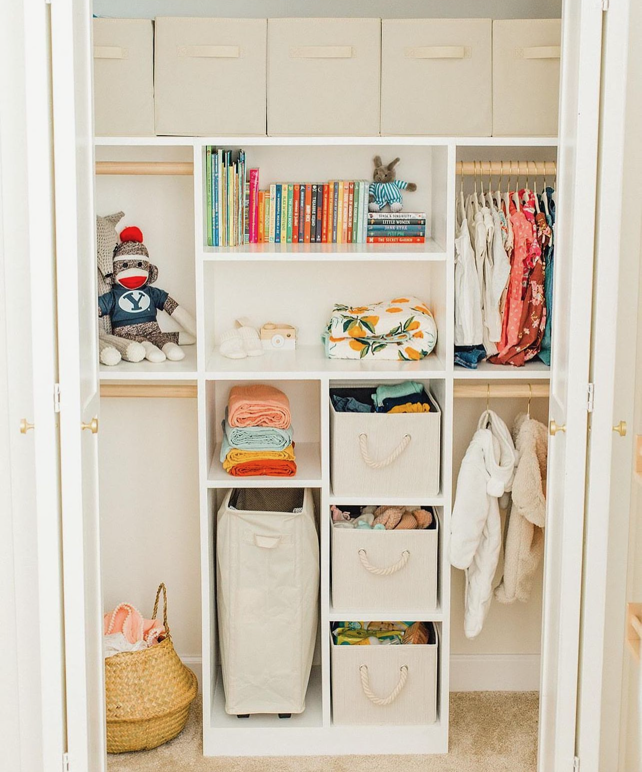
“Just My Size Closet Plan” - Perfect for growing kids and more organization! @thegardnerplace modified the tower to include tucking away the laundry basket, SMART!
Built from Plan(s)
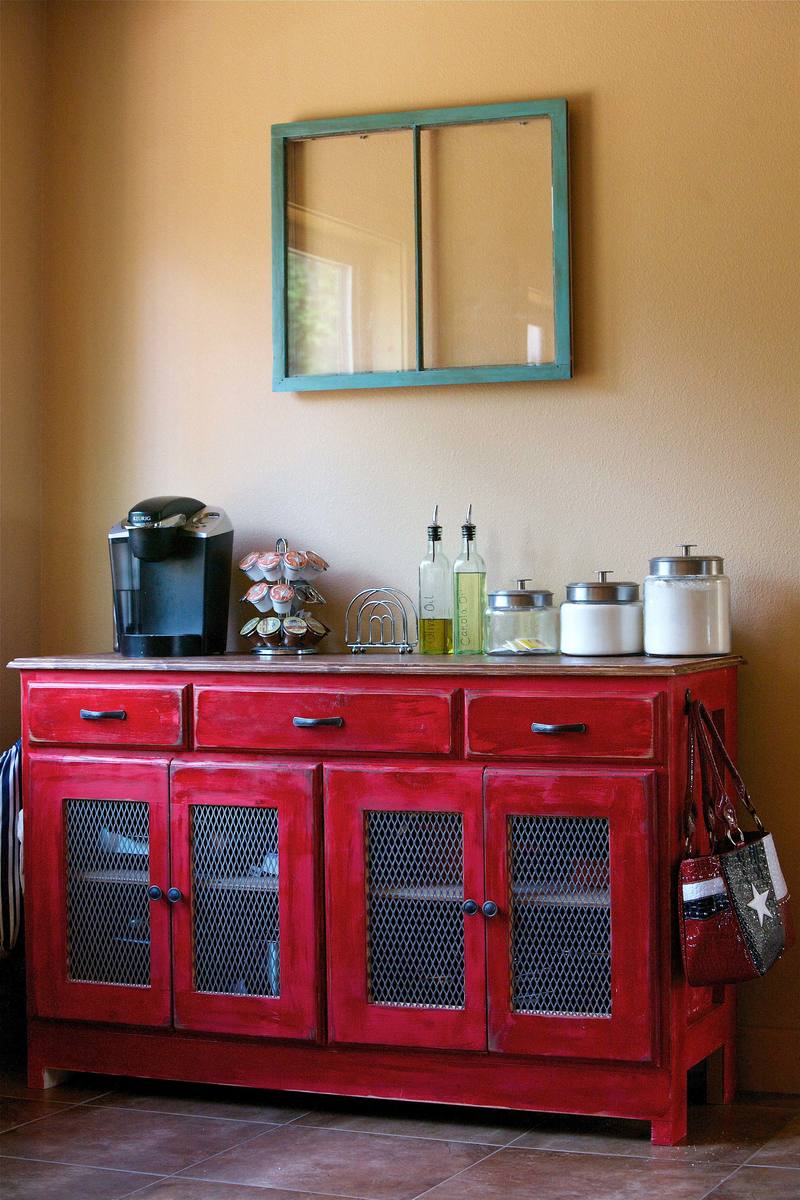
Buffet Table
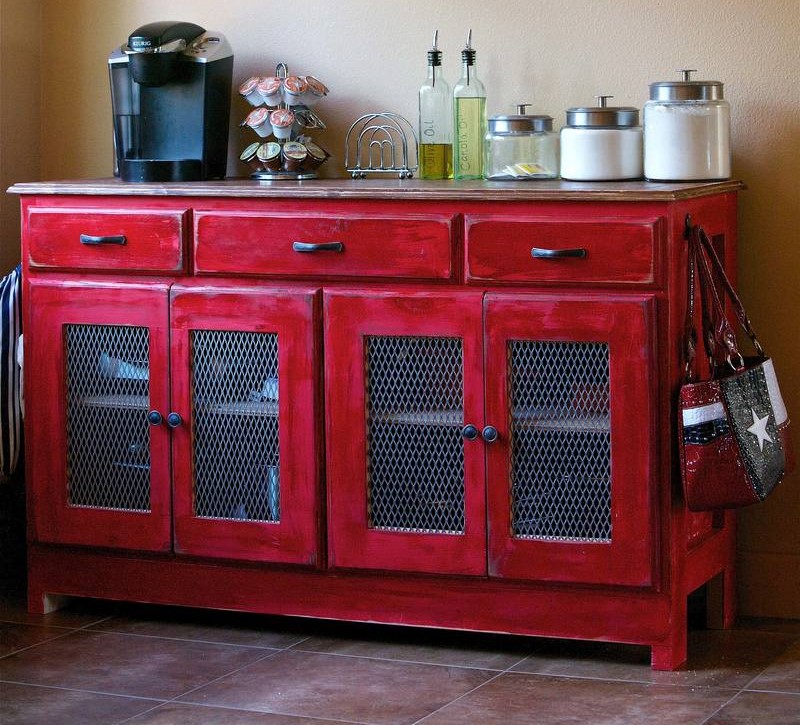
I built this project with a friend and it took me longer than I wanted, only because I'm new to woodworking and don't know hardly anything about it. After what I thought should only take a couple of hours, I finally completed the Buffet Table for my wife. I thought I was going to complete the whole thing under $250 but I soon learned that things are little more expensive in the small town of Delta Junction Alaska. I think my total cost was $450 but it was well worth it to complete this and finally my wife can put it to some good use.
Built from Plan(s)
Estimated Cost
$450
Estimated Time Investment
Week Long Project (20 Hours or More)
Finish Used
Flat red paint and then blotched a minwax stain on it.
Recommended Skill Level
Beginner
Comments
Mon, 09/16/2013 - 18:26
I'd love to build this buffet
I'd love to build this buffet table for my house. Could you direct me to some plans you used to build this? Thanks!
Fri, 10/16/2015 - 14:55
Plans?
Any chance you have plans to make this? I see someone else has something similar to this and I love the style and everything about it, but I don't know how to make plans. Could you please contact me with the plans if you have them? I would LOVE them. Thanks so much.
[email protected] (if you need my e-mail address to send them to me)
Thu, 03/24/2016 - 07:34
Plans
I too would love to build this for my wife. Any chance I can get the pland for this piece?
My email is [email protected]
Thanks!!!!
Mon, 07/04/2016 - 06:07
found the plans in pdf file.
was searching to build this too and found the links i copy and pasted from the pdf file
Tags: Buffet Table [4]
Source URL: http://www.ana-white.com/2012/07/buffet-table
Links
[1] http://www.ana-white.com/2012/07/buffet-table
[2] http://www.ana-white.com/users/mmartiinalaska
[3] http://www.ana-white.com/2012/02/free_plans/planked-wood-sideboard [4] http://www.ana-white.com/category/plans/tags/buffet-table
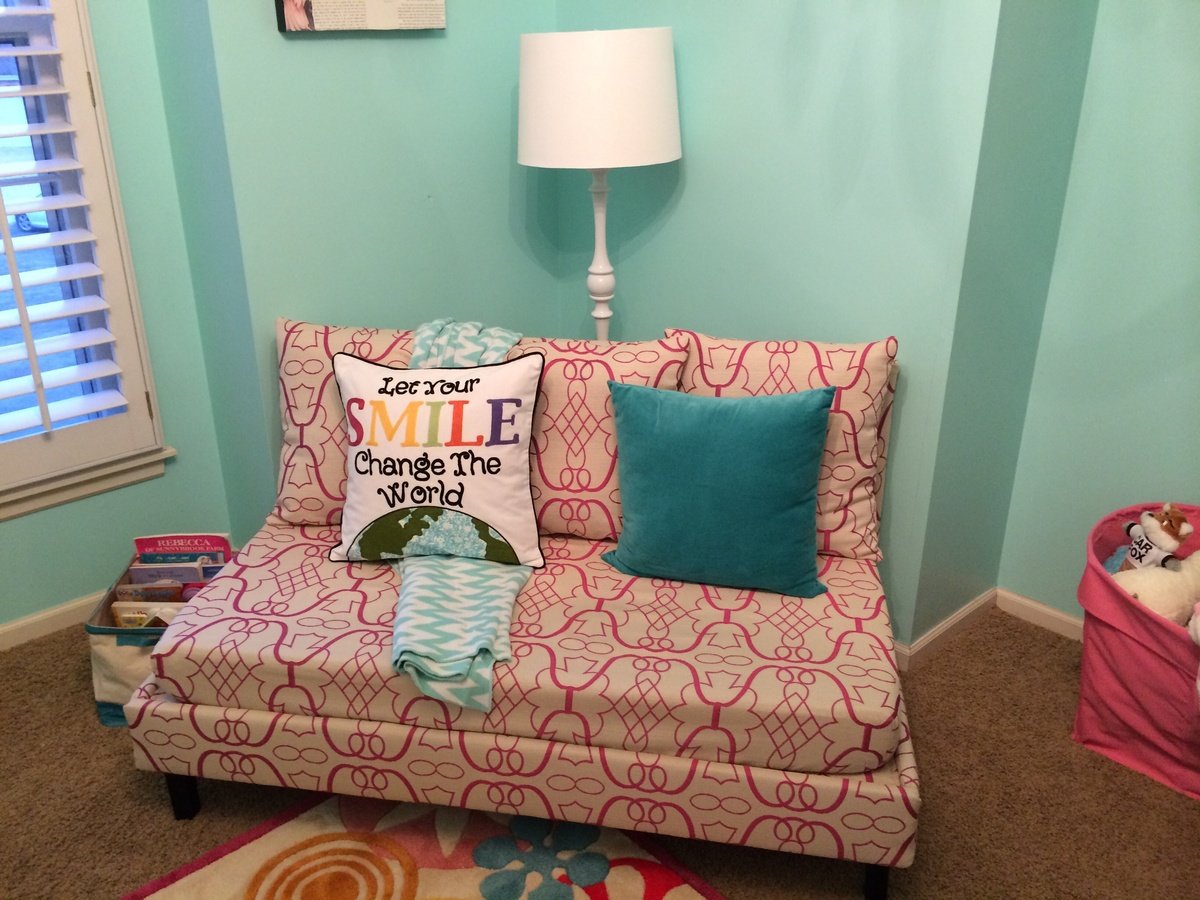
Our Reading Couchette
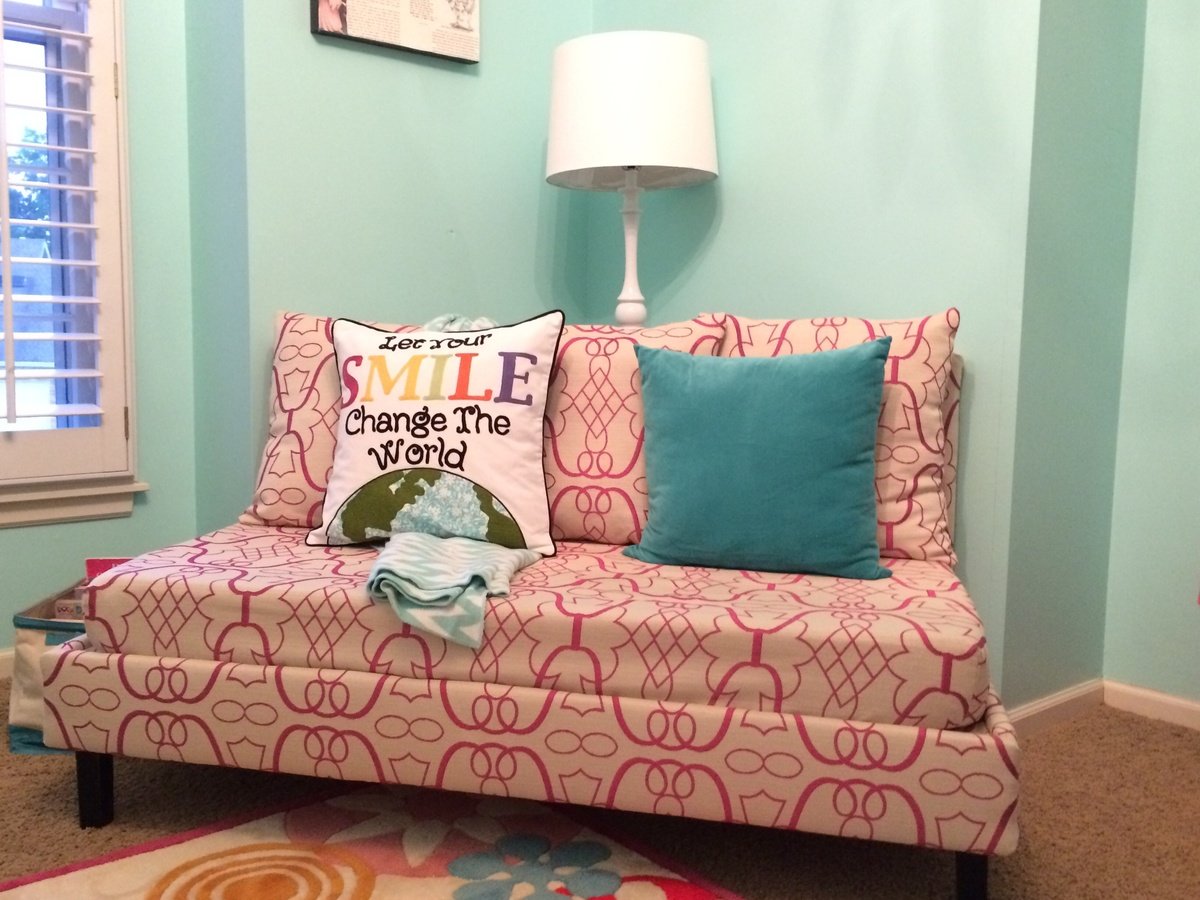
My husband built our daybed and I upholstered it. I made 3 large pillows and the mattress was covered by sewing the fabric as if it were a fitted sheet. This way it can easily be removed for cleaning or swapped out for a regular sheet if our daughter needs to sleep here. We cut the legs off an old table for the front legs of the daybed. We love reading on it and we are so pleaded with how it came out.
Built from Plan(s)
Estimated Cost
$250
Estimated Time Investment
Weekend Project (10-20 Hours)
Finish Used
Black paint and upholstery fabric
Recommended Skill Level
Intermediate
Comments
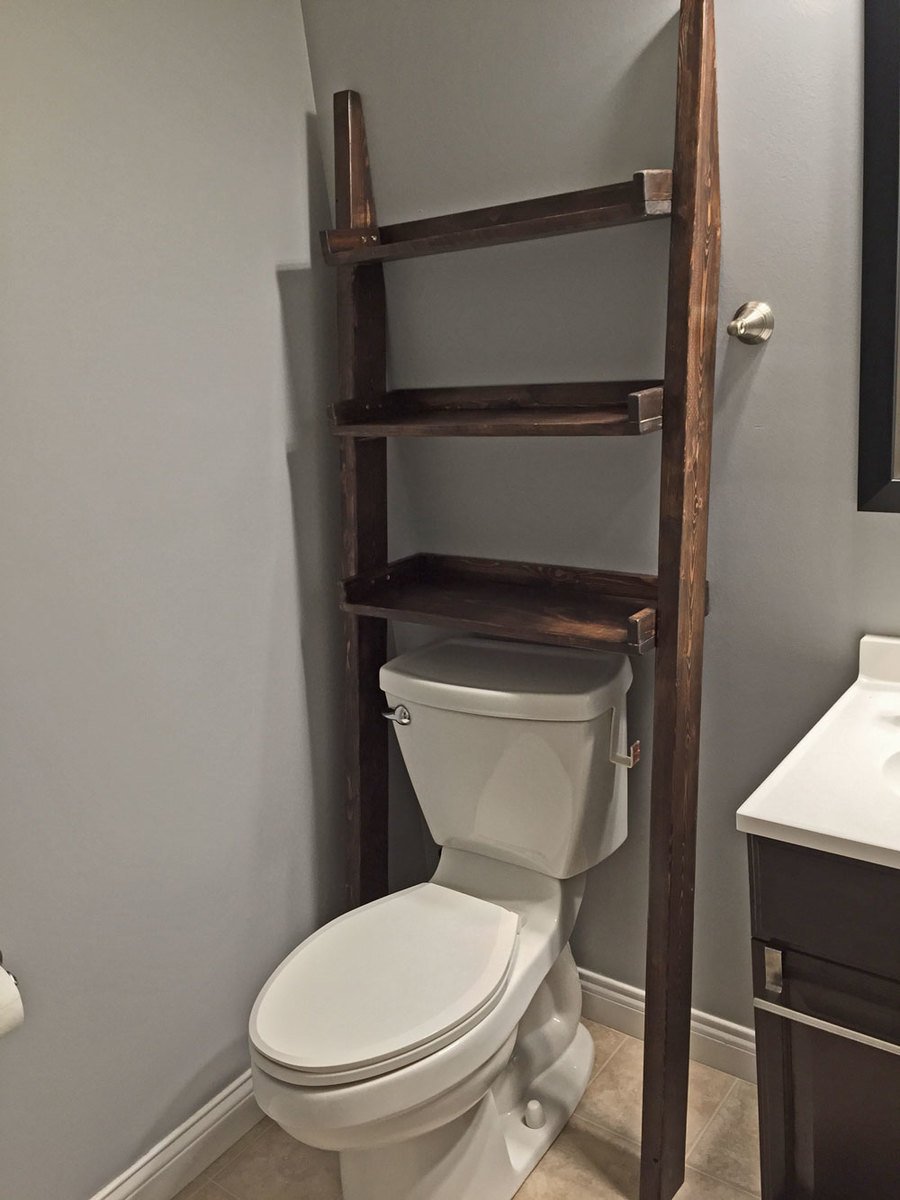
Leaning Bathroom Ladder Shelf
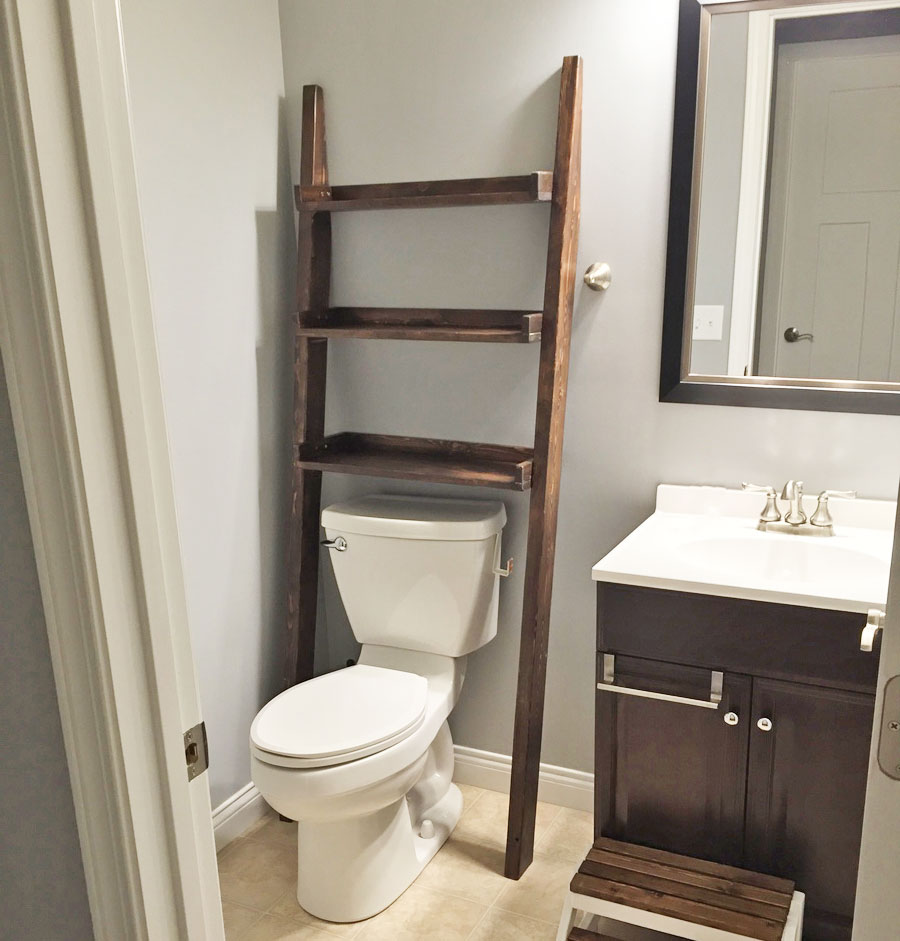
My wife saw your post for this shelf and knew it would be perfect for our half-bathroom. She showed it to me and I agreed. I built it in a few hours one afternoon. Stained and sealed a few days later and it fits perfectly. Now we just need to wait (impatiently) for everything to cure so we can actually begin to use it. We'll try and share another final photo when in full use.
Built from Plan(s)
Estimated Cost
Already had all supplies on hand. If I had to price it....
$5 for 2 2x4s (sides)
$10 for 1 1x10 (shelves - ripped to shorter widths as needed)
$6 for 3 1x2s
(+screws/nails/glue/stain/sealer)
Total $21
$5 for 2 2x4s (sides)
$10 for 1 1x10 (shelves - ripped to shorter widths as needed)
$6 for 3 1x2s
(+screws/nails/glue/stain/sealer)
Total $21
Estimated Time Investment
Afternoon Project (3-6 Hours)
Finish Used
One coat of stain, followed by two coats of polyethylene. Light sanding with sanding sponge to smooth everything out once dried. Going to wait a week for everything to cure before placing anything on the shelves.
Recommended Skill Level
Beginner
Modern adirondack chairs
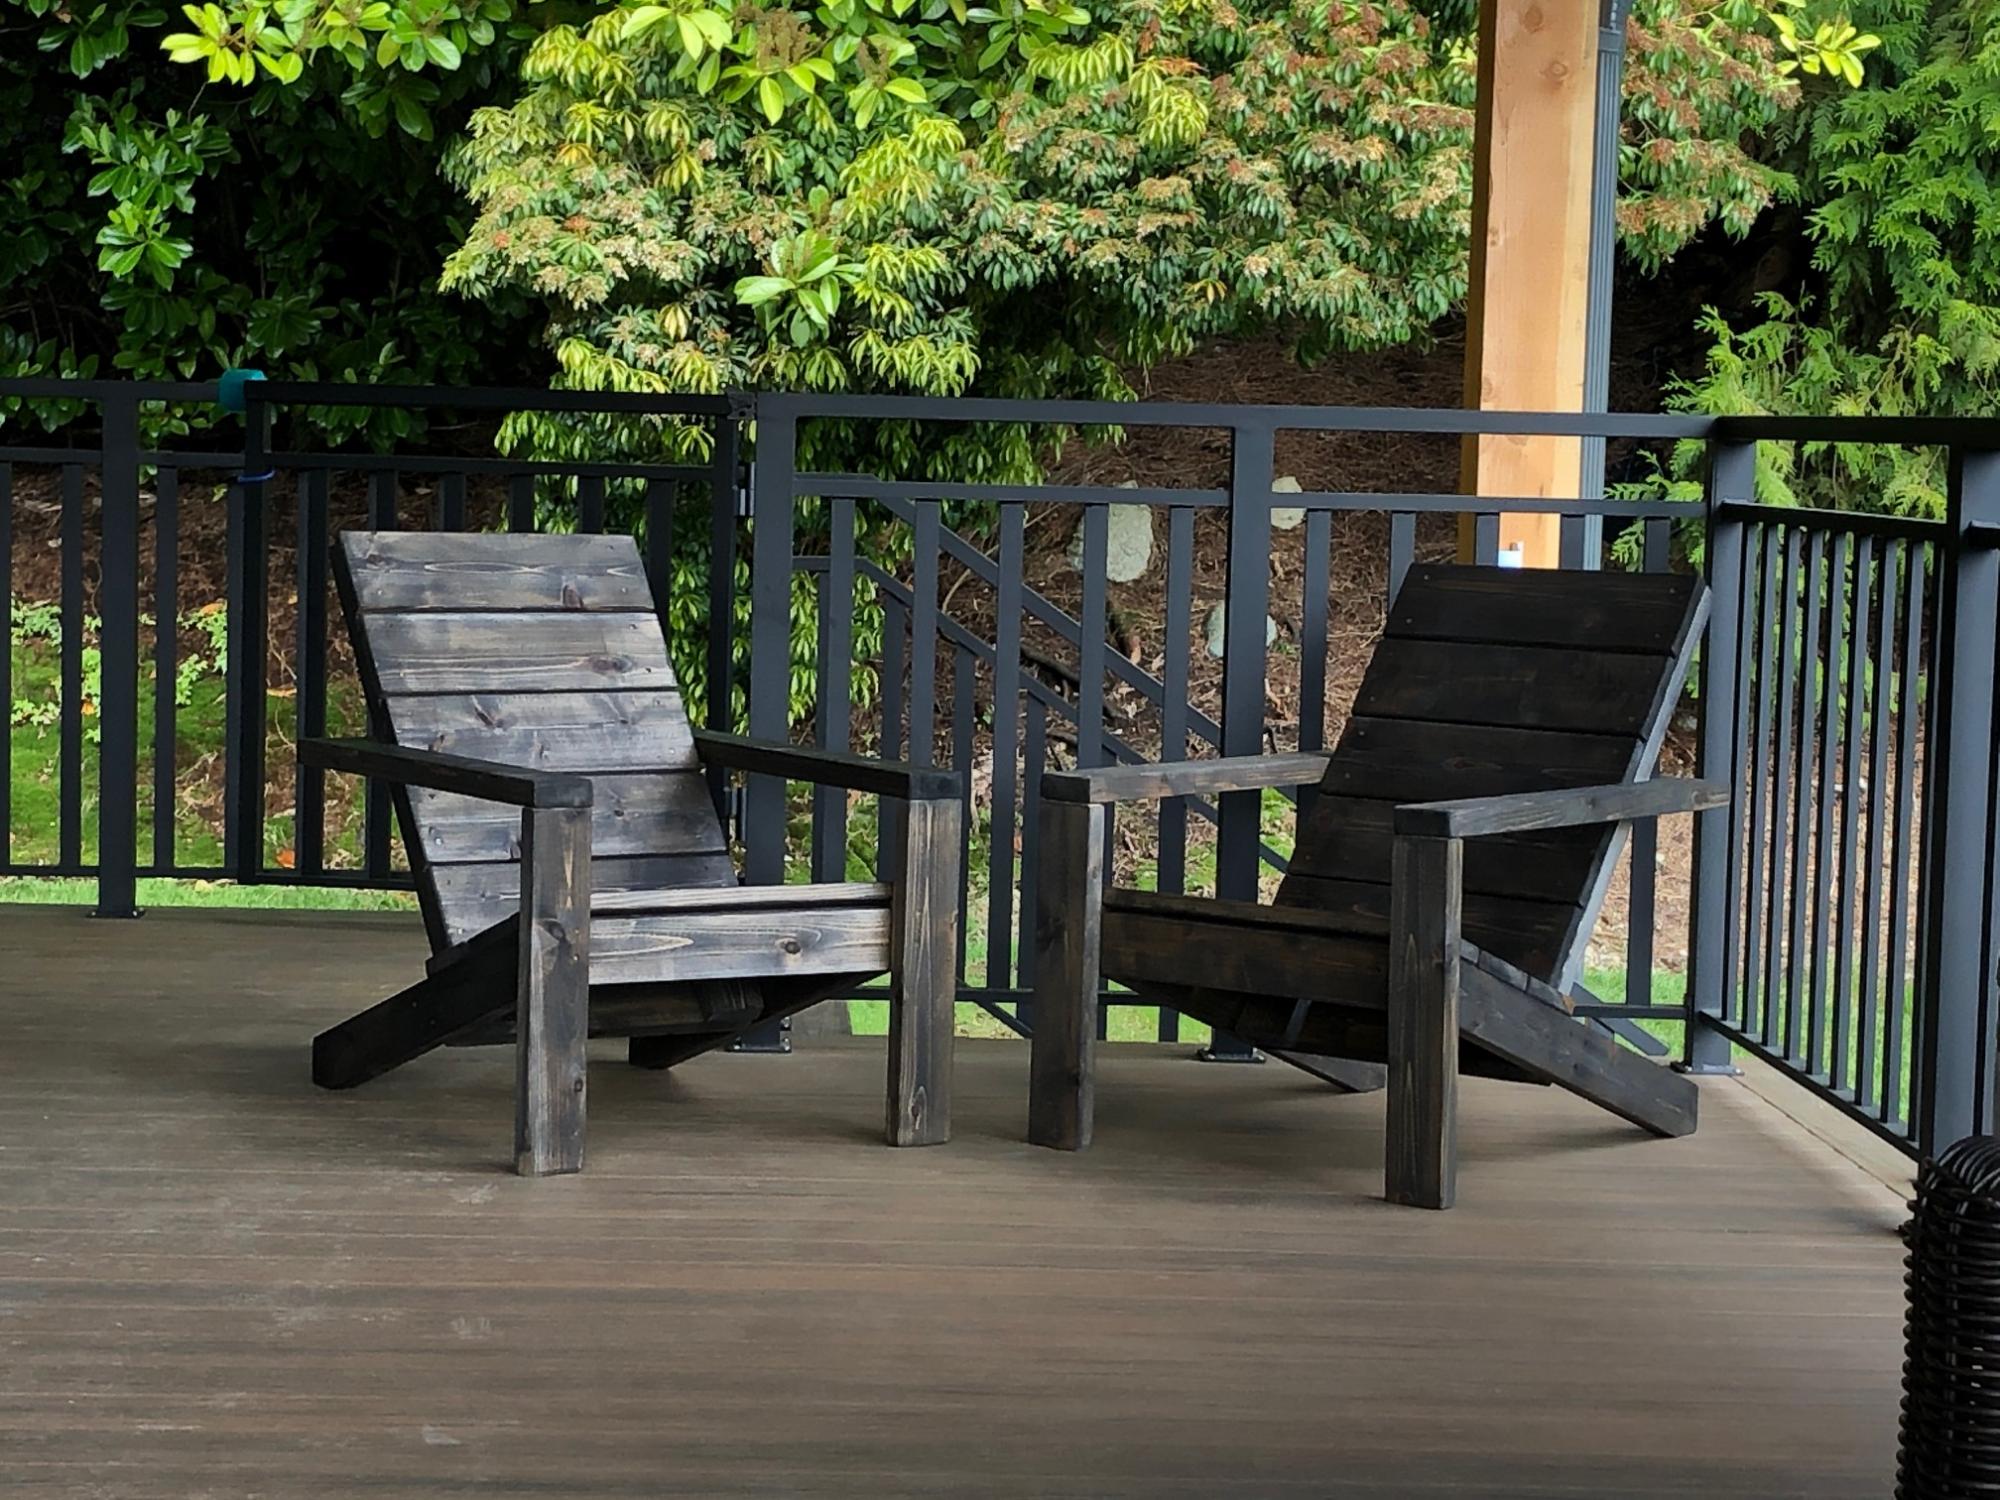
I have built a number of Ana White projects and I just love this one. It was a COVID 19 self isolation project.
Thanks Ana!!
Michele from Canada
Built from Plan(s)
Comments

Sat, 06/20/2020 - 13:54
Modern Adirondack Chairs
Ana, I love the back of these chairs with the seemingly floating armrests. What a clever and beautiful design!!
Michele
Fri, 06/12/2020 - 05:02
Modern Adirondack Chairs
Love these! What did you use to finish them? Thanks!
Sat, 06/20/2020 - 13:46
Modern Adirondack Chairs
Hi JennB,
These chairs were built out of cedar and stained with Minwax Wood Stain - Ebony color. Due to the whole COVID 19 situation I wasn't able to get 1 x 10s so I used 1 x 6s for the seat and back. I think they turned out pretty great!
Canned Food Storage
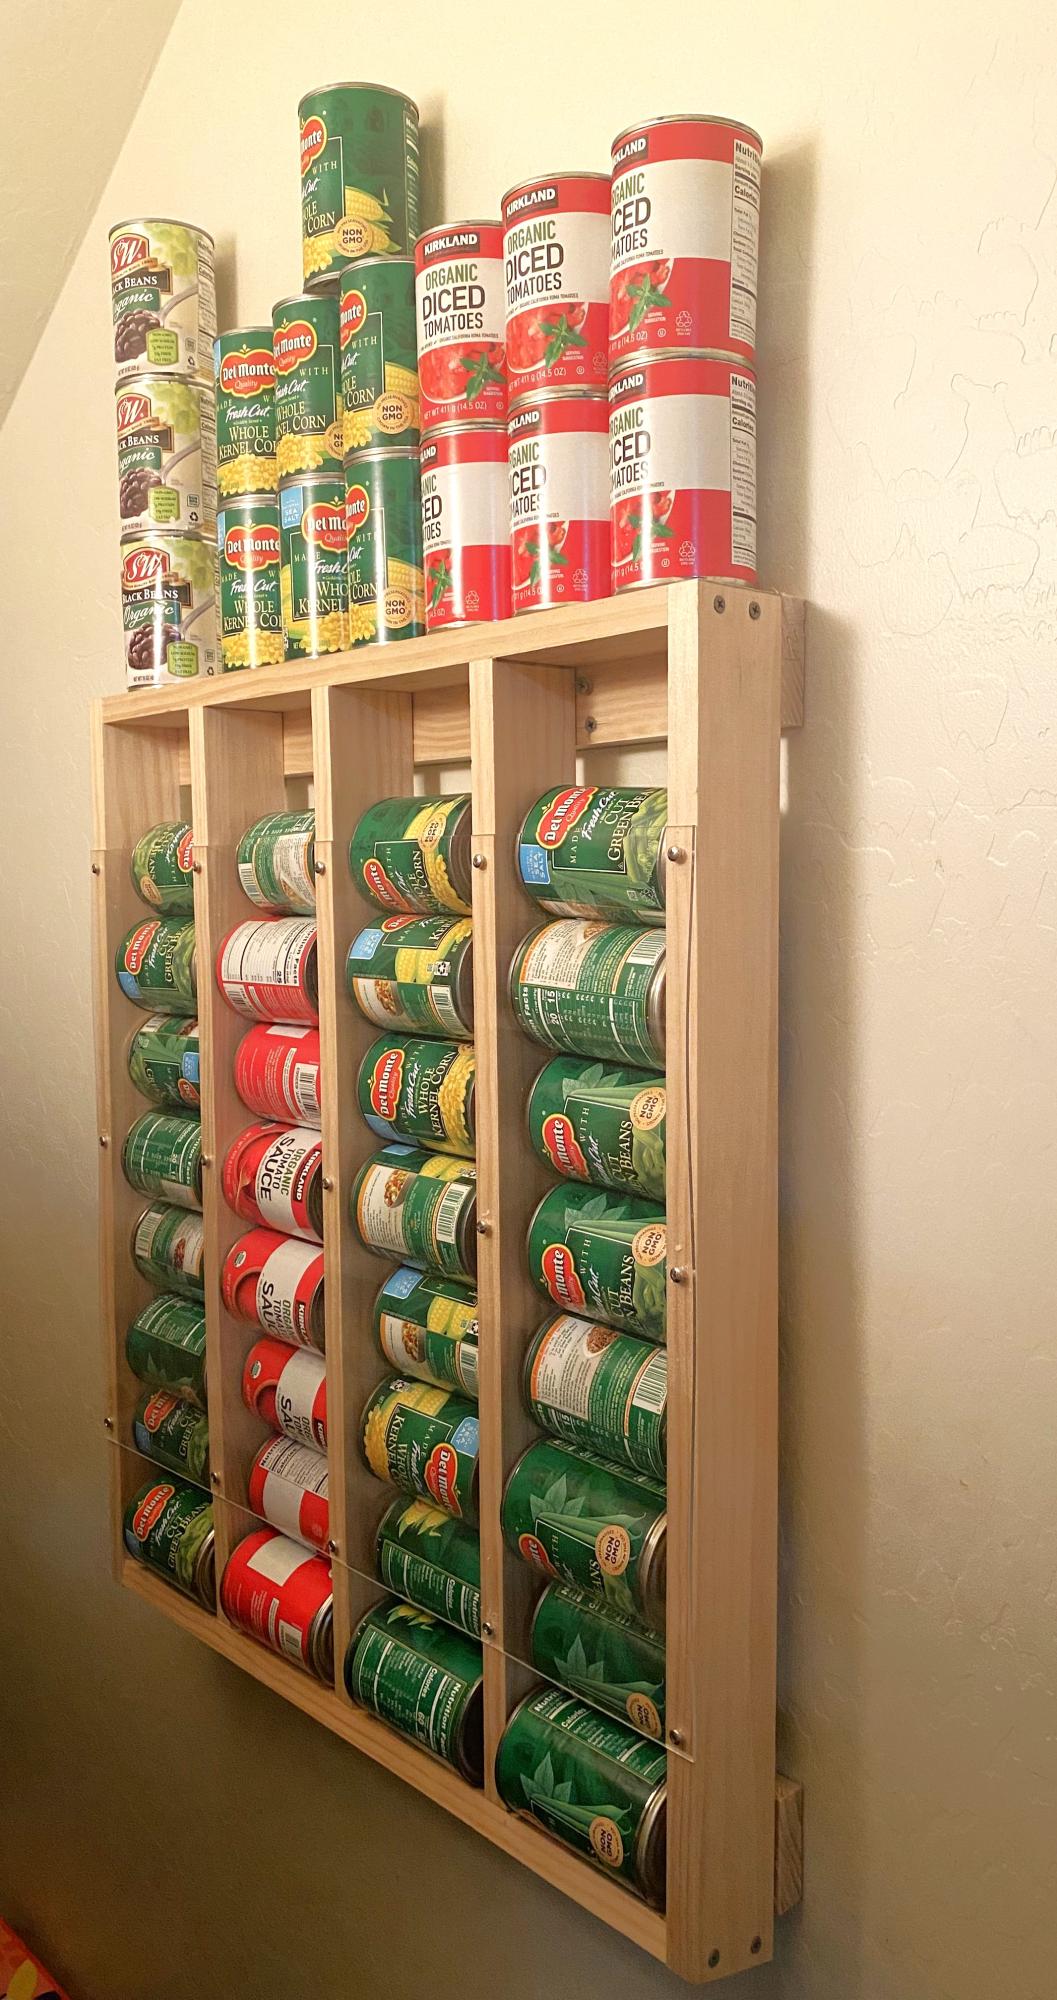
Made this for my dry closet. Super easy to construct and it works perfect. I just wish there was something similar to use for paper towels.
Built from Plan(s)
Full Size Loft
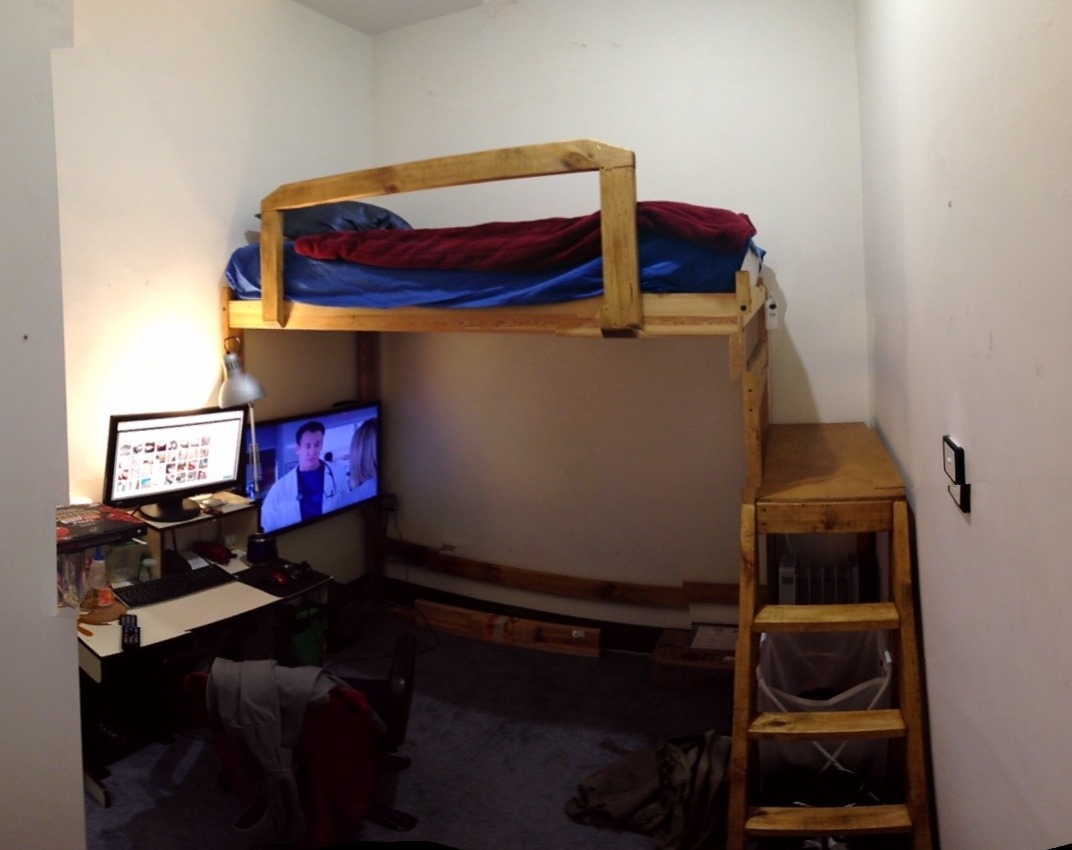
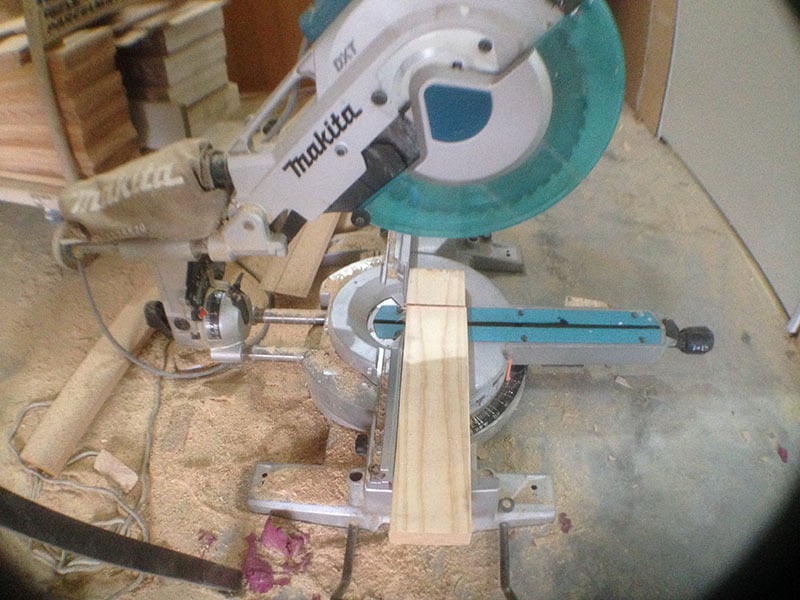
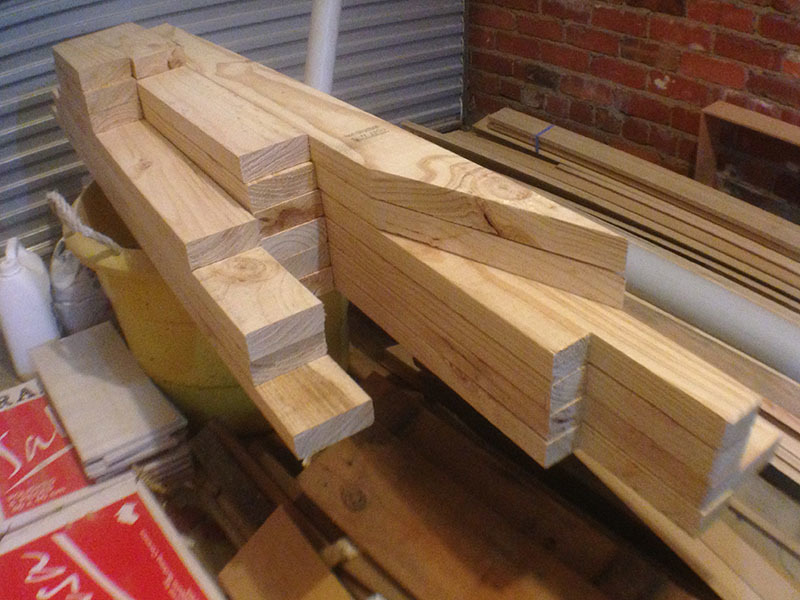
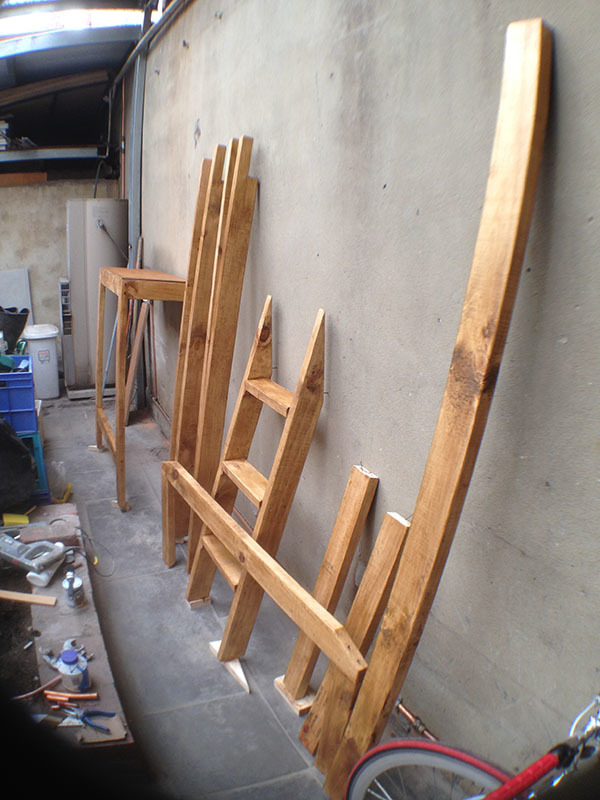
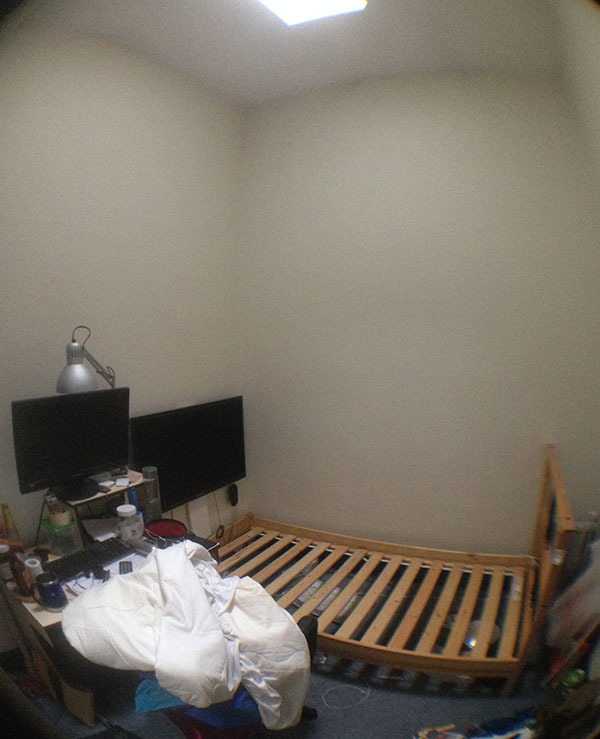
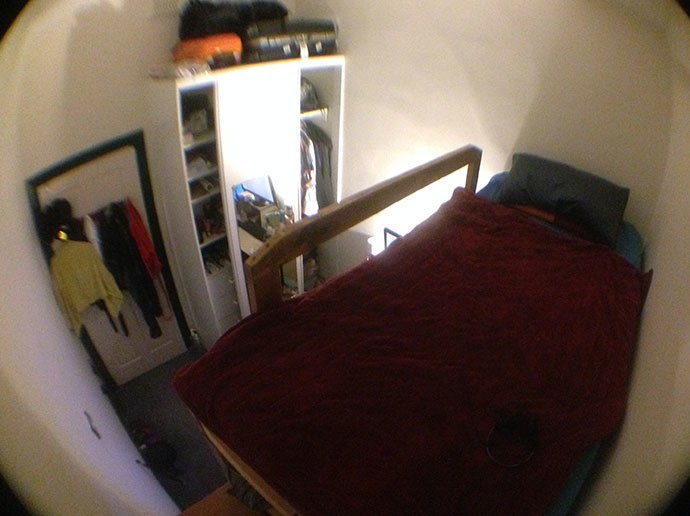
So I had an IKEA DELSEV single bed frame which i bought off someone who didn't need it anymore. Great sturdy bed for $25, but I wanted more space in my rental room, so I decided to go loft given the generous ceiling height. I did some research for ideas to convert my current bed, and found the perfect one at your site! I made modifications to your plans so that I would be able to walk underneath without having to slouch, and adjusted some measurements to integrate the IKEA bed frame. The project only cost me $38 worth of timber, screws were pinched (with permission!) from my landlord's stash, and this was the result after 3 days of cutting, sanding, partial assembly, staining and varnishing, and final assembly! The small tin of stain and varnish was originally for a wooden rack project for my vintage bicycle, and i managed to cover both rack and bed frame with the entire tin, down to the very last drop!
Built from Plan(s)
Estimated Cost
$38
Estimated Time Investment
Week Long Project (20 Hours or More)
Finish Used
British Paints Stain and Varnish, Maple Satin
Recommended Skill Level
Intermediate