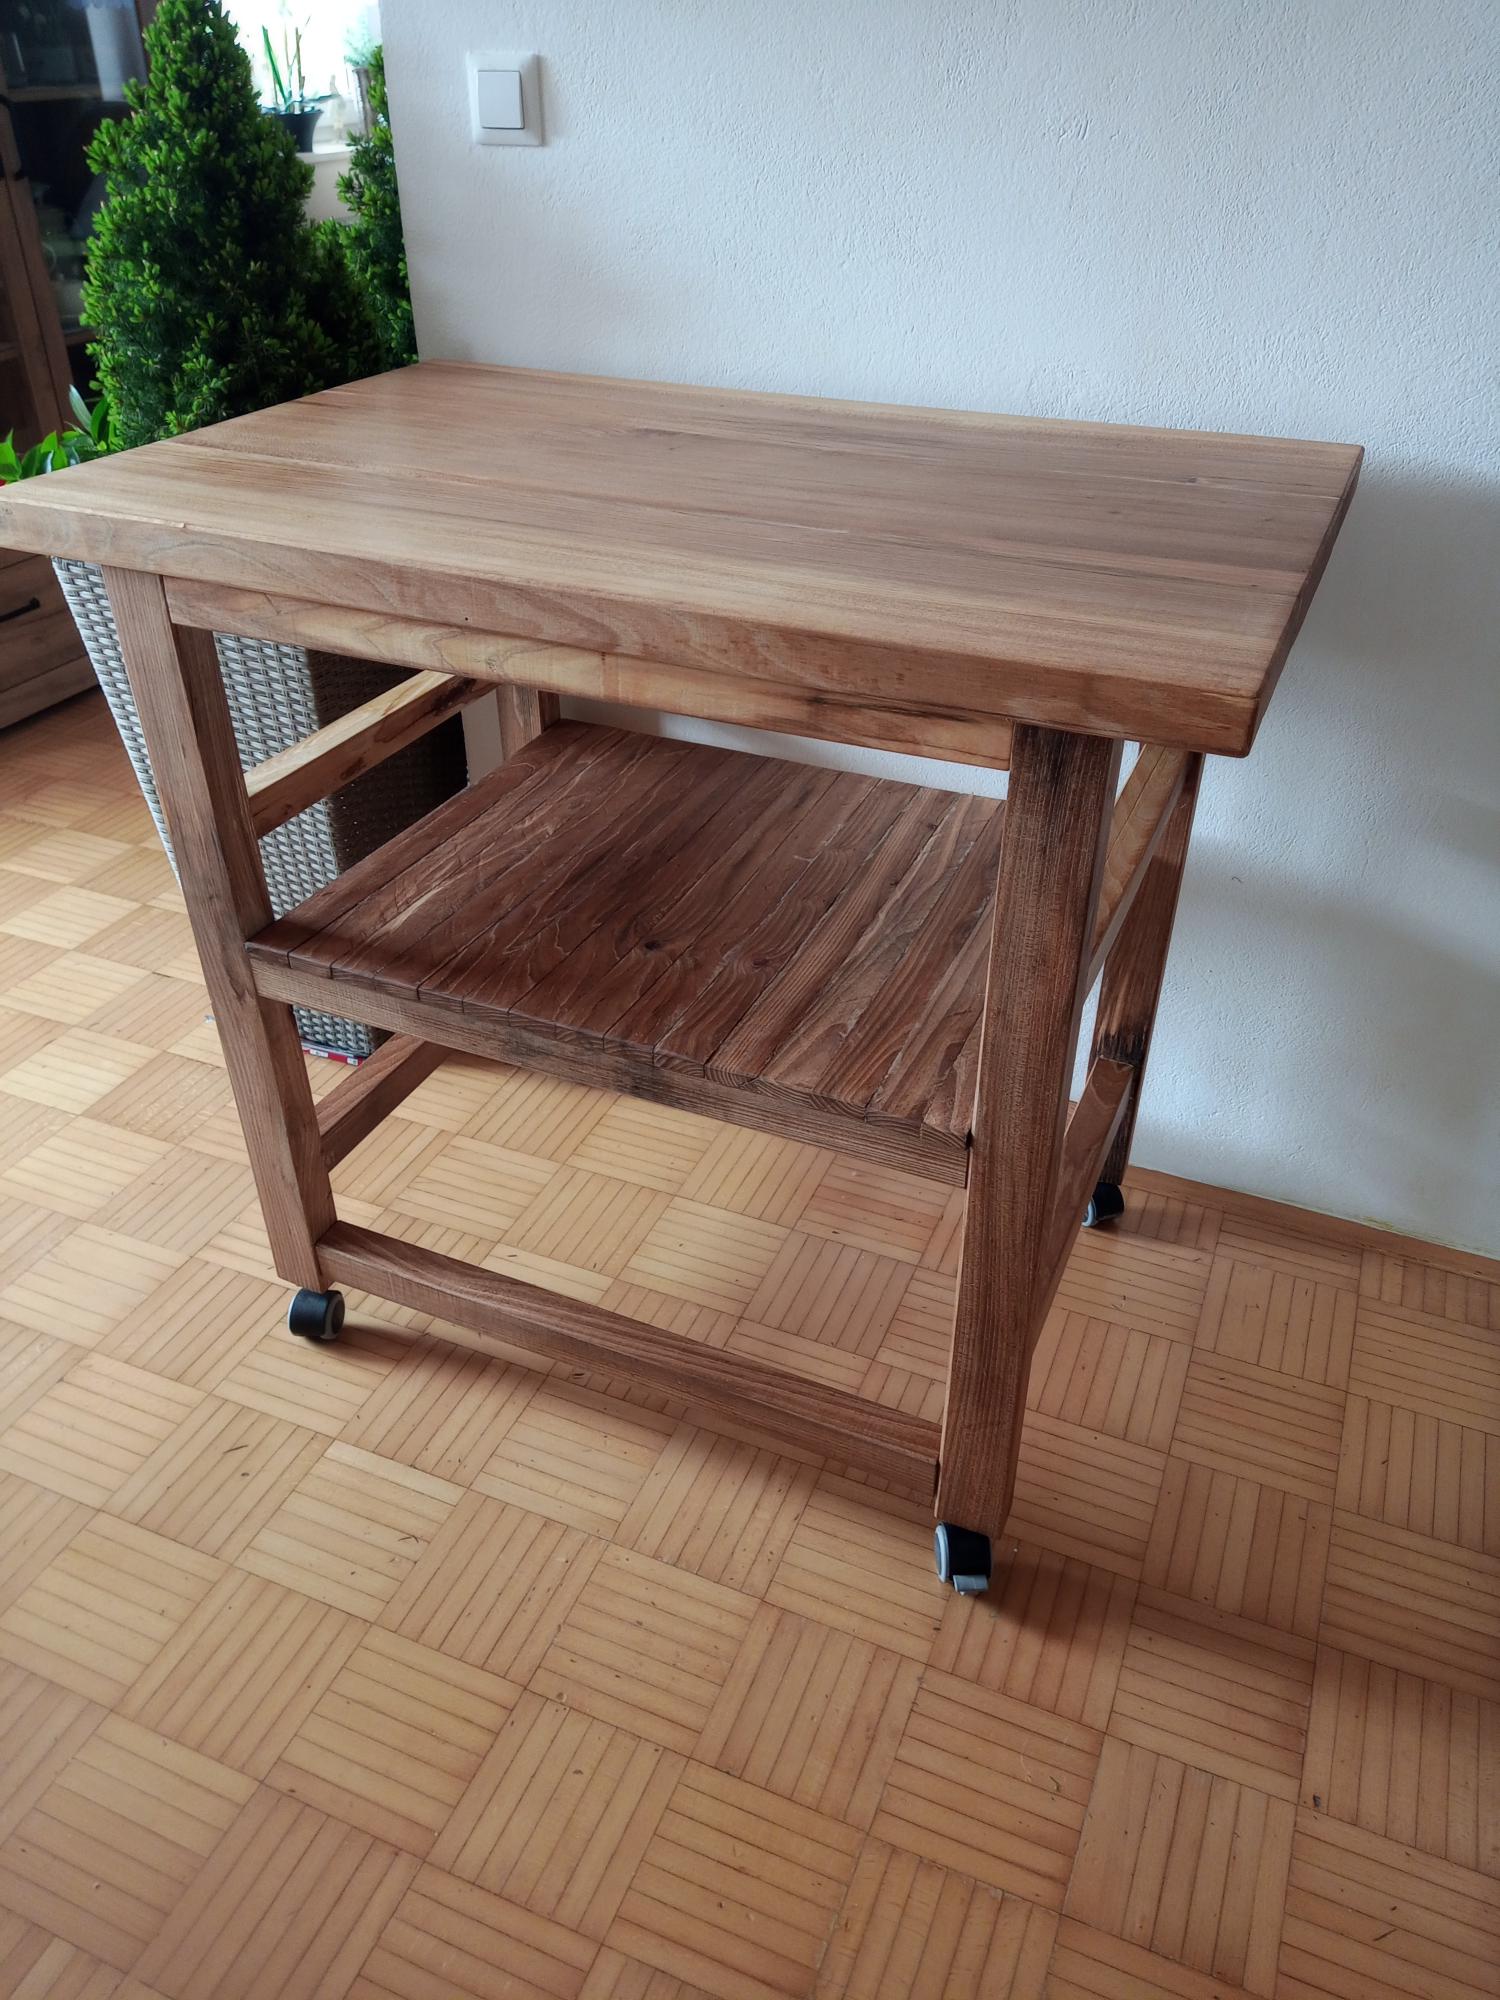
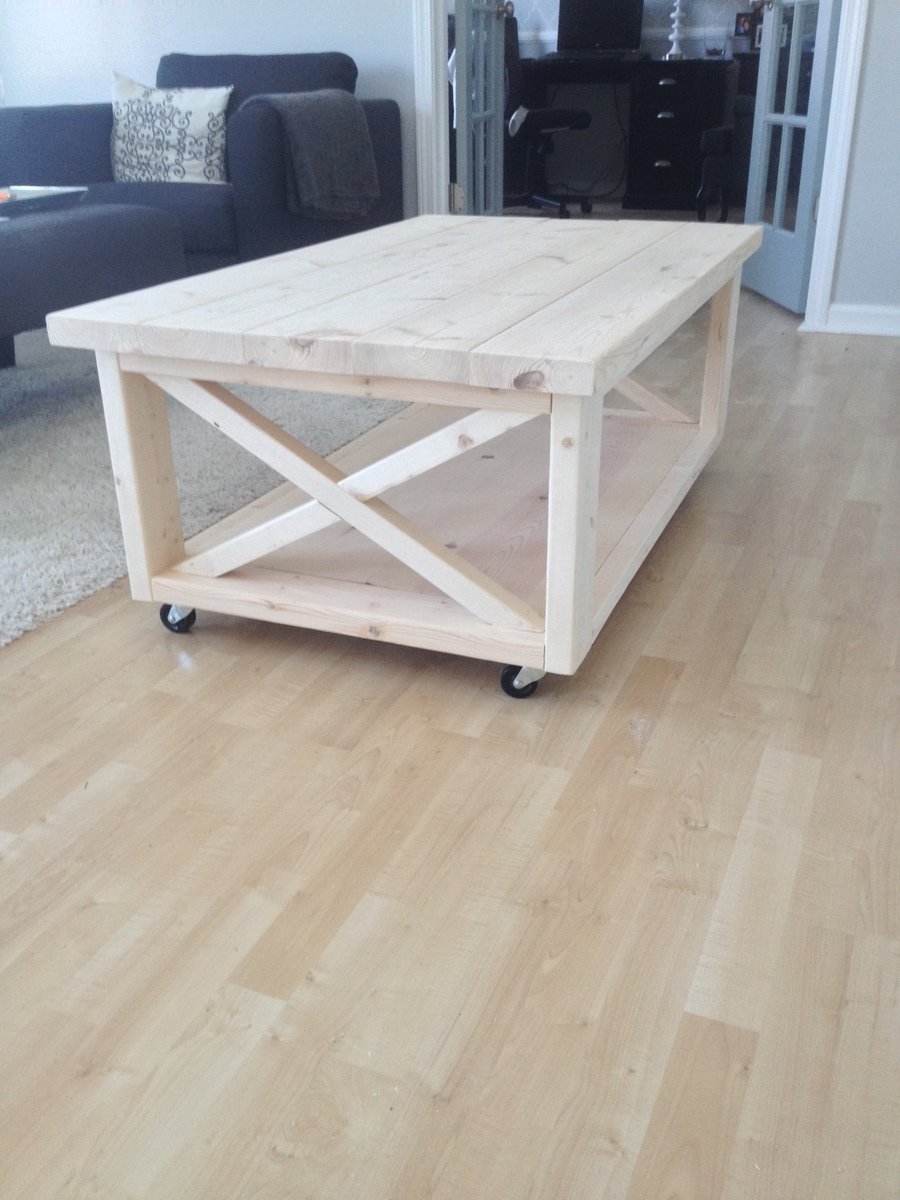
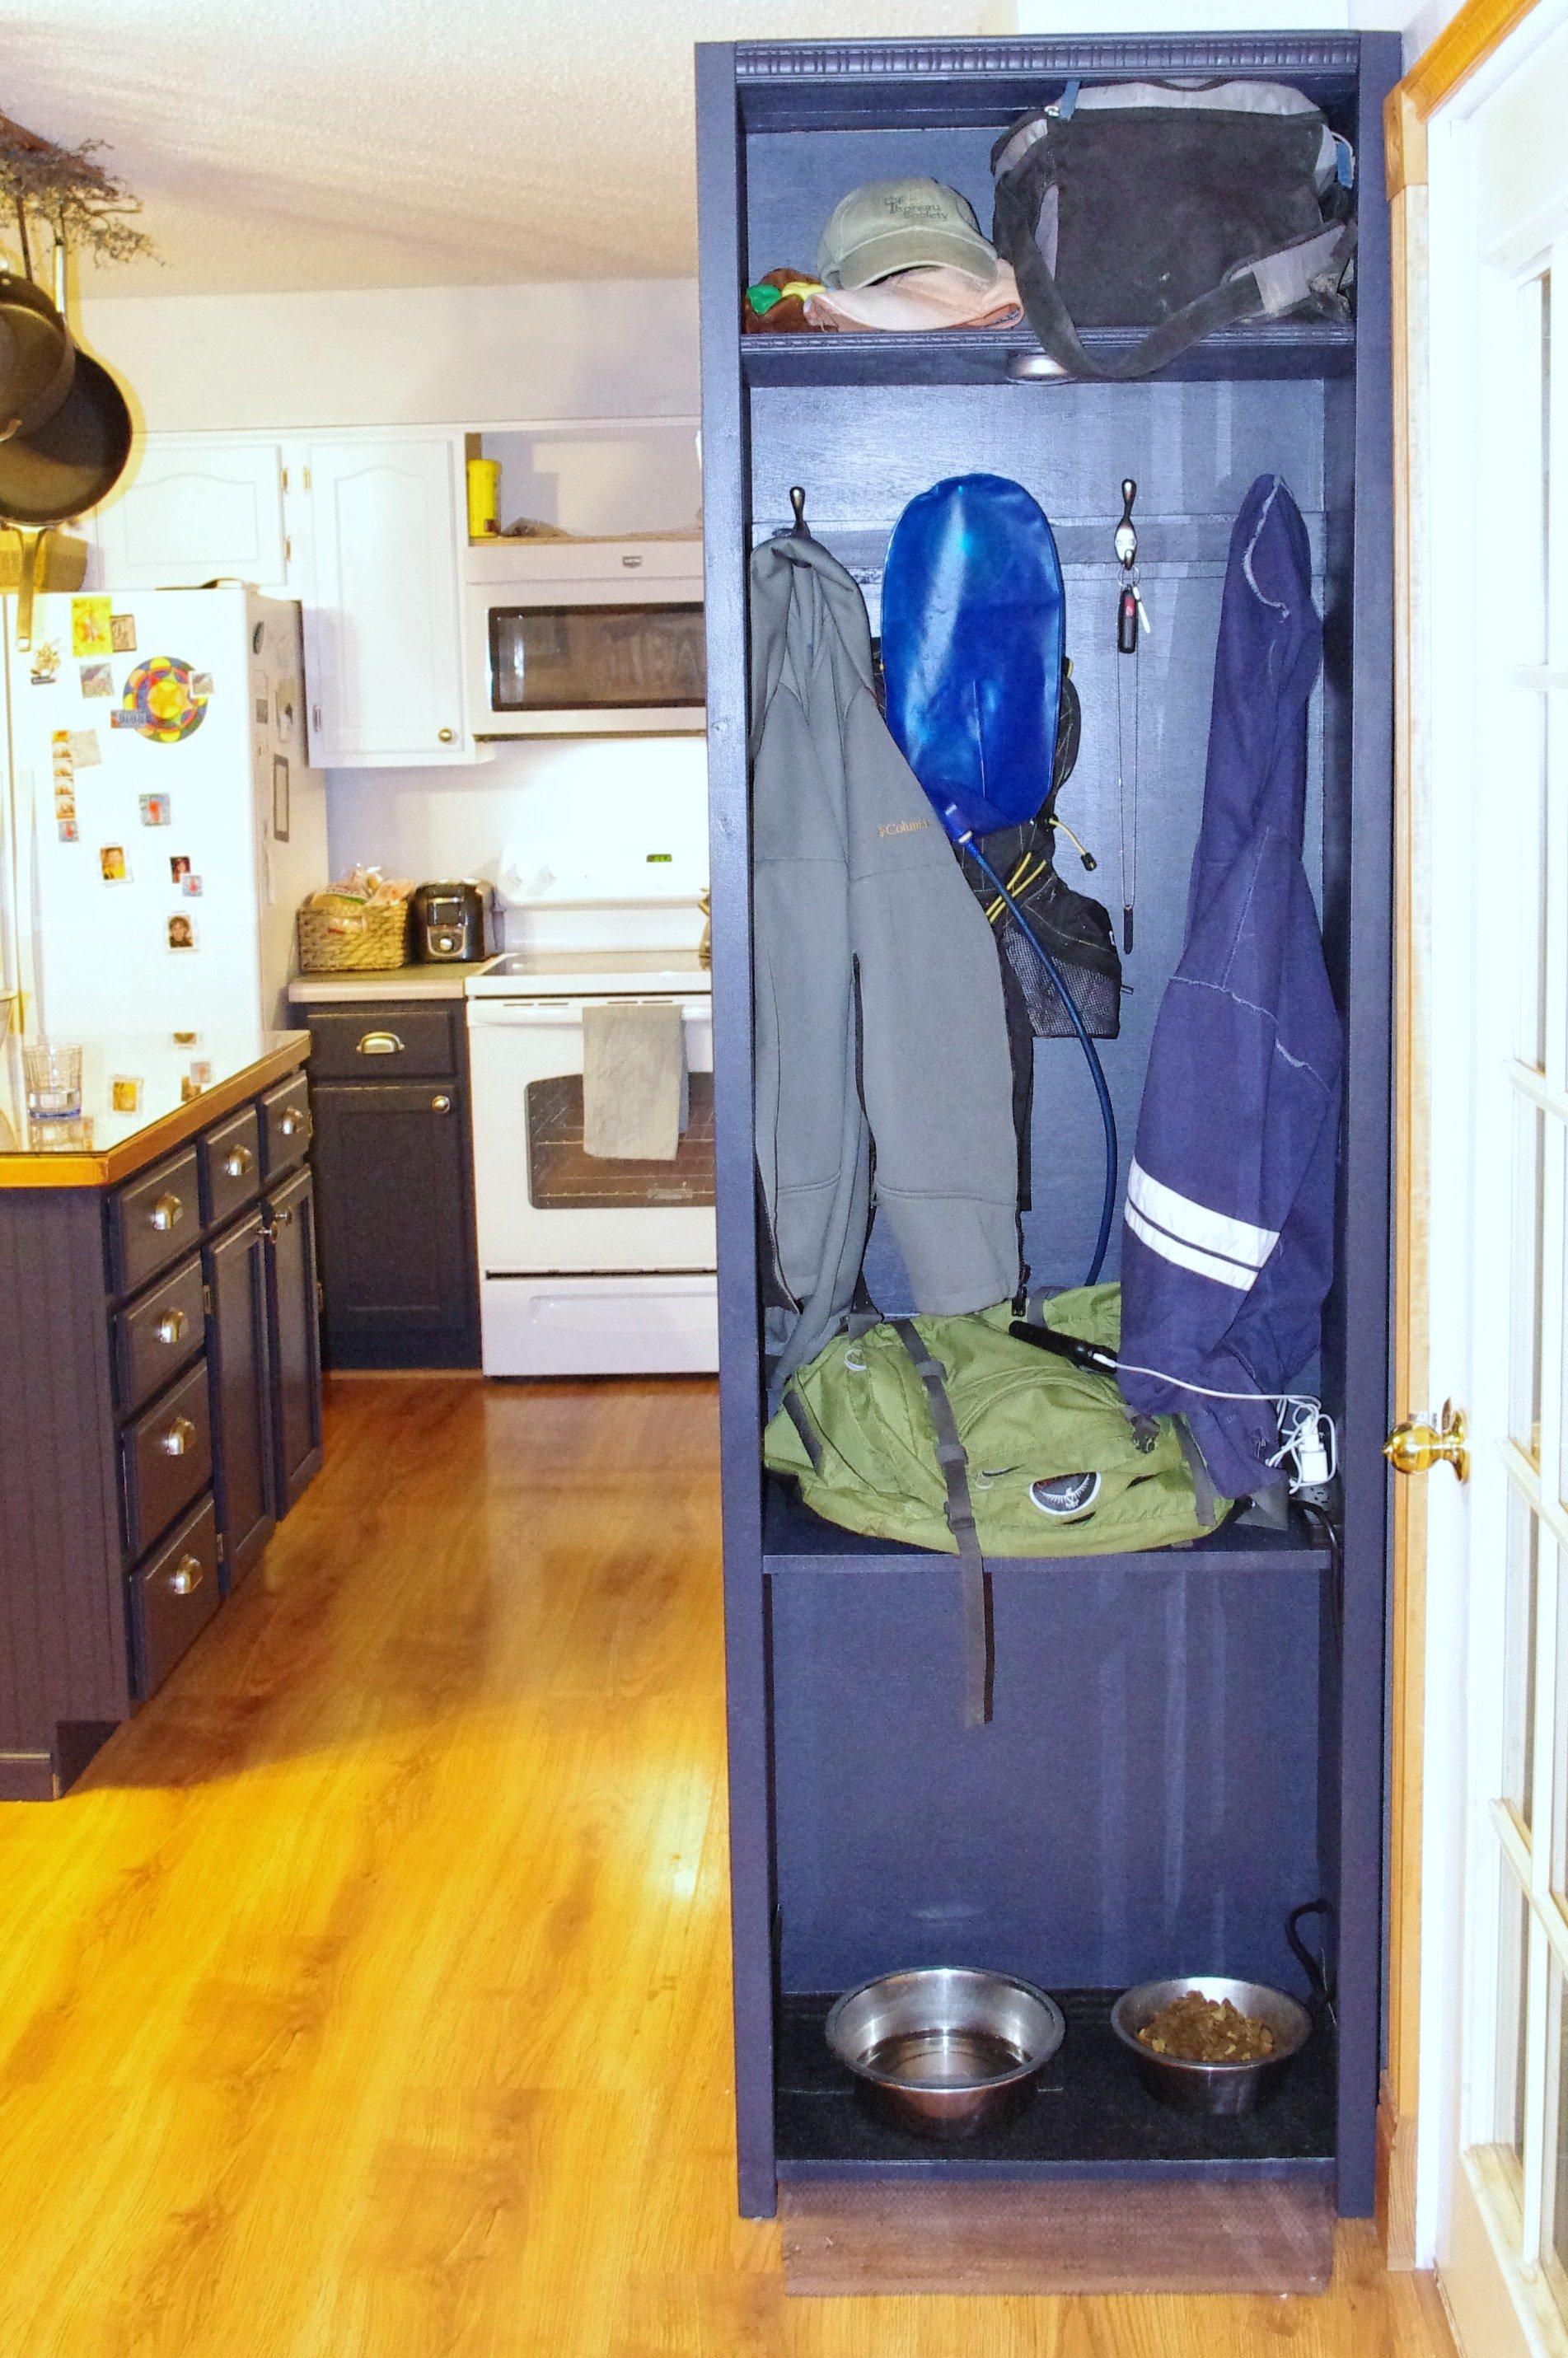
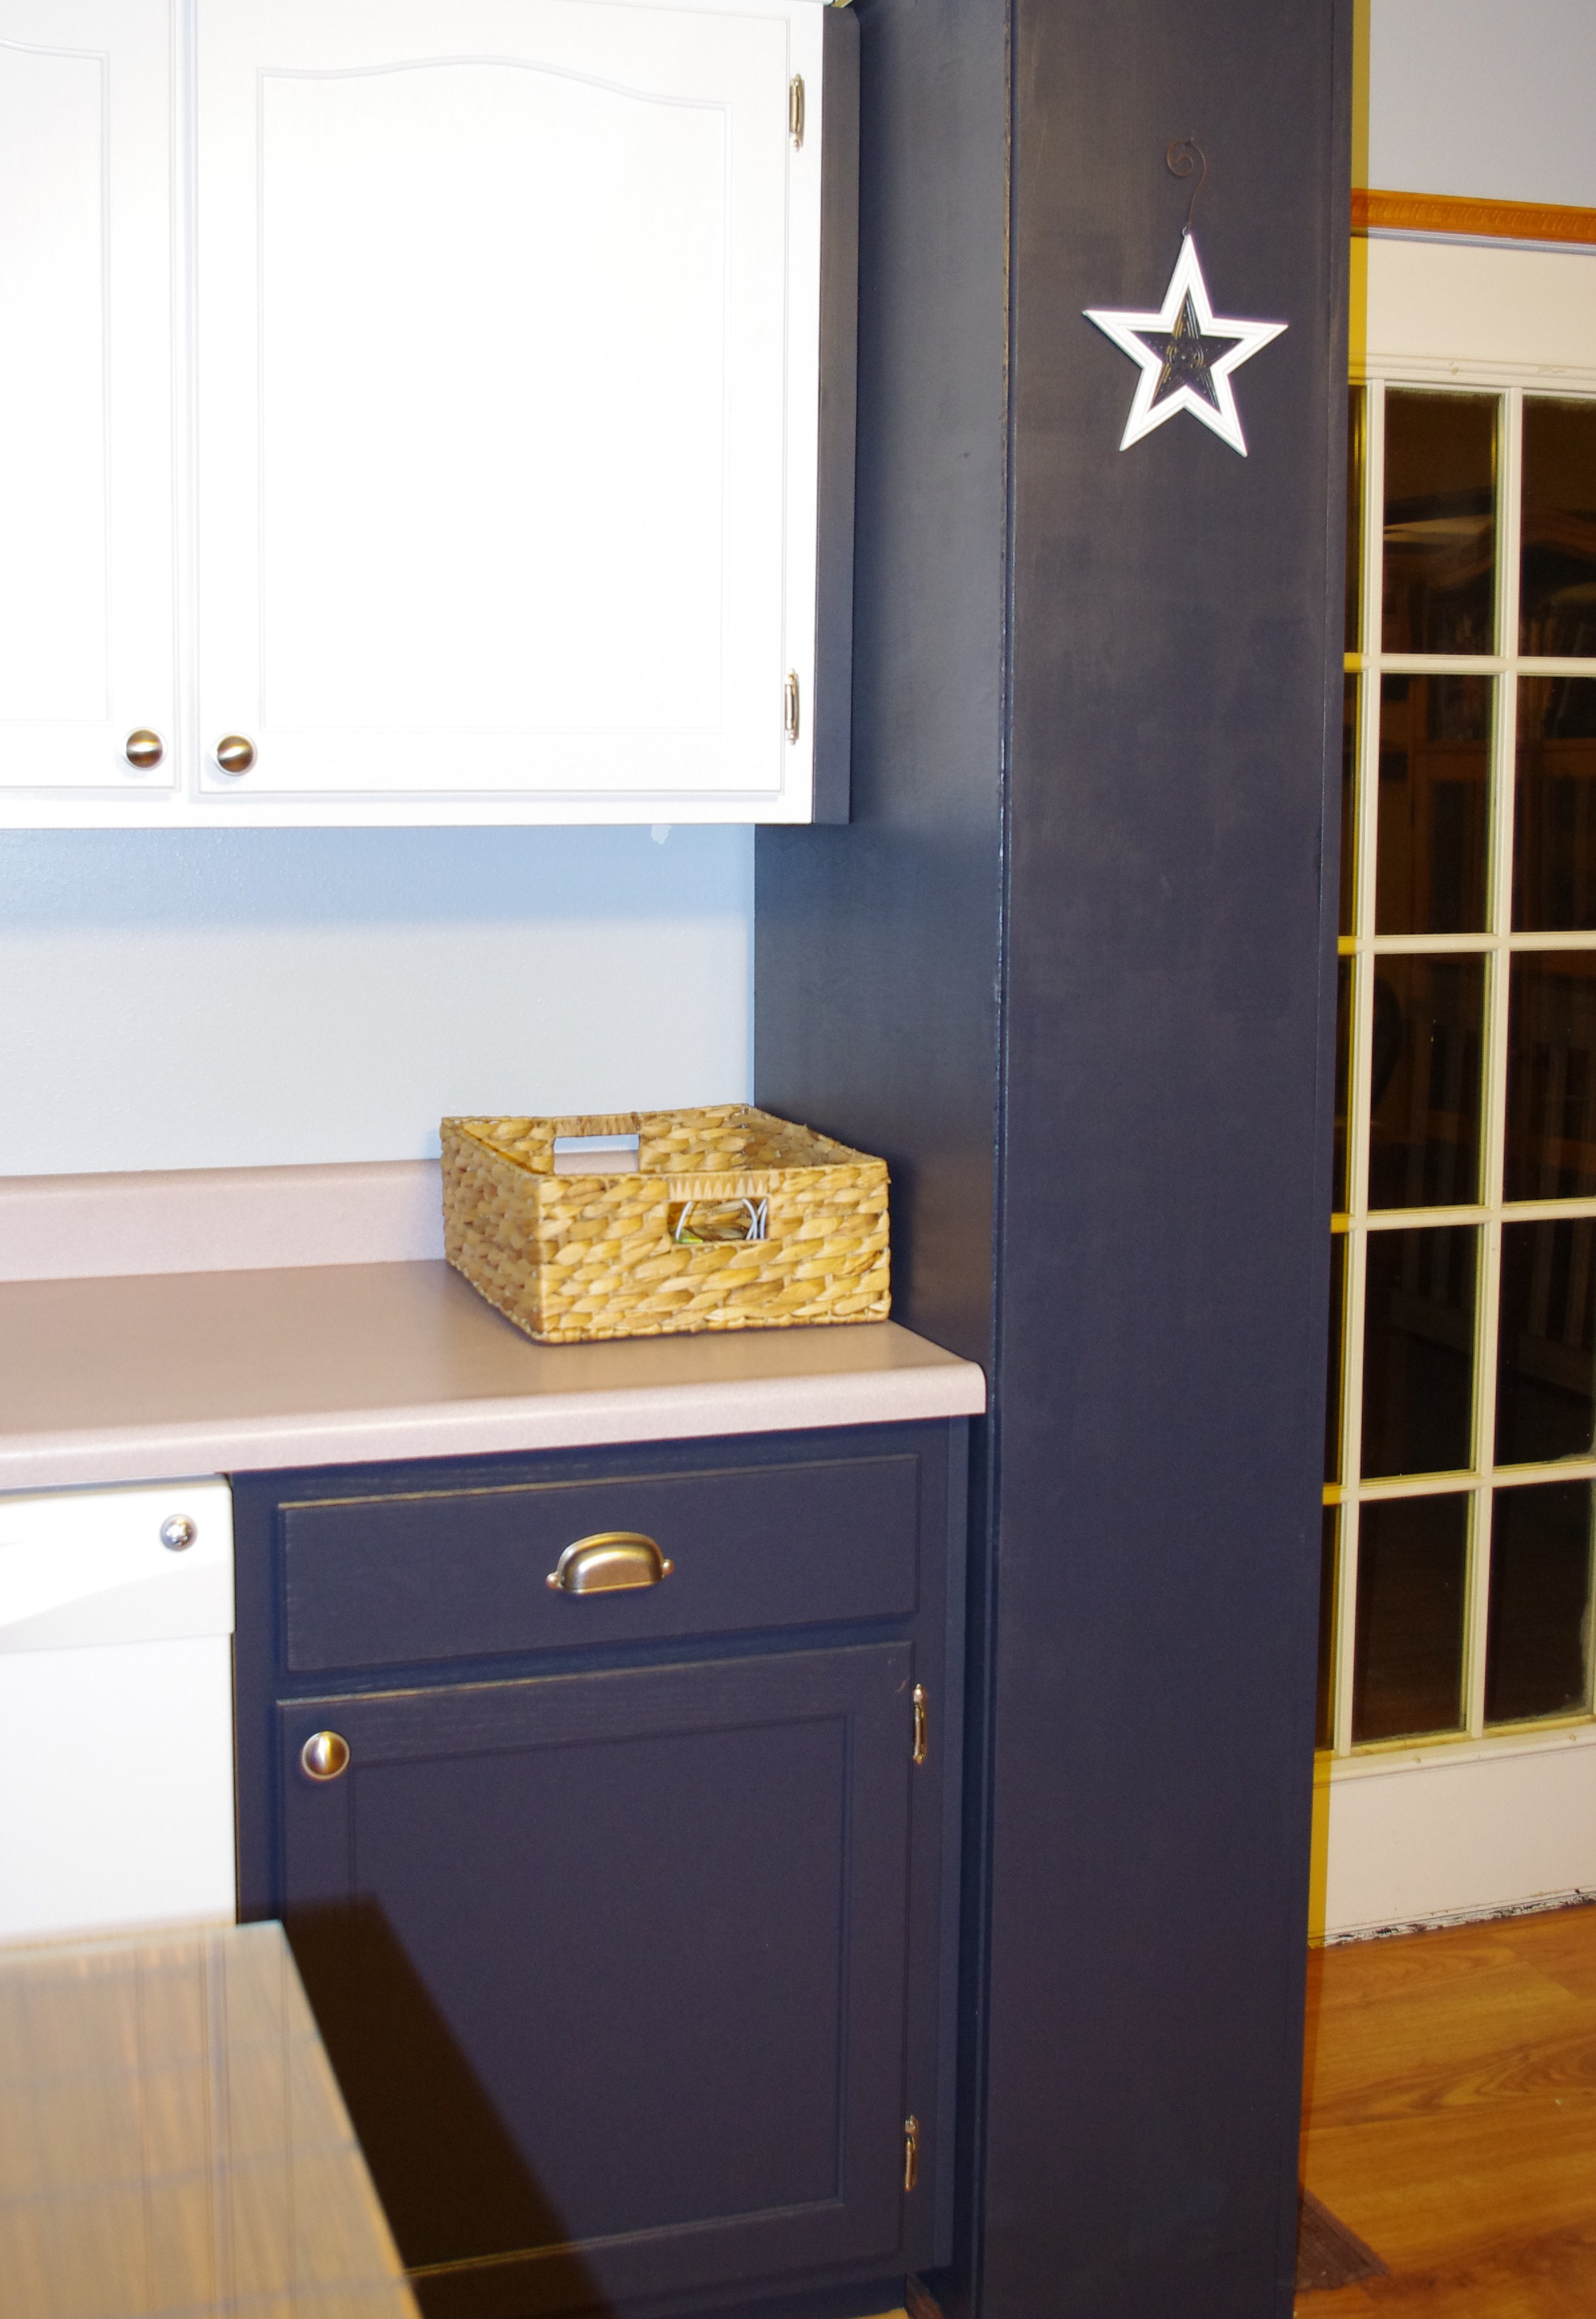
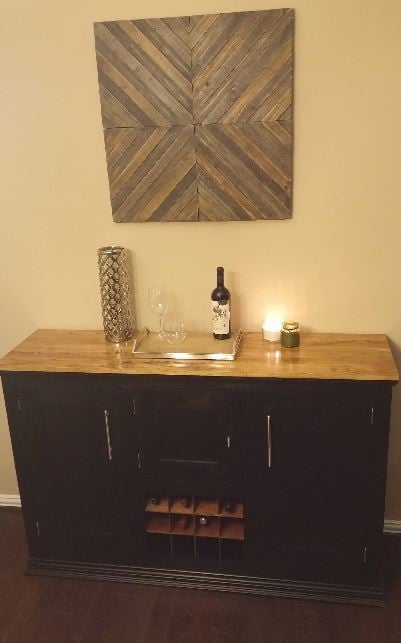
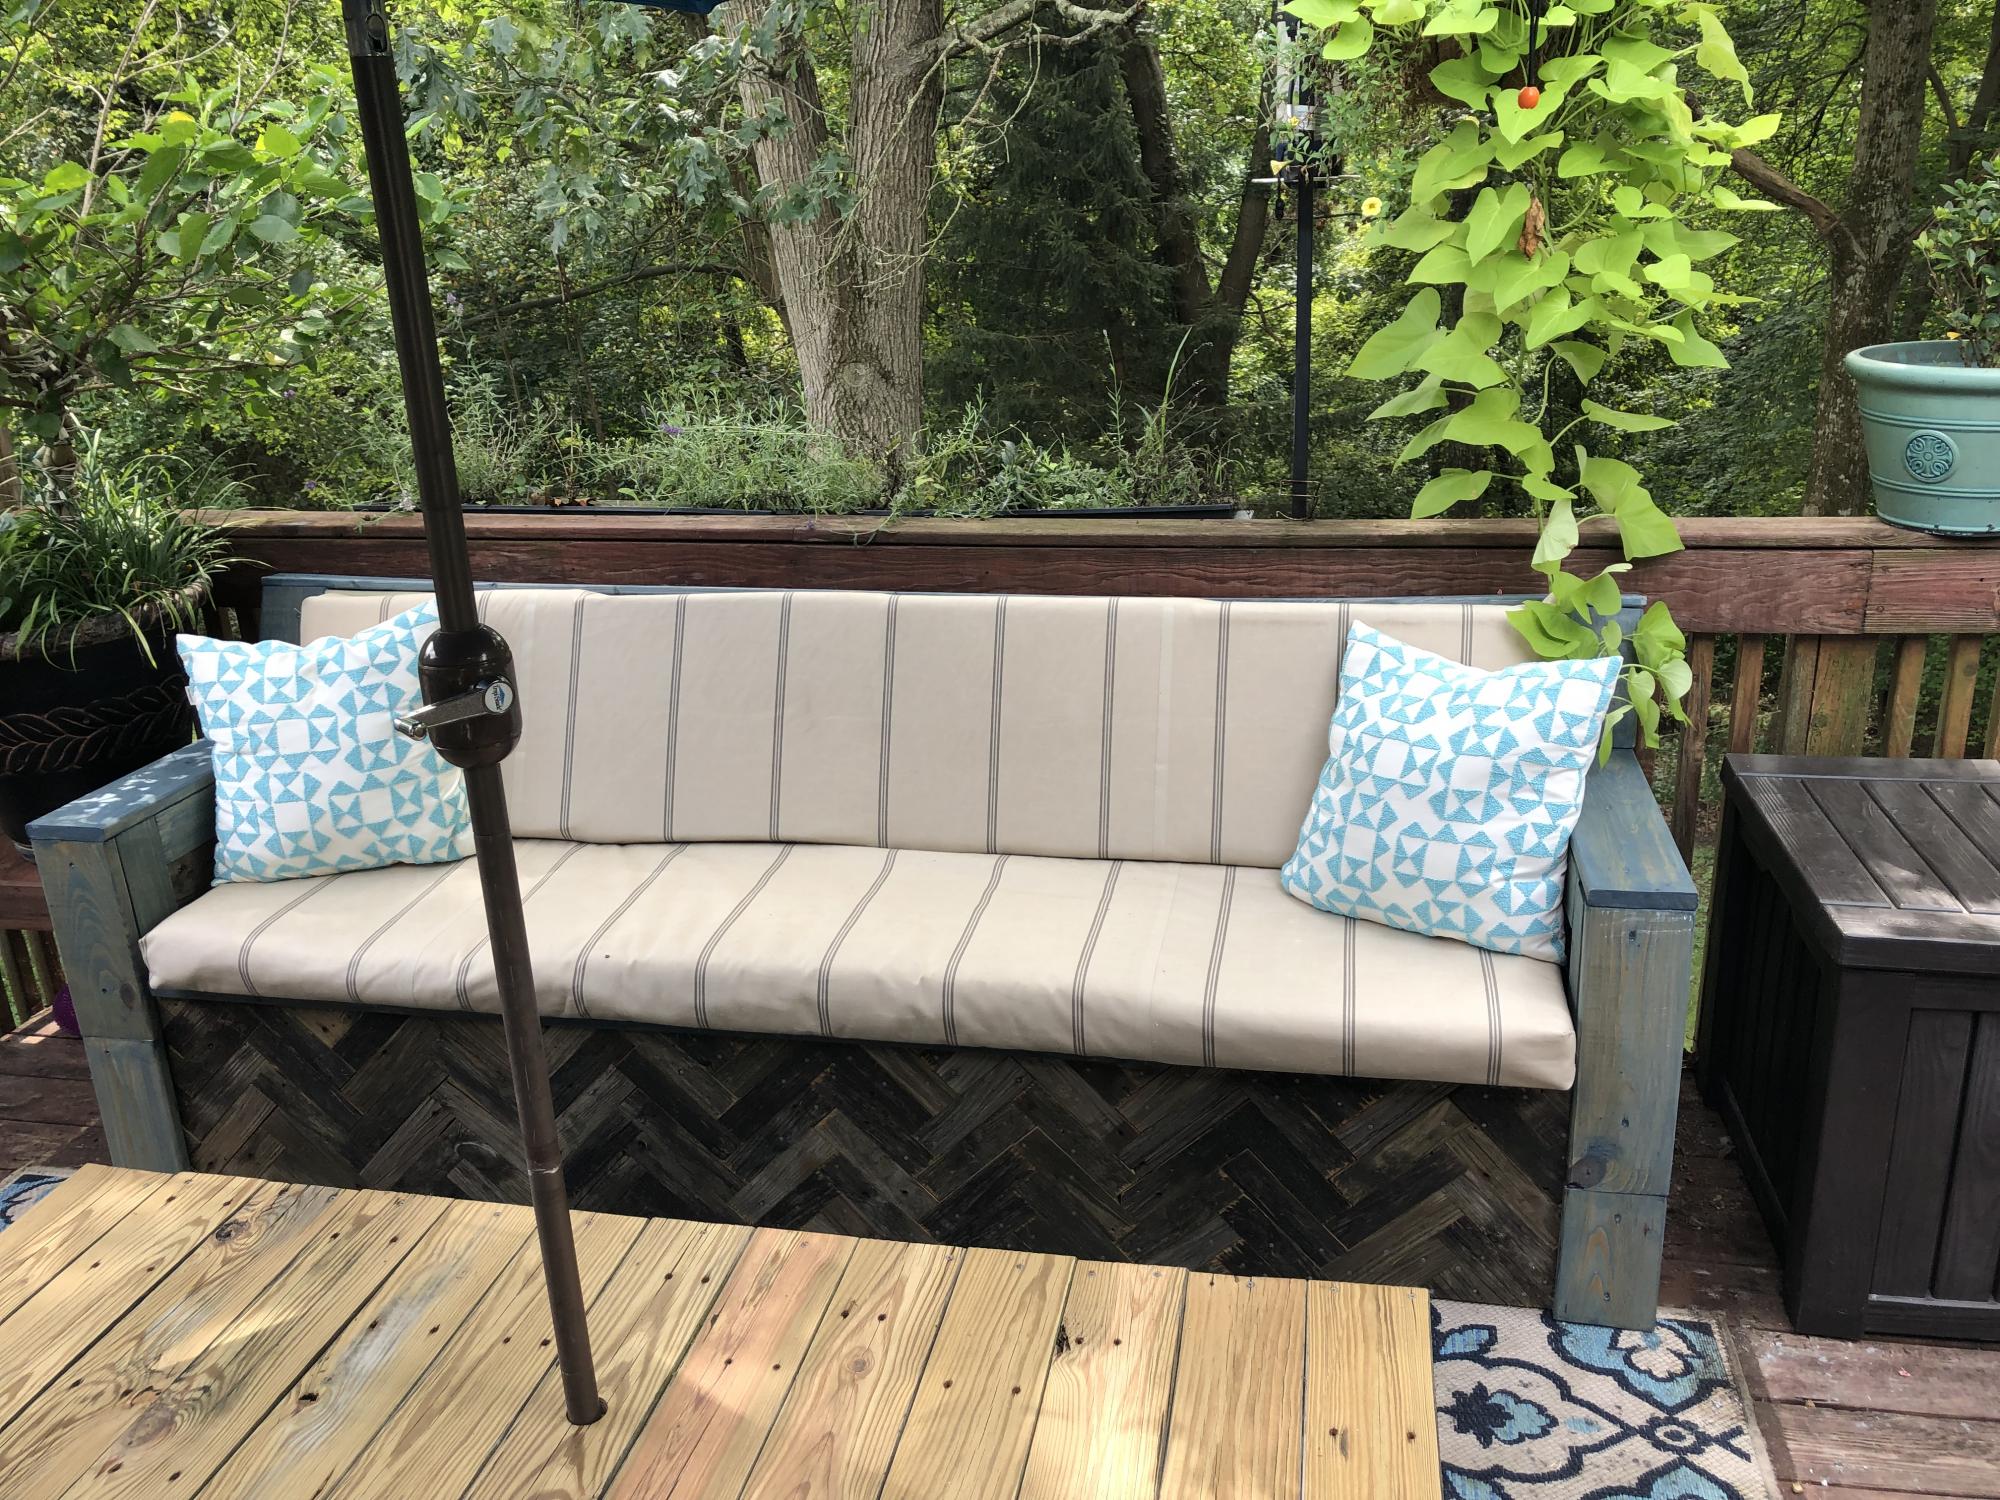
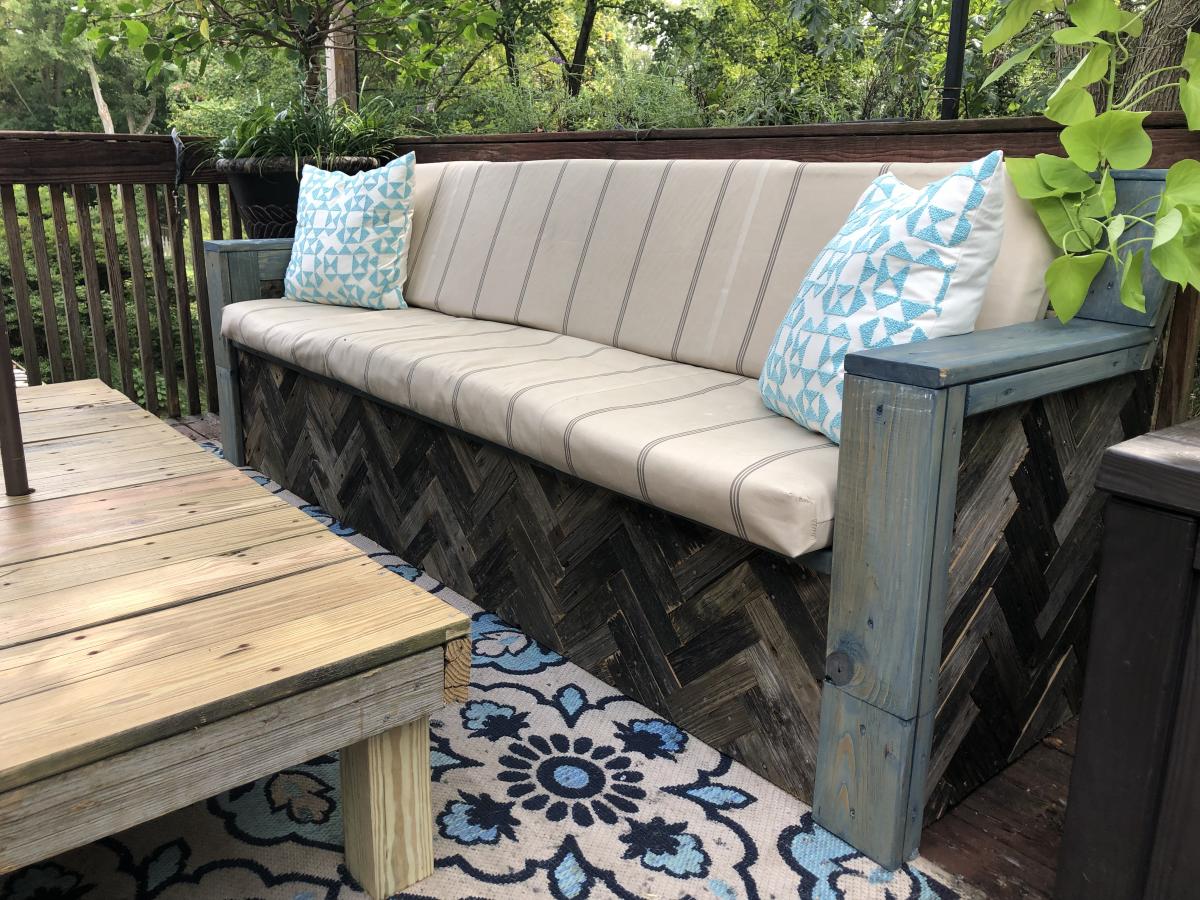
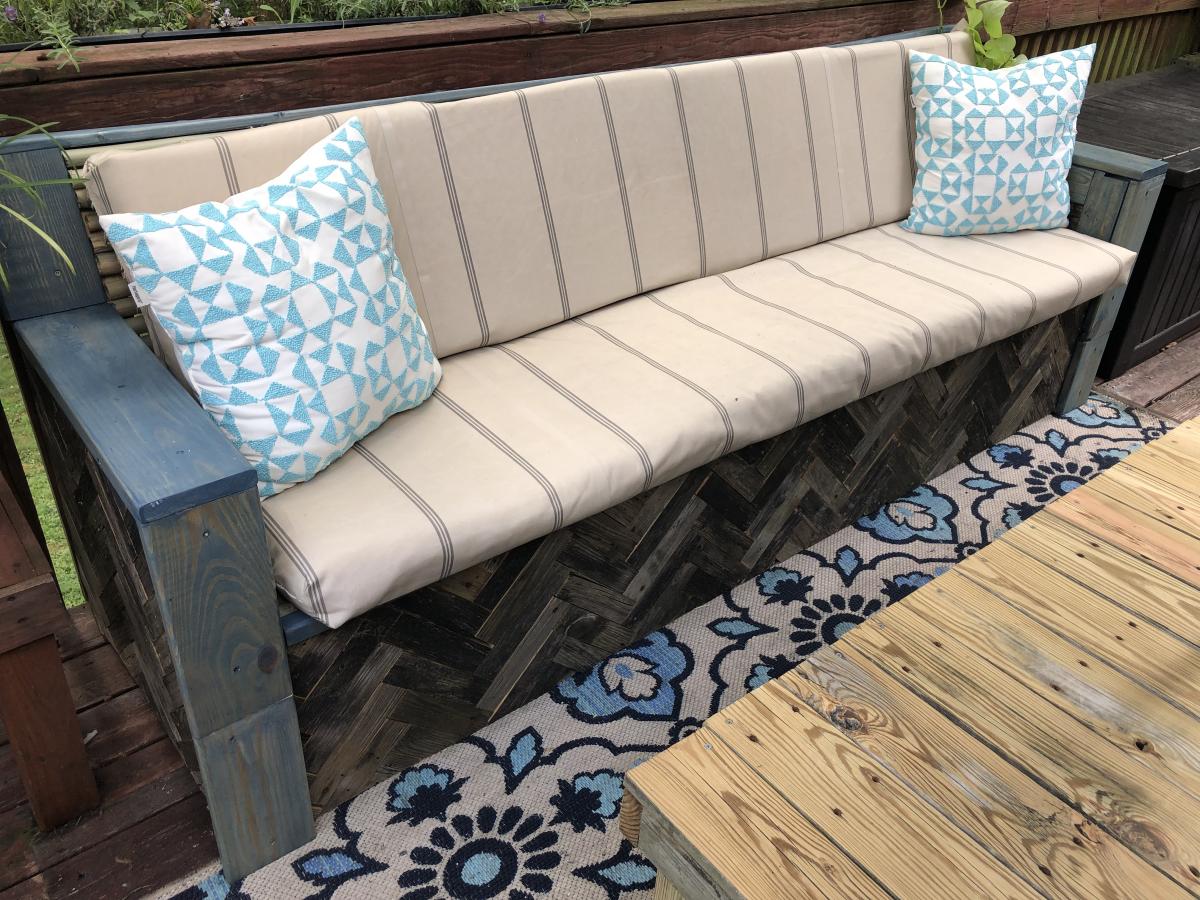
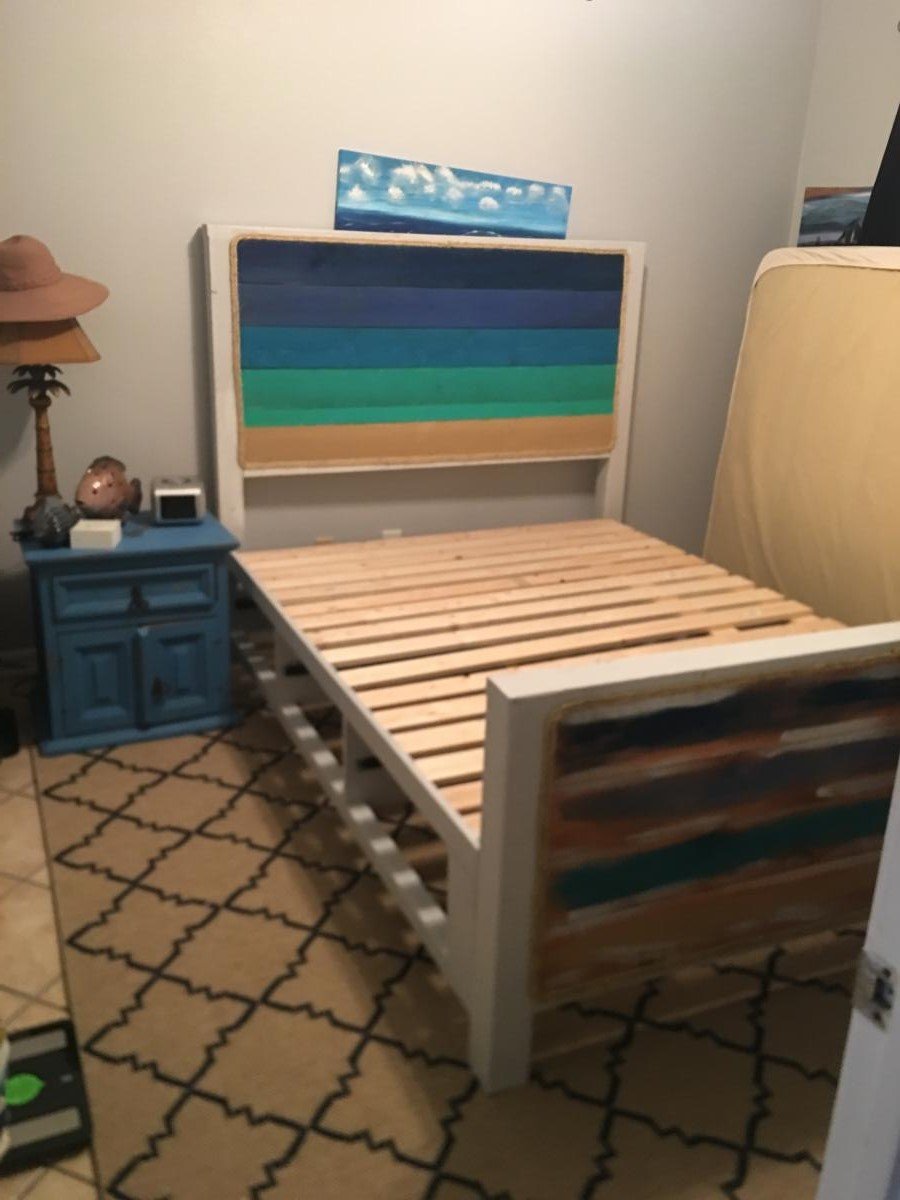
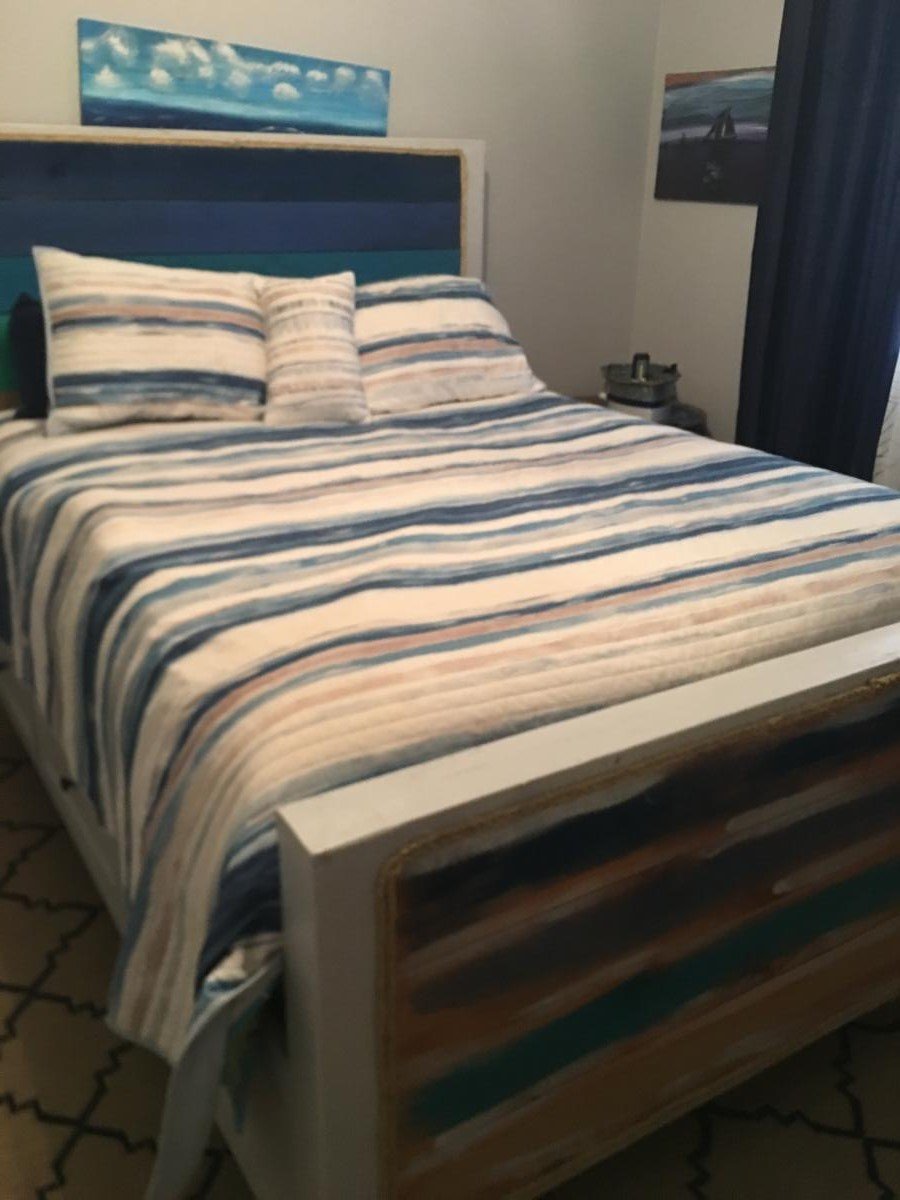
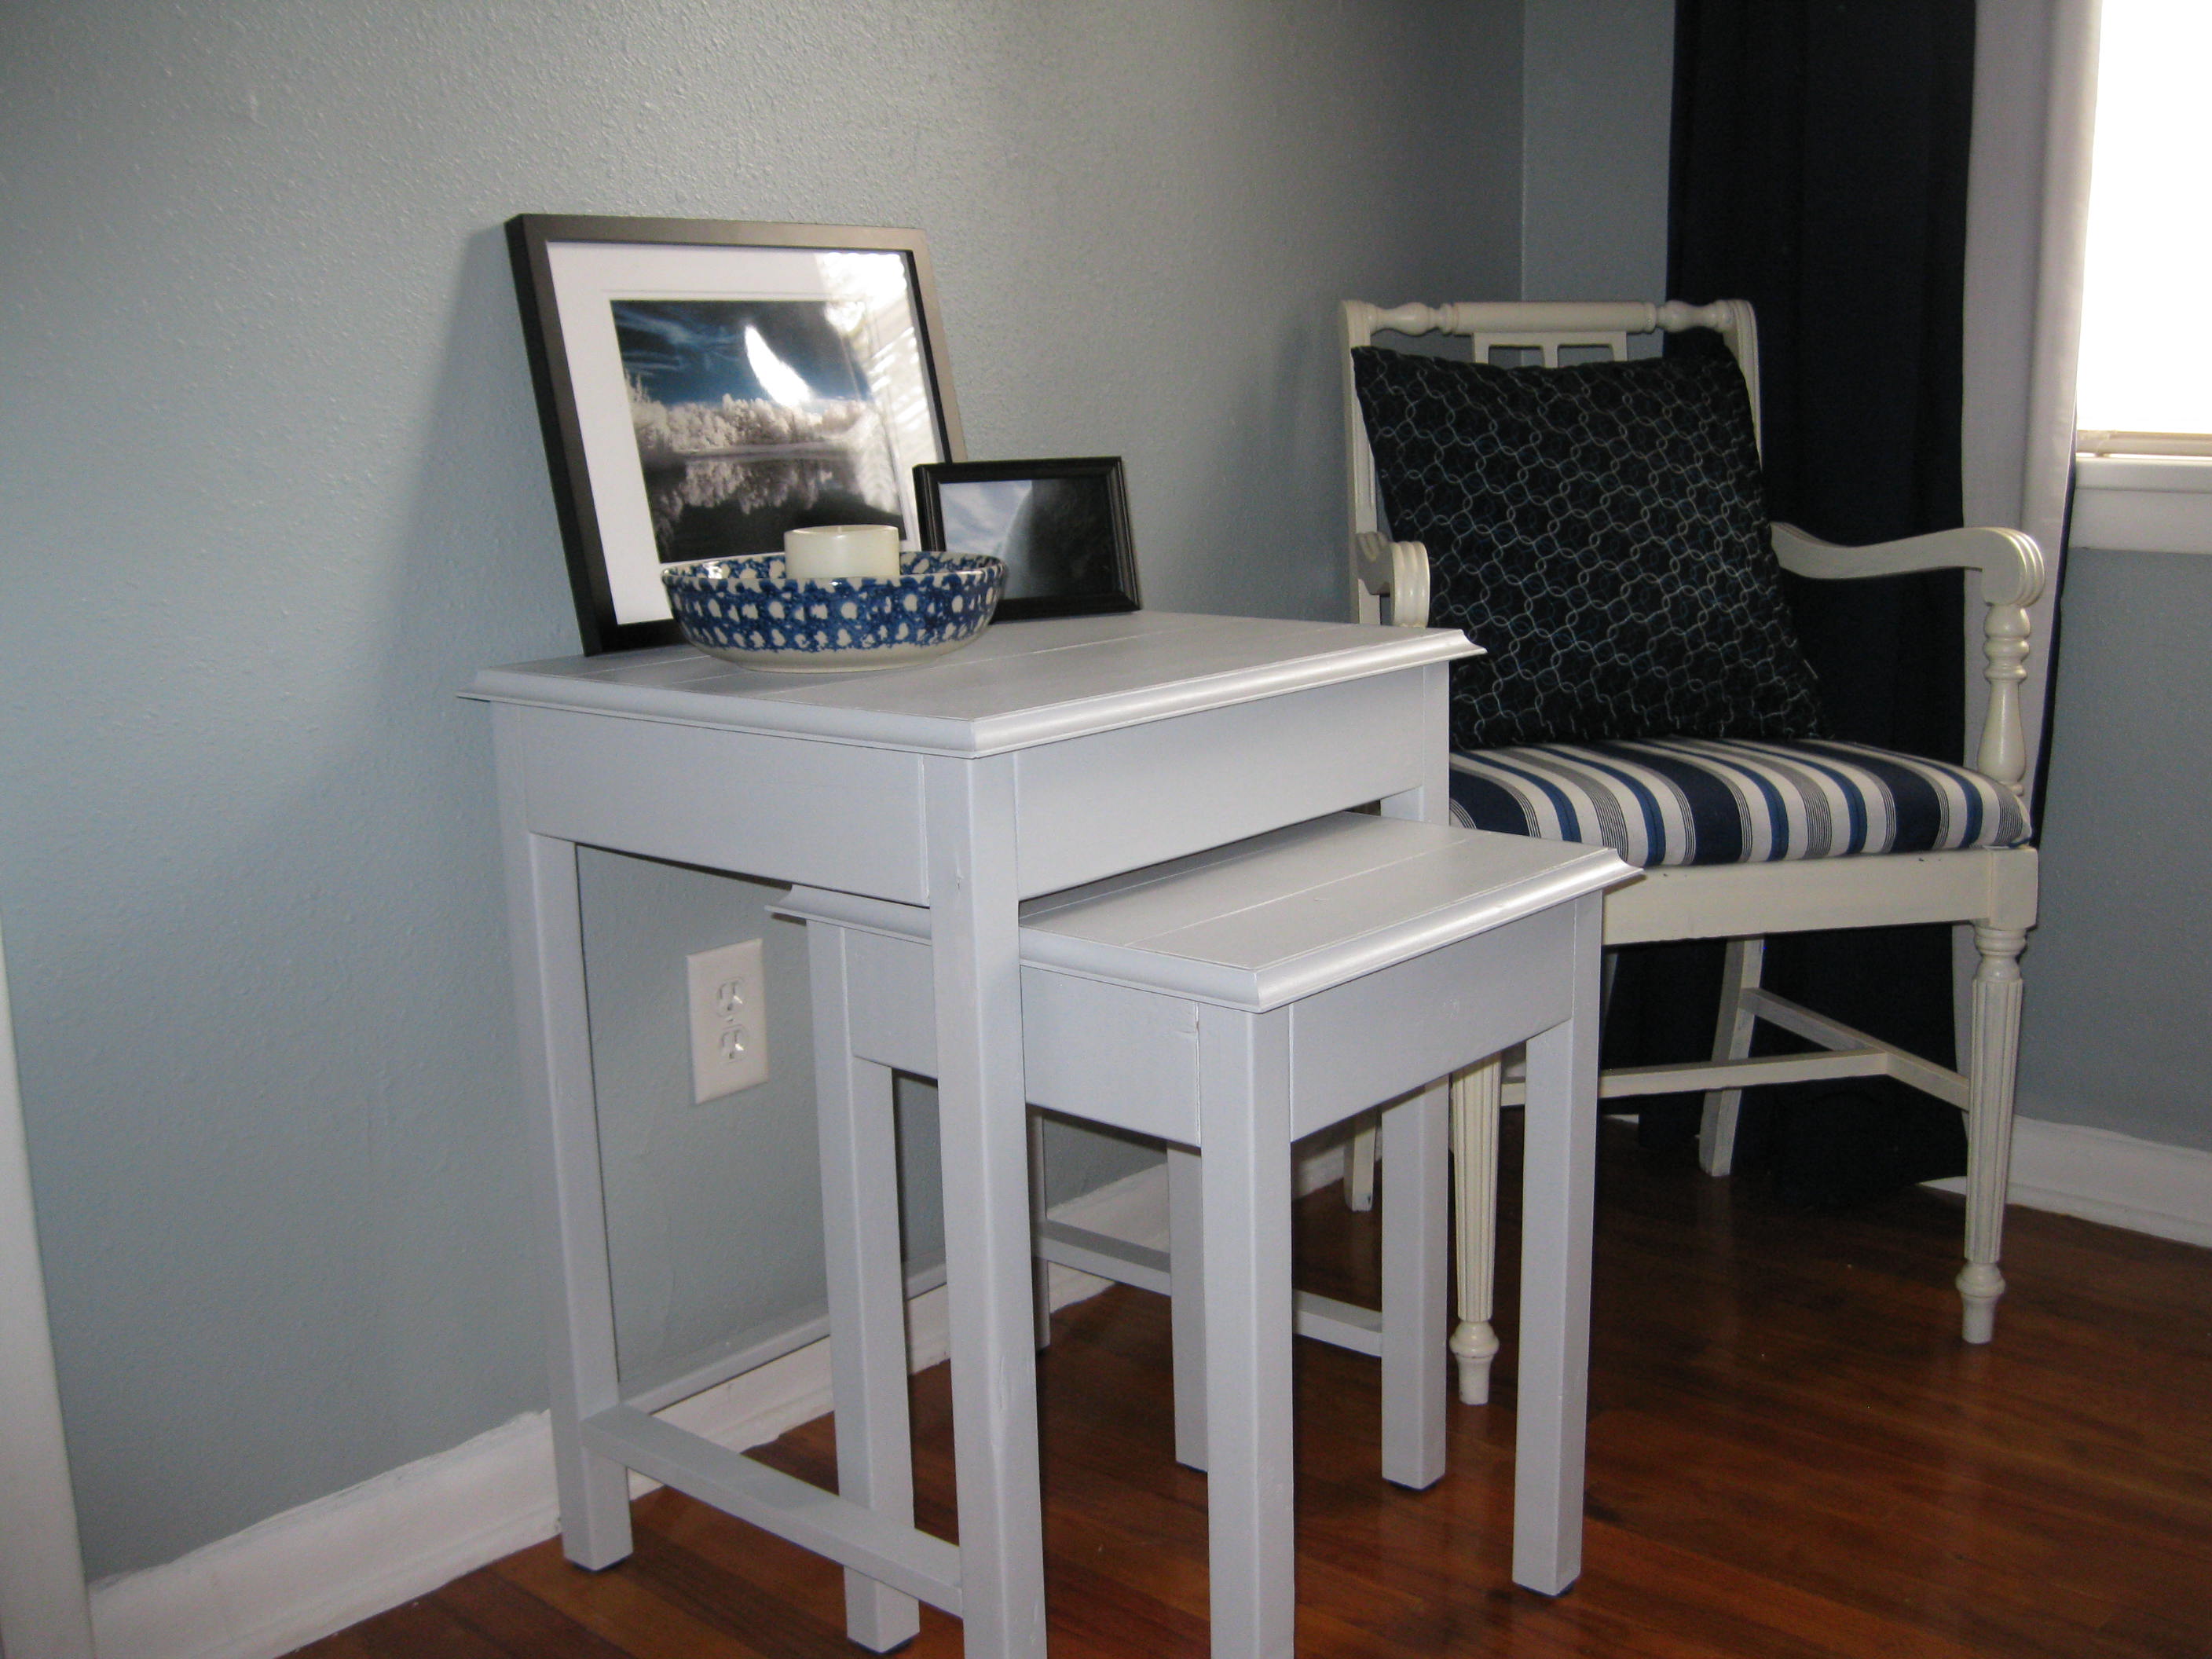
Modern Bench

Built this modern bench to put in my prarie.
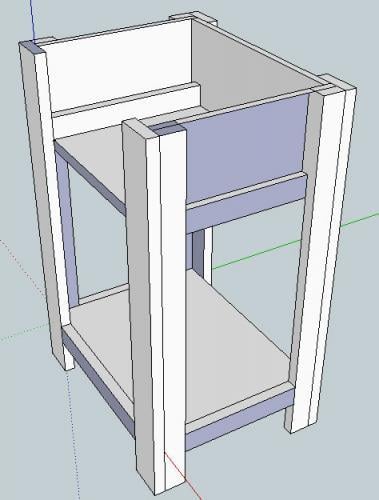
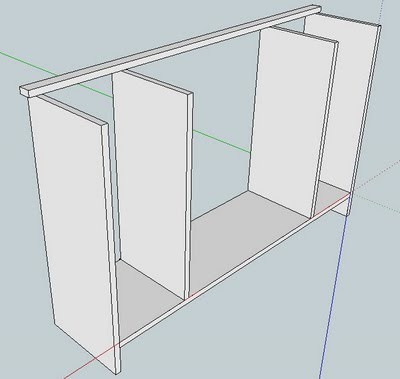
Built from Plan(s)
Estimated Time Investment
Weekend Project (10-20 Hours)
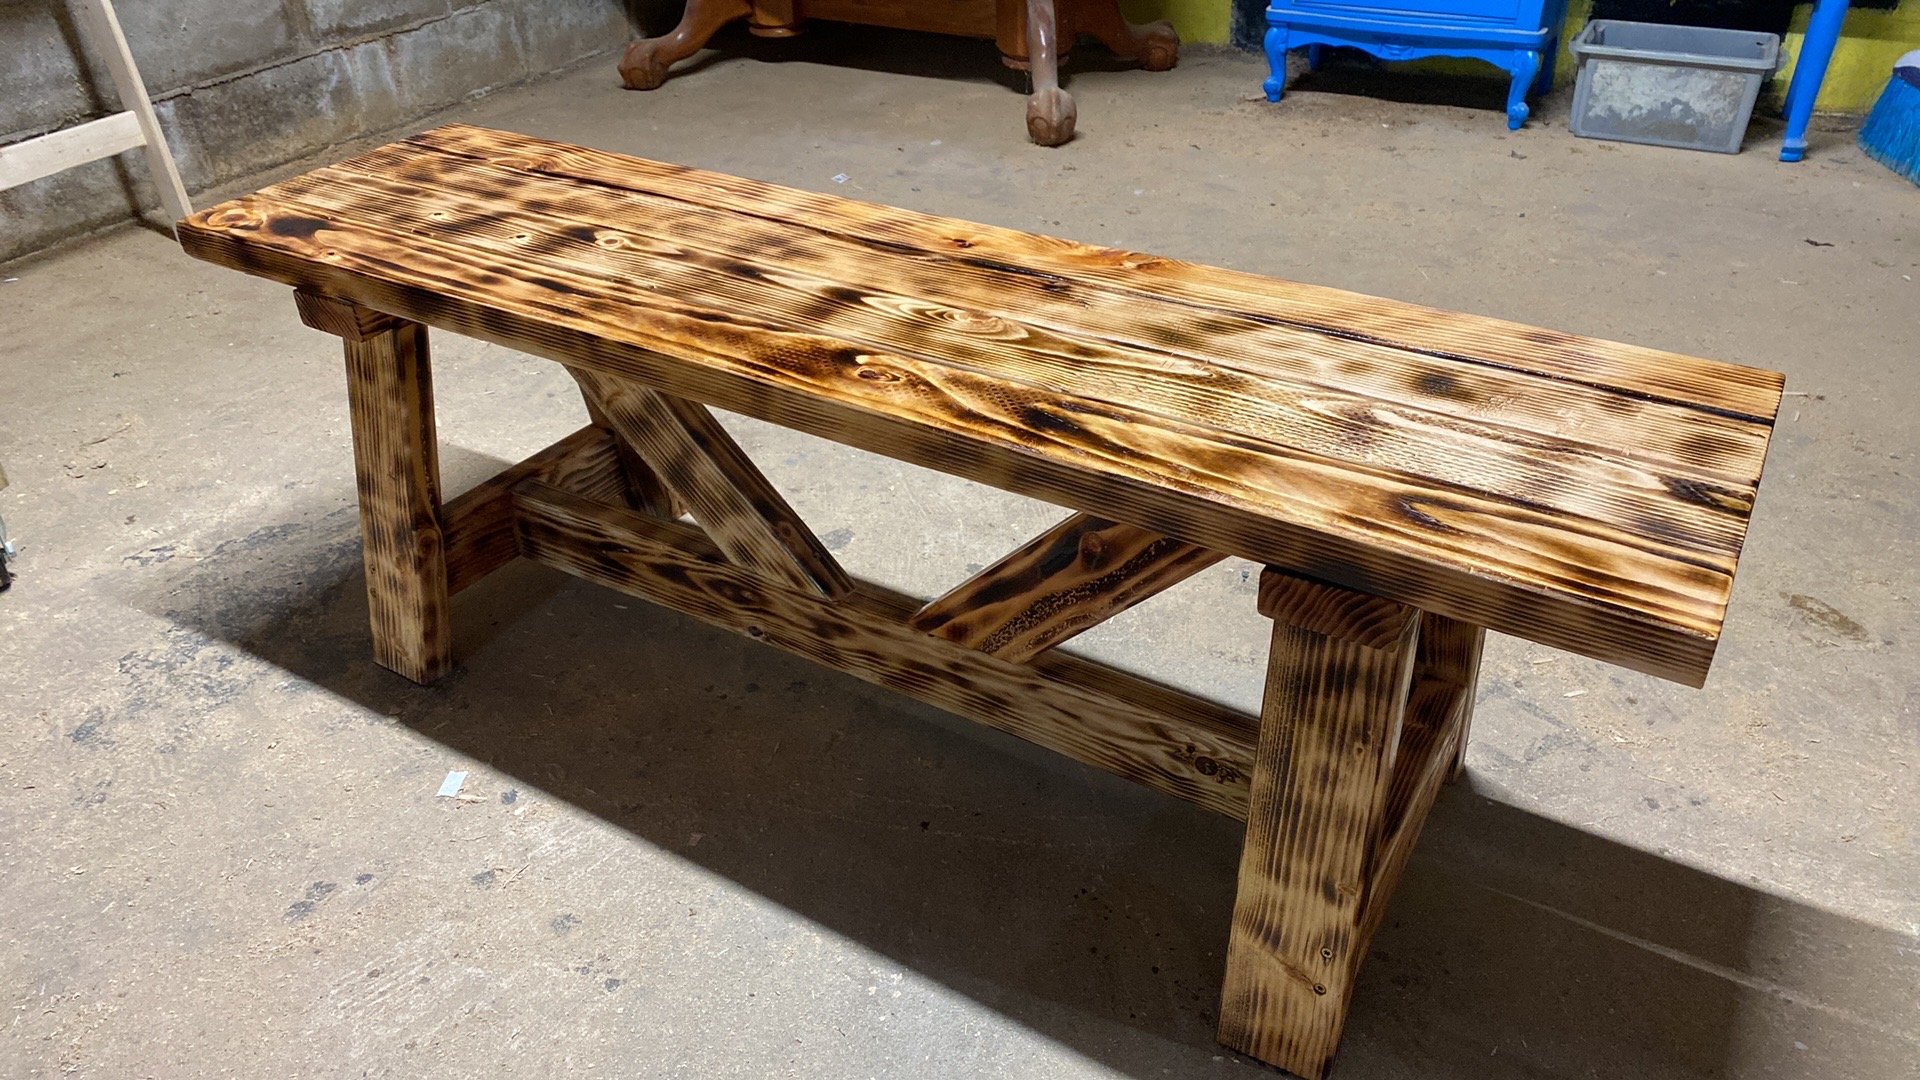
Finish Used
Exterior Paint
Recommended Skill Level
Beginner