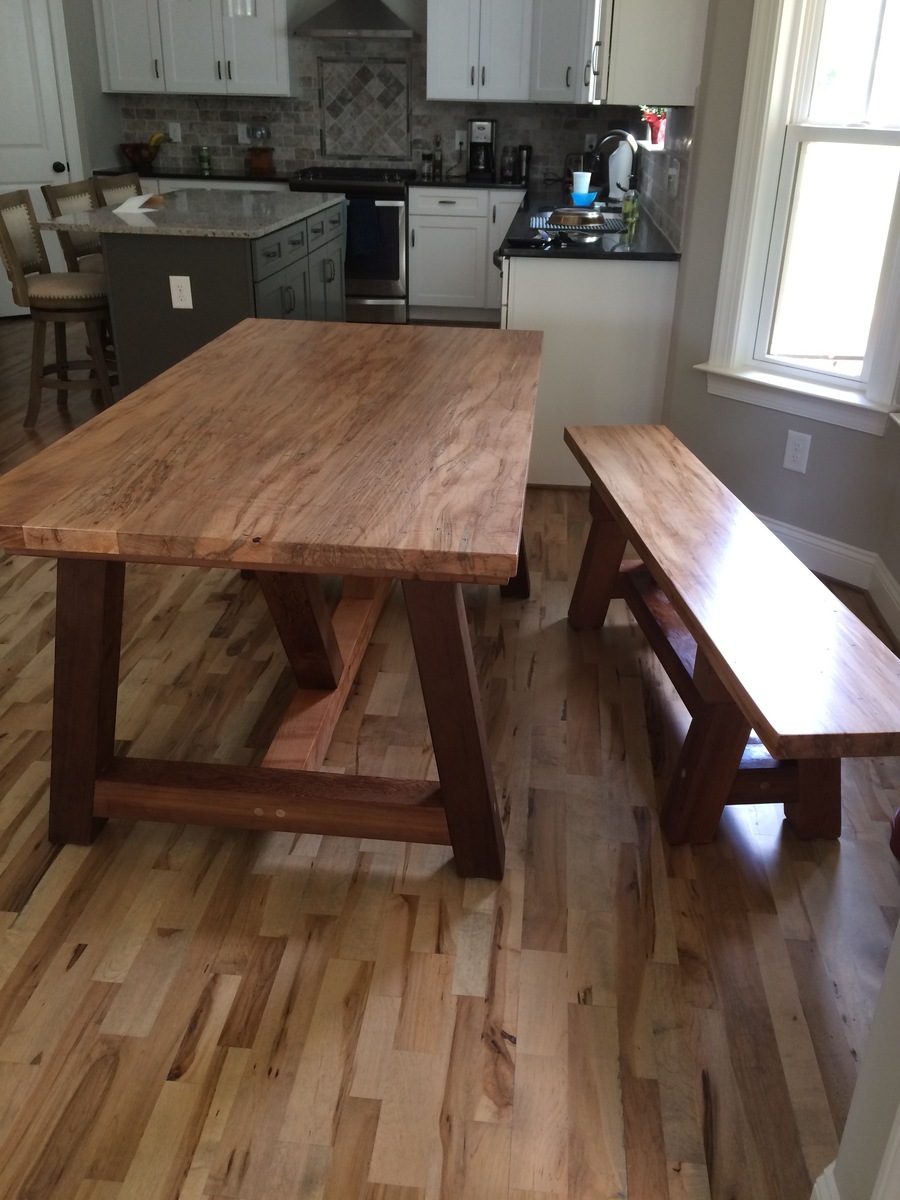
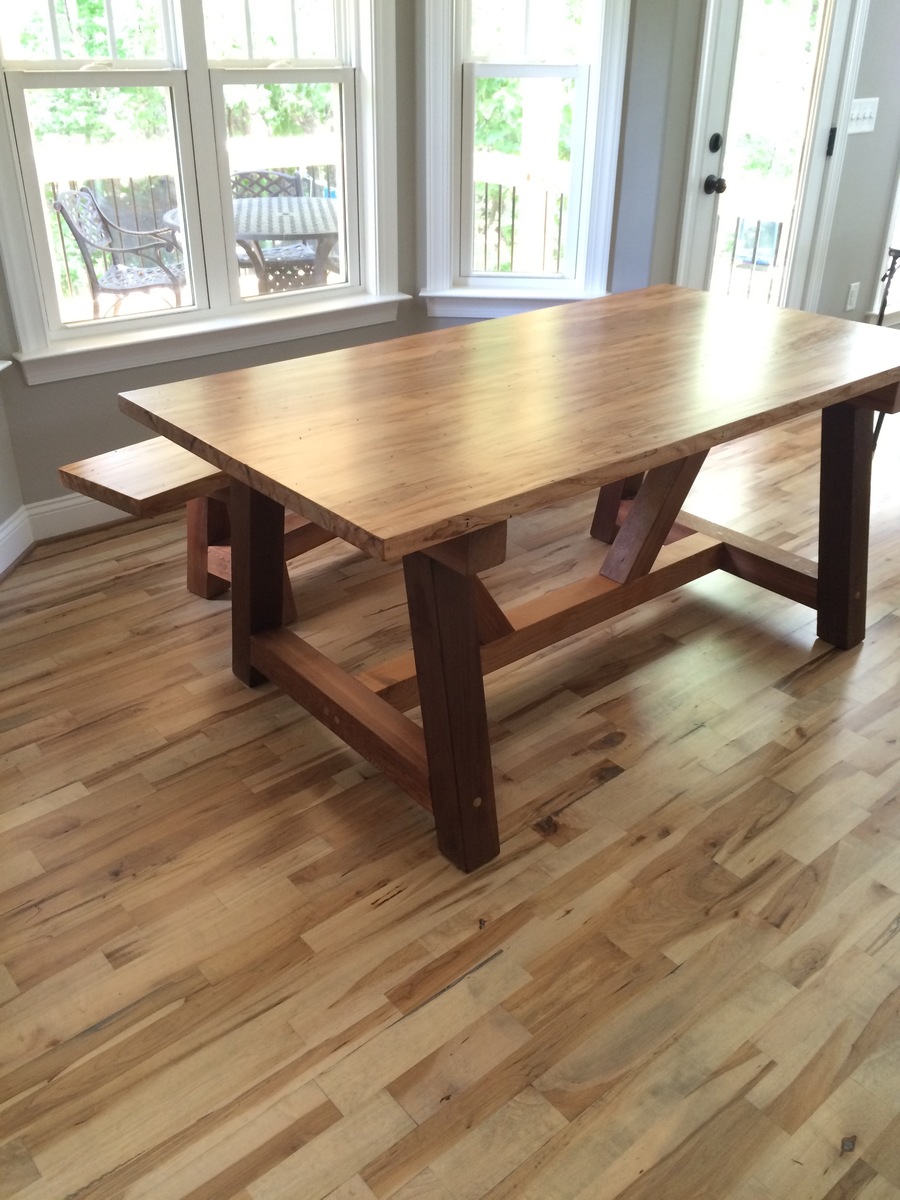
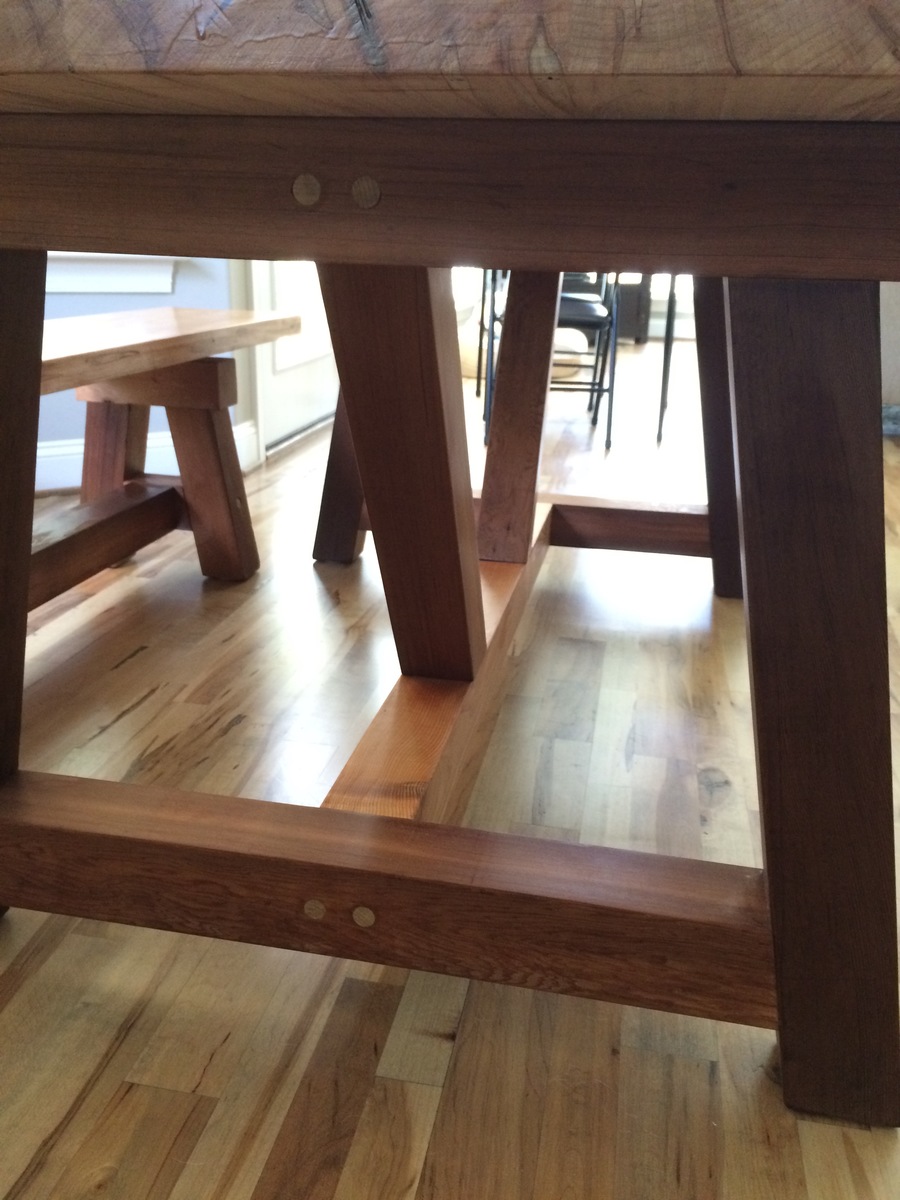
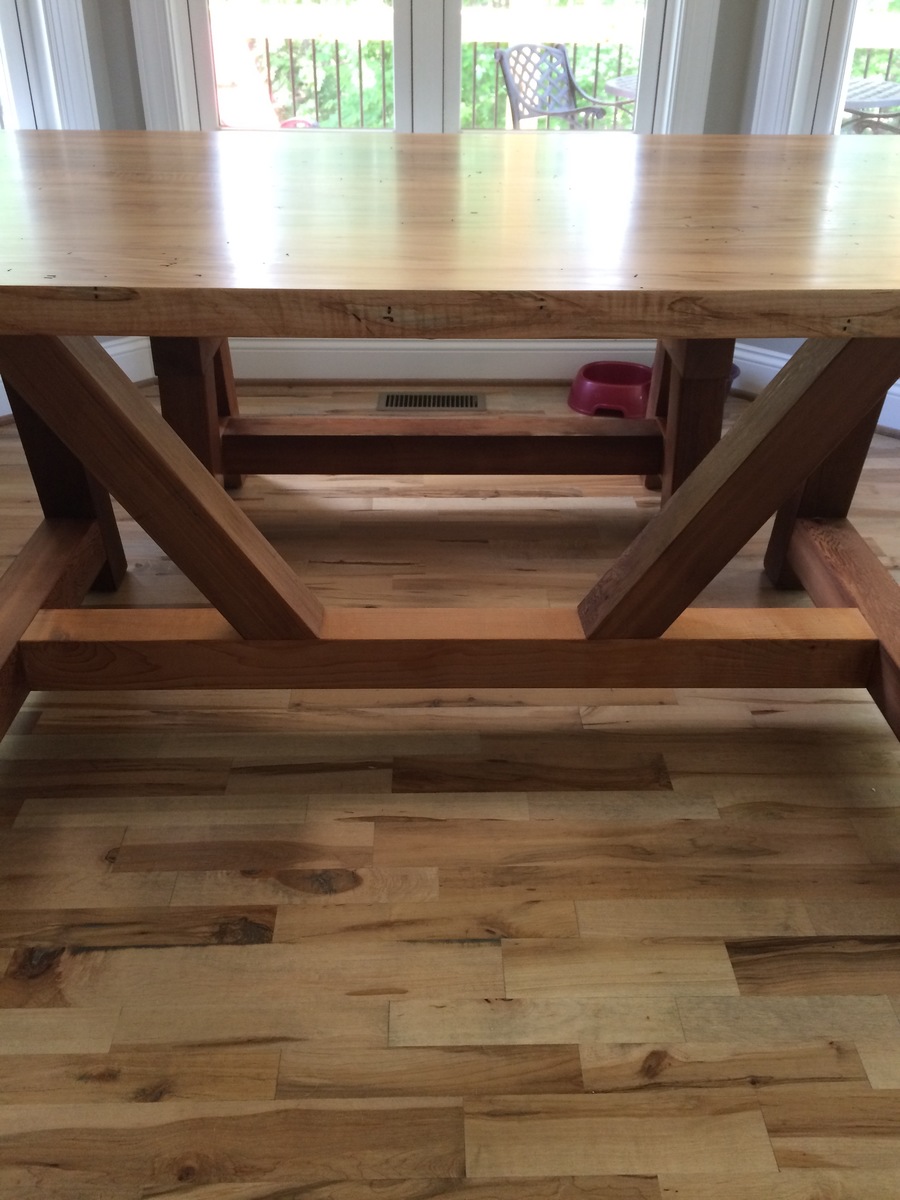
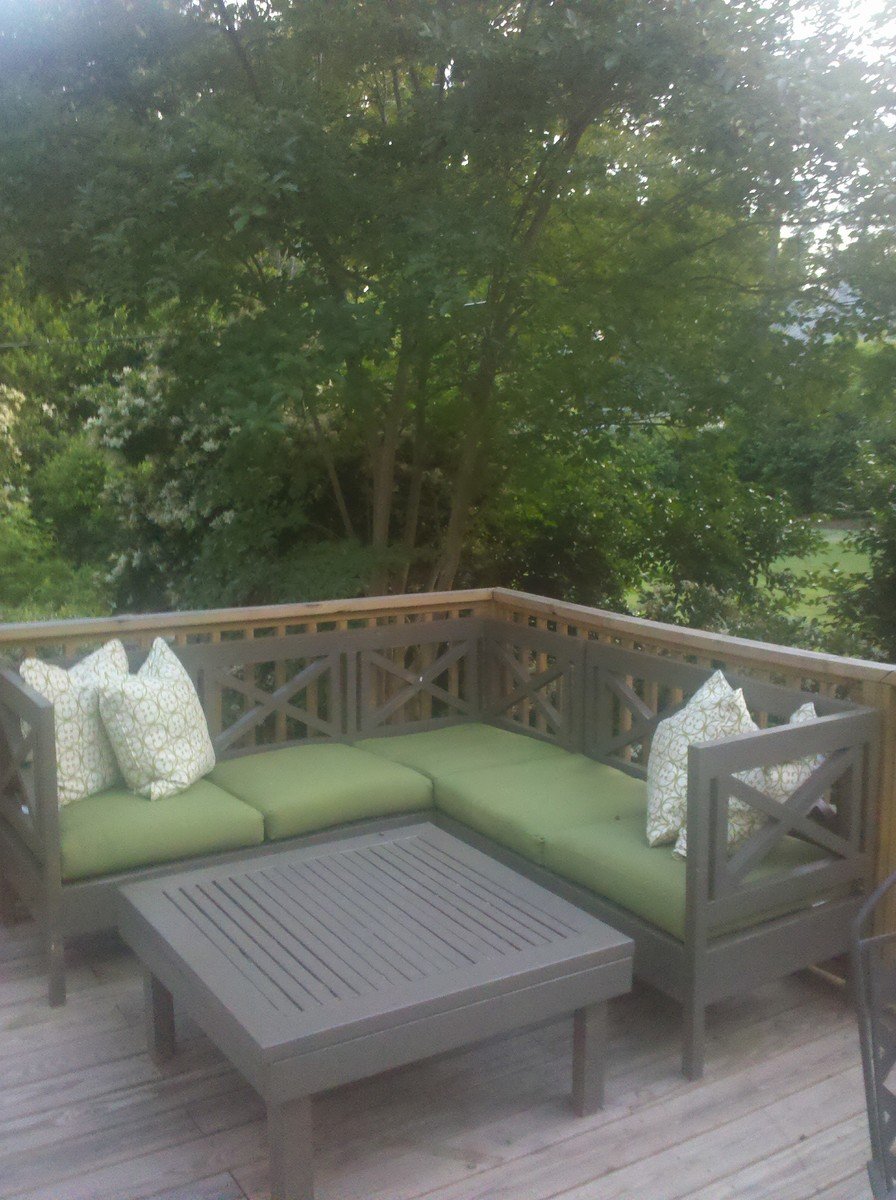
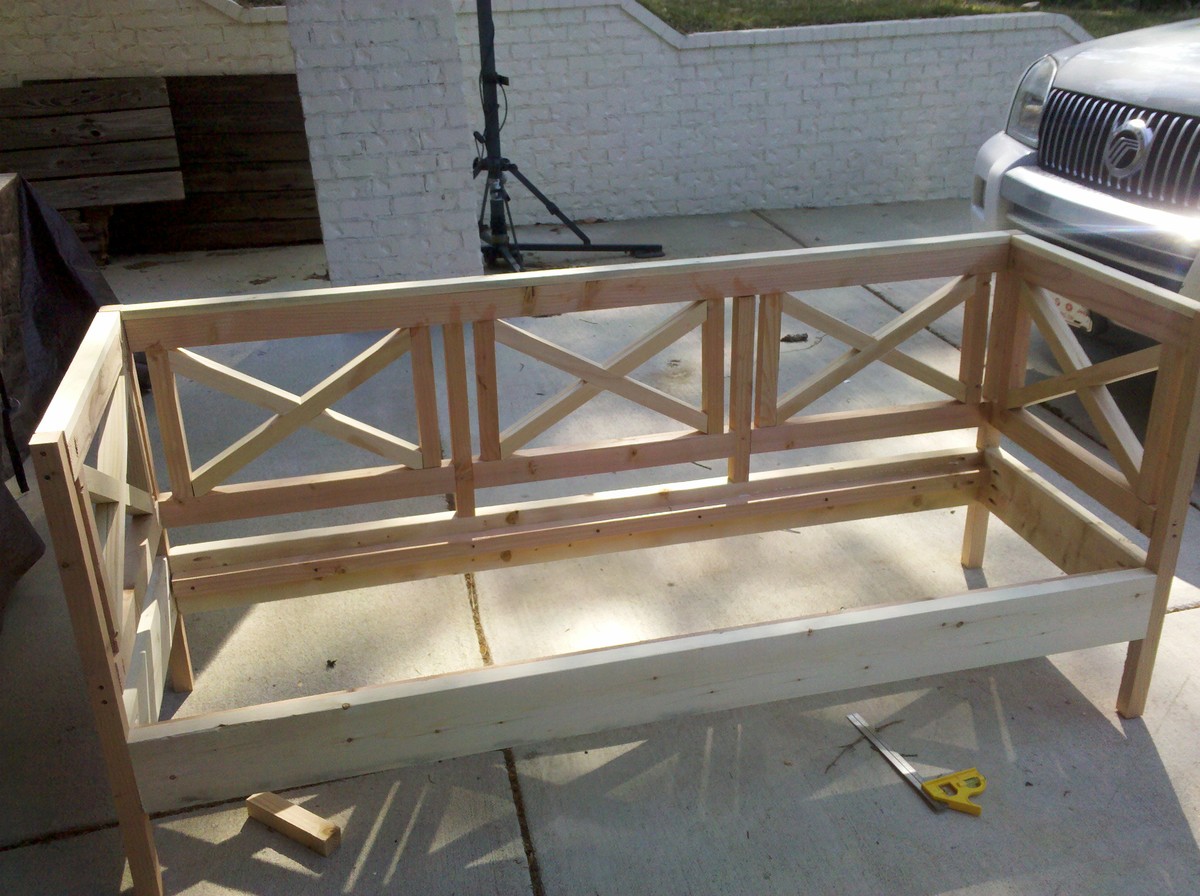
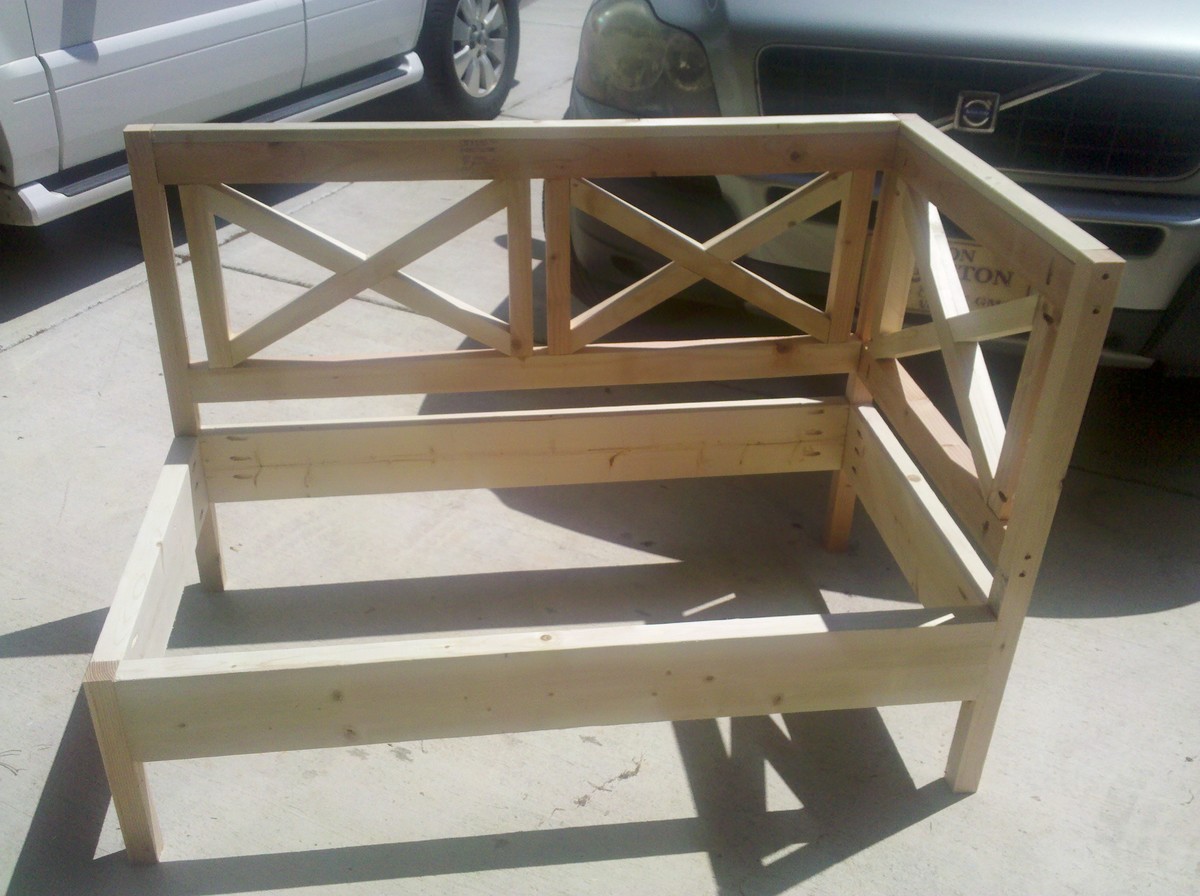
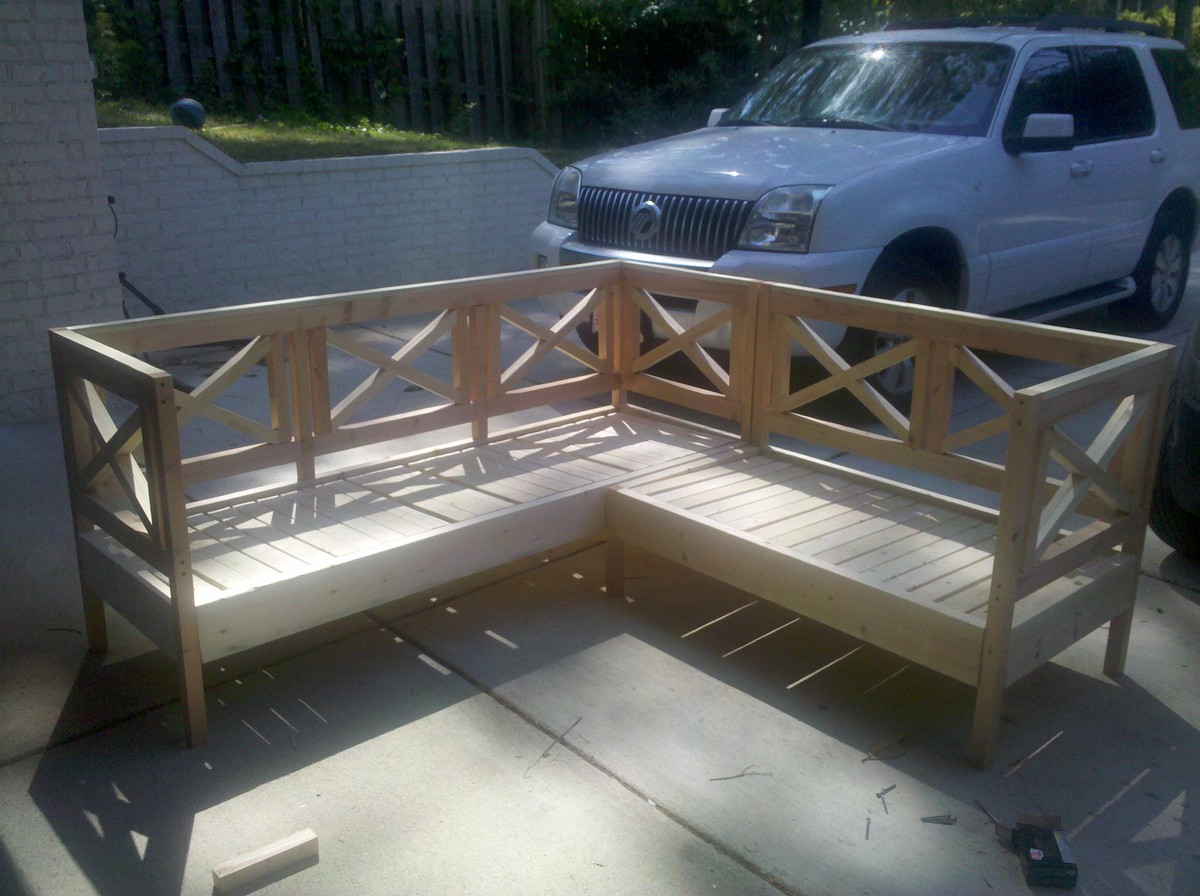
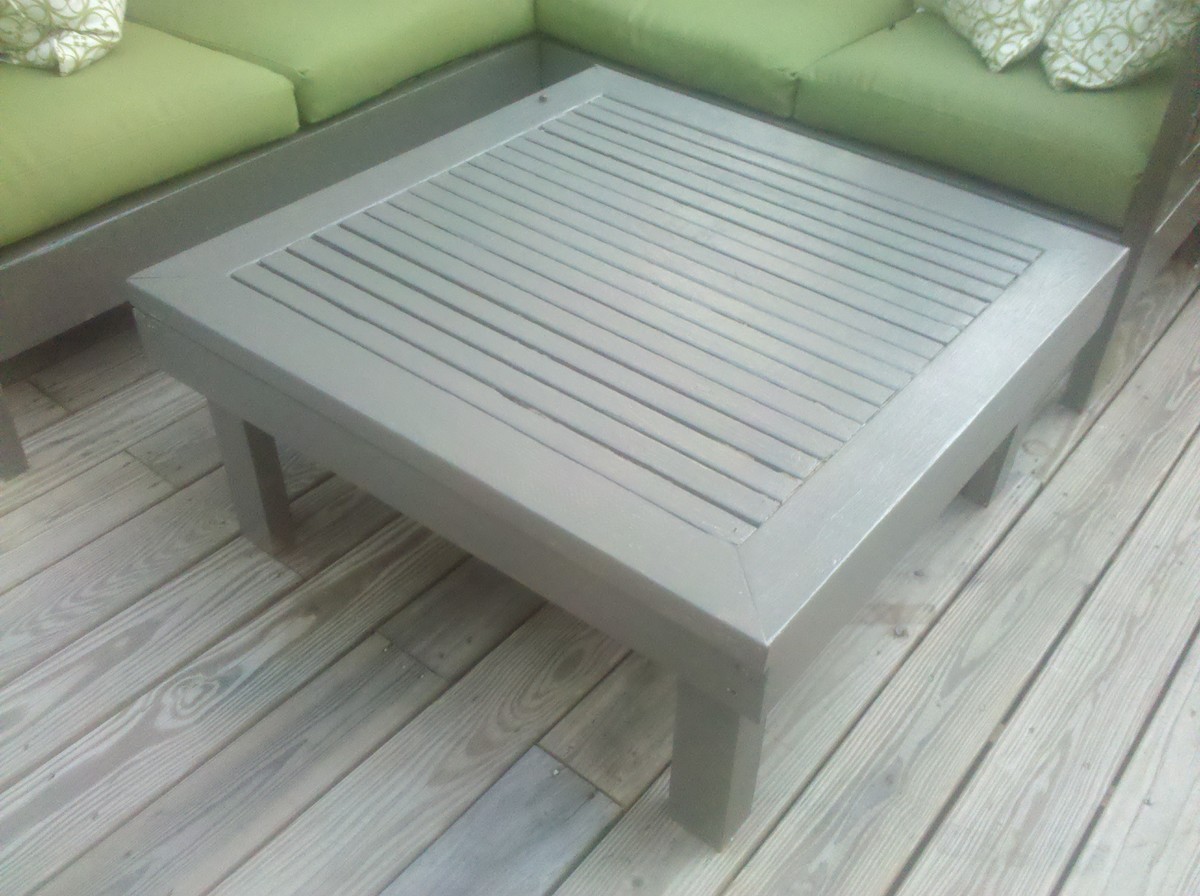
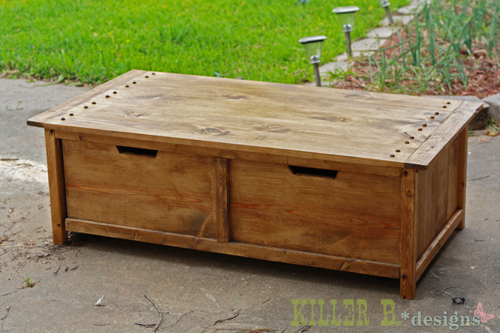
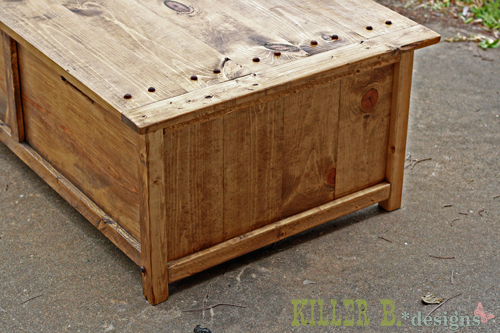
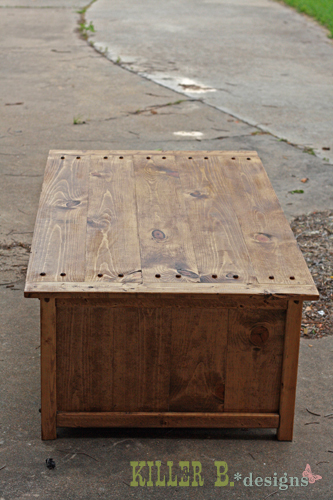
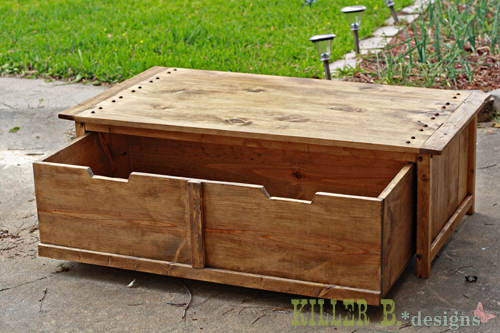
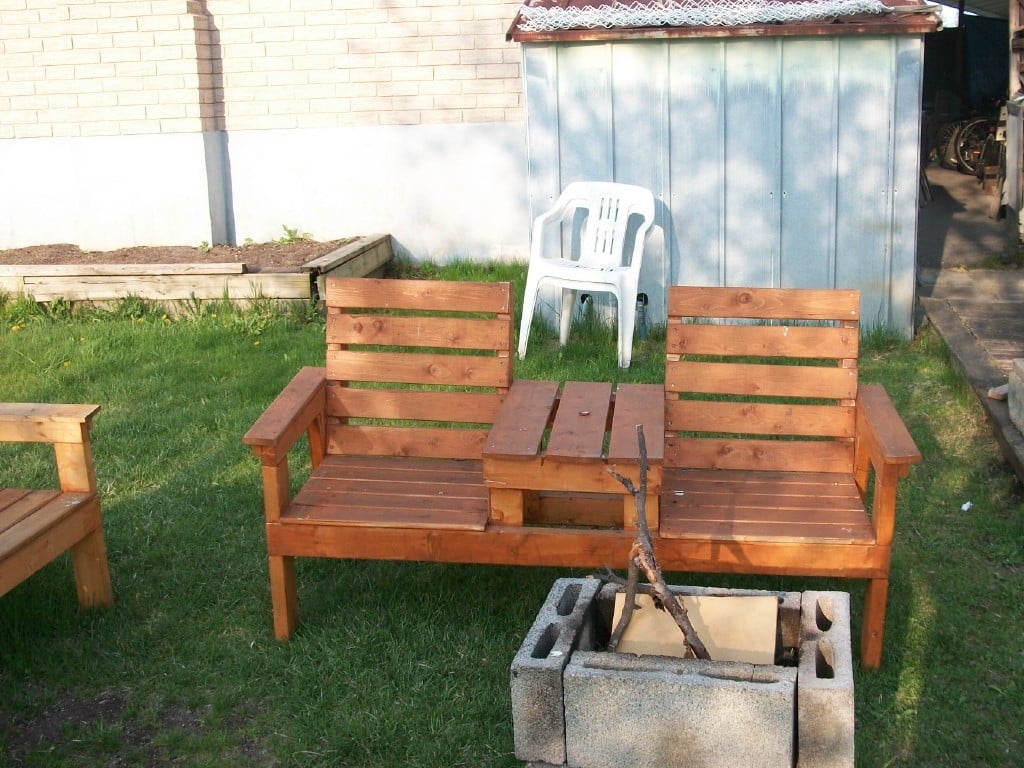
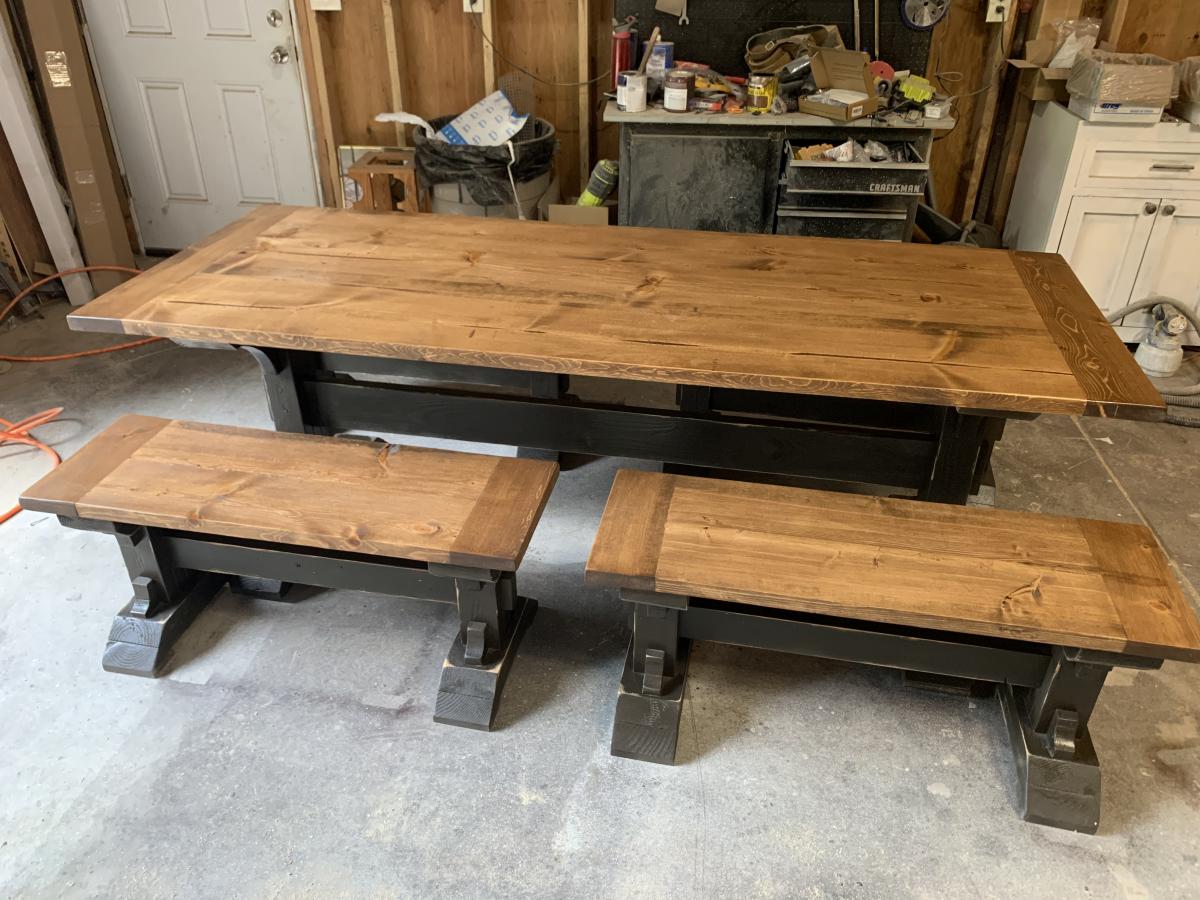
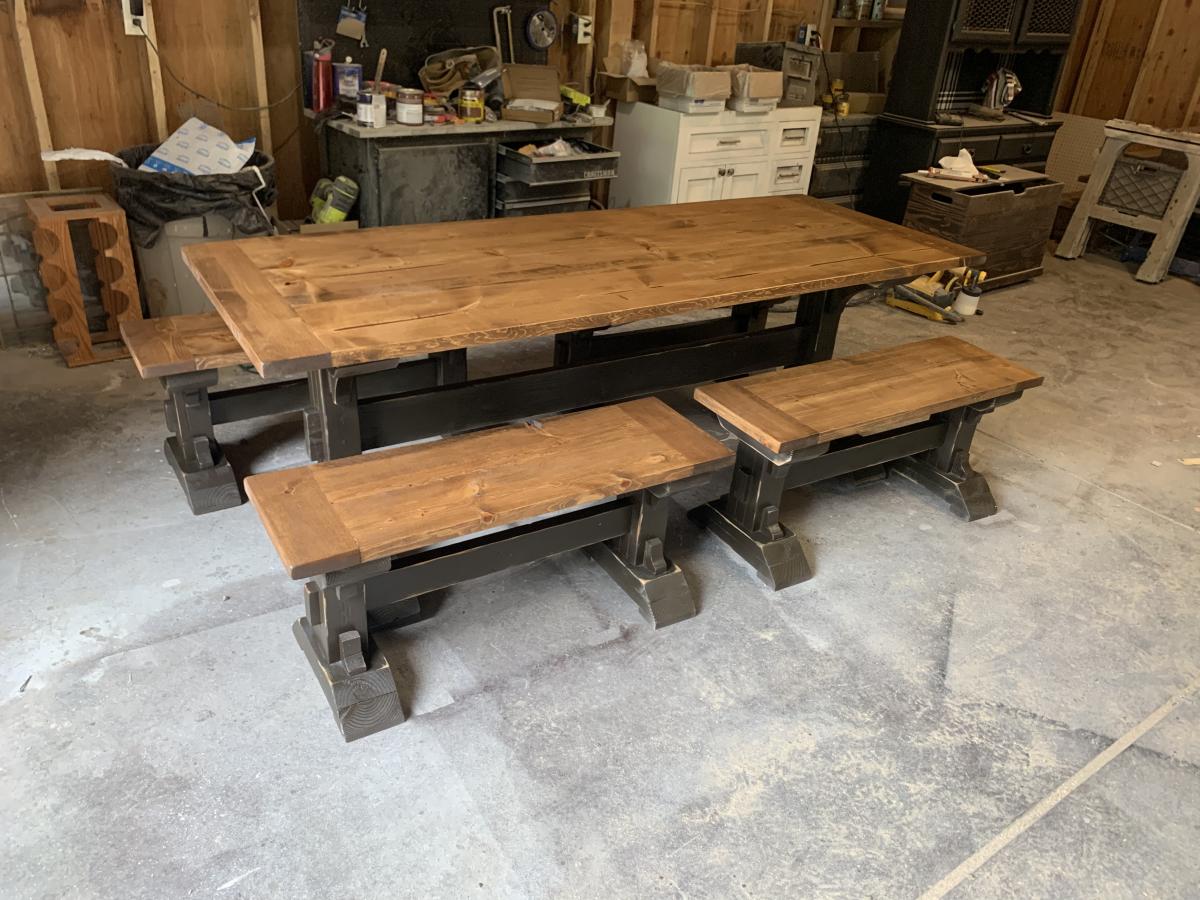
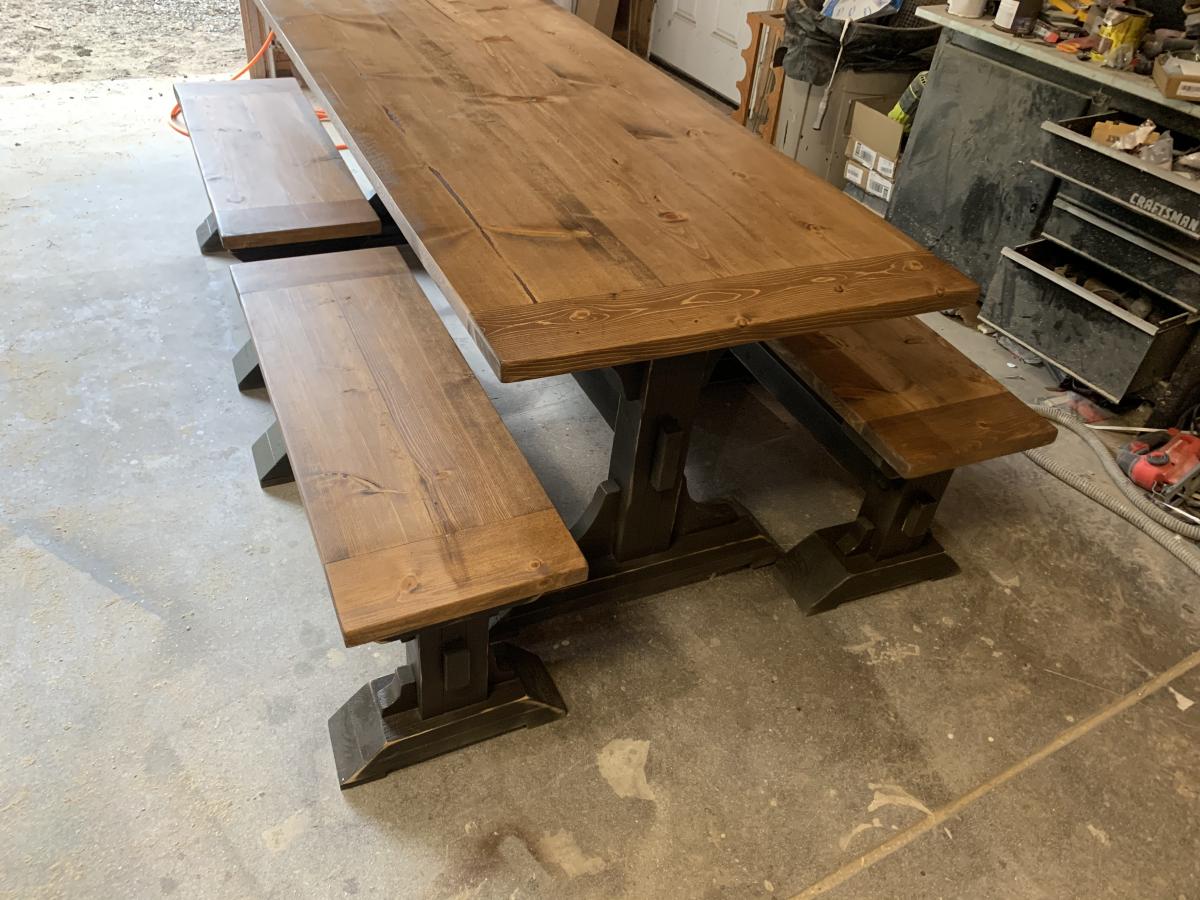
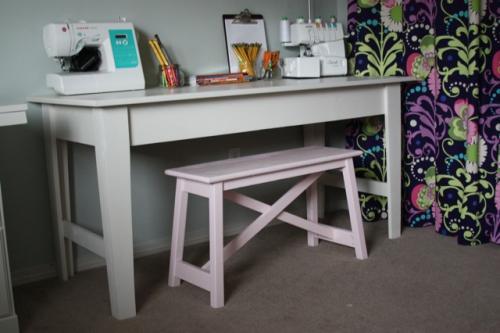
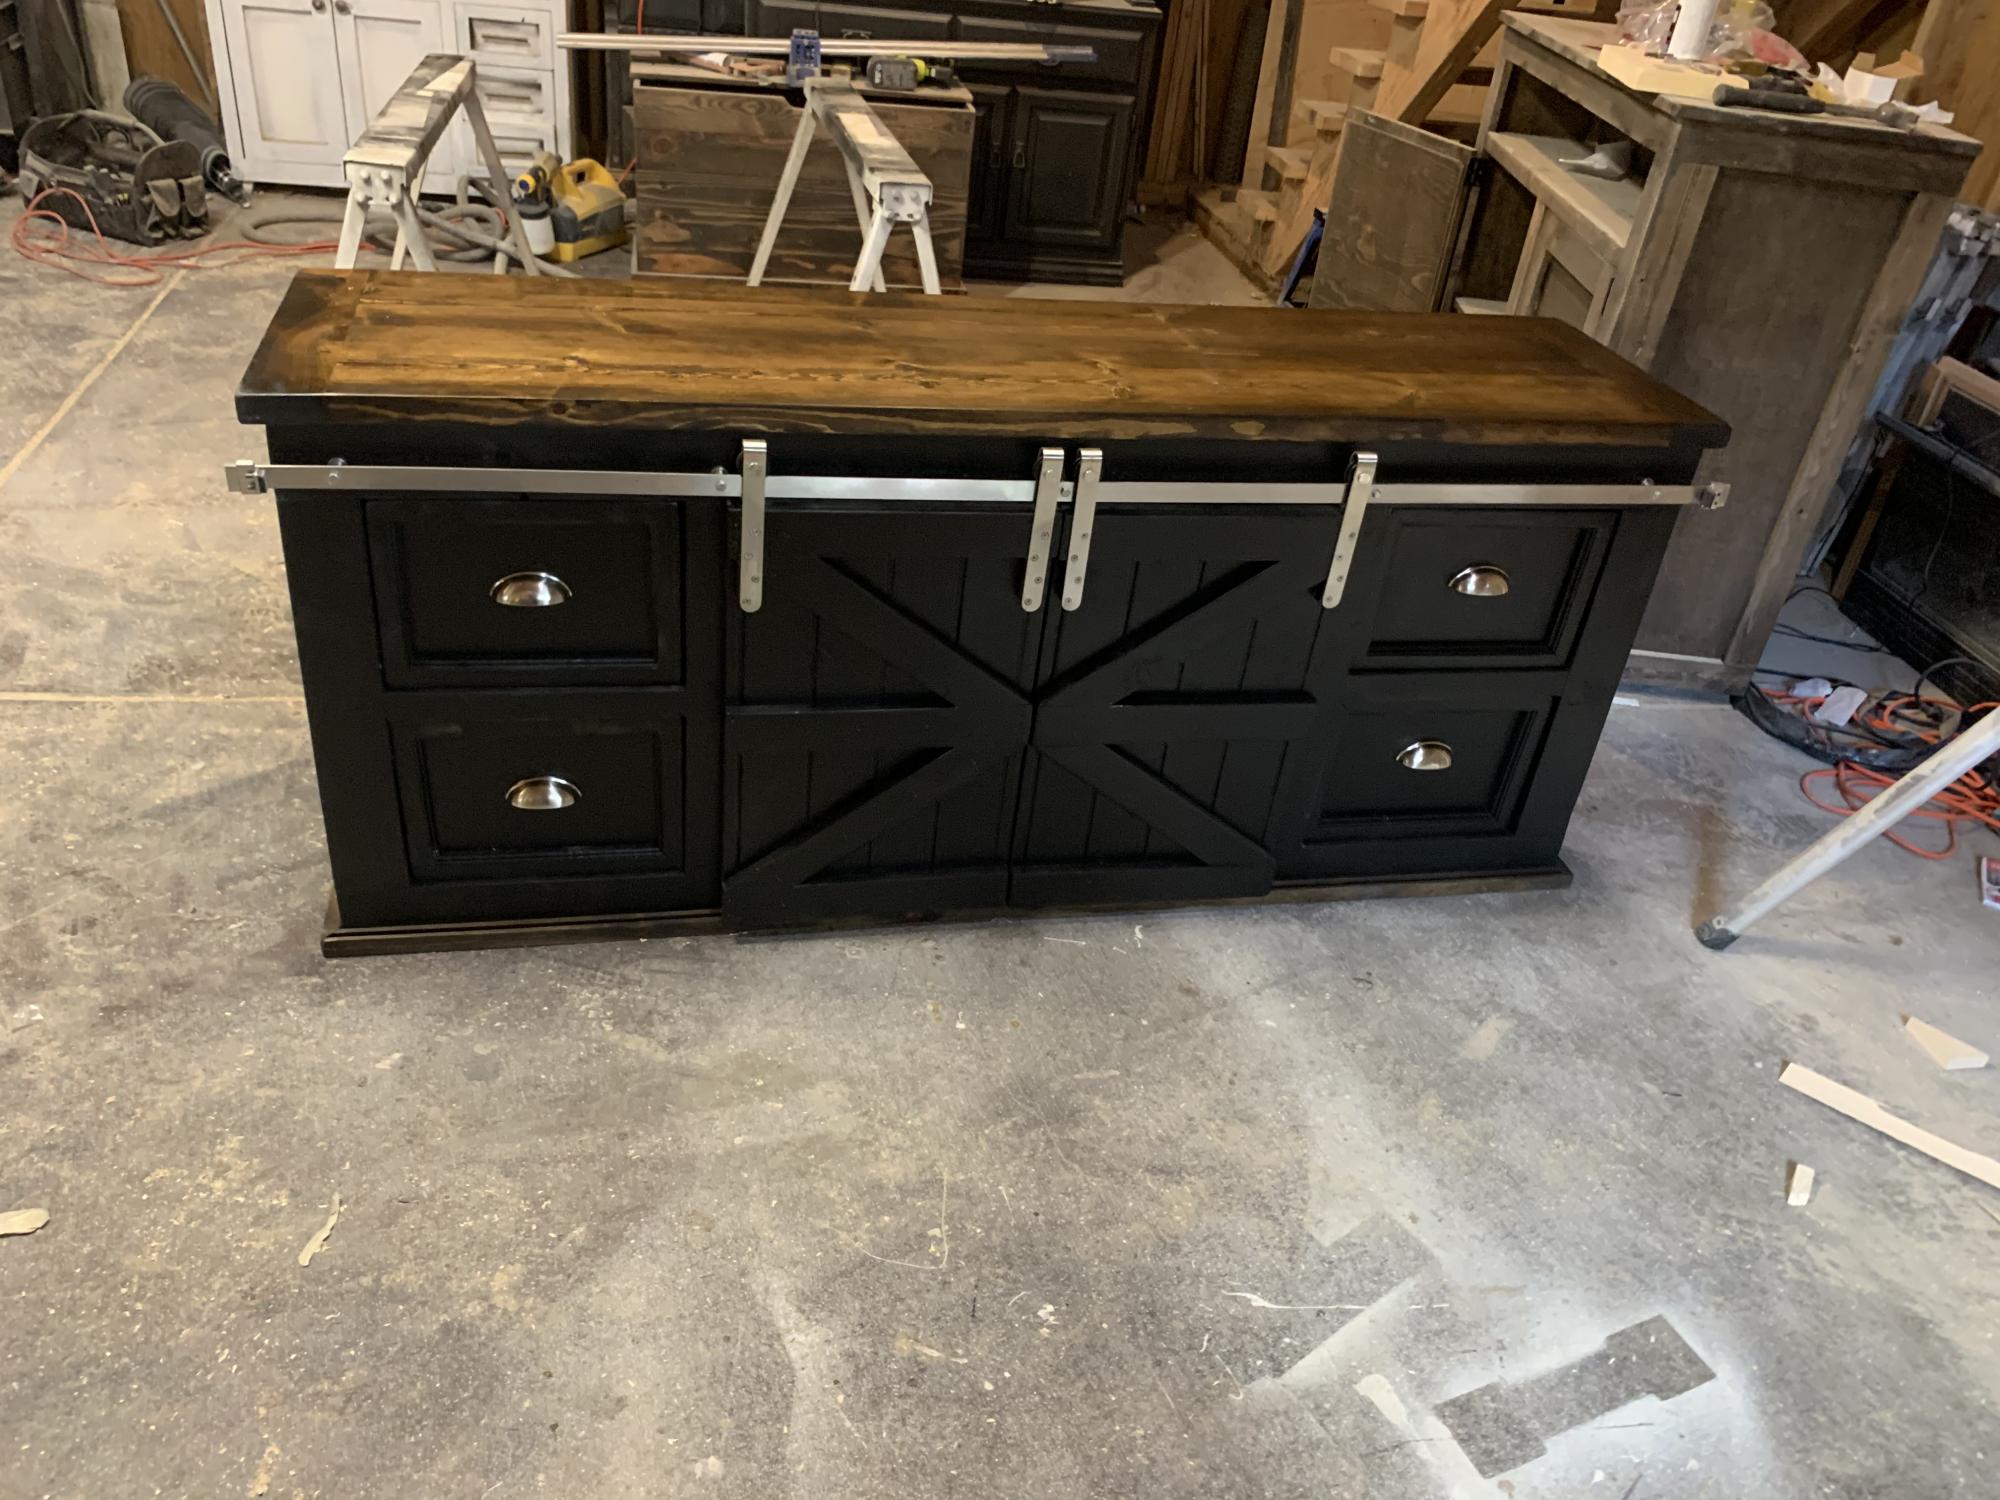
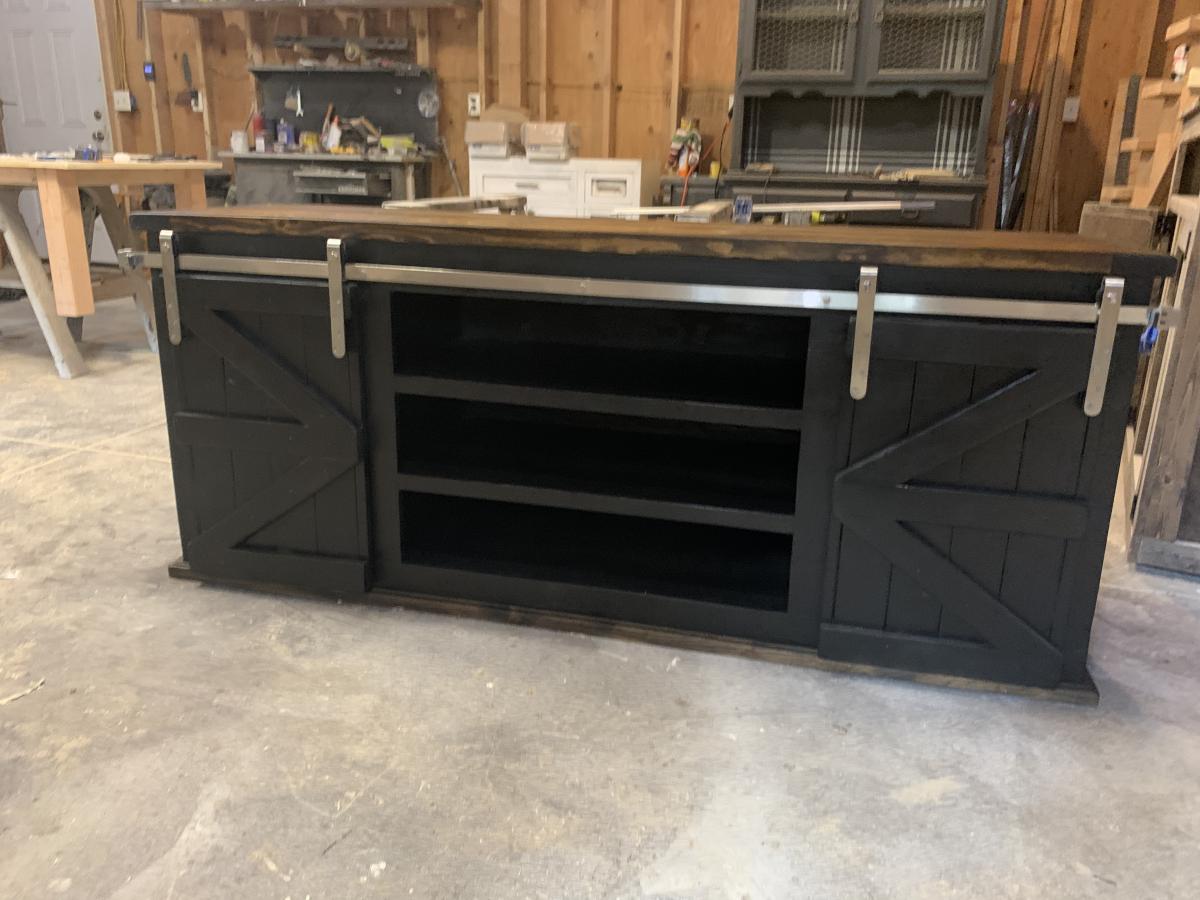
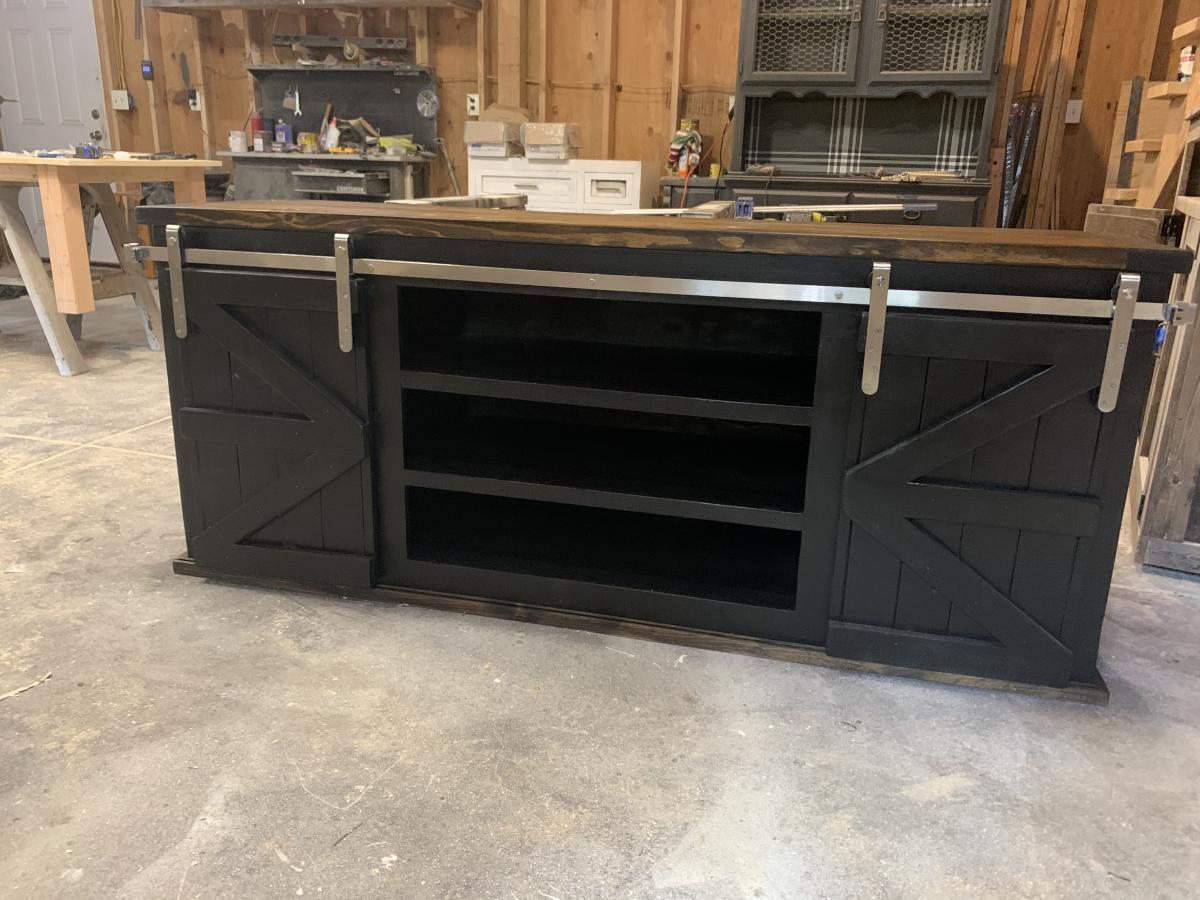
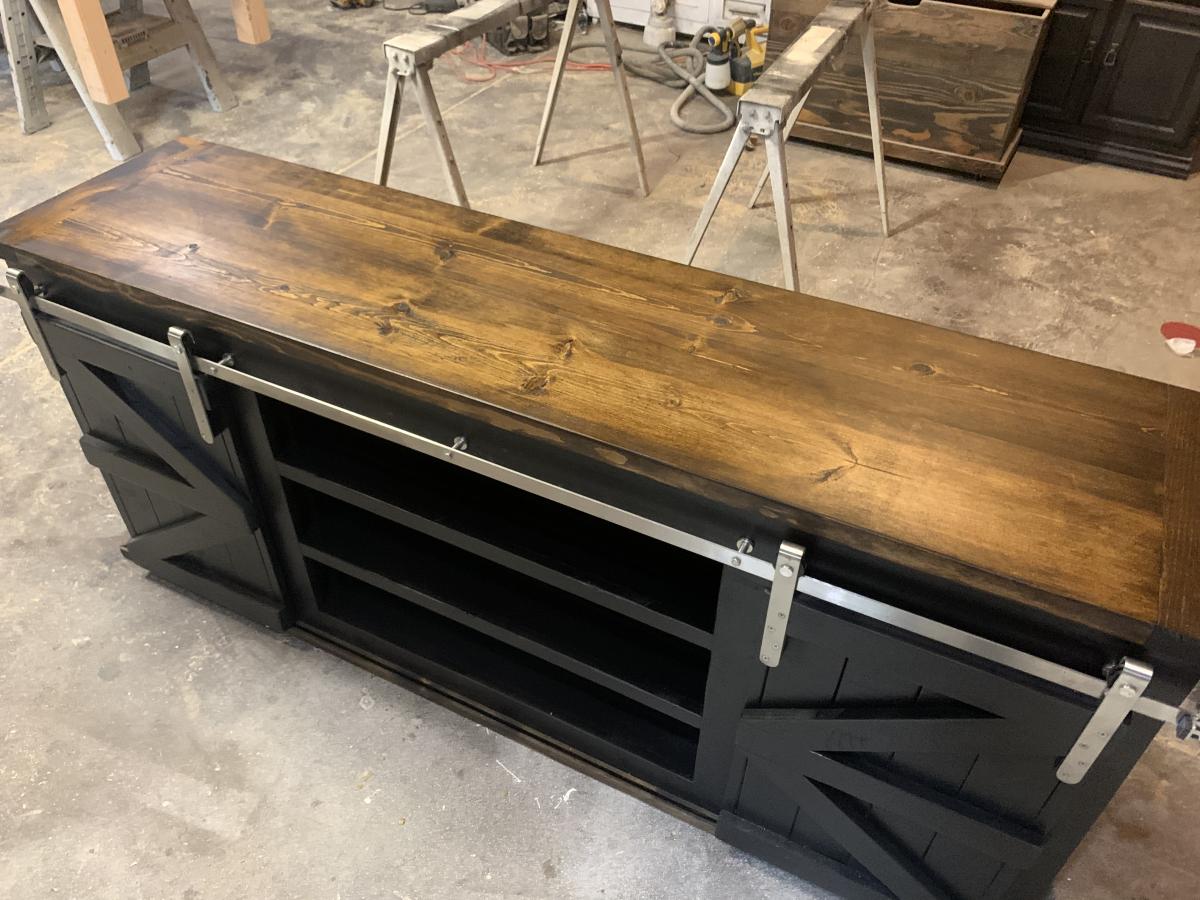
Alexia Bench
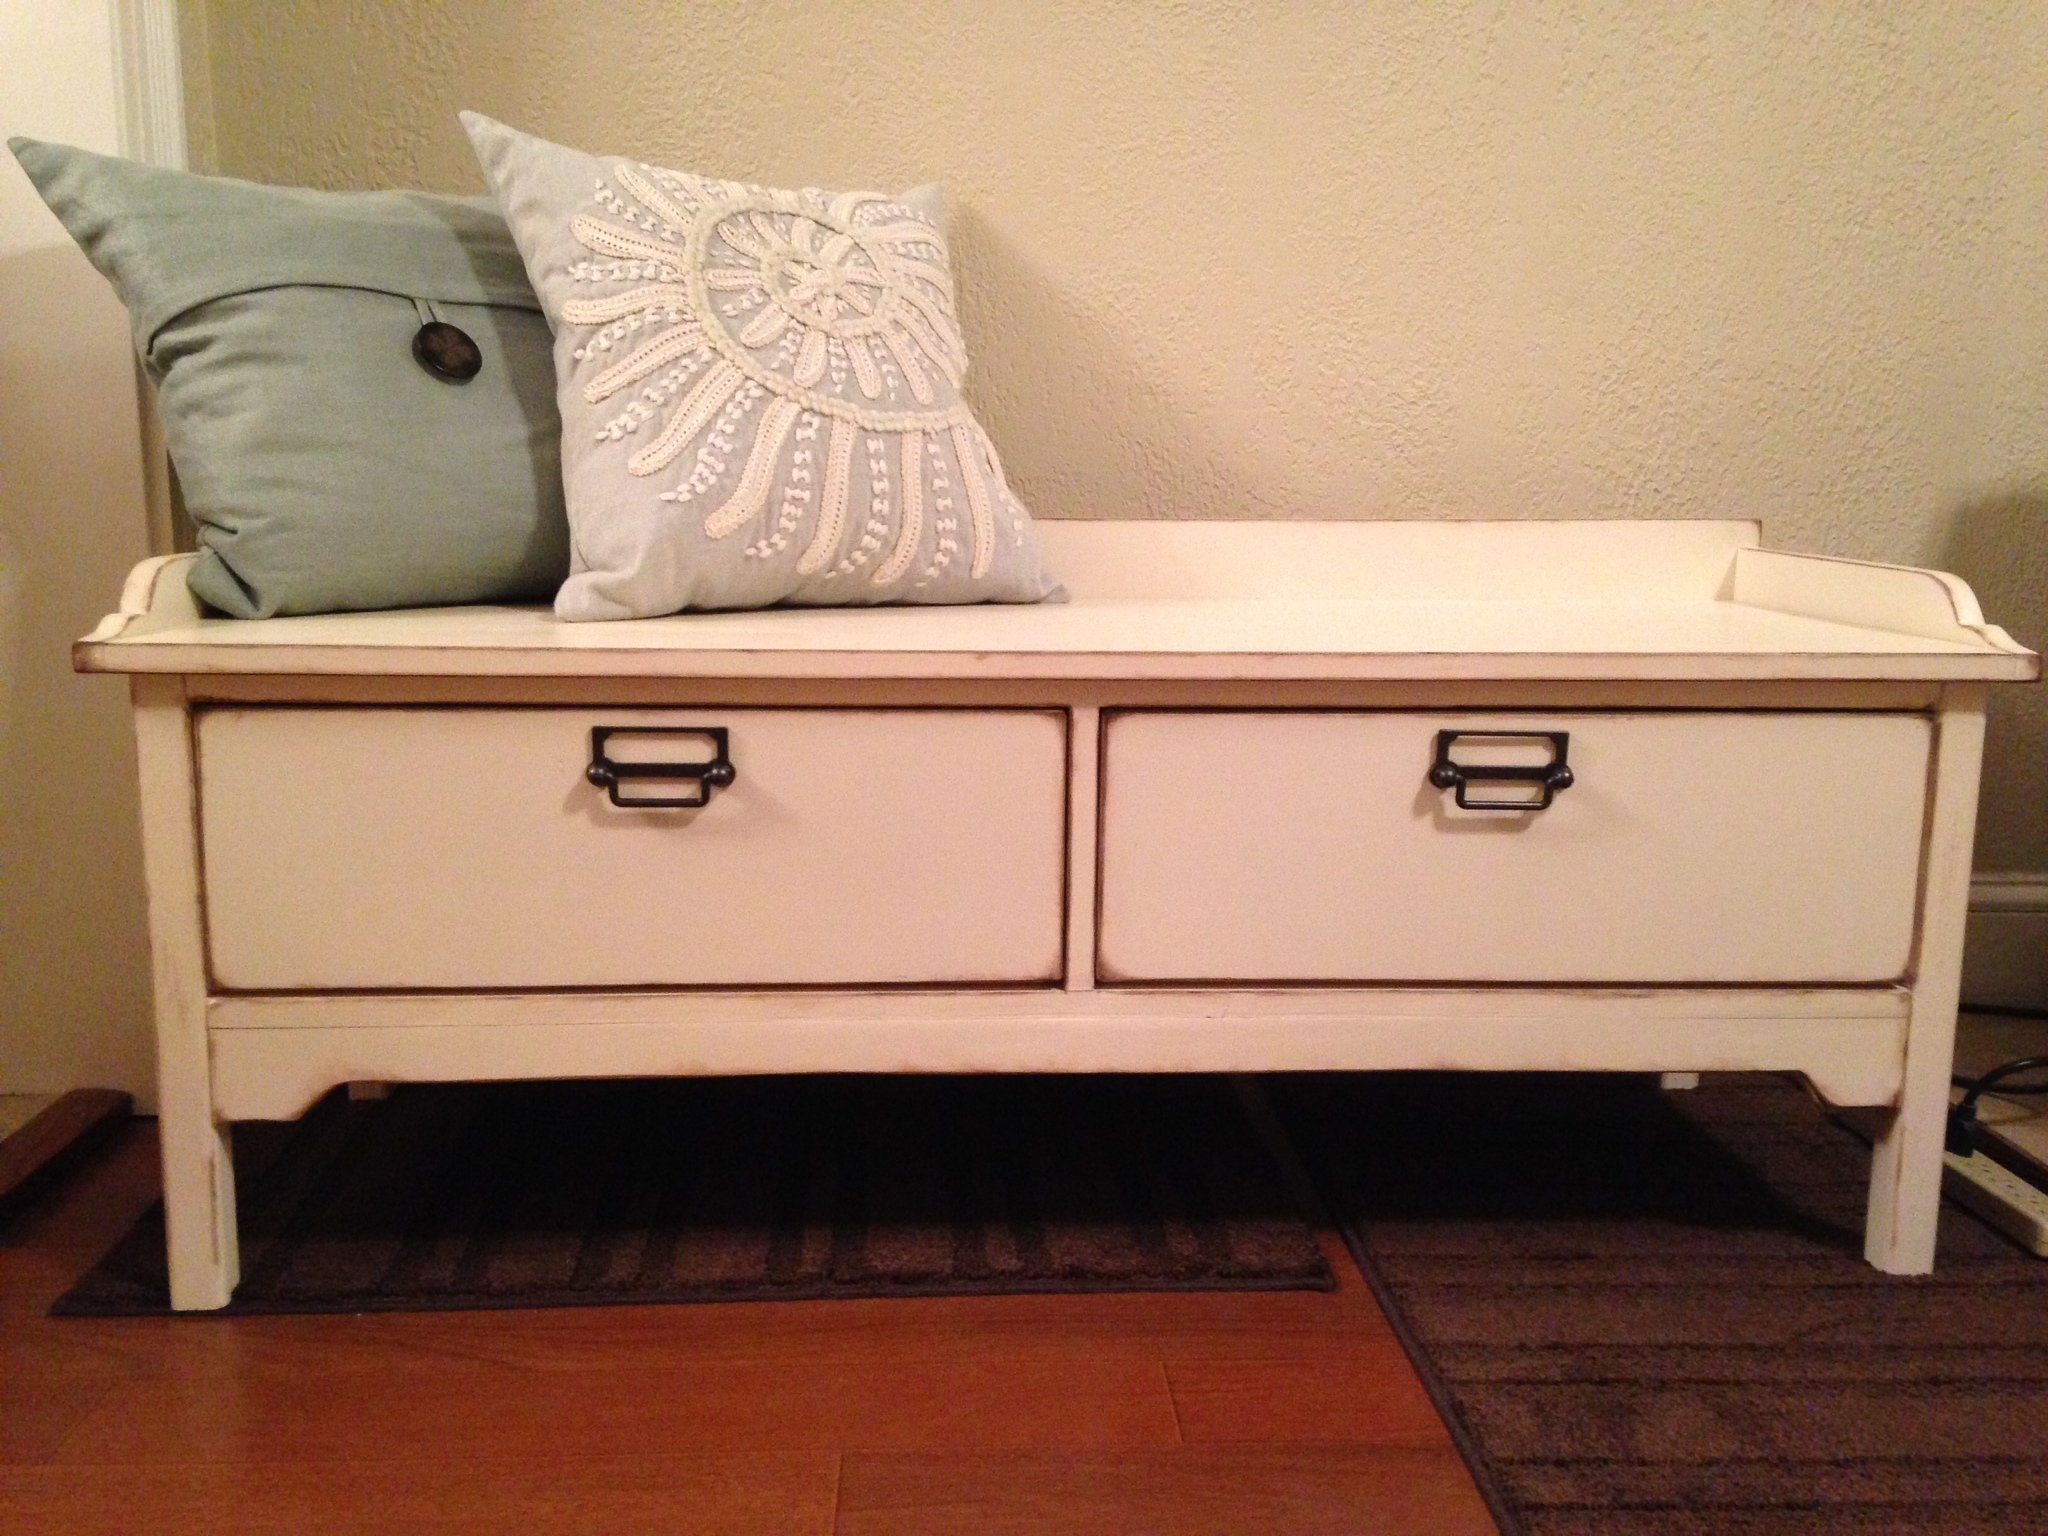
My very first furniture build! Followed the construction plans and my bench turned out great! Thank you for helping others enjoy this craft!!
Solid Wormy Maple Top, "clear" grade, no knot westerd red cedar 4 x 4 legs, 4 inch lags (no Kreg Jig), Spar Urethane on top (clear satin, 3 coats), and Danish Oil on legs (one coat to keep "dry look"). Wormy maple boards, S4S, joined and plained. Bench is one solid piece of wormy maple, same top coat as table top.
This is my version of the horse stable. I used wood I had laying around in the shop. As a result I tweeked the plans slightly. I use 1x material for the roof and floor. This made is much stronger. I put stops in for the door added hook and eye latch and toped it with gree and brown paint. My Granddaughter loved it.
We have really been enjoying our new Weatherly Sectional that I built with Ana's fabulous plans! I love the way it fits perfectly in the little corner of our deck.
I only made a few simple modifications:
1. I added an arm to the loveseat, as we wanted an "L" configuration and not a "U"
2. I added at least twice as many 1x3's for the seat slats, as I wanted to be able to sit on the furniture when the cushions were stored inside. I put about a 3/4" space between the slats for water drainage.
I made a 36" x 36" ottoman/coffee table out of scraps & it fits perfectly.
I bought the cushions from the Improvements catalog and they fit great. They are not as nice as the ones from RH, but they were about $40 each and were 20% off with free shipping. Here is the link: http://www.improvementscatalog.com/deep-seat-chair-cushion-24-1-2f2-22x…
Thu, 08/23/2012 - 00:35
You actually make it seem really easy together with your
presentation but I to find this topic to be actually something
that I feel I'd by no means understand. It seems too complex and extremely vast for me. I am looking forward in your subsequent publish, I'll attempt to get the grasp of it!
Corner unit for kids bedroom. Added fabric boxes from ikea. The fit perfectly
Loved this floating shelf. First time no Ana white and to woodworking. Thanks for the inspiration Ana white. Plans are from Best floating shelf. I used dark walnut stain. And just left the plywood off of the bottom. Low enough so no one can notice it
This was so much fun to make and so relaxing to enjoy.
After posting about my 20 Second Tidy Up table I built on my blog, a local reader commissioned me to build one for her too! I used a Kreg jig for the top and sides, as well as the 2x2 frame supports. I also added some L-brackets to the sides for added stability. This thing is solid! Since Lowe's doesn't carry fixed-wheel 1 5/8" casters I used an epoxy putty on them so they only roll in one direction. It keeps the trundle from bumping into the sides and being hard to open. Love the table, and so does Christine!
Sun, 04/29/2012 - 20:12
I've only built a couple of things for sale, and came up with a basic pricing method that I'm happy with right now. I start with cost of all materials, then charge $10/hr for how long it takes me to build, sand & finish. Cost was $80, and it took 7 hours from start to dried poly.
I have always wanted a farm bed and didn't think I could make it but here it is
Thanks for posting this great project.It took about 5 hours. I used a Kregg Jig to build it and I love it. I have built a lot of other things with it sense.
this was a lot of fun to build
Hand made dining table with 4 benches made with brown chalk paint white pine for the top of the table and benches
Beautiful storage mantle by Lynae Moore on Facebook
Project took me about 6-8hrs with cutting and assembly (each). I used Home Depot's Top Select Pine. I will be giving it a distressed look this week with Minwax's Dark Walnut!
Mon, 05/07/2012 - 05:48
Just finished the 2 Kentwood nightstands and they look like yours in this picture (untreated pine). Wow, these took a long time to do. I'm dreading the thought of finishing the insides of these. I also built shelfs inside. Can you post pictures of your finished nightstands. Any tips on finishing? Did you poly? I'm going to use a Minwax mahogany gel stain, but unsure of what to do after that.
Tue, 05/15/2012 - 13:49
Yeah, no kidding, it did take longer than expected. I ended distressing the tops and sides of the nightstands and the technique I use is...
1. Spay the surface with water. I use a regular misting bottle. This will soften the wood even more to allow the make for easier distressing
2. I used a combination of screws, hammer, chisel, and screwdrivers to make my indentions.
3. I do light coats of Minwax dark walnut on the wet surface to allow the stain to absorb deep into the wood and not on the surface.
4. Since oil and water don't mix the wet surface will not hold the stain on the surface but deeper into the wood.
It seems to work for me. Let me know what you think!
My precious second granddaughter loves her tower!
I made a few mods:
1. Eliminated the curvy top: no band saw.
2. Used piano hinges for strength.
3. No need for anti-tipping legs; just lower the platform to lower center of gravity.
4. Kreg-Tool a MUST. Didn't like the KregTool white plastic hole plugs.
PS I built my precious FIRST granddaughter a toy box to match her bedroom furniture.
And a Cradle Boat:
http://www.clcboats.com/shop/boats/rowboats/dinghies/baby-cradle-pram.h…
When a friend sent me a picture of a Restoration Hardware inspired dining table from Shanty to Chic and asked if I could recreate it as a coffee table, I was up for the challange. After sketching up new plans to the measurements she needed, I came up with this and am thrilled with the finished piece...and so is she!
All lumber is knotty pine. I used pocket hole construction for most of it, but used my 16 guage nailer and glue to attach the angled pieces. I attached the table top with "z" clips, first cutting a slot with a biscuit joiner for the clip to slide into.
Sat, 05/14/2016 - 18:16
I love this. It's perfect as a coffee table. And the finish you used is perfect. Excellent job!
In reply to It's Beautiful! by jkassel78
Wed, 05/18/2016 - 22:27
Thank you so much Jackie! :)
Cristina
Mon, 03/21/2022 - 17:06
Could I get your plans?? I would love for my husband to build this for me!
Built 4 of these, slightly narrower and thinner to fit all 4 next to a kitchen island. Decided to skip the false ends and use fabric sprayed with scotch guard instead of leather. I did the woodworking and my talented wife did the painting and fabric work. Very pleased with how these turned out.
My best man (and his wife) are expecting their first child and this was my very first project. The Kreg Jig is great but you need a right angle clamp to put this box together. I stained the project using Minwax white tint base in their driftwood color, I'm not a big fan of the color on the entire box but it serves it purpose as being gender neutral for any future kids. I bought the letters at a crafts store and painted them white and then sanded off the edges and rubbed Danish Oil on it to give it the "distressed" looked.
I used Ana's simple closet organizer and some other brag posts and created a closet organizer for my craft/kid size room.
I used:
(6) 1x12x6' pine for tower and shelving
(4) 1x4"x6' pine for all the cleats
(3) sets of closet rod holders
(2) 4' 1.25" wooden dowels
I primed everything outside after cutting the pieces, which took way too much spray primer - I should have just used brush on. Then painted the finish coat in place using some good Benjamin Moore trim paint.
I'm happy with how it all turned out - errors and all.