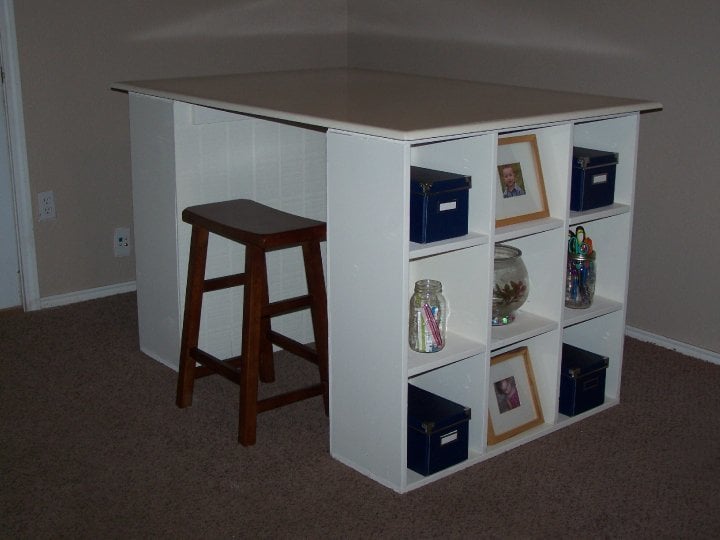
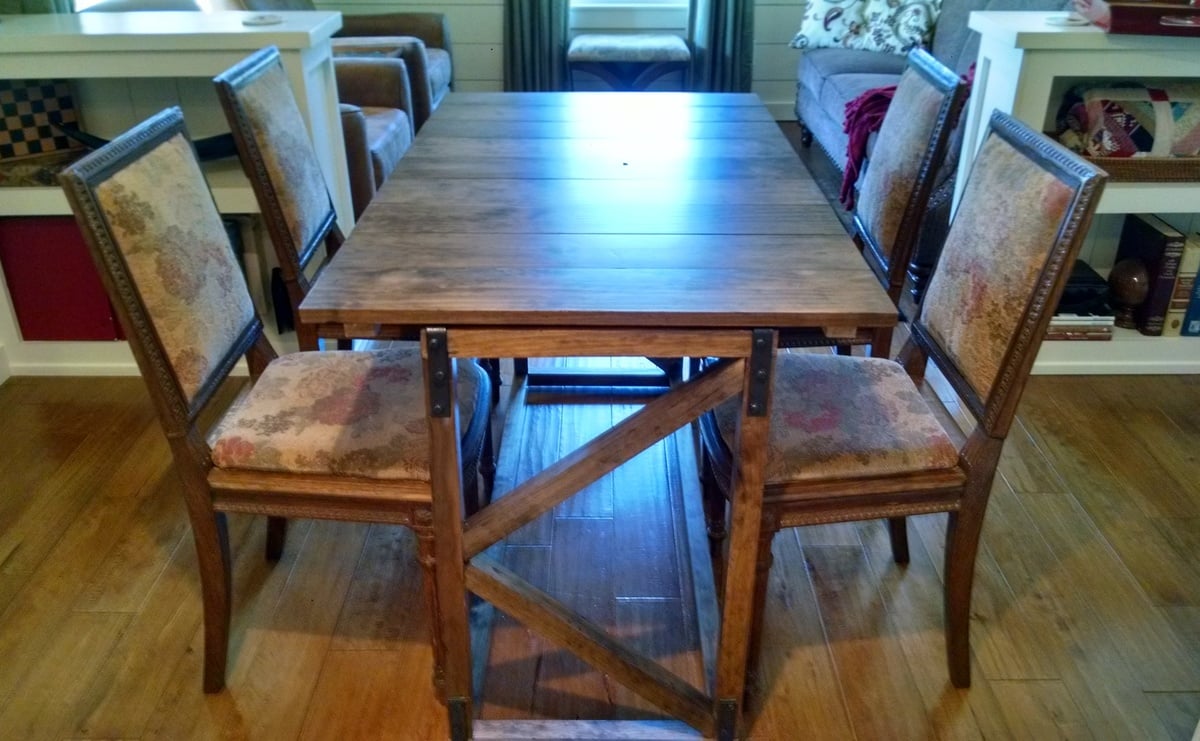
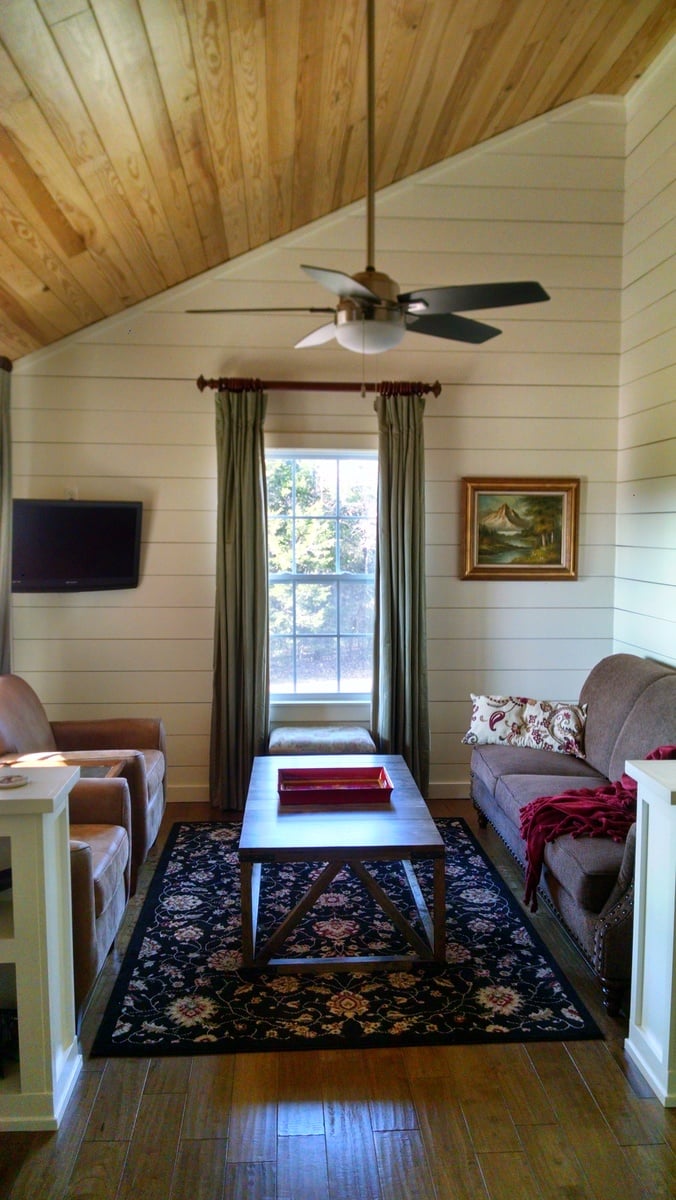
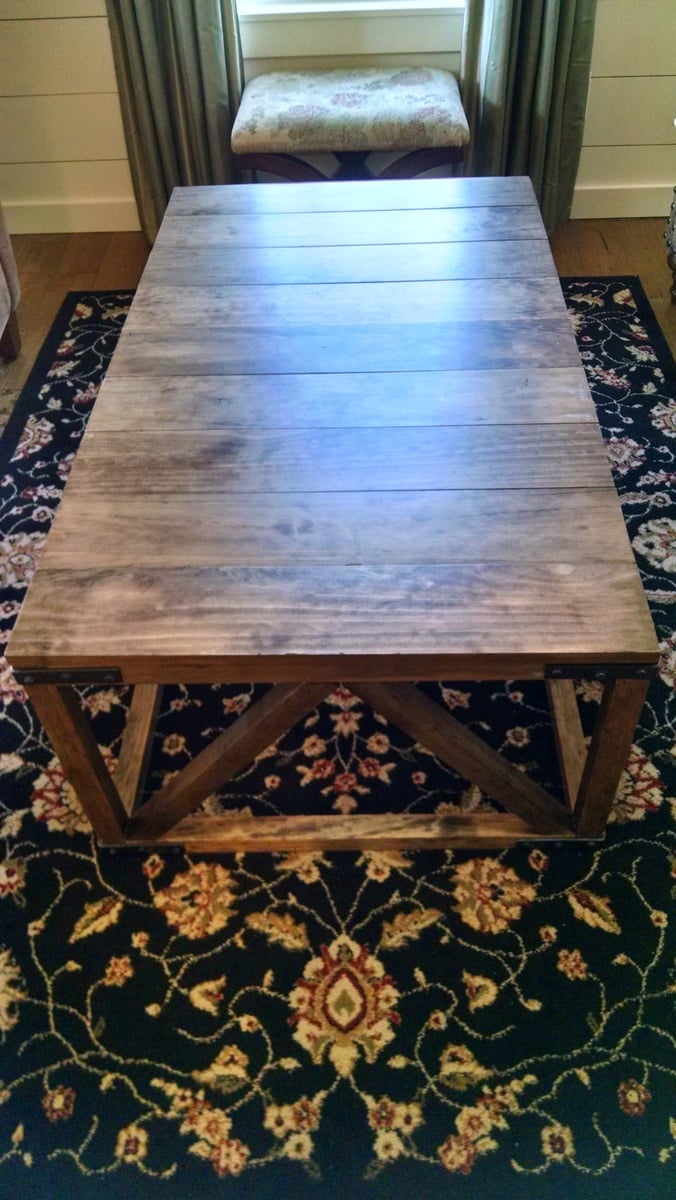
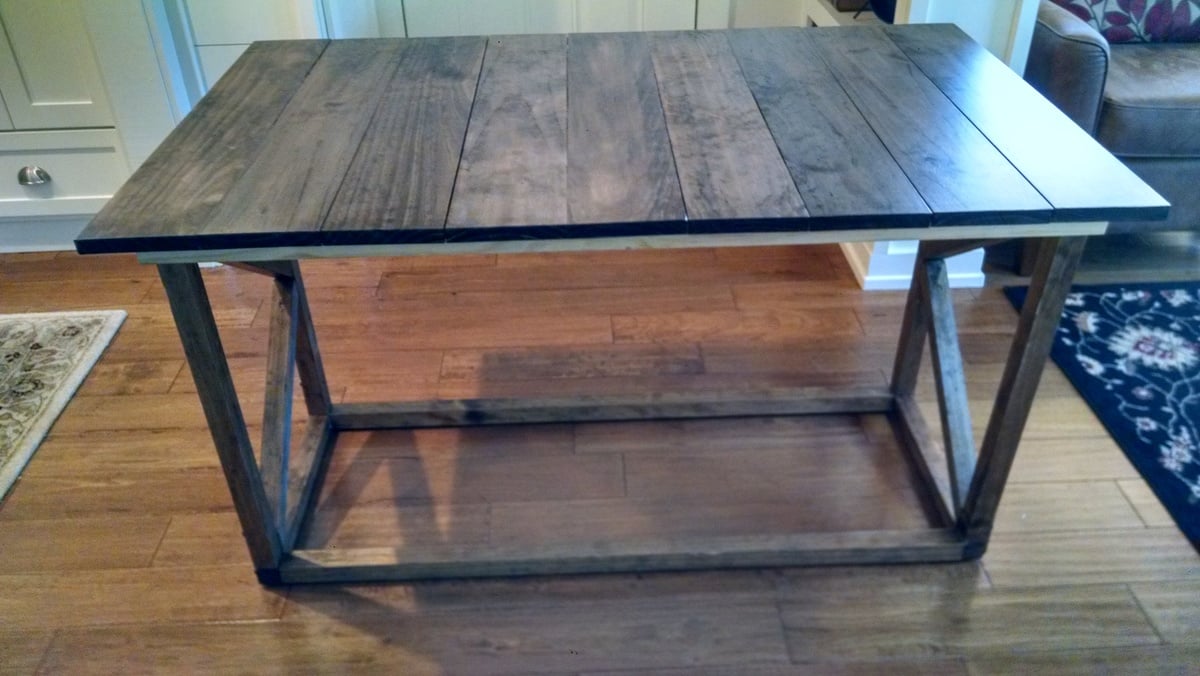
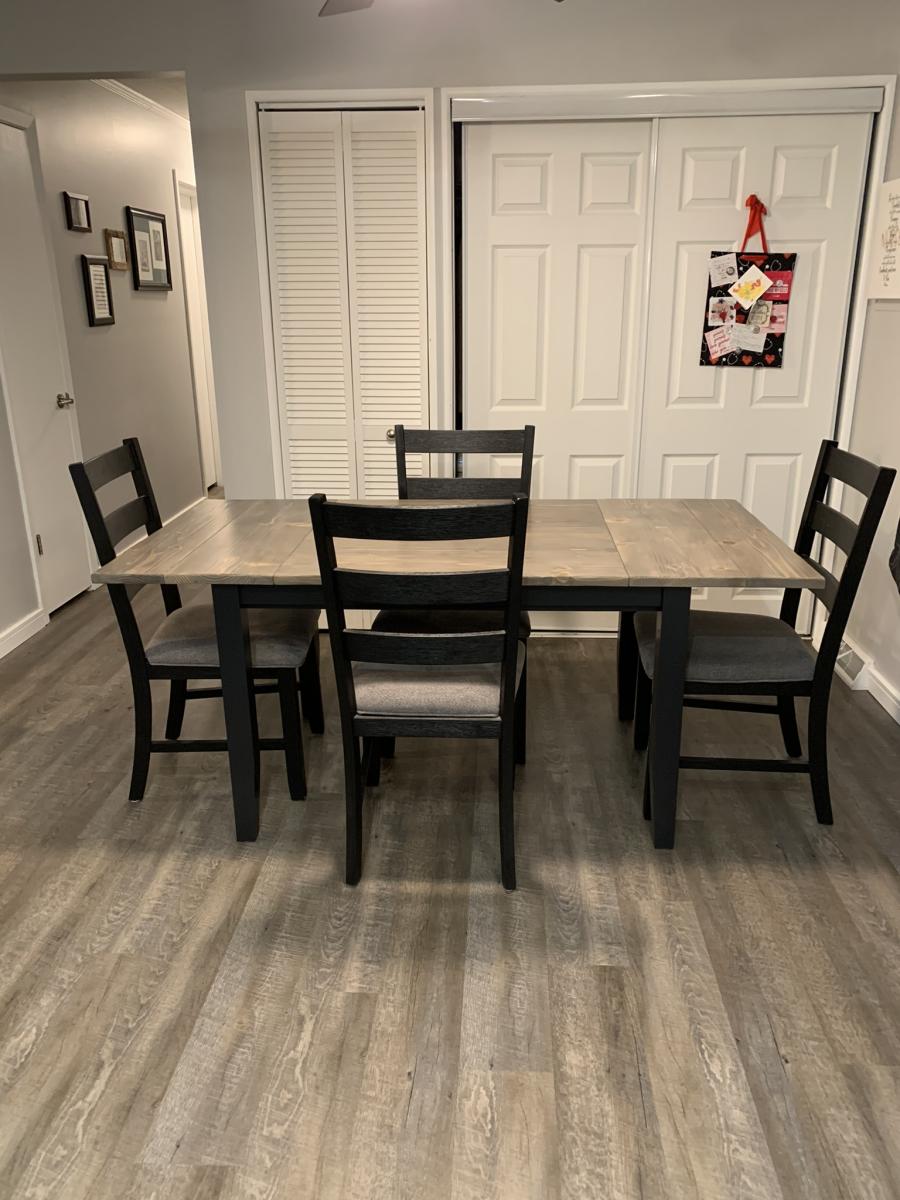
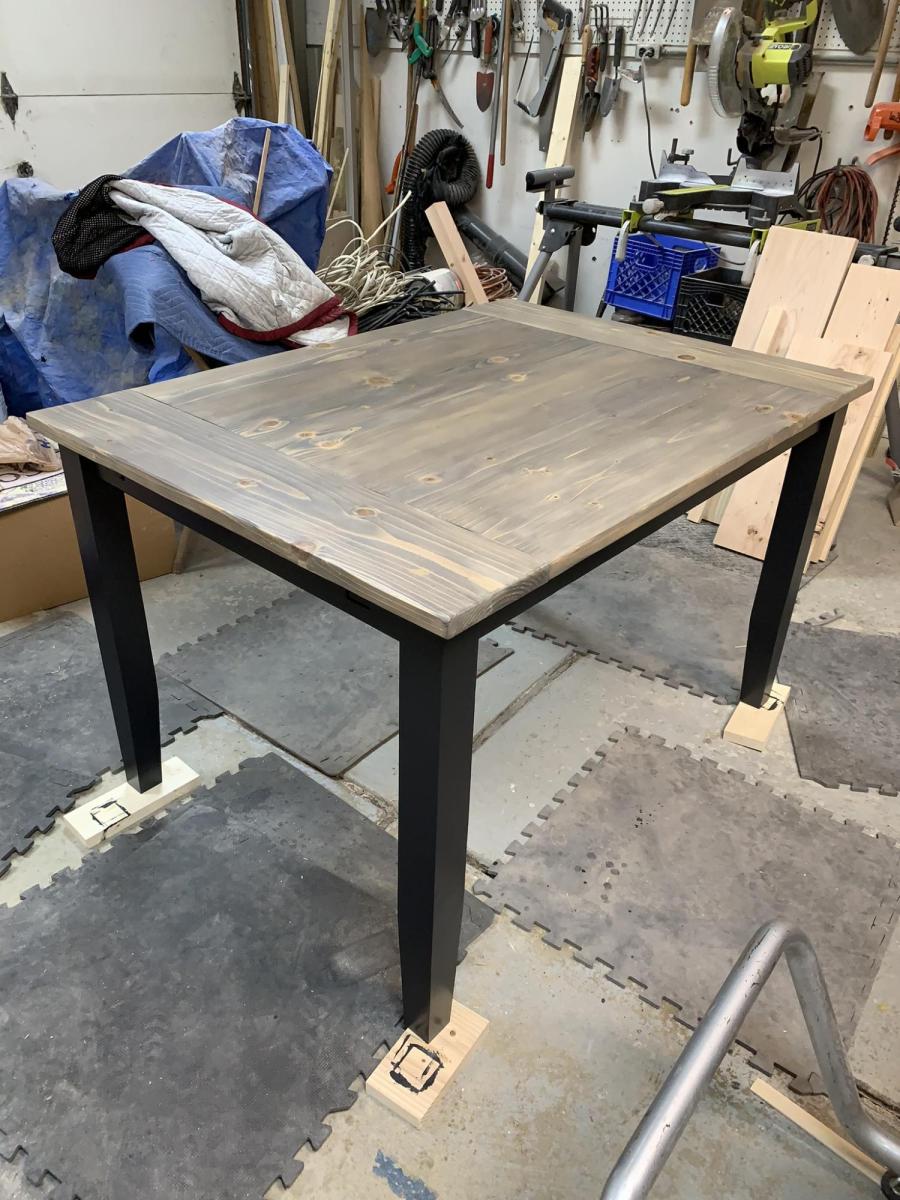
Farmhouse Desk

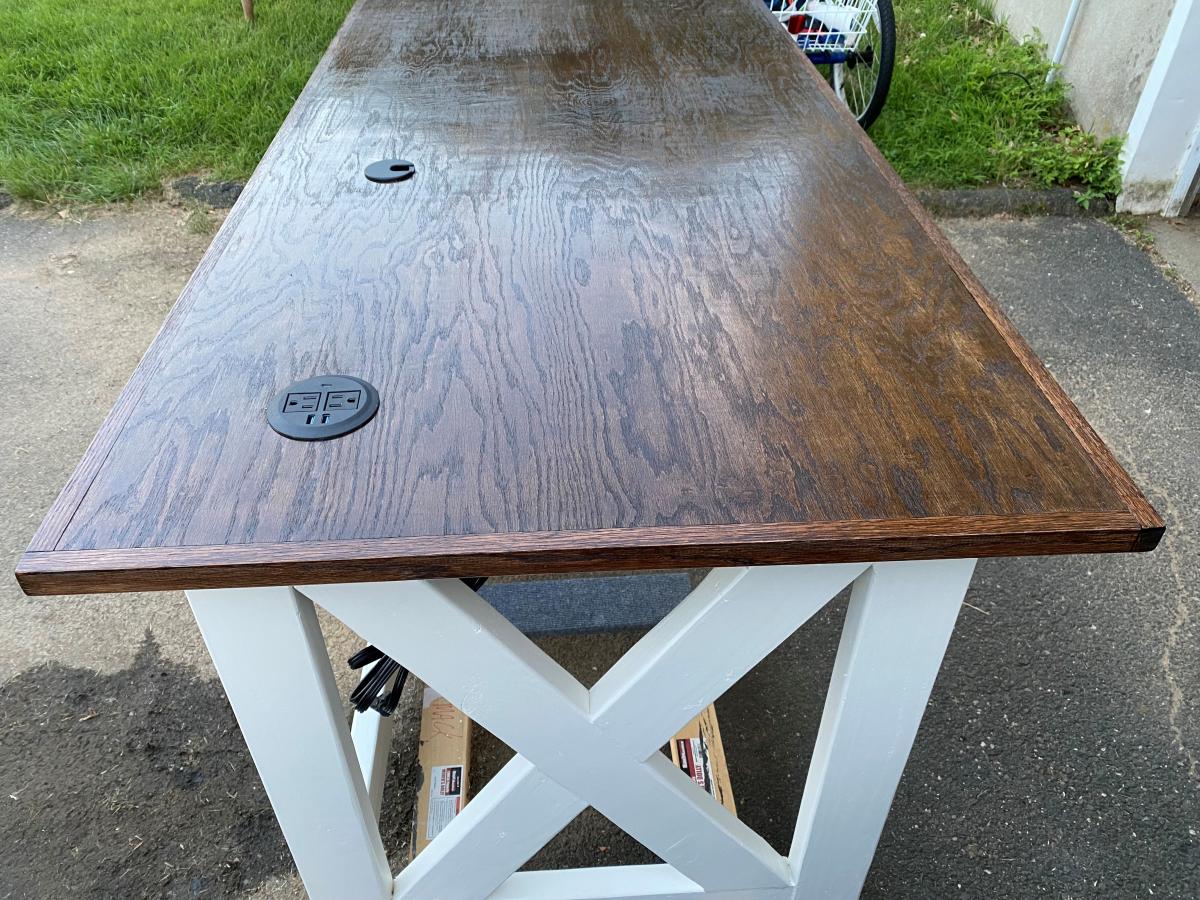
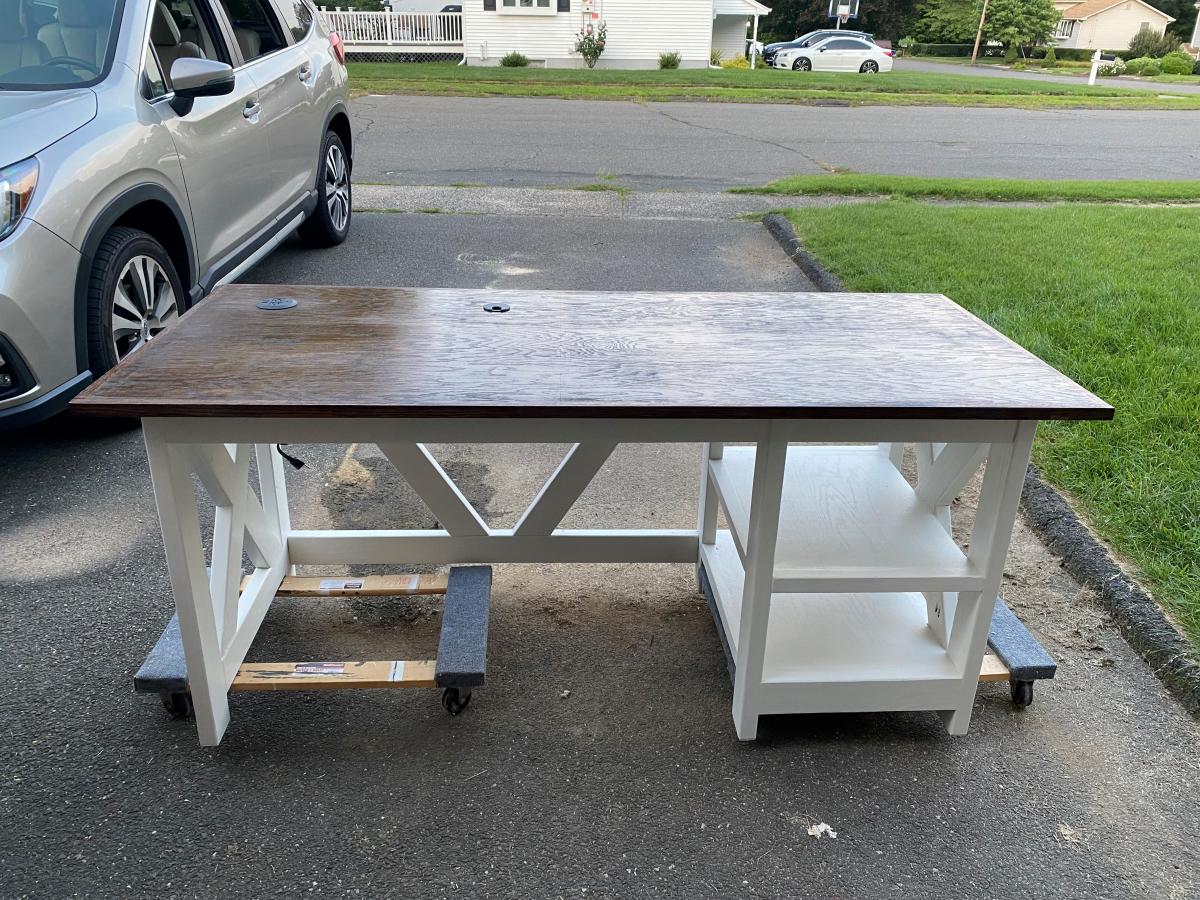
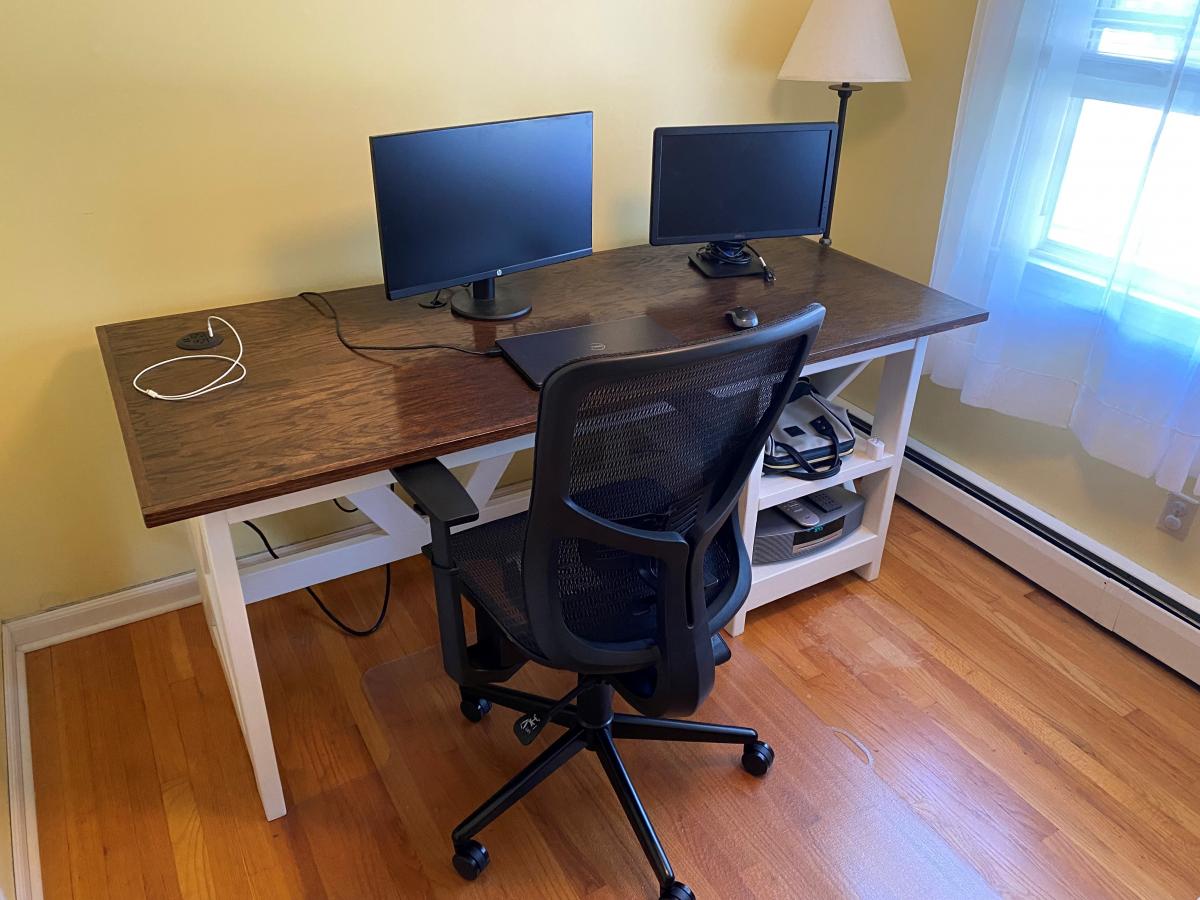
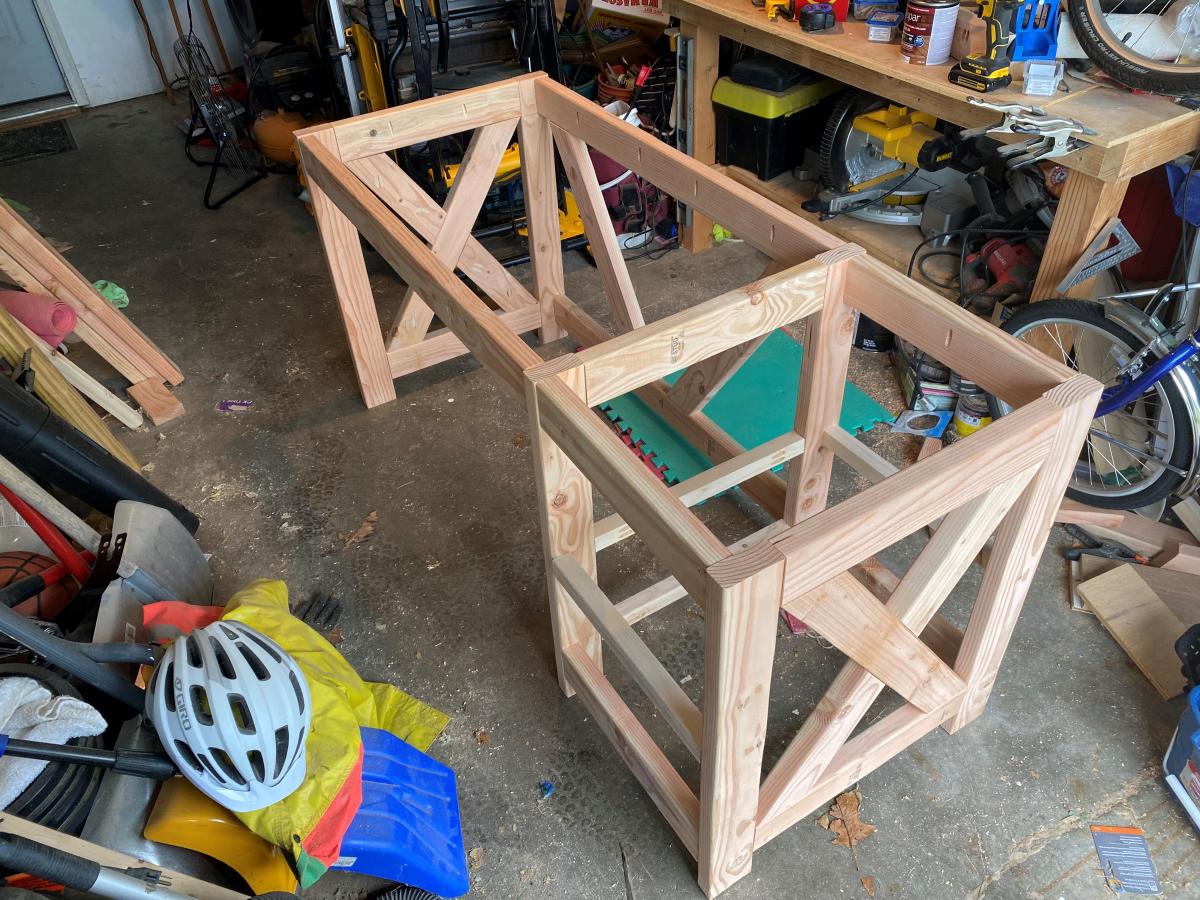
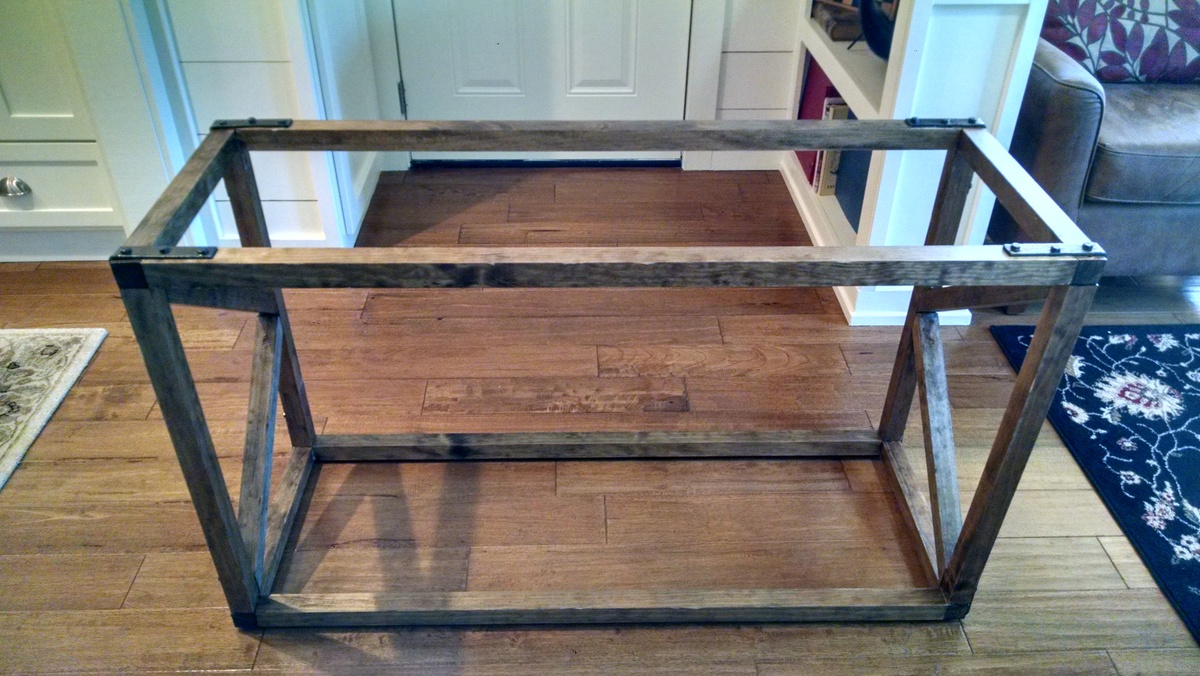
My wife needed a desk to work at home from and nothing on the retail market interested us, so I offered to build one. I followed the plans for a Farmhouse Desk, but with a change for the top. I chose a pre-sanded 3/4" red oak top and trim to cover the plywood edges. We didn't want the lips or edges that may show up using the planned 1x6" planks. The desktop measures 31.5 x 71.5" which is large, but allows for a lot of work to be accomplished. I added a grommet hole for the wires and a 3 1/8" hole for a desktop outlet with 2 USB's, 1 USB-C and two regular outlets. I also added a 9-input power strip / surge protector on the underside of the desk that the desktop outlet plugs in to. So only the power strip plugs into the wall and everything is surge protected.
It took me 4 weeks and about 25 hours, as I made it around my work schedule and family life.
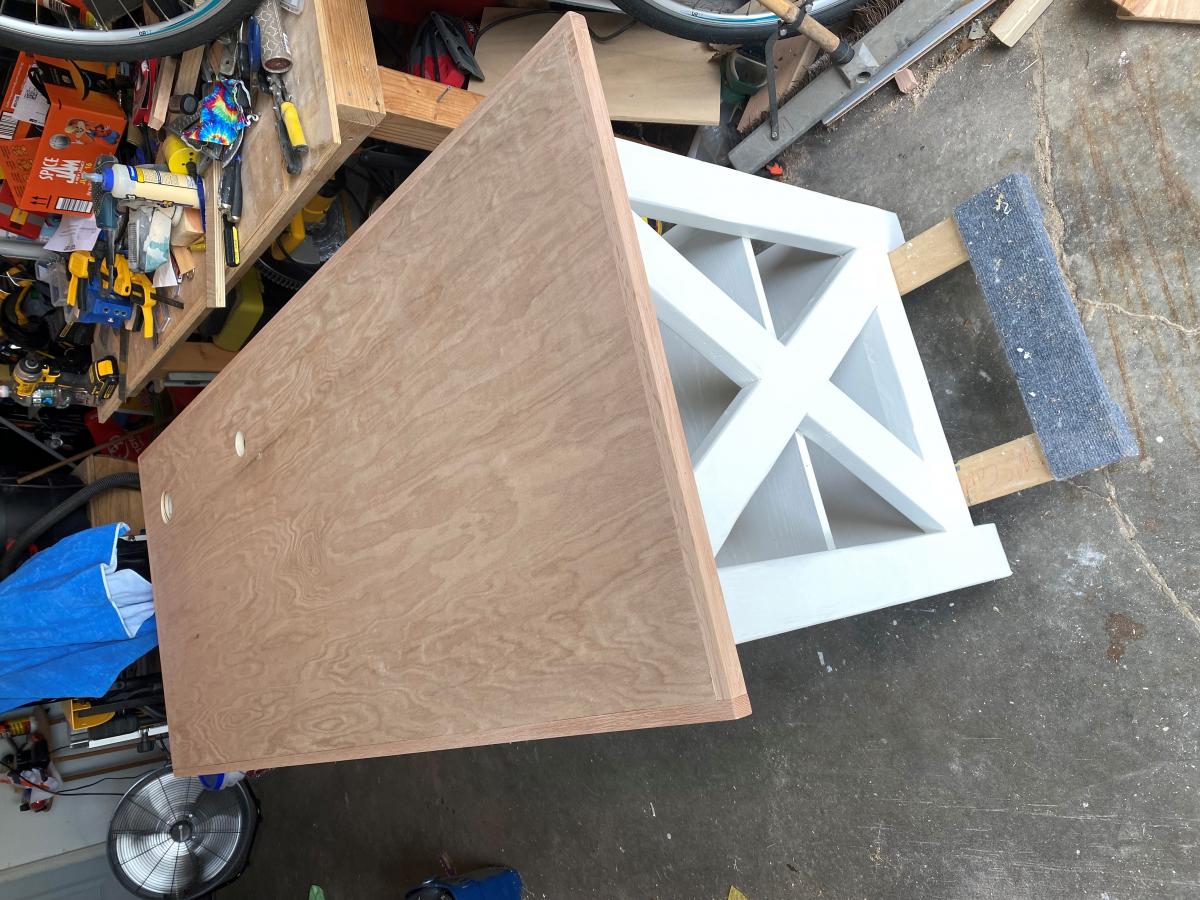
Base: Valspar All-weather White Solid Exterior Stain


Comments
Ana White Admin
Sun, 08/01/2021 - 11:16
Awesome!
Love the power option and finish details! Thank you for sharing.