Community Brag Posts

Sectional Sofa for Teen room

Submitted by Anonymous (not verified) on Wed, 10/02/2019 - 11:31

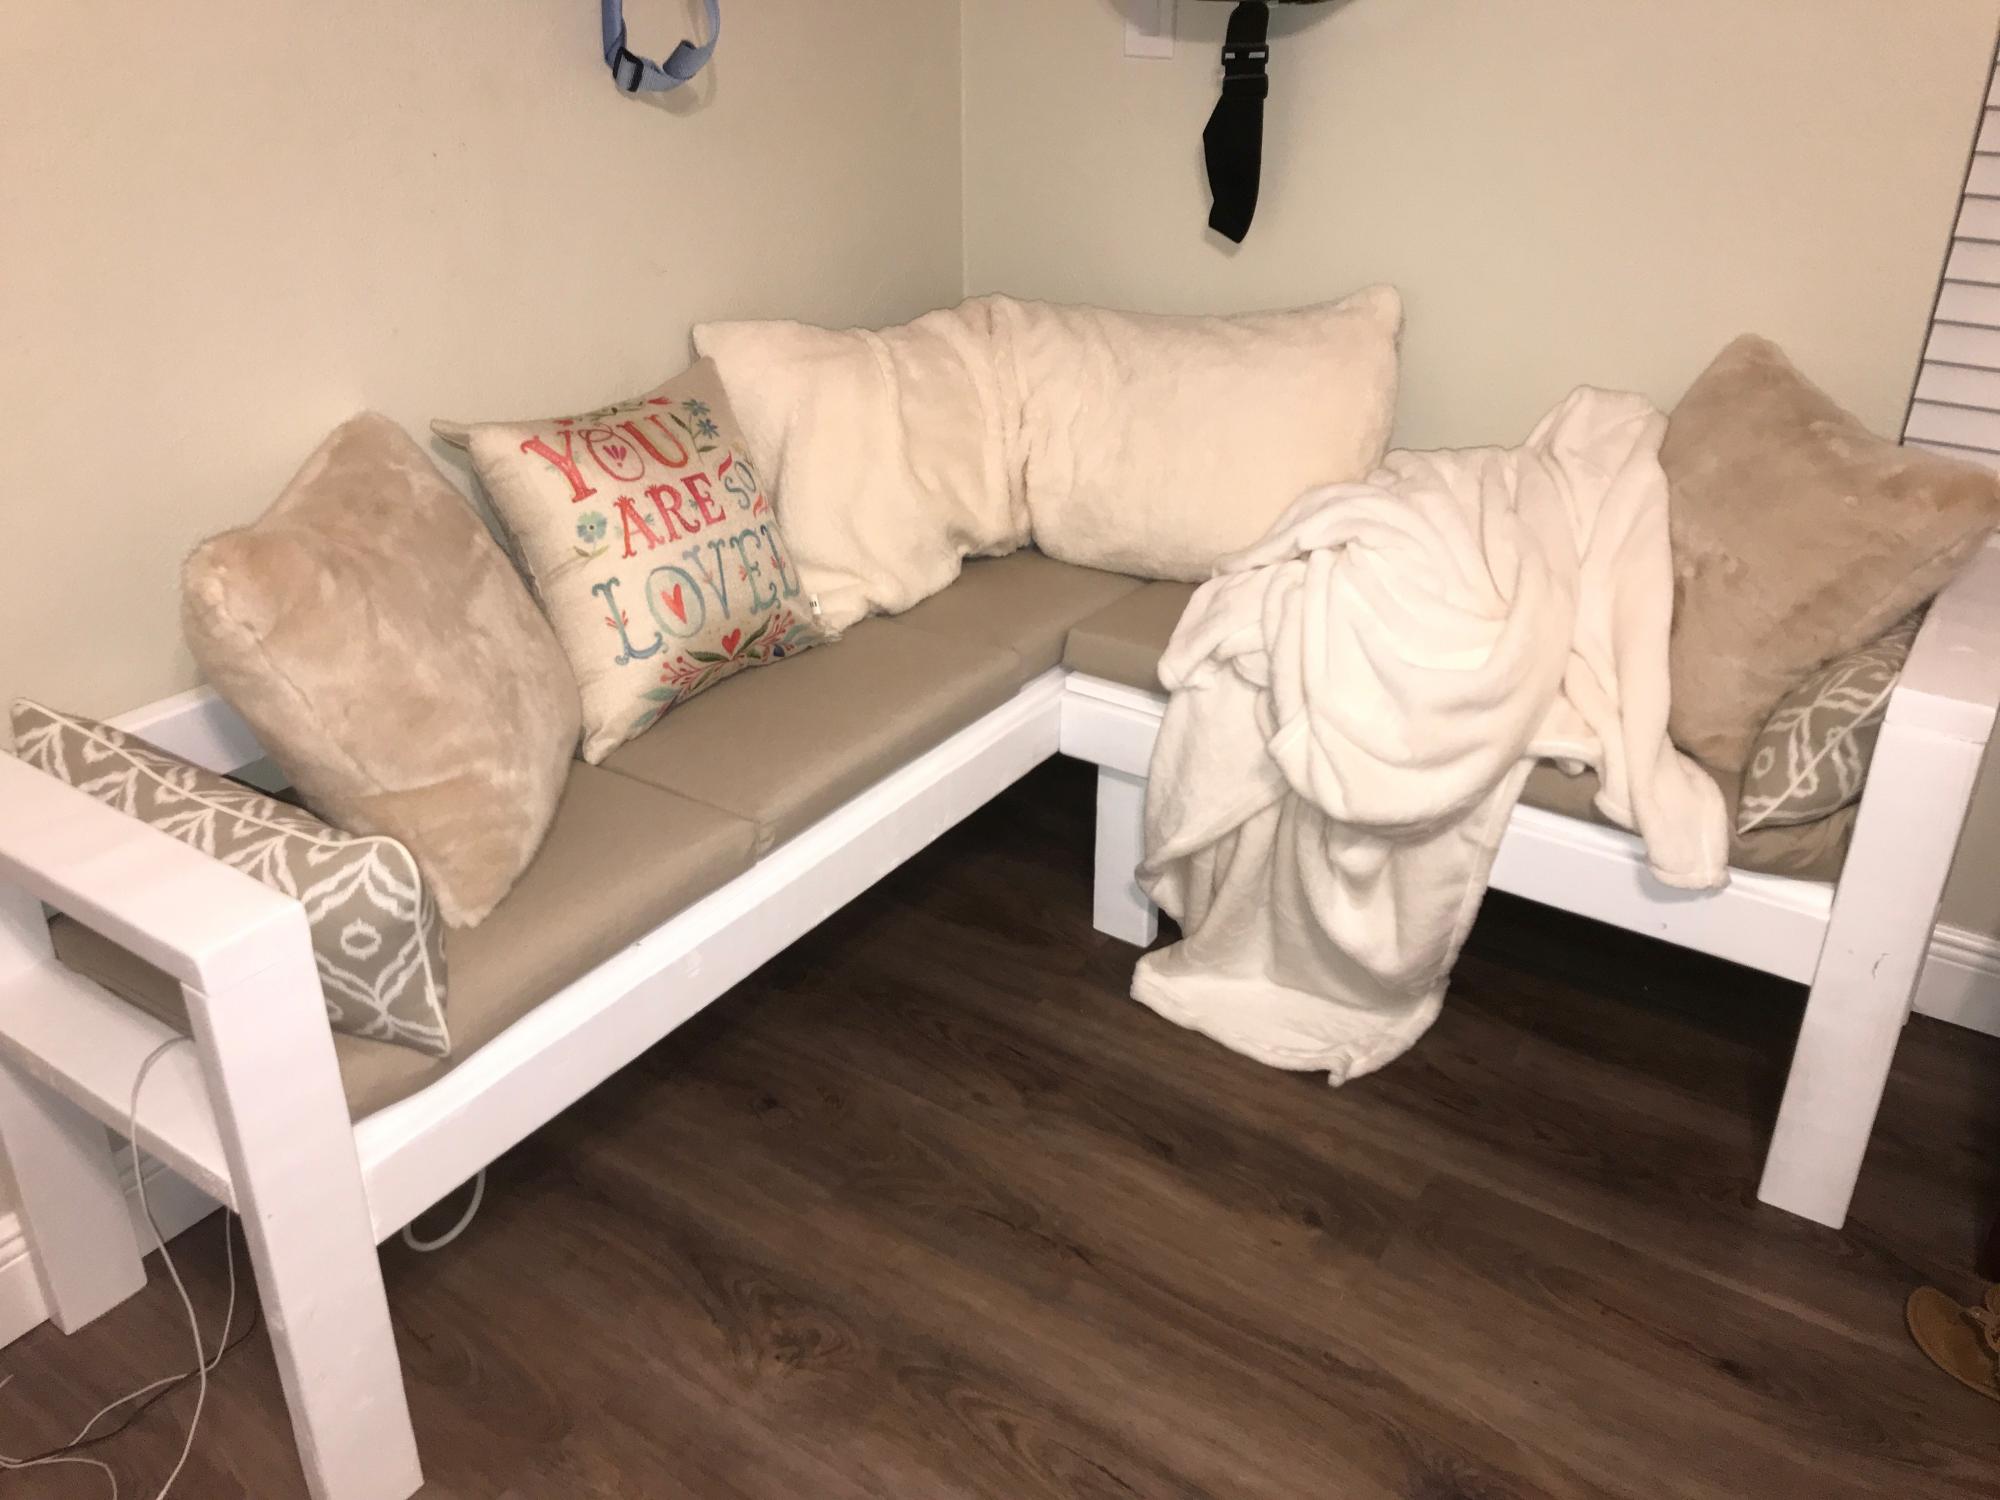
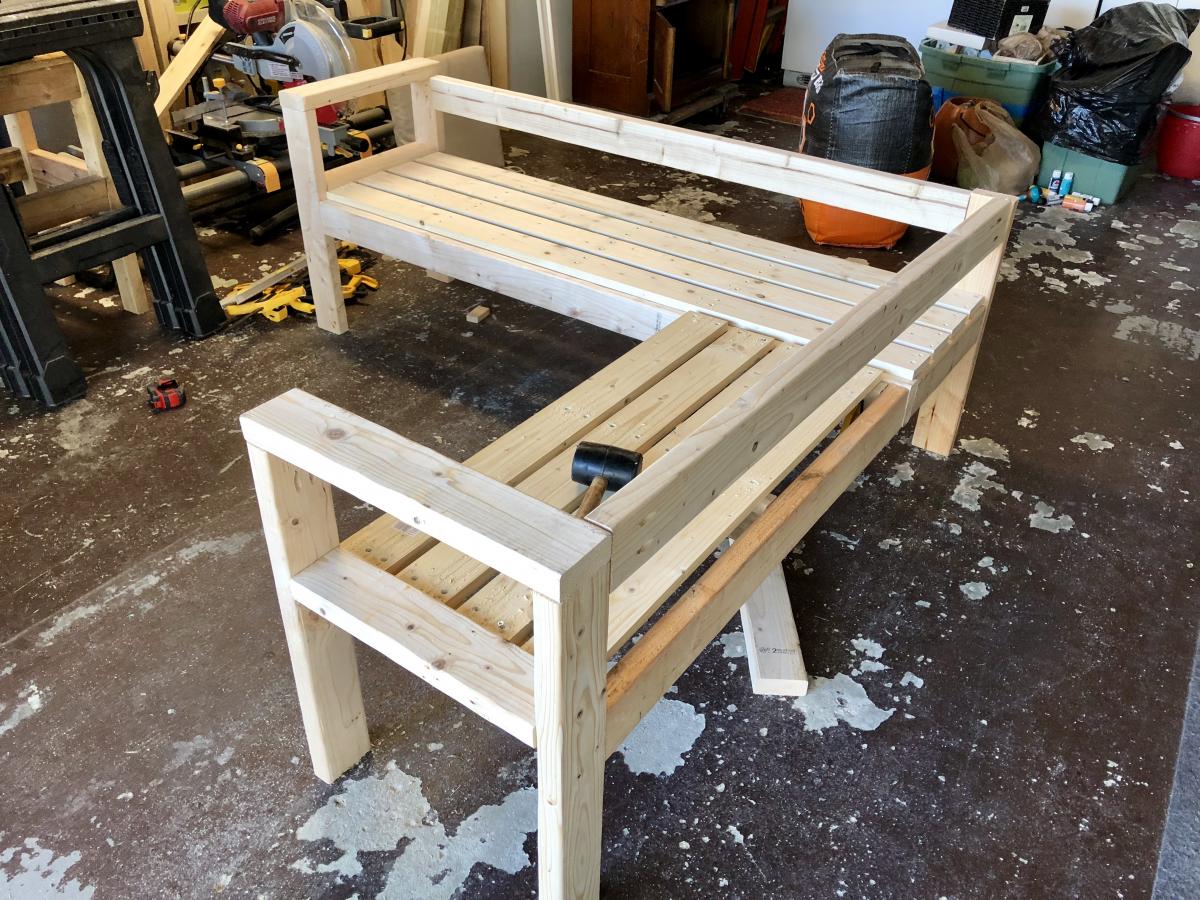
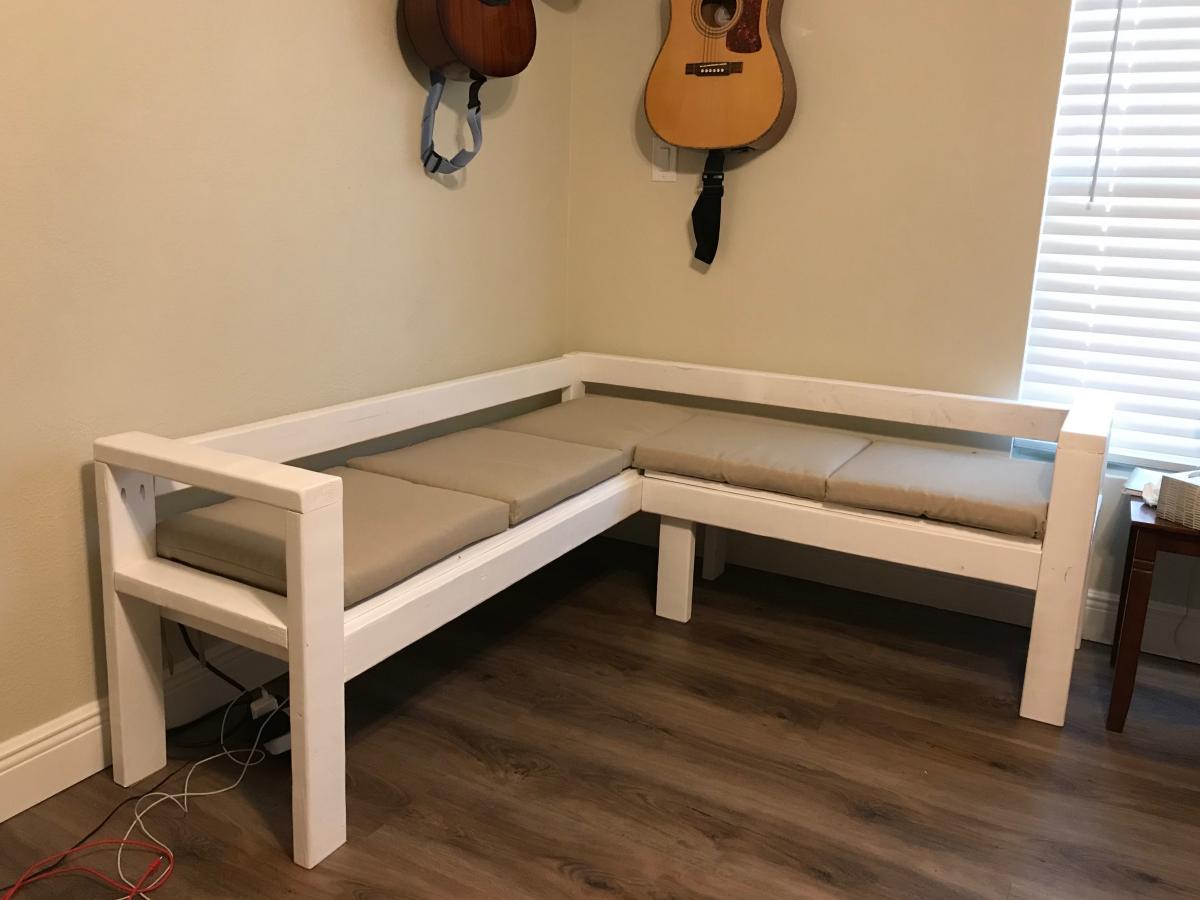
My teenage niece asked me to build her a cool seating area for her new bedroom. So I used Ana White’s Outdoor Sofa with Sectional for the plans. I modified the overall size for the space and the seat depth to accommodate the seat cushions she bought, painted it white, and let her add pillows and blankets to make it soft and cozy. She loves it and I’m the coolest Aunt ever!!

Estimated Cost
$87
Estimated Time Investment
Day Project (6-9 Hours)
Finish Used
Primer & white latex paint
Recommended Skill Level
Beginner

Comments

Easy Kitchen Island

Submitted by Anonymous (not verified) on Thu, 06/29/2023 - 09:21

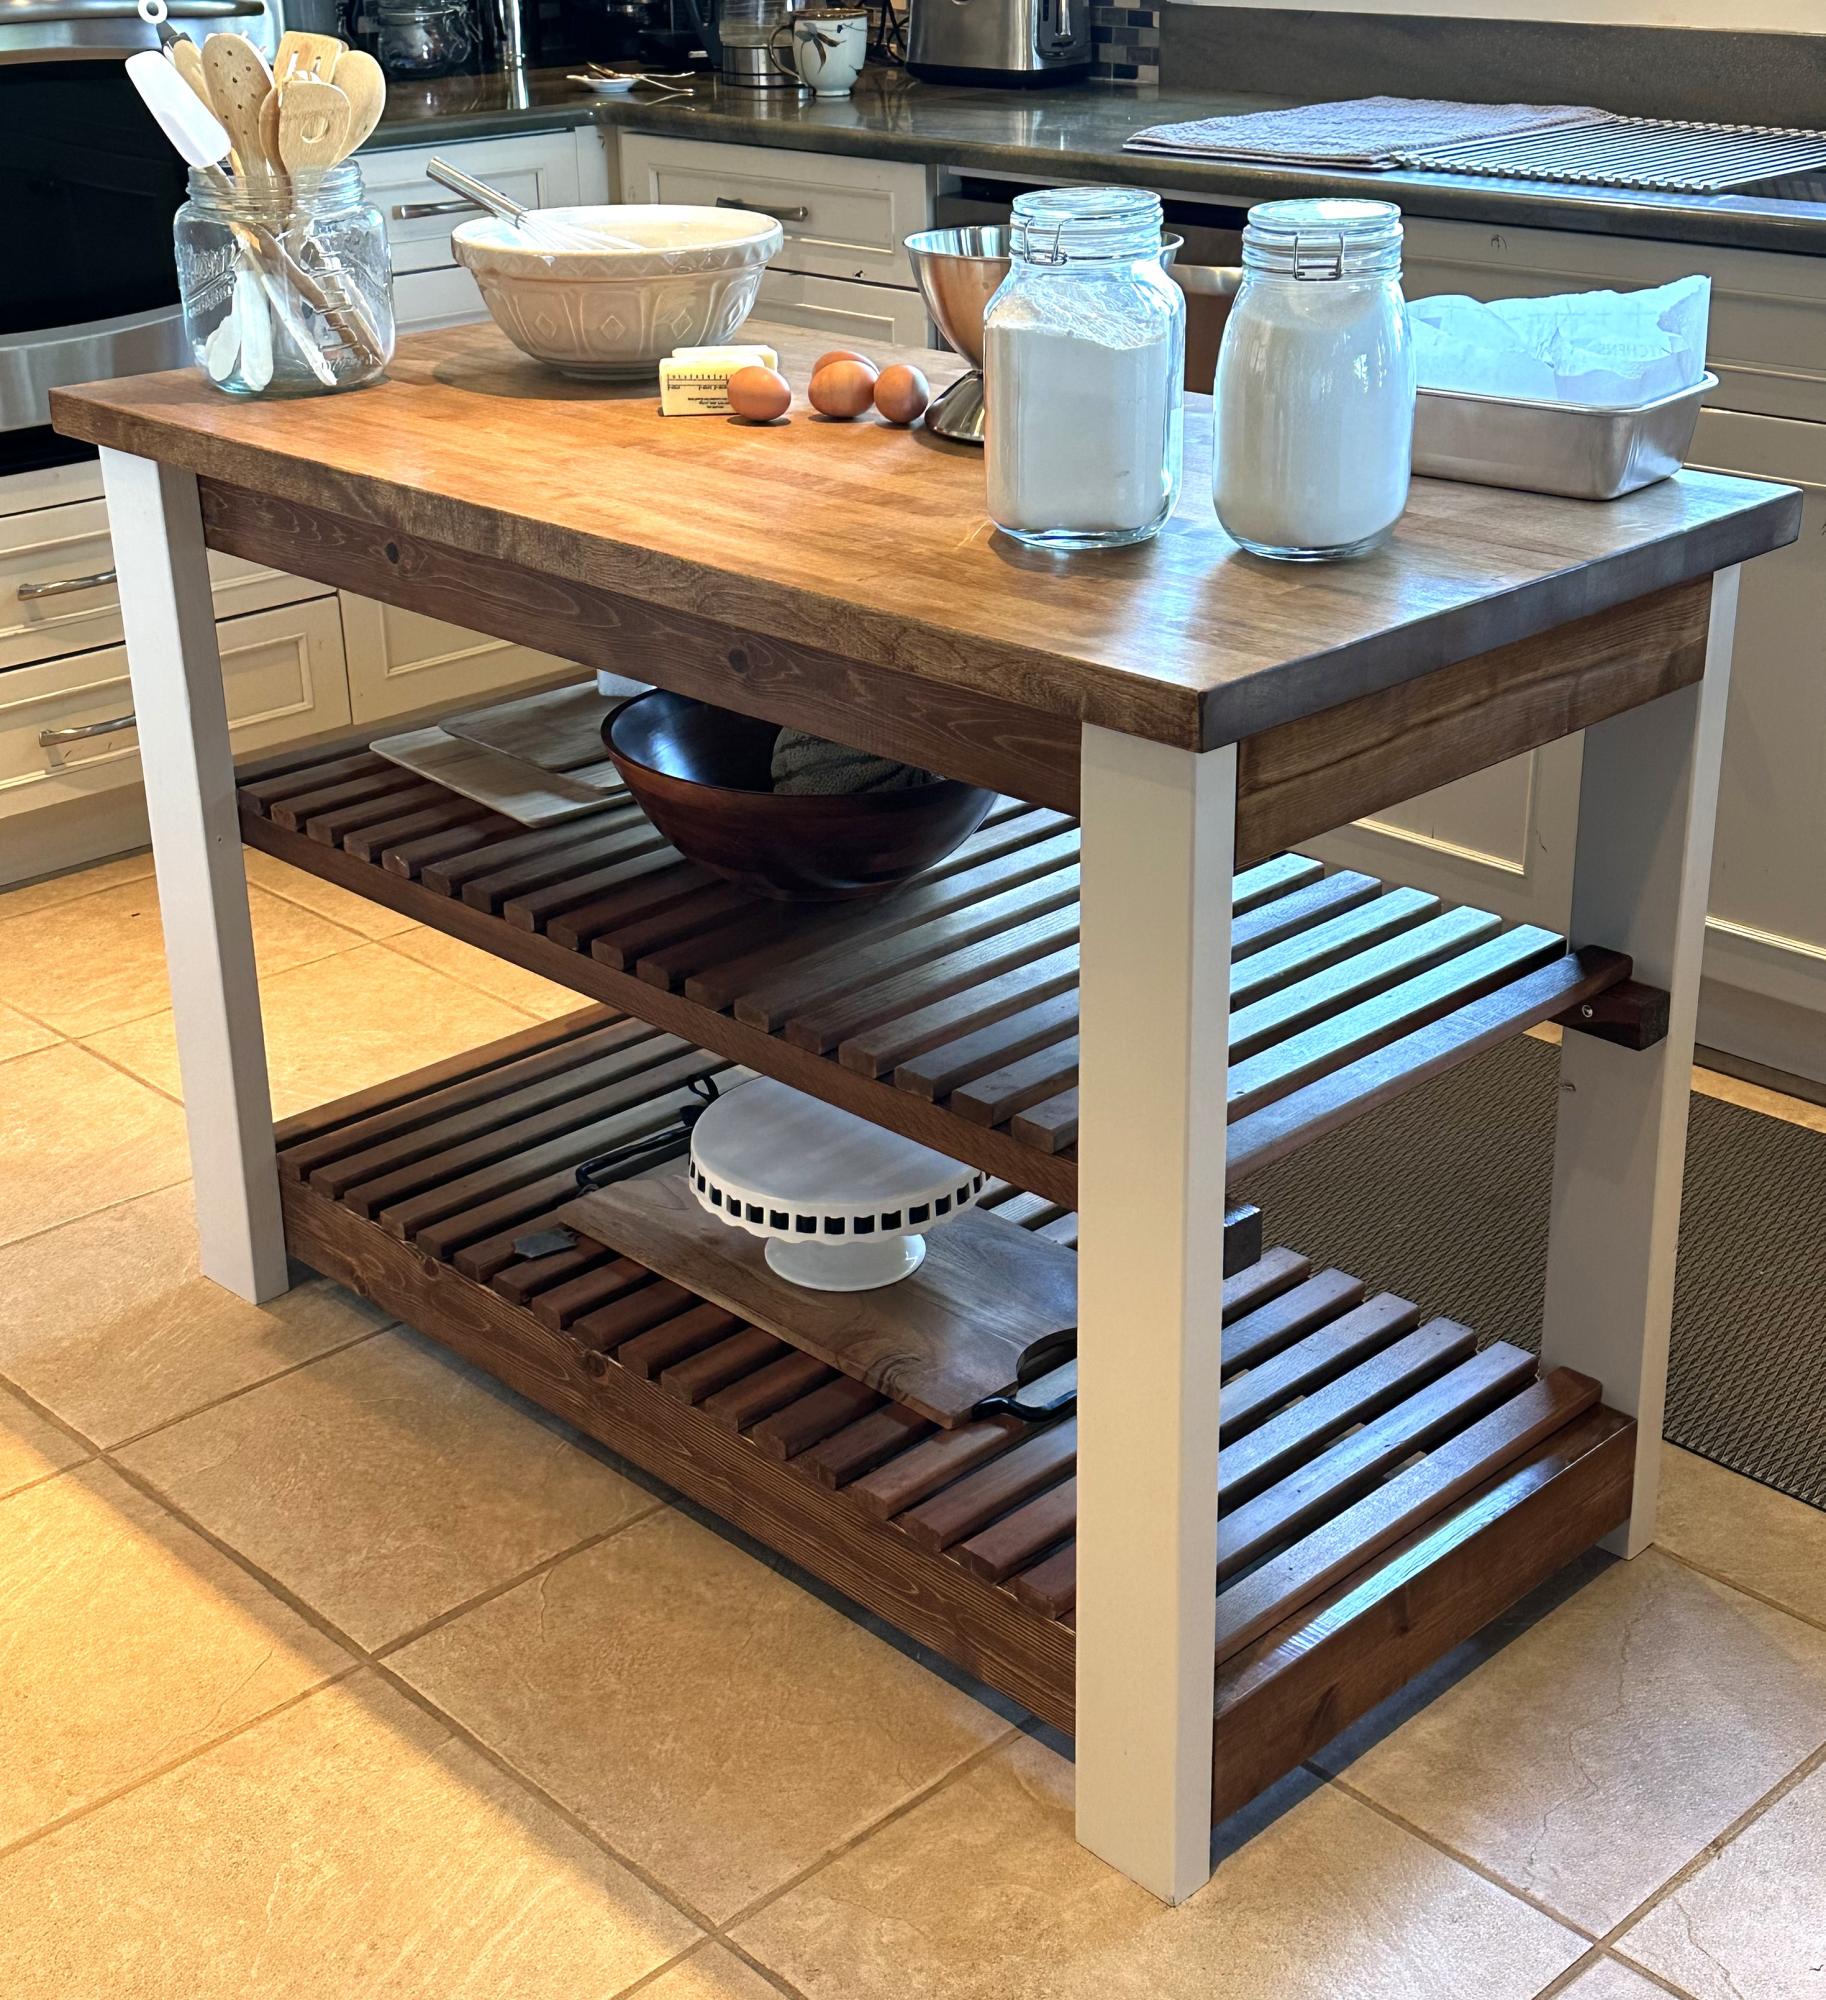
Easy Kitchen Island. This was my first big woodworking project so I bought the top and recycled some old wood. I learnt a lot, it took me about 20hrs to complete including painting and staining. I found the plans easy to follow and I’m super happy with the results.

Anji B

Built from Plan(s)

Comments

Luggage Rack

Submitted by Anonymous (not verified) on Sat, 10/19/2019 - 12:20

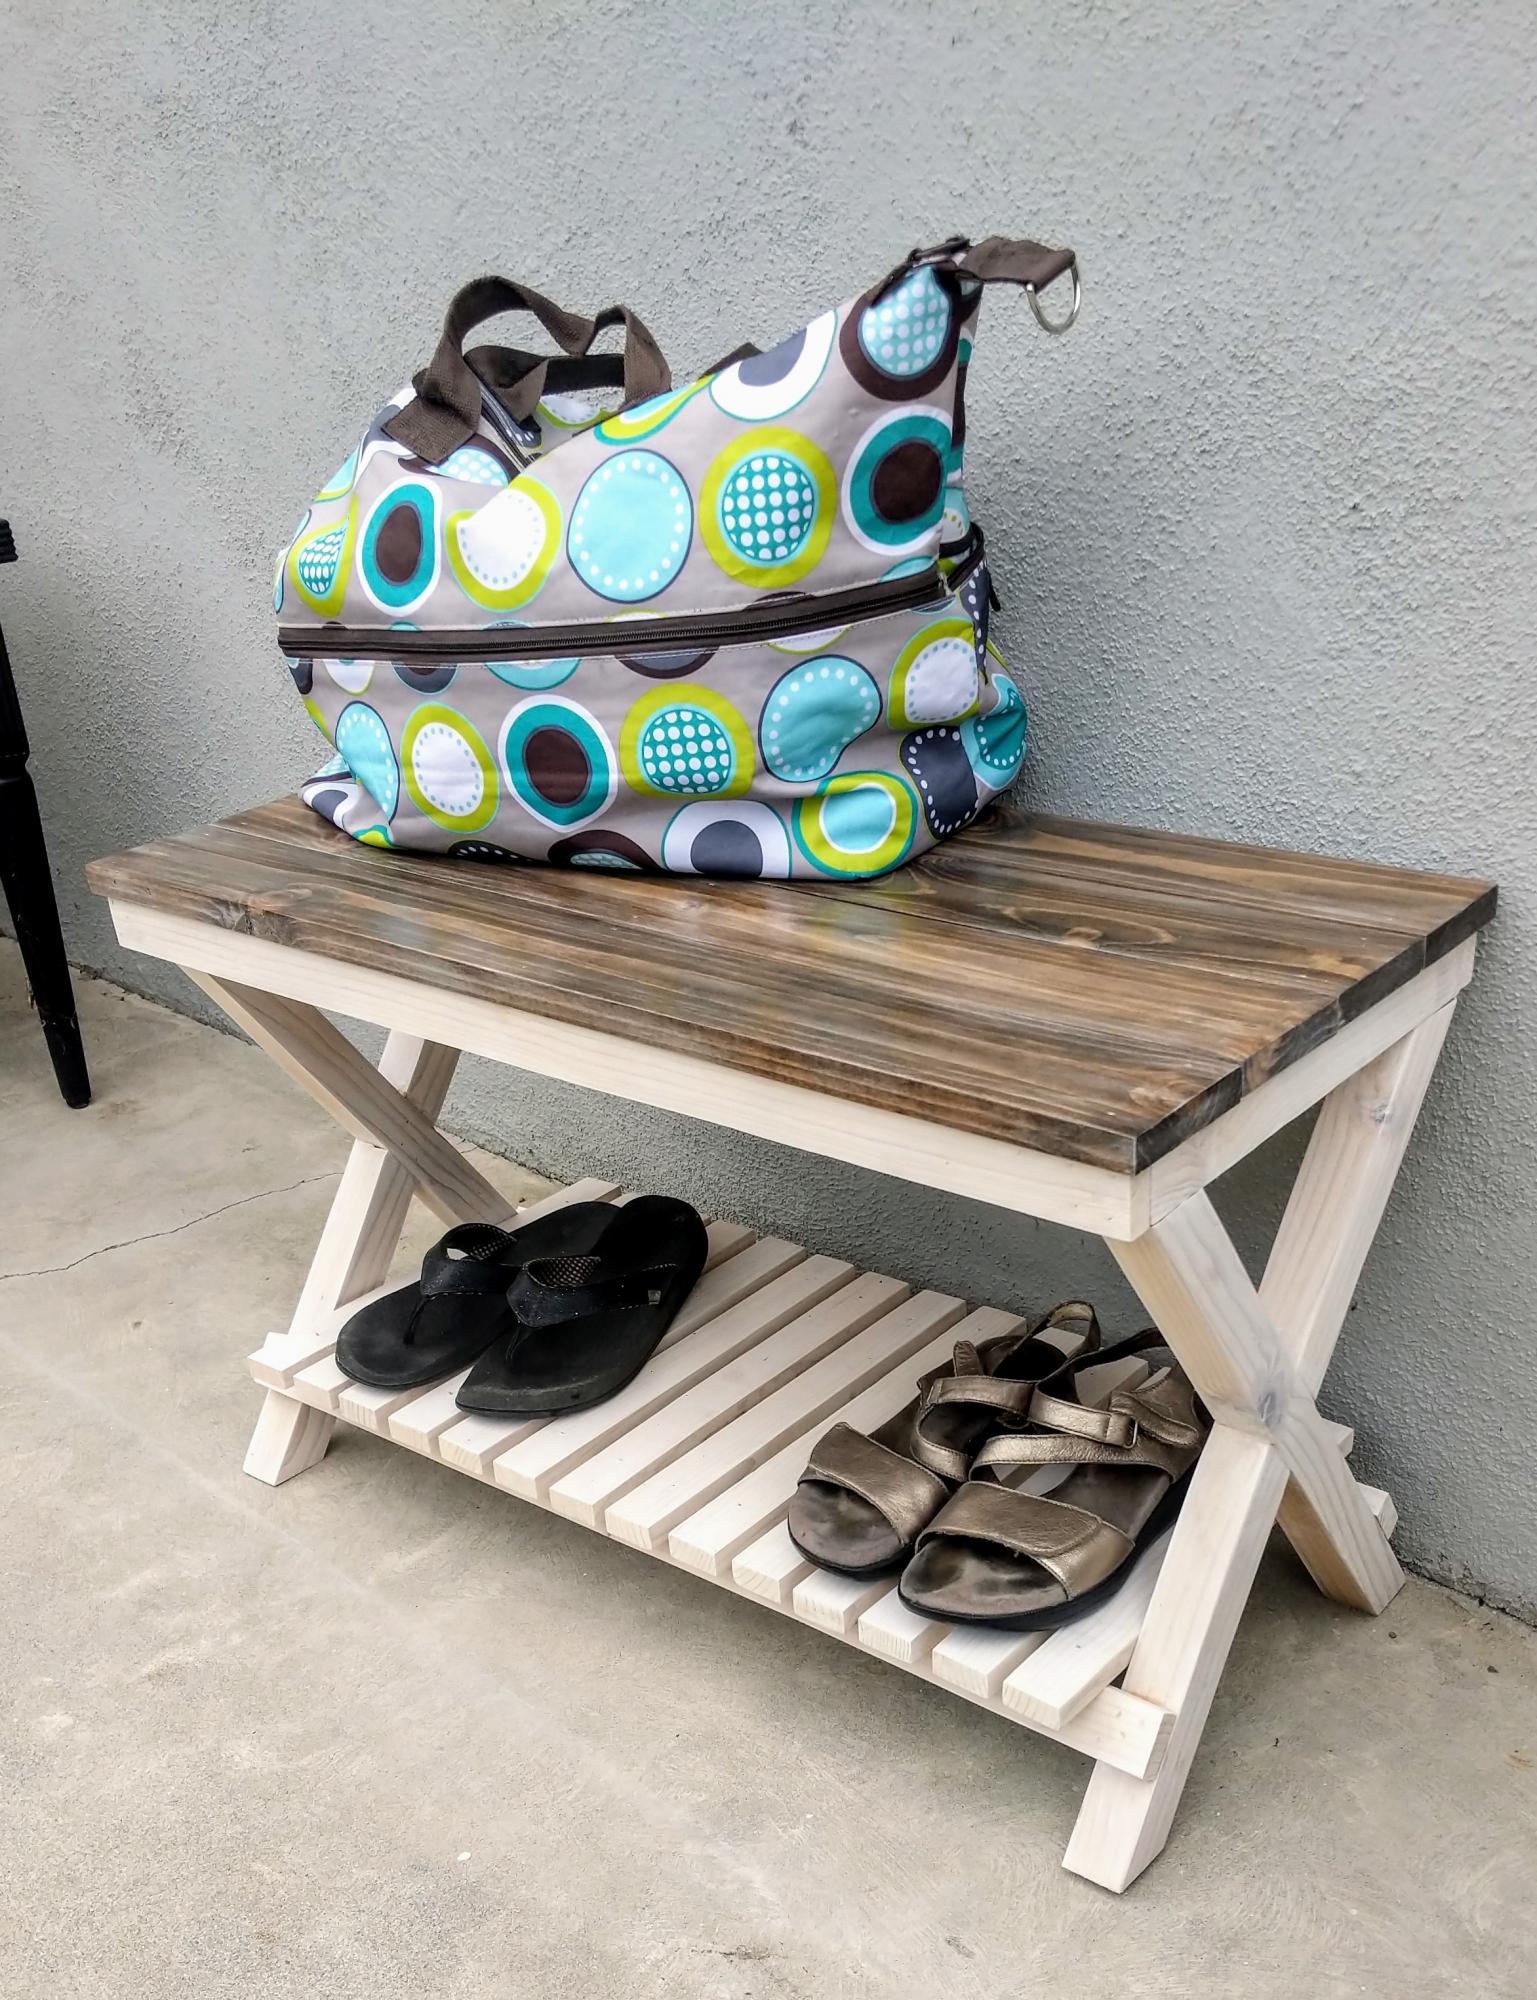
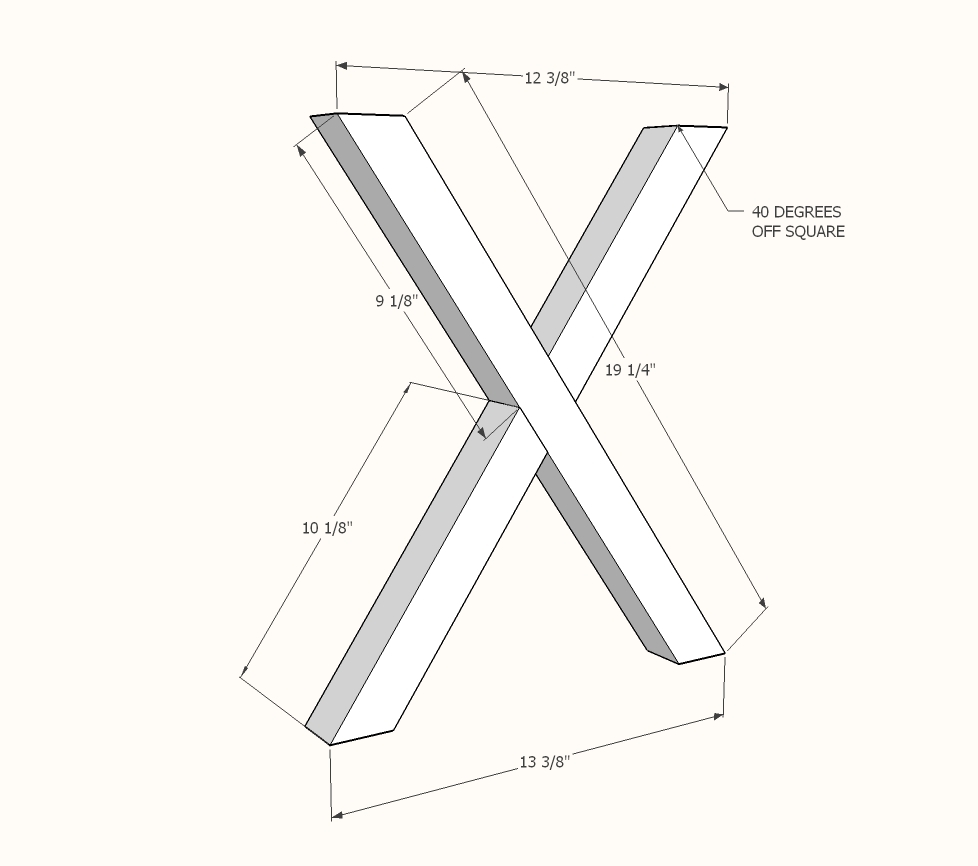
Turned out great! Problem with the plans: written instructions for legs say 35 degree angle but the diagram shows 40 degree angle. Which one should it be?

Finish Used
Used a white stain on legs and brown stain with dry brushed gray stain on top. Sealed with poly.
Recommended Skill Level
Intermediate

Sister's Table

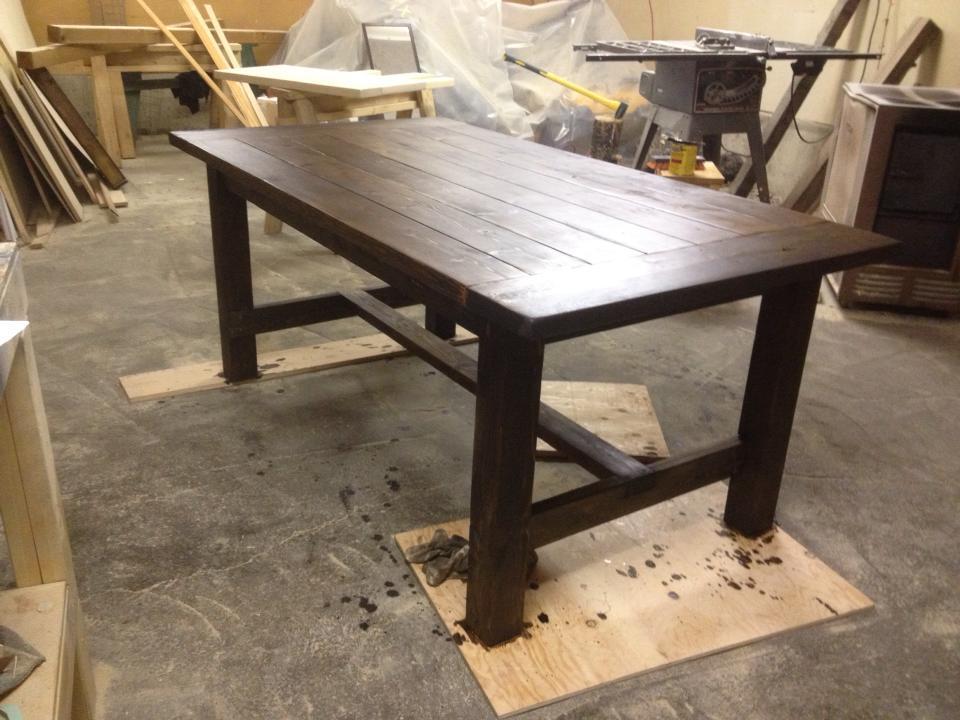
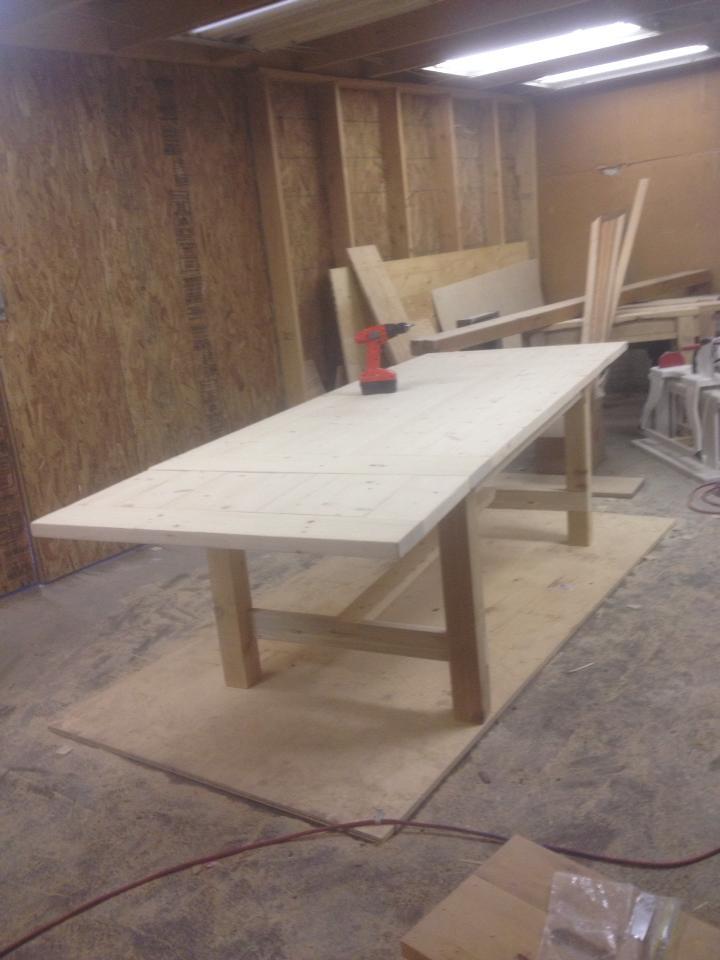
This was the second table I built - it was much improved on my first and was for my sister as a Christmas present. It has 4x4 legs that I notched out with a circular saw for the legs and a spruce top. I modified the length down to 6' for her house but added extensions on the end that make the table up to 9' long when fully extended.

Estimated Cost
100
Estimated Time Investment
Weekend Project (10-20 Hours)
Finish Used
Minwax Dark Walnut with Polyurethane and a epoxy coating on the top to seal all the cracks, as sister has two little kids.
Recommended Skill Level
Beginner

Comments

Faux Fireplace with Storage

Submitted by Anonymous (not verified) on Mon, 10/28/2019 - 16:33

Went with a black, high gloss finish which I sanded down with 220 grit sandpaper to soften the look. Cut up a birch tree from the backyard, back-lit the logs with two strands of orange Halloween lights from the dollar store (we drilled a hole in the bottom back for the plug for the lights).
Added a remote extender so we don't have to open the front middle door in order to operate our streaming devices.
Love to be able to decorate this for the holidays--can hardly wait for Christmas!

Estimated Cost
$250
Estimated Time Investment
Weekend Project (10-20 Hours)
Finish Used
Black high gloss
Recommended Skill Level
Intermediate

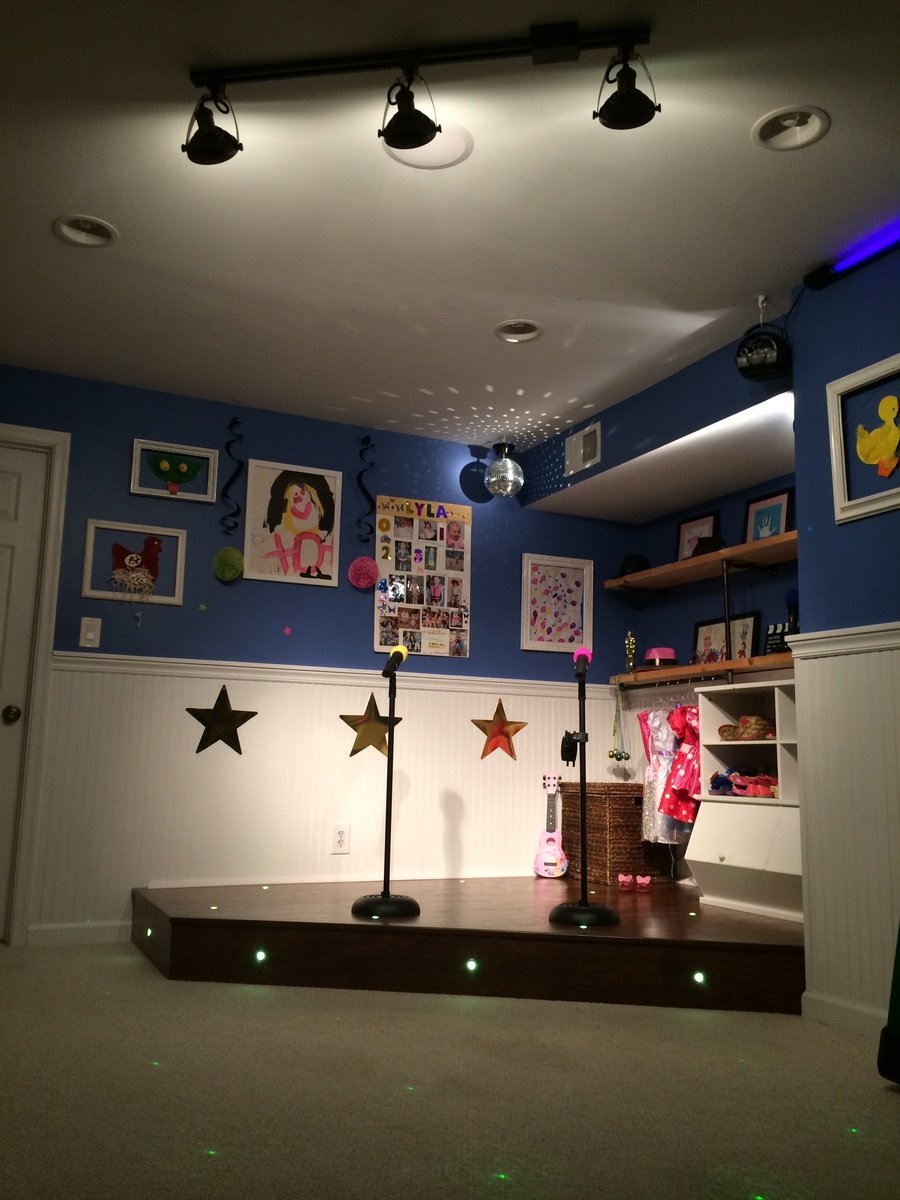
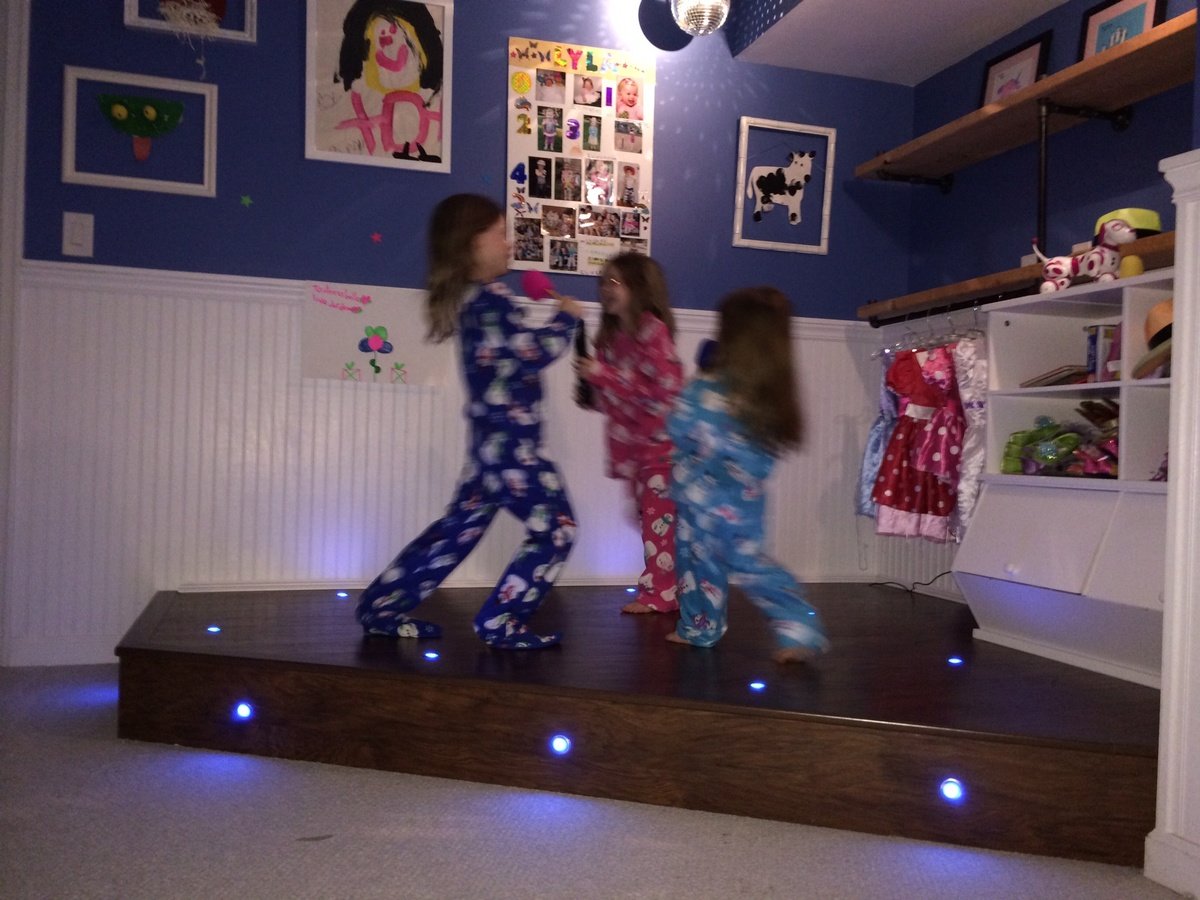
Playroom Stage!

Submitted by kdins31 on Thu, 01/02/2014 - 09:48

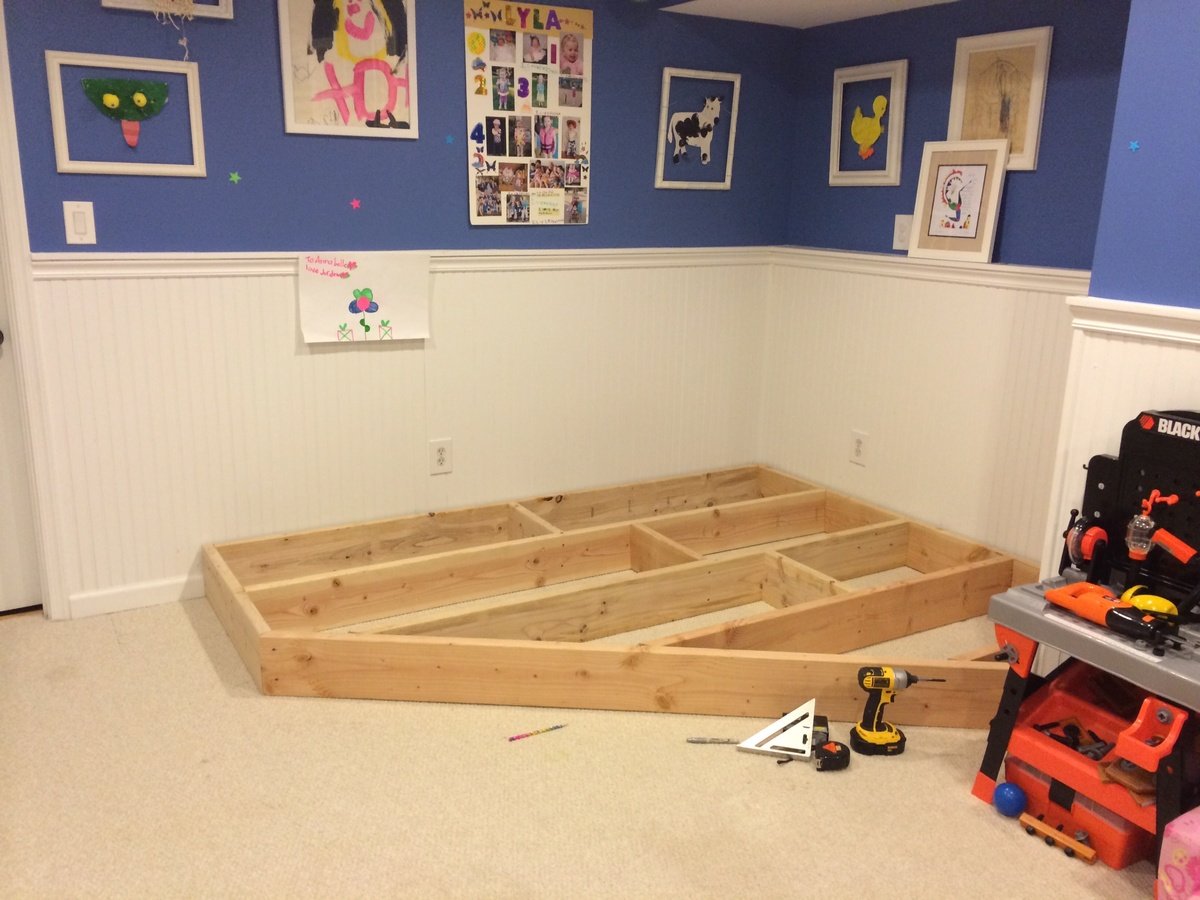
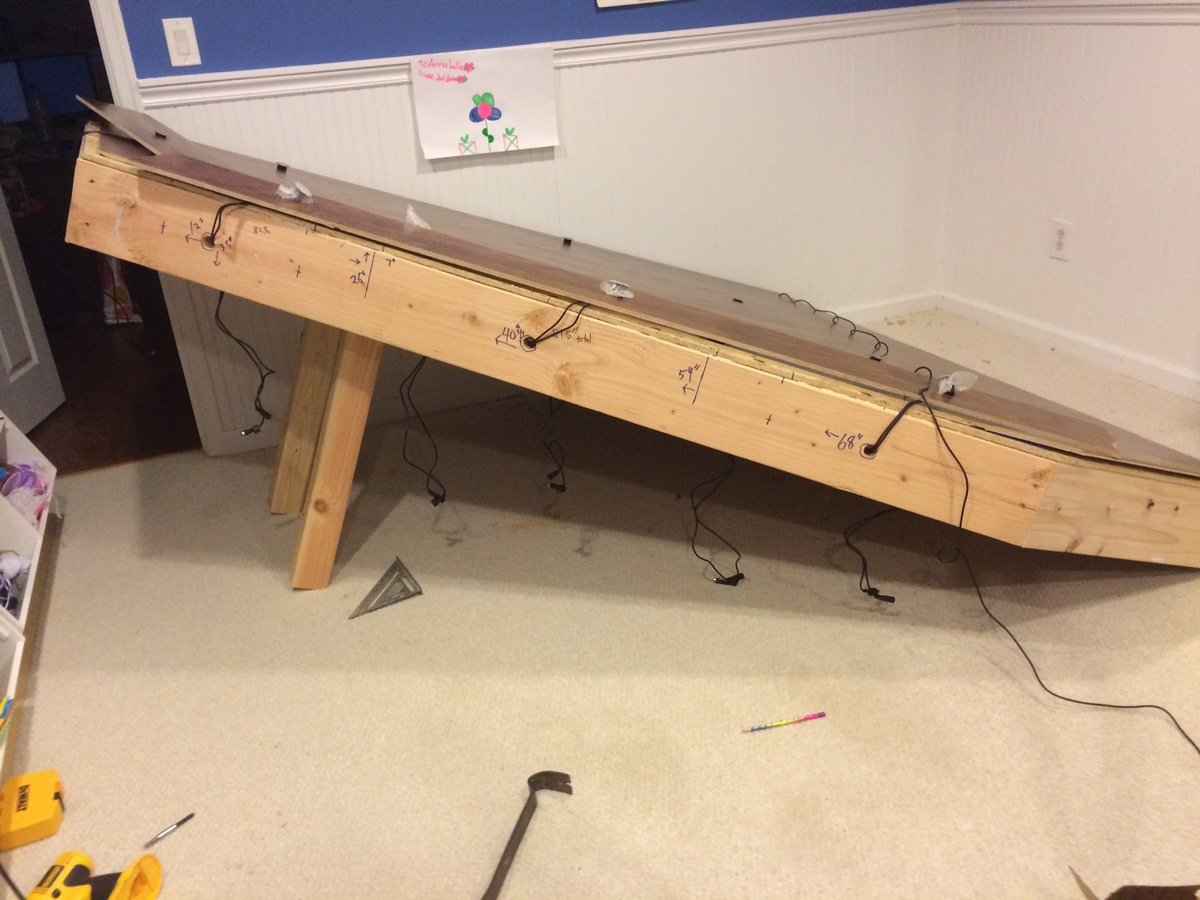
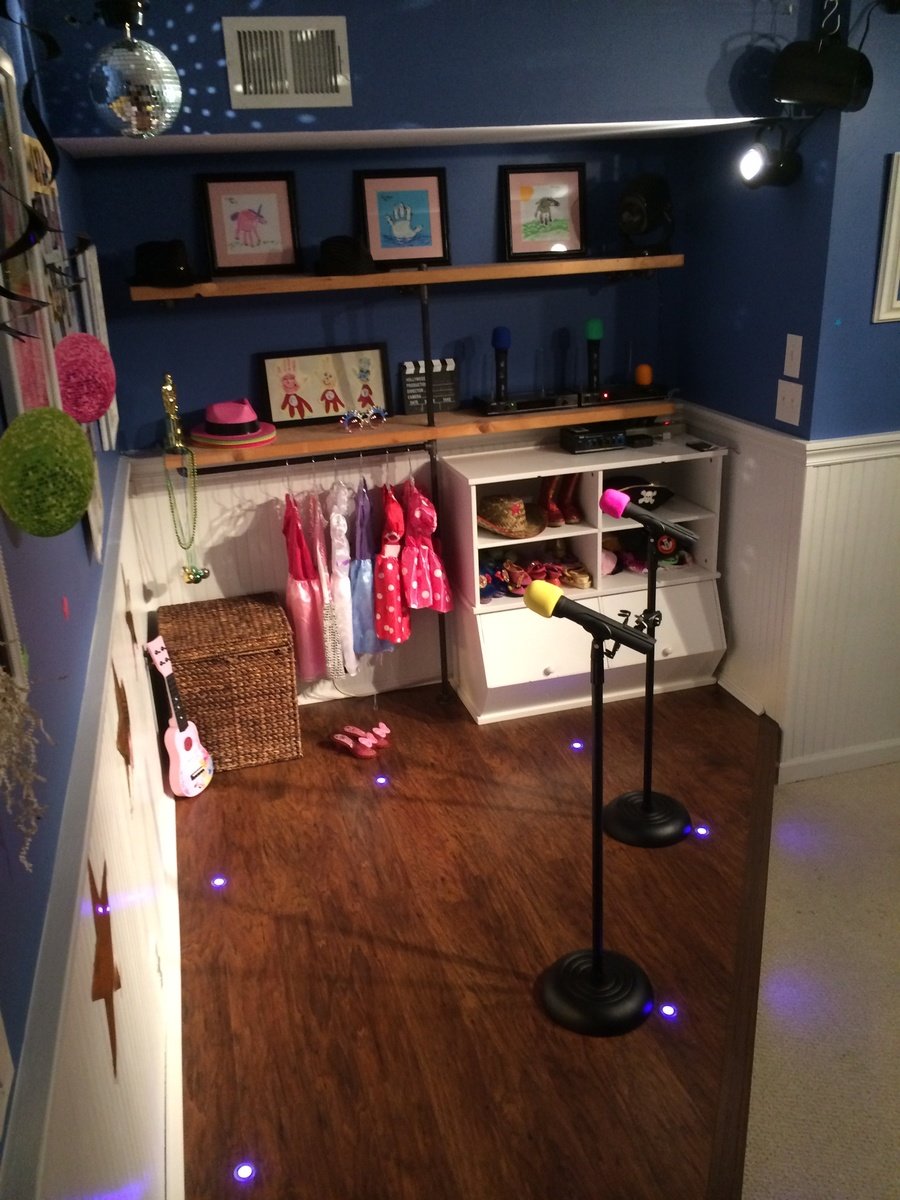
I had a perfect corner in our playroom that was reserved mostly for clutter and always wanted to do something fun with it. The base is made with 2x8"s topped with Handscraped Hickory laminate flooring. Bored holes into the floor and installed 1" diameter color-changing LED decklights. Added theatre-style tracklights, disco ball and other dance floor lighting for extra effect. Of course the stage wouldn't be complete without wireless microphones for karaoke and mic stands hooked up to a small amp and speakers in the ceiling. I made the shelving on the right side with 1/2" black pipe and used leftover 2x12" shelves from an old garage shelving install from 7 years ago! The kids were ecstatic on Christmas morning for the reveal!

Estimated Cost
$125-150 for wood, flooring and moldings. Black pipe is very inexpensive.
Estimated Time Investment
Weekend Project (10-20 Hours)
Finish Used
Send me message if you'd like to know which products I used, e.g. mics, speakers, lights, etc.
Recommended Skill Level
Intermediate

Comments

Garofola2013

Wed, 04/16/2014 - 11:53

I would like to know which products you used...e.g. mics, speakers, lights, etc. We want to do this is in our basement =)

THANKS!

Snix26

Sun, 07/27/2014 - 15:52

This is great! I was just wondering what your dimensions were? I've been looking for something like this to do for my niece but have been struggling to find a plan and figure it out myself LOL.

kdins31

Tue, 08/05/2014 - 05:58

Hello, the back wall is 8' and side wall is 6.5'. The stage comes out about 2.5' on each side then the front is around 7'.

Hope that helps, good luck!

atilley

Tue, 11/18/2014 - 19:37


Great job!! can you tell me where you got the microphones and mic stands for this?


dmbphoenix

Sun, 04/10/2016 - 14:44

Actually, I was wondering ,what lights did you use? I'm working on a very similar project and was curious to the lights your used please.

Mls4460

Wed, 11/13/2019 - 09:53

Do you have the actual plans to build this?

I would love to copy this idea for my 4 year old!

pixelpusher67

Sat, 09/28/2024 - 11:01

I would love to build this for my kids! Can you send me the details for everything? (dimensions for the stage, lighting, microphones)? Amazing job!

Newbie- so I forgot to add the height of the shelf to my calculations...

Submitted by Red wicked on Sun, 03/27/2016 - 10:16

I forgot to add the height of the shelf when I measured for the placement of the two by two shelf supports, but it still turned out well. 

Built from Plan(s)
Estimated Cost
$90 beacause the hinges were soooooooo expensive at Rockler
Estimated Time Investment
Day Project (6-9 Hours)
Finish Used
None
Recommended Skill Level
Intermediate

Christmas tree

Submitted by Anonymous (not verified) on Sun, 11/24/2019 - 21:01

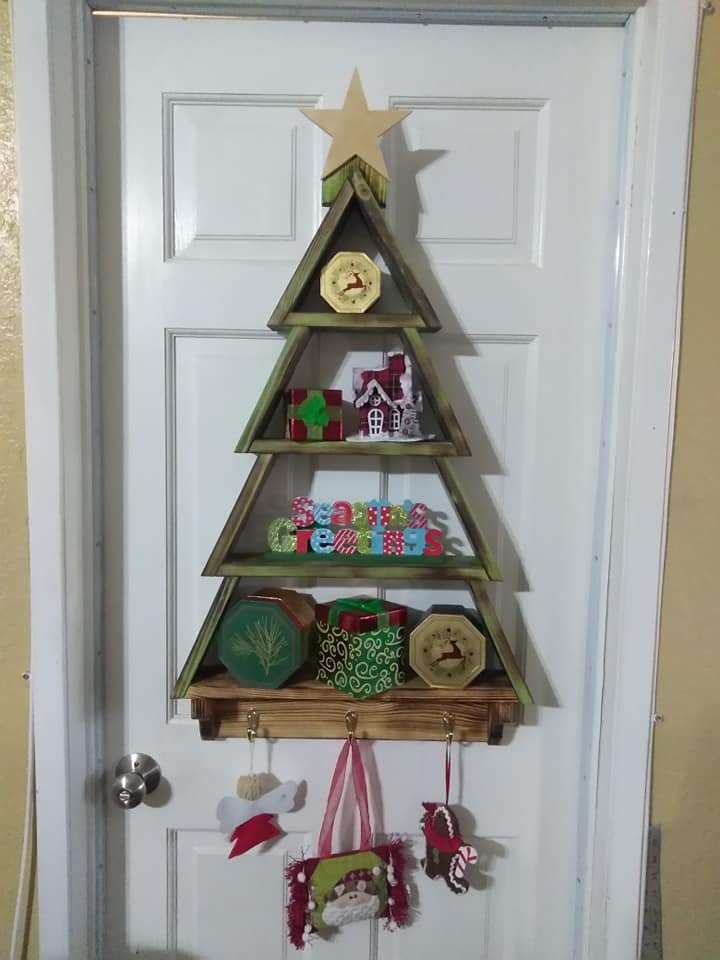
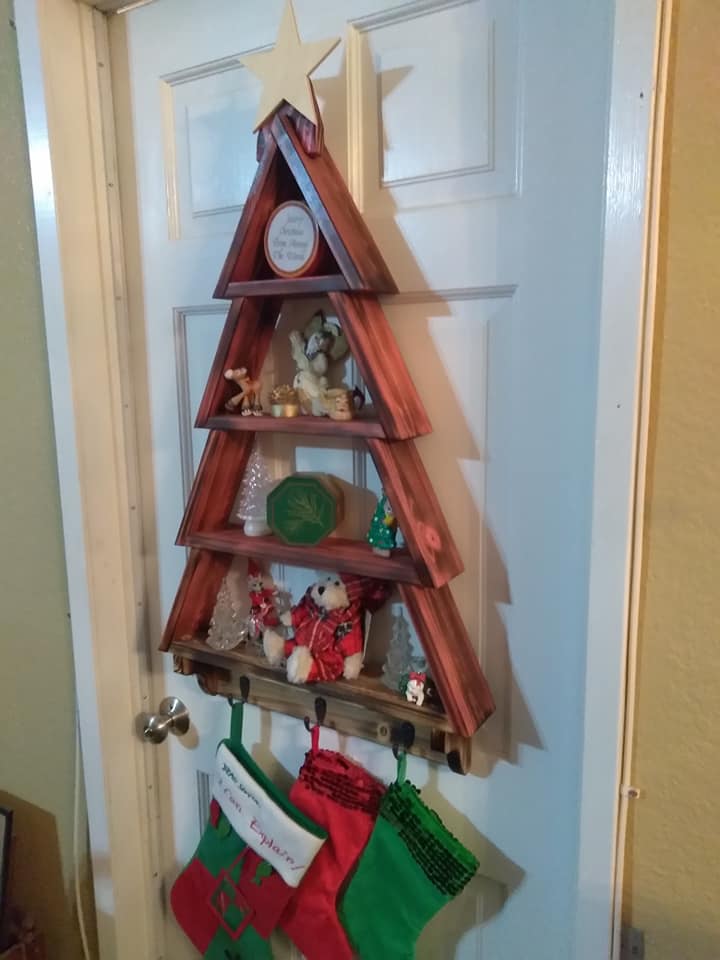
Thank you very much for the Christmas tree plans, was a nice and fun project, I added a star, can be removed if people wants to use the tree year long.

Thank you again
Sergio

Built from Plan(s)
Estimated Cost
$15
Estimated Time Investment
Afternoon Project (3-6 Hours)
Finish Used
I burnt the wood with a torch to begin with, then I mix water base paint with water , (more water then paint) brush it and wipe it off, then I use a clear finish. I did stained everything before I put them together. Took me 20 minutes to cut the wood for 2 trees, the time consuming was waiting for the stain to dry. Awesome project and fun.
Recommended Skill Level
Beginner

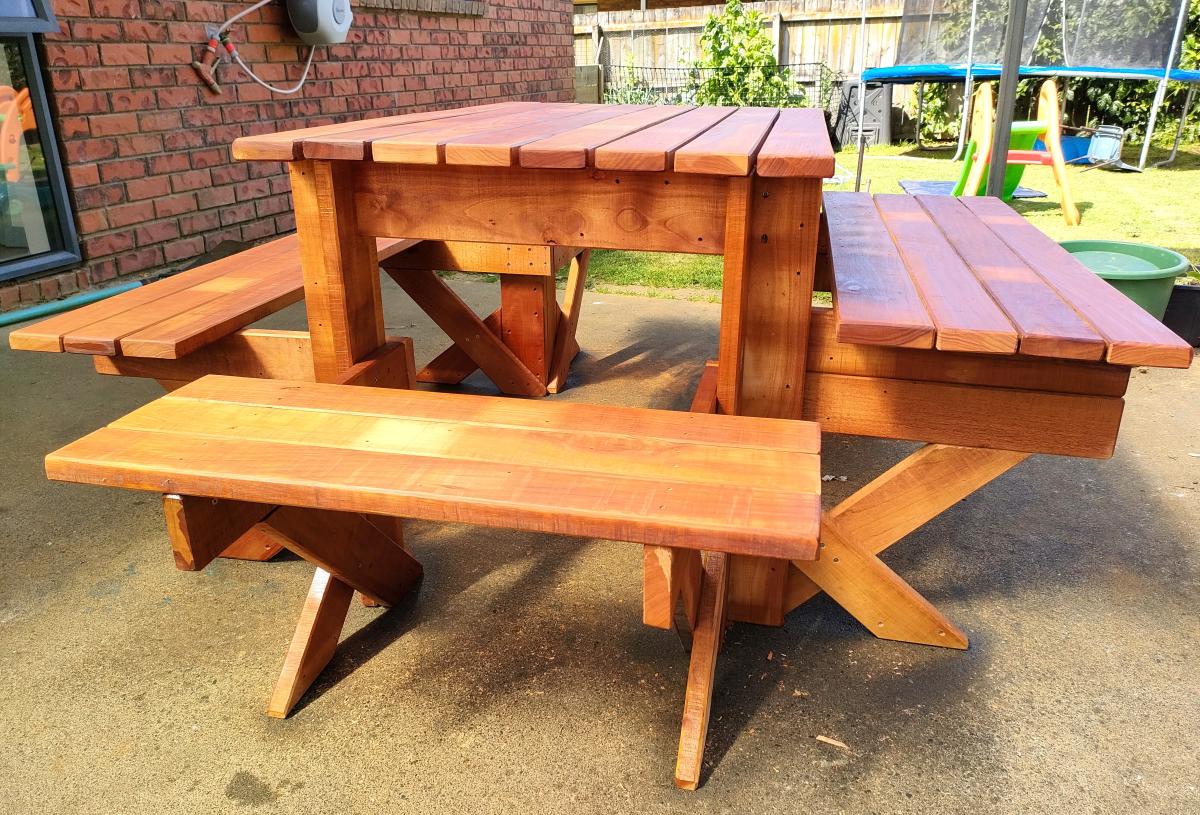
Square Outdoor Picnic Table

Submitted by Anonymous (not verified) on Sun, 07/30/2023 - 14:49

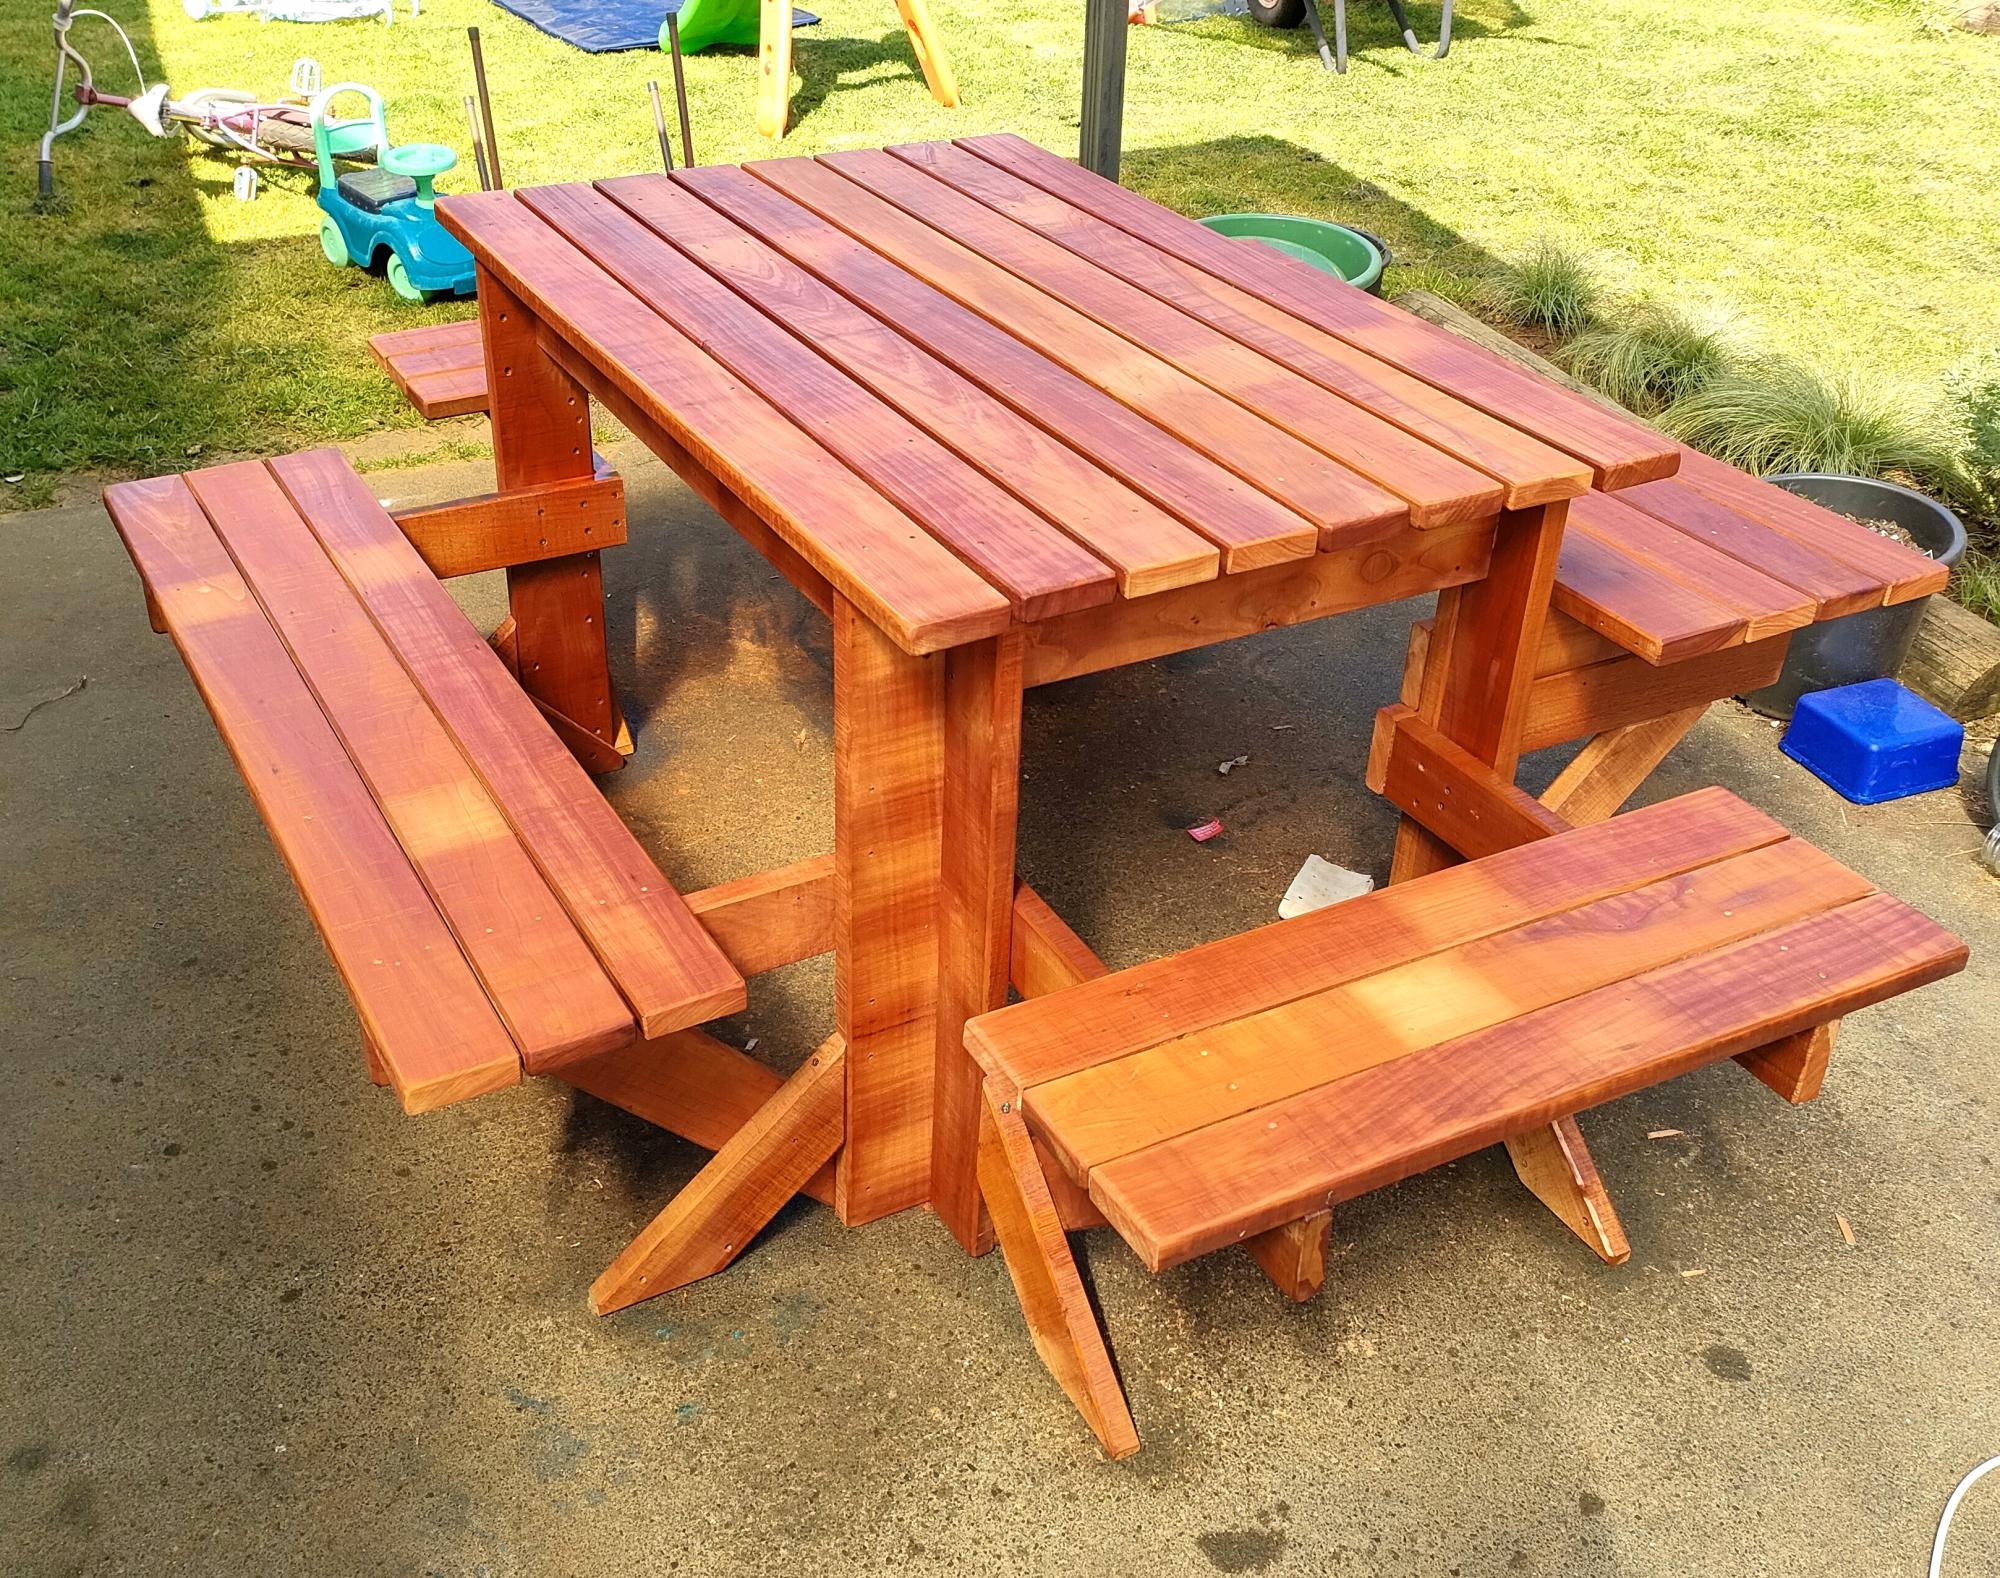
6 seater Recycled Fijian Kauri with extra leg supports, one side higher & closer for kids.

Marty

Built from Plan(s)

Comments

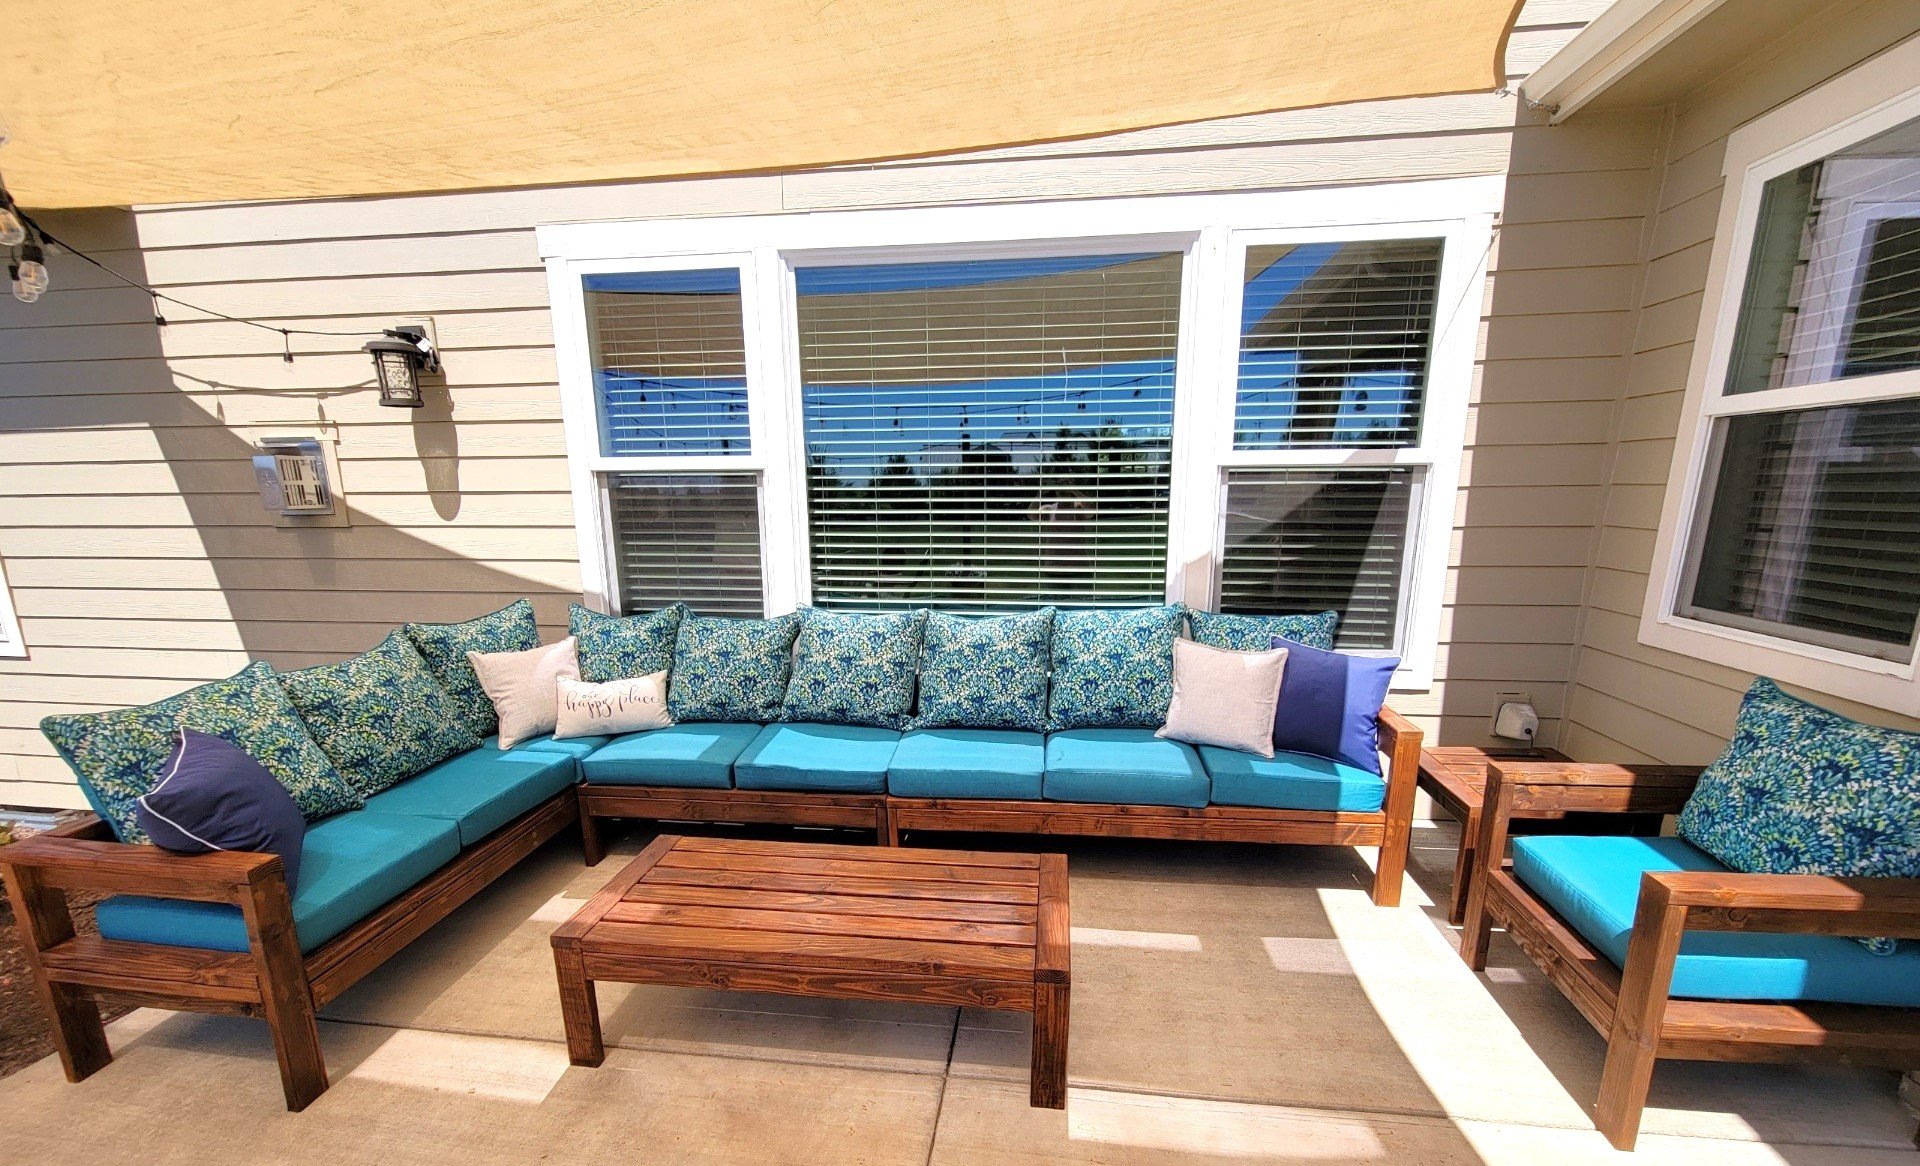
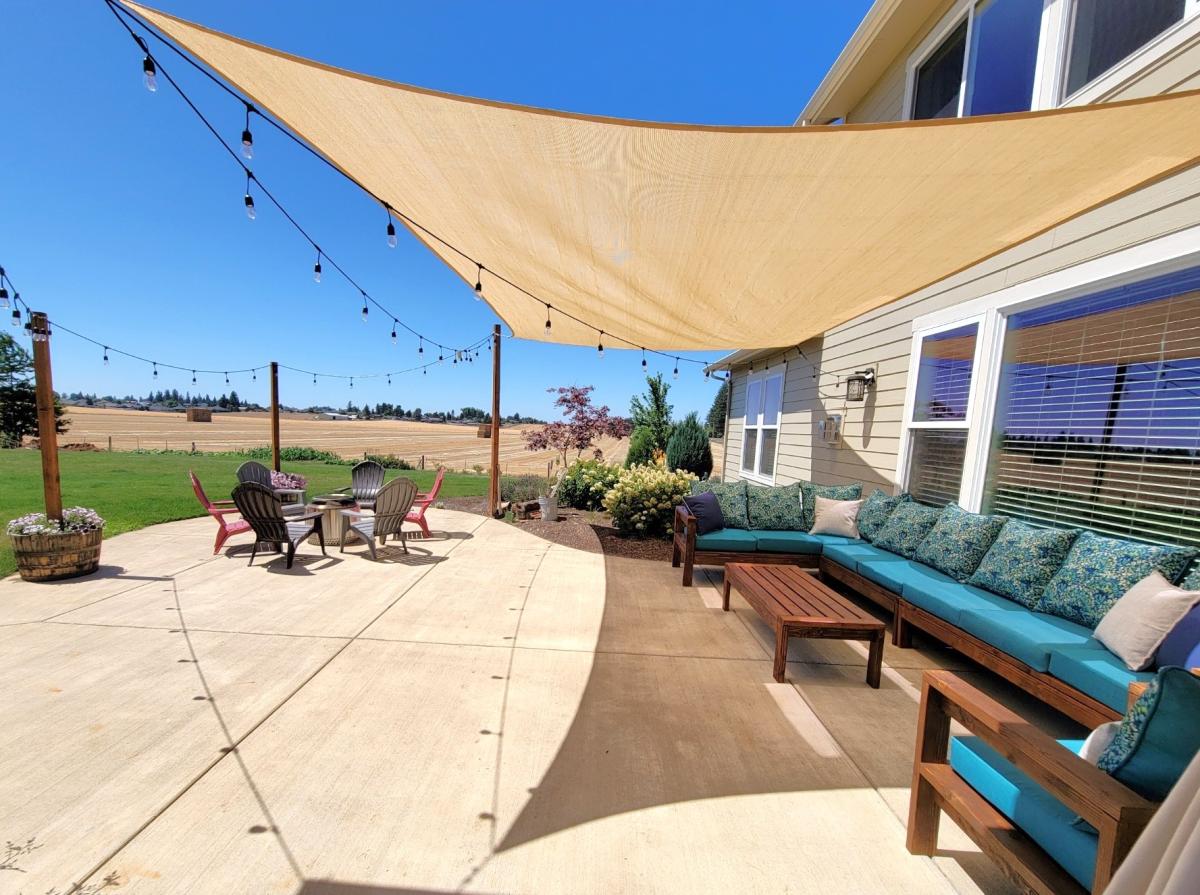
Outdoor L Shaped Sectional and Table

Submitted by Anonymous (not verified) on Fri, 08/04/2023 - 11:36

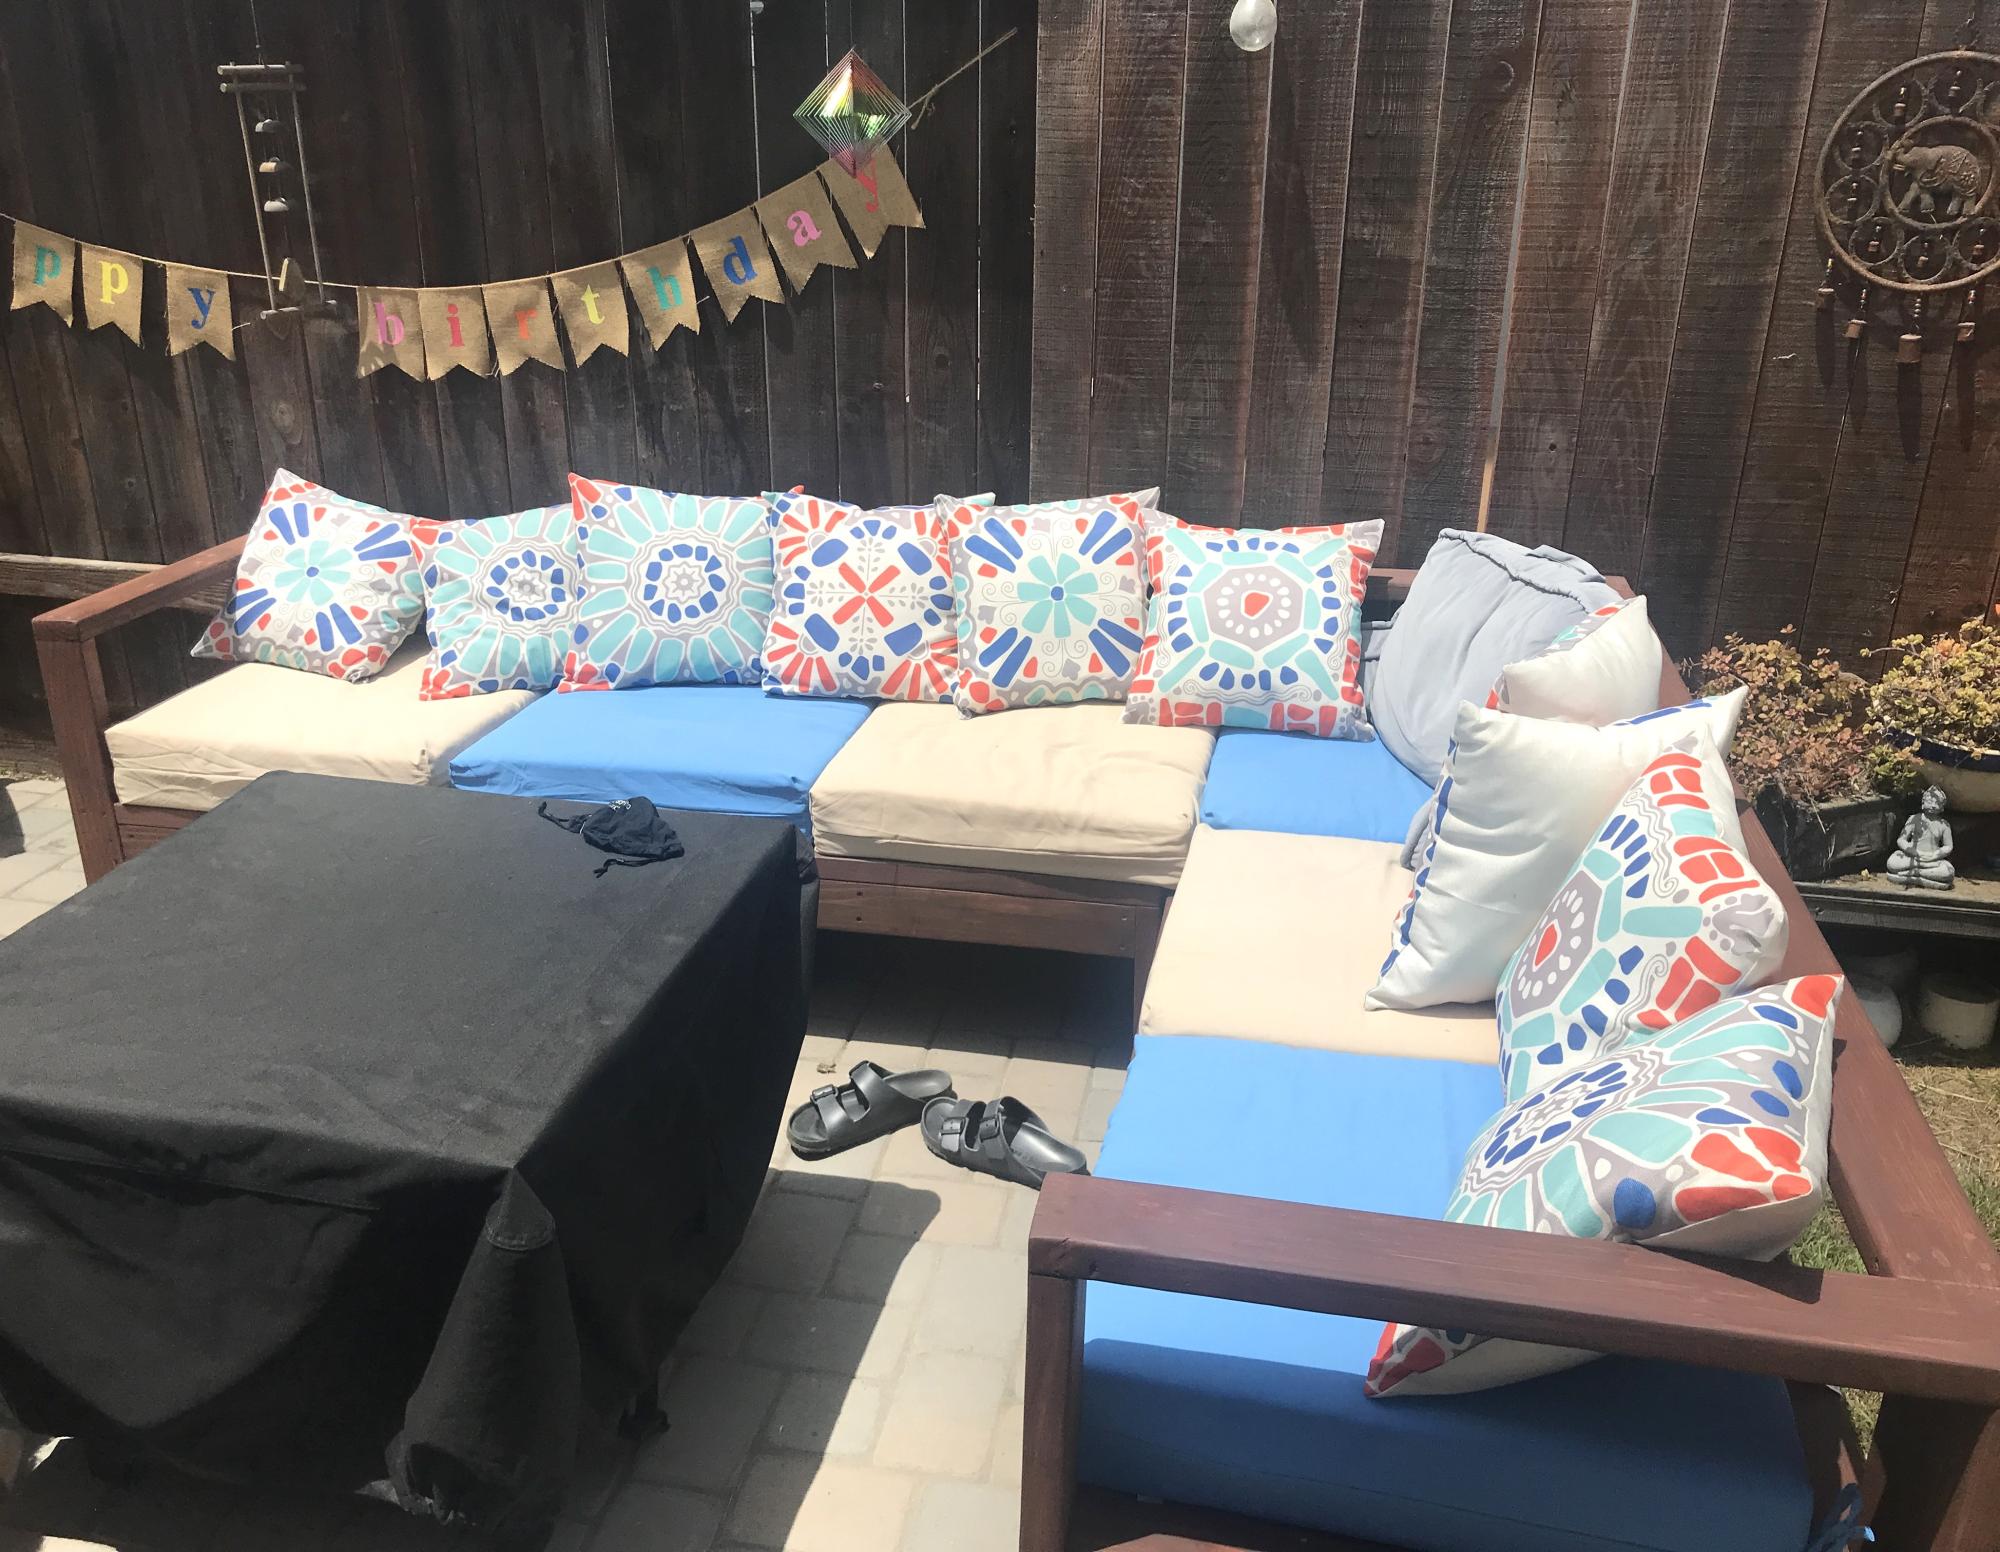
My wife used you patio sectional and table plans to make herself a summer oasis. She built it specifically to fit a corner of our patio that we were never using. Now it is used almost daily for reading, visiting or just sitting outside watching the birds.

Tony for Julie

Seasonal And Holiday

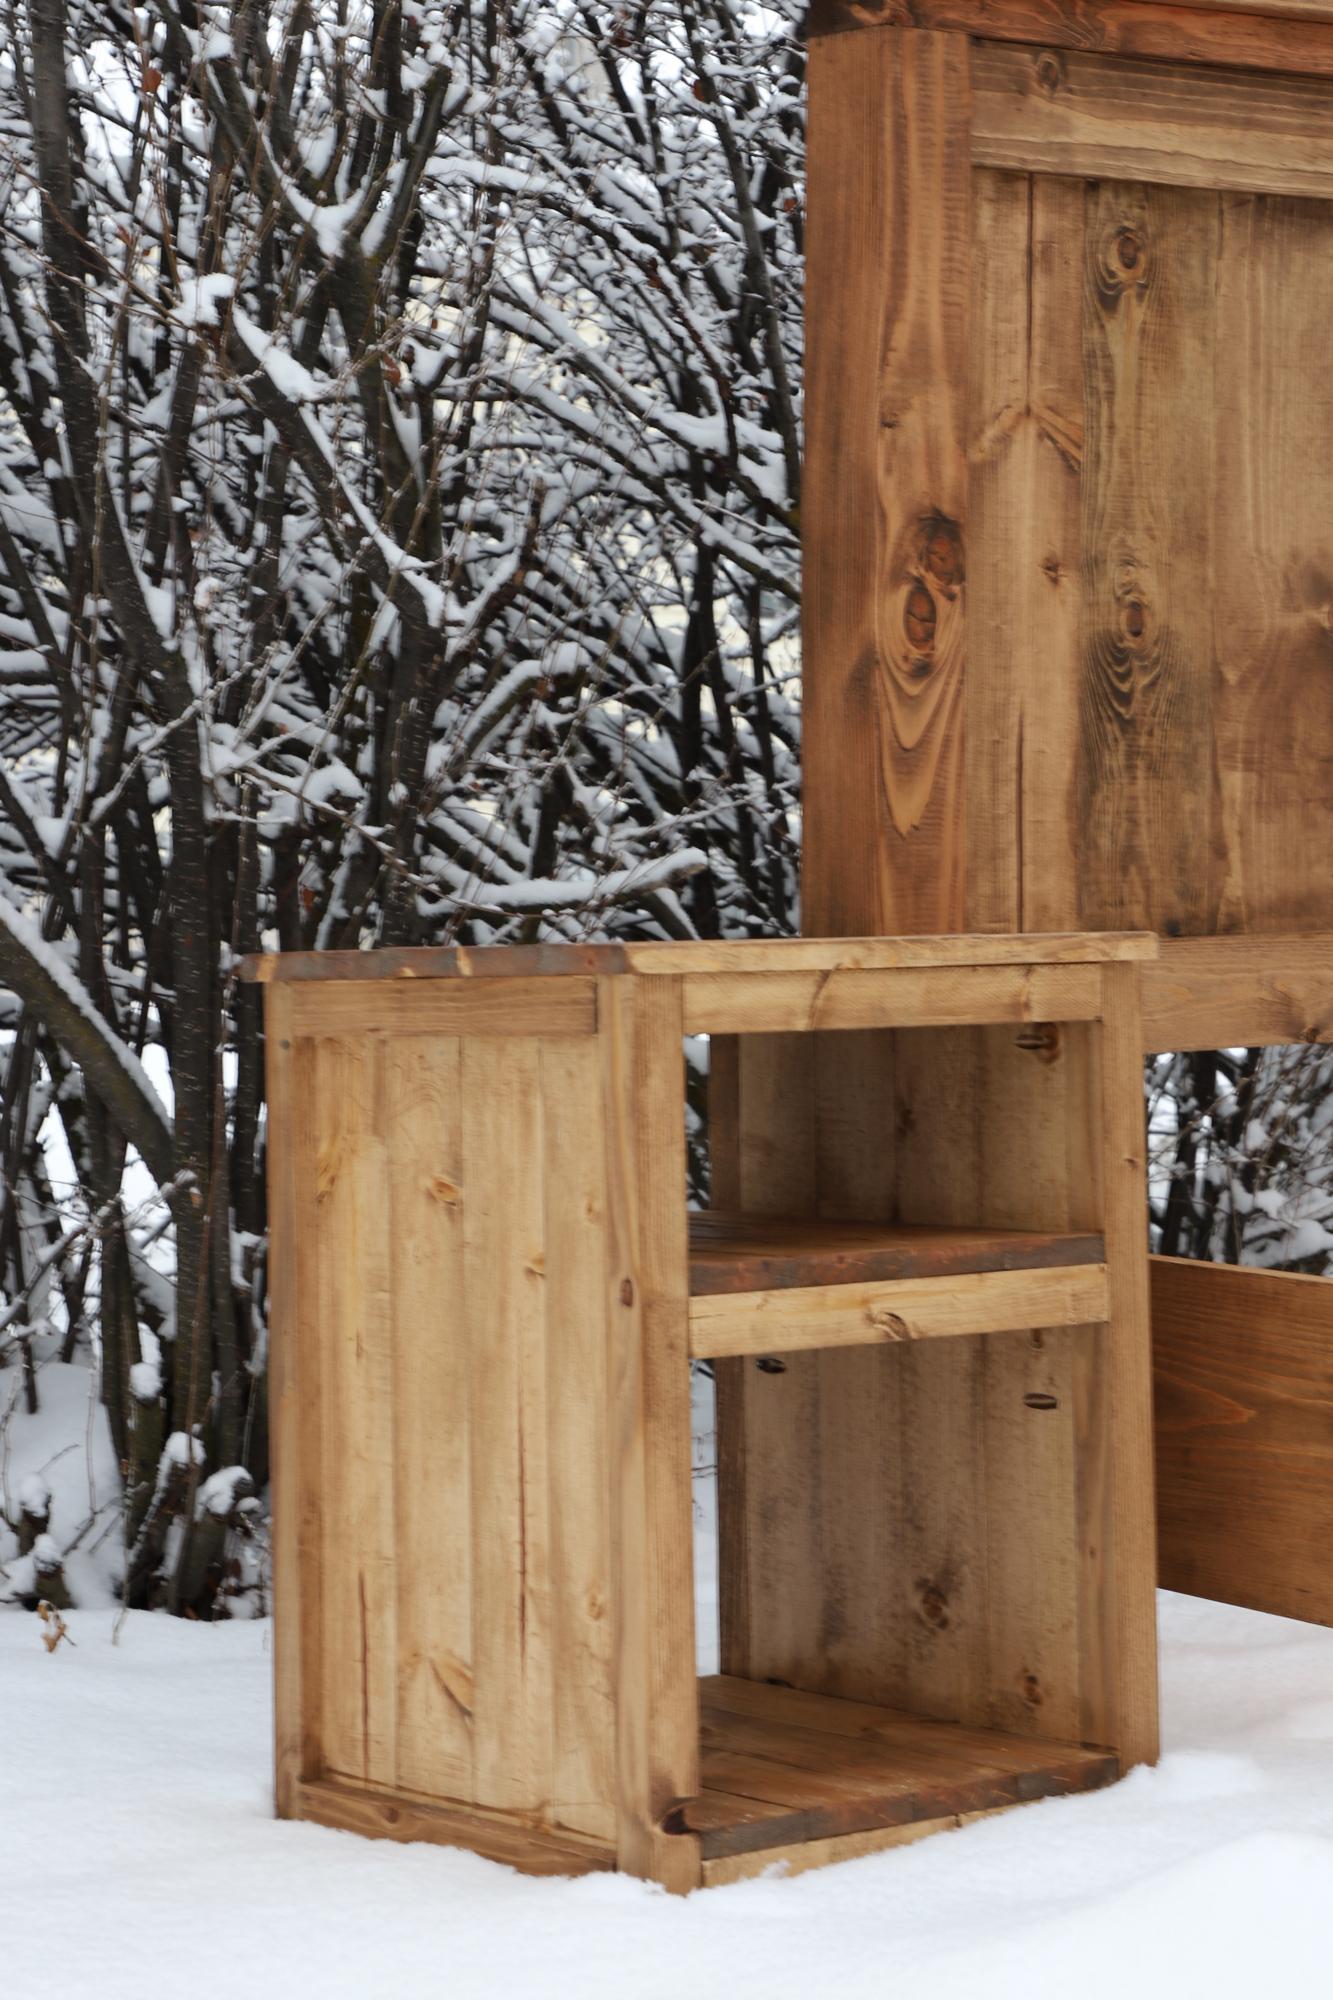
Simple Farmhouse Nightstands

I built these matching nightstands to go with a king bed frame I built for a couple whose rebuilding their home that burned down. They were pretty simple to put together, but despite their simplicity, they are gorgeous. 

Estimated Cost
$20
Estimated Time Investment
Afternoon Project (3-6 Hours)
Finish Used
I used minwax pre-stain to prepare the wood. I then stained it using special walnut by Varathane (got it from The Home Depot). Finally, I finished it using a clear satin polyurethane by Minwax.
Recommended Skill Level
Beginner

Porch Planter Steps

Submitted by Anonymous (not verified) on Sun, 08/27/2023 - 12:23

I love how sturdy and beautiful these planter steps turned out! They were easy to build and work perfectly with the new deck/front porch I built this summer. I only needed one step and I used the same 1x material for the top of the step as I did the deck. I just added a couple more supports for the 1x material, as it isn't as sturdy as 2x6's. Thank you so much for the wonderful plan!

Rustic X Hall Bench

Submitted by Anonymous (not verified) on Thu, 01/02/2020 - 06:28

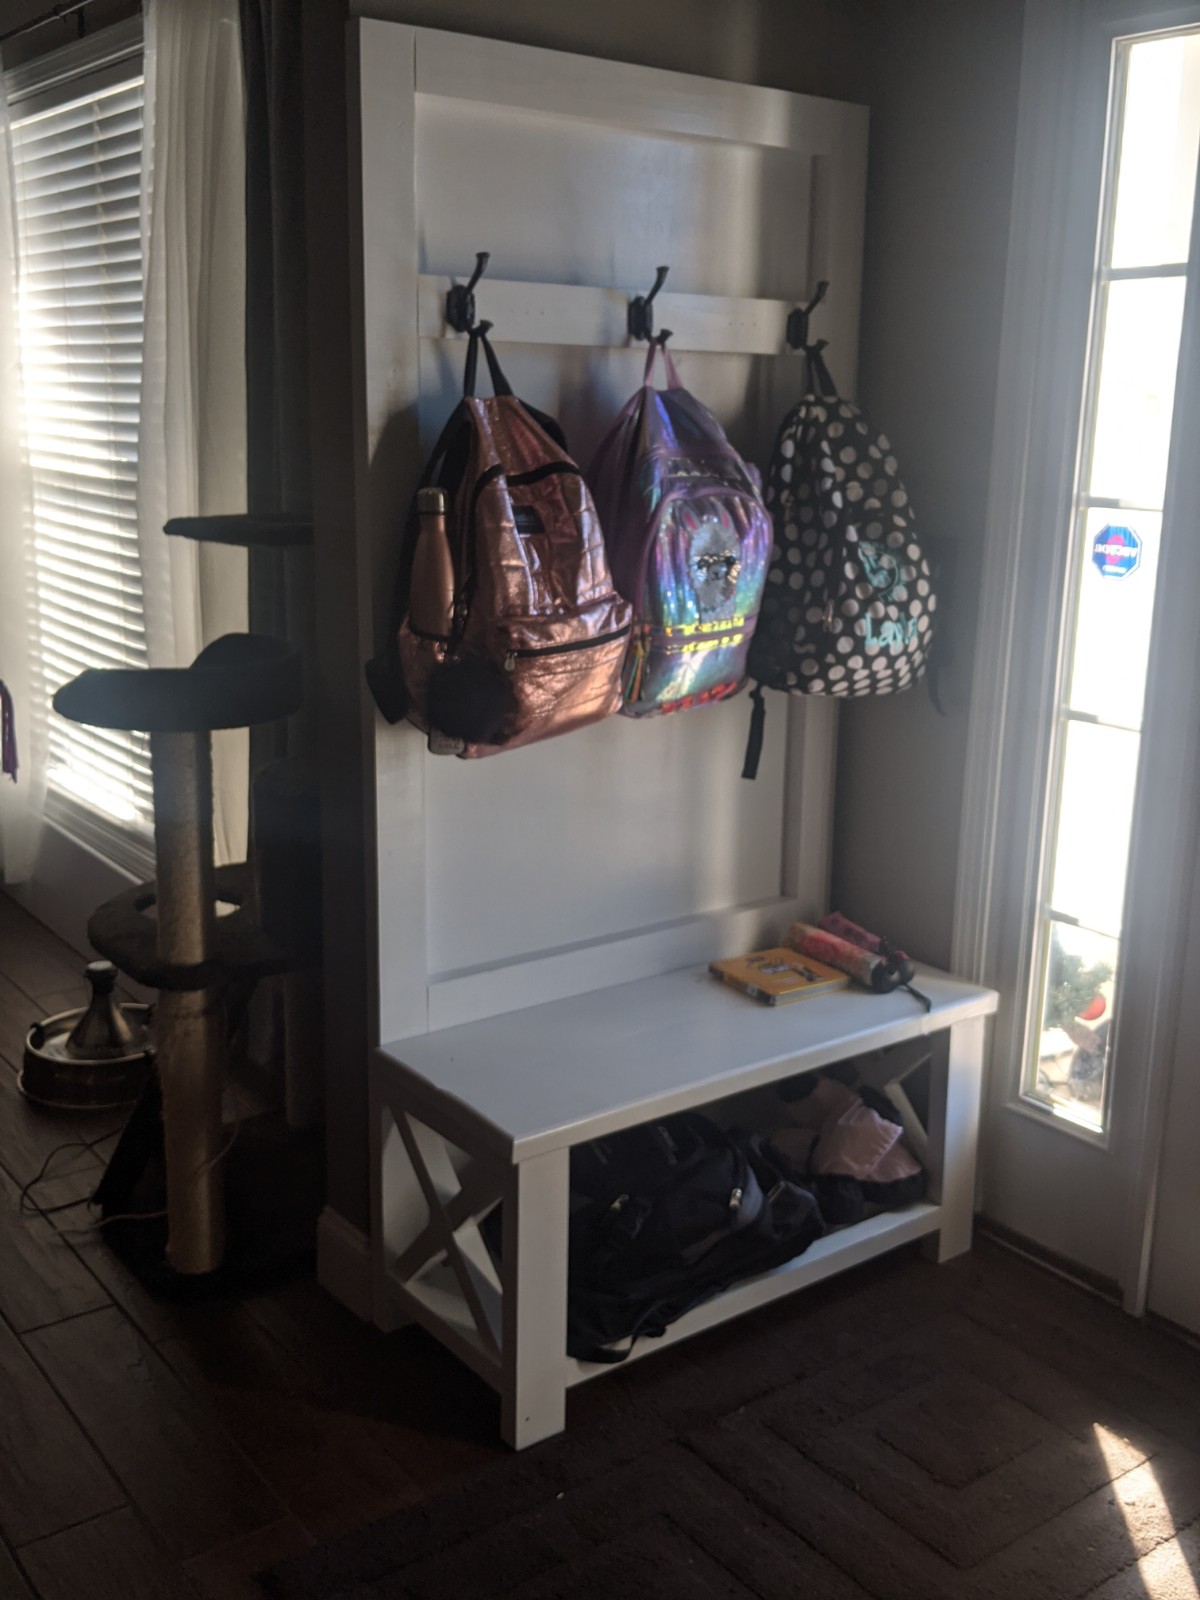
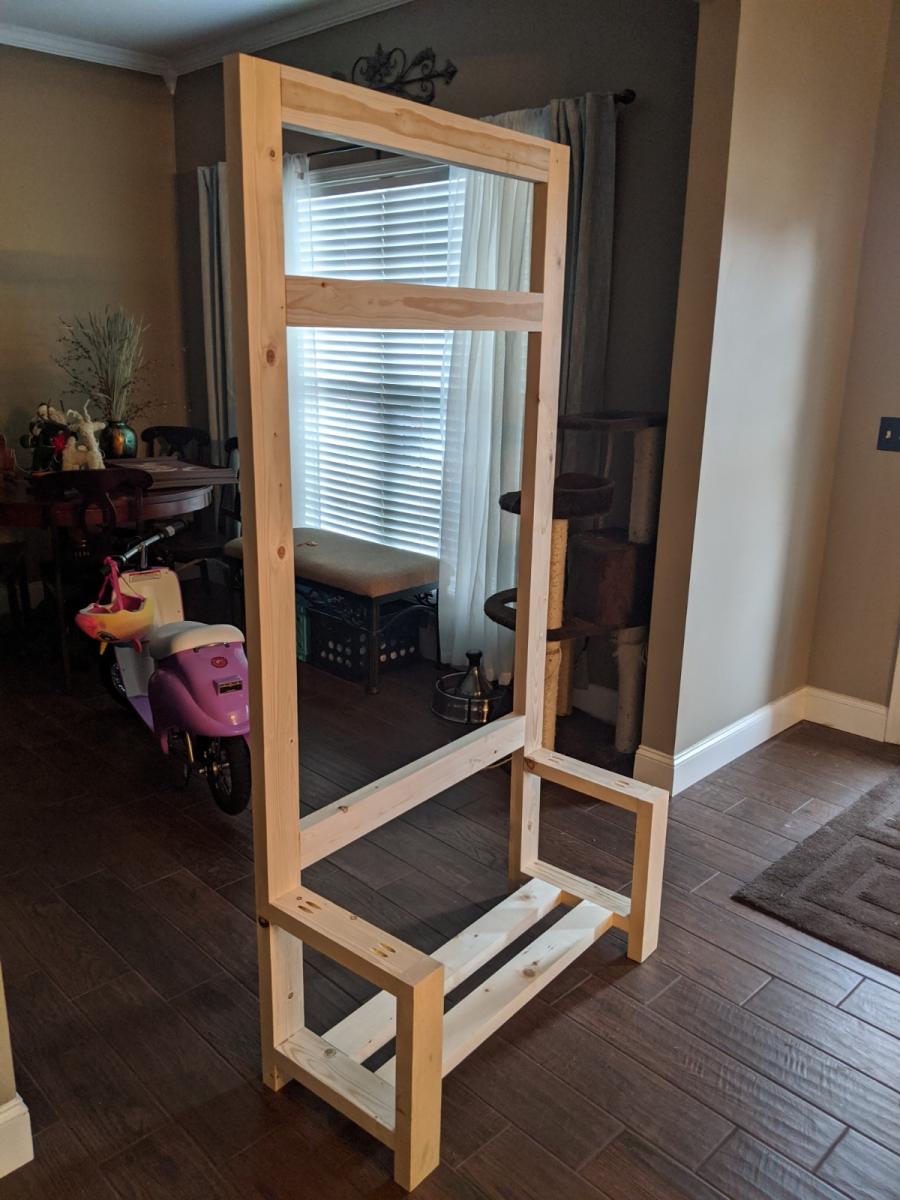
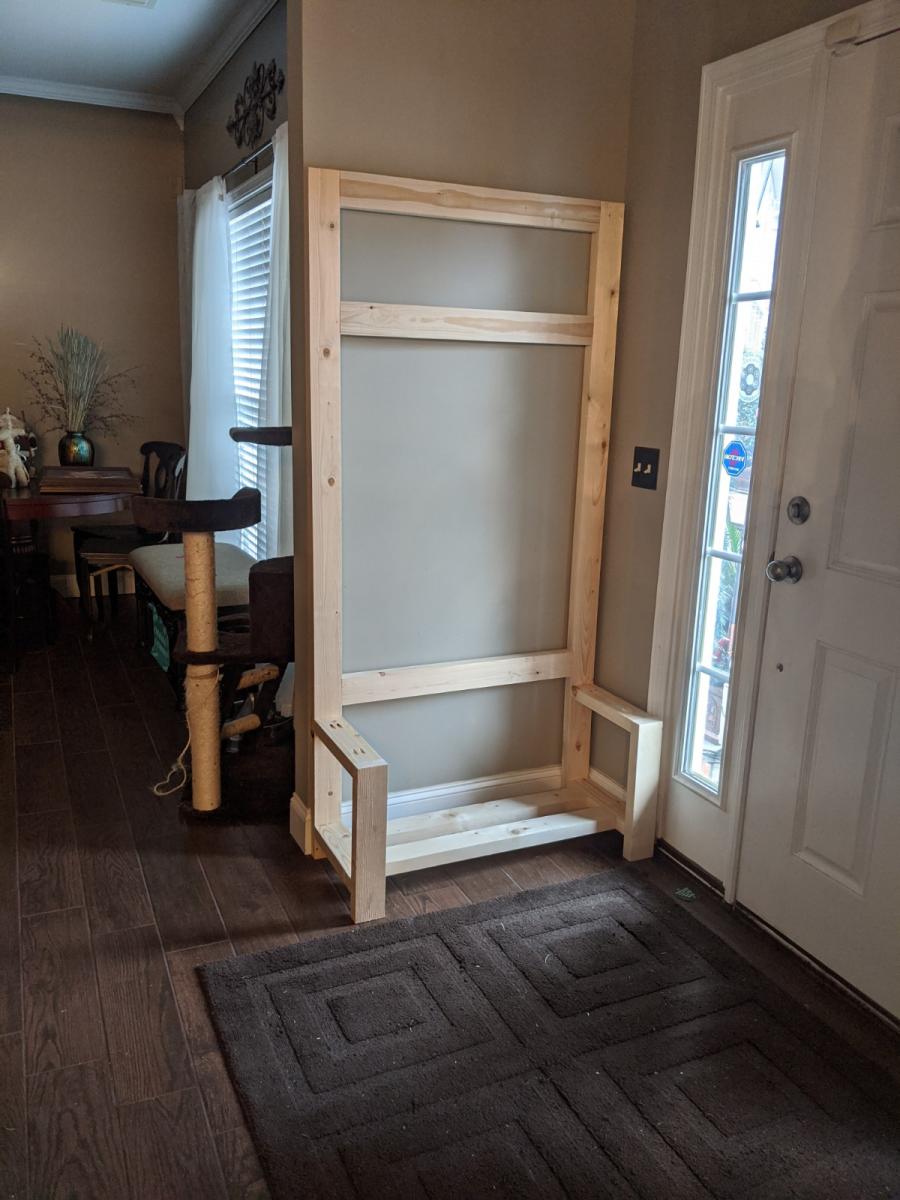
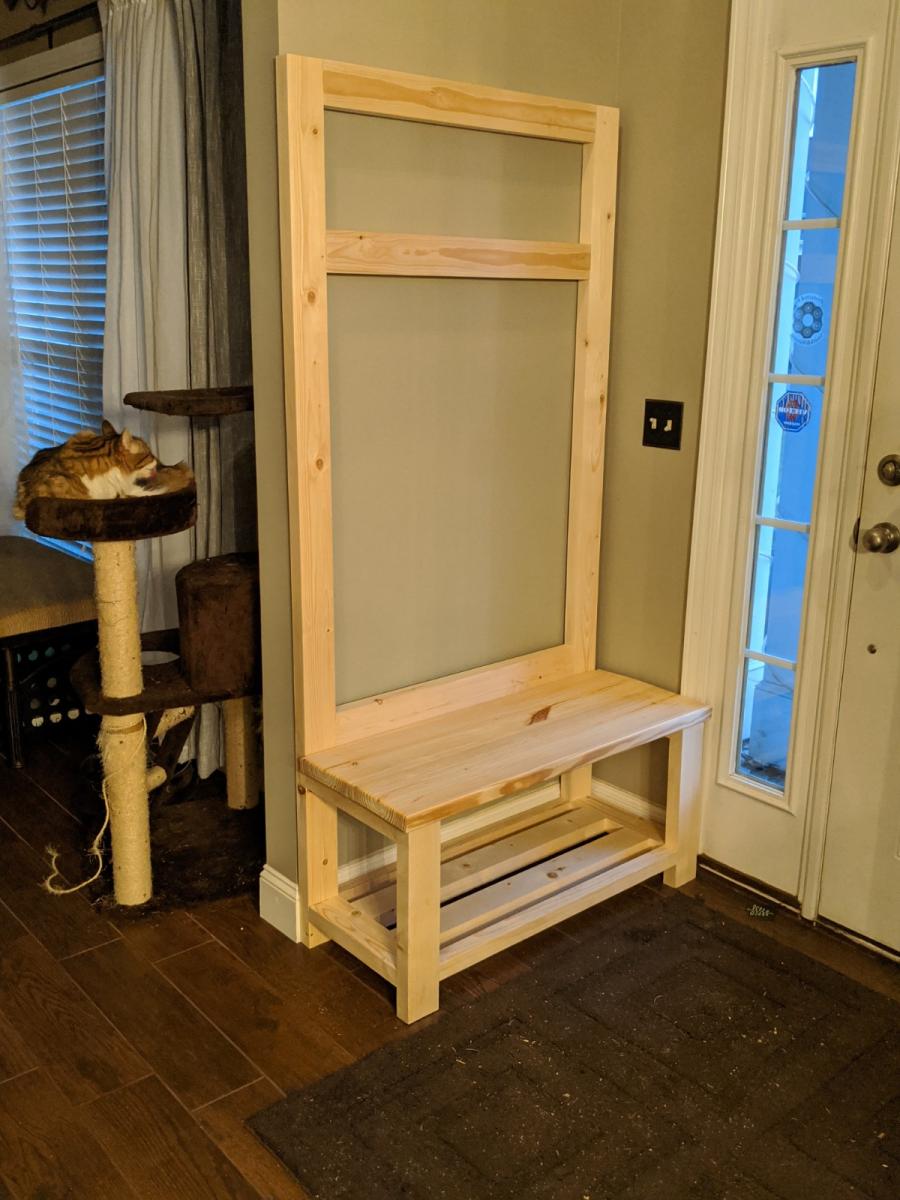
My wife got some gift cards for Christmas. Instead of going and buying stuff for herself, she handed them to me and said that she wanted a Hall Bench/Mudroom bench and she wanted me to build it. We've got several of the Rustic X furniture pieces in our home already and she wanted it to match, so this was the natural fit. This was a great project and addition to some of our home decor. I had to shrink it down to fit our space, but that was easy.

Built from Plan(s)
Estimated Cost
<$100
Estimated Time Investment
Day Project (6-9 Hours)
Finish Used
Sherwin Williams primer and paint

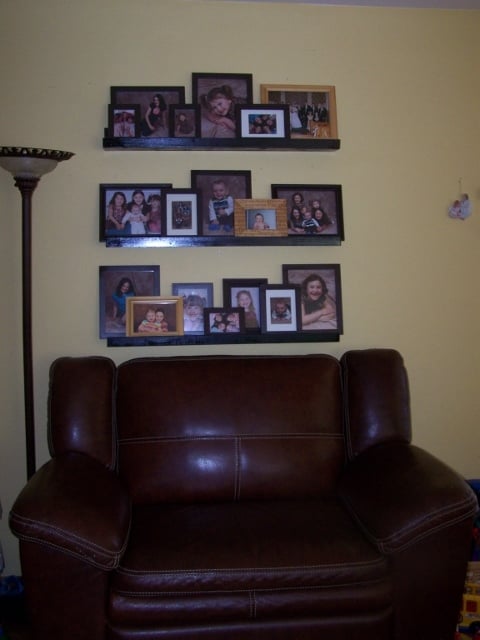
new photo ledges - only a few months late!

Submitted by tannisg on Thu, 04/19/2012 - 19:13

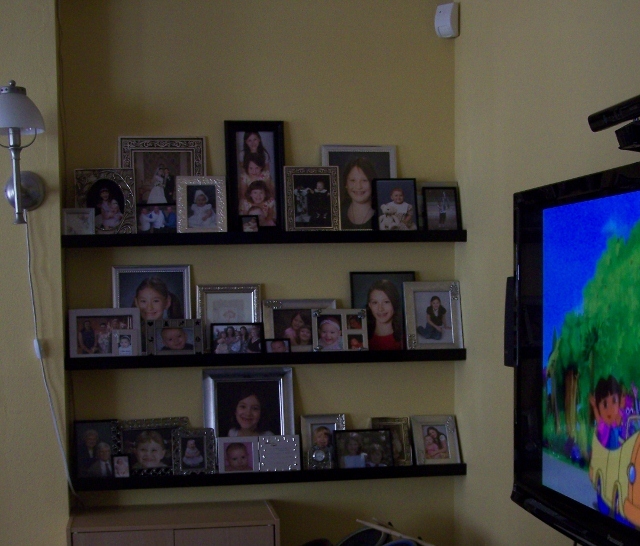
I know there are a hundred brag posts of the $10 ledges, and I have used them before (and posted them) but I am so happy with how these turned out!

Its too bad I don't have a good before picture, because the things I love most about these are the colors and the interchangability and it would be easier to explain with the before picture!

I have had pictures in cute matching frames on the one wall for years, but the frames were too light for the wall color, and the floor and furniture, so I needed to darken them up. Additionally, we got a black tv stand even though the floor and couches are dark brown. (TV is black, so it works) So I made the shelves black to pull that in. Then on the shelves closer to the tv, I used black and silver frames, and on the ones above the brown couch I painted all my light wood frames darker.

As for the interchangability, its a lot easier to pull the frames down and change the picture when you don't have to worry about how they look together - I can just move them around on the shelf. I've always had a hard time getting a "gallery" look just right - something will always hang lower than I want or whatever. So I finally got it perfect with one 10x13 of the kids together in the middle of 4 8x10s (one of each) and a few little ones to mix in. Then we had to go and have #5 and mess my whole system up! :)

So he's 16 months now and his picture is finally on the wall, and was taken last May - so sad..

But my other set of shelves has pictures of everybody - even me, yikes! I decided they look better full so I used all the frames I had, and got some cheap ones and thrift store frames and put them all together. "controlled chaos" just like the rest of the house/life!

Thanks Ana for giving me the confidence to know that I can make it myself, I never would have gone out and spent the money to buy matching frames, but knowing I could just do it myself I was able to get it done for cheap!
Built from Plan(s)
Estimated Cost
$50 including some new frames and paint
Estimated Time Investment
Afternoon Project (3-6 Hours)
Finish Used
black spray paint, brown spray paint on the frames, some silver too
Recommended Skill Level
Starter Project

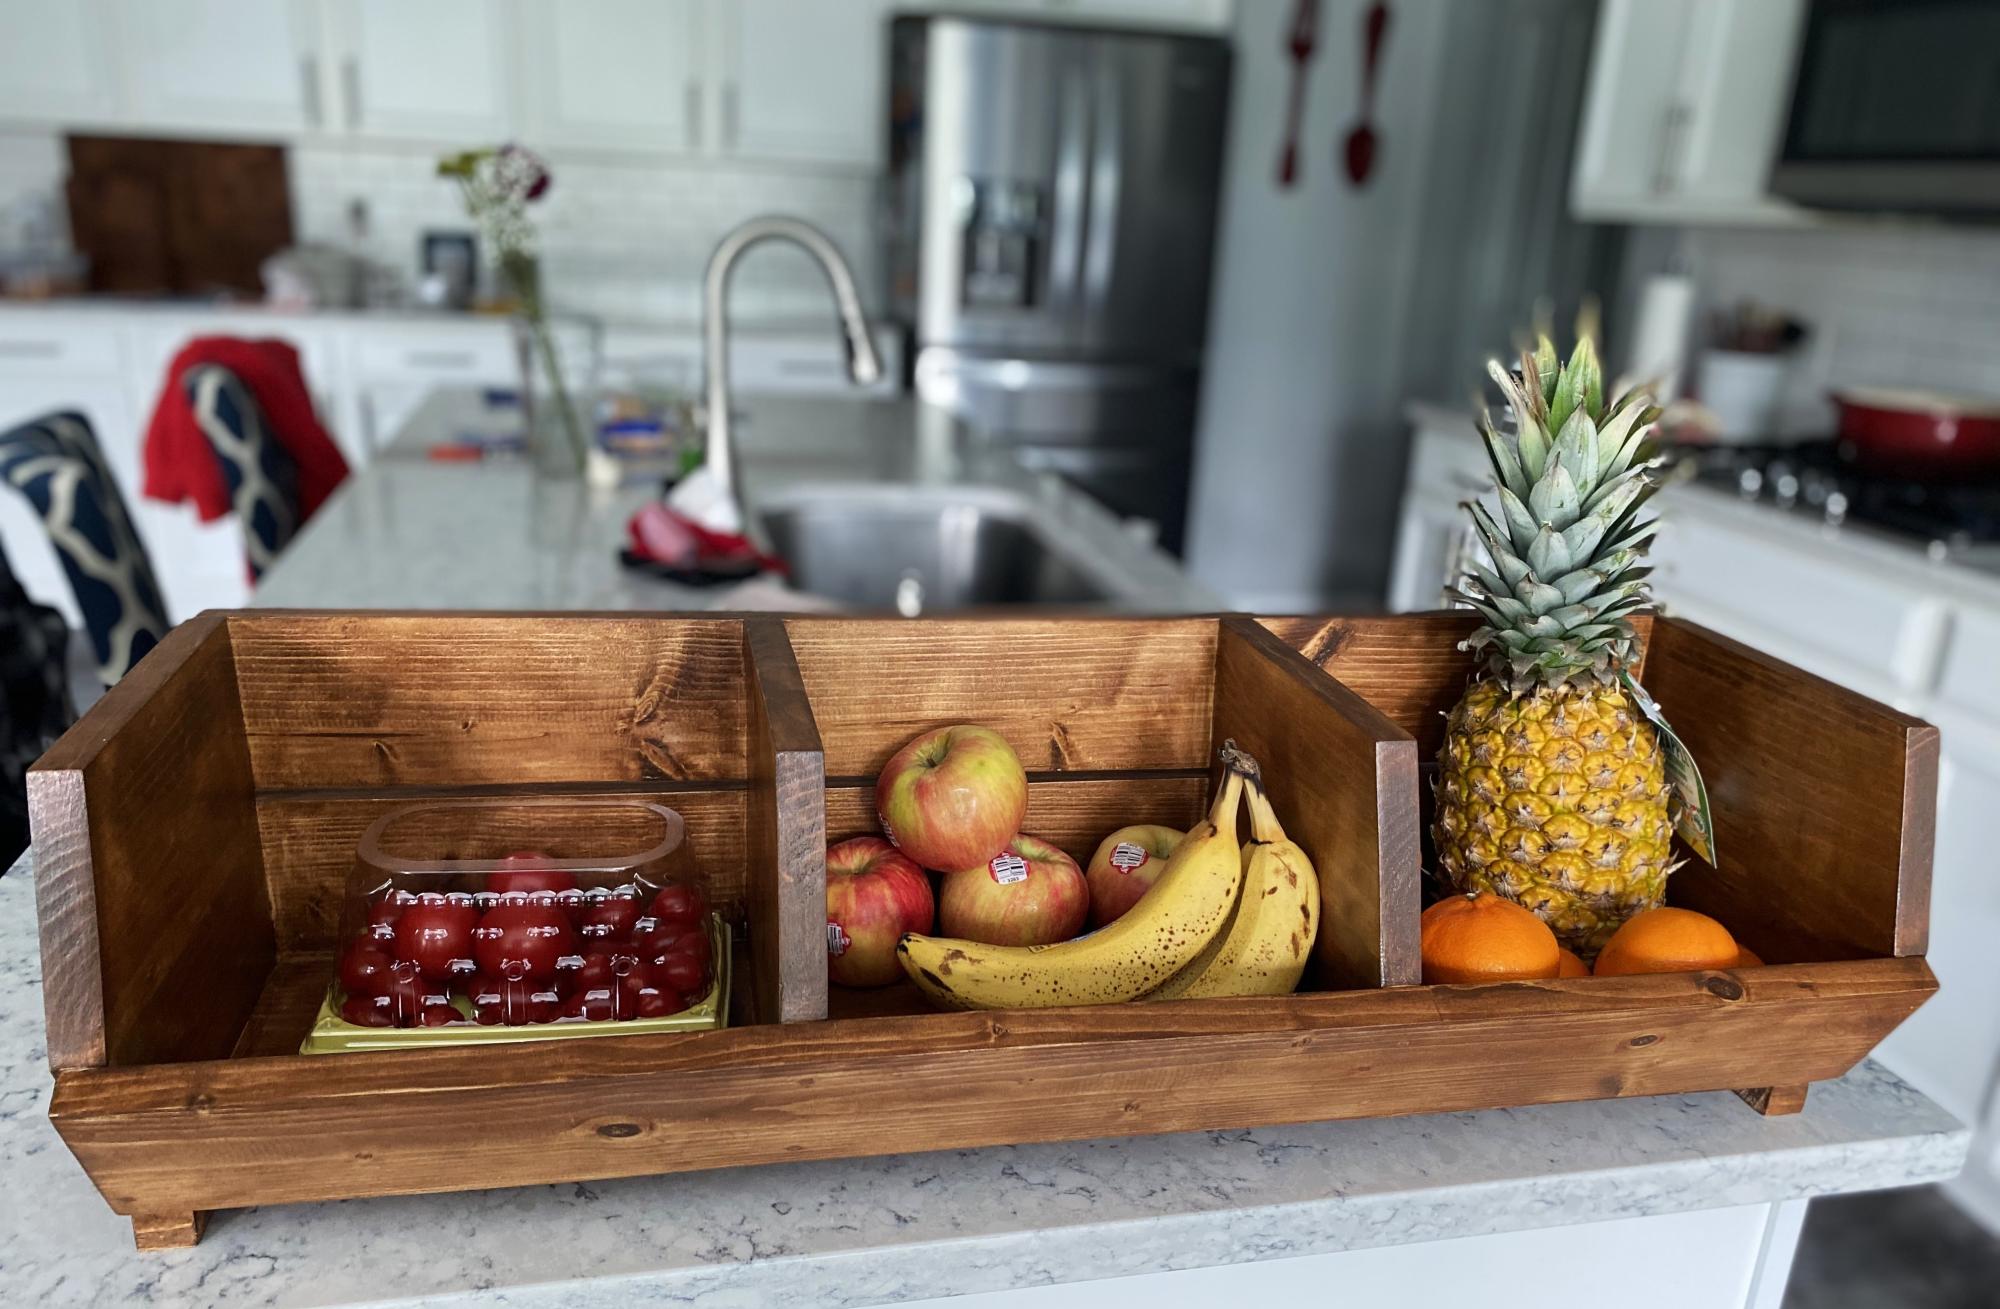
Countertop Produce Storage Bin

Submitted by Anonymous (not verified) on Mon, 09/25/2023 - 09:20

My 16-year-old son is home every other day for school with an on-line course he is taking. We started working on projects we both wanted to learn from cooking to woodworking projects. This is the very first project we made. We are both very proud and pleased with the simple directions, minimal tools required, and beautiful results. We used an early American stain and lacquer finish. We have received many compliments on it. Thank you for giving us something to build our relationship and home with.

Elizabeth

Built from Plan(s)

Comments

Scrap nesting box

Submitted by Anonymous (not verified) on Sat, 05/28/2016 - 12:05

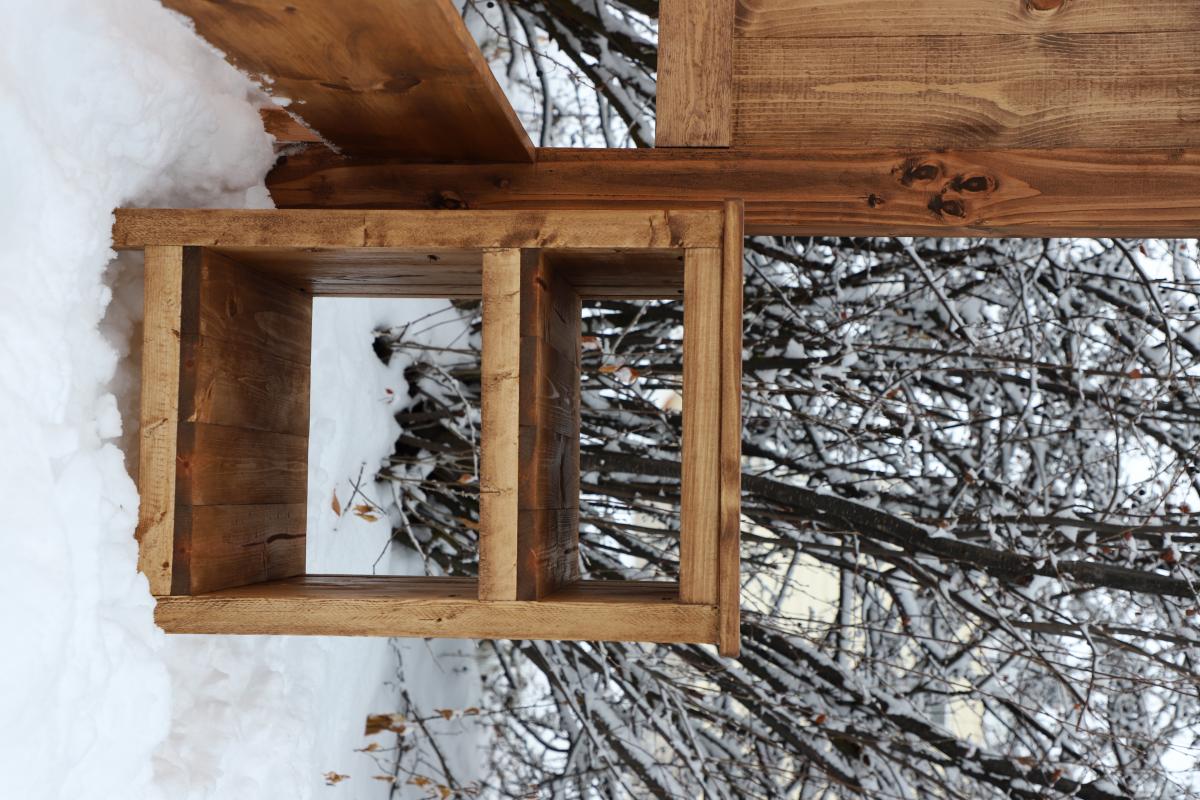
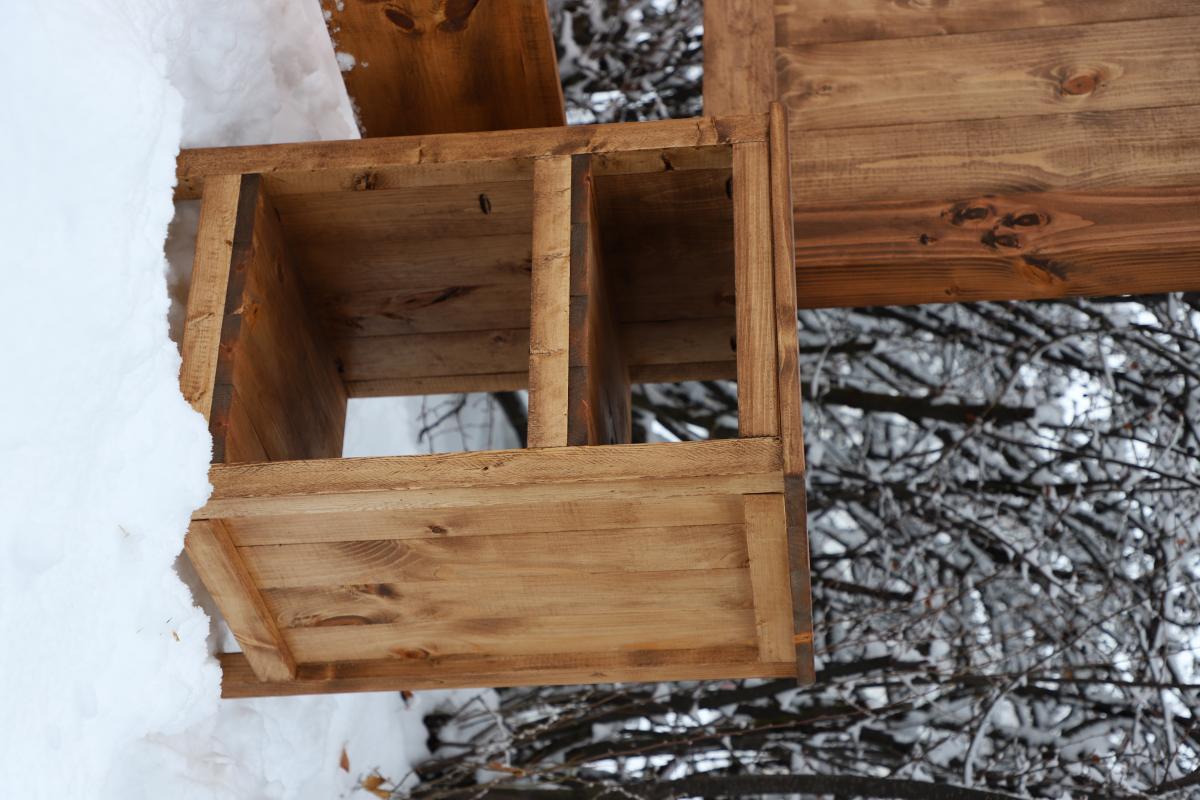
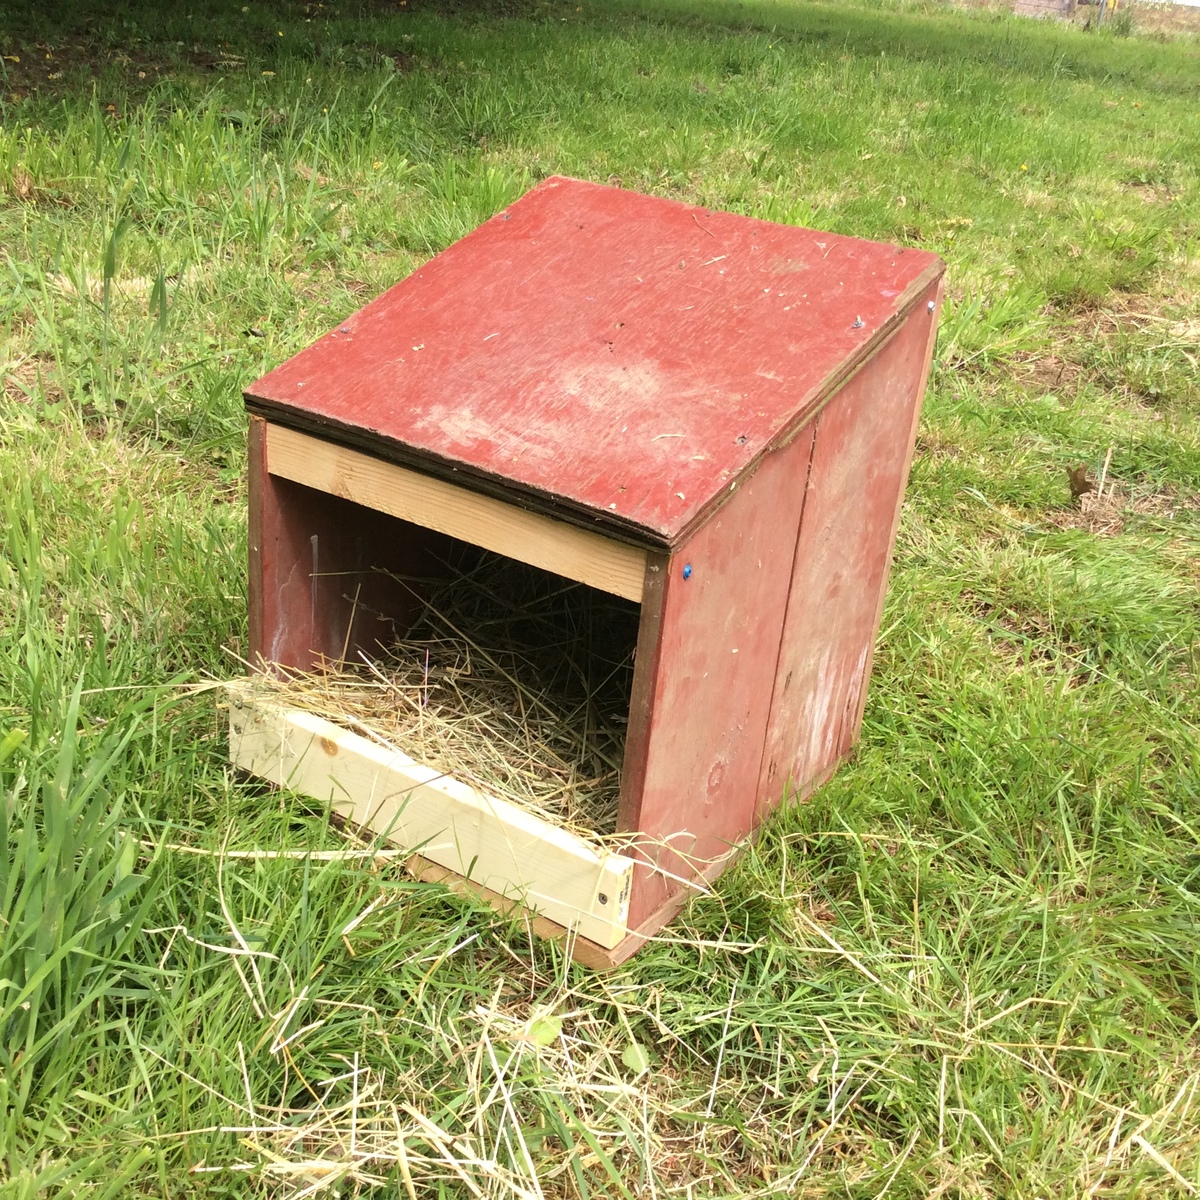
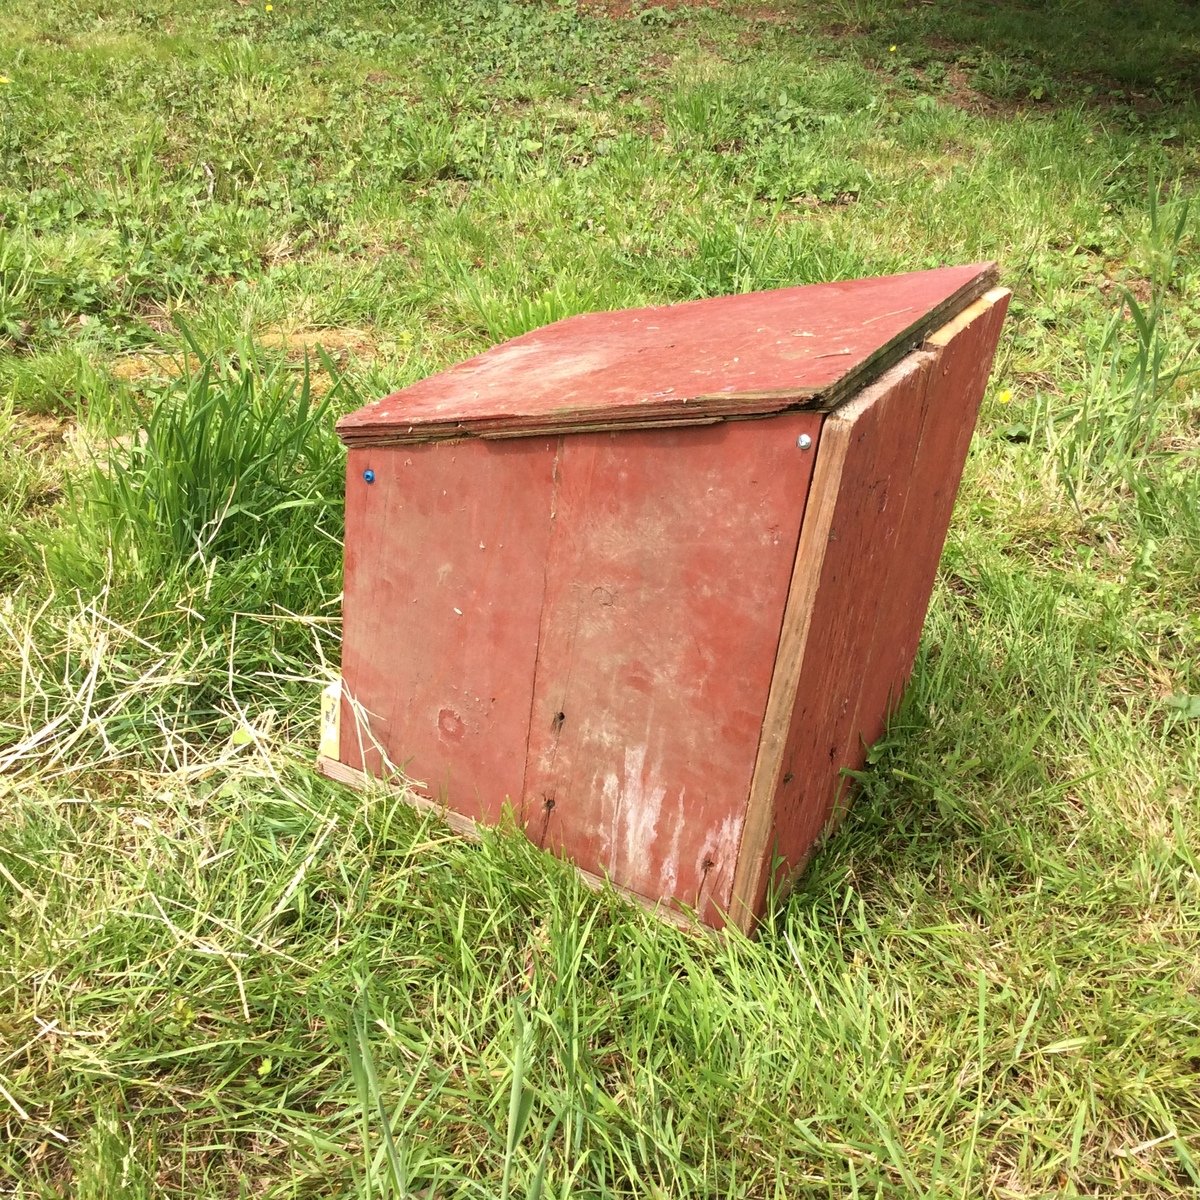
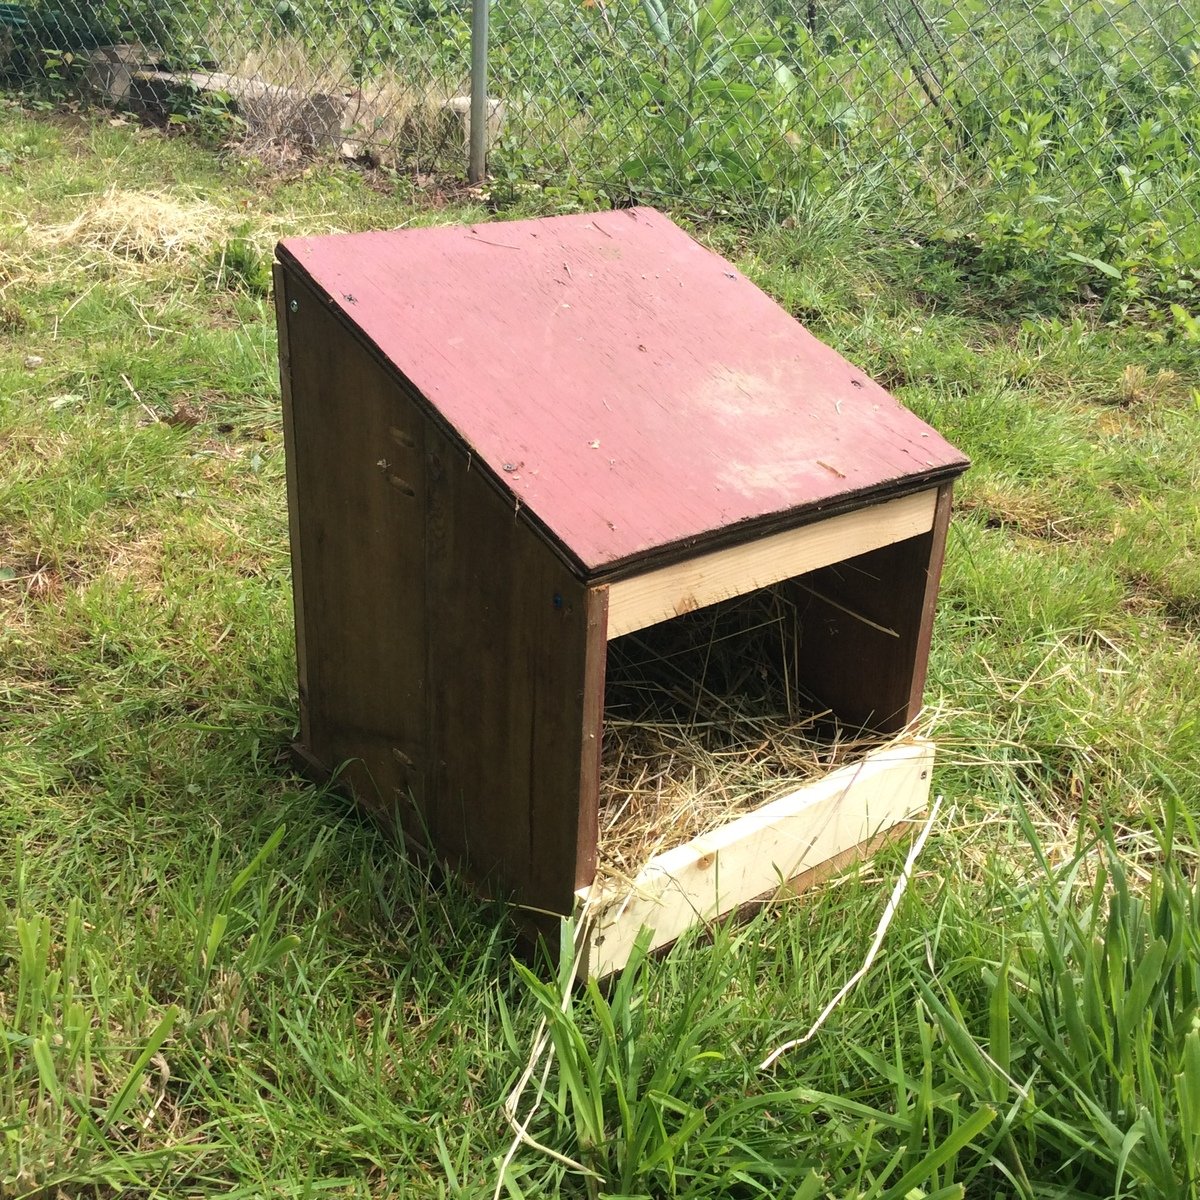
We built our nesting box from scrap wood we had from an old barn we tore down and other scraps from previous projects. The dimensions were modified based on the width of the wood we had on hand. It's not very pretty, but it was free to make and will be inside a chicken coop. Our chicks are scared of it right now, but they are only 8 weeks old and not laying yet. I'm sure they will like it when they get used to it. 

Built from Plan(s)
Estimated Cost
Free
Estimated Time Investment
An Hour or Two (0-2 Hours)
Finish Used
None
Recommended Skill Level
Beginner
Back