Community Brag Posts

Living Room Wall Makeover
Submitted by djolly1231 on Sun, 05/30/2021 - 10:36

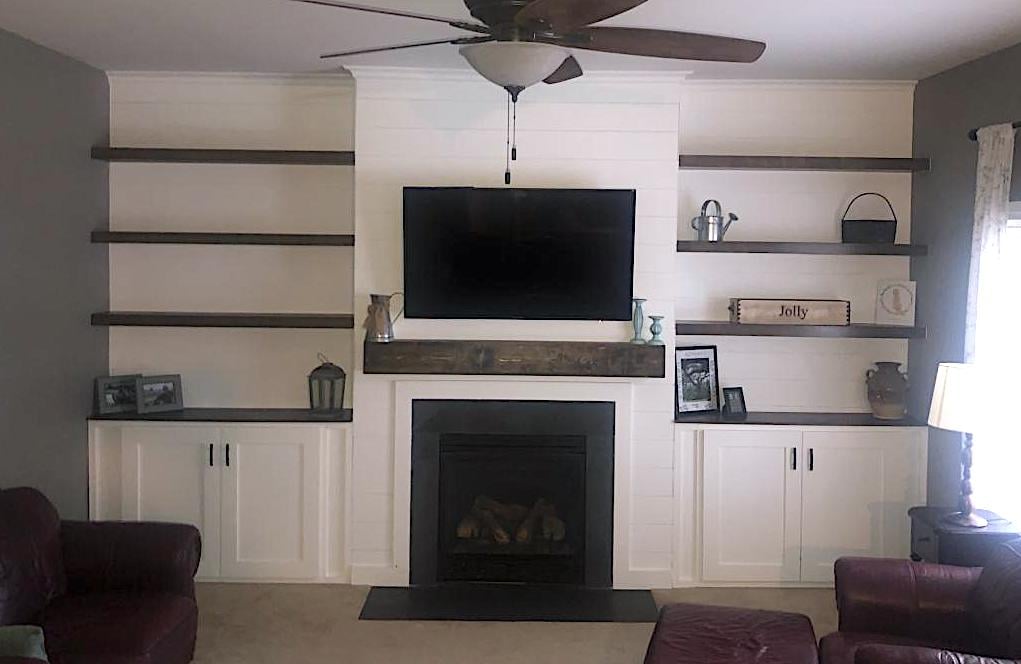
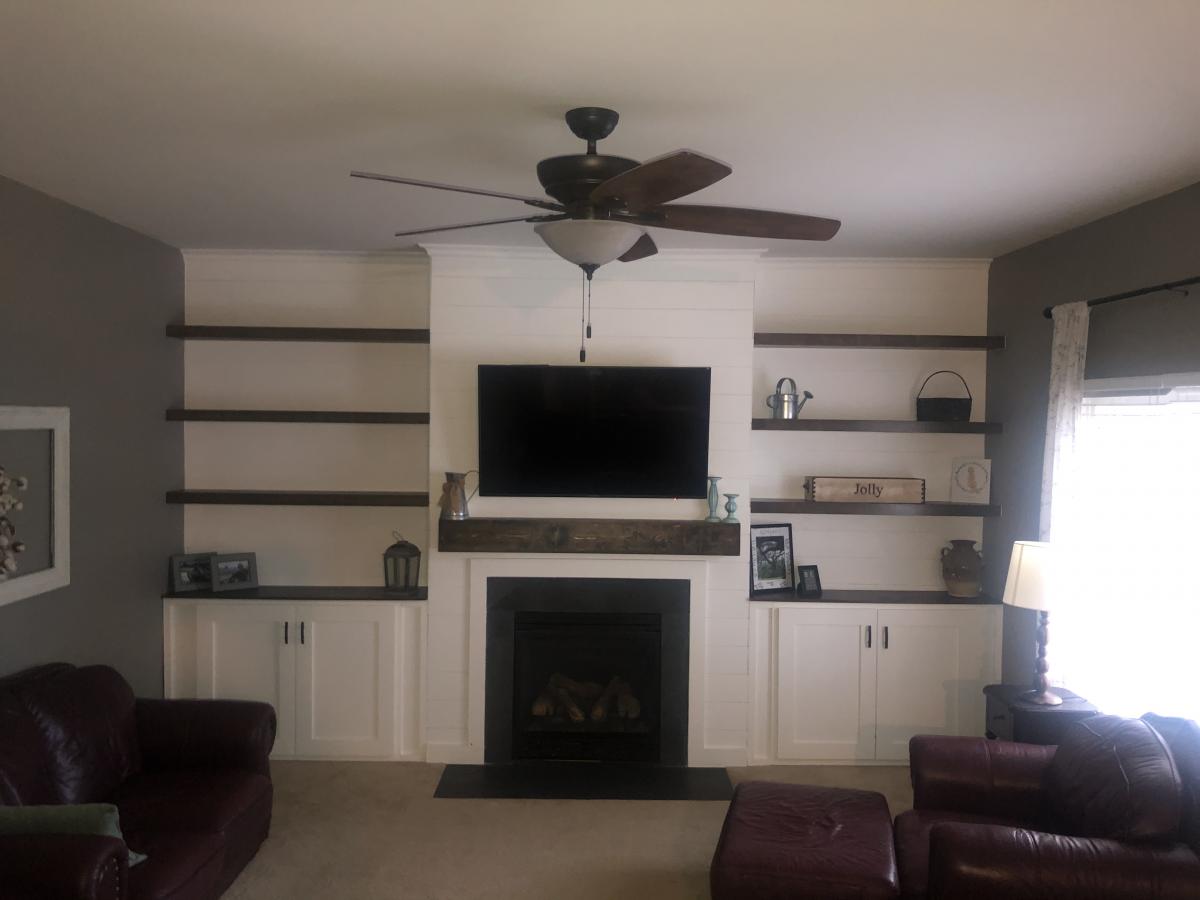
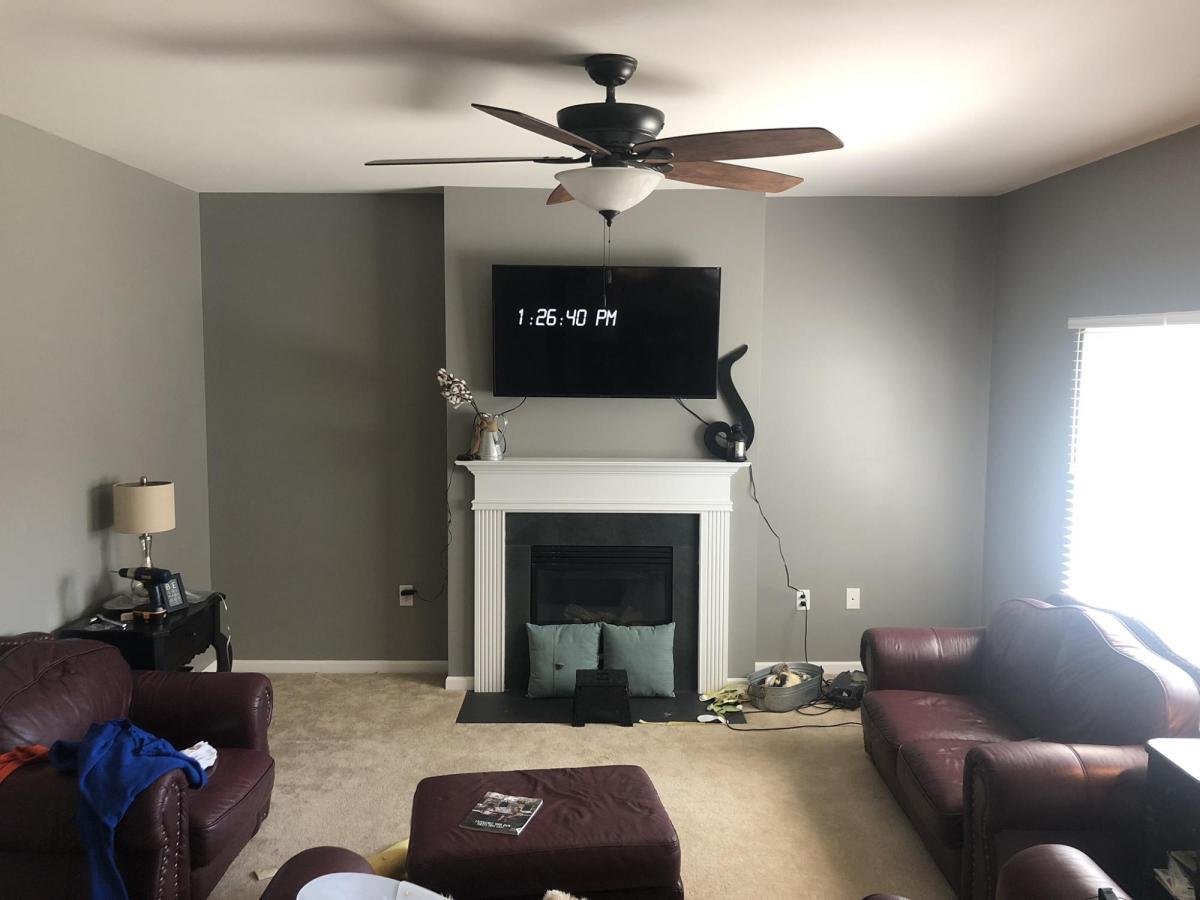
We have lived in our home for 2 yrs now and have been trying to figure out what we wanted to do with the plain boring wall with cords handing from out behind the tv due to no power outlet on that wall. We finally decided to do the whole wall in shiplap but the the cost of lumber going through the roof I went with 1/4 underlayment that I had ripped down to 6in strips at my local hardware store. I cut them down to size with my miter saw the painted them white before I attached them to the wall with 1 1/4 brad nails and used nickels for my space in between each row. The cabinets are 36 in tall. The carcass is made fro 3/4 in MDF and the face frames are made from 1x3 pine and attached with wood glue and brad nails. Cabinet doors are made from 1x4 pine for the frame and 1/4 underlayment for the center. I used my hand router to route out a 1/4 deep groove for the center to drop into the frame I used wood glue and brad nails to attach it to the frame and filled in any gaps with paintable caulk. They are attached to the studs in the wall with 3 in wood screws. The mantle is made from 1x6 pine boards and attached to a wall bracket made from 1x6 that are attached to the wall in each stud with 3 in wood screws. The mantle is attached with wood glue and 1 1/4 brad nails. The shelves were made out of 1/2 Poplar 4x8 plywood sheet ripped down to size. The wall brackets are made from 1x2 pine attached to studs with 3 in wood screws. And the shelves are attached with wood glue and 1 1/4 brad nails. I added 3 1x2 spacers to each shelf between the top and bottom board to prevent them from sagging before attaching the face of the shelves with wood glue and 1 1/4 in brad nails. This project took about a month to complete because I worked on it during free time. Also this was the first major build I have ever done so I was also learning along the way. Some parts were frustrating but most of it was fun and a great learning experience. Also this project evolved as I was building it. My wife loves the finished product. Now it’s time to find my next project.
Estimated Cost
500
Estimated Time Investment
Week Long Project (20 Hours or More)
Finish Used
Dark walnut stain. Valspar Ultra in eggshell and ultra white for the color of the cabinets , shiplap and crown
Recommended Skill Level
Intermediate

Comments

DIYGina

Tue, 12/05/2023 - 11:47

Surprisingly makes your living room appear so much larger compared to the before picture! Thank you for sharing your photos with us and congrats on a great result!

Zach's new desk

Submitted by dinifam on Sat, 04/13/2013 - 13:28

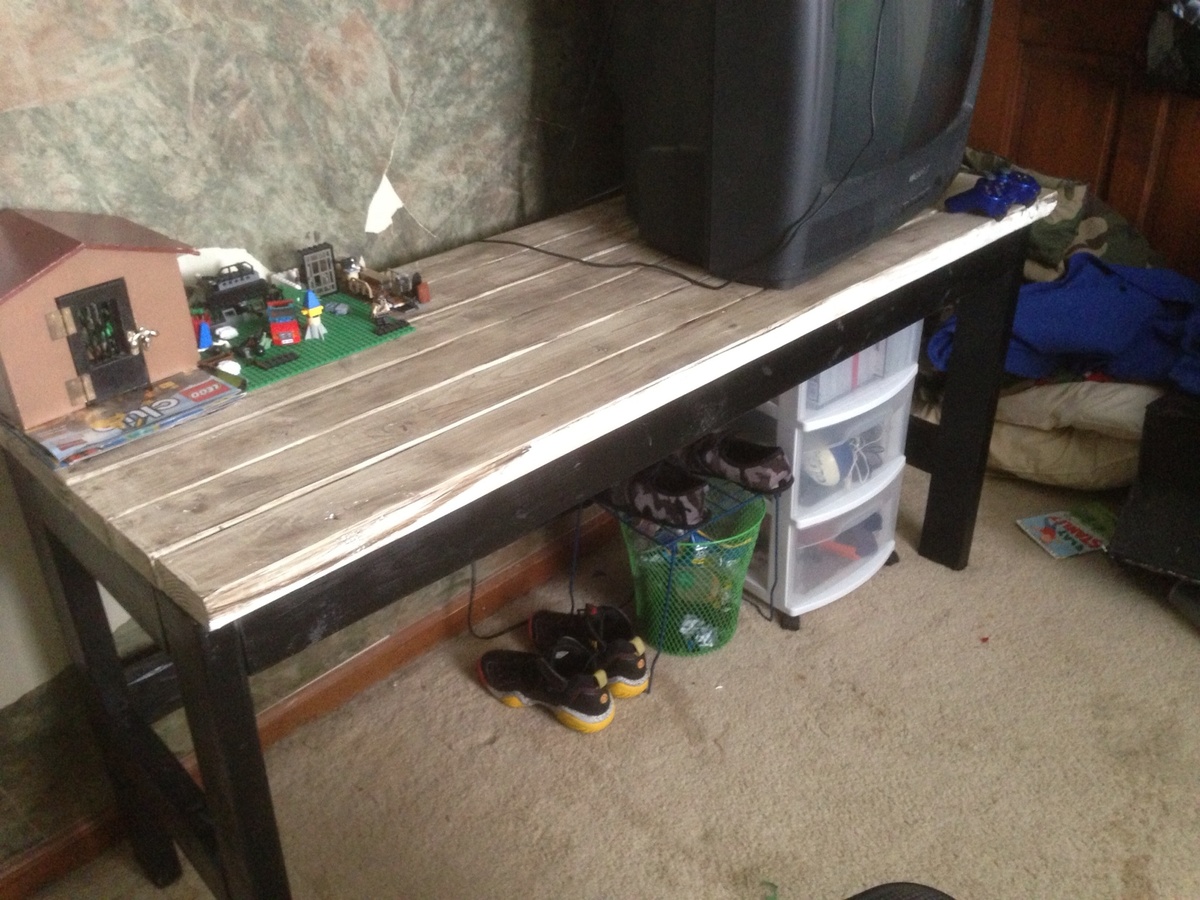
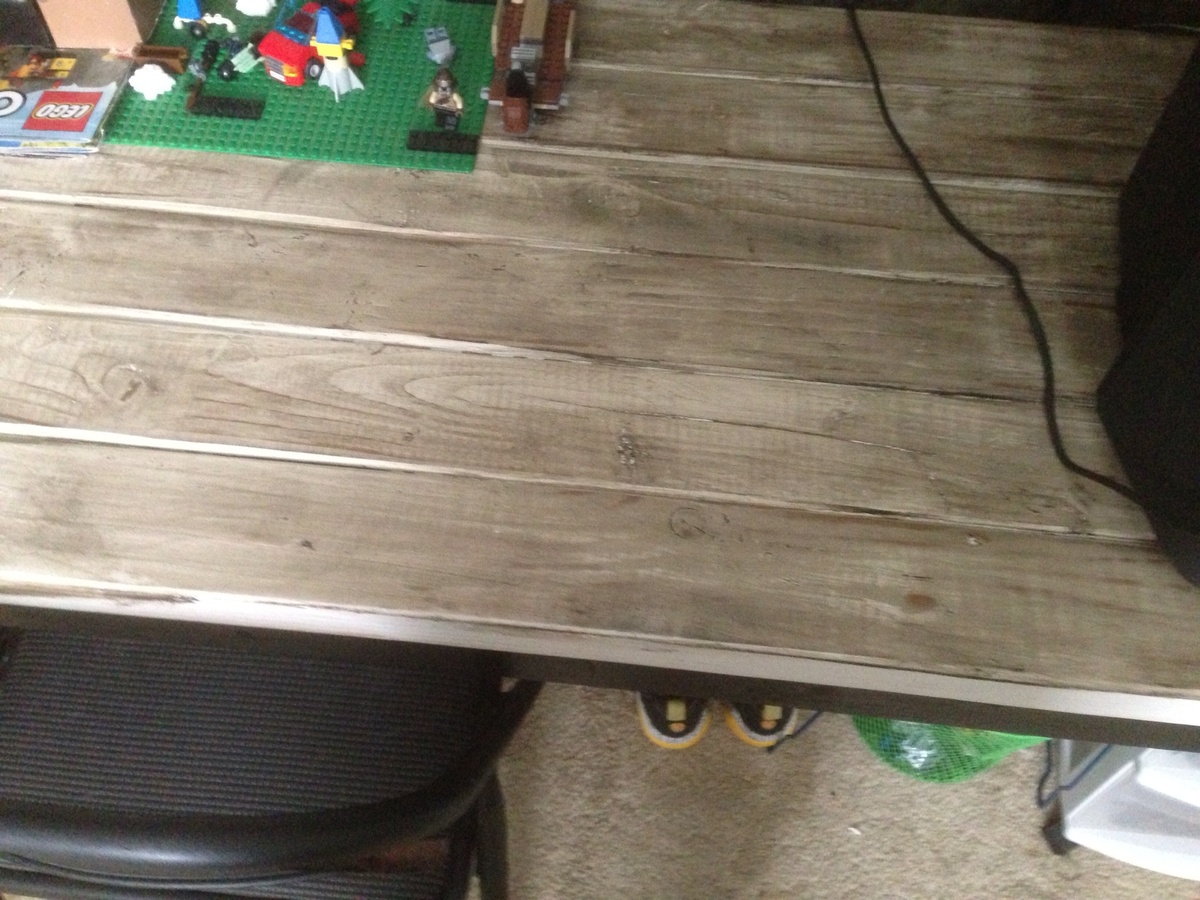
I built this desk so my son would have a place for his old school tv and to do his homework! It was super easy and I love how the finish came out! His room is a huge work in progress but this is the first step:)

Built from Plan(s)
Estimated Cost
20.00 as I had scraps and finish supplies
Estimated Time Investment
Afternoon Project (3-6 Hours)
Finish Used
I sprayed the bottom with satin black paint The top I painted white then sanded it down with 80 grit and rubbed on then rubbed and wiped minwax poly espresso stain until I got the look desired. Easy!!!
Recommended Skill Level
Beginner

White and ceder nest boxes

Submitted by Anonymous (not verified) on Thu, 06/01/2017 - 21:35

I mostly followed Ana's plans but used 1 5/8 screws and had a problem with wood splitting so for the ceder I used a finish nailer instread which worked great. I also painted before nailing the ceder pieces so they would really stand out and I also cut a few inches off the front ceder piece as I think 5.5in is too high and covers too much of the entrance. 

Built from Plan(s)
Estimated Cost
30 dollars
Estimated Time Investment
Afternoon Project (3-6 Hours)
Finish Used
Just an exterior white paint on the pine.
Recommended Skill Level
Starter Project

Exterior farmhouse table for the farm

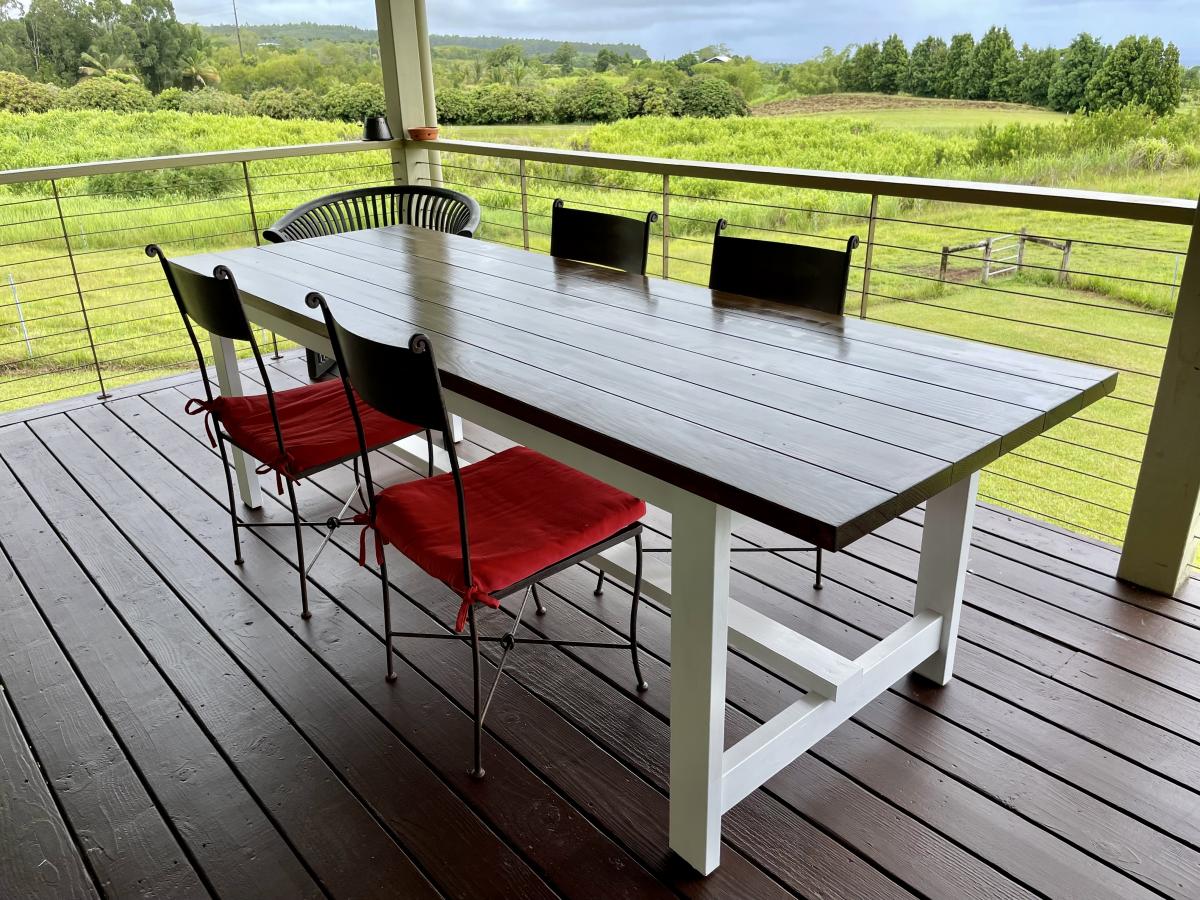
we needed an exterior table big enough for 8 on short notice. It's hard to find nice exterior furniture on the Big Island of Hawaii so we decided to build ourselves using borrowed tools. only wish i had my kreg jig nearby :).

*this is July 2021 (pandemic) so wood prices have shot up. that's the reason the cost of the project is higher than normal.

Estimated Cost
350
Estimated Time Investment
Weekend Project (10-20 Hours)
Finish Used
1. Primer: Zinsser Bulls Eye 1-2-3 Primer
2. Wood conditioner: Varathane pre-stain wood conditioner
3. Paint – Legs: Benjamin moore soft gloss finish premium exterior paint in white
4. Stain – Top: Varathane premium poly+stain in Satin Jacobean
5. Varnish: Minwax Helmsman Spar Urethane
6. #9 x 2-1/2 in. Star Flat-Head Wood Deck Screws by Deckmate
Recommended Skill Level
Beginner

Comments

Farmhouse Desk

Submitted by MacandFab on Sun, 08/01/2021 - 04:49

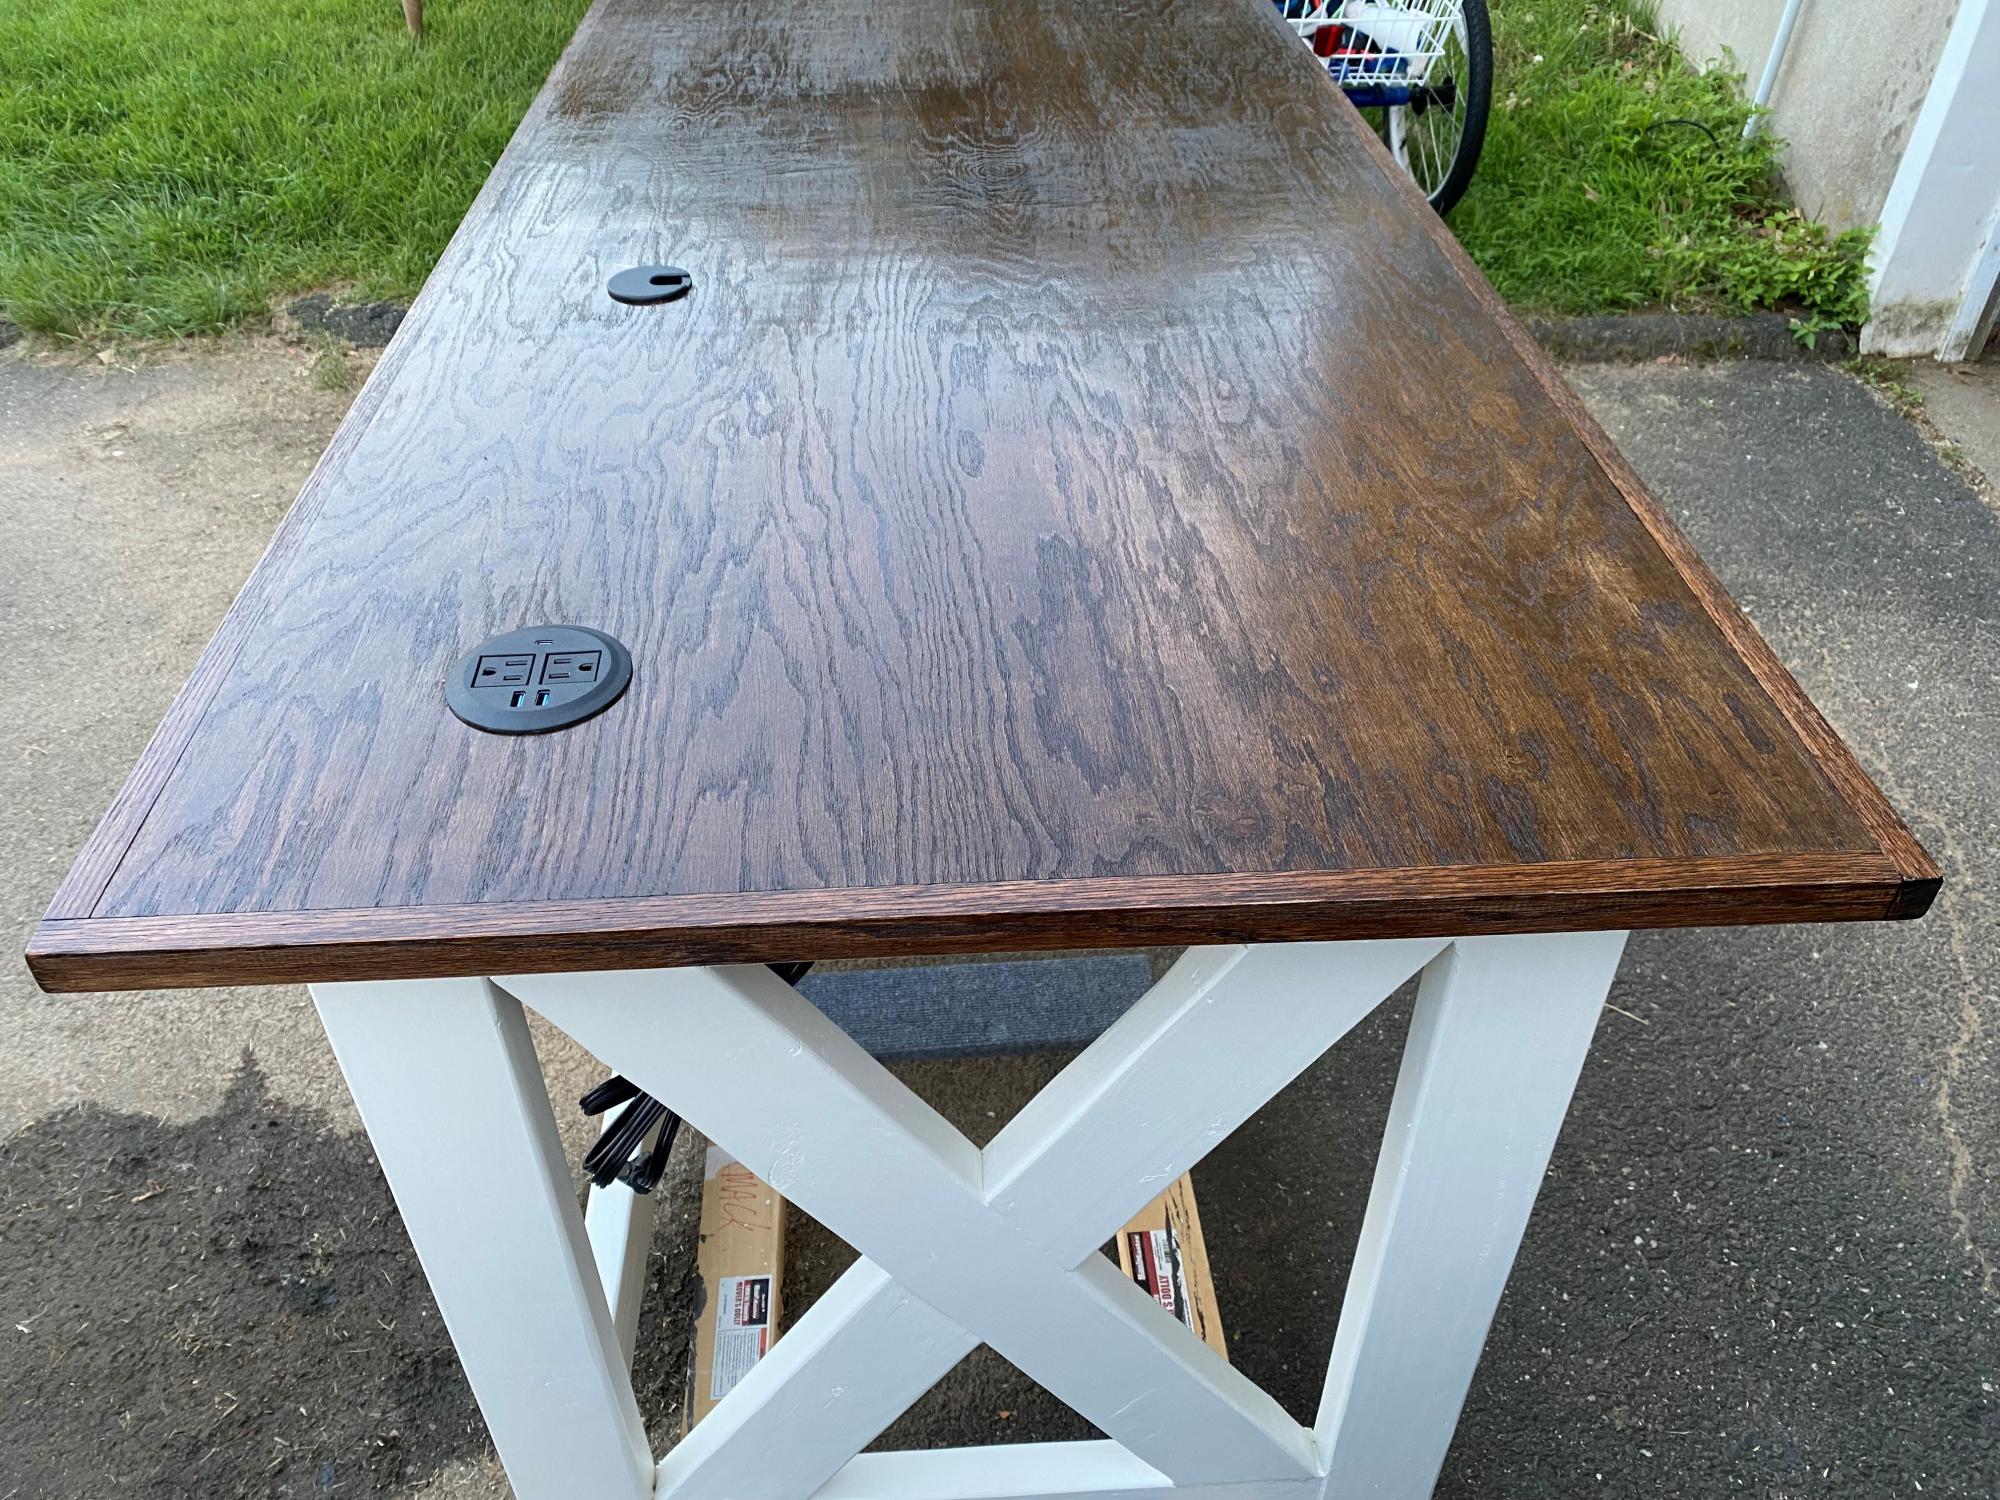
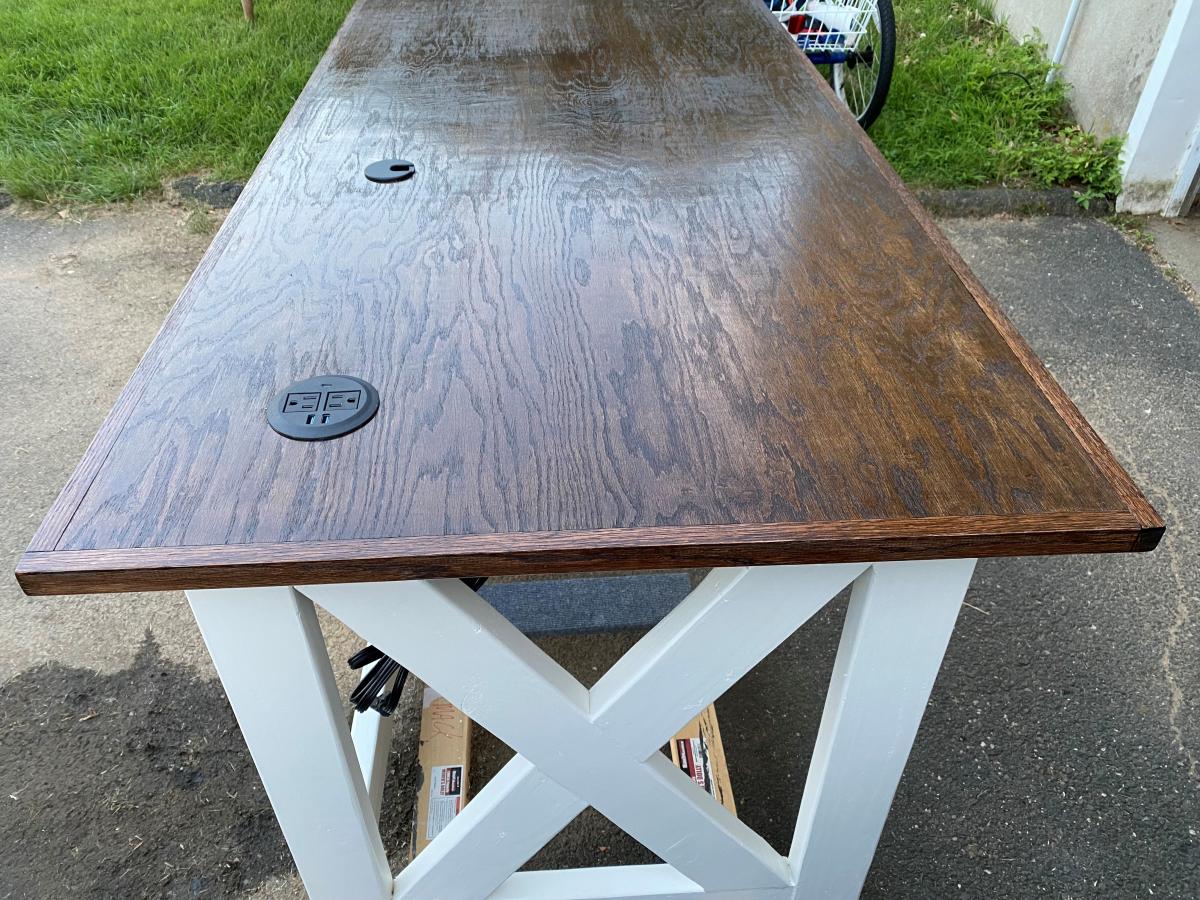
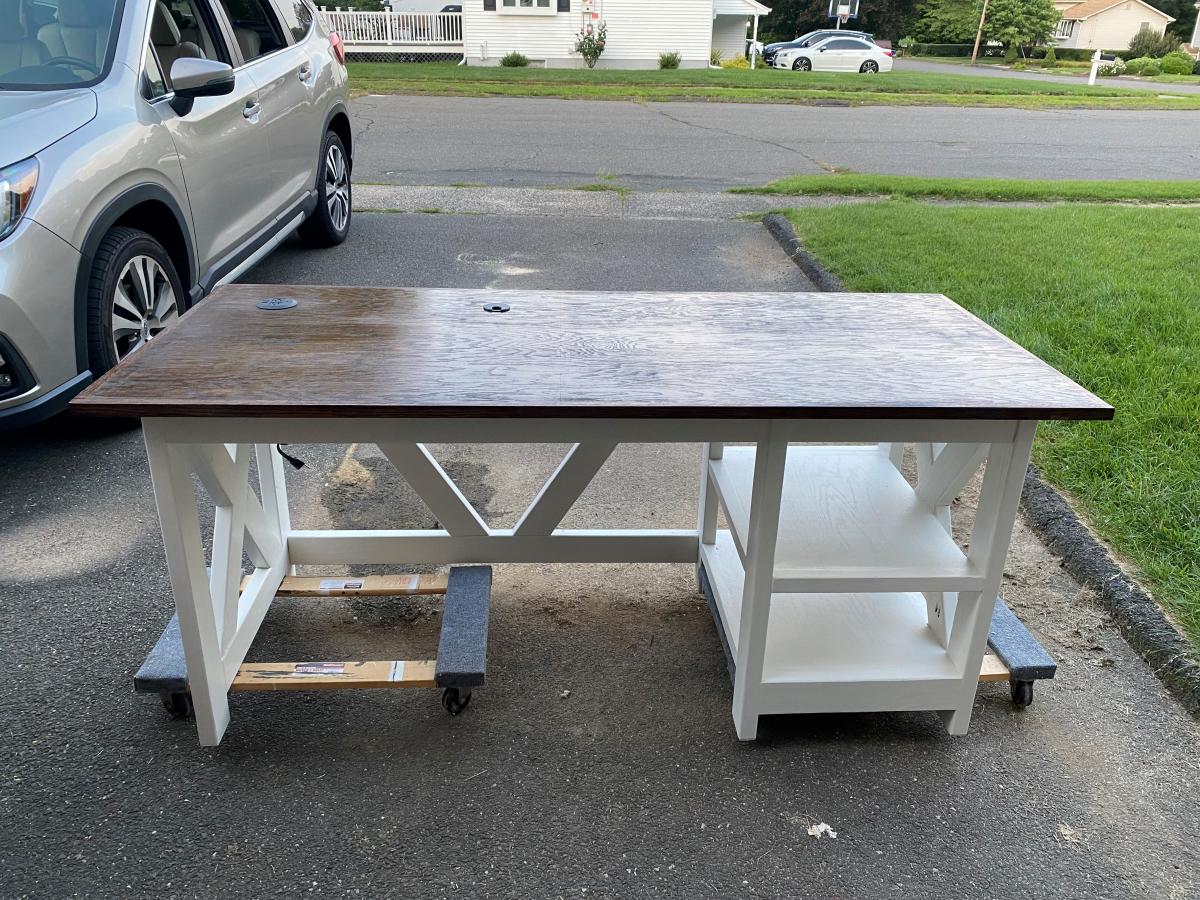
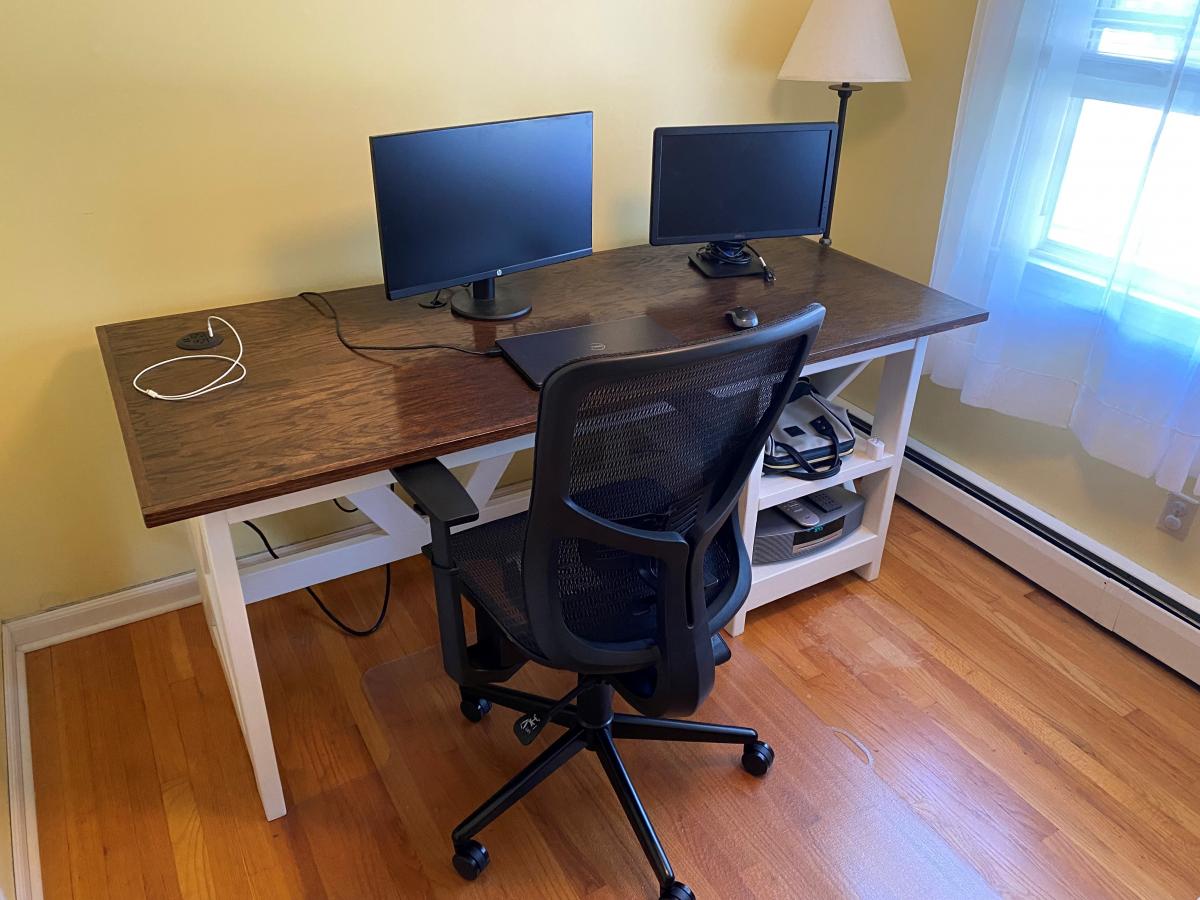
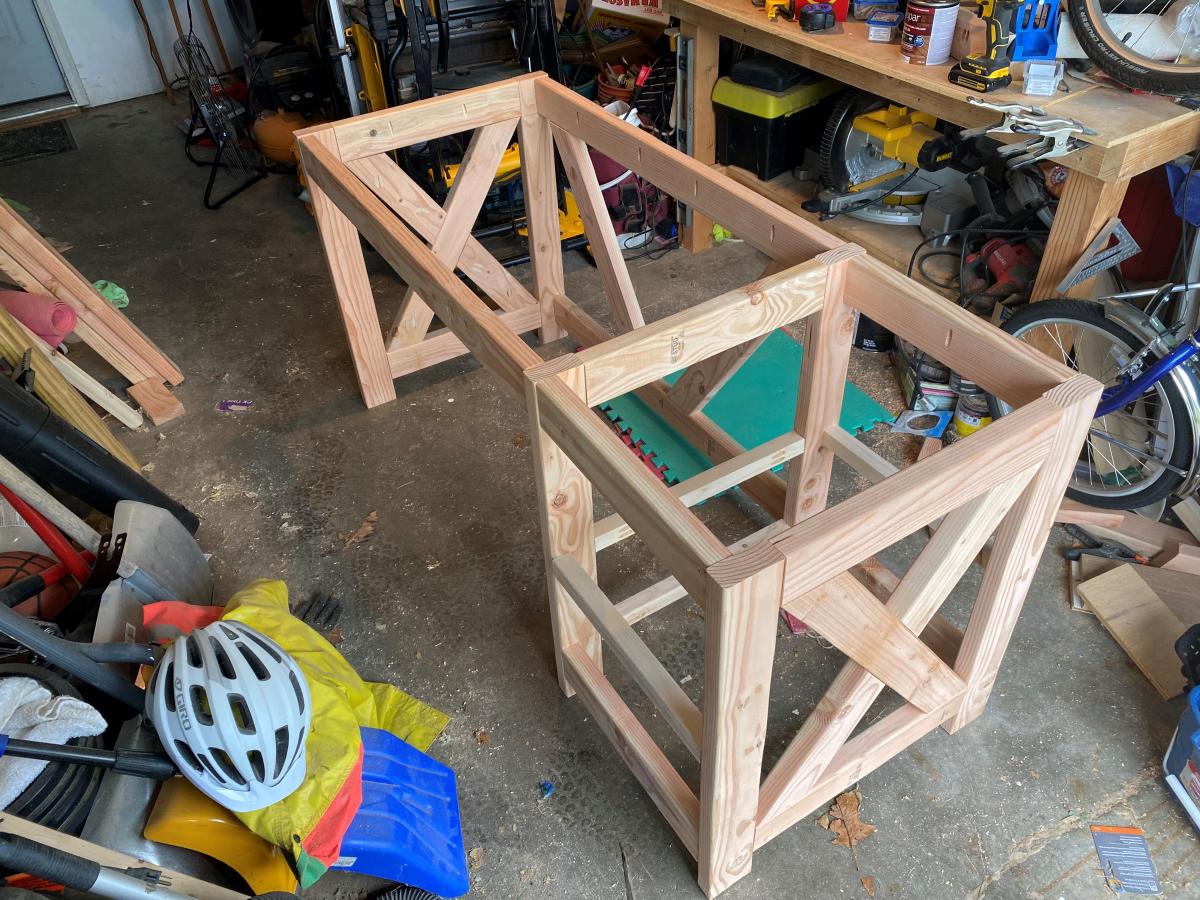
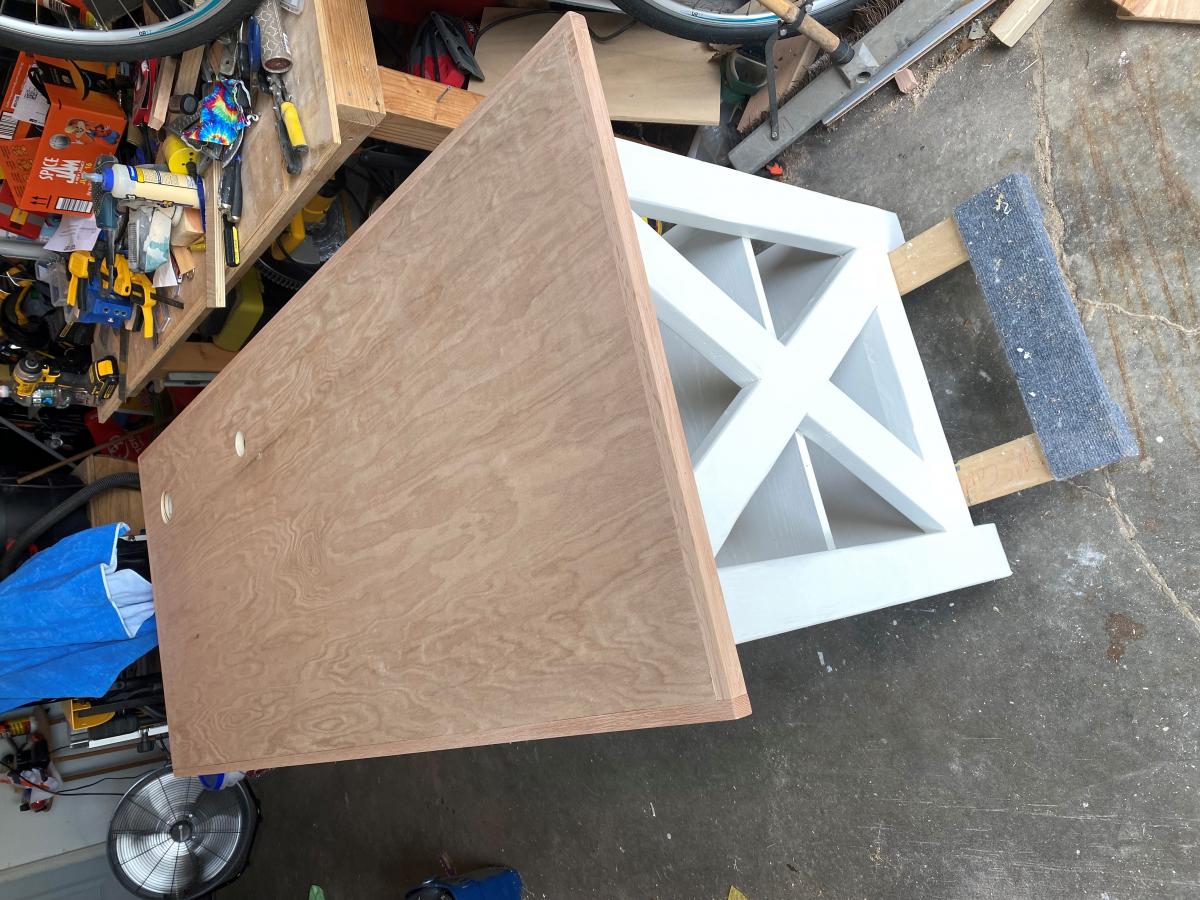
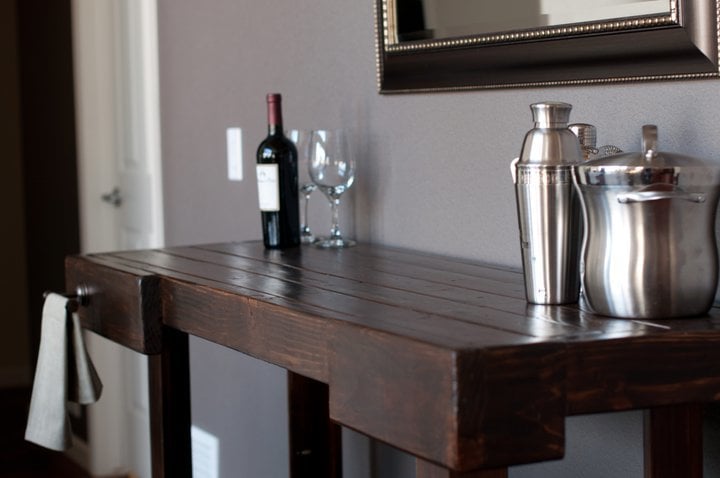
My wife needed a desk to work at home from and nothing on the retail market interested us, so I offered to build one. I followed the plans for a Farmhouse Desk, but with a change for the top. I chose a pre-sanded 3/4" red oak top and trim to cover the plywood edges. We didn't want the lips or edges that may show up using the planned 1x6" planks. The desktop measures 31.5 x 71.5" which is large, but allows for a lot of work to be accomplished. I added a grommet hole for the wires and a 3 1/8" hole for a desktop outlet with 2 USB's, 1 USB-C and two regular outlets. I also added a 9-input power strip / surge protector on the underside of the desk that the desktop outlet plugs in to. So only the power strip plugs into the wall and everything is surge protected.

It took me 4 weeks and about 25 hours, as I made it around my work schedule and family life.

Built from Plan(s)
Estimated Cost
$250
Estimated Time Investment
Week Long Project (20 Hours or More)
Finish Used
Desktop: Minwax Espresso Stain

Base: Valspar All-weather White Solid Exterior Stain
Recommended Skill Level
Beginner

Comments

Train & car table

Submitted by Jrich on Thu, 04/25/2013 - 12:58

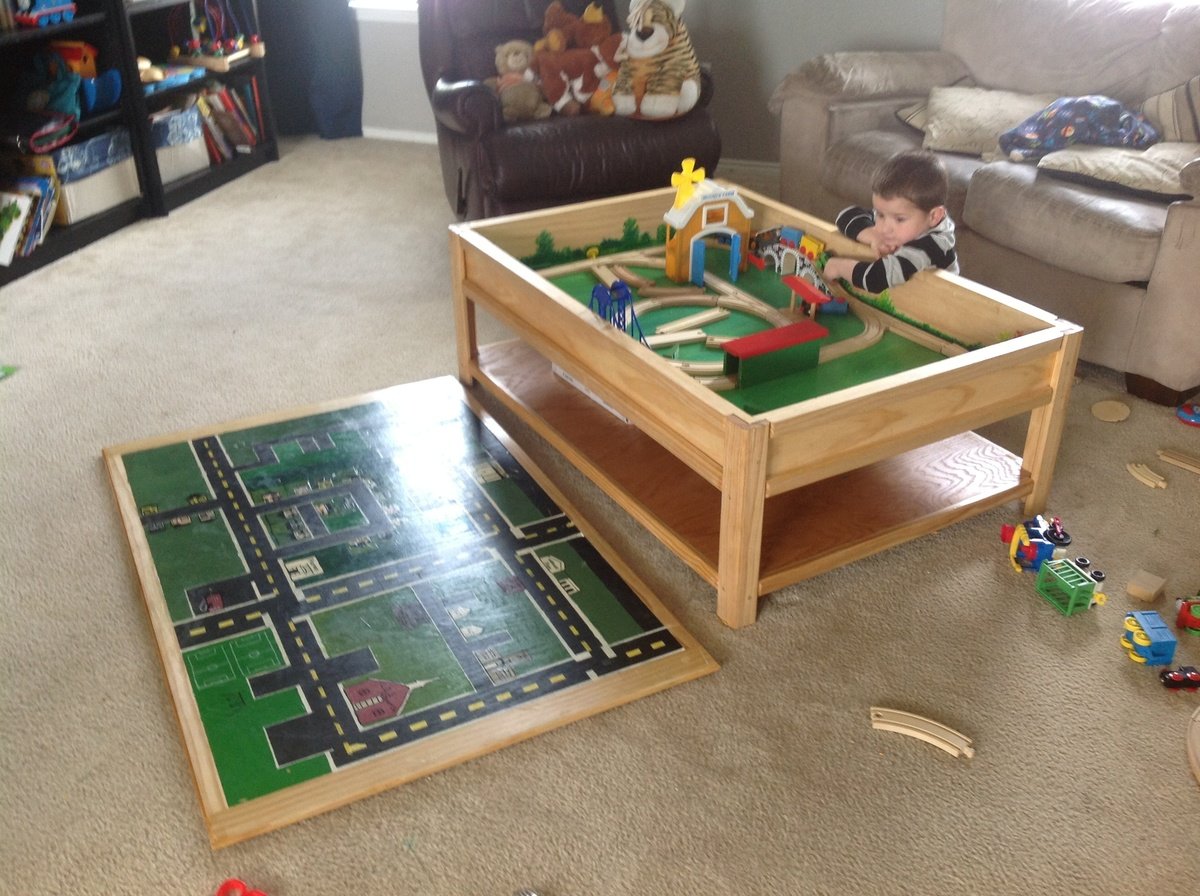
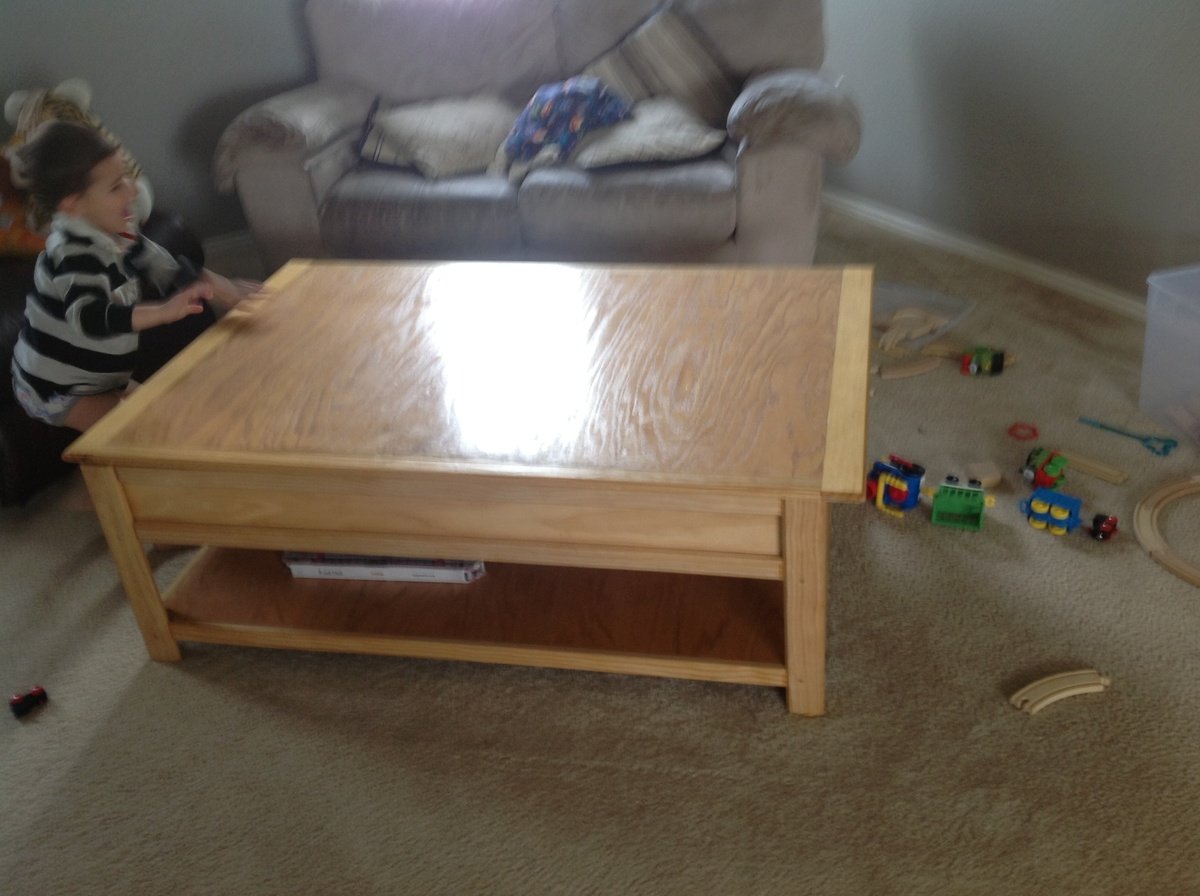
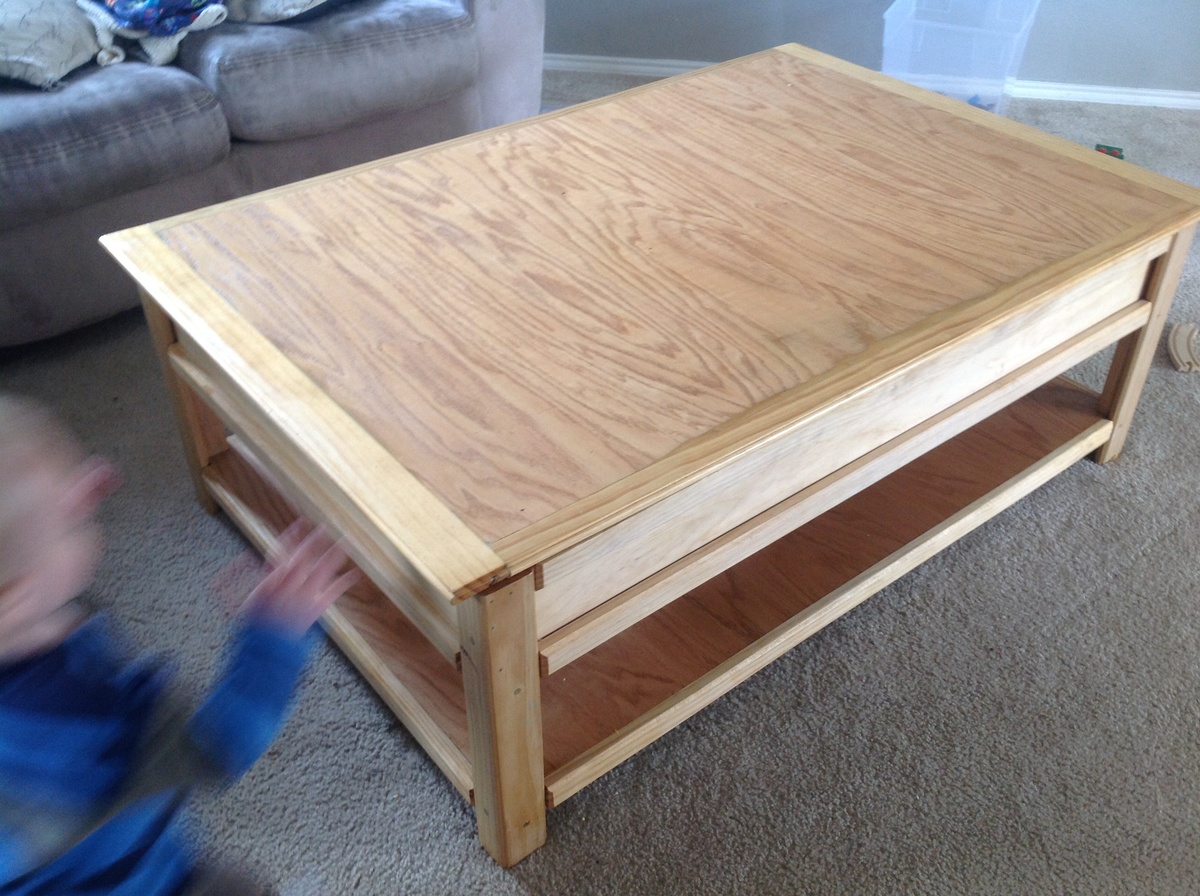
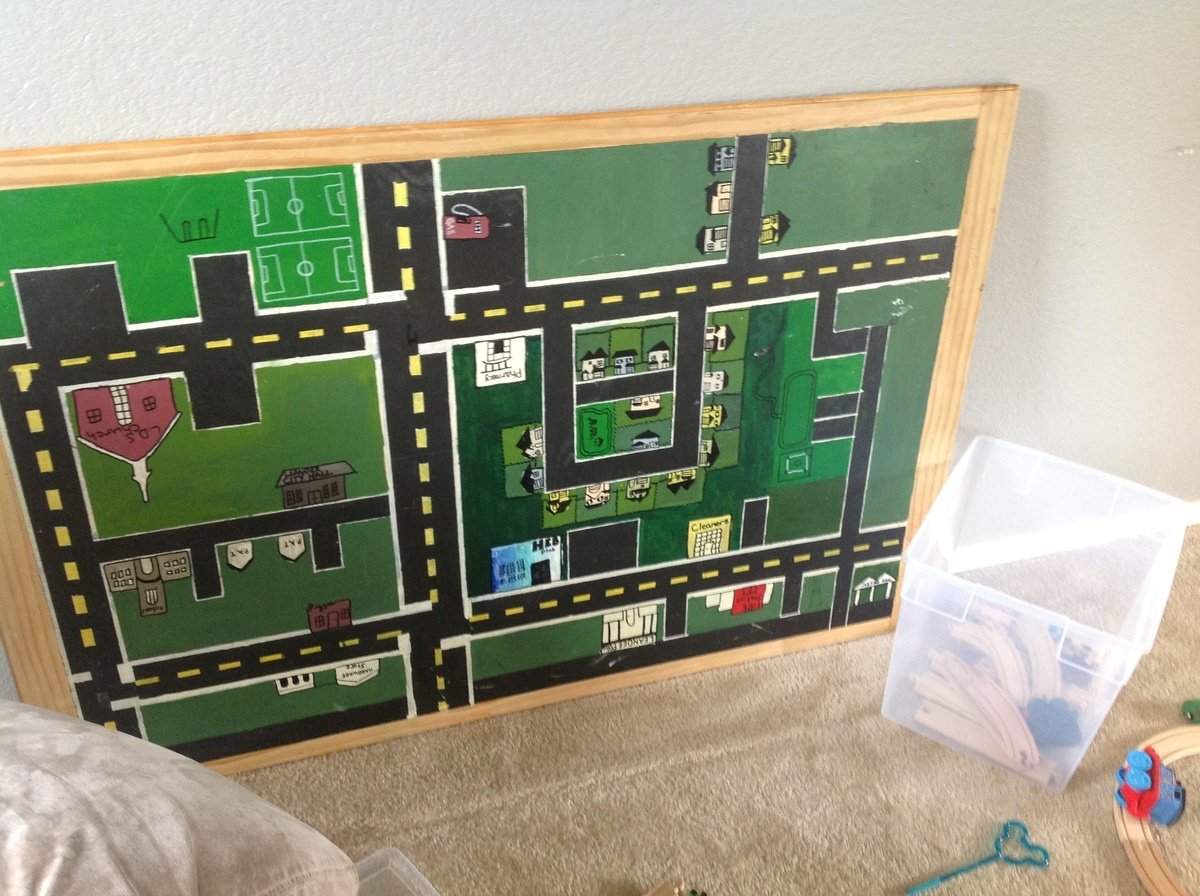
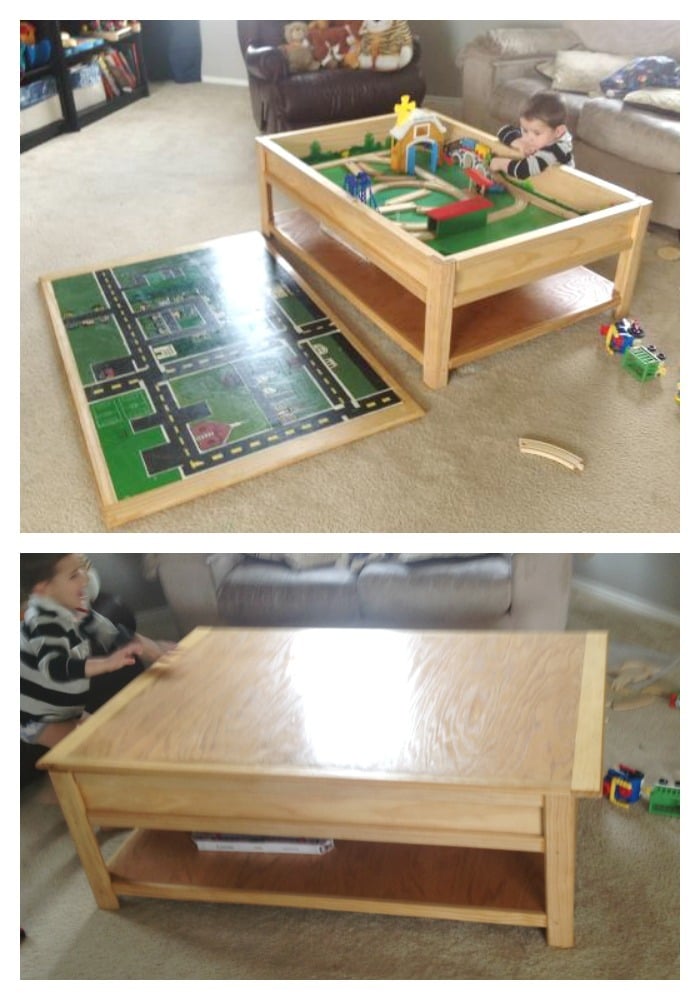
We customized the train table a bit and laminated the top into one solid piece so that we could paint a car map of our neighborhood on the underside. It's heavy! But with two boys in the house it's never really on anyways! :)

Built from Plan(s)
Estimated Time Investment
Week Long Project (20 Hours or More)
Finish Used
Tung oil
Recommended Skill Level
Beginner

Comments

mswendsen

Thu, 03/06/2014 - 22:26

I was wondering how you made it possible to lift and what the process was to do the map? I am wanting to do something like this for hot wheels for our friends son so he has something to play with when they come over.
Thank you

Modern Farmhouse Bed Twin version

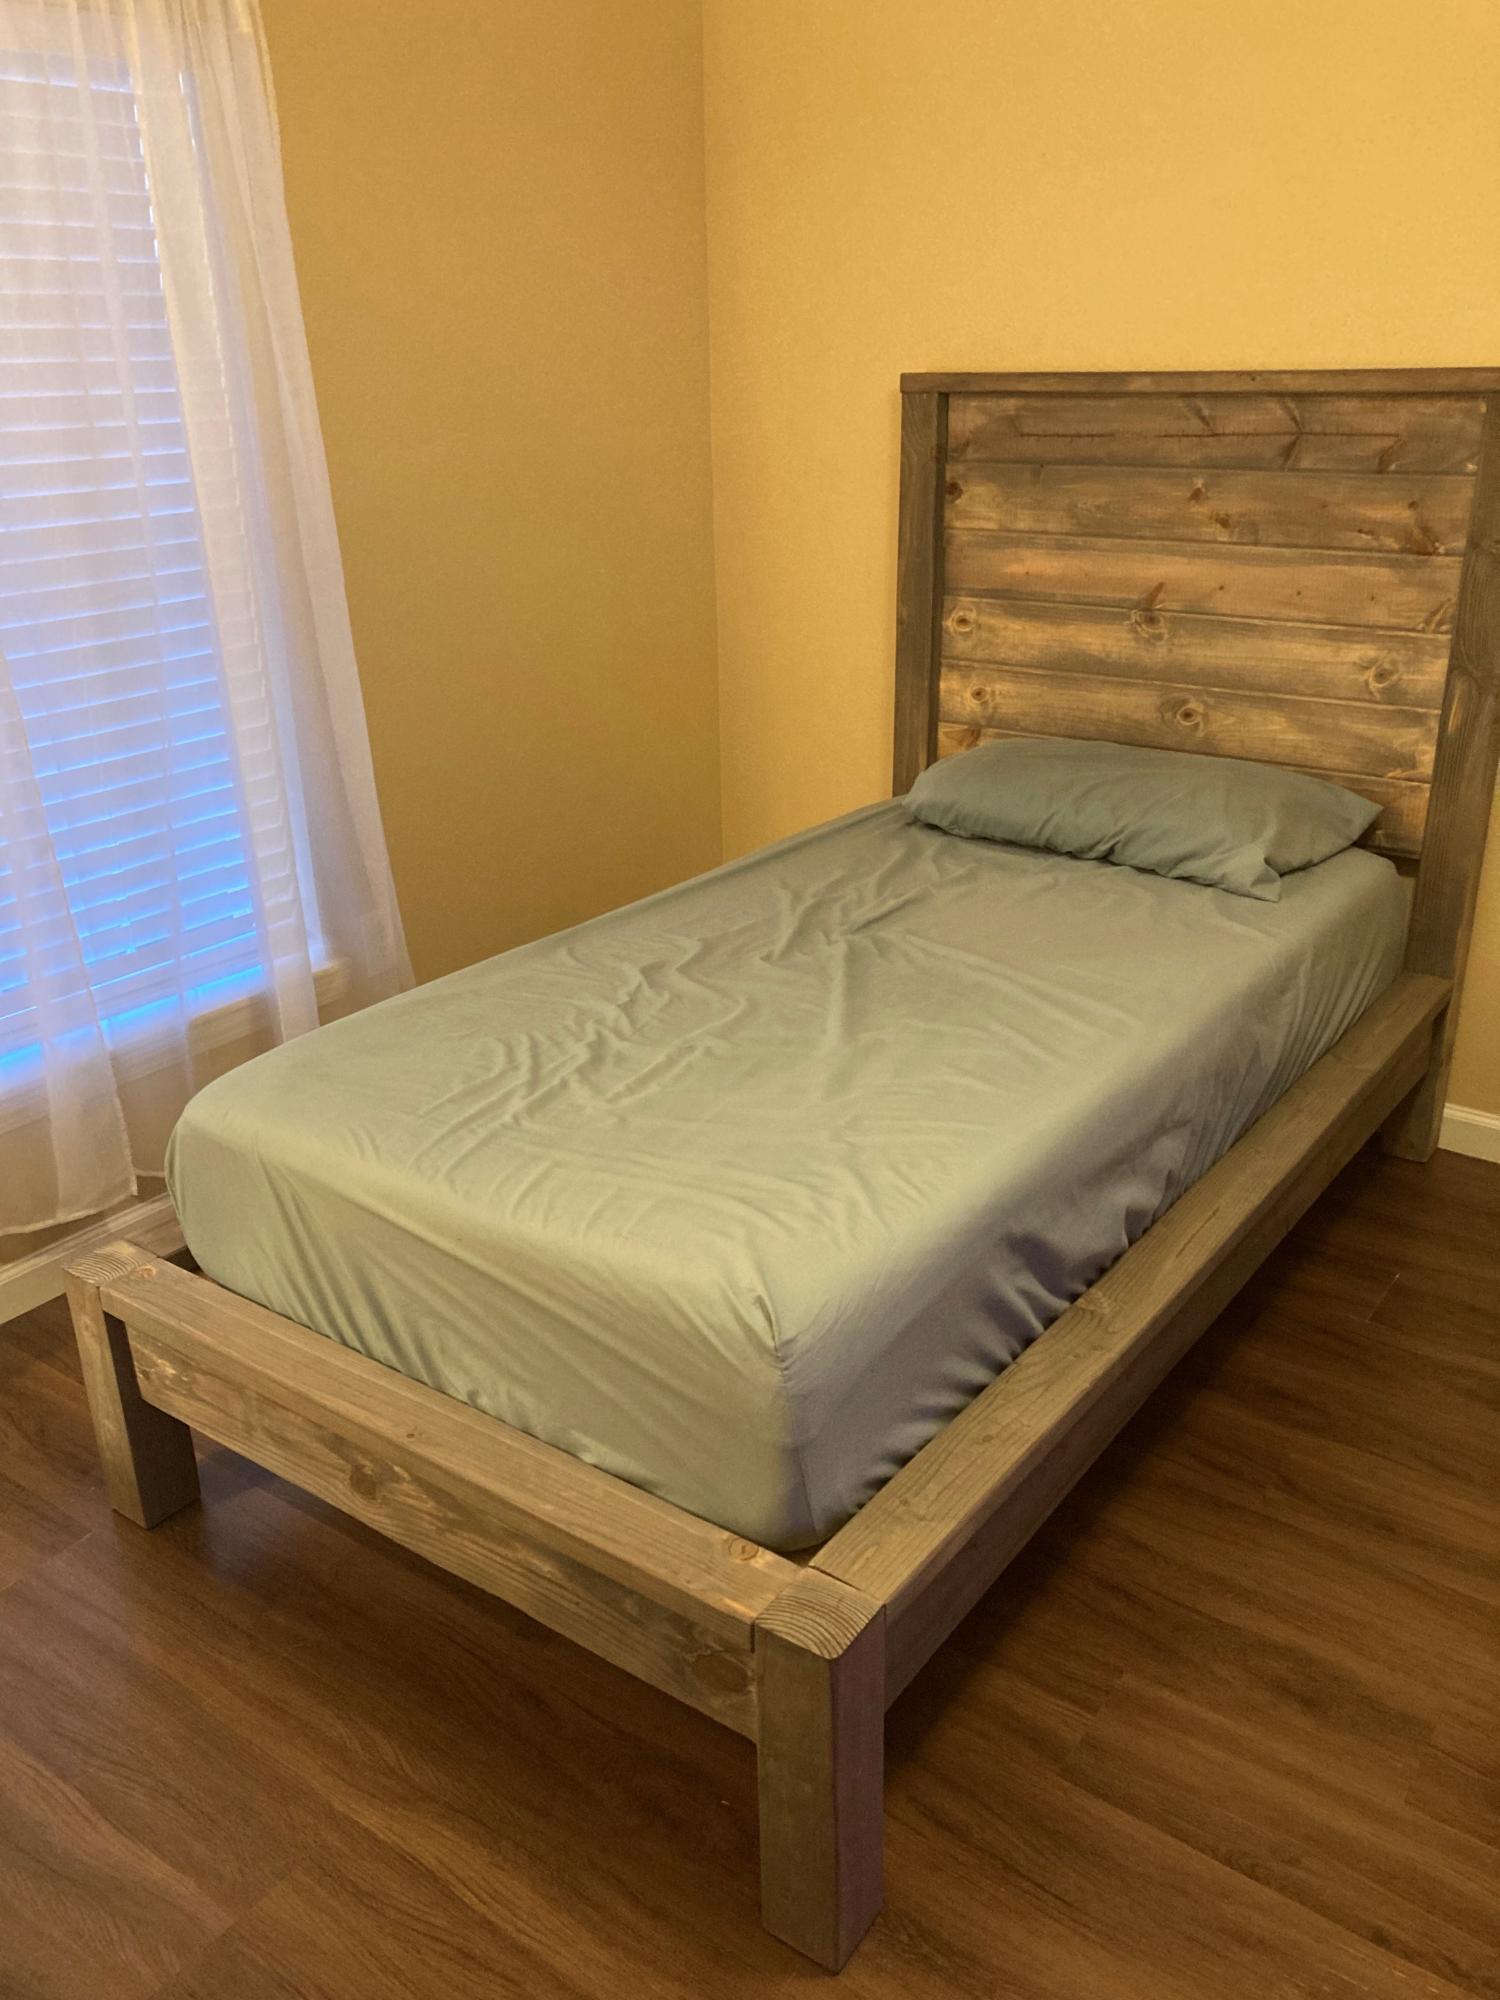
I built this bed for my (adult) son. The instructions were easy to follow. I left off the 2 x 2" cleats on the headboard to make it easier to attach the tongue and groove headboard pieces with pocket hole screws (I did lay two 2 x 2's underneath the tongue & groove pieces for spacing as I attached the boards). Since I made this as a platform bed I added a 6th tongue & groove headboard piece and the optional center cleat underneath. I used the suggested Varathane Weathered Wood Accelerator for the finish; mine came out much more grey than the bed pictured with the plans and my son liked the finish (I did too). Finding non-pressure treated 4x4's and semi-straight 2x4's was the hardest part. I used pine wood and bought all the lumber for about $175 (purchased at peak COVID lumber prices). This bed is definitely solid and I'm looking forward to making the matching nightstand! Thank you Ana for the bed plans!

Built from Plan(s)

Comments

Fancy Farmhouse Bed

Submitted by henryholub on Tue, 05/07/2013 - 13:16

With a child on the way, our house has been undergoing some changes. We were in need of a guest bedroom for family members and needing to store my wife's childhood twin bed with a hidaway twin underneath that was set up in the room that would become the nursery. We also needed to clean all the backpacking gear out of the closet in the nursery room to get ready for it to be taken over by all the baby stuff. I decided a "King-sized" bed out of the two twin mattresses would be a good solution as it would keep us from "storing" the two mattresses and meet the guest bed need. After I came across the plans for the fancy farmhouse bed, I knew if i just added some height to it, I could meet the storage need too! There's 14'' on my version of the fancy farmhouse bed between the carpet and the rails, plenty of room for medium sized plastic tubs to slide in and out (as seen with the "test tub" in the picture. Under my bed there are currently 9 tubs, two large suit cases, a PA speaker, Power speaker head, a large double sleeping bag, and a little room for more. I'll try to add pictures when I finish the room out with night stands (wine crates mounted to the wall), a bedskirt, lamps, and a headboard. Once I got the wood home, it was a fast build. The slowest part was painting

Built from Plan(s)
Estimated Cost
$75
Estimated Time Investment
Afternoon Project (3-6 Hours)
Finish Used
Flat white valspar paint
Recommended Skill Level
Intermediate

Comments

My take on the Becca Truck

Submitted by jeverett1 on Sat, 05/11/2013 - 10:33

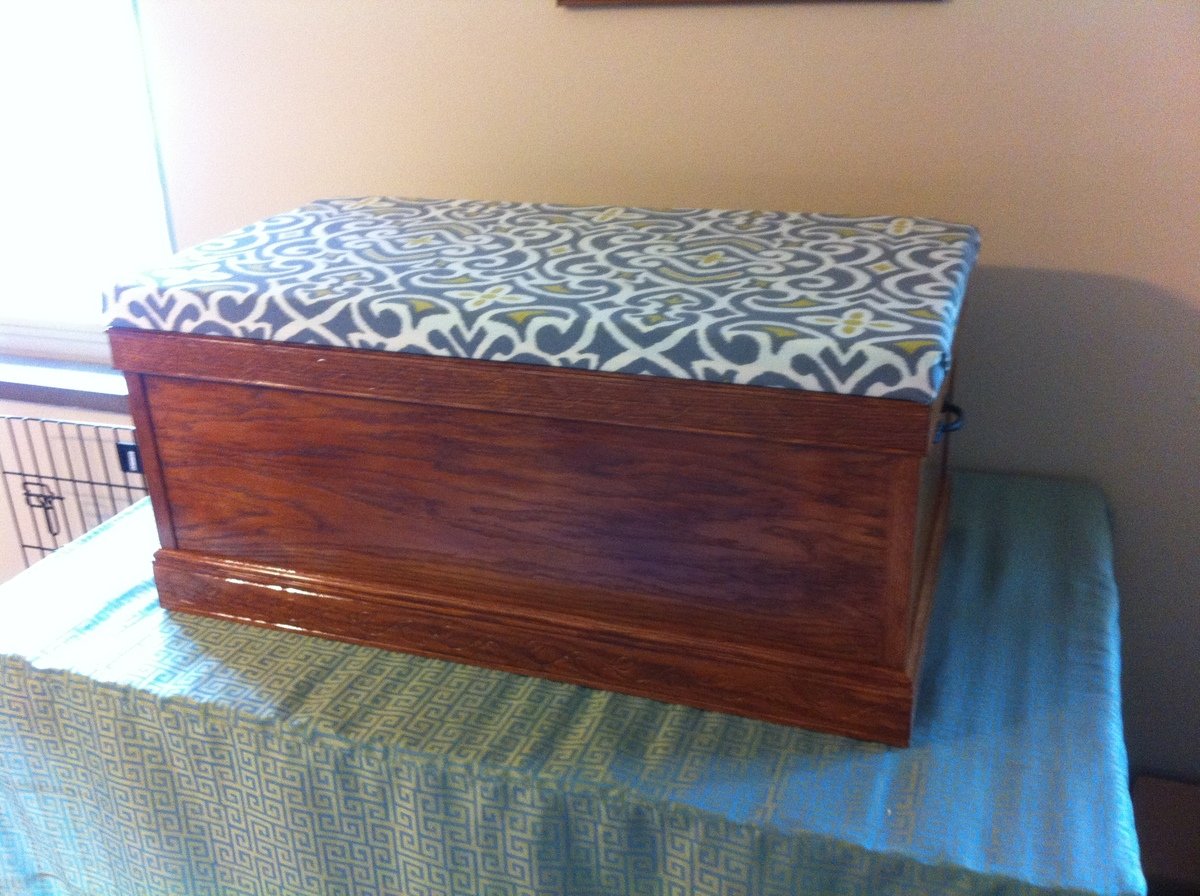
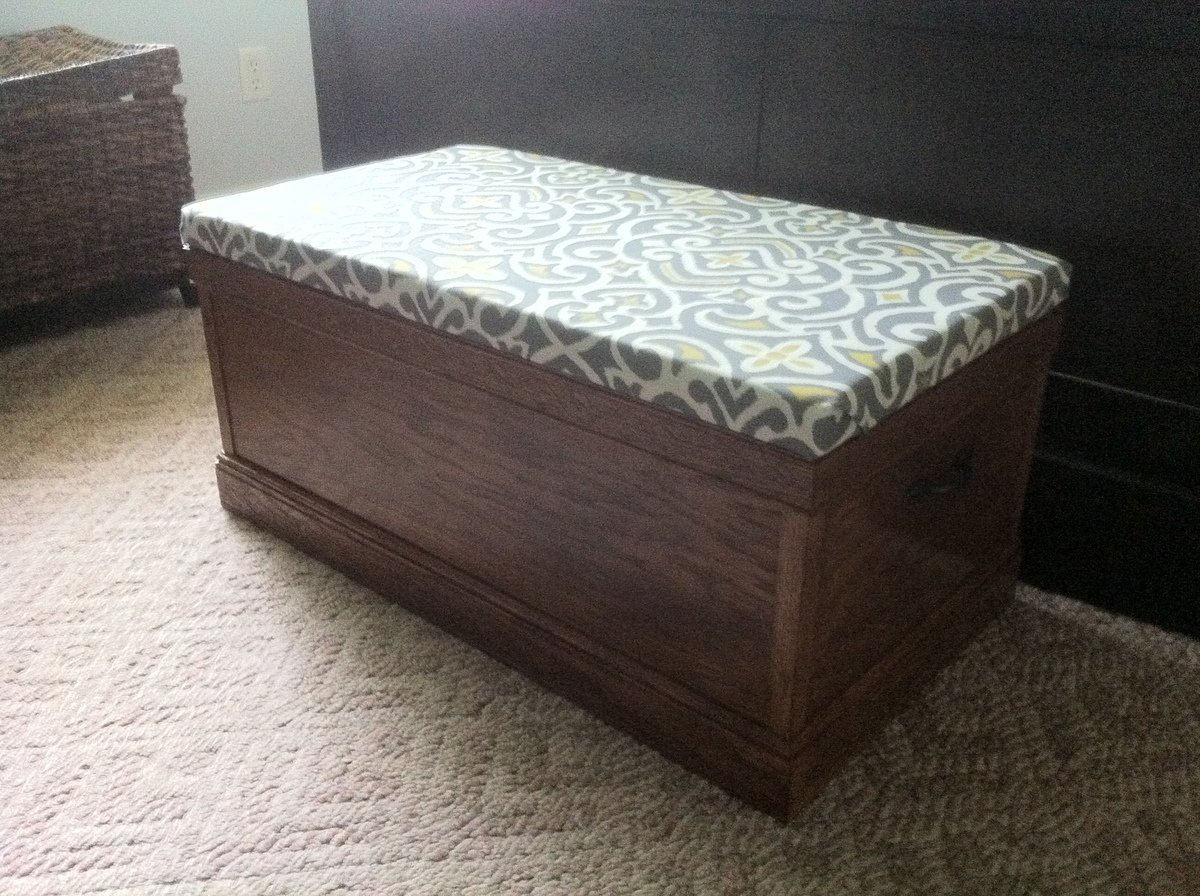
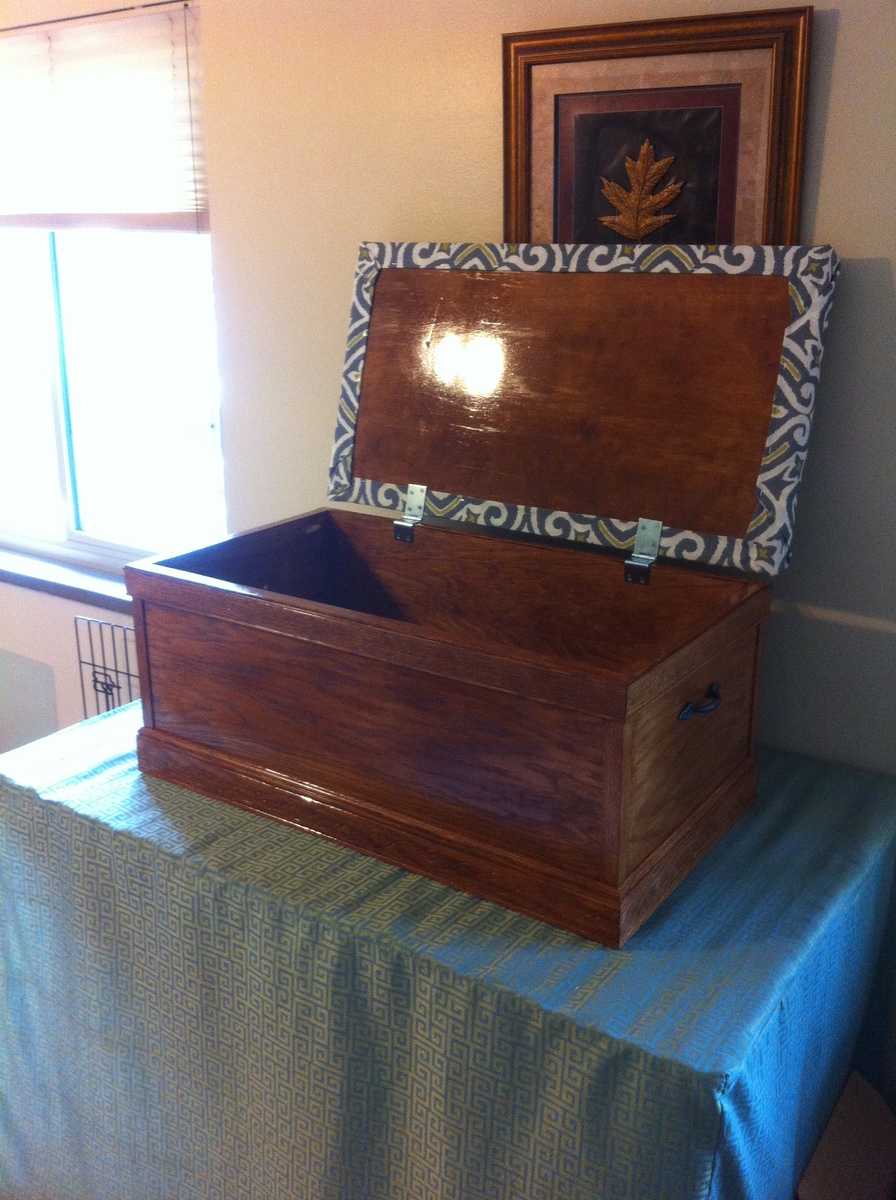
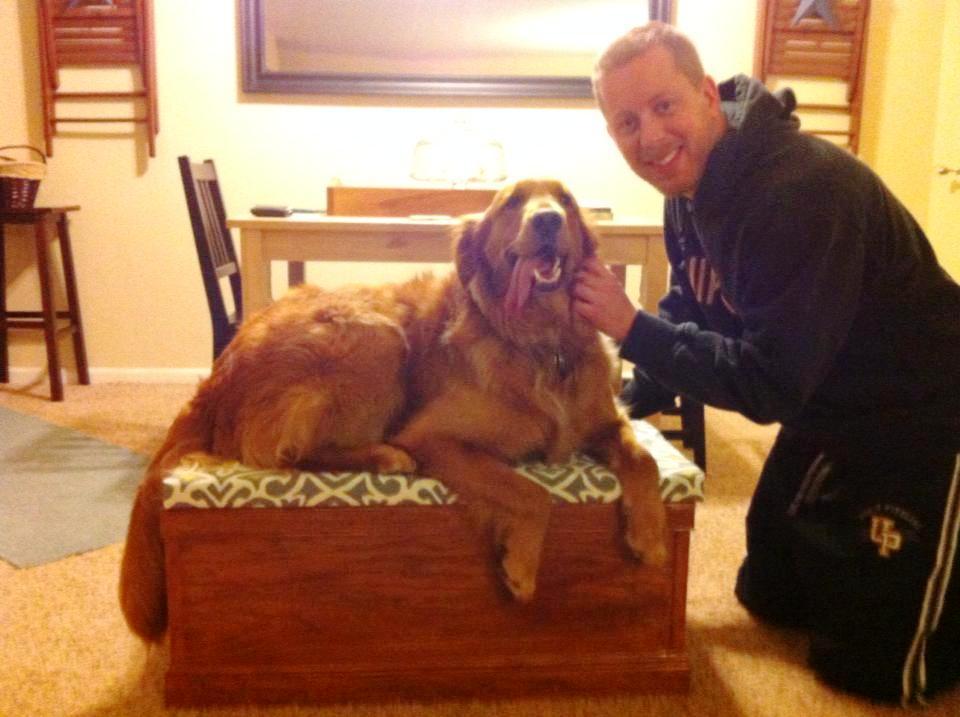
My wife and I have a 2 year old, 85lb, golden retriever named Lily. She has a tough time jumping up on our bed and has hurt herself on a few occasions. I was inspired to build her a step, but also wanted some storage. When I saw the Becca Trunk I knew I had to build it!

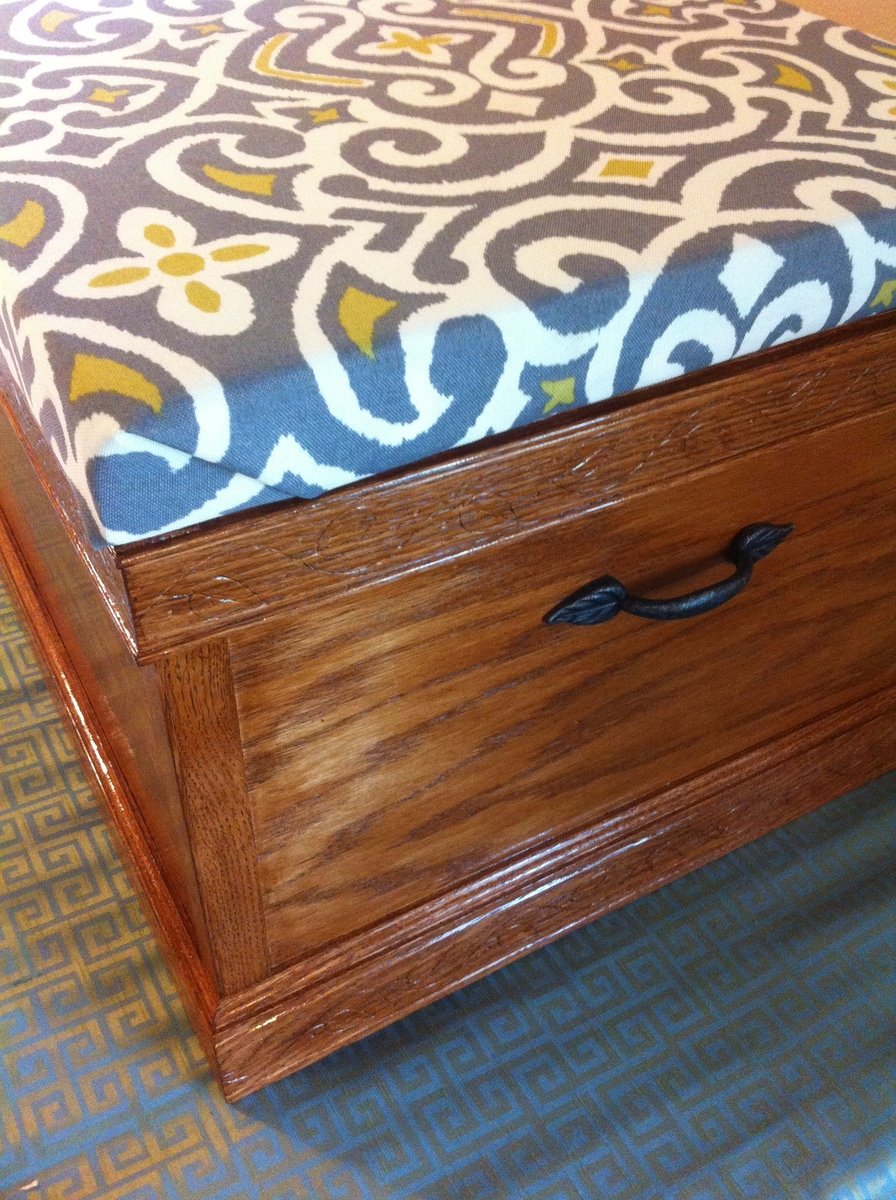
I used oak ply and solid oak for the trim, including some decorative leaf inscribed trim for the top and bottom. My wife and I picked out some outdoor furniture fabric that was stylish and would hold up to a big dog jumping on it. She used some firm padding and staple gunned the fabric to create a really neat and clean look (I am lost when it comes to that stuff, but she is a genius with scissors).

Built from Plan(s)
Estimated Time Investment
Week Long Project (20 Hours or More)
Finish Used
Minwax Polyshades Antique Walnut Gloss
Recommended Skill Level
Beginner

Comments

Martha Jones DW

Sun, 06/16/2013 - 18:43

As soon as I saw Lily, I just knew you built it for her. Love that you added a a cushion top on the trunk. It's amazing how we take care of our fur Babies.

Scrapbooking Table!

Submitted by seesaw on Wed, 03/09/2011 - 18:21

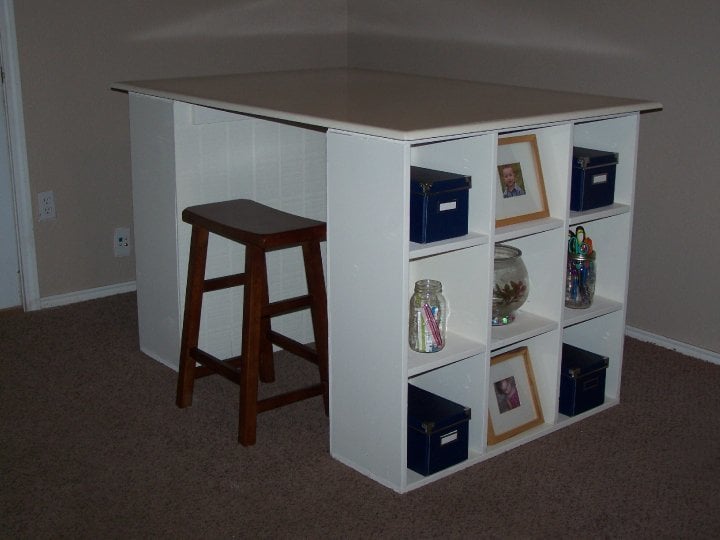
This is my favorite piece we have in our home. We added a wood edging around the desk top to give it a nice finished look. We had a hard time locating the right size drawer slides and ended up buying a lot of them online, so if anyone needs a set of drawer slides, please let me know lol.

Estimated Cost
$120
Estimated Time Investment
Day Project (6-9 Hours)
Finish Used
An antique white
Recommended Skill Level
Intermediate

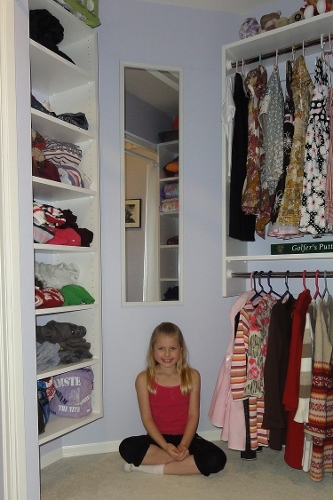
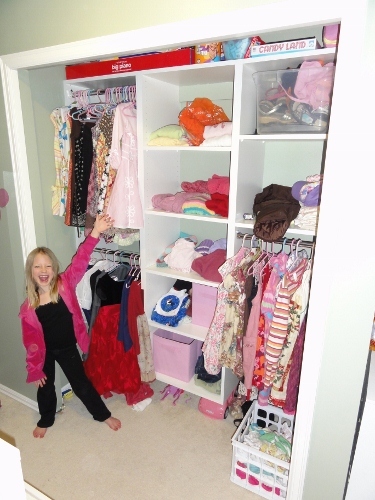
Closet Organized!

Submitted by ferbit on Thu, 03/10/2011 - 08:38

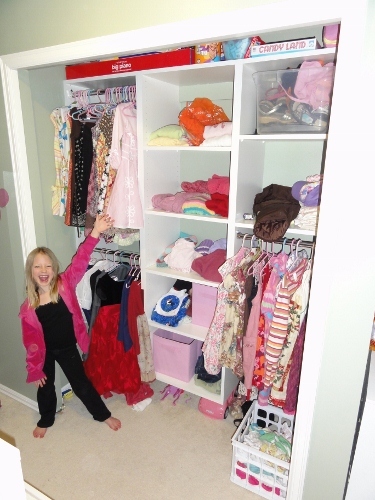
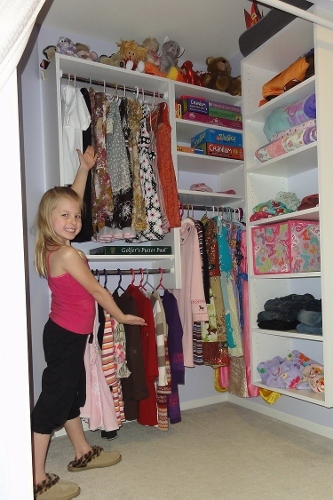
I used Ana's 'Simple Closet Organizer' plan as a starting point and then went a little nuts. :) If you read the comments below the plan, a wonderful, professional closet designer gave some fantastic tips and then another person shared EasyClosets.com.

So I plugged all of the dimensions into the Easy Closets website and used the plan I drew up based on its recommendations and my daughter's needs. :) She has three usable walls.

This was also my very first time using my Kreg Jig. I got it for my birthday months ago, but wasn't sure which project to "learn" on. :) I did quite a few tests on scrap before starting. Melamine coated particle board is SLIPPERY stuff so have LOTS and LOTS of clamps or your joints will not be square. Wow!

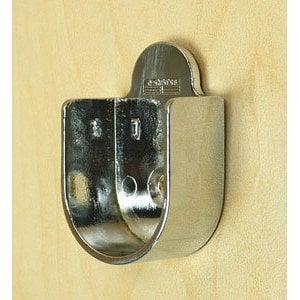
I got these chrome closet rods at The Container Store – so cheap and they'll cut them to size for you! Like $3~ a rod!? In the photos below, I'm using large, plastic closet rod flanges that I found at Orange, but I have these pretty chrome (peg-friendly) flanges ordered from Amazon. They're really cheap too! They will fit the 1-inch diameter rods I bought much better than the plastic ones and are made specifically for the pre-drilled 32mm closet boards. :) Yay!

Only other thing I did differently was use 1x4 boards to square the closet boxes up. I just cut them to the same width as the shelves and pocket-screwed them into the very top and very bottom of each box. Then I painted them to match her purple wall color.

I was so happy with how it turned out that I did my other daughter's closet that next weekend! I used the same website to design it too. LOVE IT!

Anyhoo, here are the finished closets for both of my daughters! Thank you Ana! I would never have done this if you hadn't have posted that plan! Totally inspired me! Can't wait do do our master closet! EEEK!

Estimated Time Investment
Day Project (6-9 Hours)
Recommended Skill Level
Beginner

Becca Trunk

Submitted by DMax2010 on Sat, 04/25/2015 - 17:44

Love this trunk! It was my first attempt at moulding and I probably should have practiced on scrap wood first (recommend)! But it turned out great and one of my favorite pieces (because it's filled with toys).

Built from Plan(s)
Estimated Cost
Not sure, I purchased the purebond plywood and the moulding but pretty much had the rest already
Estimated Time Investment
Day Project (6-9 Hours)
Finish Used
Body of trunk:
Minwax Express Color in Walnut (base)
Behr Premium Plus Flat in Juniper Ash
Rustoleum Soft Touch Matte Poly

Top:
Minwax Express Color in Walnut
Rustoleum Soft Touch Matte Poly
Recommended Skill Level
Intermediate

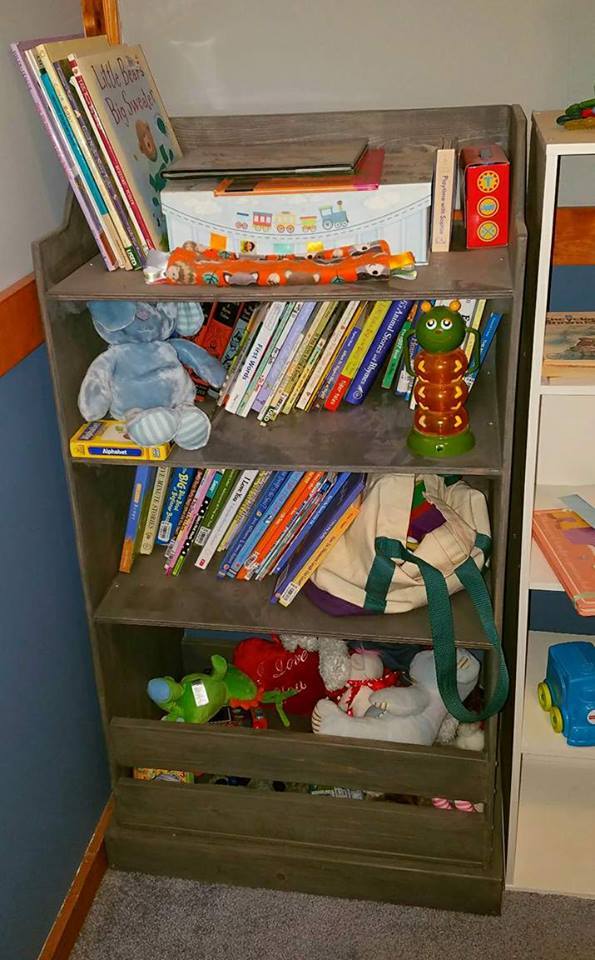
Kids Storage Bookshelf

Submitted by Malka on Wed, 09/13/2017 - 00:29

Project was super easy to build, and fits a TON of books and toys. Perfect for our nursery. Stained in Minwax Classic Grey with a satin poly finish.

Built from Plan(s)
Estimated Cost
$100 +/-
Estimated Time Investment
Weekend Project (10-20 Hours)
Finish Used
Minwax Satin Polyurethane
Recommended Skill Level
Beginner

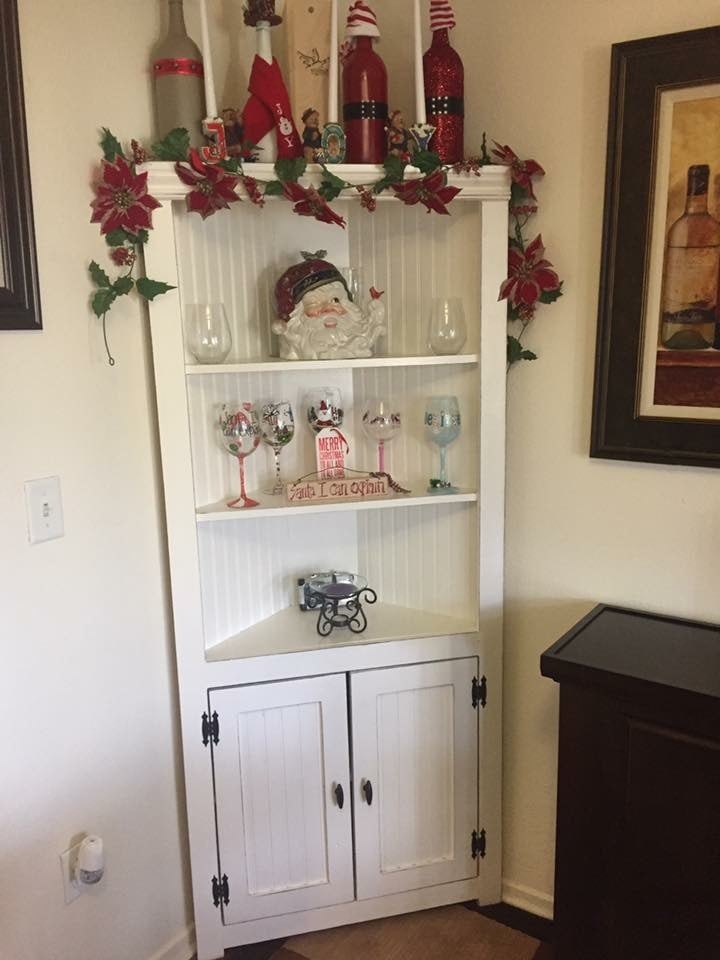
Corner Cupboard

My husband built this for me. The doors were a bit frustrating for us as beginners. I really thought he was going to end my life over those doors really. I am very happy with the end result but it did sit inside of the house for over a month without doors. LOL I love this cabinet so much though. It's my favorite piece so far.

Built from Plan(s)
Estimated Time Investment
Week Long Project (20 Hours or More)
Finish Used
General Finish Java Gel Stain
Dove White Valspar Paint
Recommended Skill Level
Intermediate

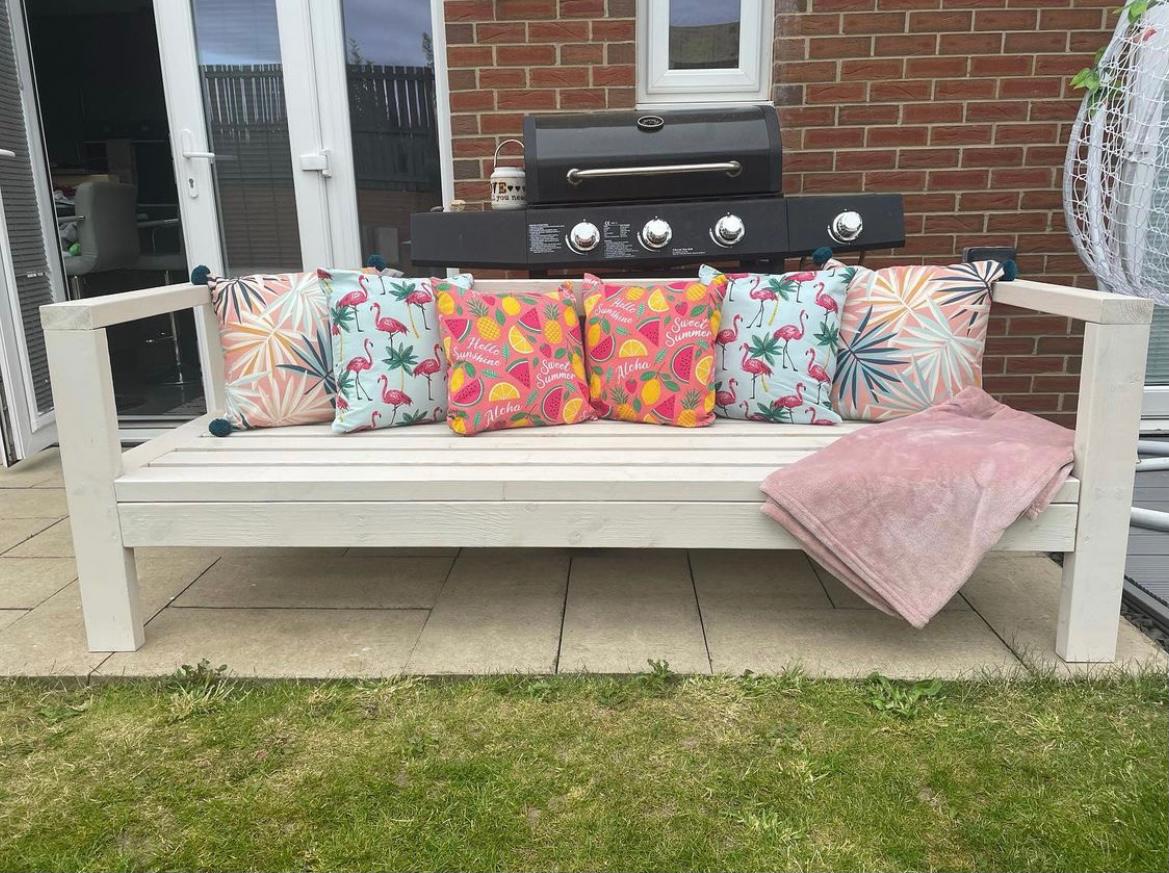
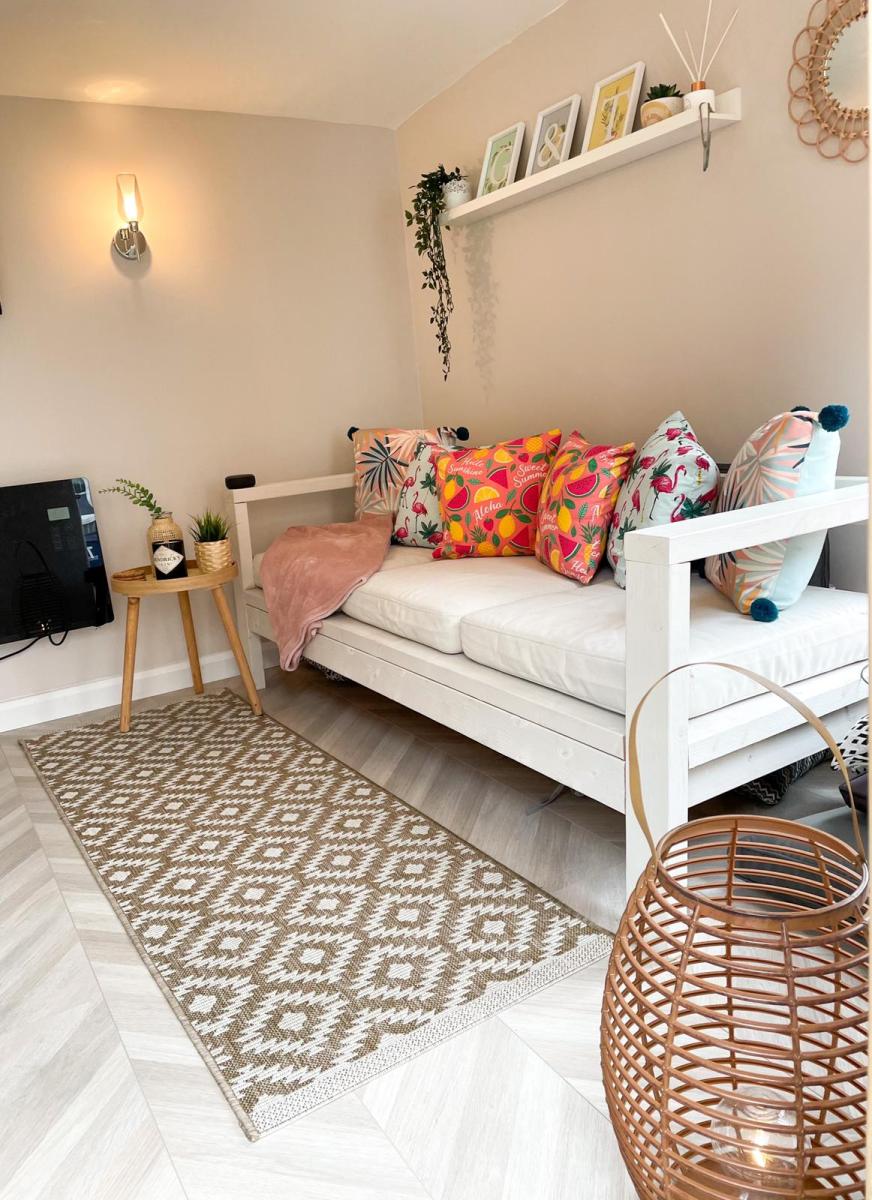
Outdoor Sofa

Submitted by Anonymous (not verified) on Fri, 11/05/2021 - 14:13

Perfect seating for our new summerhouse, loved how easy it was to build. Thanks so much for the free plans and making the easy to follow videos

Built from Plan(s)

Comments

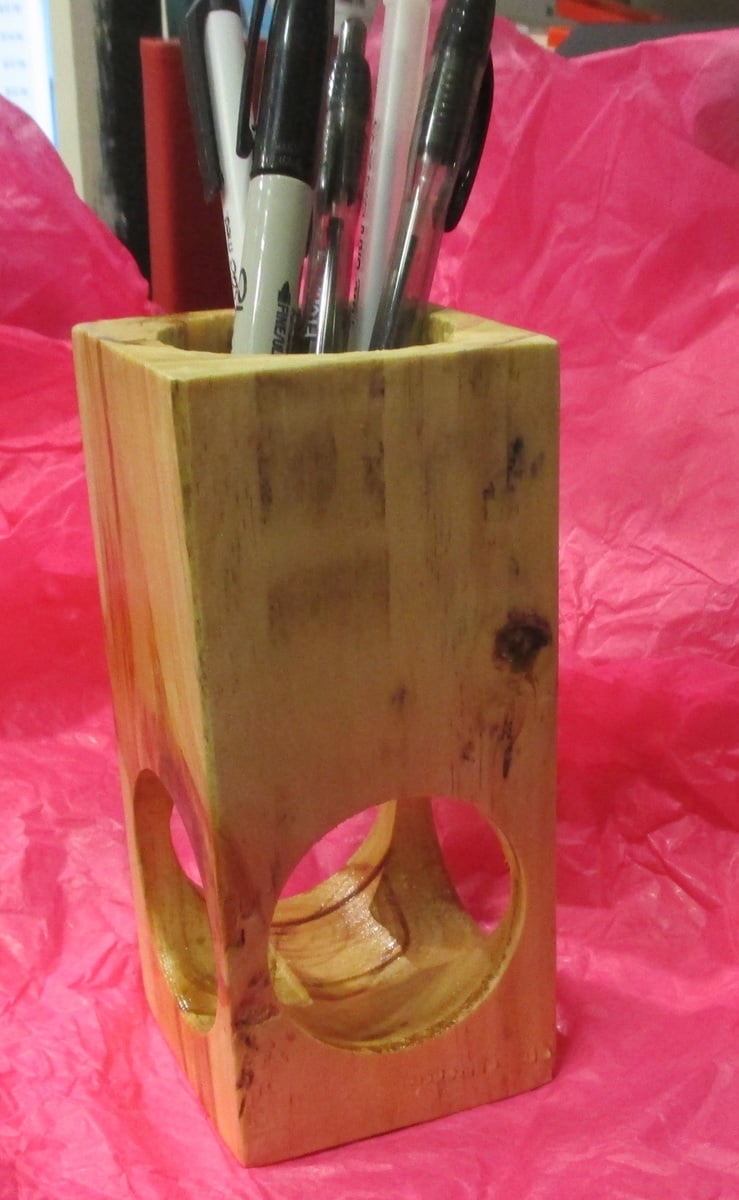
Super-Cool Pencil Holder

Submitted by JoanneS on Wed, 05/20/2015 - 19:56

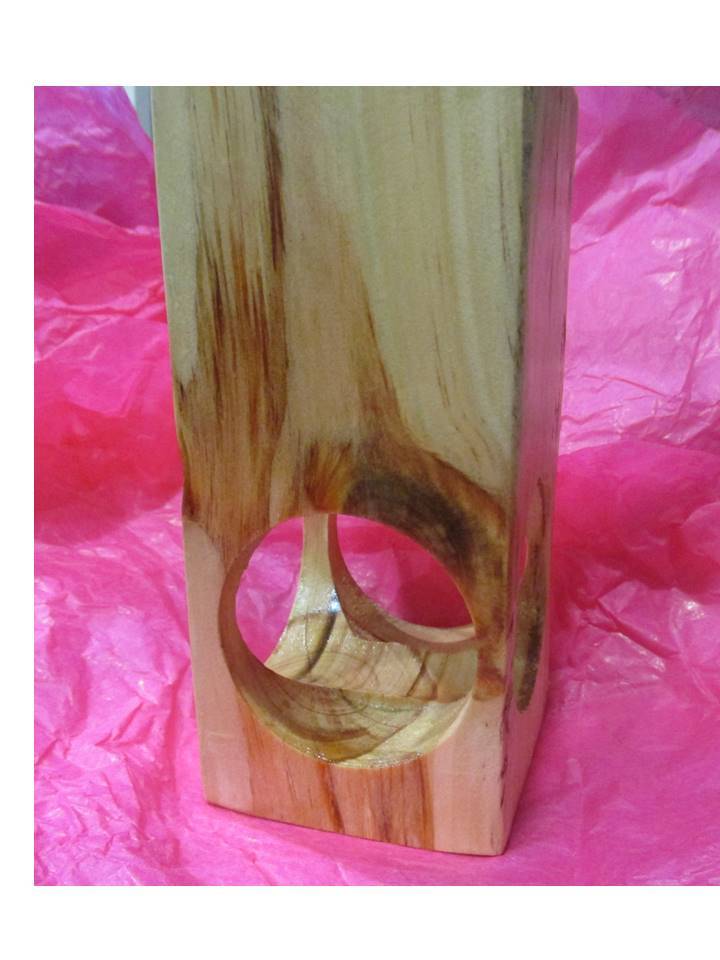
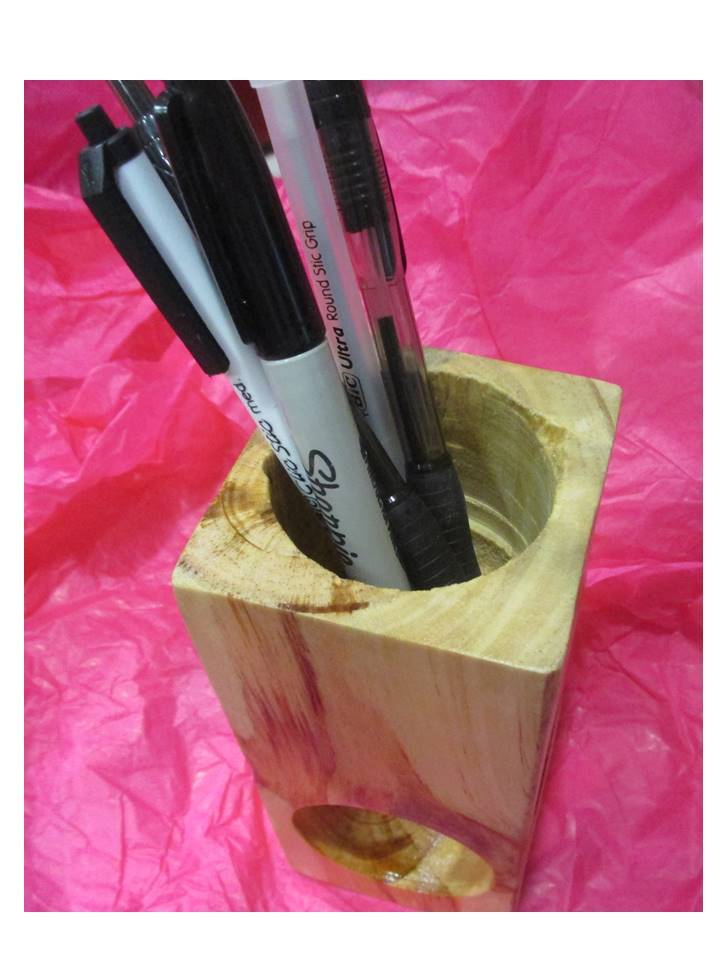
Isn't this the coolest pencil holder EVER?! Hubby made this from a landscape timber with the drill press. Love how you can see through the holes in the bottom!

He used a hole saw attachment on the drill press, after cutting the block of wood down with the miter saw. This one is the prototype, from scrap wood. I'm thinking this would be absolutely gorgeous in Cedar! This received a quick sanding and 2 coats of clear water based poly.

As soon as he teaches me how he did this, I'm going to post the plan for 'Dan's Super-Cool Pencil Holder!' Thanks Honey! :)

Estimated Cost
0
Estimated Time Investment
An Hour or Two (0-2 Hours)
Finish Used
sanded with fine grit sandpaper, 2 coats of clear poly, sanded between coats.
Recommended Skill Level
Beginner

Comments

JoanneS

Thu, 06/04/2015 - 15:10

Thanks! I'm looking forward to trying this on my own too. Hubby came up with another technique that I think will be easier for me - using a 2" forstner bit and a regular drill. Hopefully I'll get to experiment with that this weekend, and I'll be sure to post process pictures. :)

Christmas Gift

I built this as a Christmas gift. The overall length was shortened to 6' long, I only used two legs, however I built the bench with three legs overall length 6'.  Finished to match chairs purchased from overstock.com

Estimated Cost
$275.00
Estimated Time Investment
Weekend Project (10-20 Hours)
Finish Used
Custom with four coats of Simi gloss polyurethane.
Recommended Skill Level
Beginner

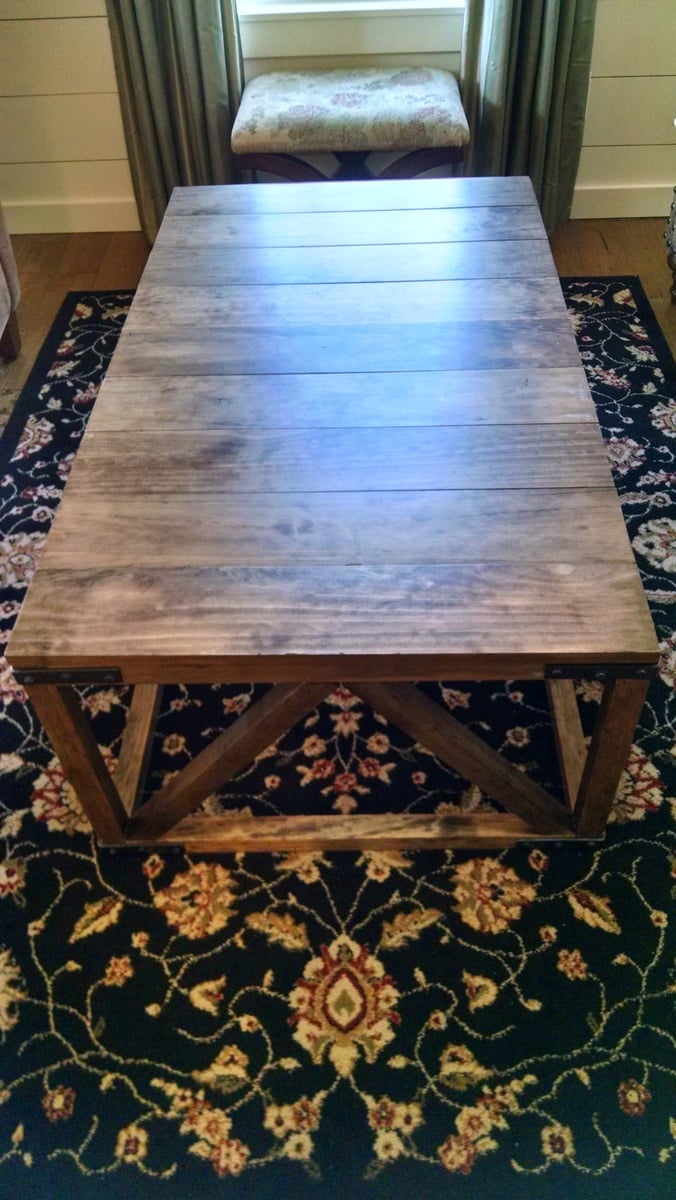
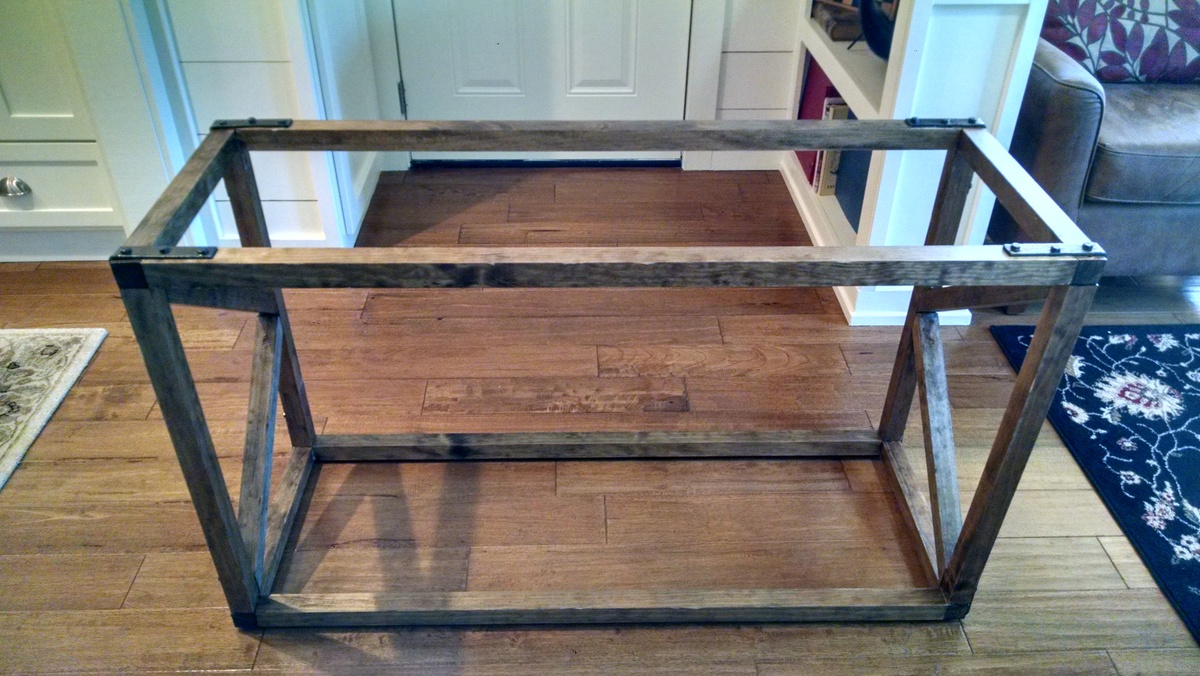
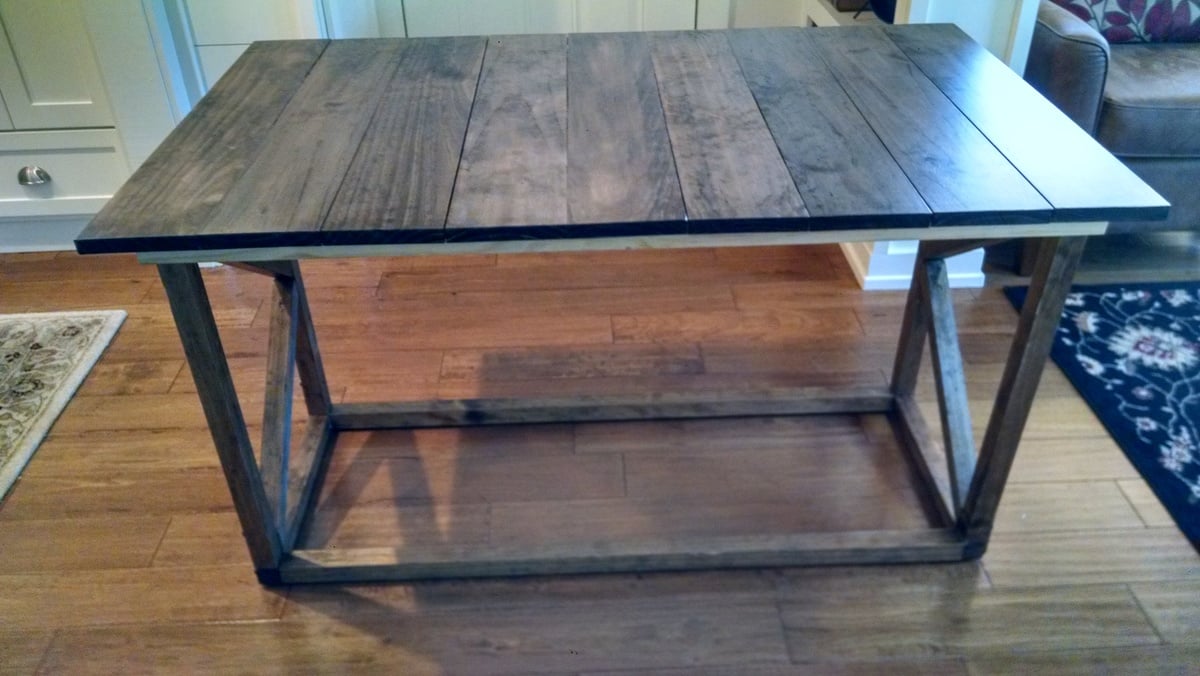
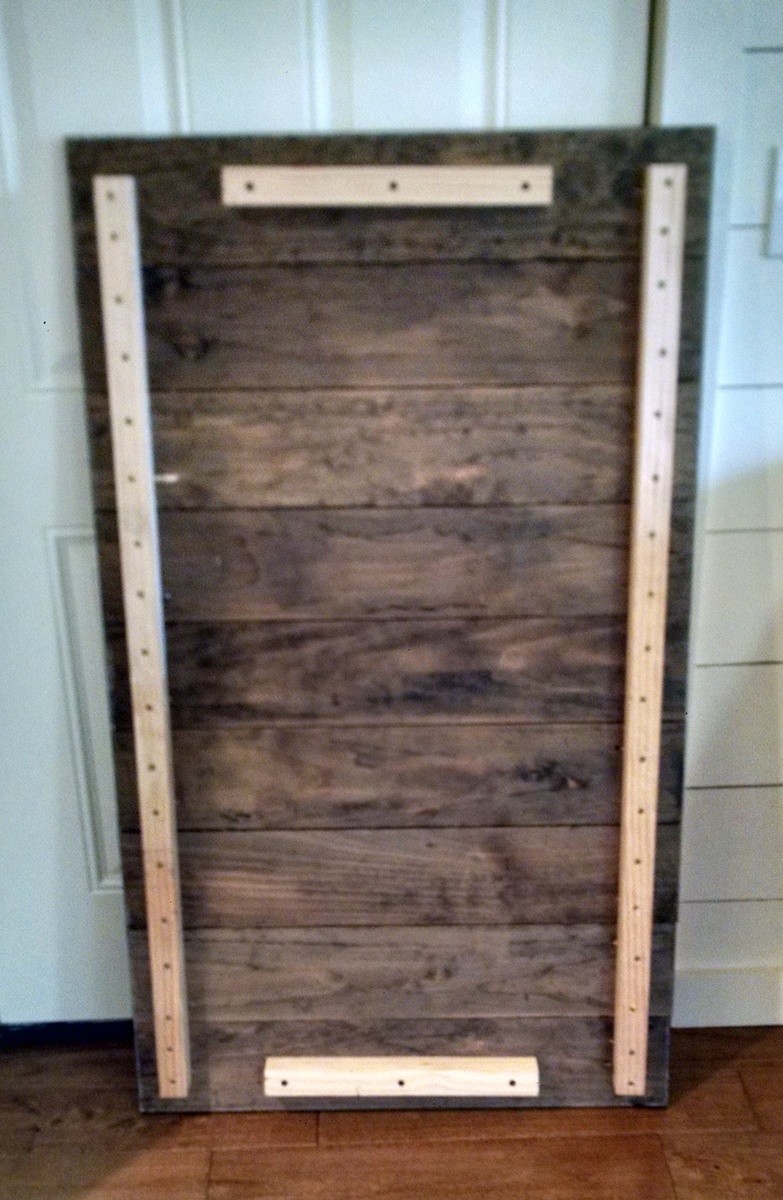
coffee table/dining table combo

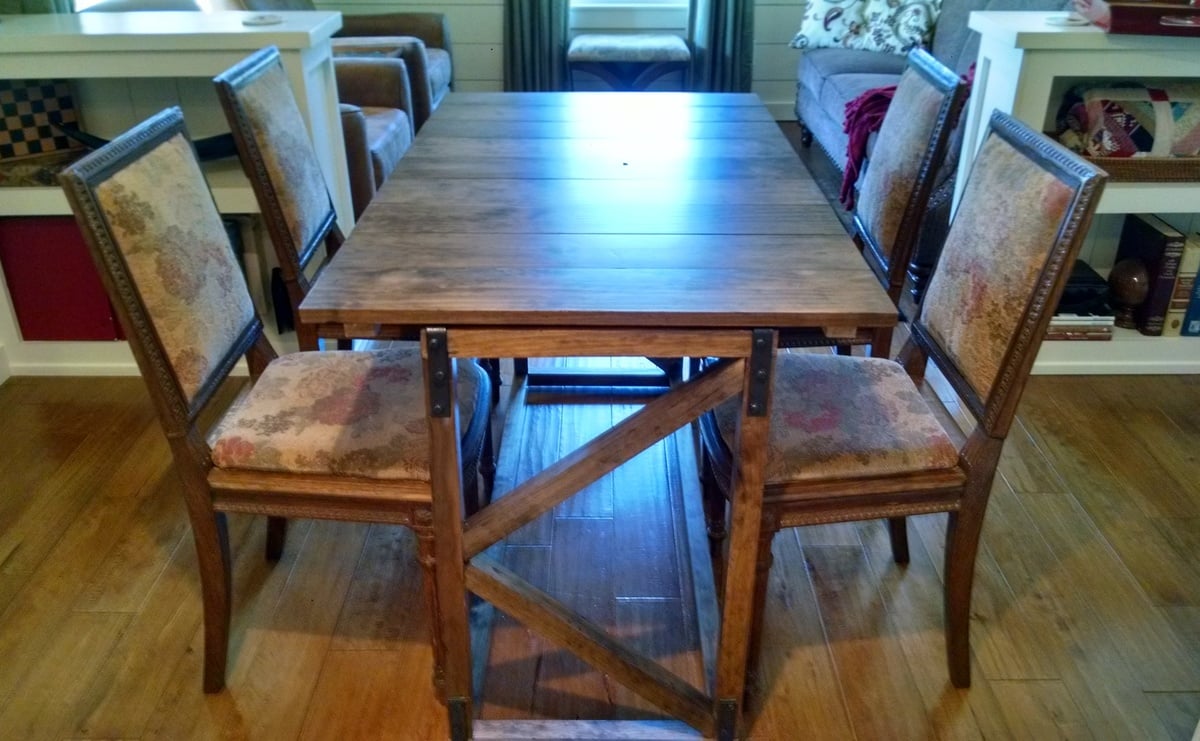
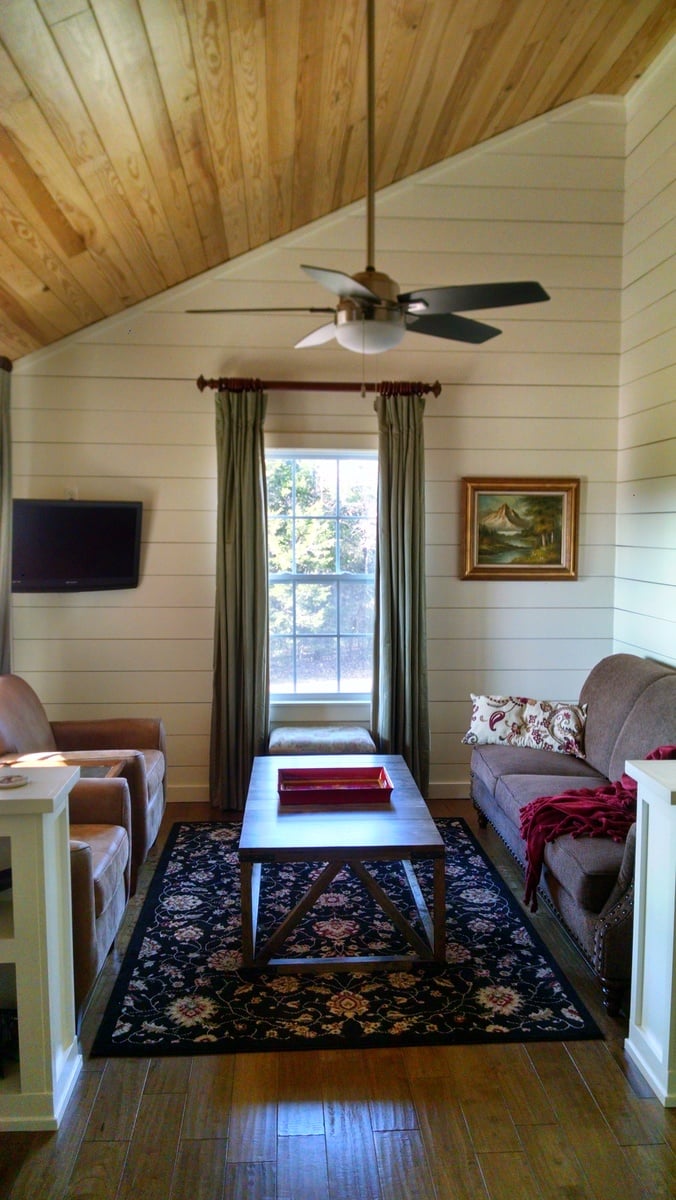
Living in a small cabin there was no room for a dedicated dining area so this coffee table/dining table combo was just the ticket!  Quick to convert and fits my cabin style.  The L brackets (basic utilitarian brackets spray painted hammered black) on the corners serve as extra support as well as a decorative element. (time will tell if I need to add any extra wood braces to the long sides)

Estimated Cost
N/A had most of the wood already. Just the cost of brackets and a couple of 8 ft. 2x2's.
Estimated Time Investment
Weekend Project (10-20 Hours)
Finish Used
Minwax Dark Walnut
Minwax Polycrylic Satin Finish
Recommended Skill Level
Beginner

Comments

bknjohnson

Sat, 03/31/2018 - 11:47

Your table came out great!  It's on my honey-do list next.  I was wondering now that you've built it and used it for awhile, is the pine holding up well for the top and for the base?  The 2x2s at the box stores are mostly warped, twisted, really dinged up so I'm thinking about getting a slightly harder wood for the base, and maybe maple for the top.  The top would be stained black, the base will be painted.  If the 2x2 pine you used seems stable (with the L brackets), I'd reconsider and go pick through the box store a little more thoroughly.

bknjohnson

Sat, 03/31/2018 - 11:49

Your table came out great!  It's on my honey-do list next.  I was wondering now that you've built it and used it for awhile, is the pine holding up well for the top and for the base?  The 2x2s at the box stores are mostly warped, twisted, really dinged up so I'm thinking about getting a slightly harder wood for the base, and maybe maple for the top.  The top would be stained black, the base will be painted.  If the 2x2 pine you used seems stable (with the L brackets), I'd reconsider and go pick through the box store a little more thoroughly.  I also wondered the same about including braces on the long side.

vgreeninger

Wed, 04/11/2018 - 15:27

It hasn't been used enough yet to tell you how the pine will hold up. But it is very stable .I nailed the shelves in and the trim around it adds stability. I don't see a need for and kind of bracing. 

vgreeninger

Wed, 04/11/2018 - 15:27

It hasn't been used enough yet to tell you how the pine will hold up. But it is very stable .I nailed the shelves in and the trim around it adds stability. I don't see a need for and kind of bracing. 

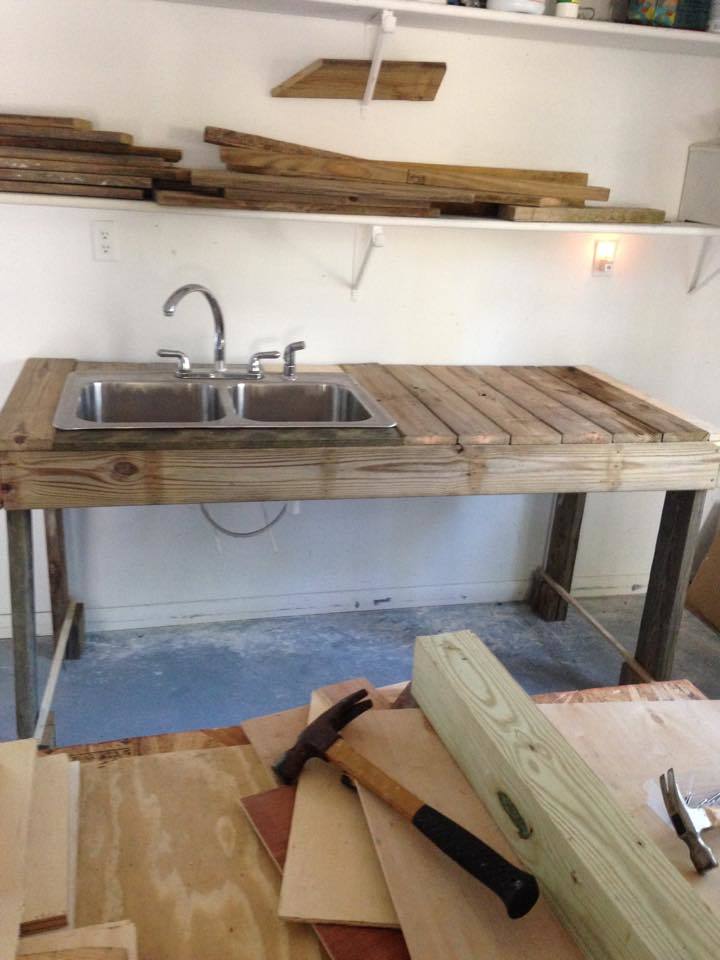
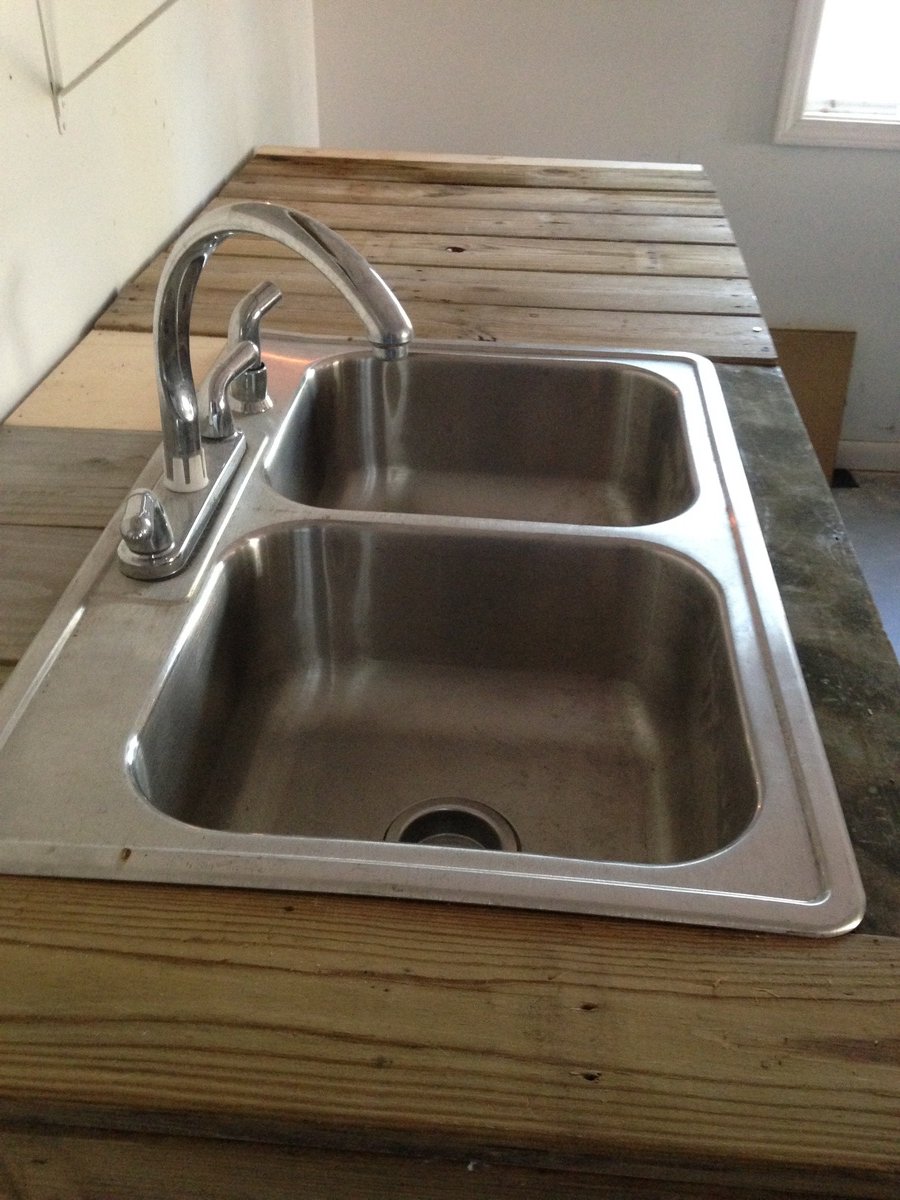
Outdoor sink

I made this sink from a sink that I saw on here one time and can't find now. Just improvised didn't follow a plan. I have it in my garage and plan to stain it and add some touchs soon.

Estimated Time Investment
Day Project (6-9 Hours)
Finish Used
Tbd
Recommended Skill Level
Intermediate

Comments

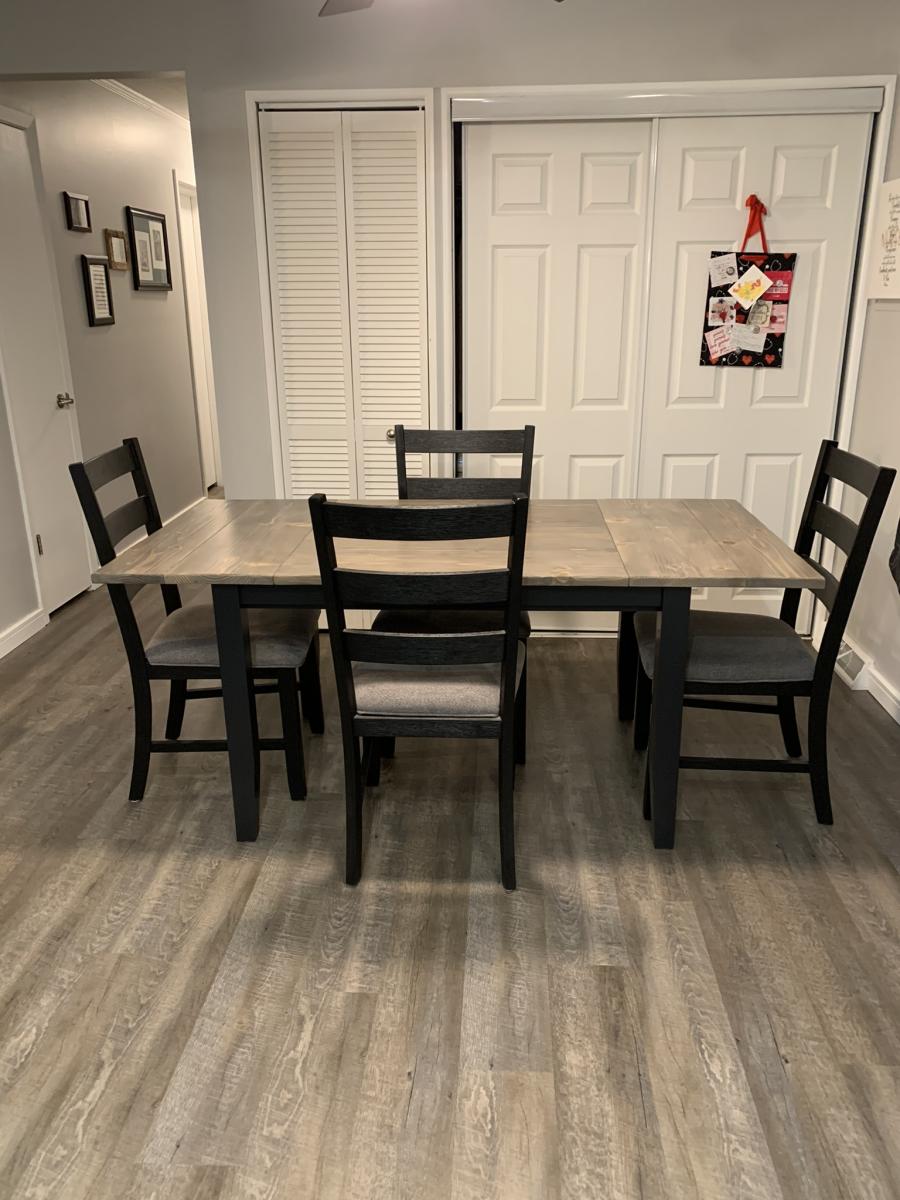
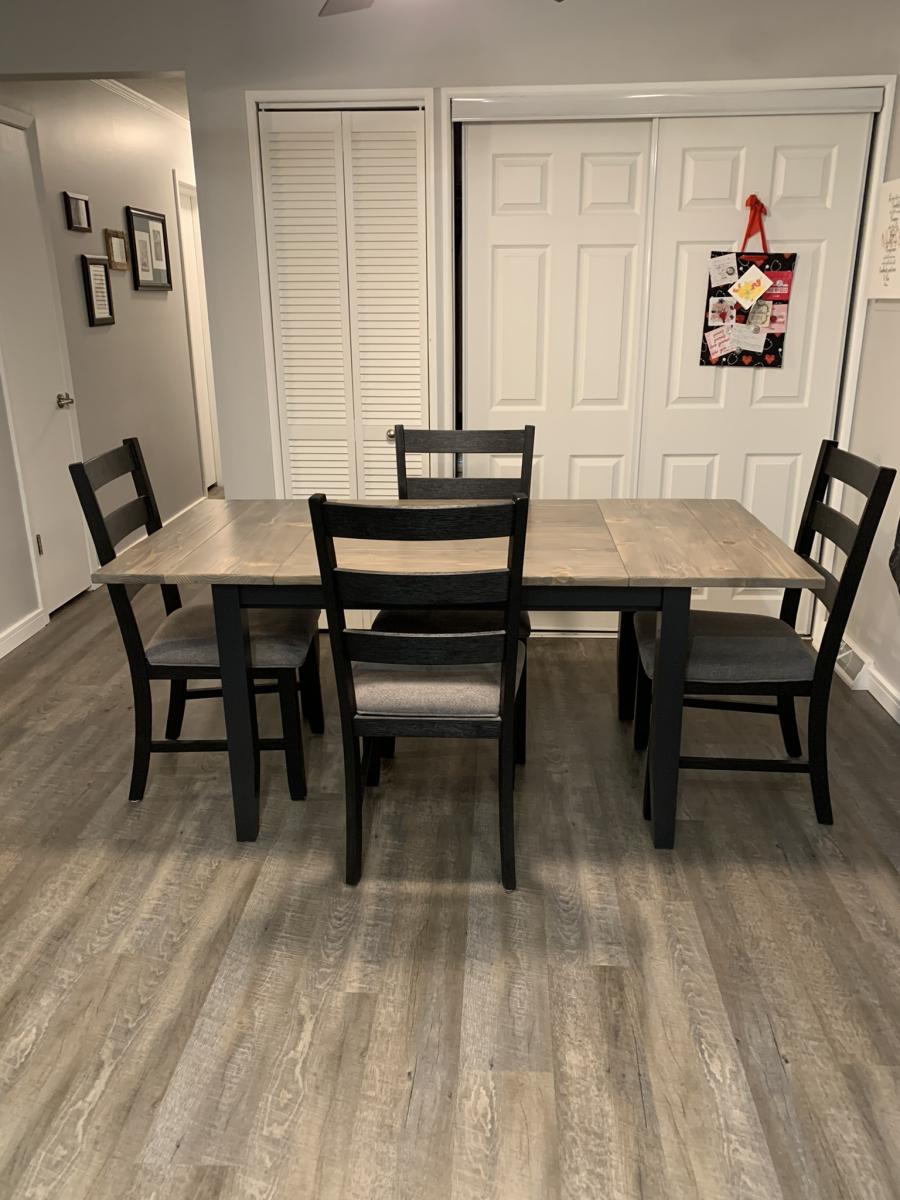
Farmhouse table with Leaves

Submitted by Anonymous (not verified) on Mon, 12/27/2021 - 06:02

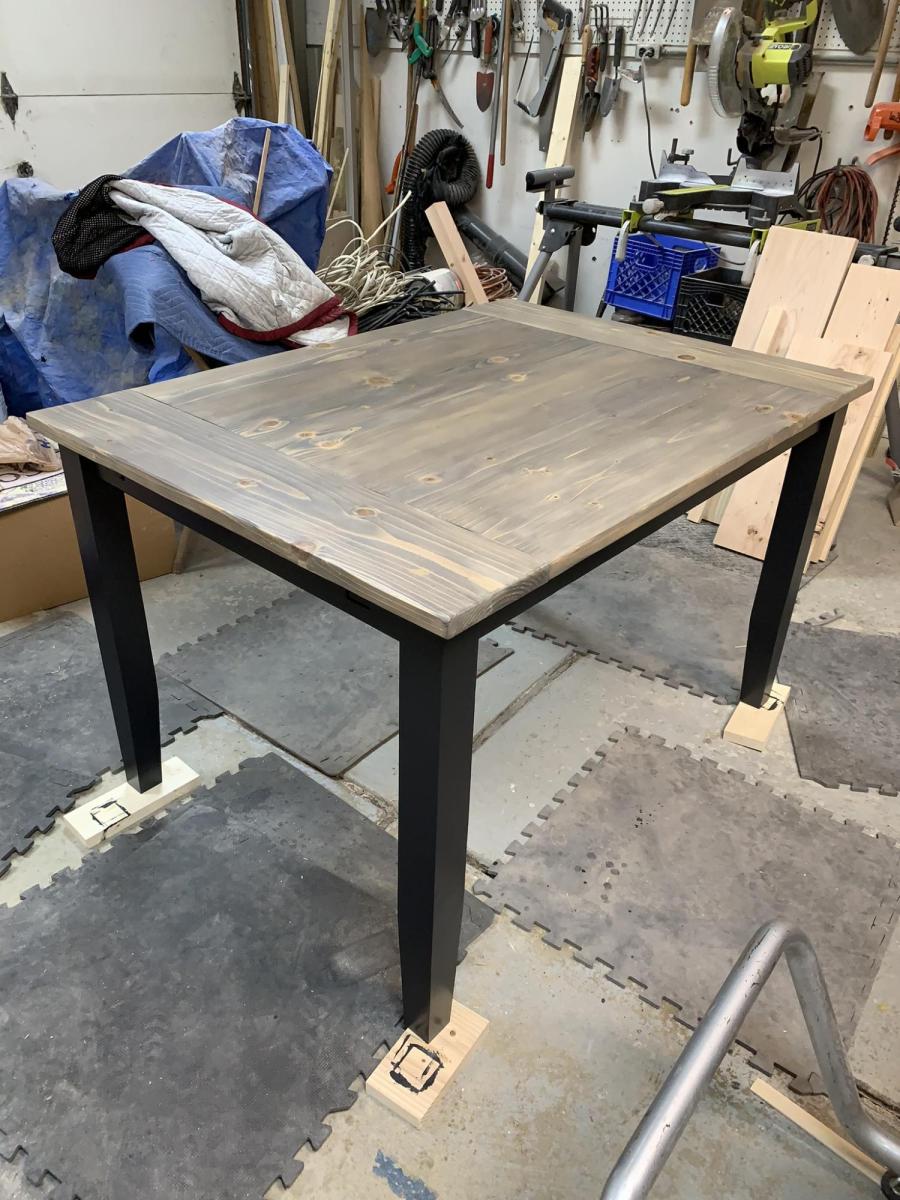
I built this farmhouse table with leaves for my daughter. I wanted a farmhouse look but with a modern twist, and I also wanted breadboard ends that would pull out so she could insert leaves on each end to increase the size of the table for company. I used the plans for concept, and actually used the updated farmhouse table plans with pocket holes but couldn't find the plan link again for this post but made several modifications to achieve what I wanted. I planed all the lumber down to a true 1 inch for the top and also the trim to reduce the weight and chunky feel. I planed 4 x 4 untreated lumber for the legs to 2 1/2 inches and then tapered the bottoms as well to reduce weight and chunkiness and create a more modern feel. I built actual channels on the base for the extension bars which attach to the breadboard ends and I attached table aligners to the table, breadboard ends and the leaves so things would stay straight and even. I also glued together 2 x 4 and 2 x 3 pieces that had been planed down to a true 1 inch for the skirting and treated them as one piece when attaching to the legs so I didn't have so many screws going into the legs. I painted the base black with furniture paint and then put 2 coats of polyurethane over that and stained the top gray, then used a and 'wash' of watered down black paint over that and then 5 coats of polyurethane on the top. The table is 36 x 48 without the leaves and extends to 70 inches when both leaves are in place. I'm quite pleased with how it turned out.

Comments

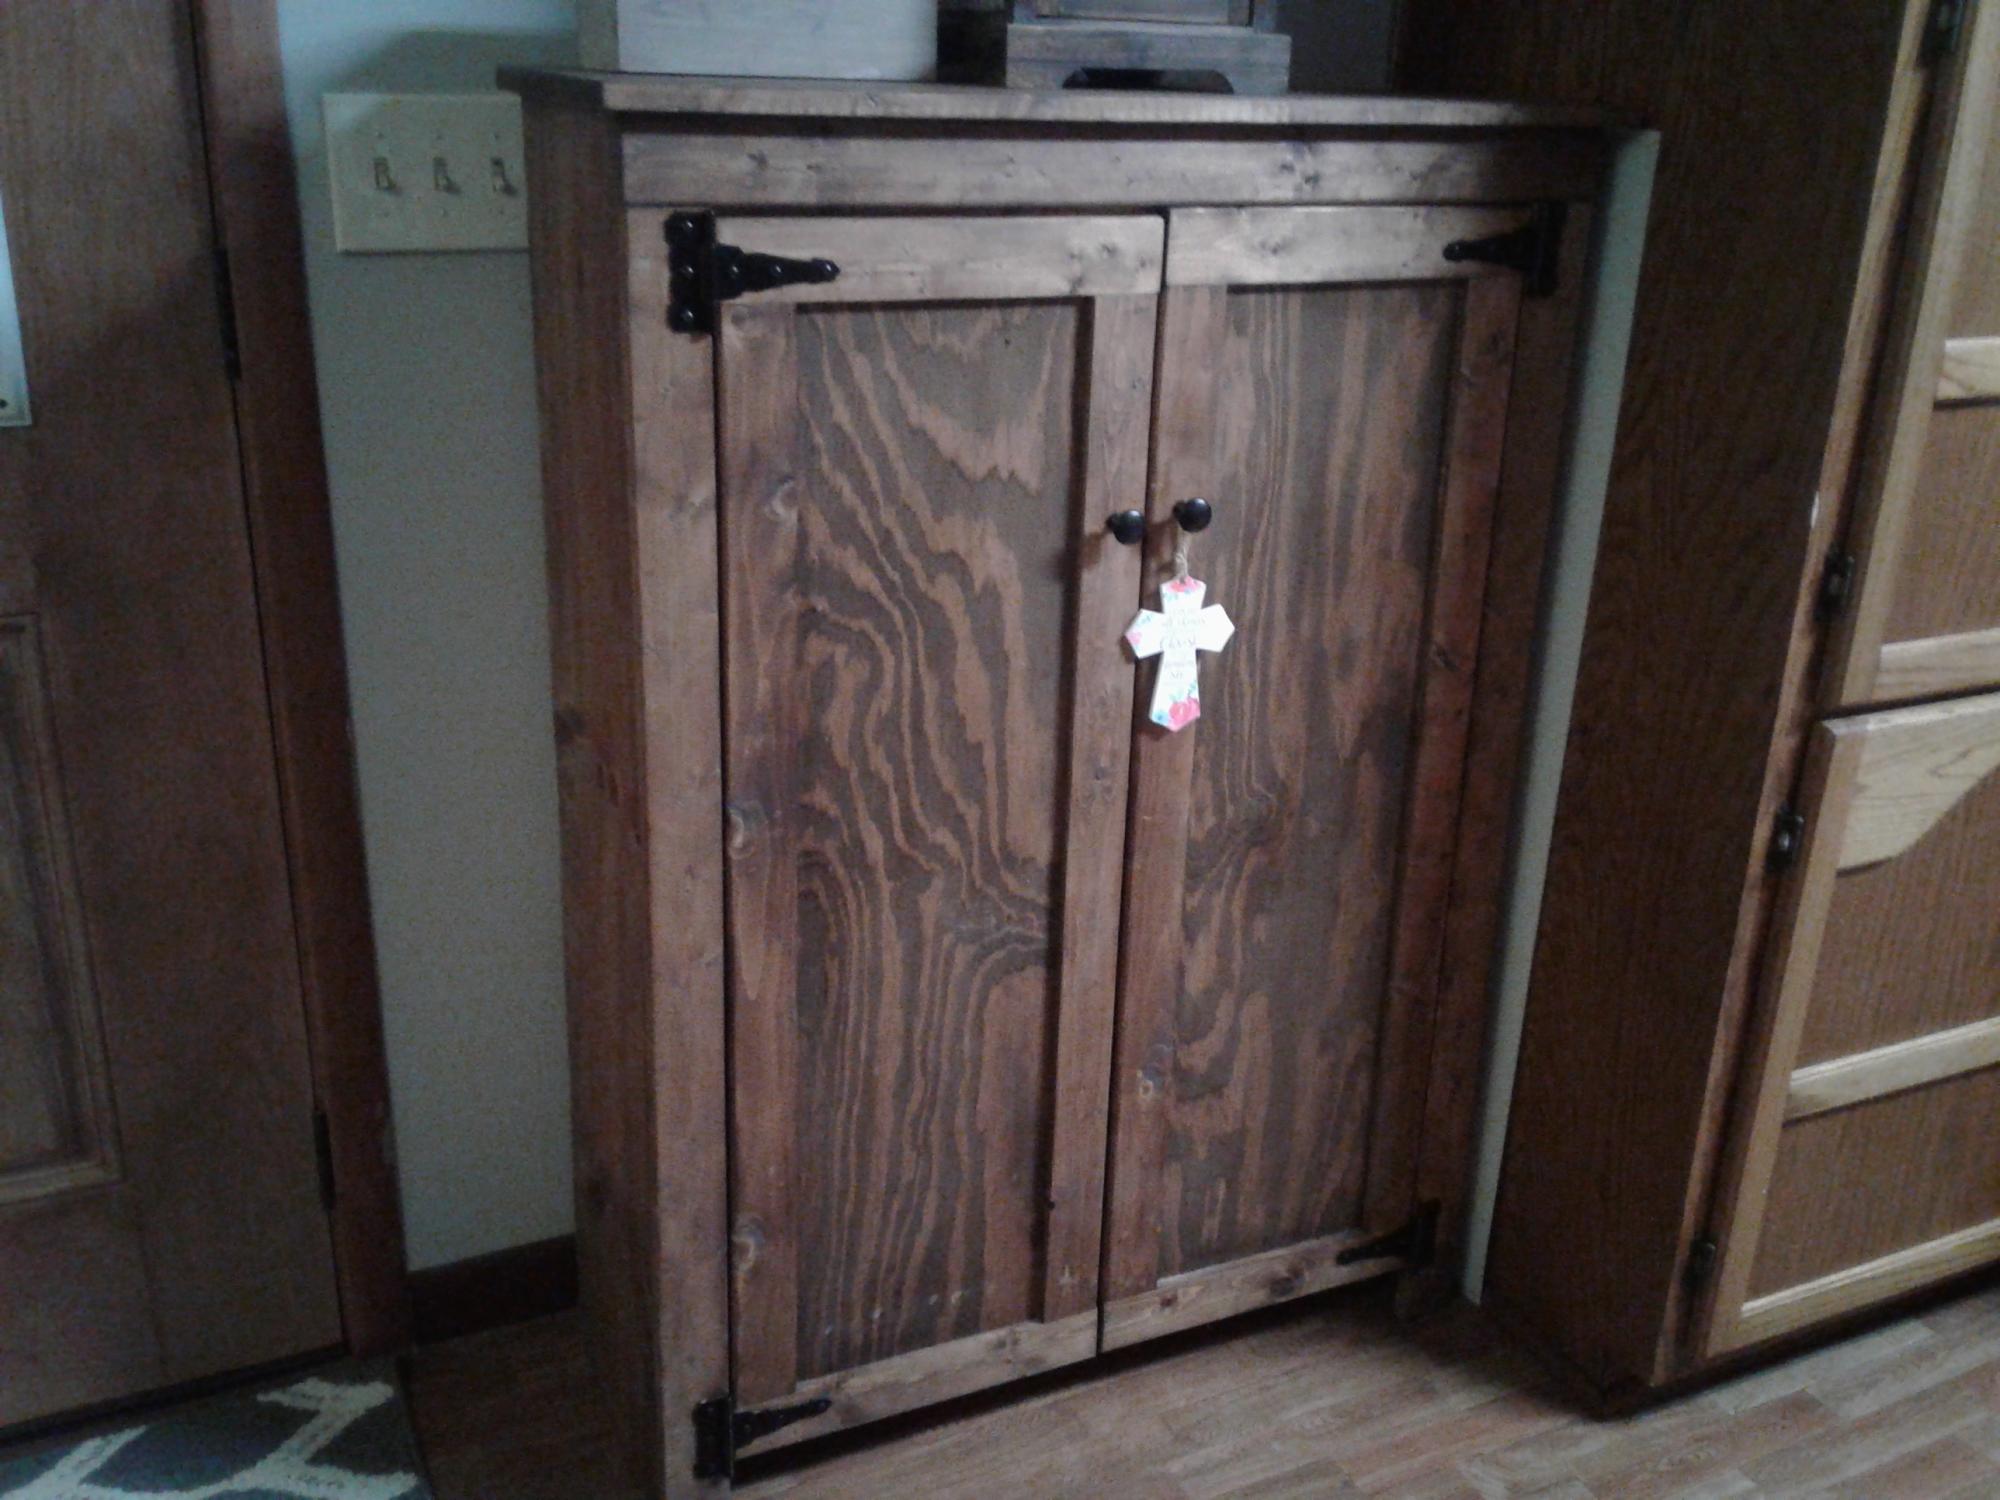
Jelly cupboard

Submitted by Anonymous (not verified) on Mon, 12/27/2021 - 19:11

Made from Ana White `s plan. Thanks for the help.

Built from Plan(s)

Comments