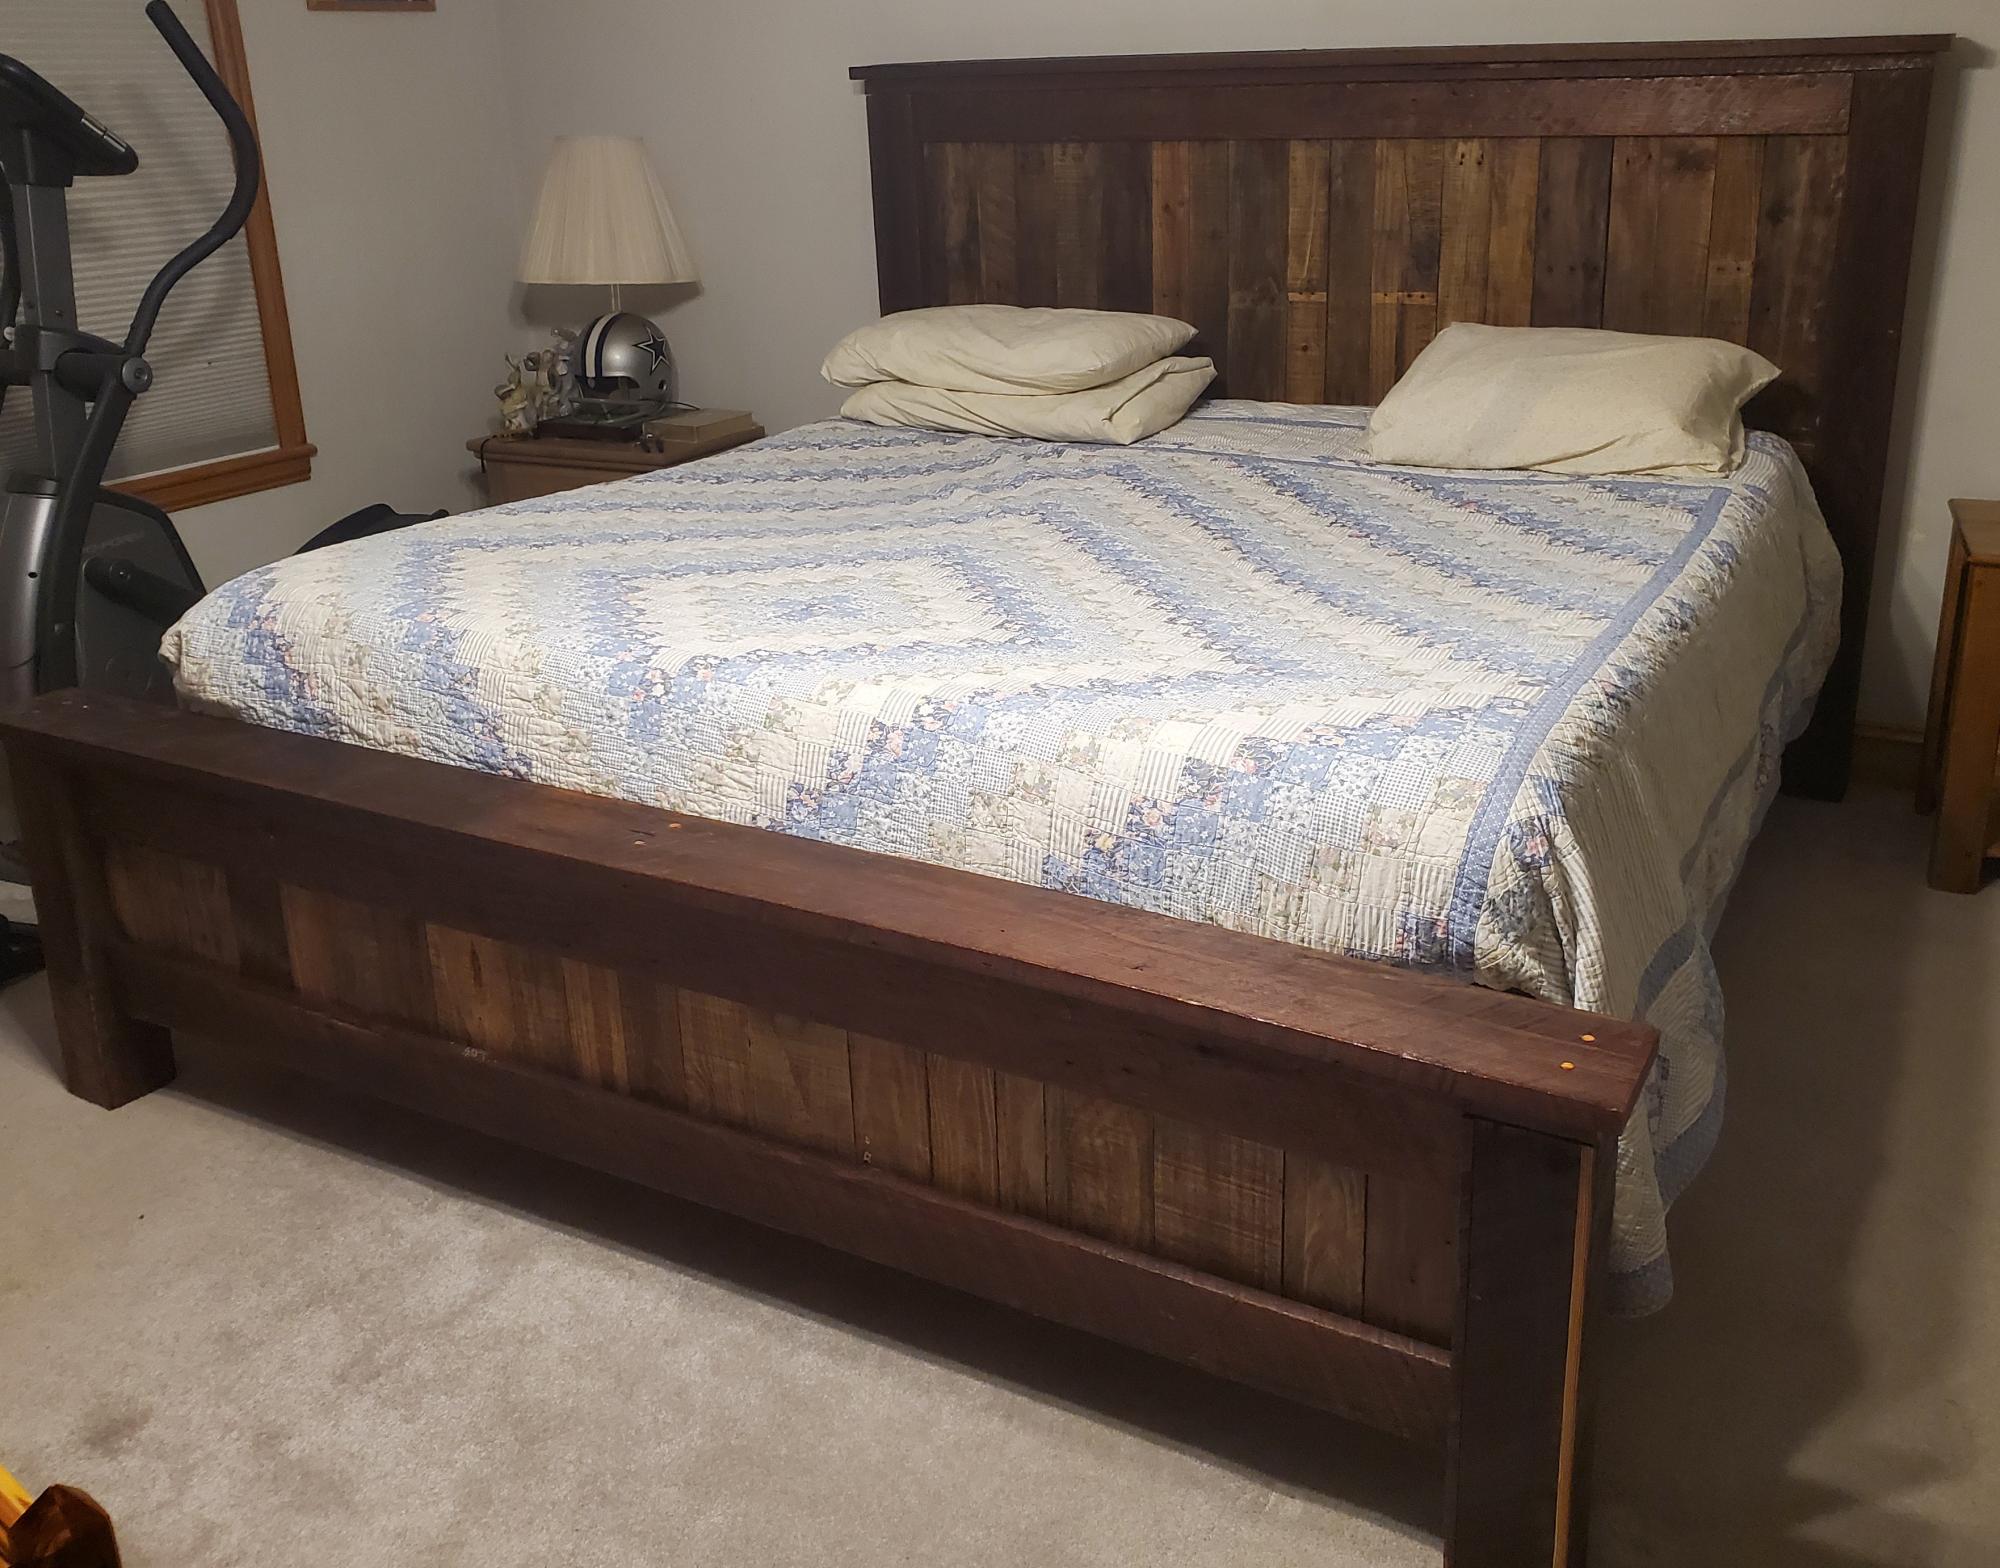
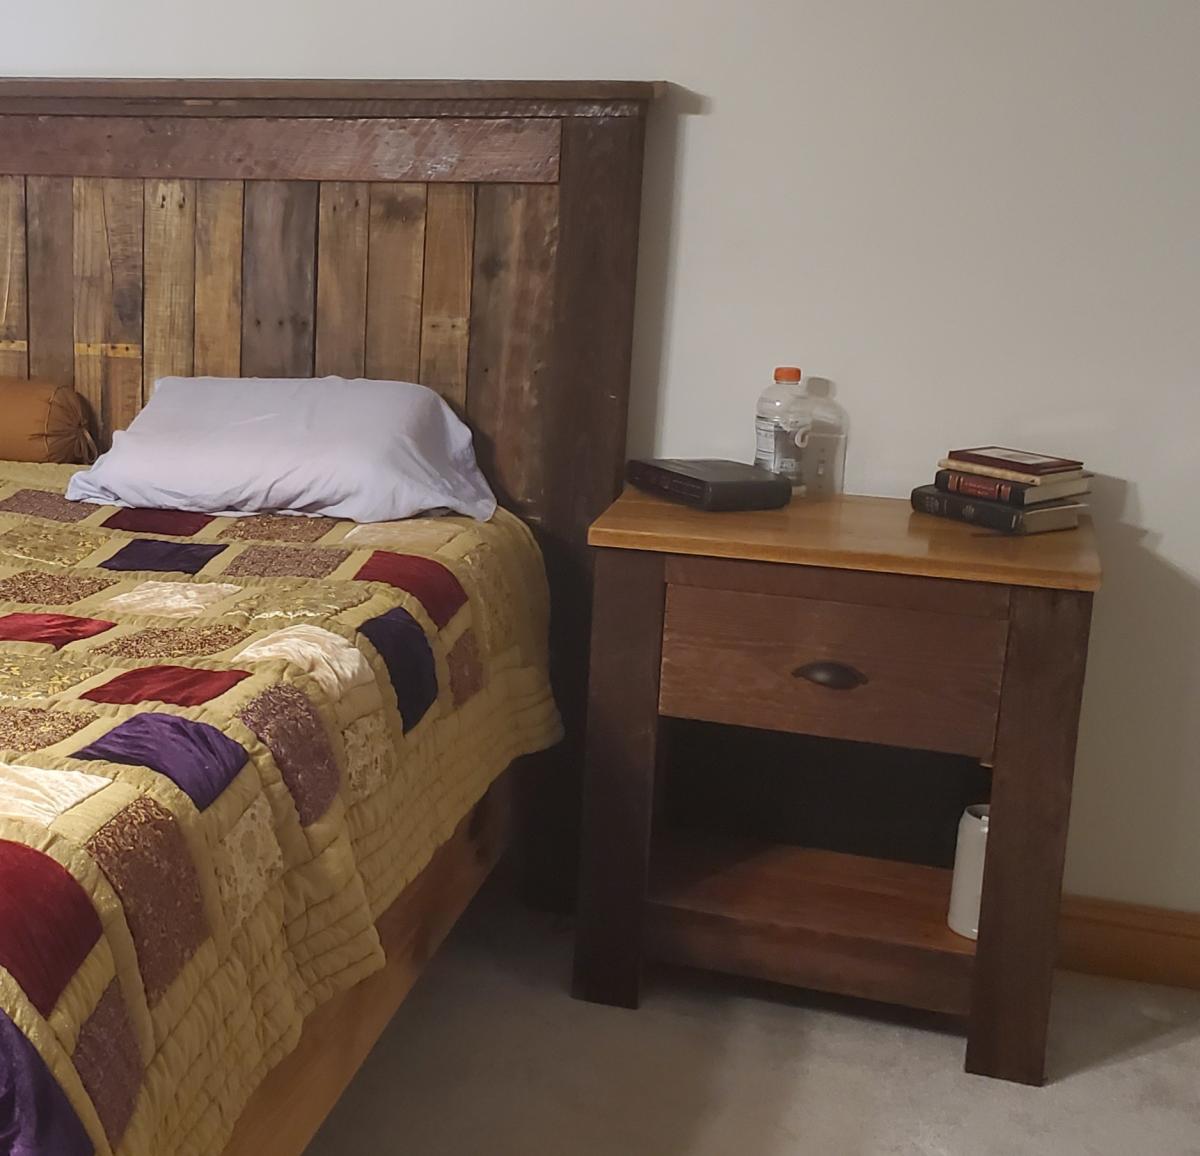
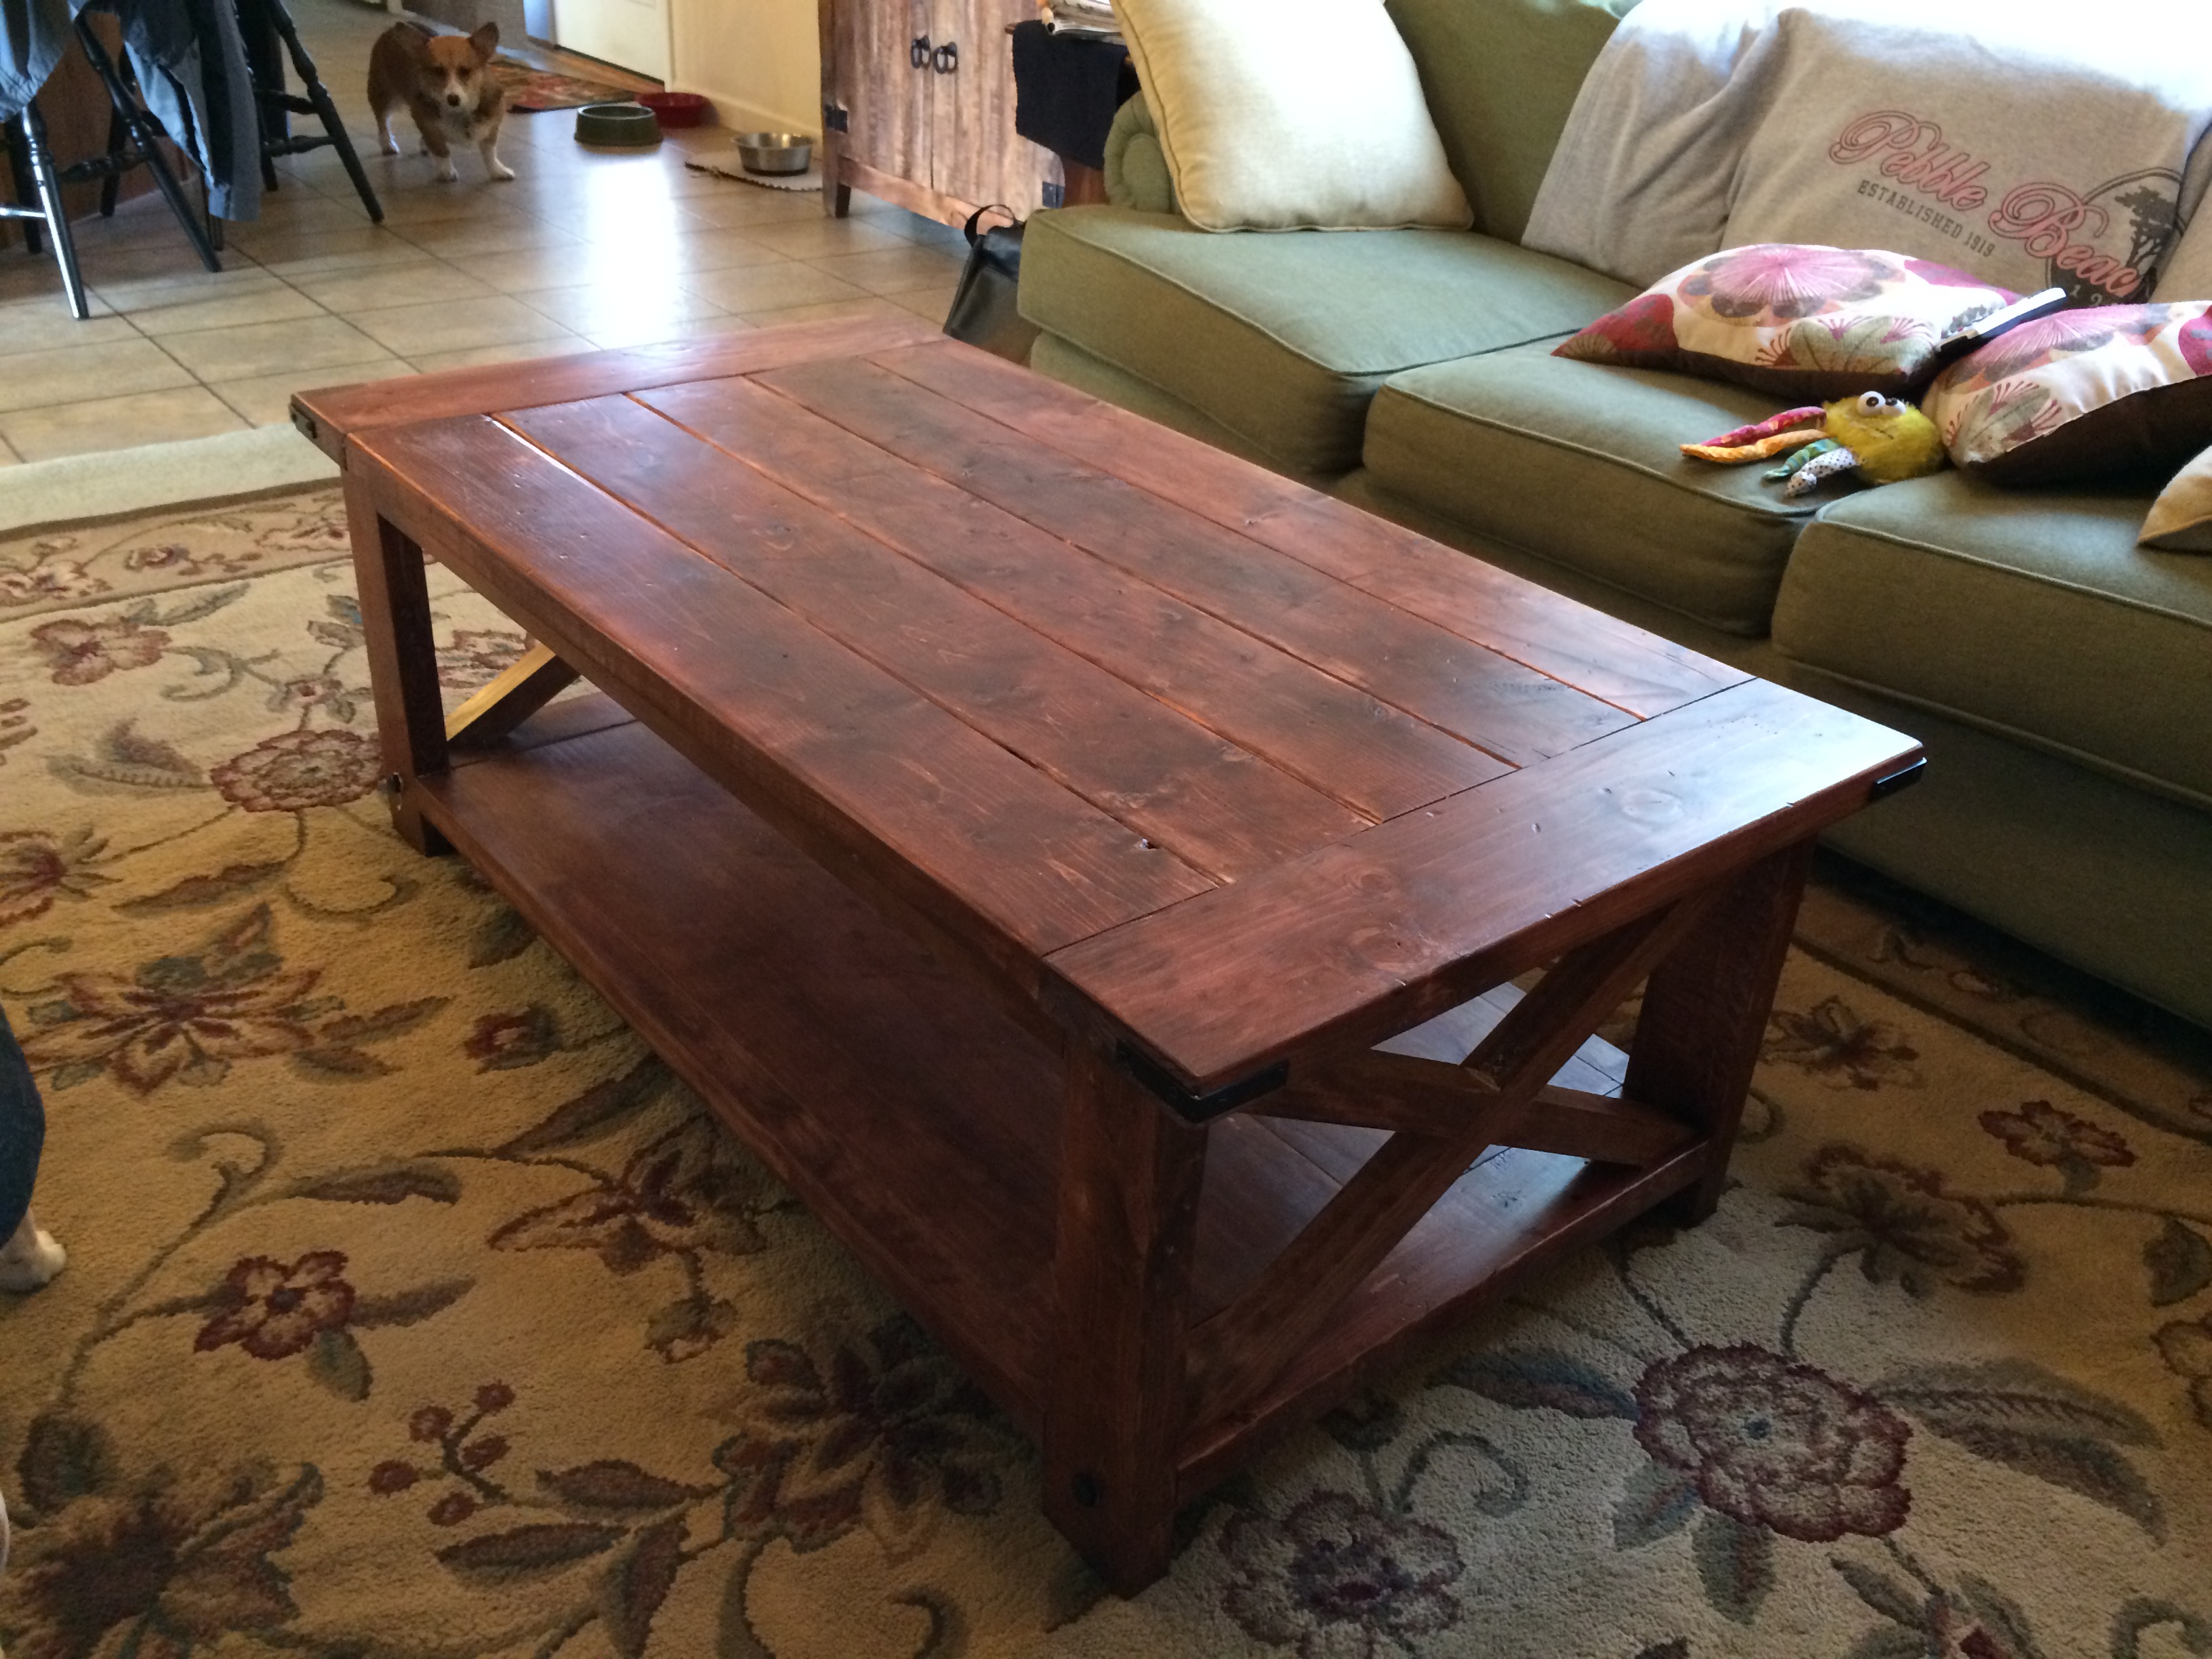
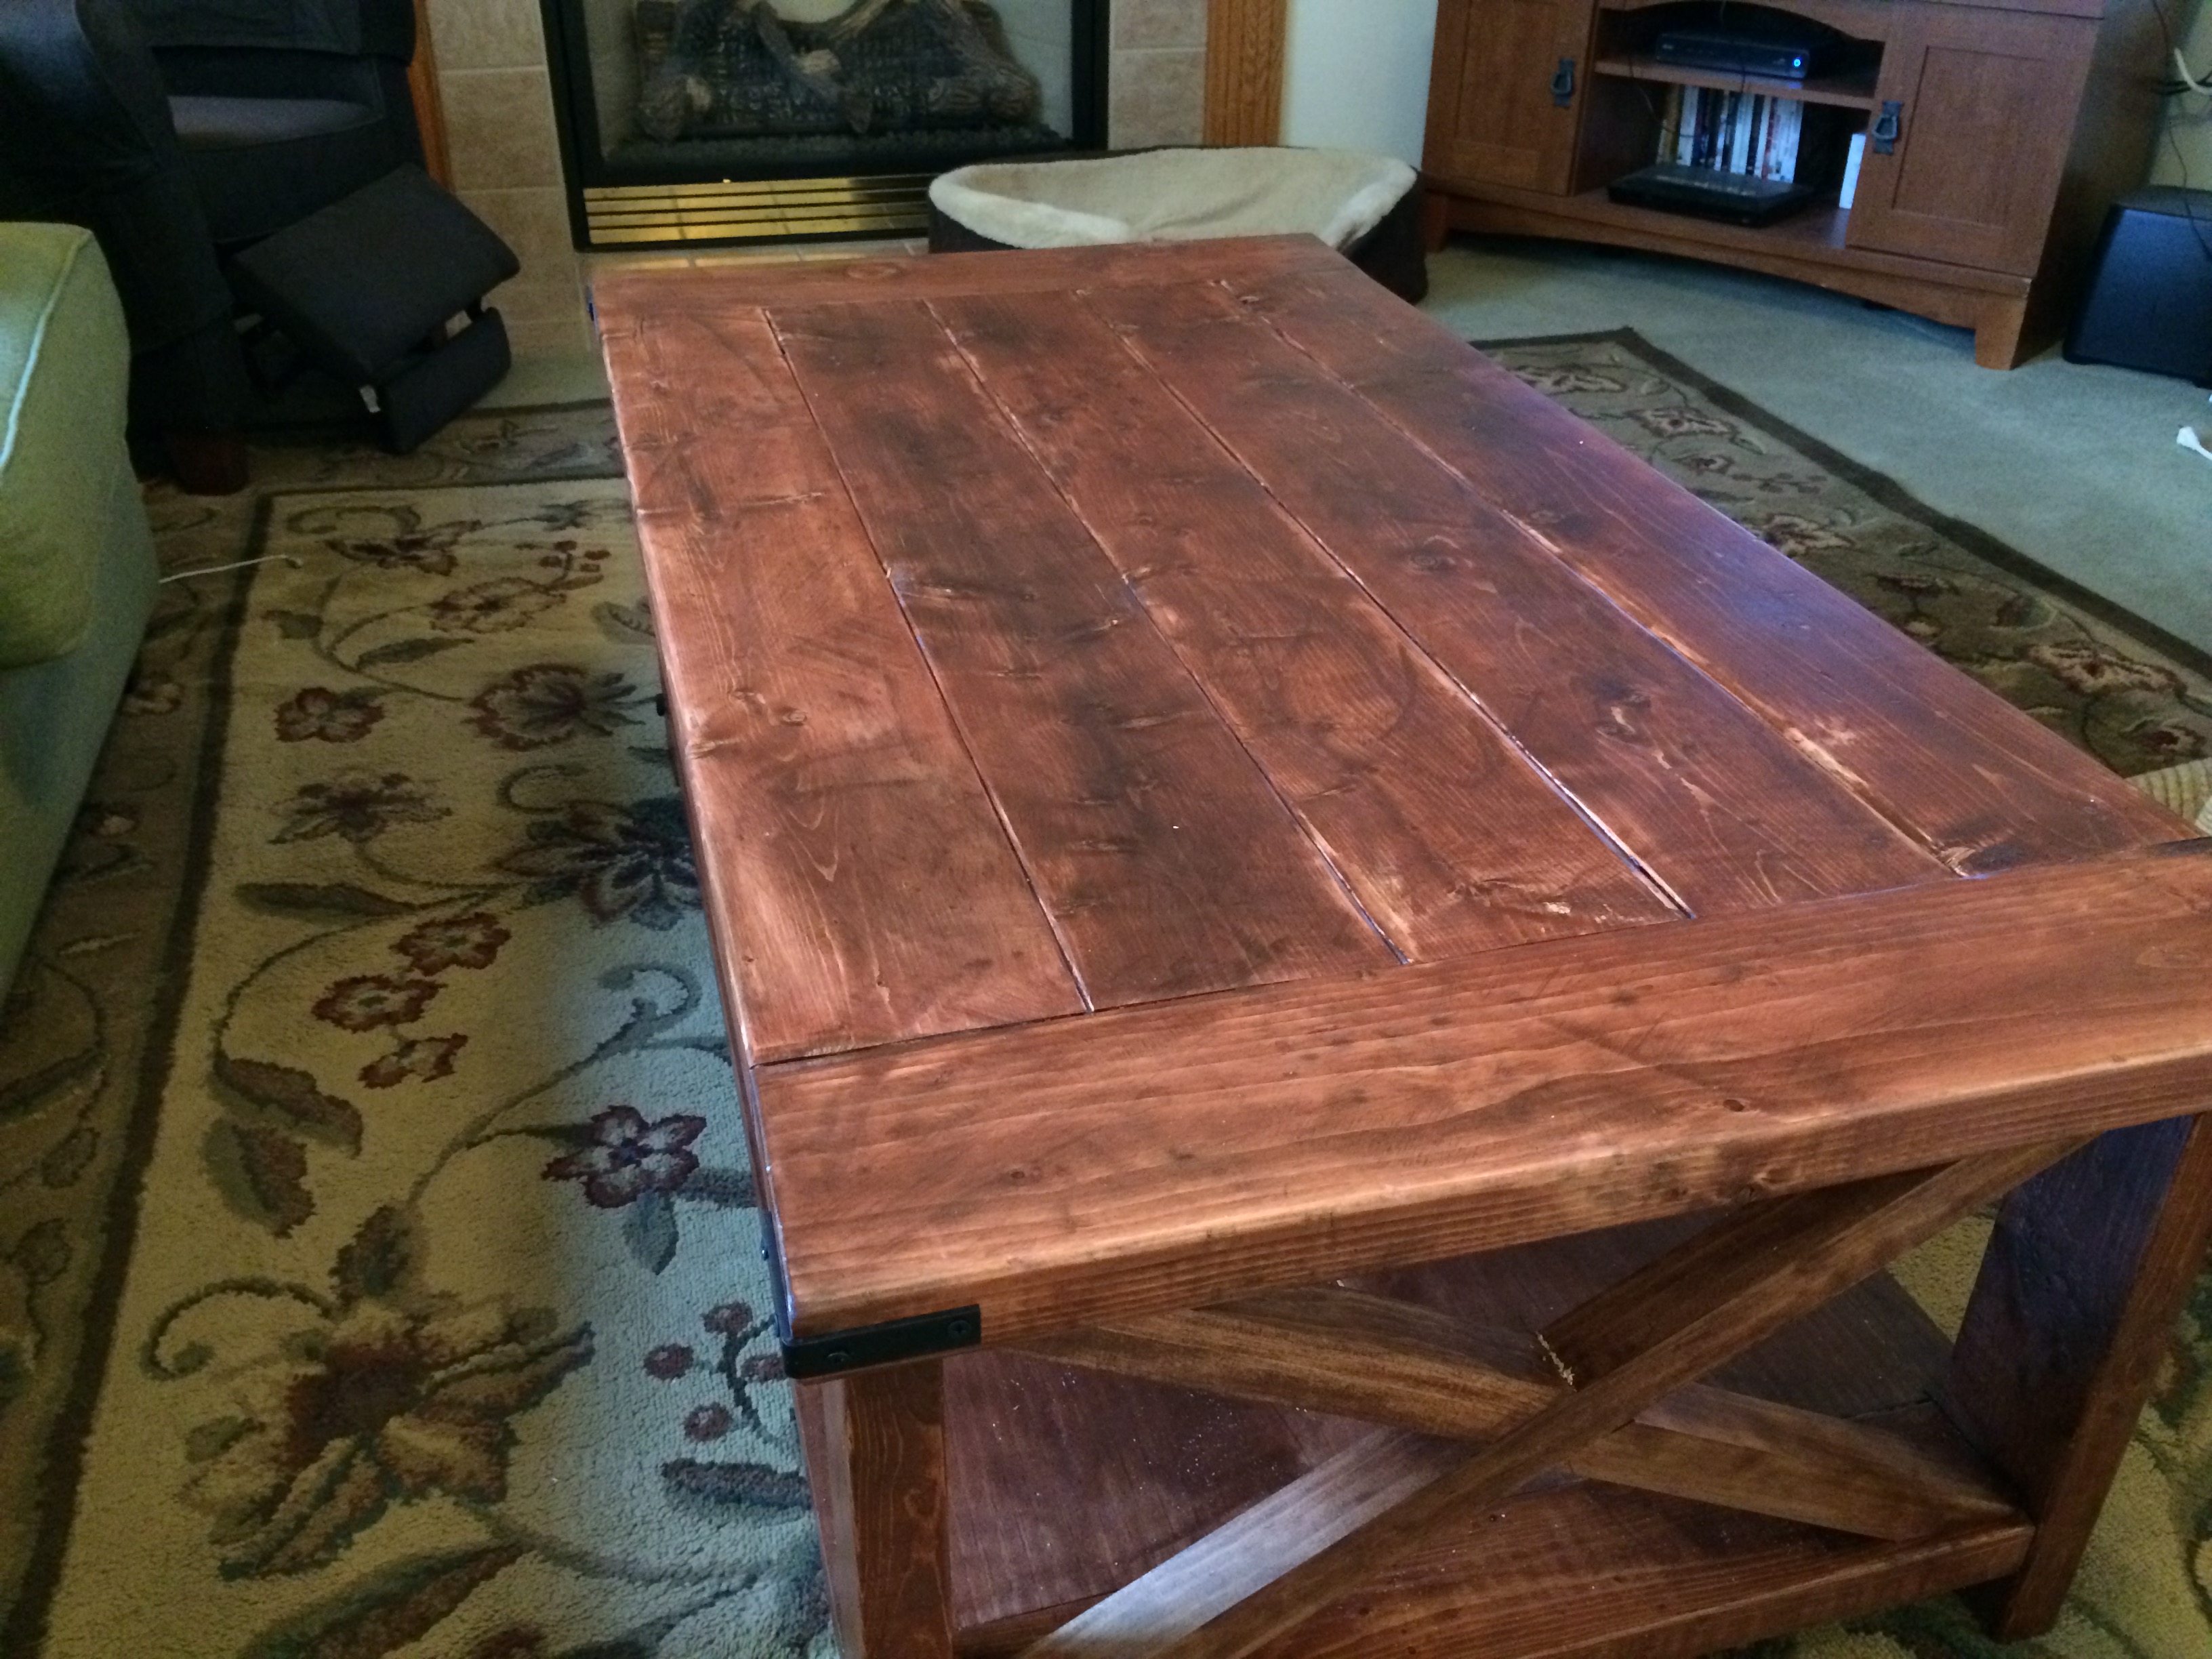
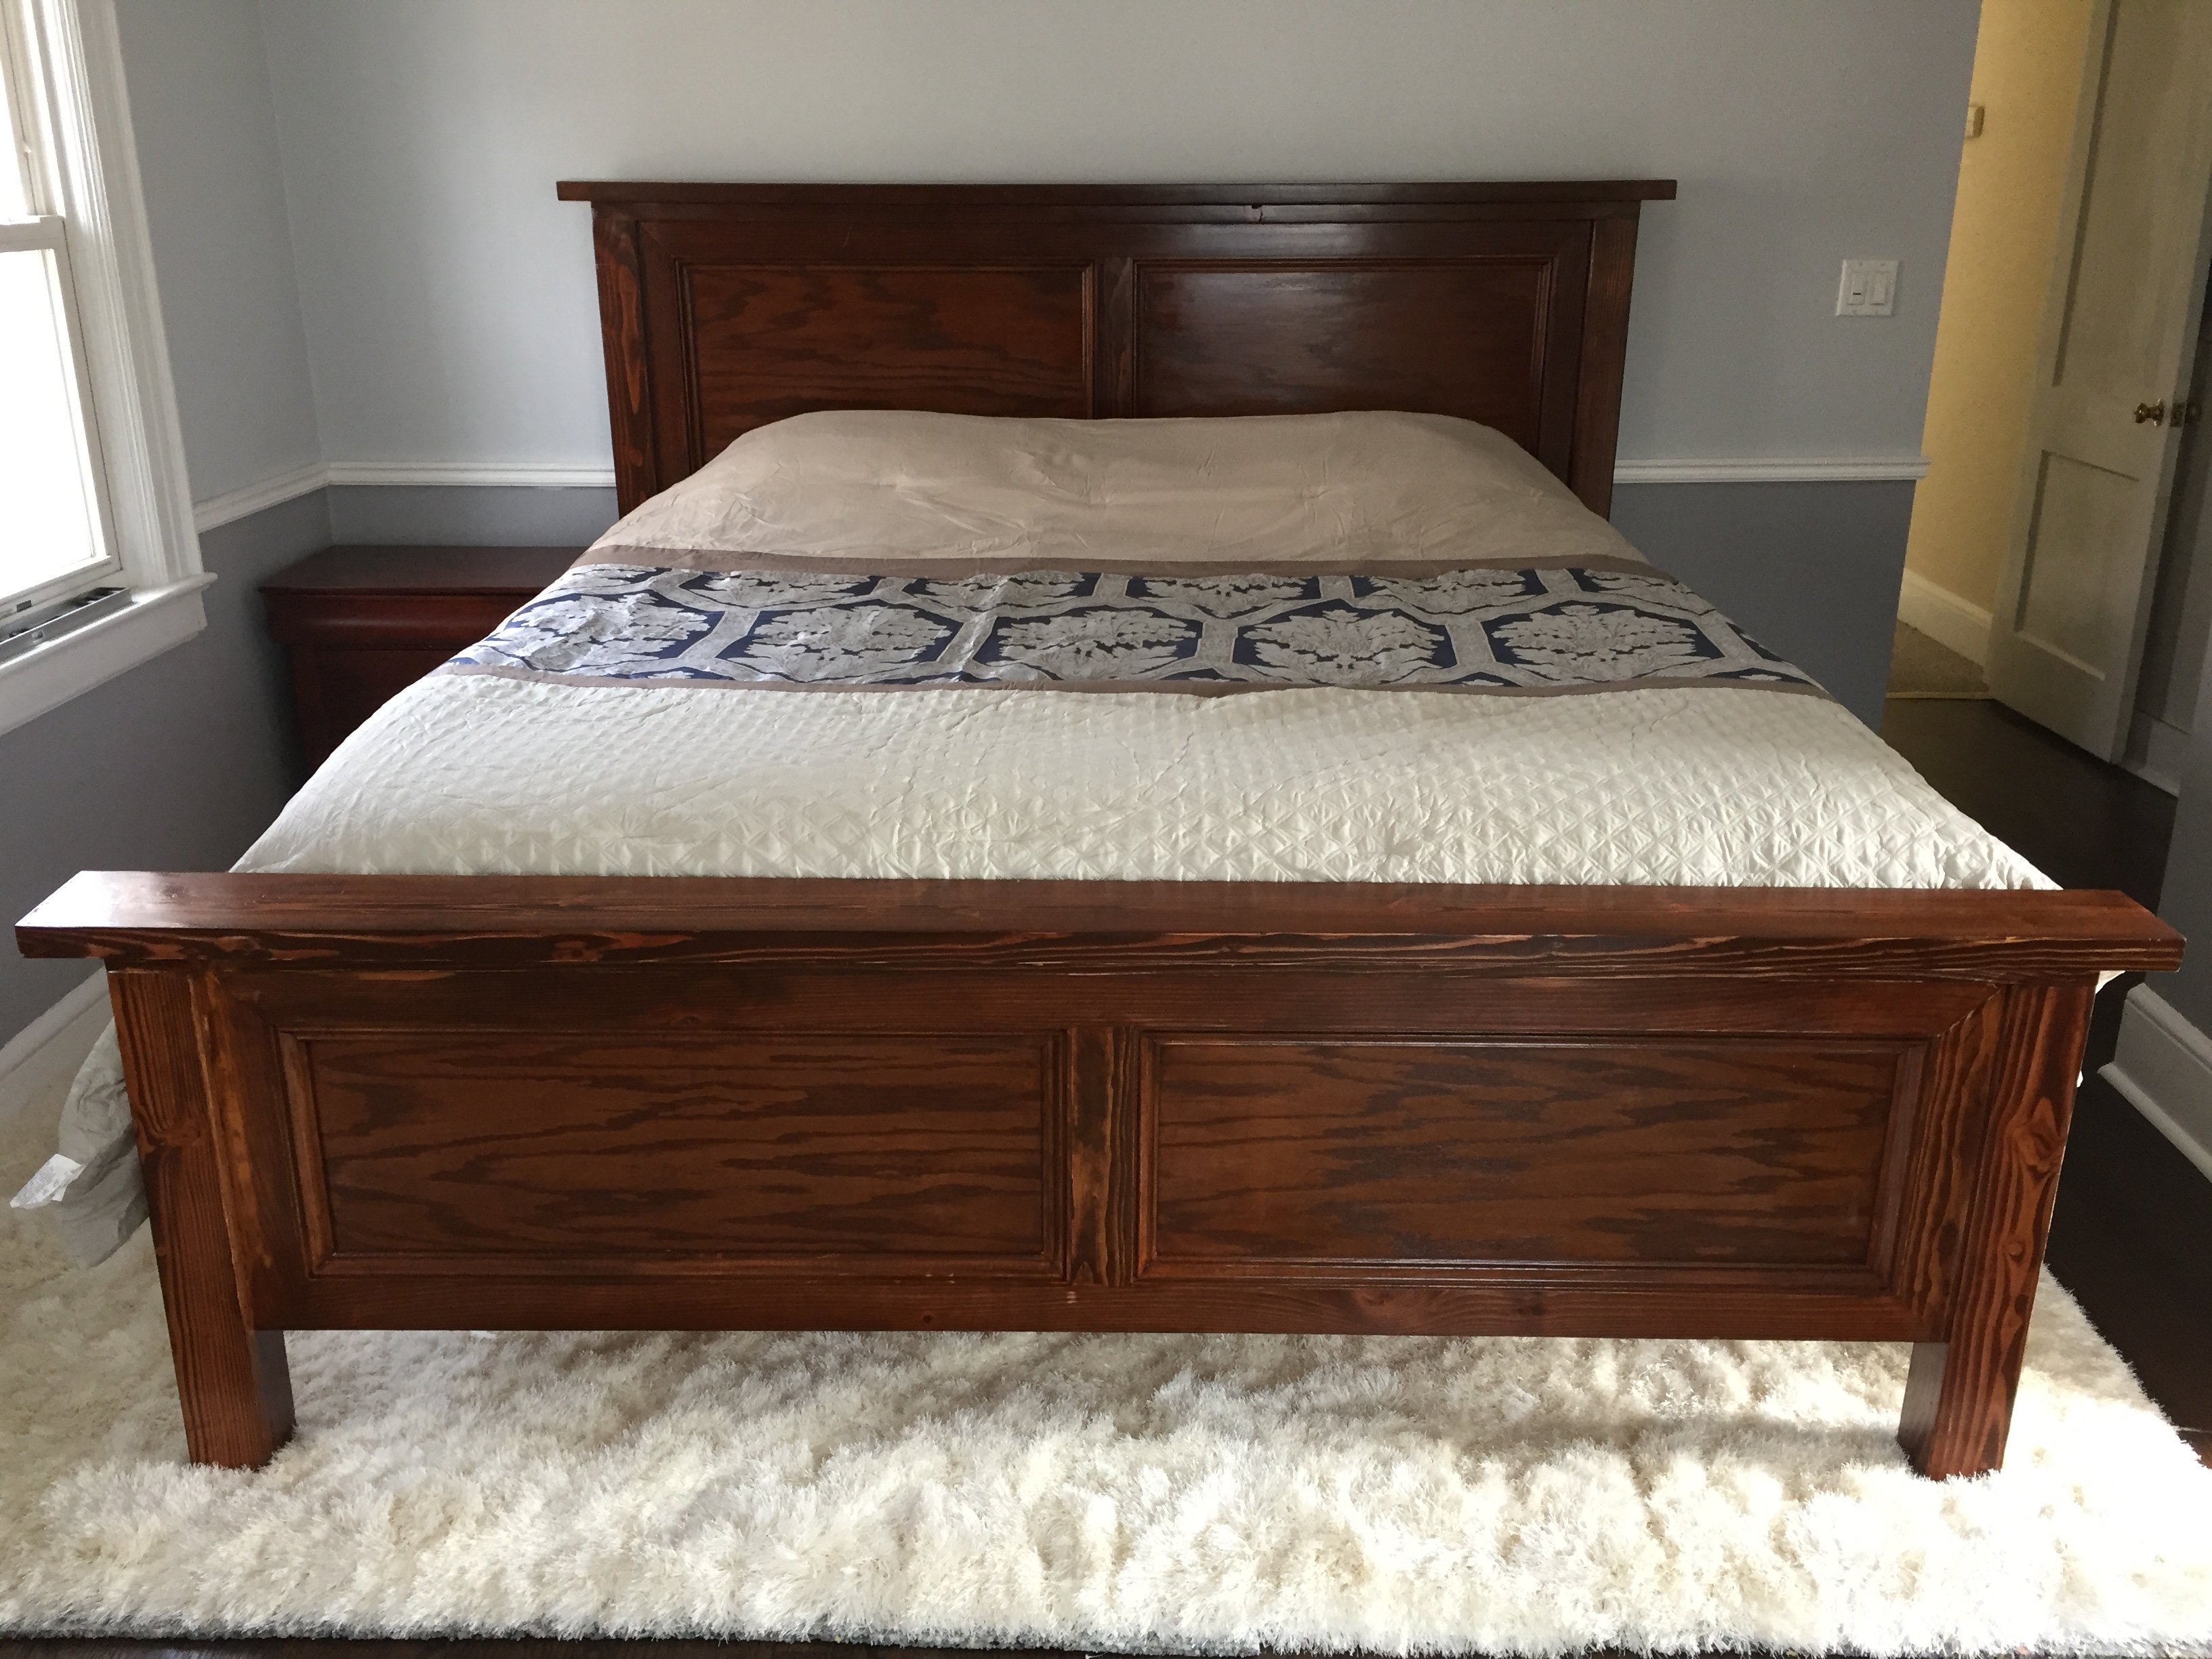
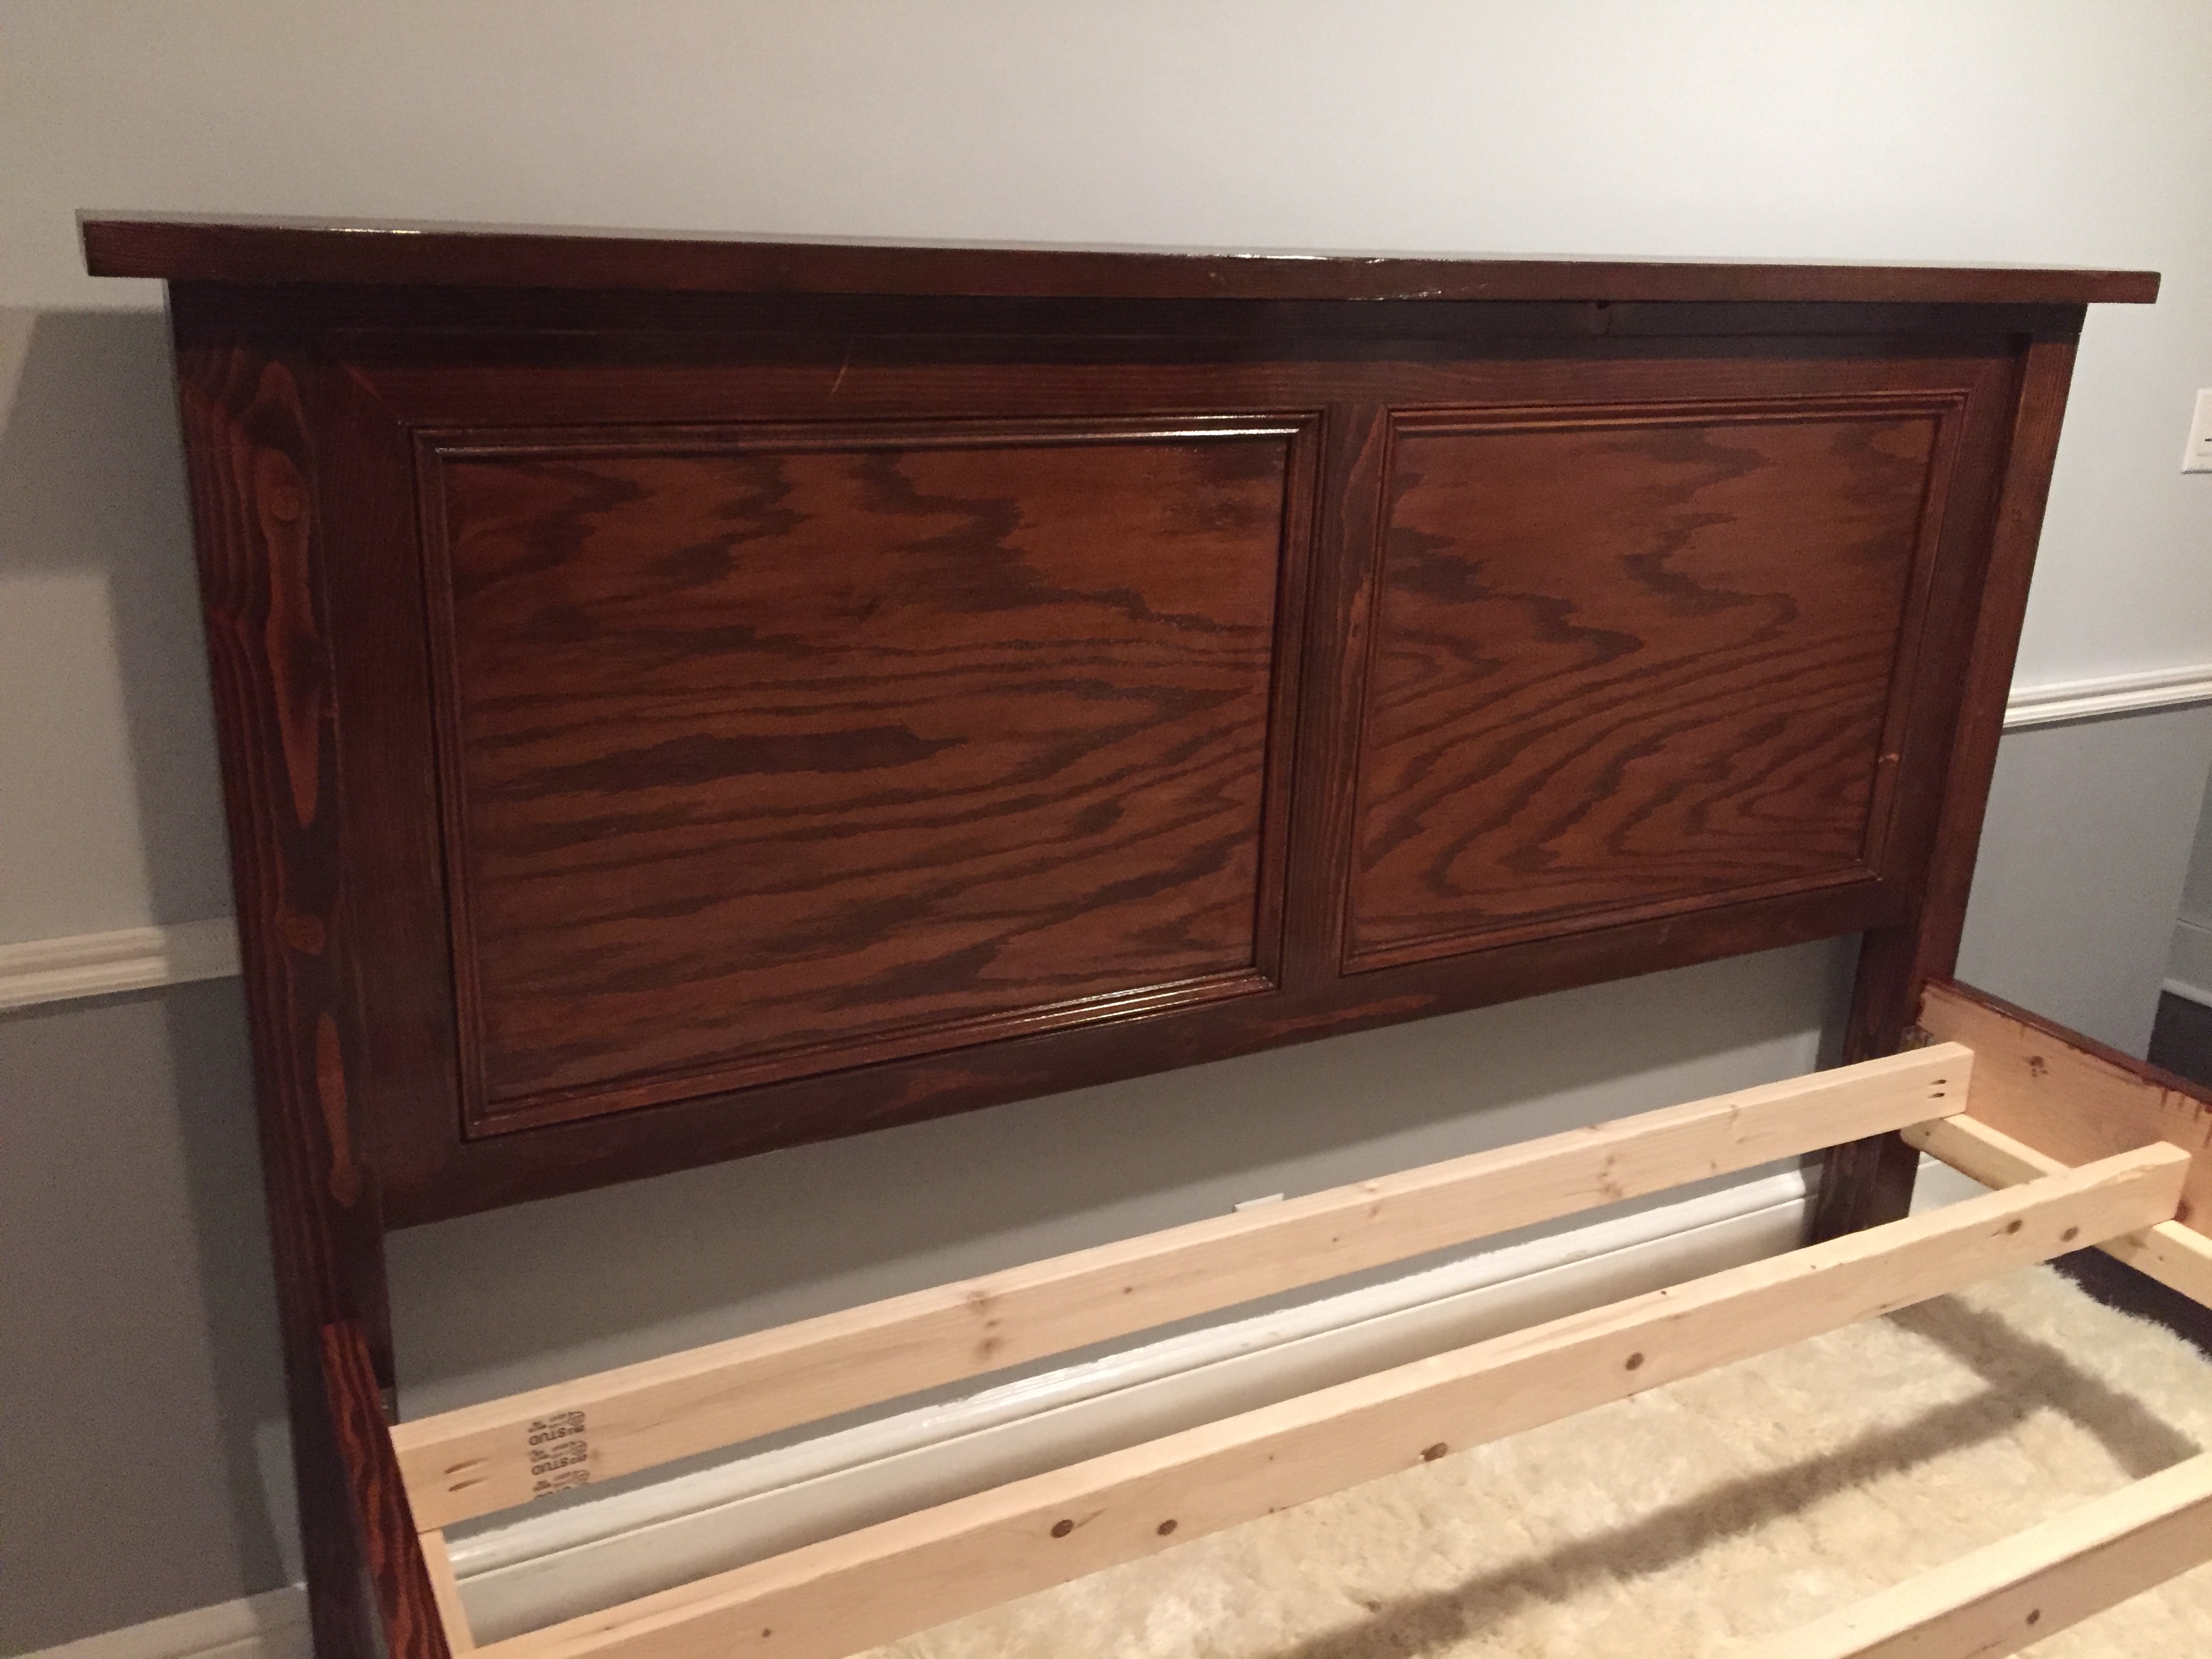
Big thanks to Ana for the plans and the rest of the community for ideas! This was my first major project, and I'm very happy with the way it turned out. This bed was based on the King Farmhouse plan. I wanted a look that was a little less rustic than the classic farmhouse style, so I substituted the boards for oak plywood and framed it out with some pine boards and cove molding. The pine boards are 1x3s. I topped the headboard and footboard with a 2x4 and then a 2x6 overhanging the 2x4 evenly on three sides (it's flush in the back).
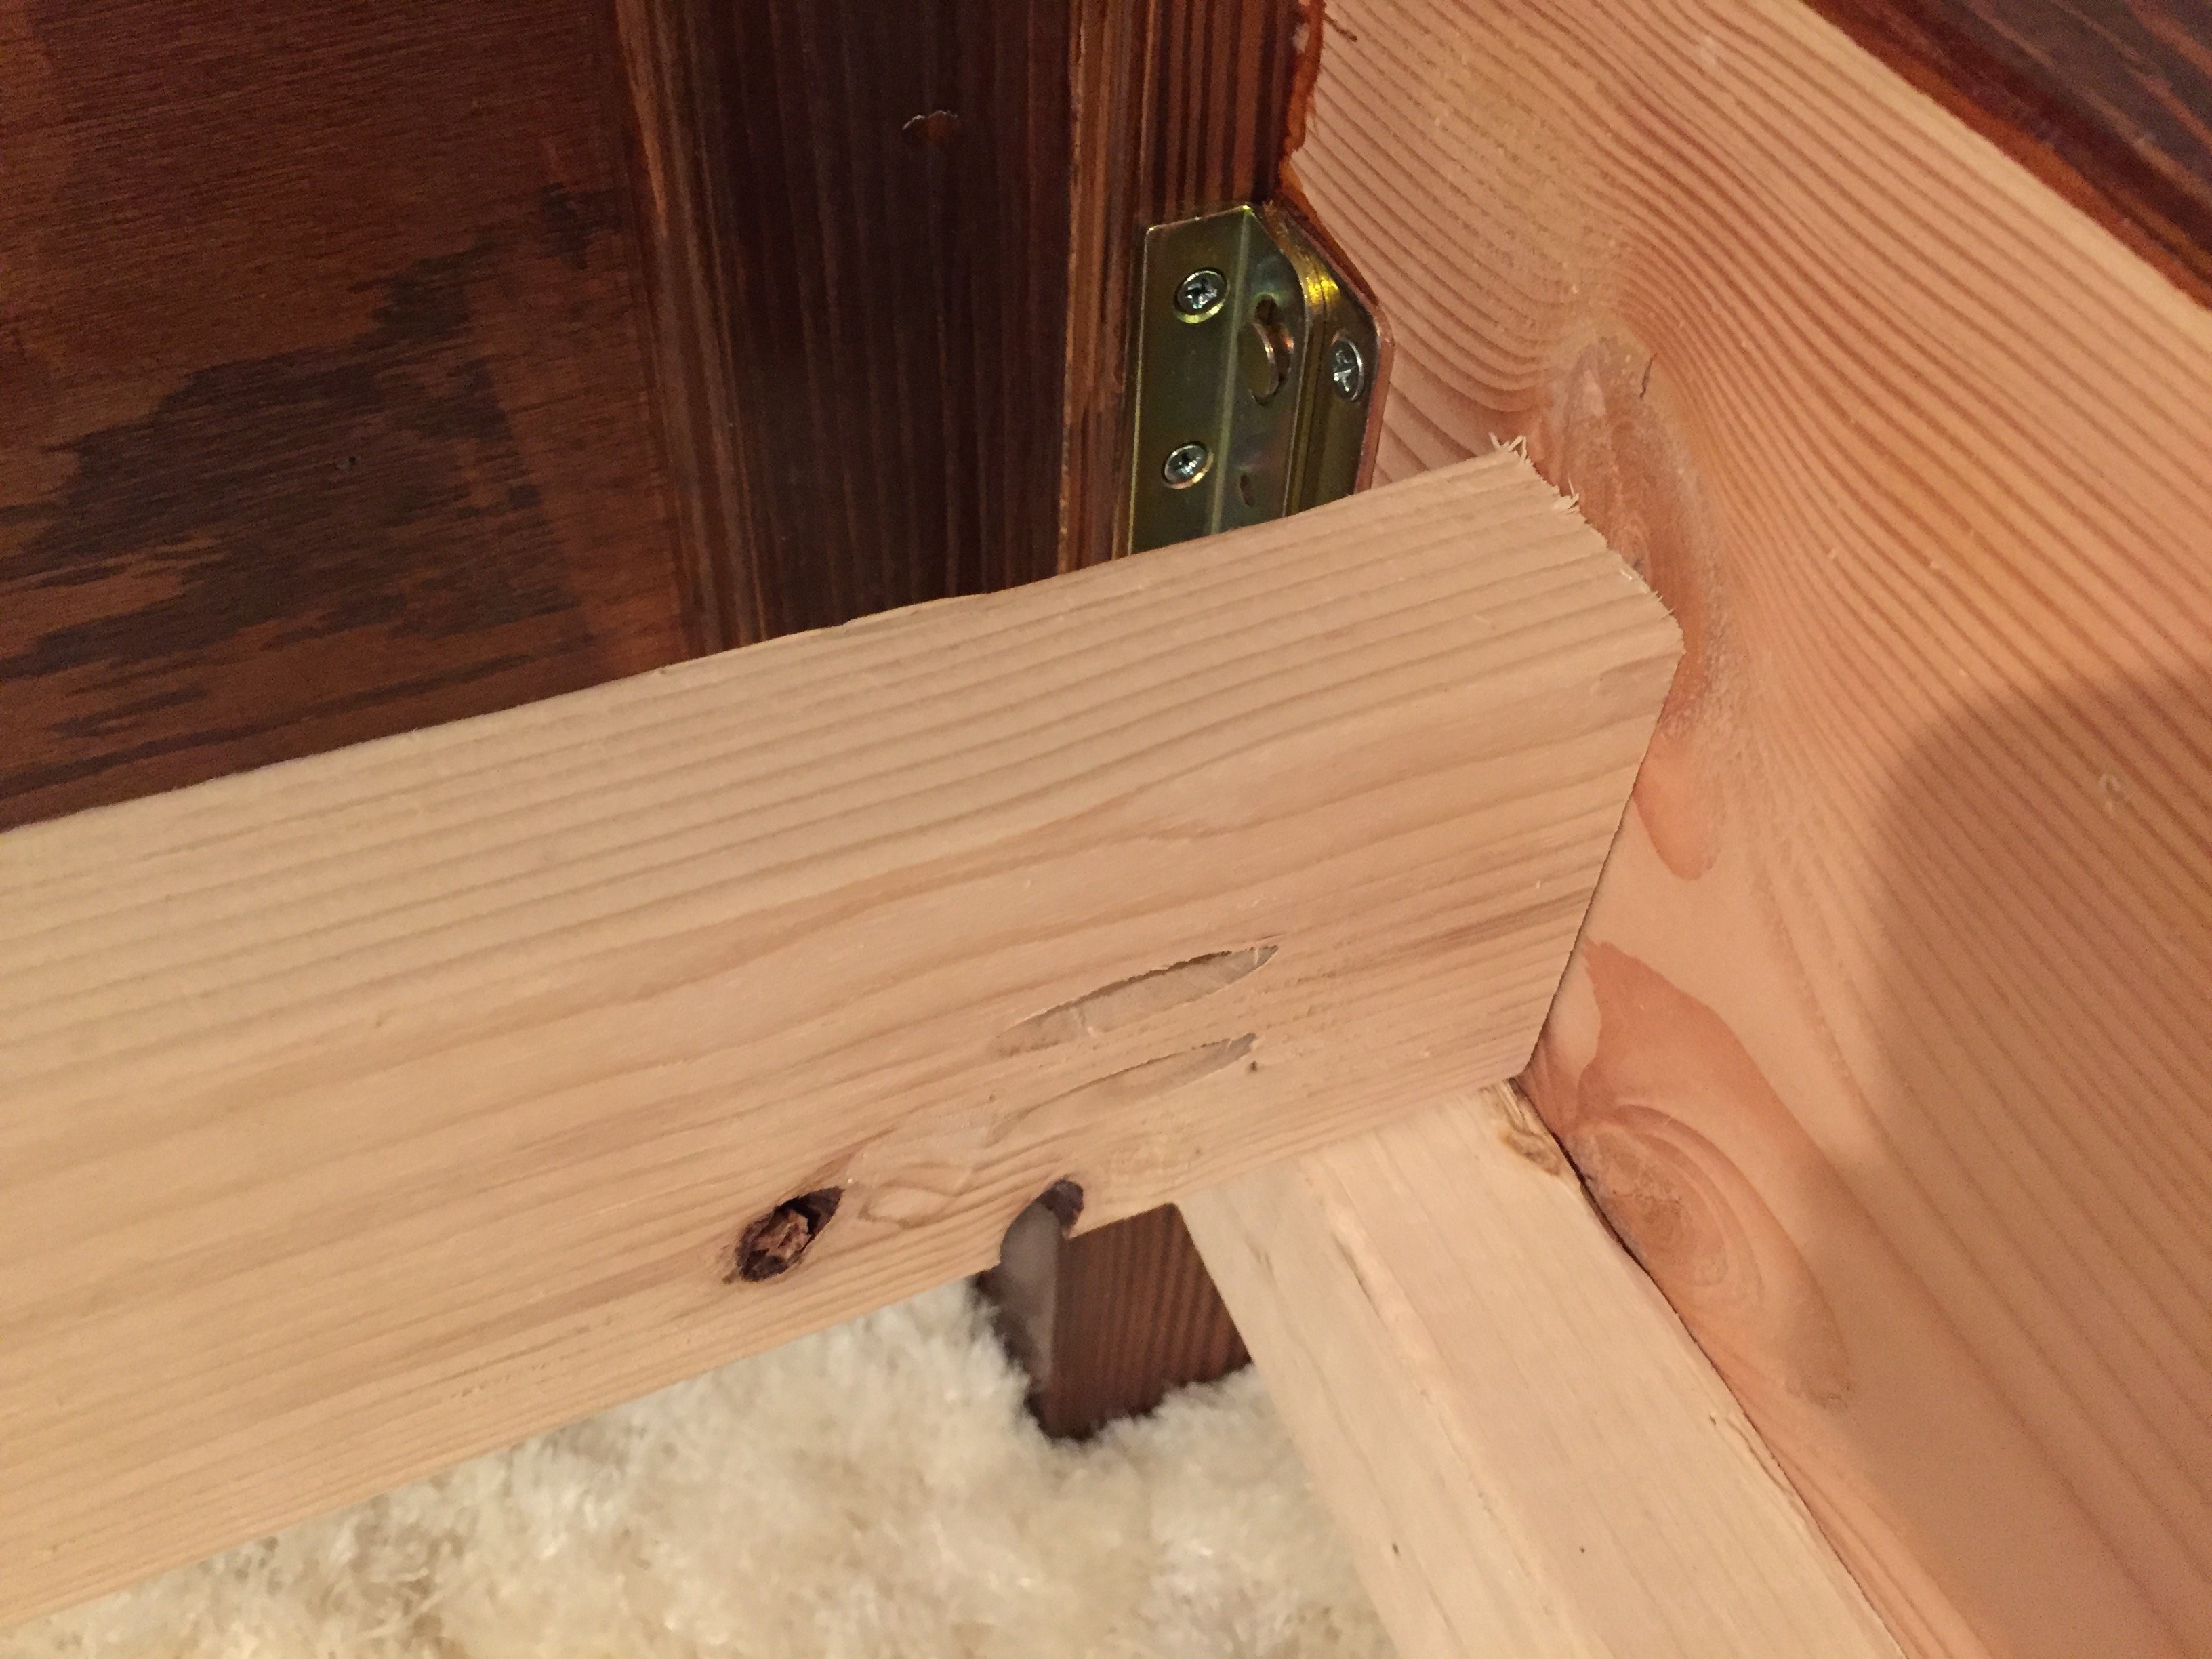
The posts are 4x4 cedar. I used lag bolts and glue to attach the posts and concealed the large holes with wood plugs cut from scrap sections of the 4x4.
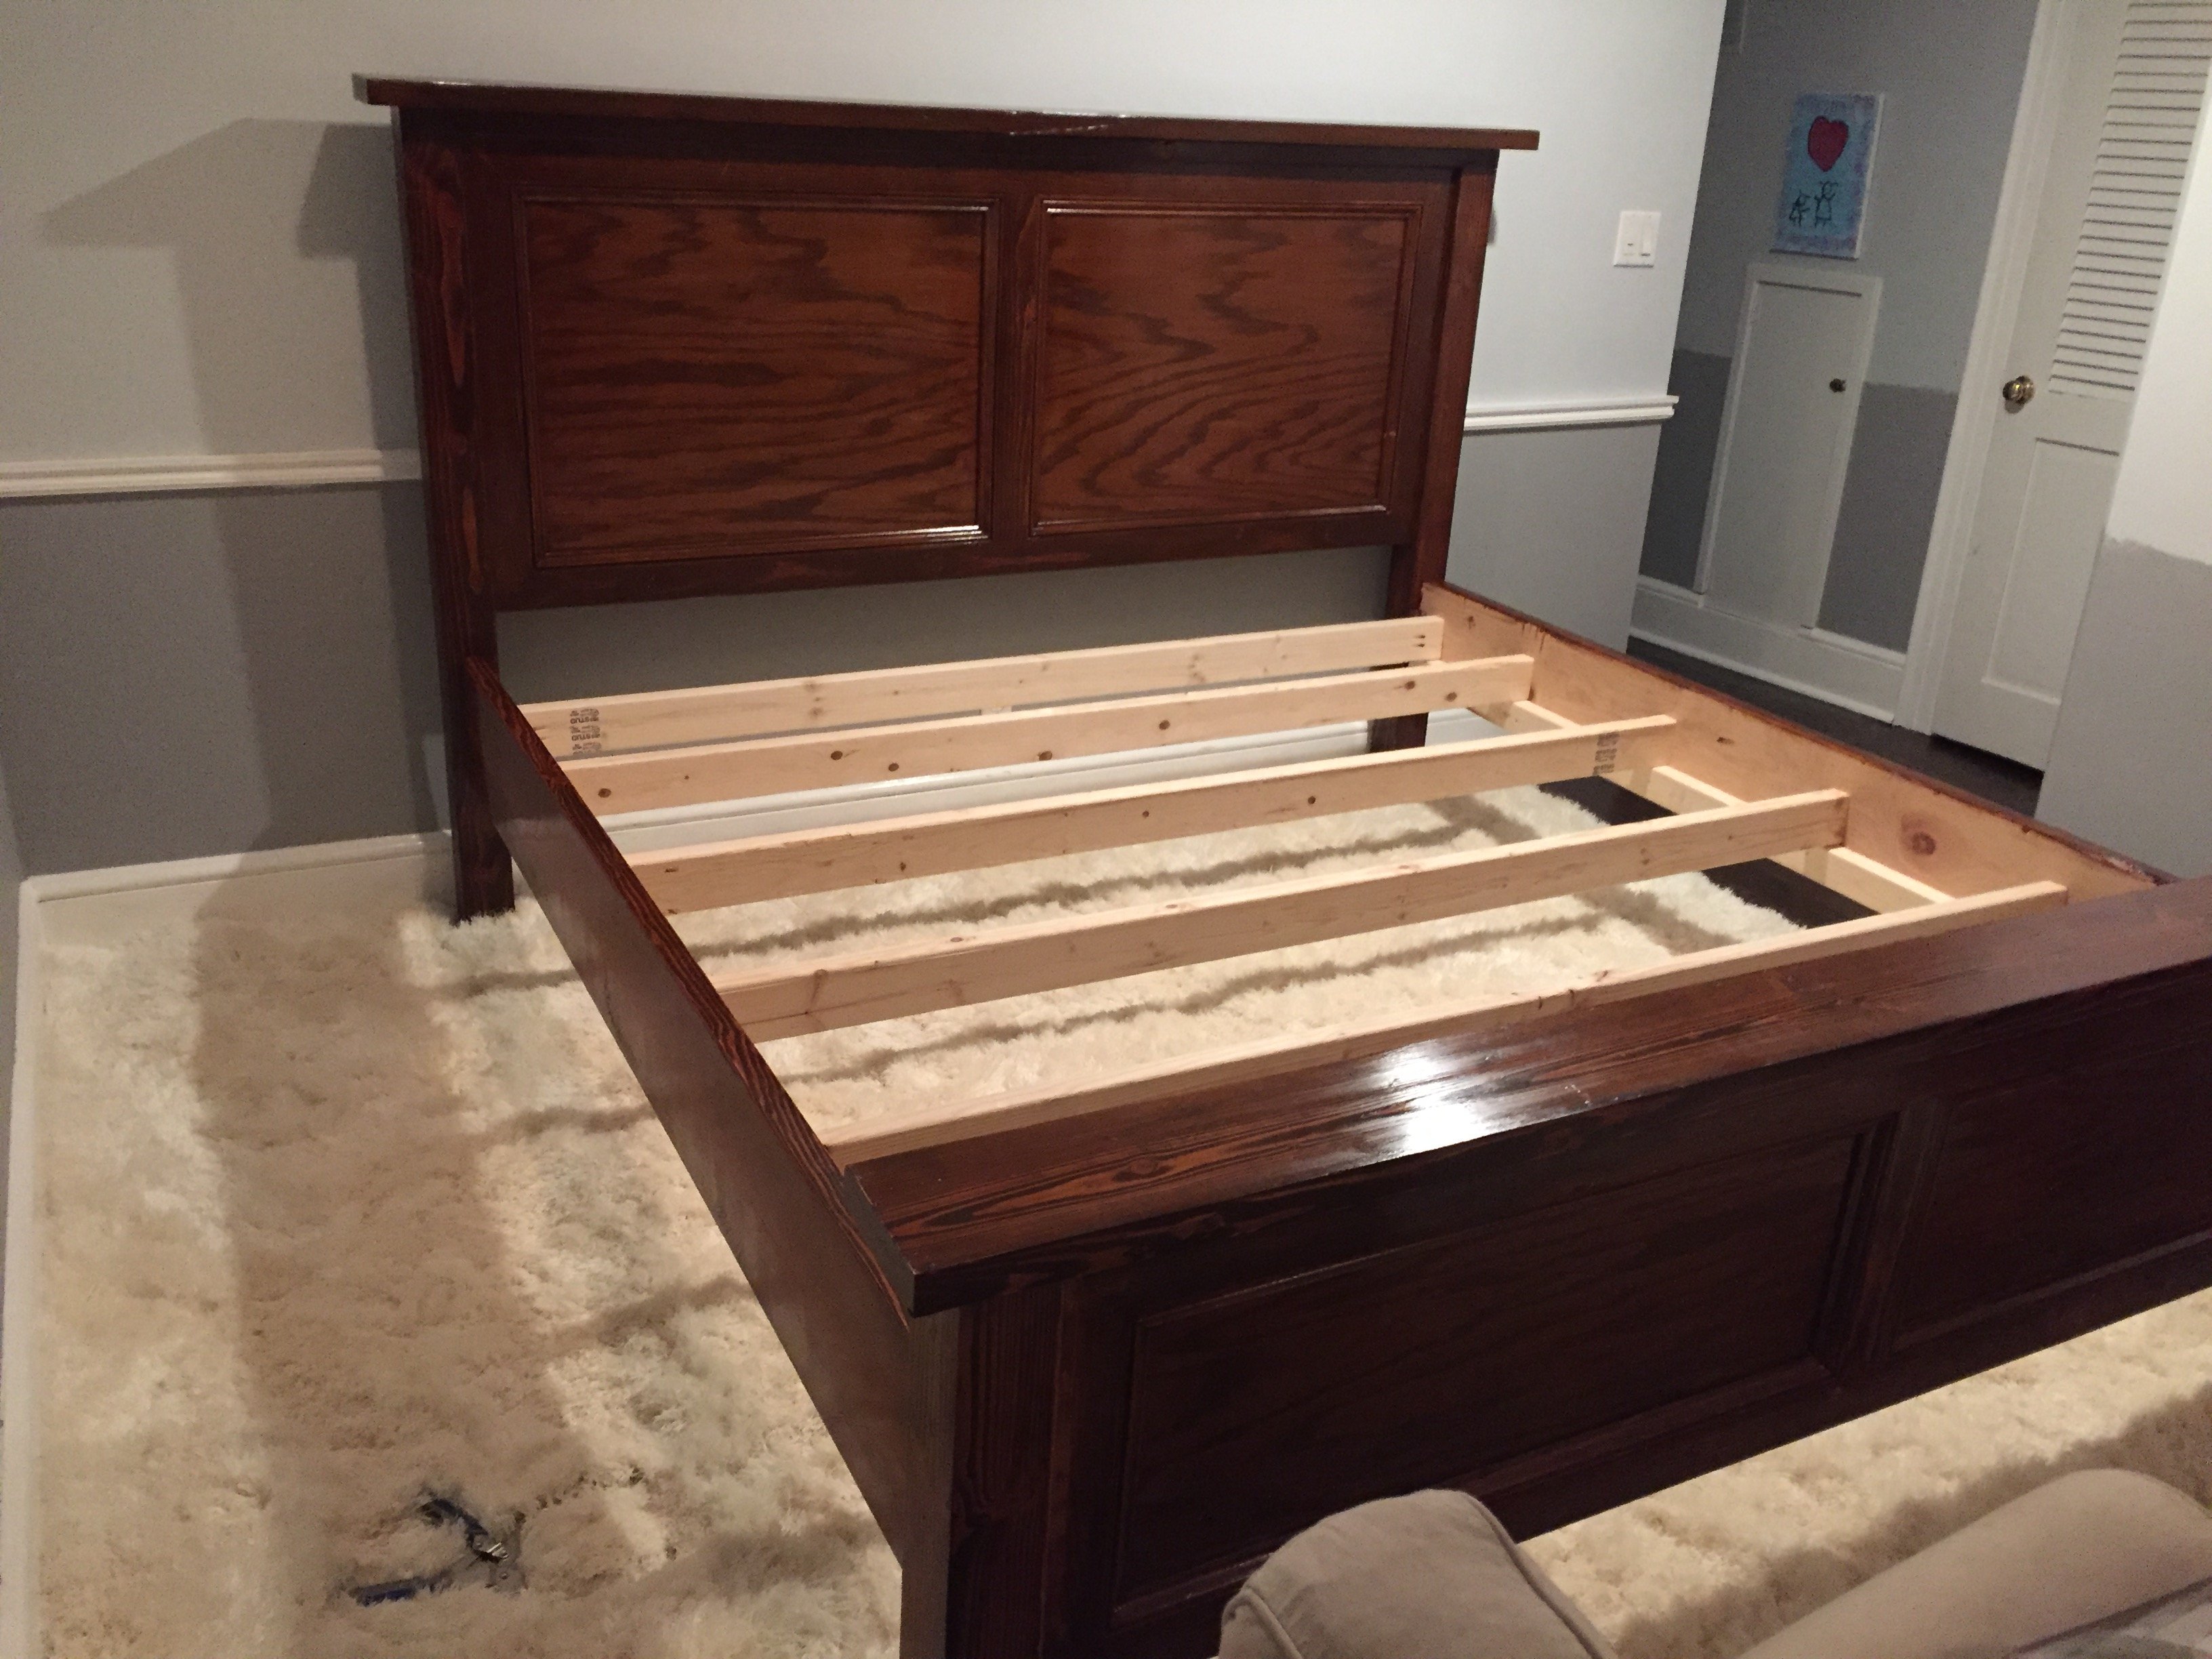
I wanted to be able to break the bed down, so I used Rockler no-mortise bed fittings to connect the side rails to the headboard and foot board. I highly recommend these fasteners. They are easy to use and seem very solid. I framed out the bed with 2x4s that I connected directly to the side rails with pocket hole joinery. (First time using the Kreg jig - love it!!).
Thanks again!!
Estimated Time Investment
Weekend Project (10-20 Hours)
Finish Used
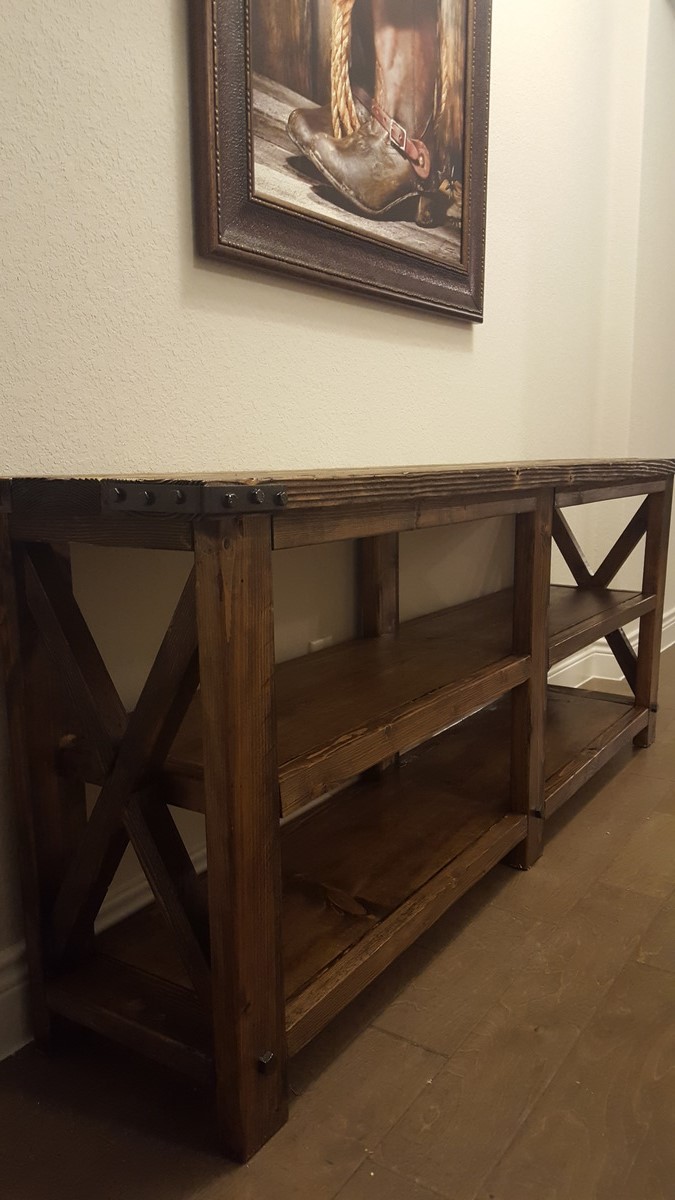
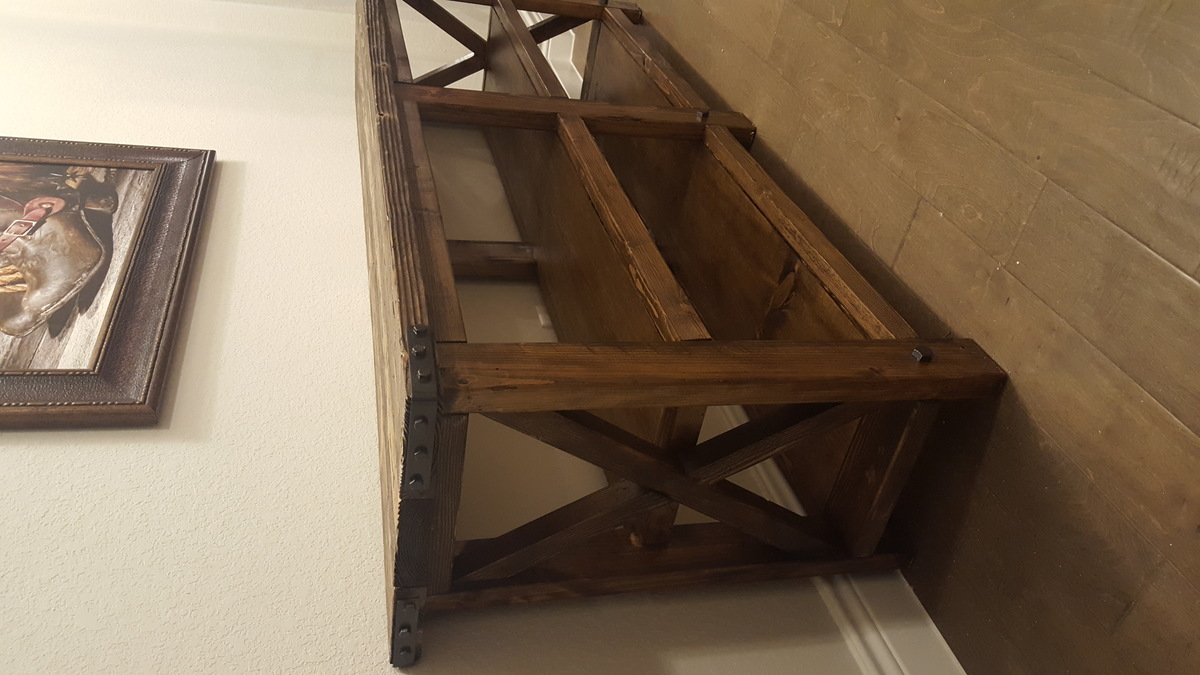
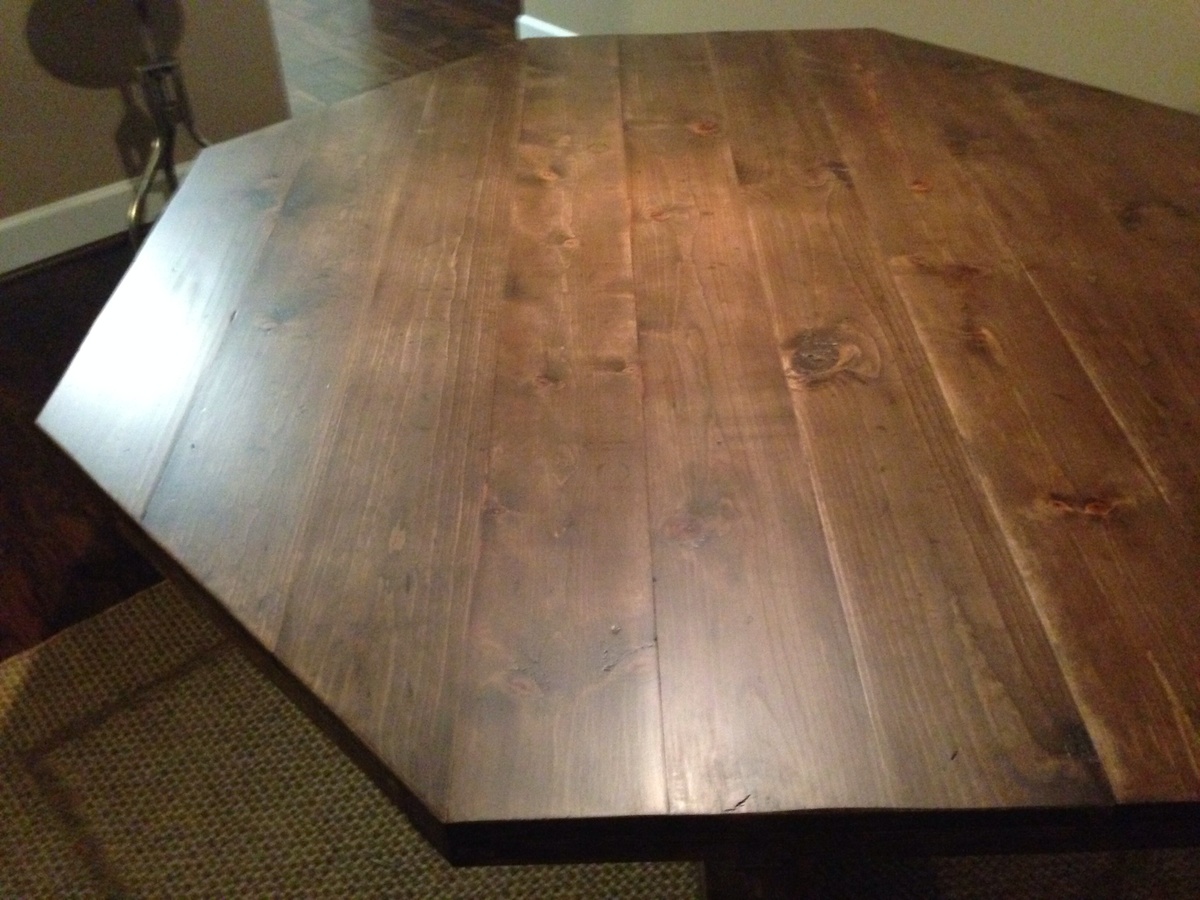
I sanded everything down to 150 grit, applied one coat of Minwax Hickory Gel Stain and then one coat of Minwax Sedona Red Wood Finish stain. I didn't use wood conditioner because I couldn't get the color dark enough. I don't think the final product was too "blotchy" without the conditioner, but your mileage may vary depending on materials.
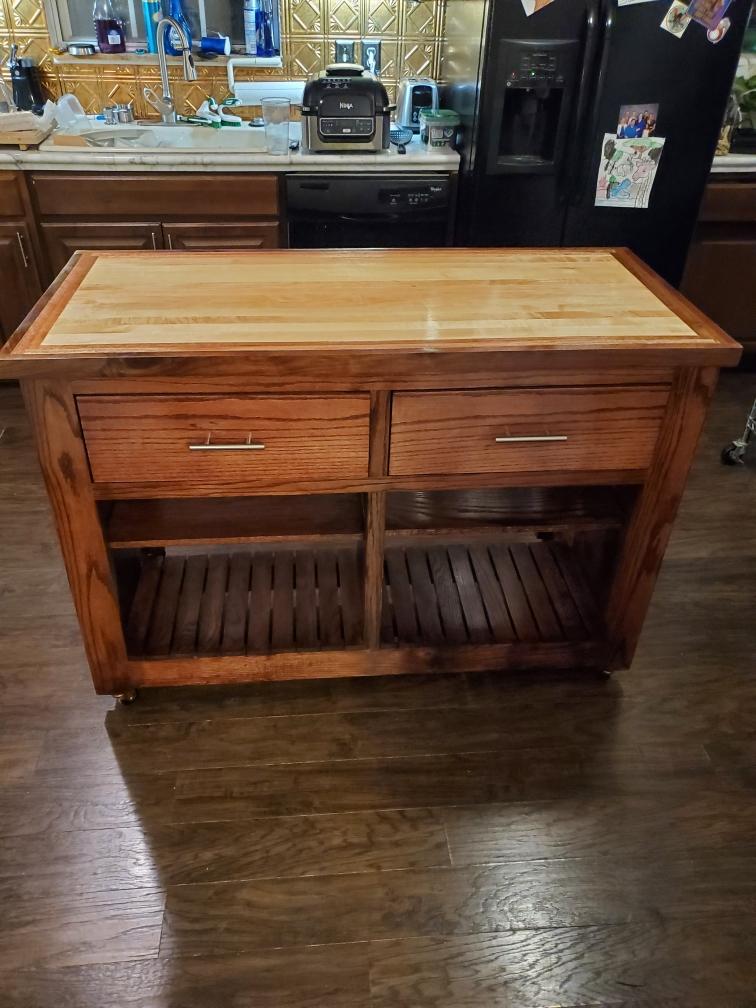
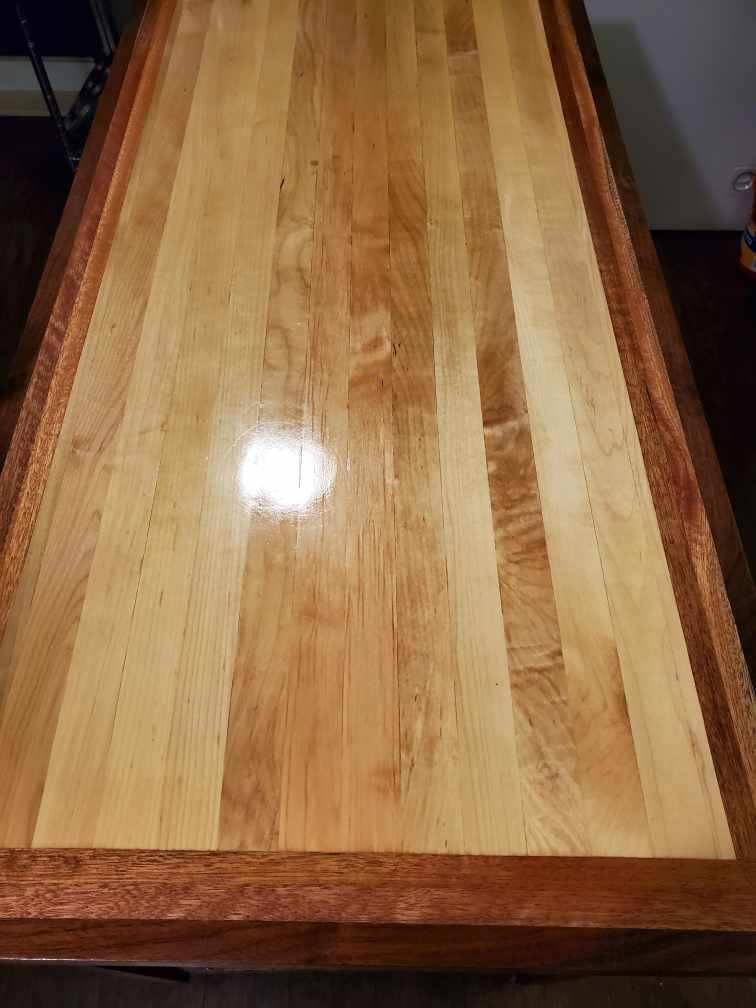
I used shellac for the finish, and I'm happy I did. There was definitely a learning curve (don't go back and try to fix blemishes and missing spots, as it dries too quickly-just add another coat), but it's a forgiving and beautiful finish. I did three "sessions" with 2-3 coats per session, sanding by hand with 220 grit paper after the first and second session. I switched back and forth between brushing the shellac and applying it with a rag. I didn't come away with a strong preference either way. I was happy with the final result without rubbing it out or polishing.
Recommended Skill Level
Intermediate