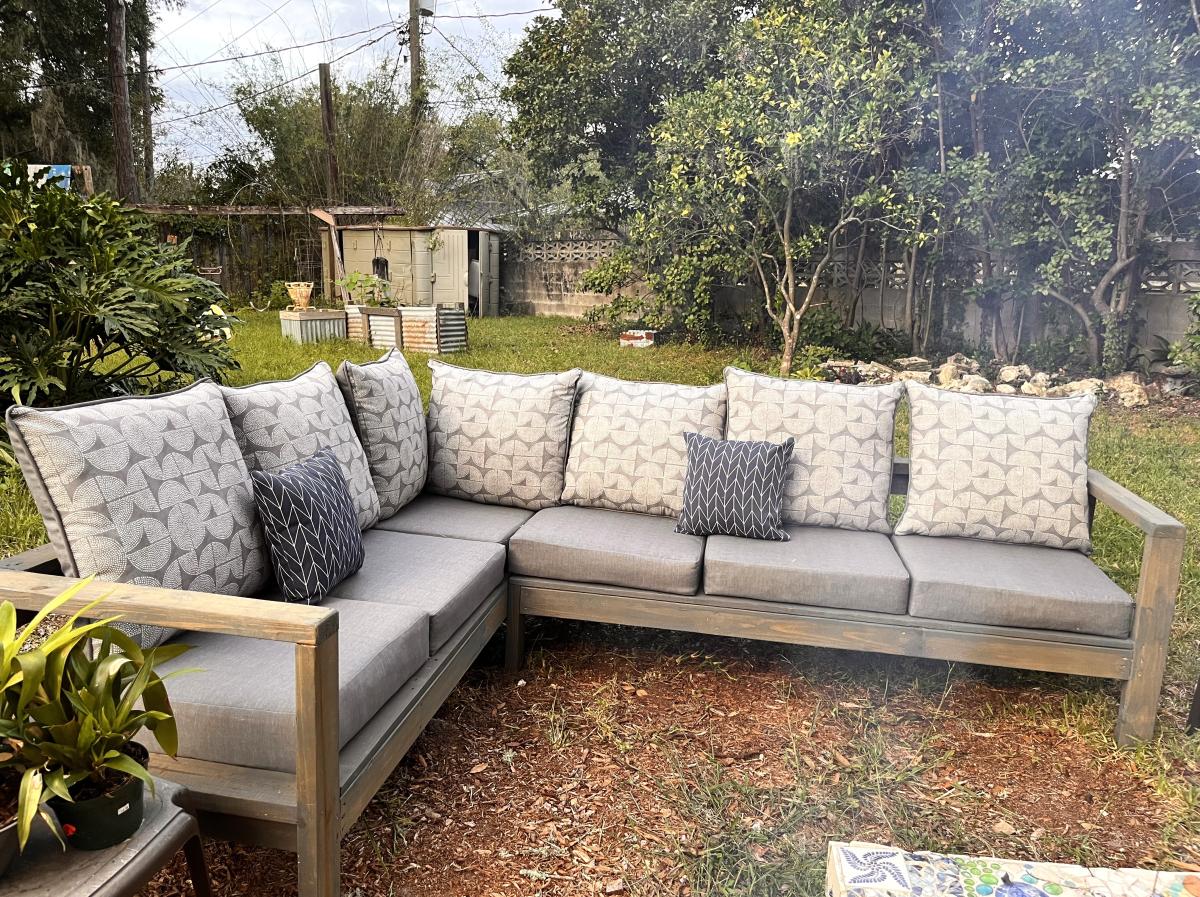
American Girl's Modern Sofa

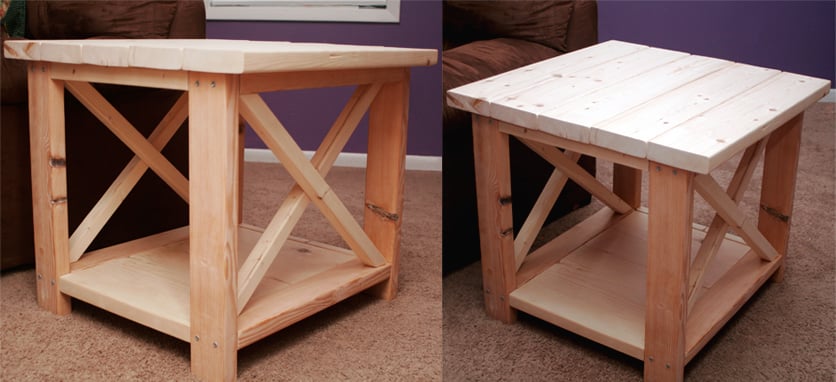
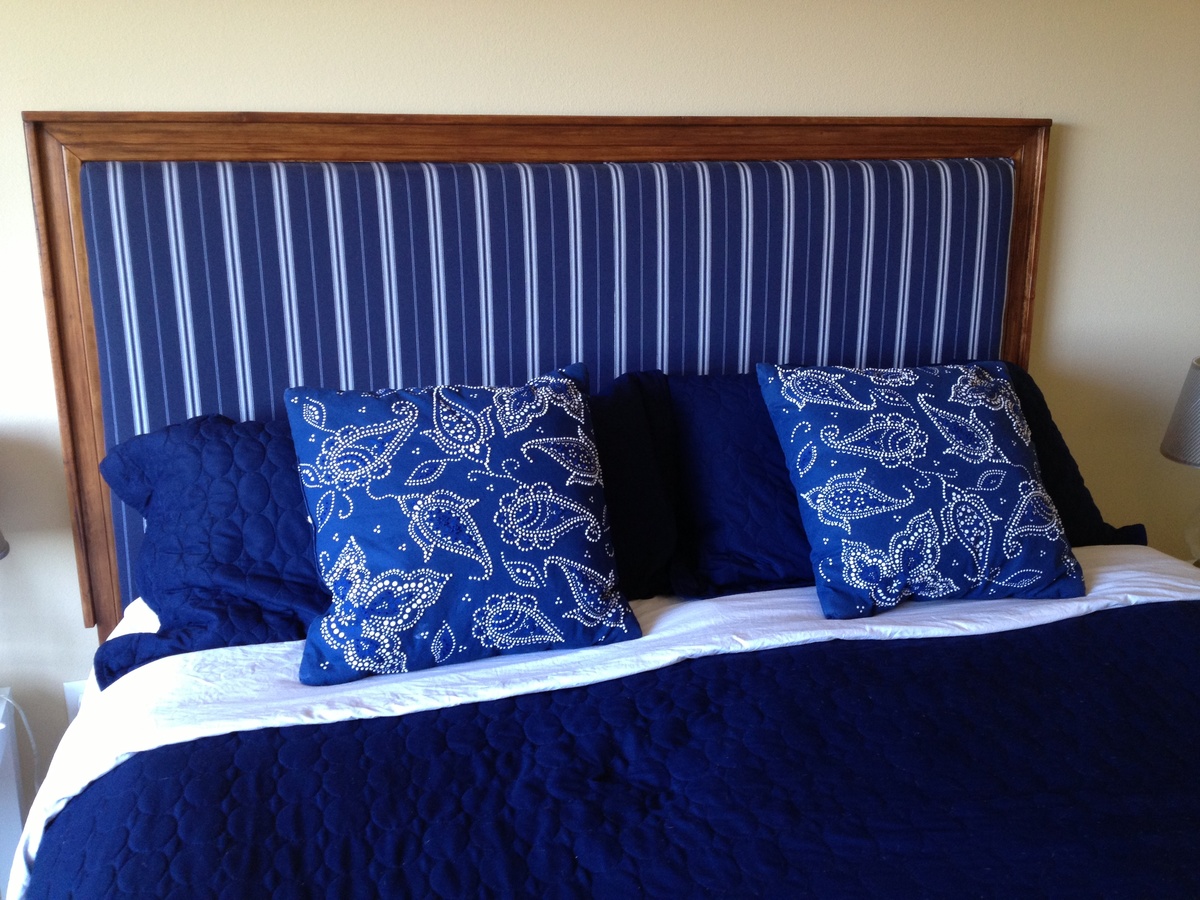
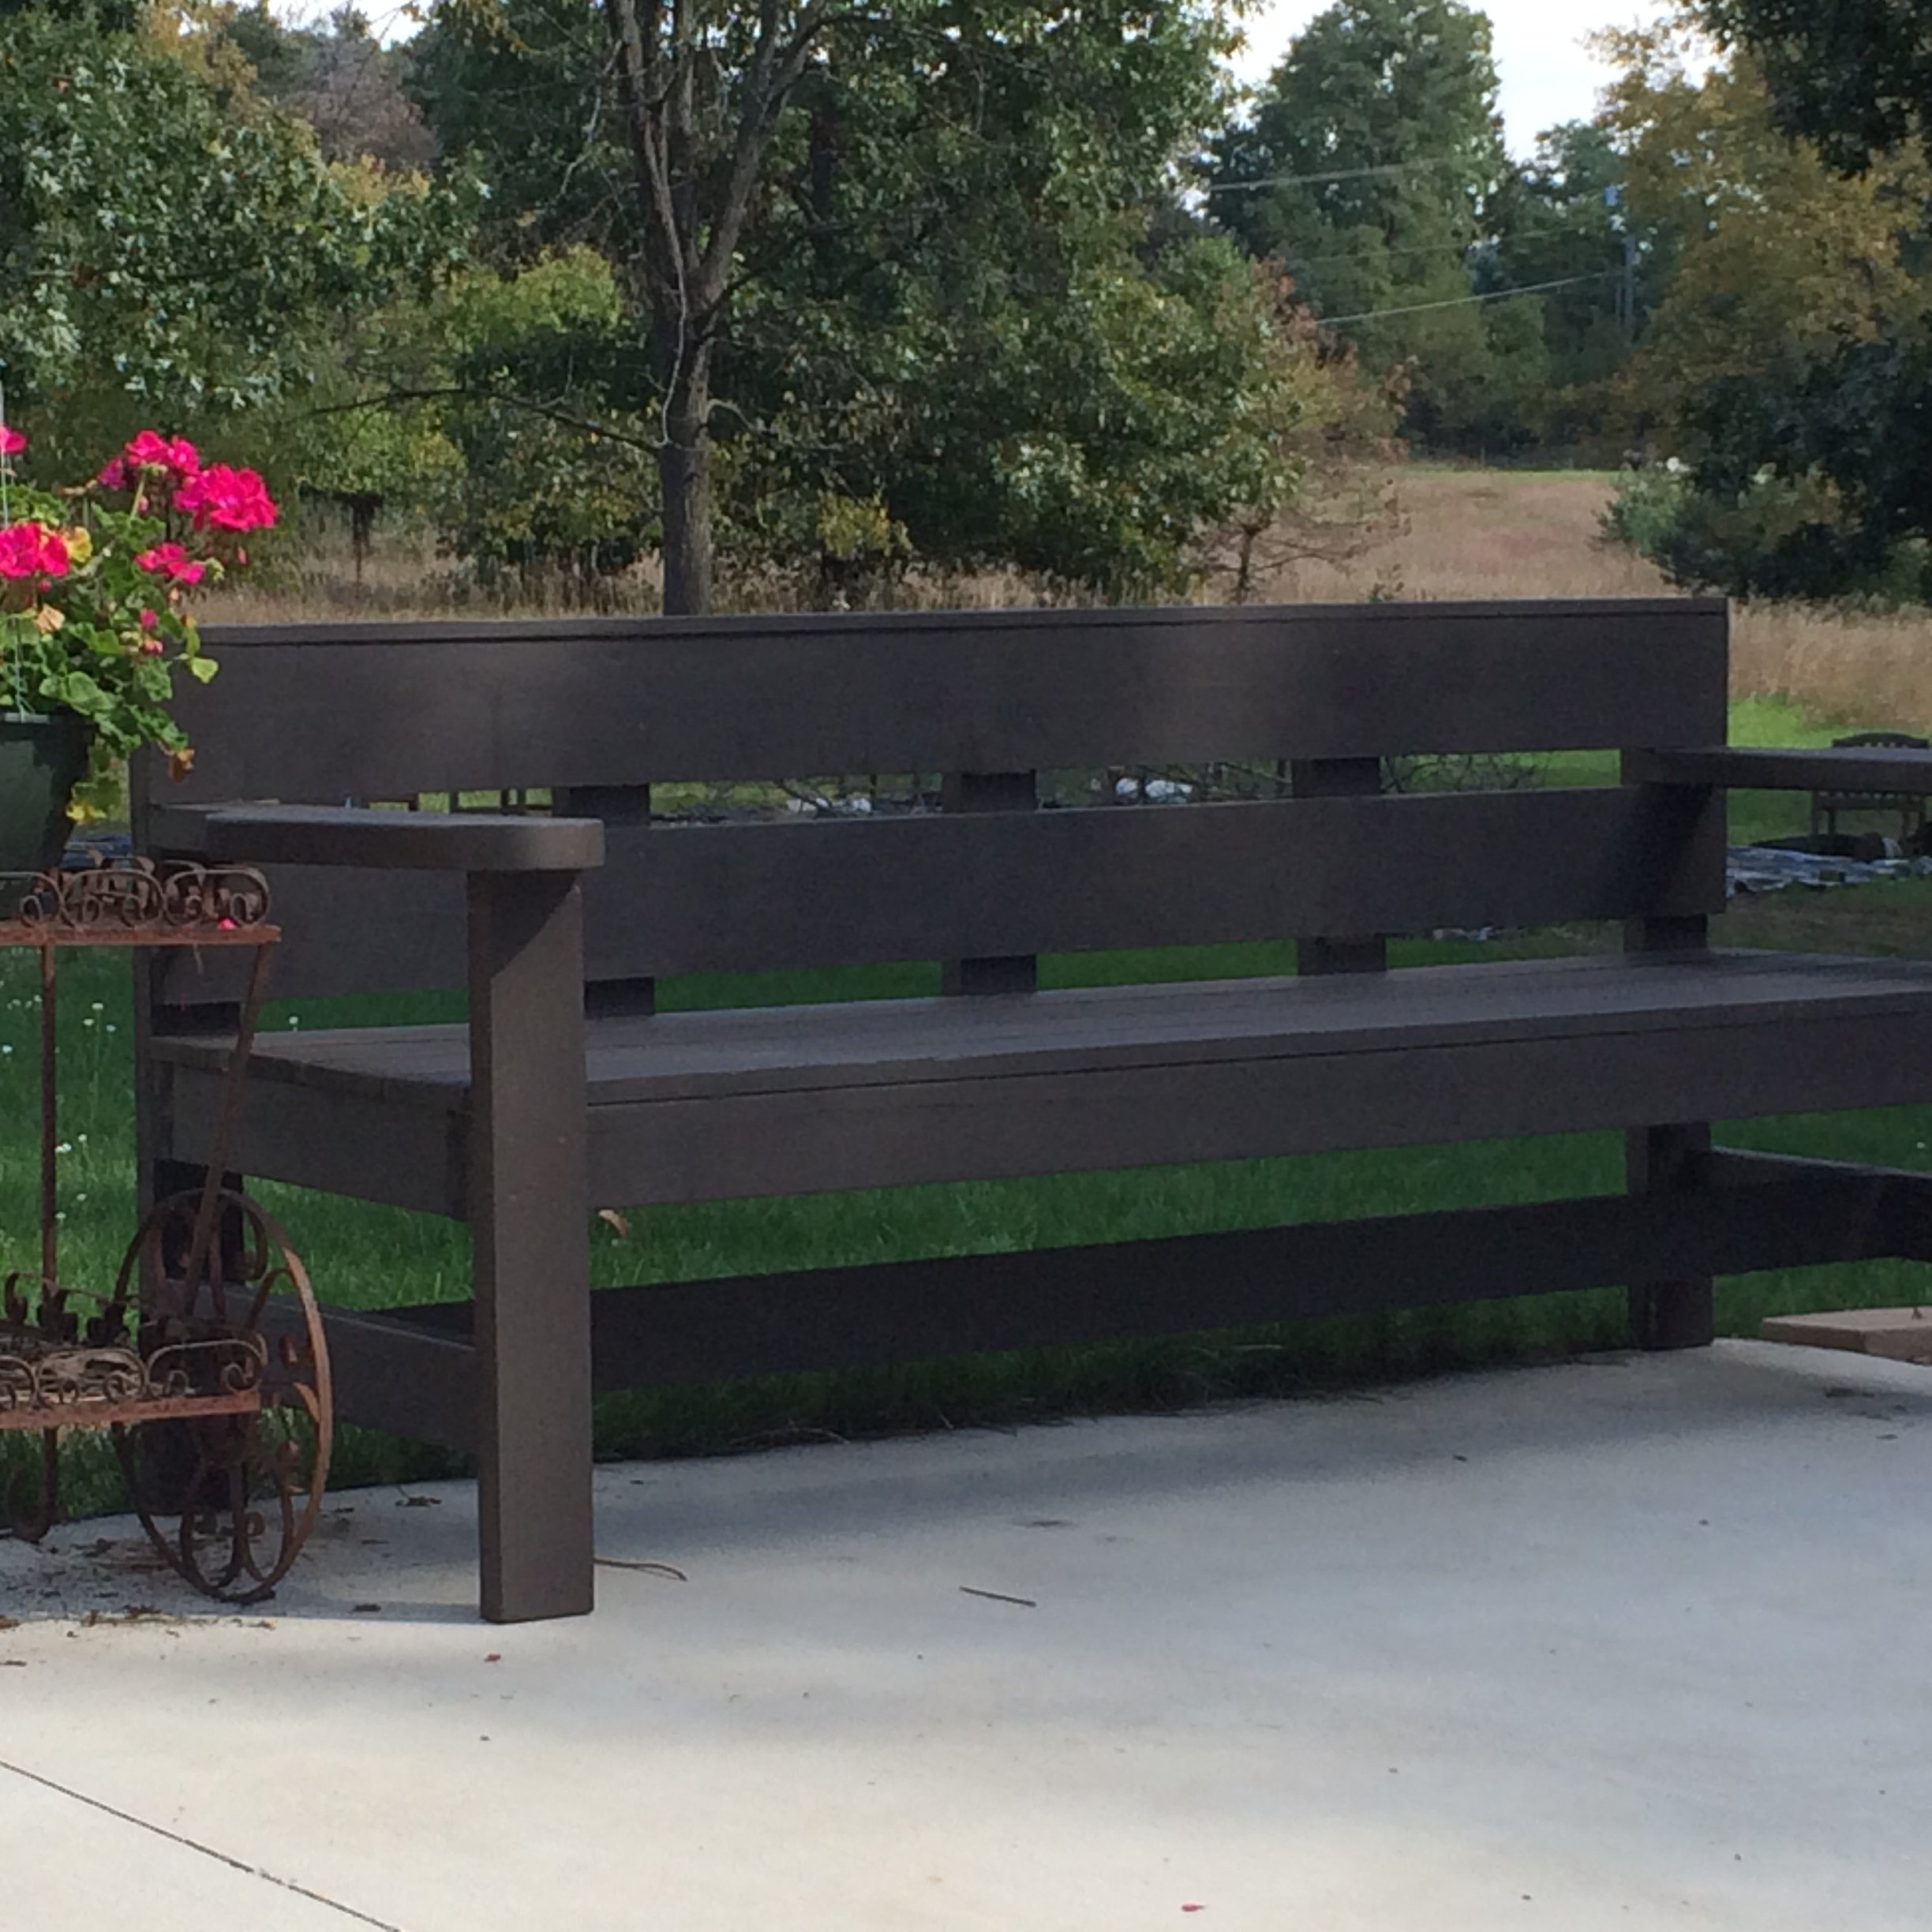
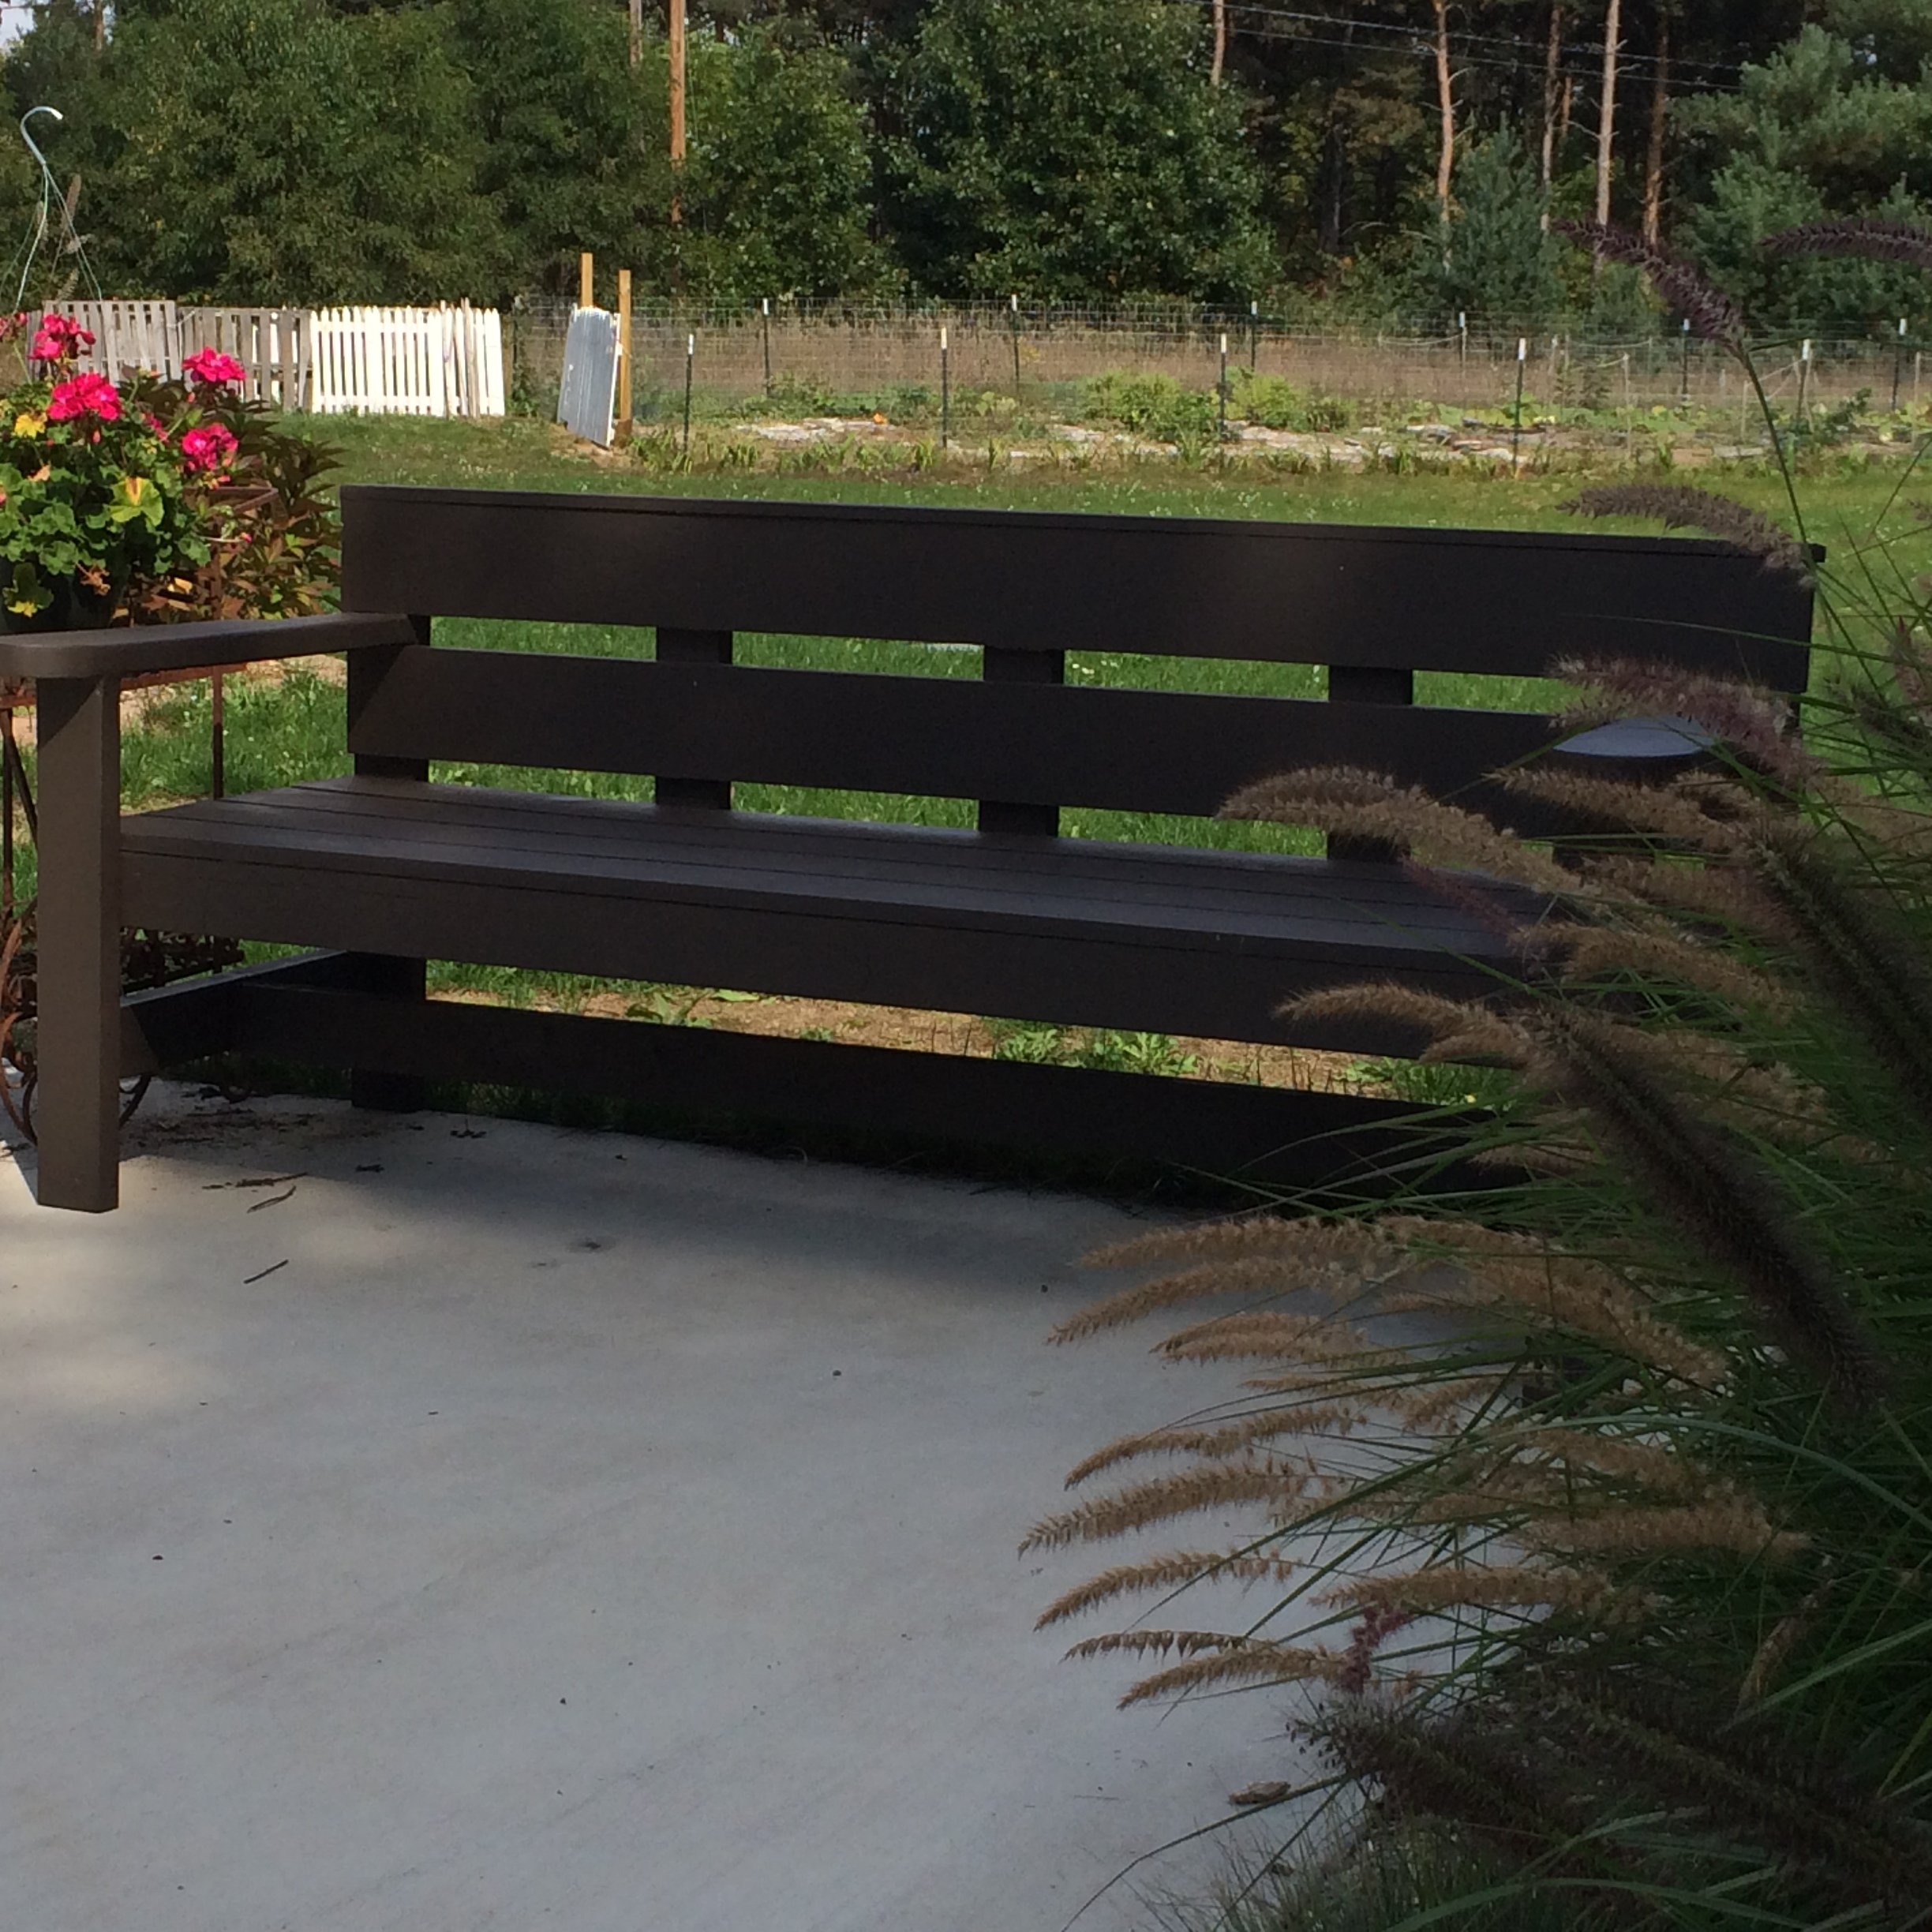
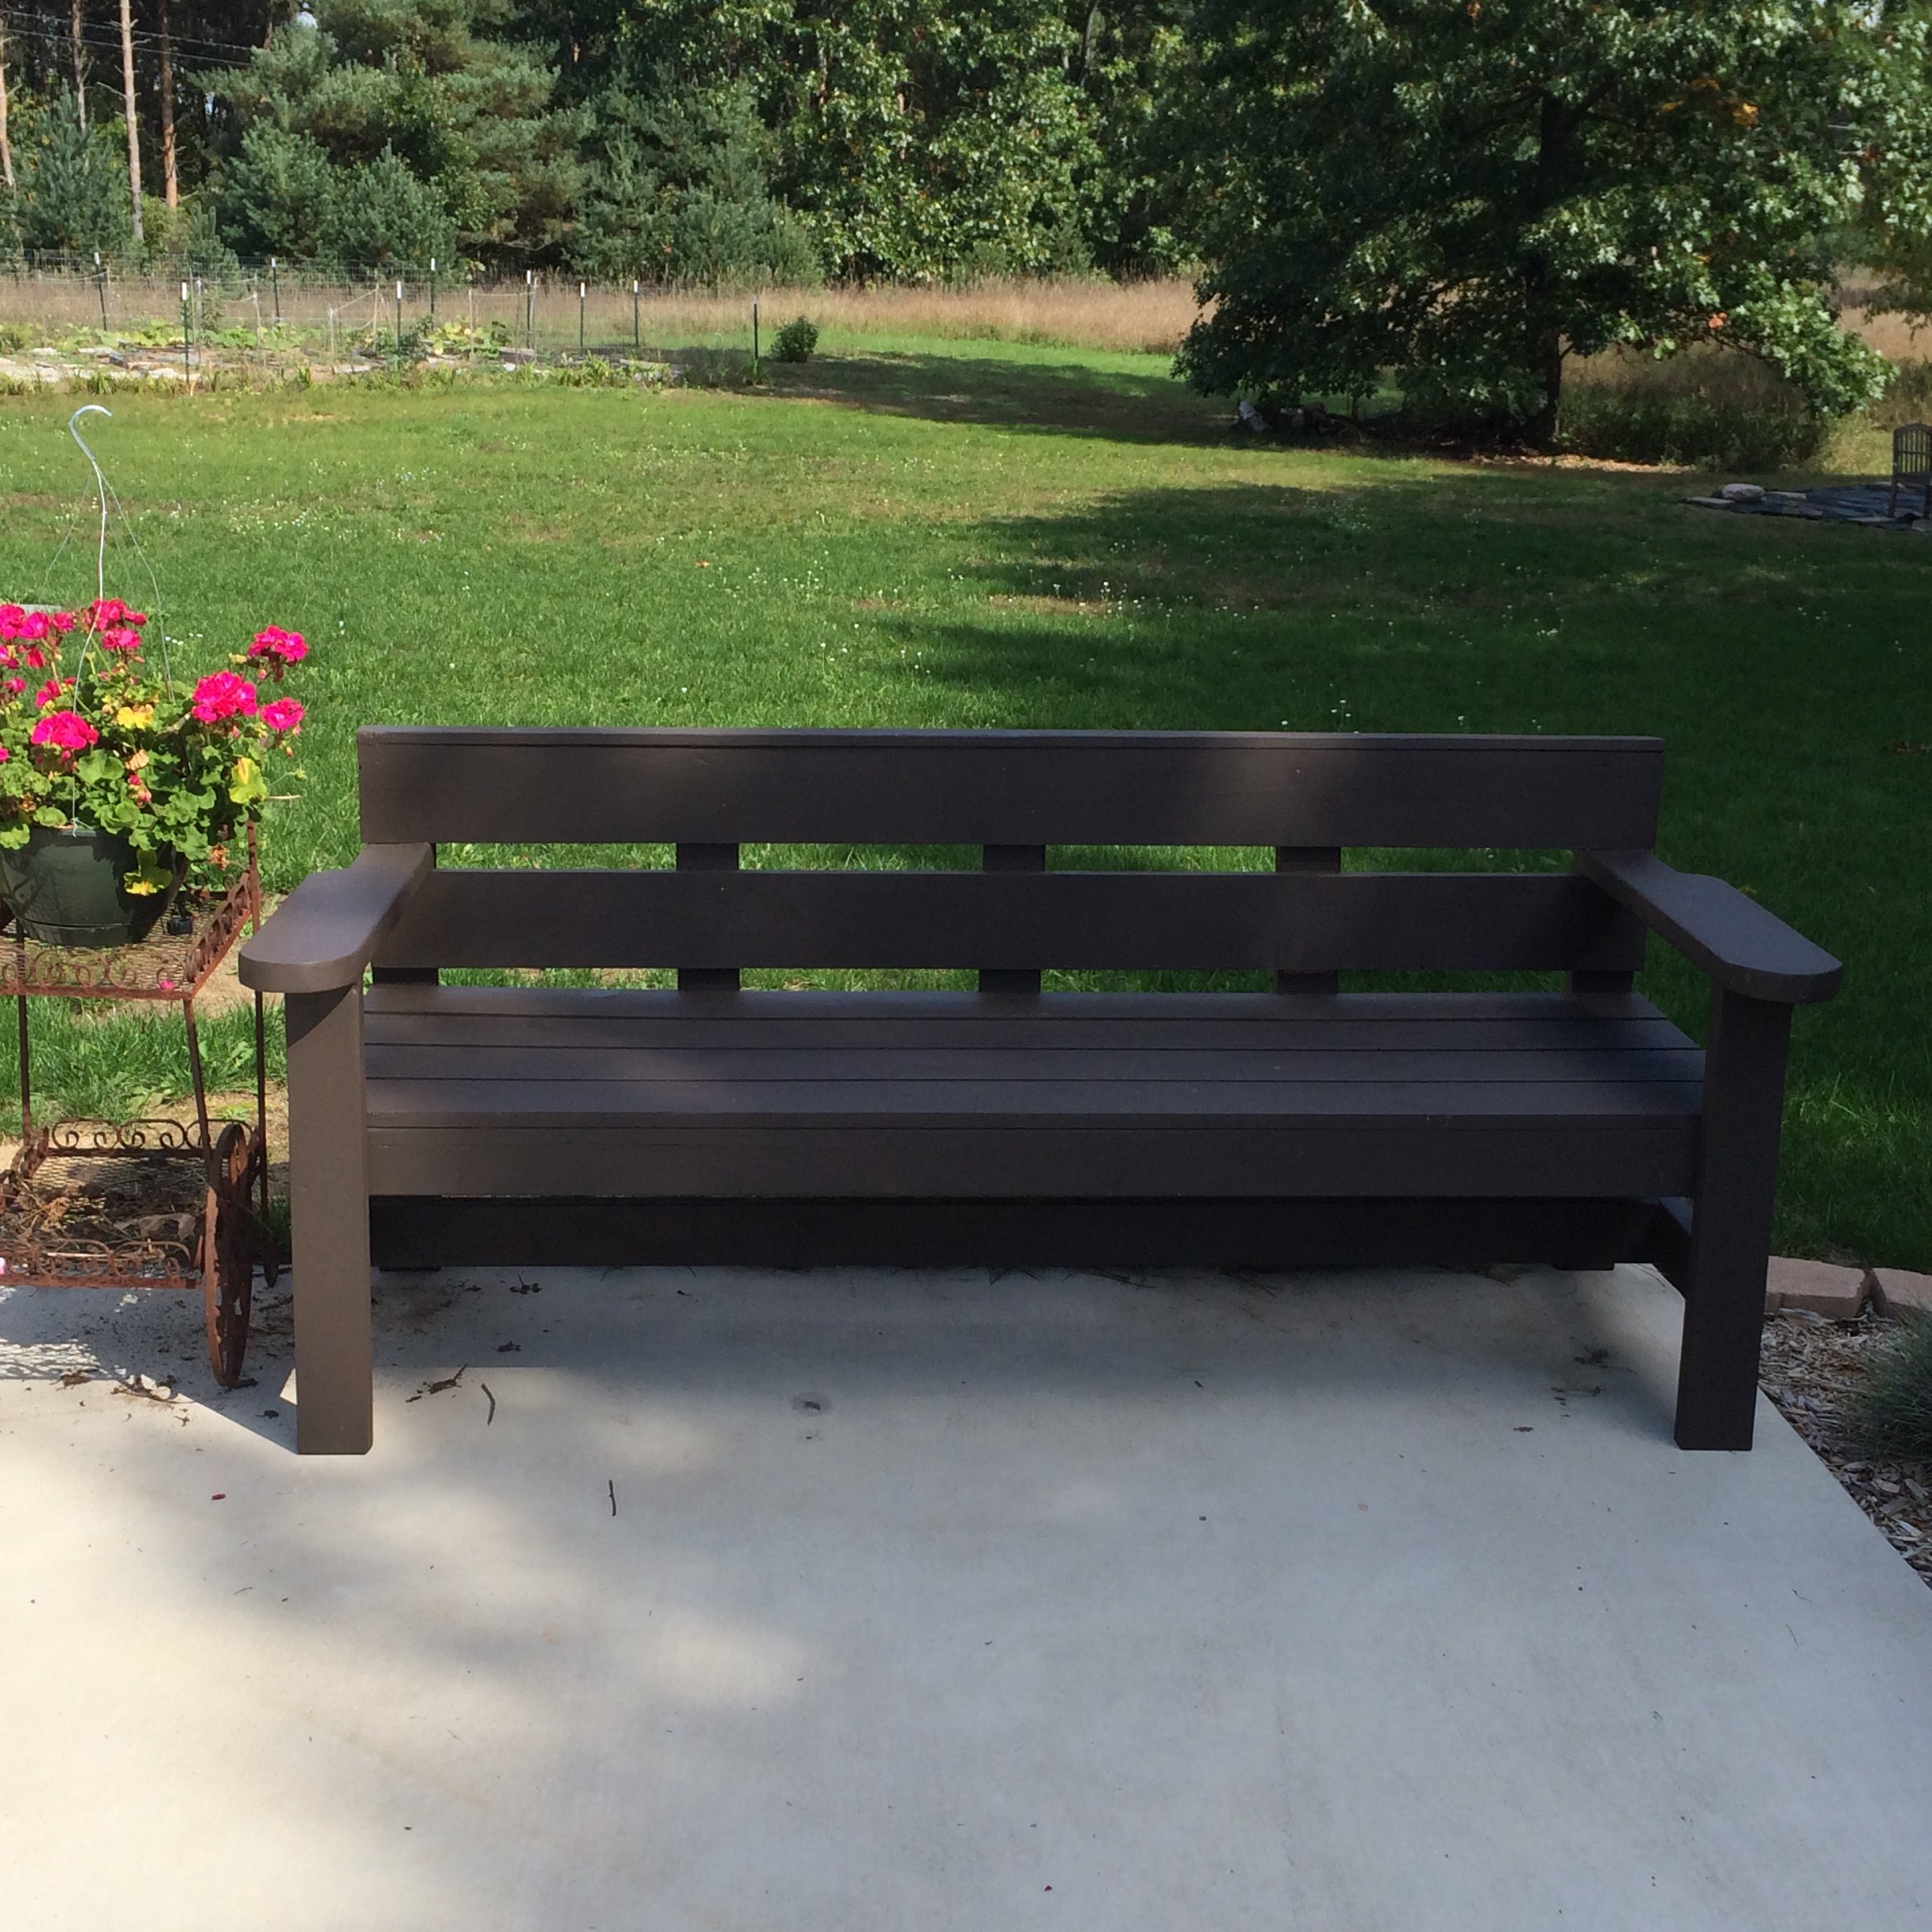
I made this for an older girl (11) so decided to go for a trendy, modern design rather than a bright playful color. It was very quick, and I made it with scrap 3/4: plywood from another one of Ana's projects. I increased the width of the seat and back from 5 1/2" (a standard 1x6 width) to 6" for the back and 5 3/4" for the seat. This gave it a higher back and made the back side of the sofa completely flush (probably to account for using 3/4" plywood instead of a 1x6). I used Titebond glue, 1 1/4" brad nails, and clamps for assembly. I ironed veneer edging on all the raw plywood edges and sanded, then gave it a thick coat of paint. Instead of seat and back cushions, I included two square throw pillows lightly stuffed so they can be creased (as in the photo) like real throw pillows. Including sewing, the project took me an hour. PS: I photographed it next to an every-day object for rough size comparison. I had initially shown someone who thought I had made an actual couch. LOL, Maybe in my dreams!