Community Brag Posts

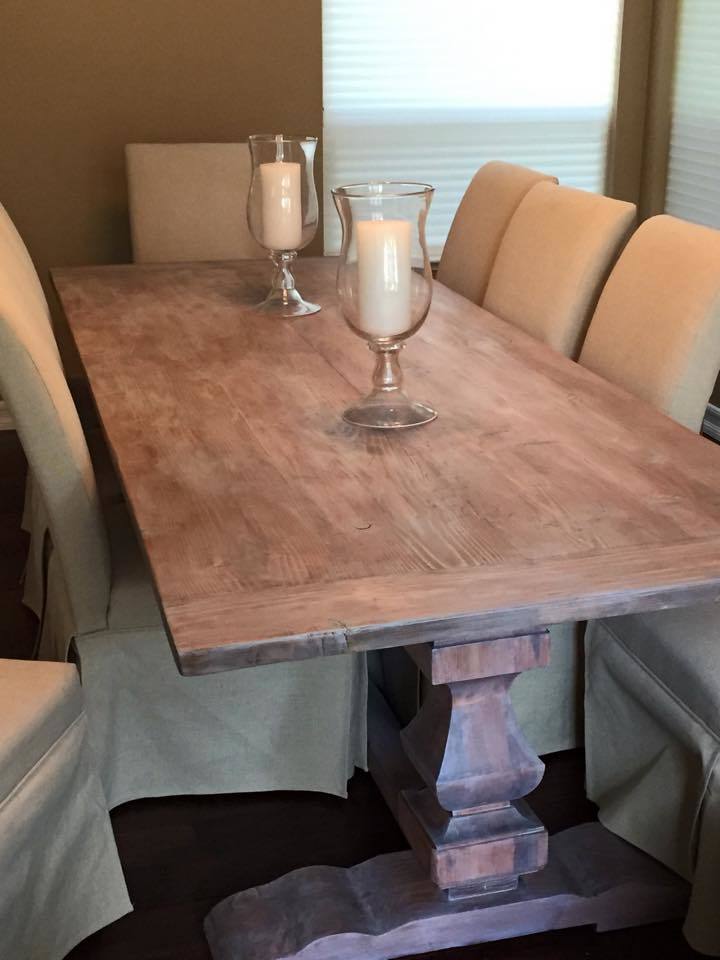
Farmhouse table tweaked

Submitted by Ddandrick on Sun, 10/26/2014 - 19:08

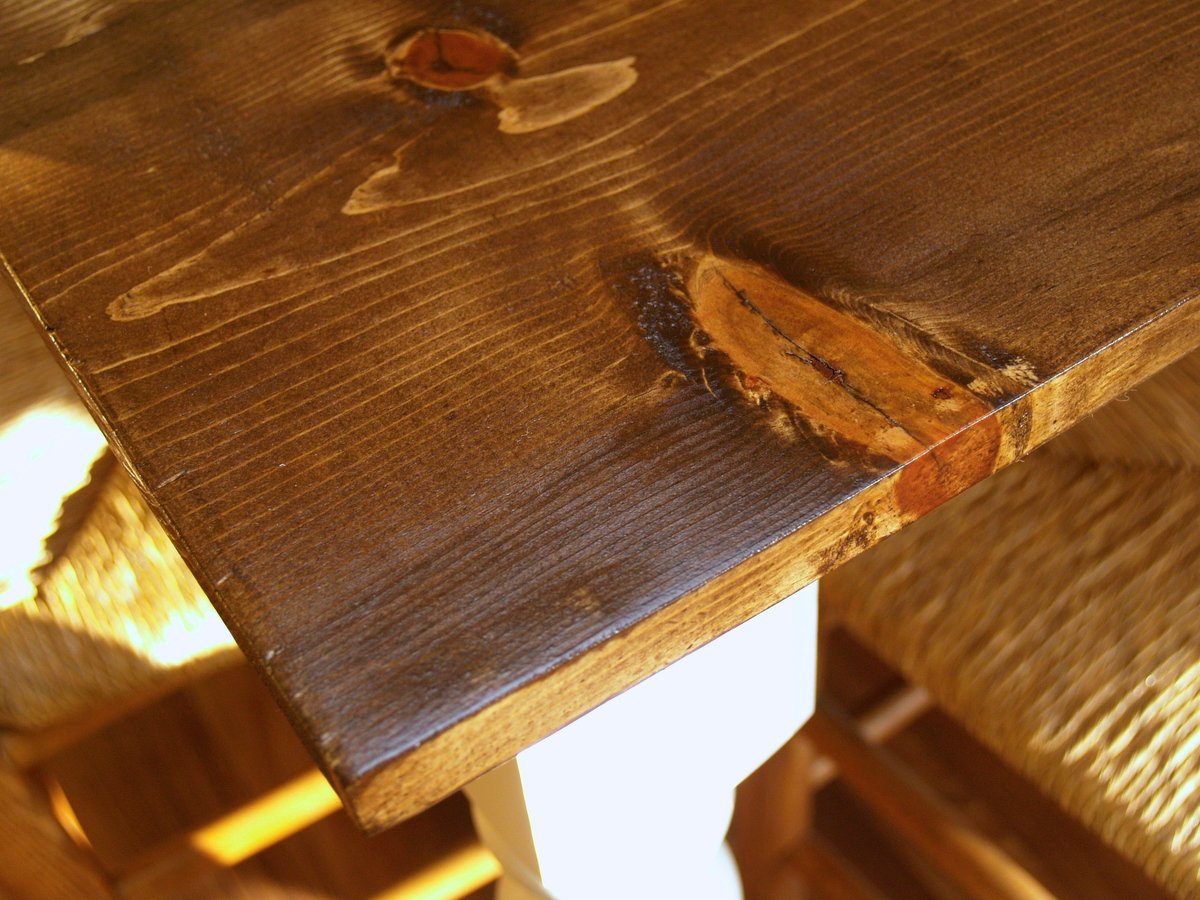
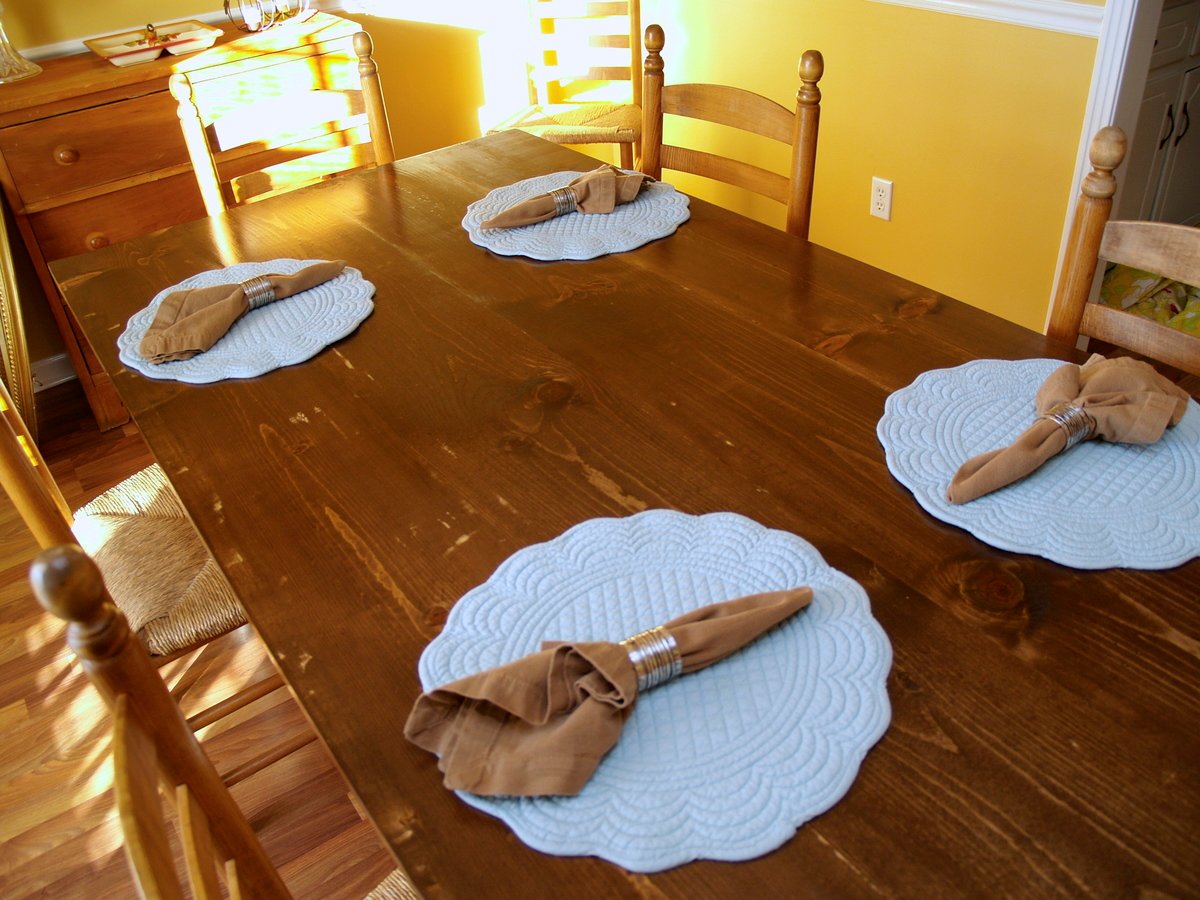
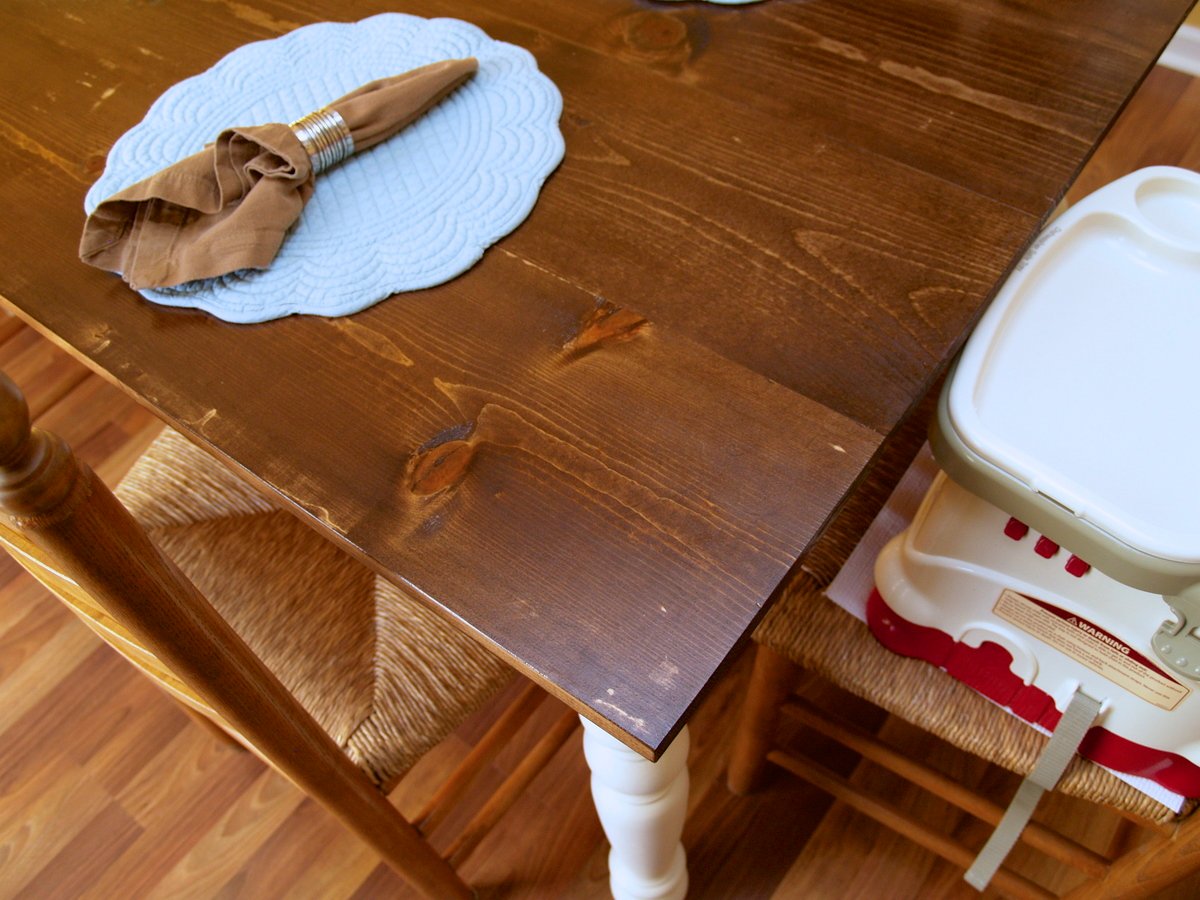
This was built using Ana's plans plus an inspiration photo my daughter took at an antique store in Chicago.  Notice the lower shelf stabilizing the bottom of the table. It also had to break down into sections to be moved three hours north to her apartment in Chicago.  Used lots of glue, and my trusty Kreg jig.  In the background is a tufted ottoman I also built at the same time.


Estimated Cost
$300
Estimated Time Investment
Week Long Project (20 Hours or More)
Finish Used
Poly stain
Recommended Skill Level
Intermediate

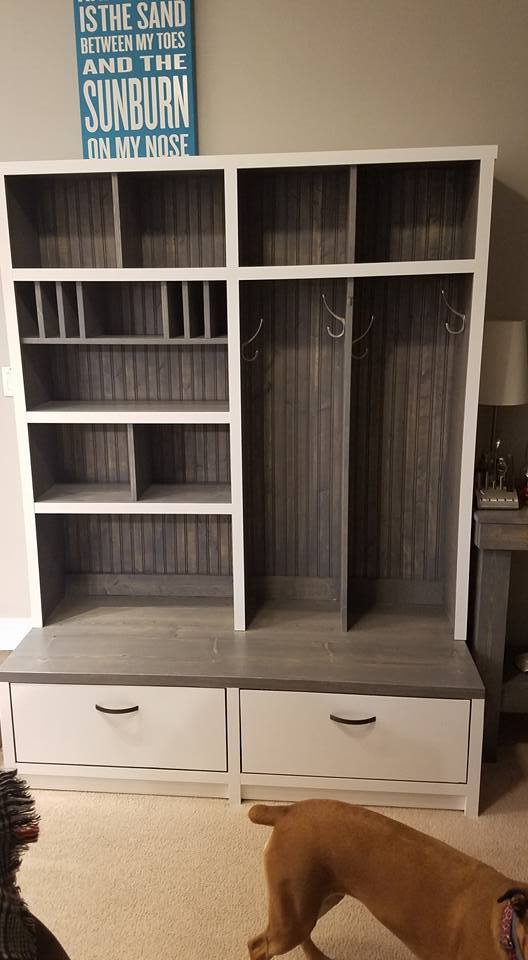
Fancy + Mimi's Hall Trees

Submitted by Anonymous (not verified) on Sun, 02/05/2017 - 13:28

Took the fancy hall tree bottom and added Mimi's hutch to the top. Added a little bead board to the bench and top edges to cover up the plywood, and voila! My wife's Christmas gift. 

Estimated Cost
$250-300
Estimated Time Investment
Week Long Project (20 Hours or More)
Finish Used
White paint and polyurethane
Recommended Skill Level
Intermediate

Brookstone Desk

This was a fun project. My first using drawer slides. Best advise would be to recheck squareness before attaching top.

Built from Plan(s)
Estimated Cost
$65
Estimated Time Investment
Weekend Project (10-20 Hours)
Finish Used
Dark Walnut stain
Poly top coat
Recommended Skill Level
Beginner

Comments

Simple bunk bed

Submitted by Rebma11 on Mon, 01/07/2013 - 09:01

I'm really happy with how this project turned out.
To attach the beds together I deviated from the original instructions and instead attached the headboard header to the headboard itself instead of to the feet of the upper bunk as directed. I used 3/4" dowels to attach the two beds, drilling 3" into the bottom bunk (through the header and into the posts), and 2" into the legs of the top bunk. This way the beds will easily come apart. They are incredibly secure, and incredibly heavy!

Estimated Cost
$200-250
Estimated Time Investment
Week Long Project (20 Hours or More)
Finish Used
paint
Recommended Skill Level
Intermediate

Comments

R.H. Stype Testle Dining Table

Submitted by Rich2727 on Fri, 10/31/2014 - 09:30

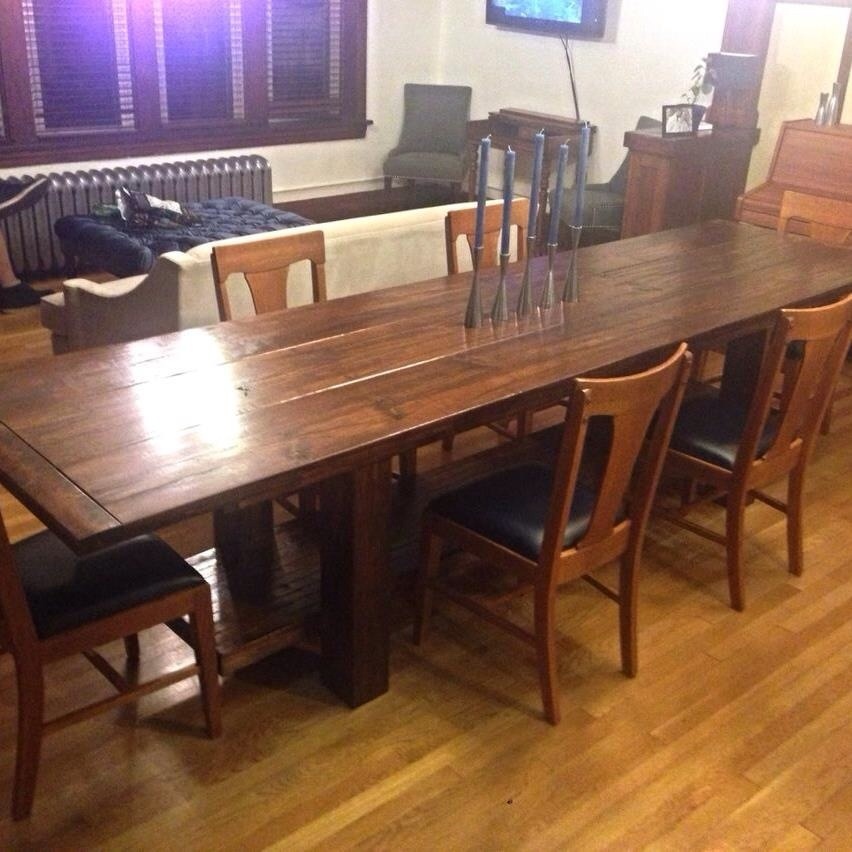
Was inspired to build this table after a visit to R.H. with my wife and realized a table this size and style would cost us about $3000.

So I decided to build myselft.  With a little help from Ana's plans and my own modifications, I think I got pretty close to the Restoration Hardware Trestle Table.

I bought the pedestals at Osbornewood.com and asked them not to drill the leg holes and ordered it in pine.  That was the most expensive part of the table, about $380 a piece.  The rest of it is Douglas Fir.

I created a template and shaped the feet myself out of 4X8 beams.  I was able to use my jig saw and a Bosch 10" blade.  I made the rough cut with it and then sanded the rest of the shape using my belt sander.

The pedestals have a hollow center and were too tall so I cut them down and created plugs and glued them into the pedestal.  The bottom plug has a large threaded rod and is glued and bolted to the feet, and the top plug was used to create the horizontal supports for the table top.  I too created a template for this and used a jigsaw to cut the shape.

I then used Minwax American English, then weathered oak, (Like in one of Ana's stain posts).  I then wanted to give it that weathered/reclaimed wood look so I add a fair amount of the White Pickling stain.  I wanted a little less of the red tones and more brown...I may sand and refinish it someday, but it is in the house for now and can't wait for our first dinner party.
Built from Plan(s)
Estimated Cost
$1000
Estimated Time Investment
Week Long Project (20 Hours or More)
Finish Used
American English, Weathered Oak, White Pickling
Recommended Skill Level
Advanced

Comments

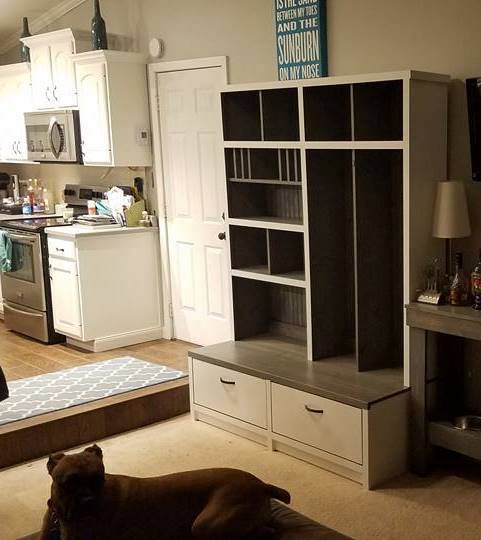
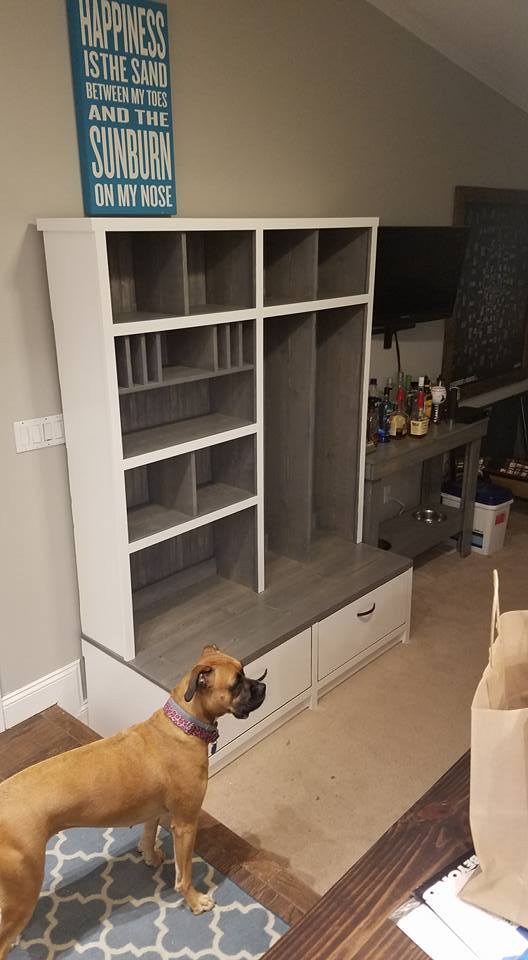
Braden Entryway Collection

Submitted by Anonymous (not verified) on Wed, 02/08/2017 - 07:02

Absolutely loved this build!  And it has become so handy to have for all the storage it provides.


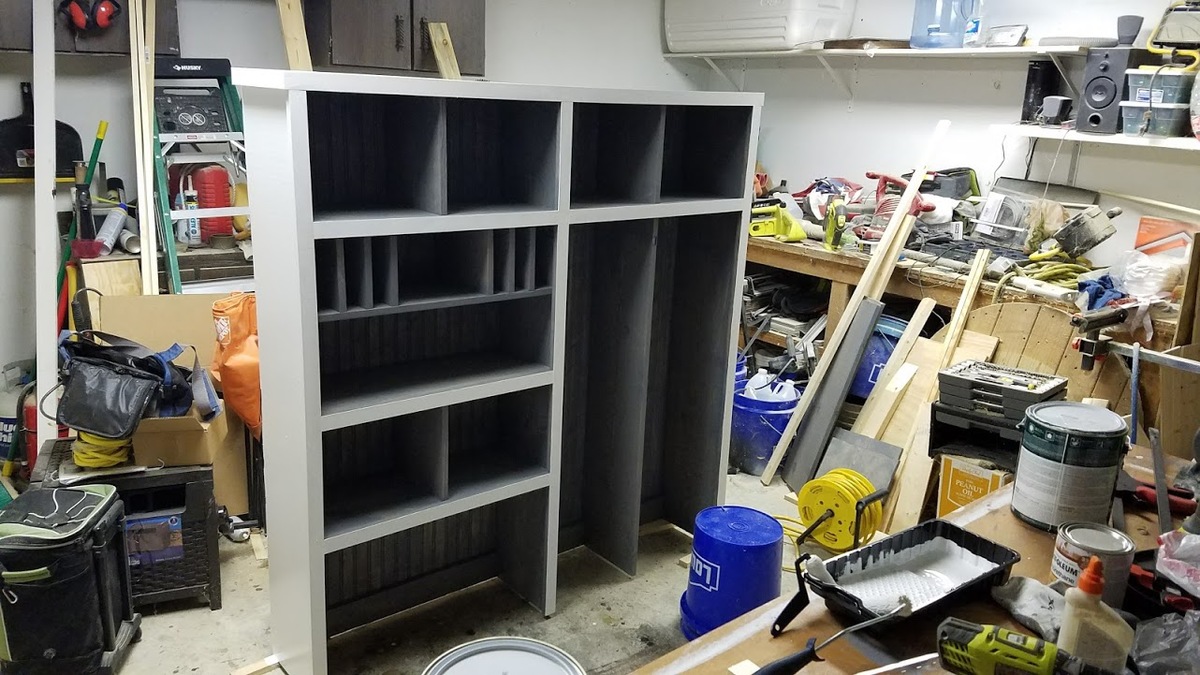
I adjusted the original plans.  

  • Combined the hutch and mail sorter into one unit.
  • Stretched it 1 foot taller, spaced that out between several shelves.
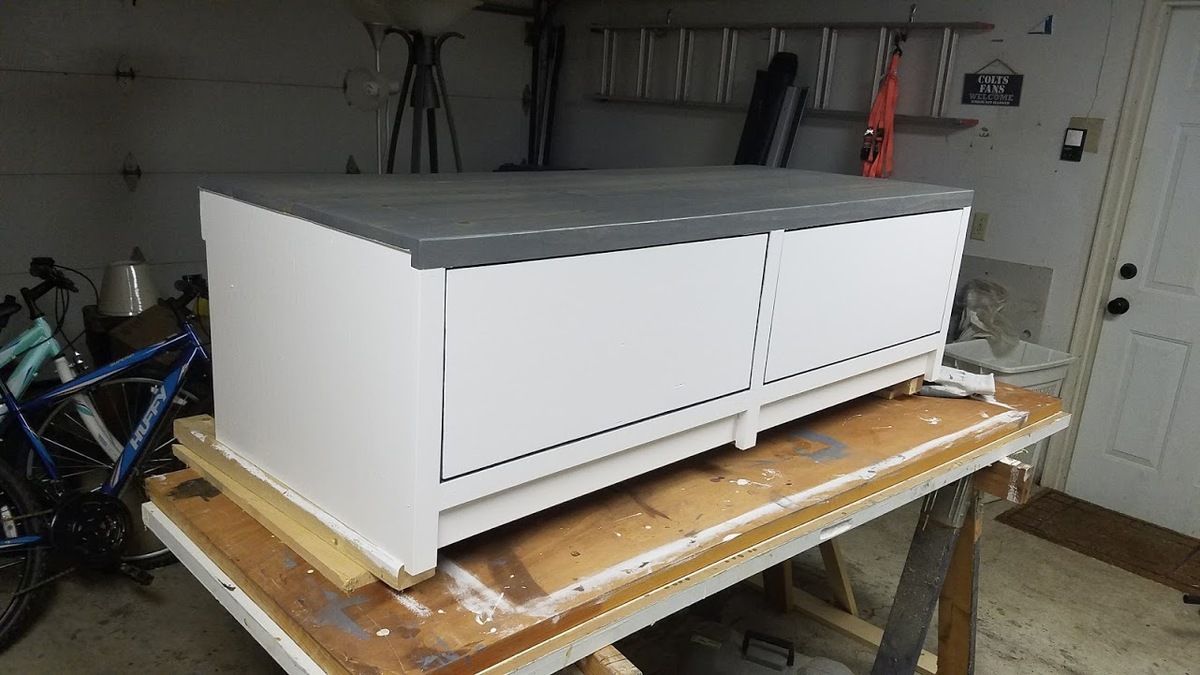
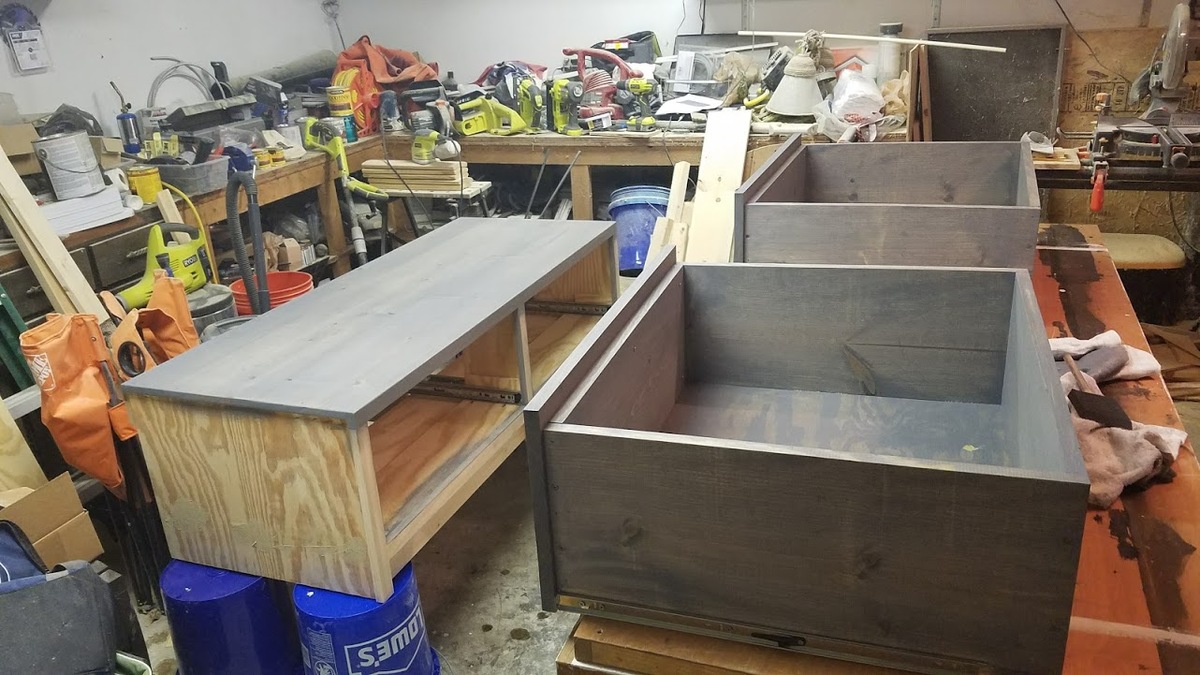
  • Combined 2 drawer units into one.
Estimated Cost
?? not sure $800 maybe?
Estimated Time Investment
Week Long Project (20 Hours or More)
Finish Used
Rustoleum Vintage gray stain
Bright white paint
Recommended Skill Level
Intermediate

8' Farmhouse Desk

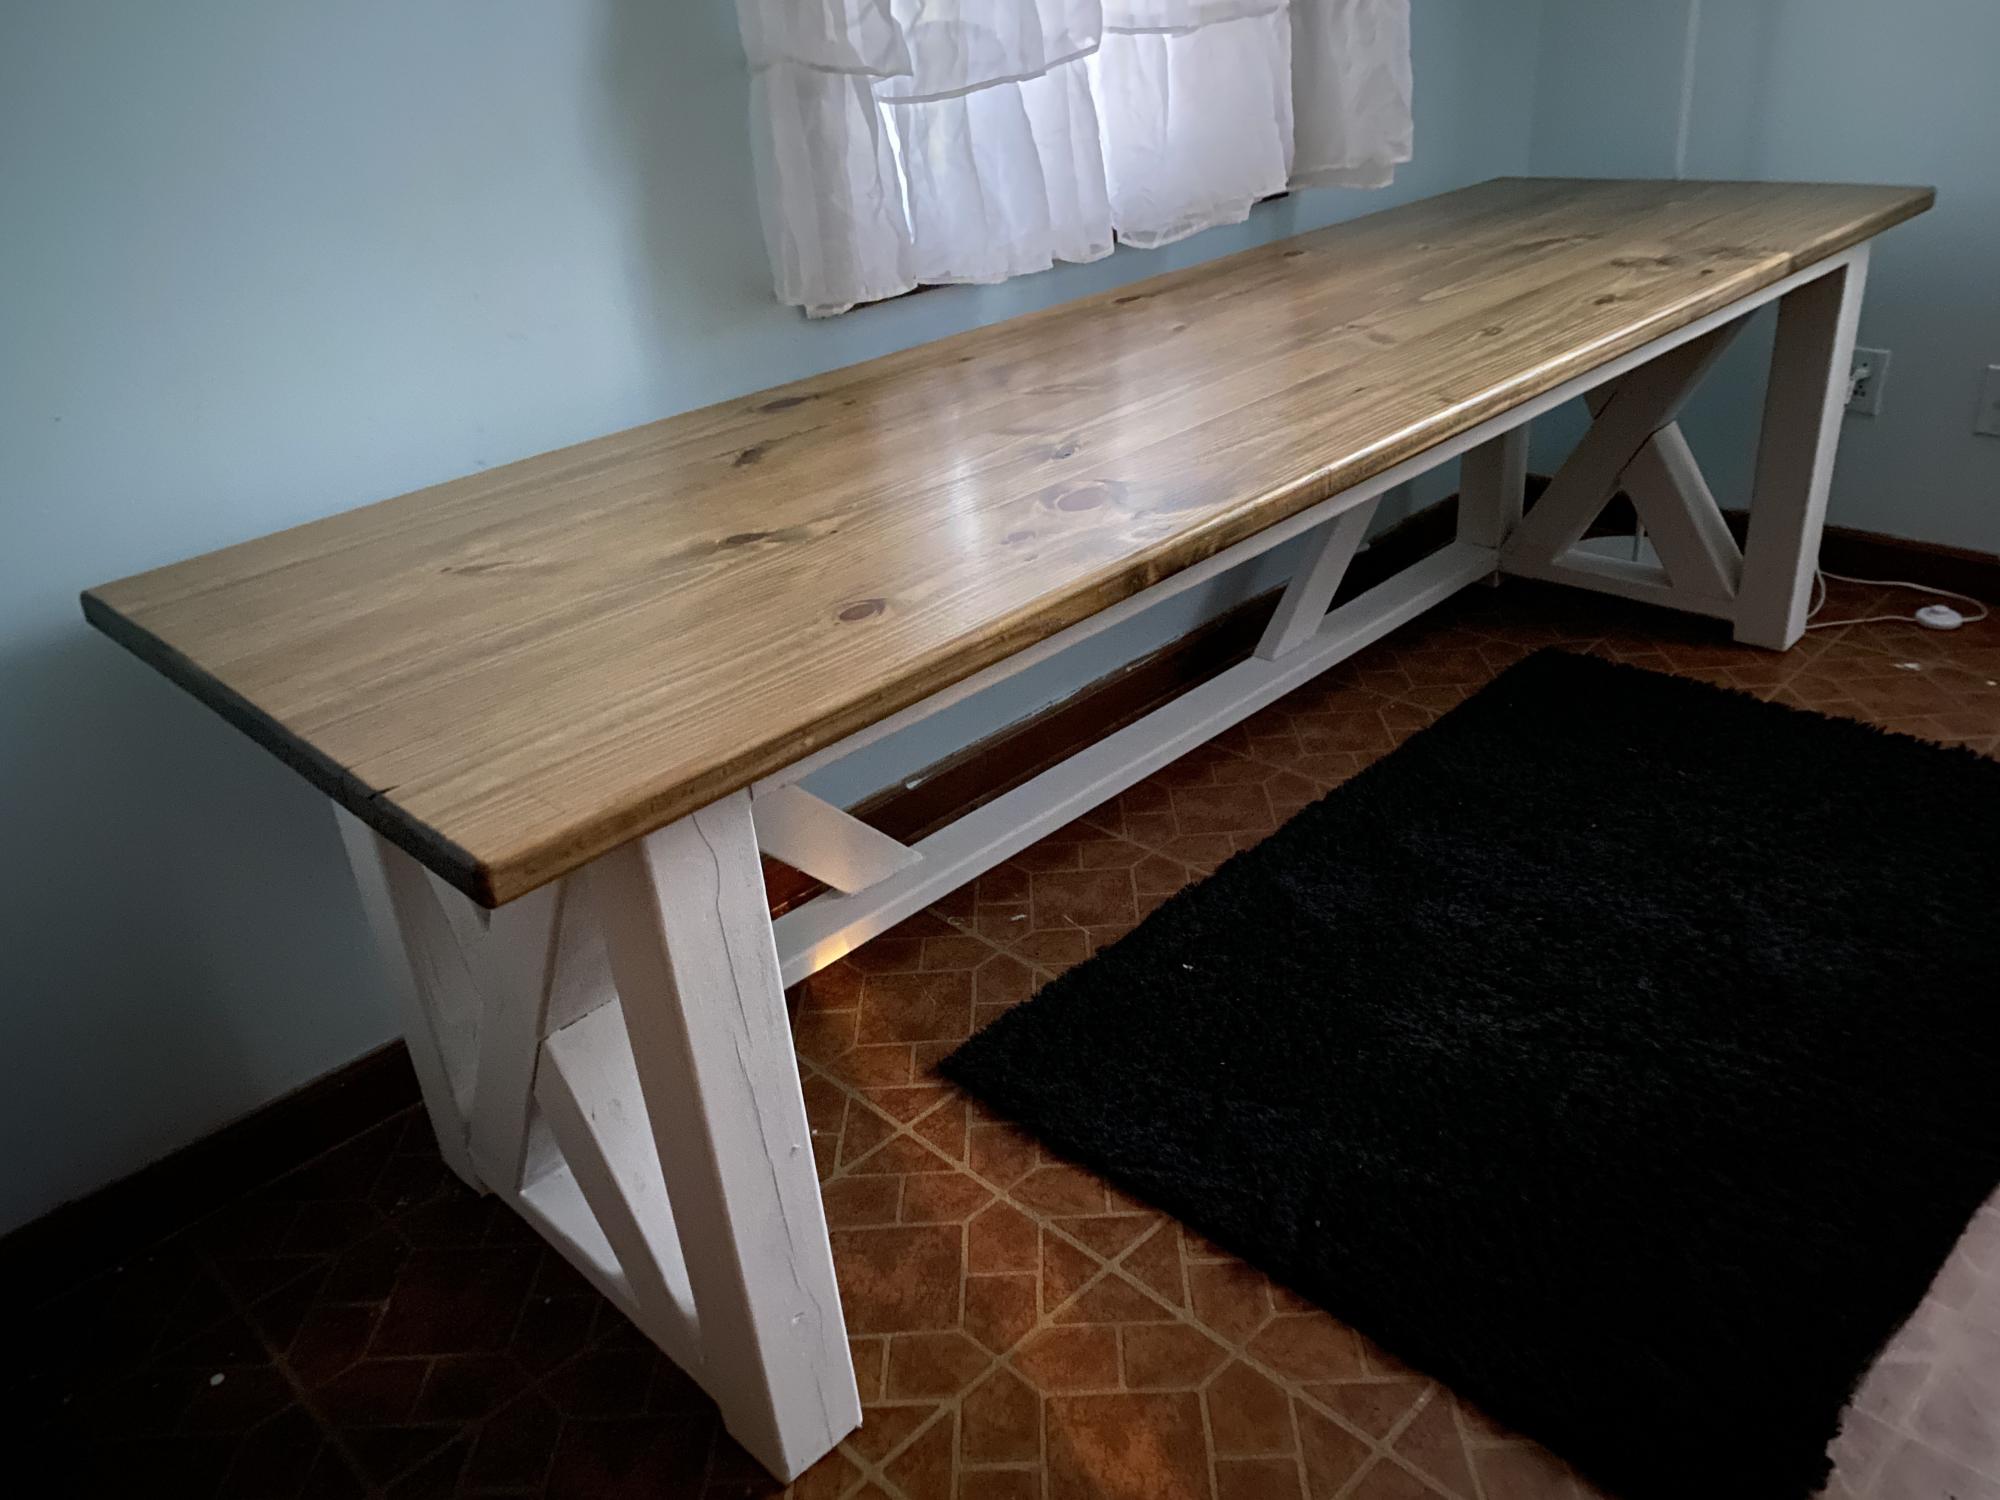
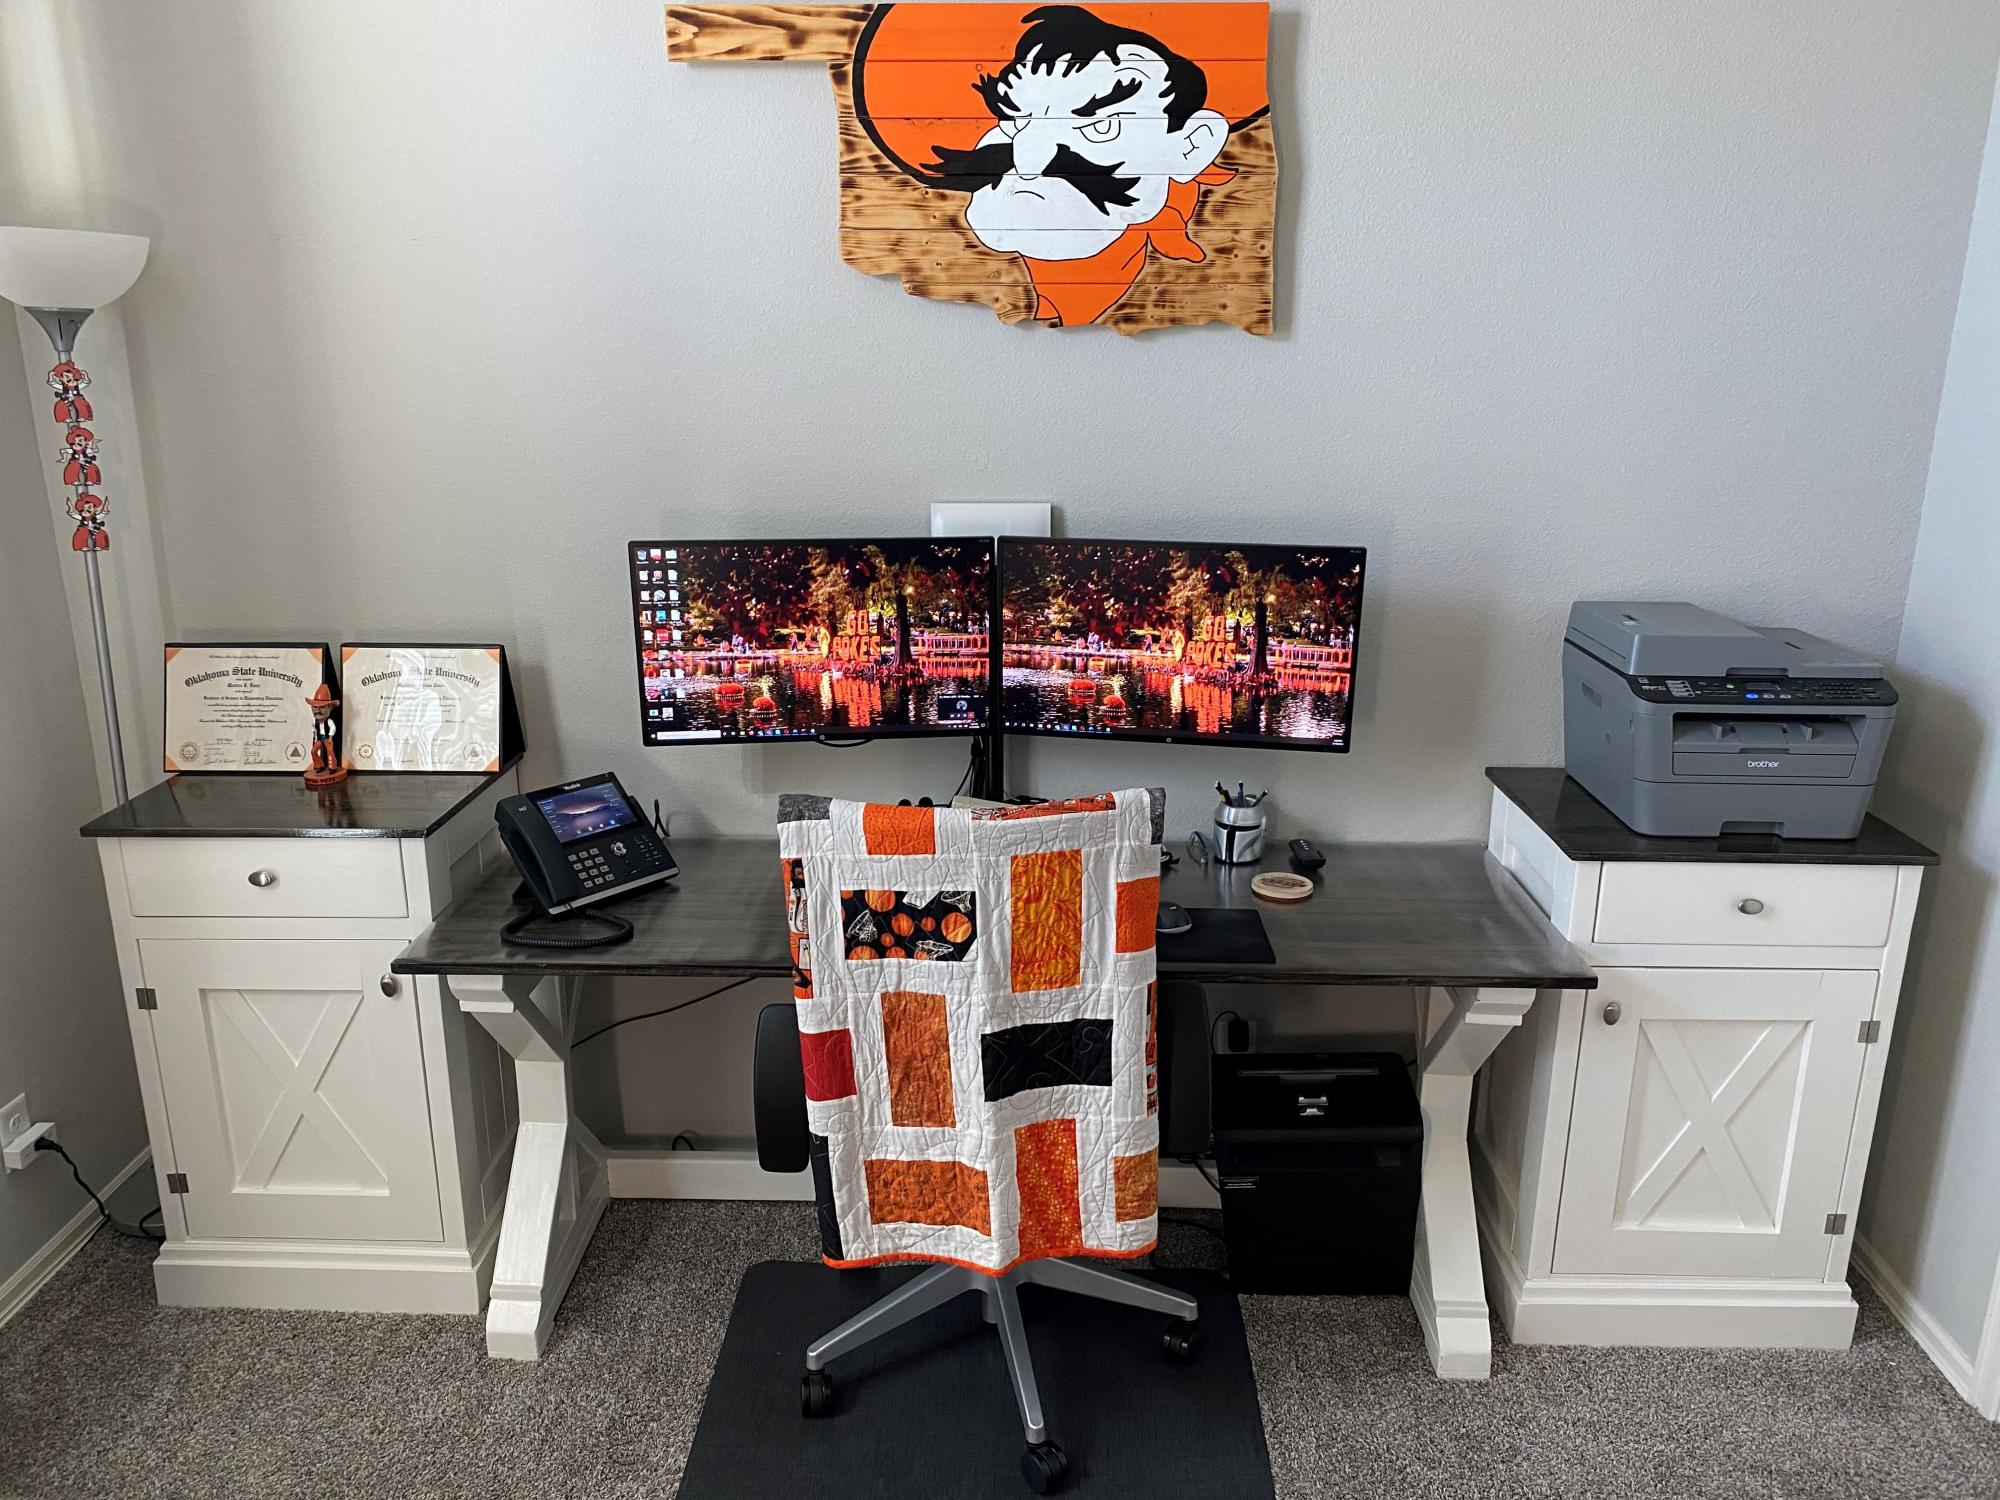
I created this farmhouse style desk. Quite the challenge dealing with such long boards!

Estimated Time Investment
Week Long Project (20 Hours or More)
Finish Used
Top: Varathane Dark Walnut x1, Minwax One Coat Satin finish x2, Minwax paste wax
Bottom: Rustoleum Espresso brown spray paint, thick coat of Behr smokey white matte finish.
Recommended Skill Level
Beginner

Comments

Fireplace Facelift Built-In Bookcases

One of the projects that I've wanted to tackle for a long time has been adding built-in bookshelves to the sides of my existing fireplace. This fireplace (and I'm assuming the mantel) was original to the house and I wanted to create an addition that would look seamless and tie into the existing woodwork. I began designing a piece above the mantel to give the fireplace some height and then I designed the flanking bookcases to match. All of the project details and free step-by-step instructions can be found on my website at: www.momthebuilder.net

Estimated Cost
$200
Estimated Time Investment
Week Long Project (20 Hours or More)
Finish Used
White interior semi-gloss paint.
Recommended Skill Level
Intermediate

Comments

Great Weekend Project!

Submitted by basehordad on Mon, 11/03/2014 - 08:56

I used 1x6’s as opposed to 2x6’s for the base as well as the 19” pieces thus I cut the length of the legs to 27 3/8 the difference of 1 ½ inch from the plan.  In addition, the plans did not specify as to the placement of the legs on to the 19” pieces and thus I attached the 17 ½ bottom shelf braces and then attached the legs to the top.  I finished the project with MinWax Classic Gray stain which gave it an antique finish followed by a finishing wax.

Built from Plan(s)
Estimated Time Investment
Afternoon Project (3-6 Hours)
Recommended Skill Level
Beginner

Treehouse bed with slide

Submitted by ritchsam on Fri, 02/10/2017 - 19:56

I built this for my daughter Keila.  She loves it and her friends do too!  Took me one day.  I painted the entire bed in deck paint.  It completely eliminated all
Splinters!!! I added the slide, a USB plug, cup holder, and fan.  

Built from Plan(s)
Estimated Cost
350.00
Estimated Time Investment
Weekend Project (10-20 Hours)
Finish Used
Deck paint to cover all splinters. Slide was 75.00 extra found at a discount overstock supply house. I had to cut off two feet for it to fit in a 11x11 room
Recommended Skill Level
Intermediate

Barn Wood Vintage Pendant Lights

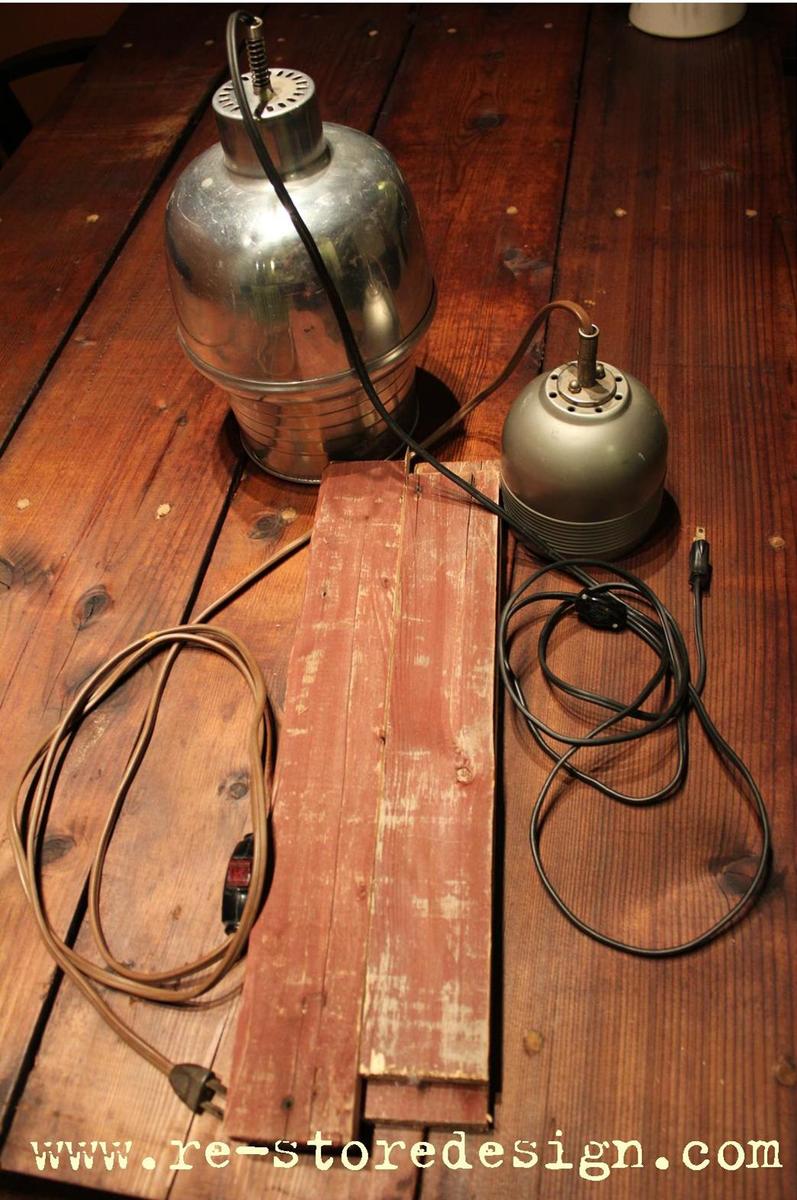
We had a dark corner in the living room that was needing some light. I had two vintage pendant lamps (amazing thrift store find) and leftover barn wood from my farm table build. I decided to build a frame to hang the lights in the corner. For less than $10 I have a completely unique lighting solution.

Estimated Cost
$10
Estimated Time Investment
An Hour or Two (0-2 Hours)
Finish Used
I left the wood unfinished to keep the rustic charm of the barn wood.
Recommended Skill Level
Starter Project

novice

Submitted by ramorit on Wed, 11/05/2014 - 17:35

Handmade by novice

Estimated Cost
$100.00
Estimated Time Investment
Week Long Project (20 Hours or More)
Finish Used
stained the base then painted with off-white semi-gloss... sanded corners and spots for a worn look... then a coat of poly to seal. The top has three stain colors... special walnut... Sedona red... and Jacobean and 4 coats of poly.
Recommended Skill Level
Beginner

Comments

Console X Table

Submitted by Anonymous (not verified) on Sun, 02/12/2017 - 14:44

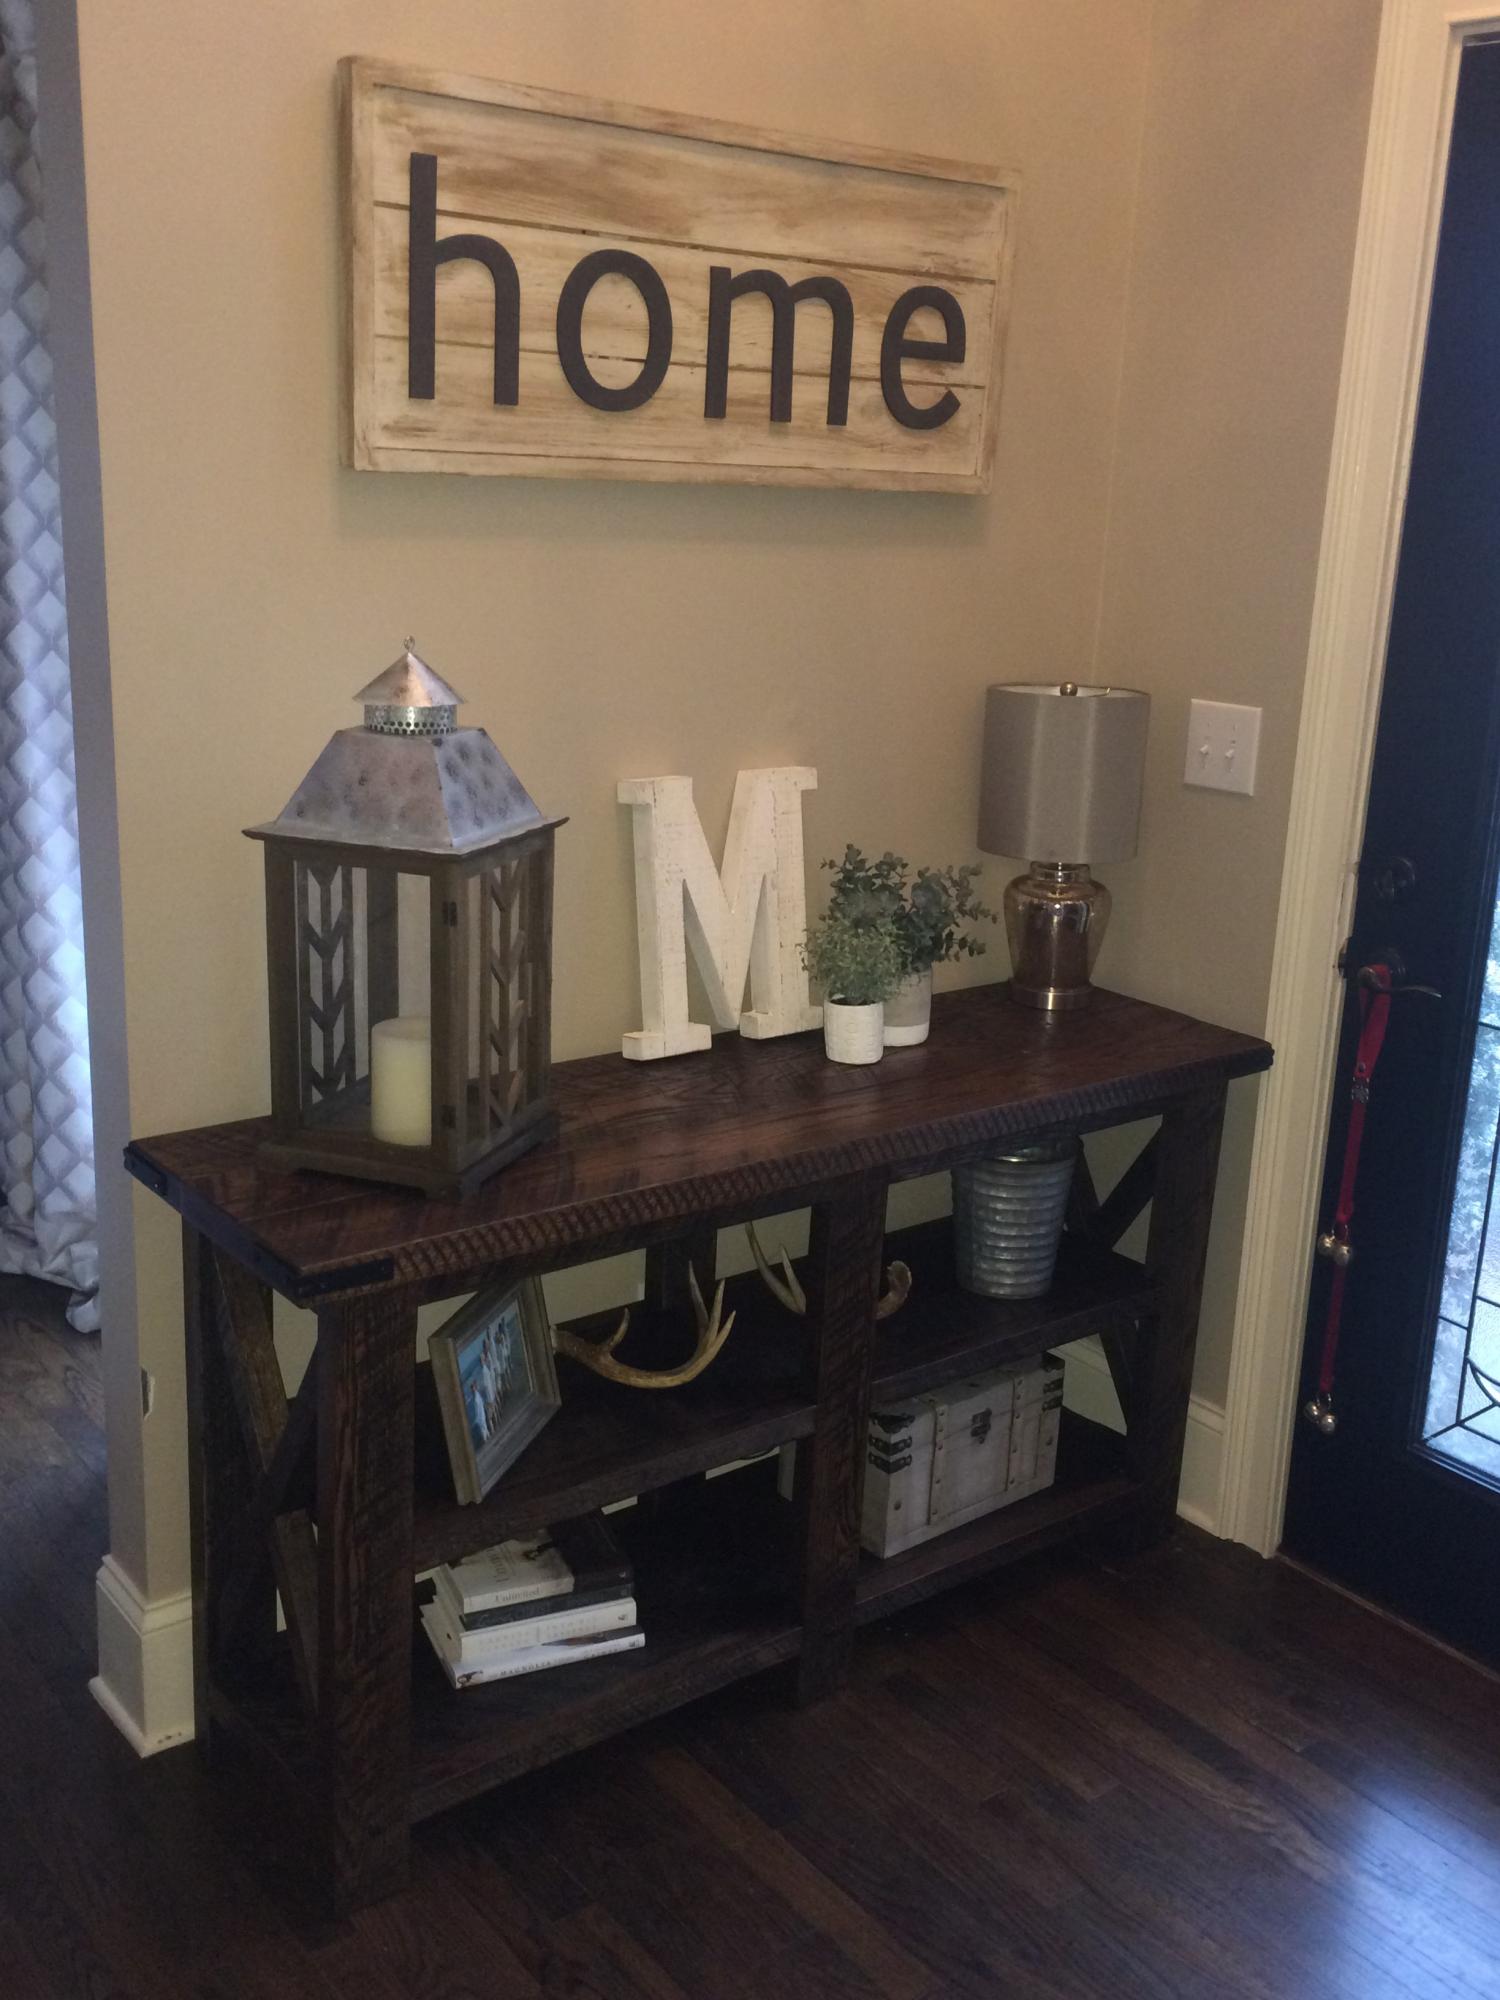
My husband bought me a Kreg jig for Christmas since I've been wanted to make some Ana White projects. Love how the first one turned out. Team project with hubby for our entry way. 

Estimated Cost
$300. We spent extra for high quality oak with saw marks and that had been skip planed.
Estimated Time Investment
Week Long Project (20 Hours or More)
Finish Used
Jacobean stain with briwax dark brown wax
Recommended Skill Level
Intermediate

Turned Leg Farmhouse Table 6' x 3'

Submitted by Mhillis on Sat, 01/12/2013 - 08:54

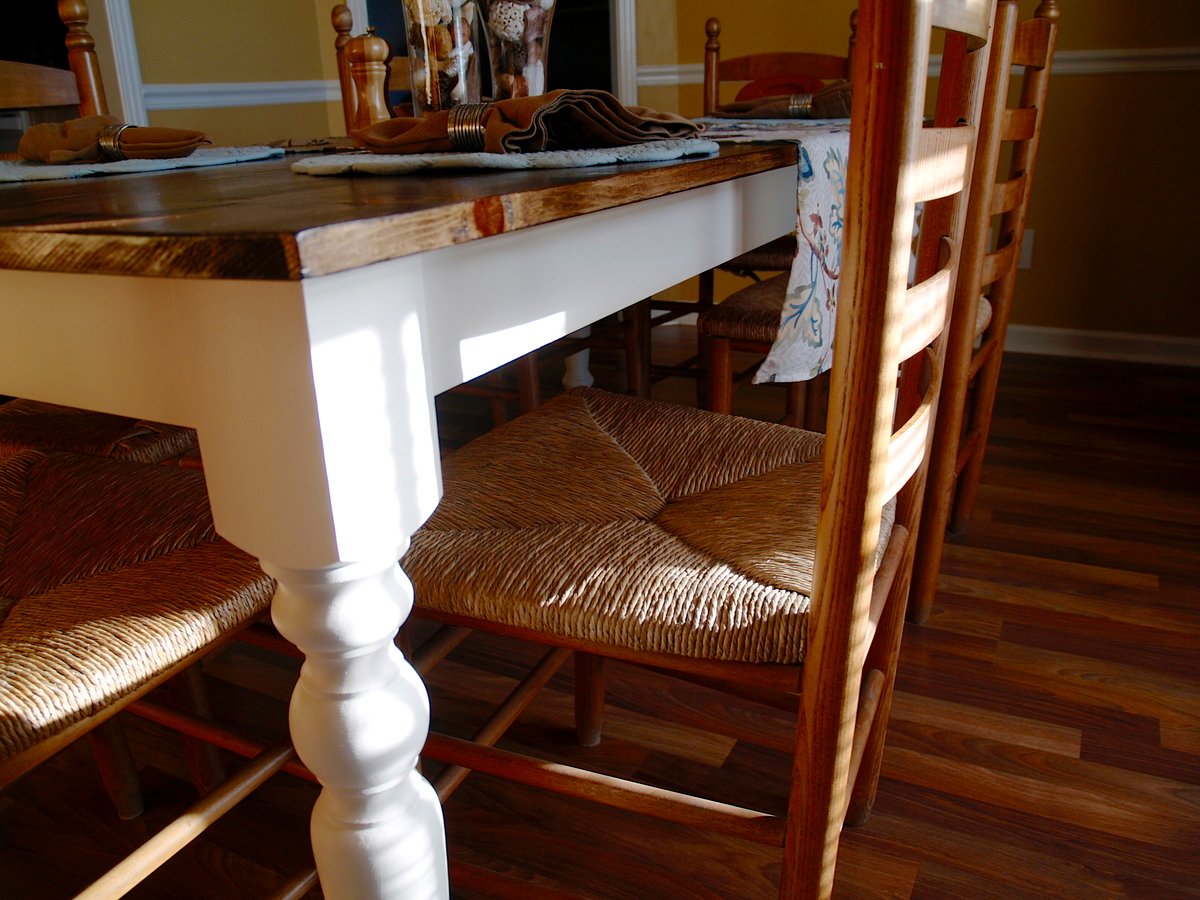
My husband and I decided to tackle this as our second woodworking project together. We have been wanting a larger dining table that would comfortably seat 6 people and easily squeeze in 8 if needed. We decided to build Ana's turned leg farmhouse table, adjusting the dimensions and choosing slightly different legs. These variations better suited our dining room space.

We purchased the "Modified English Country Dining Table Legs" in soft maple and 3 1/2" diameter from Osbourne Wood Products, which totaled $136. The rest of the lumber was made up of pine boards from Lowe's, which totaled around $40-$50. When assembling the 1 x 10 boards to make the top, we used a biscuit joiner to help our slightly bowed boards stay flat. Once the table was fully assembled, we painted the base in Lowe's Antique White (satin finish) and stained the top using Minwax's Special Walnut, then applied at least two coats of Minwax's polyurethane in satin finish.

We made a couple of mistakes along the way which actually worked out for the best, giving the table some rustic character. Being relatively new to woodworking, we neglected to thoroughly wipe the 1 x 10 boards of all wood glue before the glue dried, making it difficult to remove later with sanding. Some wood glue remained, which showed up later once boards were stained. We ended up liking how this turned out to give it some charm and more of that 'handmade' look.

Built from Plan(s)
Estimated Cost
$200.00
Estimated Time Investment
Weekend Project (10-20 Hours)
Finish Used
Staining top:
1. Sand top completely first using coarse 80 grit and then fine 220 grit sandpaper with electric sander (we used Porter & Cable square orbital sander from Lowe's).
2. Wipe entire surface of table thoroughly using damp cloth. Let dry completely.
3. Apply wood conditioner to entire table using brush (we were lazy and only applied to the top). Let dry completely - overnight is best.
4. Apply special walnut stain evenly to tabletop using brush. Wipe excess using old cloth. Let dry completely overnight. Repeat this process until desired depth of color is achieved (we applied two coats).
5. Lightly hand-sand top with 220 grit sandpaper to prep surface before each polyurethane coat for better adhesion. Clean surface with damp cloth after each sanding and allow to dry before poly. Repeat this process as needed for durability. (We applied only two coats).
Painting Base:
1. Apply two coats of Antique White in satin finish using angle brush. Let dry in between coats.
Recommended Skill Level
Beginner

Console as microwave cart

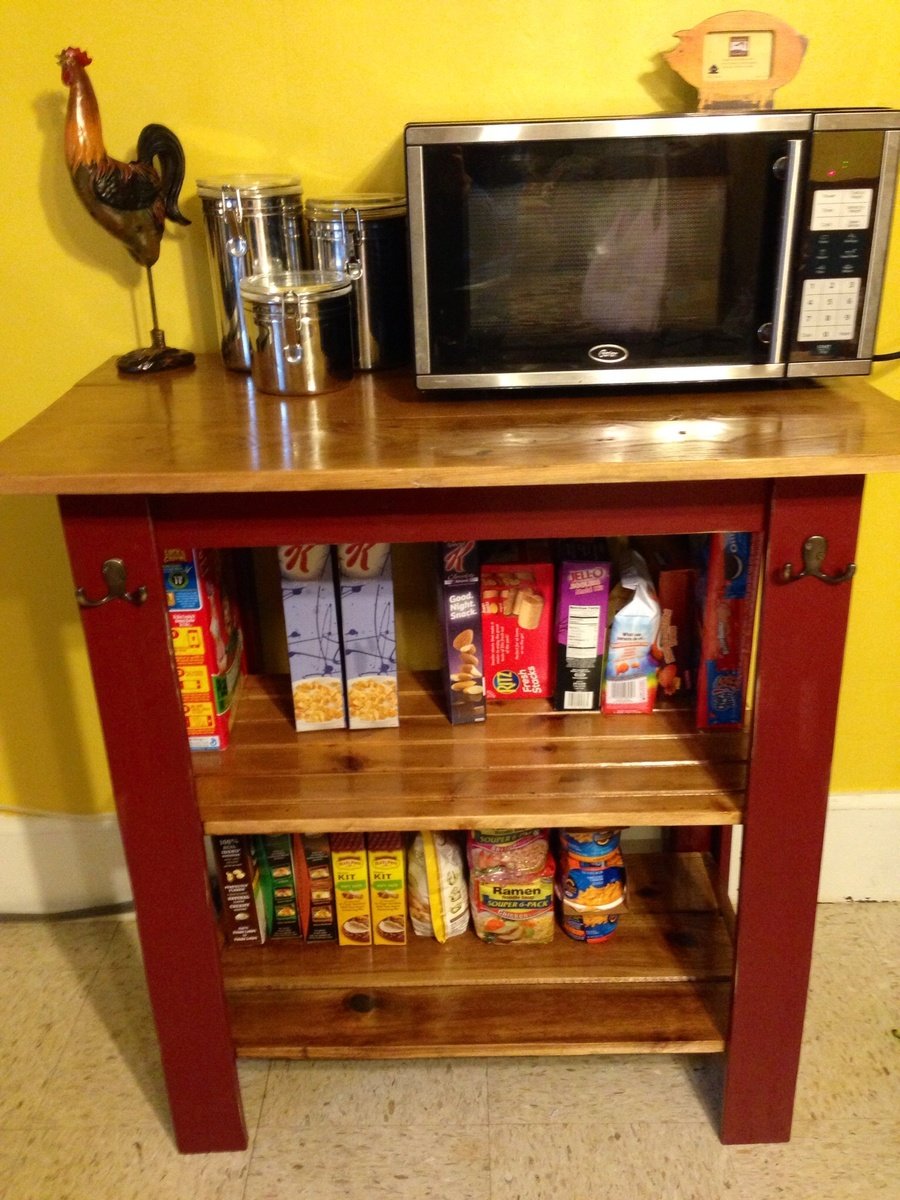
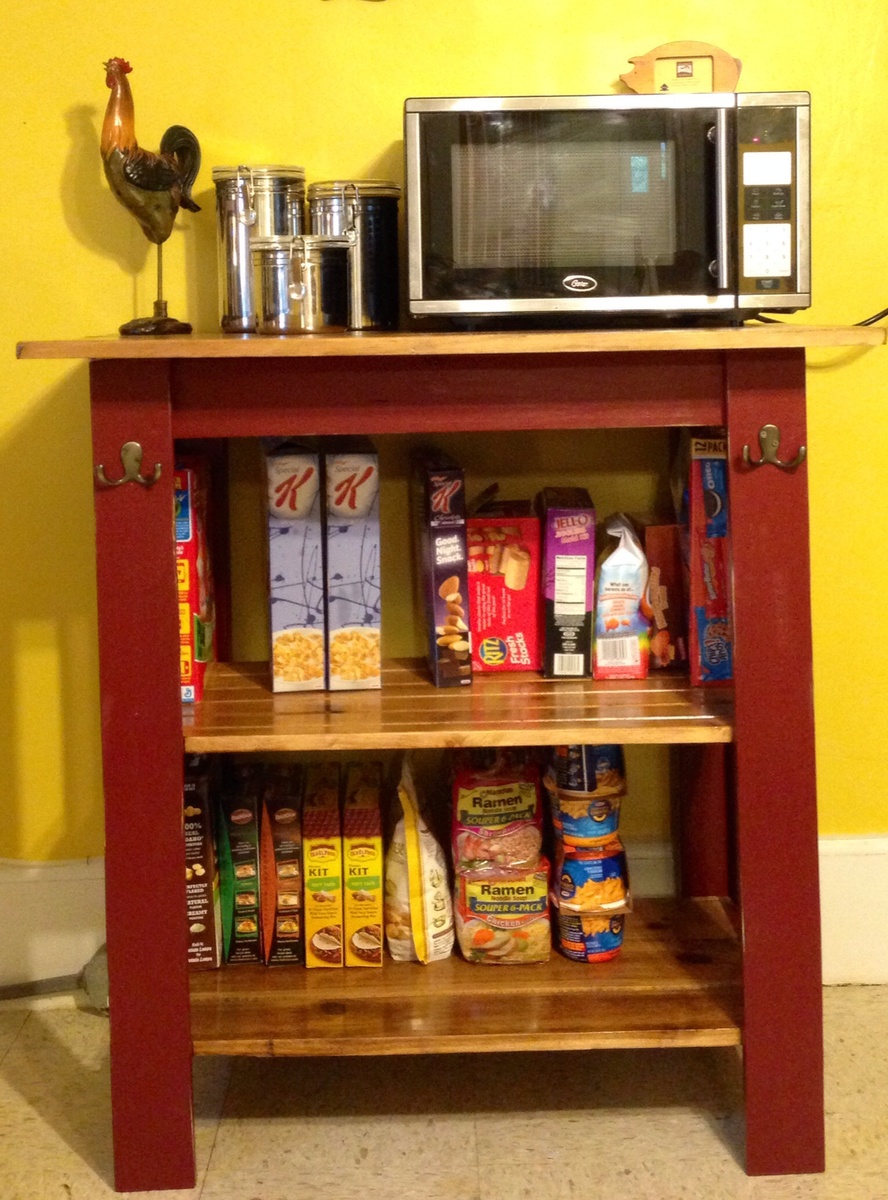
Added a shelf and made the console a microwave cart for my mom.

Built from Plan(s)
Estimated Time Investment
Day Project (6-9 Hours)
Finish Used
Min wax poly stain and baldpate paint in Spanish Tile.
Recommended Skill Level
Starter Project

Comments

Large beam cot rack

Submitted by Anonymous (not verified) on Tue, 02/14/2017 - 23:39

For a few years, we used a normal wooden wall hanger (a normal wood wall hanger means a piece of pinewood plank screwed on the wall, which had 7 double hooks on it), we decided to find some new ideas. We found a nice idea, a pine beam that looks like it’s part of the structure, passing through the wall, on which a lot of wooden hooks are fitted.


Estimated Cost
$20
Estimated Time Investment
Day Project (6-9 Hours)
Finish Used
Water based matte varnish
Recommended Skill Level
Intermediate

Comments

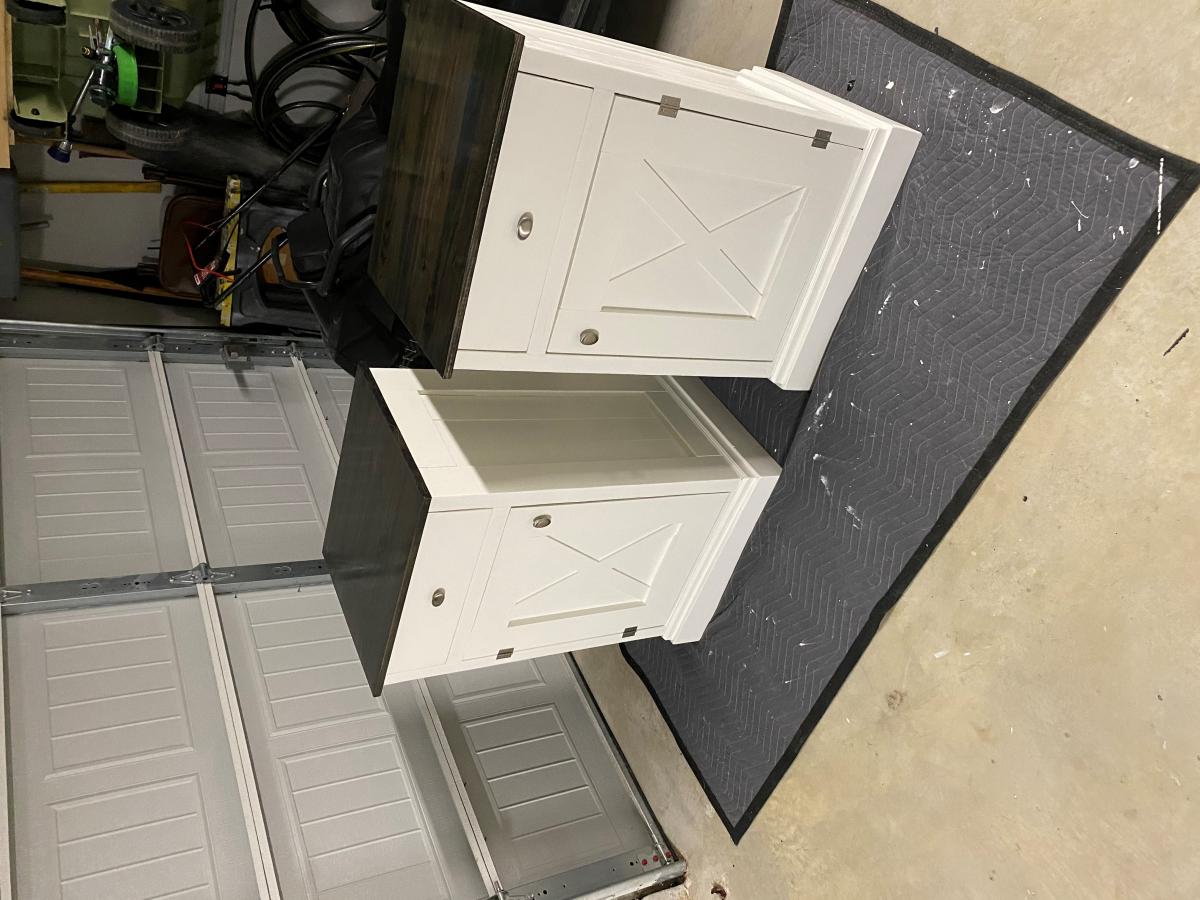
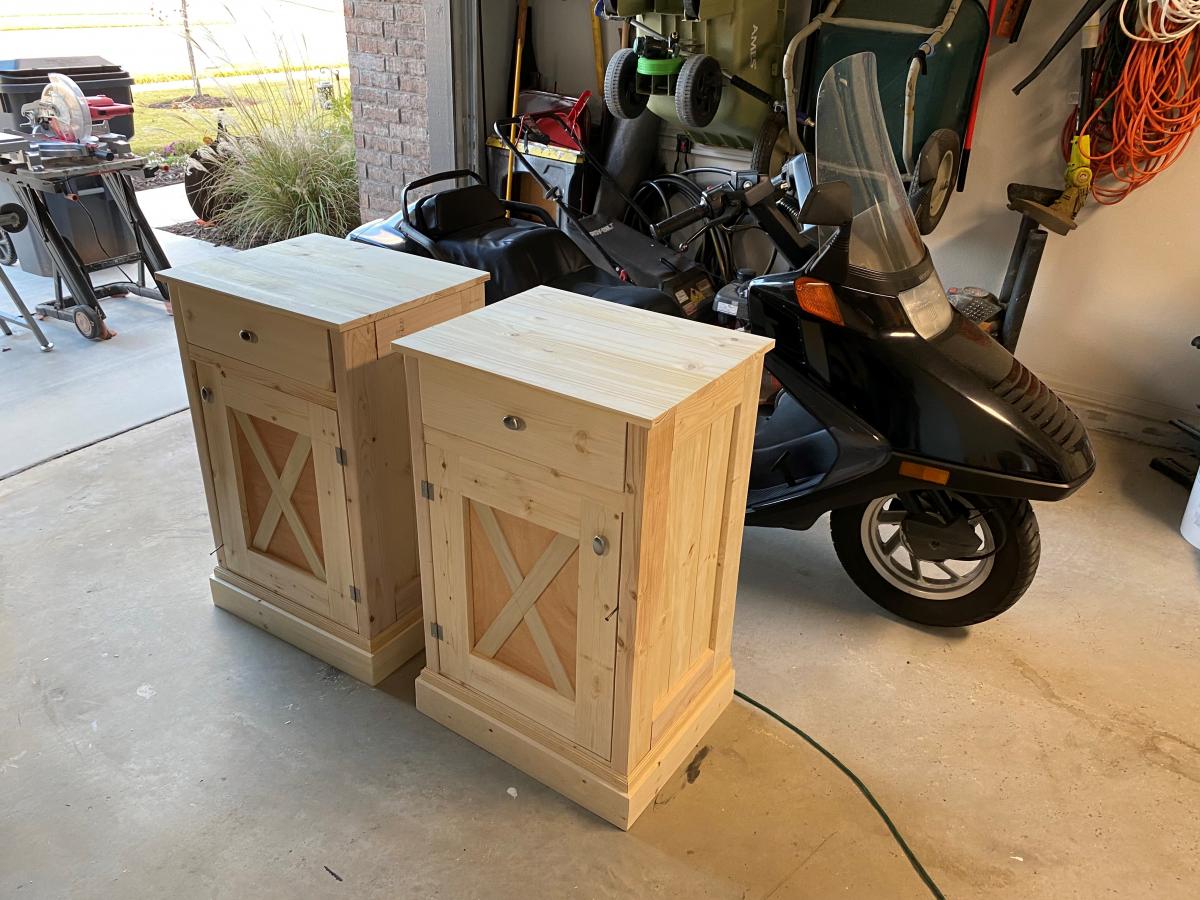
Planked Sideboards

I used the Planked Wood Sideboard plans, but I only did the sides. I mirrored the top of the desk using a project panel.

Built from Plan(s)
Estimated Cost
Both 120
Estimated Time Investment
Week Long Project (20 Hours or More)
Finish Used
Paint- Pure White Semi Gloss Kelly Moore
Stain - Weathered Teak Sherman Williams
Poly - Varathane Clear Gloss
Recommended Skill Level
Intermediate

Comments

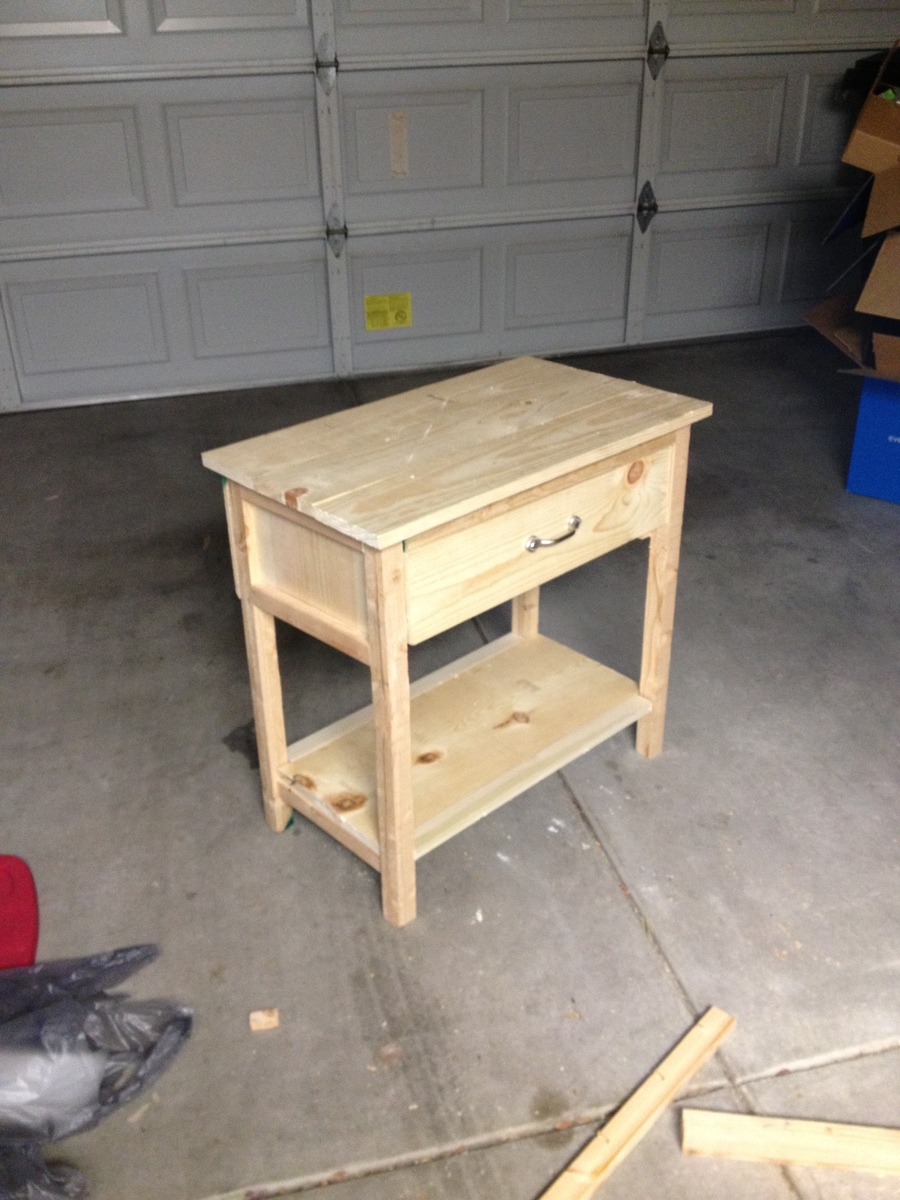
Farmhouse Bedside Table

Submitted by DianeHibbs on Tue, 01/15/2013 - 15:27

This was my first DIY furniture project!

The materials cost less than $50! Of course, I did buy some fun new
power tools!

Thanks to http://ana-white.com for the great plans!

I learned quite a lot from this. The nightstand will go in our guest room but the next project will be Master-Bedroom-Worthy! I’ll try to share what I learned with you here so you can avoid my mistakes.

I cut all my pieces first. I used super cheap wood because I wasn’t sure how good I’d be at this. Needless to say, they weren’t all exactly straight so my “squaring up” didn’t work out quite as well as I’d hoped.
Lesson: buy straight boards

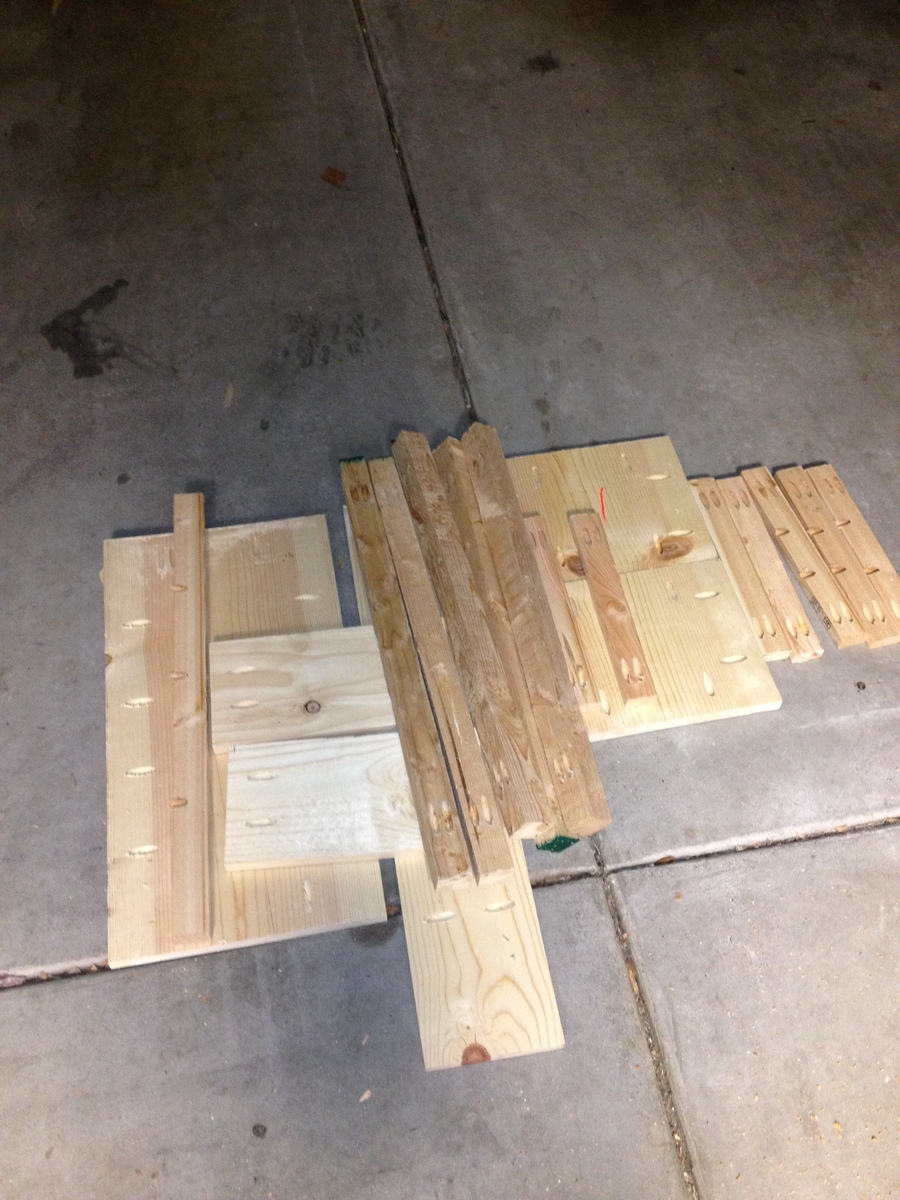
Then I went crazy with the Kreg jig and drilled all my pocket holes. I tried to use pocket holes for all the connections.
Lesson: just follow the directions

Another thing I'll do differently next time -- I'll sand and finish all the parts at this point before assembling the piece.

I can't wait to try my next project! Thanks Ana!!!

Built from Plan(s)
Estimated Cost
$50
Estimated Time Investment
Day Project (6-9 Hours)
Finish Used
Polyshades Espresso - two coats
Recommended Skill Level
Beginner

Balin Console Table

Submitted by allchrome on Wed, 11/12/2014 - 07:55

So happy with the way my Balin Console Table turned out.  I altered Ana’s plan just a bit by adding 1x2’s to the sides at the top and bottom to recess the side panels and I added drawer slides for easy opening as well as trimming out the front of the drawers to recess the drawer fronts.  Thank you Ana for great plans!

Built from Plan(s)
Estimated Cost
$180.00 - $200.00
Estimated Time Investment
Weekend Project (10-20 Hours)
Finish Used
Primed, lightly sanded and finished with 2 coats of Valspar Semi Gloss in Mountain Smoke.
Recommended Skill Level
Starter Project