compartment depot bookshelf
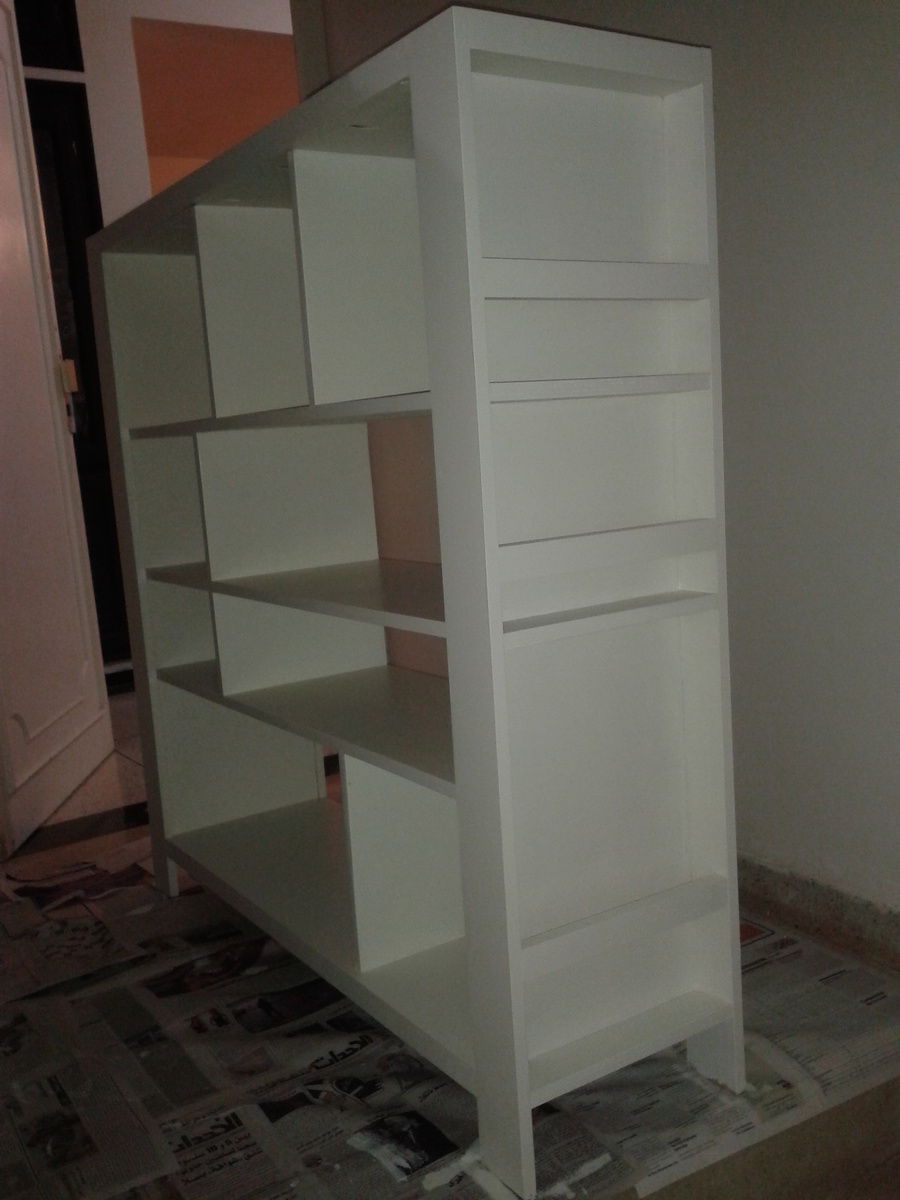
This is my first serious project that I dedicated to my wife so she can arrange her many books and personal things. I used the undercover jig from wolfcraft (same as kreg jig).
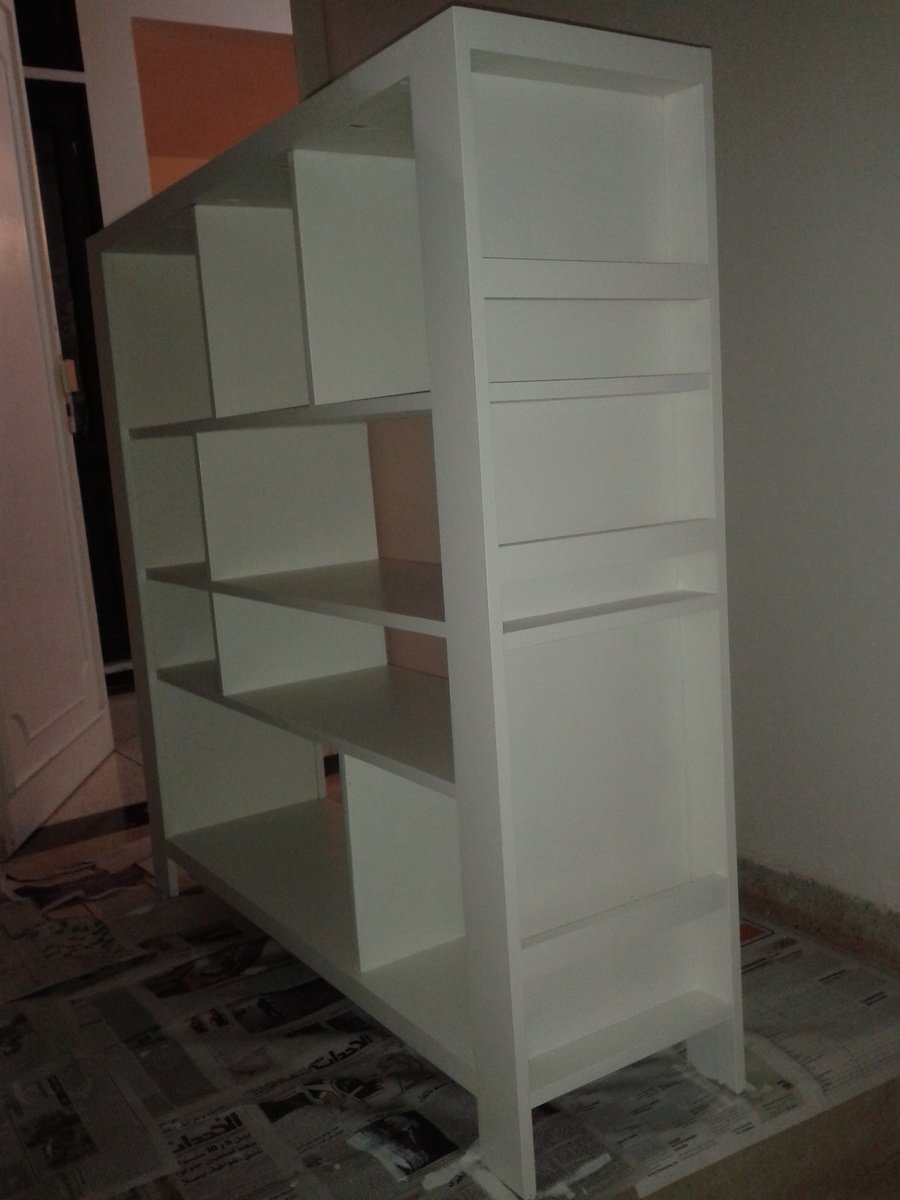
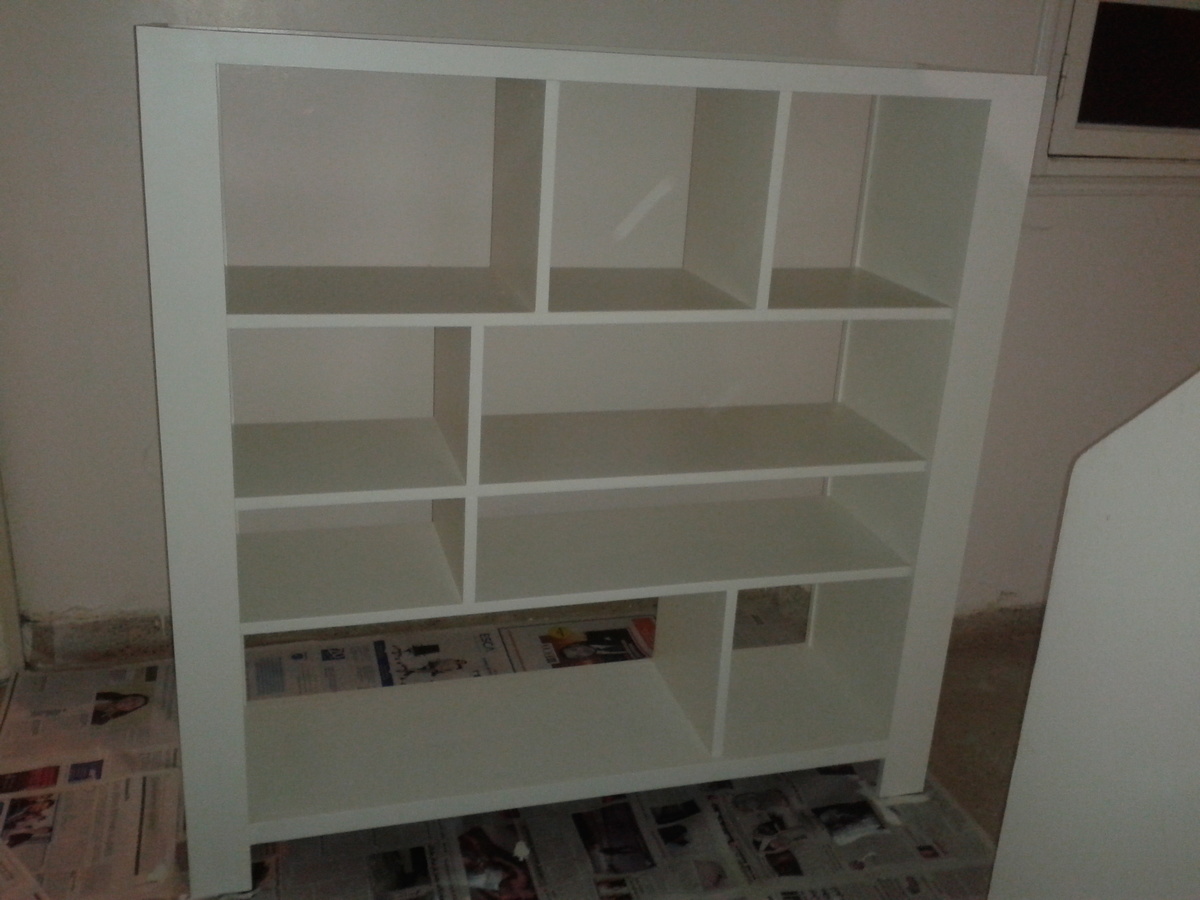

This is my first serious project that I dedicated to my wife so she can arrange her many books and personal things. I used the undercover jig from wolfcraft (same as kreg jig).


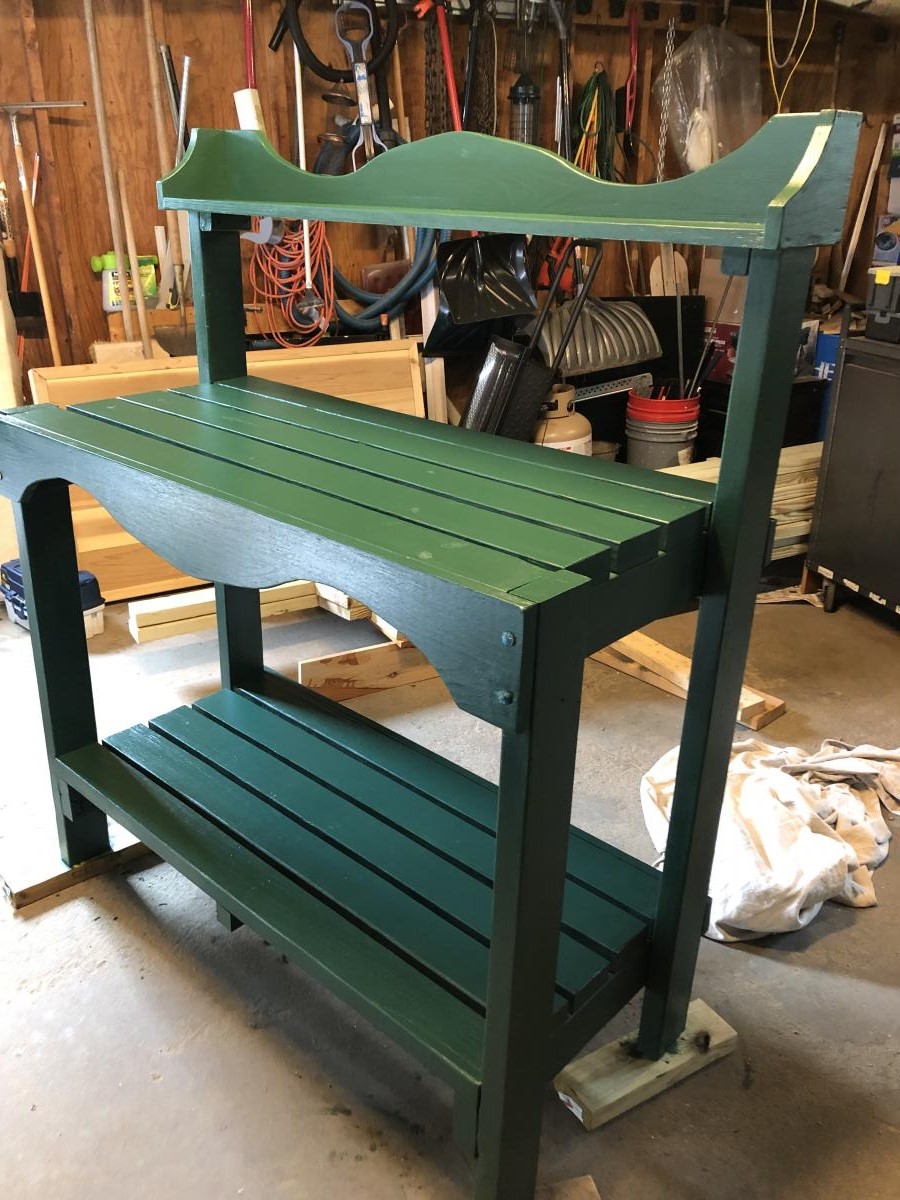
I built this for a dear friend’s wedding. The showed me a picture of what they wanted and I modified your plans to make it look the way they wanted. I used treated lumber so it would last on their deck. Finished with Cabot solid oil-based stain. I’m not a fan of solid stain as it was very humid and it took sooo long to dry. Also I love see the wood grain.
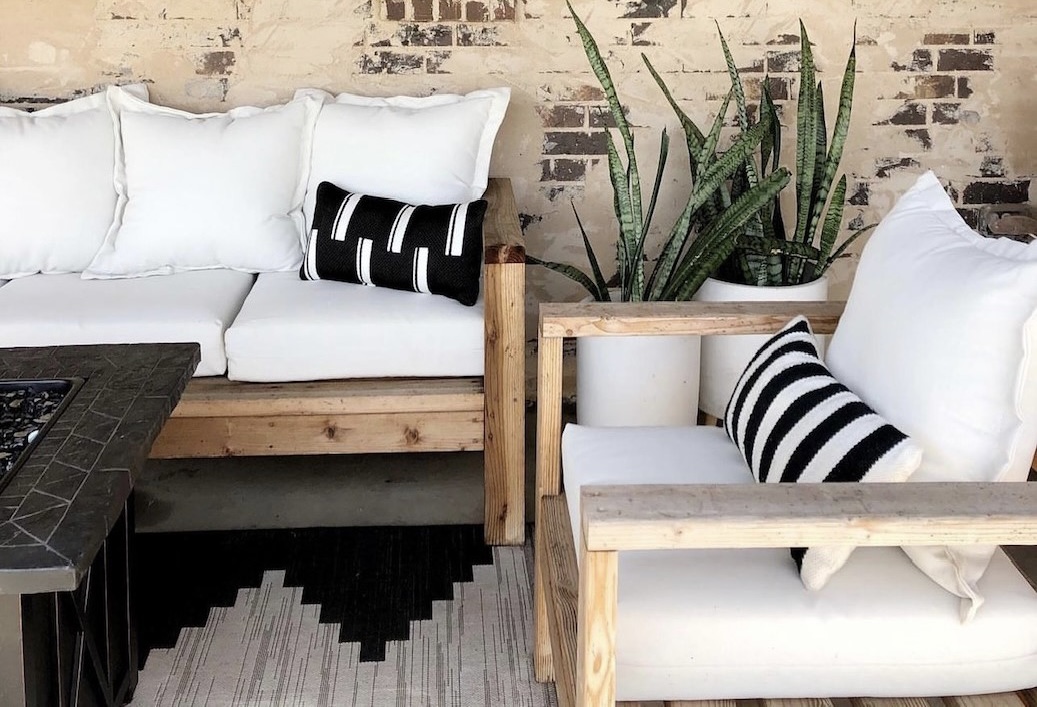
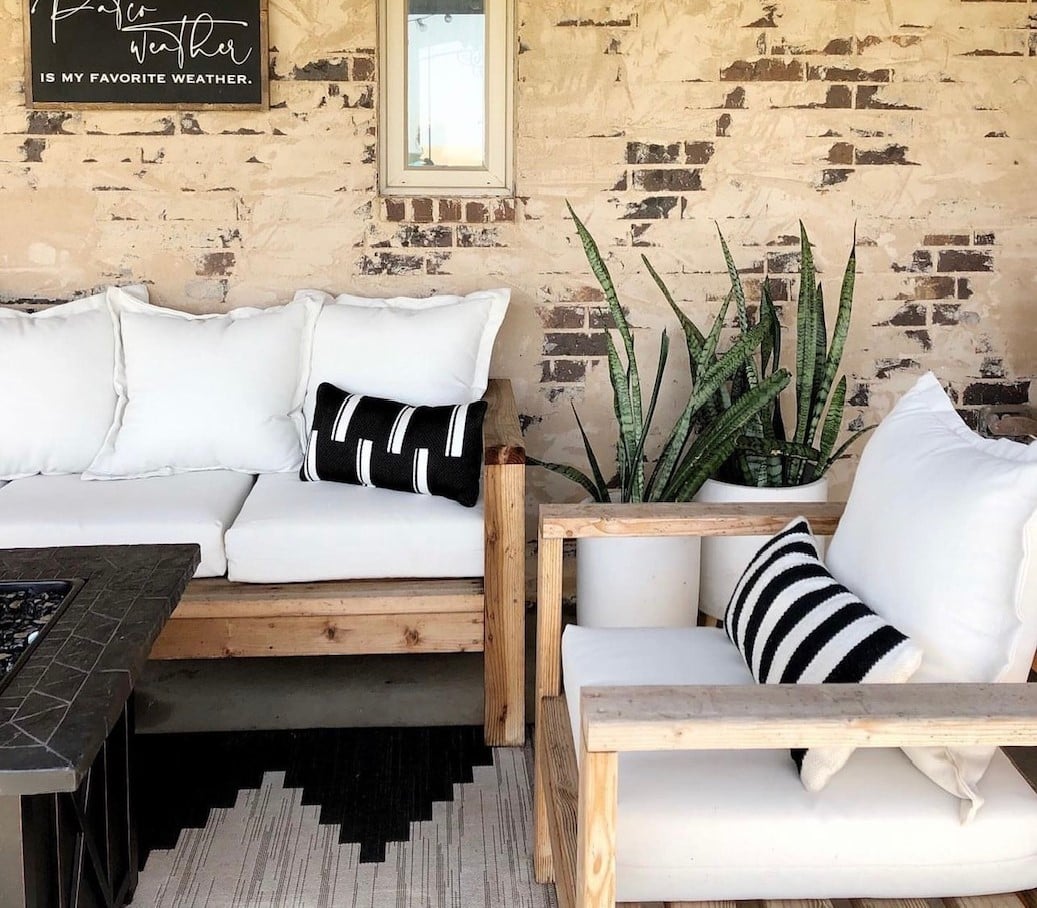
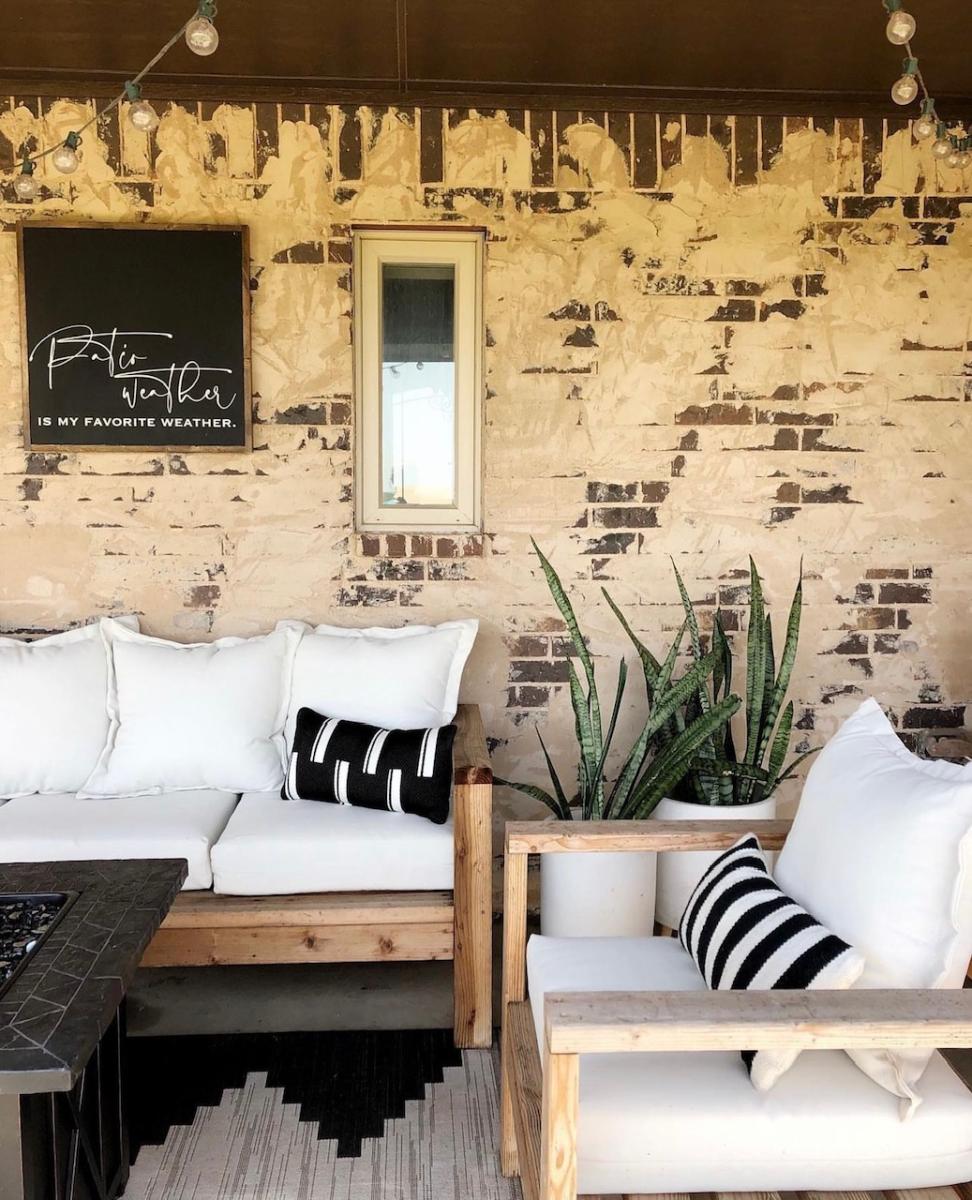
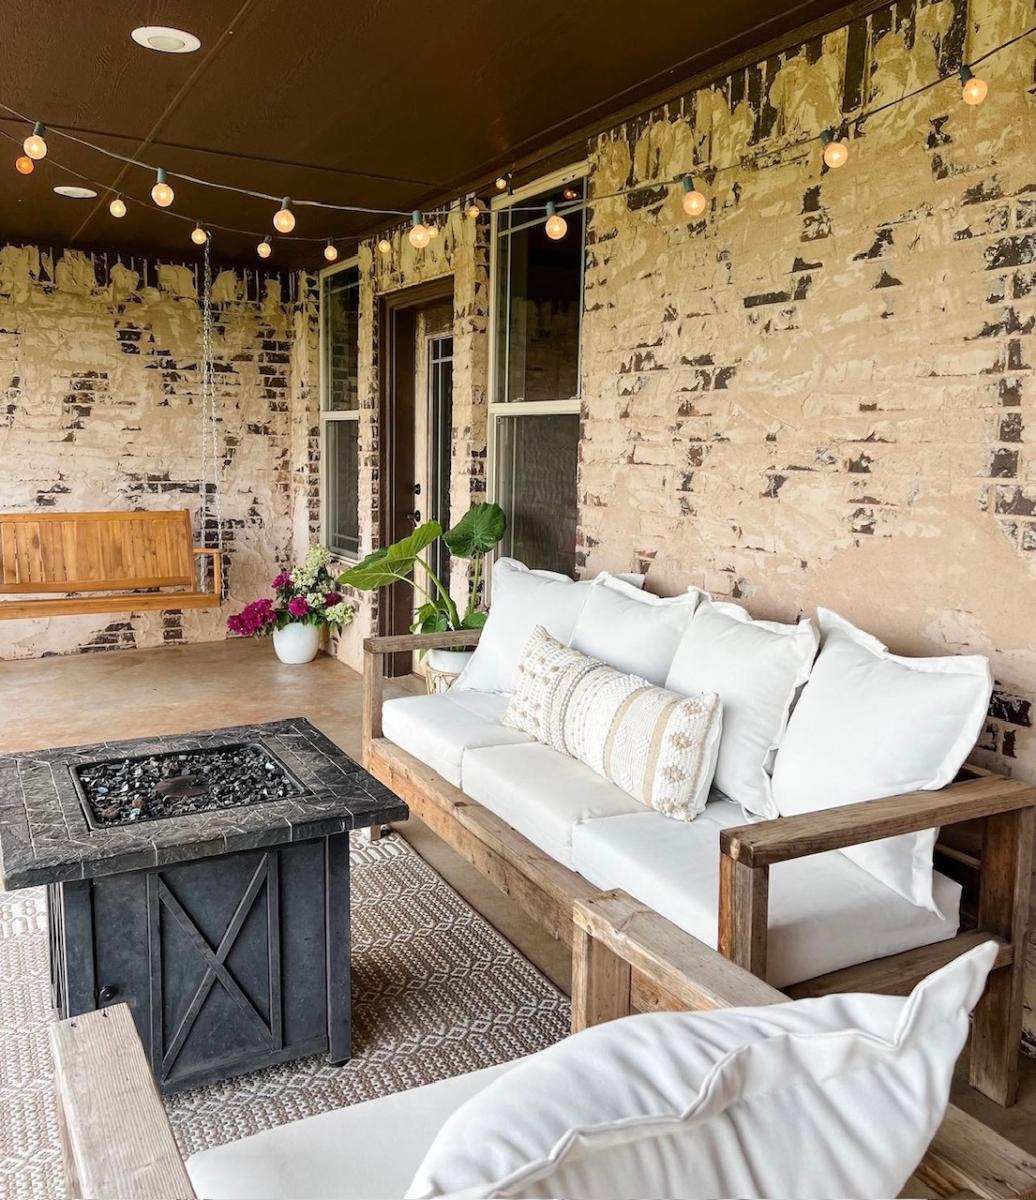
How cute is this new patio sofa I made out of 2x4s??? I used Ana White's plans and tweaked it just a little. I could not be happier with how it turned out and proud that I did it myself.
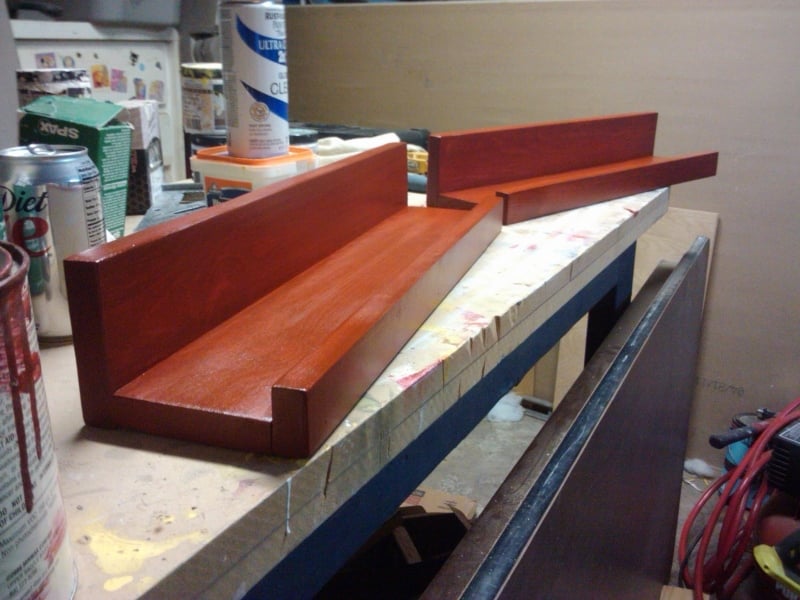
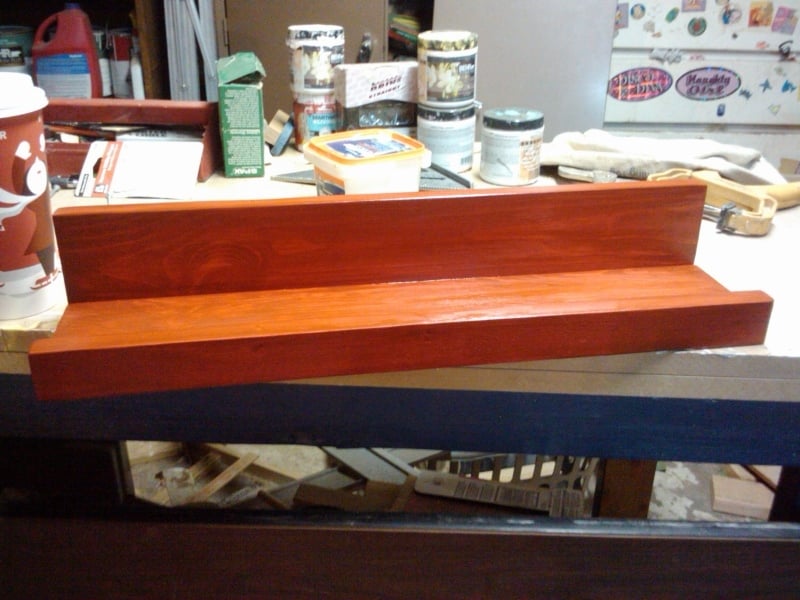
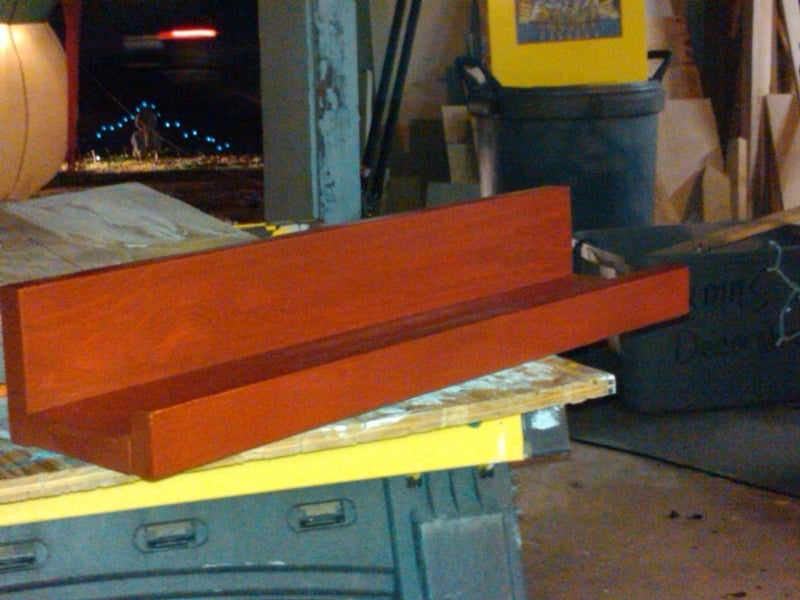
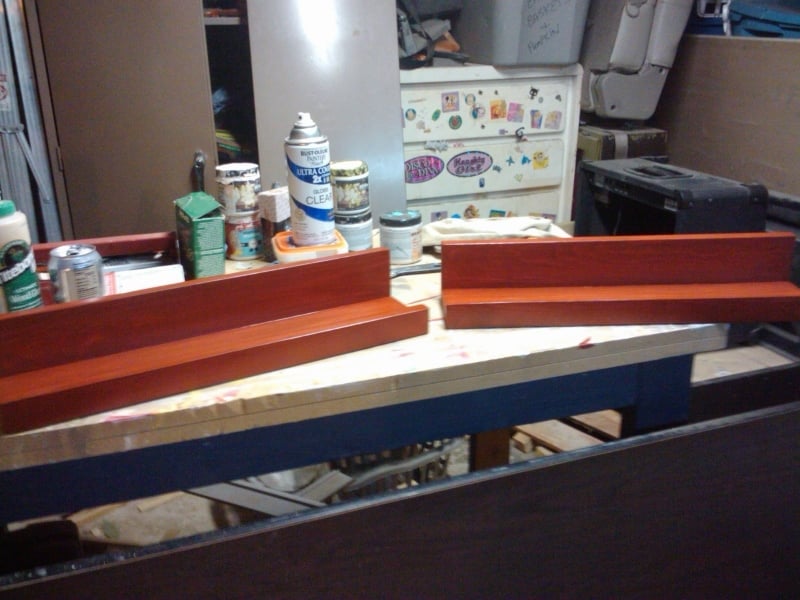
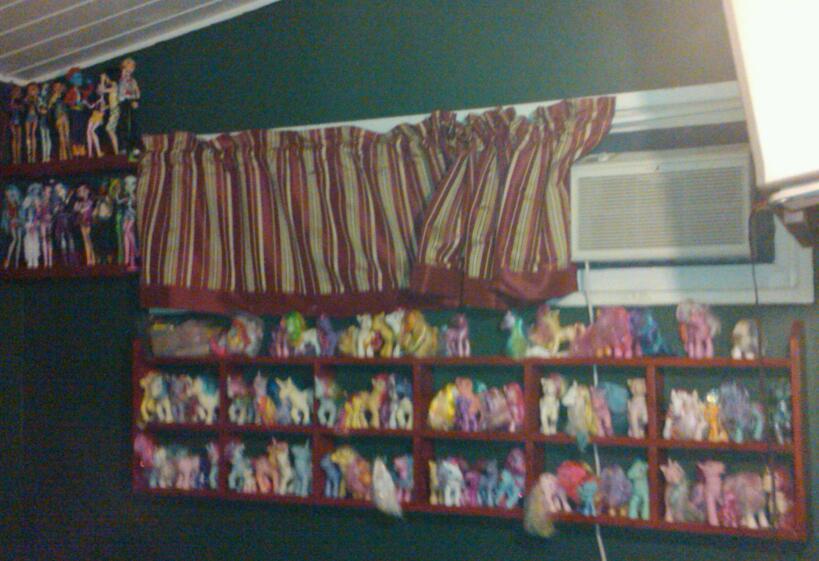
These shelves are great because you can make them any size you want! As you can see, these were made to hold my daughter's monster high collection, took advantage of dead space between the wall and the window. I put these together with my Kreg Jig so they're very sturdy. I couldn't buy shelves as nice as these, TWO OF THEM! for under 10 dollars. If you're thinking of building these, stop thinking, start doing, they're well worth your time and effort.

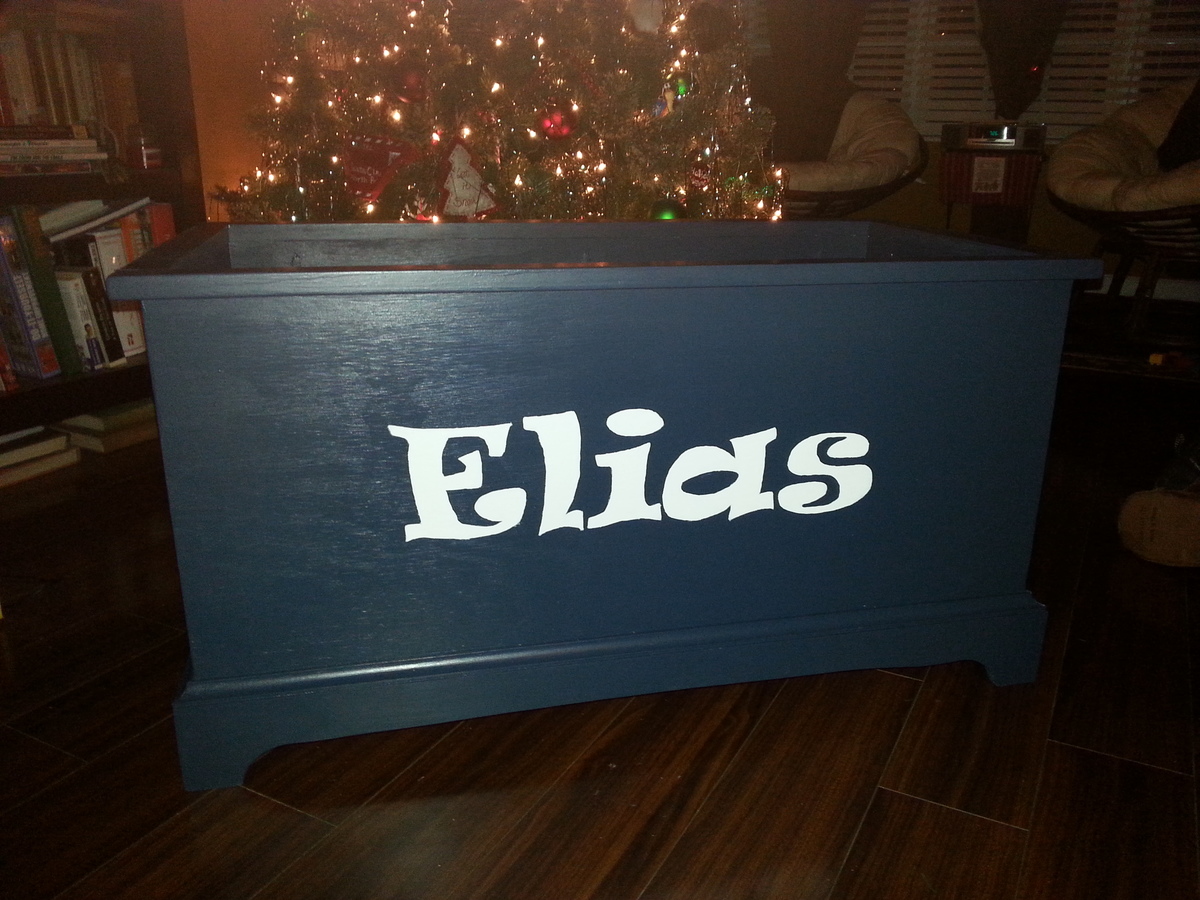
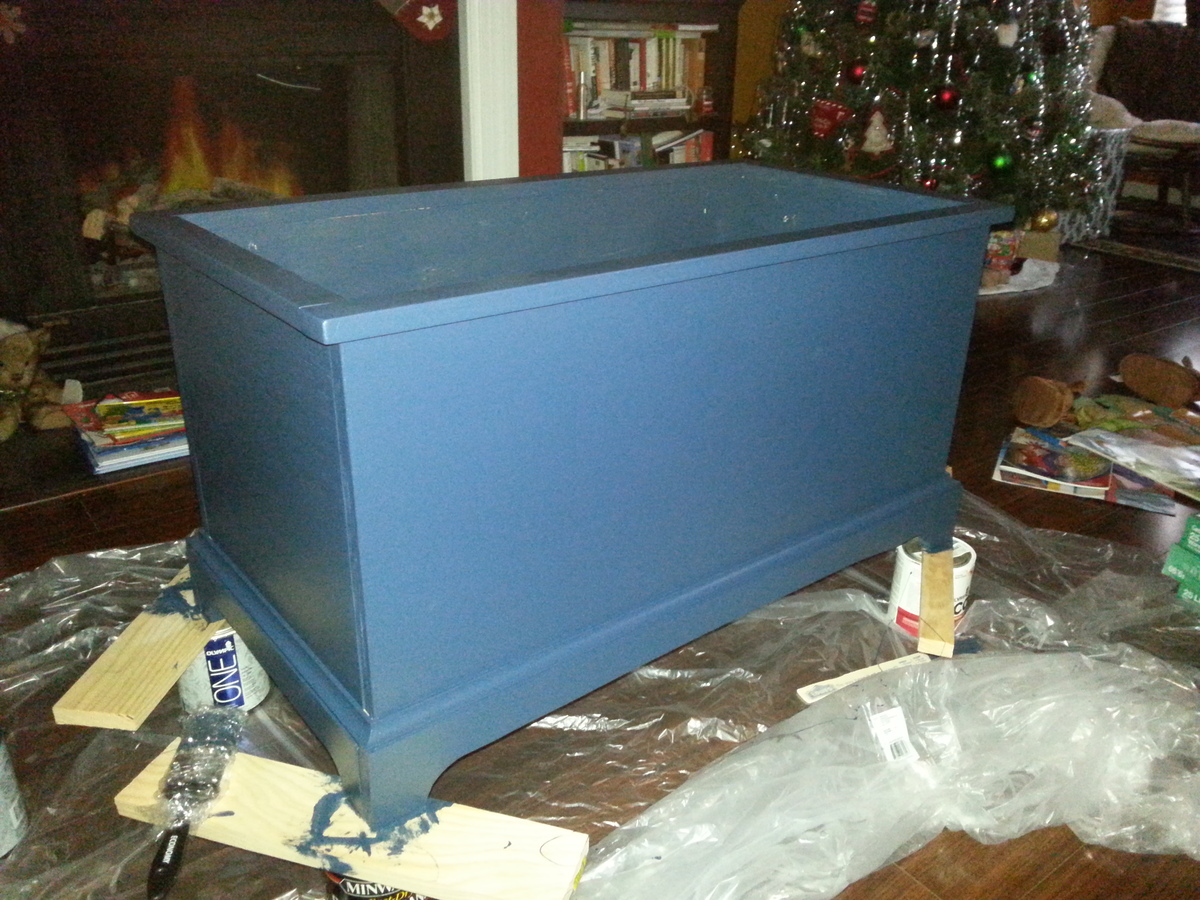
I have been wanting a good size toy box for my son and after finding this project here, I decided to build one for him for Christmas. Eli is going to be so excited!
This is a pocket hole version.
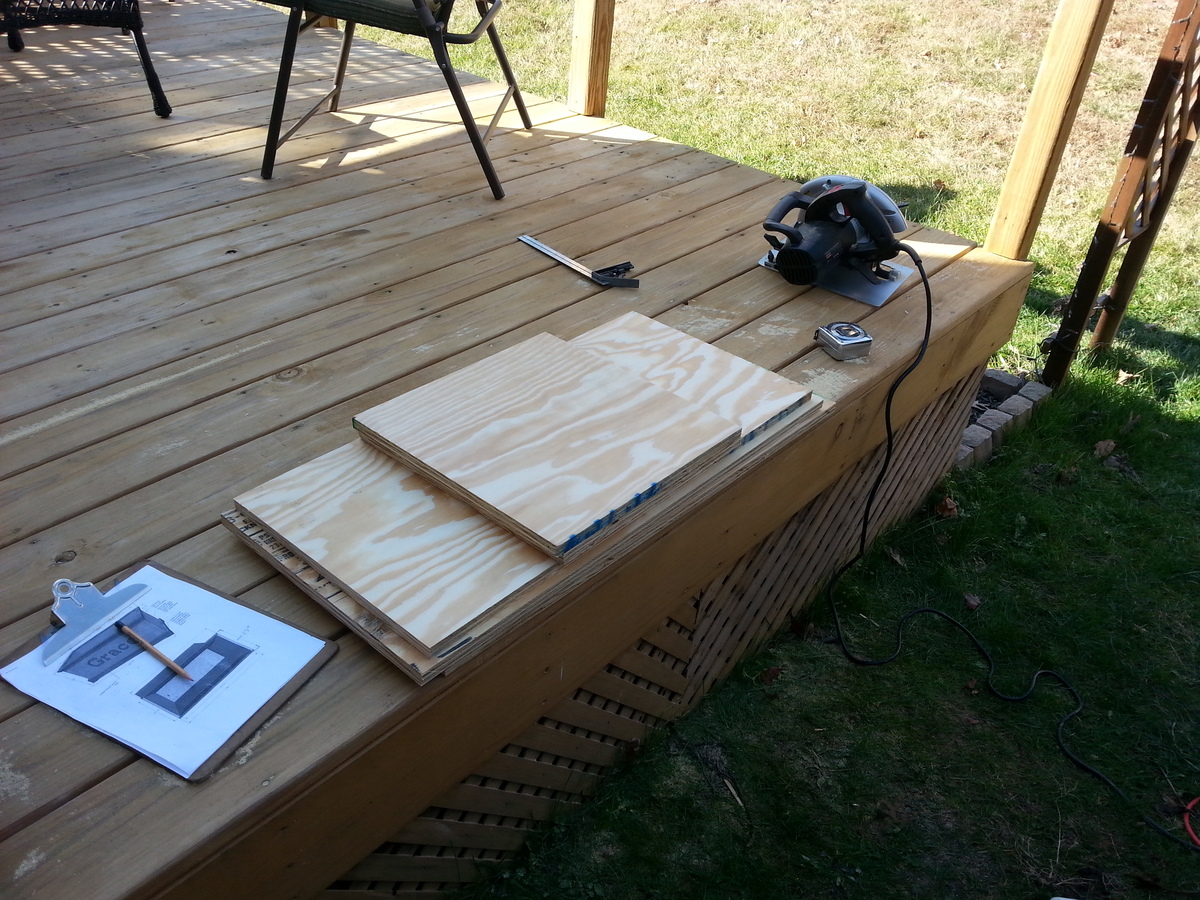
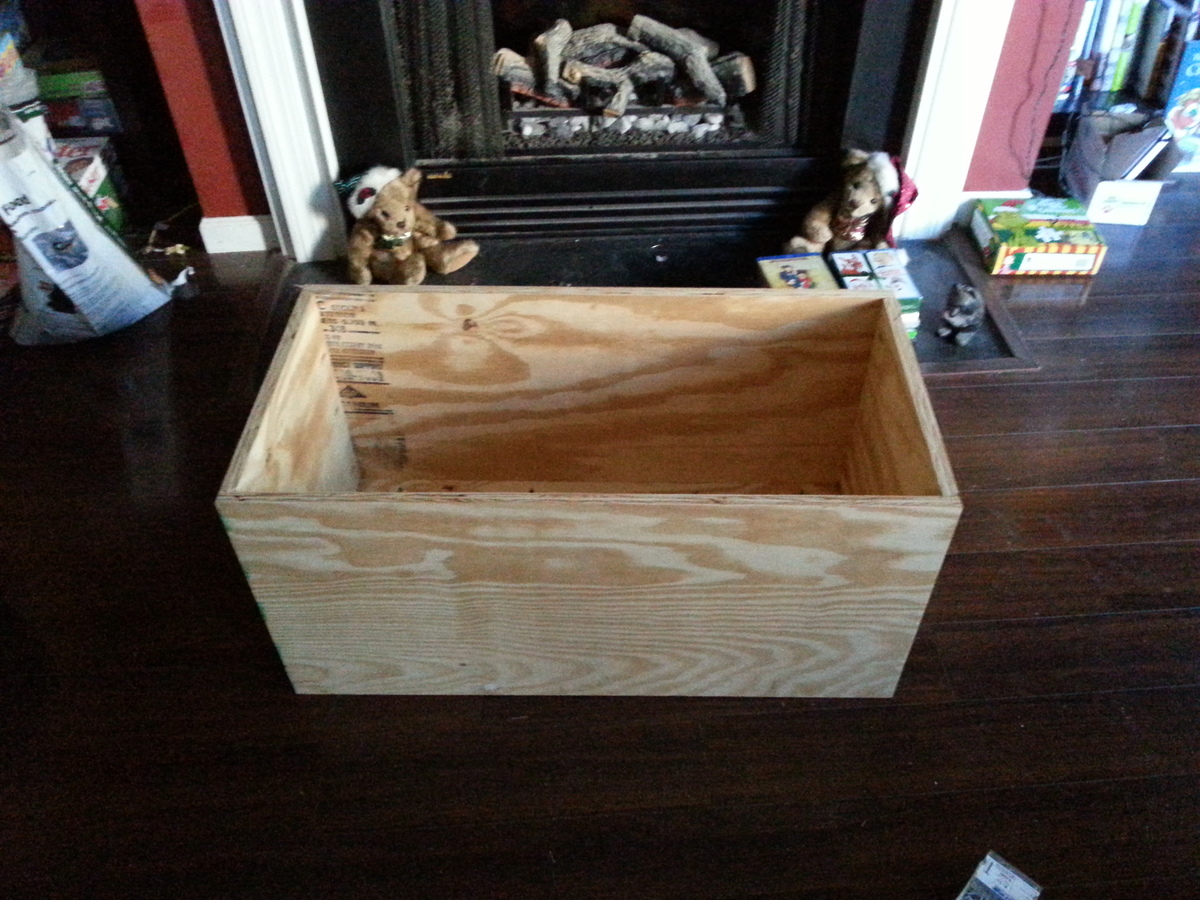
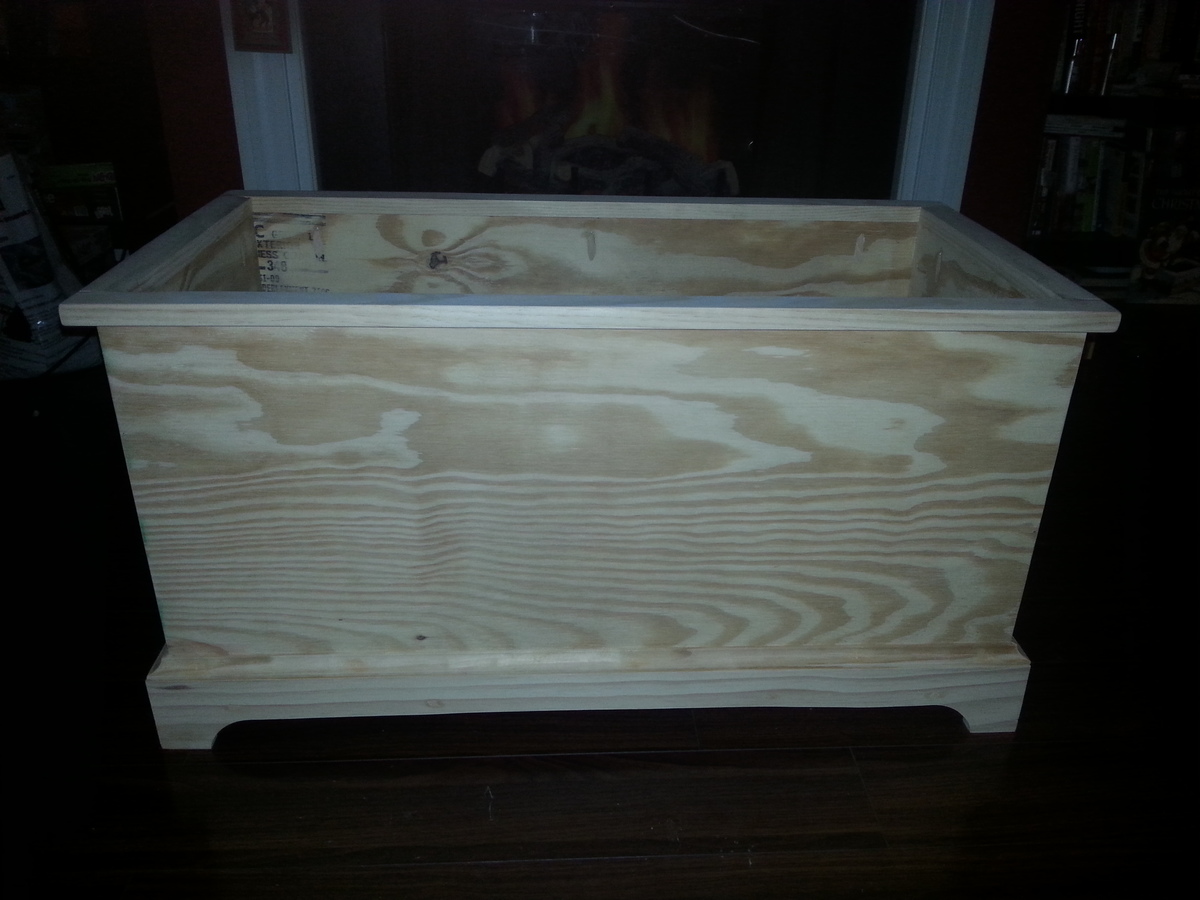
Mon, 12/23/2013 - 10:07
Thanks...I couldn't place the brand.
By the way...Eli will probably love the toybox. I made one last year for my daughter, and stuck her name on it using wood cutout letters. I added a lid, so I don't have to look at her ever growing collection of stuffies...
I made mine with a "MasterCraft" saw, a budget brand similar to Craftsman in terms of price and quality...
HD
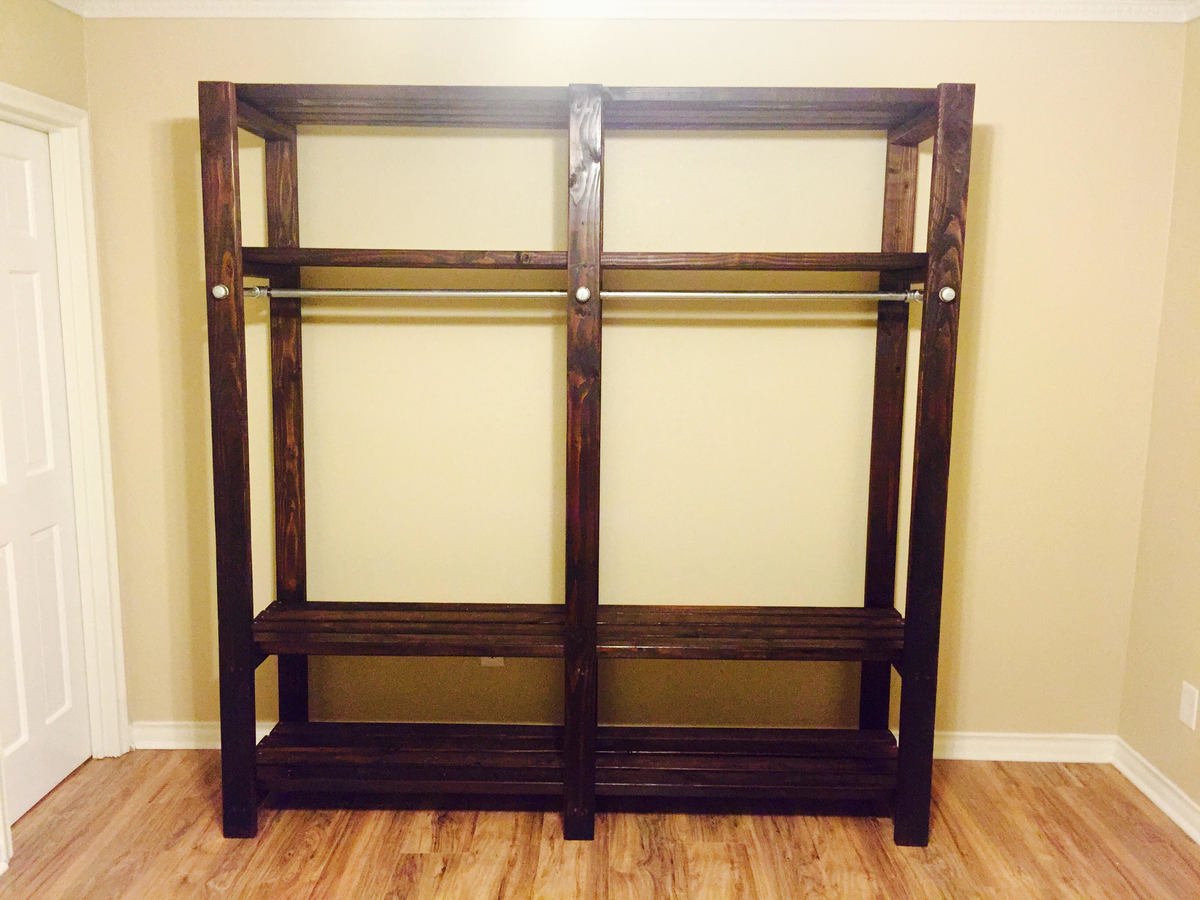
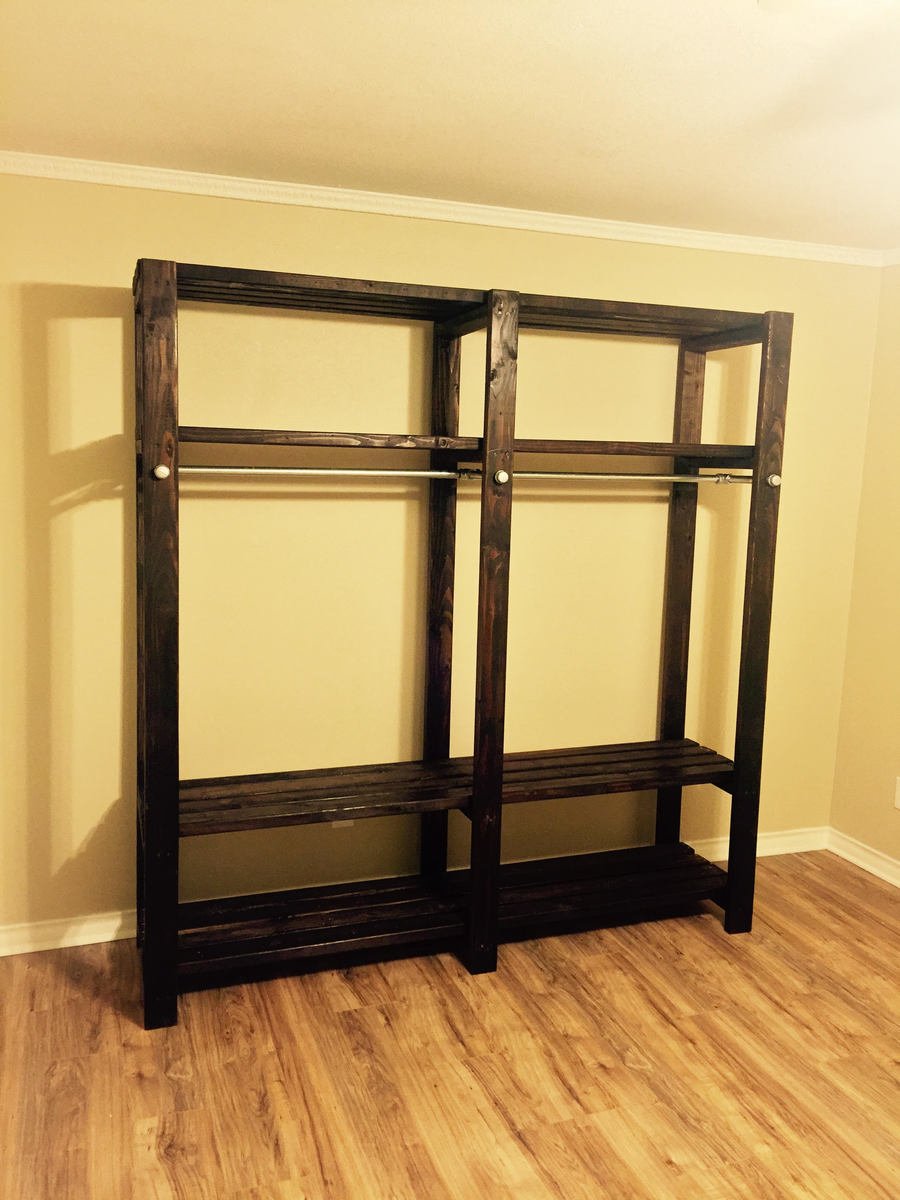
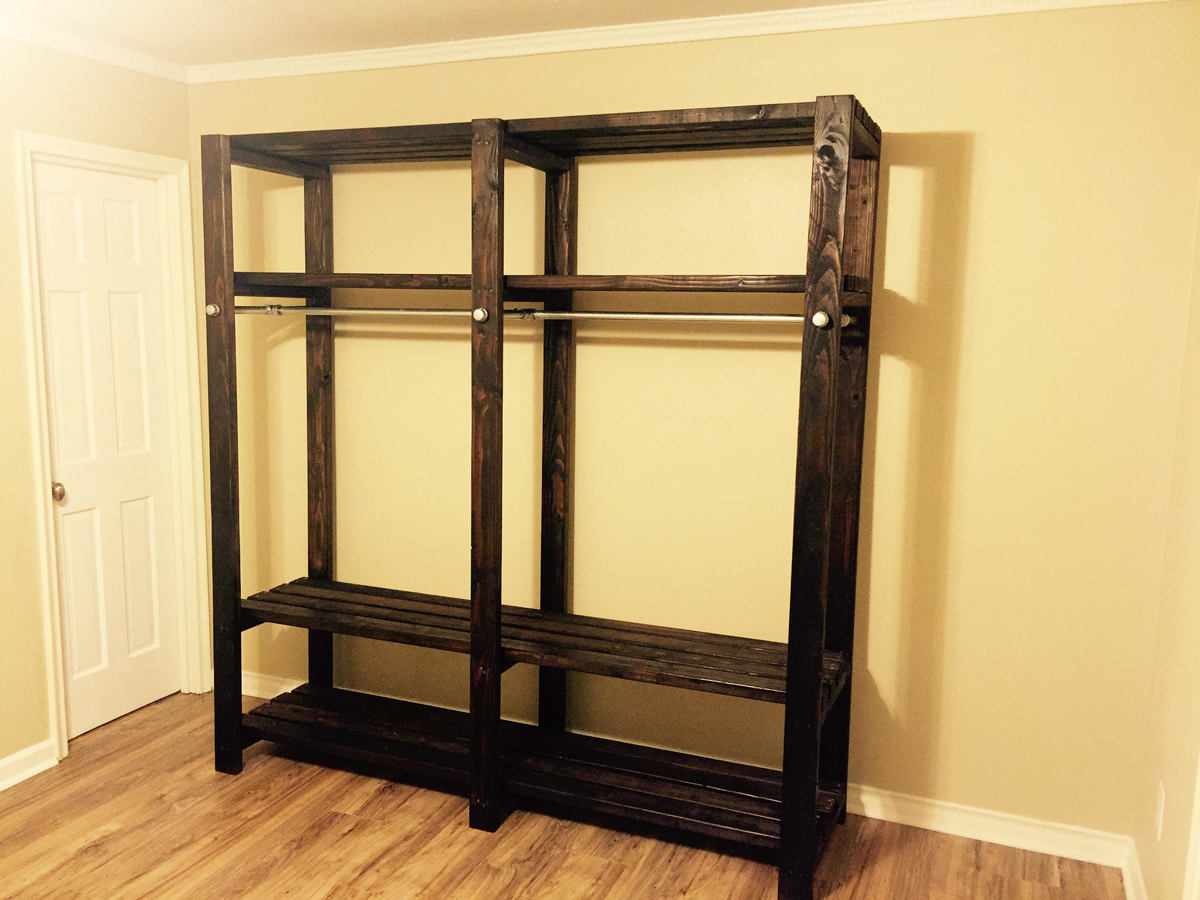
I built this closet for a room in a newly renovated house which was improved from a 3BR to a 4BR but the new additional BR didn't have space for a closet. The entire closet is made of only cheap 2X4's and galvanized pipe found at the local hardware store.
The user didn't need the middle shelves so I modified the original plans to make it shorter in width but 4 inches deeper by using 10" nipples instead of 8". I sanded and stained all the 2X4's first before doing anything. Then I created the 3 legs first (end boards - 82" inside boards - 17.5"). Once the legs were ready, I cut the boards for the shelves at 79" (4 boards for each shelf, evenly spaced out). Before putting the shelf on the legs, I laid each leg on the ground and unscrewed one side of the shelf and added wood glue in the hole, then screwed it back in to increase stability. Next, drill the pipe holes evenly and connect the pipe. Once the pipe is connected, place (4) 79" 2X4's evenly distributed on each shelf and drill 2 screws from the boards into the bottom of the legs on both ends and the middle to stabilize the shelf. From here, I took some pledge and wiped it down which smoothed down the surface. The longest part of the project was making sure the stain was dry and evenly applied.
I recommend using a miter saw for straight and smooth cuts and take the time to sand the wood (even the ends after you cut it).
2X4 Studs - 28
10" 3/4" Galvanized Pipe - 6
36" 3/4" Galvanized Pipe - 2
3/4" Galvanized Pipe T - 2
3/4" Galvanized Pipe Cross - 1
3/4" End Caps - 6
Pipe Wrench for tight connections
2.5" Screws (Drill pilot holes for everything)
1 1/8" drill bit for each hole
Stain - Minwax Espresso
Wood Glue
Mon, 02/29/2016 - 12:35
I accidently added this project without logging in so it shows it as Guest. Is there anyway to assign it to my username so if there are questions, I will receive a notice about it.
Mon, 02/29/2016 - 12:36
I accidently added this project without logging in so it shows it as Guest. Is there anyway to assign it to my username so if there are questions, I will receive a notice about it.
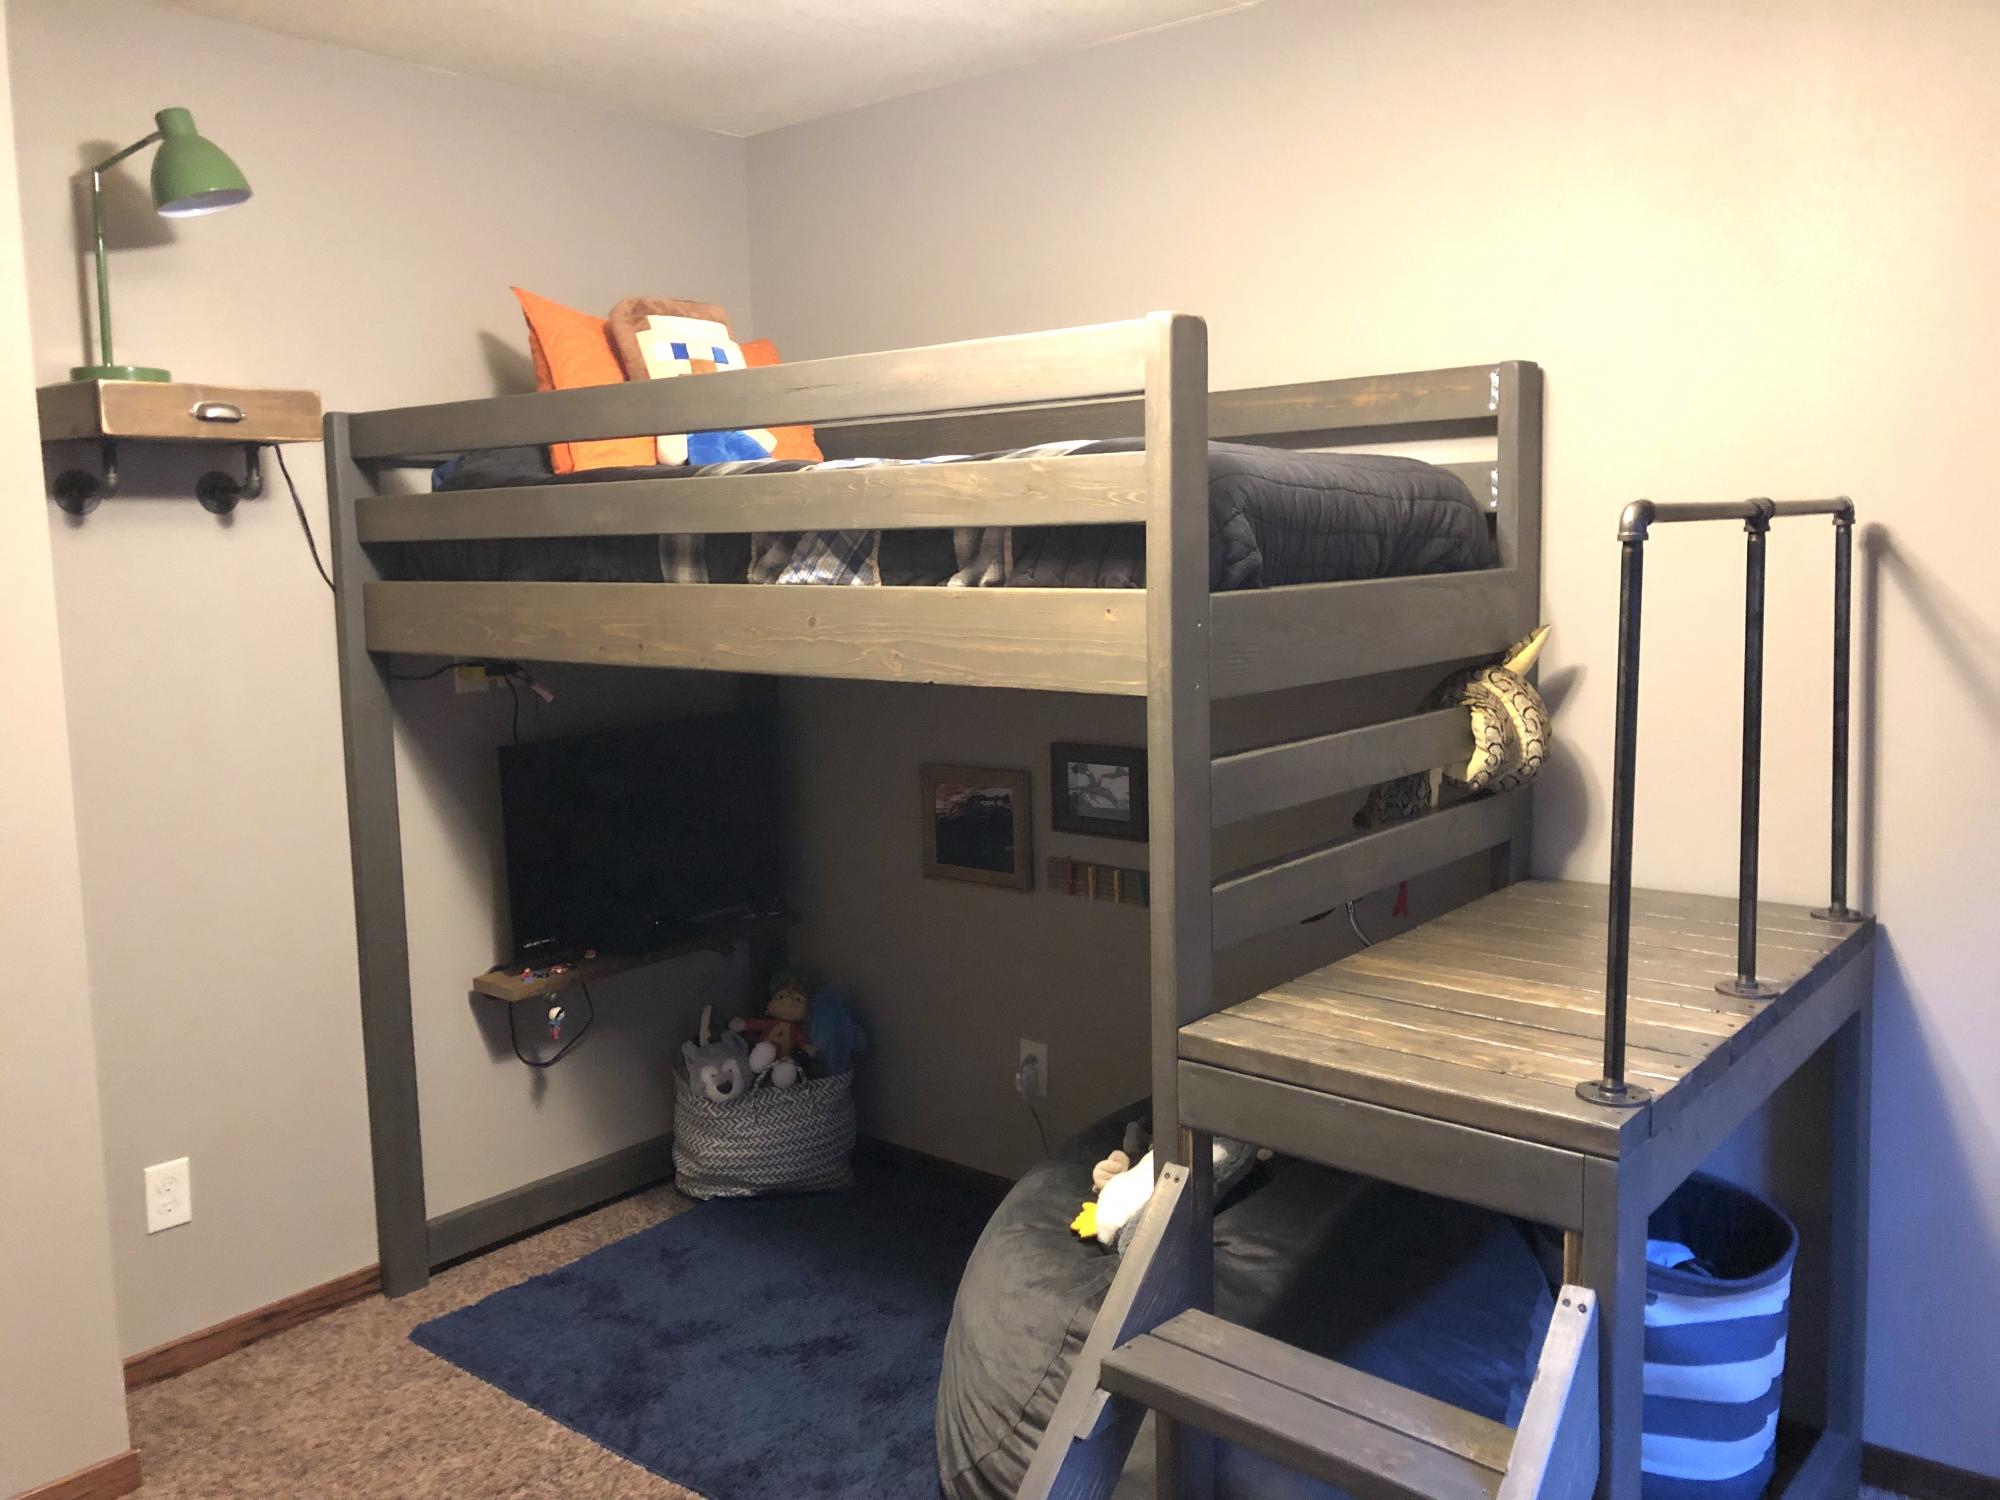
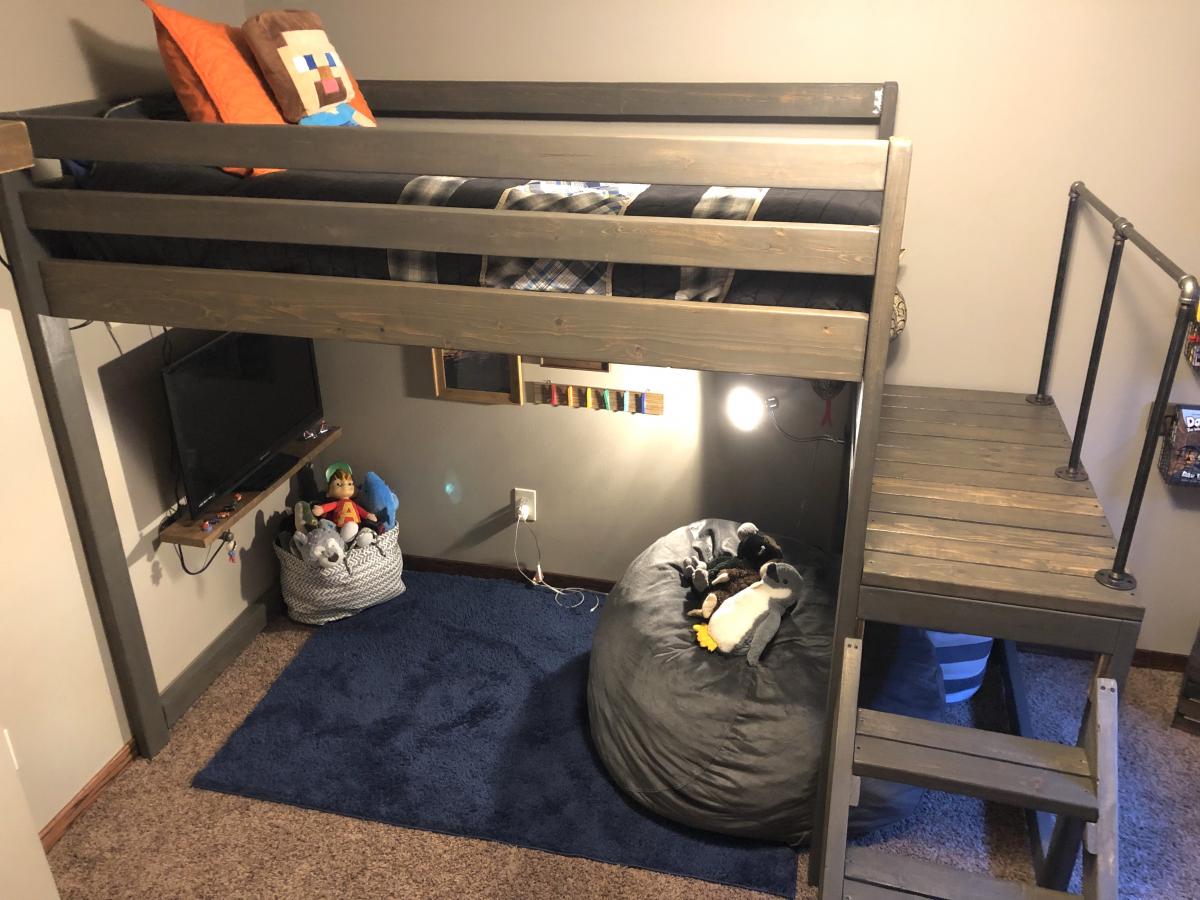
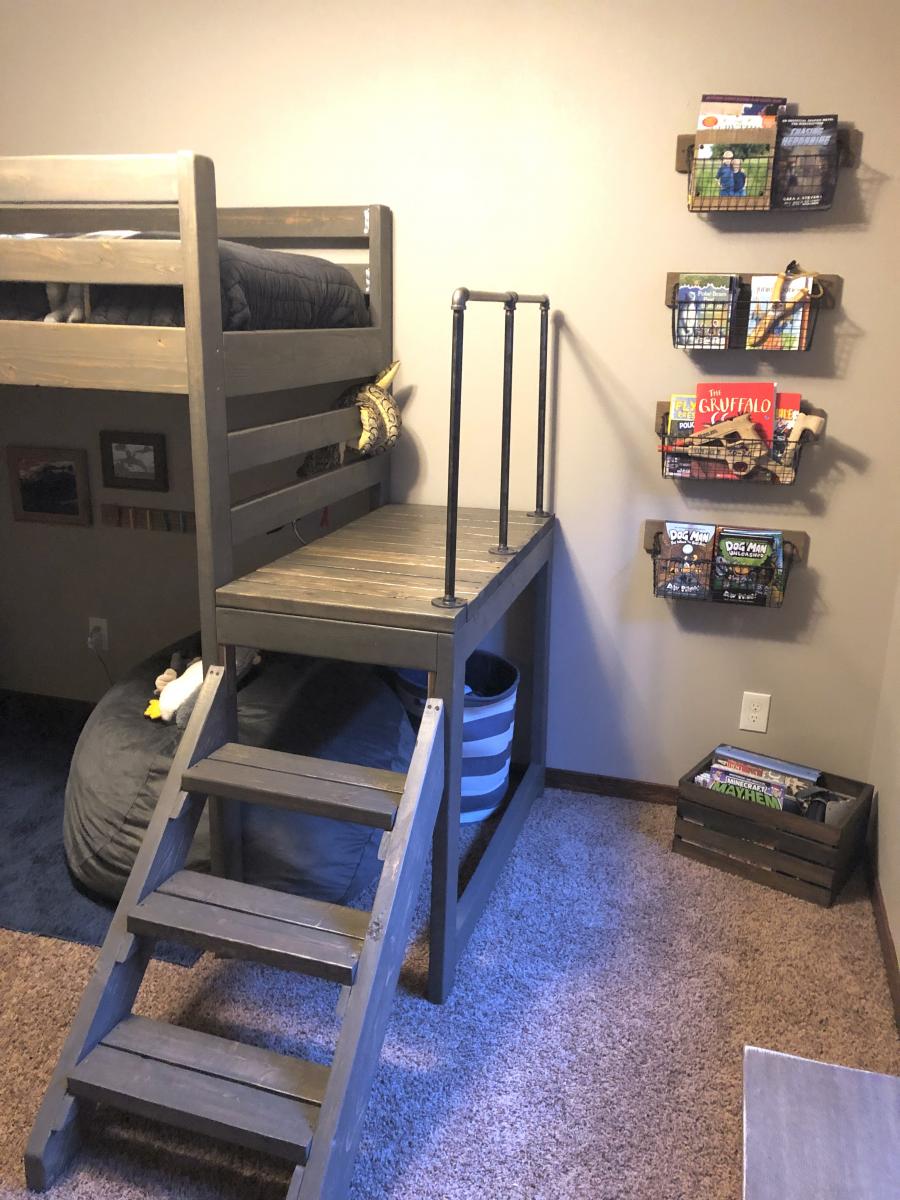
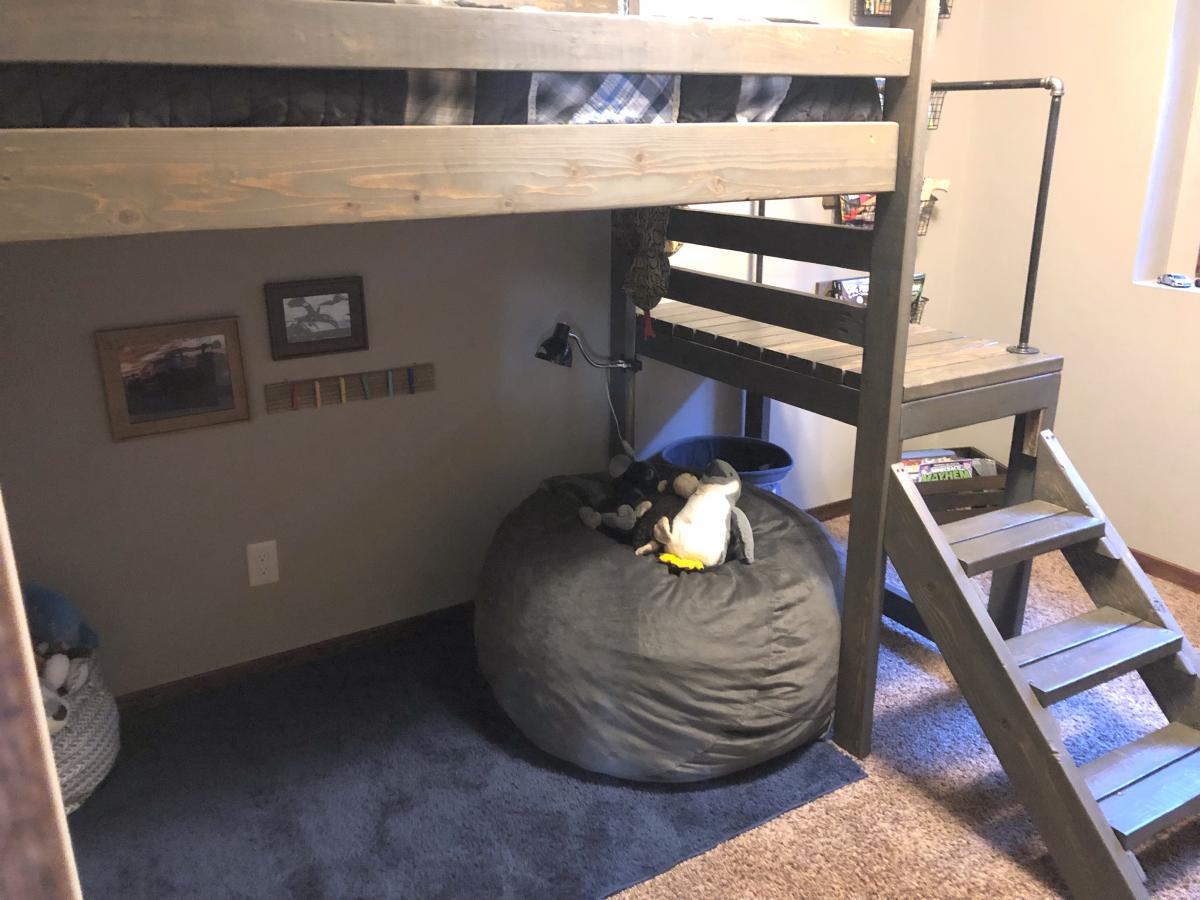
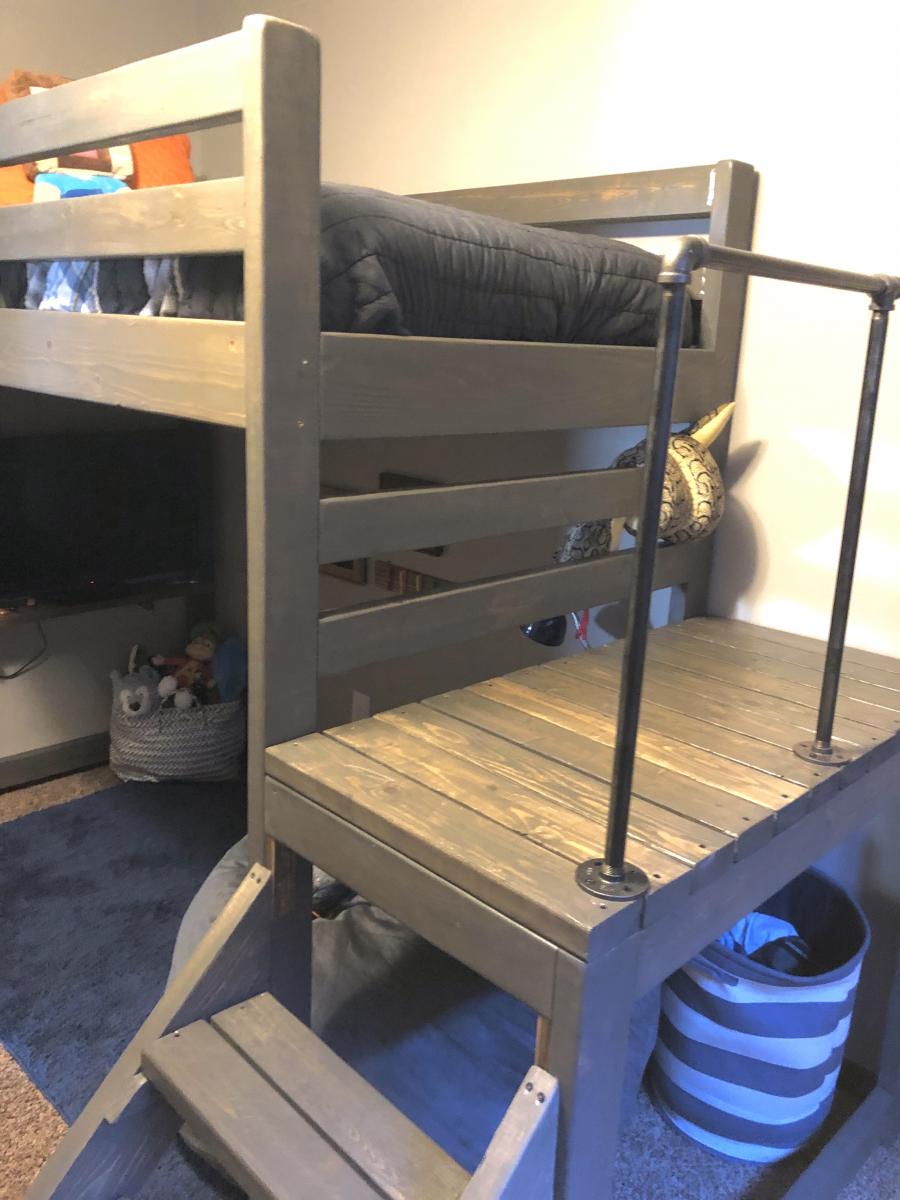
I built this bed for my 8 year old son's room "face lift." His only request was to have a place to hang out, but being his room was so small, that was a struggle! The loft bed allowed us to make a cozy little hangout - the poor guy can't get rid of his siblings now!
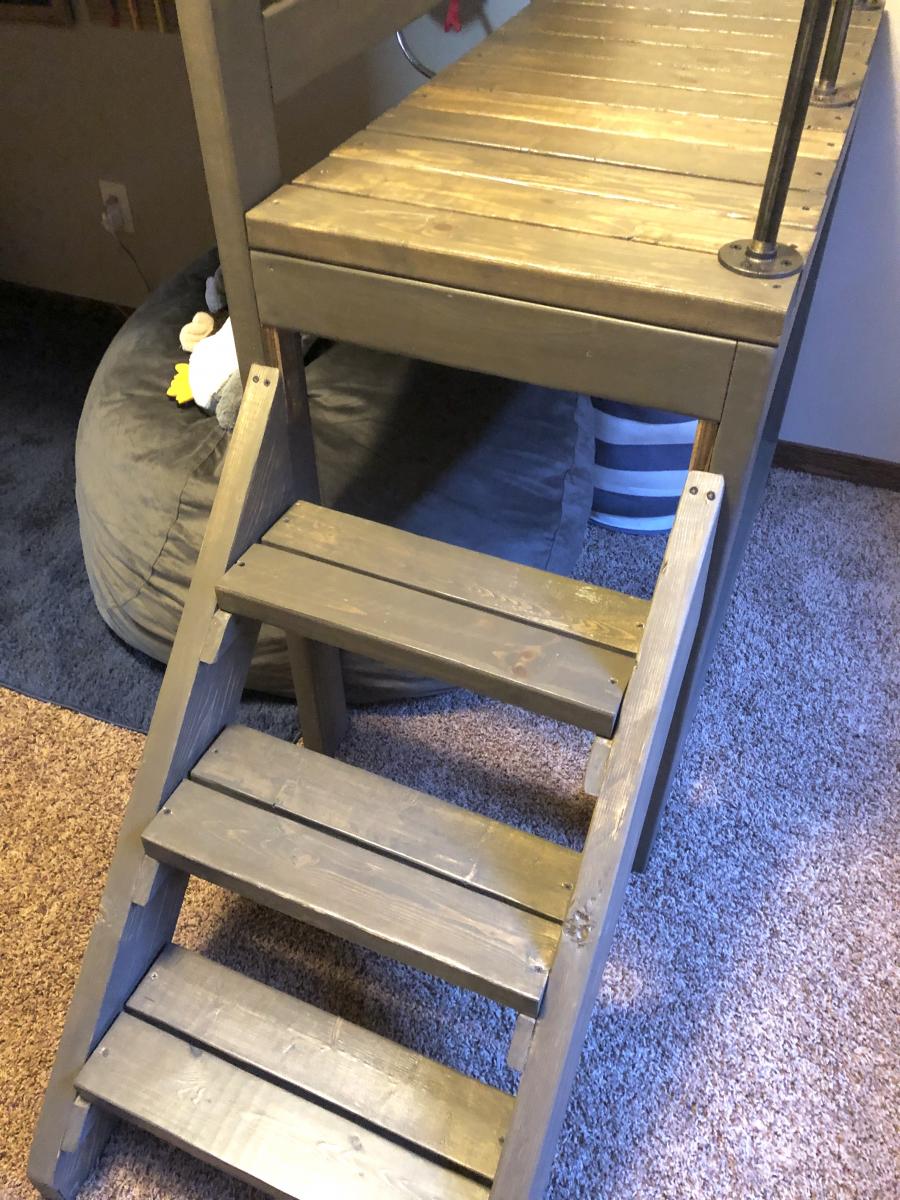
I added a few extra inches to the height of the Camp Loft plan, I also added the pipe hand rail for additional safety and give his room a little older boy vibe! It was a very easy build, the staining/sealing took the longest. The stairs make it much easier to change sheets and getting up and down for those of us who aren't 8 year olds :).
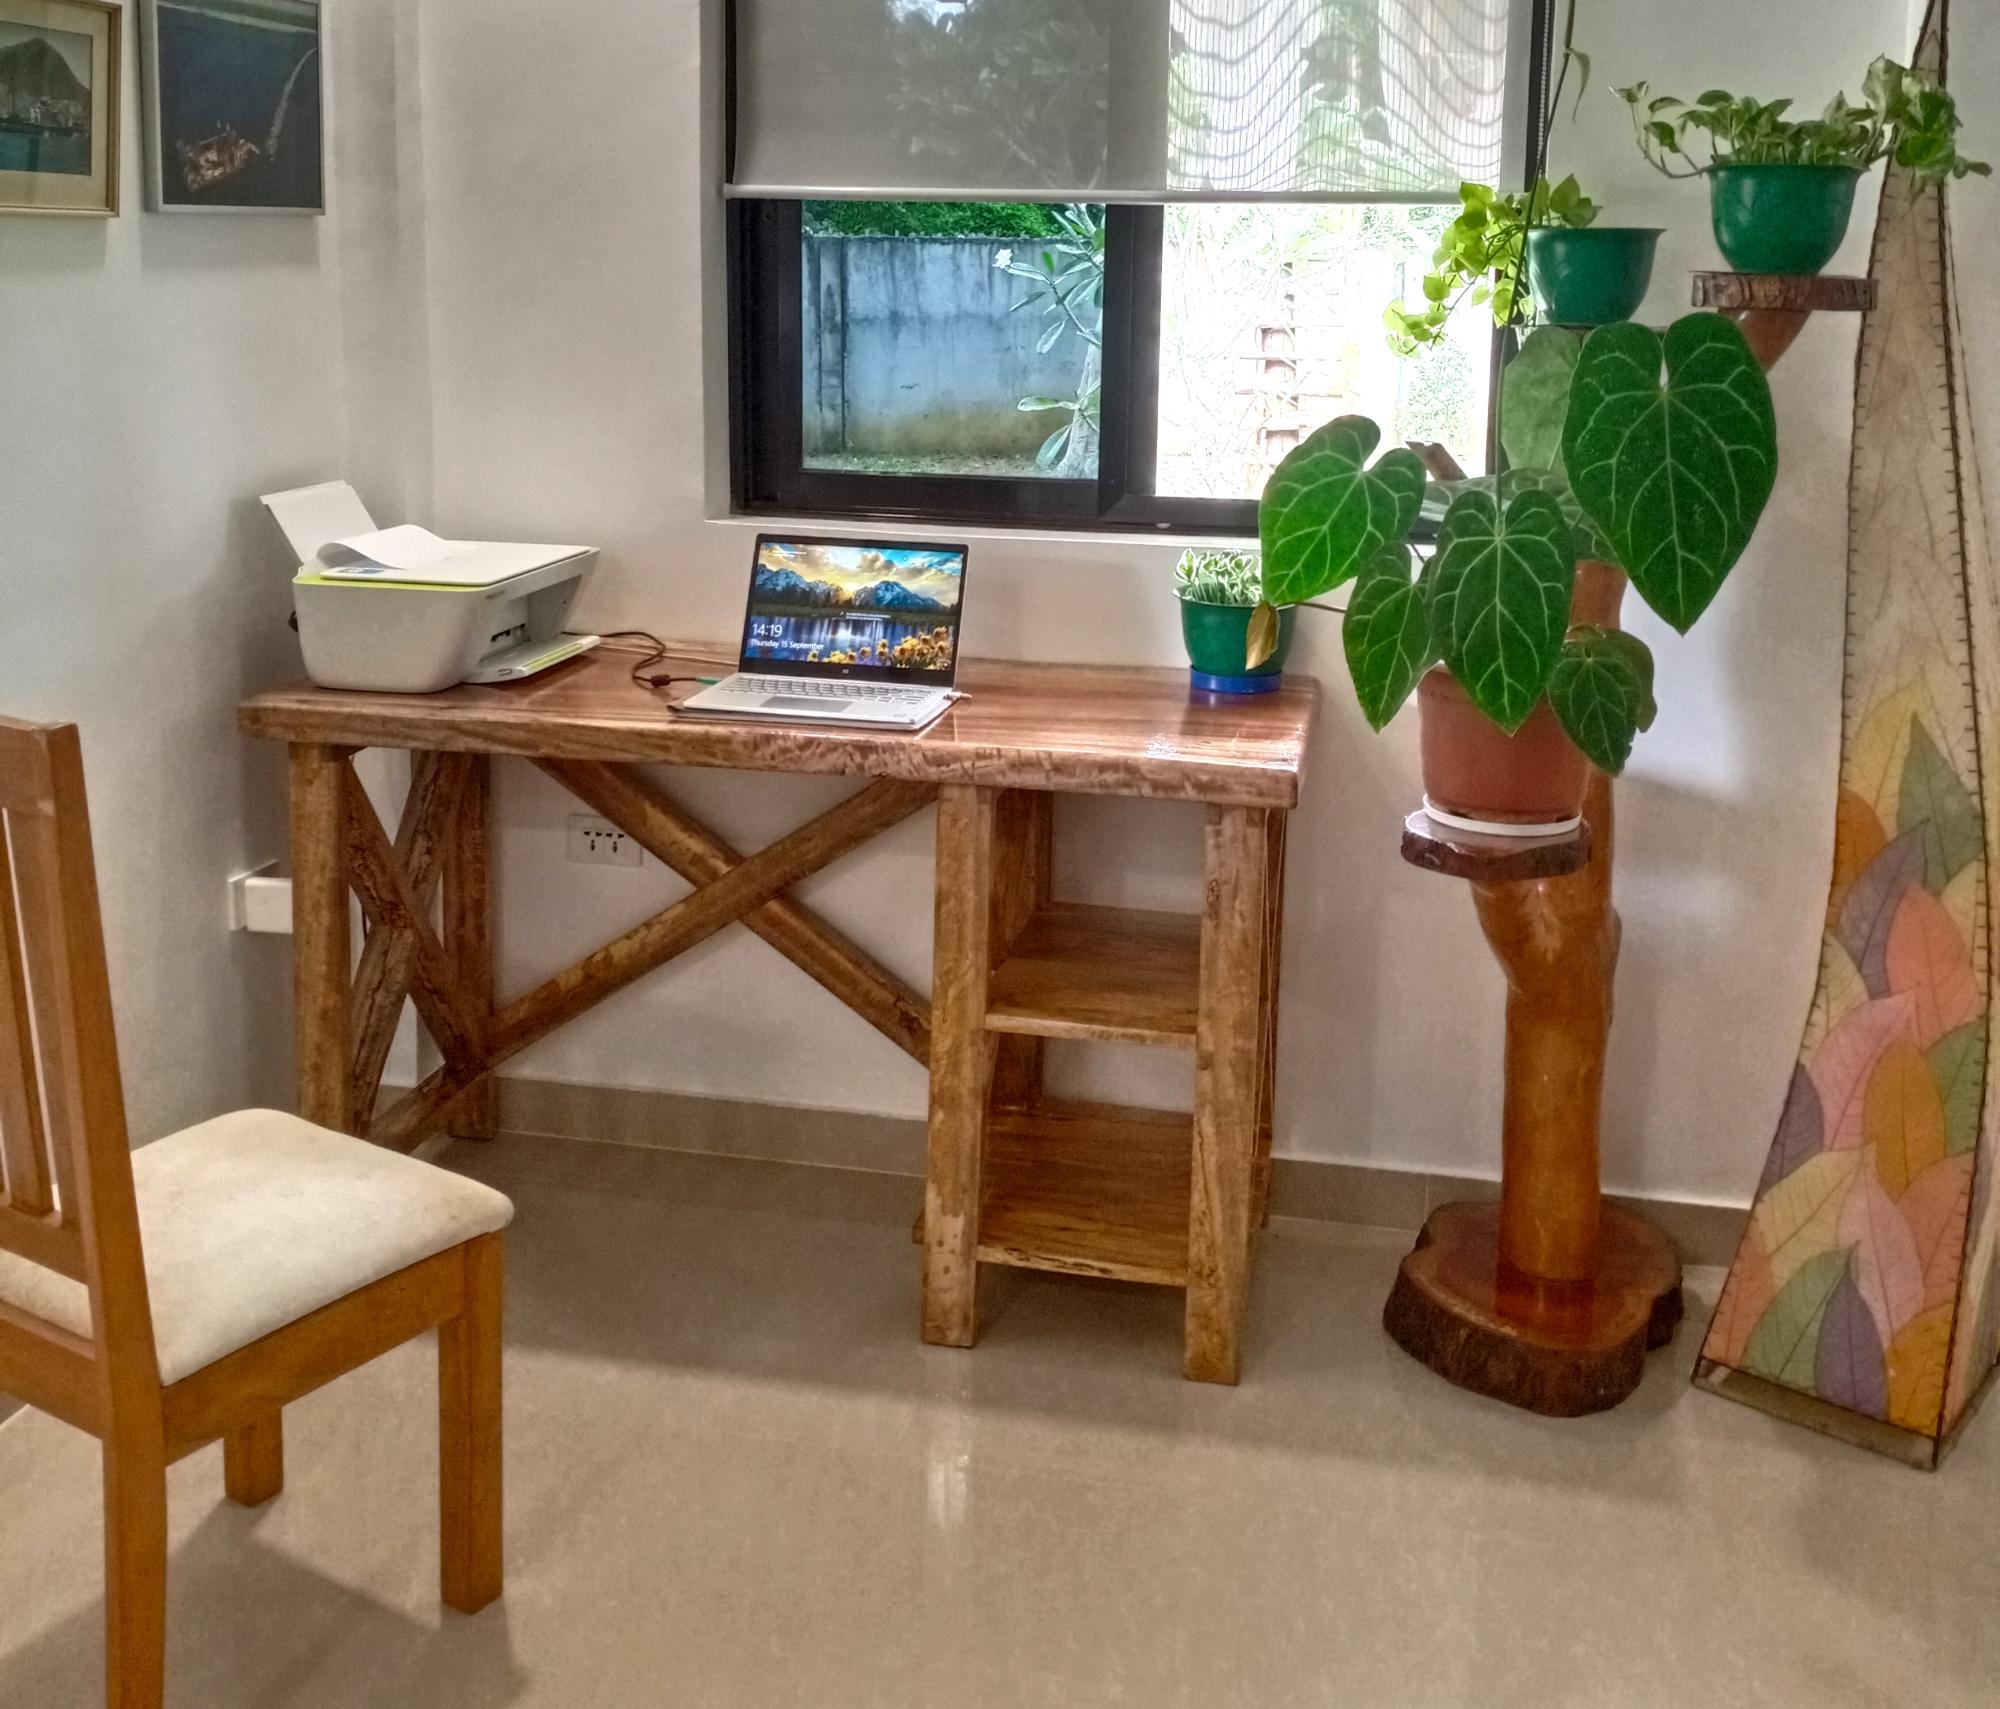
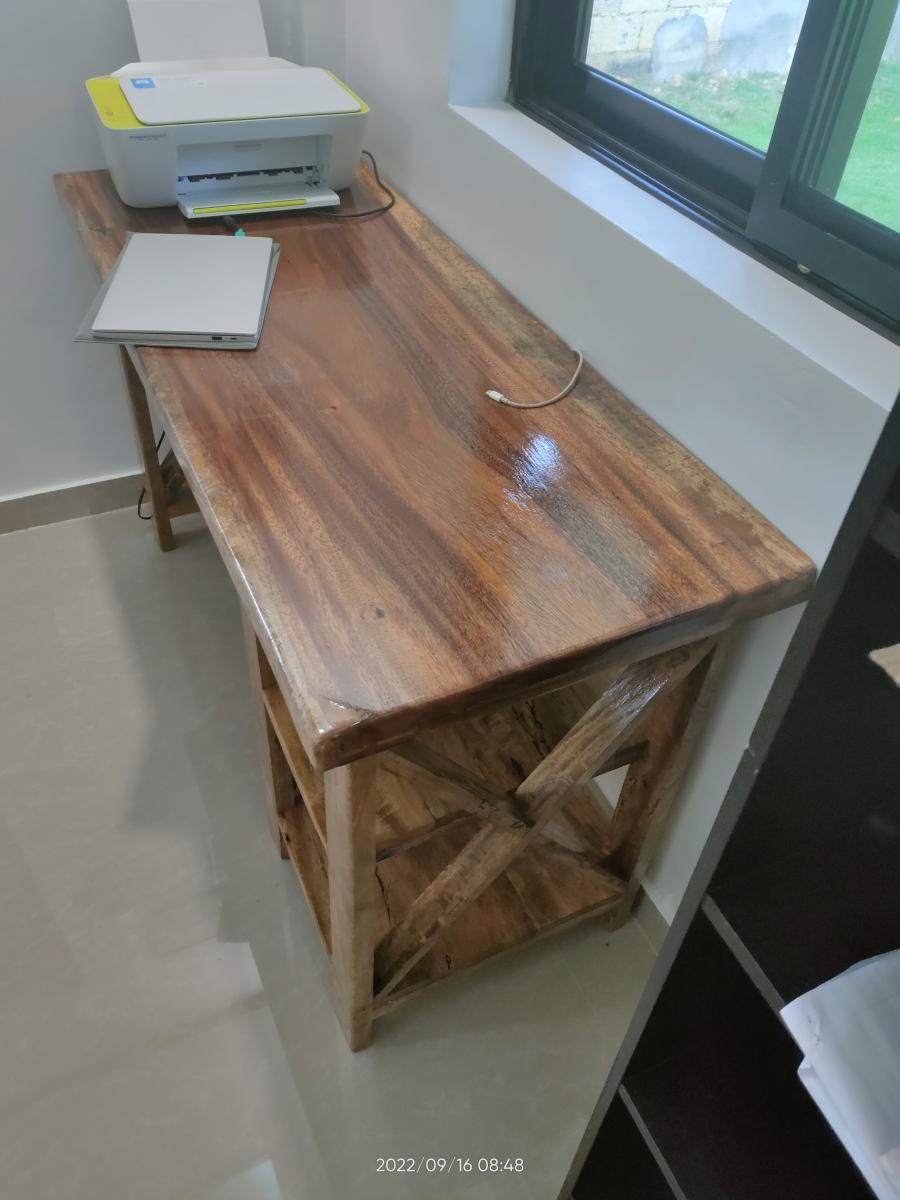
Desk from Mango wood and the top is acacia
@douwe_adema
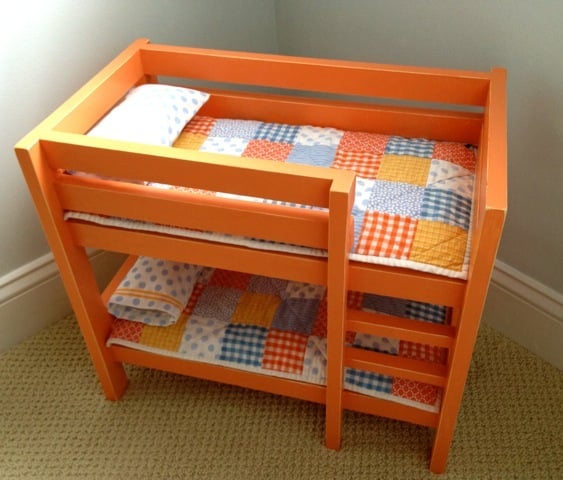
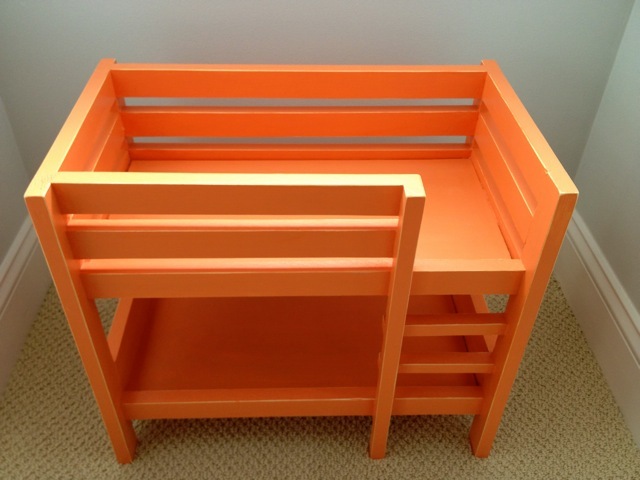
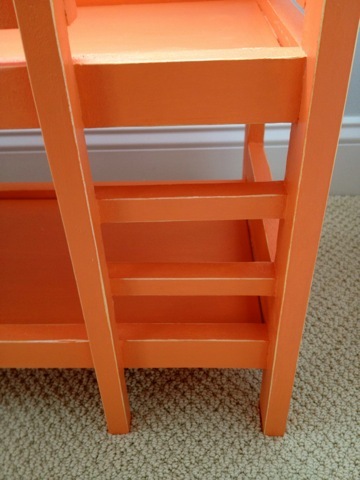
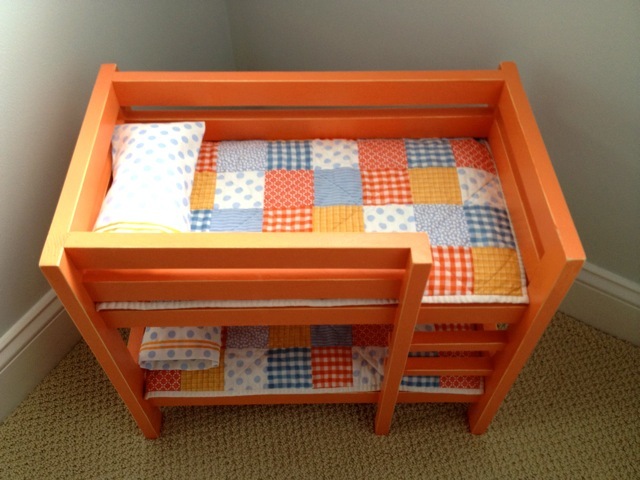
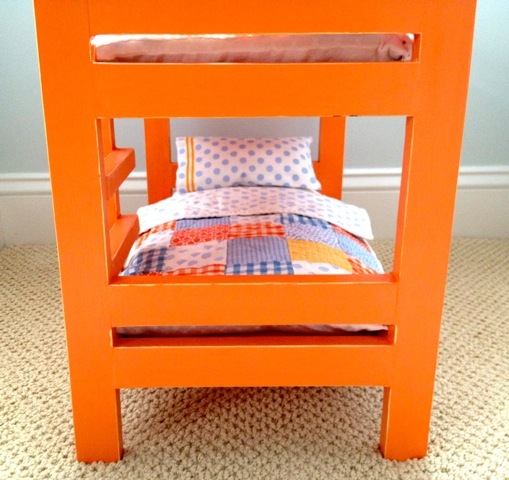
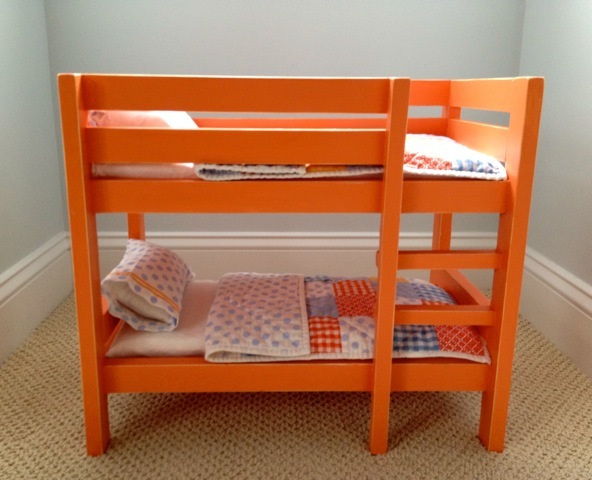
doll bunk beds painted tangerine with bedding
Mon, 02/13/2012 - 08:25
I took a jump on the wild side with that orange but it was so fun and I think my girls will be giddy with excitement when they see it.

We started out practicing on end tables. Take your time carefully picking out your lumber. We ended up with a slightly warped 2x10. There is no give in a big board like that so it put us behind. The picture shows it stained with minwax "Provincial" and one coat of minwax satin. More coats for the top are in progress.
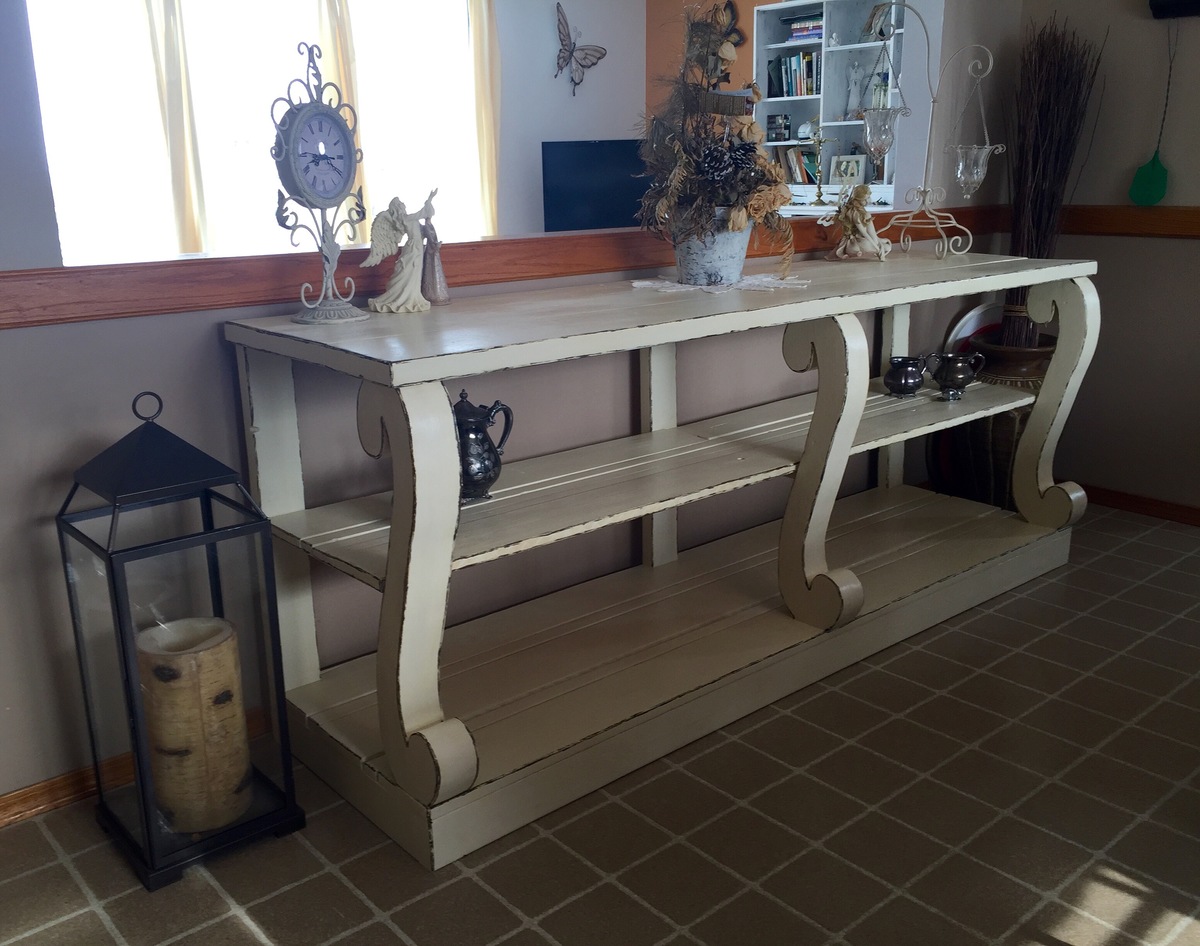
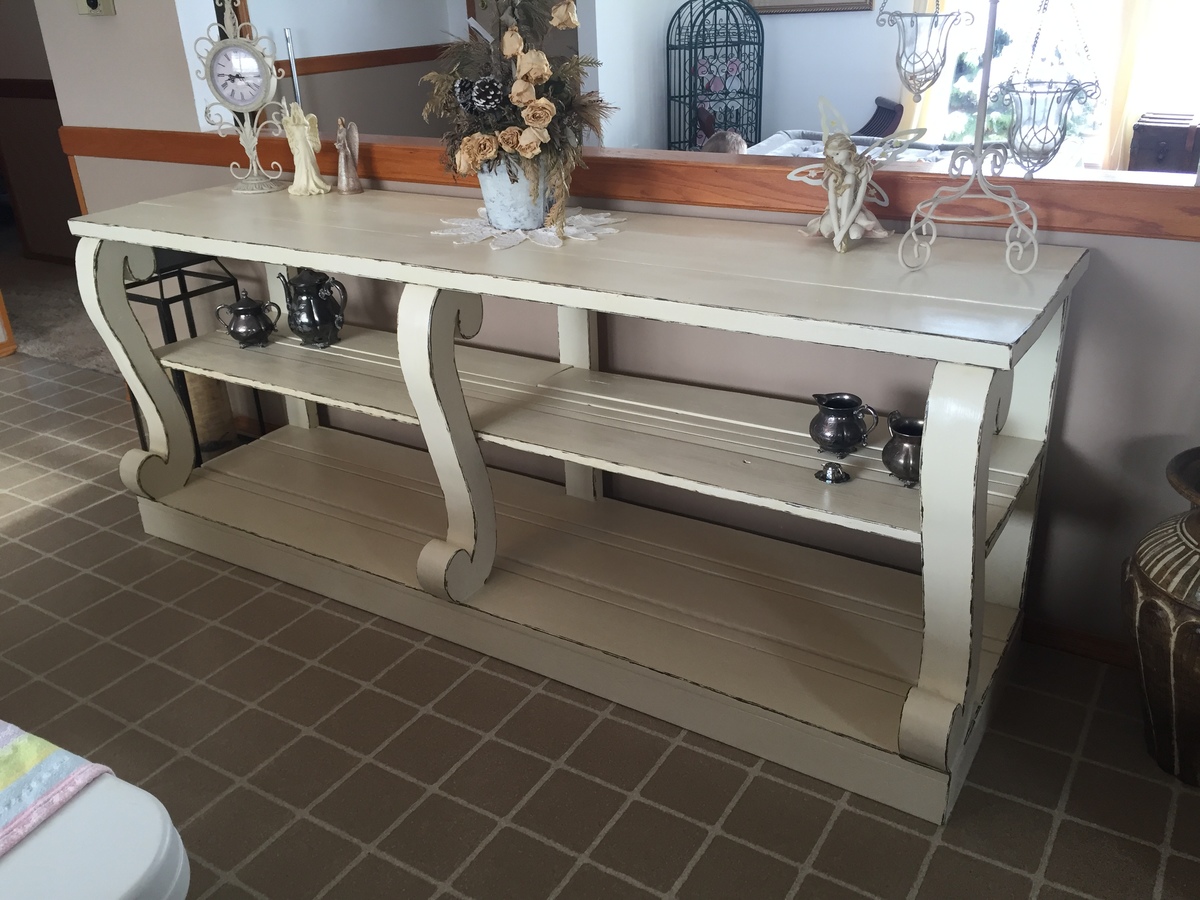
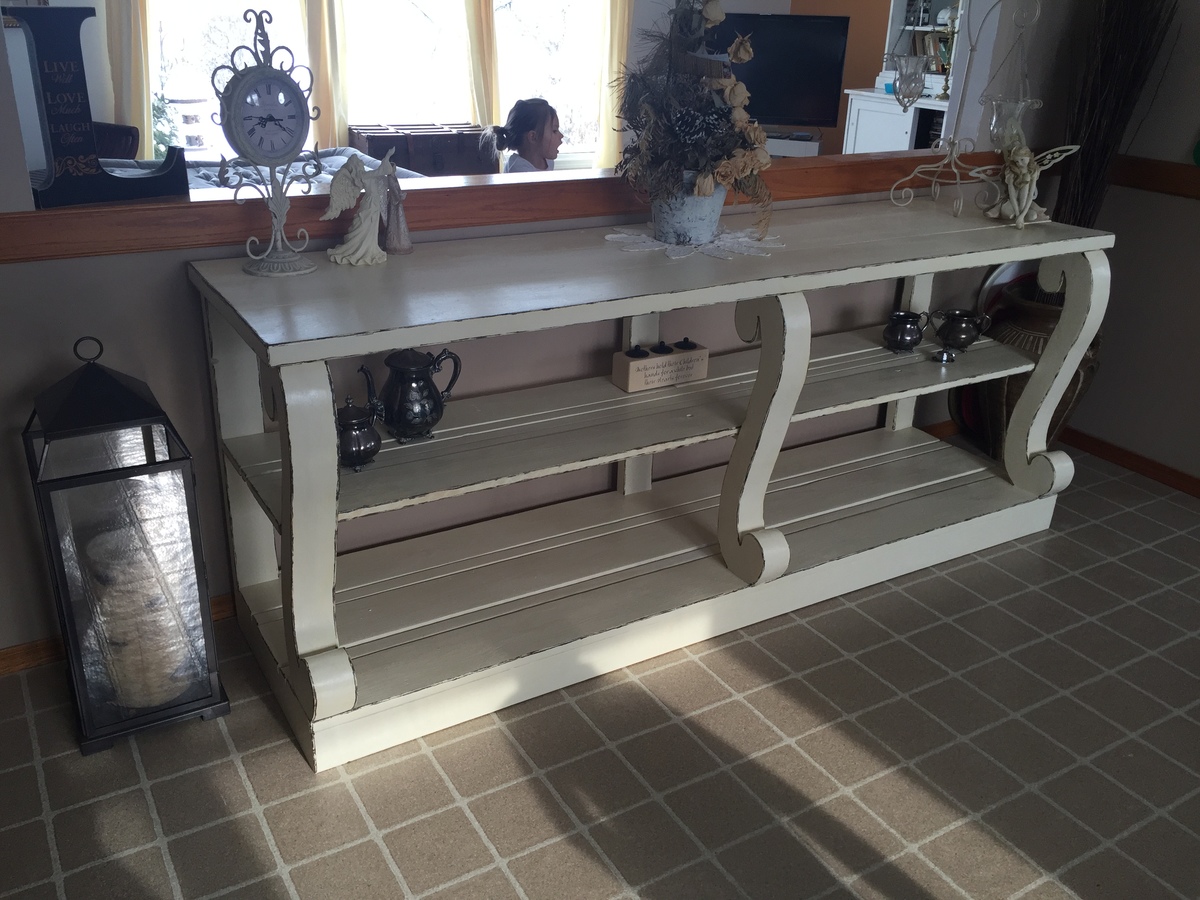
I found these amazing plans from Ana's website here. Couldn't be easier! I modified mine a bit to fit the space and used recycled pine wood for my project! The Scroll legs I used my jig saw to cut them out with the great stencil provided in these plans. I was really happy with the result, as I only had minor sanding to do to make them match up when I glued them together. Since I was painting this piece I used dry wall mud over the seams on the legs to hide the joints (a lot less expensive than wood filler). Since it was all recycled wood I had to do a lot of sanding but it saved me a lot of money! So very happy with this project! Thanks for again for the amazing plans!!!
Randi Wolf
RW Creations
Wed, 03/02/2016 - 17:12
this looks really beautiful! I love the distressed look!
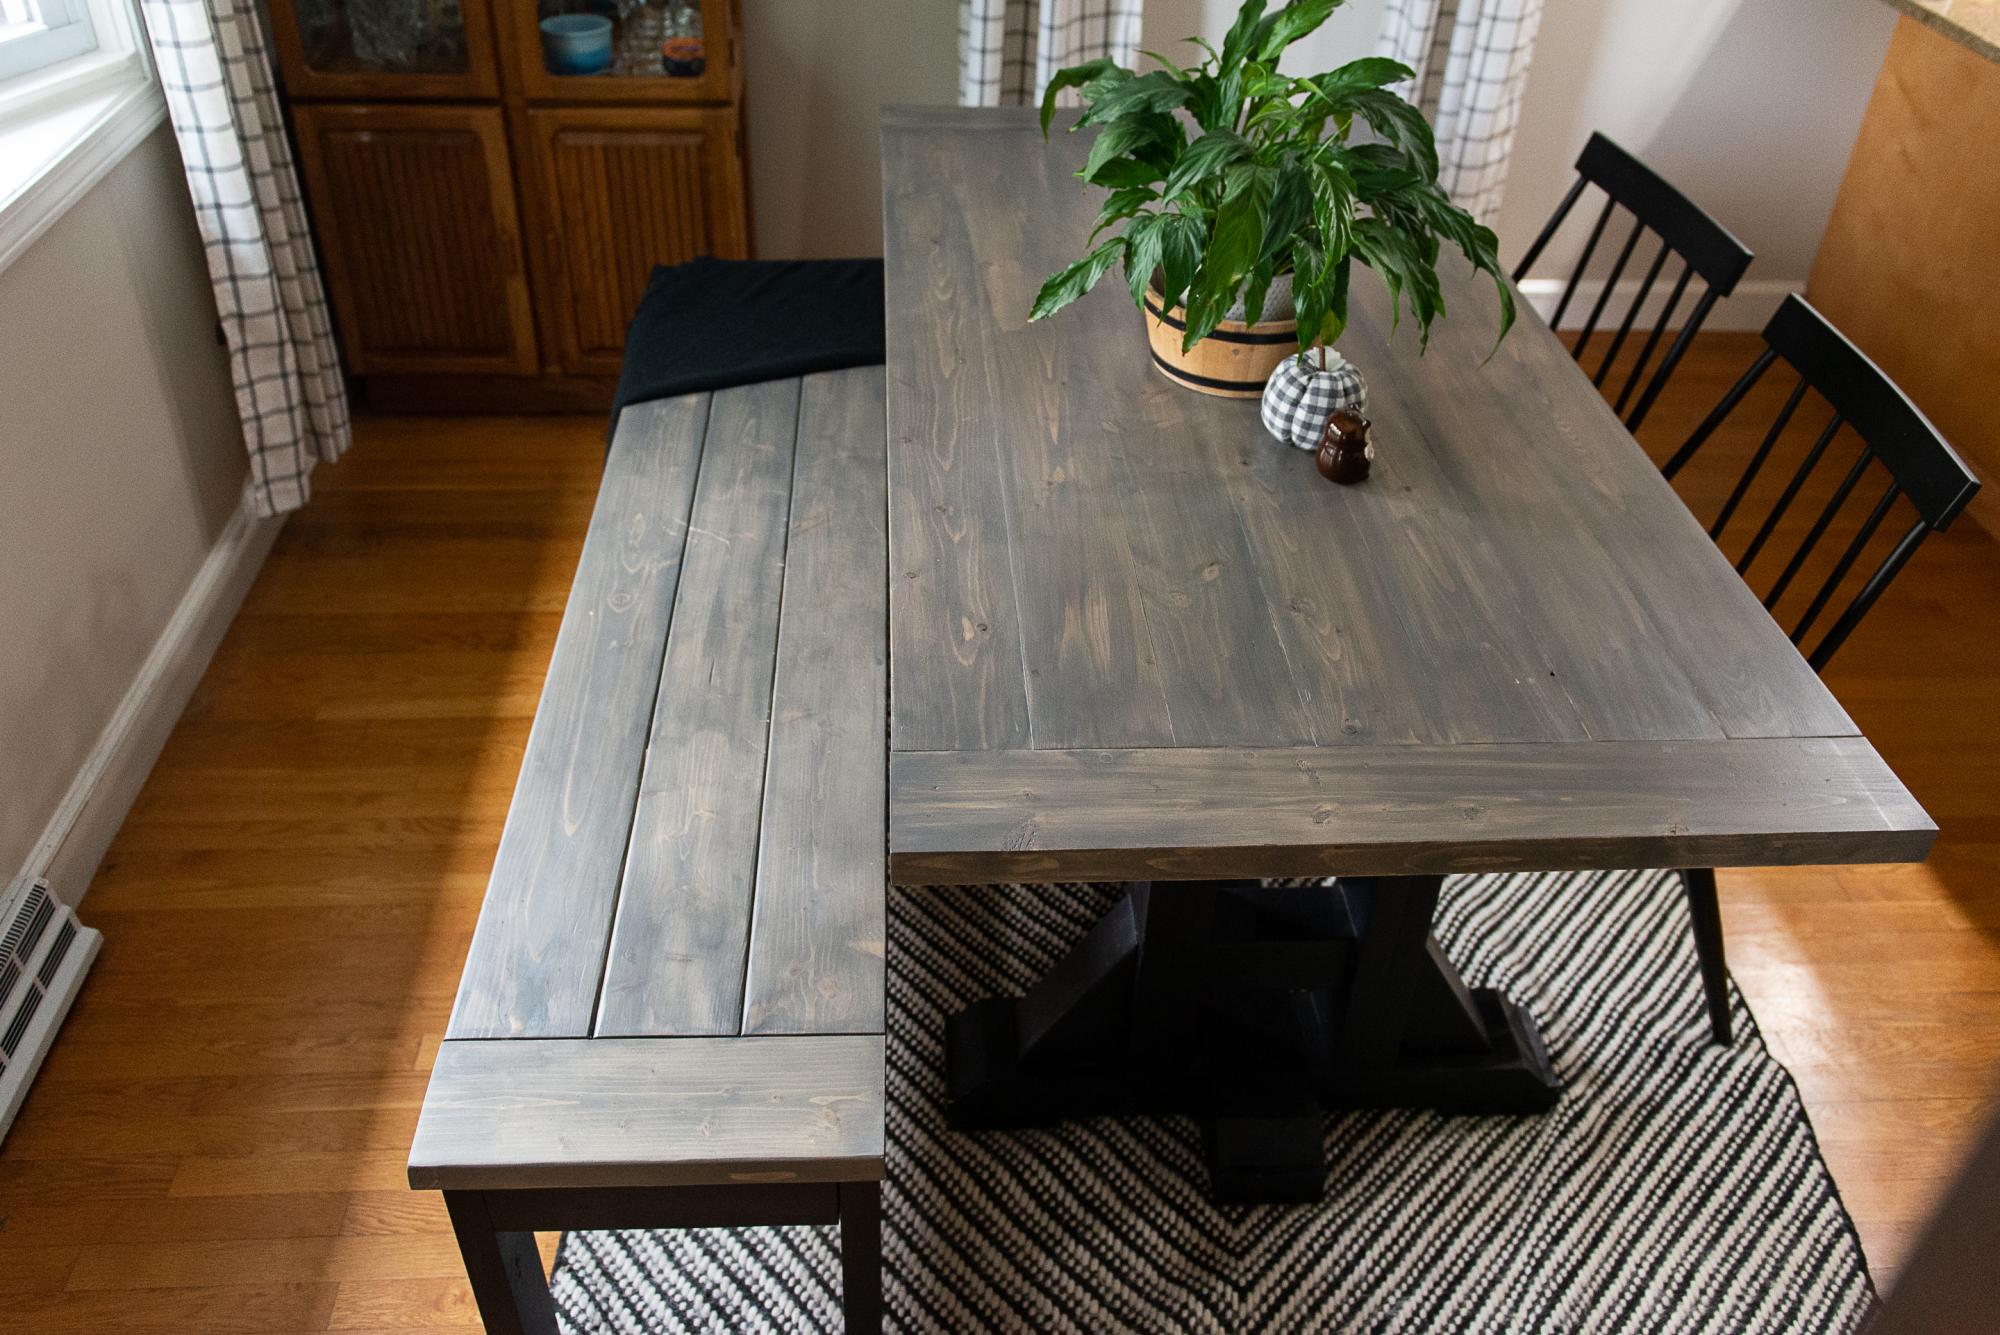
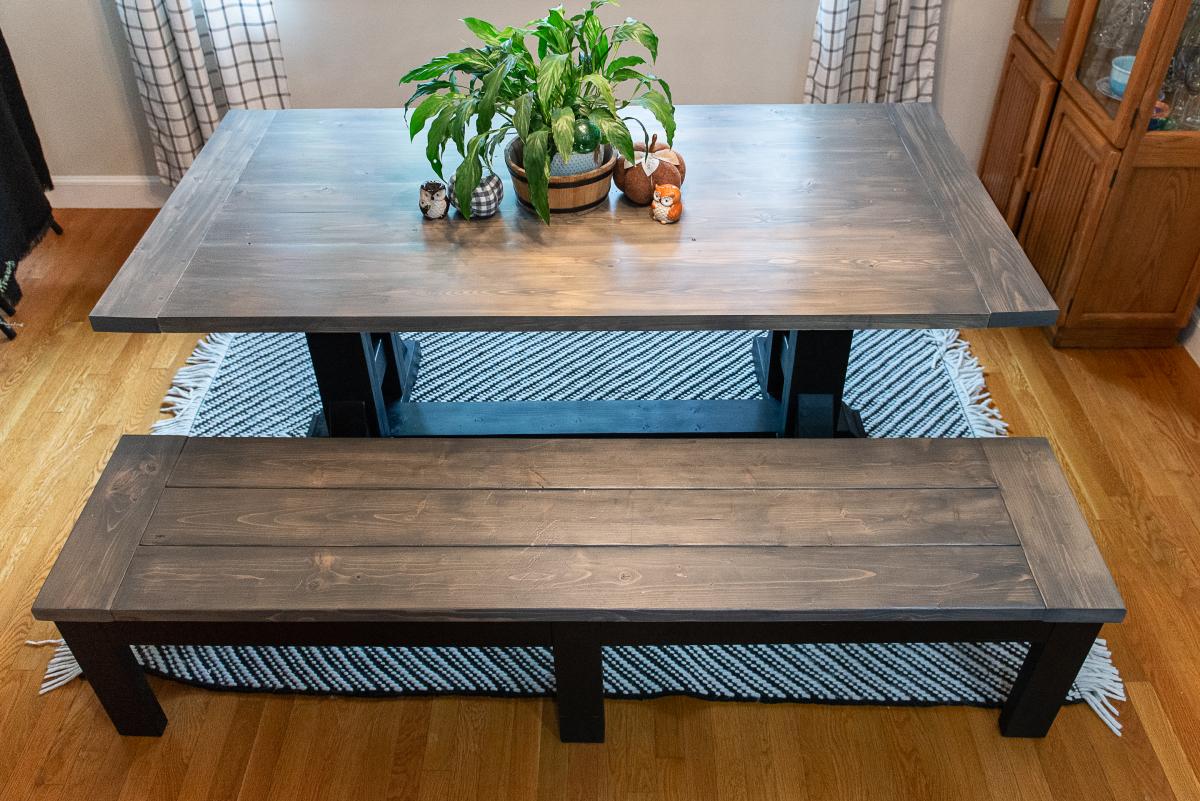
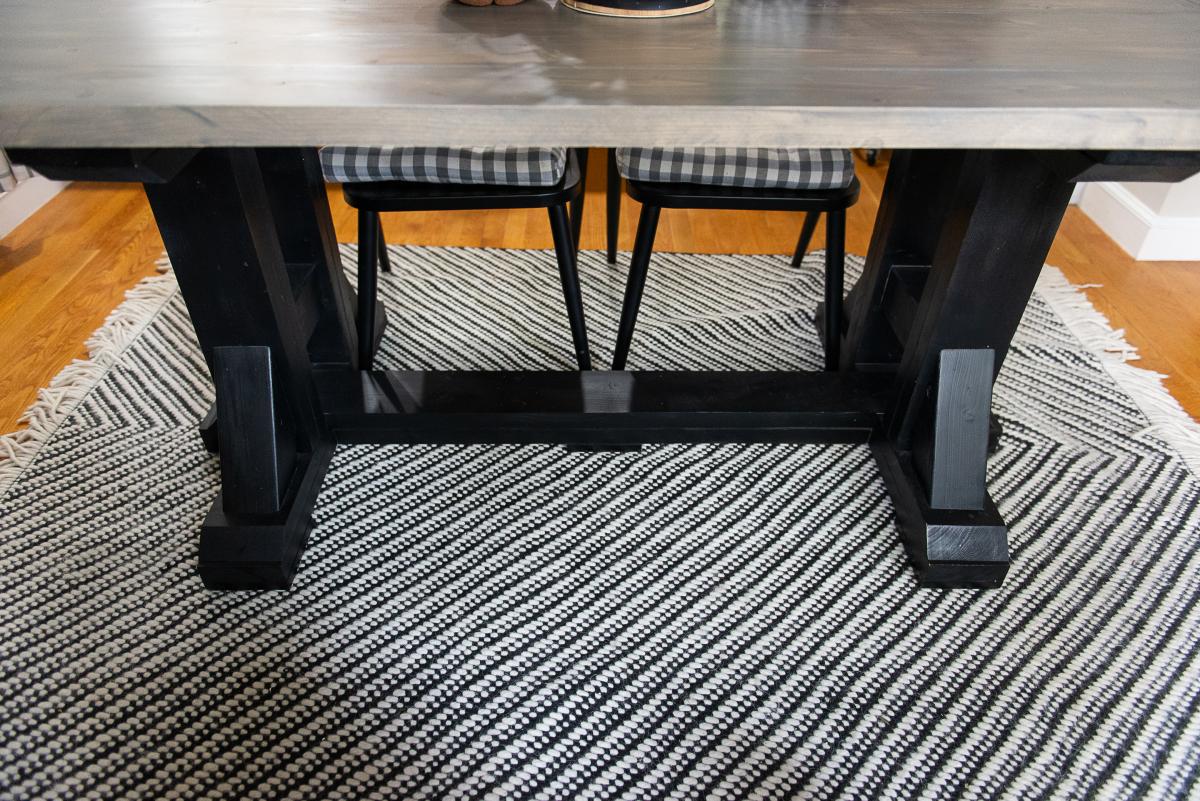
This table was modified because my dining room is really small. So the table is 71"long x 35" wide. This was actually my second attempt on the table top. The first attempt I only used kreg screws and no glue. To say that it warped is an understatement. This second attempt I used kreg screws and biscuits. For the breadboards I tried something new and used Rocklers Beadlock system. I also used Z- clips to mount it to the base so that as the wood expands and contracts it will hopefully not warp. So far it's remaining pretty flat.
Thu, 10/17/2019 - 06:16
Not sure why this posted as Anonymous but it's mine, ColleenW. Thanks for looking.
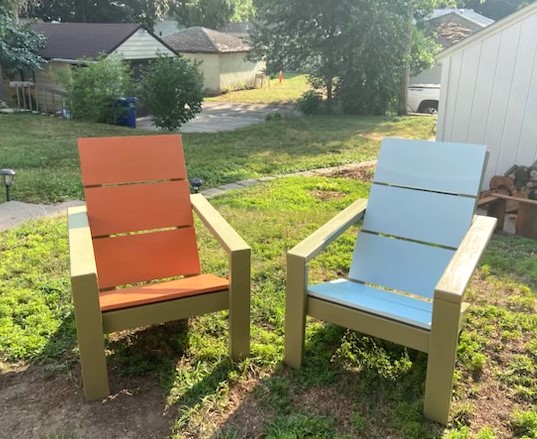
Just delivered these Adirondack chairs to my son and his GF as a housewarming gift for their first home. They selected the colors and they turned out perfect! I used a countersink for the front screws and filled with plugs so it looked very polished!
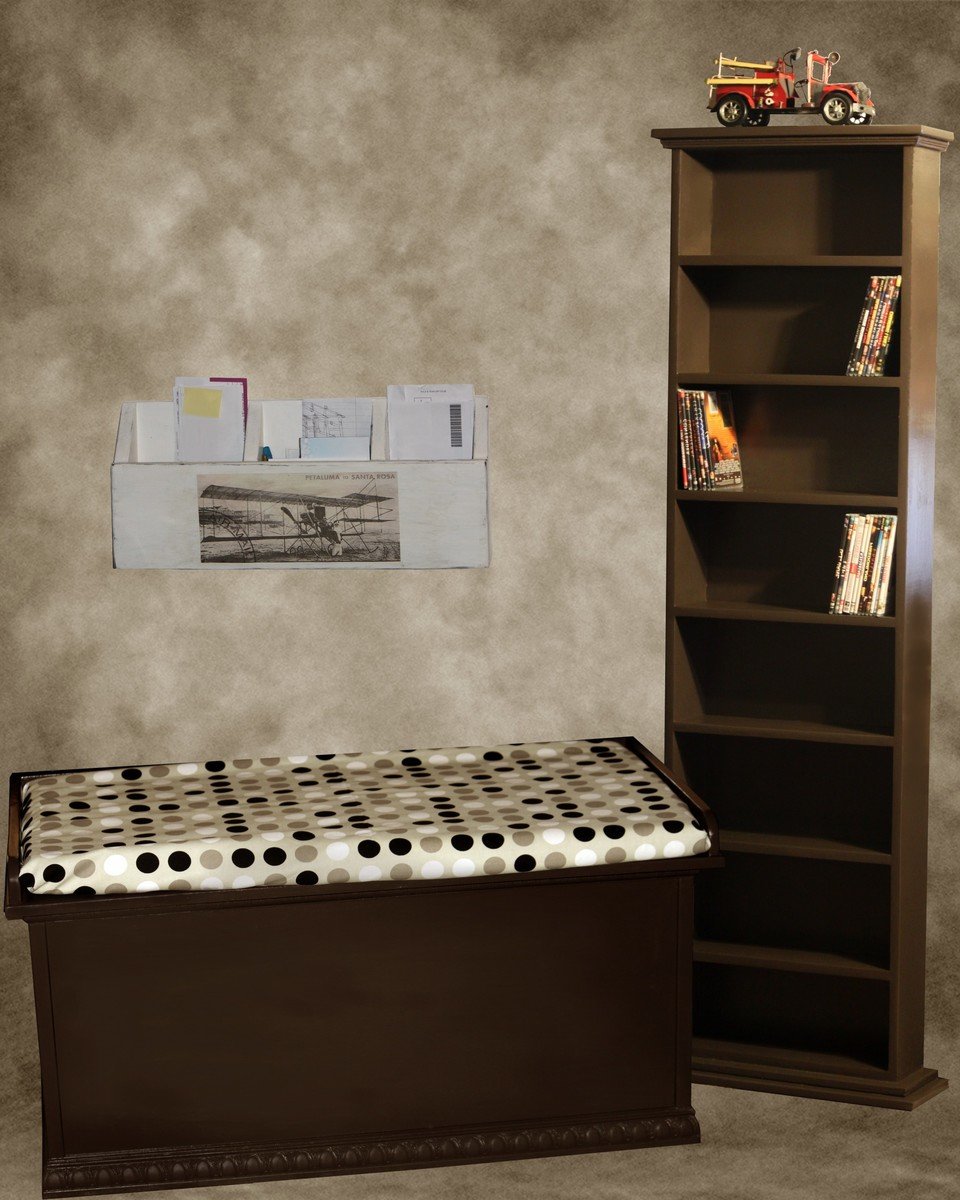
These were all Christmas projects...My daughter needed a blanket chest, so I used Anna's Toy Chest plans - modifying them to add a lid (which also functions as an extra seat). I made the dimensions larger because she had some really large blankets to store and also added some fancier trimming. Her husband wanted DVD storage in their room, so I built the cabinet and painted it to match the blanket chest. I do most of my building in the evenings, so it took a couple of days to build these - the finishing took the most time over several evenings. Also shown is the mail organizer, with an airplane motif because of my grandson's love of airplanes.
Fri, 12/07/2012 - 10:44
love the lid! would you be willing to share your plans for the lid addition?
Tue, 03/12/2013 - 19:42
This looks amazing! I'm wanting to do something similar... a 28"x41" toy box that could double a a lounge seat. Would you be willing to share your plans for the lid addition? I really love the lip on the lid to keep the cushion in place!
Mon, 04/01/2013 - 12:56
Sorry, I hadn't noticed there was a new comment. I am one of those who just look at something or see a need and form plans in my head (I'm not good at writing them); so I don't have any plans. I just cut the lid so that it would overhang an inch on the ends and front. Then I cut a 1x2 the length of the lid and attached it on top of the lid at the back (the 3/4 side against the wood). The 1x2's for the end of the lid were cut to fit; the fronts rounded with a jig saw; then attached. I hope this helps.

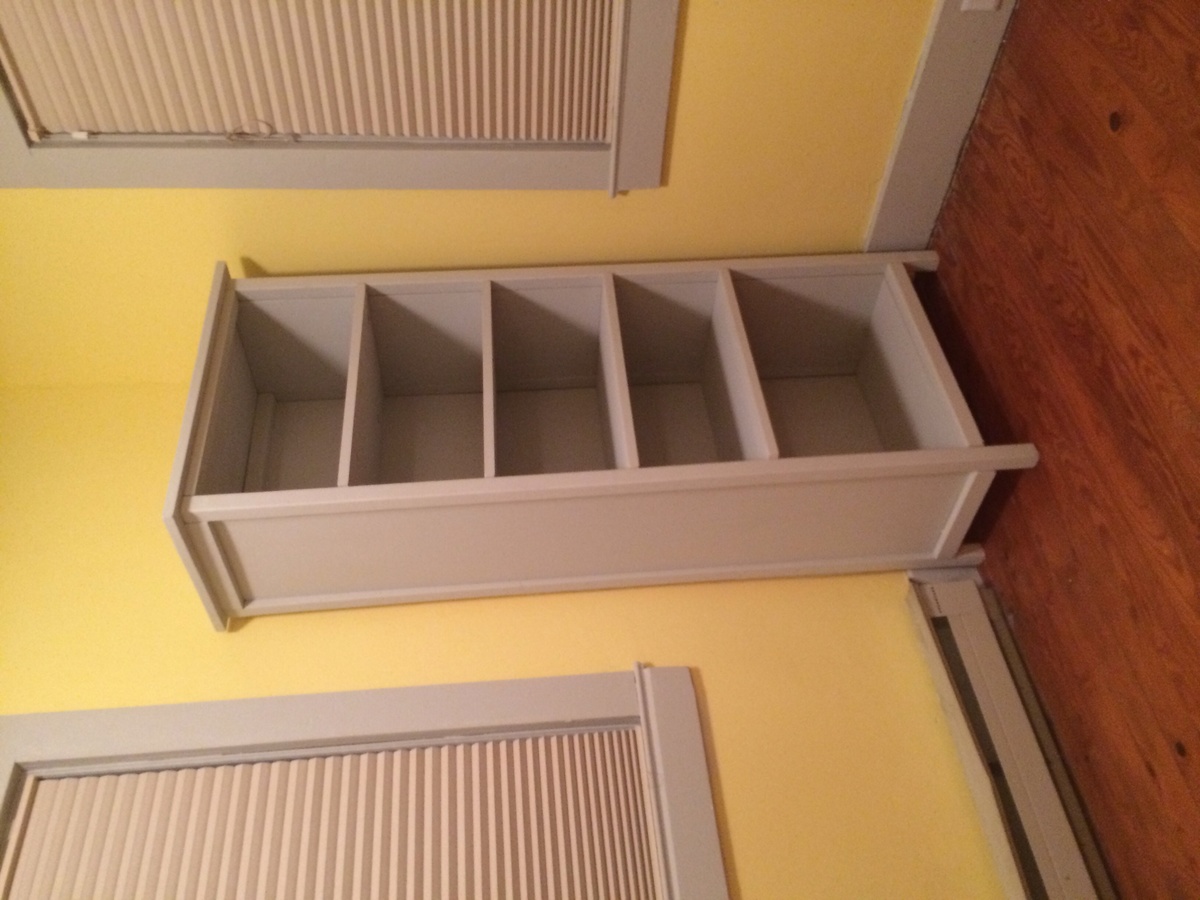
Great, simple bookshelf for our nursery
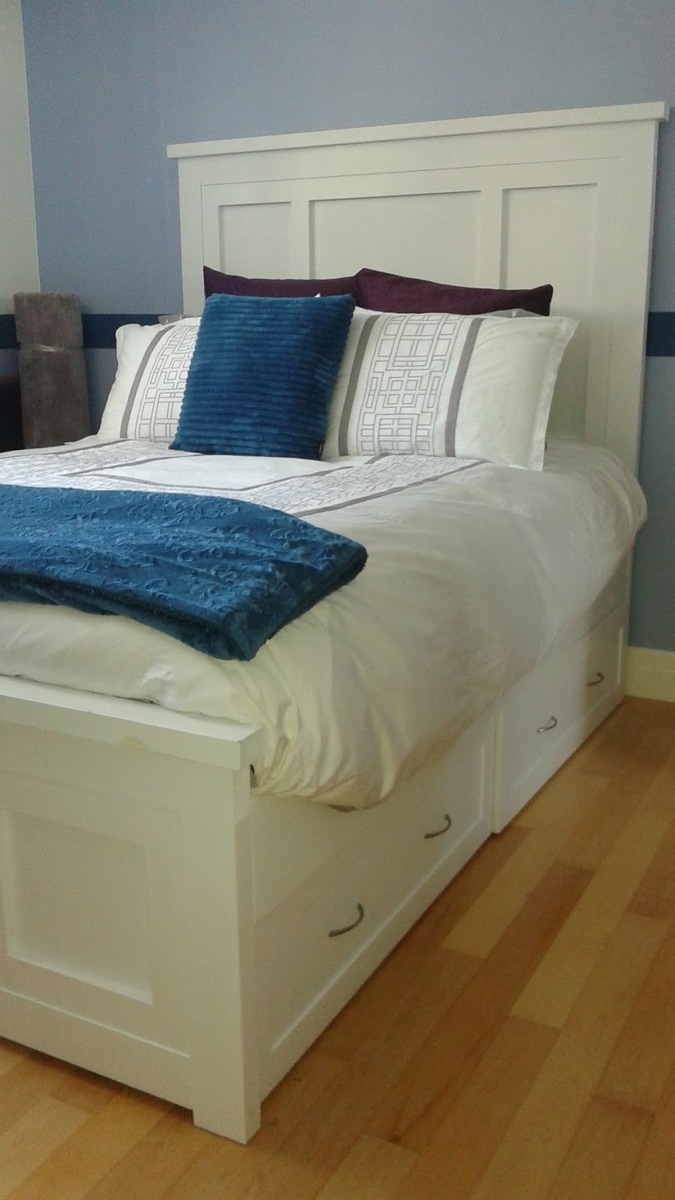
Thank you so much Ana for providing such good plans! I use your Mom's Fancy Farmhouse Bed plans and added drawers underneath (a girl can never have too much storage!) using your Under Bench Trundle Drawers plans. I made it look a bit different than yours so it fits with the desk I already have in my room and used Mortise Bedlocks to assemble it, so it will be easier to take it apart when I move next time. This was my first project using your plans and my Kreg Jig and I'm hooked!
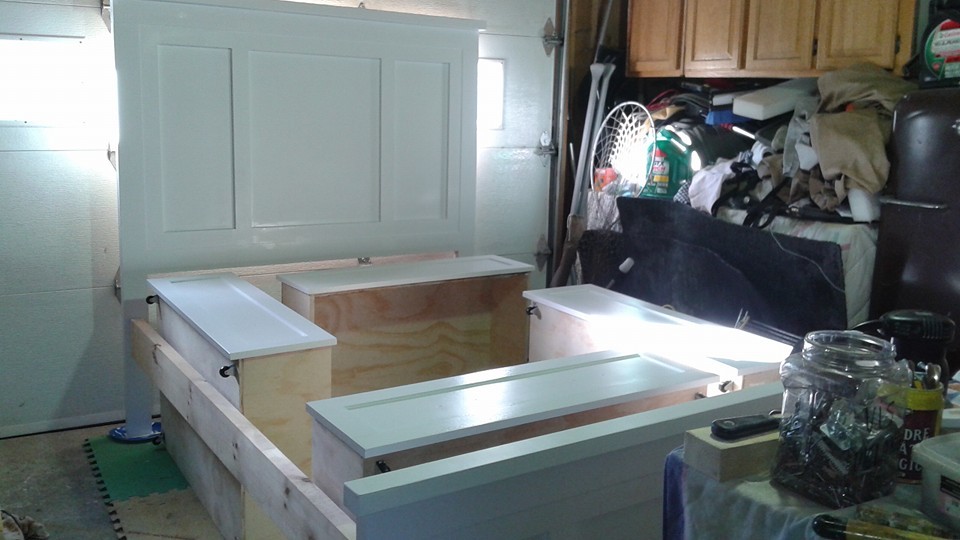
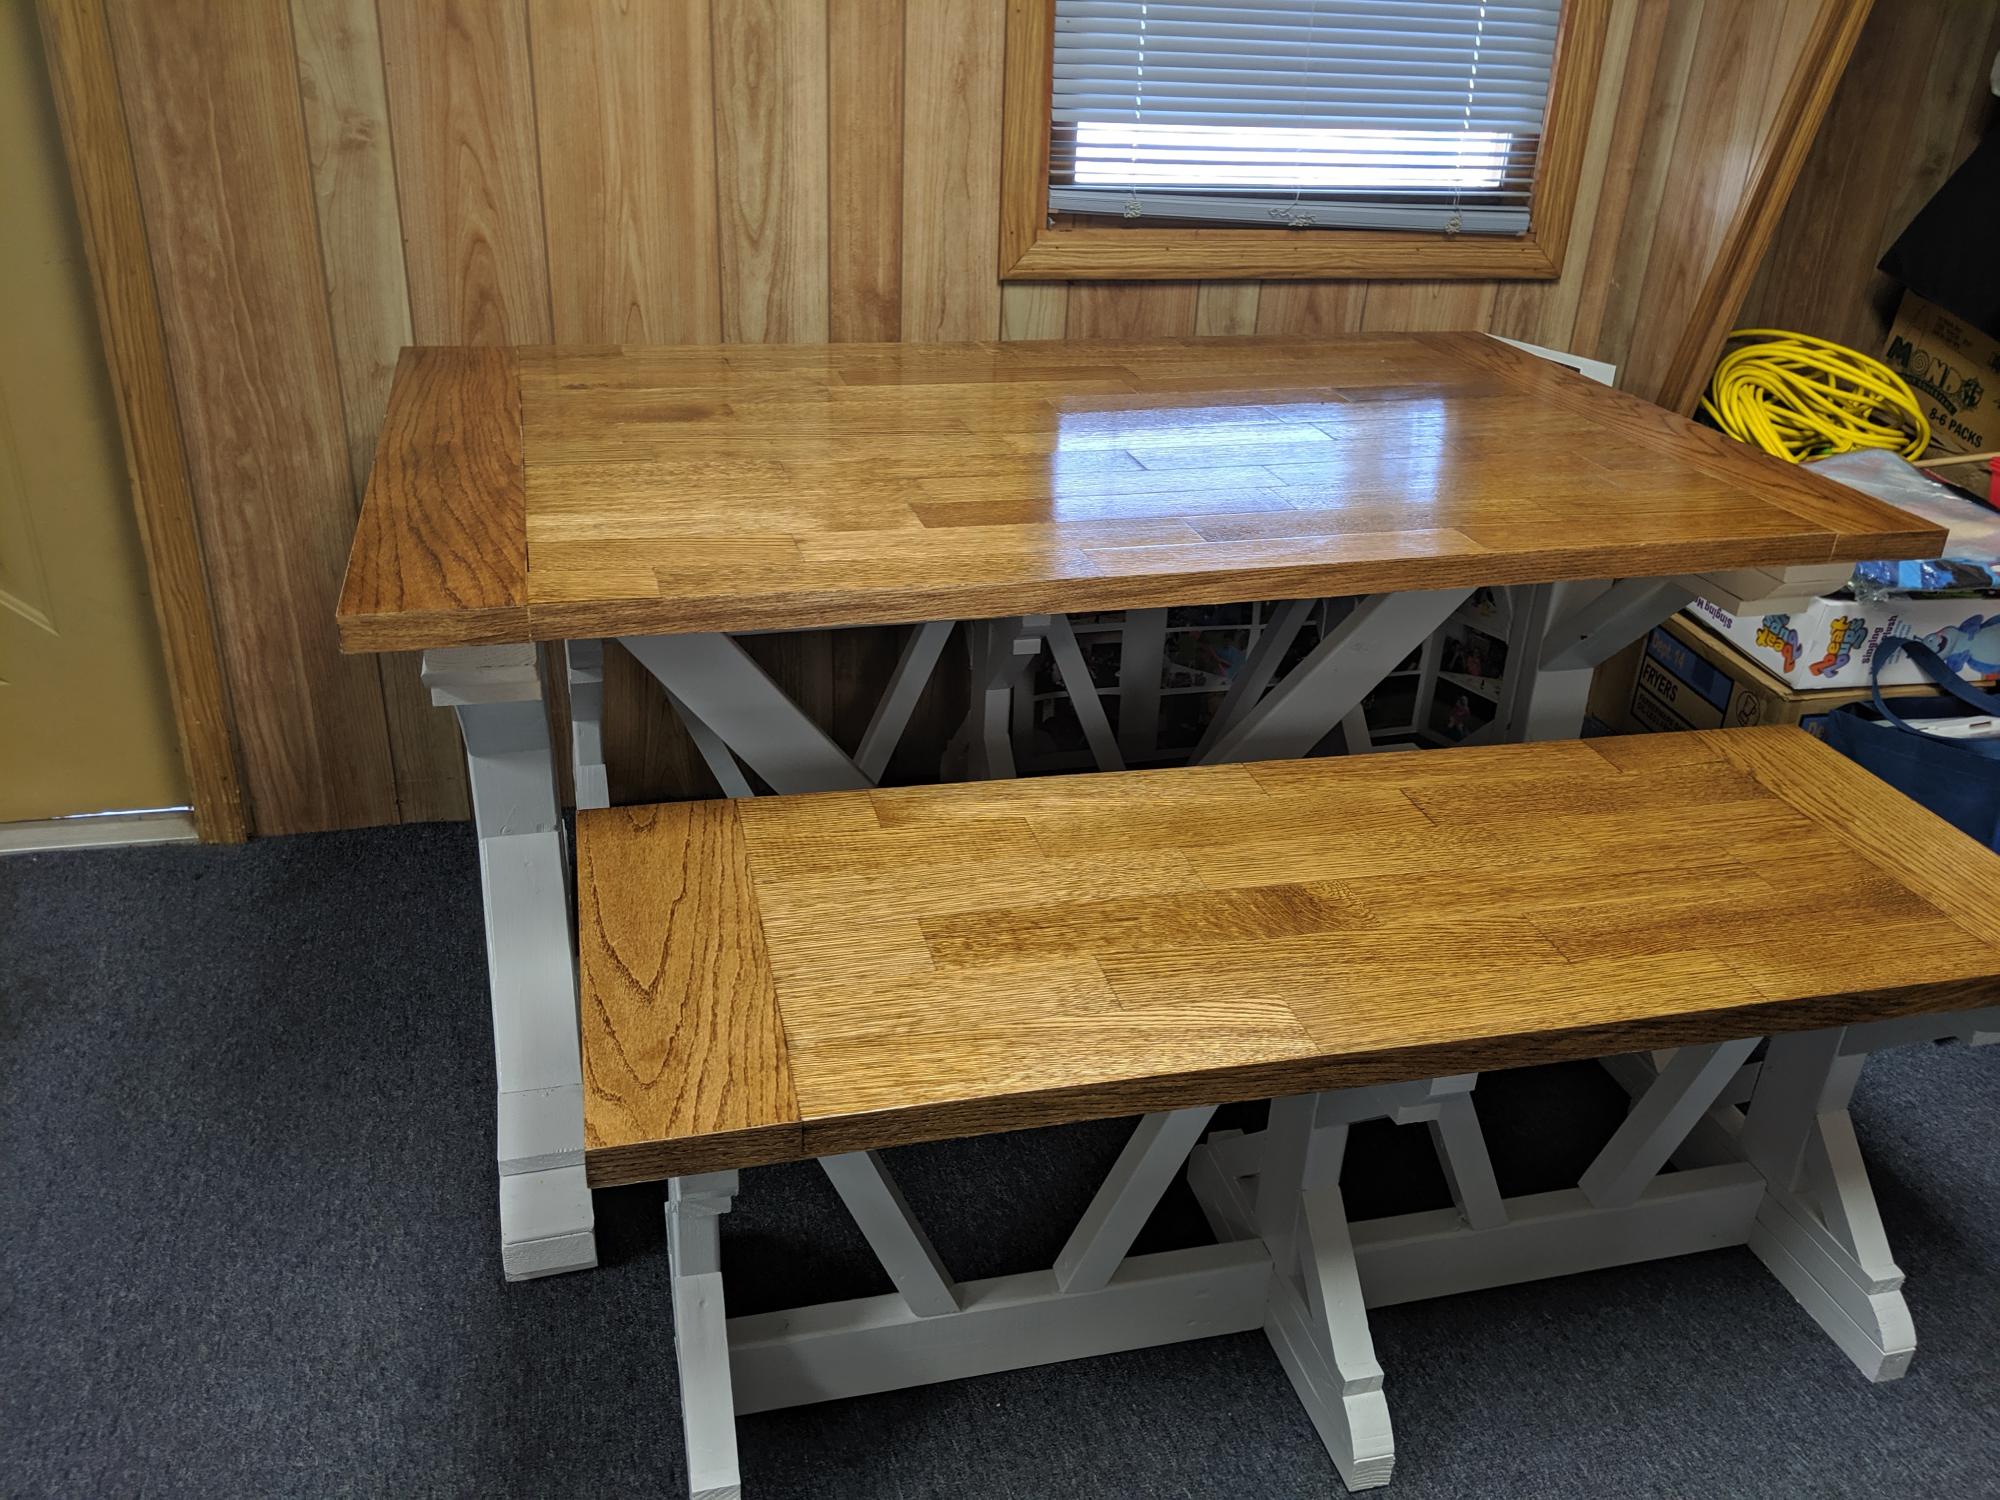
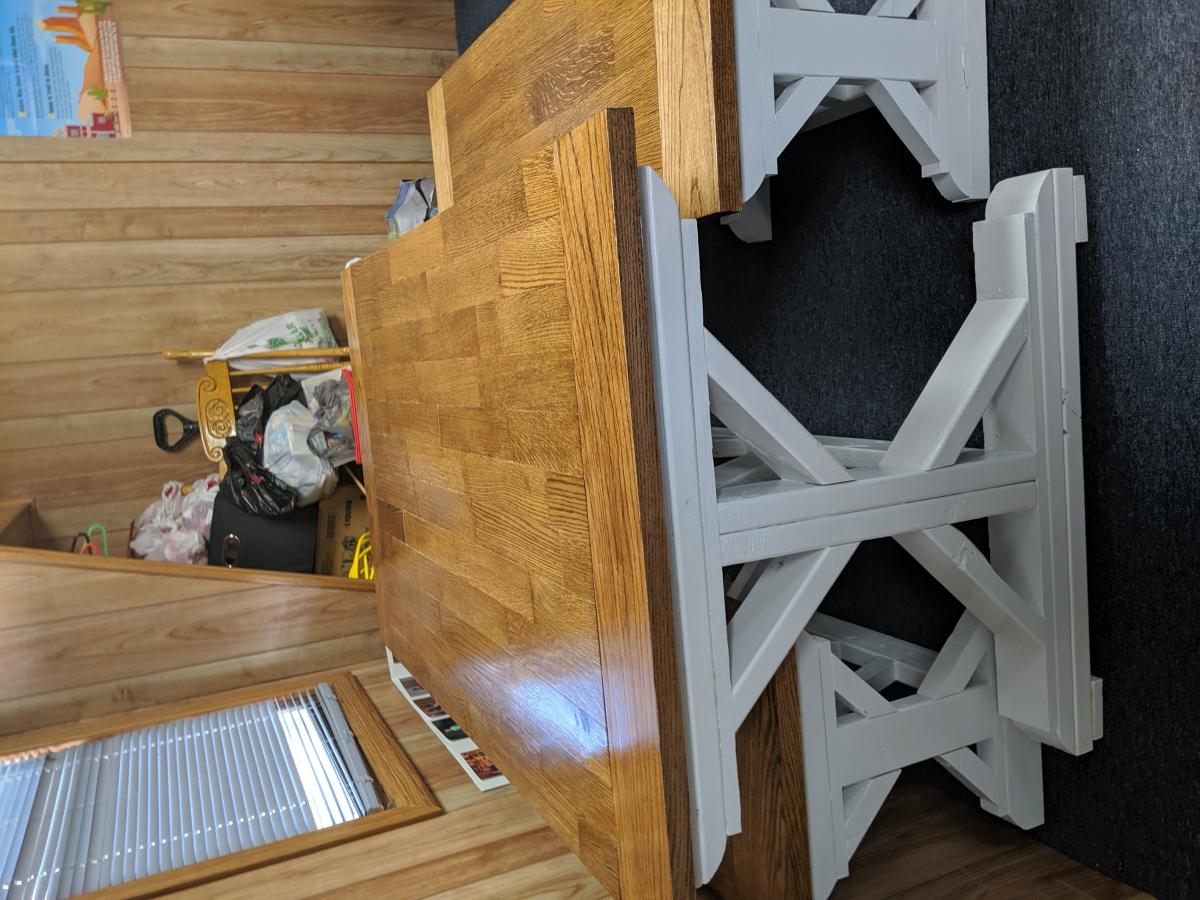
Built top from oak hardwood floor and adjusted table length and bench width to meet customers space needs.
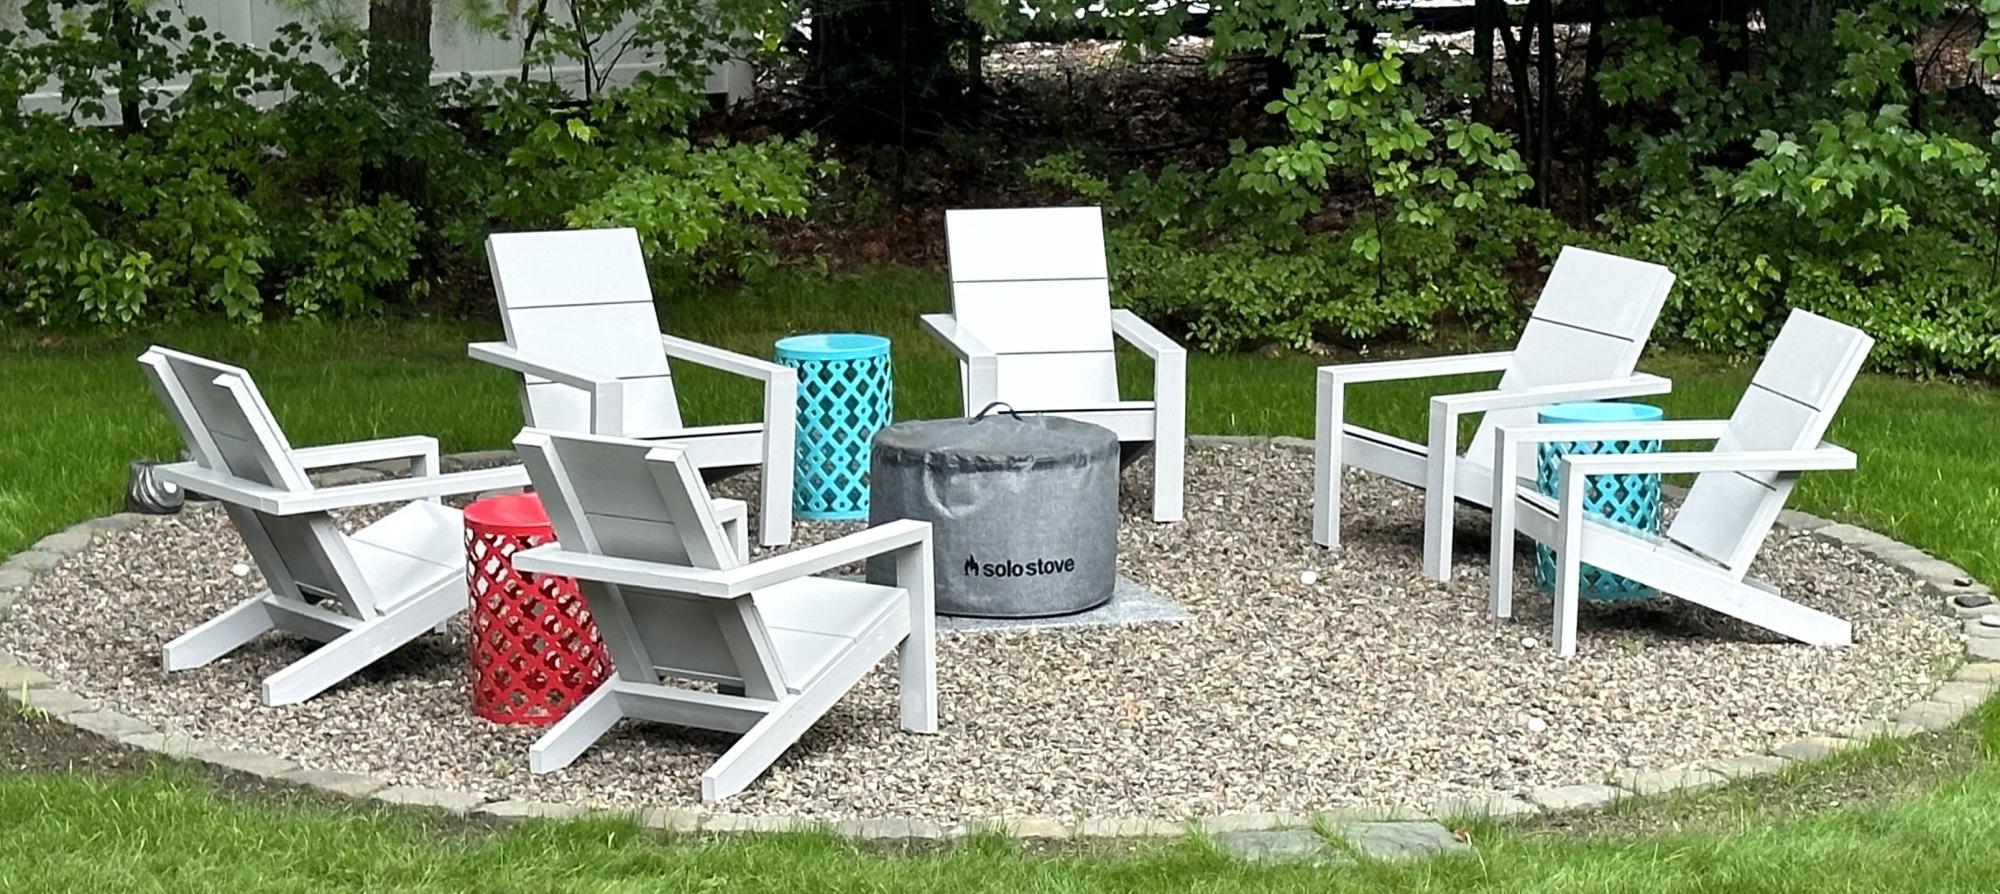
6 Ana White Adirondacks replaced 6 crappy plastic Adirondacks. I changed it up a bit by attaching the arms to the front legs with the kreg jig and filled all the screw holes with putty before I added finish coat. Neat and clean looking. Thank you Ana White!
Franko_6789
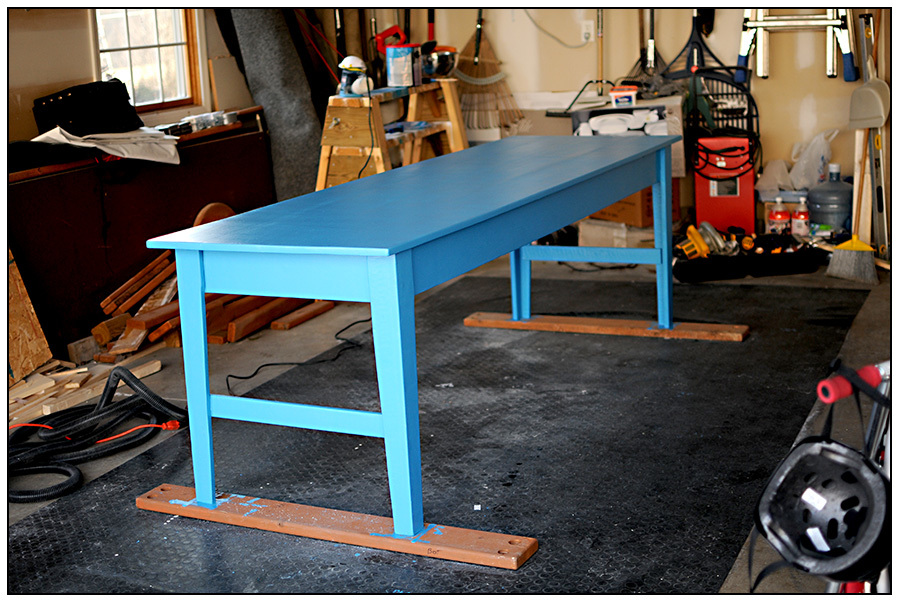
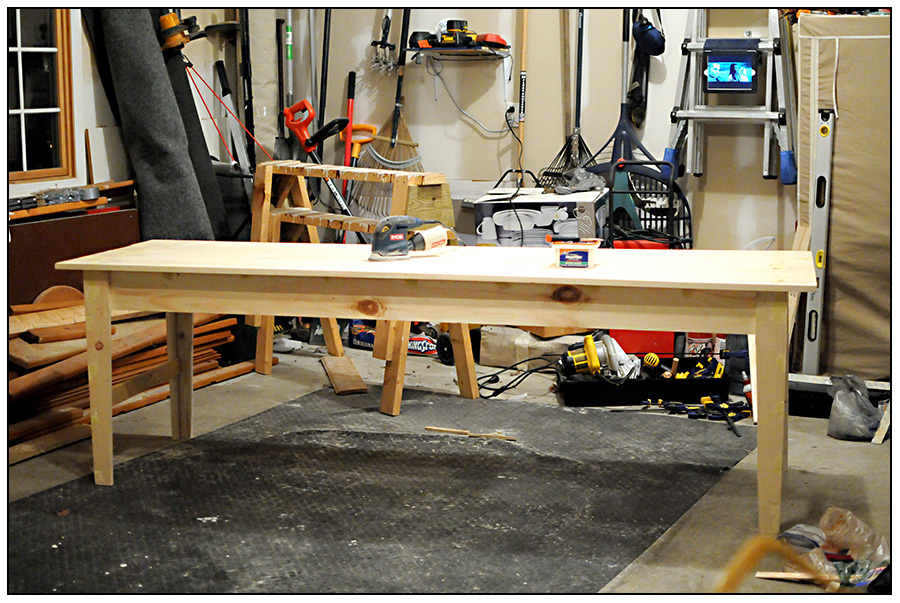
I built something!! I really want to build a bed for my son, but wanted something a little simpler for my first project. This table came together very easily. I can't wait for my craft room to be done and get all my sewing machines set up on it - Thanks so much for your site, Ana!
Tue, 02/21/2012 - 13:25
Beautiful! Love the color - and this table is gorgeous - first project or 100TH!!! Thanks for sharing!
My wife and I came across this site 2 years ago and immediately fell in love with the loft beds. I have never done any kind of project like this and really wasn't sure if I could do it. I'm an IT guy, so the idea of fumbling around with power tools was a bit intimidating.
I decided to give it a try this year, 2013, as a Christmas present for my two girls, ages 9 and 7. I bought a chop saw and circular saw, had the wood delivered and proceeded to take over the garage. Following the plans, I started making my cuts. Made a few mistakes and had to go buy extra wood, but eventually I completed my cut list. I proceeded to prime and paint the wood, except for where I was gluing as I heard from a friend that wood glue worked much better on wood than paint. Go figure.
I sent the girls to my dad's the weekend before Christmas. They had no idea what I was doing out in the garage and I wanted to make it a complete surprise. I had a good friend come over and help me assemble. The first bed took just over 10 hours to complete. Neither one of us really knew what we were doing, so we were being extra cautious. The second one took us 4 1/2 hours.
I have to admit, I was quite proud of how it turned out. The plans were really easy to follow, even for a complete novice like me. I was really surprised at how sturdy the beds were, no wobbling, hardly any creaking when getting in them, a really solid product. I did some touch up paint after it was all assembled and then I was done. I highly recommend this plan to anyone considering a loft bed.
Tal
