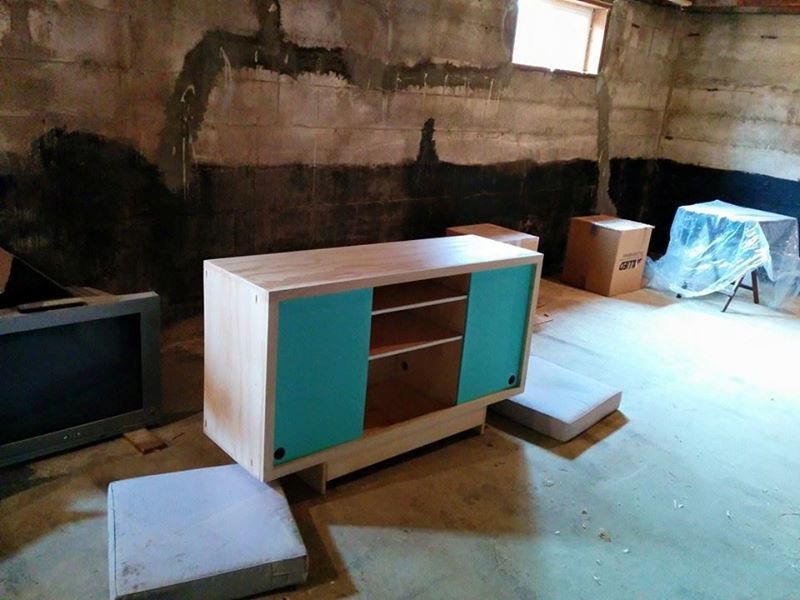
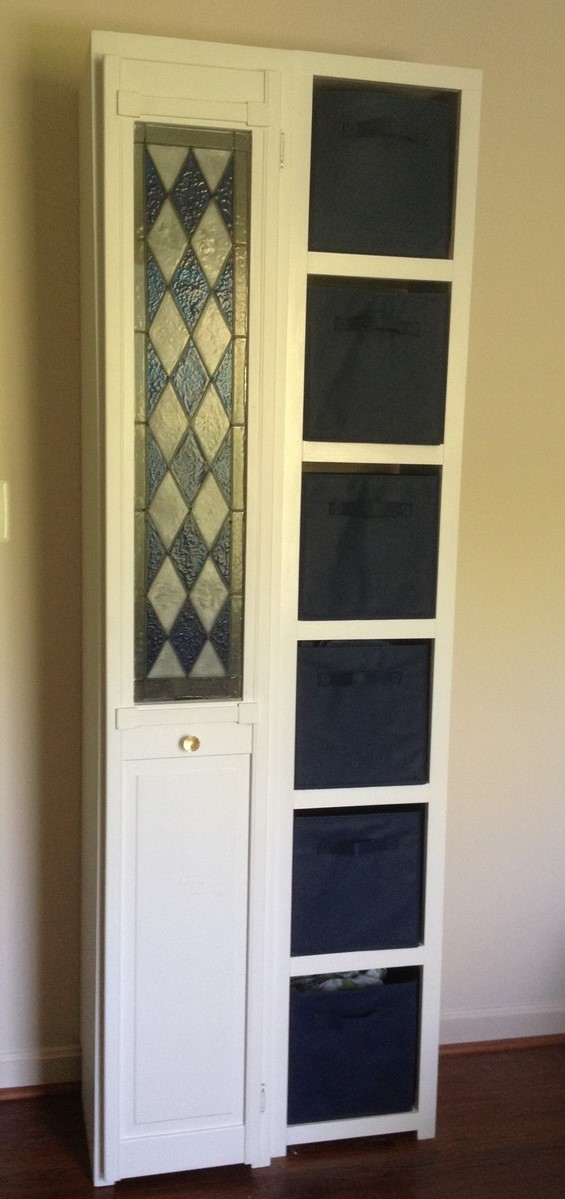
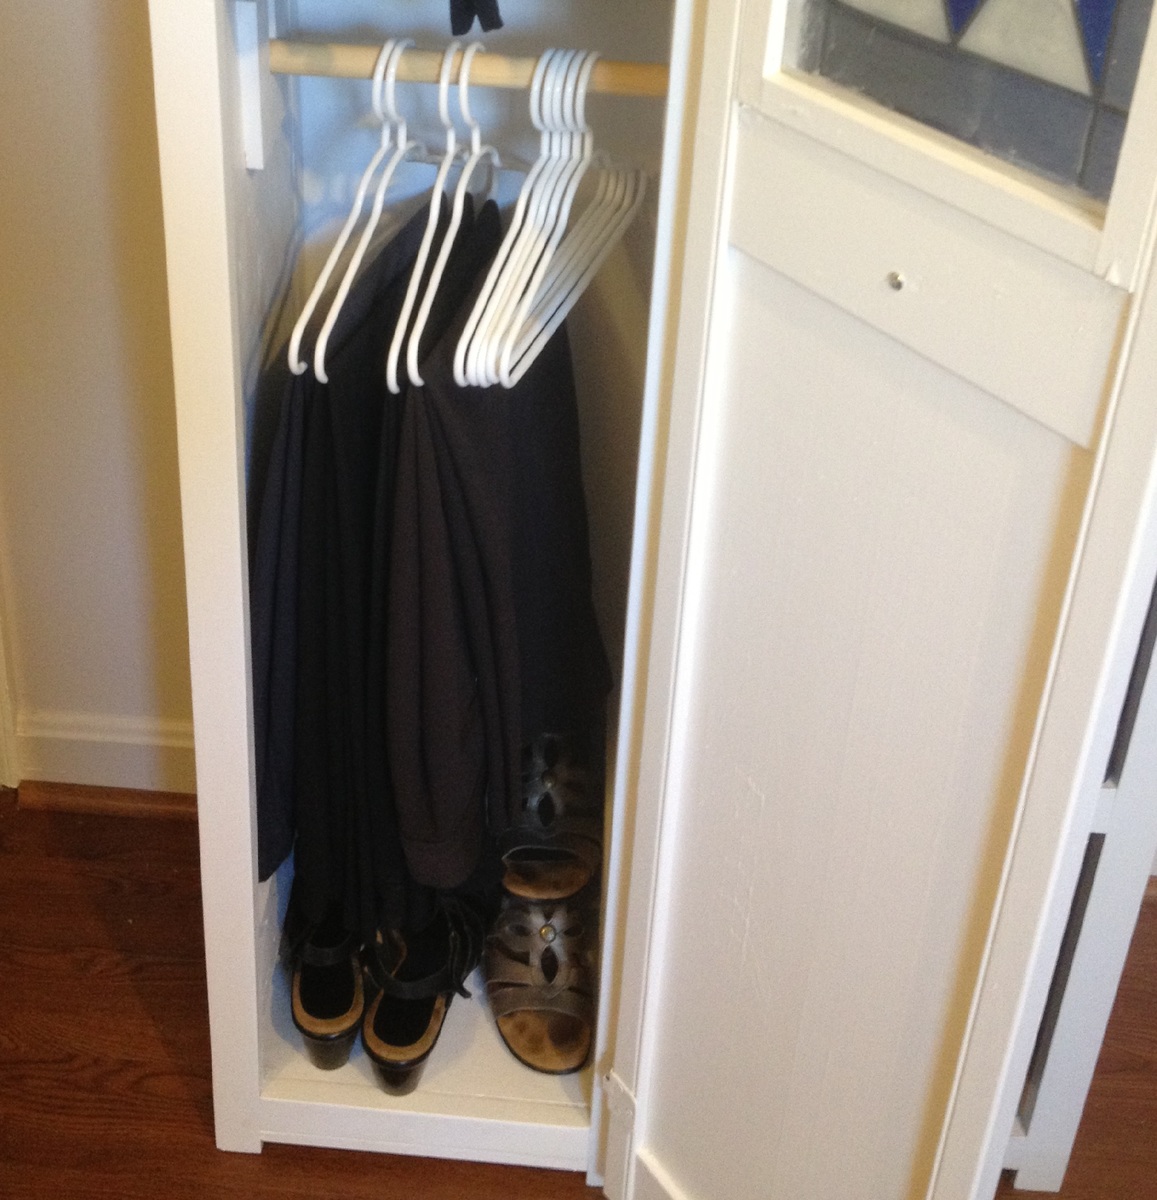
Odd Mudroom Cupboard
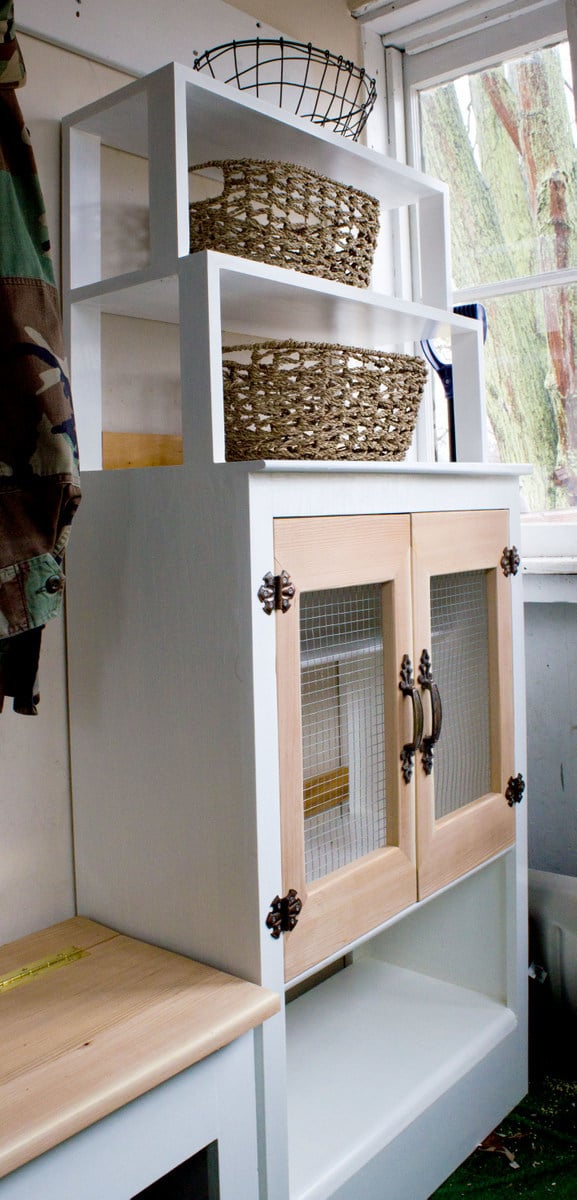
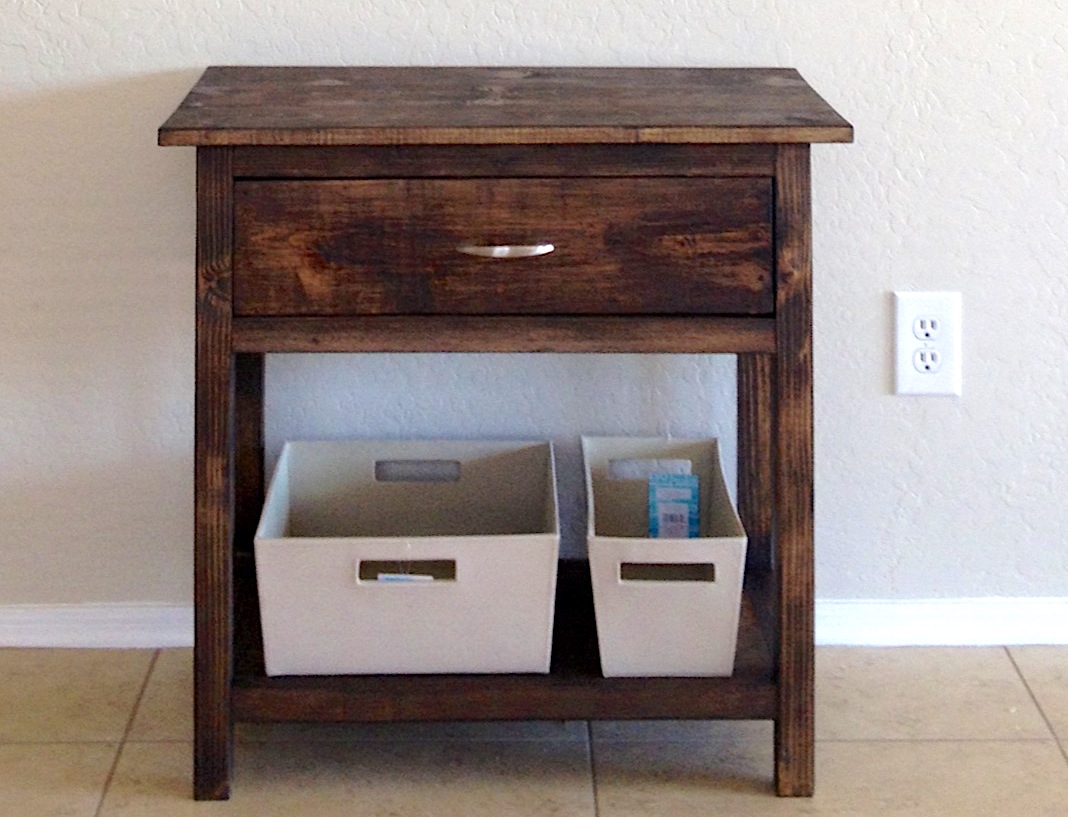
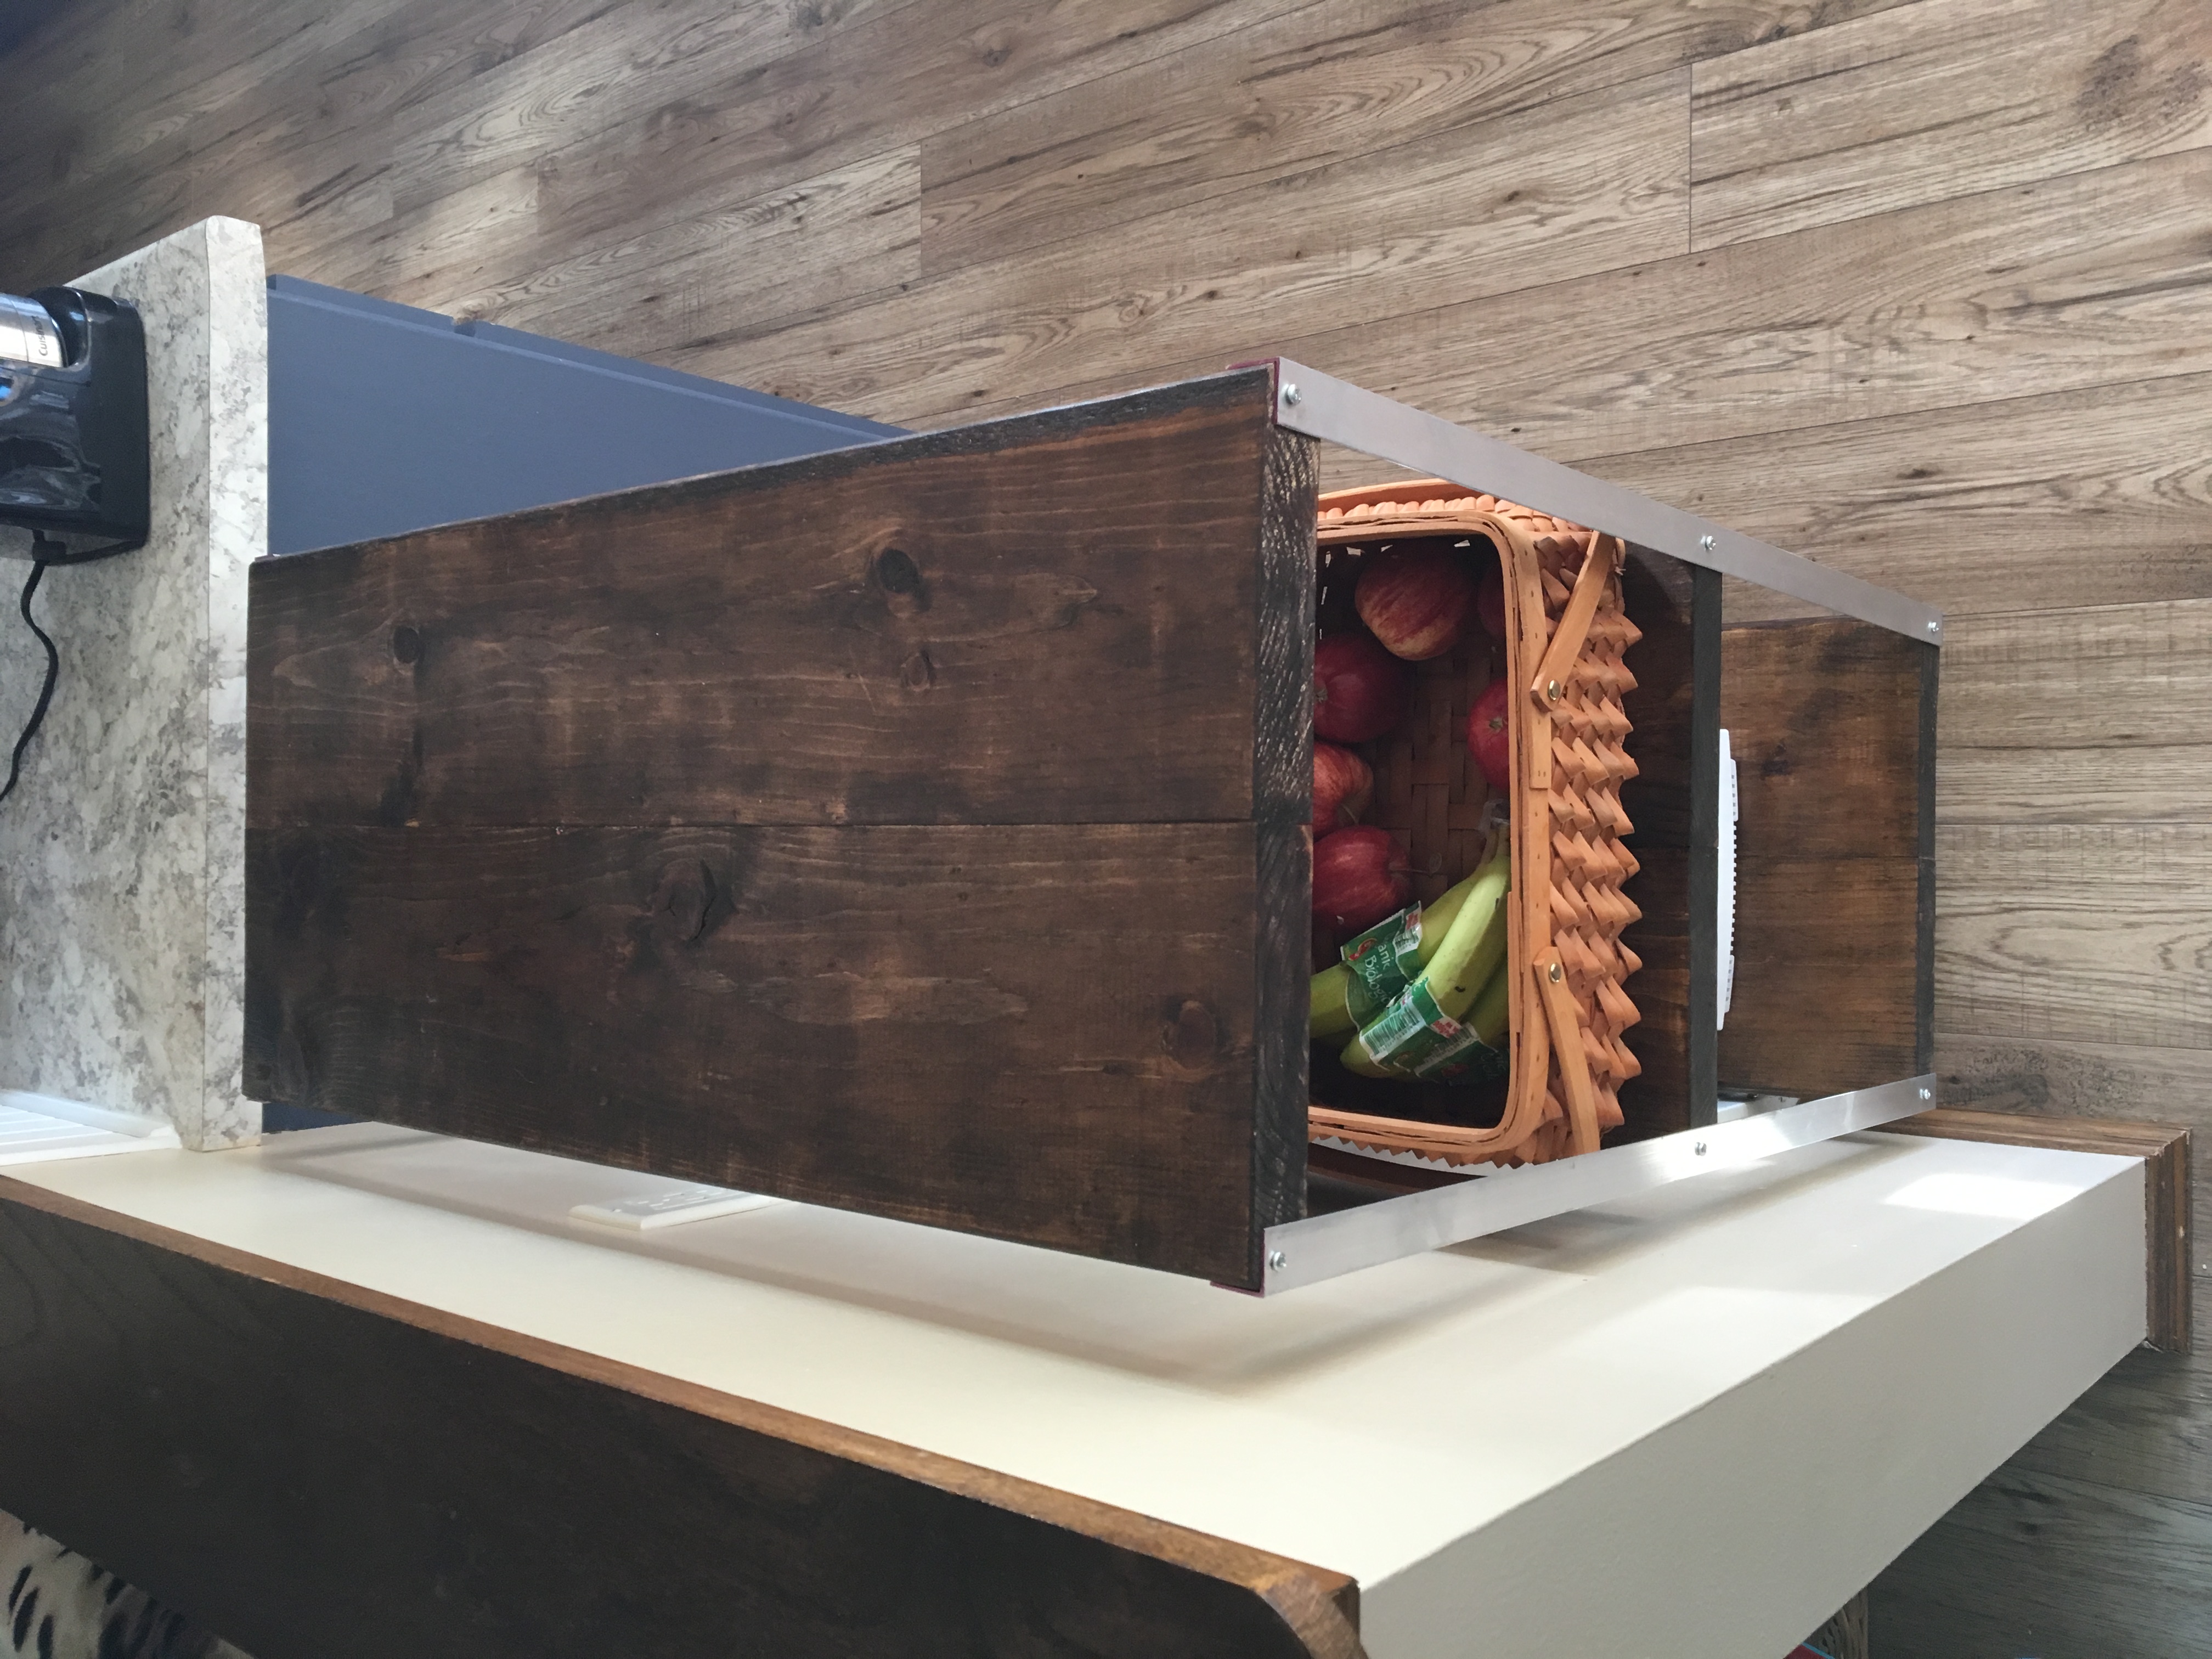
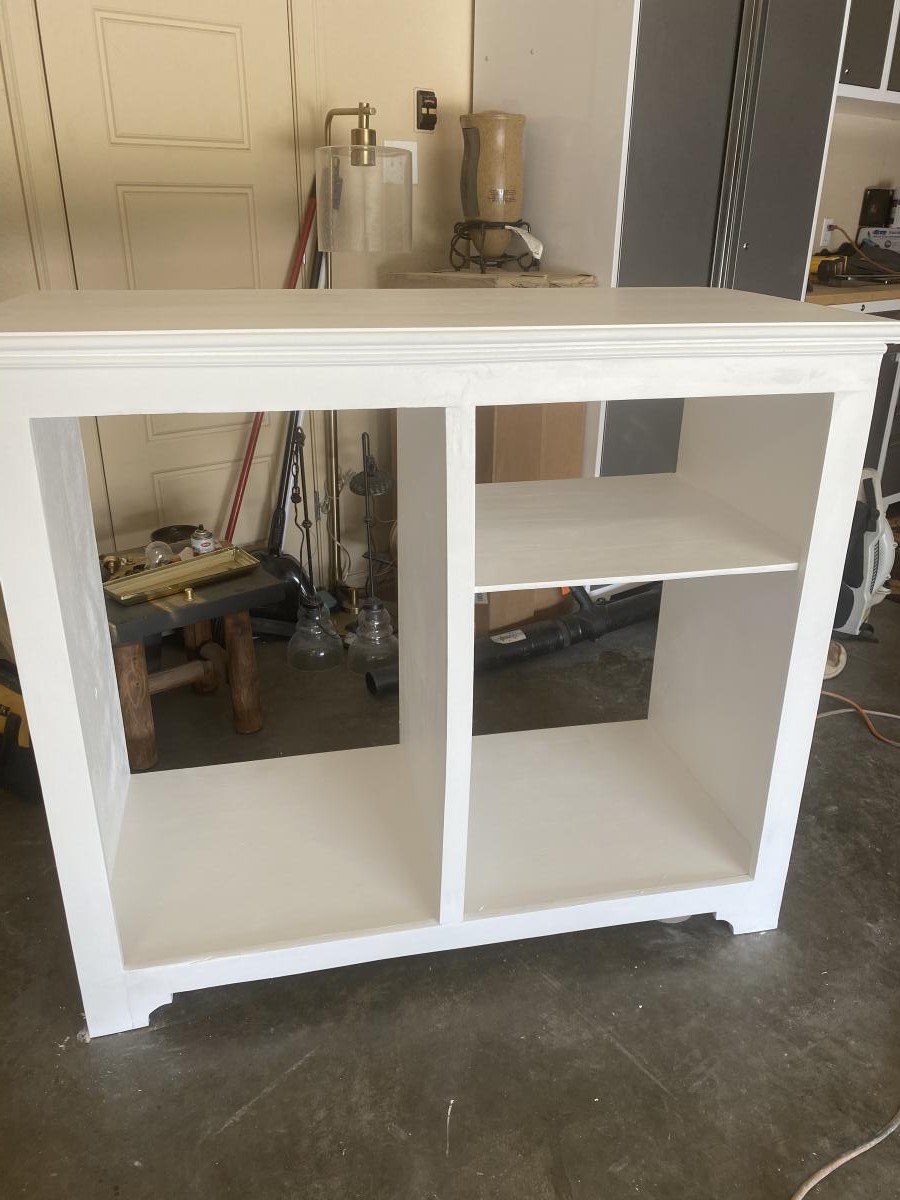
I meant this cupboard to be more like Patrick's Jelly Cupboard...but my infernal "let's customize everything!" attitude morphed her into what she now is. The open bottom shelf is exactly sized to hold glass milk bottles awaiting return to our local dairy (I am SO lucky!), the bottom shelf behind the doors is large enough for sidewalk salt and potting soil, and the upper shelf behind the doors holds bug spray, spray paint, and odds and ends. The top shelves hold baskets...one for library books and store returns, one for things that need to go farther (like to our relatives), and one just for looks. I guess.
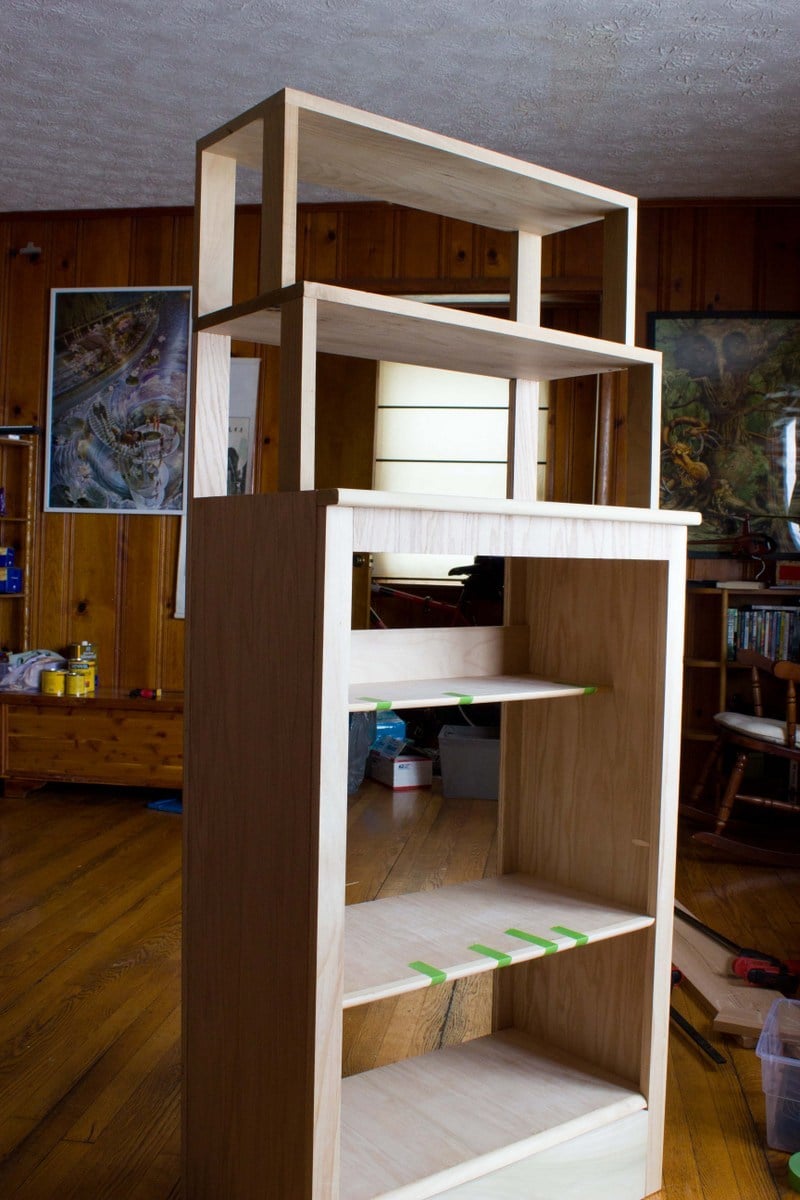
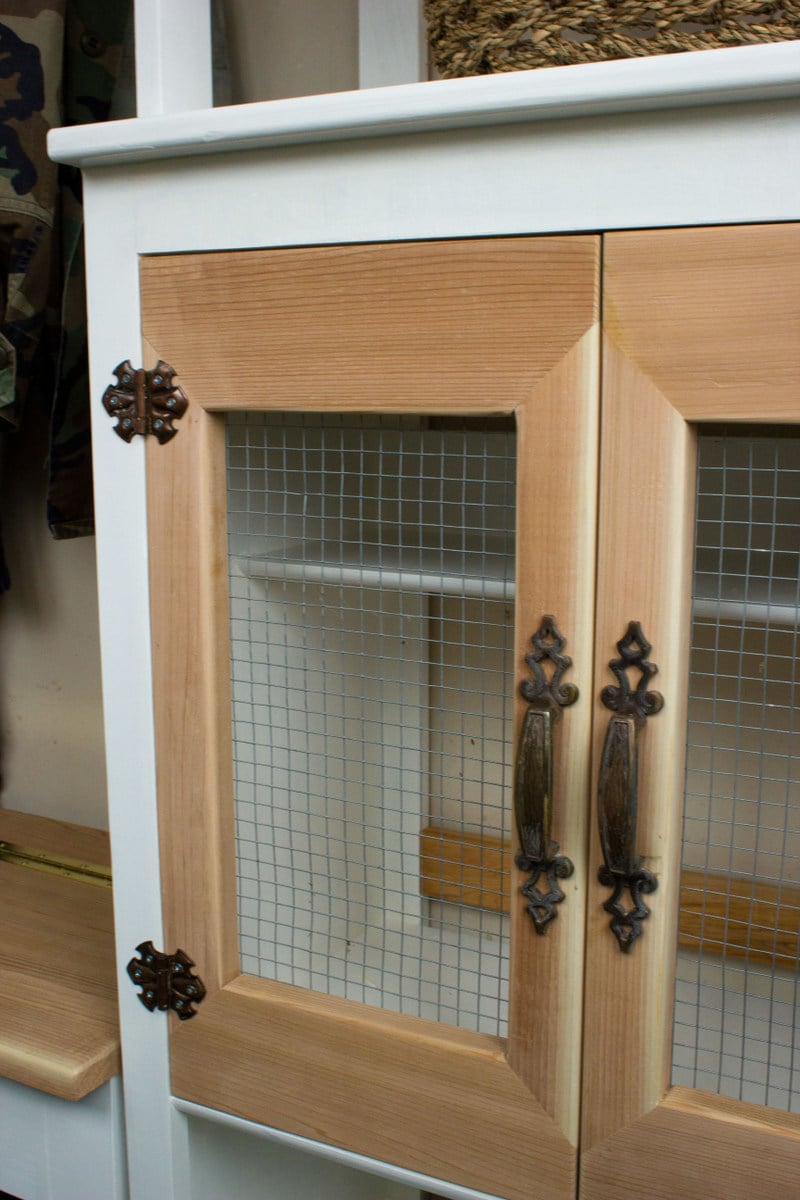
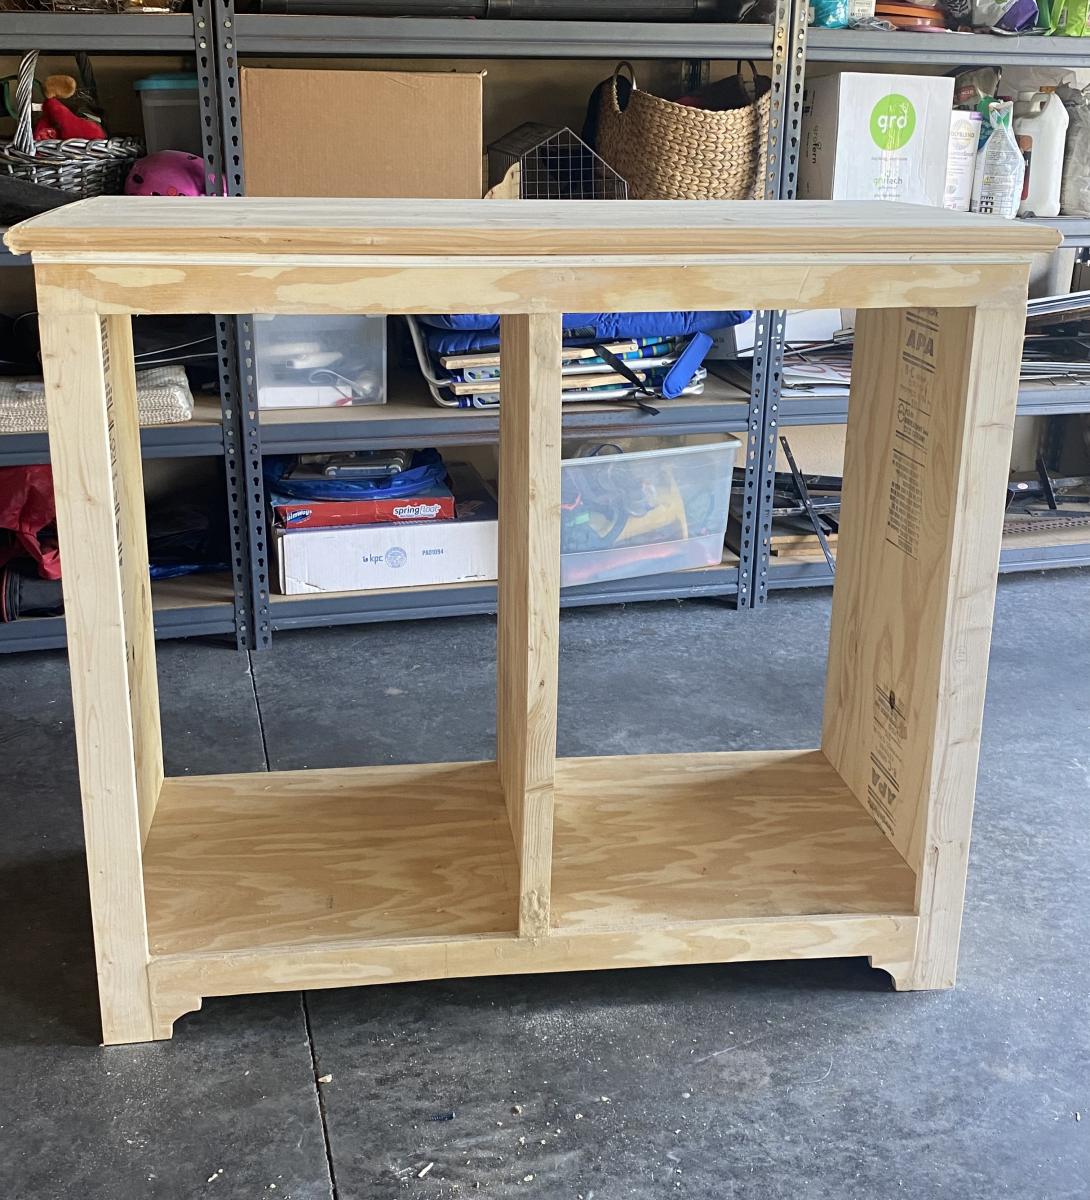
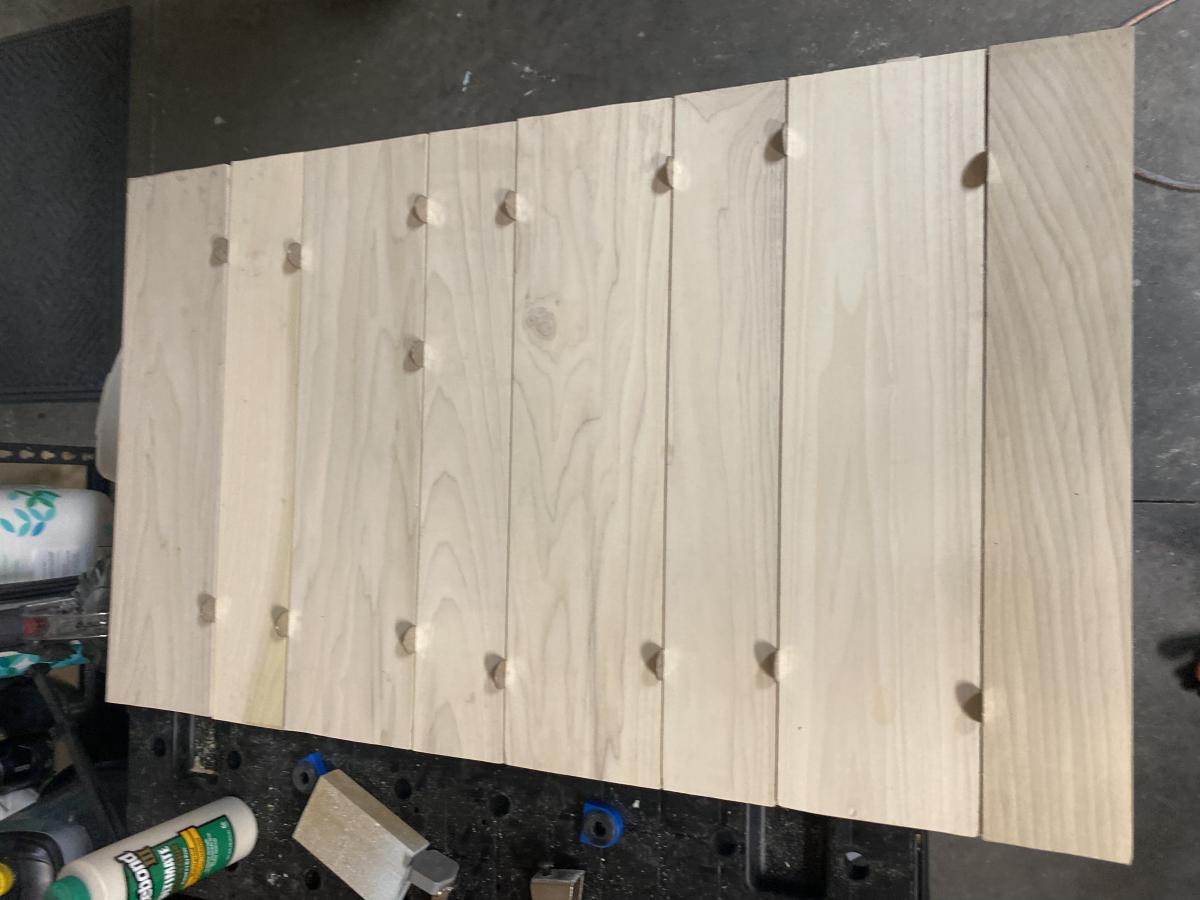
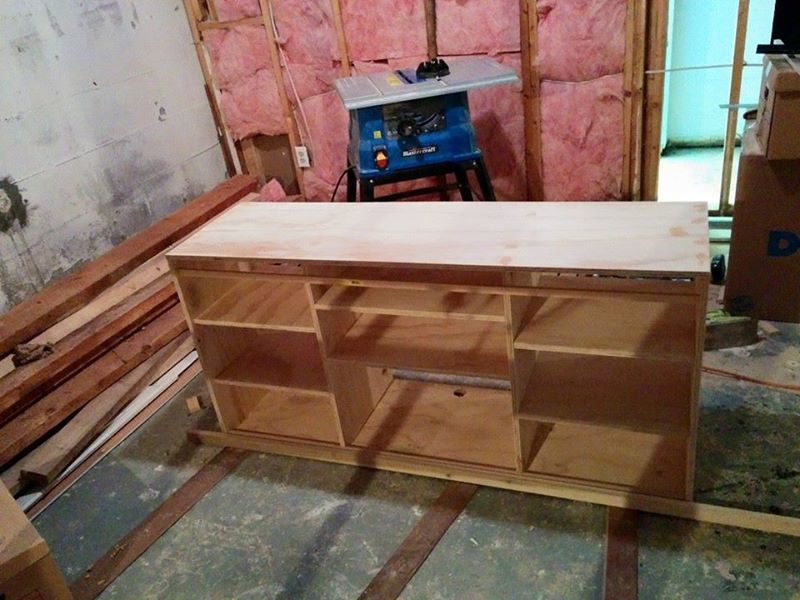
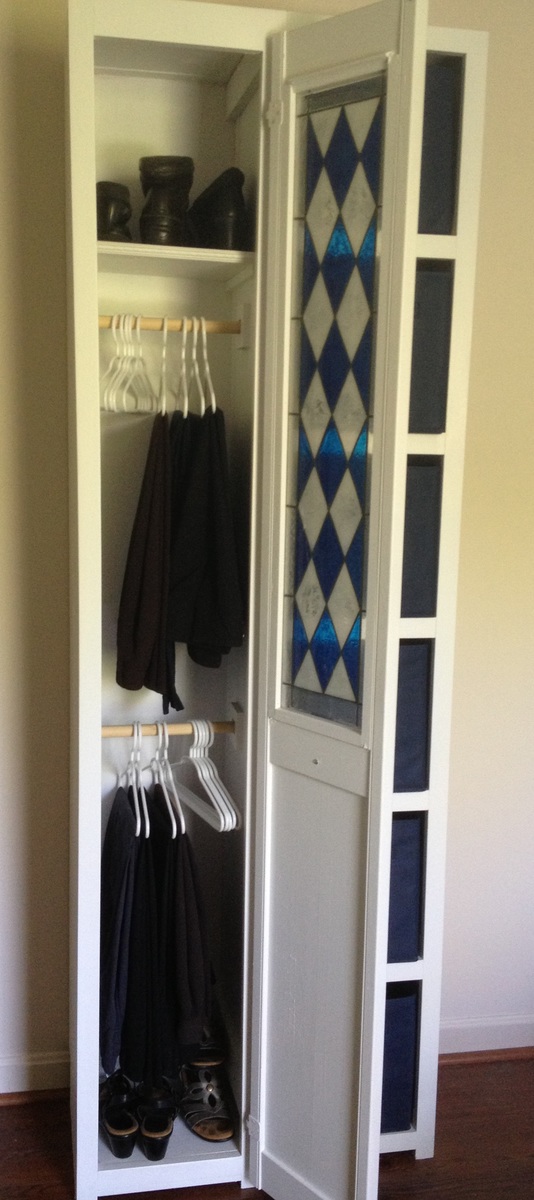
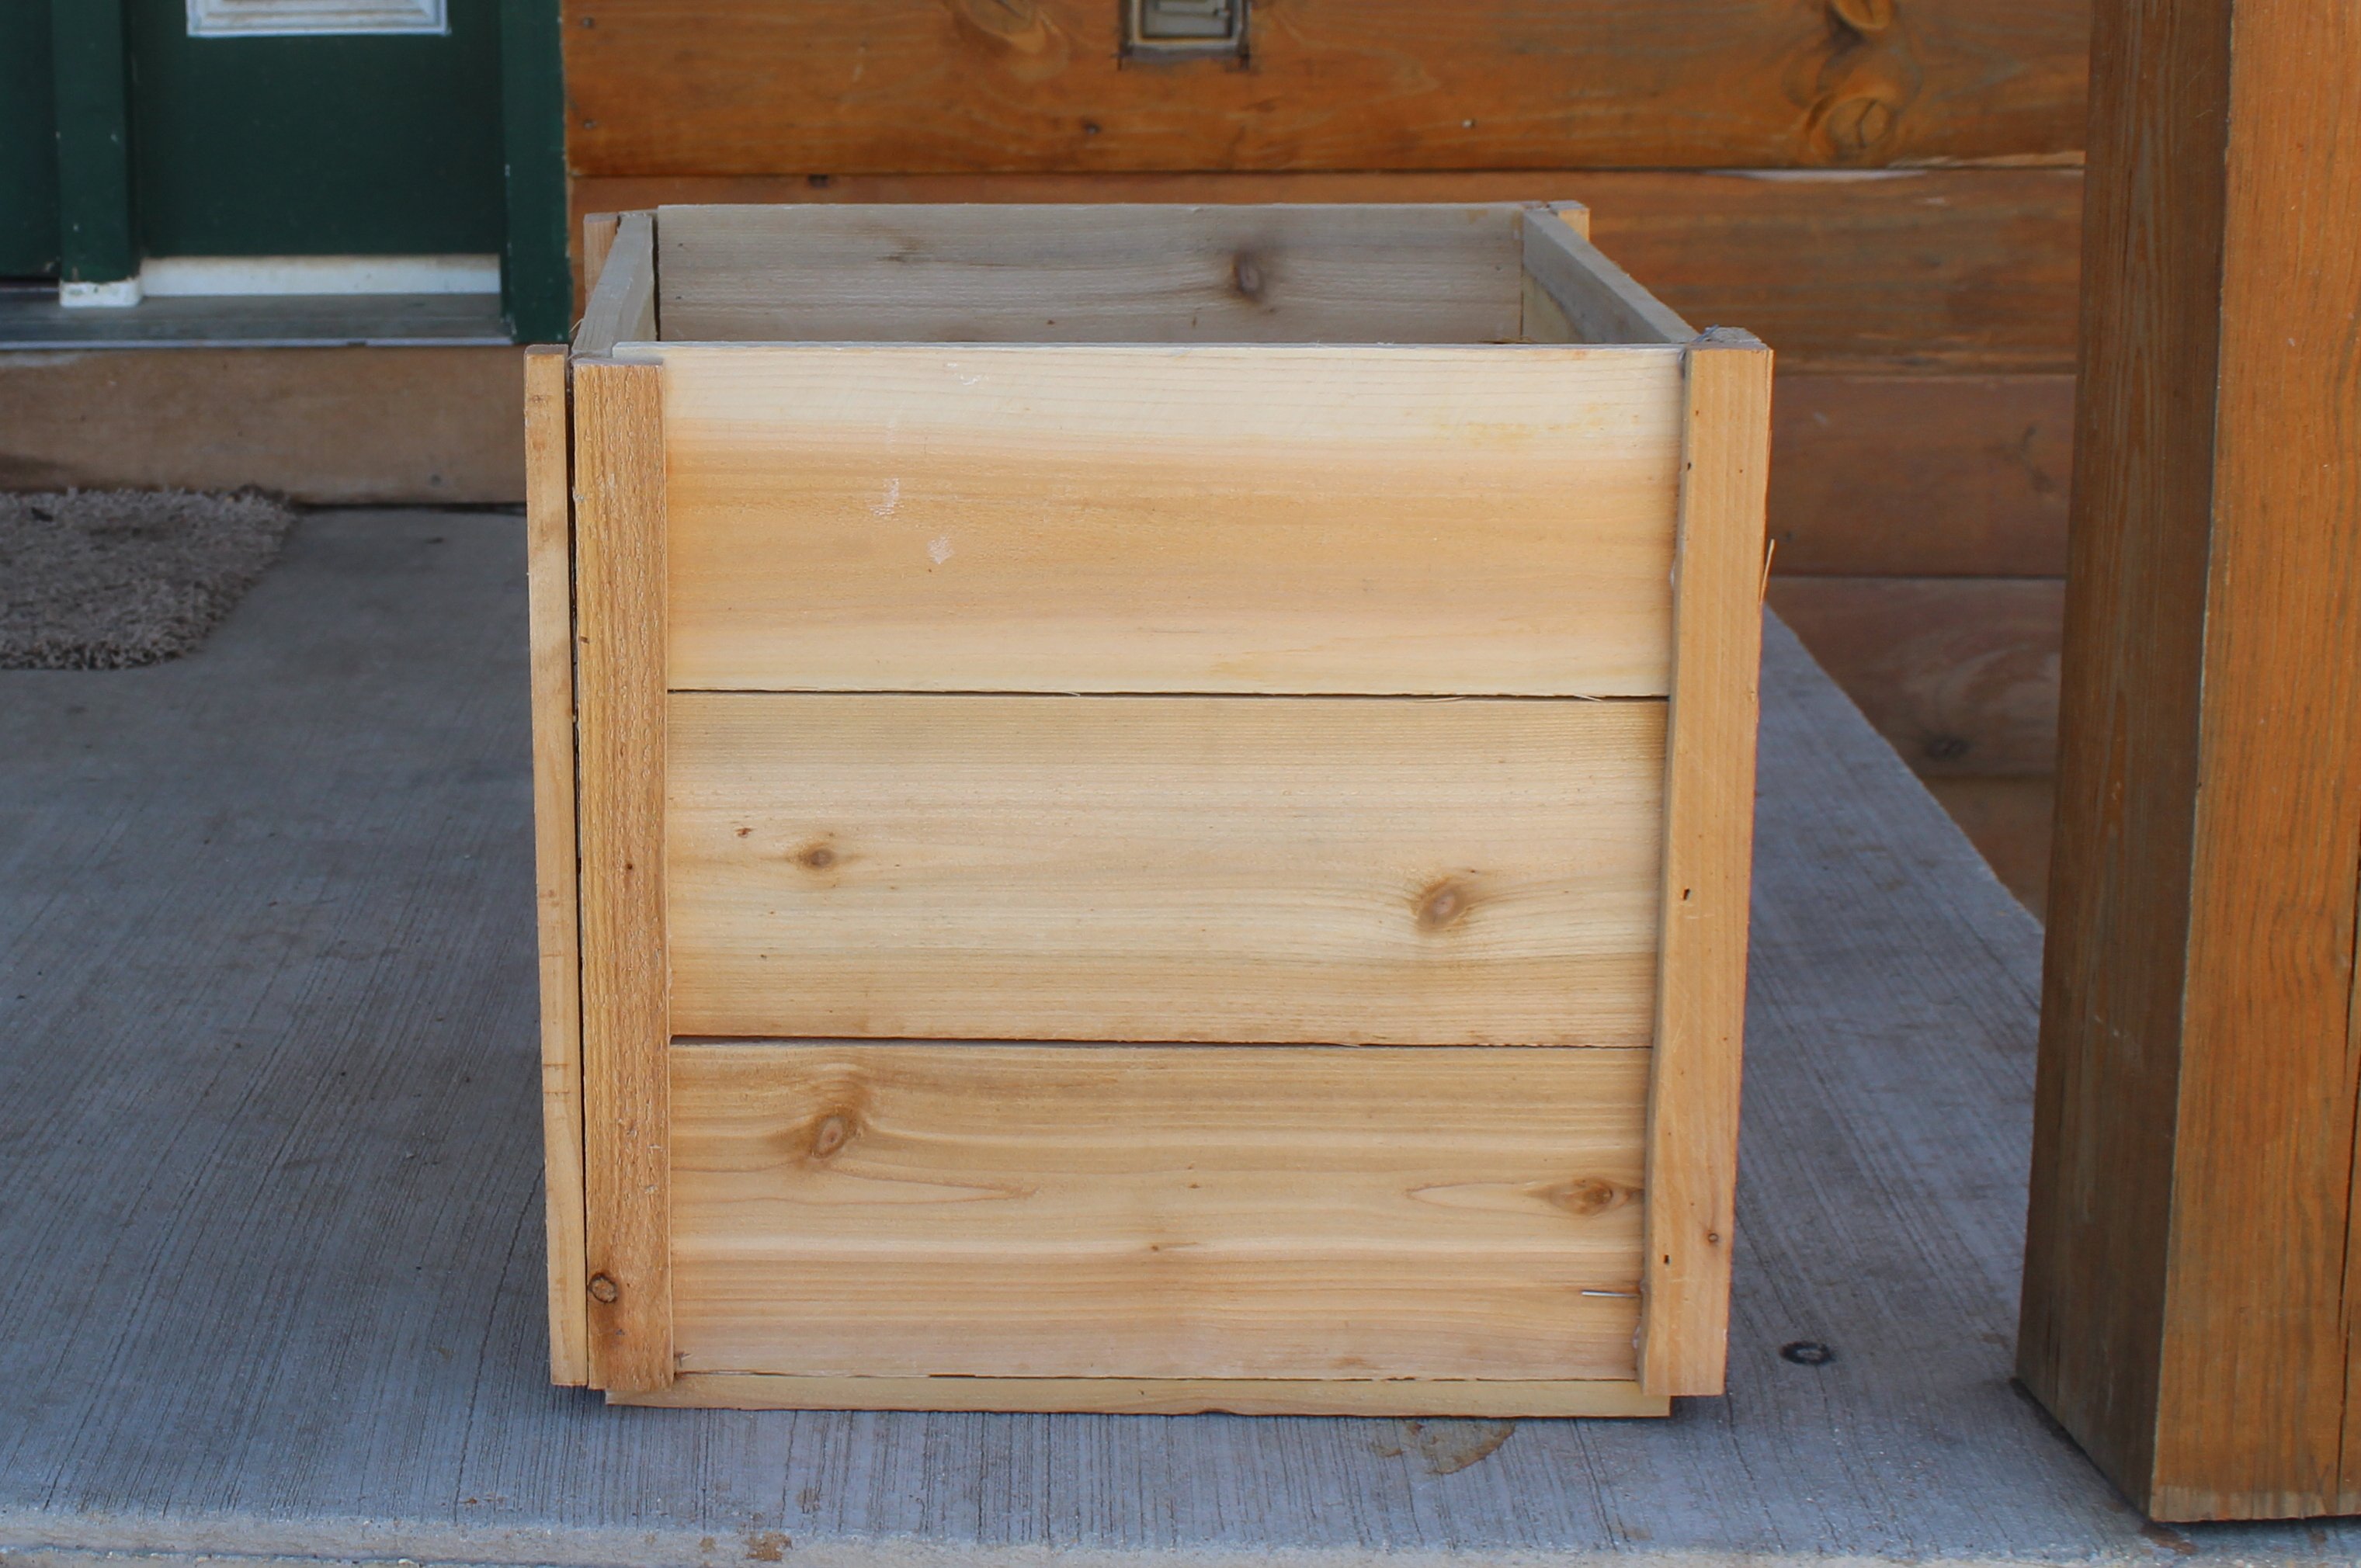
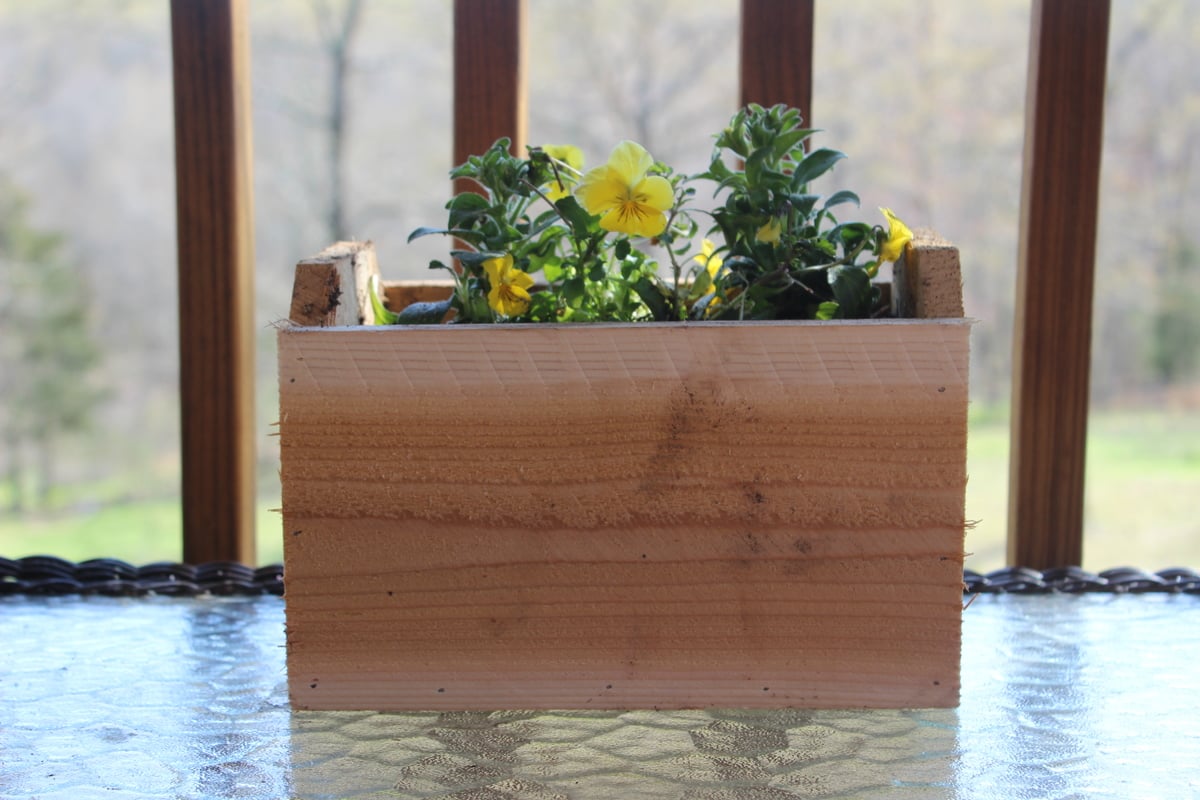
The bottom construction is entirely plywood. The face trim is 1x2 pine, the footer is a 1x6 poplar board, and the top of the construction (including the short support legs for those shelves) is poplar (from a garage sale - I saw it back there, asked a price, and walked away with a $5 board of poplar at 1x12@10' - it never hurts to ask!). The doors are cedar (leftovers from the bench construction to the left) with hardware cloth we had on hand from garden projects.
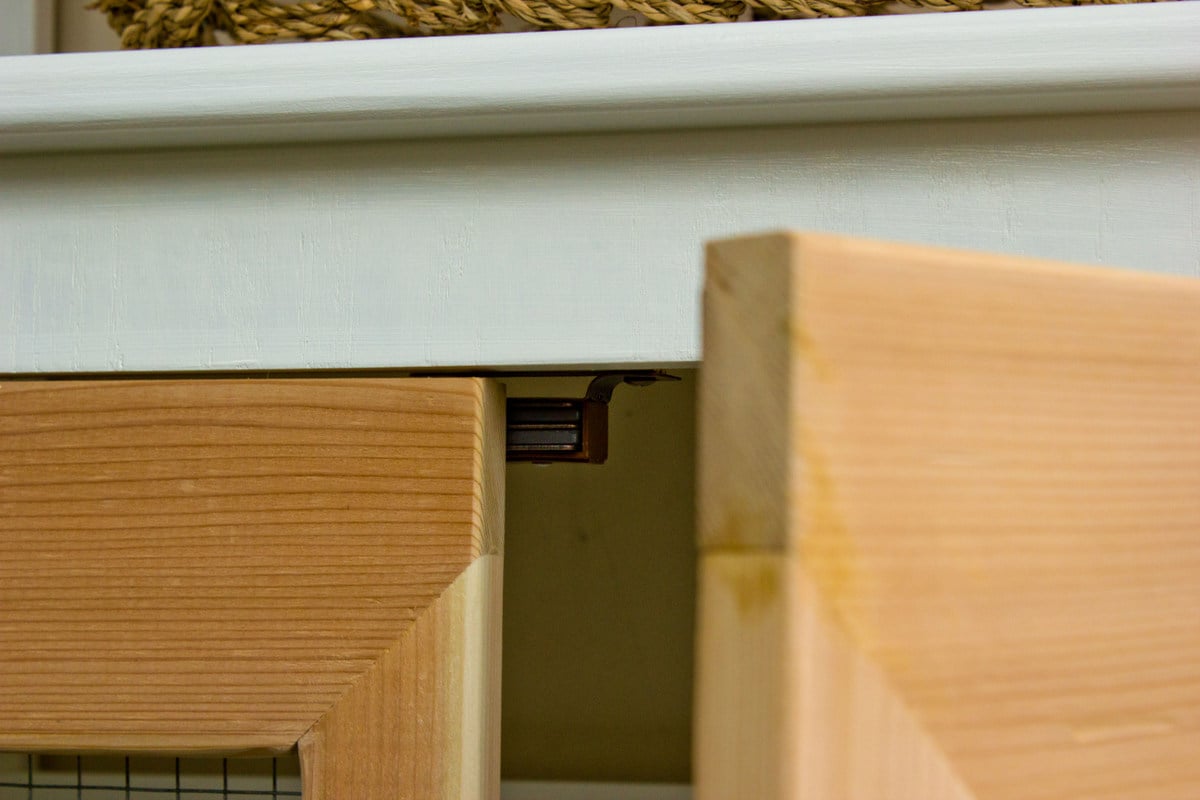
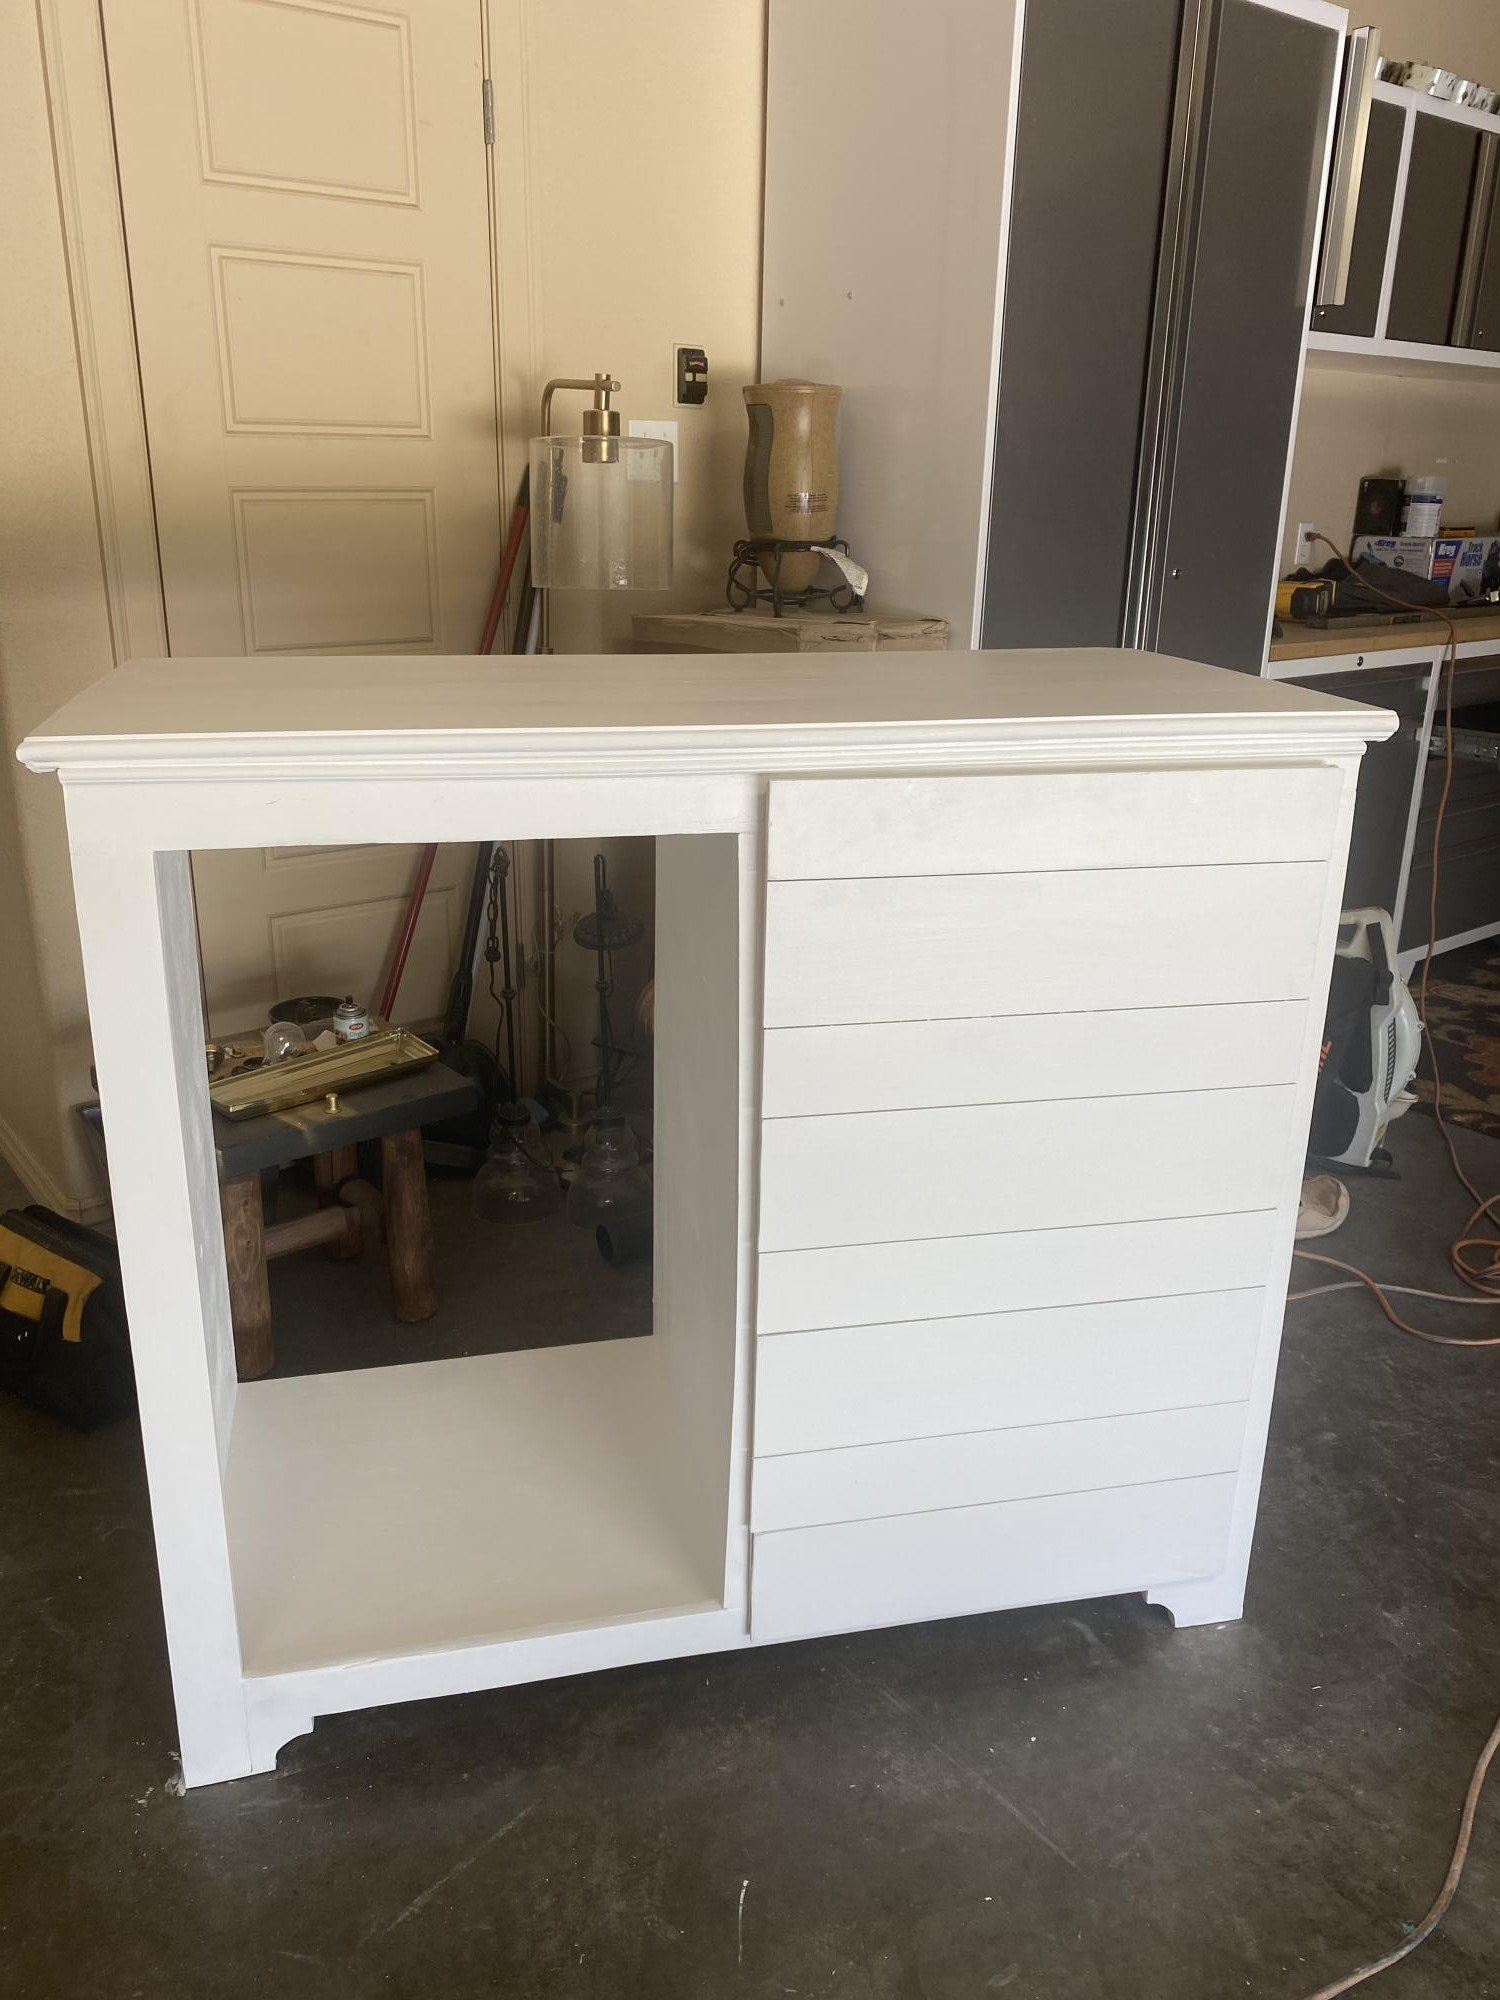
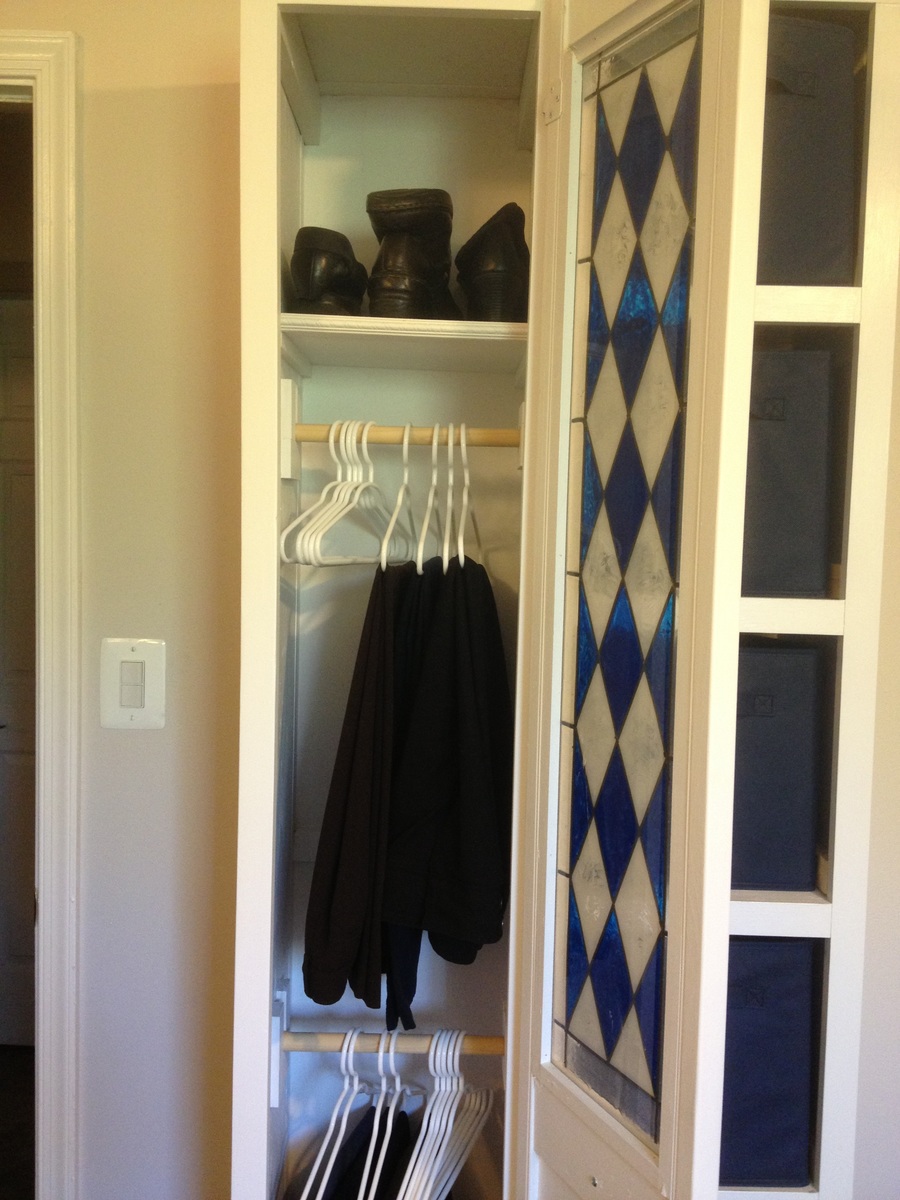
The body is painted in an off-the-shelf Behr white, and the doors are unfinished cedar, inset with a magnet closure at the top center. All the other hardware came from garage sales. If you can see them, there are a couple of cross supports at the back of the piece...they are discarded hardwood floor boards, stripped, sanded, and tung oiled.
I absolutely love my mudroom now! It looks like I spent a fortune getting this tailored, custom look, when all I really had to spend was about $70 total (including bench, coat rack, AND cupboard), plus some creative juices and elbow grease! I keep walking back in there to just stand and glow over it...


Comments
Pam the Goatherd
Wed, 04/17/2013 - 11:17
You deserve a little glow!
You deserve a little glow! It all looks so nice!
Lady Goats
Wed, 04/17/2013 - 13:02
Wow!
WOW! First off, the workmanship is stunning, and I love how you constructed the doors. The fact that it was only $50-70 only adds to my liking, but it really just seems so... Natural! Does that make sense? Like, it just looks like it belongs there and is cozy and inviting. Truly amazing job!