Community Brag Posts

Outdoor loveseat - love it!

Submitted by herzo1852 on Tue, 08/13/2013 - 13:40

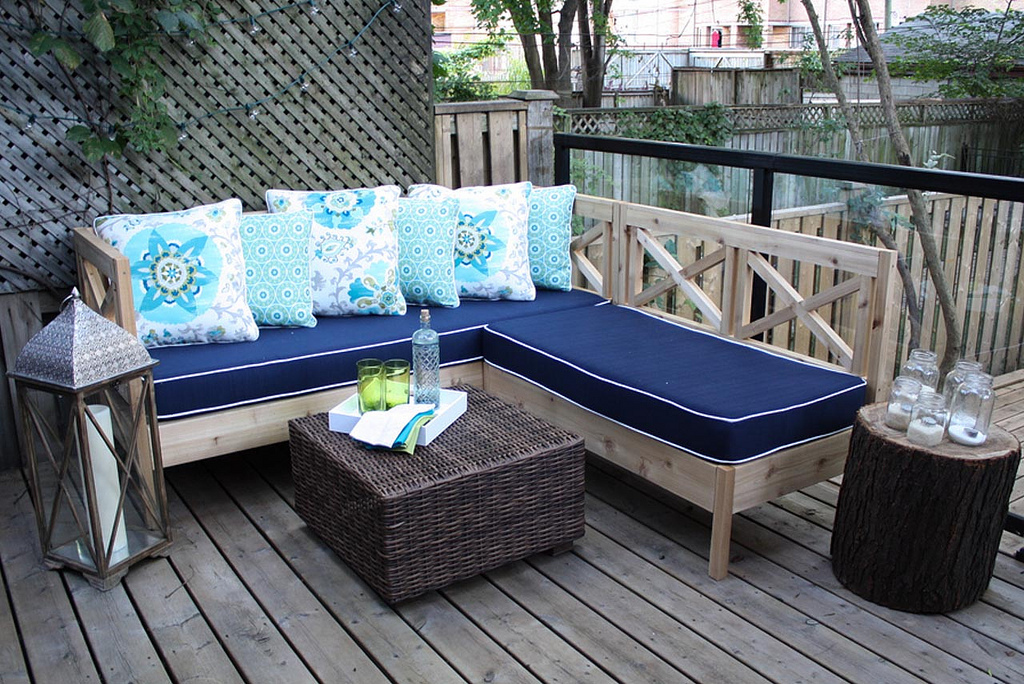
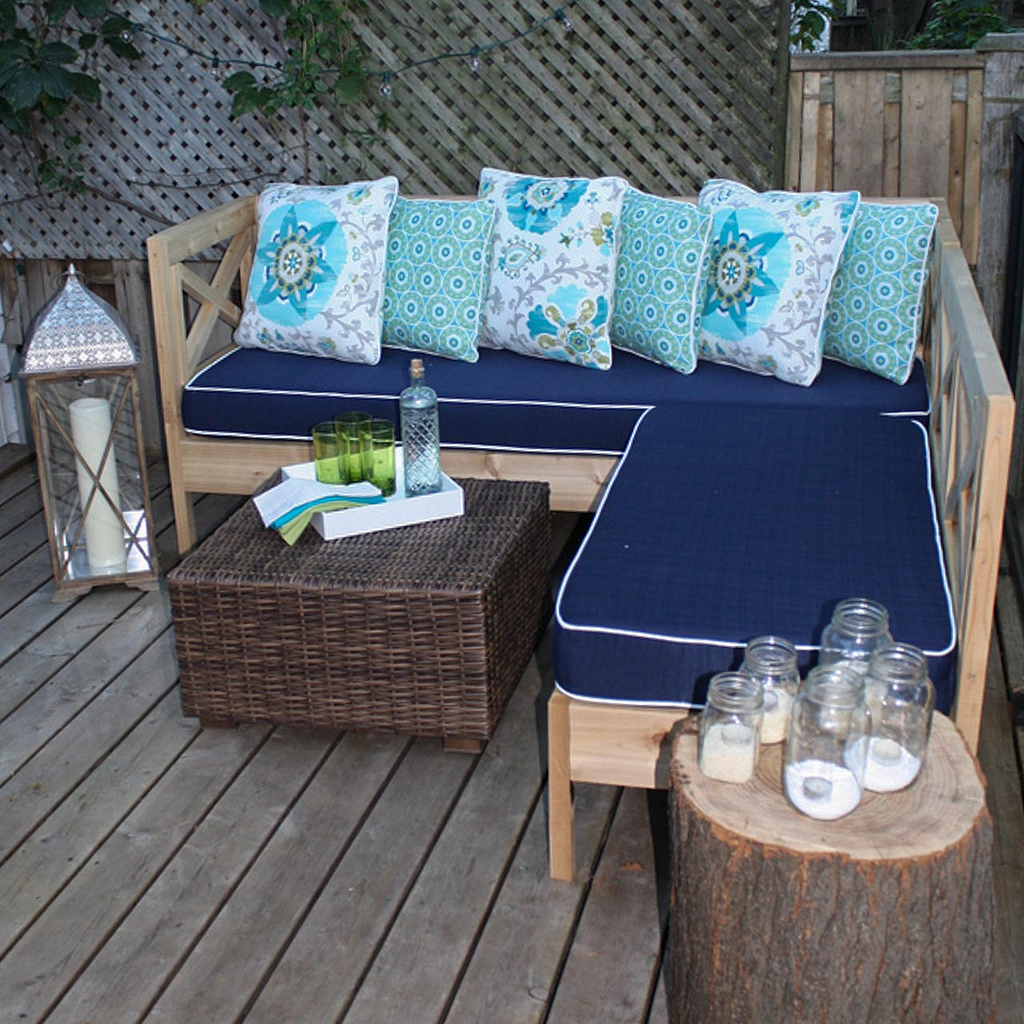
The wood for this project cost me about $50 from Lowes (and this was combined with making a 3ft square table and another love seat, so in total for all 3 was about $145).

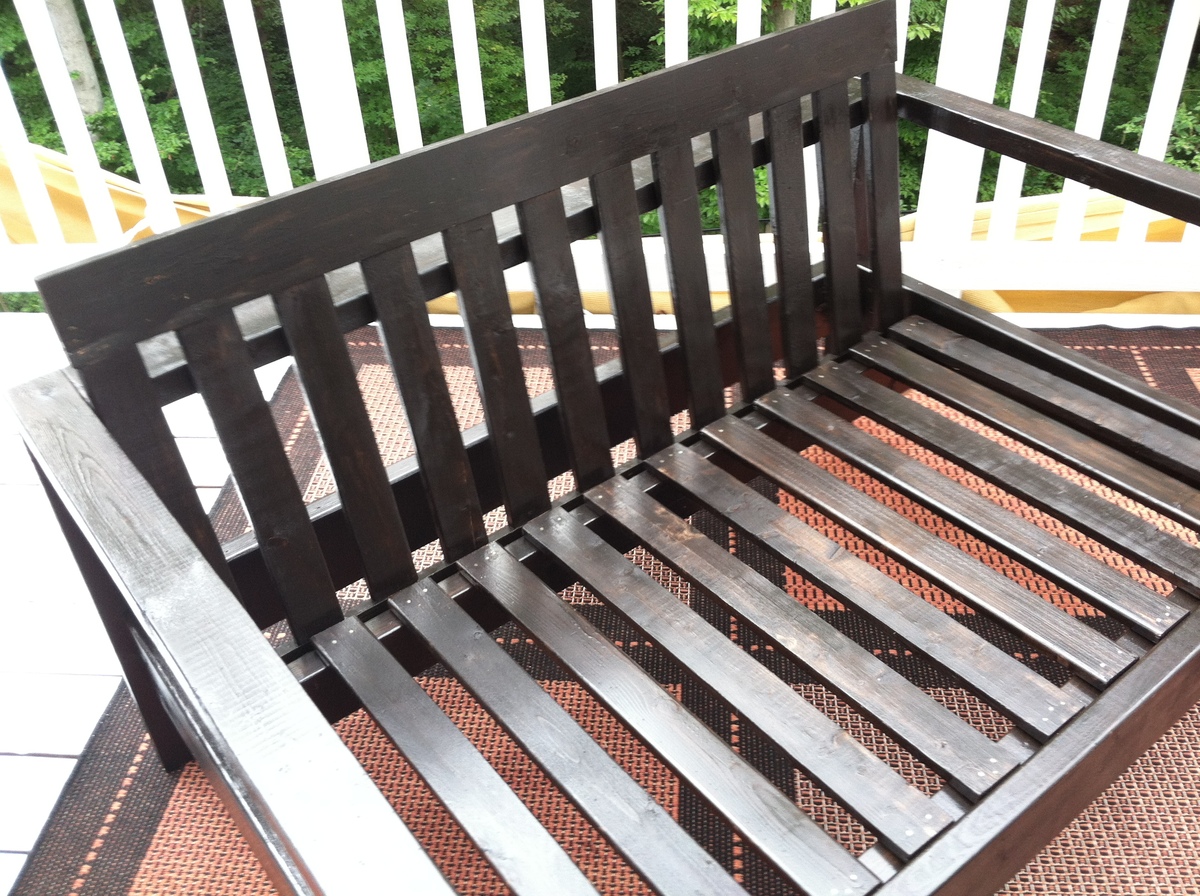
I didn't add the trim pieces (I felt they were unnecessary and more likely to come apart or fall off), I used only 1x3 for the slats on the seat and back, and 1x4 for the seat back top rails. I used 2x3 for the legs because the 2x2 was horrible quality and I used a 2x3 for the front cleat, which I think makes it stronger.

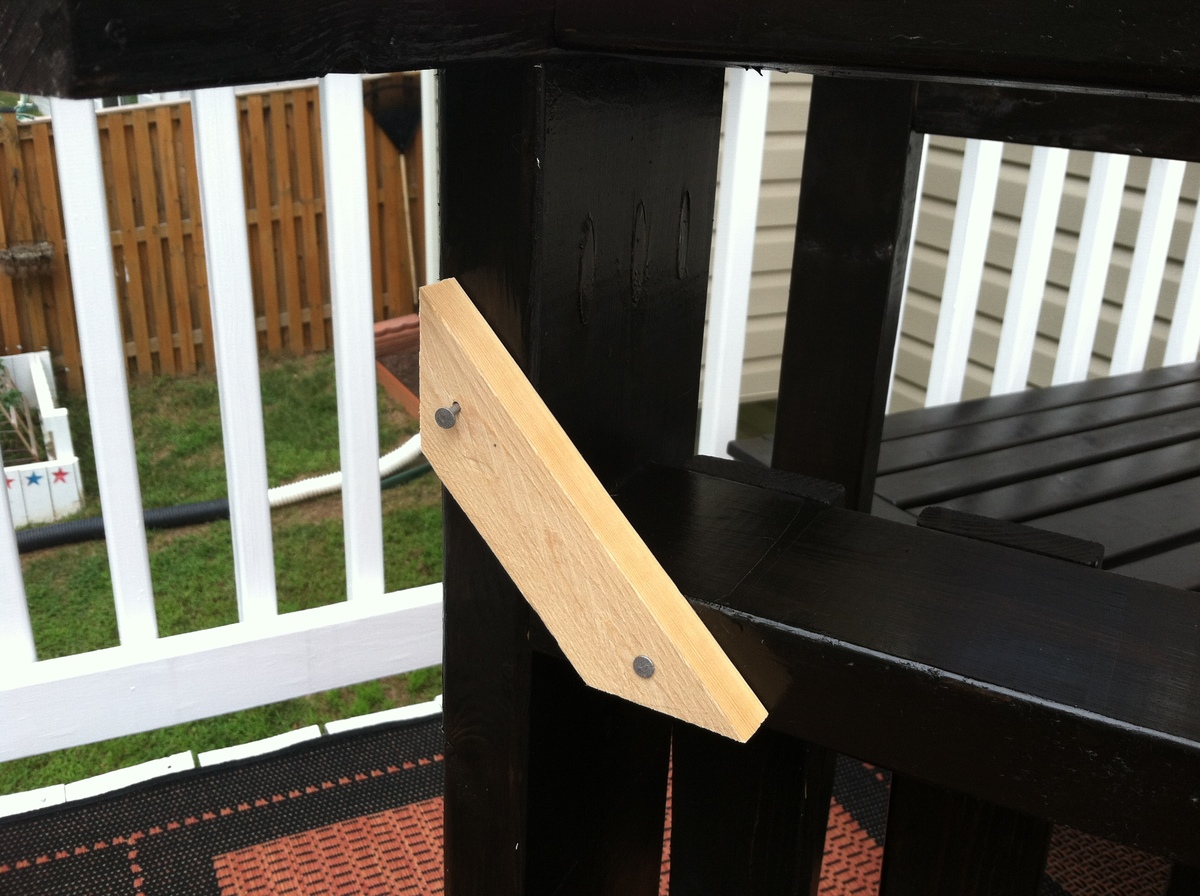
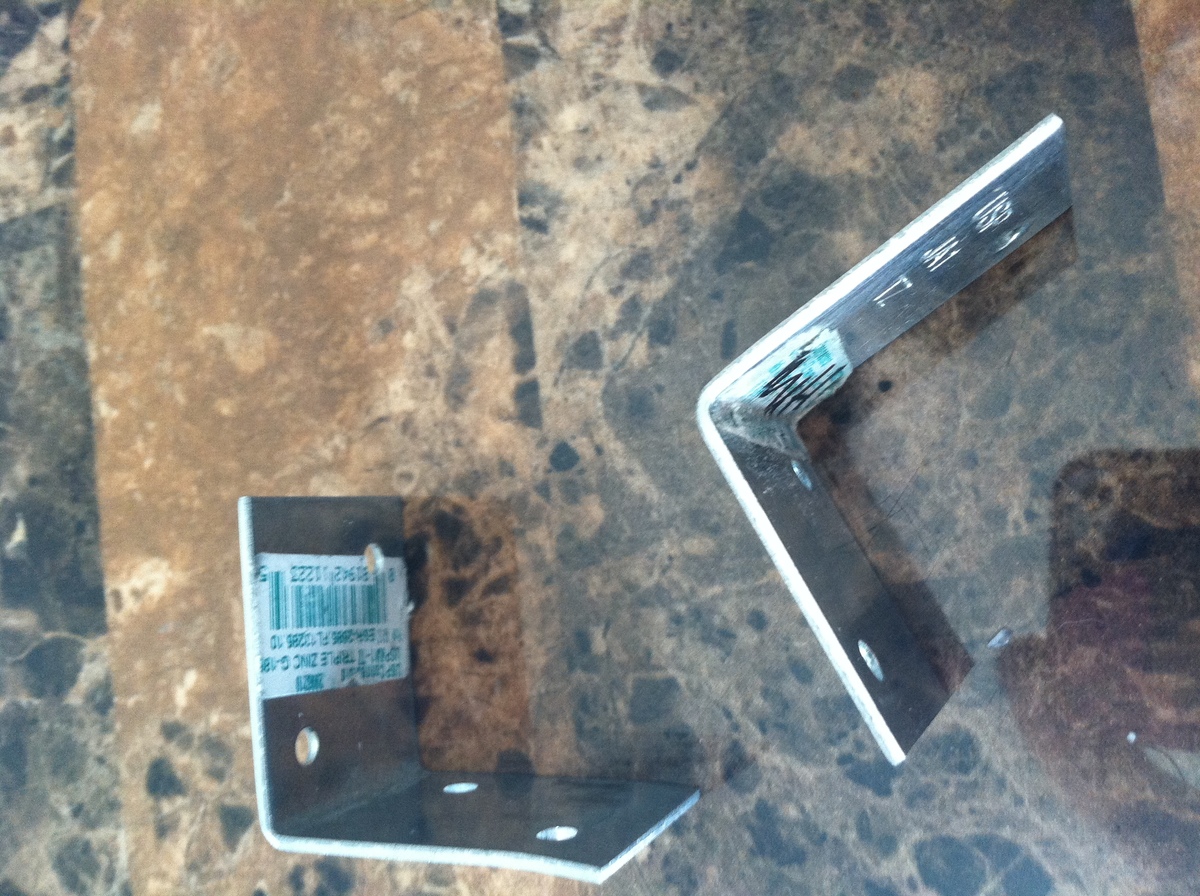
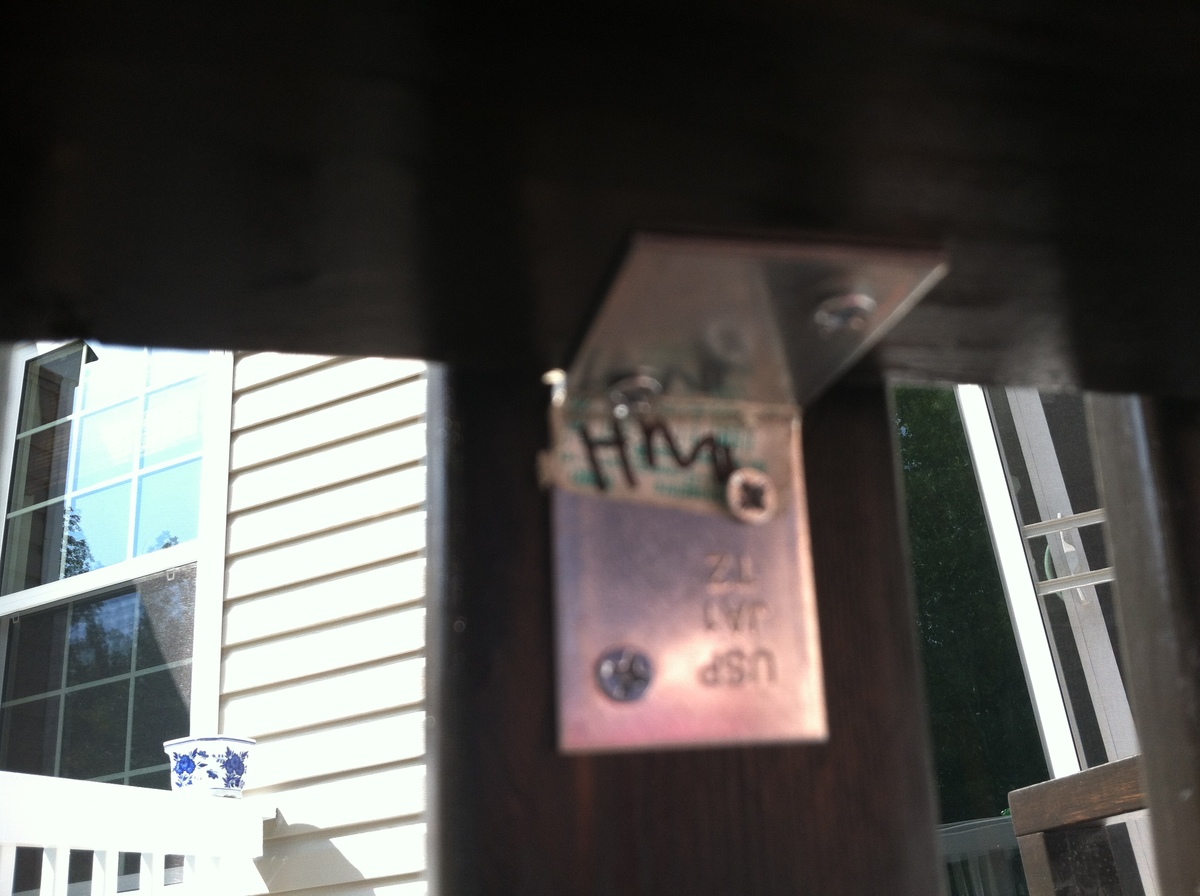
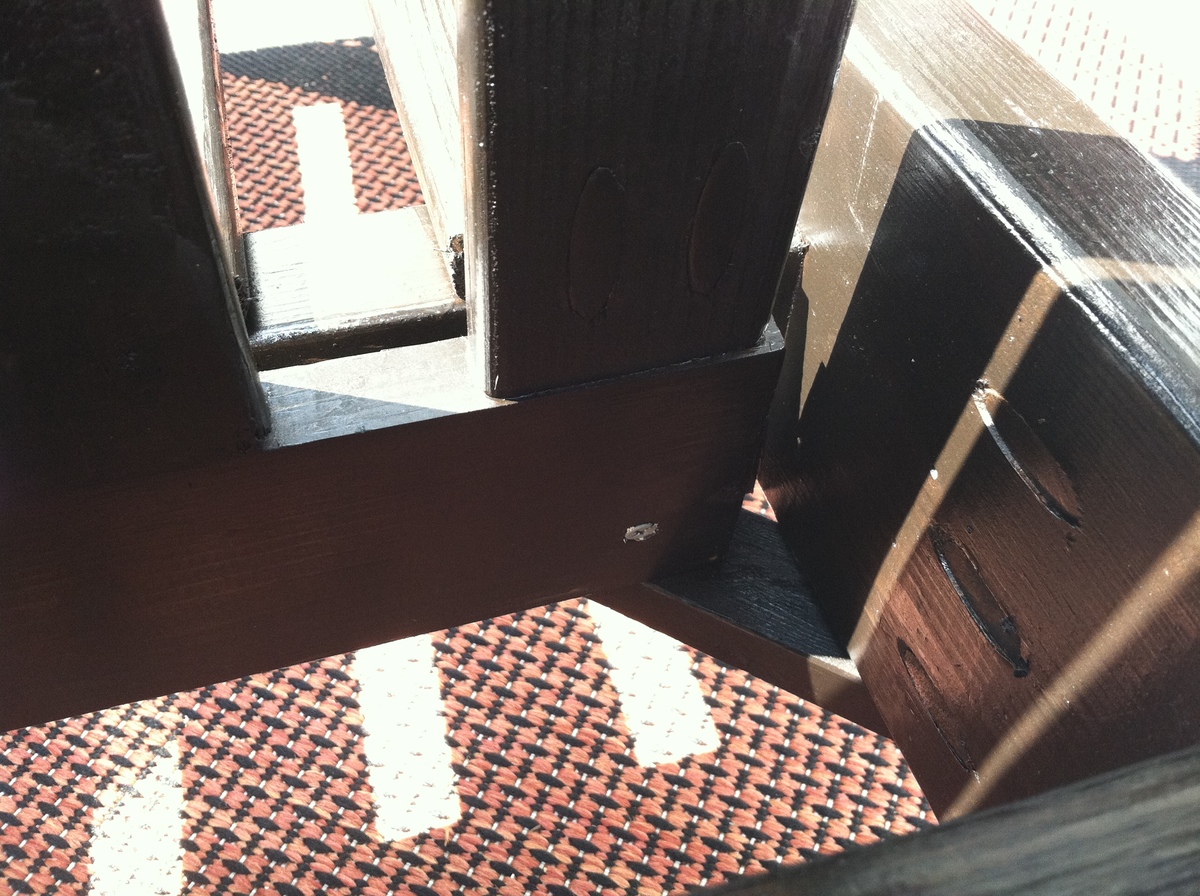
I also didn't attach the back the way the instructions say as I thought all those screws would look ugly, so I fashioned a wooden corner brace to hold the back in place, and used metal corner braces and screws (in 3 places, UNDER the back rest 2x4) to hold the seat back still and then only 2 screws to hold the bottom of the back in place. I added photos of these changes to help you see what I did.

One HUGE TIP - assemble the frame (minus the slats) and stain / paint that part, THEN stain and polyurethane the slats before attaching - it's horrible to try to stain or paint with the slats in place as there are too many tiny gaps to fill!

All in all, I think this plan of Ana's is brilliant - it's simple, rustic looking and yet looks great on my deck - I will take a photo of the 2 sofa and table as soon as the second sofa dries enough to finish assembly.

First sofa took me a little longer as I was getting used to the Kreg, second sofa has taken me about 6 hours in total so far.

One issue I do have is that I think I would use a 2x4 for the top rail of the seat back, simply because the 1x4 has a tendency to split easily.

If you make this project, you won't be sorry, it looks awesome!
Estimated Time Investment
Day Project (6-9 Hours)
Finish Used
Rustoleum Kona stain (the 75% faster variety NOT the normal Kona - it doesn't go on as dark!).

Any polyurethane in clear finish to finish it off!

The cushions are from Lowes and cost more than the 2 loveseats and coffee table combined - they cost $160 as I bought 4 (Garden Treasures 46.5 x 25, item no: 332404, normal price $49.98, but I got them on 20% off), they fit perfectly!
Recommended Skill Level
Intermediate

Toy Room Table

Submitted by TToupin on Fri, 09/11/2015 - 13:51

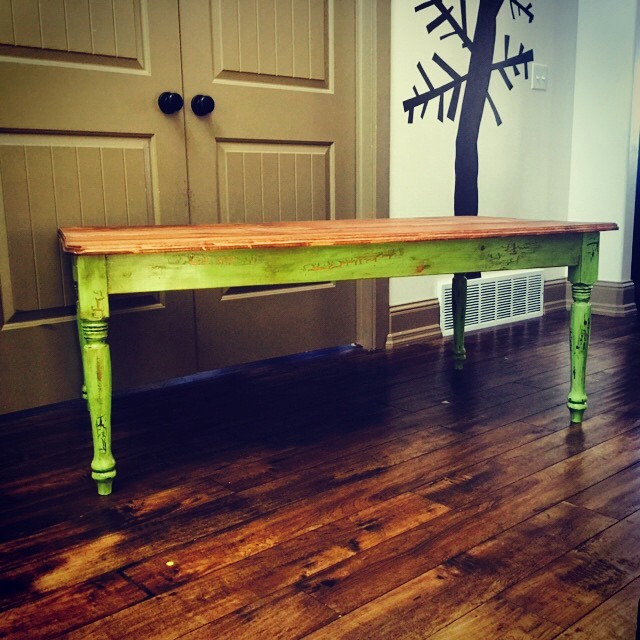
We were unable to find a table that all 5 of our kids could sit at together in our toy room, so we decided to build one. We were able to use mostly scraps of wood that we already had in our garage. I distessed the legs and table top since I knew the kids would be playing with it every day. We love the way it turned out and the kids love playing on it!

Estimated Cost
$40
Estimated Time Investment
Weekend Project (10-20 Hours)
Recommended Skill Level
Beginner

Comments

Bedroom Dresser

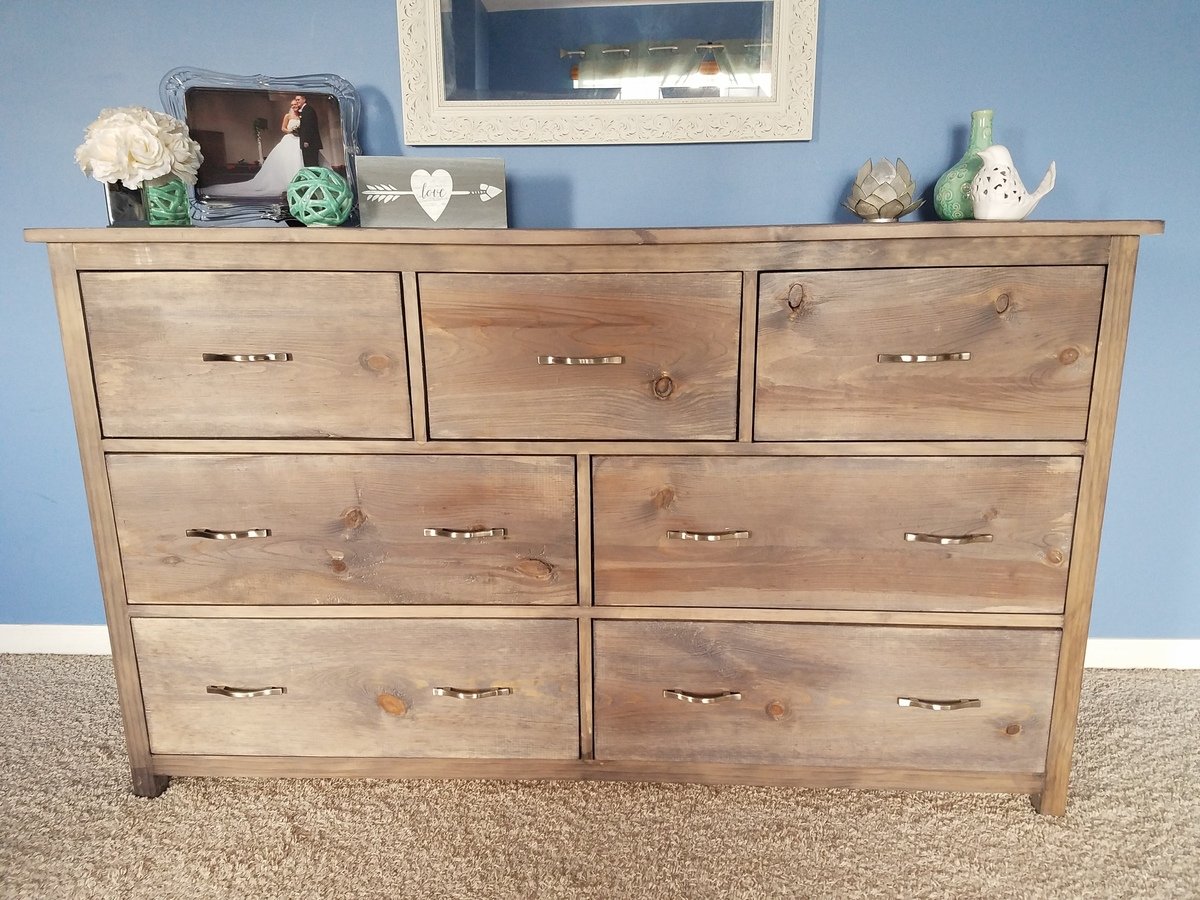
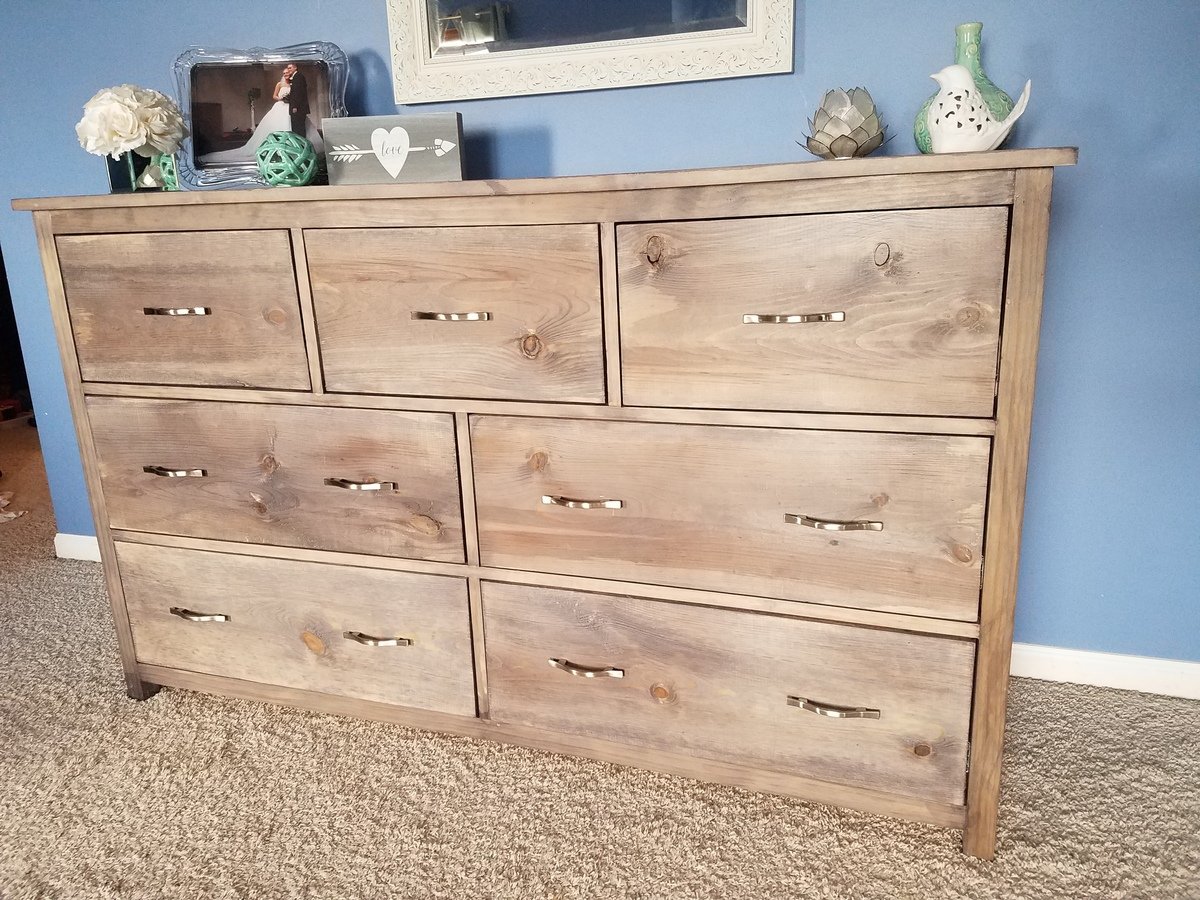
First time using drawer slides, and what a learning curve it was! The color is Varathane Weathered Wood Accelerator. This piece is huge and heavy! Absolutely love it and rebuilding other bedroom pieces to match this color. I also built a matching dresser which is taller and much more narrow. It can be found here: http://www.ana-white.com/2018/08/DIY_furniture/tall-bedroom-dresser

Estimated Cost
$200-$250
Estimated Time Investment
Weekend Project (10-20 Hours)
Finish Used
Varathane Weathered Wood Accelerator, Varathane Poly
Recommended Skill Level
Advanced

Comments

Outdoor sofa next to the fire

Submitted by Anonymous (not verified) on Sun, 05/22/2022 - 00:53

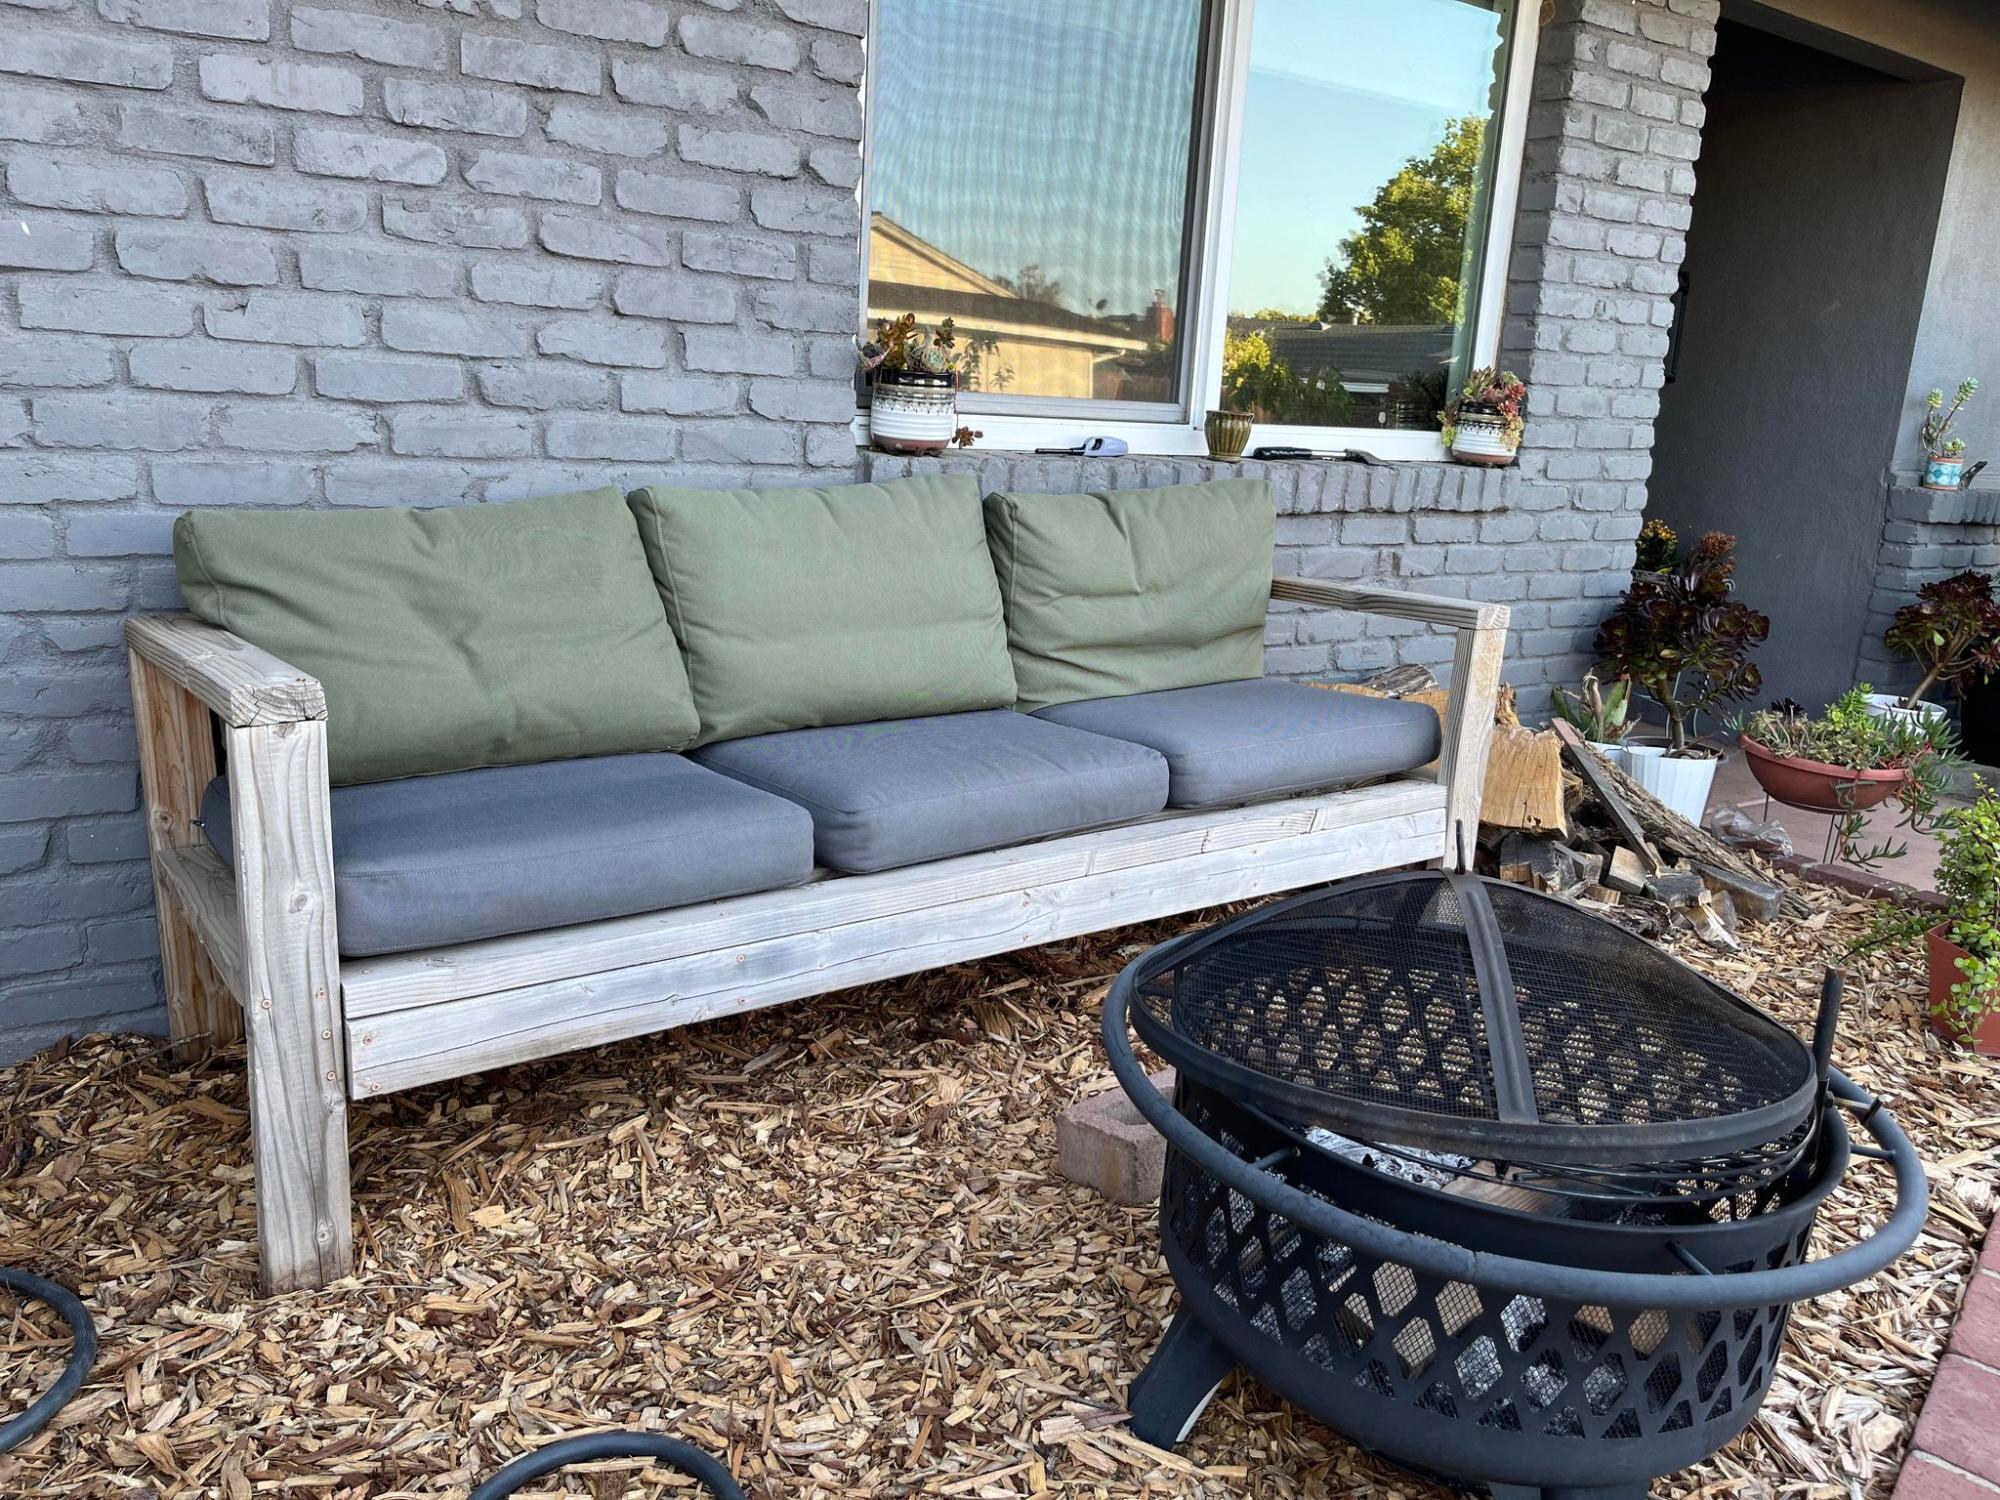
My husband loves seating on this sofa while reading his scriptures or sometimes to take a nap. I got the cushions and pillows from Ikea. I can't wait to build another one or two, possibly with my sister-in-law. Thank you for the tutorial :-)

Built from Plan(s)

Comments

My Black Board and Batten Wall

Submitted by canesa on Thu, 07/14/2011 - 20:39

Hanging the board and batten wall is incredibly easy and fast! It's when you decide to paint it black that complicates things!
You can check out the whole tearful/funny experience here http://isteppedoutofmycomfortzone.blogspot.com/2011/04/and-opened-can-o…

Estimated Cost
Under $20
Estimated Time Investment
Afternoon Project (3-6 Hours)
Finish Used
I painted the wall with Dark Kettle Black by Valspar and glazed the boards with Ralph Lauren Smoke glaze.
Recommended Skill Level
Beginner

Comments

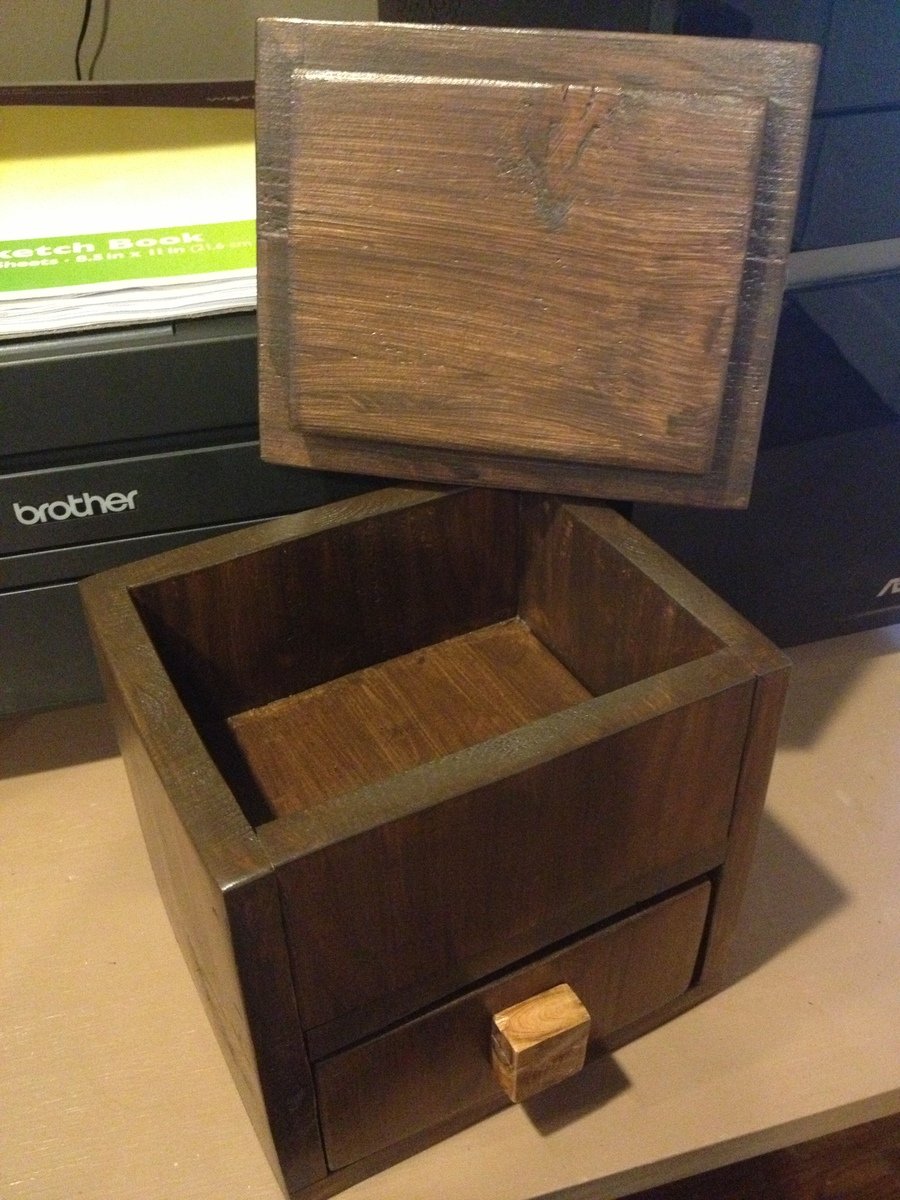
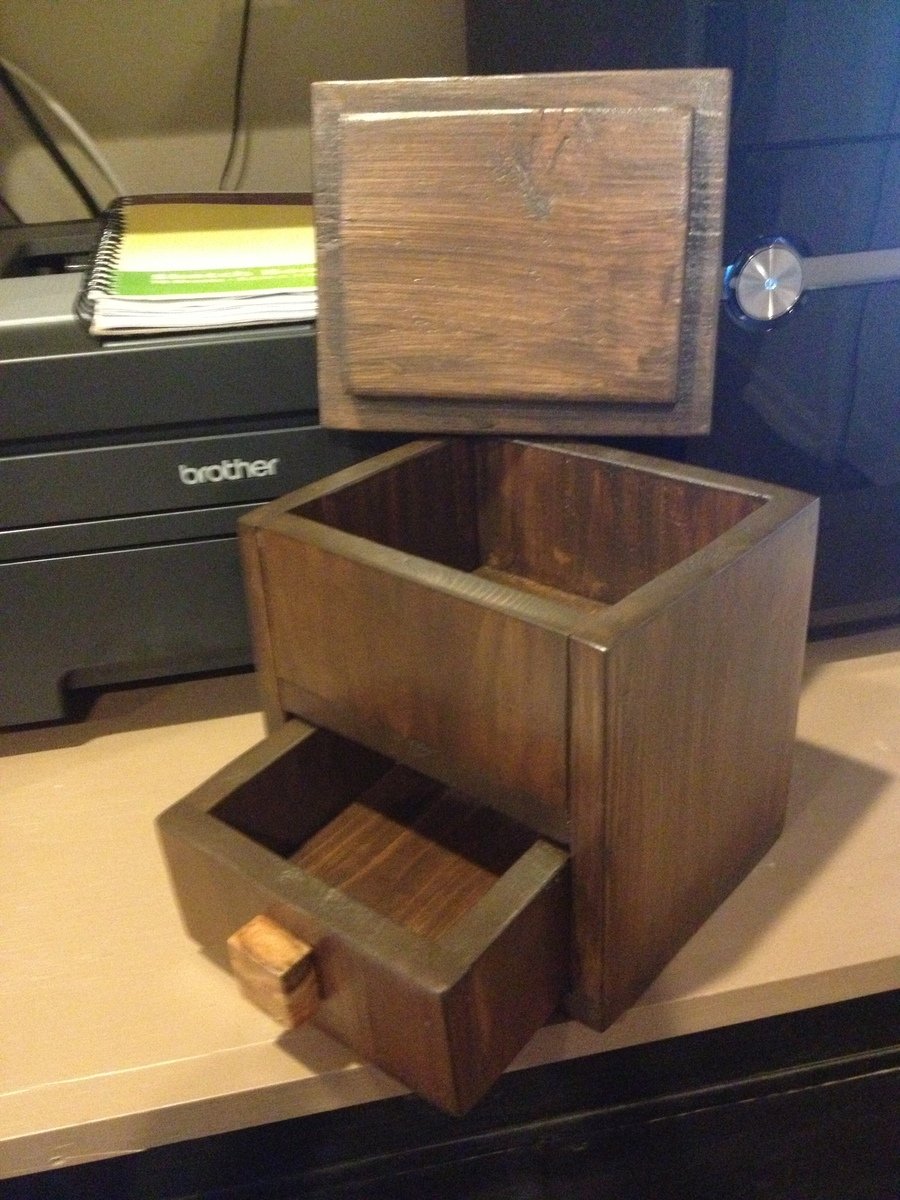
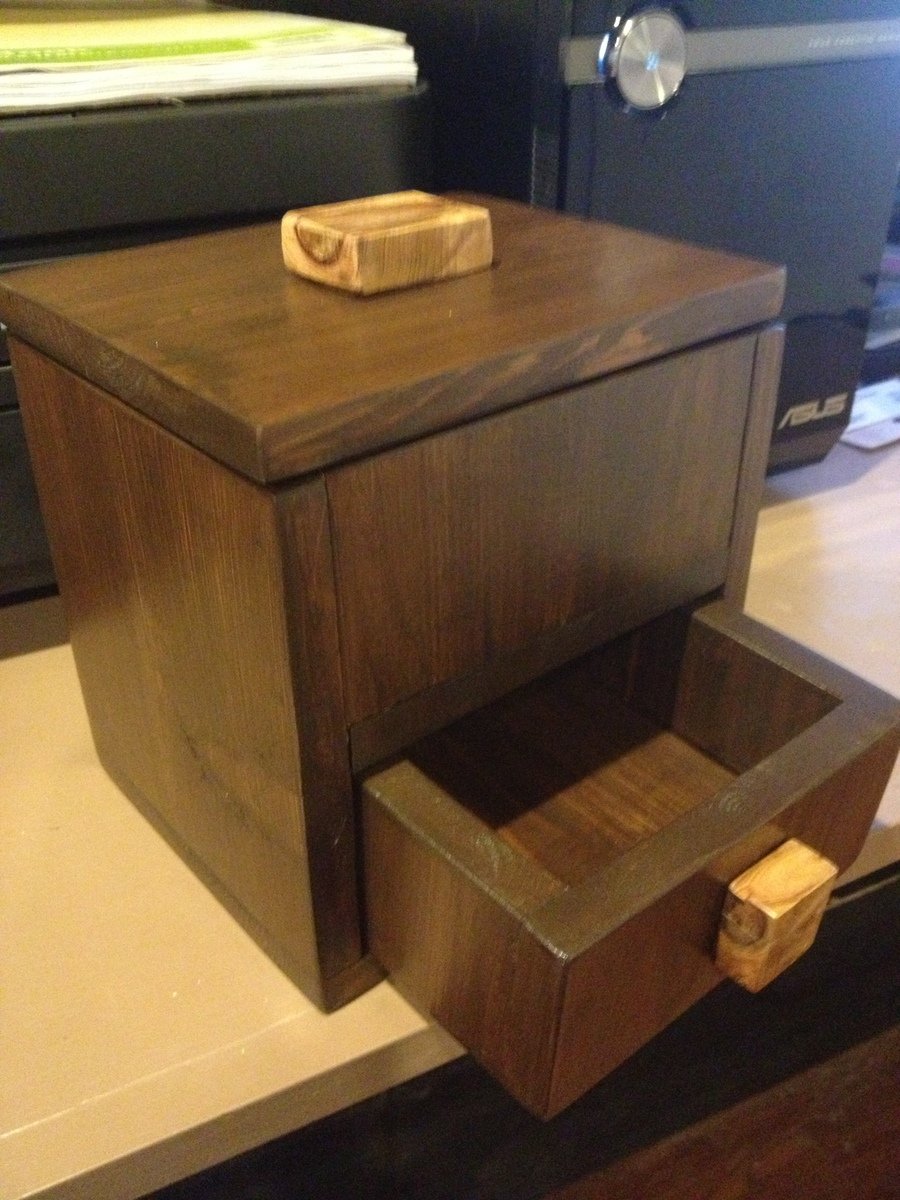
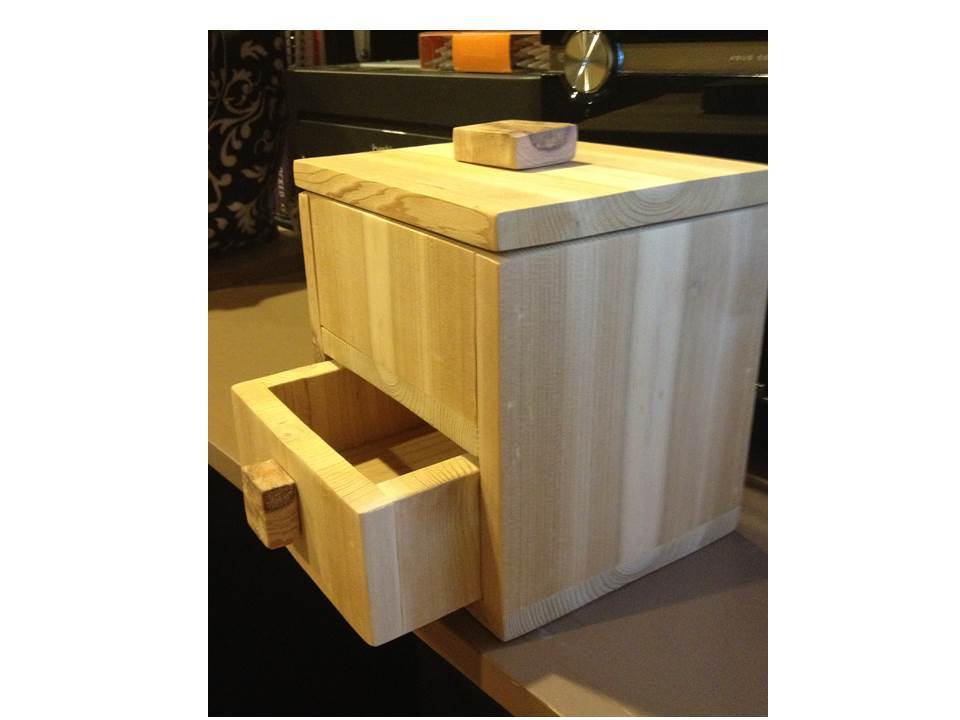
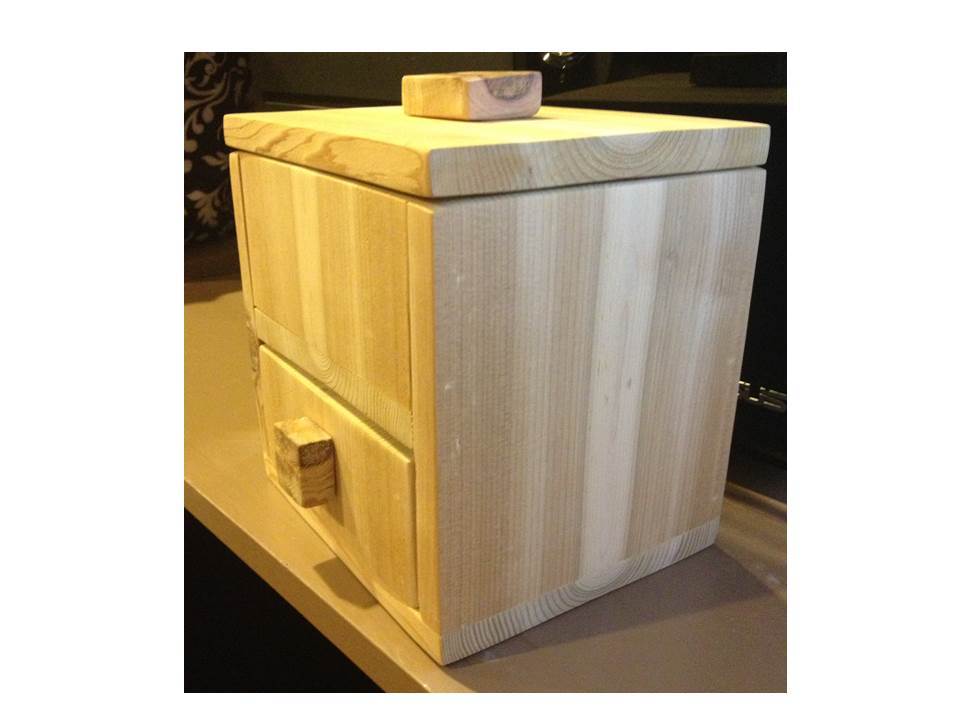
1-Board Trinket Box from Cedar Fence Picket

Submitted by JoanneS on Fri, 08/16/2013 - 15:30

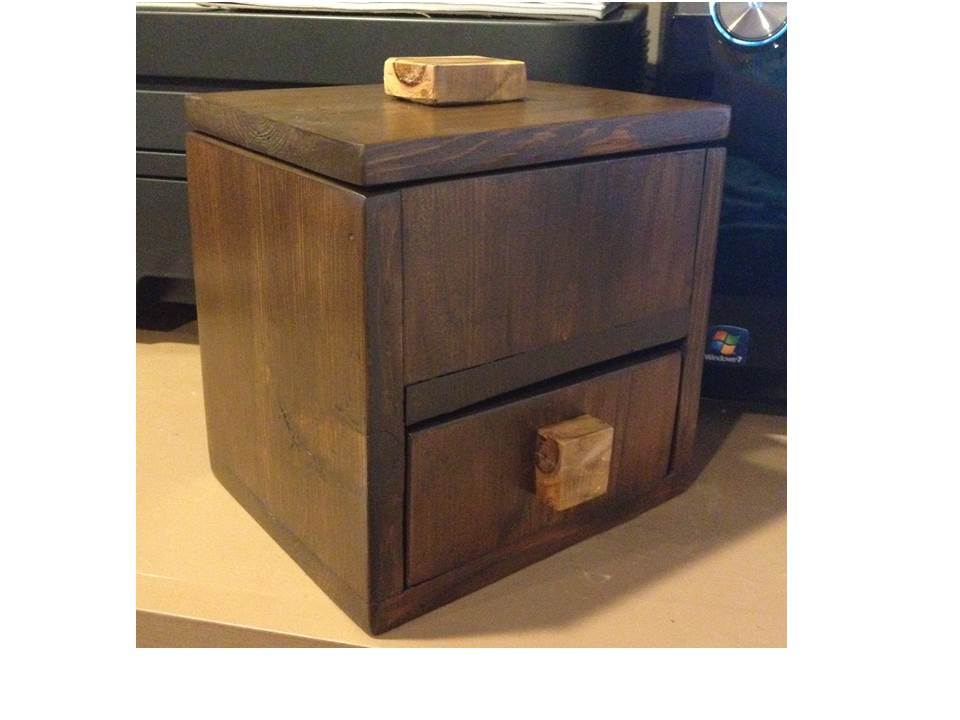
I built this as the prototype for the 1-Board Cedar Trinket Box plan. My goal had been to create something that would make a nice gift, only use 1 cedar fence picket (about $3 in wood), didn't require any special cutting or ripping, and could be made with just your miter saw and brad nailer (you could use regular nails and hammer too, but I love my nailgun!) Also highly recommend using a palm sander for this. (Love my power tools!)

As I was building I discovered the beauty of cedar, the imperfections of cedar fence boards, and the value of prototyping. I added some tweaks to the plan to identify the places where you should build the first part, then measure, then cut the next part.

This took about 2 1/2 hrs to build, which included a whole lot of sanding. I started with 80-grit, then 220 grit to get the board surfaces smooth. After the prototype was assembled and I noticed how much cupping there was in my fence board, I broke out the 60-grit and went over all the high spots to smooth them down. Next time I'll be much more careful to choose a board without much of a cup. It did give some real interesting grain patterns though, so it all worked out in the end.

For pulls I cut a couple of interesting looking knots from my cedar board and glued them on. The next one I'd like to try some strips of leather or maybe a rope knot for pulls.

Estimated Cost
$3 in wood + finishing materials
Estimated Time Investment
Afternoon Project (3-6 Hours)
Finish Used
I started to leave this one natural, but after trying the tutorial for the Walnut Minwax Express Color on cedar, I had to use that finish on this piece. I'm loving the walnut color! Topcoat is 1 coat of Minwax Oil Modified water based poly in satin.
Recommended Skill Level
Beginner

Comments

yurra-bazain

Fri, 08/16/2013 - 17:44

Joanne, I am so blessed to see how creative you are every day, how you approach your builds with others in mind, and how you work with the situations you encounter and turn things into functional and beautiful pieces! =D Thank you for sharing your creativity with passion and drive!

JoanneS

Sat, 08/17/2013 - 05:10

Thank you so much for your kind comments! I have gained so much from the experience of participating on this site, I am hoping sharing this might be helpful to fellow readers/builders. Building, and sharing it here brings me joy, and I want to share that!

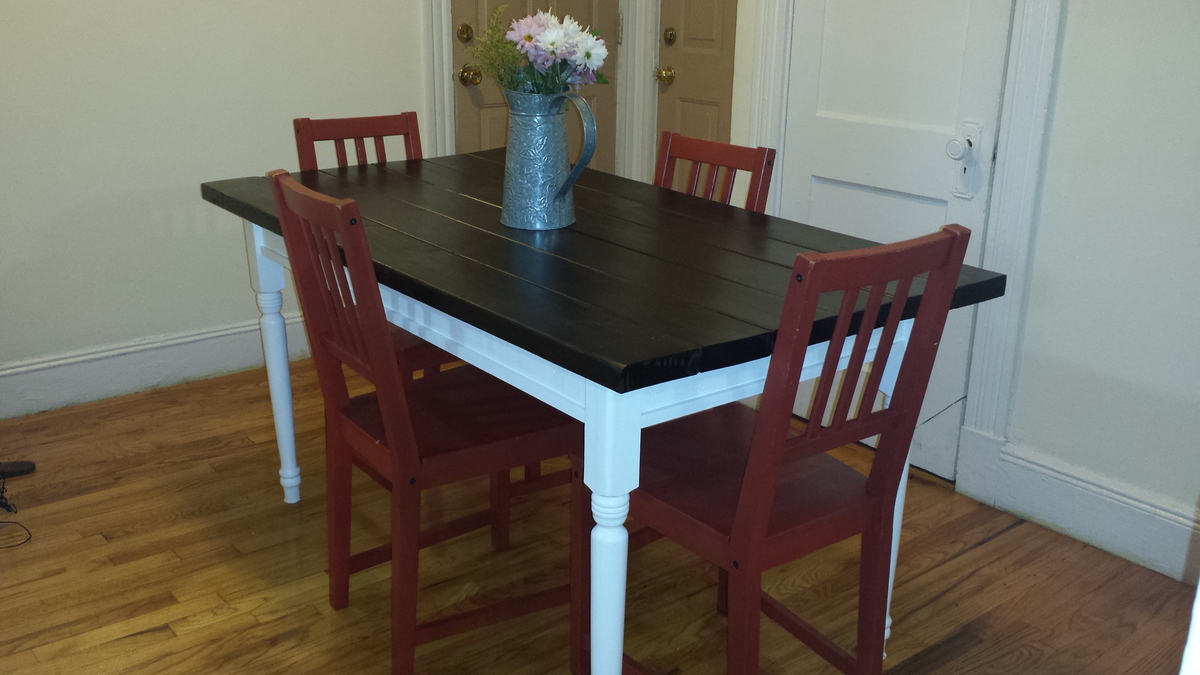
Husky Farmhouse Table

Submitted by plainkelly on Mon, 09/14/2015 - 07:12

We scaled this table down to fit in a Boston apartment dining room, which also serves as an entryway. We used six 2x6's instead of seven, and cut them down to 5' instead of 6'. We also went with standard Home Depot table legs in the interest of cost. This was our first-ever Ana White project and the first furniture my dad has ever built - and it was great to be part of the process (I mostly attached the screws, sanded, stained and painted while he did all the hard work. I bought the chairs for $5 each off Craigslist and intended to sand and re-finish them to match the table, but I've received lots of compliments on the red! I absolutely love this table and eat at it daily.

Built from Plan(s)
Estimated Cost
$150
Estimated Time Investment
Weekend Project (10-20 Hours)
Finish Used
Espresso stain (two coats), satin white primer (three coats).
Recommended Skill Level
Beginner

Comments

Patio table from scraps

Submitted by Usmcmills on Wed, 08/29/2018 - 20:33

Daughters didnt want theyre bunkbed anymore that i build from this site.. So i took it apart and frankenstiened this patio table.

Super sturdy

Estimated Time Investment
Afternoon Project (3-6 Hours)
Recommended Skill Level
Beginner

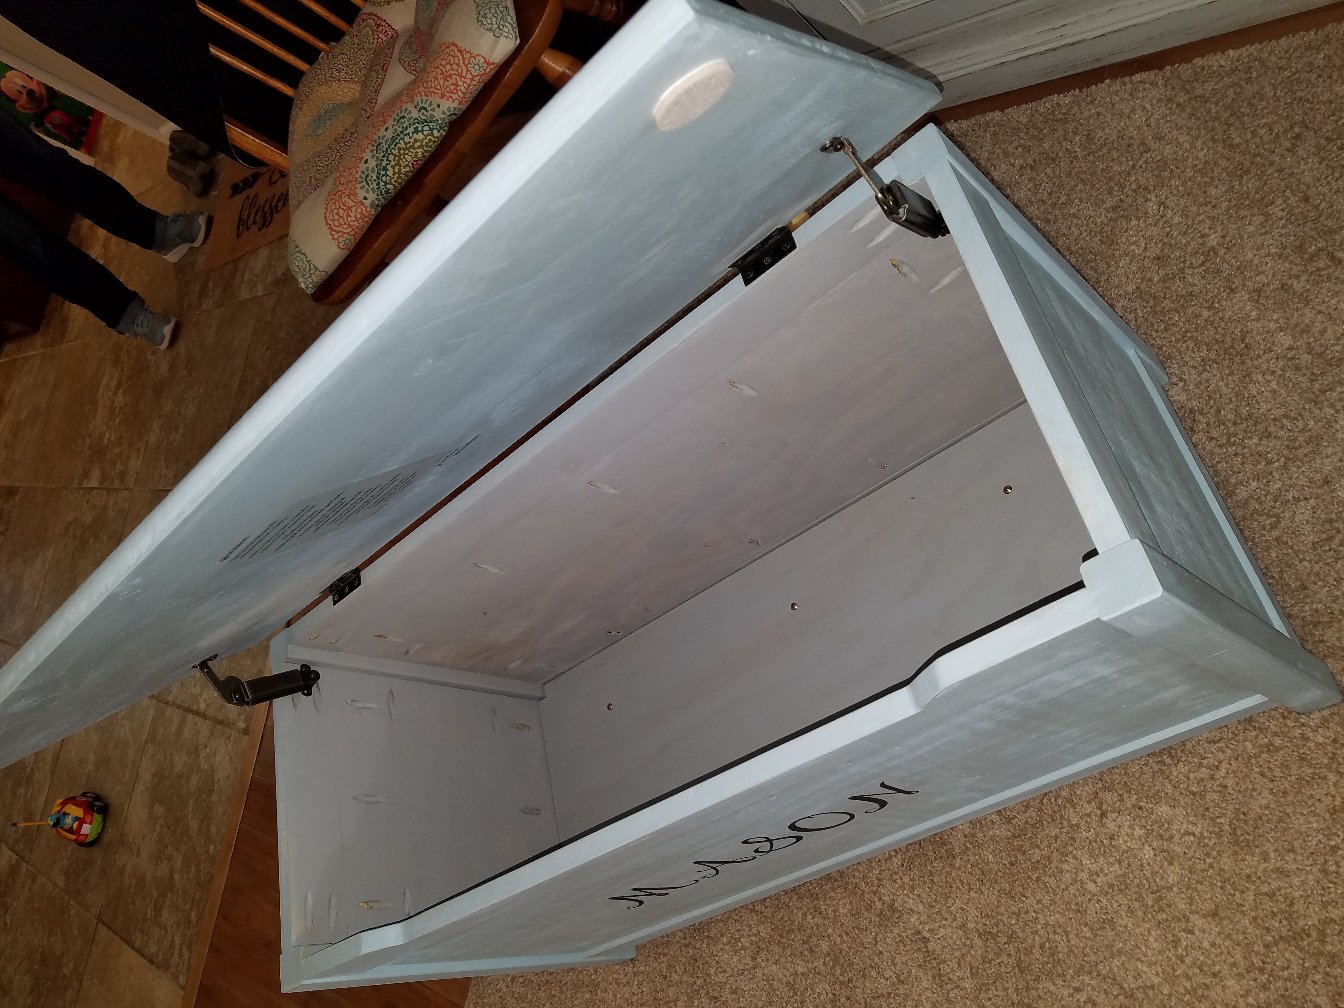
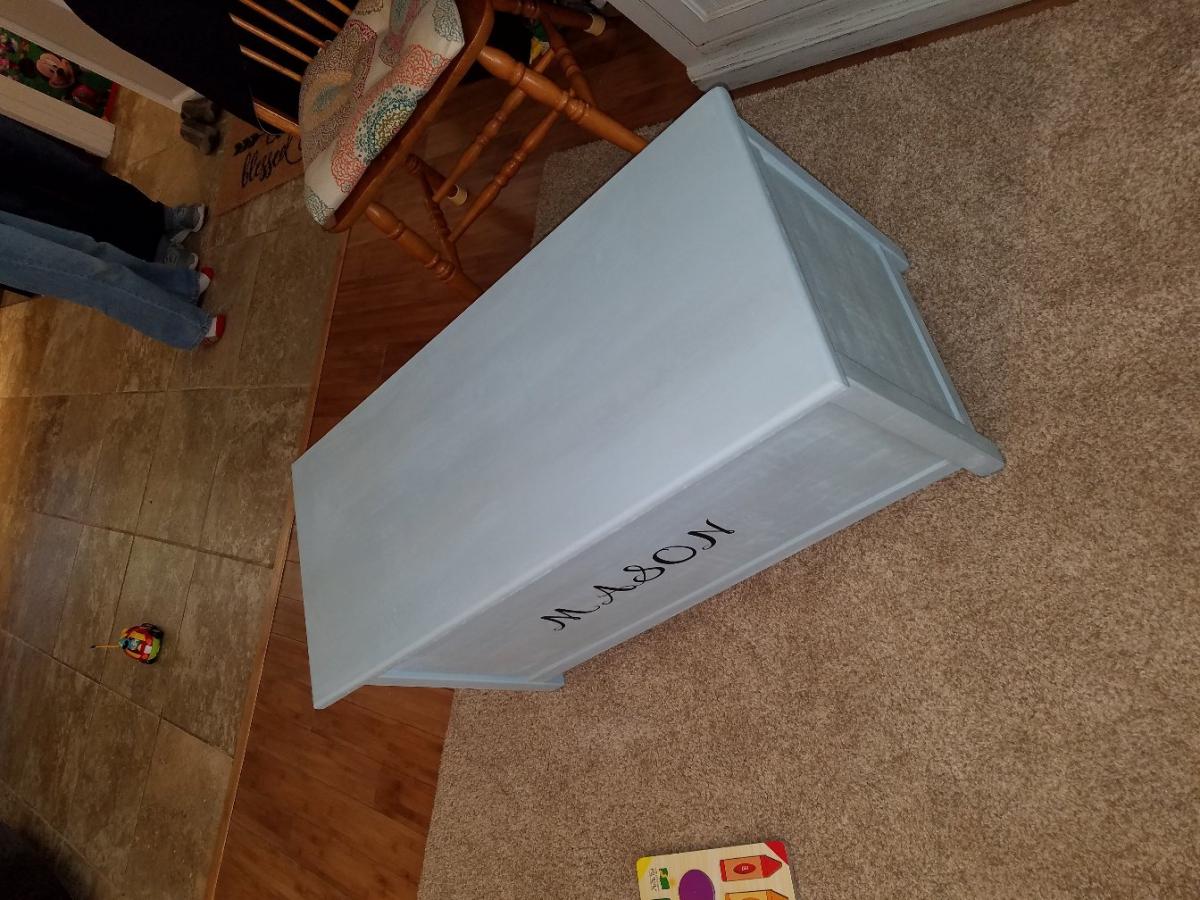
Simple modern toy box with lid

Submitted by Anonymous (not verified) on Wed, 06/01/2022 - 09:35

Loved these plans. I made this with your plans for our grandson.

Built from Plan(s)

Comments

Doll Bed

Submitted by jazberg on Fri, 07/15/2011 - 13:47

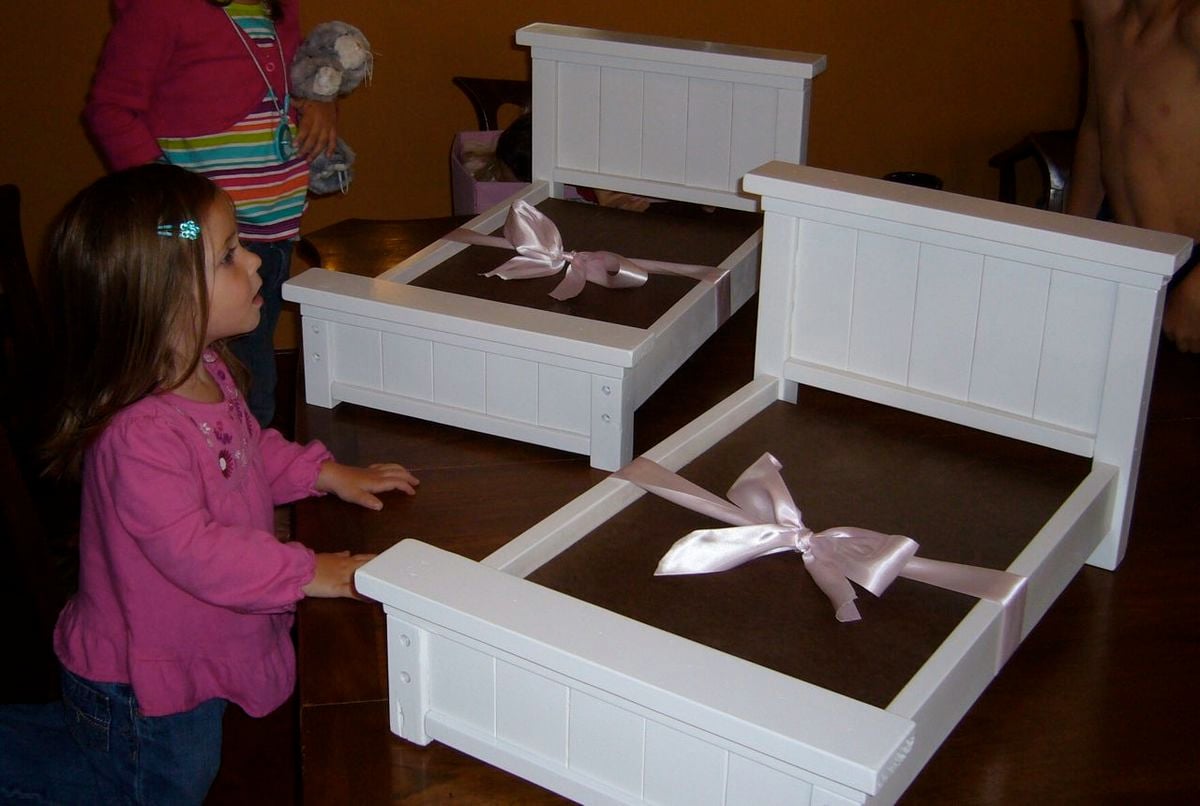
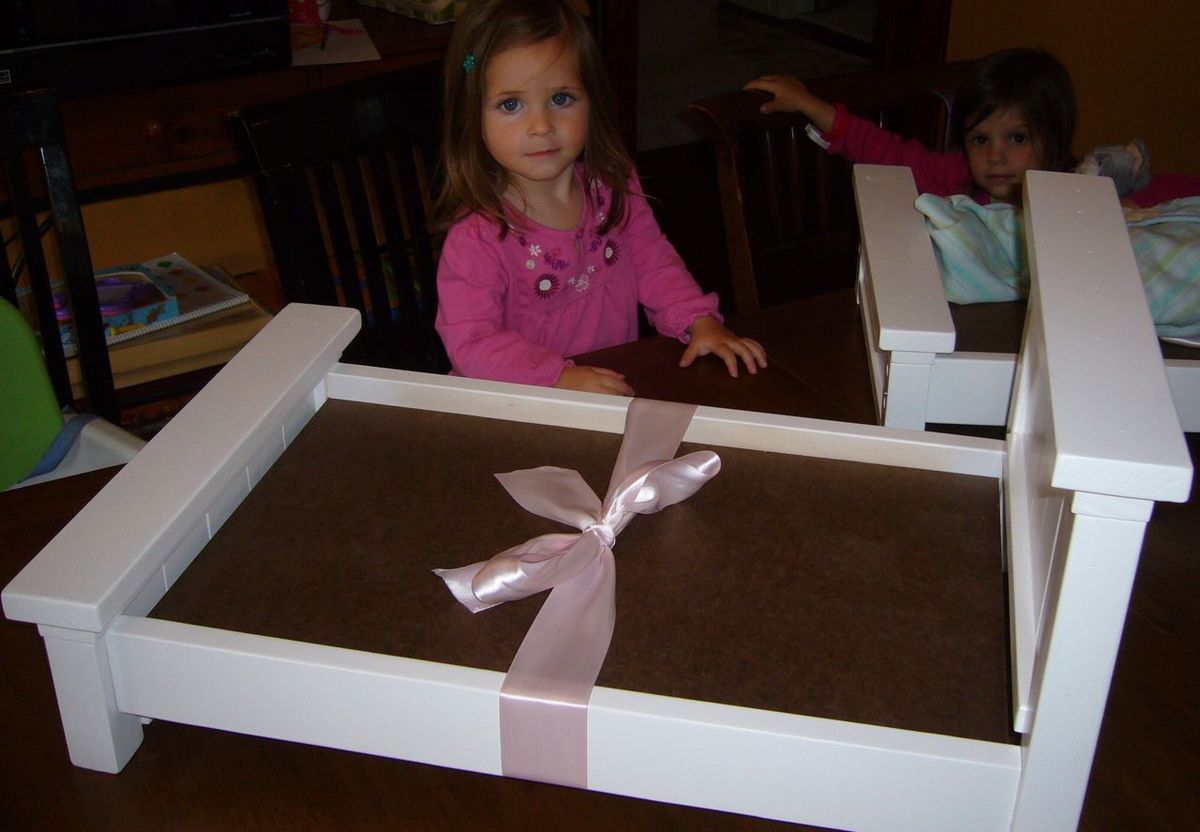
I asked my husband to build these as birthday presents for my daughter and my niece this past spring. Very cute, collapsable when they get tired of playing with it, sturdy enough to be sat on and used by both small children, the dog and the dolls! Materials and labor were cheap (thanks hunny!) and the product will last for as long as the girls play with dolls.

Estimated Cost
$50 for two
Estimated Time Investment
Afternoon Project (3-6 Hours)
Finish Used
White spray paint.
Recommended Skill Level
Beginner

Printer's Triple Media Console

Submitted by ladyamypc on Mon, 08/19/2013 - 22:11

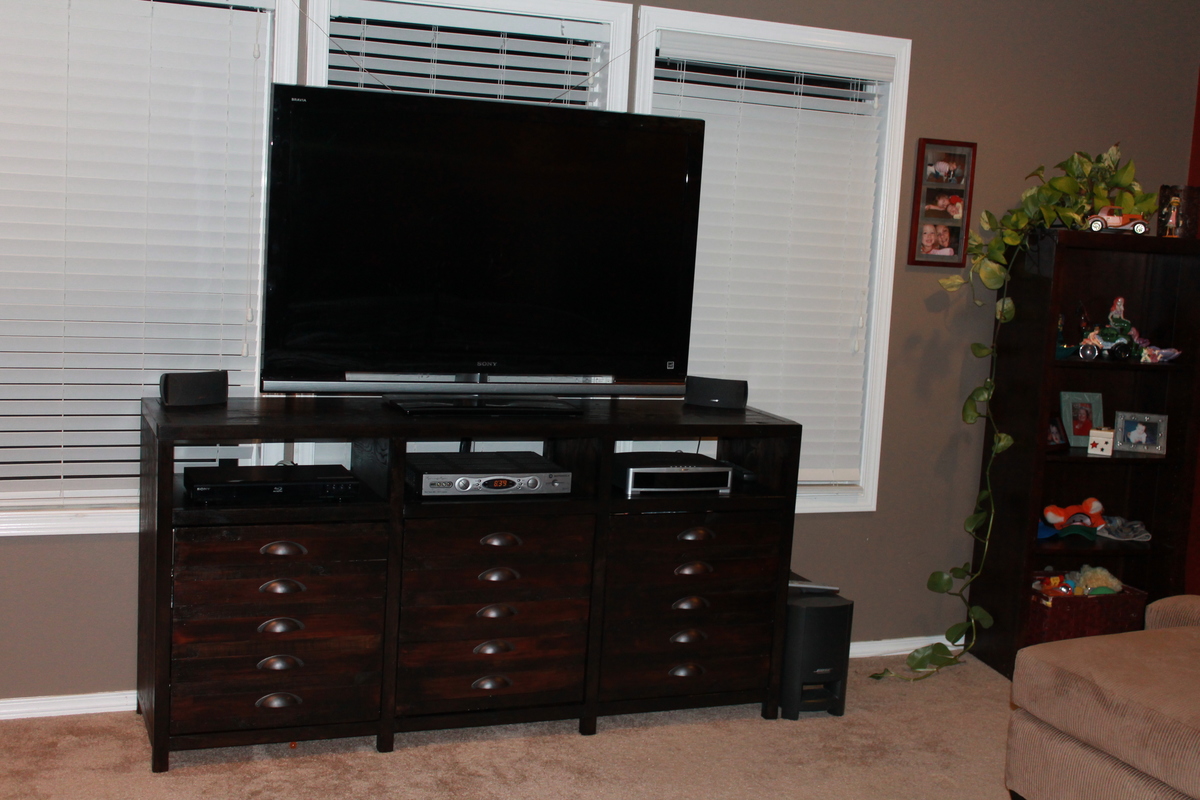
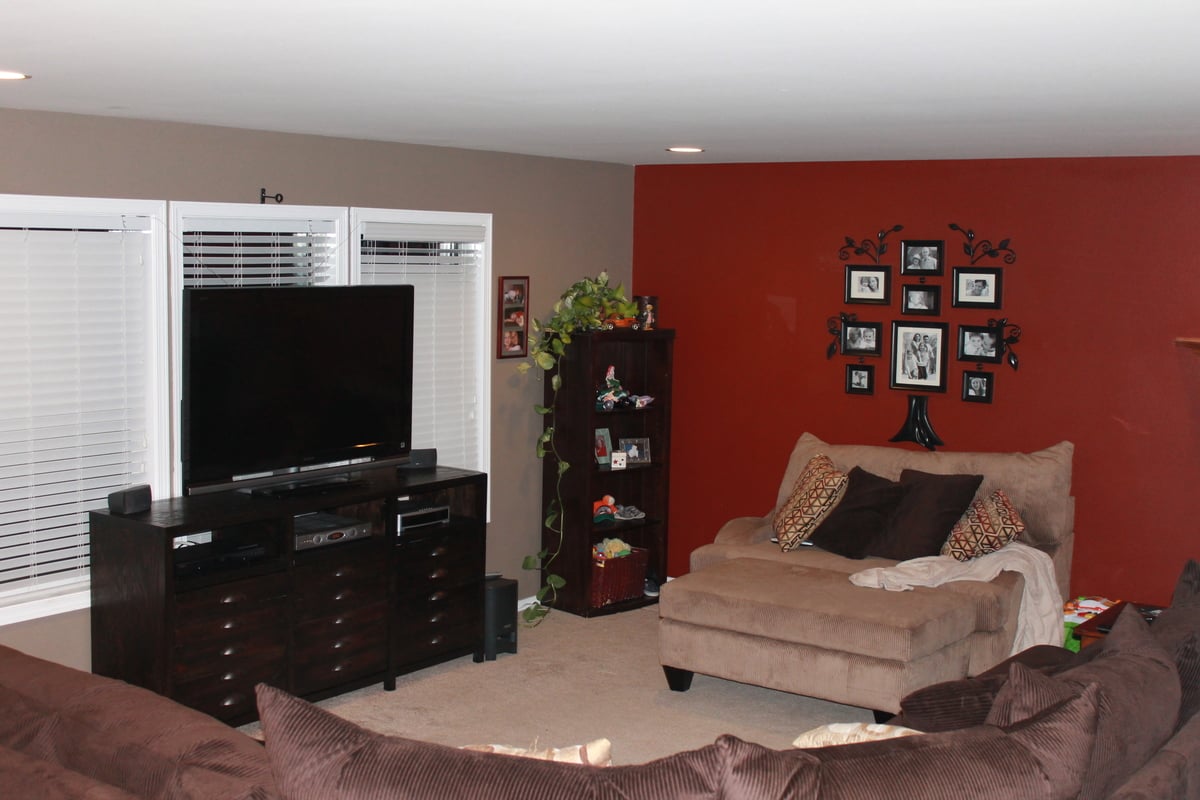
I found the plans for the Printer's Triple Console on Jen Woodhouse's blog and fell in love with the design. Once I studied the entire Ana White website, I decided I could try to build this as my first project because the plans were so clear!
I changed the top to be cubbies instead of drawers to accommodate TV components and such. I just measured the openings, cut the ply board to those dimensions and used my kreg jig to make installing the cubby bases super easy.
I blogged the process (it took me a while so it is three separate posts) at becauseitalktomyself.com, look under "Optimistic Ideas"
I was DELIGHTED with how it turned out! I still can't believe I MADE THIS!!
THANK YOU ANA WHITE!

Built from Plan(s)
Estimated Cost
$350
Estimated Time Investment
Week Long Project (20 Hours or More)
Finish Used
Varathane Stain + Poly: Kona
Recommended Skill Level
Beginner

Comments

Joni

Tue, 08/20/2013 - 07:45

Having built a version of this myself, I really appreciate the work that went into this. I can't believe this is your first project -- really amazing!! Great finished product!

DIY Cornhole Board

I built a pair of cornhole boards following a tutorial on This Old House.  I used the Glidden Paint Team Colors line to get the a quart of blue and orange paint in the official Auburn colors.  I used my Silhouette Portrait machine to create stencils for the AU logo, Auburn tiger logo and "War Eagle" text.

Estimated Cost
150
Estimated Time Investment
Weekend Project (10-20 Hours)
Finish Used
Glidden Paint from the Team Colors Collection
Recommended Skill Level
Beginner

Farmhouse table

Submitted by verymom on Sat, 09/29/2018 - 13:43

We adjusted the plans so this table top measures 84" x 48". Our chairs were also a little taller than normal, so we raised the legs to make sure the height of the table would be comfortable with the chairs. 

I've lost all the math we did, so I'm sorry I can't help you make these adjustments. We made this table a couple years ago.

We used 4x4s for the legs and I'm really glad we did. A previous Ana White table we made, we used thinner legs and the poor thing squeaked like crazy. This table is much sturdier. We also used thicker pieces for the top which also adds to the stability. 

A friend helped us plane the table top and fit it all together. It's just pine though, so we have had some warping, but it isn't bad. 

We bought a kreg drill to make the assembly smoother. Love that thing!

Estimated Time Investment
Weekend Project (10-20 Hours)
Finish Used
Paint with built in primer on the legs. I didn't bother urethaning and so far it has held up well. Table top I used a dark Minwax stain (I think Jacobean) with a urethane sealer. Wipes up great and is holding up well to kids.
Recommended Skill Level
Beginner

Love how this turned out!

Submitted by Anonymous (not verified) on Sun, 06/12/2022 - 06:20

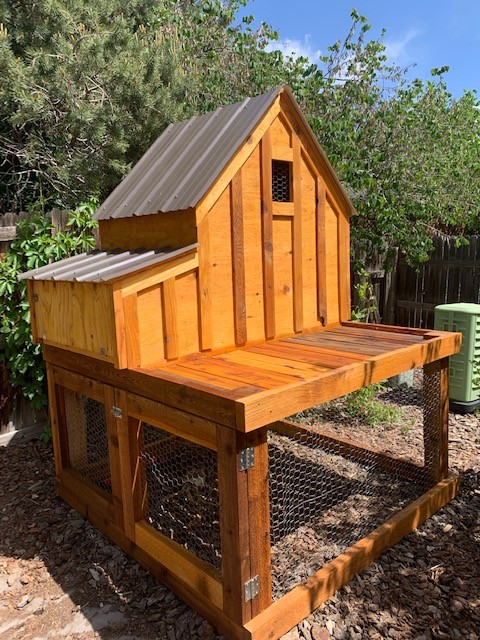
Thanks for the plans! We have a small backyard and I wanted something that we’d actually enjoy looking at. I skipped the planter box and will likely put some potted plants up there instead. All I need is a matching metal cap for the roof peak, and of course chickens!

Comments

Cameron Wall Storage Unit

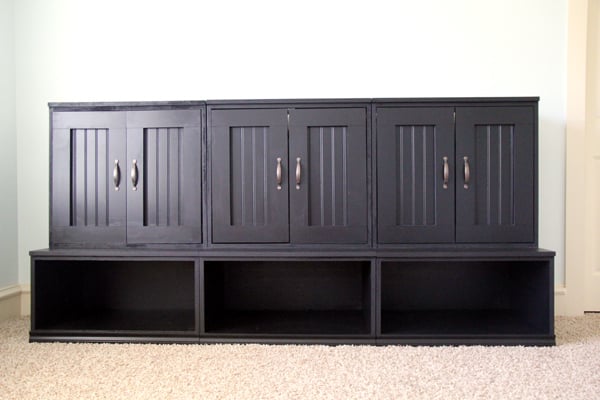
I used Ana's plans to build a Cameron Wall unit for my new nursery. I used 3/4" MDF and 1 1/4" brad nails with lots of Gorilla Wood Glue to assemble. I also used bead board on the doors. Great storage! You can read more at http://www.shanty-2-chic.com/2011/07/furniture-for-the-new-nursery.html

Estimated Cost
$140
Estimated Time Investment
Weekend Project (10-20 Hours)
Finish Used
2 coats of Valspar Premium satin black paint, 1 coat of Polycrylic
Recommended Skill Level
Beginner

Comments

Bed n nightstand

Found the headboard directions on here... Messed w dementions for footboard n connect it w a 2x12 w three lag bolts each comer. Night stand was constructed the same but on a smaller scale

Estimated Time Investment
Week Long Project (20 Hours or More)
Finish Used
Clear gloss lacquer
Recommended Skill Level
Beginner

Comments

Dining room buffet

Submitted by jwillo on Tue, 09/29/2015 - 19:49

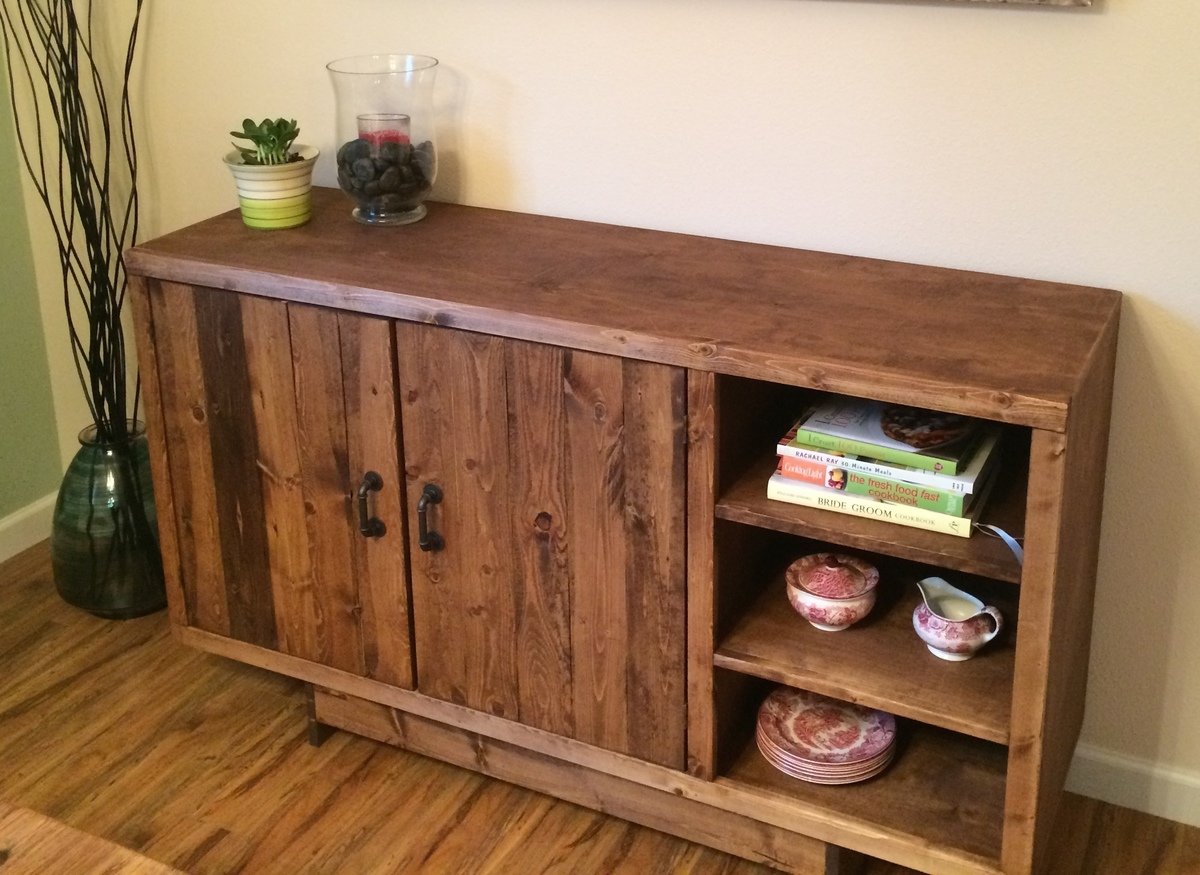
This was my husband's and my second furniture build, and the first with doors! We went ahead and followed the dimensions in the instructions, and even with wood that was 3.5, we still had doors that were a little short. I figure it adds character. Hinges were a little difficult for us, as we are new to woodworking DIY projects, but I'm very happy with the final project. Edge banding, magnetic clasps, and stain throughout really makes it look like a nice, finished piece. Thanks, Ana!

A side note on timing, for us this was a long weekend project that took us in to the next week. For others, I am sure it could go much quicker. That time also included finishing.

Estimated Cost
$200, not counting the new nail gun we purchased. :-)
Estimated Time Investment
Week Long Project (20 Hours or More)
Finish Used
Minwax English Chestnut--one coat.
Recommended Skill Level
Intermediate

Comments

Farm table.

Submitted by Anonymous (not verified) on Sun, 10/14/2018 - 13:38

Built this 8' farm table after watching your video. Its my first piece of furniture. 

Estimated Cost
$200.00
Estimated Time Investment
Weekend Project (10-20 Hours)
Finish Used
Milled red oak.
Recommended Skill Level
Beginner

Comments

Desk

Submitted by JMG on Fri, 06/24/2022 - 20:56

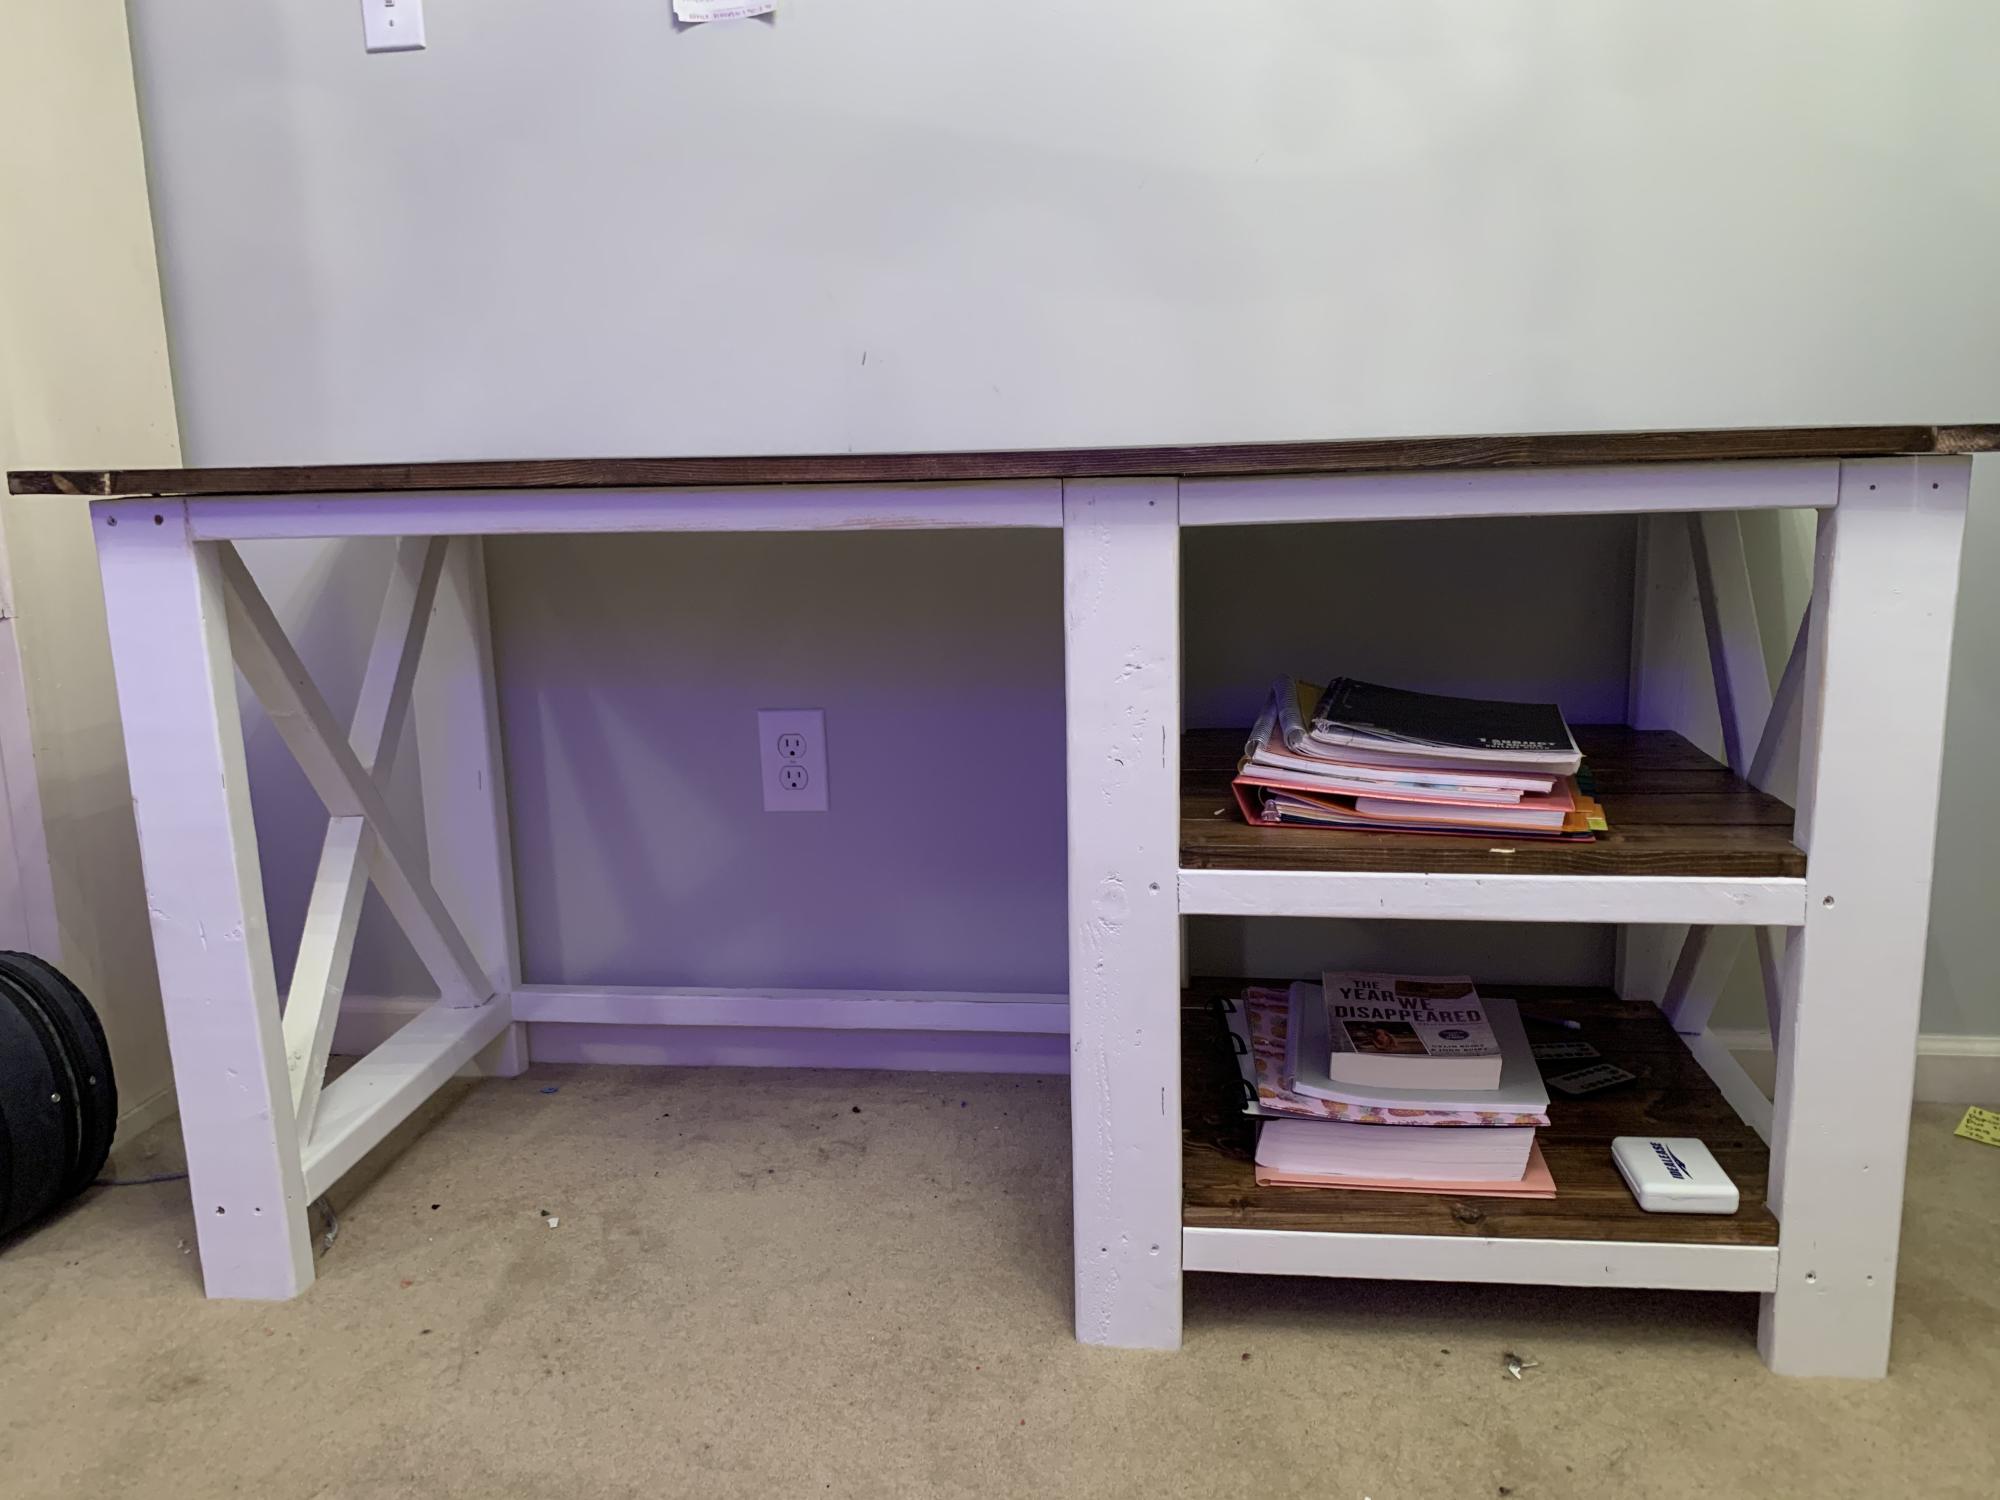
During the transition to online school, I built this for my daughter. Works great. Obviously needs some finish work, but she wanted to use it right away. lol

Built from Plan(s)

Comments

Rustic Barnwood Picture Frames

Submitted by kmatt55 on Mon, 07/25/2011 - 18:49

Thanks to Ana's plans I was able to build this in a couple of hours. It's not necessary, but a miter saw makes this project a cinch. I used one coat of Minwax Mahogany for the stain and distressed the wood with various sharp edged tools from my garage. I used a large Lowes moving box ($1.50) to cut the backing to 18"x24" and spray glued it to the print. I didn't use glass partly because its expensive and I was a little lazy. As you can see in the pictures below I just stapled the back to the frame. Even without the glass, I think it came out pretty well. Another project completed to go in the mountain house....

Estimated Cost
$10
Estimated Time Investment
An Hour or Two (0-2 Hours)
Finish Used
Minwax Mahogany
Recommended Skill Level
Beginner

Weatherly Sectional

We had extra space in the backyard and I always wanted somewhere cozy to sit. Of course, the 'conversation' sets you find in stores were out of our price range so we turned to Ana!!

The whole project took a long weekend to complete - including shopping, cutting, sanding and putting it together. The cushions took a bit longer because they were custom made.

The project was much easier than I expected and the result is fantastic (in my opinion, of course!). I can't believe we actually built a piece of furniture!!

Thanks Ana!

Estimated Cost
$350 plus cushions
Estimated Time Investment
Weekend Project (10-20 Hours)
Finish Used
None yet - am considering let it grey naturally.
Recommended Skill Level
Beginner

Comments

spiceylg

Fri, 08/23/2013 - 16:03

Beautiful build. Love, love, love the two tables and lantern. Totally staged so pretty. And those cushions! Gorgeous!!! Will you please share where you got the fabric for the throw pillows and the names if you know them?