Community Brag Posts

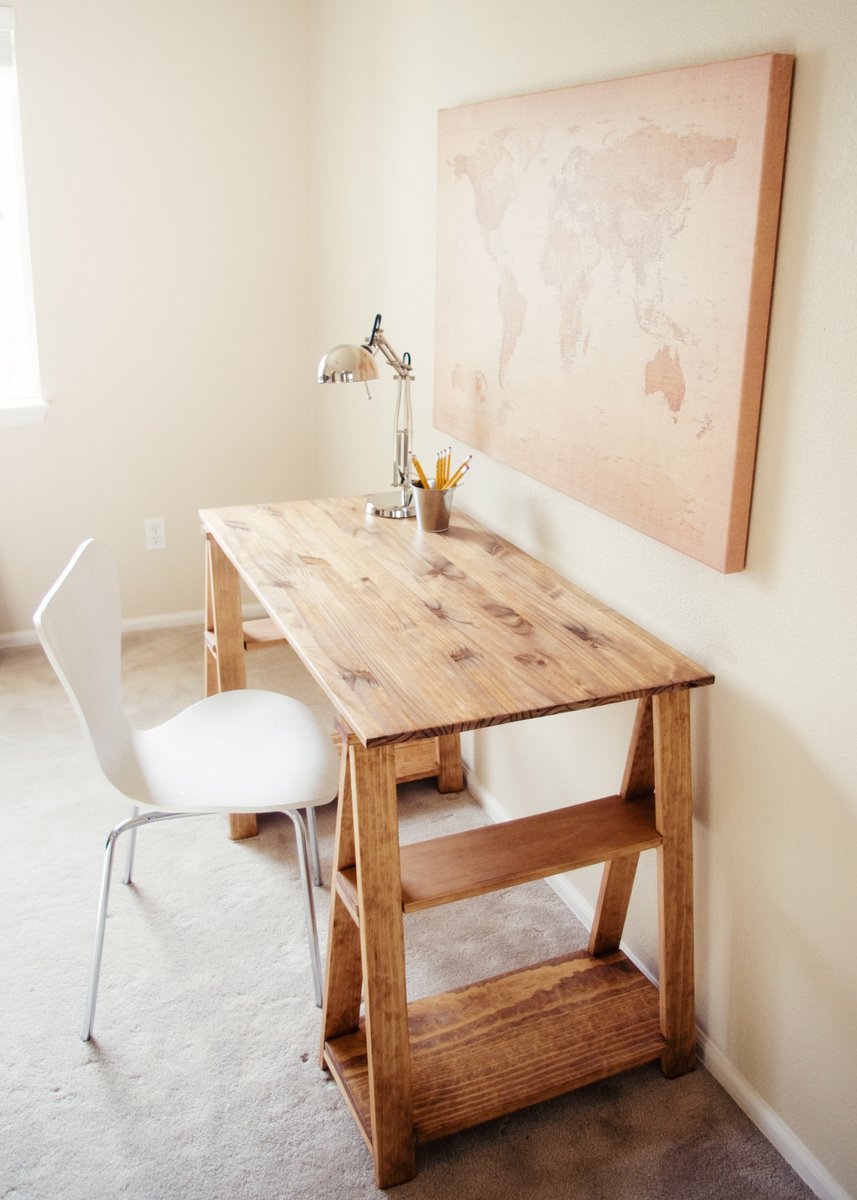
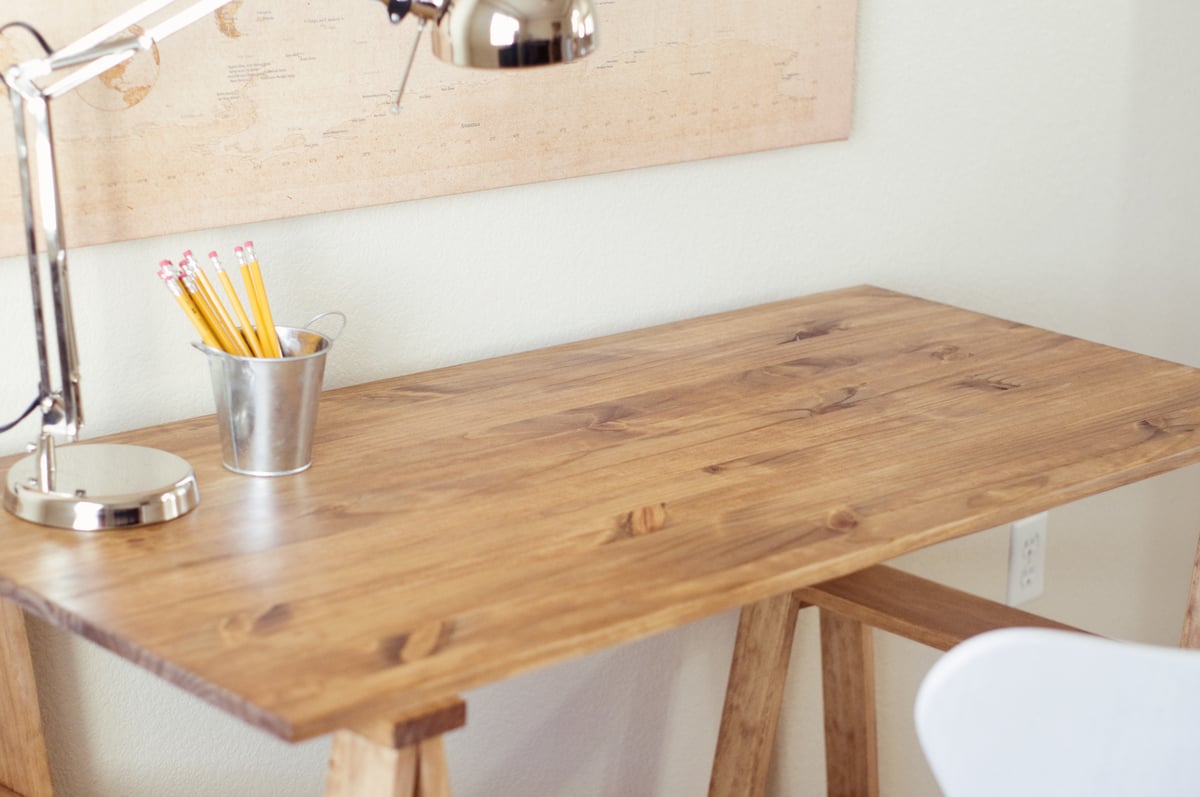
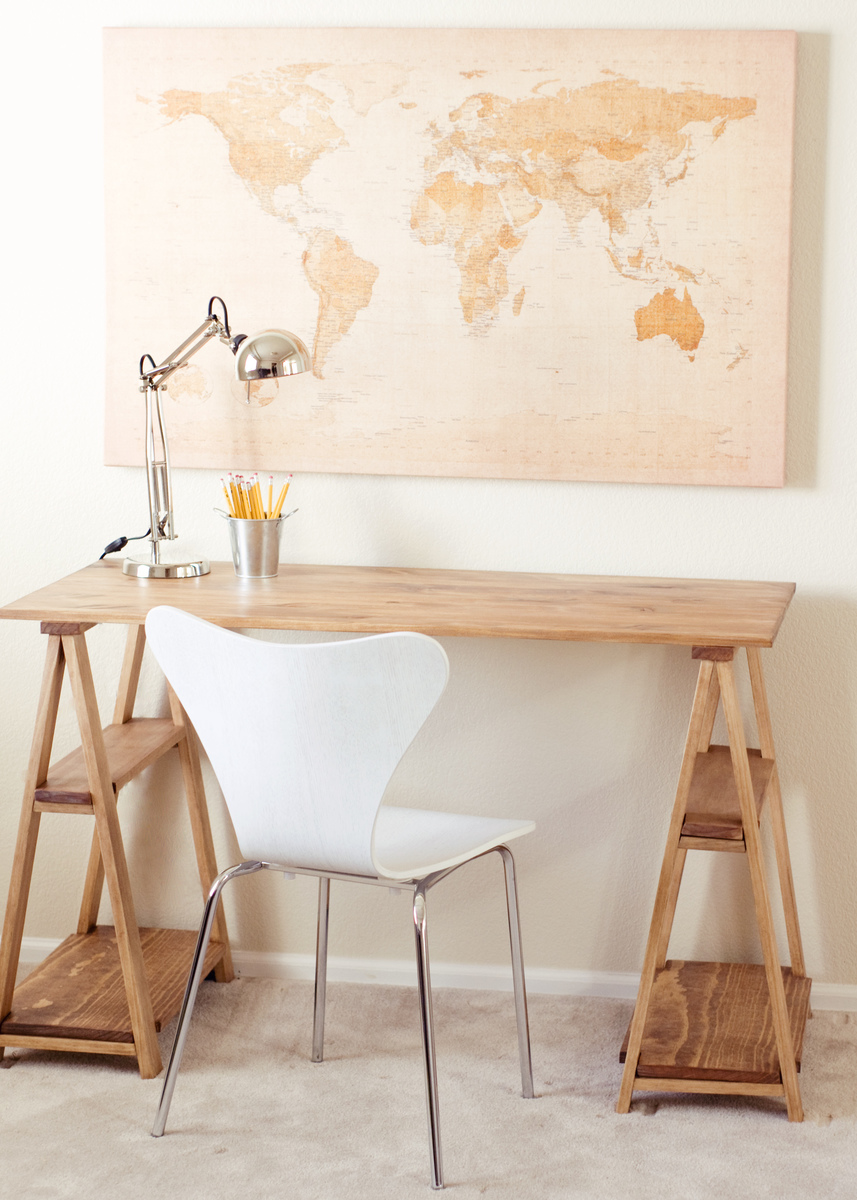
Sawhorse Desk

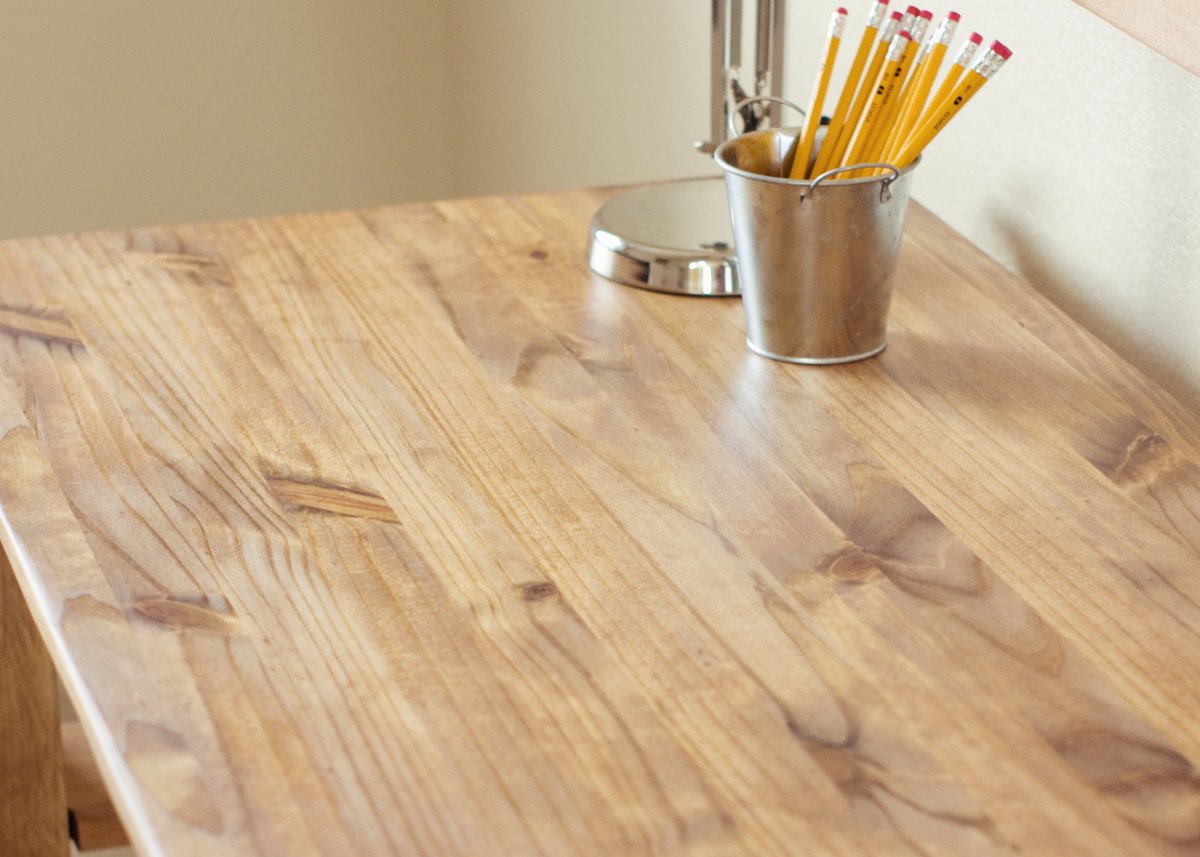
I love this desk! My husband loves it too. He was surprised to come home from work one day and find it sitting in the office. Cutting the notches for the shelves was tricky. I bought the cheapest jigsaw from Home Depot, which would have been ok had I bought a decent blade to go with it. The blade it came with was terrible, but after much trial and error, and power sanding, it all worked out. I'm really happy with the finish. In person, it looks like the pit of an avocado, which is exactly what I was hoping for.

Built from Plan(s)
Estimated Cost
$60
Estimated Time Investment
Day Project (6-9 Hours)
Finish Used
Mixed my own. Watco Danish Oil in natural, Watco Danish Oil in dark walnut, and General Fishes Gel Stain in brown mahogany, mixed together. I just started a blog and wrote the details there.
Recommended Skill Level
Intermediate

Comments

spiceylg

Thu, 03/21/2013 - 05:45

Very nice build. Love the finish and everything is staged so pretty!

jackiemacrae

Tue, 12/03/2013 - 16:08

Beautiful! I must ask, did you diy the map? It's gorgeous and matches so well

Grillin' and Chillin' - Outdoor Grill Food Prep Station

Needed a table for food prep with my grill and found your plans! I used treated lumber for the base and nice cedar planks for the top. The treated lumber had a whiter than usual color which made the base really pop out. I put a nice pecan stain on top and a few coats of poly so the BBQ sauce wouldn't stain it! This was so easy, literally took 2-3 hours to build, stain and poly was done over the next few days. Ready for my next ana-white project. Thanks for posting these plans.

Built from Plan(s)
Estimated Time Investment
Afternoon Project (3-6 Hours)
Finish Used
Simple pecan stain and minwax poly. Brushed on the stain and kept brushing until I got the darkness I wanted
Recommended Skill Level
Starter Project

Comments

tr7dul

Wed, 07/09/2014 - 16:24

I was looking on Pinterest and found this table. It was exactly what I was looking for. You inspired me to go out and buy a miter saw and some wood and make the table. It turned out wonderful. It now has a permanent place on my patio and gets used when I grill mostly. I was hoping to be able to upload a photo but don't see the option to do so. Anyway, I want to say thanks for the great plans/instructions.

Outdoor Sectional

I scaled back the length of the sofa by a few inches and I made the sectional only one seat to fit my space on the deck. This was my first woodworking project that I did by myself. I got the cushions for more than 1/2 off at Ikea so the whole project cost about $150 ($80 for the cushions). It took me about a week to complete but the total time was less than 10 hours to build and stain. I'm pretty happy with how it turned out.

Estimated Cost
$150
Estimated Time Investment
Weekend Project (10-20 Hours)
Finish Used
Pittsburgh Paints Stain & Sealant in One for Decks, Fences, & Siding in Walnut. I brushed on the exterior stain just like a paint. I did the top part of the sofa first, then flipped it over and stained the bottom. Read instructions on the label.
Recommended Skill Level
Beginner

Comments

Bedside End Tables

Submitted by Grace734 on Mon, 02/05/2018 - 07:38

These are made from the three drawer plans but modified the size to meet our needs and used planks for shelves instead of drawers. Painted white and black gel stain. 


UPDATE FROM ANA - We have received MANY requests for this plan and have created a plan inspired by this post here.

Shopping List (for ONE bedside table) + Tools

  • 1 - 1x2 @ 6 feet long
  • 5 - 1x4 @ 8 feet long
  • 2 - 2x2 @ 8 feet long
  • 1-1/4" and 2-1/2" pocket hole screws
  • 1-1/4" brad nails
  • wood glue
  • Kreg Jig
  • Compound Miter saw
  • Drill
  • Brad Nailer (18 guage)

Cut List (for ONE bedside table)

  • 4 - 1x2 @ 14" - Side panel trim
  • 8 - 1x4 @ 23-1/4" - Side panels
  • 4 - 2x2 @ 27-1/4" - Legs
  • 6 - 2x2 @ 14" - Shelf support
  • 8 - 1x4 @ 17" - Shelves
  • 5 - 1x4 @ 18" - Top

Cut 1x4s and 1x2s with miter saw. Layout side panel 1x4s as shown above.  Measure and cut 1x2 to length.  Nail the 1x2 to the 1x4s, two nails per overlap with glue.  Make sure your side panels are square.  Build two.

Drill 3/4" pocket holes on inside edge of 1x4 ends as shown above.  Cut 2x2s with compound miter saw. Attach to the 2x2 legs with 1-1/4" pocket hole screws.

Set Kreg Jig to 1-1/2" setting.  Drill 1-1/2" pocket holes on end of each 2x2, one per end.  Attach to 2x2s with wood glue as shown above.

Cut 1x4 shelf boards with compound miter saw.  Nail and glue to the inside of the project as shown above.

Cut 1x4 top boards with compound miter saw.  Nail and glue to top with 1-1/4" nails and wood glue.

If you wish to add a back, measure and cut from 1/4" plywood and attach with 3/4" brad nails.

Estimated Cost
100.00 for both.
Estimated Time Investment
Weekend Project (10-20 Hours)
Finish Used
One coat of eggshell white PPG
Two coats of ebony gel stain
Recommended Skill Level
Beginner

Comments

Laundry Pedestal

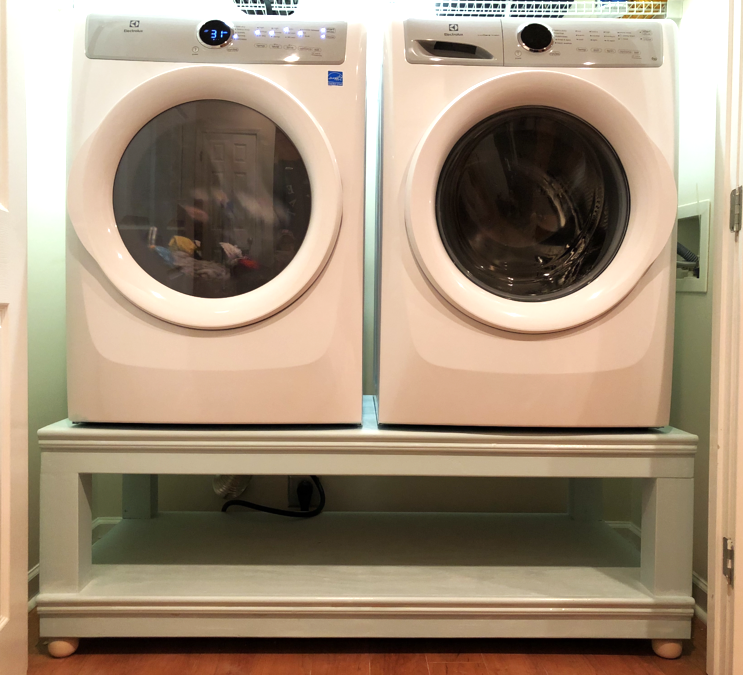
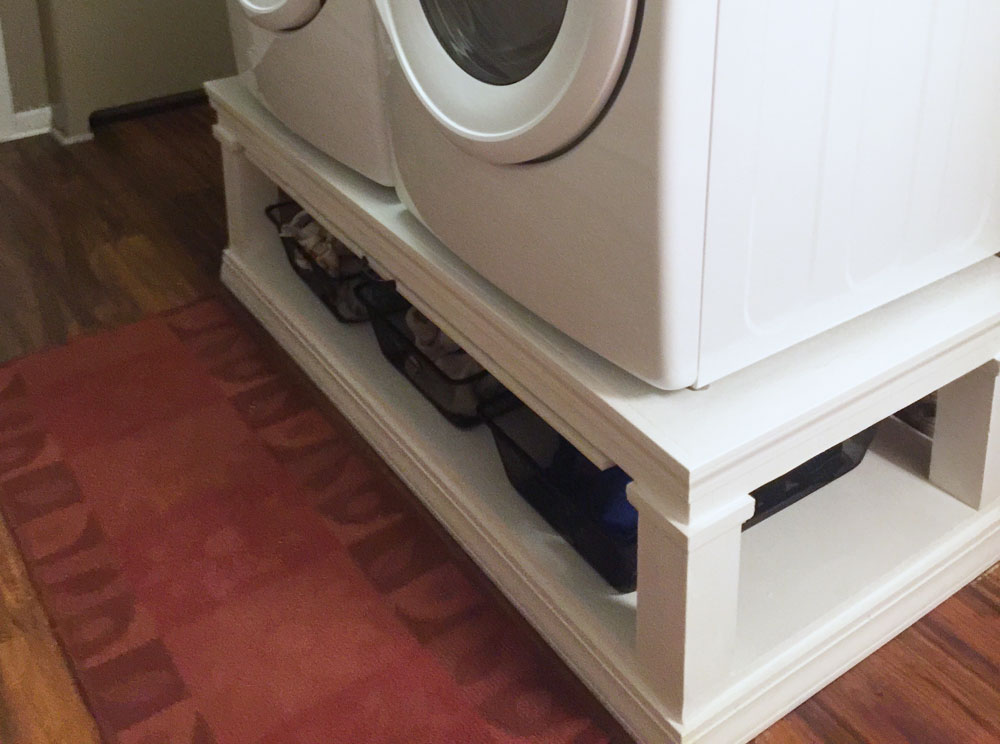
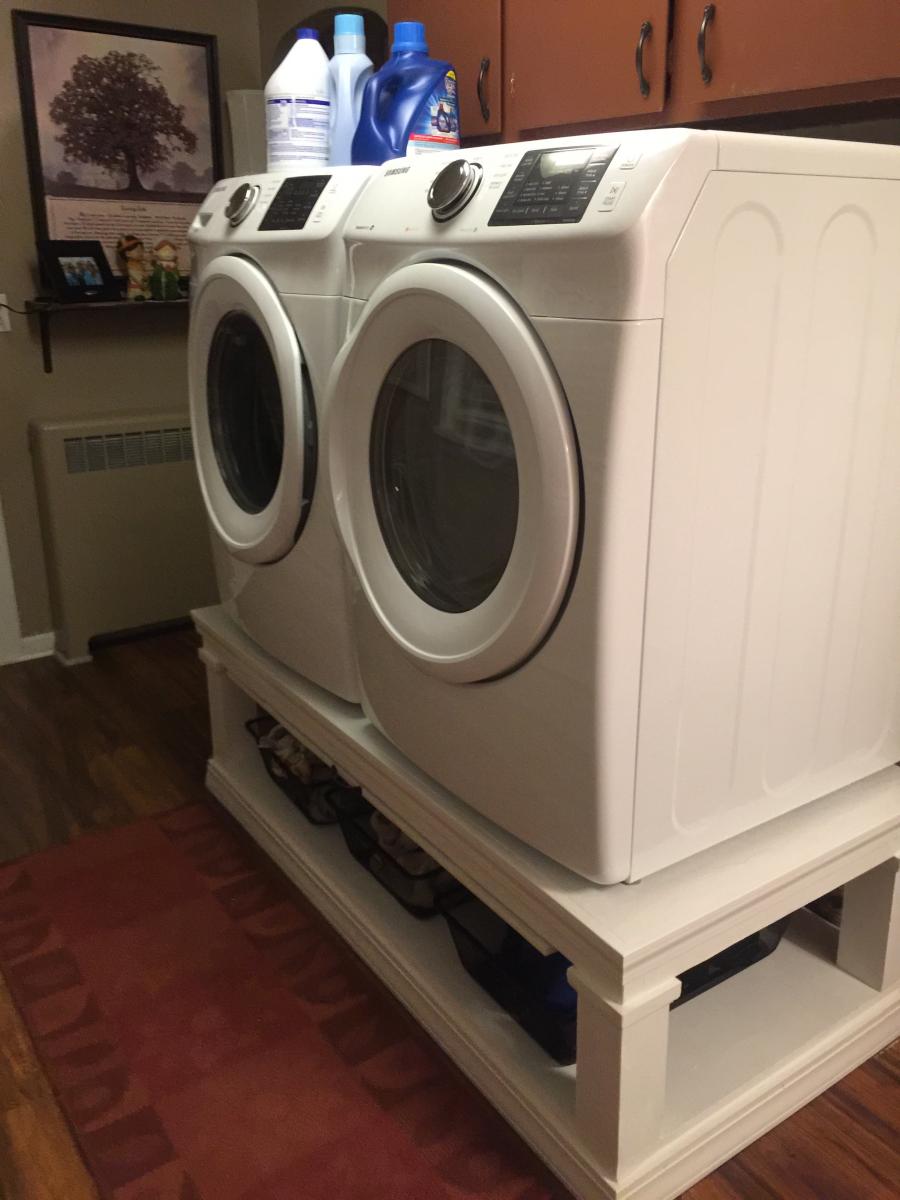
I took this plan from www.Ana-White.com Home Depot cut my wood and I was off and running. I added a few ball feet on the bottom to give it a little pizzaz. I felt so accomplished after my first project... especially after the install guys told me it wouldn’t fit and it DID and it was level. I’m getting ready to make a coffee table now. Thanks for the inspiration, confidence and help!!

Estimated Cost
$150
Estimated Time Investment
Afternoon Project (3-6 Hours)
Finish Used
Satin Furniture paint
Recommended Skill Level
Beginner

Custom Entertainment Console

Submitted by Anonymous (not verified) on Mon, 10/02/2023 - 11:08

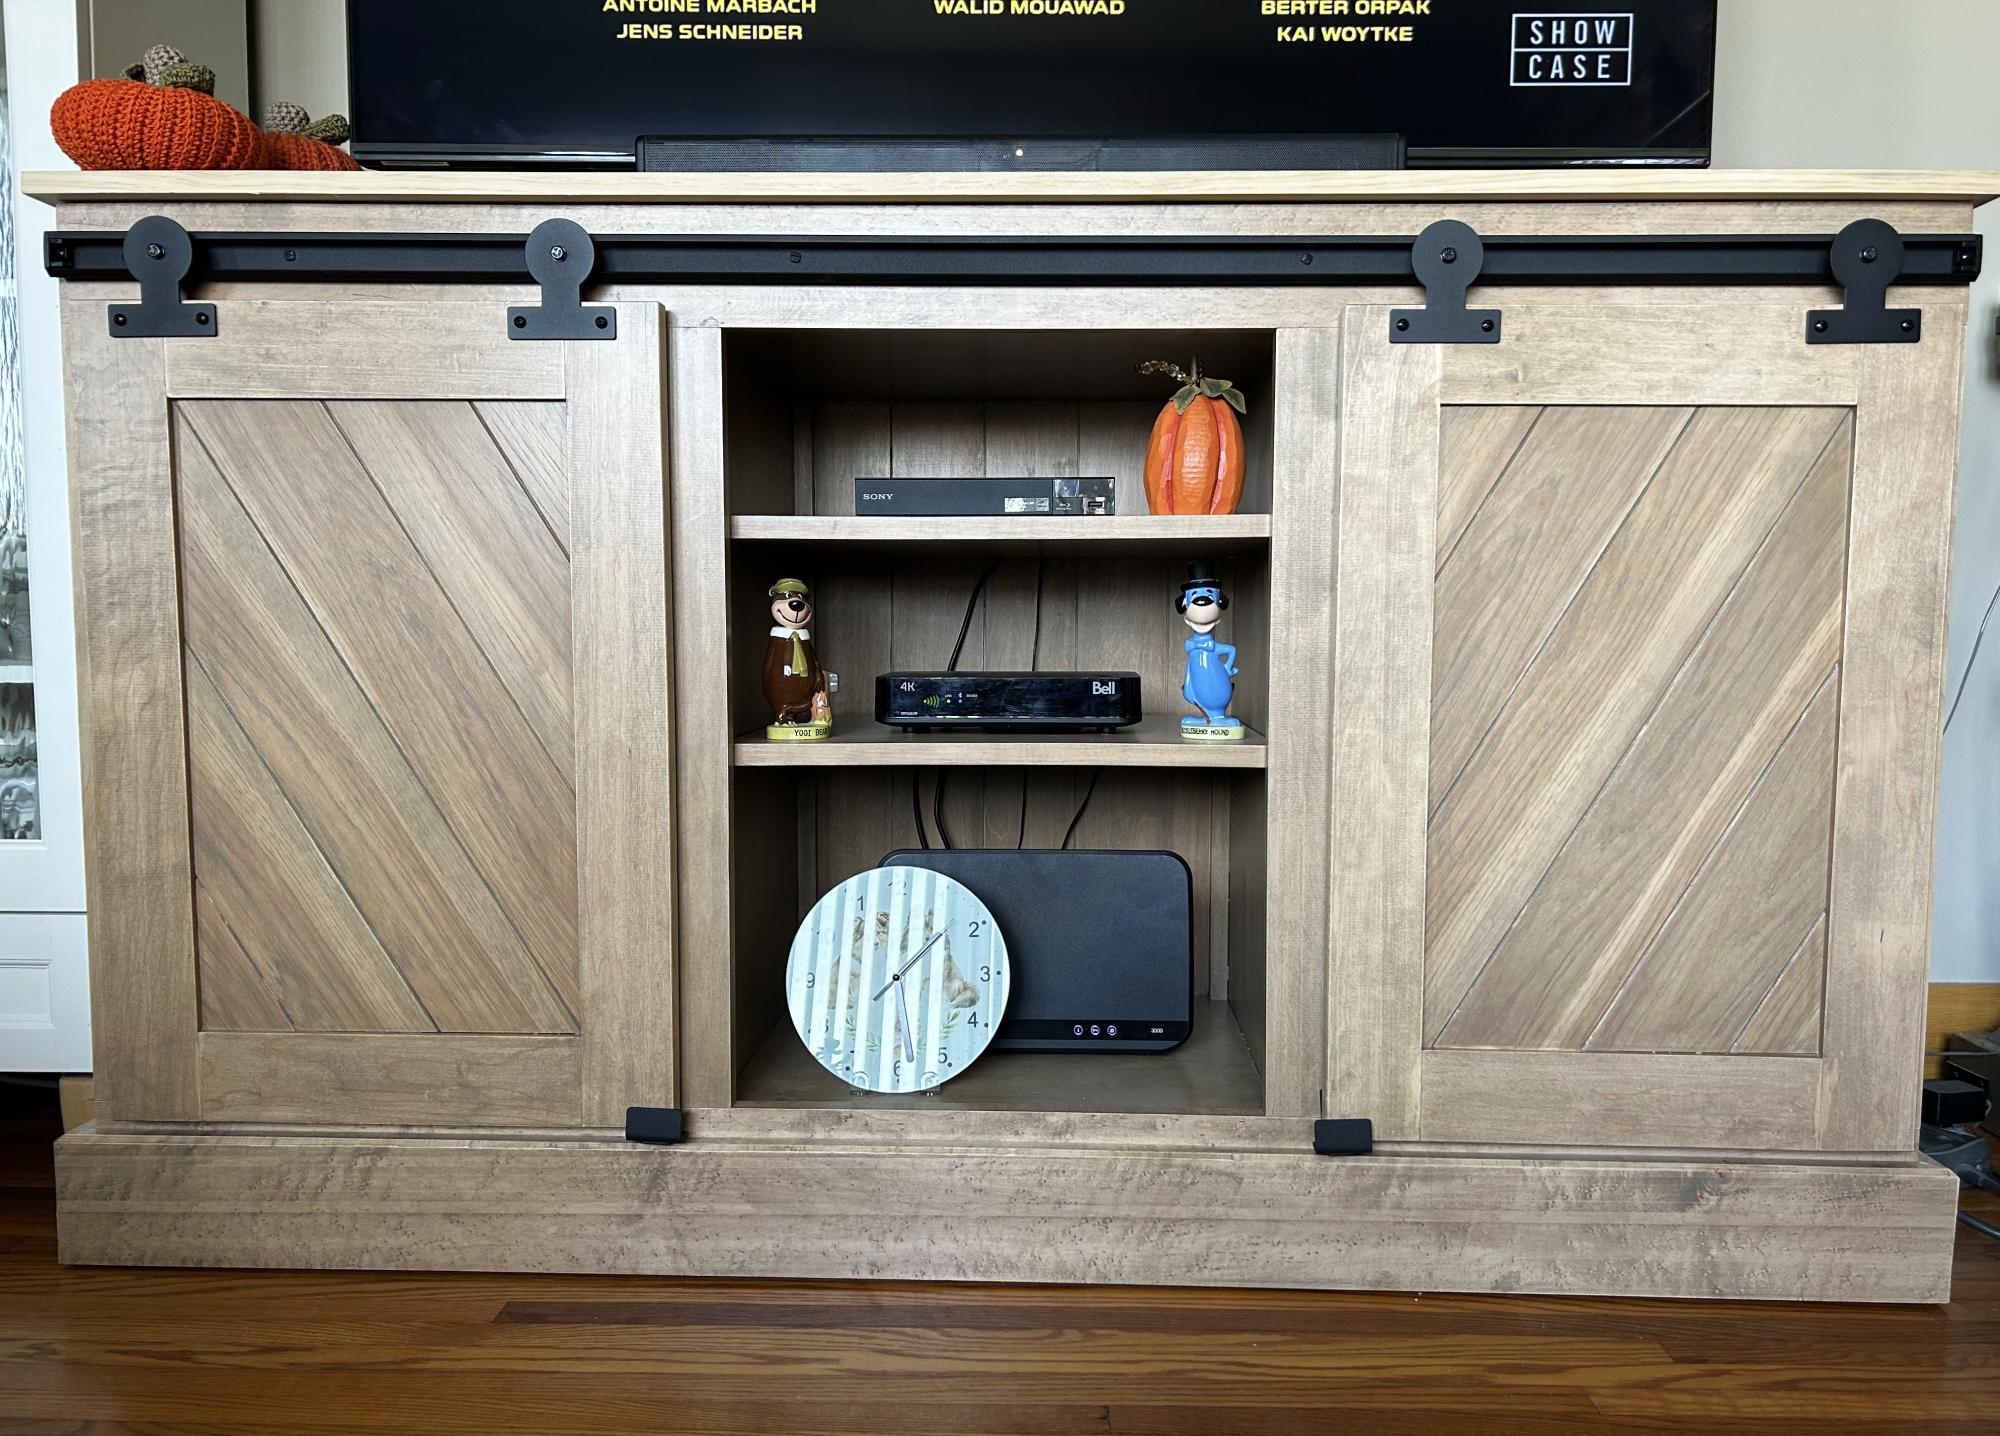
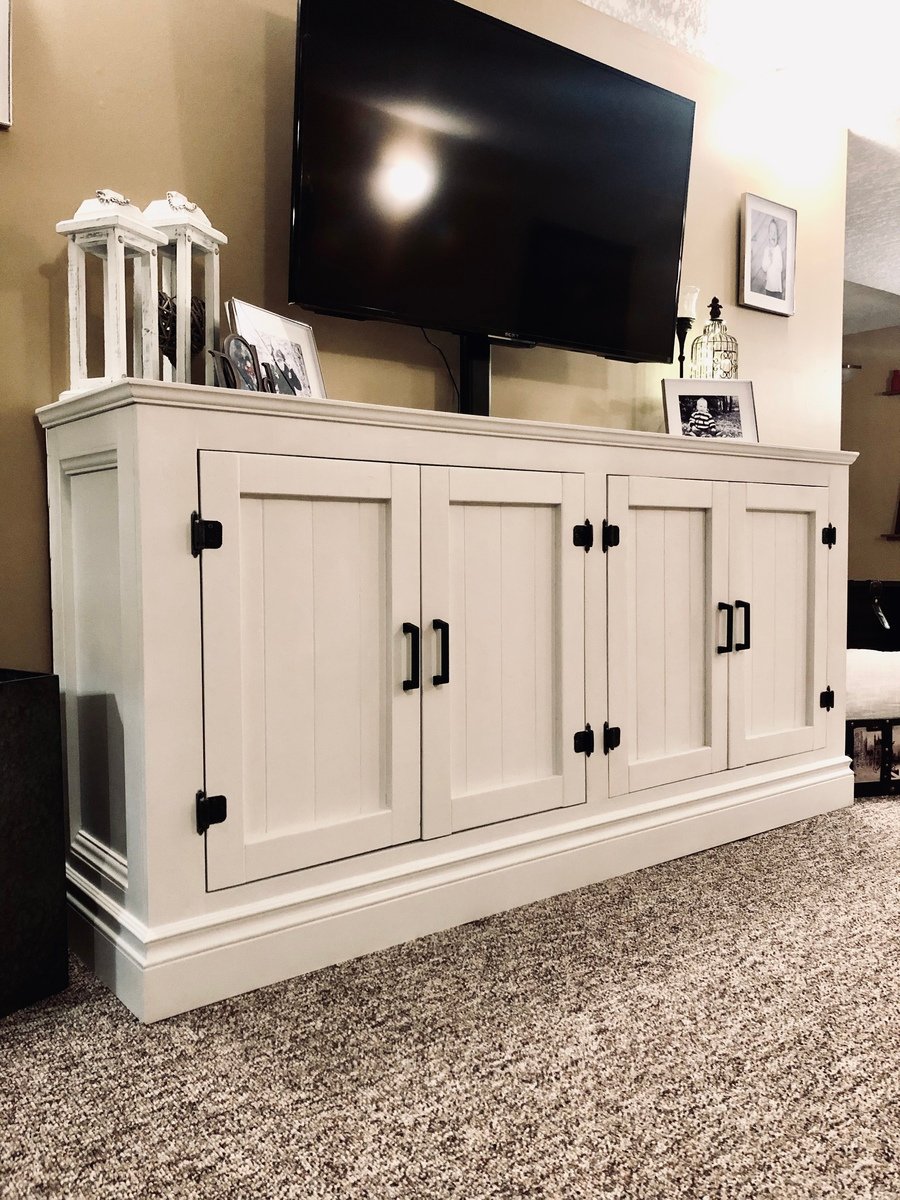
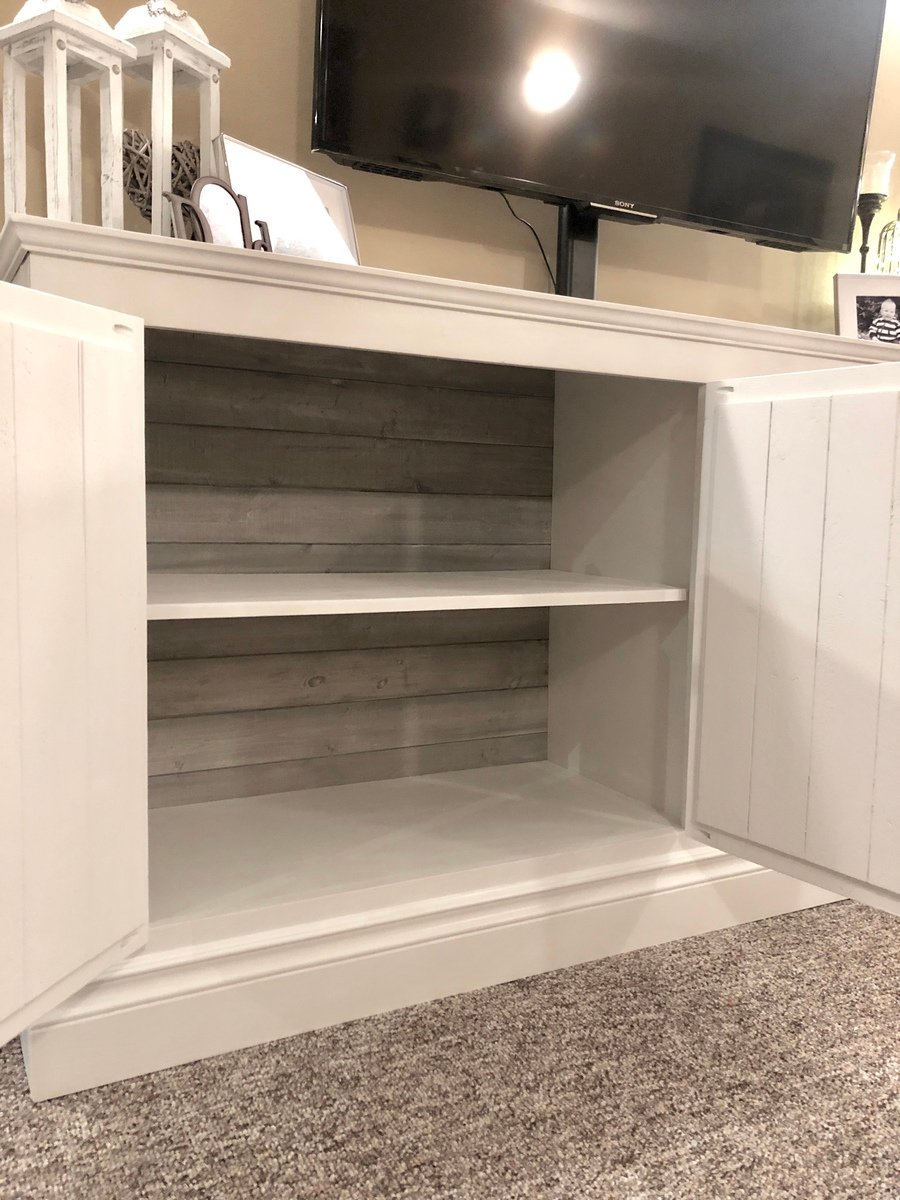
5ft Barn Door TV Stand.
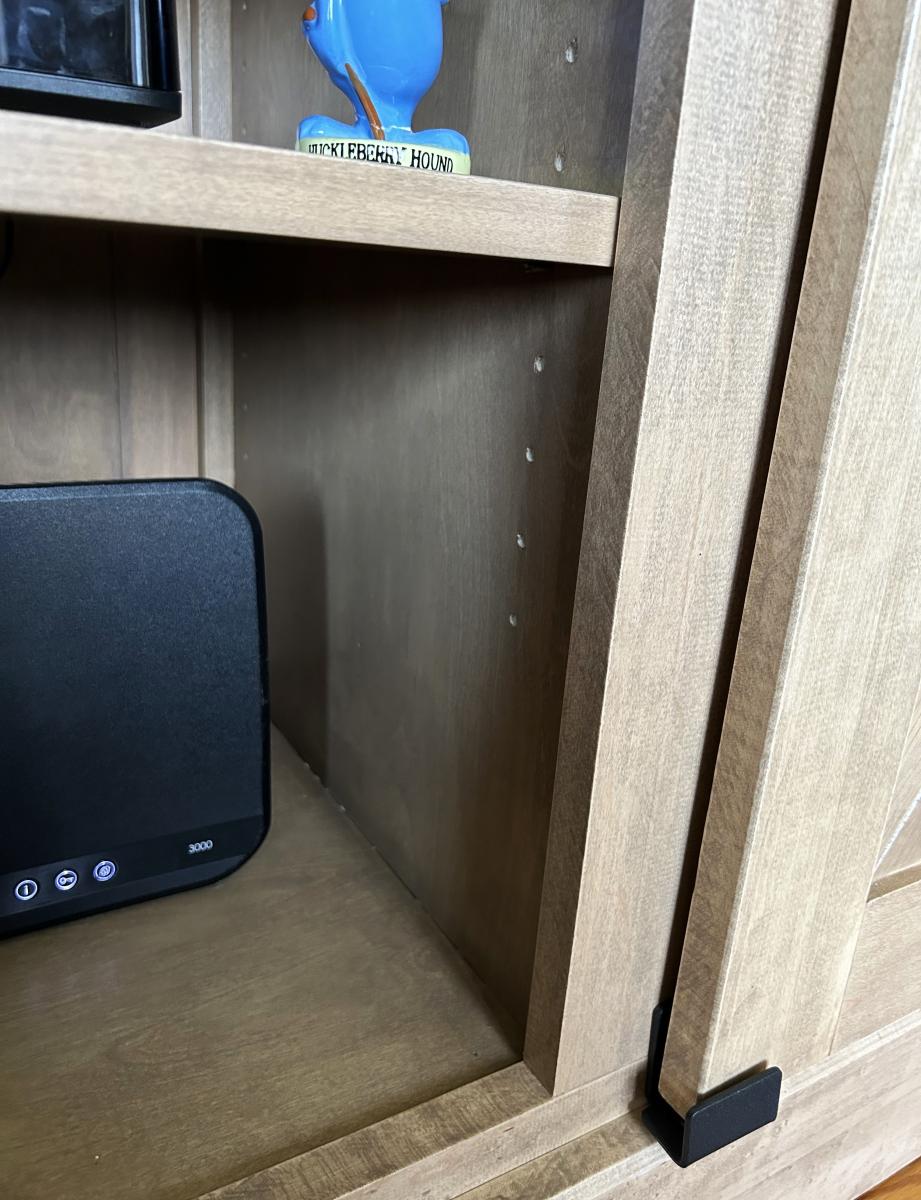
I used the Grandy Barn Door Console as inspiration. I made it as 3 separate units and screwed them together. The shelves are adjustable, the bead board back was done on the table saw, the doors are maple with a hickory diagonal centre panel! This is my largest project so far and I have have to thank Ana White for the beautiful plans that you produce. Without you I’m not sure I would have attempted this. I am one proud lady 🥰

Debbie P

Built from Plan(s)

Washer & Dryer Pedestal

Submitted by T.R. on Fri, 11/18/2016 - 07:51

Good, sturdy pedestal is a nice addition to the laundry room.

I used the plans from Sausha’s Washer/Dryer Pedestals and added a pull out to place the laundry basket on.

Estimated Cost
About $100
Estimated Time Investment
Afternoon Project (3-6 Hours)
Finish Used
White paint
Recommended Skill Level
Beginner

Holiday Fireplace with Storage

Submitted by Anonymous (not verified) on Mon, 11/18/2024 - 10:10

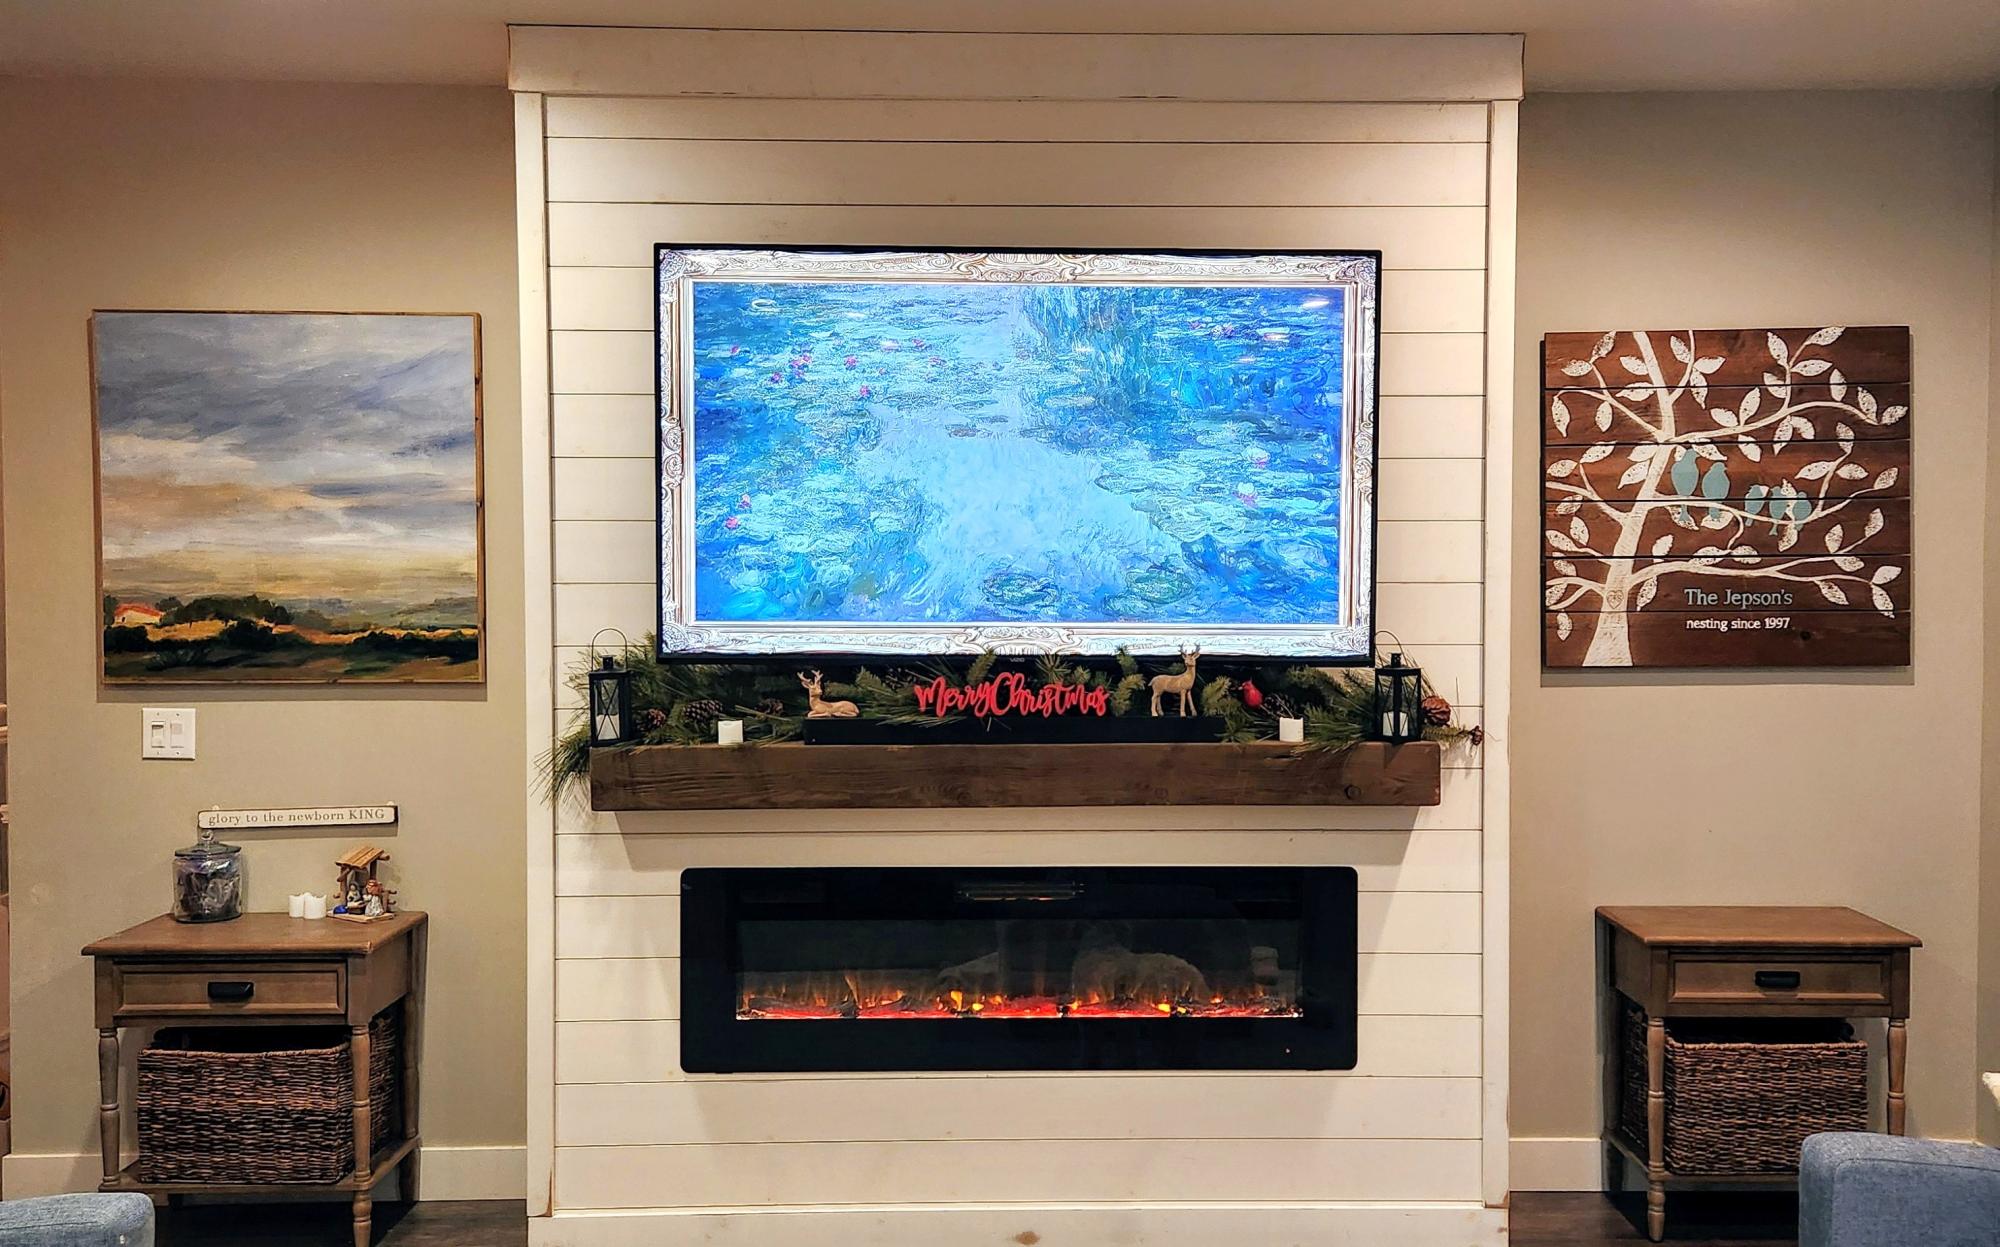
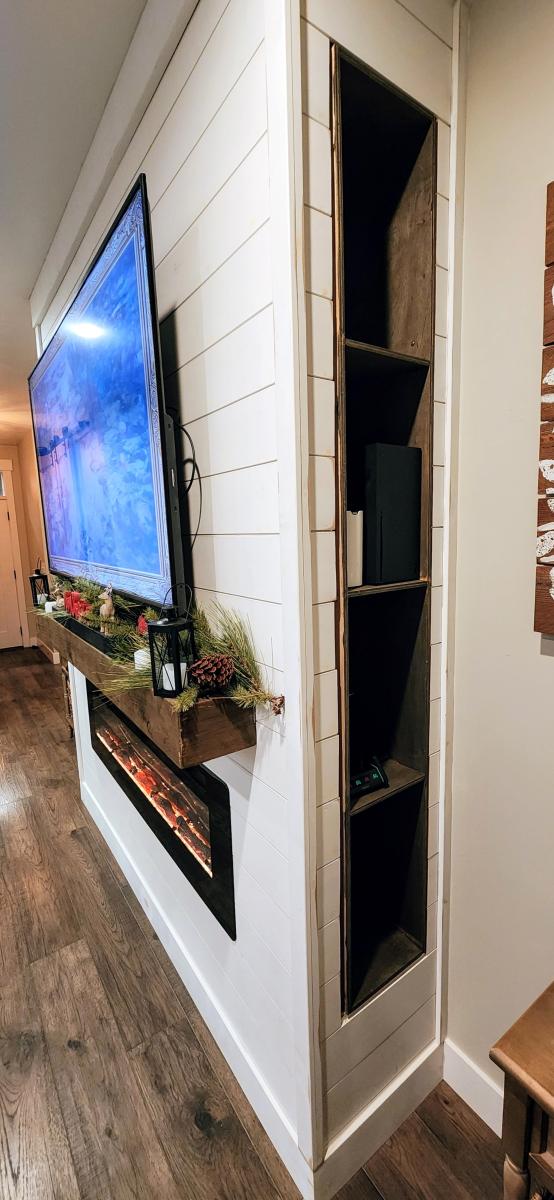
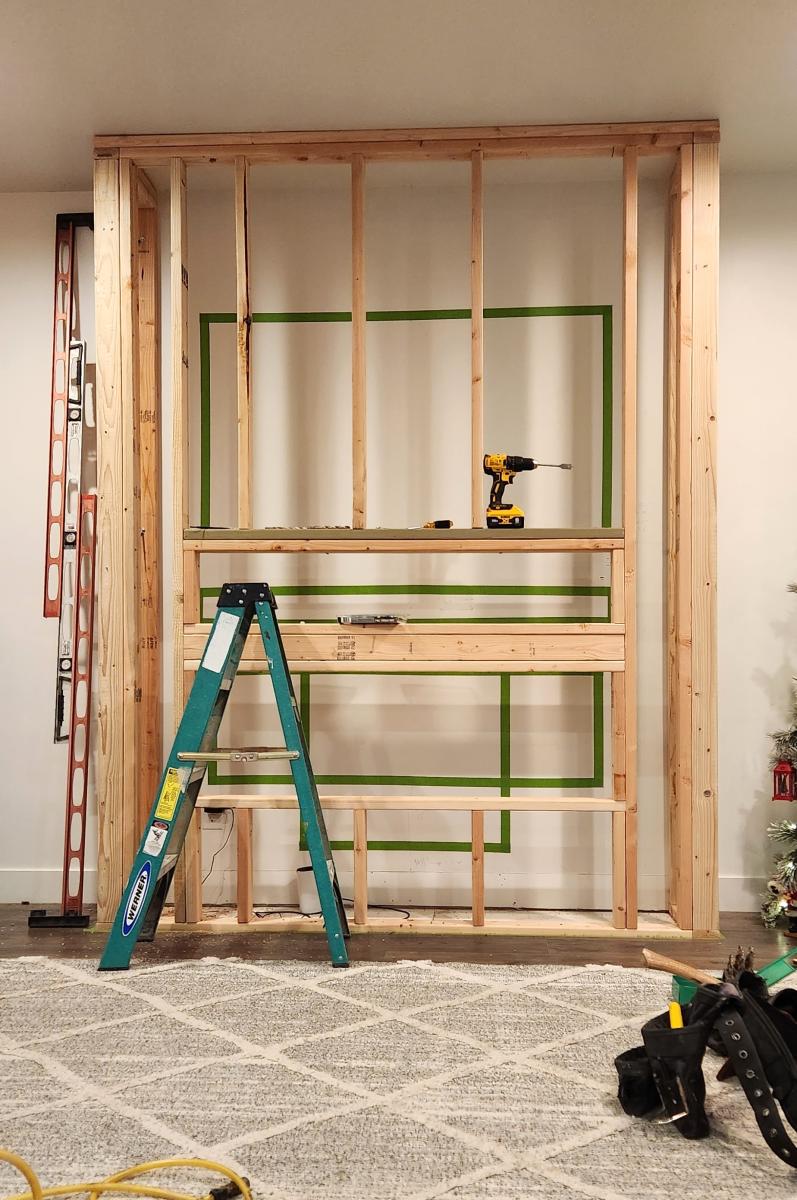
We wanted a electric fireplace with mantle and TV home above but needed storage shelves on the side for all of our electronics and blankets. Came up with this plan. Need to add trim around the shells still and can't decide what color to paint the fireplace. Other than that we are in love with it.

Seasonal And Holiday

Farmhouse Storage Bed With Hidden Drawer

Submitted by Beekeeper on Wed, 12/10/2014 - 17:35

Ana, thanks for these plans! They inspired me to make my first bed build. I also want to thank all of you that added brag posts! They gave me ideas for some of the modifications that I made. I did this build by mixing your Queen Farmhouse and Queen Farmhouse Storage bed plans. I also added a number of modifications to suit my own preferences. The drawer boxes I changed by building a faceplate (I didn't want the plywood ends exposed), and by increasing in depth to maximize some additional storage. Since I increased the drawer sizes, I went with the euro roller bearing slides. I increased the foot-board height to be slightly higher than the mattress. I also designed the footboard to have a removable inner section with hidden latches on the inside. I did this because I wanted to make use of the "dead space" between the drawer boxes. I then used this space to house a hidden drawer, that is approx six feet deep (I couldn't help myself-I love hidden drawers wink). Because I added the hidden drawer, I changed the opptional center support to 4X4 blockes that were pocket screwed under the center of the boxes. I ended up using birch plywood and fir for this build. For my first bed build I'm fairly happy with how it came out. Thanks again!

Estimated Cost
I didn't keep exact track of the cost of this bed, but I think it was about $800.
Estimated Time Investment
Week Long Project (20 Hours or More)
Finish Used
I haven't got there yet, but I am planning on putting a mahogany stain and then a polyurethane. All
Recommended Skill Level
Intermediate

Comments

spiceylg

Thu, 12/11/2014 - 07:41

This is your first build and you did all of those awesome modifications?! Really impressive and it looks perfect! Congrats and welcome to the community!

In reply to by spiceylg

Beekeeper

Sun, 12/14/2014 - 06:03

Thanks for the compliments! It was a fun learning experience. Making all the modifications definitely slowed down the build, but also made it more rewarding!

beckbg

Fri, 12/12/2014 - 13:18

I just started my bed (mostly out of Baltic Birch) and am wondering where you were able to find such nice 4x4s. Your bed is gorgeous! No luck here. I bought redwood, but really wanted fir for the sharper edges. It's my first project, too. I also bought same drawer slides, but the soft close. Didn't want the slam. I figure building it will be the easy part compared to procuring nice 4x4s! Hope you can help!

In reply to by beckbg

Beekeeper

Sun, 12/14/2014 - 06:01

Thanks! The 4x4s I found at a place called Better Living Building Supply. They had a pretty nice assortment of fir, including the 4x4s, so that is why I chose it for the build. Finding the 4x4s slowed down my start on the build. Our local Lowes only had them in treated pine.

athingvall

Sat, 09/05/2015 - 20:47

Thank you for the pictures, the bed turned out Awesome.  I was wondering about the latching system for the foot of the bed.  Do you think a piano hinge on the lower would work too?  Also on the center drawer did you use rollers or is it just friction?  Can't wait to start the build.

Thanks

Codding58

Mon, 02/15/2016 - 14:11

This is excellent!!!   I really like this, so much in fact that the wife is going to have to get used to it too. lol   But really, GREAT work!    Any chance you could post a pic and or comment about how you attached that removeable end?    i think this is the best part!    Cheers!

Kmaynard19

Tue, 12/10/2019 - 08:42

Beekeeper,  Awesome build!!!  Have you posted your altered plans anywhere?  I'm very interested in your build, I was wondering about some aspects of it and how you approached it.  Plans would clear it up instead of bothering you with all my questions.

NinjaPinky

Sat, 06/20/2020 - 09:06

I, like many others, have been wondering if you'd share your plans for this modification. It just looks so great!

tammis50401

Mon, 11/16/2020 - 15:42

Bed turned out awesome. I was wondering if you have the plans for the bed with a list of supplies it took to make this bed. I so want this bed it's just what we are needing

Great job

Outdoor hangout using 2x4 and fence boards

Submitted by sylvialh on Sun, 06/16/2019 - 18:13

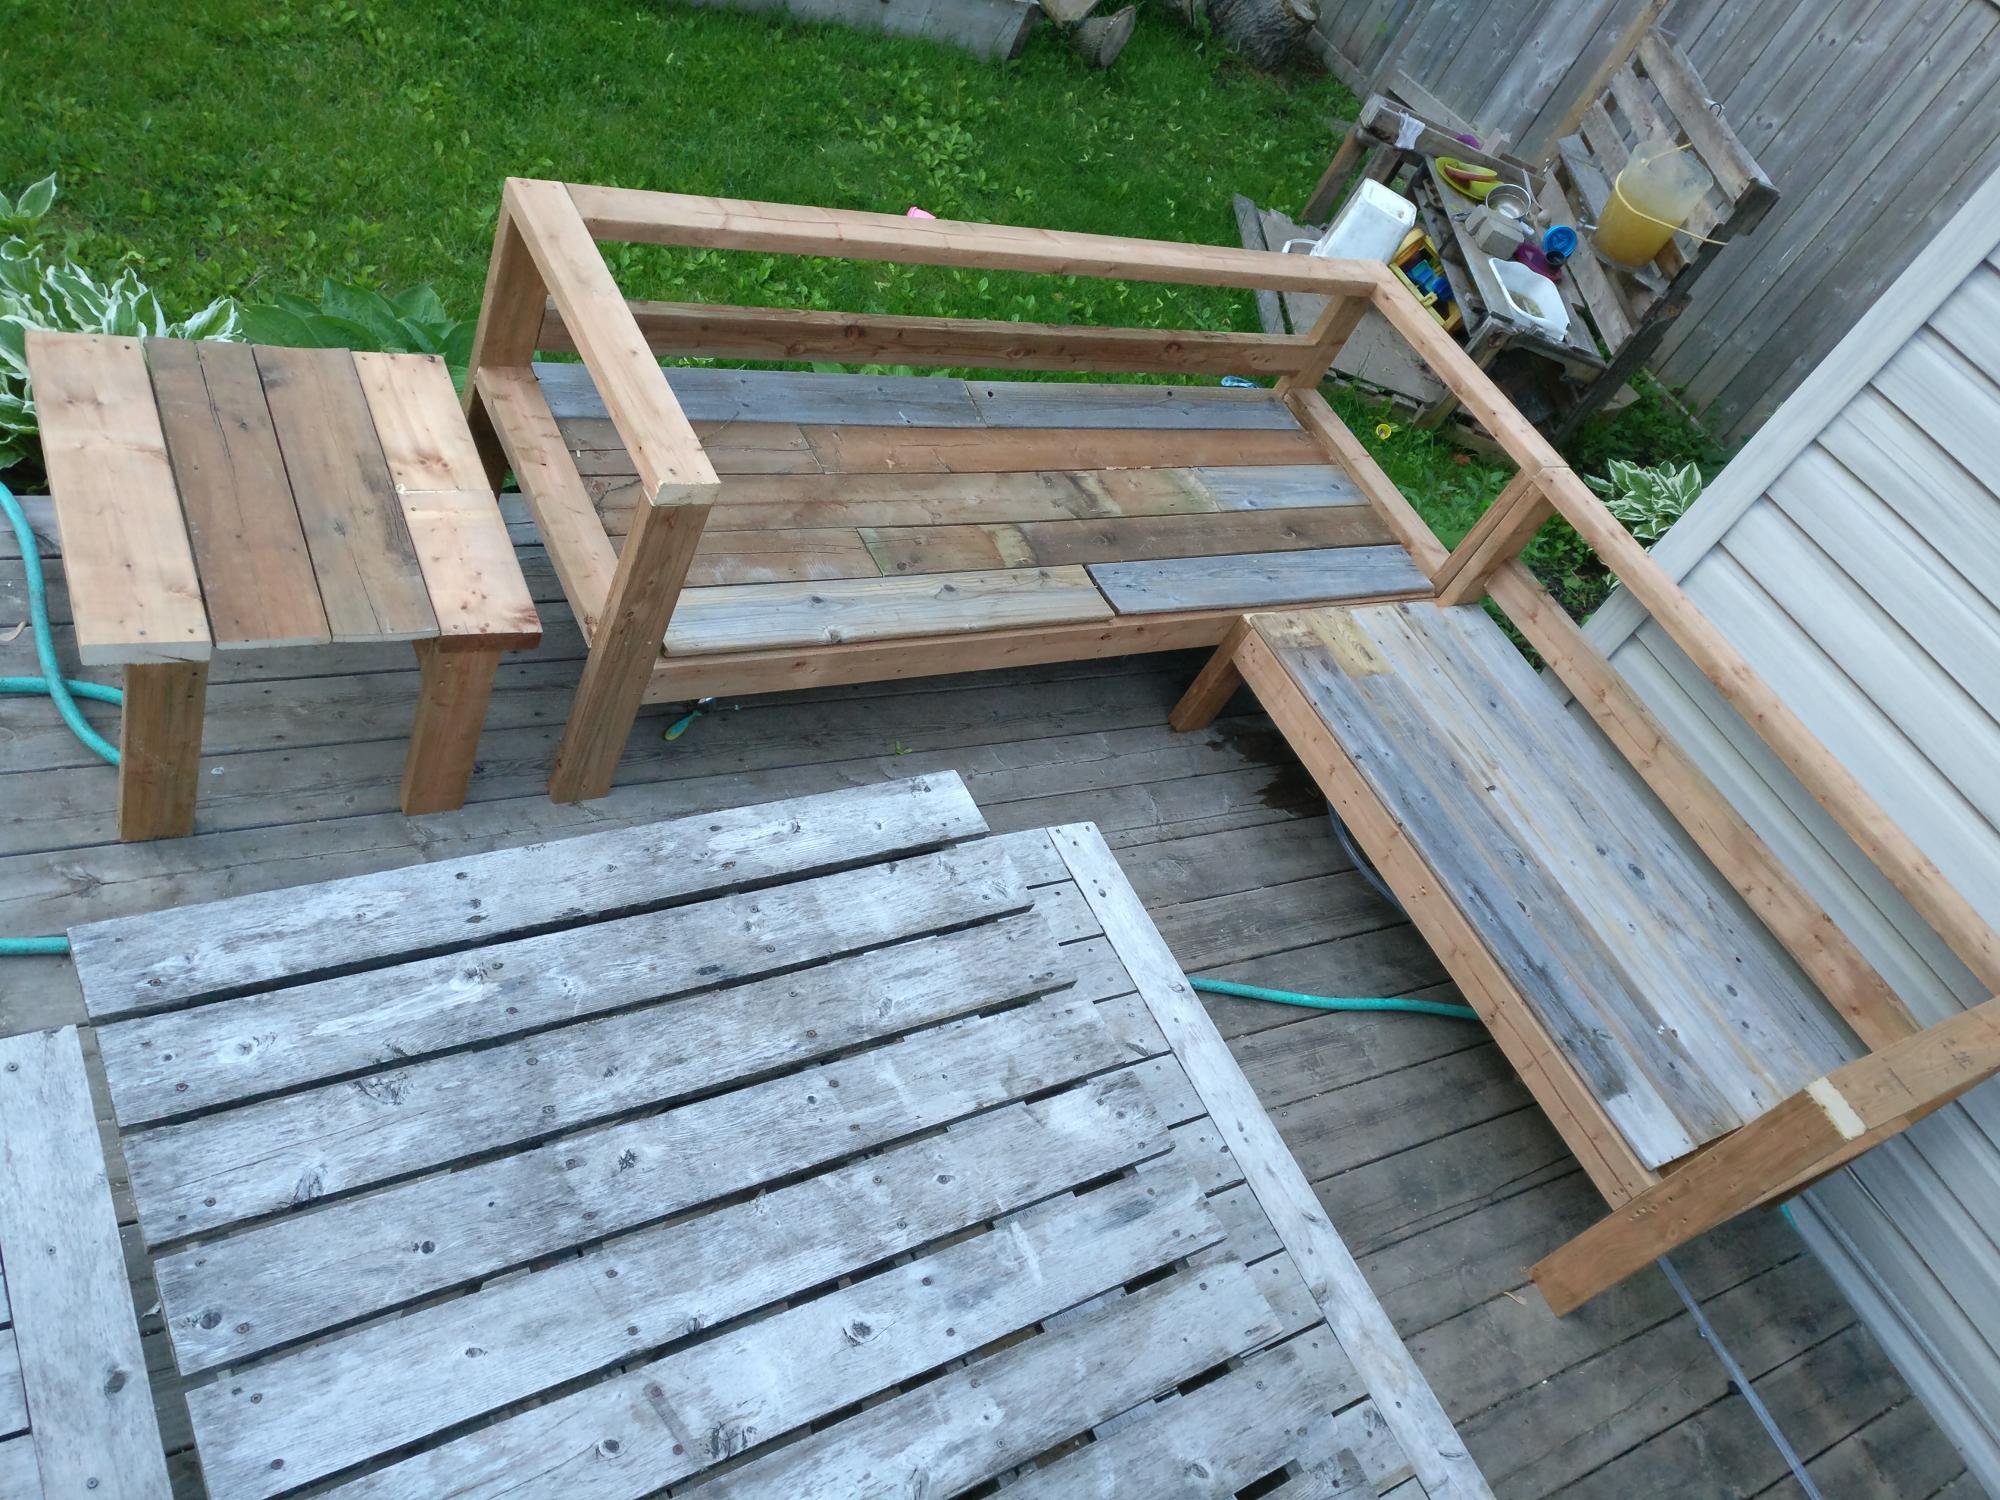
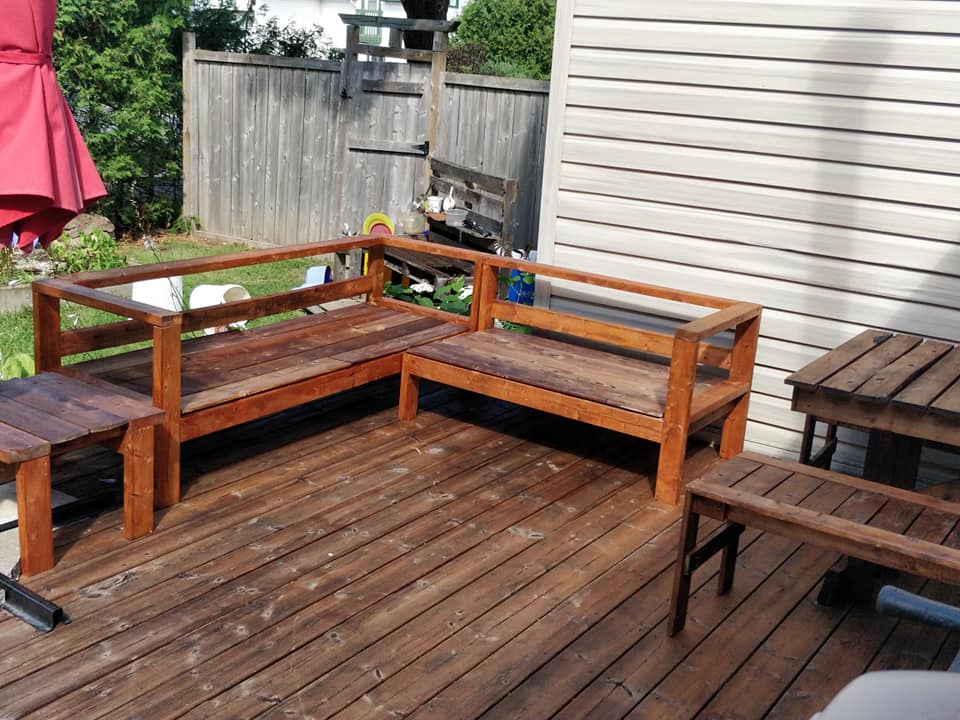
Bought enough lumber for one sofa but ended up using old fence boards for the  decking so had enough lumber to make the sectional and a shortened coffee table. 

Great way to save some cash even if u have to buy the fence posts. 

Added a reinforcing piece to the one armed sofa between the legs using a kreg jig to stabilize the legs a bit more. 

Waiting on my foam from Amazon to finish off this project!

Used inspiration from the beer/wine cooler patio table and made the middle of the table removable to add a buck underneath later. 

Note the 5 year old patio set, also an ana white project from back in the day!

Super quick build!

I did find that the measurements for customizing it for your cushion size seemed about 1.5 inches too big for all the depth pieces so I sized down but I haven't received my foam yet so maybe I'm wrong but Smth to think about. I didn't want my cushions to slide around so I took that into consideration when building. 

Estimated Cost
60$ CAD for the high density foam for each sofa (3x24x72) plus throw cushions for the back.

11 2x4x10 - cost varies depending on cedar or PT
Fence boards were reused

Outdoor Fabric to cover the foam
Estimated Time Investment
Afternoon Project (3-6 Hours)
Finish Used
None yet
Recommended Skill Level
Beginner

King Sized Hailey Bed - Customized

Submitted by dsgdesigns on Fri, 01/03/2014 - 07:26

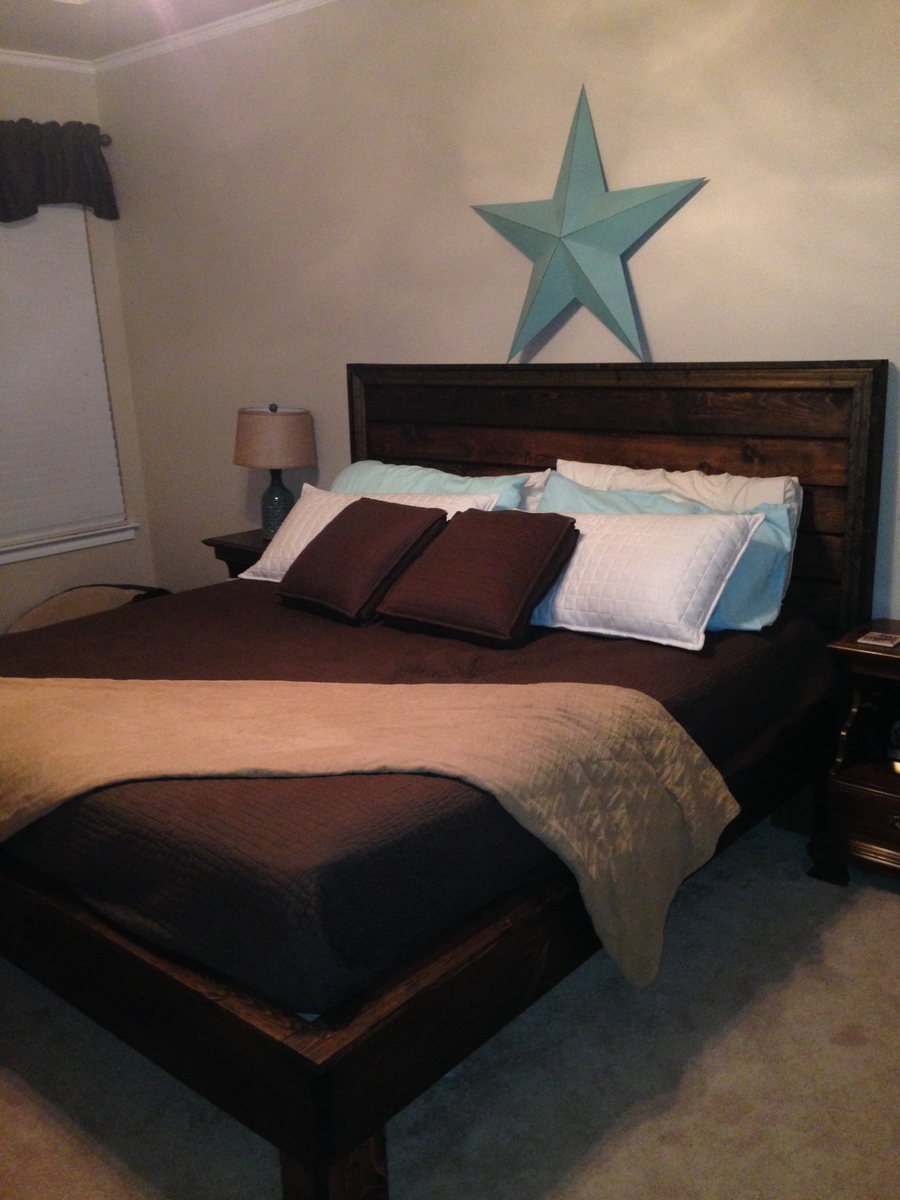
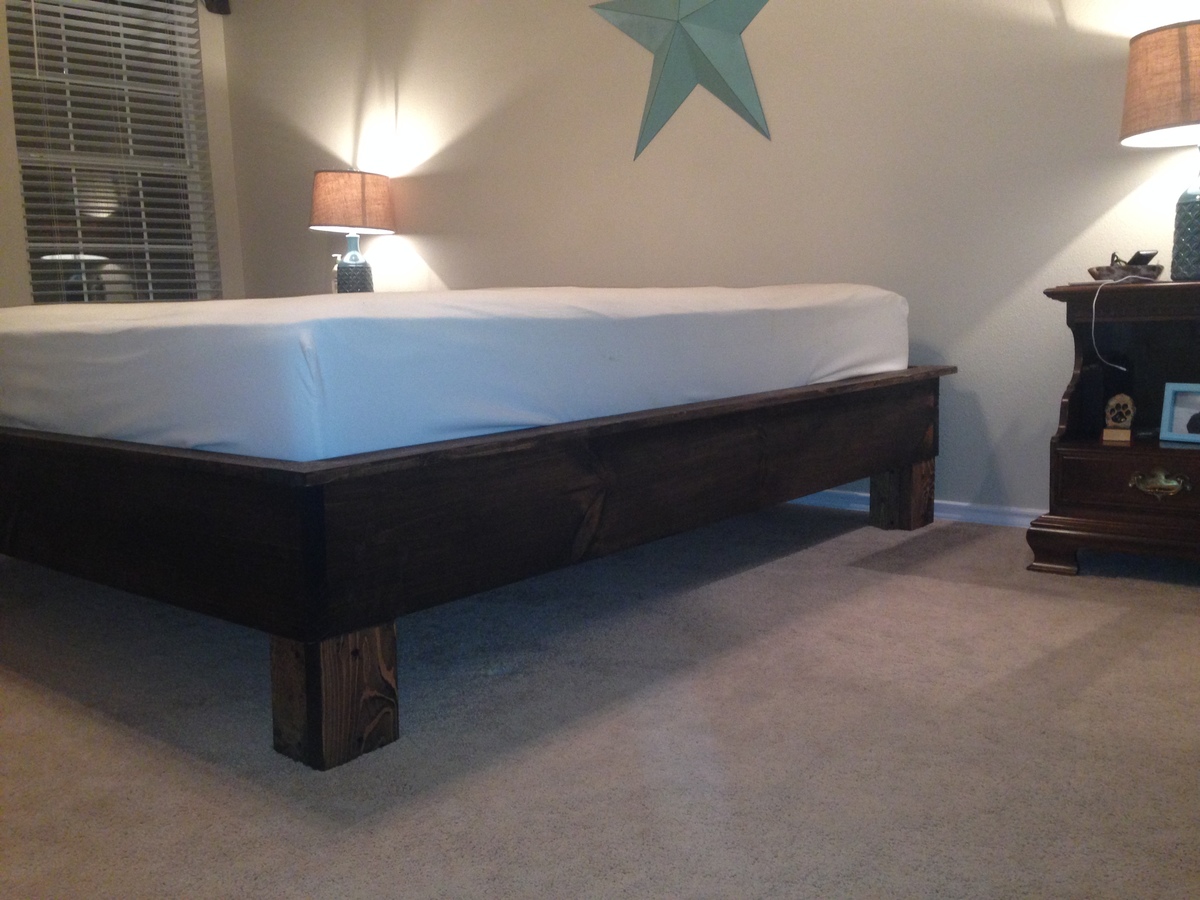
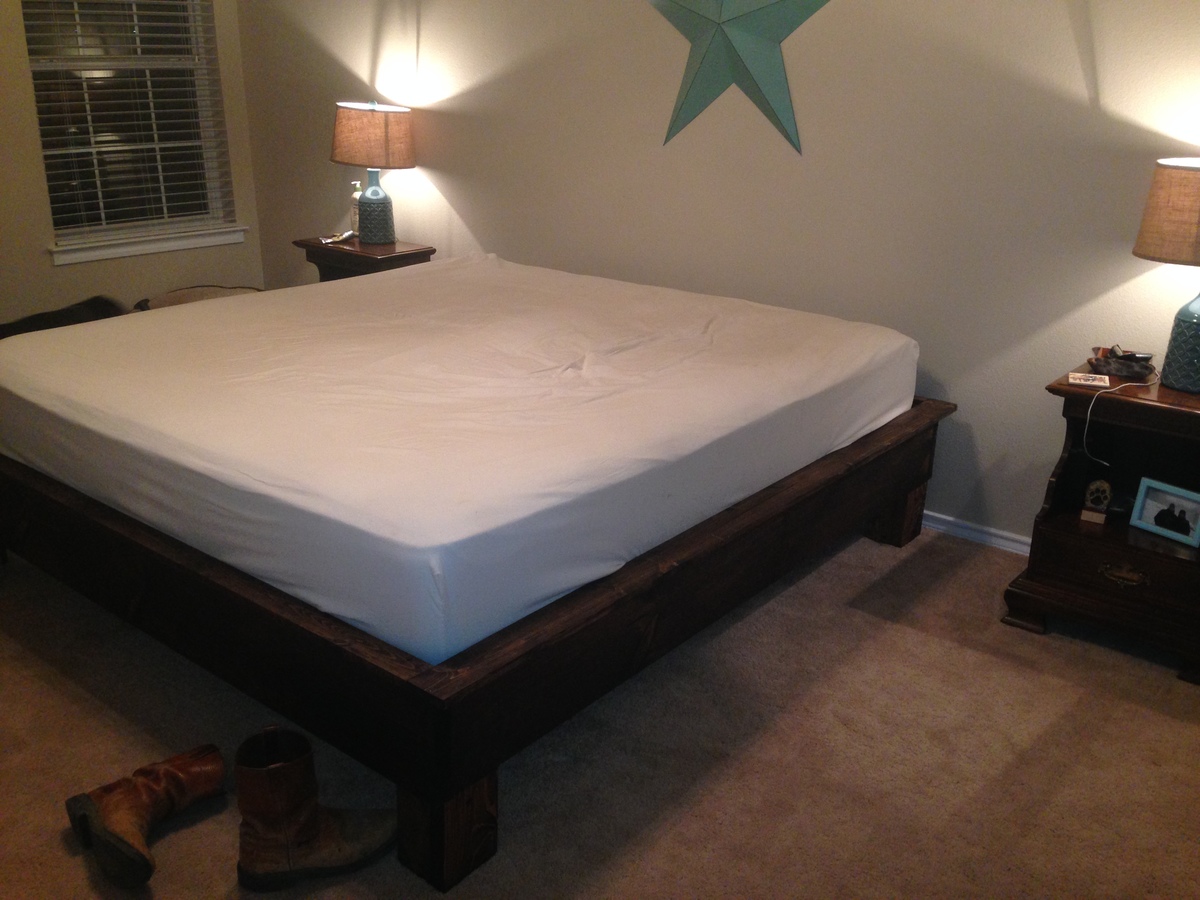
I took these plans (http://ana-white.com/2012/01/plans/hailey-platform-bed) and adjusted the size for a king size bed. I beefed up the sides with 2x10's instead of 2x6's and extended the trim to 1x4's instead of 1x3's.

Built from Plan(s)
Estimated Time Investment
Day Project (6-9 Hours)
Finish Used
two coats of MinWax Dark Walnut
Recommended Skill Level
Intermediate

Ryobi Nation workshop and shelves

Submitted by Anonymous (not verified) on Tue, 06/30/2020 - 15:48

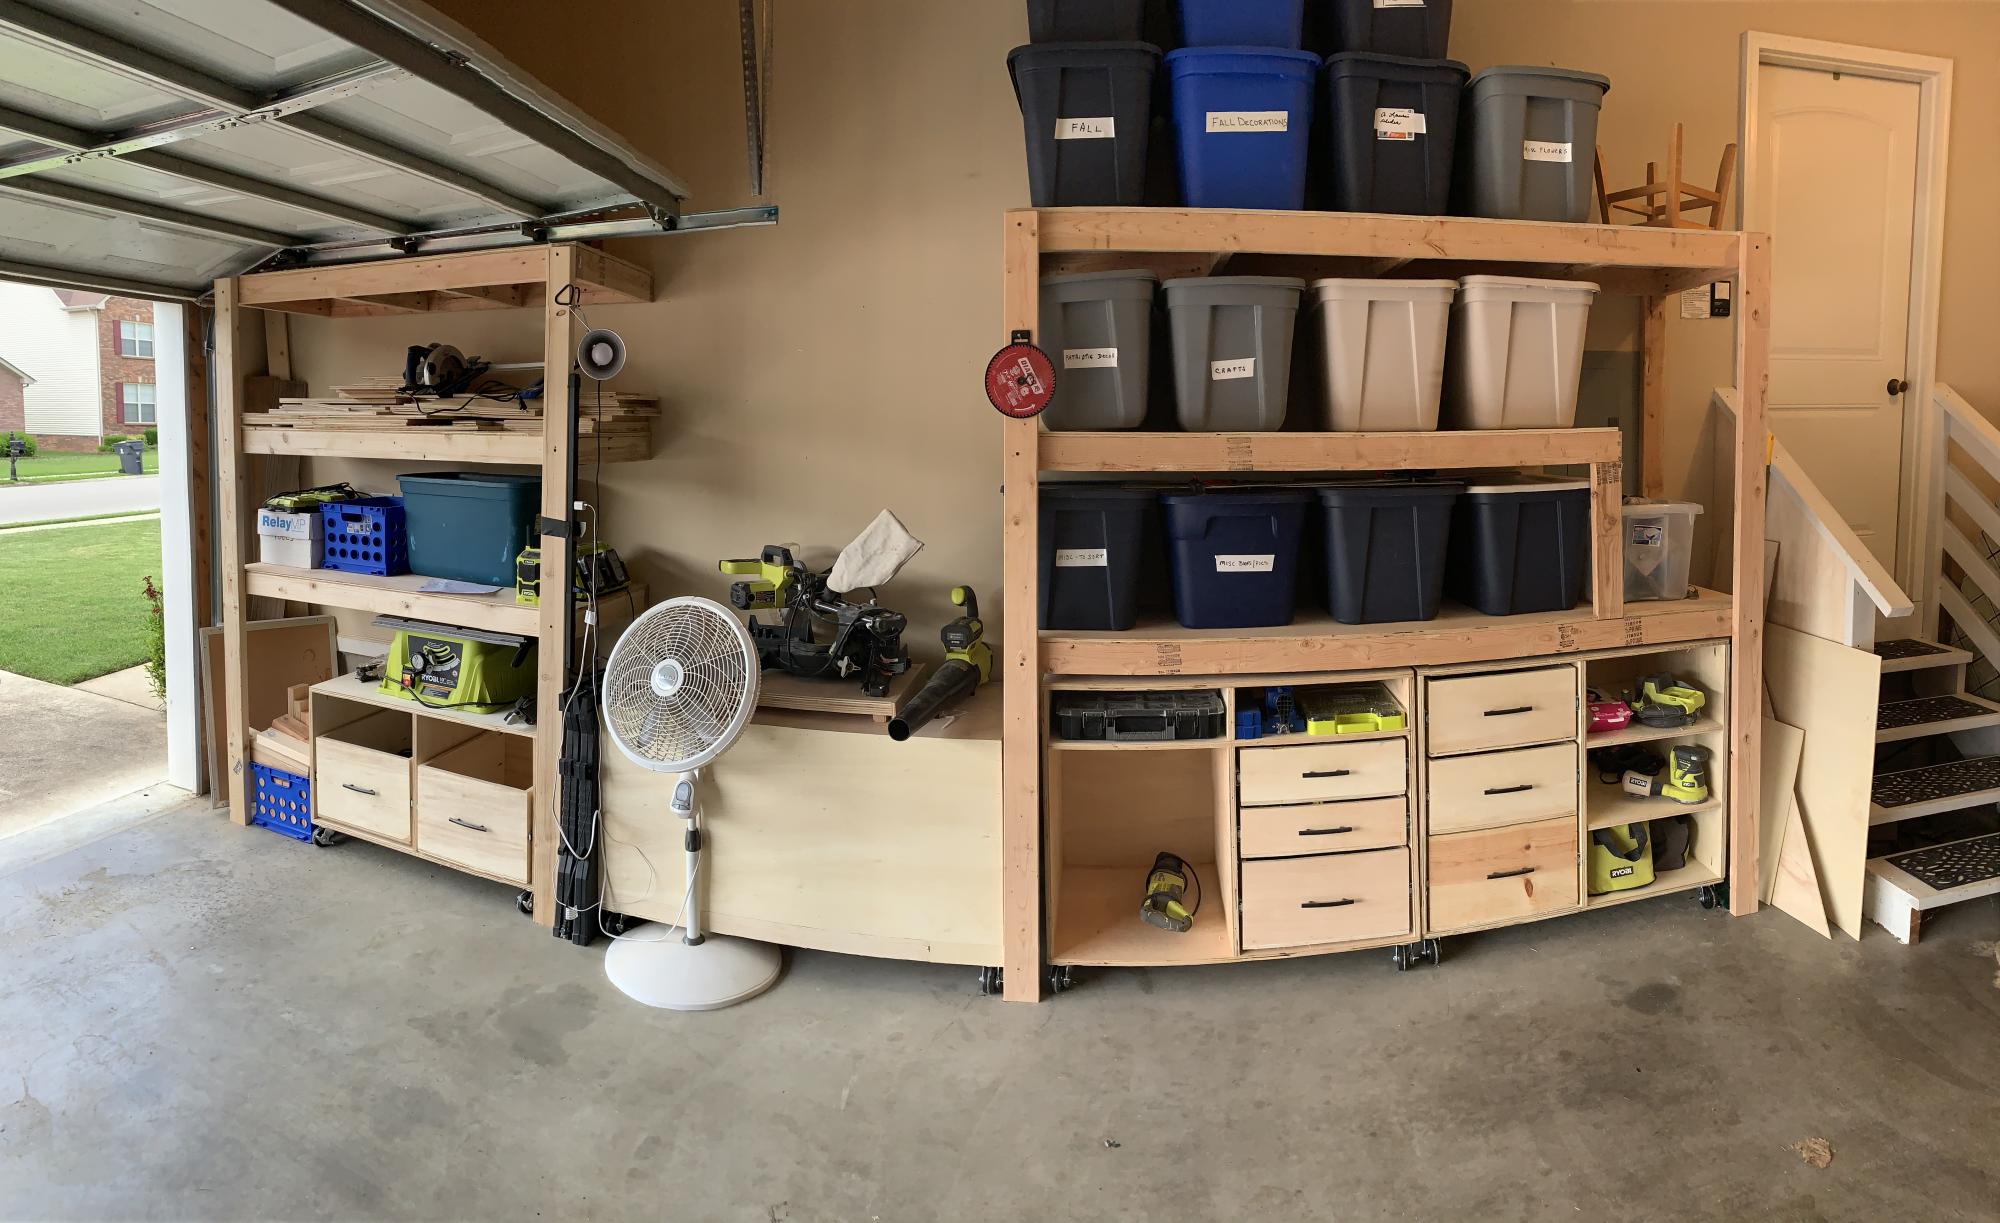
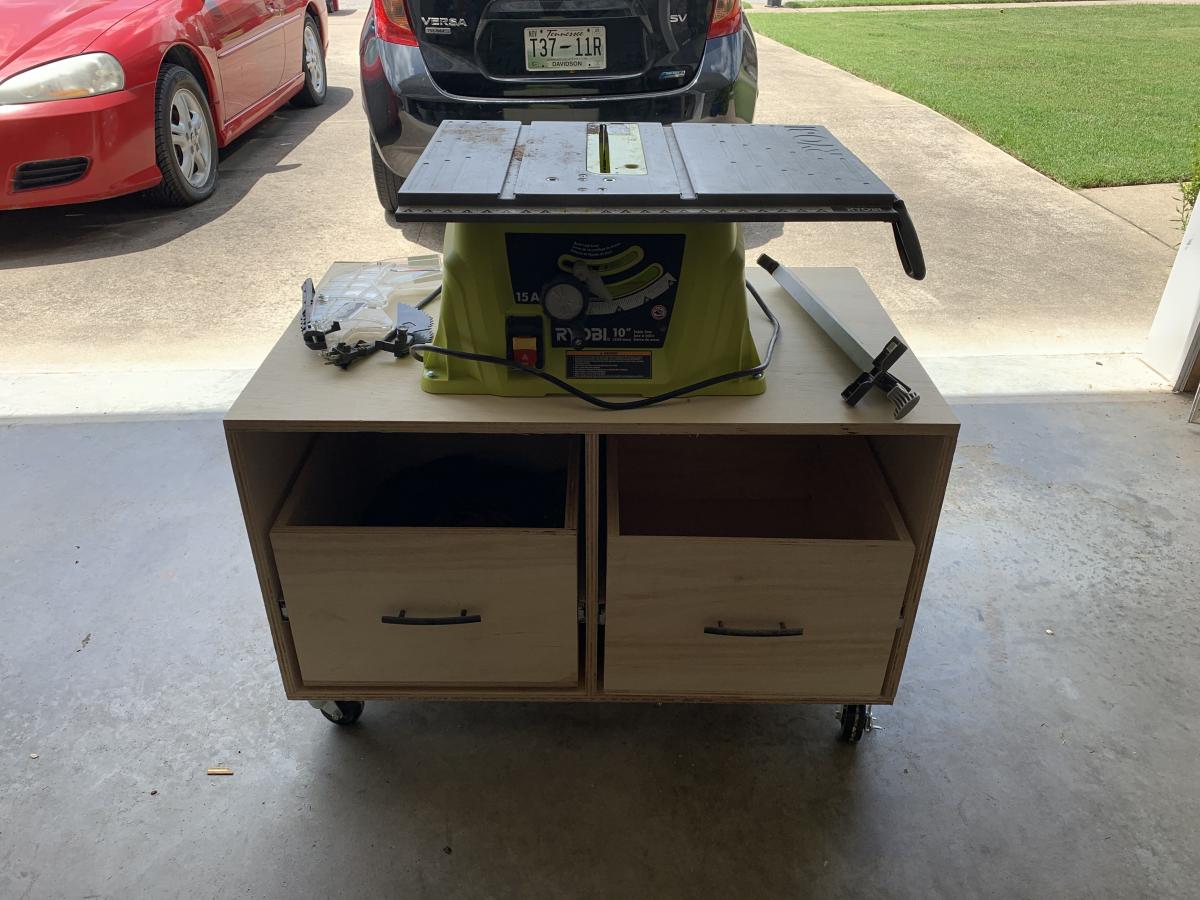
I bought a whole workshop full of Ryobi tools second hand from my brother over a year ago. I started researching workshop plans and came across Anna White’s Ryobi Nation Dream Workshop. I downloaded the plans and spent about 2-3 months working on it in my spare time. I made a lot of mistakes along the way but I’m pretty happy with it overall!

Estimated Time Investment
Weekend Project (10-20 Hours)
Finish Used
None
Recommended Skill Level
Intermediate

Comments

rcjones4

Fri, 08/11/2023 - 11:50

Do you still have these plans for the project? can't seem to find them anymore

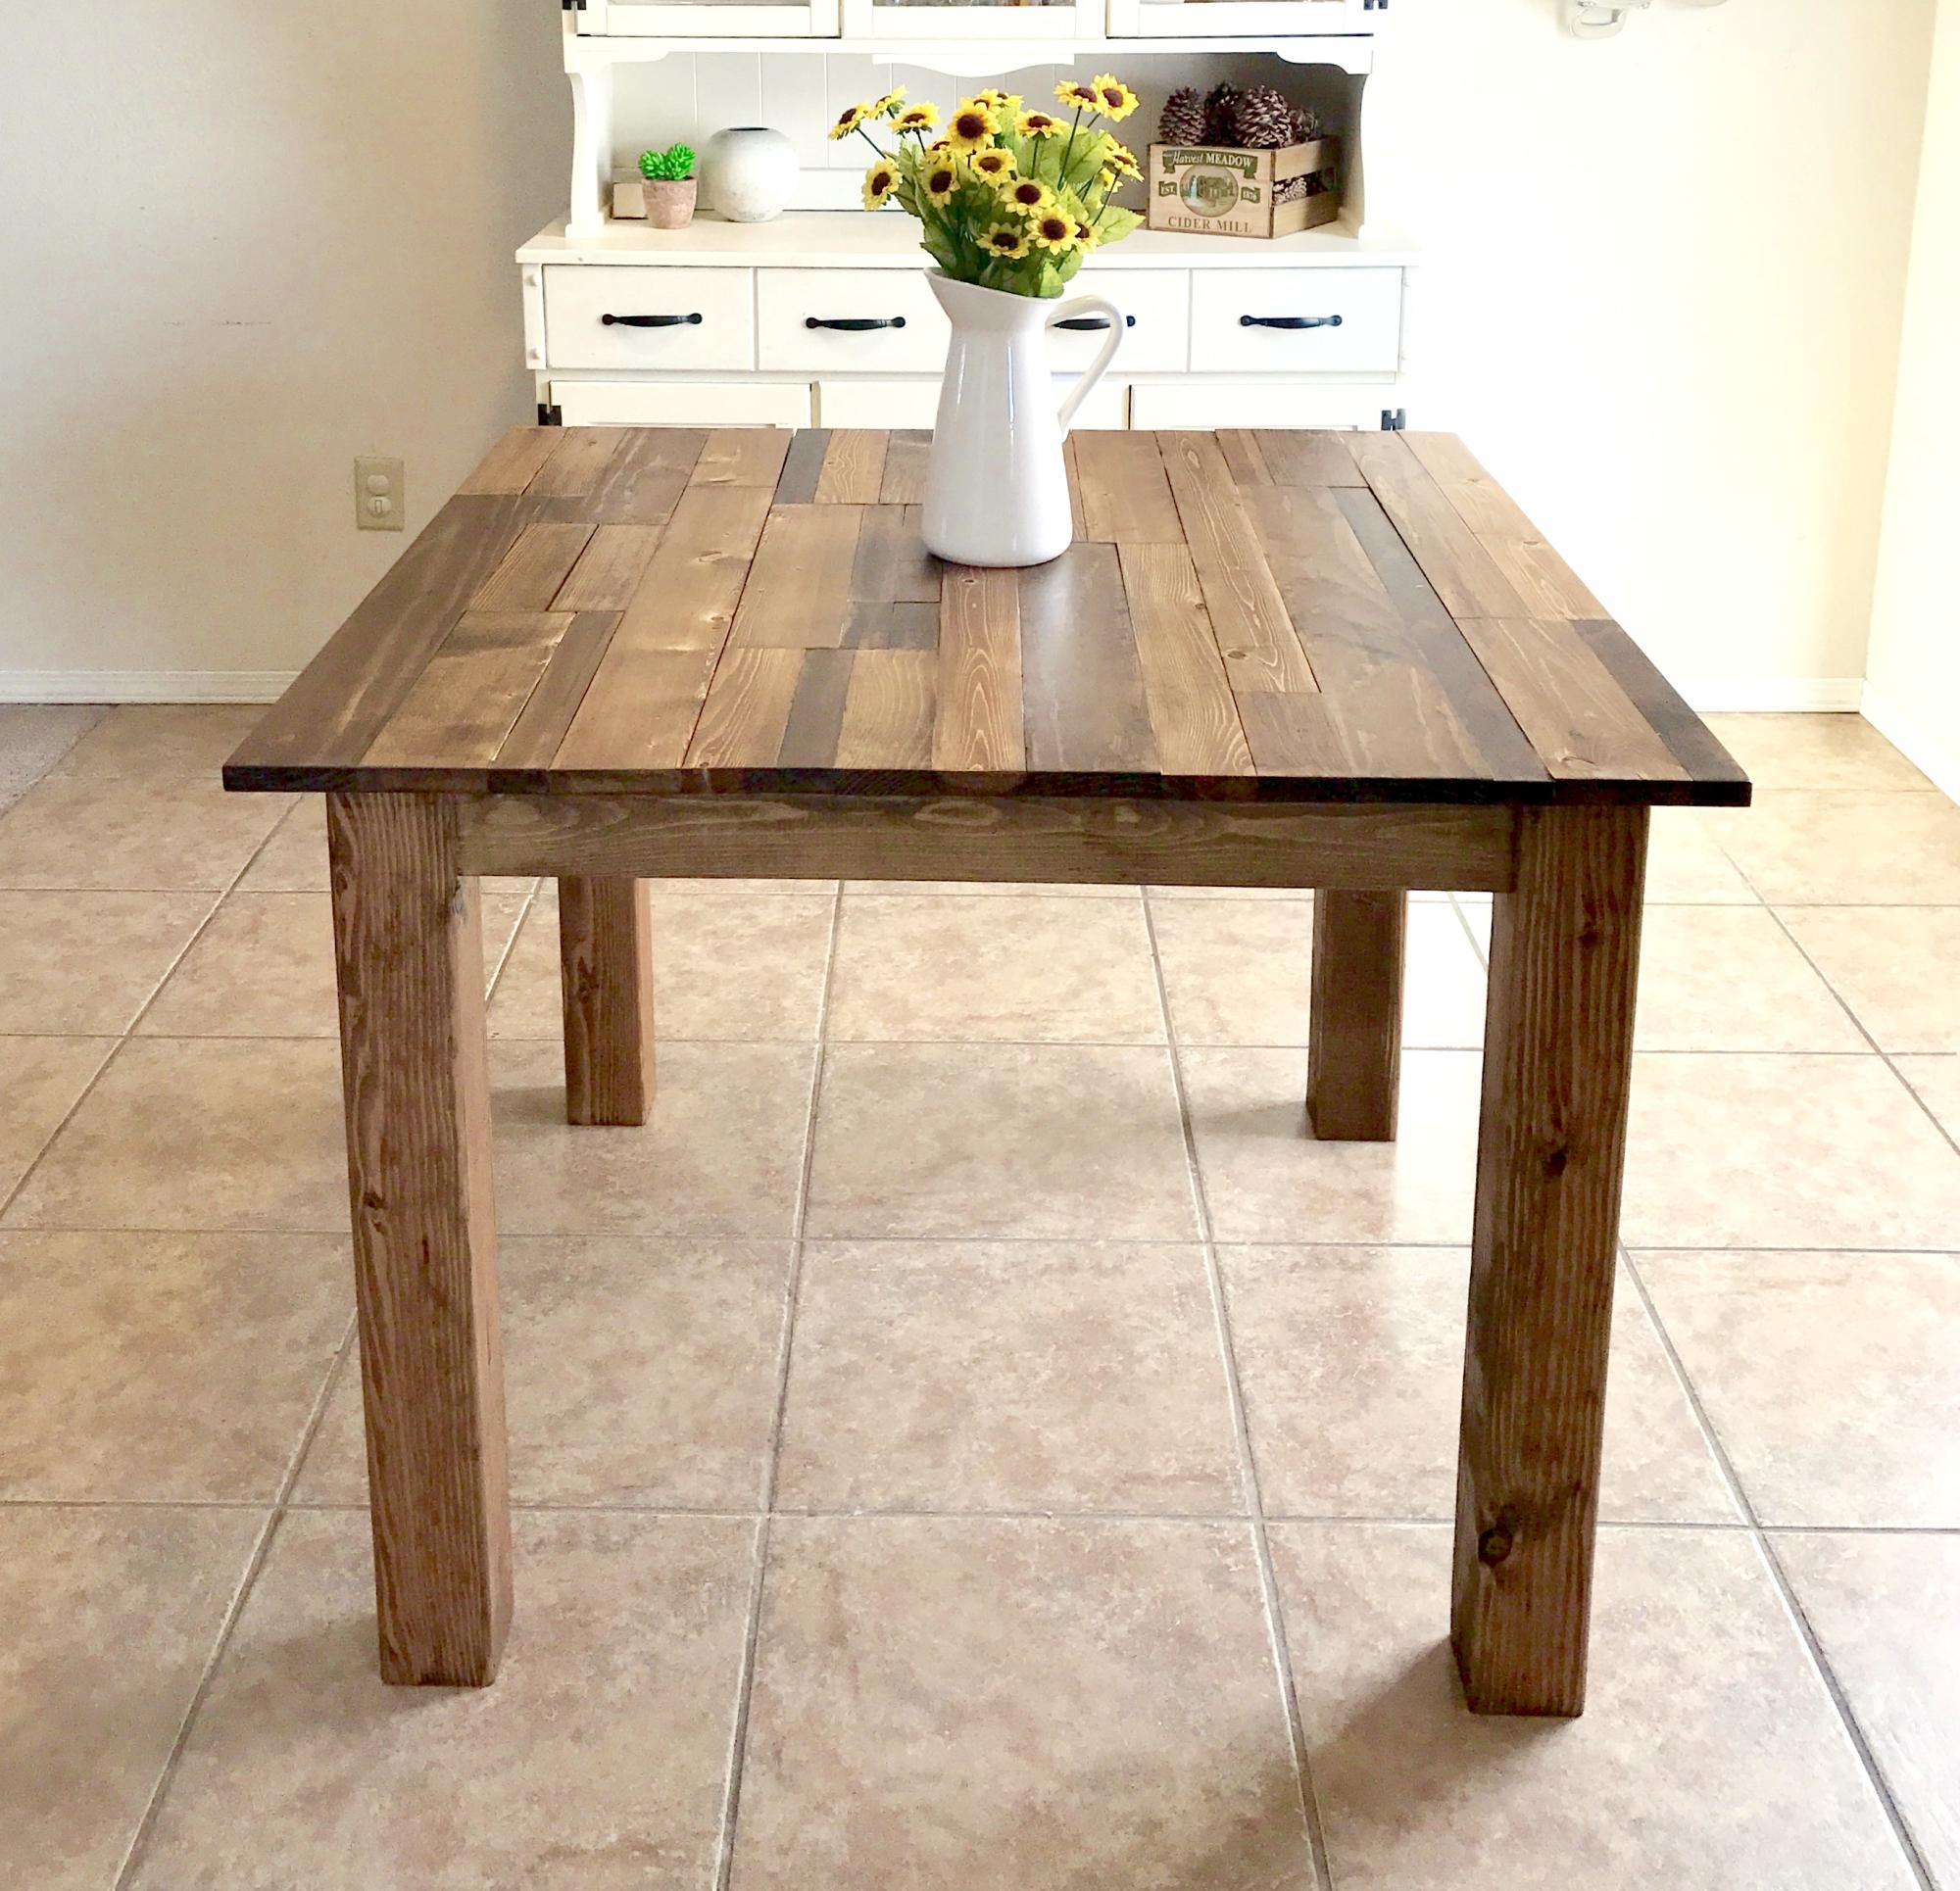
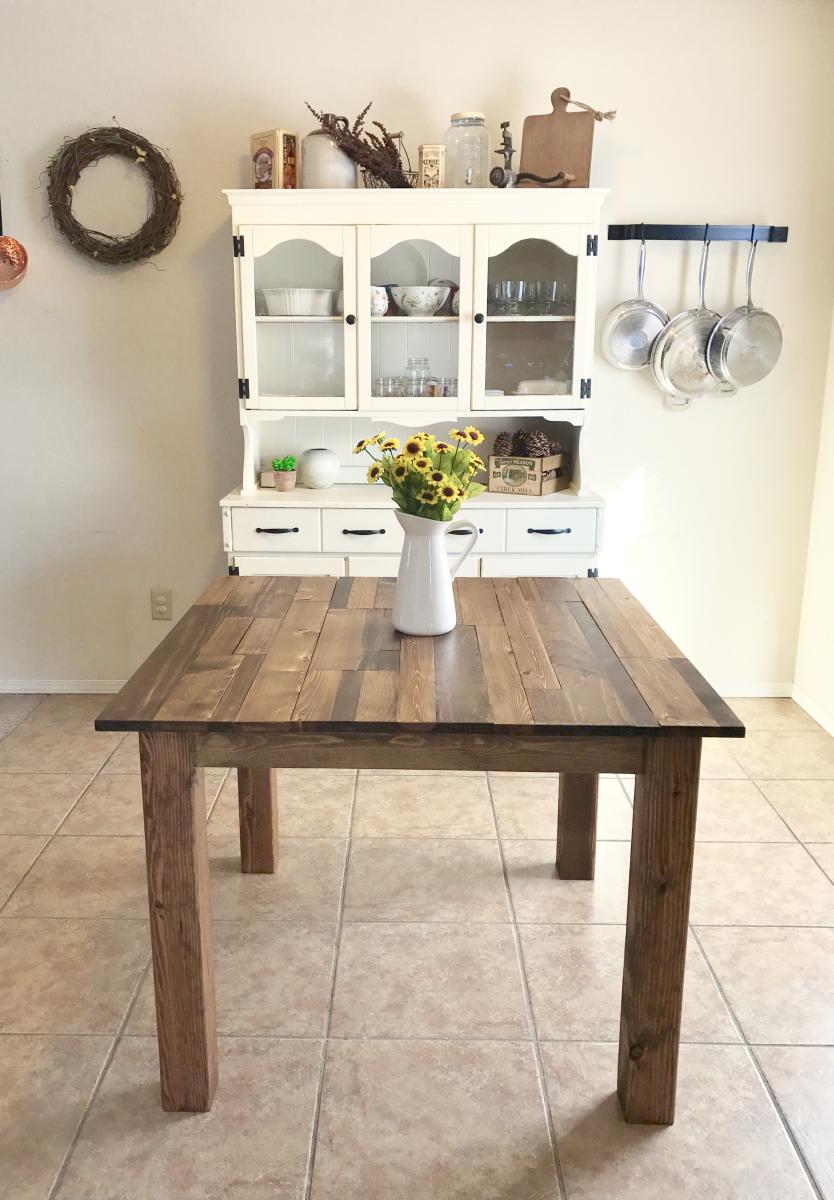
Square Farmhouse Table

Submitted by eddingsr on Sun, 01/08/2017 - 13:17

I built this table for a friend who wanted a rustic, plank-top kitchen table. She wanted a square table with 4x4 legs. Since I don't have clamps, I used pocket holes and wood glue for the table top. Also, I only have a 7&1/4" miter saw, which means the 4x4s were too thick to cut. So I made one cut in the legs, then flipped them and made another. It worked! :) I sanded down the sides of the table top with 80 grit. They needed to be evened up since some of the planks were a little longer than others. I back braced underneathe the top with (3) 1x3s. Then, I sanded all over with 120, vacuumed, then wiped it down with a damp towel. Fun build!! 

Estimated Cost
~$100 for lumber, screws, wood glue, sandpaper, and finishing products.
Estimated Time Investment
Week Long Project (20 Hours or More)
Finish Used
For the finish I used Minwax wood conditioner, then a coat of Minwax stain in Provincial. I went back and put a second coat of stain on a few of the premium pine pieces, because they soaked up the first coat really well, and I wanted some darker pieces on top. I let those soak for about 15 minutes. Afterwards I did 2 coats of Polycrylic all over, then a third coat for the top only. I dry sanded between coats with 600 grit sandpaper.
Recommended Skill Level
Intermediate

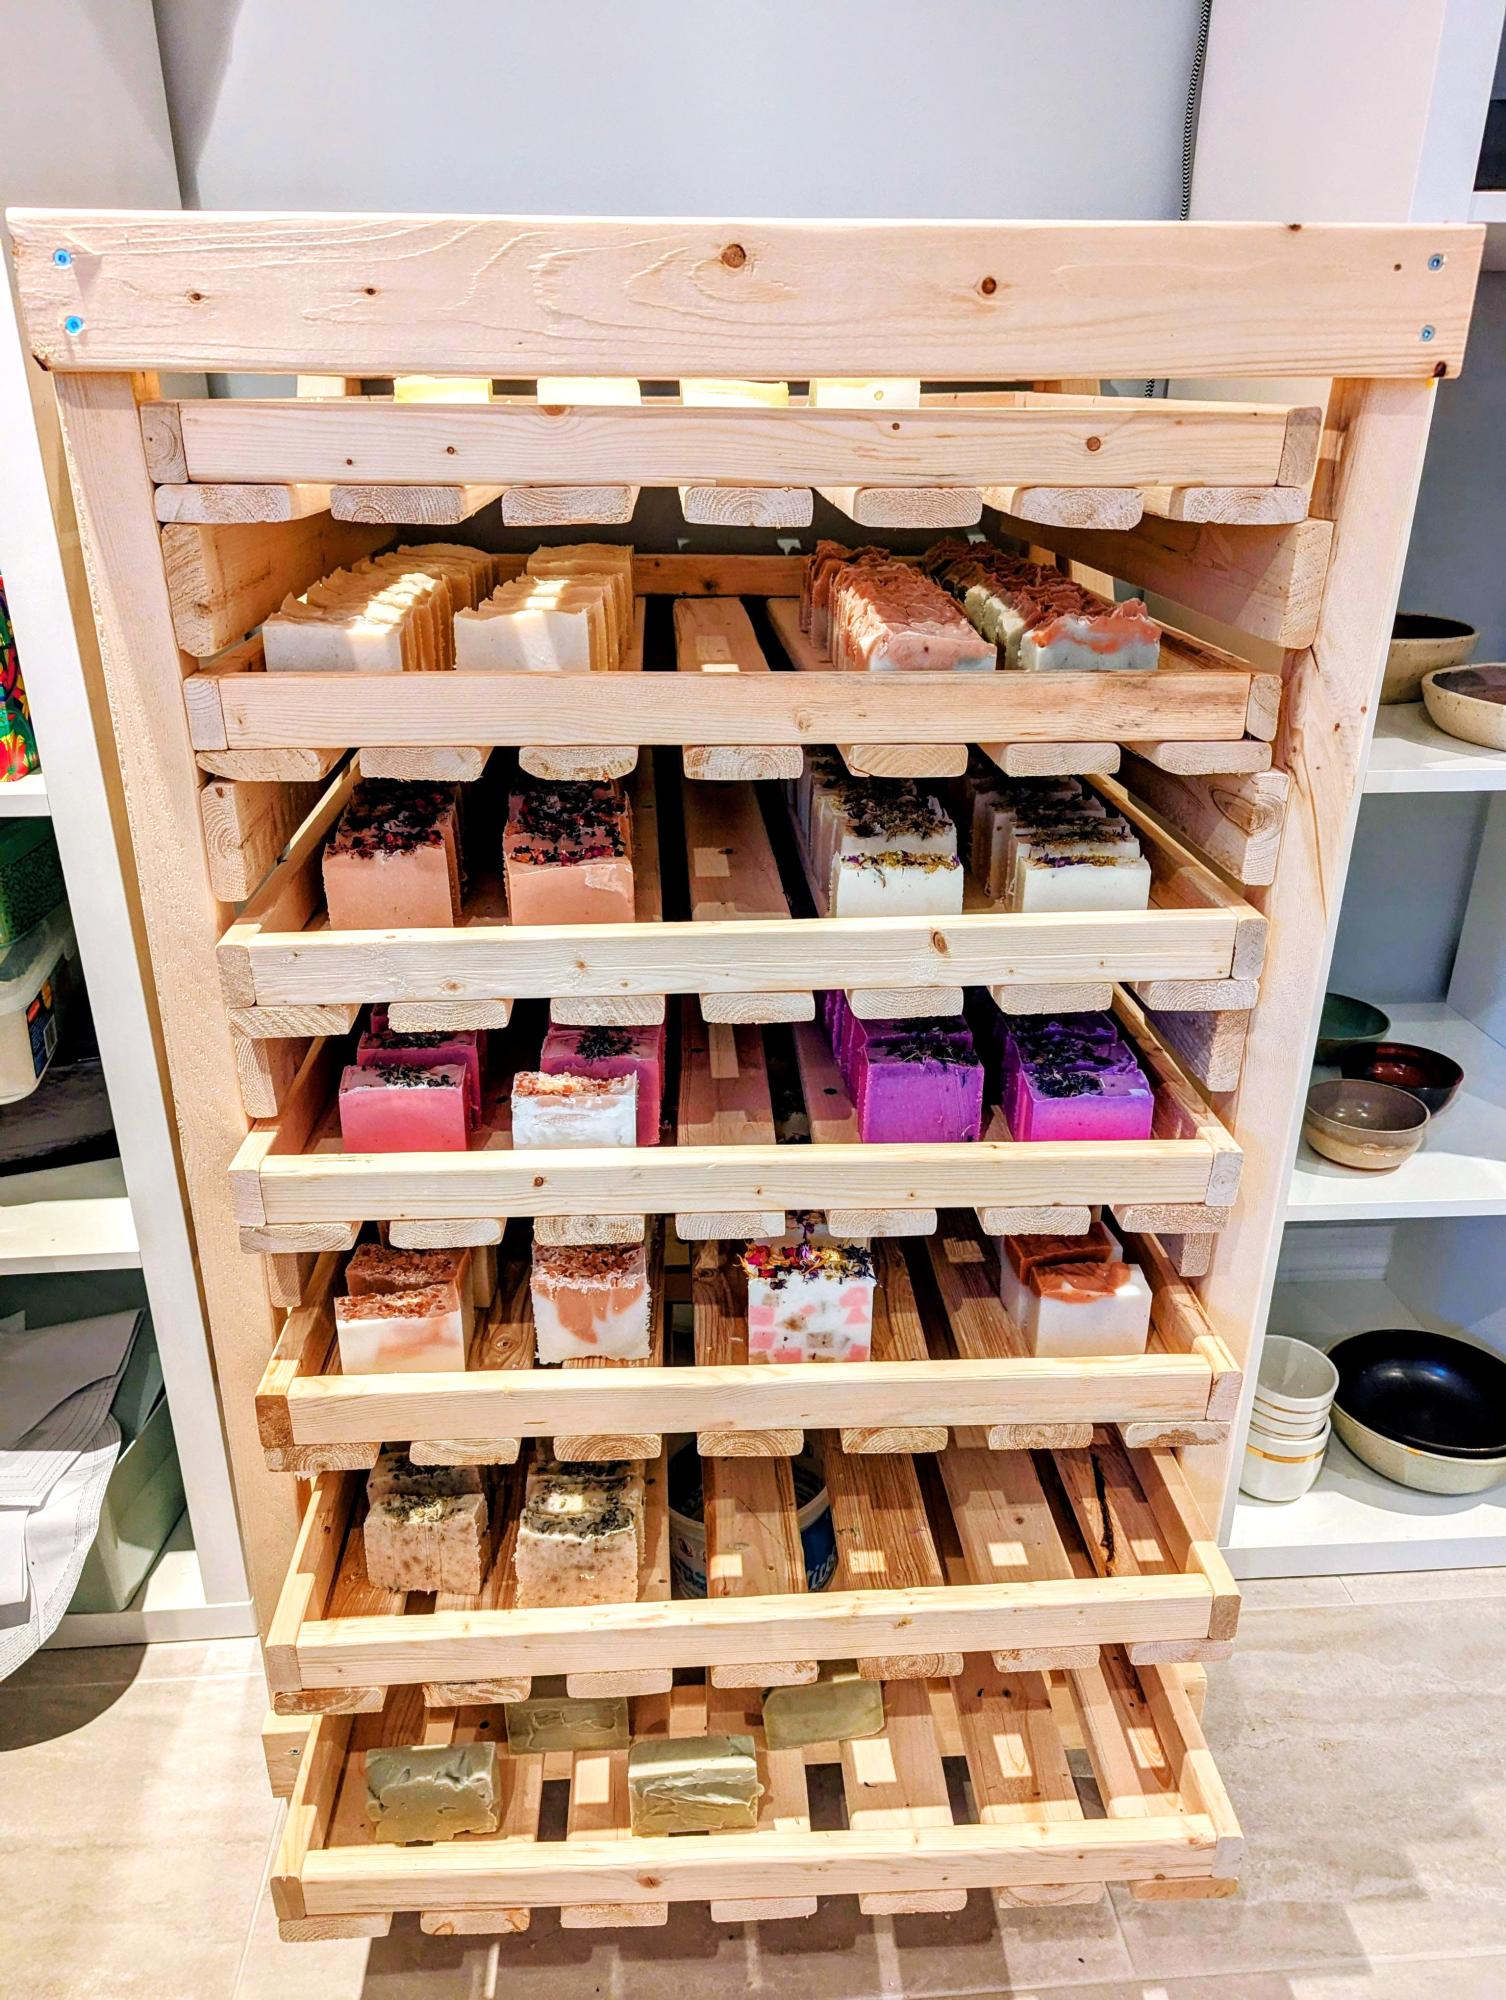
Handmade Soap Rack

Submitted by Anonymous (not verified) on Mon, 11/11/2024 - 16:41

My wife loves handcrafting soap, potery, weaving, etc. She needed a solution to cure her soap and she found your plan. We made a deal : I'll do the project but I'll (finally!) buy a brad nailer. It turned out to be a great project to do for her. The plan is very well explained and the design optimizes the usage of wood. Thank you so much Ana for the idea and the plan! - Martin

Seasonal And Holiday

Just My Size Closet

Just My Size Closet!

Built this from Ana's plans with a few modifications.

Started with a big empty box after ripping the old stuff out and finished with this look.

Adjustable shelves and all !

Built from Plan(s)
Estimated Time Investment
Weekend Project (10-20 Hours)
Finish Used
Whatever white paint my wife bought !!
Recommended Skill Level
Beginner

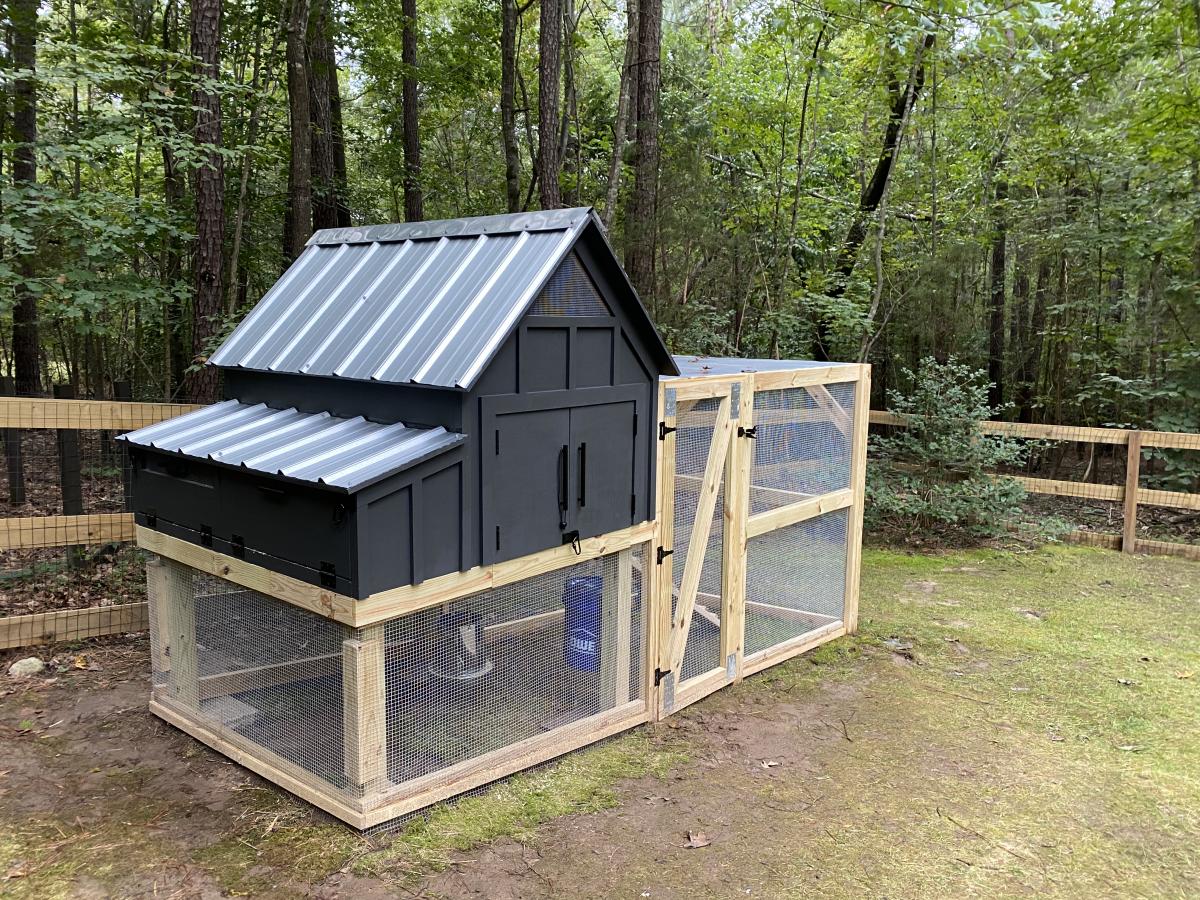
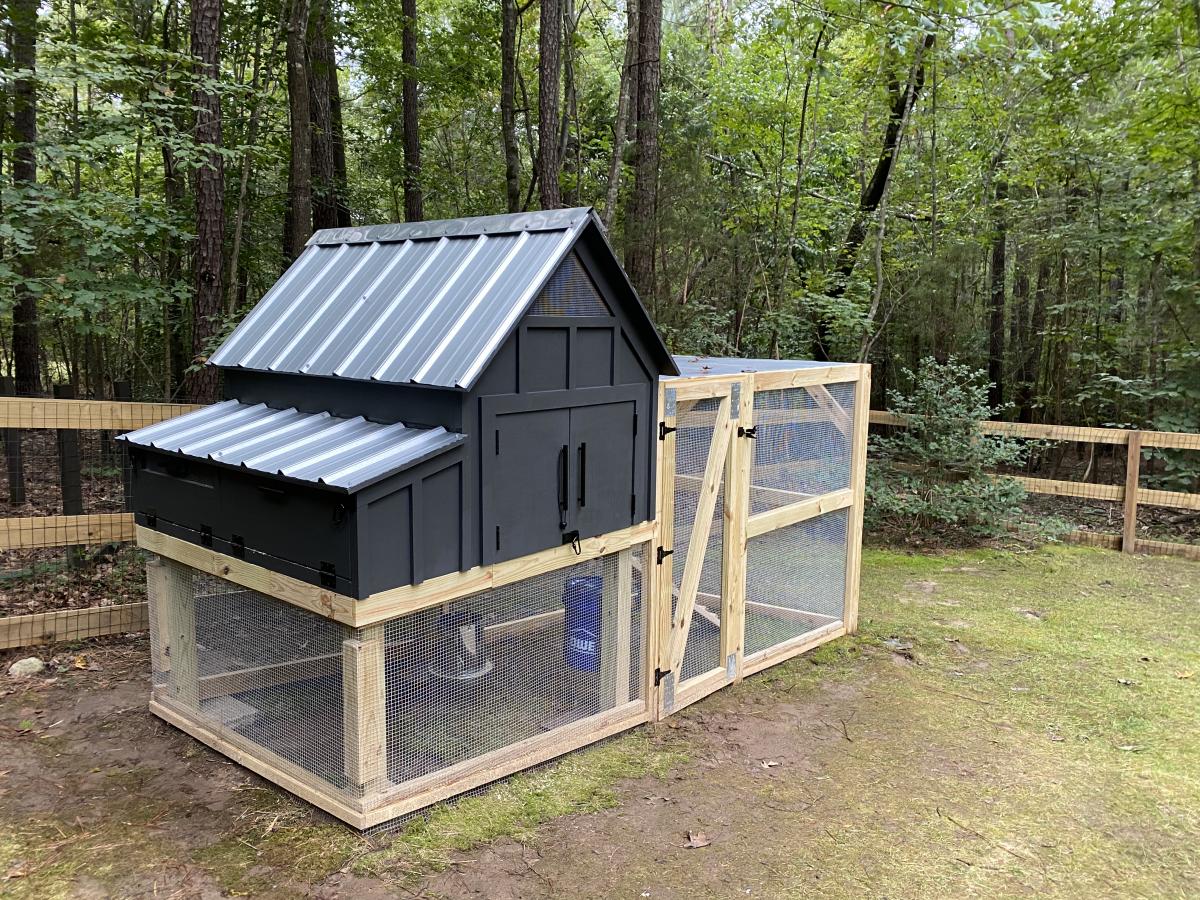
Williams Sonoma Inspired Chicken Coop

Submitted by Anonymous (not verified) on Tue, 11/10/2020 - 18:46

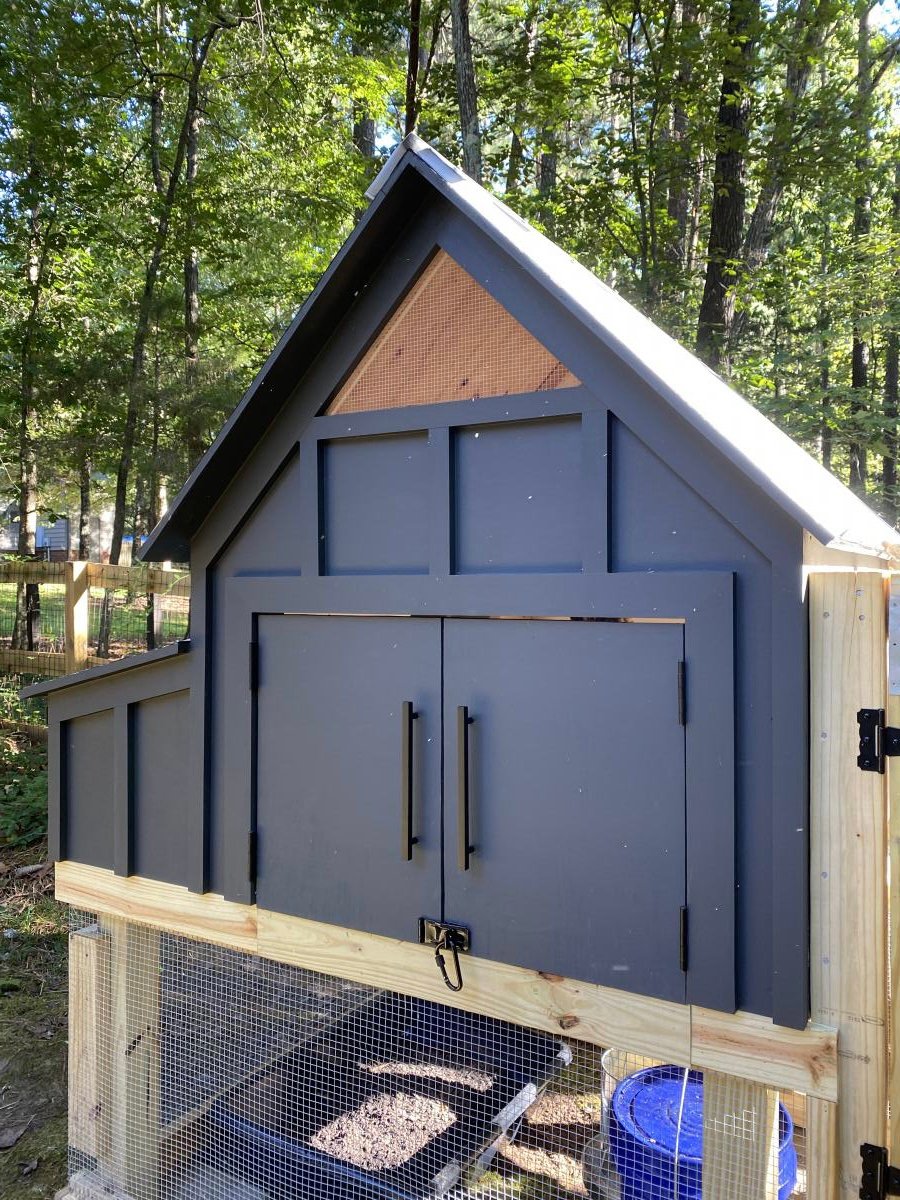
We took some creative liberties on the Williams Sonoma inspired coop posted here. Because we don’t get a whole ton of sun in our backyard, we eliminated the herb garden planter and instead built a longer run. We also made the coop a bit wider to accommodate for the inevitable chicken math. And, you’ll notice the vent both shaped differently and is a bit higher. This was to increase air flow, avoid the dreaded draft, and to lend a more Scandinavian vibe. We also decided to place the chicken exit on the outside wall to allow for more living space under the coop itself. The project took about a month to complete, dedicated to only working weekends. And, it was very much over budget! Who knew wood is so expensive?! But overall, the outcome was even better than I expected. The chickens love it and I don’t mind looking at it!

P.S. this was a pretty advanced project. The fractions alone had me yelling “uncle!” Thankfully my husband is pretty handy, and my father-in-law (career in the construction industry) had a few pointers, so they took the lead in executing. I chose the paint colors and suggested the deviations from the original blue print. ;-)

Estimated Cost
$1000
Estimated Time Investment
Week Long Project (20 Hours or More)
Finish Used
Sherwin Williams Iron Ore in matte
Recommended Skill Level
Advanced

Comments

racbino

Wed, 11/18/2020 - 12:55

Thank you! Yes, I suppose everyone is wanting wood for home improvement projects now that we're not leaving the house! Also, I didn't mean to post a picture of my son and his friends. Am I able to delete?

joshwilson28

Thu, 01/14/2021 - 07:43

does this roof have the same angle as the 'Small Chicken Coop with Plans'? It seems to be 'less steep'. Wanting to start this project next weekend and trying to get my mind wrapped around everything!. Thanks.

Seasonal And Holiday

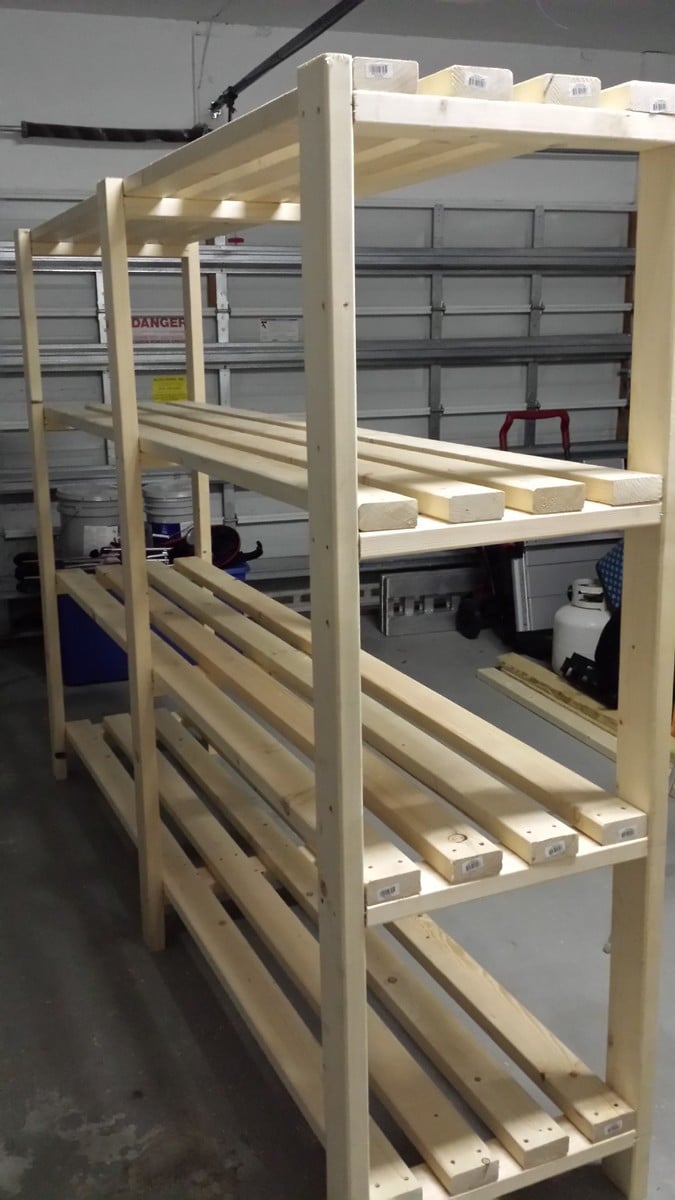
Great Plan for Garage Shelf!

Submitted by edapina on Wed, 11/26/2014 - 07:35

This was an easy project to complete in an afternoon that does not require any advance woodworking skills

Estimated Cost
About a $120 bucks considering that I had to buy all the wood and a box of 2 1/2 In screws!
Estimated Time Investment
Afternoon Project (3-6 Hours)
Finish Used
No finish used.
Recommended Skill Level
Beginner

Comments

edapina

Wed, 12/10/2014 - 09:41

This is my second completed project with plans and ideas from your website. Thanks for your good work!

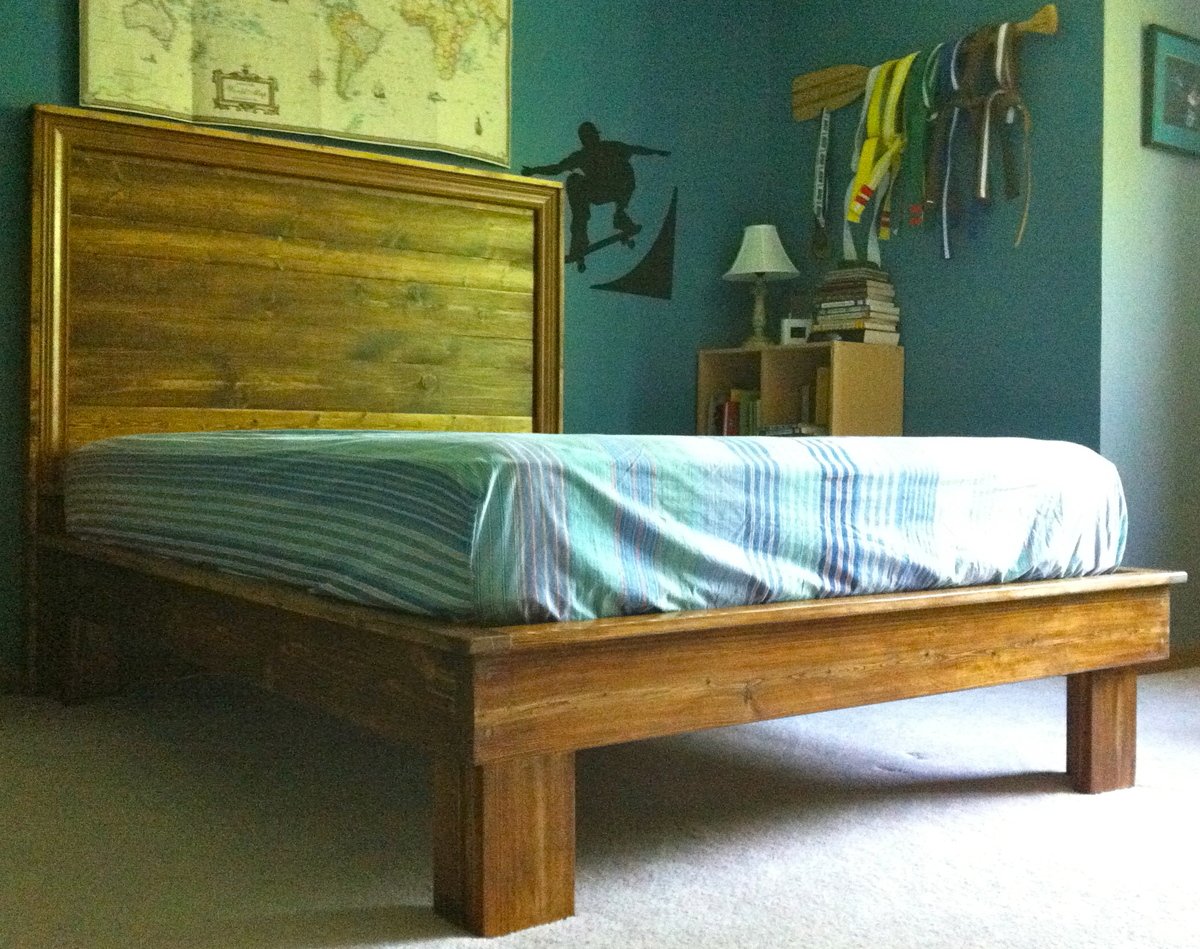
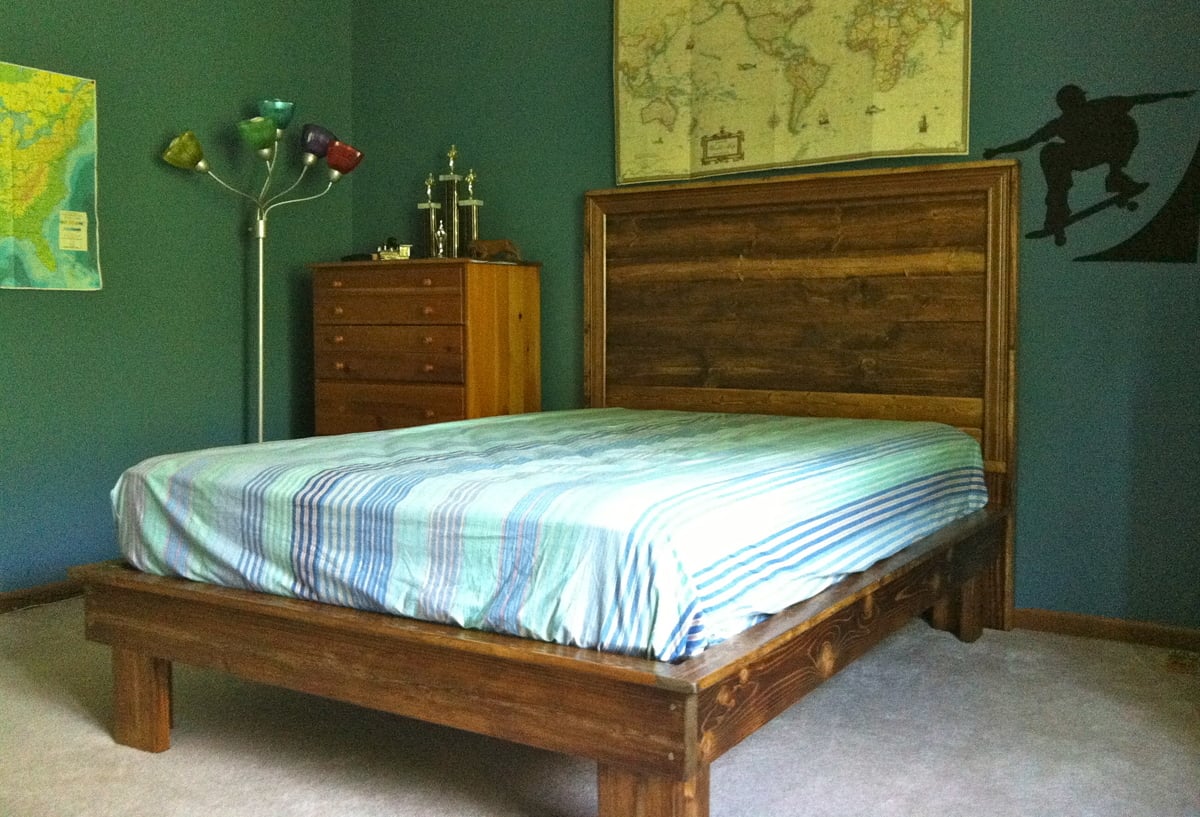
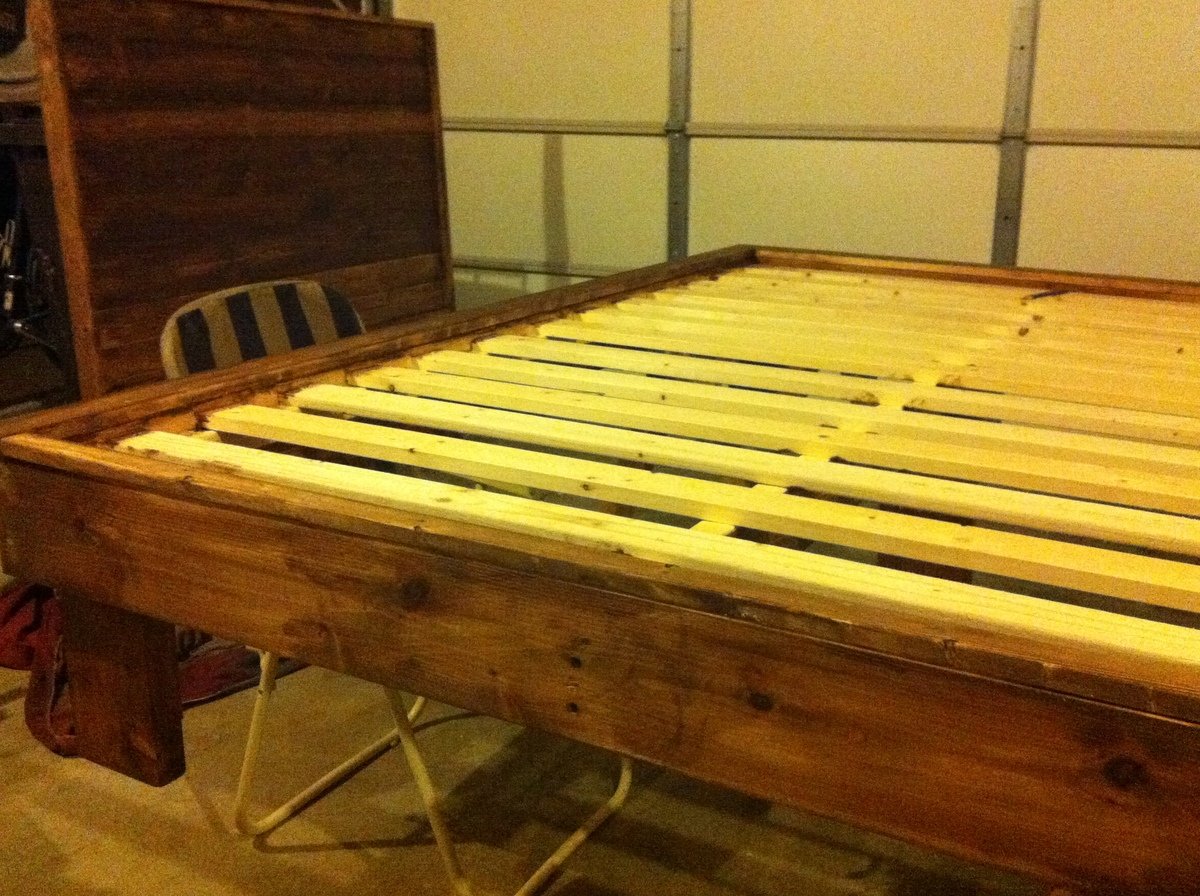
Hailey Platform Bed and headboard +5" in height

Submitted by Debi G on Sun, 07/14/2013 - 08:07

I used the Hailey plans with the following modifications because there's no such thing as TOO sturdy.

Instead of 2x4s on their own, I used the leftover lengths of my 2x6s for legs, joined at the corners (Kreg pocket hole screws) with 2x4s for a chunkier look and a very stable bed.

I made the legs 5" taller than the plans called for. Otherwise, the bed simply seemed like it would be too squat for my tall son.

For the casing/trim, which is pricey, I went to the Habitat Re-Store and found two matching pieces for $3.00 a piece.

I deviated from the plan by adding the trim last, after the headboard was otherwise complete. I had considered painting the casement, but decided to leave it all wood-tone, and I'm glad that I did.

The furring strips at my local big blue box store were so terribly warped that I used pine boards instead. This increased the overall price, but decreased frustration and time spent sanding. I work slowly and deliberately as it is, always worried about mis-measuring, so anything I build takes twice as long as anticipated.

With every project I undertake, my wood filler shows and my budget exceeds the amounts in plans and other brag posts. The bed and headboard combined cost me about $230 to build. That's still a great budget, but $80 more than I'd hoped after reading Shanty 2 Chic's inspiring details.

The stain on this bed is Minwax Provincial 211, and I used three coats of Minwax's water-based poly.

Best of all, my husband and I carried this bed from the garage, up the stairs, around the corner, and into a bedroom while it was fully assembled with legs. (He lost the bet on that one, saying I'd regret wood-gluing it all together ahead of time.)
Estimated Cost
$230
Estimated Time Investment
Weekend Project (10-20 Hours)
Finish Used
Minwax Provincial 211
Recommended Skill Level
Beginner

Comments

bullitt453

Mon, 07/15/2013 - 12:16

Looks really good. Been thinking about doing a heavily modified version of the Hailey bed for my son as well. Could you do me a favor and tell me the measurement from the floor to the bottom of the frame rail?

Sideboard

Submitted by Anonymous (not verified) on Mon, 01/21/2019 - 23:48

Really enjoyed making this! Thank you for the plans Ana White! 

Built from Plan(s)
Estimated Cost
250.00
Estimated Time Investment
Weekend Project (10-20 Hours)
Finish Used
Rustoleum Chalked linen white with gloss finish.
Recommended Skill Level
Intermediate

Comments

Pantry Storage Spice Rack

Submitted by redhead_61 on Mon, 09/19/2011 - 21:49

I am kind of a visual organizational neat freak and I have been annoyed by all the little things taking up good shelf space in my pantry for a long time now. This just kept getting pushed down the list ya know, not a major project. Anyway, grabbed an extra board at the store the other day and knocked this one out. I LOVE it. I made it short because I want to build a trash bag holder for the bottom half of the door. We'll see how long it takes me. I did use a 1x4 instead of Ana's plan which uses a 1x6. I only needed small things to put in here.

Built from Plan(s)
Estimated Cost
$5
Estimated Time Investment
An Hour or Two (0-2 Hours)
Finish Used
White Paint
Recommended Skill Level
Starter Project

Comments

SingleMomThriving

Tue, 09/20/2011 - 10:04

Looks like the 1x4 was a perfect fit for all those little items, especially the wraps which get pushed to the back all the time and the pasta boxes. I feel some inspiration coming on.....

lianatempera

Tue, 09/20/2011 - 14:16

This is awesome. I should probably do this for my pantry, as well. Thanks for the inspiration!

Cindy from Indiana (not verified)

Wed, 09/21/2011 - 09:31

I love it! Great price,too!

I especially love how the design corals all those pesky little things that always seem to get pushed all the way to the back of my cabinets and drawers.

I'm definitely putting this on my list of things to build!

Cindy from Indiana

Jen Pedro

Wed, 09/21/2011 - 13:34

I assume your door is the usual hollow pantry door. What type of anchors did you use to hold the shelves in place? Did you use standard wall anchors with your screws?

Looks great!

redhead_61

Thu, 09/22/2011 - 08:19

I just got an anchor that looked like it had a little more 'umph' to it. It is called a Cobra Tripple Grip. It looked like it had a section that popped open a little more once the screw went in. I thought that might hold it a little more securely. I feel no movement when I jiggle it at all.

Chris A (not verified)

Sun, 01/15/2012 - 08:29

Very nice project.
Just came along looking for a storage shelf and I saw your door shelf. Going to build one of these for sure, sick of the little wire ones we have falling down every other day.

Back