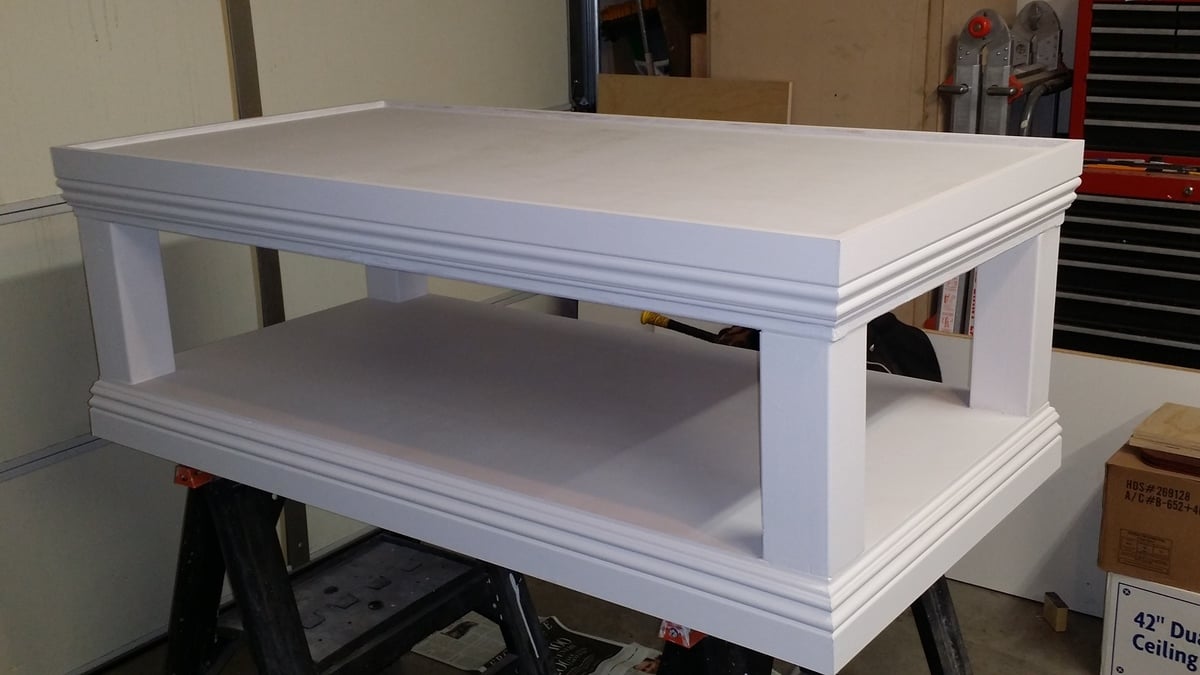
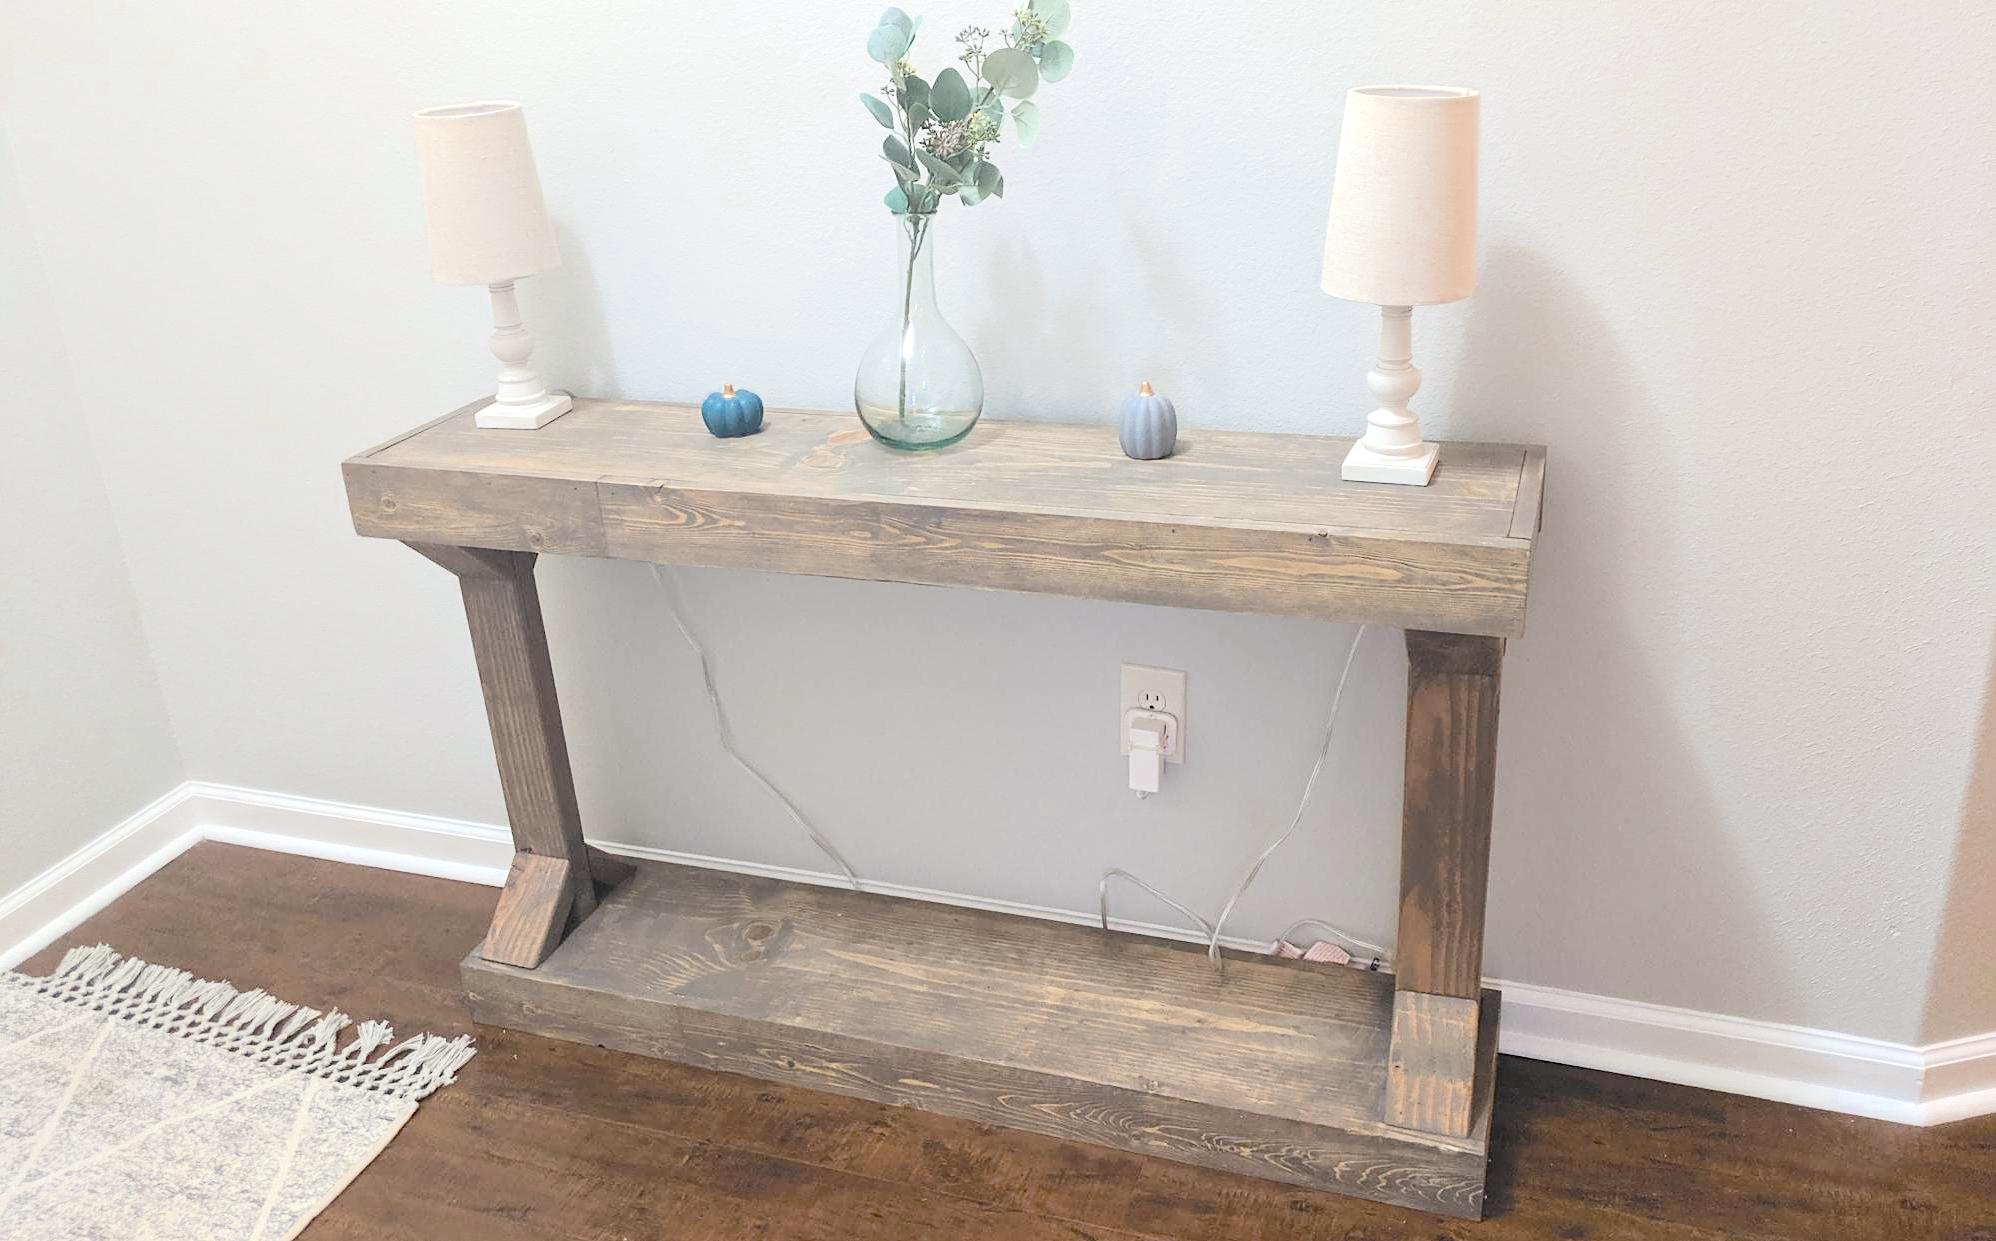
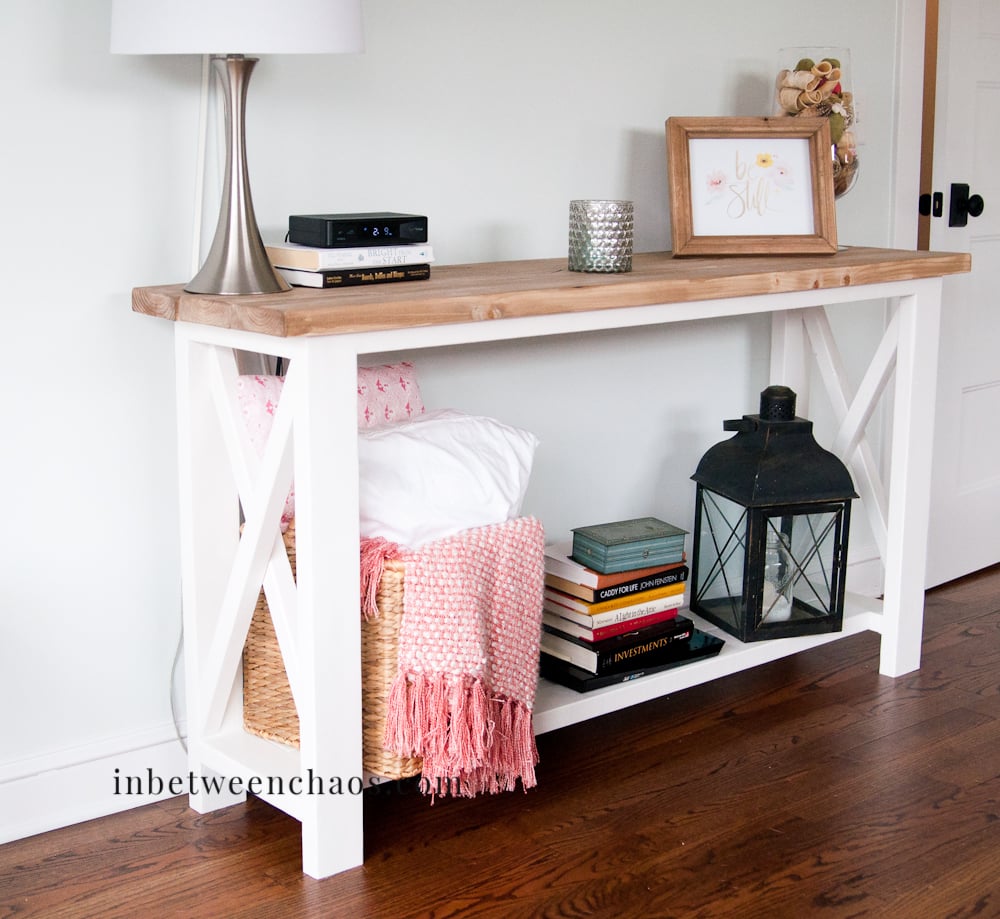
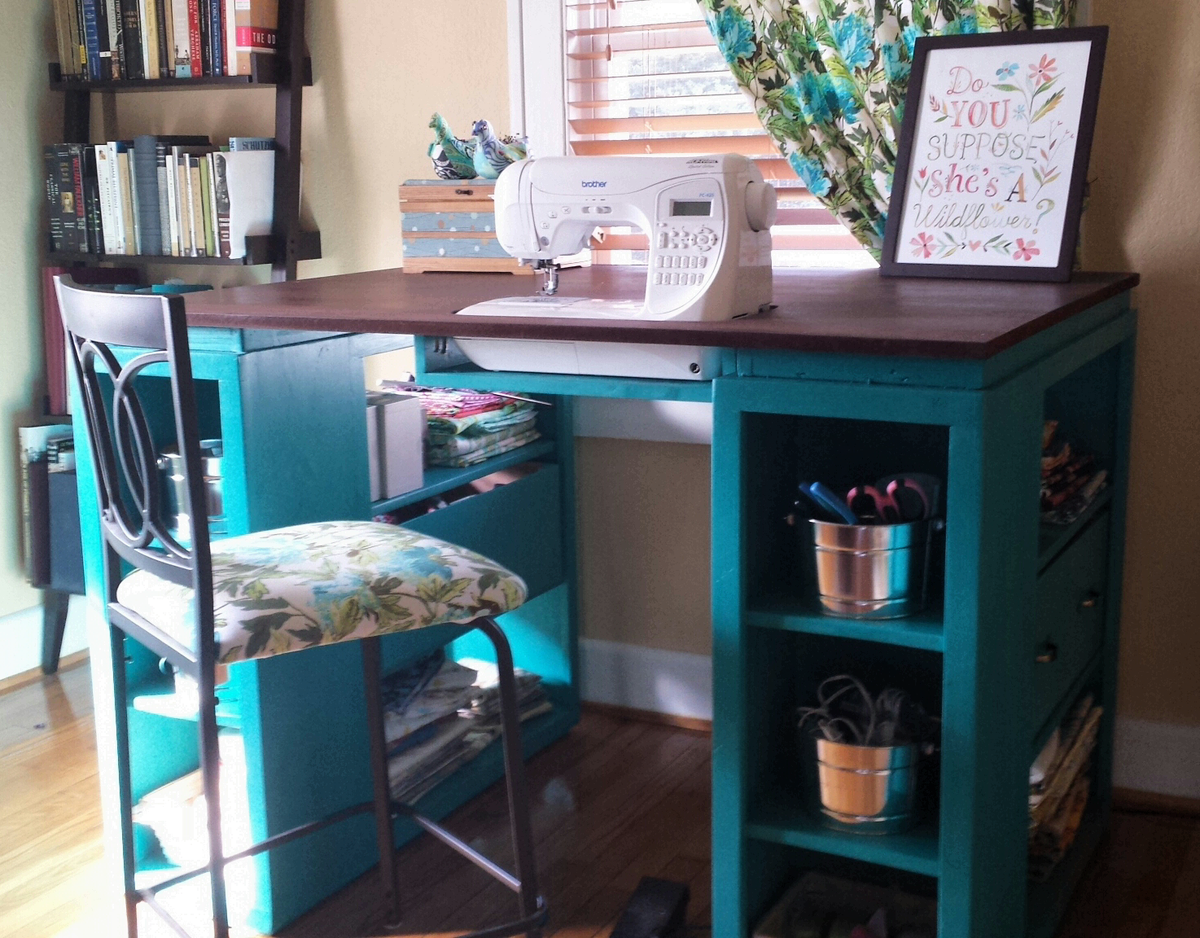
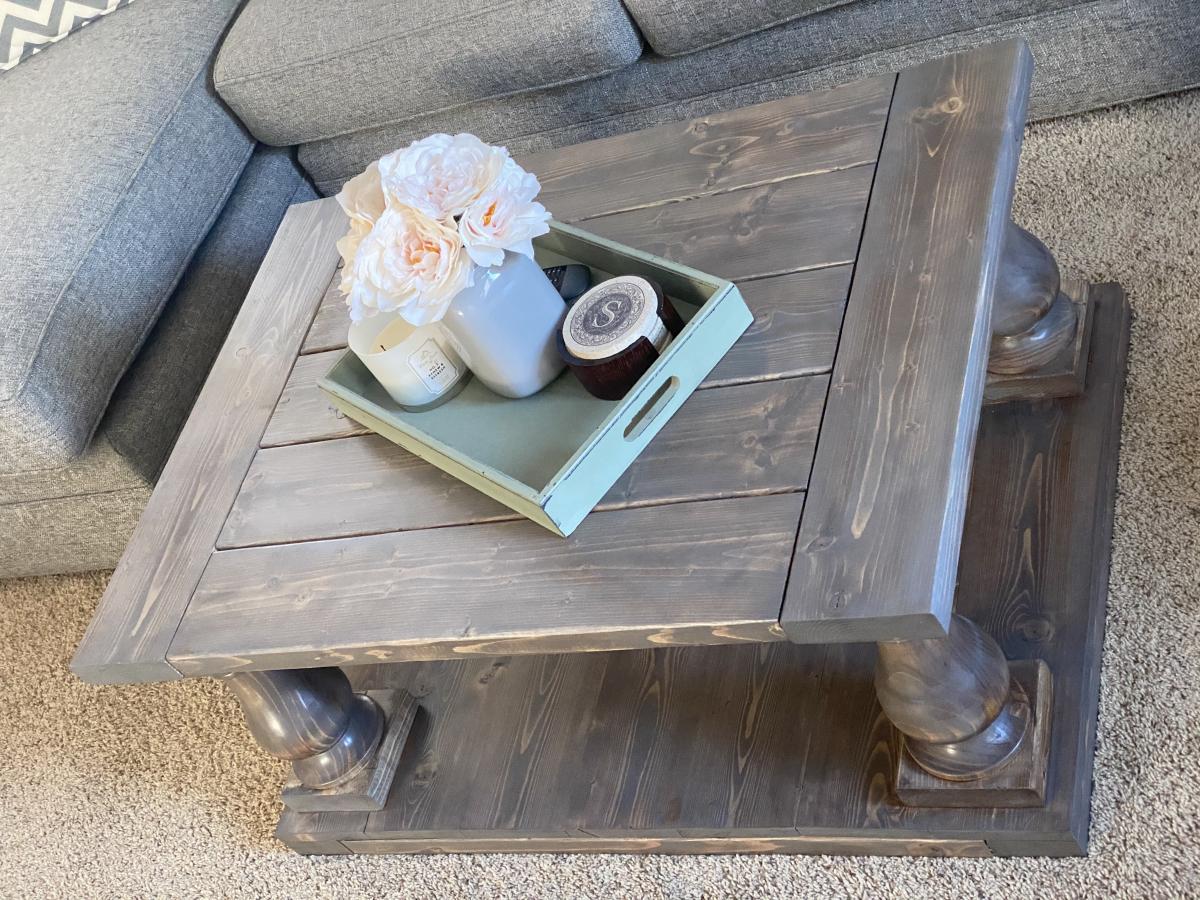
I have been looking at sewing furniture for years, but the prices always made my jaw drop. I have a small craft room, so I needed a table that could also triple as a cutting table and fabric storage. Thank you so much to Ana White for this plan! I built exactly to the plan in The Handbuilt Home, and it's the PERFECT size.
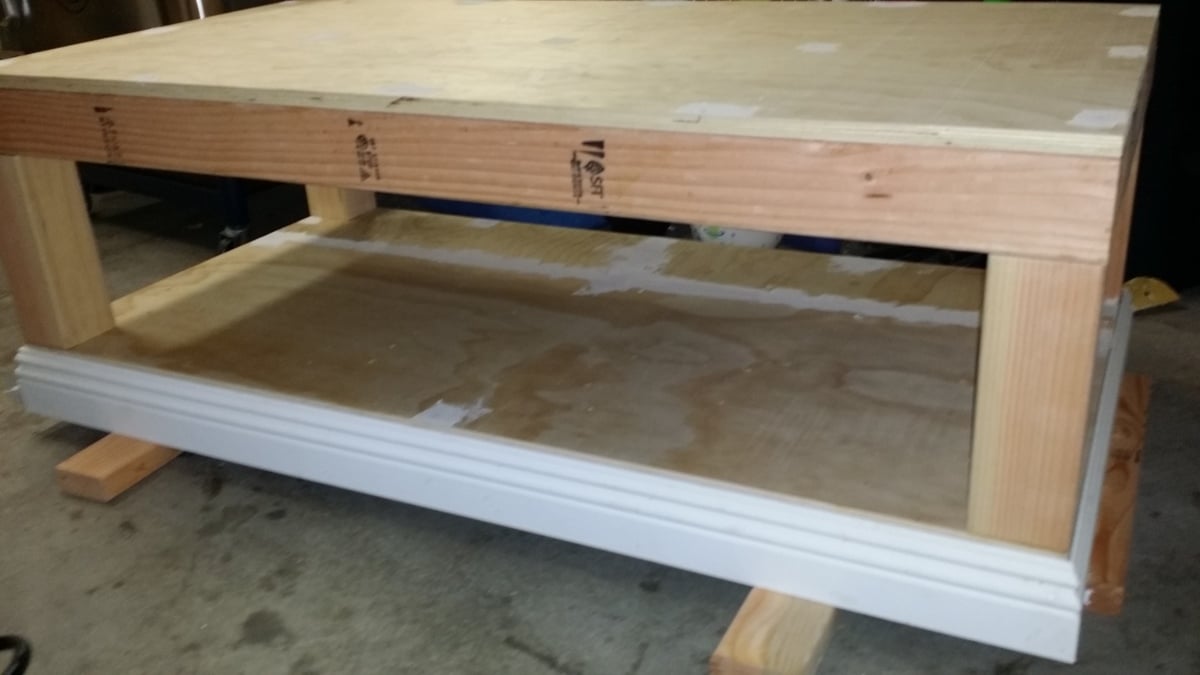
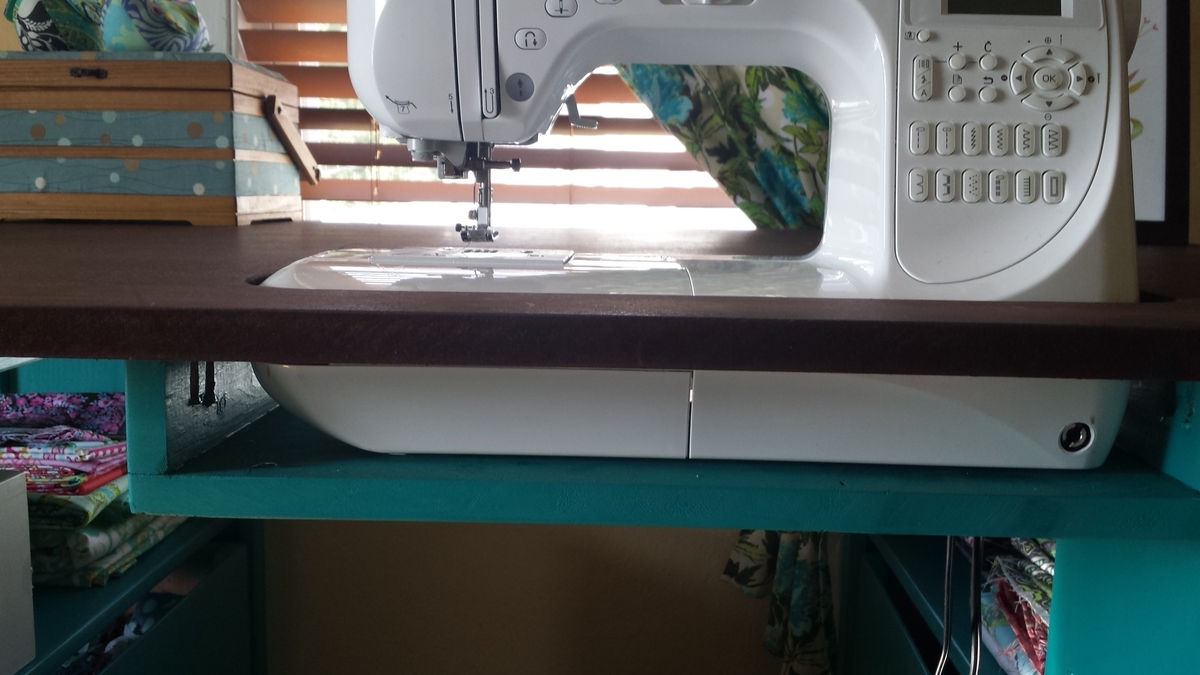
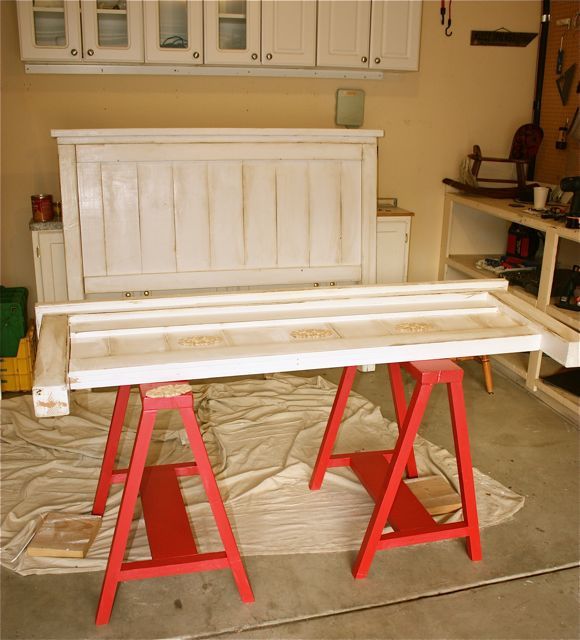
So the sewing machine can sit flush with the top, making working on big sewing projects way easier, I traced the outline of my machine on the MDF and cut it out with a jig saw. Then I built a small shelf using a 1x12 scrap and 2 1x3 scraps. Putting the 1x3s on top of the 1x12 made the shelf 3.75 inches deep, which is exactly the depth I needed. I attached it to the underside of the tabetop using a pockethole jig and screws.
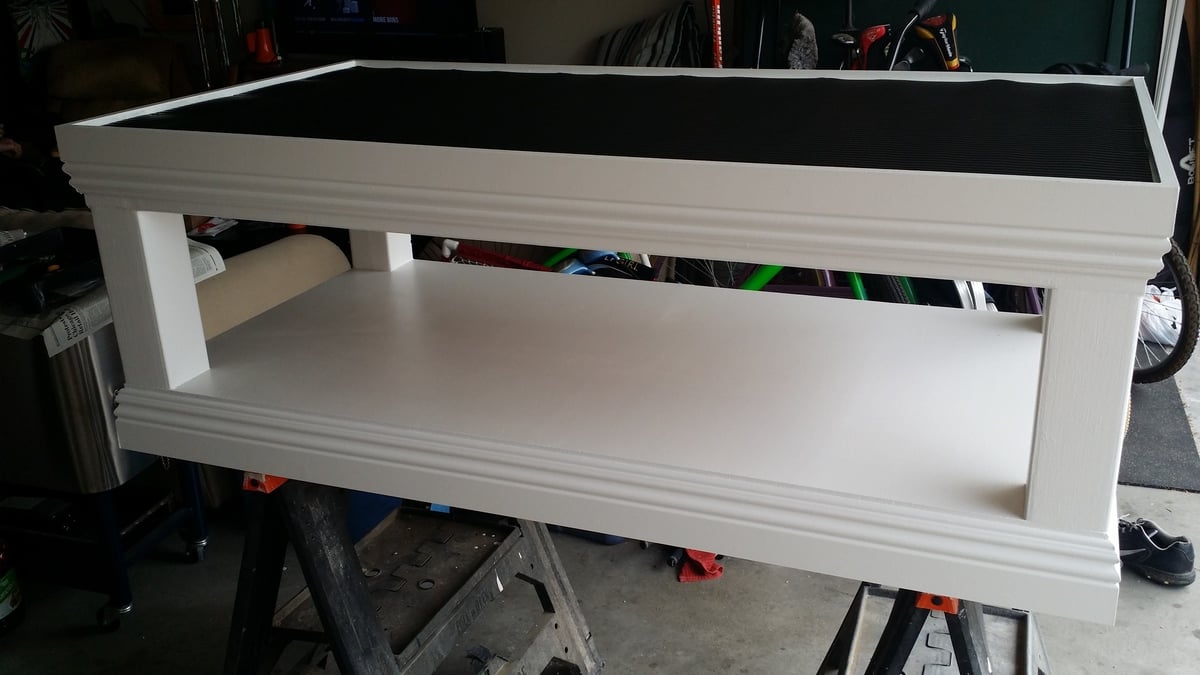
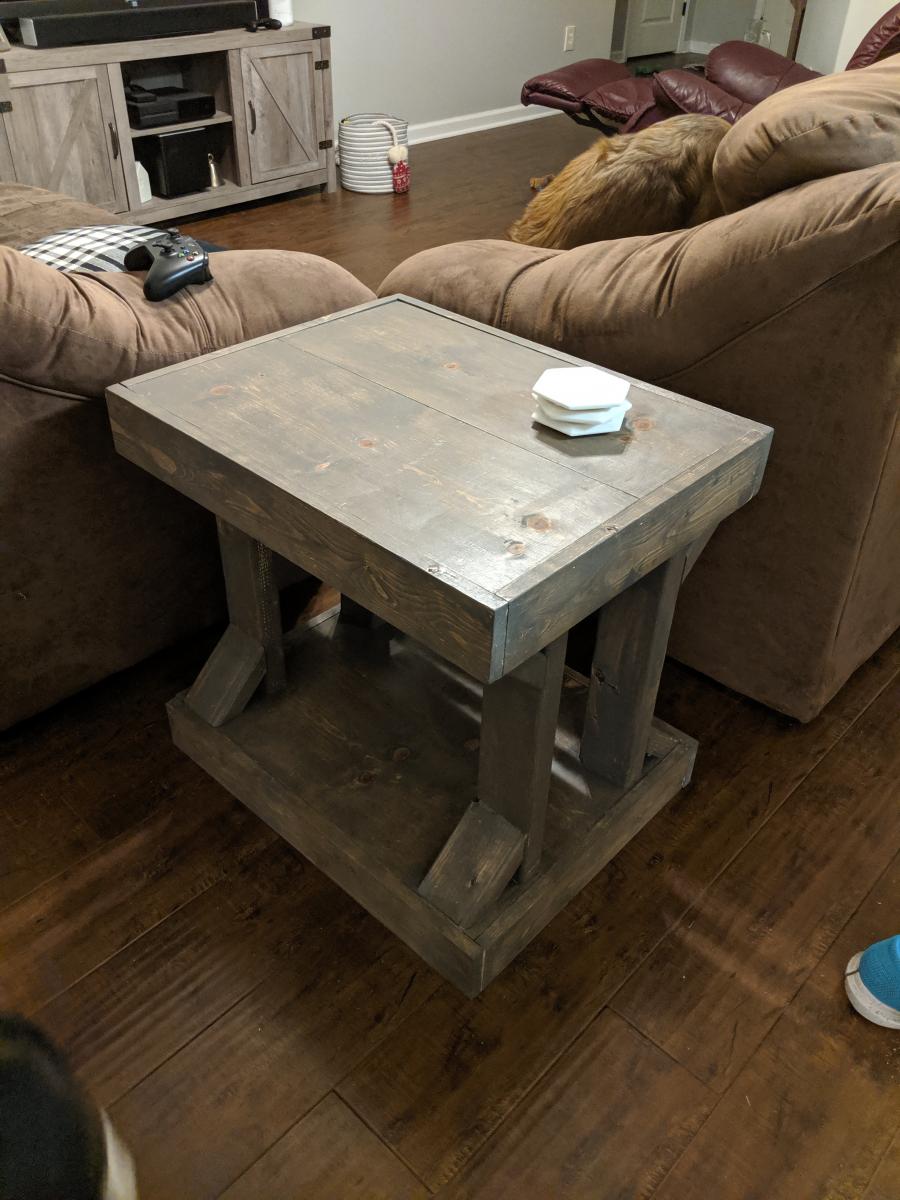
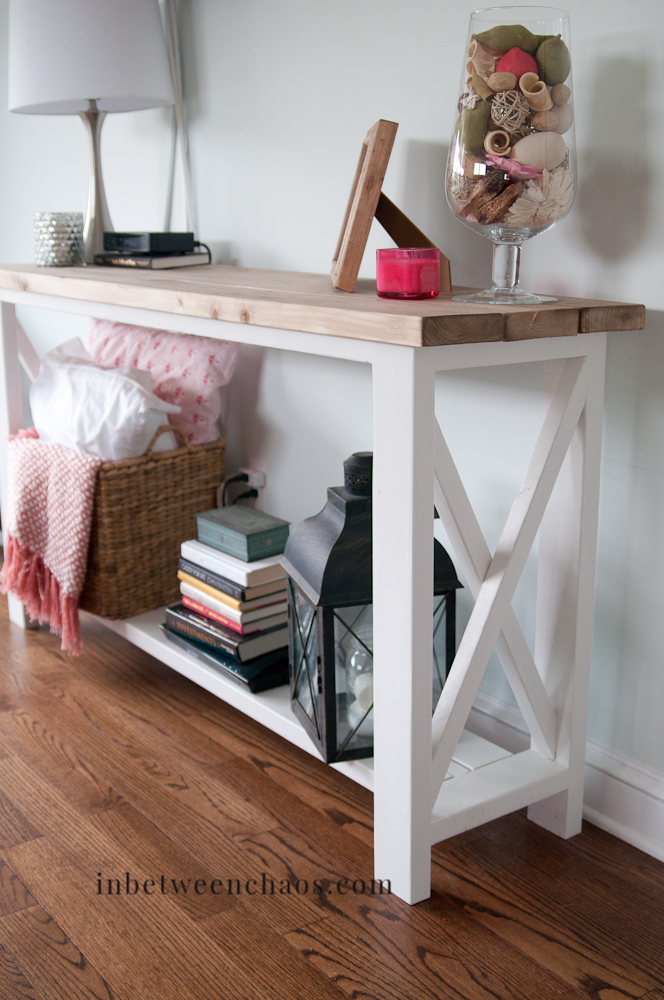
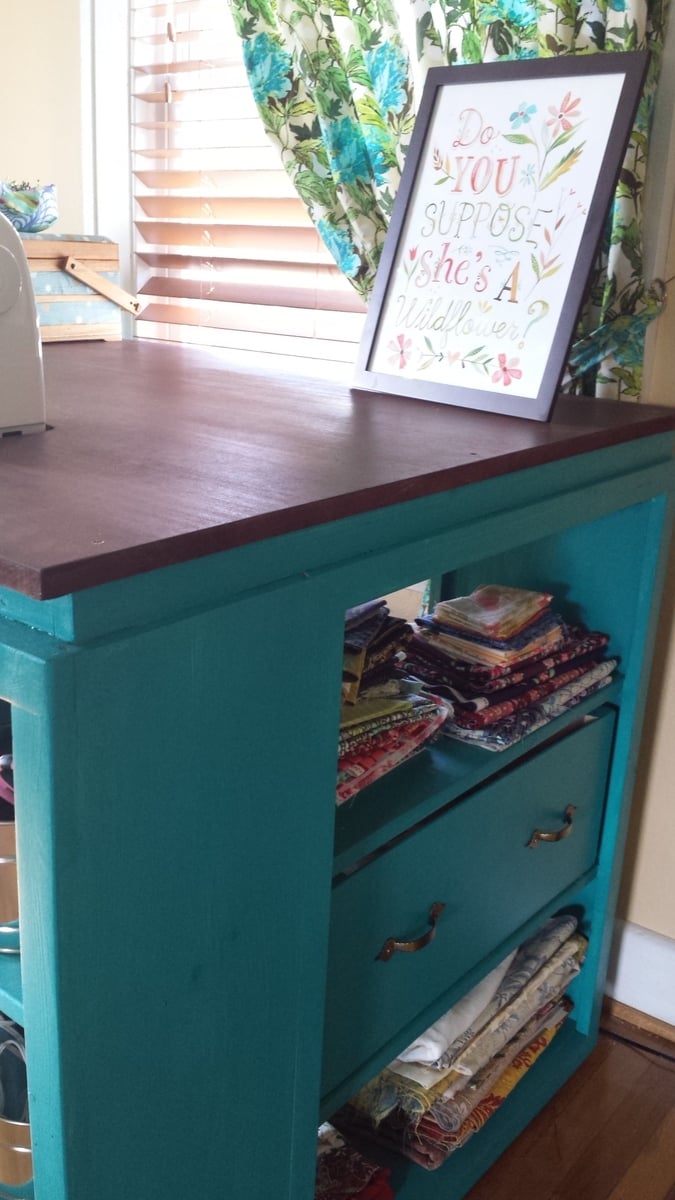
I built 2 boxes using 1/4 inch plywood, and installed drawer pulls on them, giving the illusion that the table has 2 drawers built in. This is where I keep my ugly stuff--interfacing and fabric scraps.
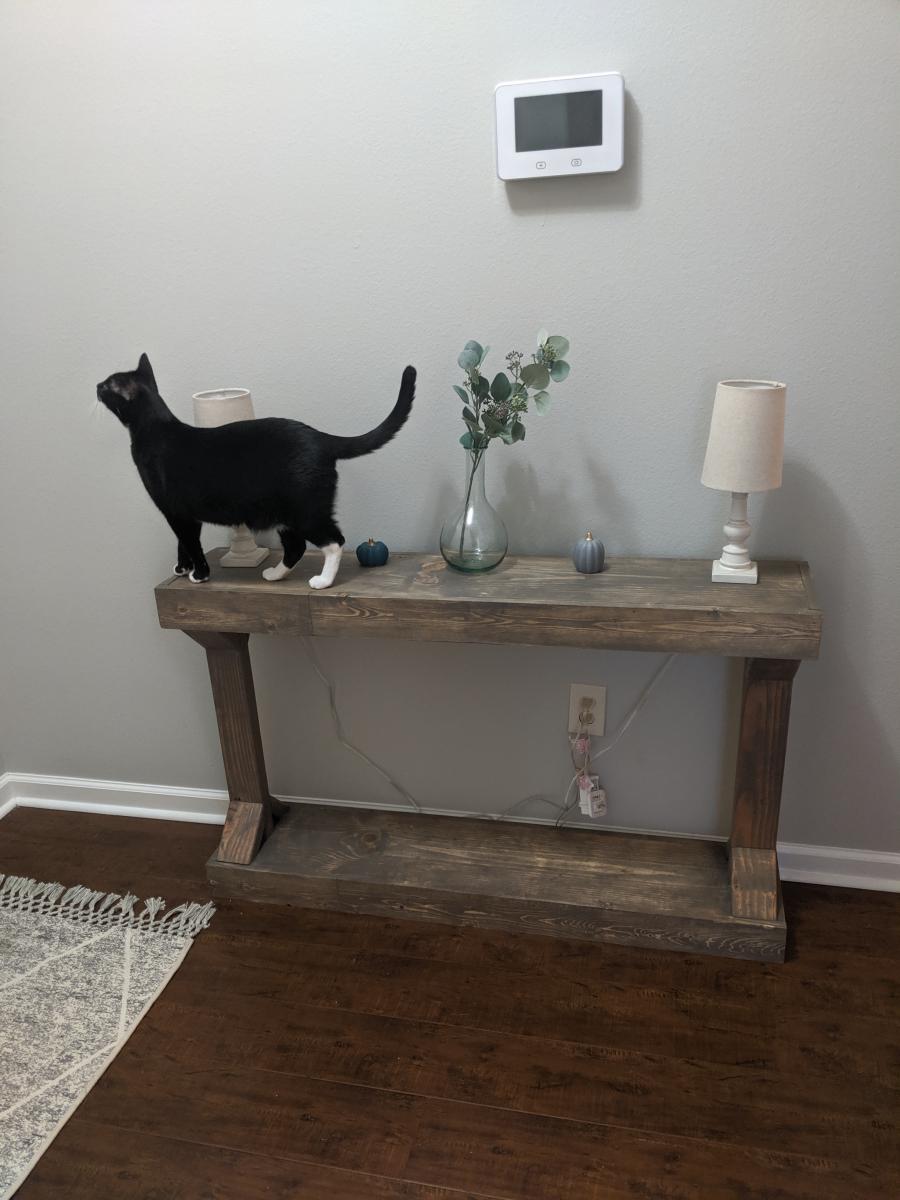
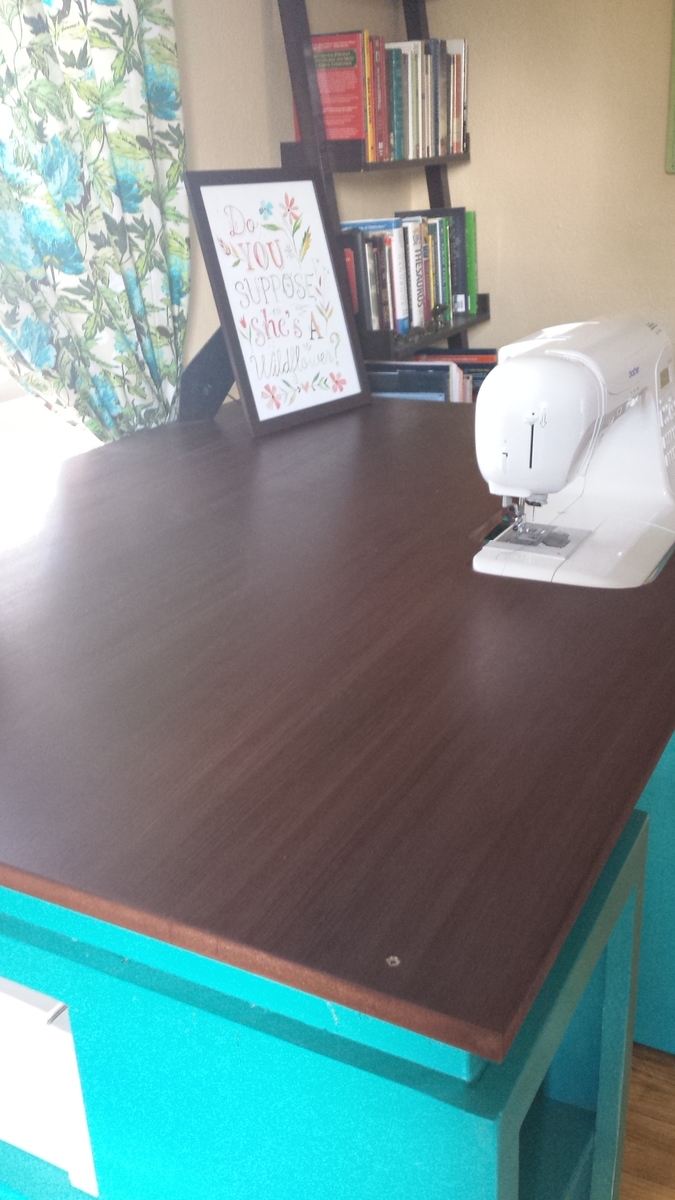
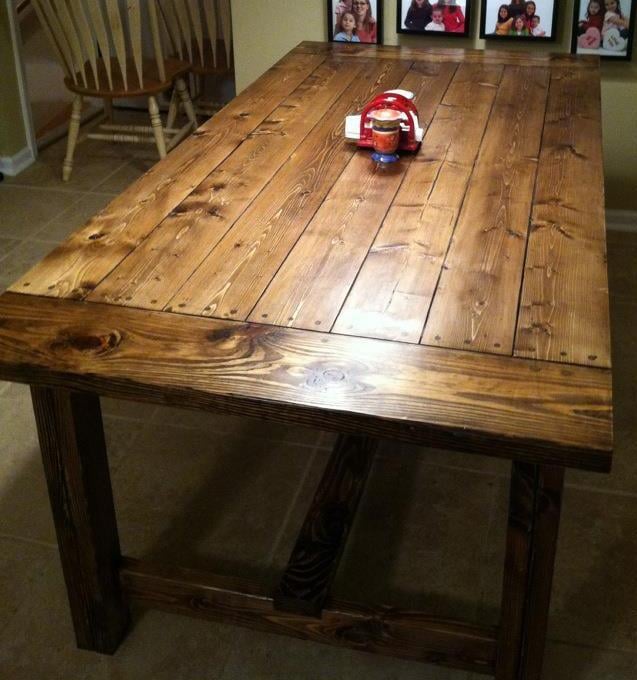
I got the color scheme for the table from the entryway console plan in The Handbuilt Home. In order to make the MDF top look like it had a wood grain, I applied mahogany gel stain with an old washcloth in very thick strokes that spanned the length of the tabletop. It soaked in and lost the "grain" look in some places, but the majority still looks like wood. I did have to apply several coats of polyurathane over the stain; the MDF has a prickly texture that grabs fabric and makes it hard to feed through the sewing machine.
My only complaint is that I didn't quite think through the fact that seating is bar height and I'm 5'7". It's a little difficult to reach my sewing machine pedal. I may build a small stool for the pedal to sit on so I don't have to half sit/stand to sew.
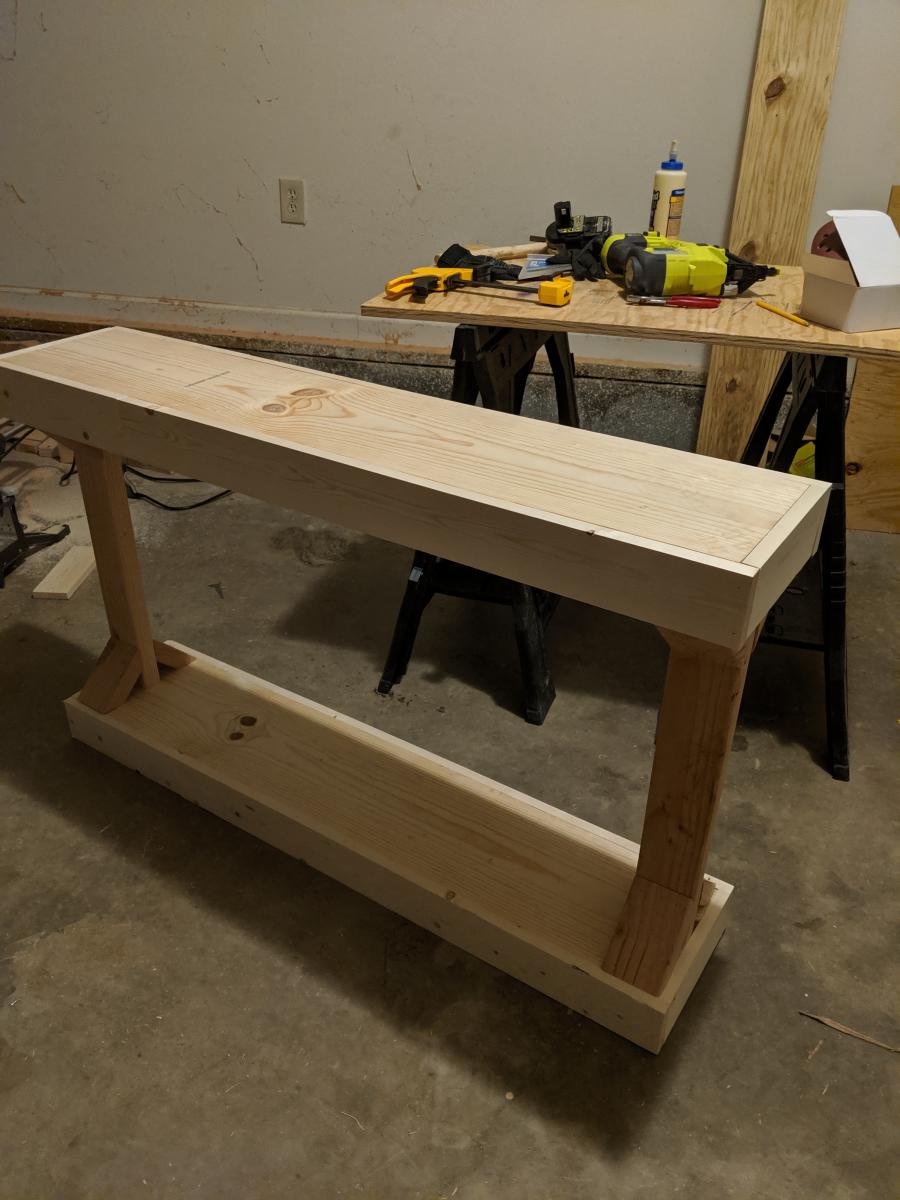
This is the first woodworking project I've done alone from start to finish: from going to Lowe's and picking out the wood, to cutting the wood with a circular saw, assembly, and finishing. (My fiance did carry it up the stairs for me. :) )
I'm so in love with this table! And now to finish the quilt I started 6 months ago....


Comments
groovymom2000
Tue, 09/20/2011 - 09:41
Ah, well dang it, now I have
Ah, well dang it, now I have no excuses! LOL. This is on my list of things to do as well--yours looks great!
SingleMomThriving
Tue, 09/20/2011 - 10:04
Great Job
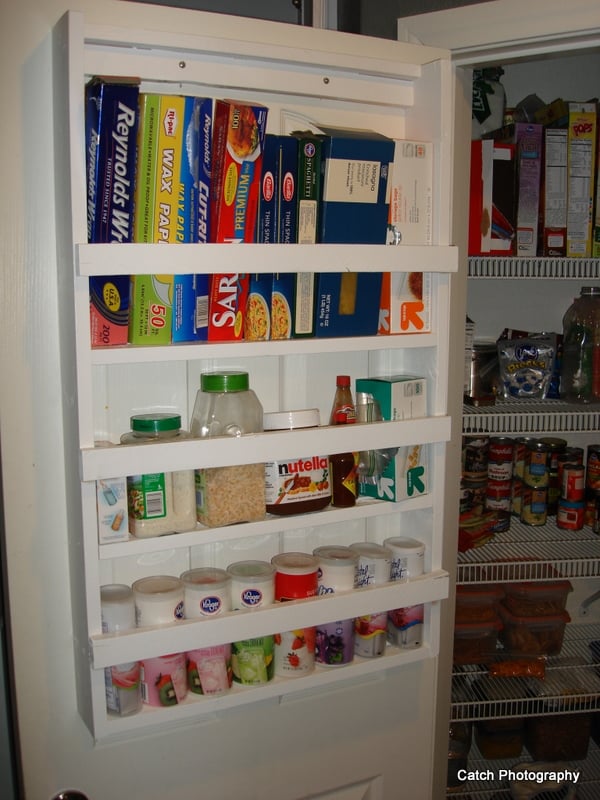
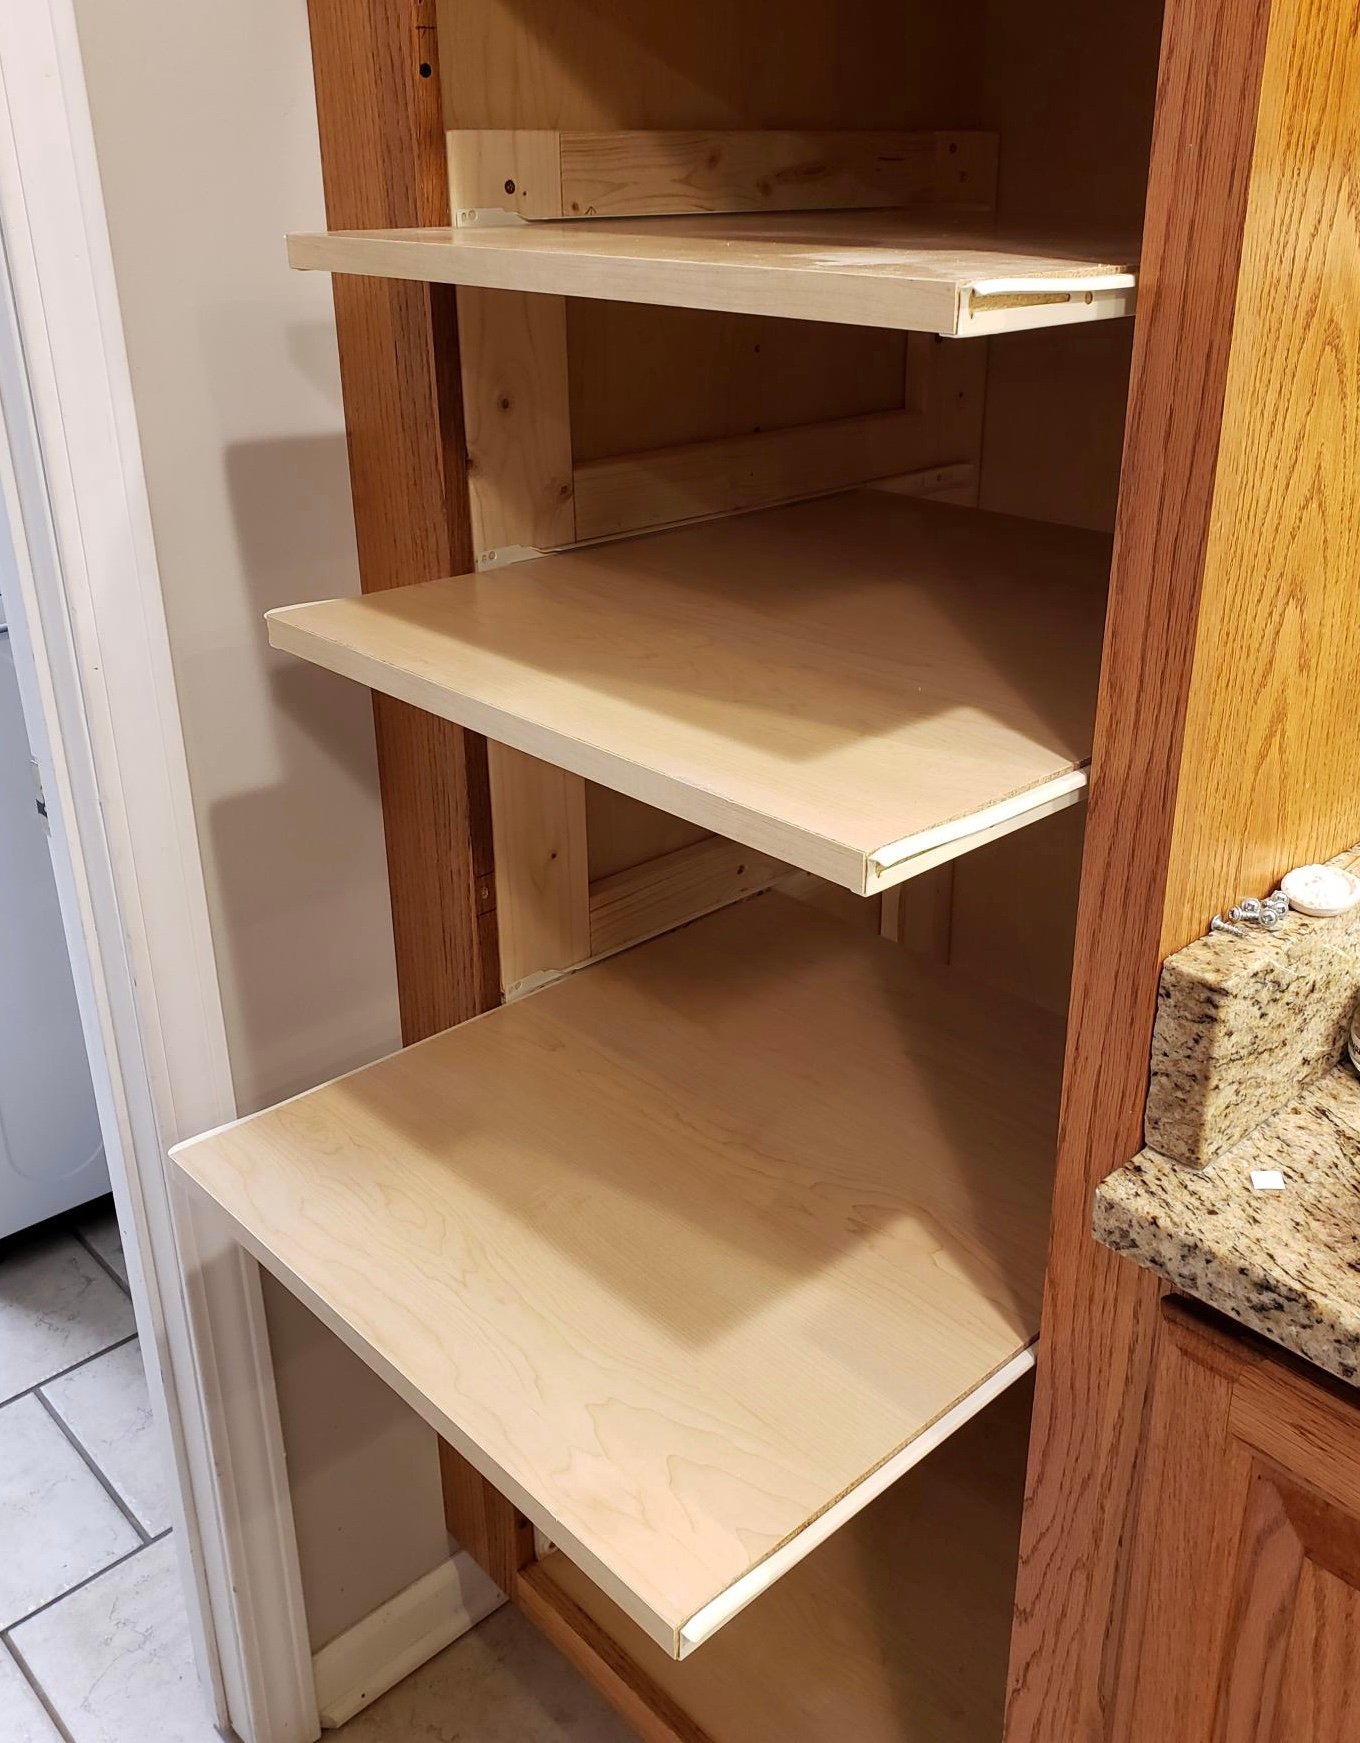
Looks like the 1x4 was a perfect fit for all those little items, especially the wraps which get pushed to the back all the time and the pasta boxes. I feel some inspiration coming on.....
lianatempera
Tue, 09/20/2011 - 14:16
Awesome
This is awesome. I should probably do this for my pantry, as well. Thanks for the inspiration!
Cindy from Indiana (not verified)
Wed, 09/21/2011 - 09:31
Love it!
I love it! Great price,too!
I especially love how the design corals all those pesky little things that always seem to get pushed all the way to the back of my cabinets and drawers.
I'm definitely putting this on my list of things to build!
Cindy from Indiana
Jen Pedro
Wed, 09/21/2011 - 13:34
anchors
I assume your door is the usual hollow pantry door. What type of anchors did you use to hold the shelves in place? Did you use standard wall anchors with your screws?
Looks great!
redhead_61
Thu, 09/22/2011 - 08:19
Anchors
I just got an anchor that looked like it had a little more 'umph' to it. It is called a Cobra Tripple Grip. It looked like it had a section that popped open a little more once the screw went in. I thought that might hold it a little more securely. I feel no movement when I jiggle it at all.
Jen Pedro
Fri, 09/23/2011 - 01:09
anchors
Thanks! I'll have to look for them!
Chris A (not verified)
Sun, 01/15/2012 - 08:29
Very nice project. Just came
Very nice project.
Just came along looking for a storage shelf and I saw your door shelf. Going to build one of these for sure, sick of the little wire ones we have falling down every other day.
Guest (not verified)
Sun, 01/22/2012 - 19:28
Thanks for the idea. I had to
Thanks for the idea. I had to purchase one instead of make one because I live in an apartment.