Community Brag Posts

DIY Pantry Cabinet

Submitted by sdarnell1 on Thu, 06/01/2017 - 06:25

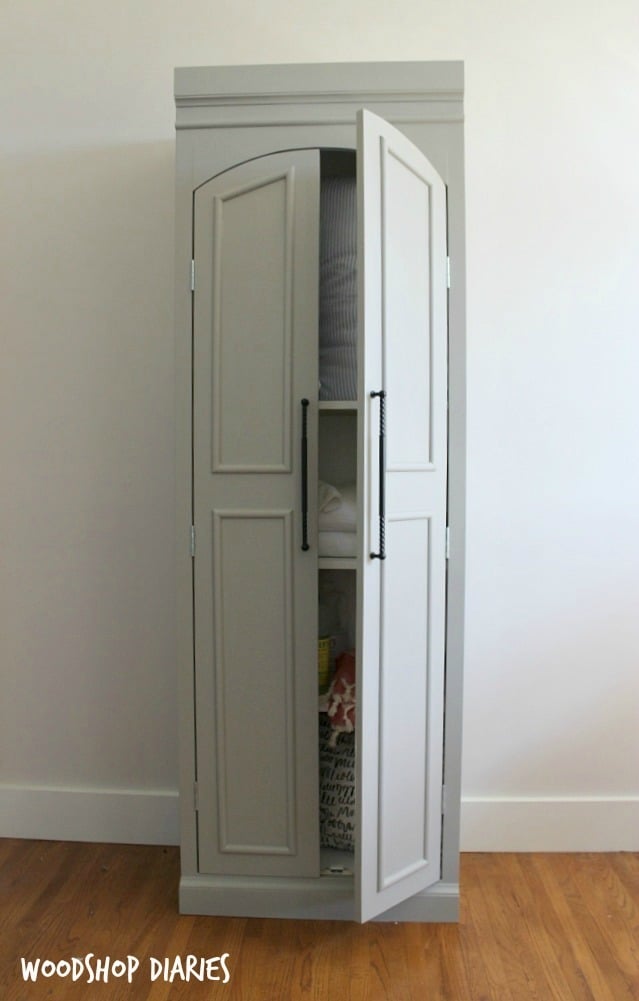
This pantry cabinet was inspired by a design from Ballard Designs.  I needed something a little less deep for my space and couldn't afford the $1900 price tag.  I was able to build this one for just around $100 and was able to customize it to fit my own space requirements.  The arched doors and half round moulding add a nice touch.  This versatile cabinet could be used for linens, kitchen storage, crafts, or just about anything else you can think of! 

Estimated Cost
$100
Estimated Time Investment
Day Project (6-9 Hours)
Finish Used
primed with Kilz water based primer, and painted with standard latex paint
Recommended Skill Level
Intermediate

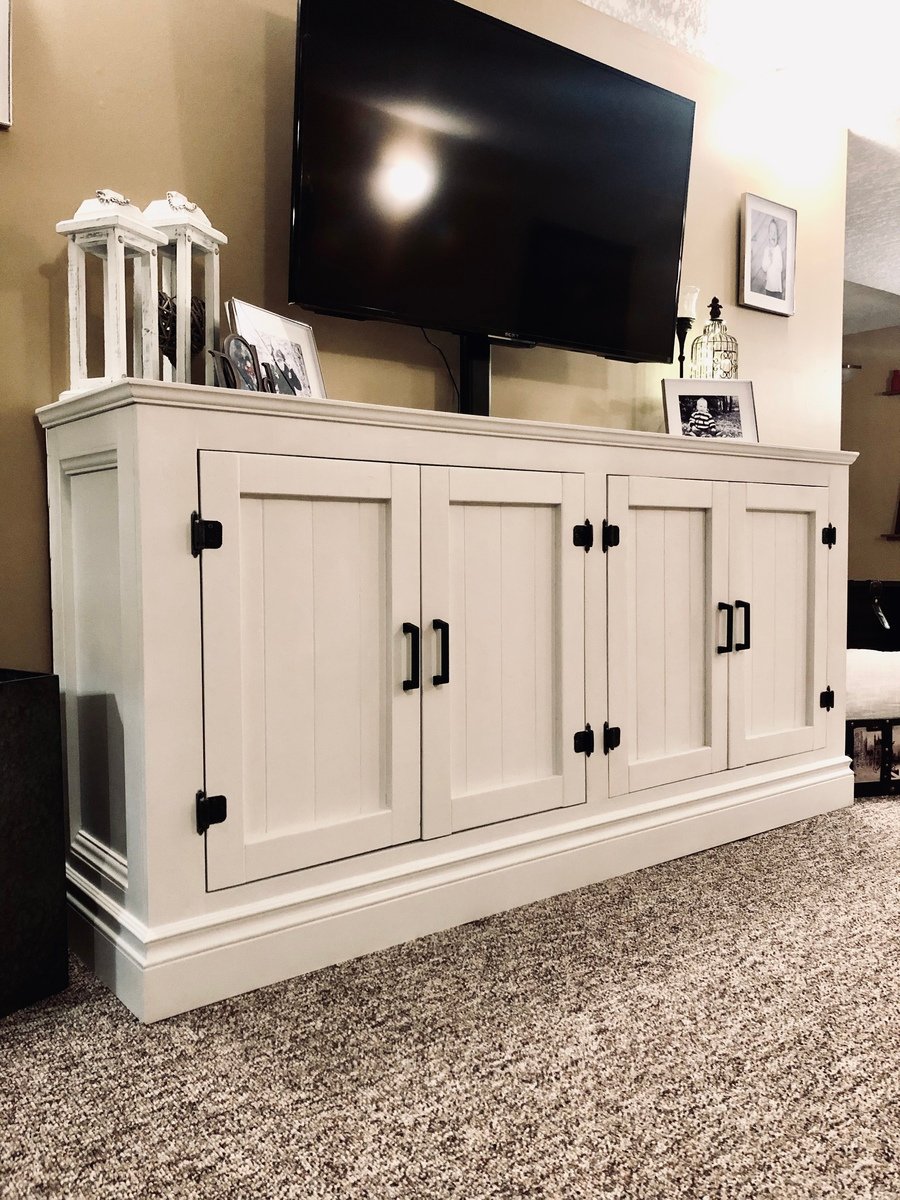
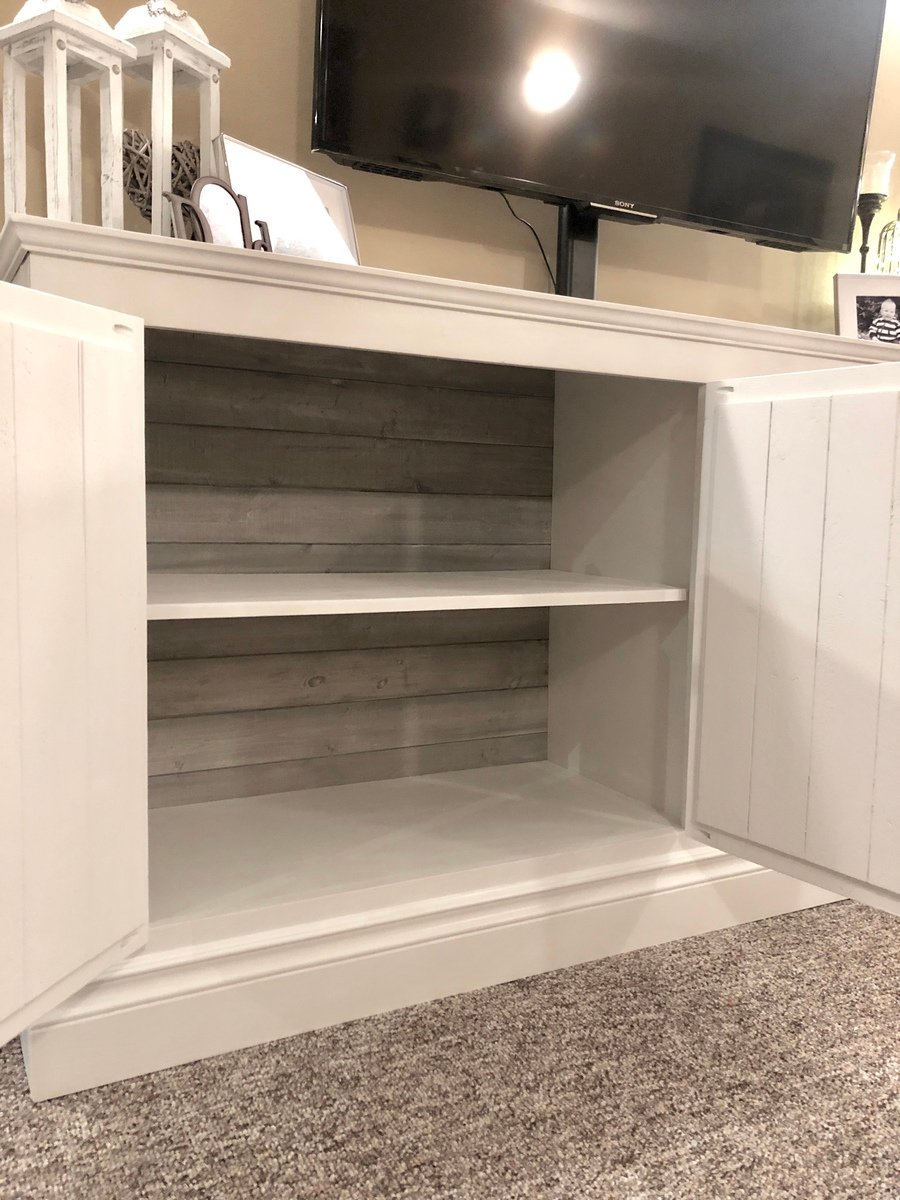
Sideboard

Submitted by Anonymous (not verified) on Mon, 01/21/2019 - 23:48

Really enjoyed making this! Thank you for the plans Ana White! 

Built from Plan(s)
Estimated Cost
250.00
Estimated Time Investment
Weekend Project (10-20 Hours)
Finish Used
Rustoleum Chalked linen white with gloss finish.
Recommended Skill Level
Intermediate

Comments

Pantry Storage Spice Rack

Submitted by redhead_61 on Mon, 09/19/2011 - 21:49

I am kind of a visual organizational neat freak and I have been annoyed by all the little things taking up good shelf space in my pantry for a long time now. This just kept getting pushed down the list ya know, not a major project. Anyway, grabbed an extra board at the store the other day and knocked this one out. I LOVE it. I made it short because I want to build a trash bag holder for the bottom half of the door. We'll see how long it takes me. I did use a 1x4 instead of Ana's plan which uses a 1x6. I only needed small things to put in here.

Built from Plan(s)
Estimated Cost
$5
Estimated Time Investment
An Hour or Two (0-2 Hours)
Finish Used
White Paint
Recommended Skill Level
Starter Project

Comments

SingleMomThriving

Tue, 09/20/2011 - 10:04

Looks like the 1x4 was a perfect fit for all those little items, especially the wraps which get pushed to the back all the time and the pasta boxes. I feel some inspiration coming on.....

lianatempera

Tue, 09/20/2011 - 14:16

This is awesome. I should probably do this for my pantry, as well. Thanks for the inspiration!

Cindy from Indiana (not verified)

Wed, 09/21/2011 - 09:31

I love it! Great price,too!

I especially love how the design corals all those pesky little things that always seem to get pushed all the way to the back of my cabinets and drawers.

I'm definitely putting this on my list of things to build!

Cindy from Indiana

Jen Pedro

Wed, 09/21/2011 - 13:34

I assume your door is the usual hollow pantry door. What type of anchors did you use to hold the shelves in place? Did you use standard wall anchors with your screws?

Looks great!

redhead_61

Thu, 09/22/2011 - 08:19

I just got an anchor that looked like it had a little more 'umph' to it. It is called a Cobra Tripple Grip. It looked like it had a section that popped open a little more once the screw went in. I thought that might hold it a little more securely. I feel no movement when I jiggle it at all.

Chris A (not verified)

Sun, 01/15/2012 - 08:29

Very nice project.
Just came along looking for a storage shelf and I saw your door shelf. Going to build one of these for sure, sick of the little wire ones we have falling down every other day.

Laundry Pedistal

Submitted by Anonymous (not verified) on Sun, 01/31/2016 - 09:09

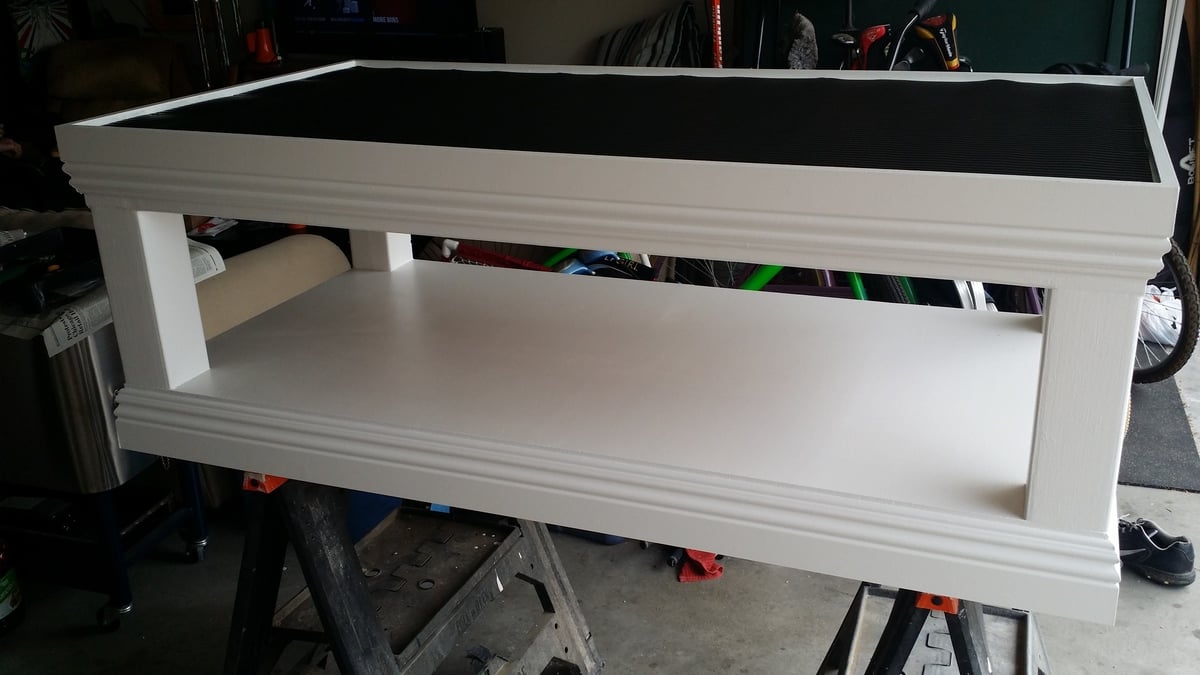
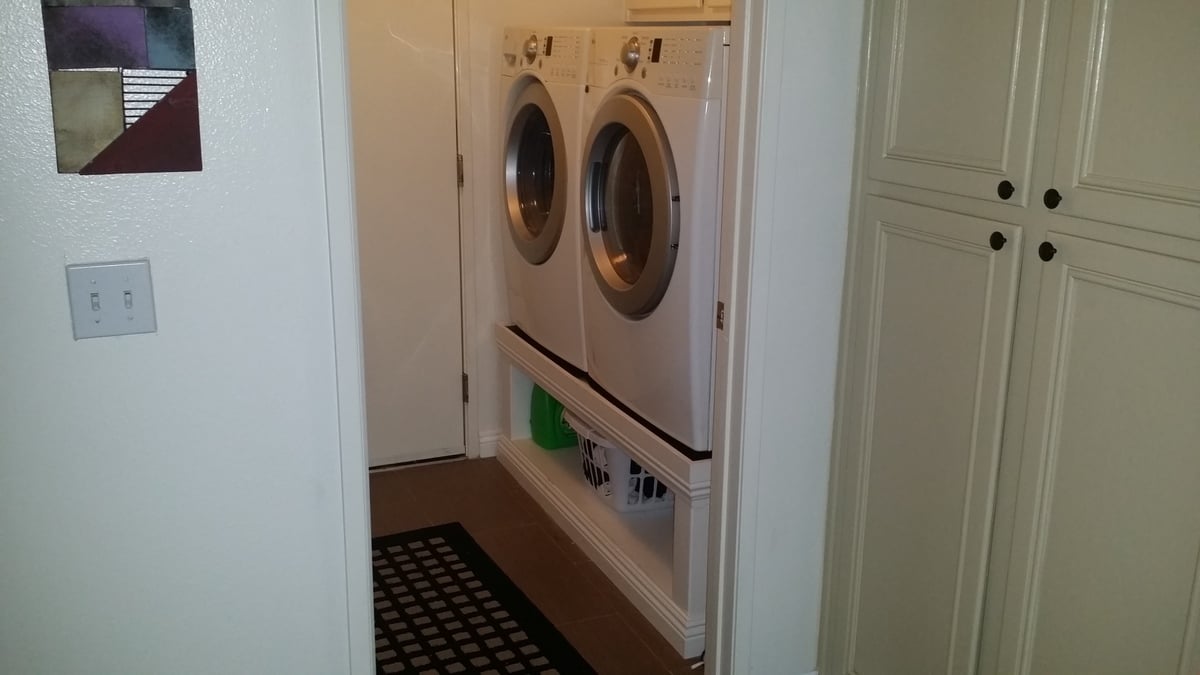
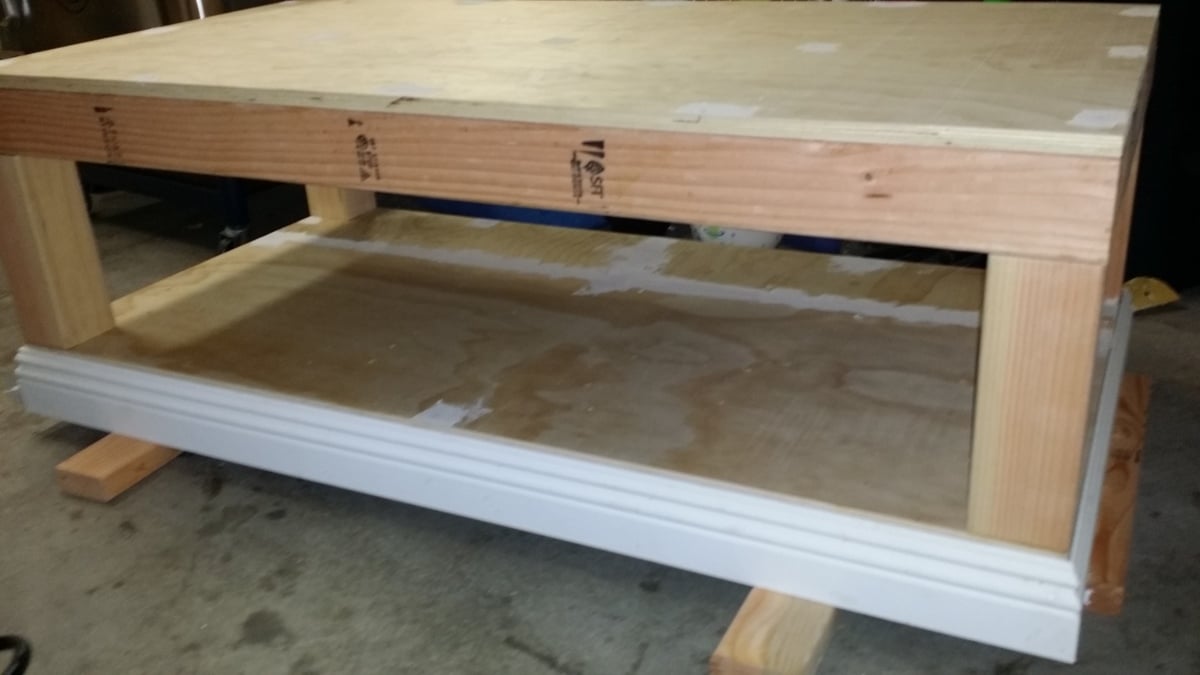
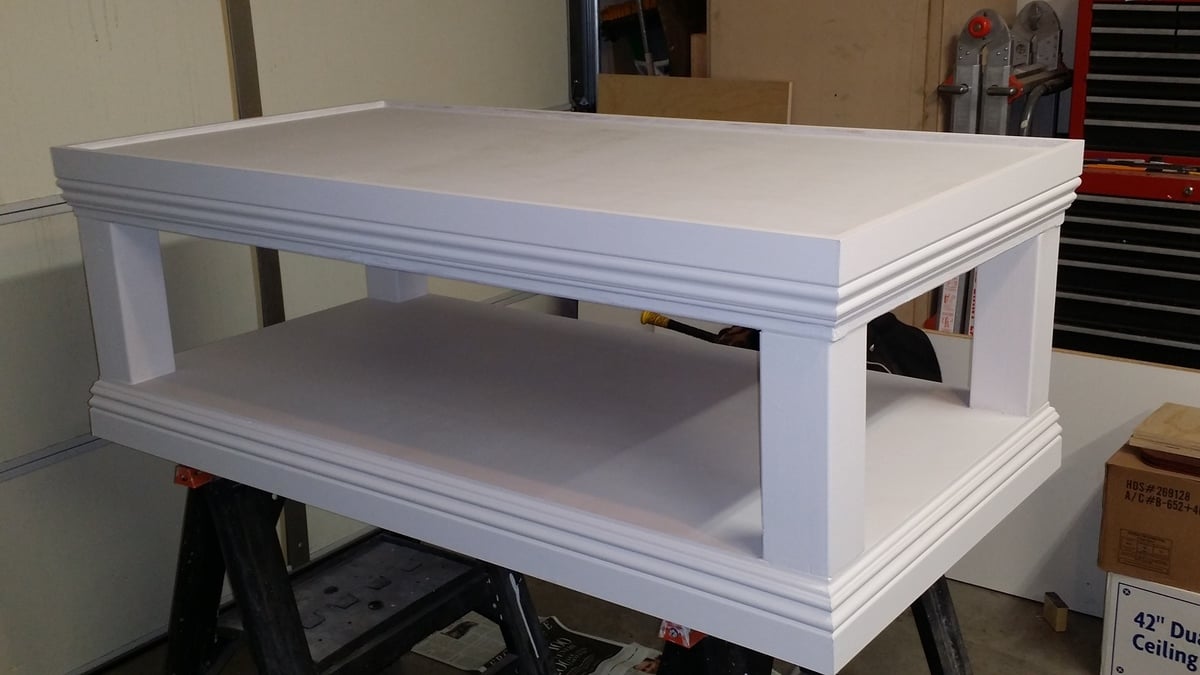
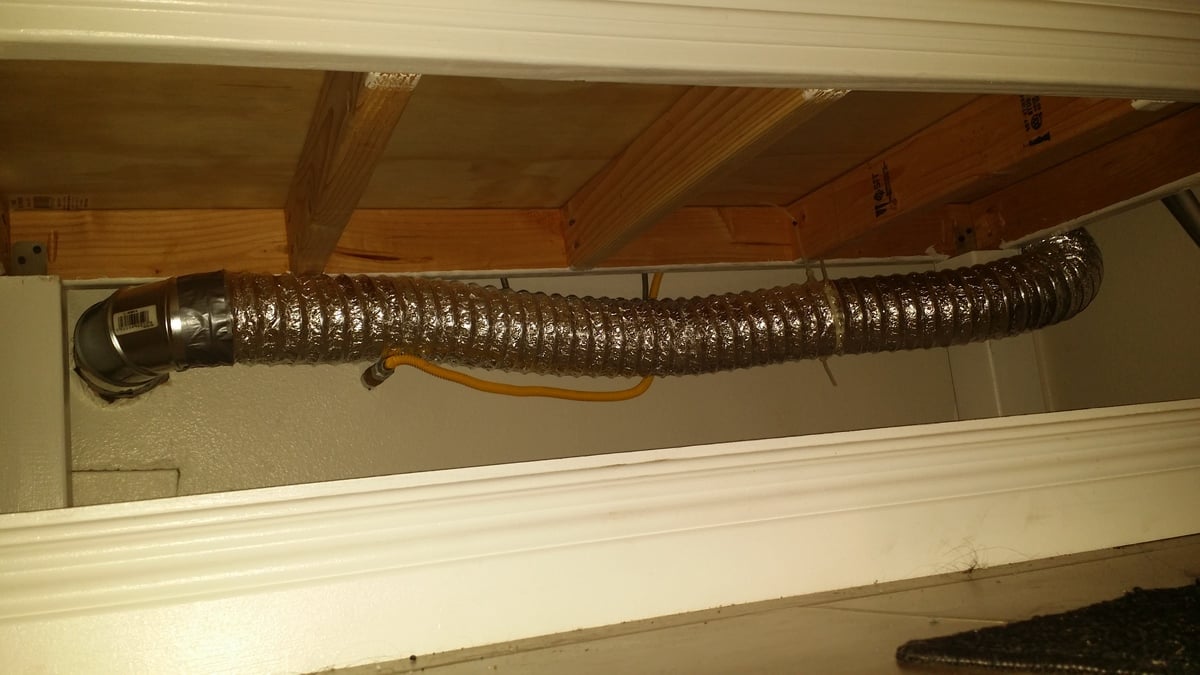
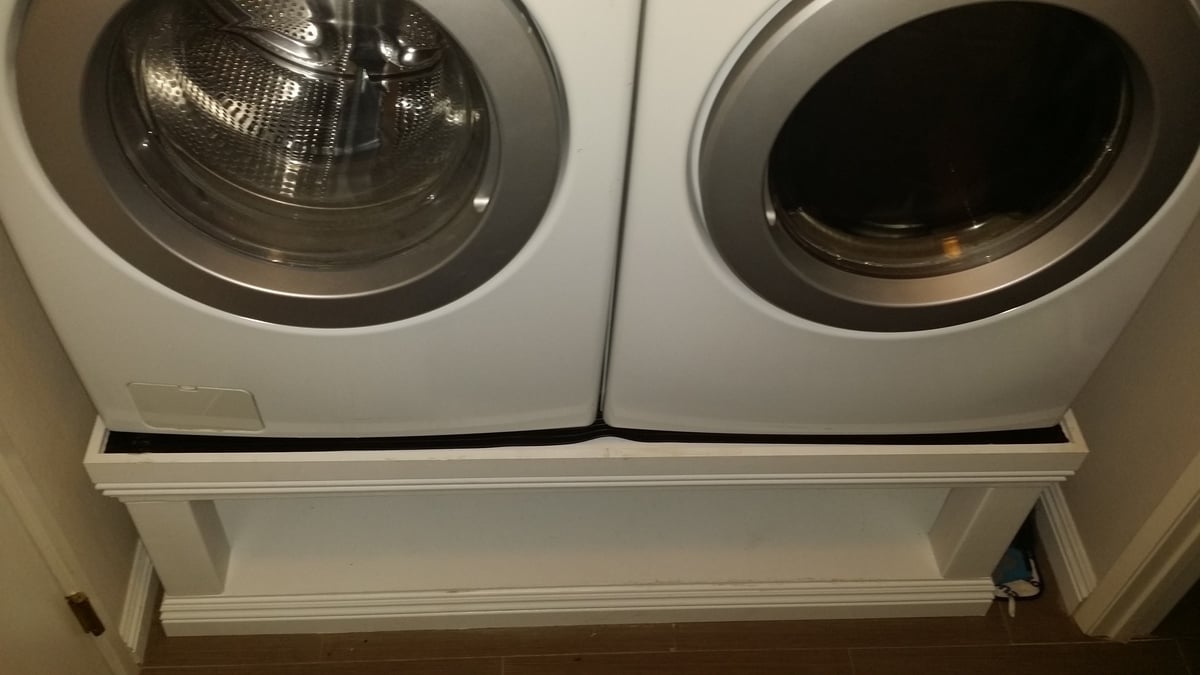
Been waiting to tackle this project for months. This was more for a place to put our laundry baskets while our laundry was being washed and dried. We come through our laundry area from our garage and so do most of our guests as our front door is a long way from parking. Tripping over empty laundry baskets no more. The opening for baskets is 11.5", which also elevated the opening to clear the dryer exhaust out and allow our units to push back a little closer to the wall. The floor and top were framed using 2x4's cut at 26" and a kreg pocket hole jig. 4x4 posts 11.5" were attached using the kreg jig and L brackets. 3/4" plywood sheeting the top and bottom cut at 55"x29". I did save a little money by only using one sheet of plywood. Full cut for the top, pieced together on the base in the back using excess from one sheet. 3.875" base moulding was used on the top and bottom to cover the seam where the 3/4" plywood sheet for the top and bottom meet the framing. The moulding on the top was inverted, and raised 5/8" over the plywood sheeting top to create a lip so the machines would not slide off the pedistal. Didn't want too much dressing up, I like clean, straight lines. A coat of primer, and 3 coats of semi gloss white paint. I put a sheet of the black rubber runner from Home Depot in the carpet roll area like Chris did, for some noise dampening to prevent our washer from walking at all. Tacked down with black carpet tack nails. The hardest part of the whole project was hooking the washer and dryer up in the tight space we have after getting the units on the pedistal. The dryer exhaust vent pipe in the wall is behind the washer, so I used adjustable rigid exhaust vent elbows to route the flexible exhaust duct through the pedistal, tacked it up to the underside of top with zip tie's and then up and around the side of the pedistal to the dryer exhaust port. All and all a very fun and rewarding DIMyself project. Thanks Sausha....

Estimated Cost
2x4's 10 @ $3=$30
4x4 $7
3/4" Plywood sheet $30
Rubber runner $10
L brackets $3
Drywall screws & paint already had $0
Total out of pocket cost $80
Estimated Time Investment
Day Project (6-9 Hours)
Finish Used
Kilz Primer Glidden semi gloss white
Brushed and rolled on
Recommended Skill Level
Beginner

Comments

bclute

Sun, 01/29/2017 - 16:40

Great looking build, thanks for the detailed photos!

Pull-out Shelves

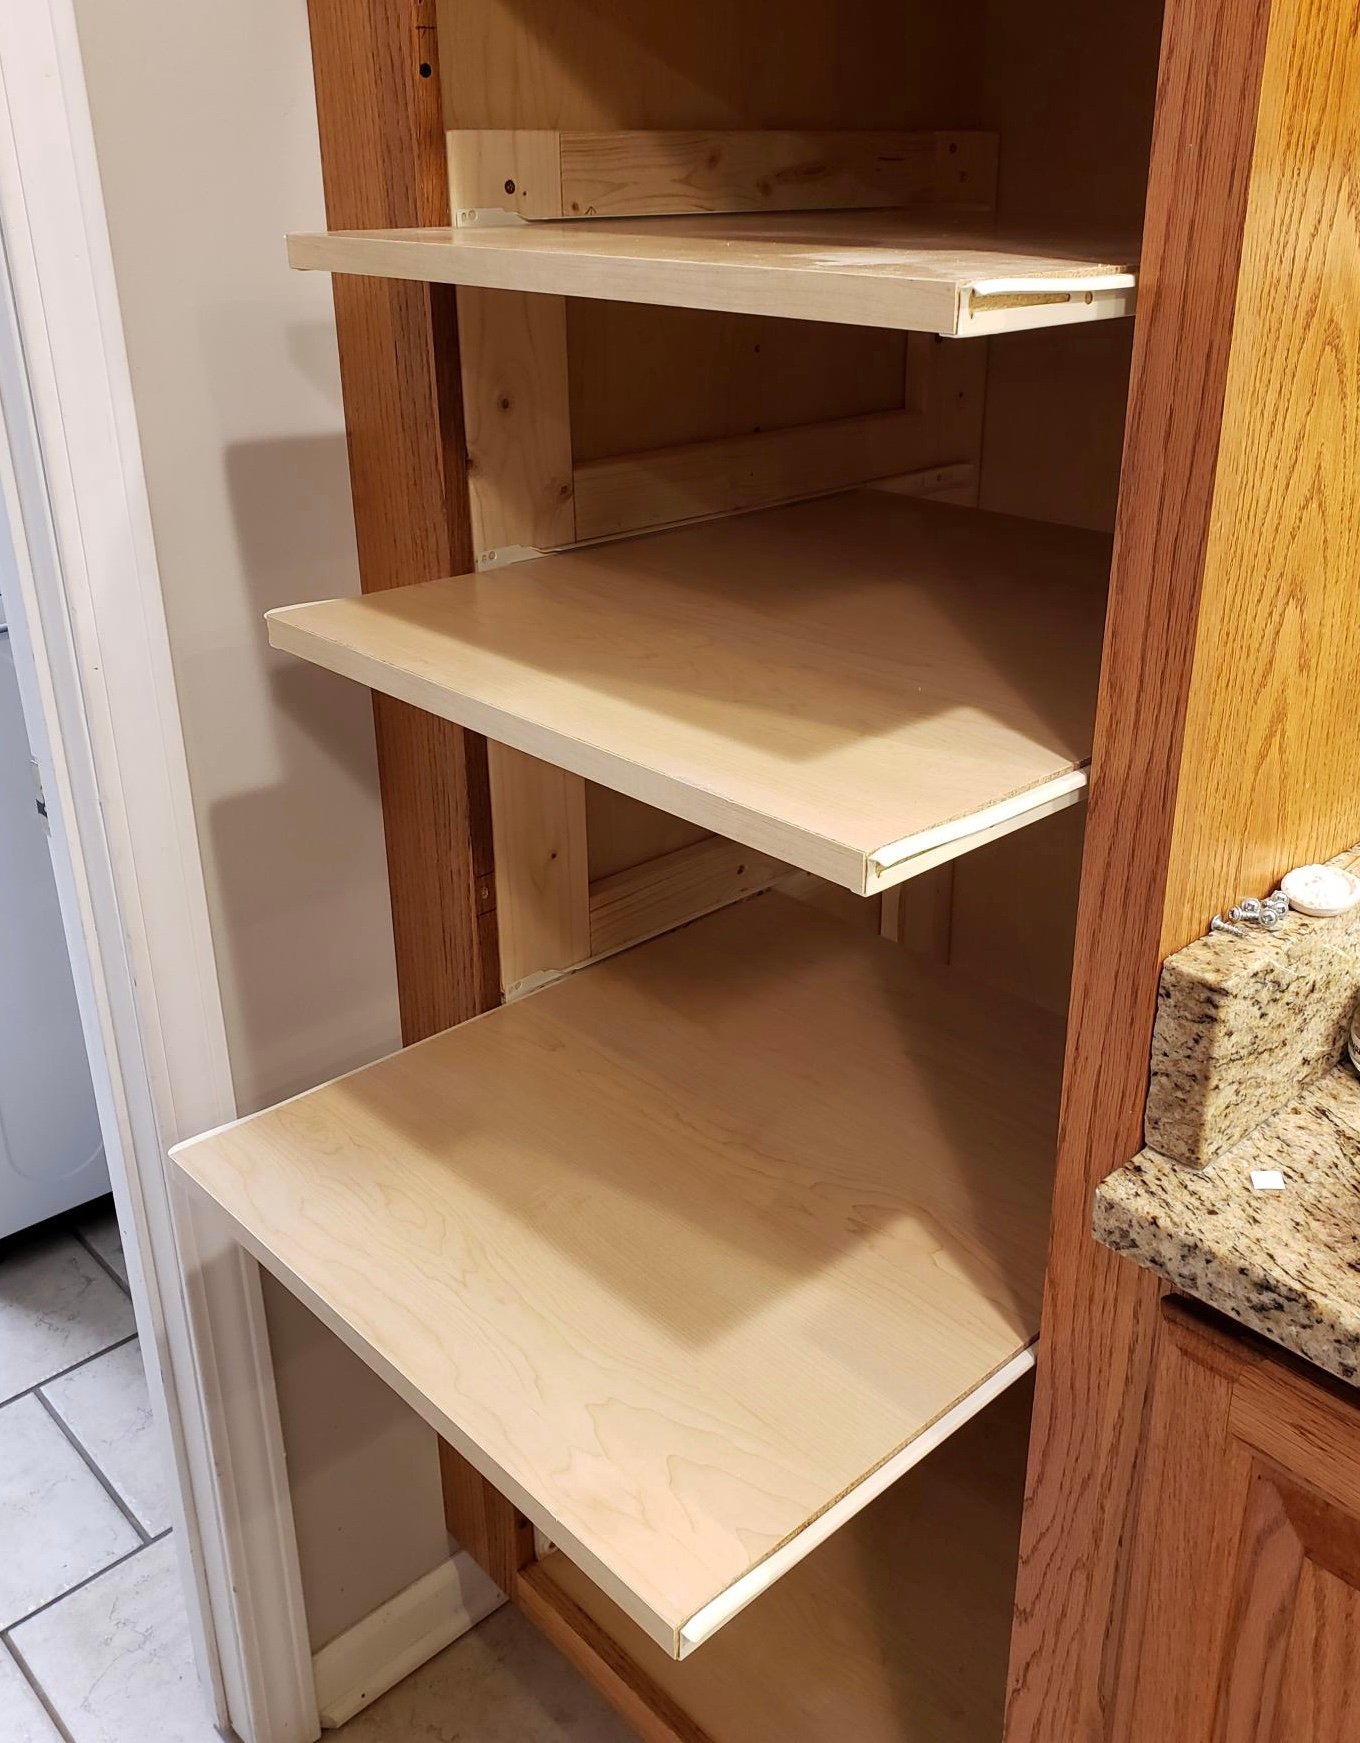
Stationary shelves are such a hassle, especially in a deep pantry cabinet! Now I can actually SEE the contents of my pantry cabinet. Thanks for the inspiration and tutorial to get it done!

Estimated Cost
$50 for 5 shelves & framing, new hinges.
Estimated Time Investment
Day Project (6-9 Hours)

Comments

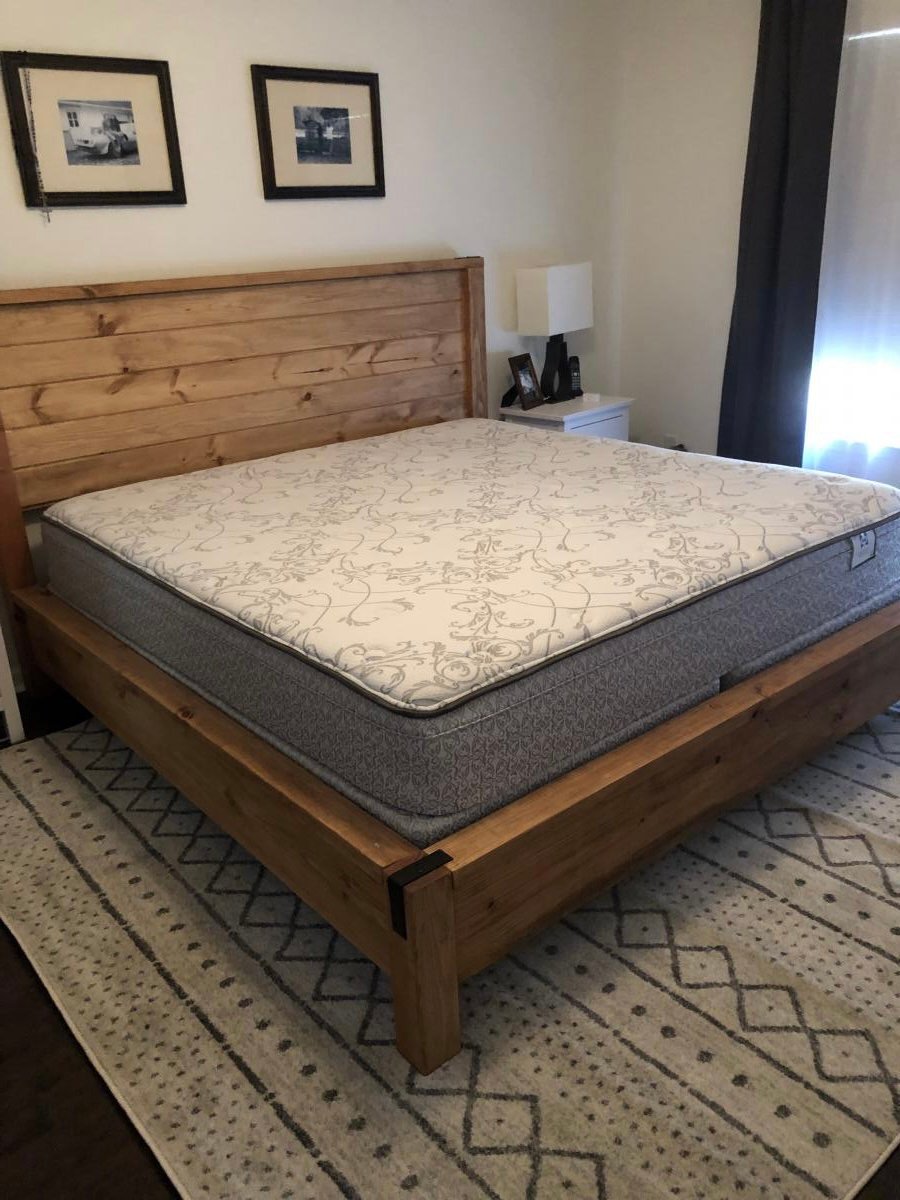
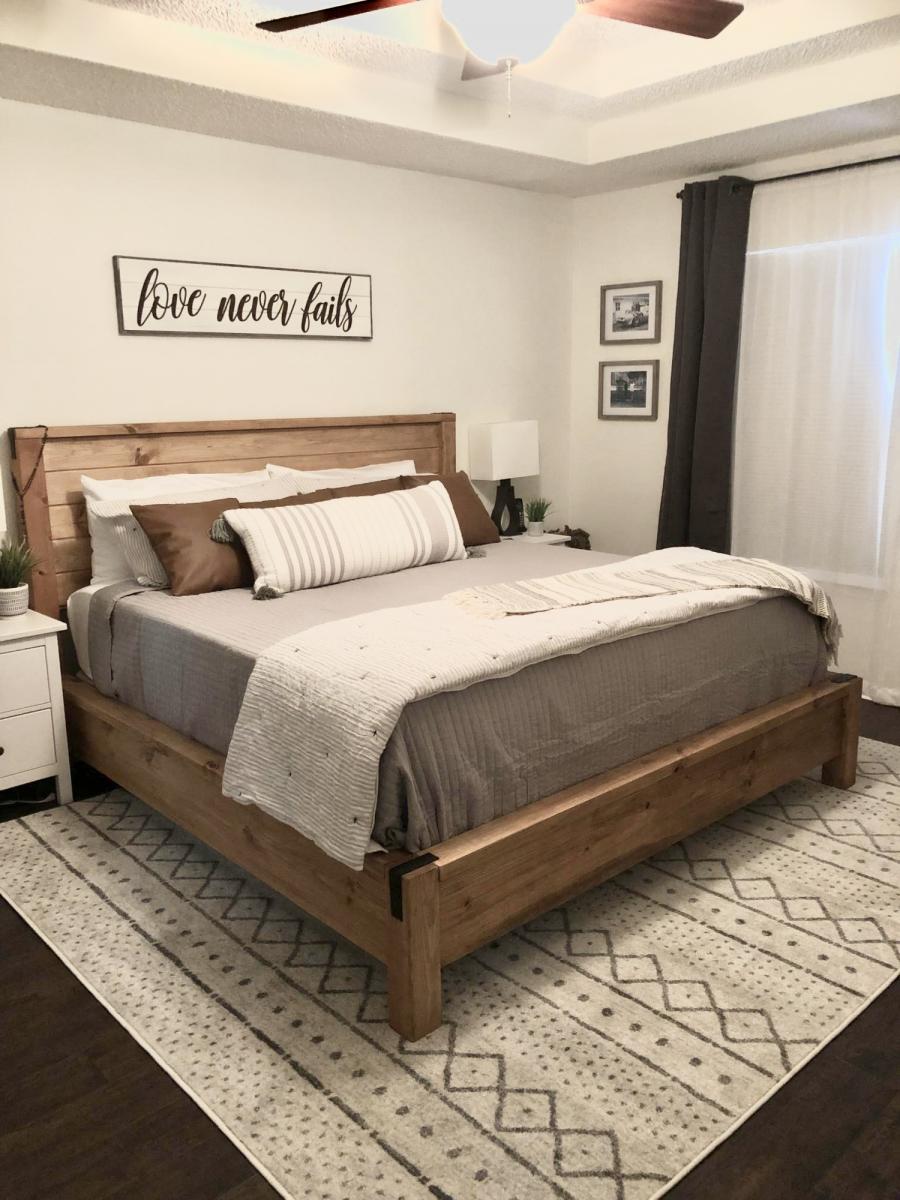
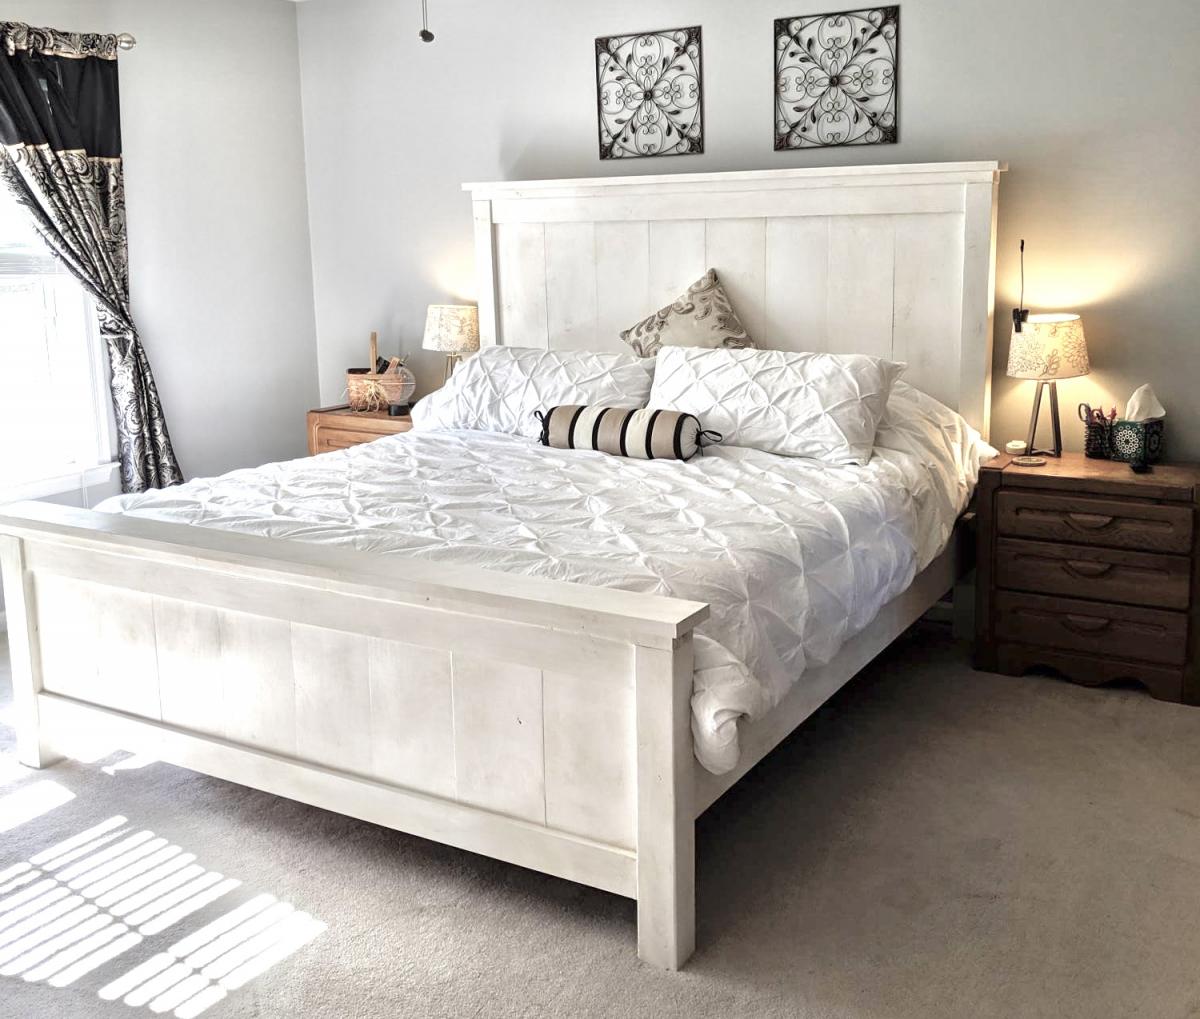
King Modern Farmhouse Bed

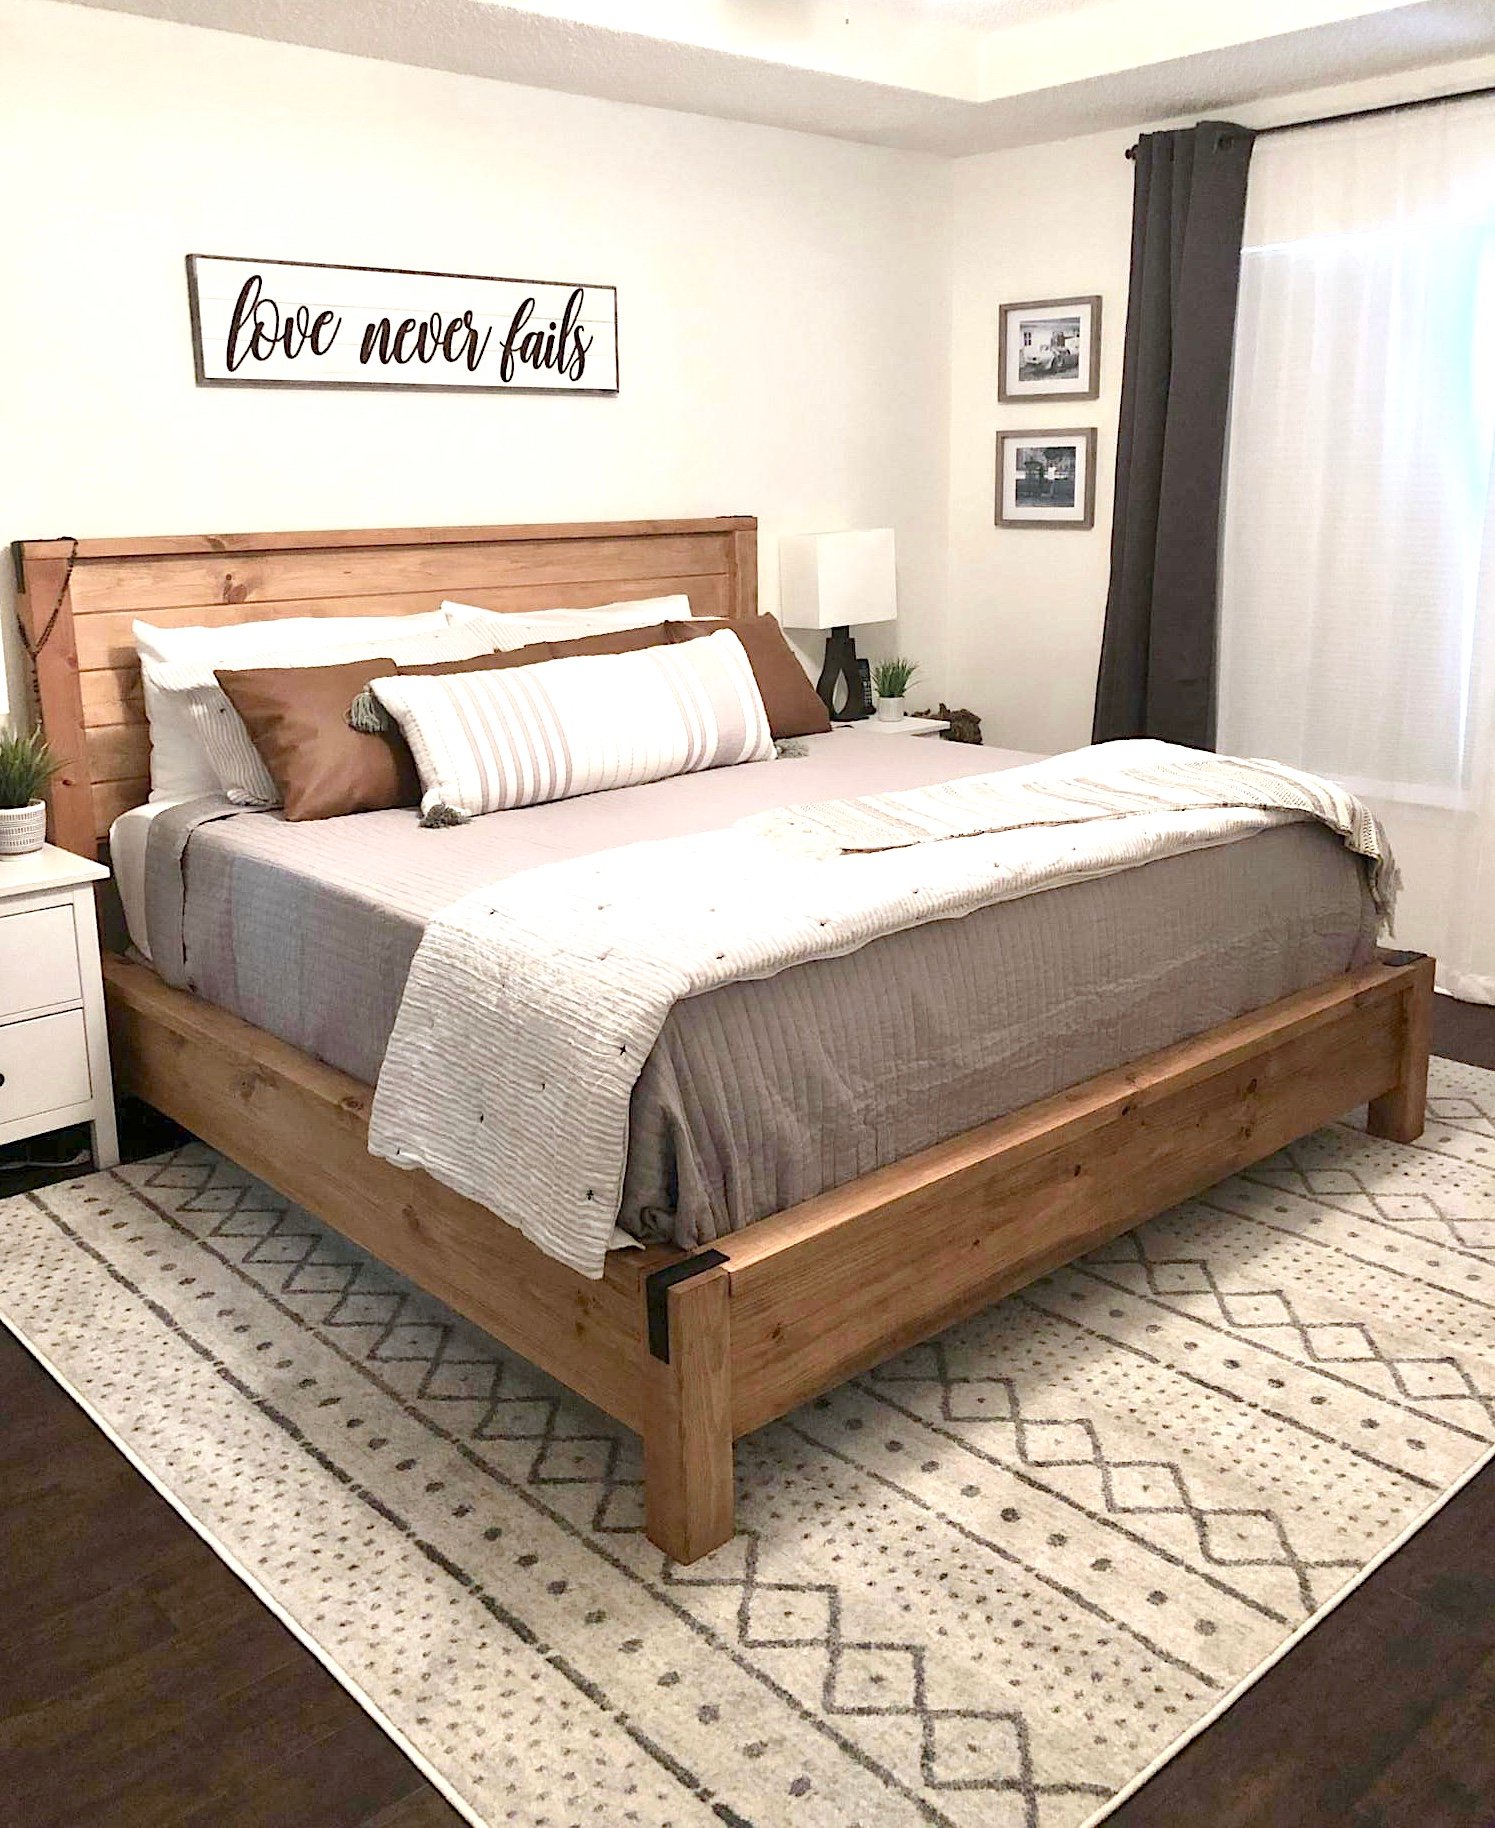
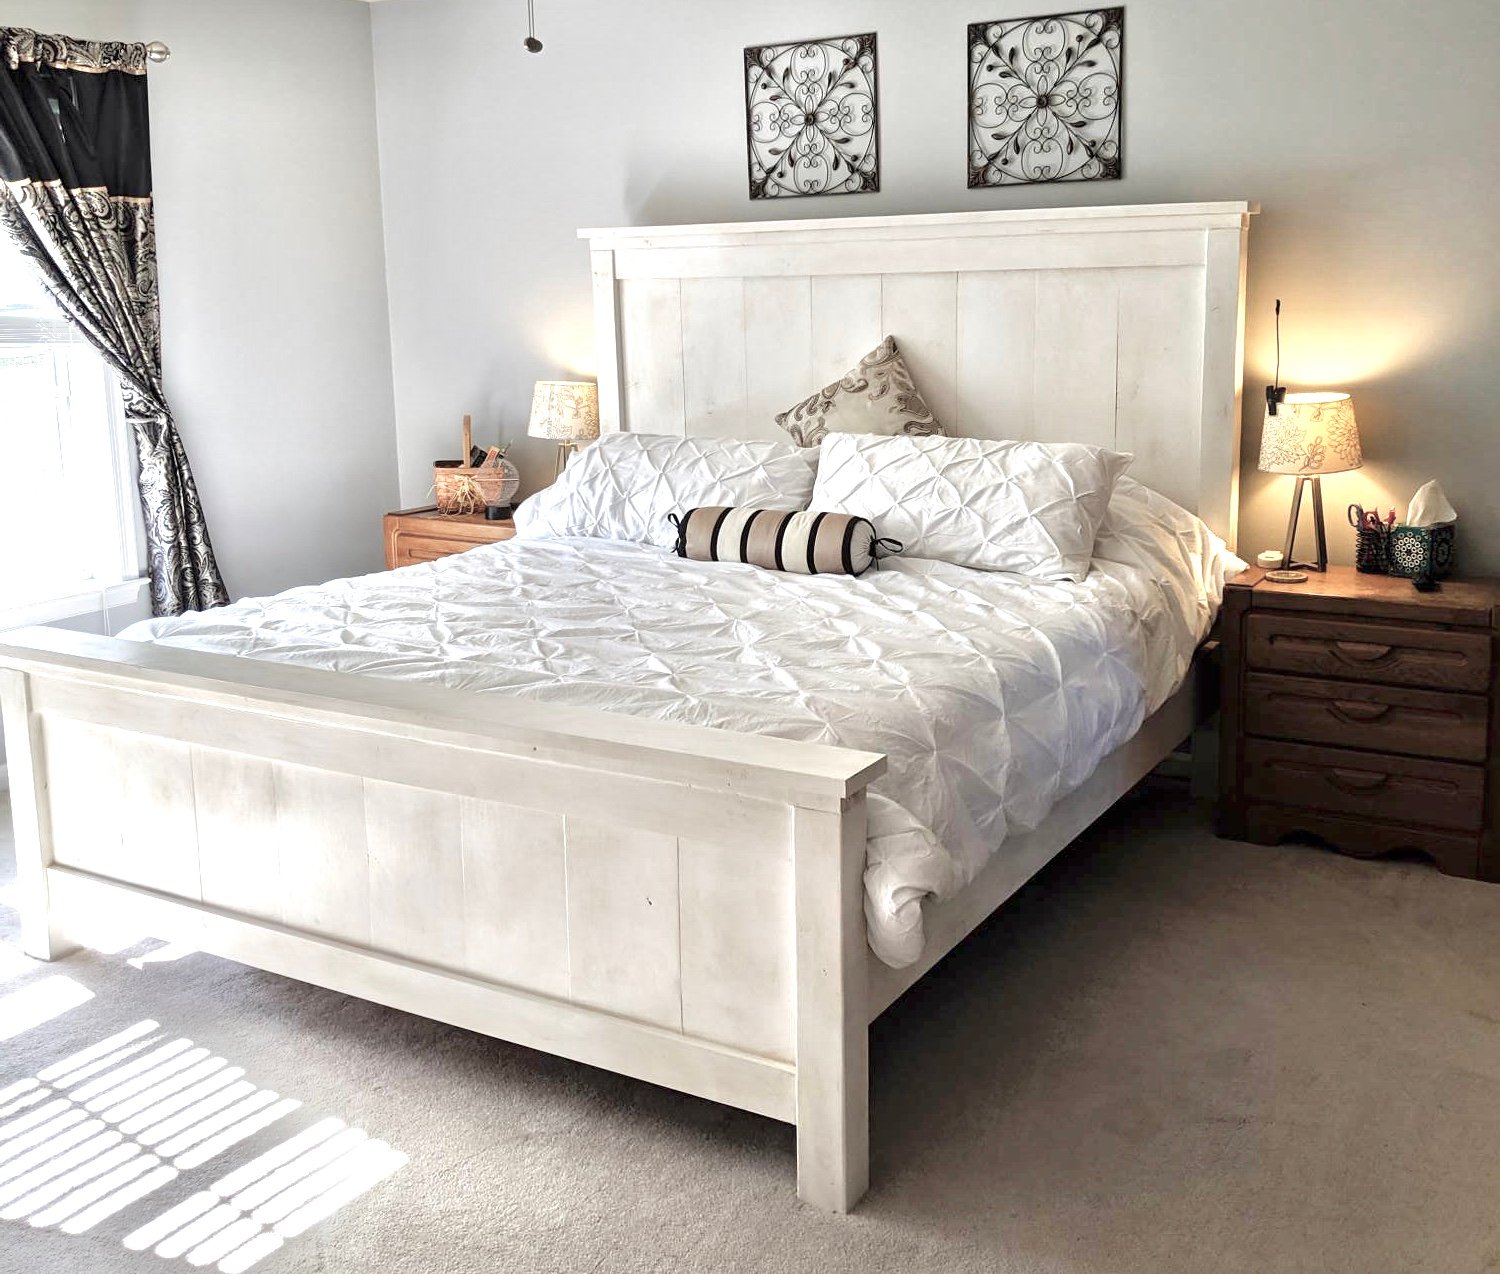
Made this bed from Ana's plans. Modified it with rail so I can add my box spring. Cost was approximately $160 for lumber, screws and stain. Absolutely loved the plans and easy to follow or modify if needed.

Built from Plan(s)
Estimated Cost
160.00
Estimated Time Investment
Afternoon Project (3-6 Hours)
Finish Used
Minwax wood conditioner, Minwax Special Walnut Stain
Recommended Skill Level
Intermediate

Comments

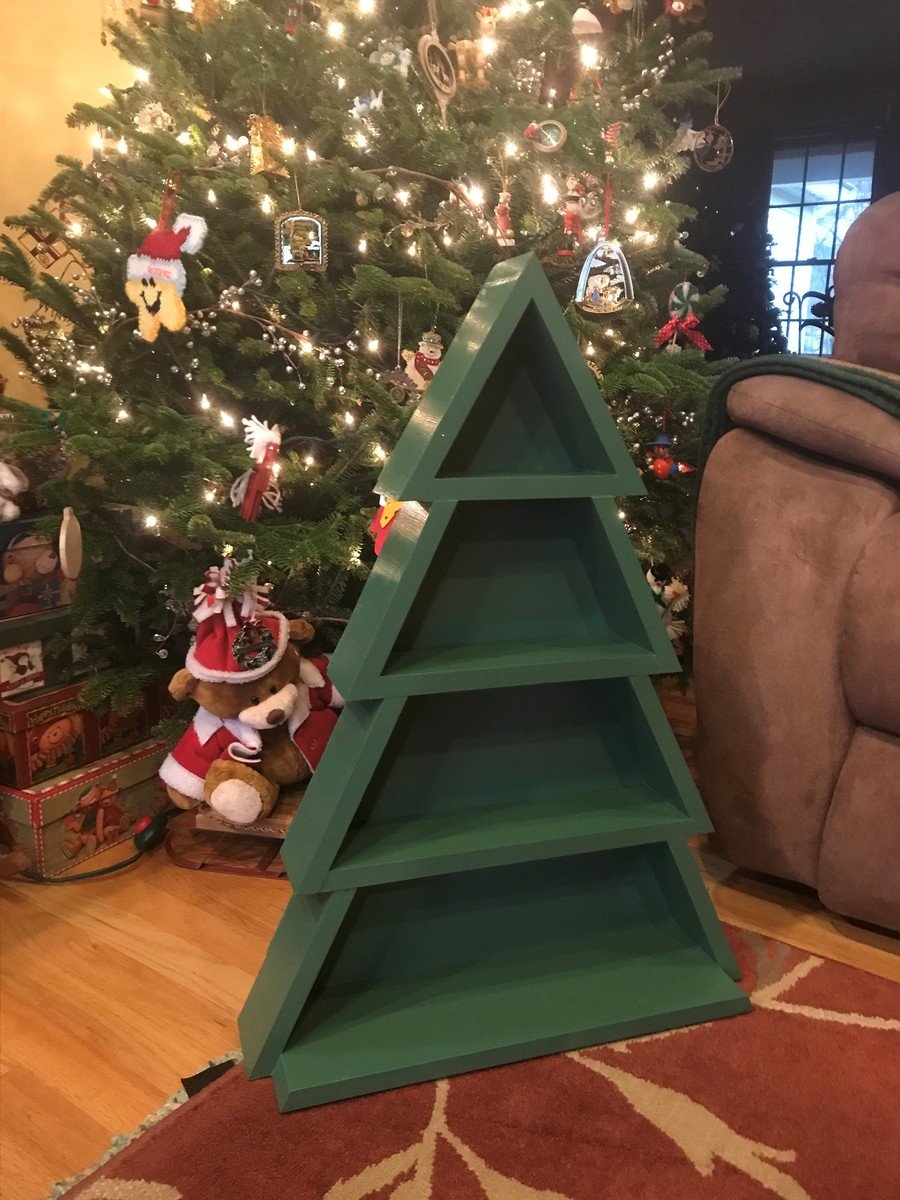
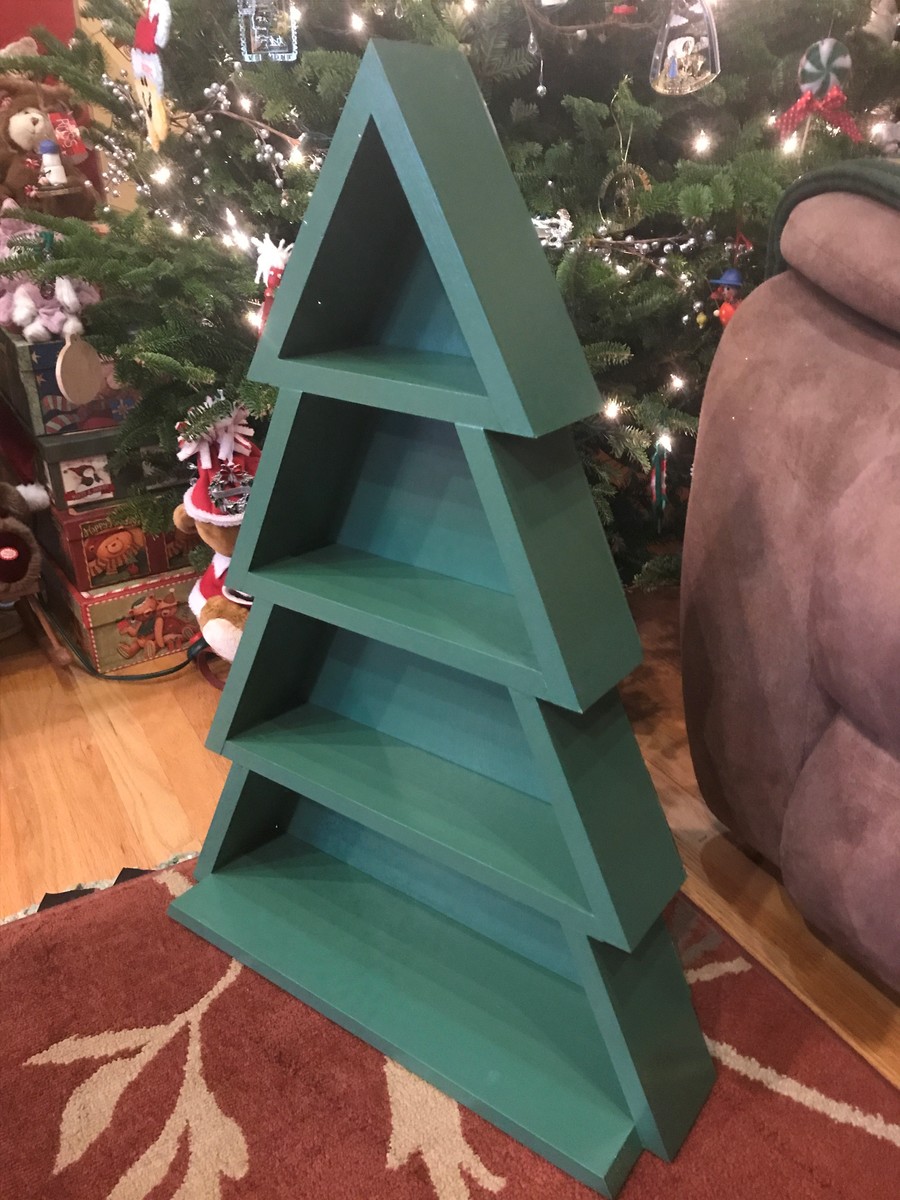
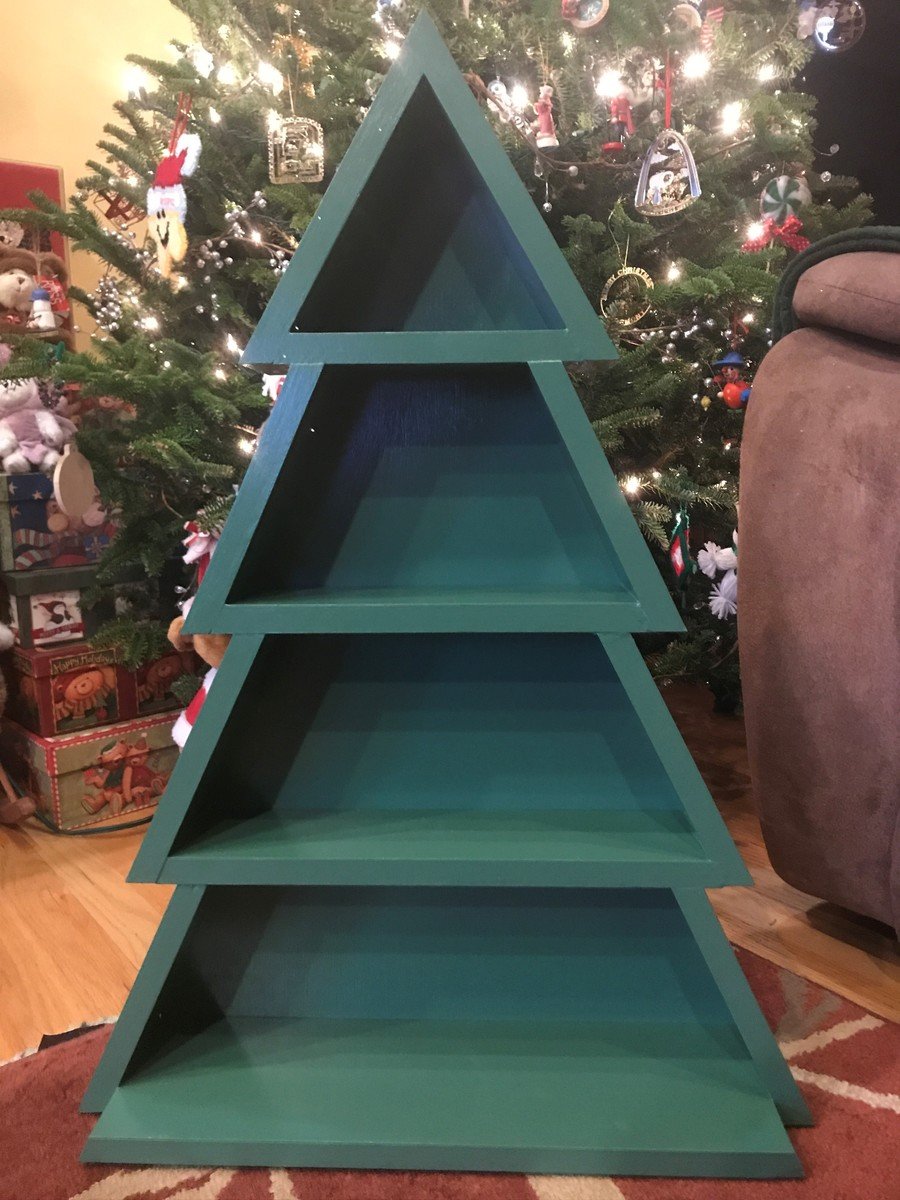
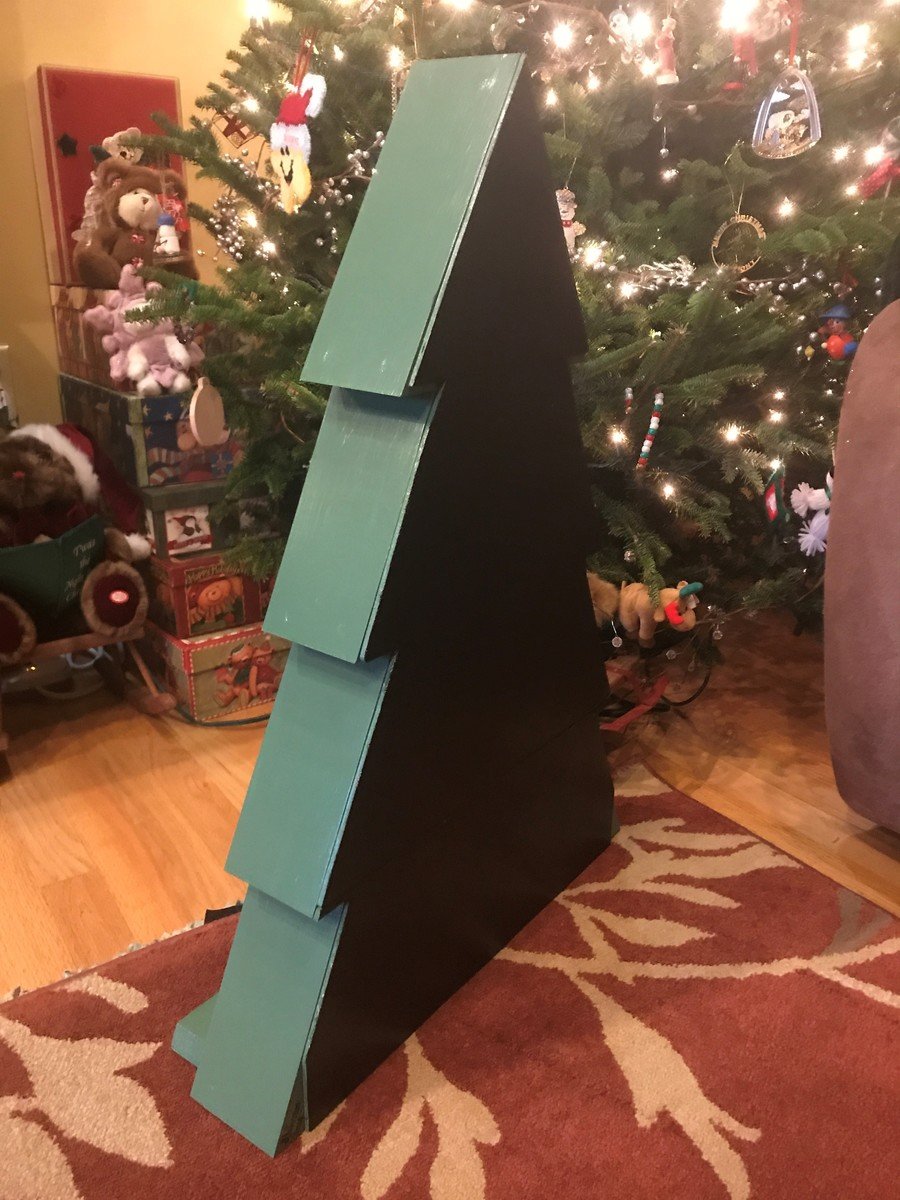
Christmas Tree Shelf

Submitted by bknjohnson on Fri, 12/21/2018 - 10:24

I found the Christmas tree shelf plans and since I had drawn my wife's aunt's name for this year I knew she'd appreciate this build.  I chose 1x6 top choice pine and a wider piece for the base since she may decide to set this on the floor instead of hanging it.  I also had some oak plywood I used for the back.  I screwed all the pieces together, countersunk and filled the screw holes with wood putty.  The paint I used was Benjamin Moore, the color was Balsam (567) and I really like how the color came out.  I painted the back and the bottom with standard black interior paint just to protect the wood a little.  I coated it with a couple of coats polycrylic and bought a couple of Christmassy items for the shelf to get her started.  Can't wait to see what she thinks on Christmas day.


This can easily be built in less than a weekend depending on your skill level.  I had to recut one of the boards when I caused some damage while putting it all together.  The sanding, painting and finishing takes as long as you want depending on the finish and care taken.

Built from Plan(s)
Estimated Cost
Less than $30.
Estimated Time Investment
Weekend Project (10-20 Hours)
Finish Used
Benjamin Moore paint (Balsam) and Minwax Polycrylic.
Recommended Skill Level
Beginner

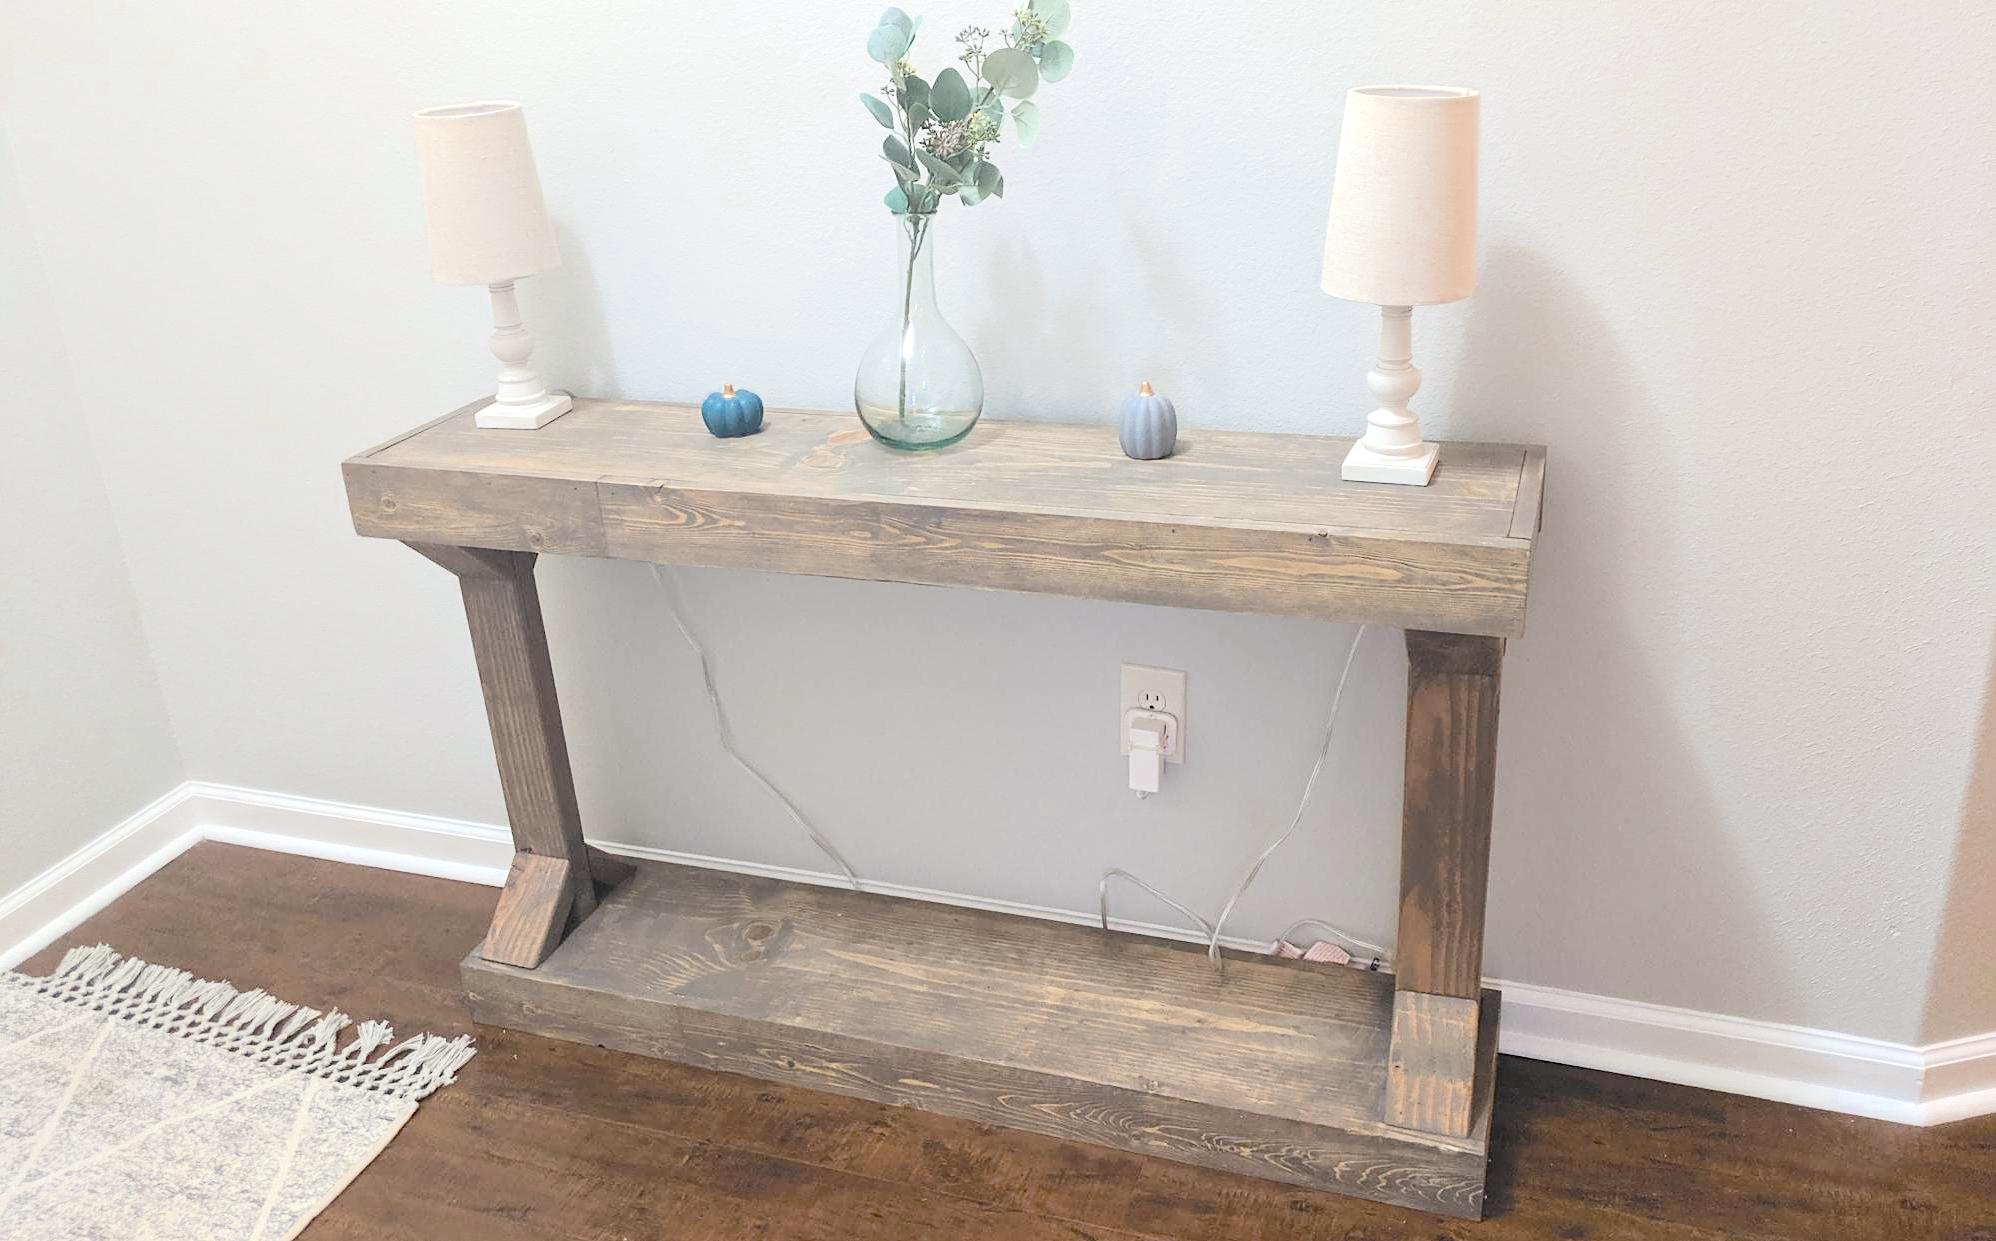
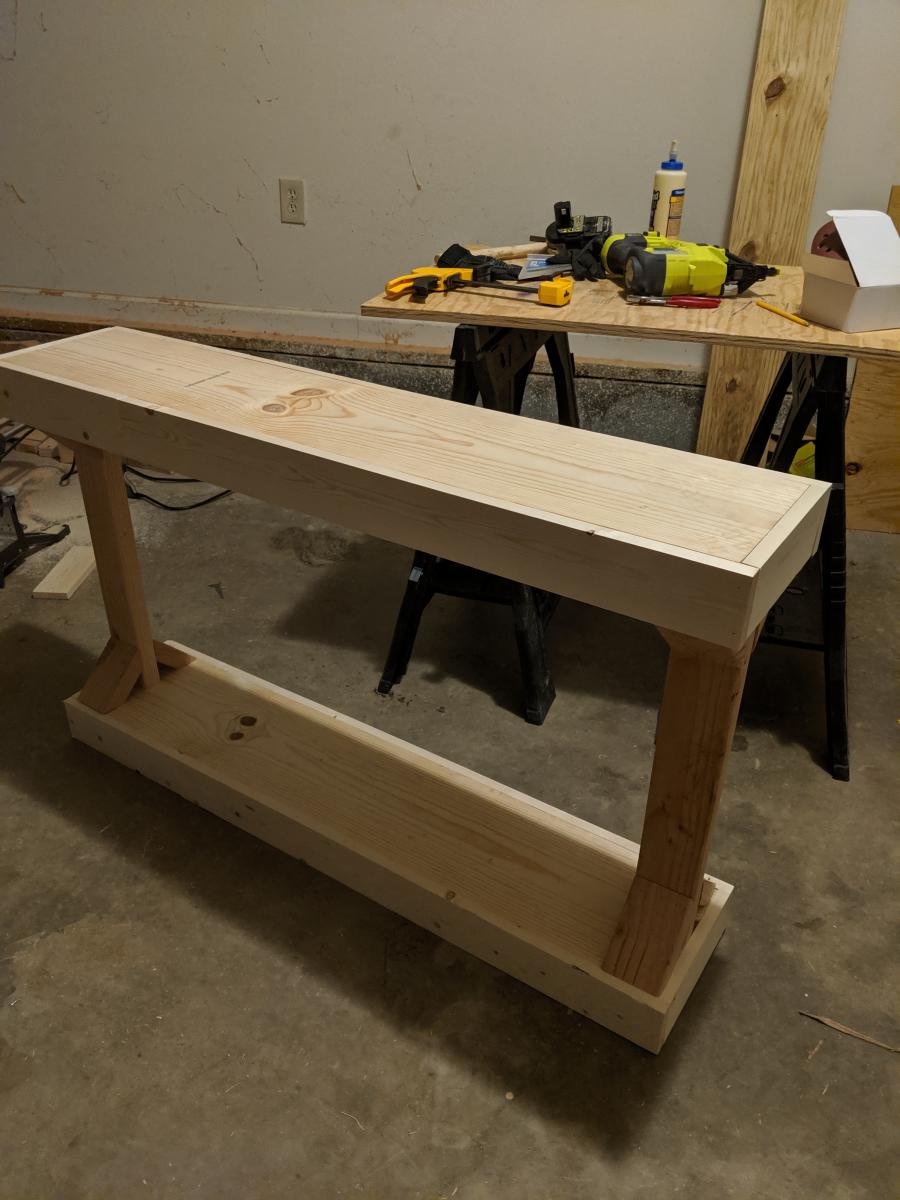
Modern Console Table

Submitted by Anonymous (not verified) on Thu, 10/31/2019 - 13:11

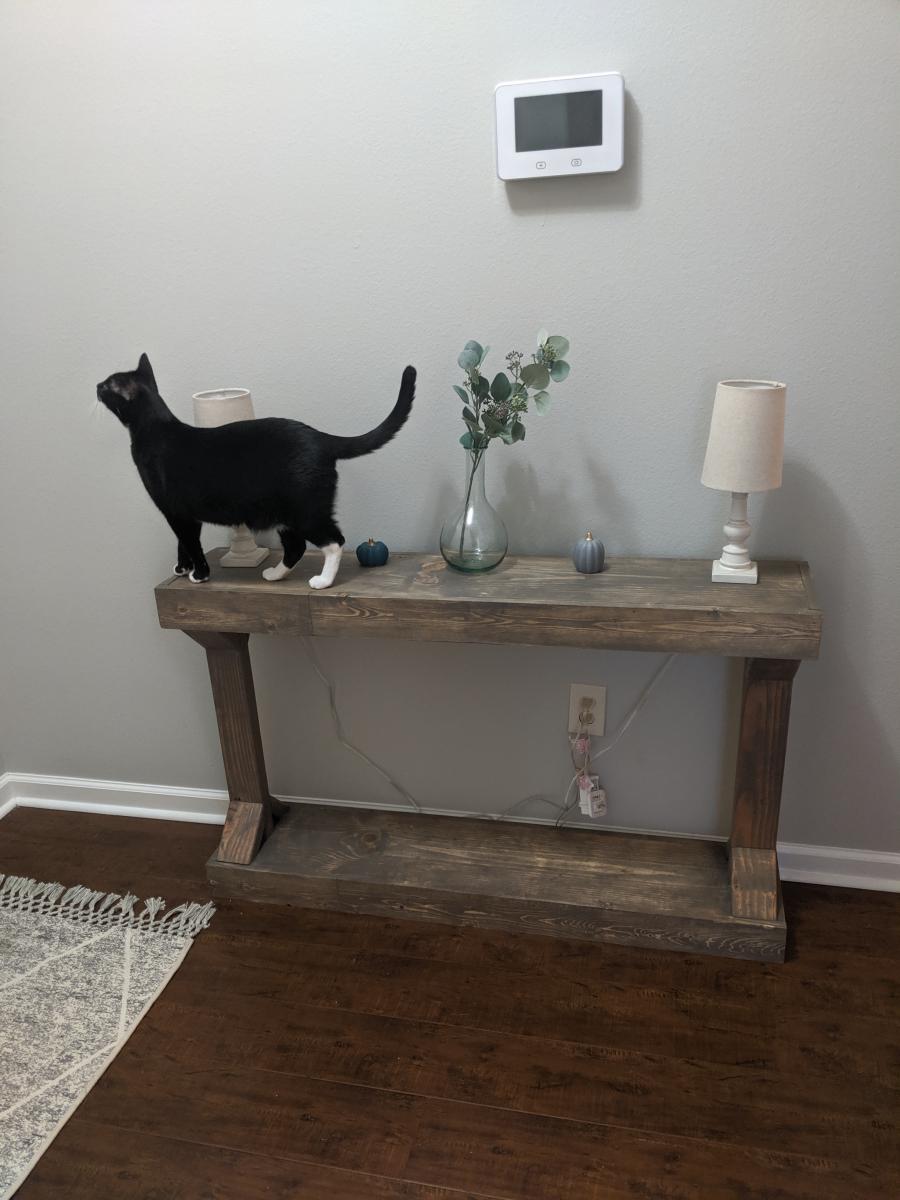
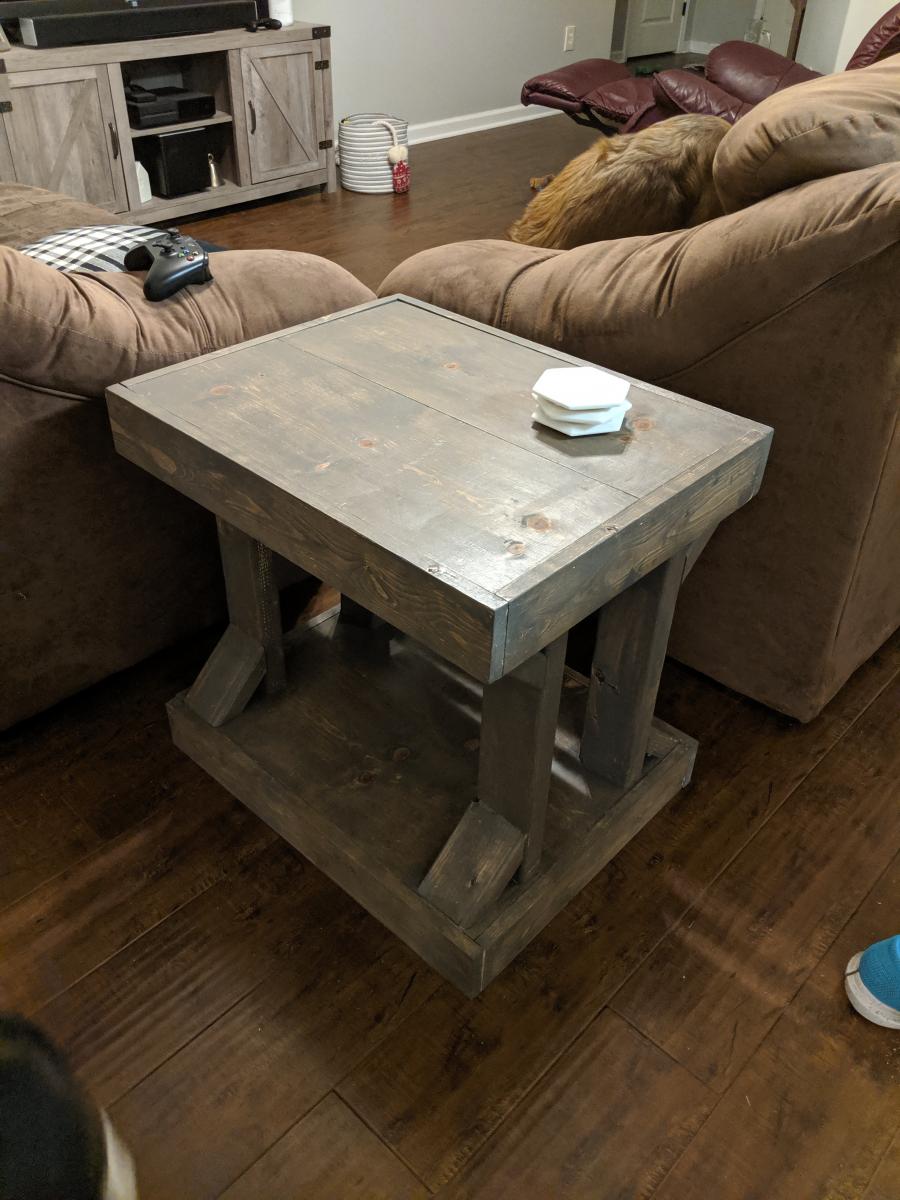
Made my table 4 feet on accident (forgot to cut the 1x10 boards down to 36" before attaching everything) but I kinda like the extra length. I also ended up making the matching side table.

Estimated Cost
$40
Estimated Time Investment
Afternoon Project (3-6 Hours)
Finish Used
Briarsmoke
Recommended Skill Level
Beginner

Comments

Mrs.Green

Fri, 04/10/2020 - 21:07

If I wanted to make this taller like 3×6ft what size wood would do I need? I want to make this stand for my daughters urn area. She passed away last month and I'm trying to make this perfect. The sooner the better.. Thanks! Love all your work..

Rustic X Console Table

Submitted by Anonymous (not verified) on Wed, 04/13/2016 - 17:17

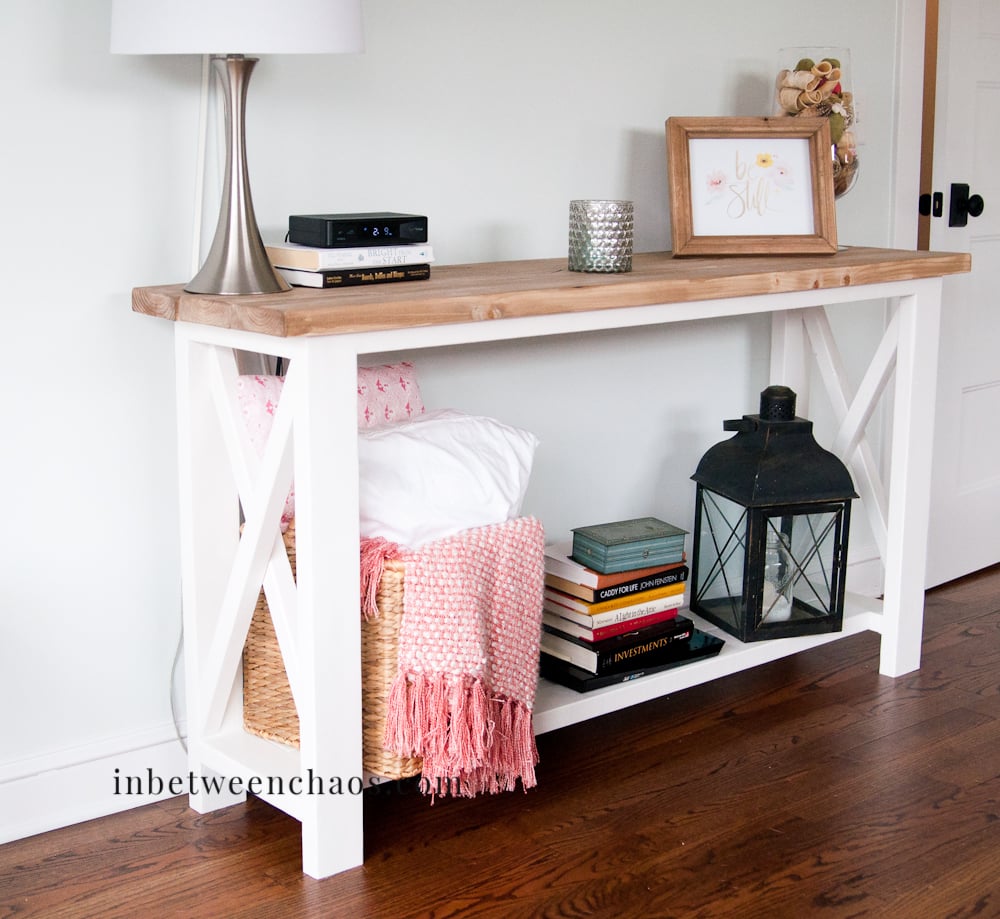
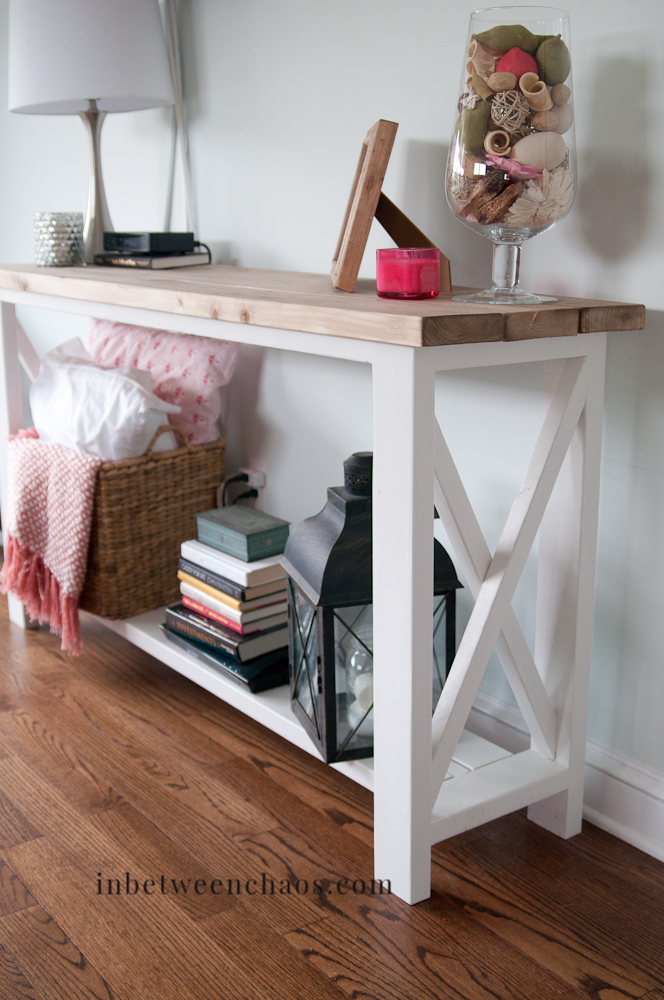
I've always loved the Xs in this table. I needed to make mine a little shorter, and I took out the middle shelf because I didn't need so much shelf space. But I love it. Thanks so much for the great plans!!

Built from Plan(s)
Estimated Time Investment
Weekend Project (10-20 Hours)
Finish Used
I used Sherwin Williams Pure White on the bottom and my stain technique on the top with Minwax Special Walnut. Check out the stain technique here. http://inbetweenchaos.com/2016/04/10/farmhouse-vintage-stain-technique/
Recommended Skill Level
Intermediate

Comments

Folding Work Bench

Submitted by Anonymous (not verified) on Tue, 08/11/2020 - 16:03

First build.

The plans and cut list were a tad off but I made a saw guide a cut it down from 36 to 24 after assembled.

I had HD do all my cuts but have since done my own!

Built from Plan(s)
Estimated Cost
Not sure bought tools, wood and hardware at same time ($160)
Estimated Time Investment
Afternoon Project (3-6 Hours)
Finish Used
None
Recommended Skill Level
Beginner

Pretend Play Stand

Submitted by Anonymous (not verified) on Thu, 11/14/2024 - 08:16

"I have realized that the very best learning comes through play- not the kind of “learning through play” that has become the trendy thing to say. But actual, self-initiated, self-directed, unstructured, free play.
Last week’s trip to the donut shop (first and probably last time! 😬🤭🤣) inspired this play scene with our Ana White play stand. My oldest practiced her graphic design and typing skills and designed the sign, my 4 year old scissor-loving boy cut out the fabric bunting to match, they practiced their customer service skills selling to each other, they counted and made change, they made up songs and rhymes about donuts, the baby tried to bite everything in sight pretending to eat donuts, they moved this around the house several times which involved some heavy lifting and serious teamwork... Real play doesn’t need checkboxes. - rootedchildhood

Built from Plan(s)
Seasonal And Holiday

Modified rustic table and benches

Submitted by dkarinen on Sun, 06/16/2013 - 21:09

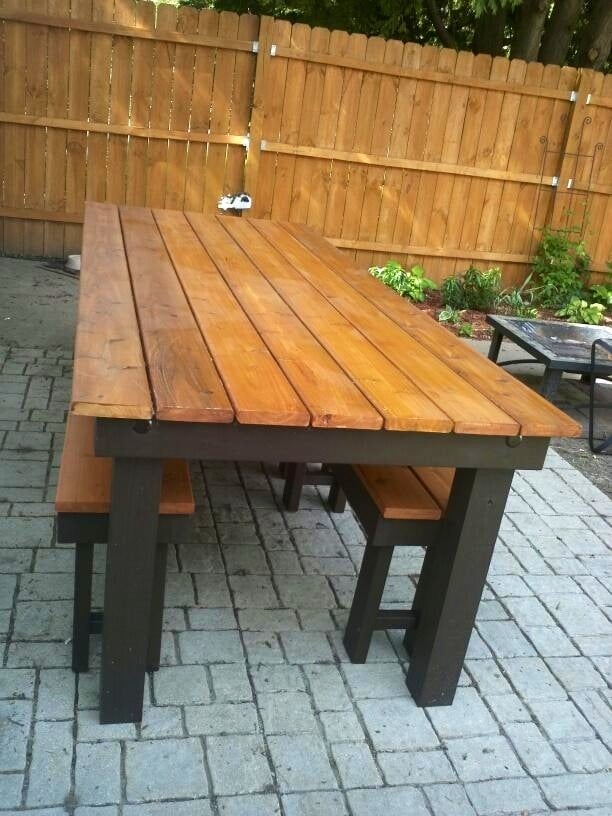
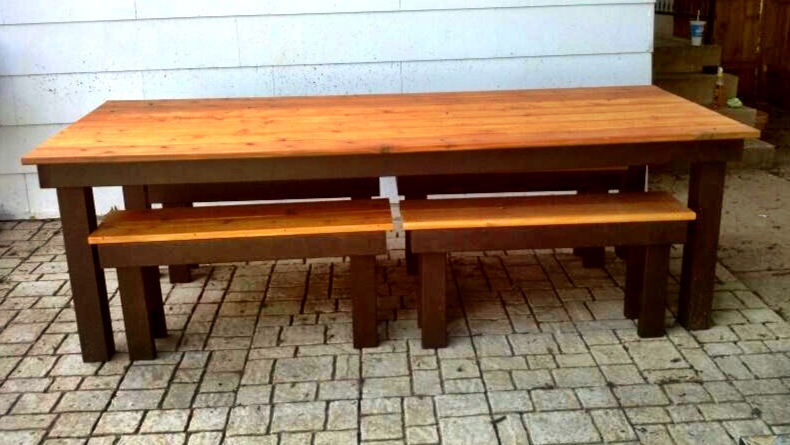
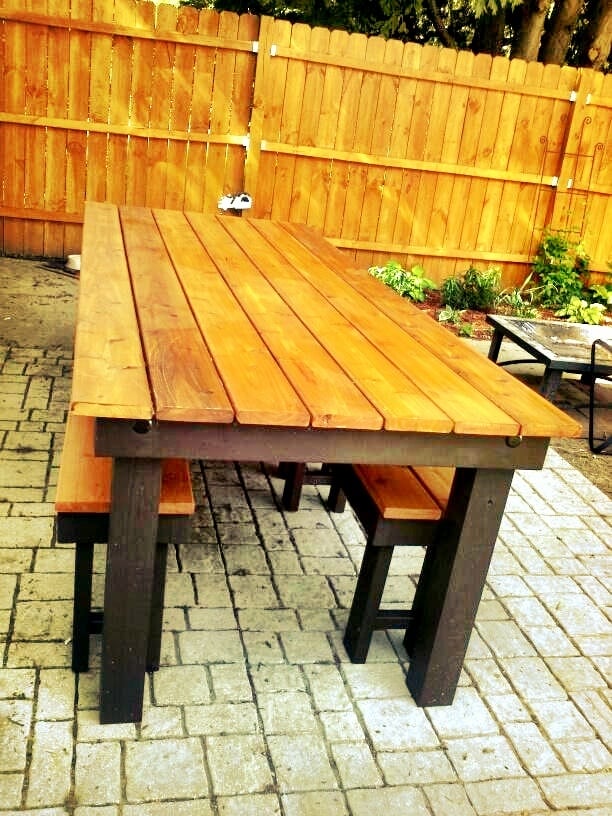
We built this table for my brother and new wife's wedding present. We modified it to use as an outdoor dining set. Instead of using the 1x10 for the tabletop we used 2x6's and for the legs we used 4x4's. We attached the top boards with a Camo fastening system we used last year on our deck (works great to conceal the screws). I stained the frame in Behr Cordovan Brown and the top boards in Behr Cedar Naturaltone. It was our first attempt at building a table and I think it turned out great, only problem was giving it away!

Built from Plan(s)
Estimated Cost
$300
Estimated Time Investment
Week Long Project (20 Hours or More)
Finish Used
Behr cordovan brown stain and Behr natural cedartone
Recommended Skill Level
Beginner

Comments

storchinsky

Mon, 06/17/2013 - 10:57

Very nice! I'd been considering this plan for my outdoor table, but my husband liked the modern farm table better. Same idea--I am leaving gaps to allow the water to drain. Love the two-tone finish! It's amazing what you can do with plain old 2 x 6s!

The perfect sewing table!

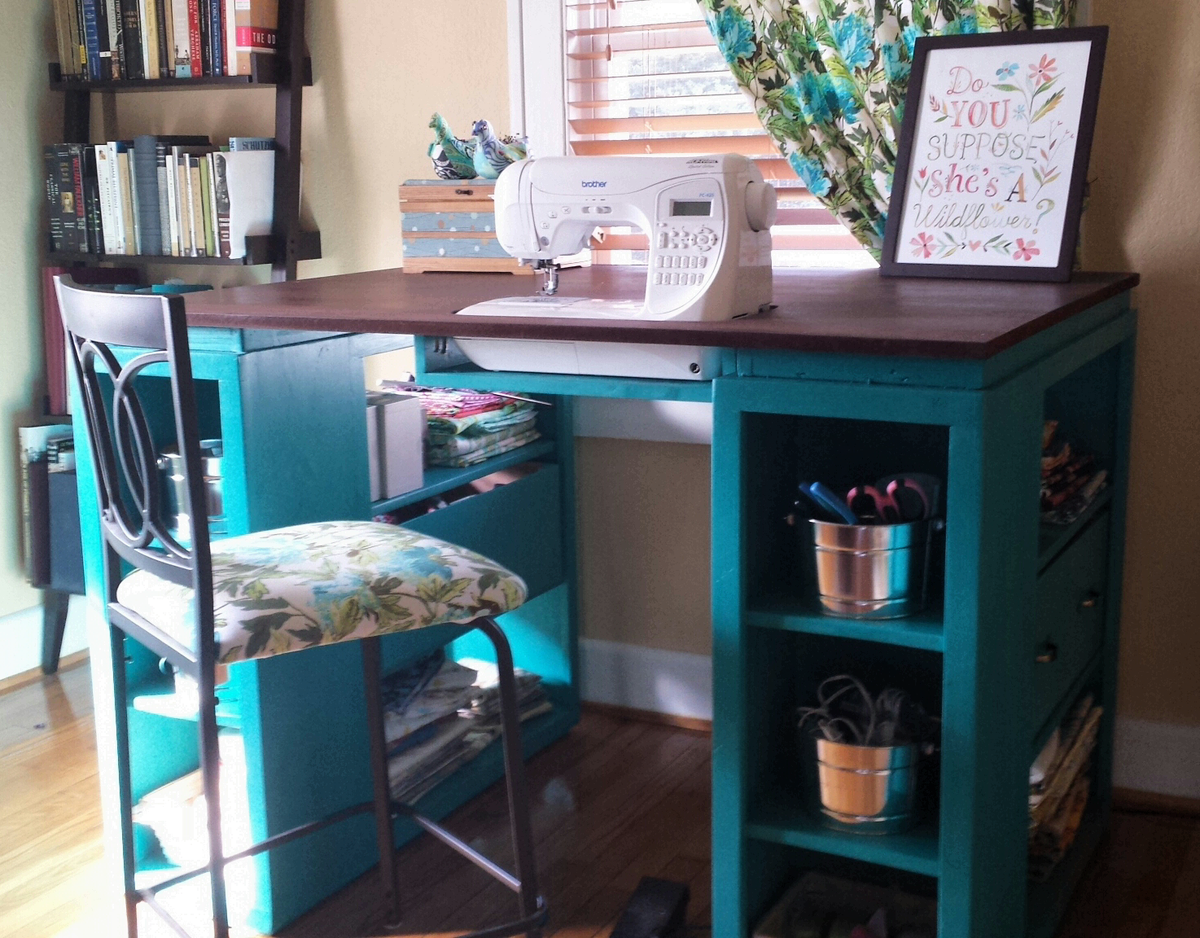
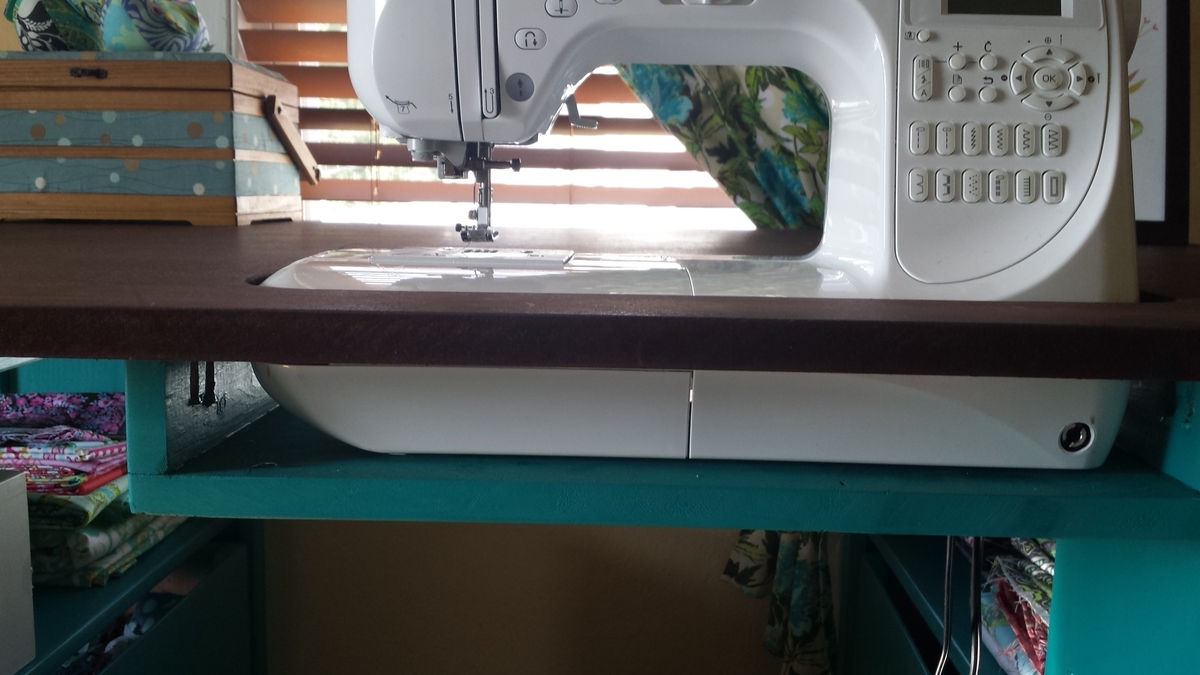
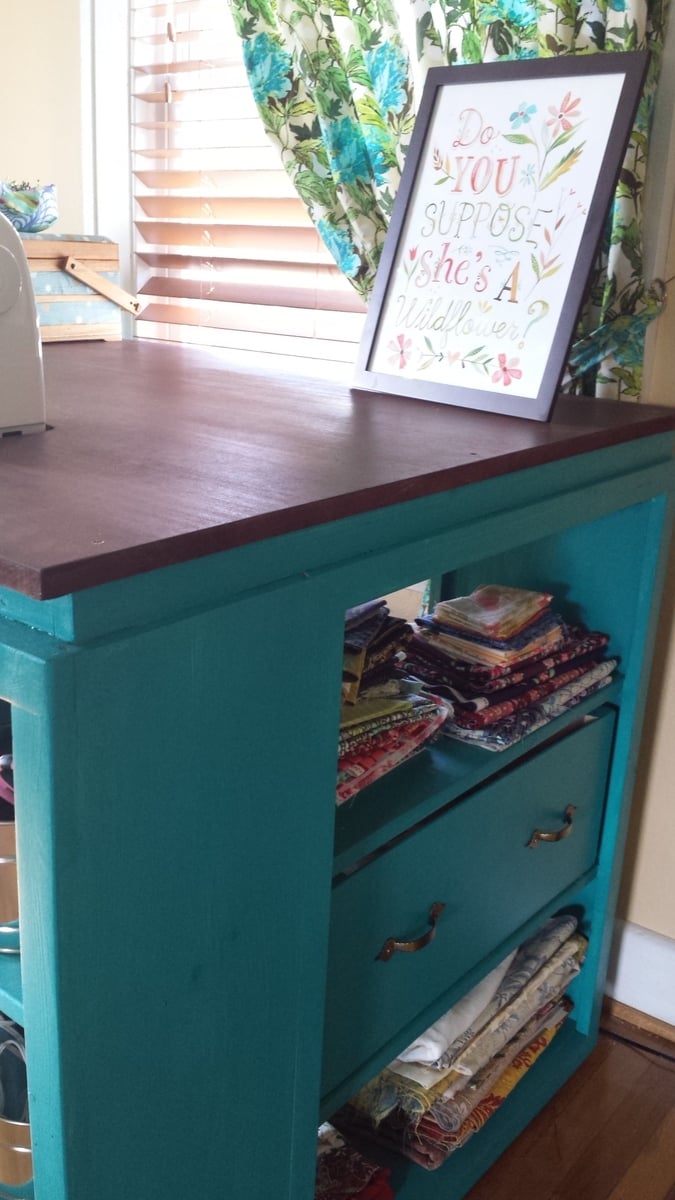
I have been looking at sewing furniture for years, but the prices always made my jaw drop. I have a small craft room, so I needed a table that could also triple as a cutting table and fabric storage. Thank you so much to Ana White for this plan! I built exactly to the plan in The Handbuilt Home, and it's the PERFECT size.

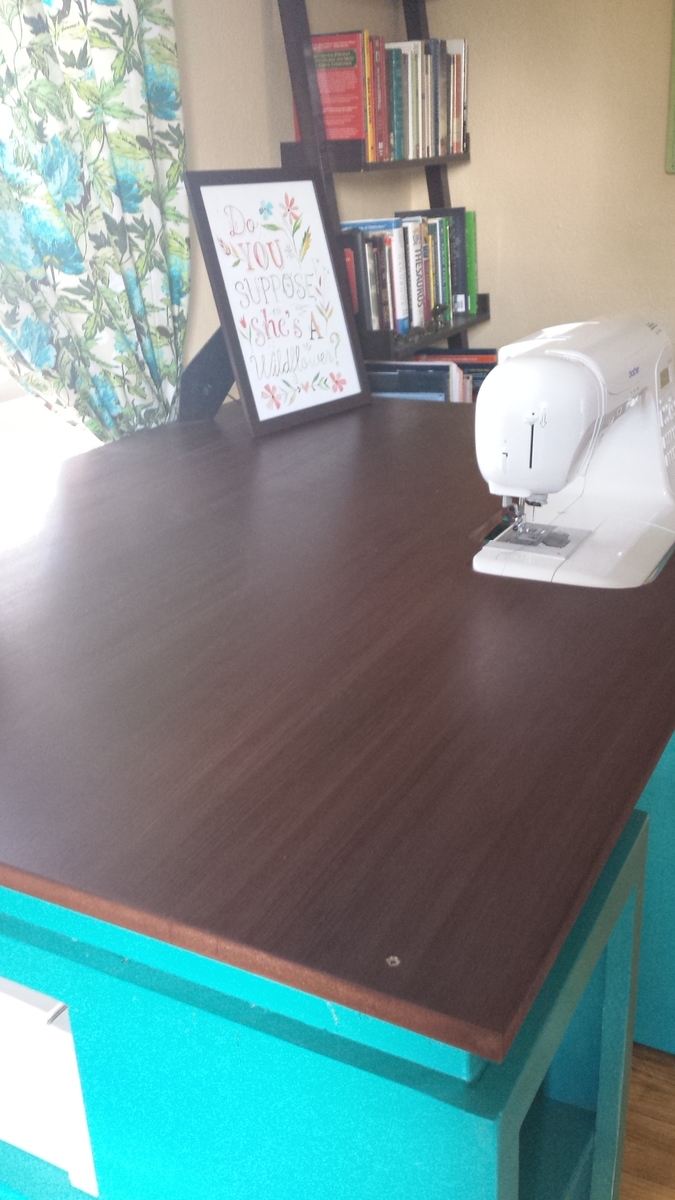
So the sewing machine can sit flush with the top, making working on big sewing projects way easier, I traced the outline of my machine on the MDF and cut it out with a jig saw. Then I built a small shelf using a 1x12 scrap and 2 1x3 scraps. Putting the 1x3s on top of the 1x12 made the shelf 3.75 inches deep, which is exactly the depth I needed. I attached it to the underside of the tabetop using a pockethole jig and screws.

I built 2 boxes using 1/4 inch plywood, and installed drawer pulls on them, giving the illusion that the table has 2 drawers built in. This is where I keep my ugly stuff--interfacing and fabric scraps.

I got the color scheme for the table from the entryway console plan in The Handbuilt Home. In order to make the MDF top look like it had a wood grain, I applied mahogany gel stain with an old washcloth in very thick strokes that spanned the length of the tabletop. It soaked in and lost the "grain" look in some places, but the majority still looks like wood. I did have to apply several coats of polyurathane over the stain; the MDF has a prickly texture that grabs fabric and makes it hard to feed through the sewing machine.

My only complaint is that I didn't quite think through the fact that seating is bar height and I'm 5'7". It's a little difficult to reach my sewing machine pedal. I may build a small stool for the pedal to sit on so I don't have to half sit/stand to sew.

This is the first woodworking project I've done alone from start to finish: from going to Lowe's and picking out the wood, to cutting the wood with a circular saw, assembly, and finishing. (My fiance did carry it up the stairs for me. :) )

I'm so in love with this table! And now to finish the quilt I started 6 months ago....
Built from Plan(s)
Estimated Time Investment
Week Long Project (20 Hours or More)
Finish Used
I used 2 coats of Valspar Signature paint in Laguna Beach, and Minwax mahogany gel stain on the MDF tabletop.
Recommended Skill Level
Intermediate

Comments

MissMehndi

Mon, 09/23/2013 - 15:22

I love this idea!! I too have wanted a sewing table for a long time but the prices of them take my breath away. I may have to make myself one! Thanks for the inspiration!!

Kids Adirondack Chair

Submitted by Radcrafter on Tue, 09/27/2011 - 14:46

The Kids Adirondack Chair. I love these little chairs! Simple and easy to build. This one was a birthday present for my niece's daughter. Read more about this project on my blog.. Thanks Ana!!

Built from Plan(s)
Estimated Cost
under $20
Estimated Time Investment
Weekend Project (10-20 Hours)
Finish Used
Behr Deck Stain in semi-transparent Sand Beige
Recommended Skill Level
Beginner

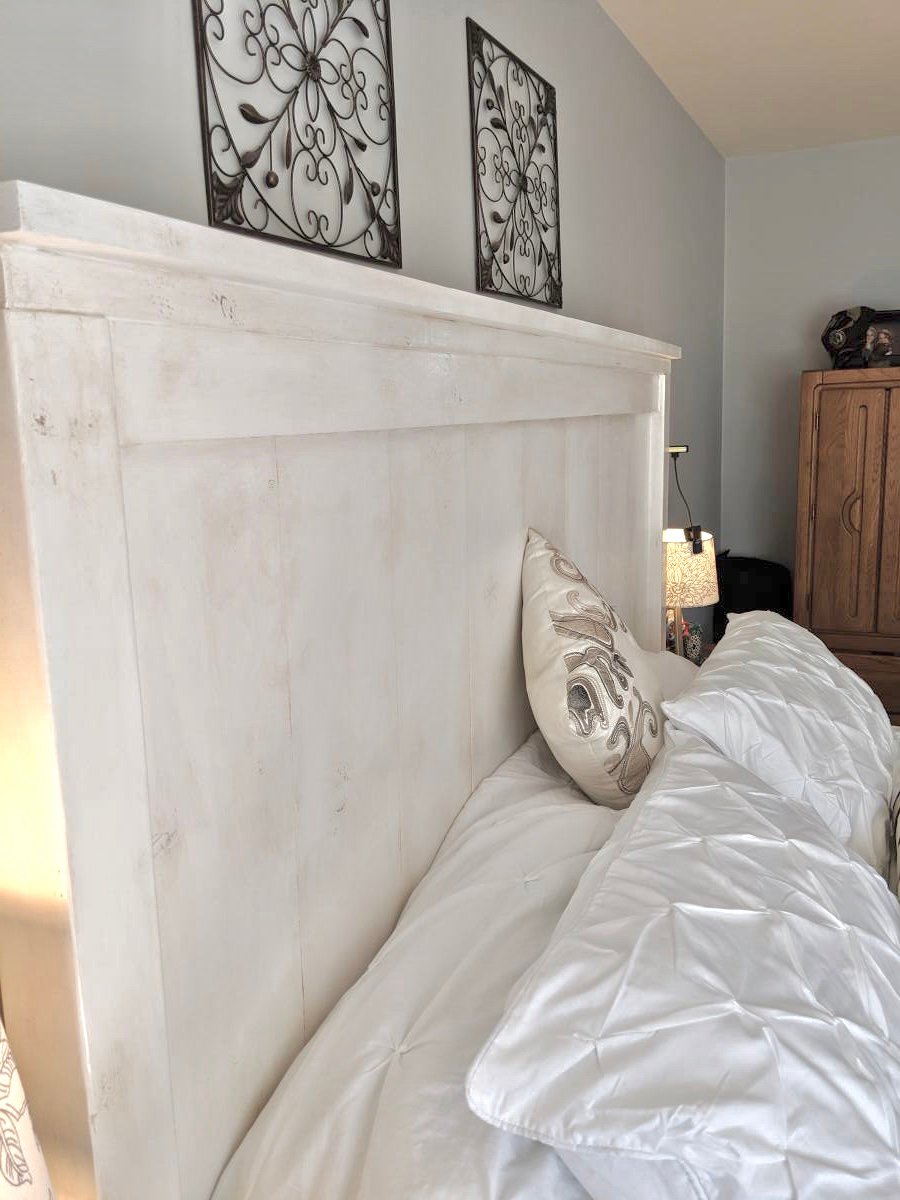
King Bed Frame for adjustable base

Submitted by Anonymous (not verified) on Tue, 10/08/2019 - 05:50

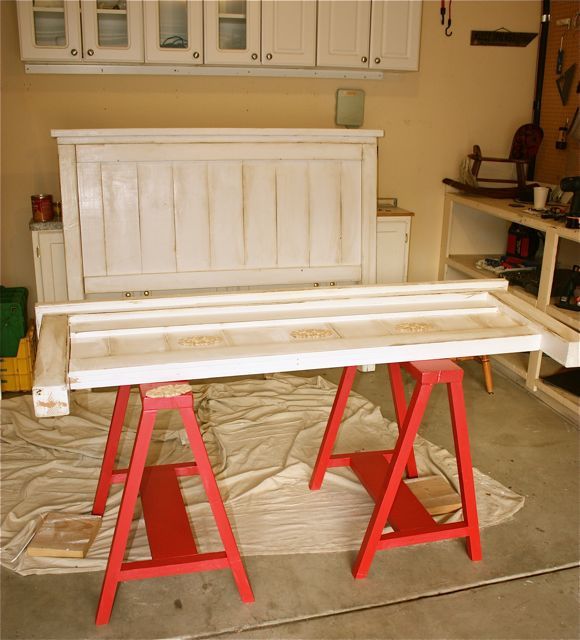
I could not find a frame which would accommodate my new adjustable king base. Modified Anna's plans by increasing the height of the headboard and footboard. Finished with chalk paint and antique finish for a rustic look. Side rails attached with mortises to allow for moving bed in 4 pieces if needed. Love my new bed
Estimated Cost
$300
Estimated Time Investment
Weekend Project (10-20 Hours)
Finish Used
Chalk paint (purchased from Habitat for Humanity re-store) using recycled paint. Finished with three coats of Annie Sloan wax
Recommended Skill Level
Intermediate

Comments

khowe791

Sat, 11/30/2019 - 03:31

Hi! We are making this headboard this weekend. We want to increase the headboard height and footboard as well. Do you happen to know the cut measurements or how you adjusted the height of the 1x6 (or 1x8 as others used) to make it work? Yours looks perfect! Thank you in advance for any feedback! 

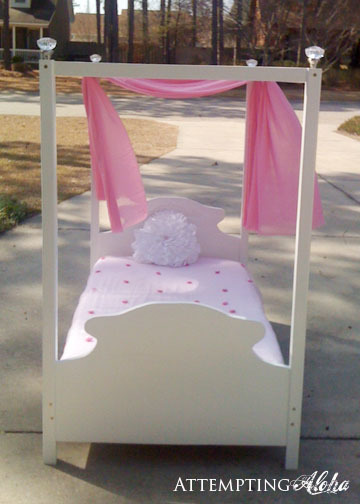
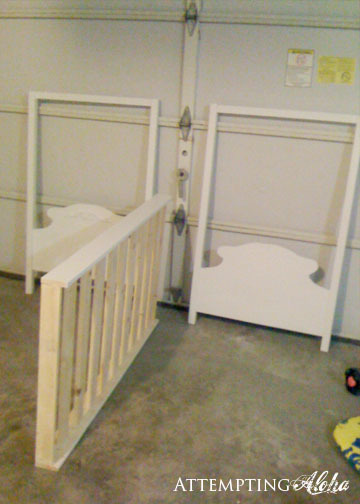
Toddler Canopy Bed

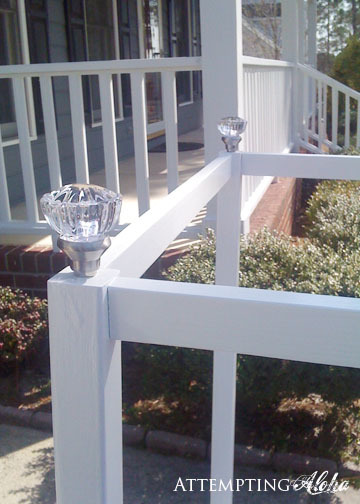
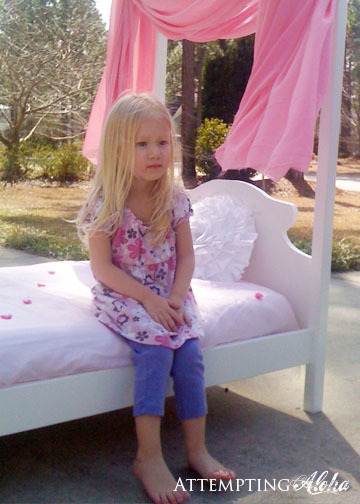
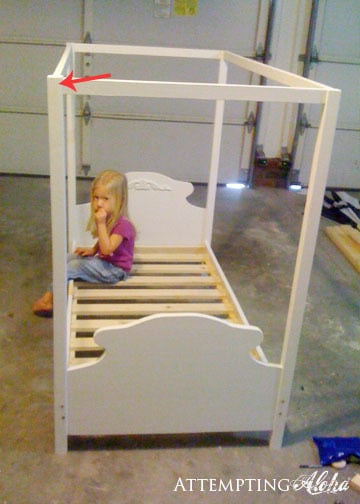
I designed and built this canopy bed without knowing Ana had already done a toddler canopy bed! Talk about reinventing the wheel. I should have known she already had plans up. ;)

Full plans are on my site, but I thought I'd add this as a brag post instead of a project plan since Ana's plans are already here. They're different, but the end result is very similar!

Built from Plan(s)
Estimated Cost
$20-50 depending on paint and finish supplies on hand
Estimated Time Investment
Afternoon Project (3-6 Hours)
Finish Used
Zinsser water-based primer, semi-gloss latex paint, and polycrilic topcoat.
Recommended Skill Level
Beginner

Small Balustrade Coffee Table

Submitted by mmadden20 on Sat, 02/22/2020 - 12:33

This might be my favorite build yet! We made some minor modifications to the plan since we only needed a 2’ x 3’ table. The legs were ordered from Osborne Wood - delivery was super quick and they make the table! The plan was easy to follow. I still can’t get over how much I love the final product!

Built from Plan(s)
Estimated Cost
$200
Estimated Time Investment
Day Project (6-9 Hours)
Finish Used
1 coat of special walnut and 1 coat of weathered grey. I used a wipe on poly for the legs and water based triple thick satin finish poly for the surfaces.
Recommended Skill Level
Intermediate

Farmhouse Table

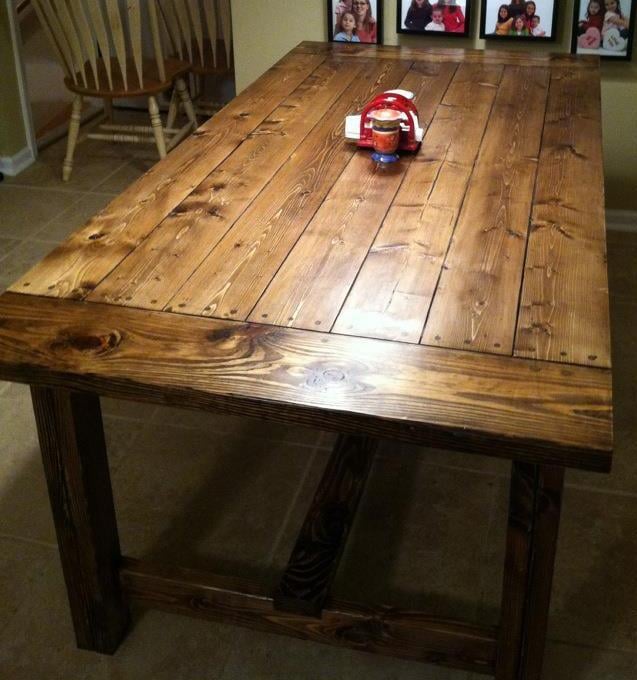
Farmhouse table from plans. Shortened length to 6.5 feet to fit our area. Good plans.

Estimated Cost
$90
Estimated Time Investment
Day Project (6-9 Hours)
Finish Used
Minwax oil-based Dark Walnut with two coats of brush-on poly all around. One additional coat of brush-on poly on the top followed by one coat of wipe-on poly.
Recommended Skill Level
Beginner

Comments

lipstickandsawdust

Mon, 05/14/2012 - 07:39

Very nice, nice stain work as well. I also really love the "filled" screw holes. I think it gives it so much character. I too have made this table and wanted the markings to show through. Thumbs up!

Debi_G (not verified)

Sun, 06/10/2012 - 16:30

Love it. Planning to make one for our new house once we get settled.

Joyous_Jems

Fri, 02/15/2013 - 10:40

Just go to the blue bar above Ana's picture at the top of the page where it says "plans" and type in the kind of table you're interested in. Prepare to drool over all the gorgeous furniture and projects!

Queen Loft Bed

Submitted by christy on Tue, 05/22/2012 - 07:54

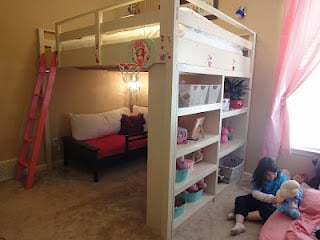
I made this bed for my 6 year old daughter. I loved Anna's Loft Bed plans, but she wanted a bigger play area underneath. So I modified the twin loft bed plans to fit a queen mattress. I also added extra supports for the mattress, and I used PureBond plywood on top of the supports for the mattress to sit on.
That's the Farmhouse Toddler Bed underneath. My younger daughter inherited her big sister's twin bed, so the toddler bed was put to use in the new "playhouse."

Estimated Time Investment
Week Long Project (20 Hours or More)
Finish Used
I sanded the wood and primed it. Then I sanded (lightly) again and painted it with Valspar latex enamel in Gloss Almond.
Recommended Skill Level
Intermediate

Comments

Neatha (not verified)

Mon, 08/20/2012 - 13:04

Do you have your modified plans still? I don't know where to begin with editing the originals. I am moving and we have limited space I need to place a desk under and queen sized bed but my ceilings are only 8ft.

Lindsay (not verified)

Sun, 09/02/2012 - 12:45

I think it's great that you modified it to a queen! I live a studio and NEED something like this. Could you share the modifications? It looks beautiful = )

christy

Sun, 09/02/2012 - 20:58

The changes I made were:
End planks cut to 63"
Top back guard and front and back rails cut to 87"
The top guard rails on ends cut to 66"
I measured for the mattress supports and the front guard rail after the rest was completed.
You should also measure for the bookcases after the rest is completed, but each of mine wound up being about 31" wide.

Everything else was pretty much the same.

Hope that helps.

dbai (not verified)

Thu, 11/01/2012 - 08:24

This is wonderful - I've been looking to make something like this for an urban efficiency (adult) apartment! Thanks so much for sharing your modifications!

gmur589

Mon, 07/29/2013 - 14:08

Will the height of the bed allow for adults to stand under it? If not what modifications should be made to make the height fit a standing adult? (the highest being 6'1" male) Thanks! =D

etb1999

Sun, 10/06/2013 - 08:23

Hello, about how much did it cost you to make this?
THANKS

NicoleLance0826

Fri, 09/19/2014 - 12:30

Hey Christy I was wondering if you could send the plans for upgrade to queen size. I cannot pull up the changes. Thank You. Im sure its not to many changes.

pretty-prima

Thu, 03/24/2016 - 16:52

Hello! I would like to build this queen sized bed, could you give me a cost estimate? I don't have any wooden planks sitting around so I would have to buy them all new.

Shanty 2 Chic Cabinet

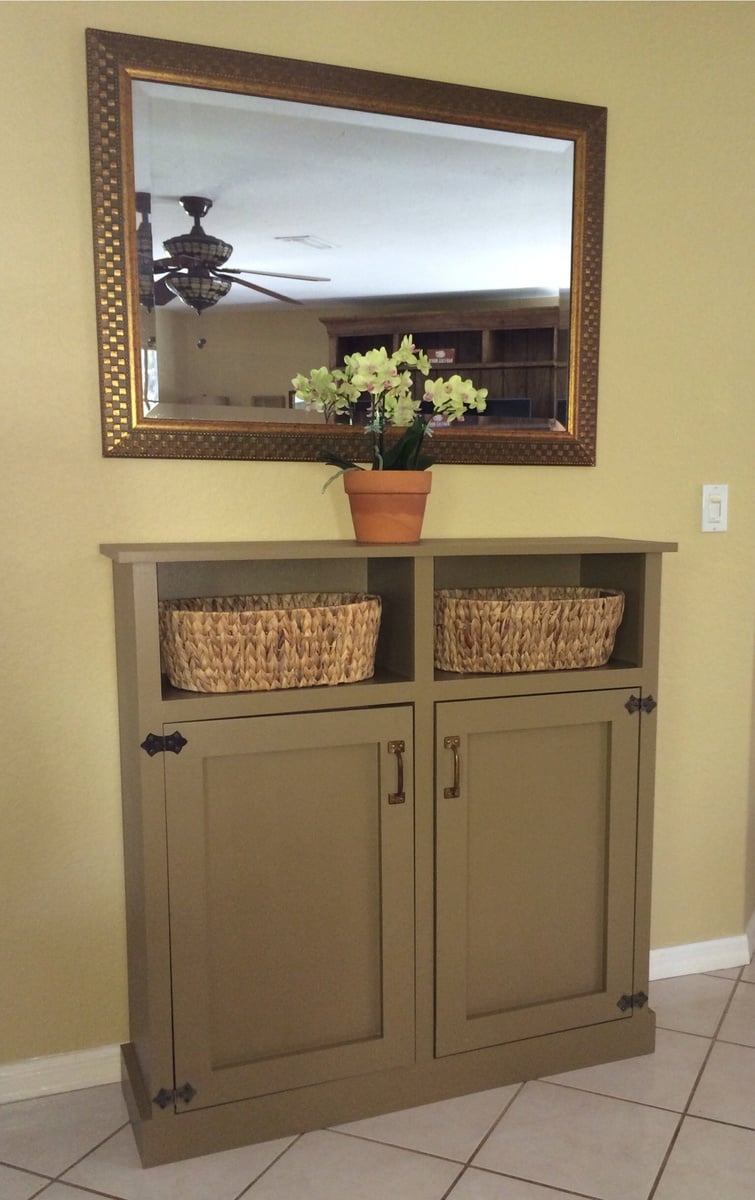
This is my first furniture build!!! I needed a narrow cabinet (from the wall) and found the plans on your site from Shanty2Chic. I LOVE this cabinet and I LOVE the Shanty girls along with you Ana! I finally put the doors on after I found the handles at a restoration store. I needed to make something 42.5" wide to fit under the mirror so I adjusted the length & height measurements of the original cabinet. This cabinet is 42.5W x 43H x 13D.

Built from Plan(s)
Estimated Cost
Less than $100
Estimated Time Investment
Weekend Project (10-20 Hours)
Finish Used
This cabinet was primed then painted with a Martha Stewart color called Spud (Glidden, satin finish) then I put a few coats of Polycrylic over the paint. I lightly sanded between the polycrylic coats.
Recommended Skill Level
Beginner