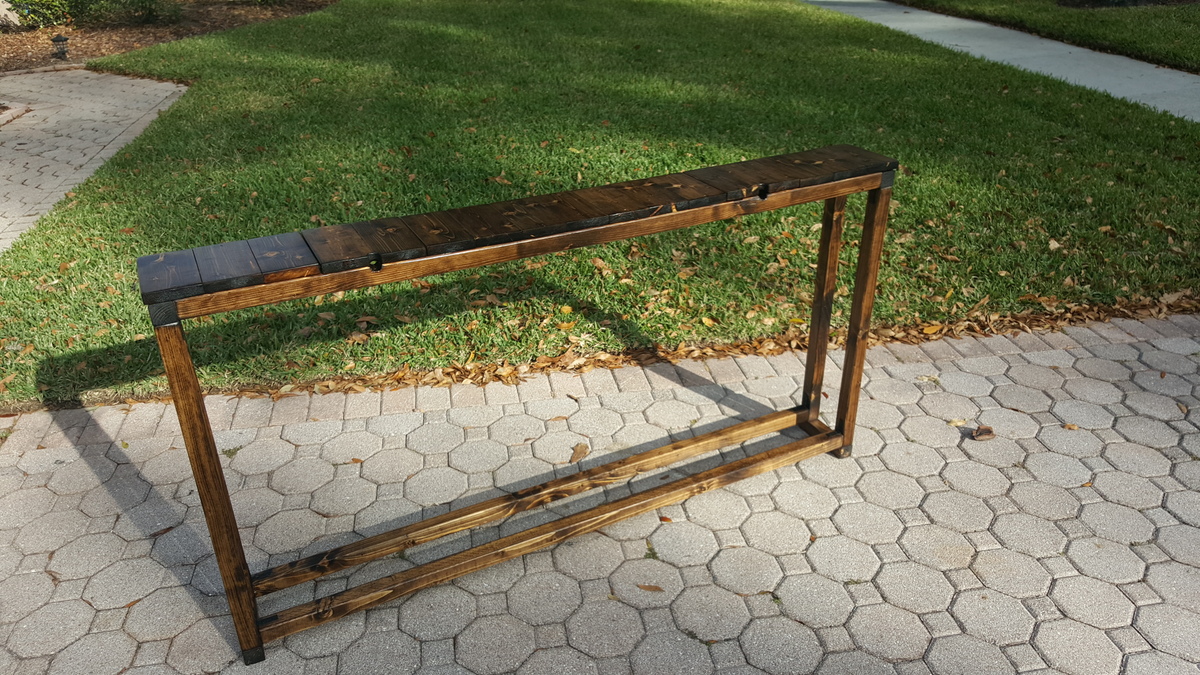
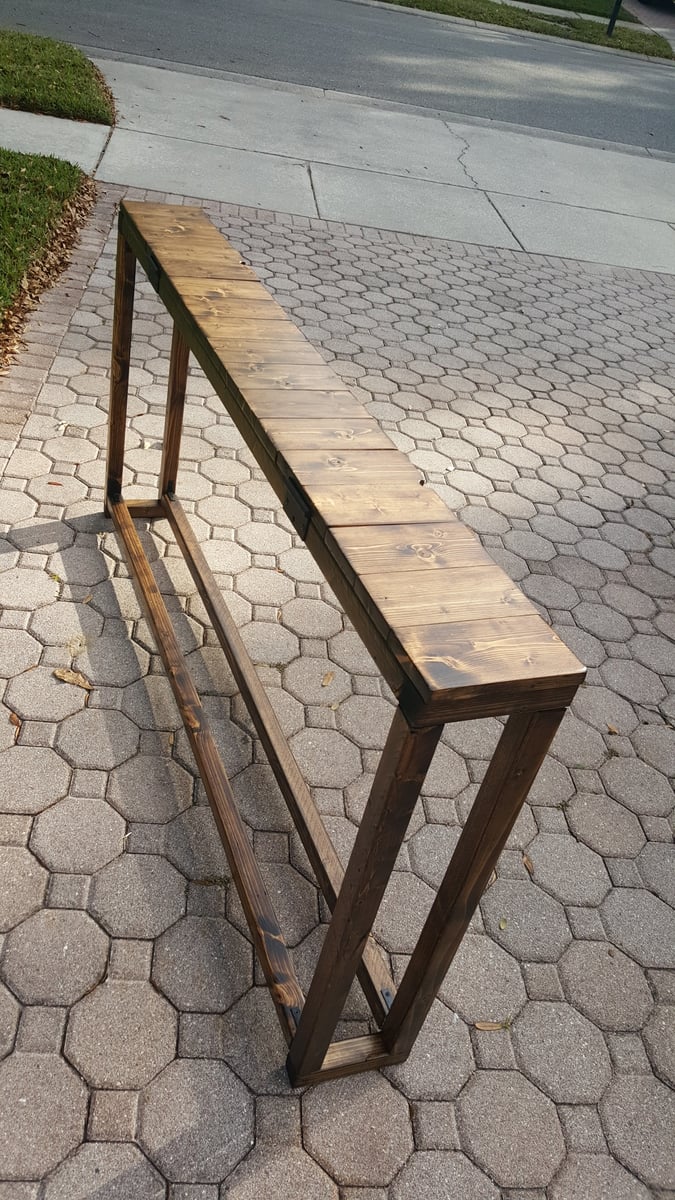
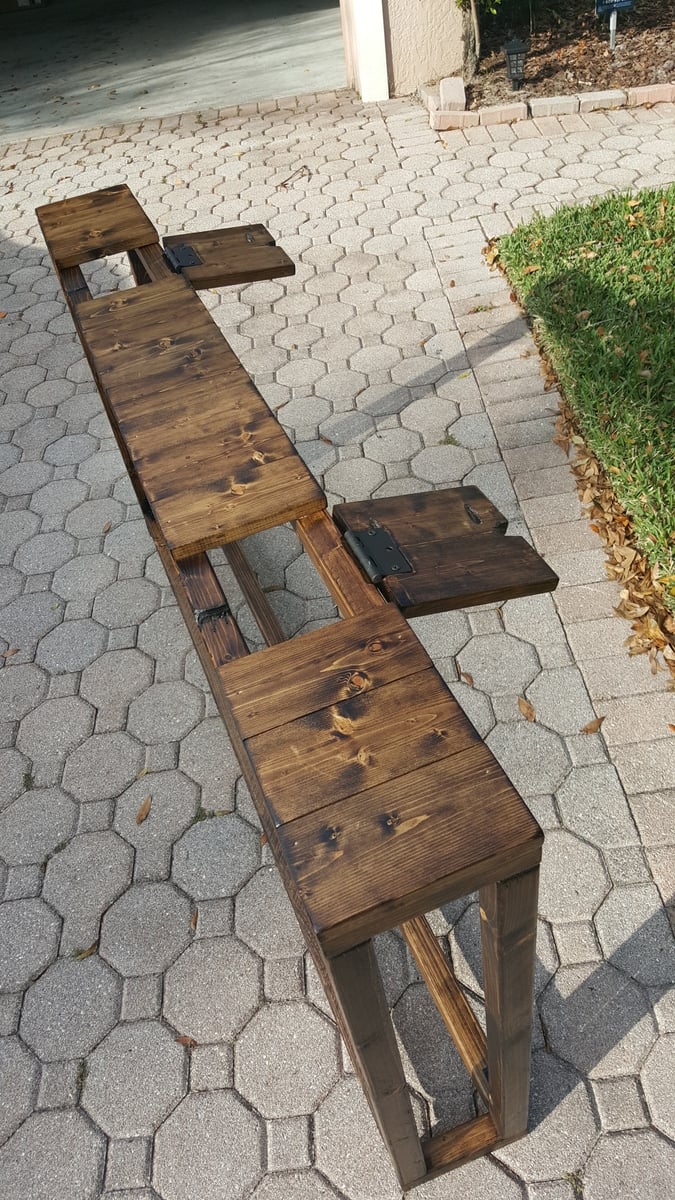
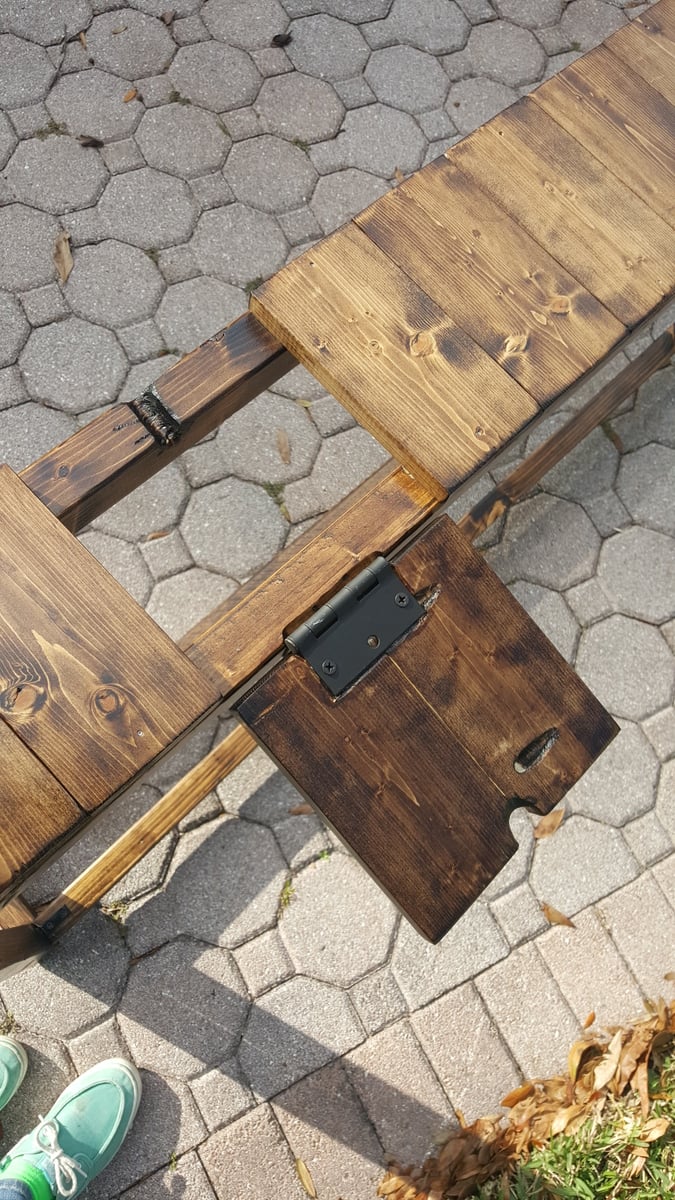
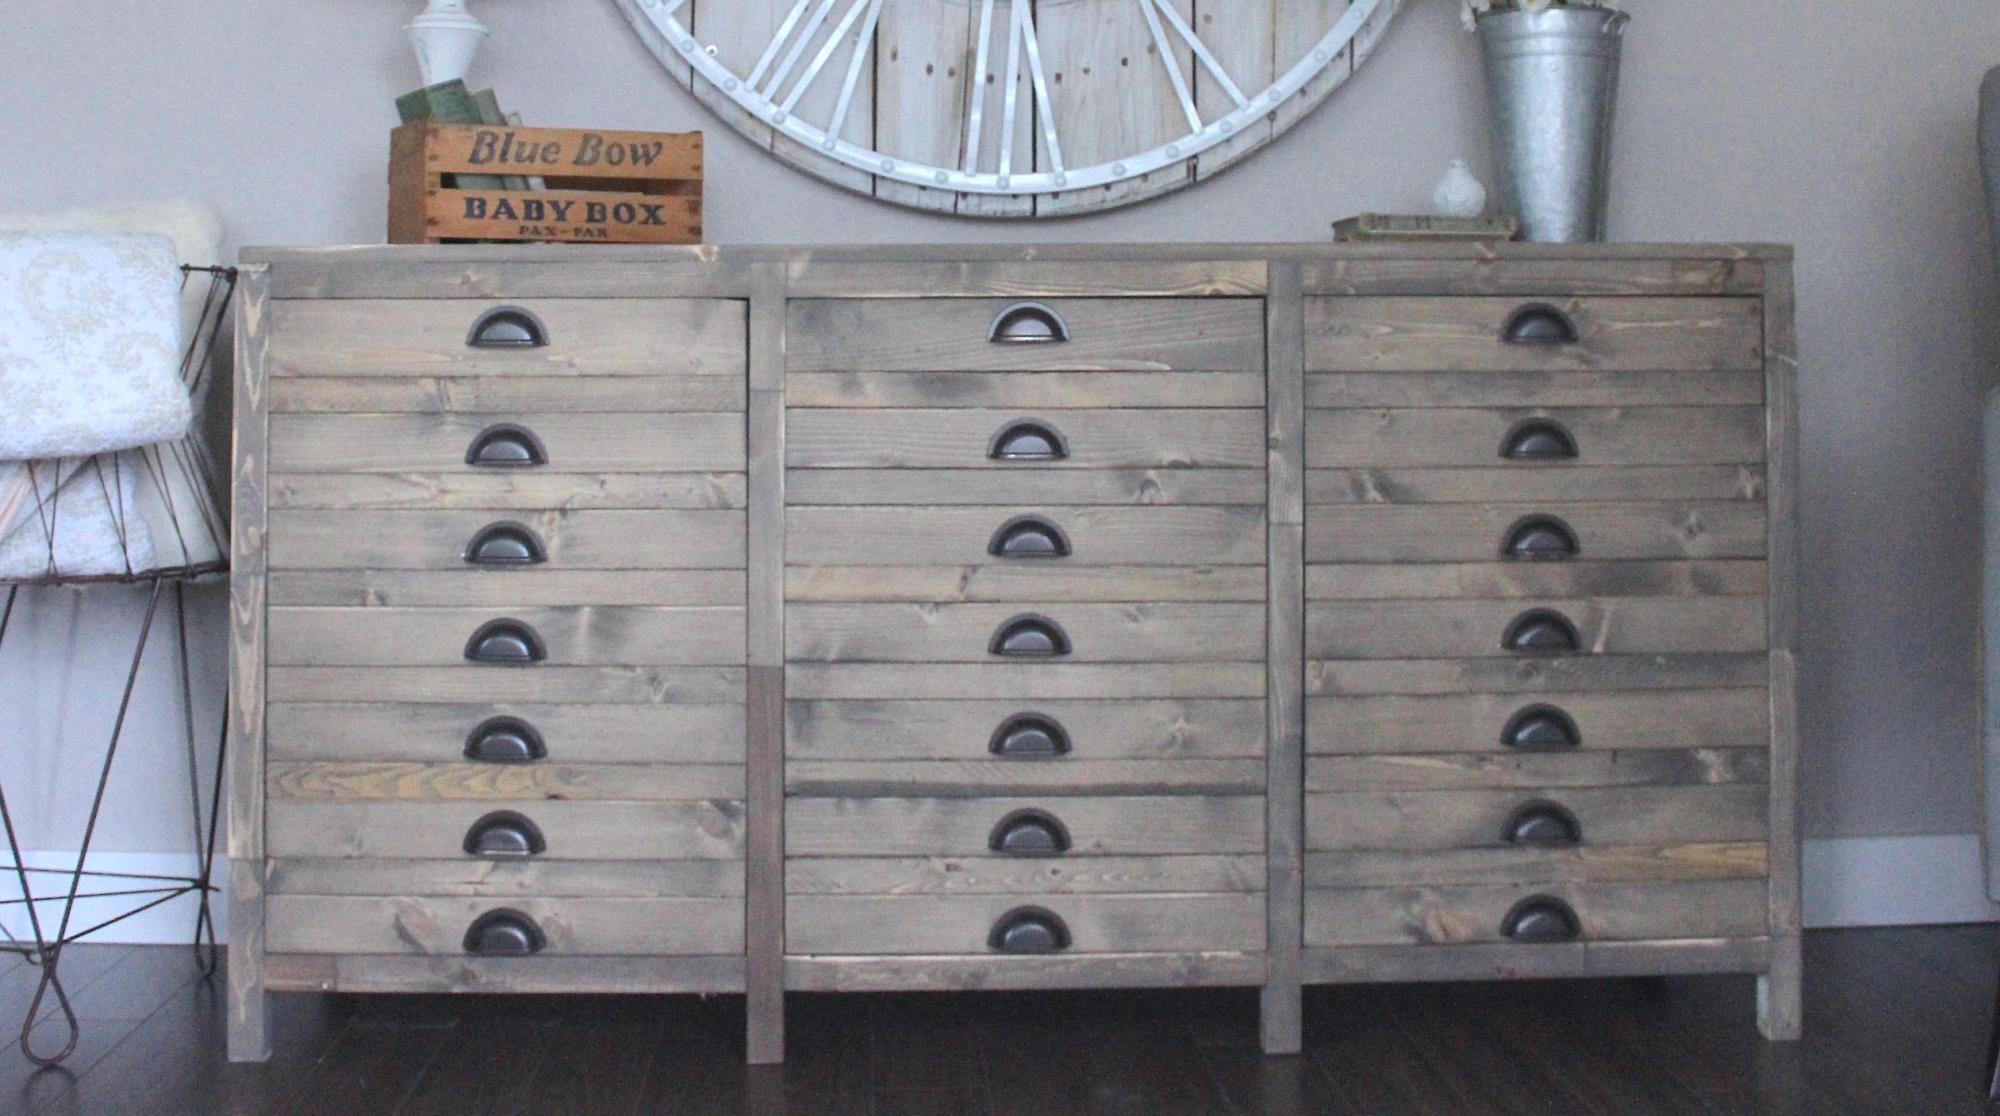
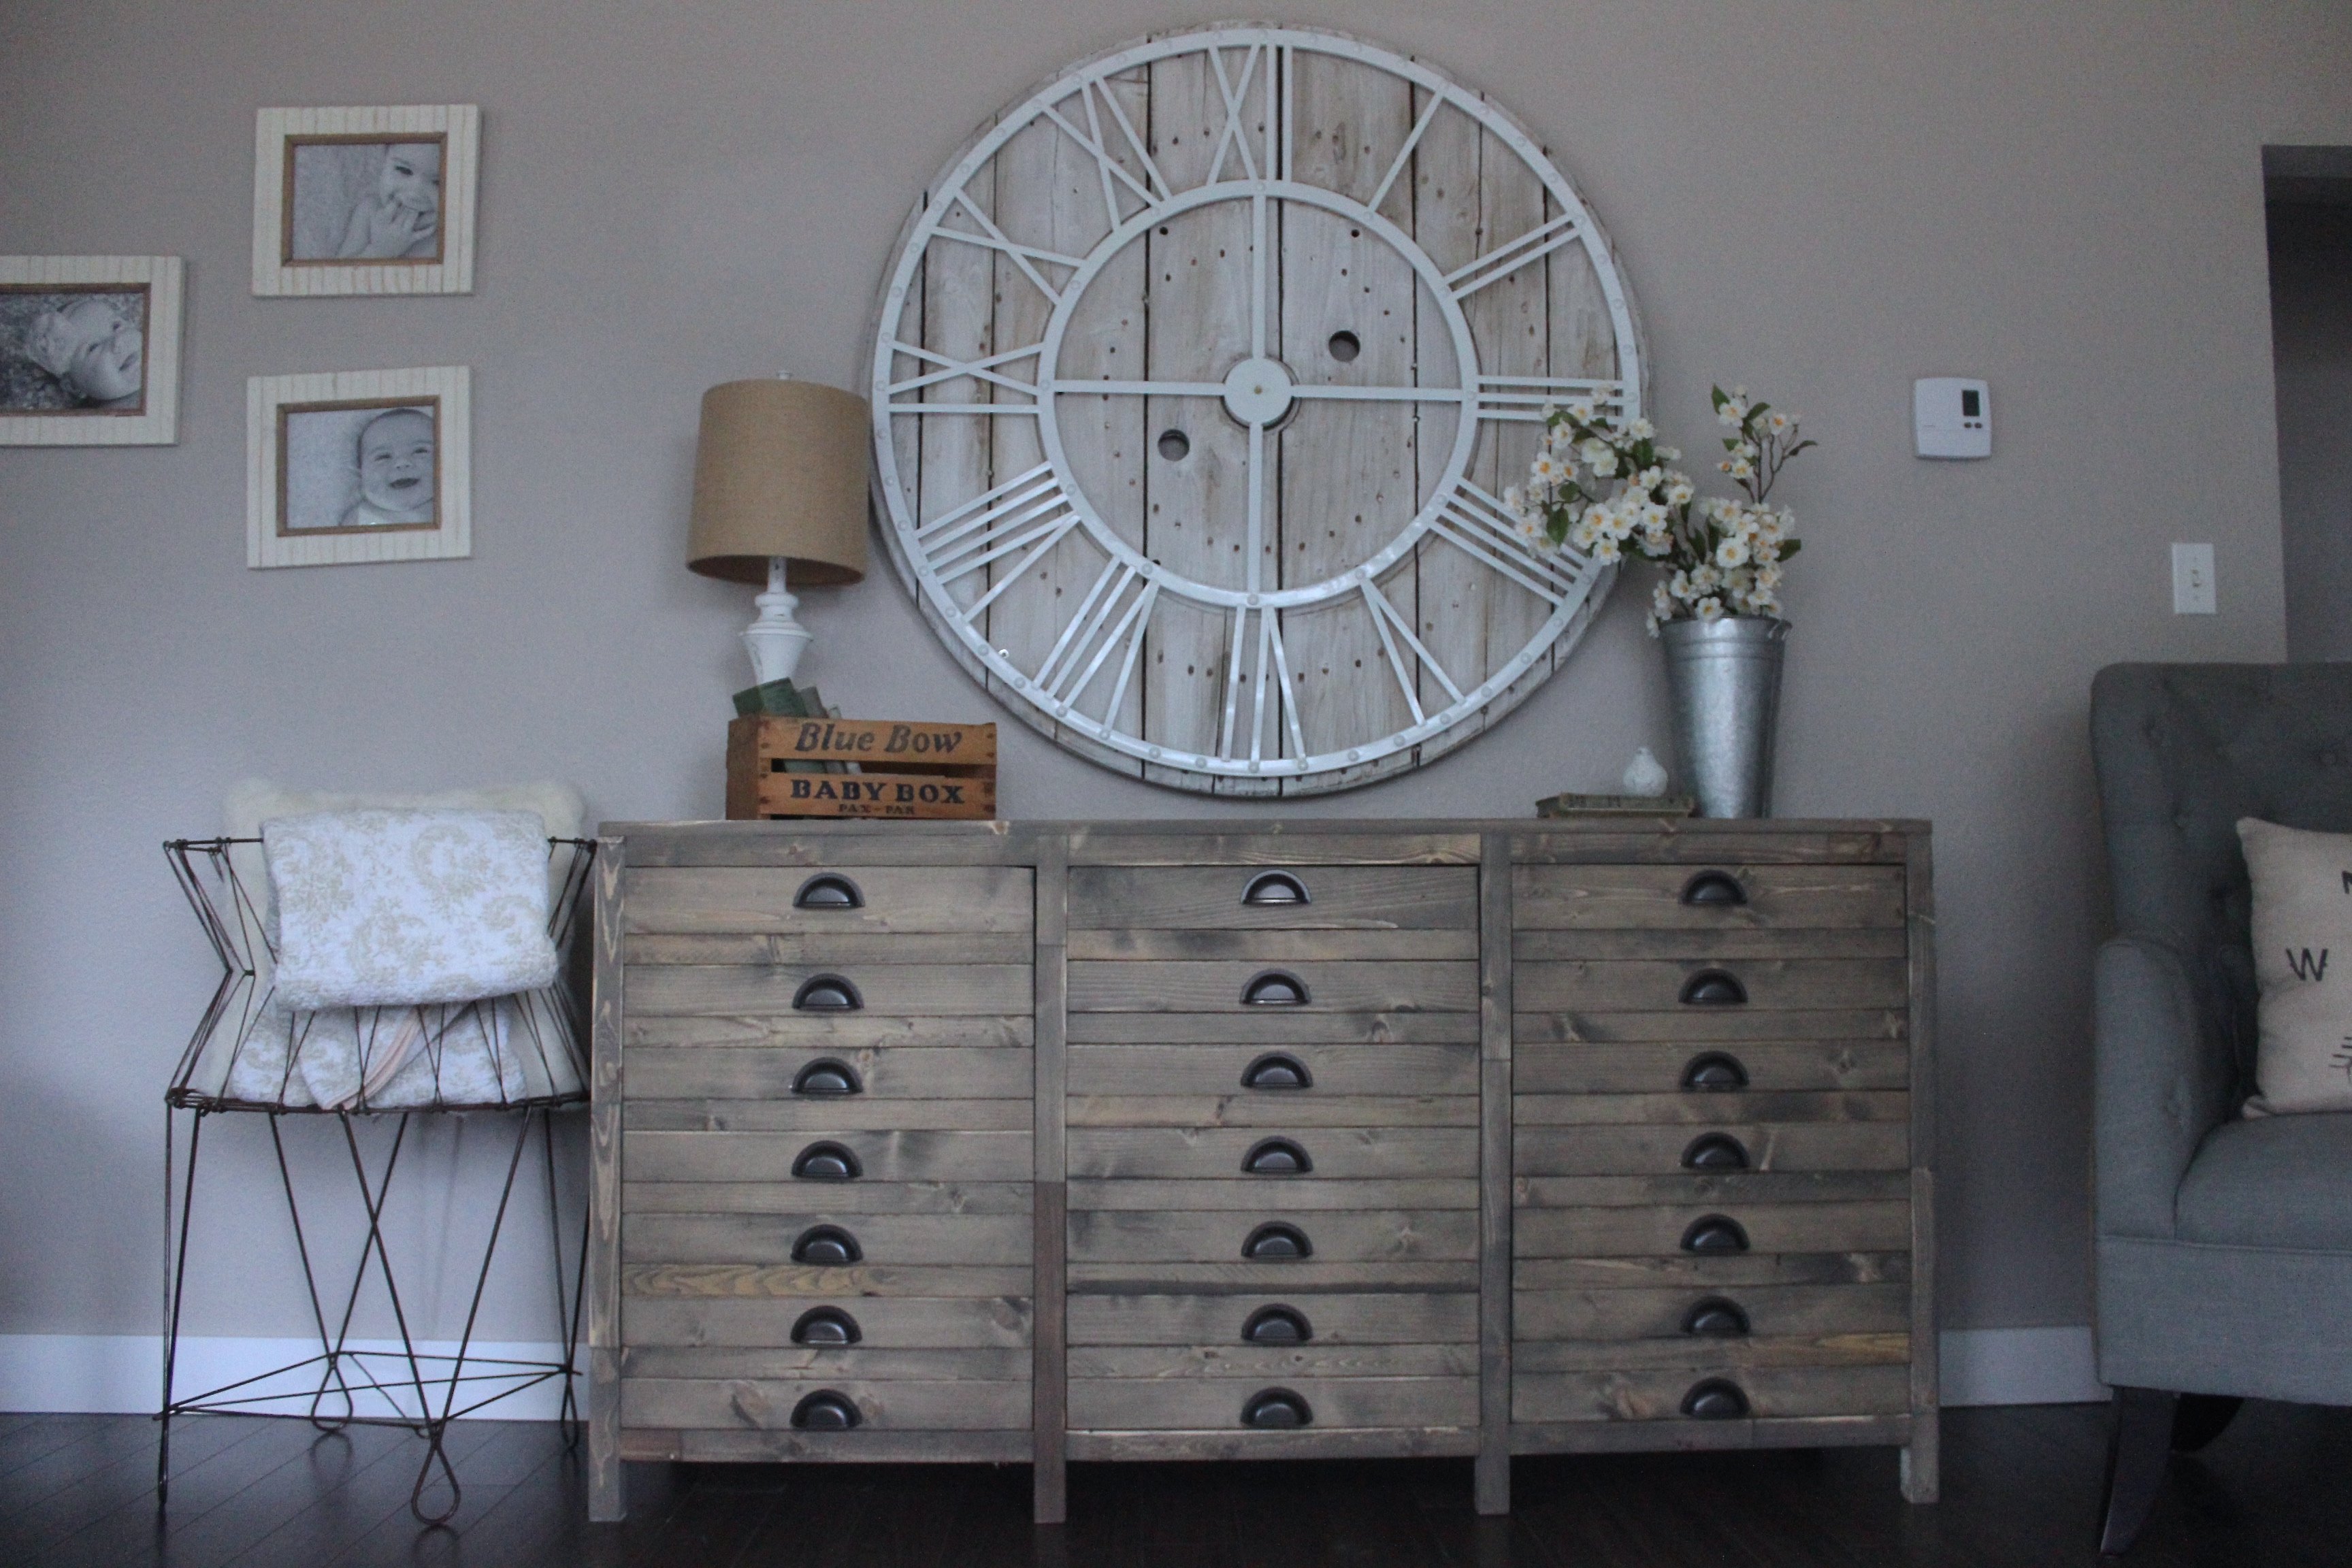
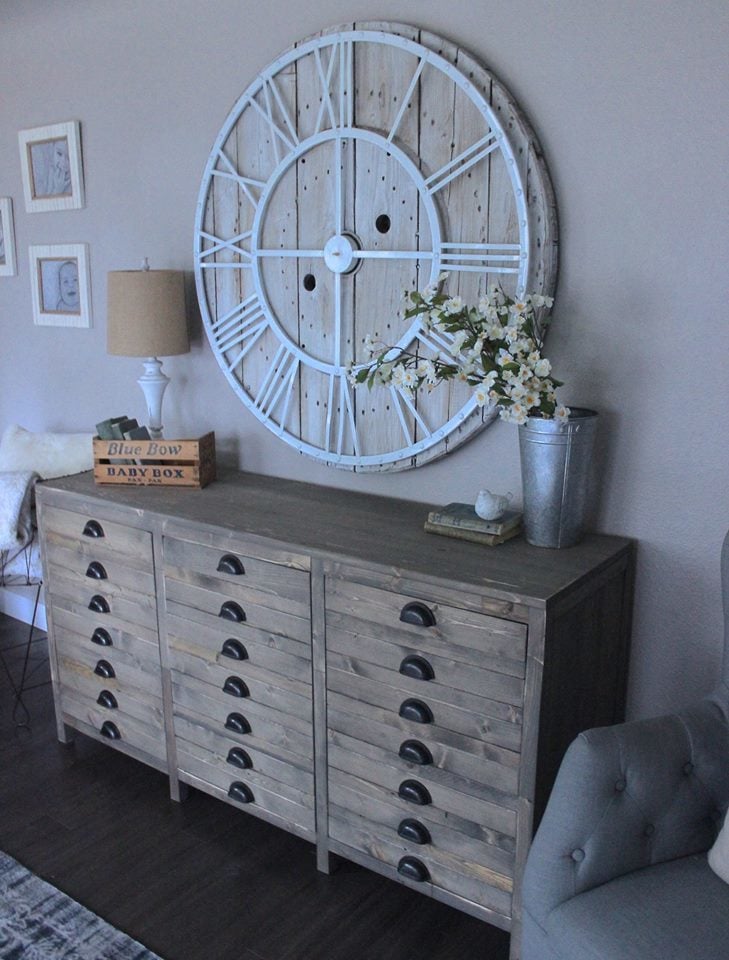
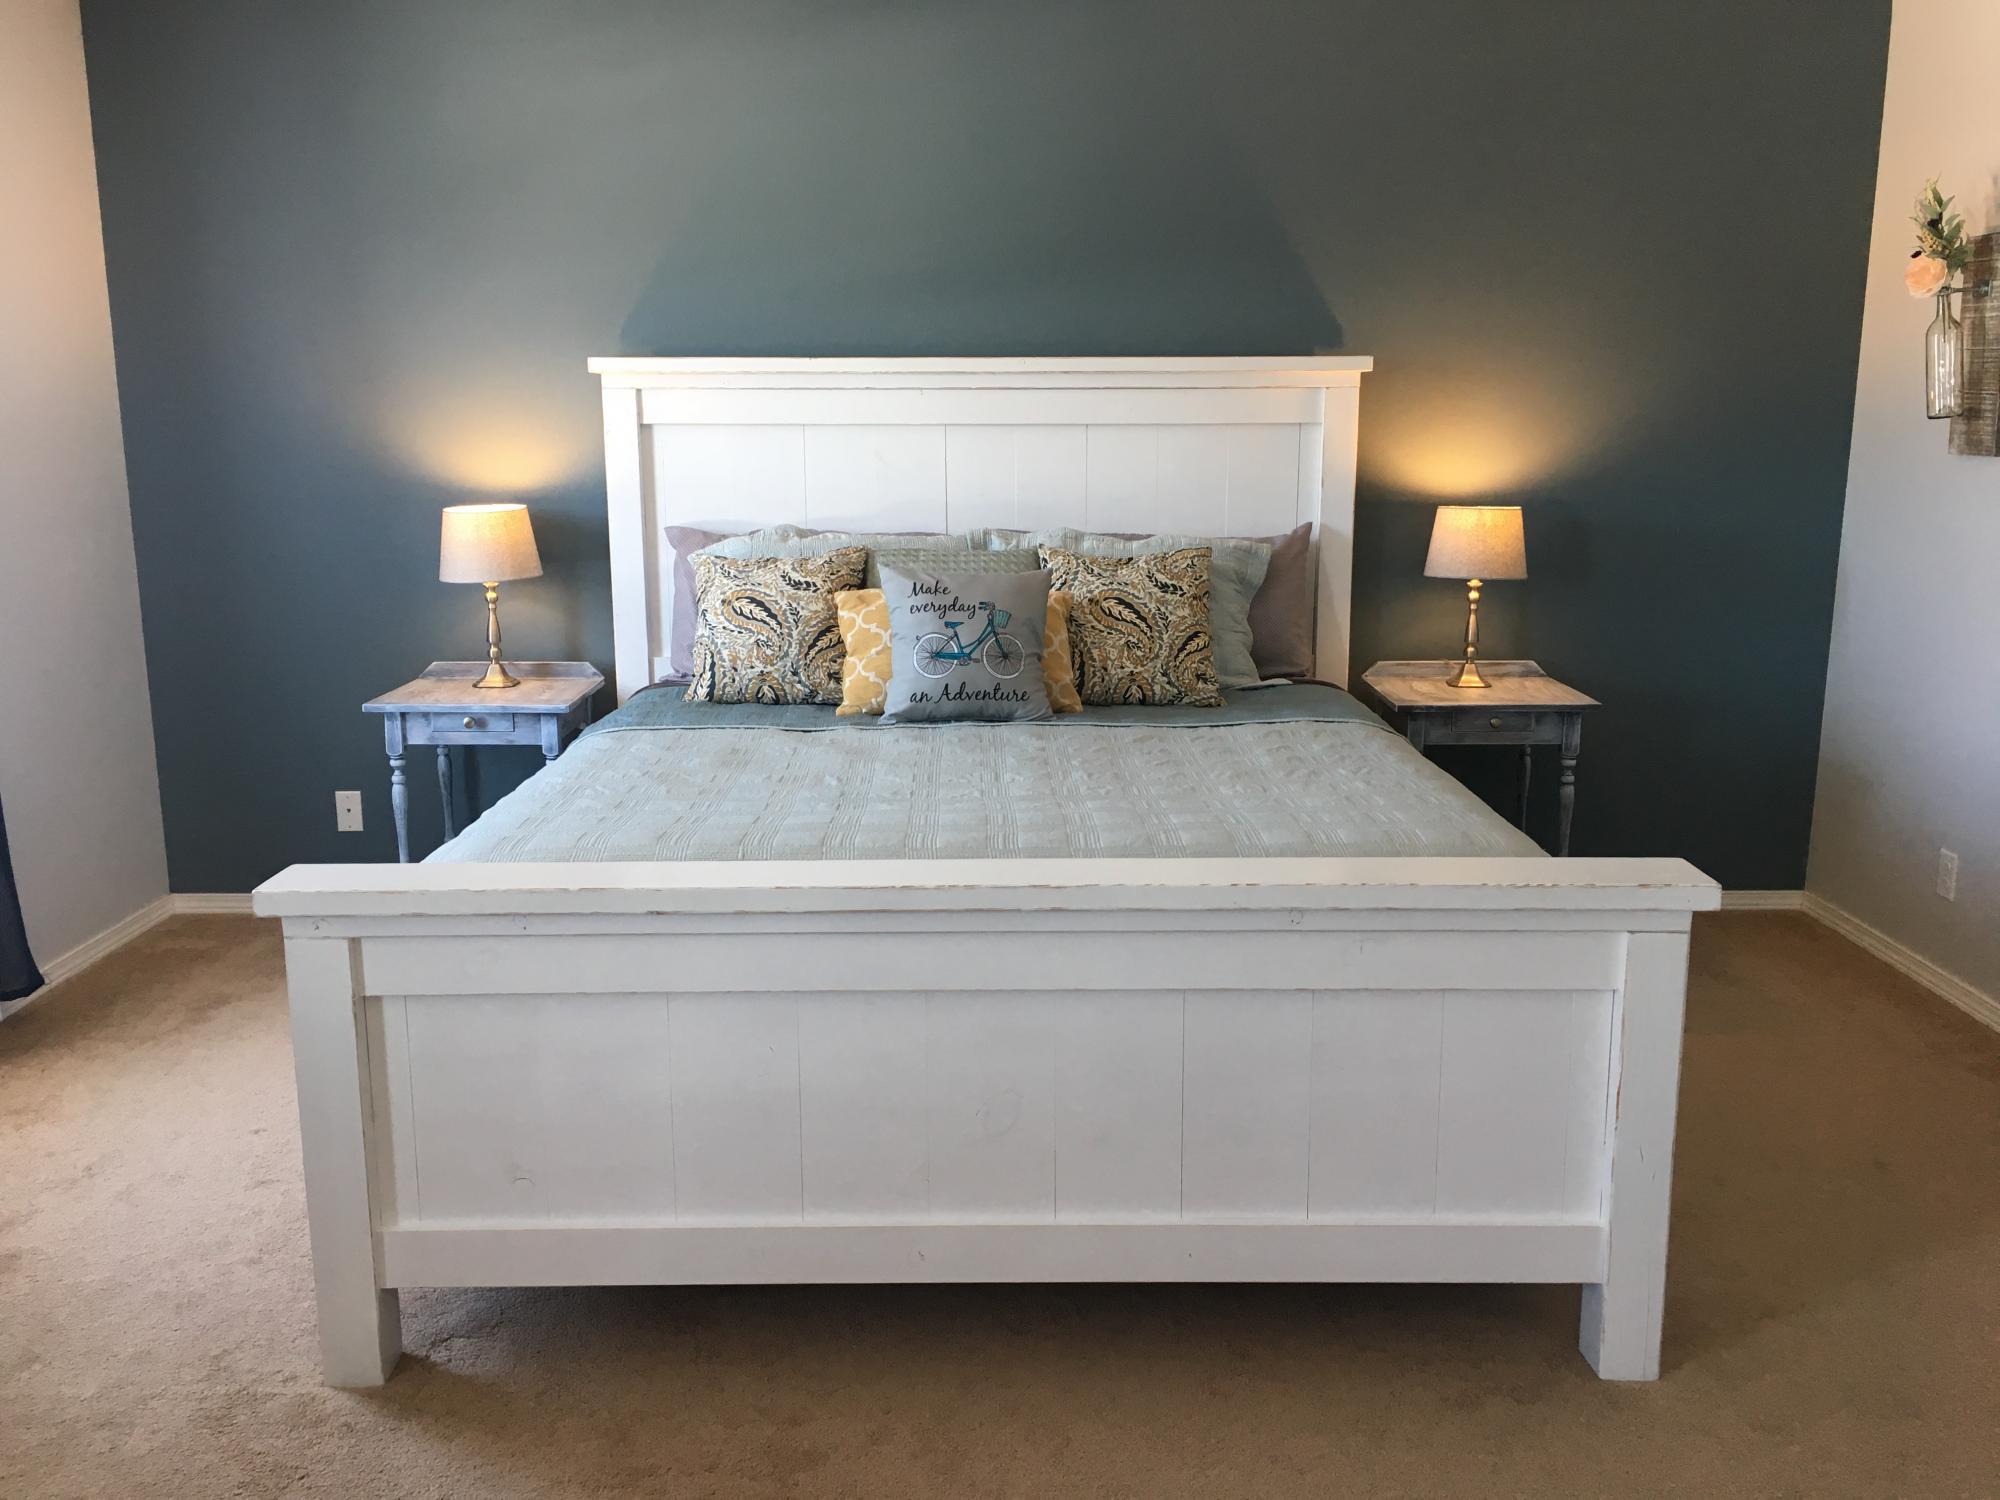
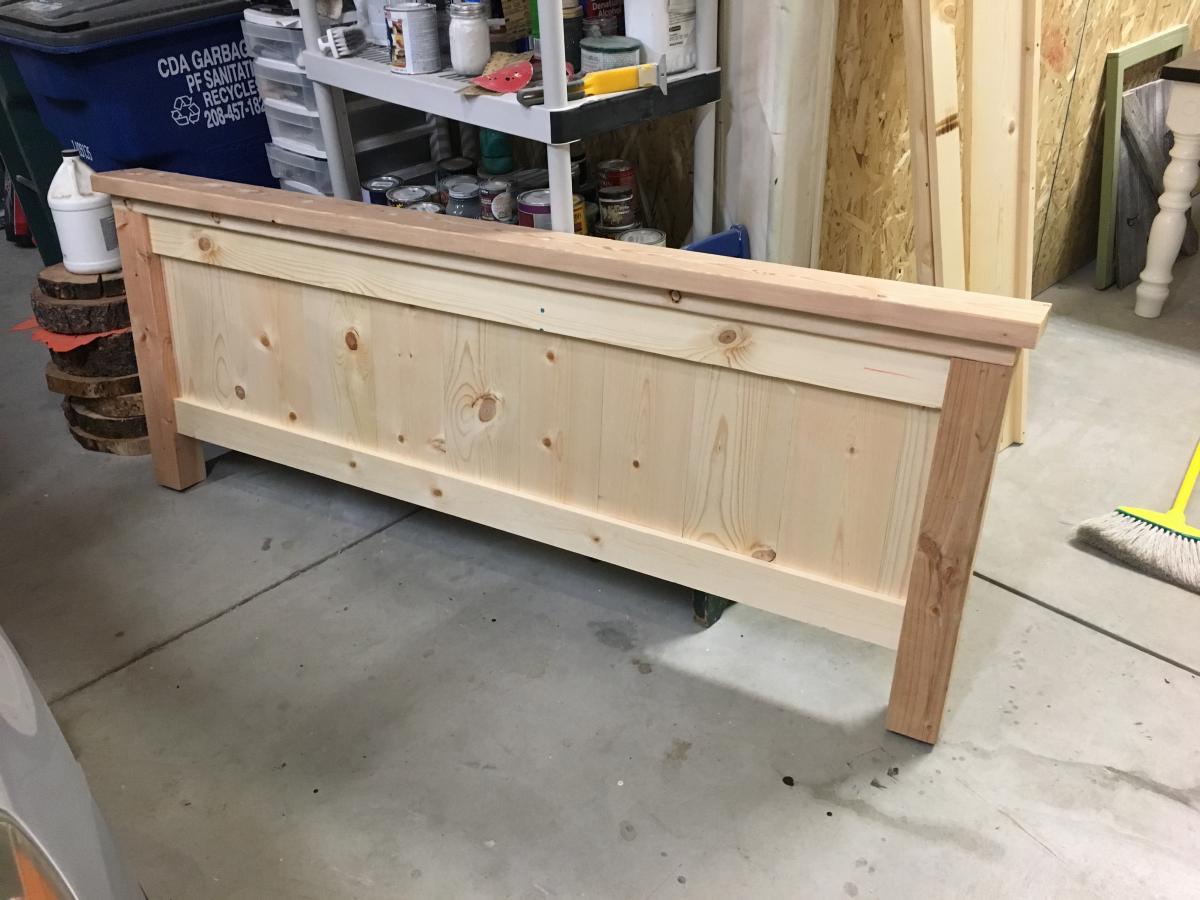
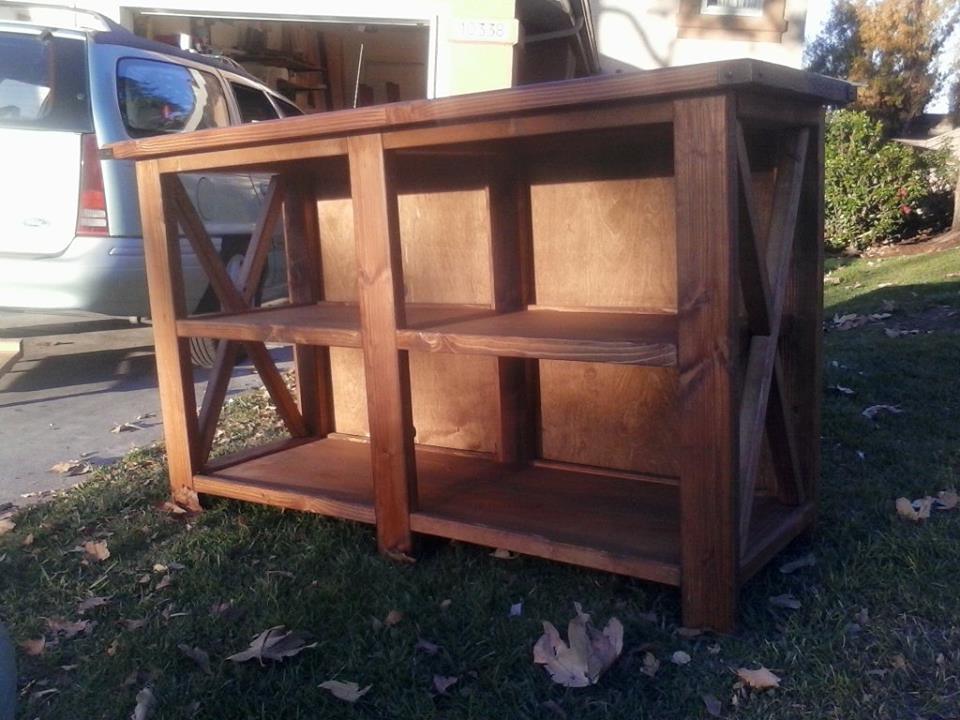
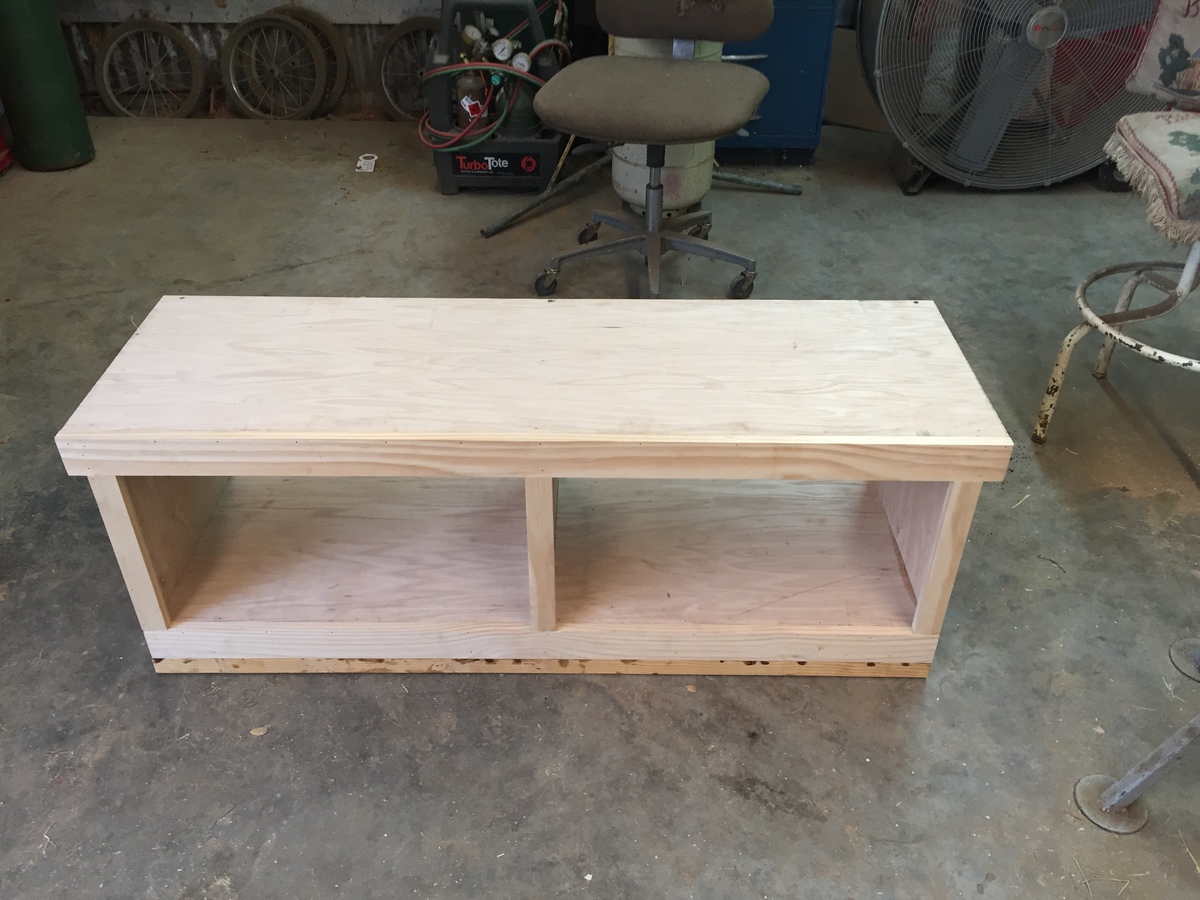
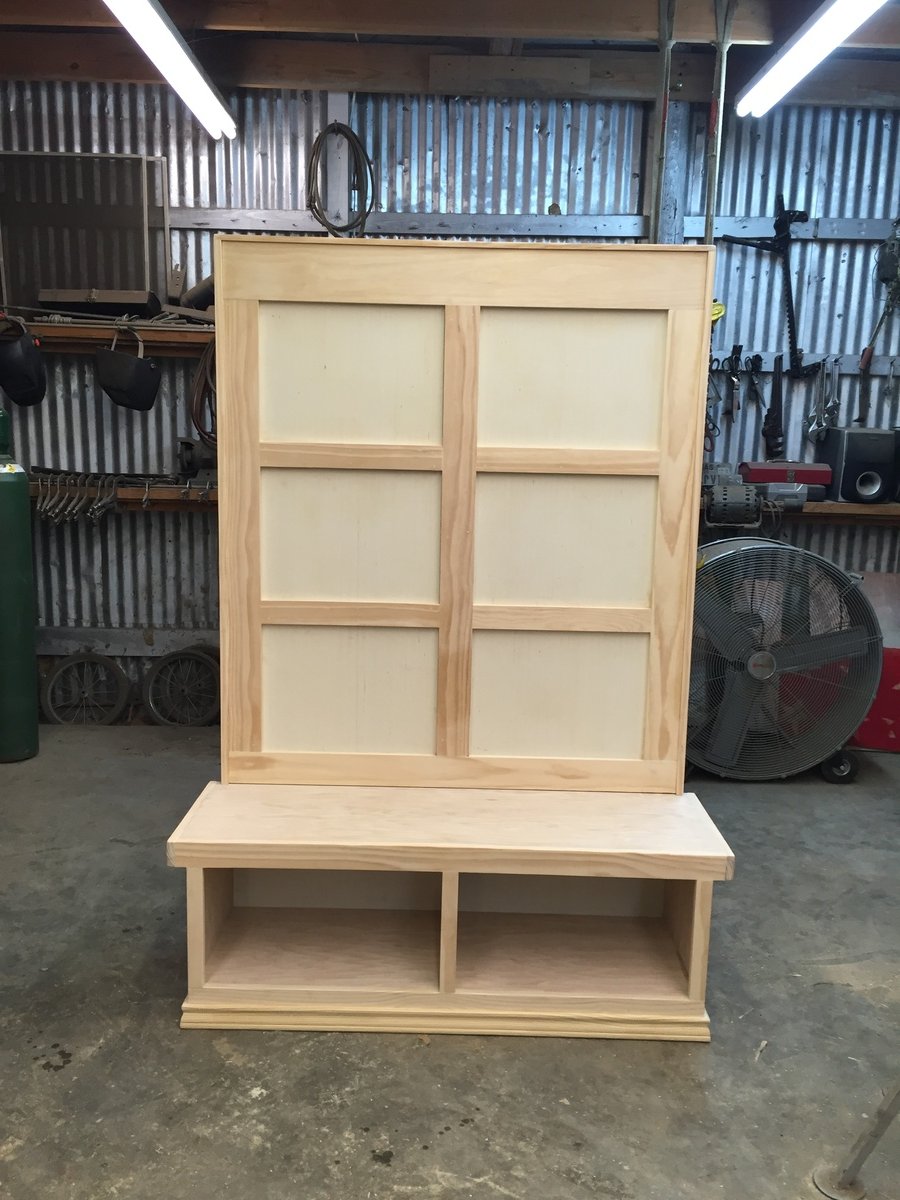
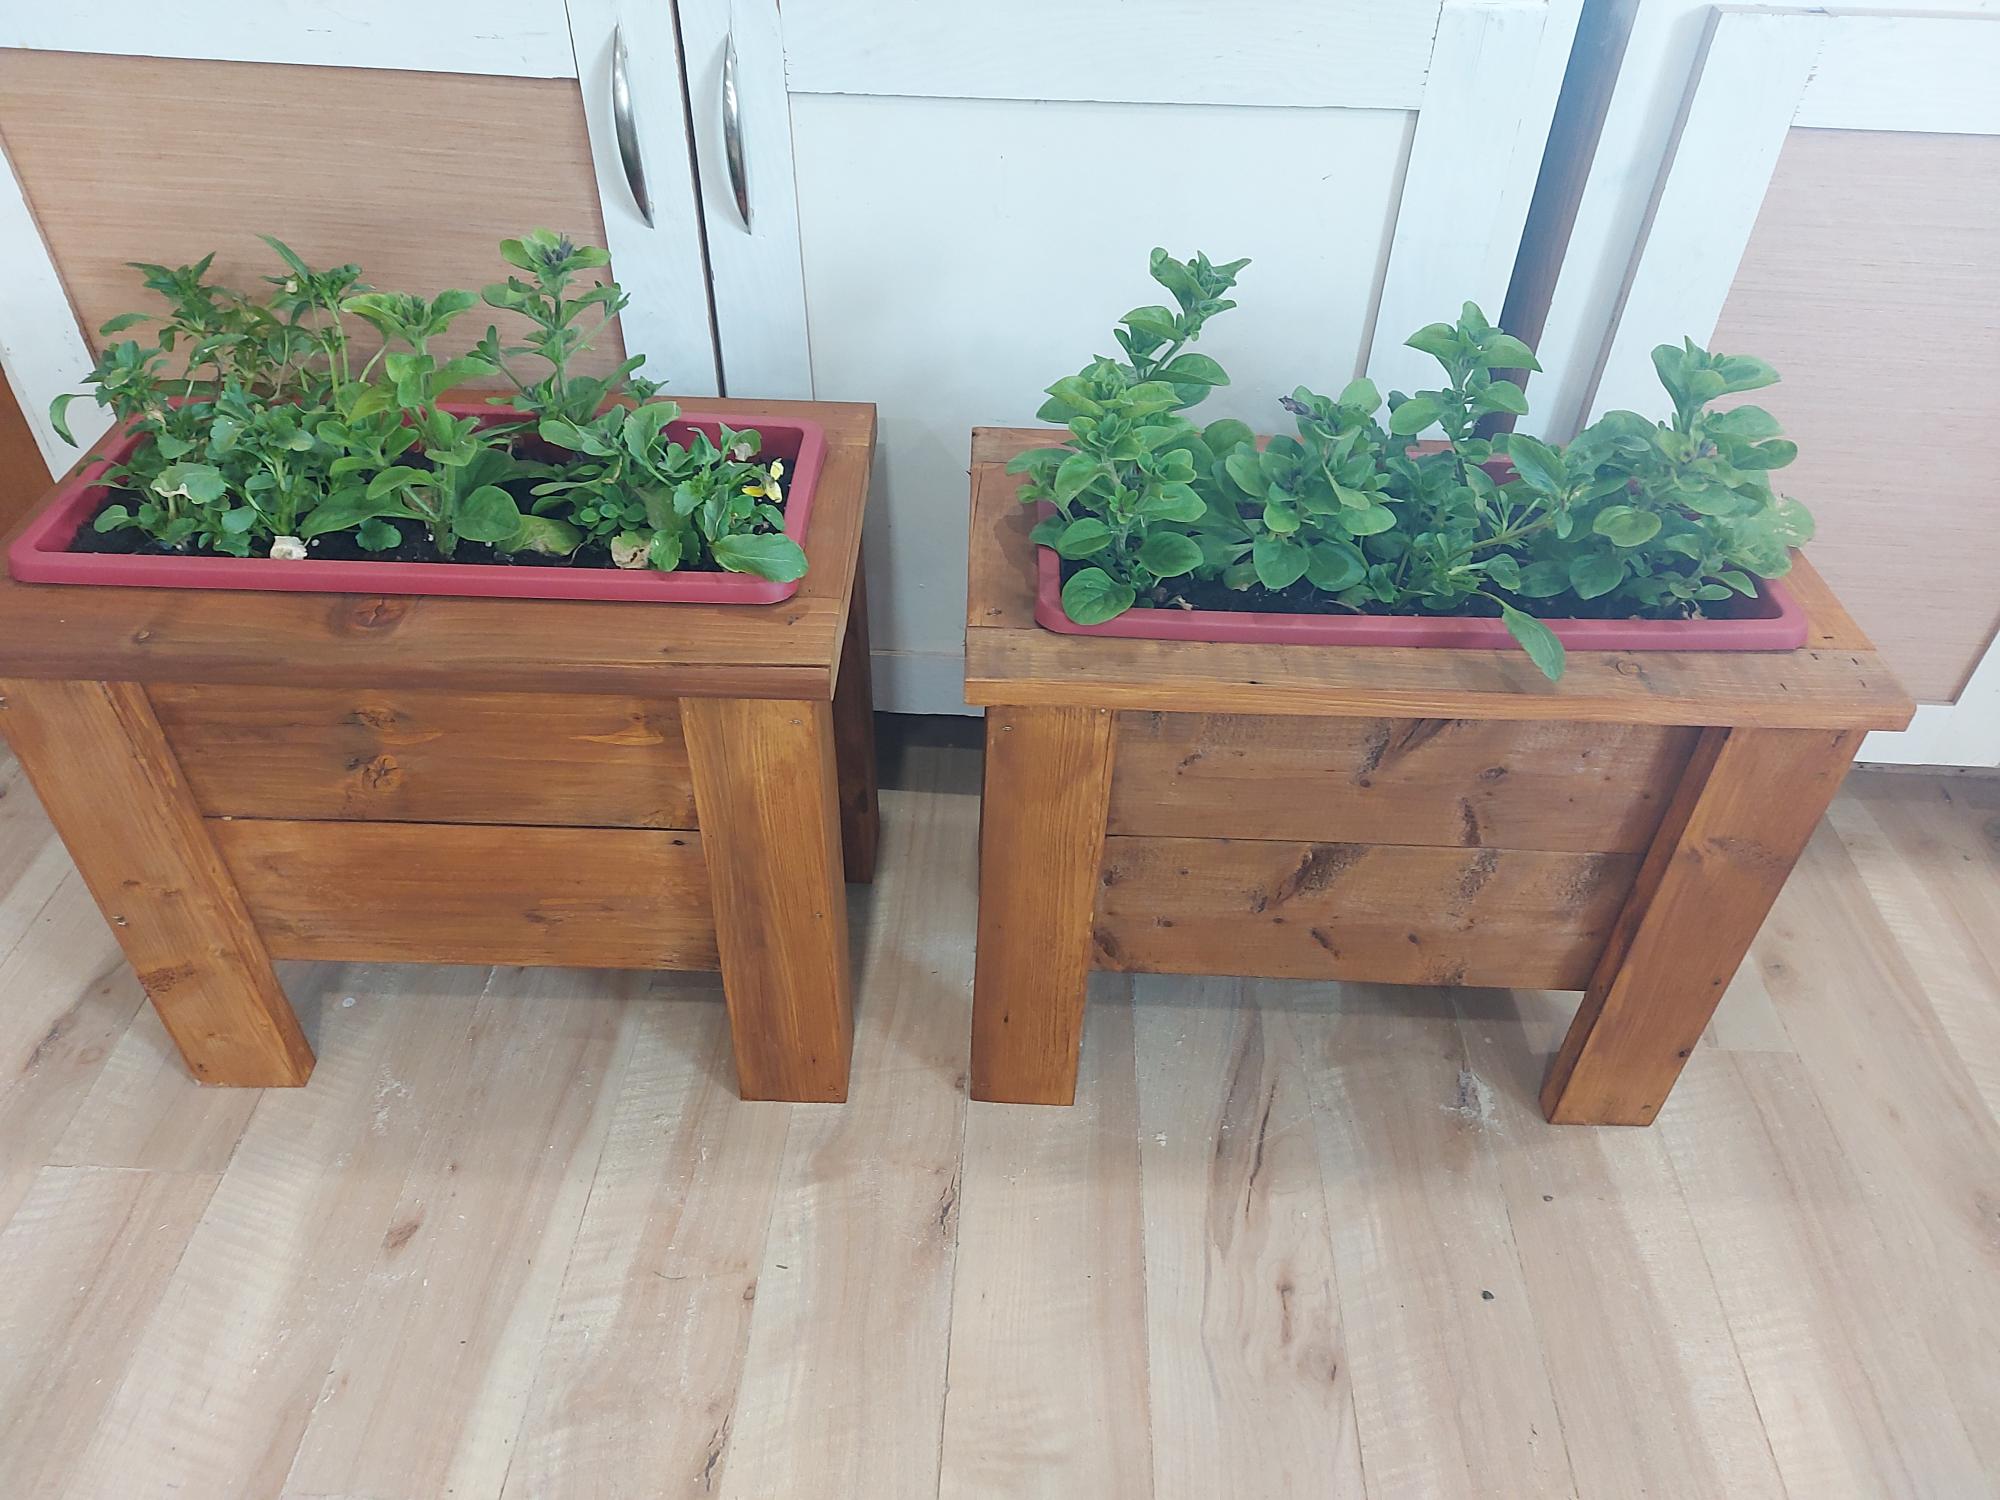
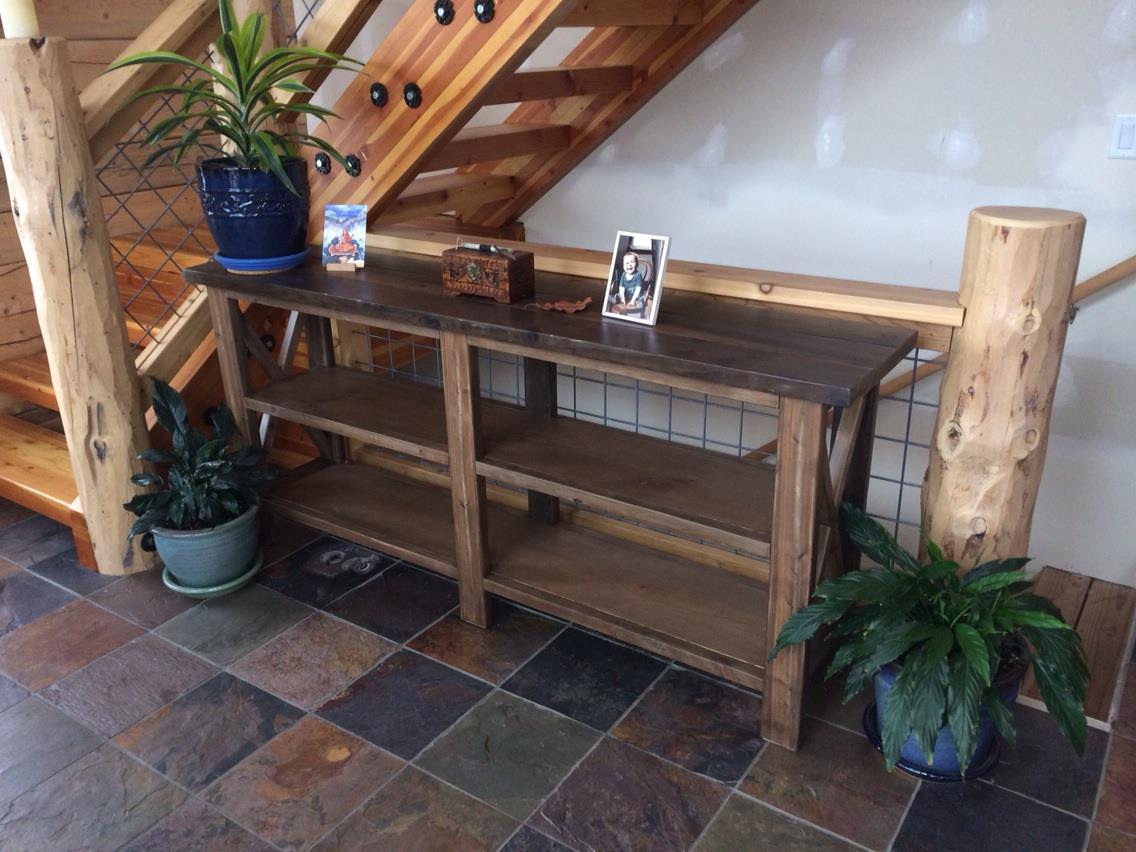
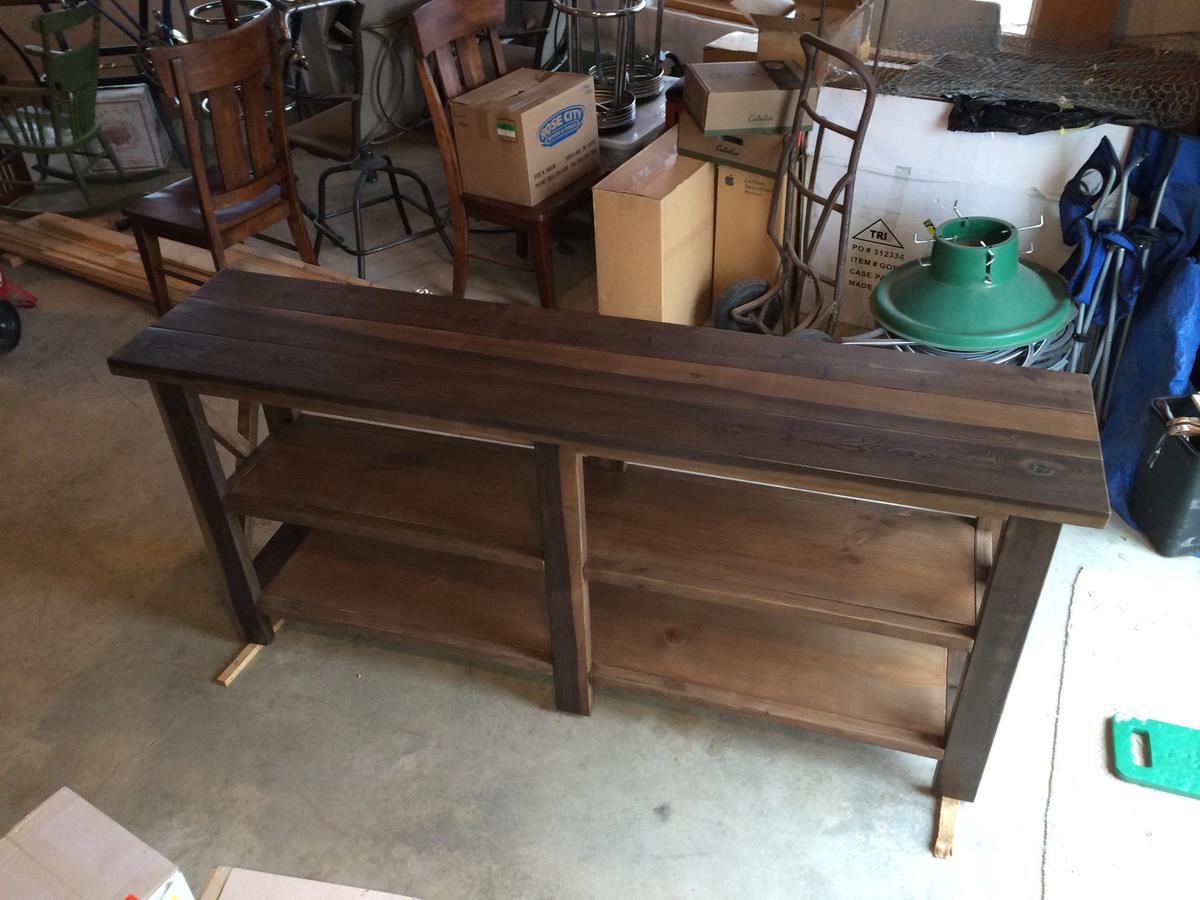
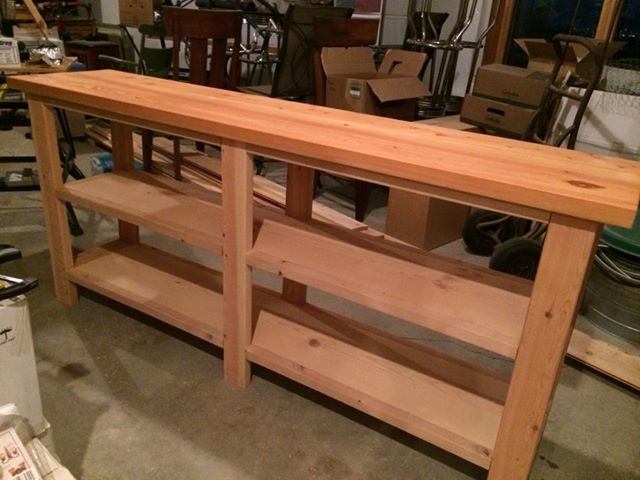
farmhouse night stand
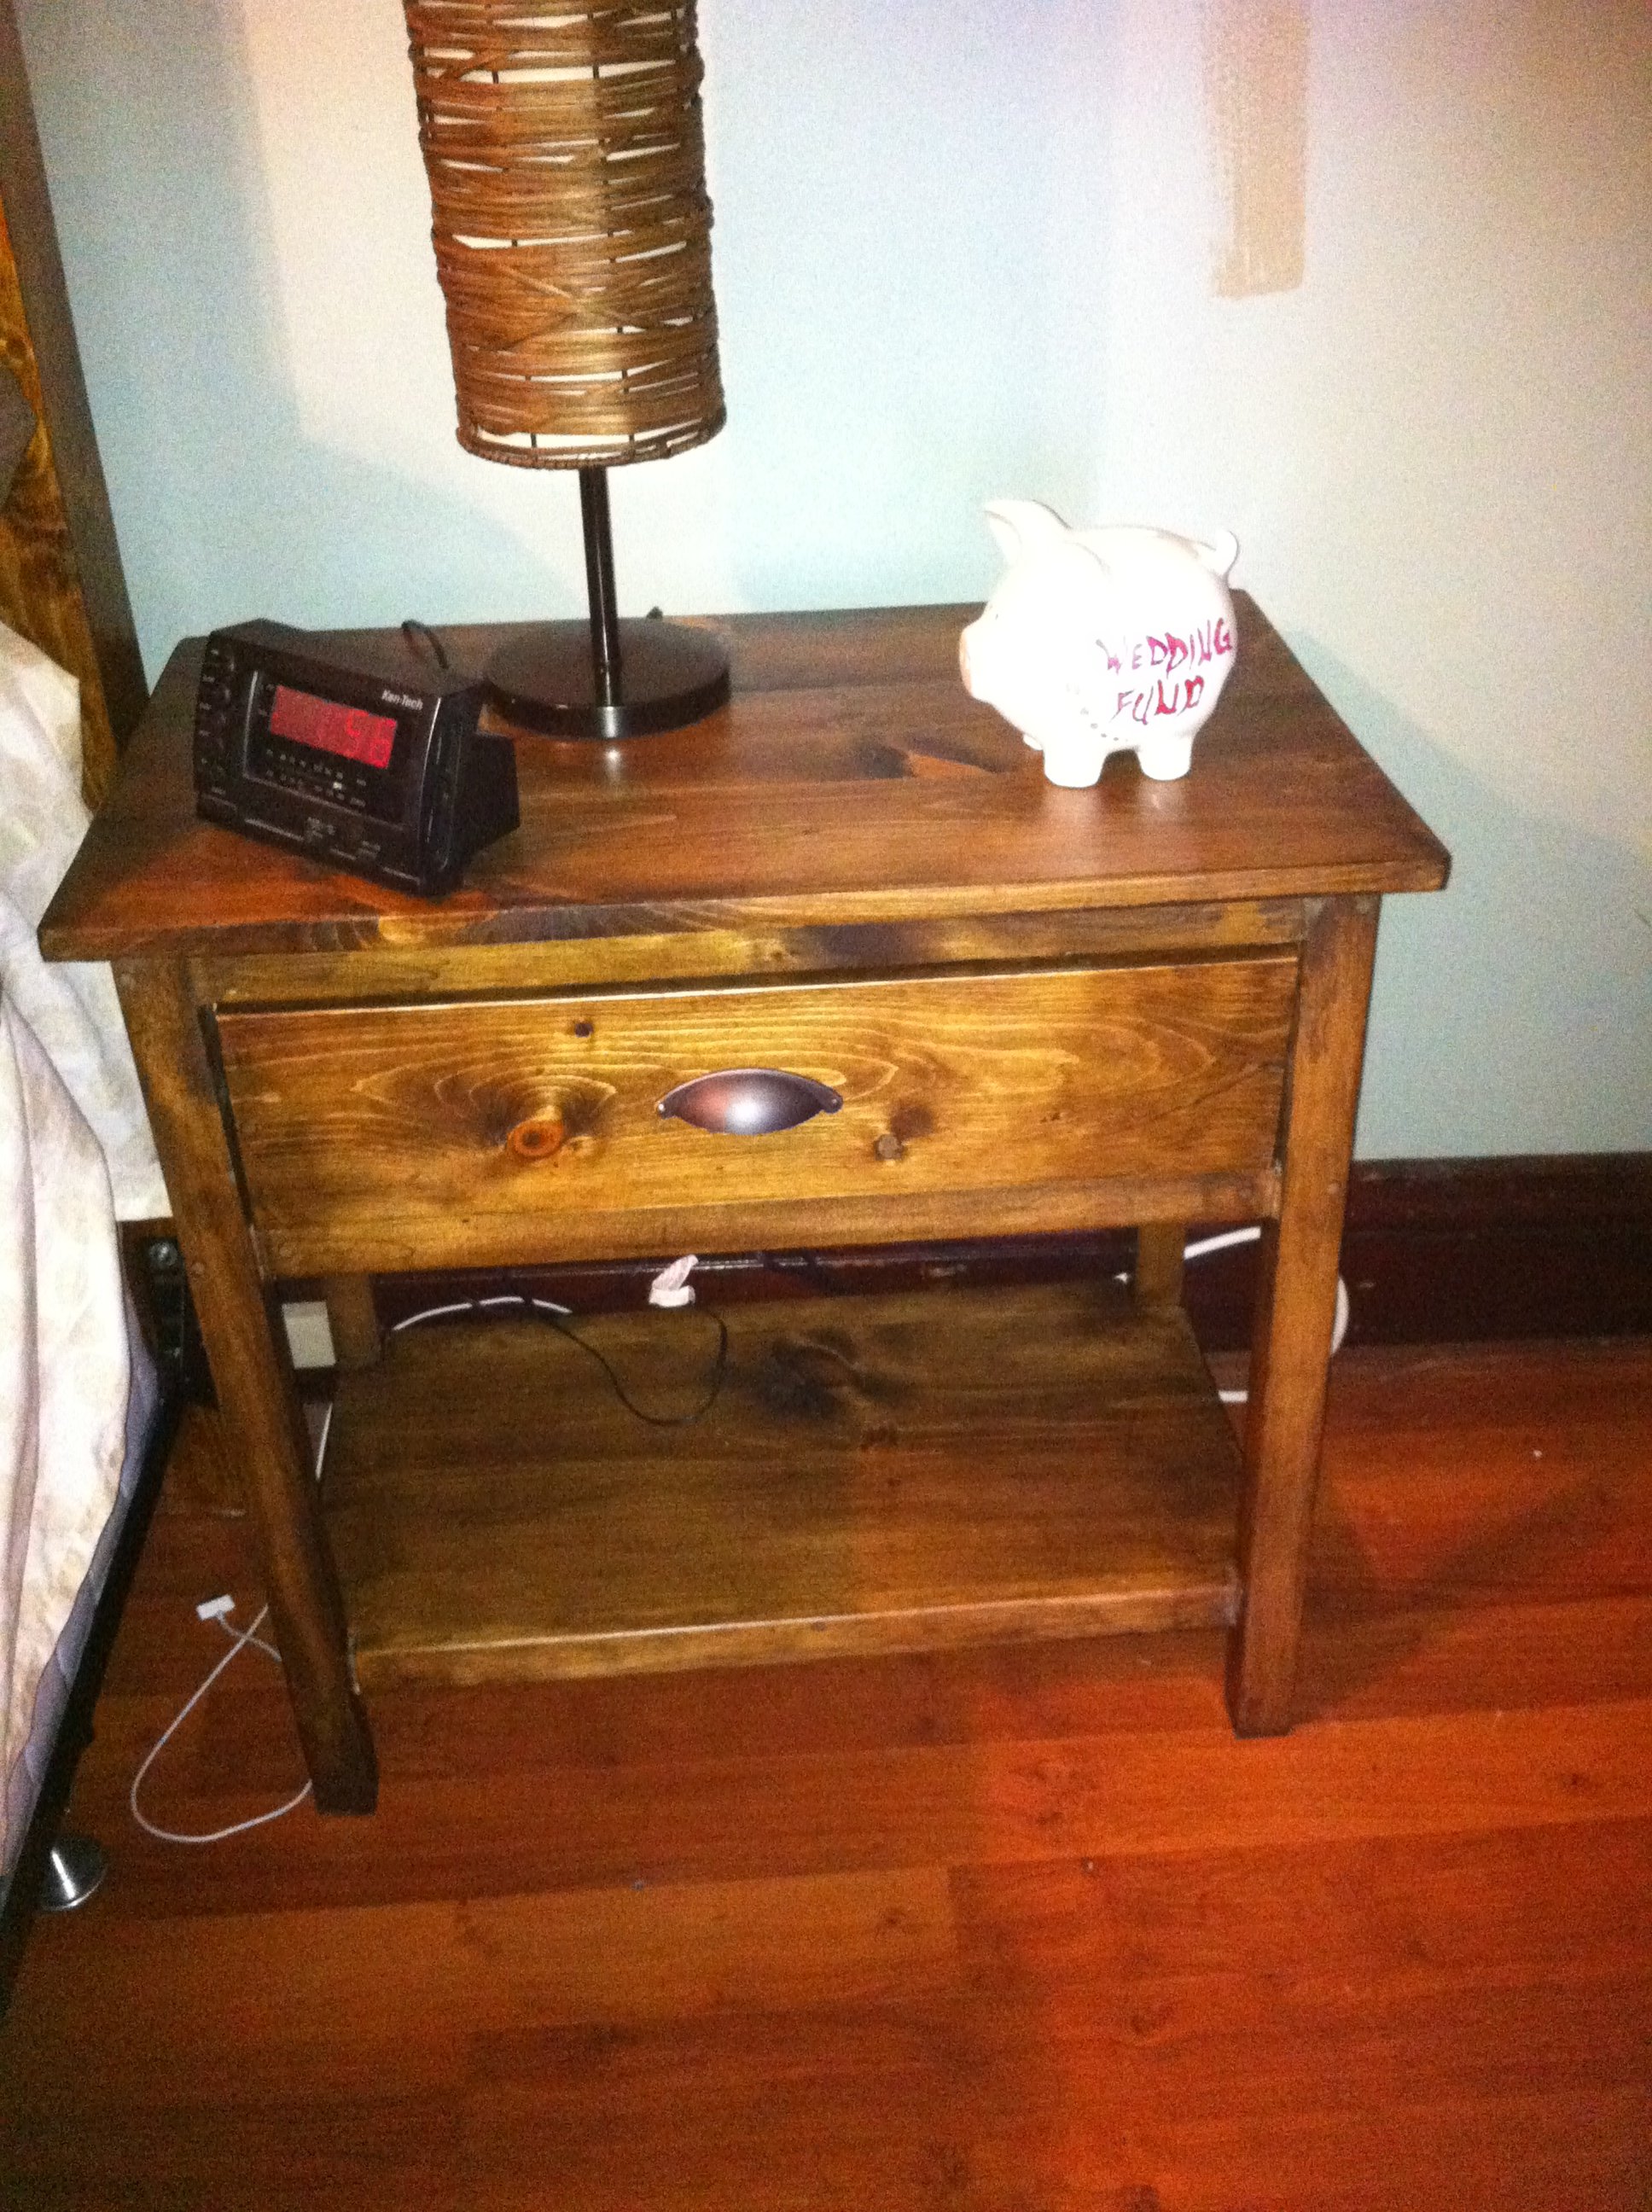
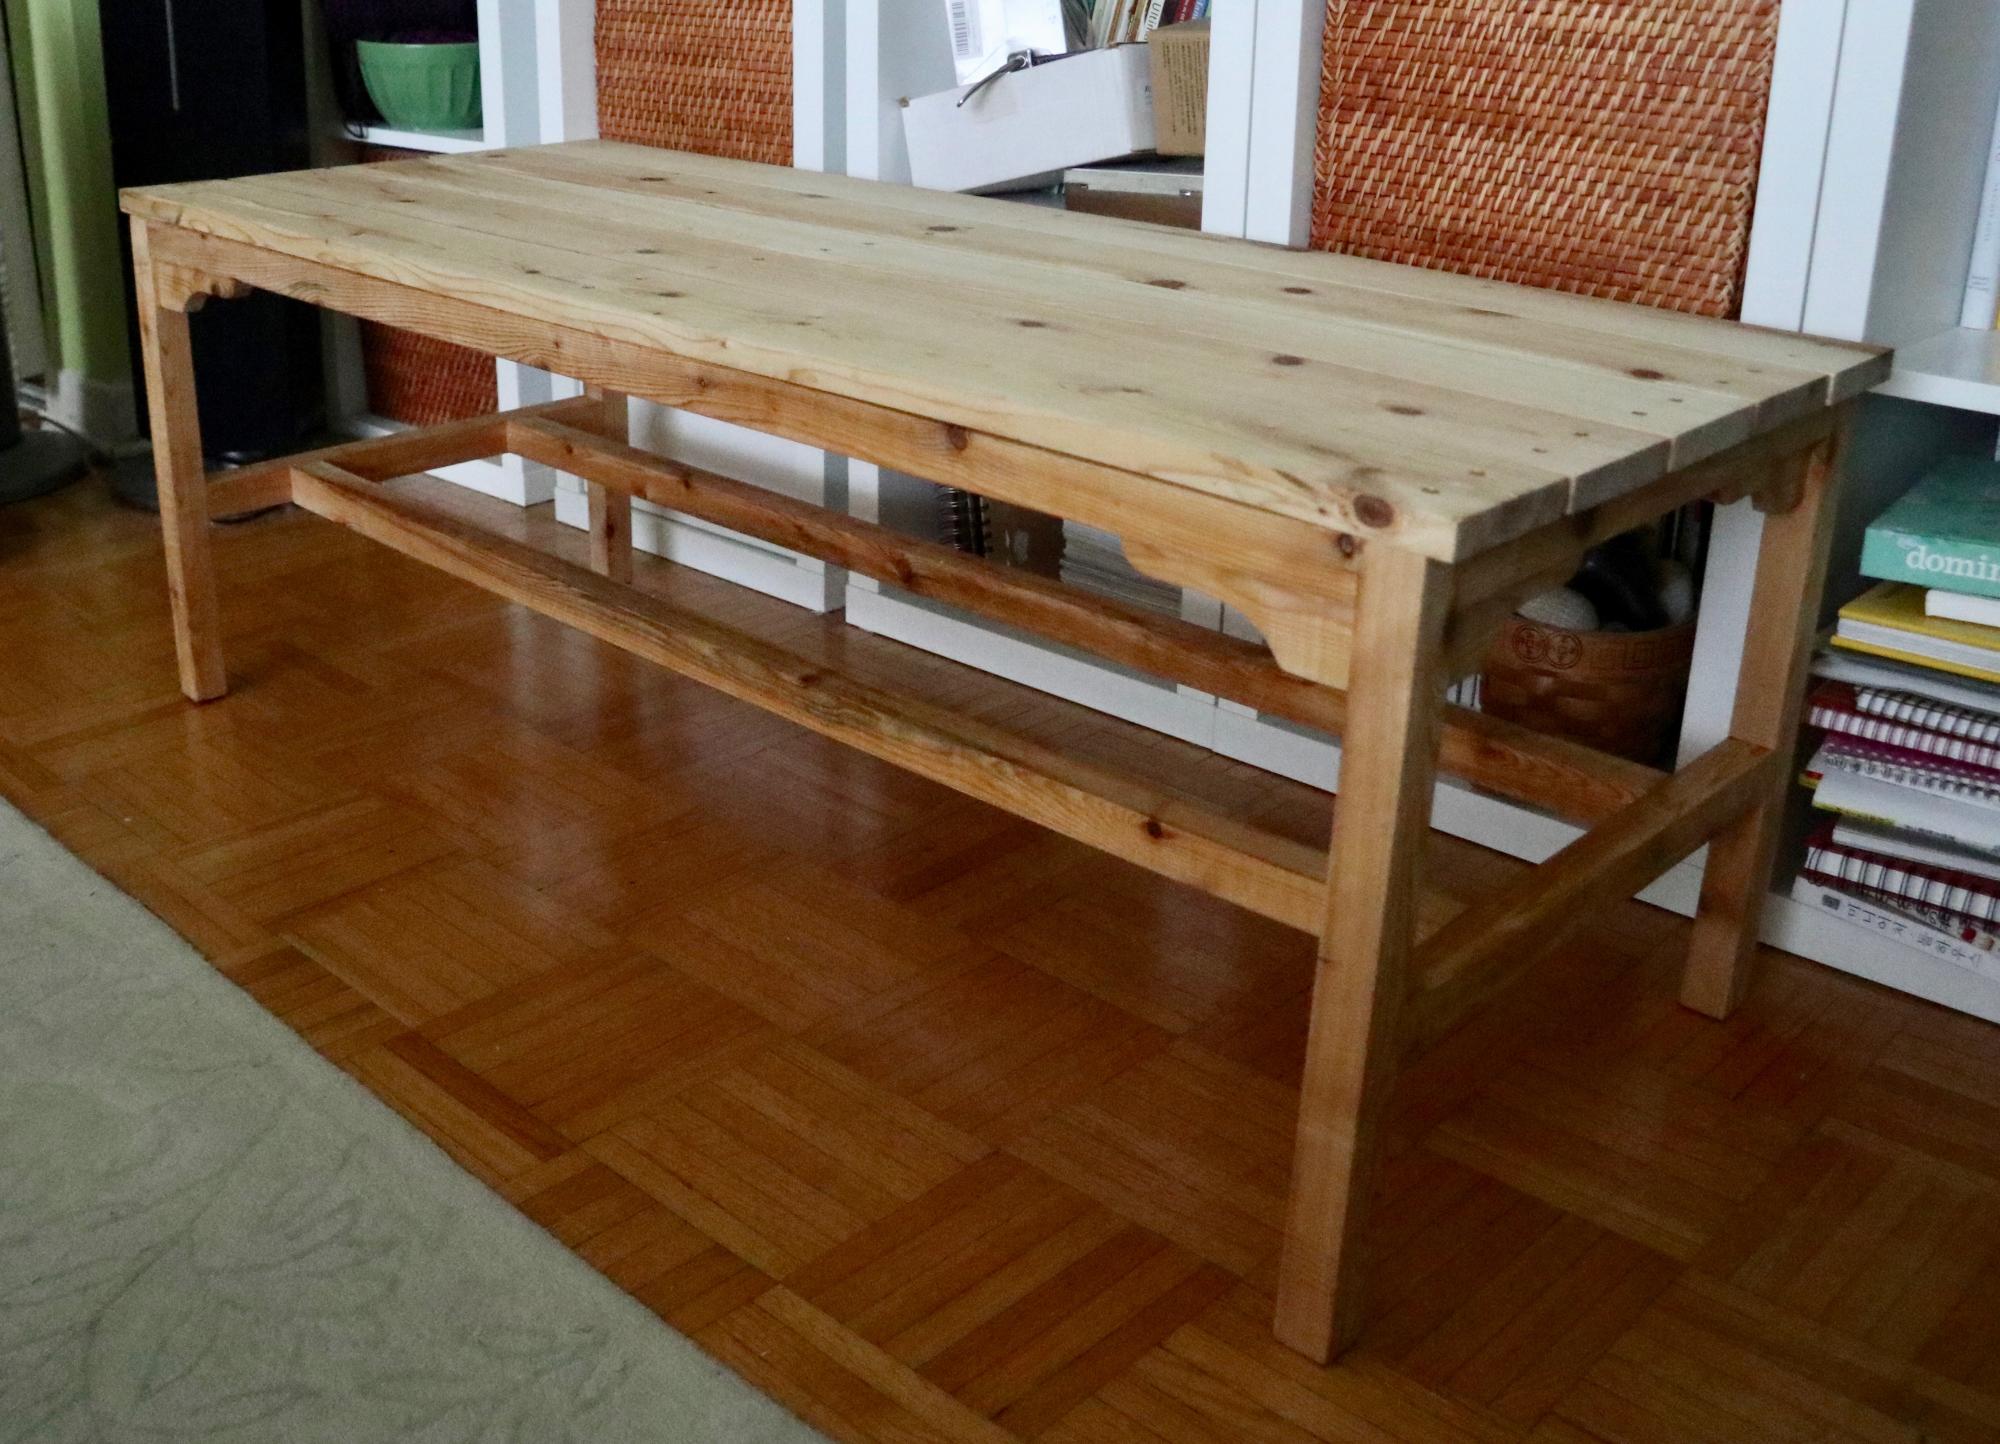
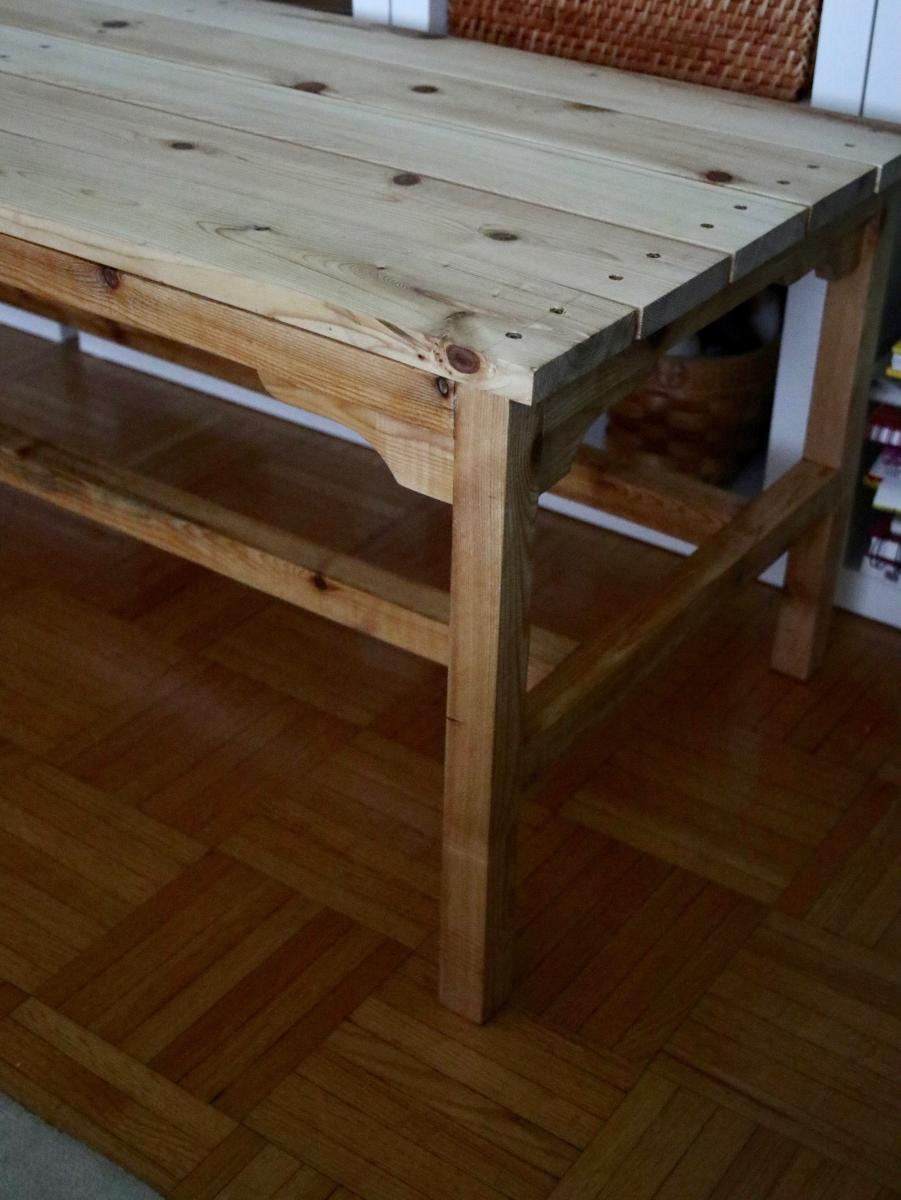
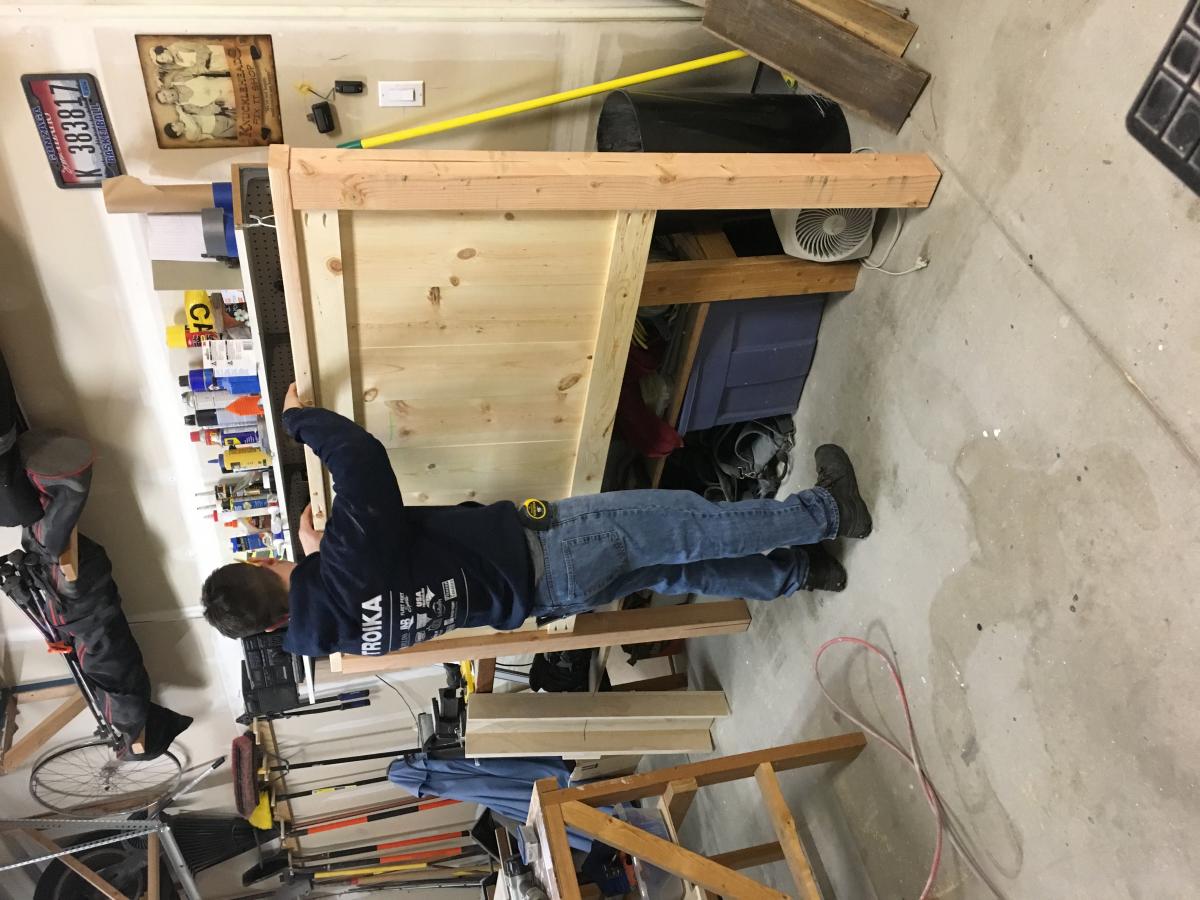
I just Built two of these for my wife and I. the plan was great and easy to follow for the most part i would really suggest spending as much time on the drawers as possible it makes such a big difference getting them to slide easily. now hopefully with anyluck ana will find time in her busy life to post a farmhouse tallboy dresser plan or something close to it!
Built from Plan(s)
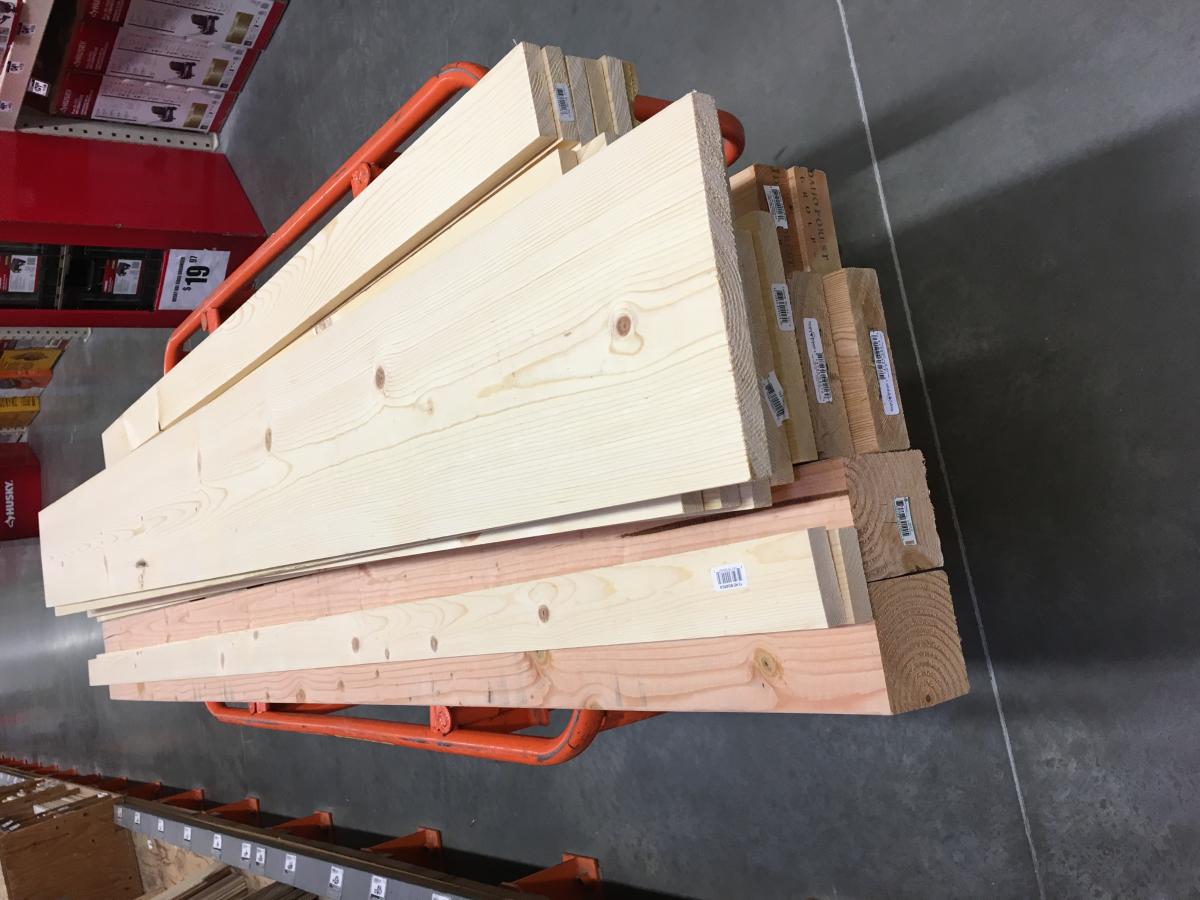
Estimated Cost
$50
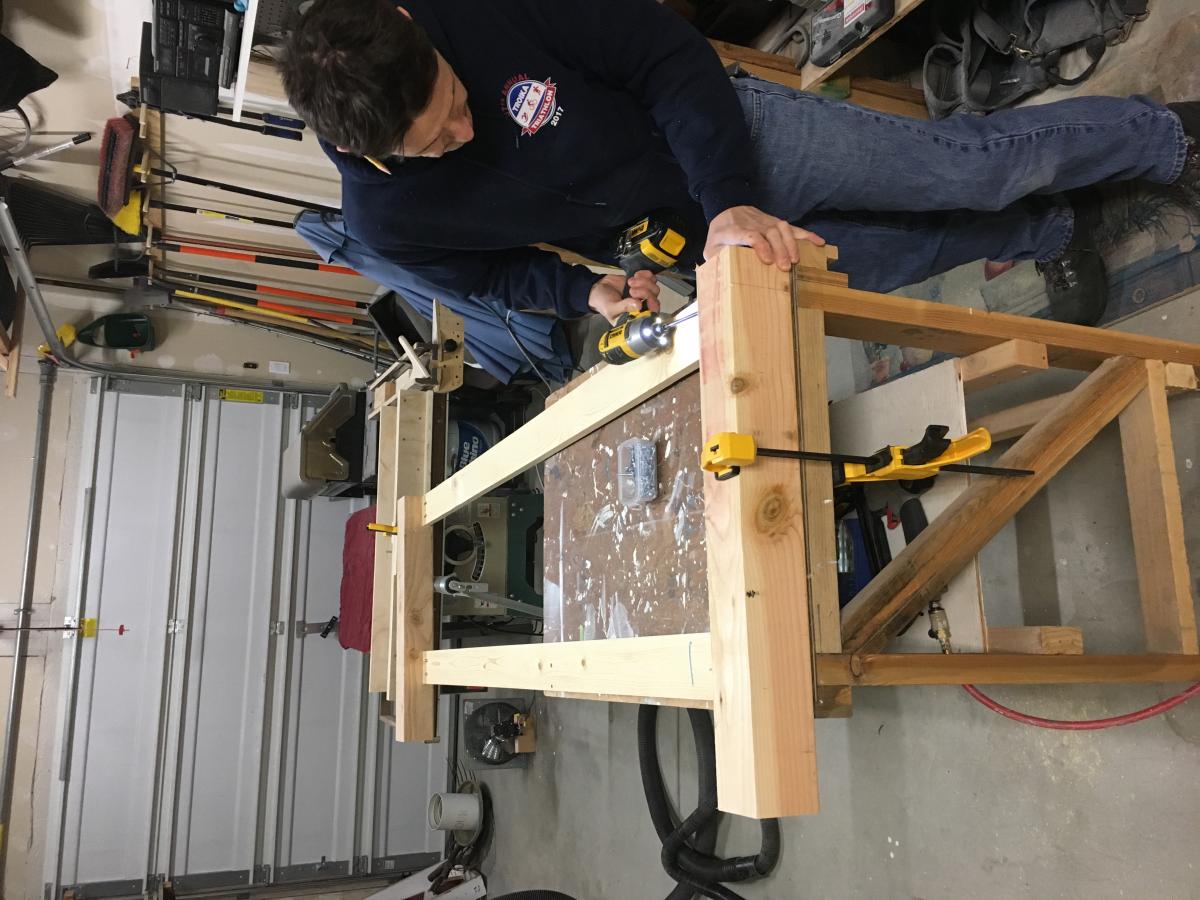
Estimated Time Investment
Weekend Project (10-20 Hours)
Finish Used
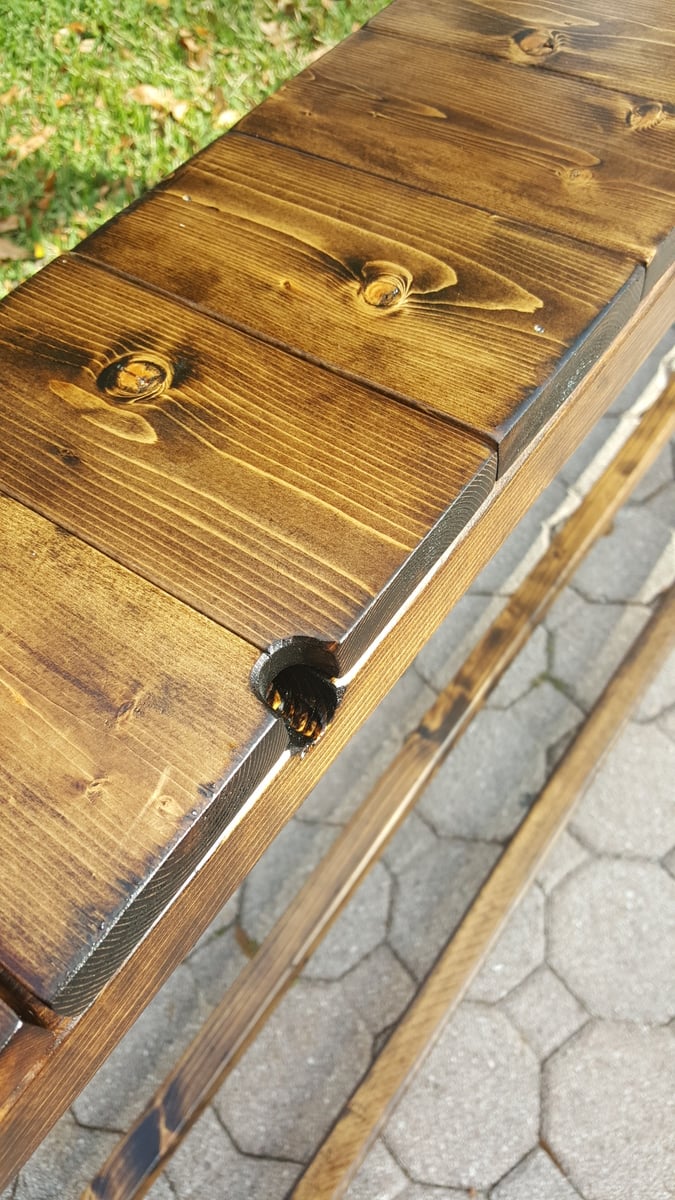
1 coat of mixwax pre stain wood conditioner then two coats of chocolate coloured stain then two coats of semi gloss poly
Recommended Skill Level
Beginner


Comments
tonihowe
Mon, 01/09/2012 - 08:06
Love it
This is going on my to do list - thanks for sharing - looks great.