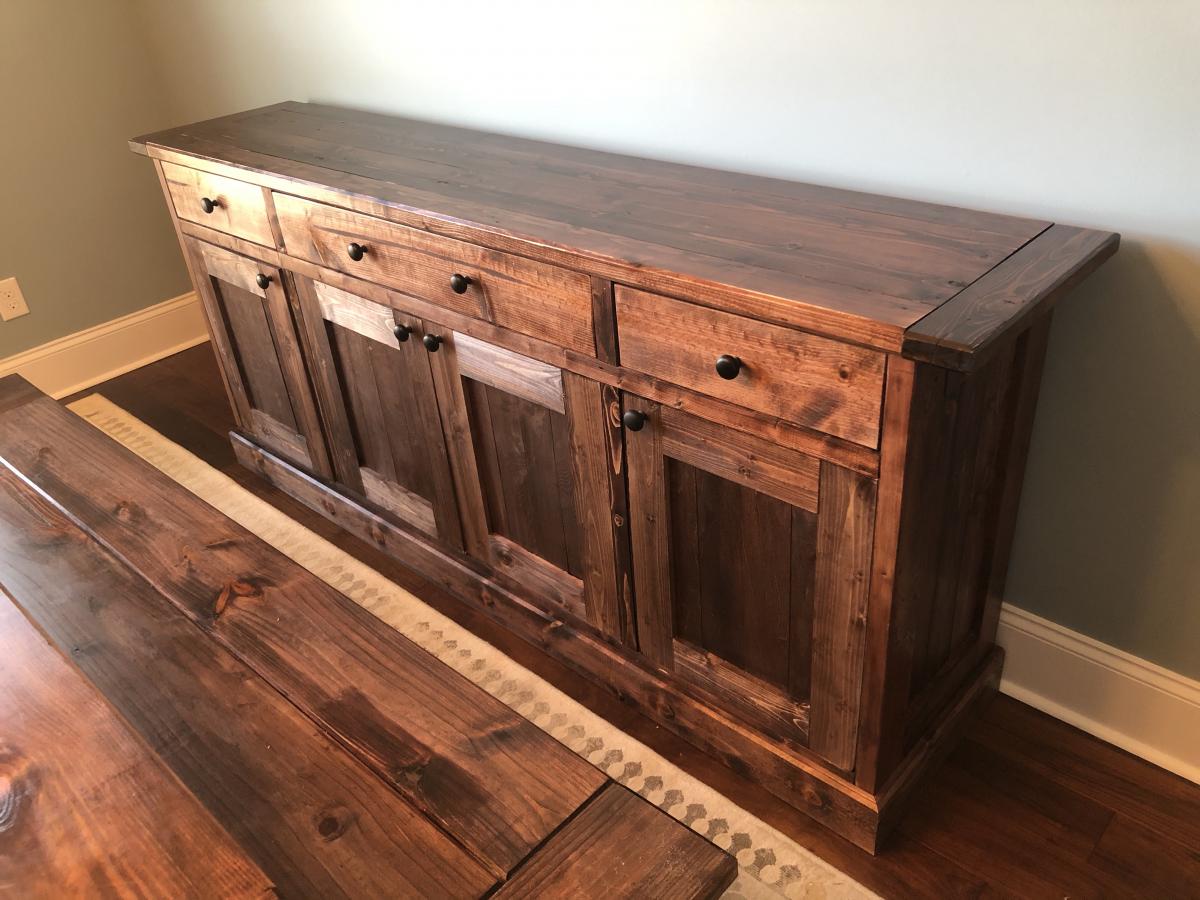
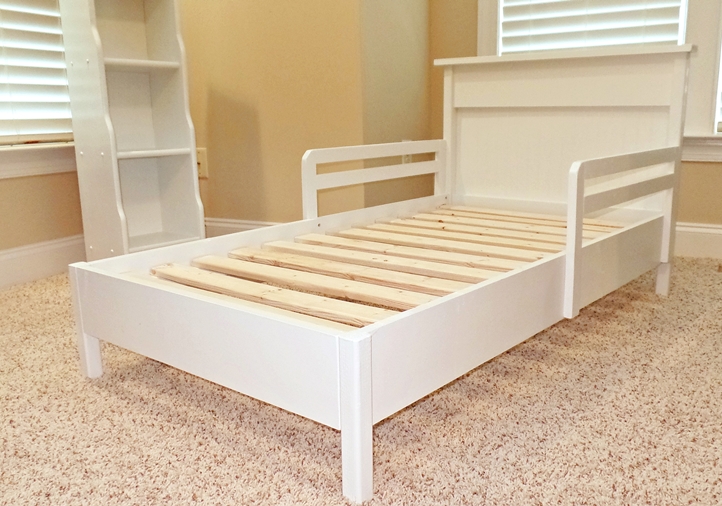
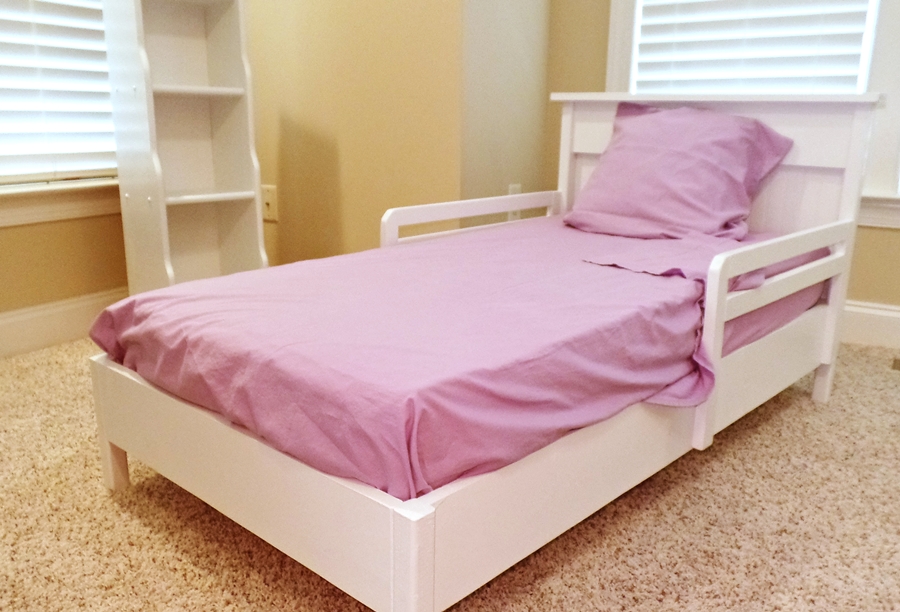
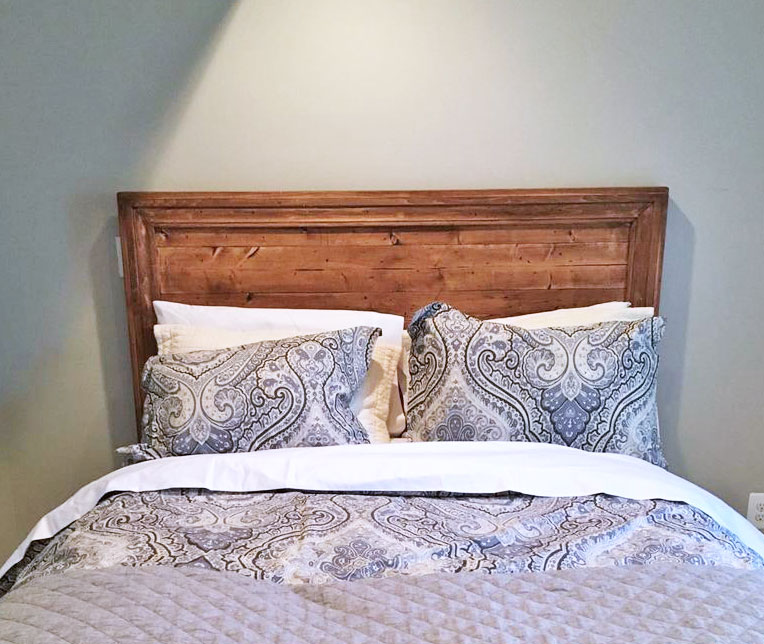
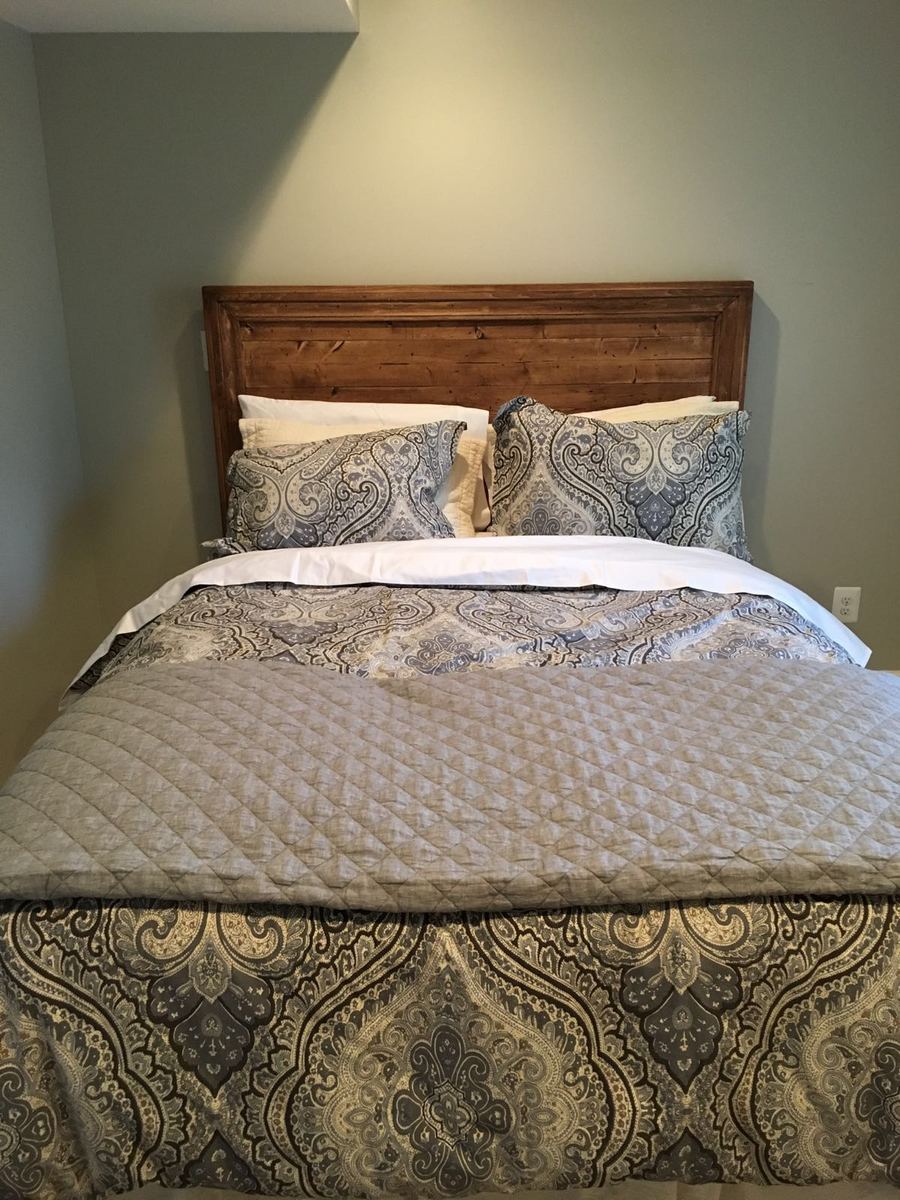
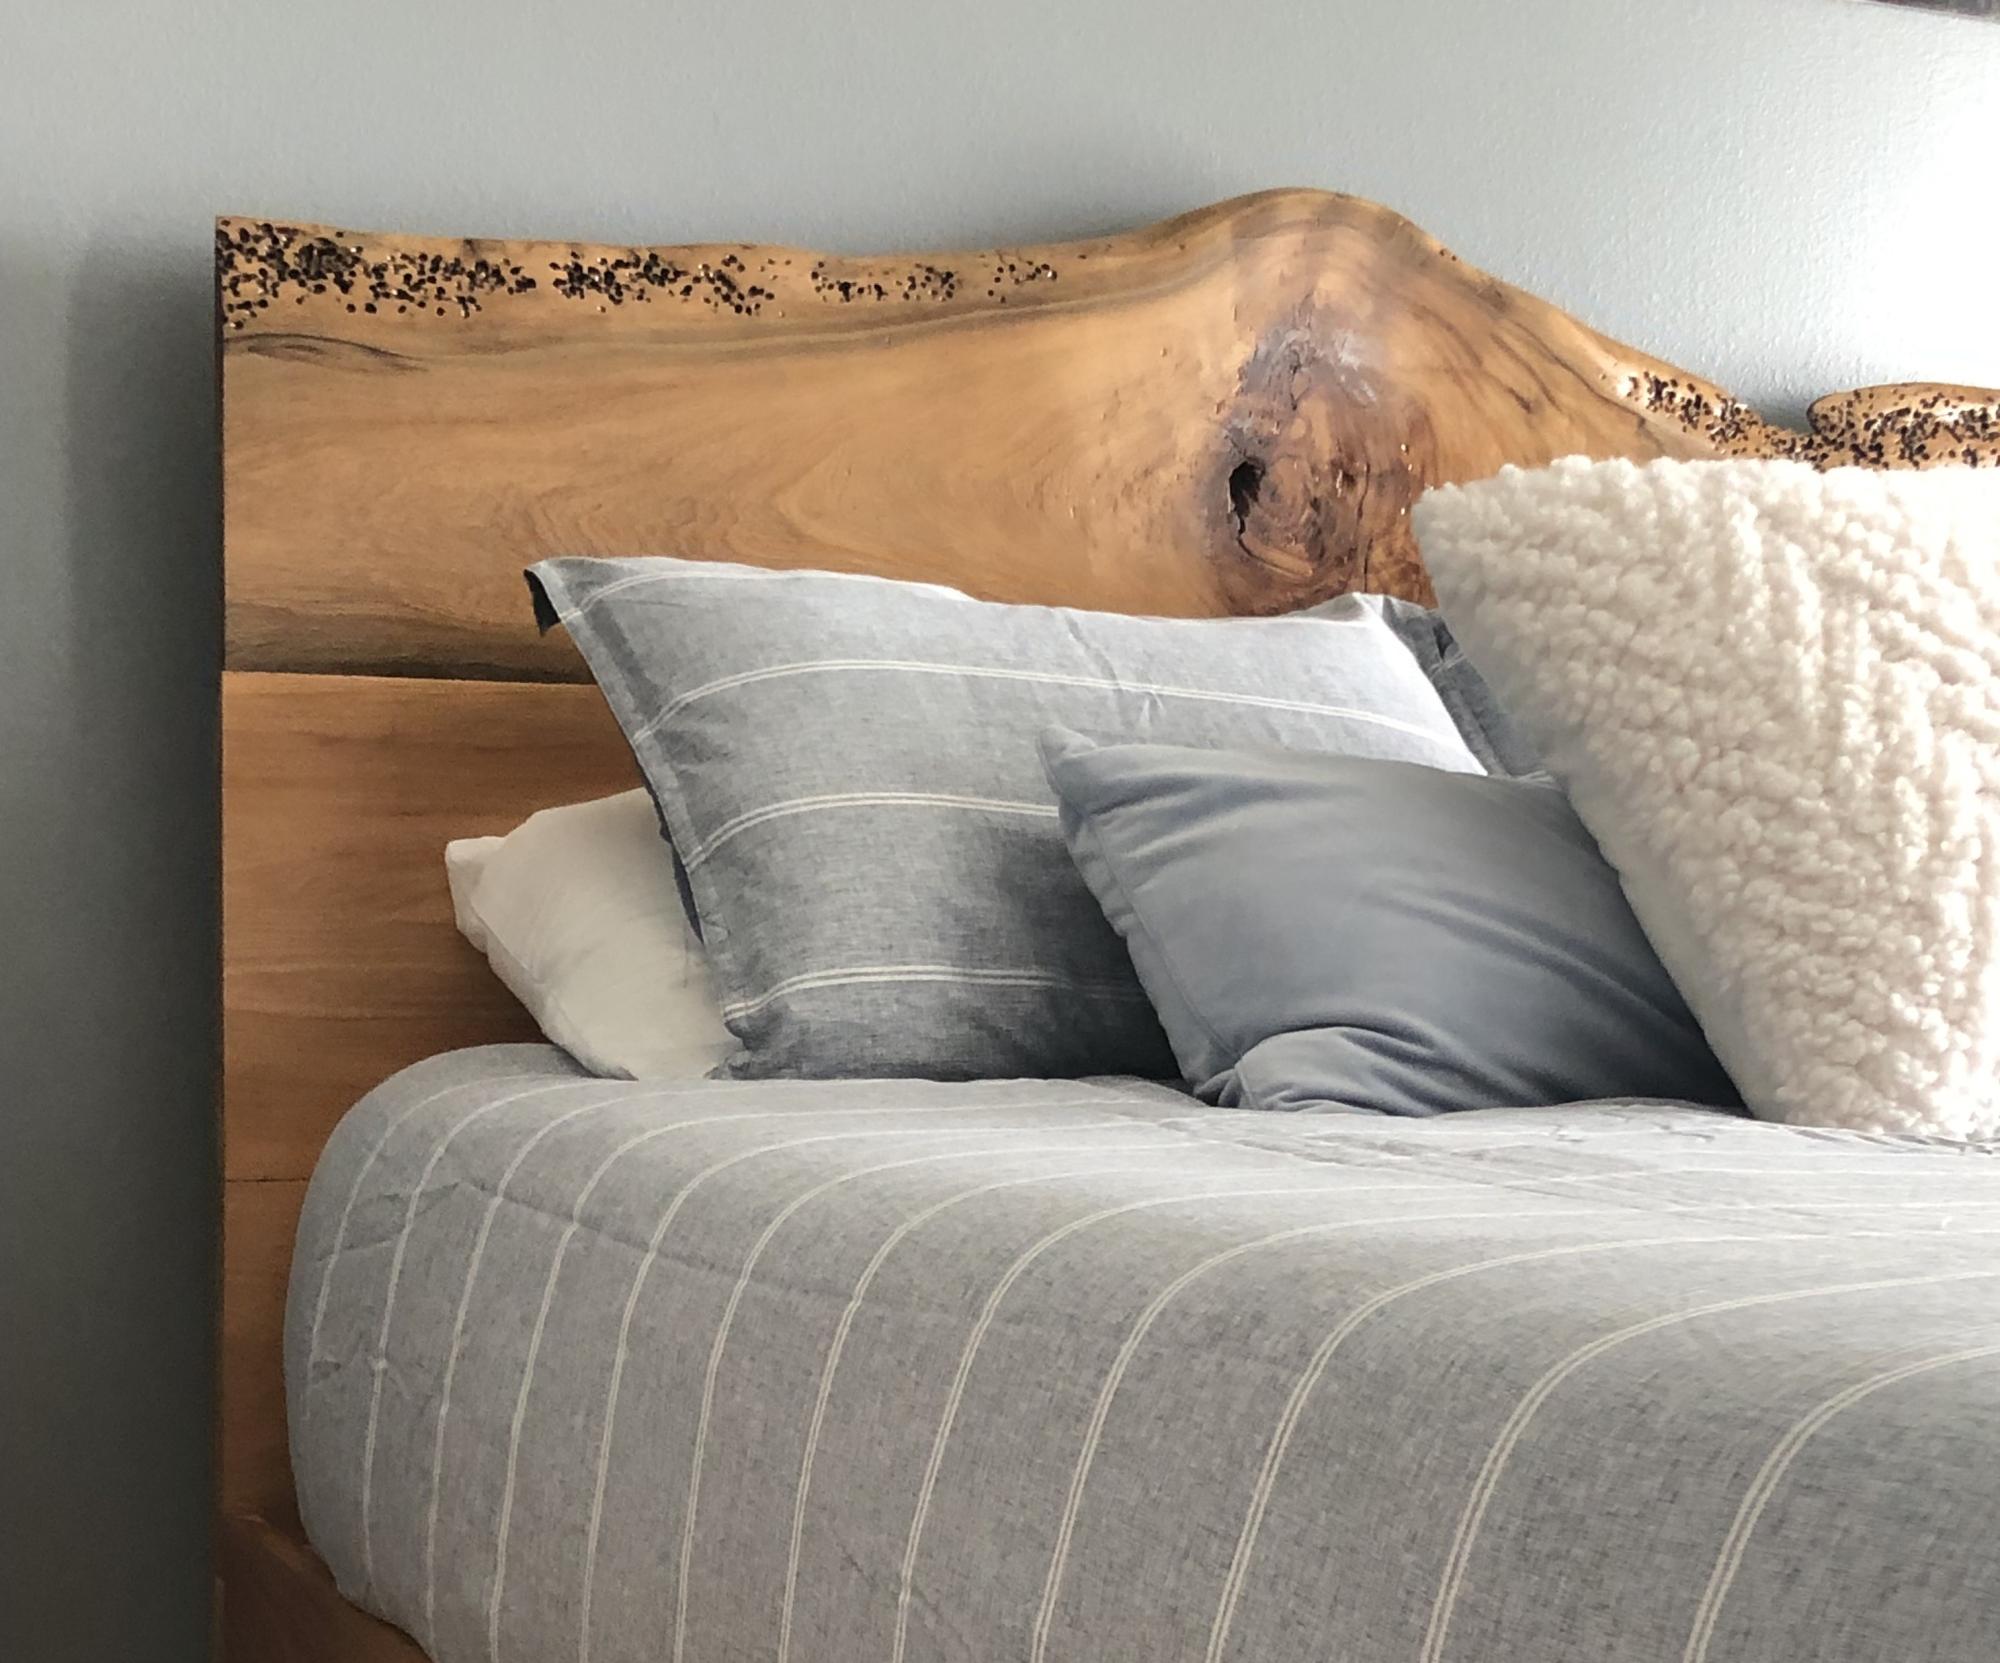
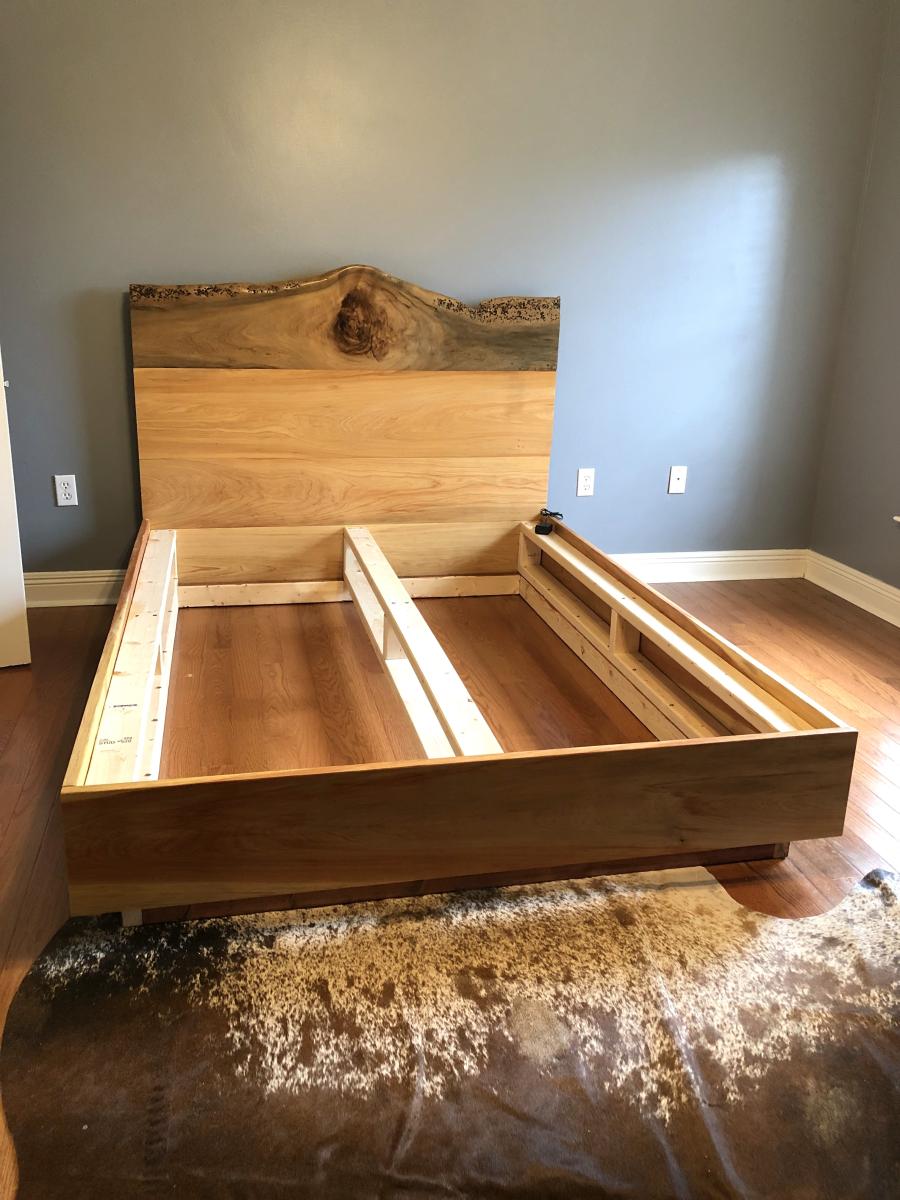
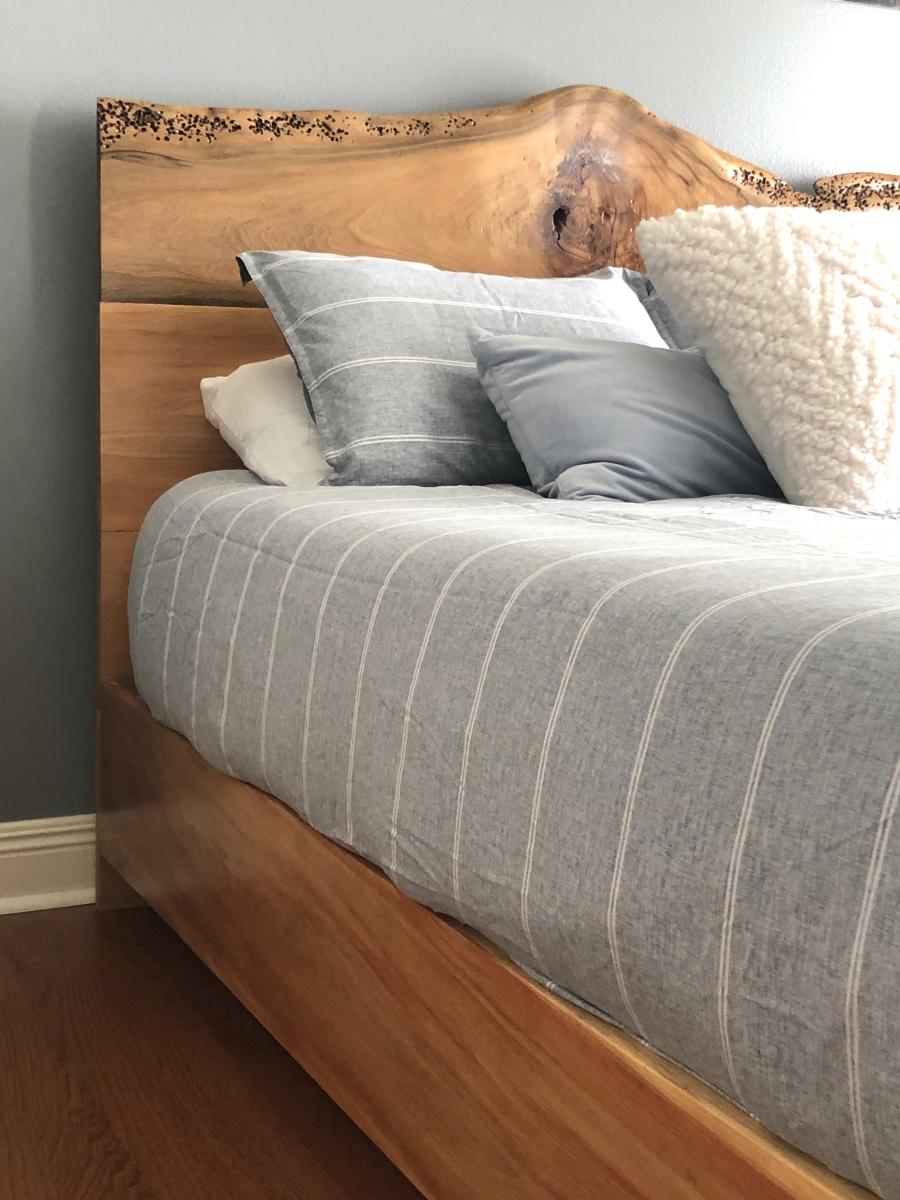
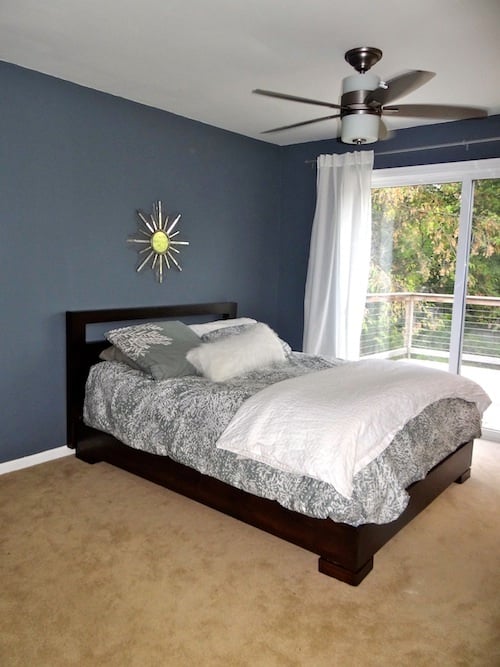
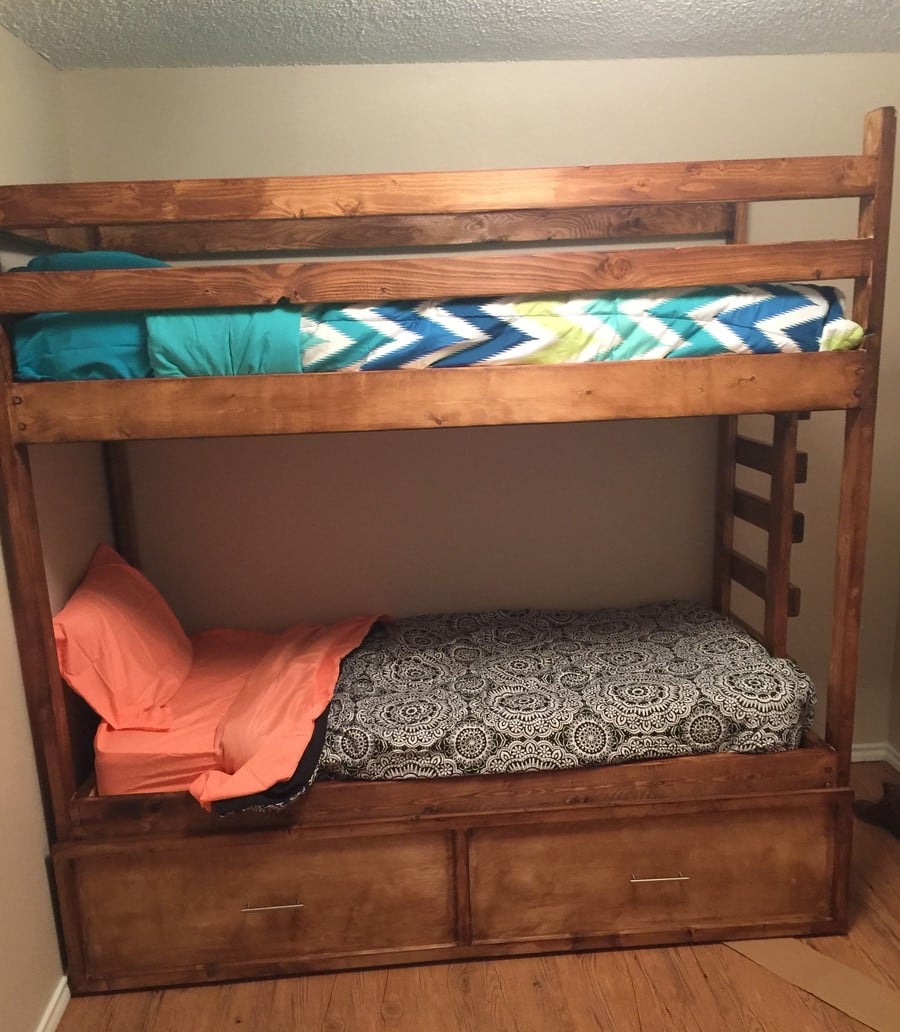
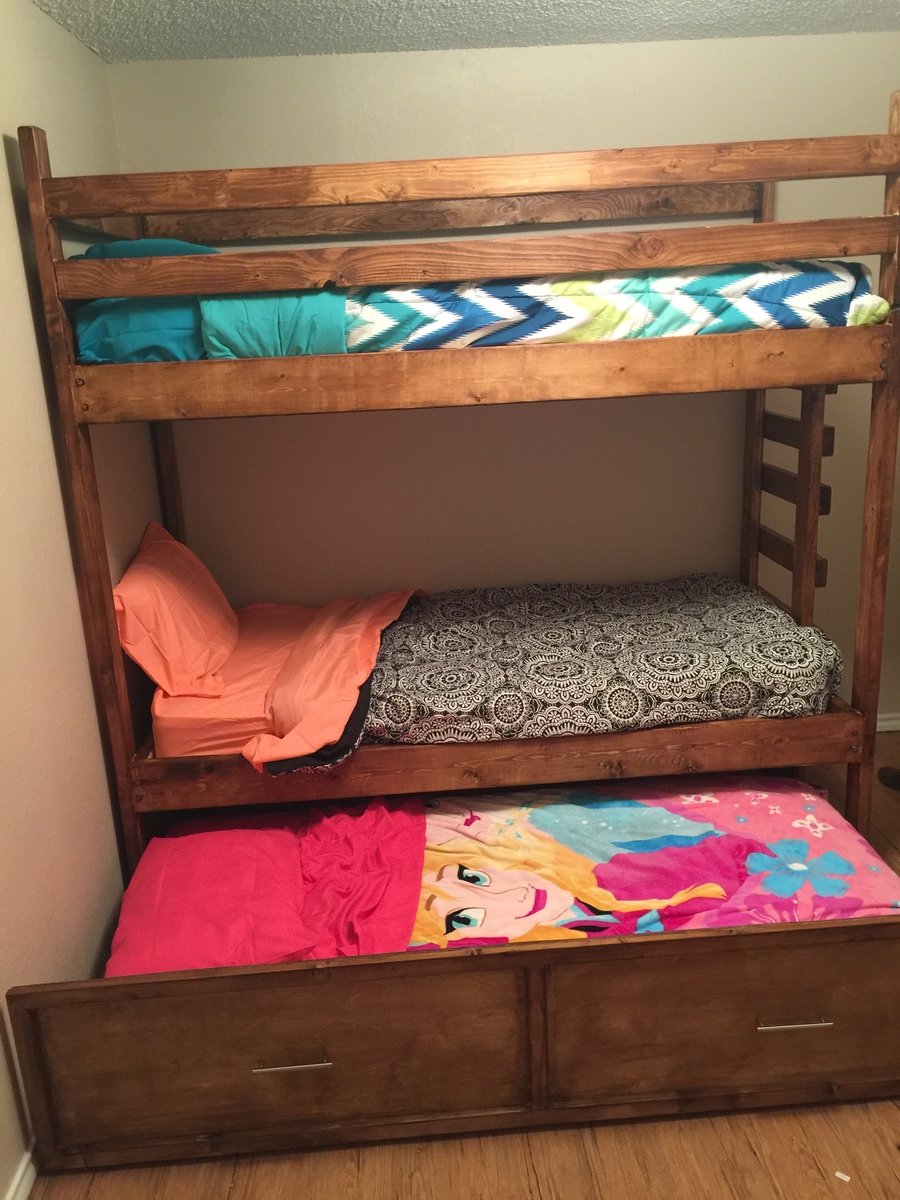
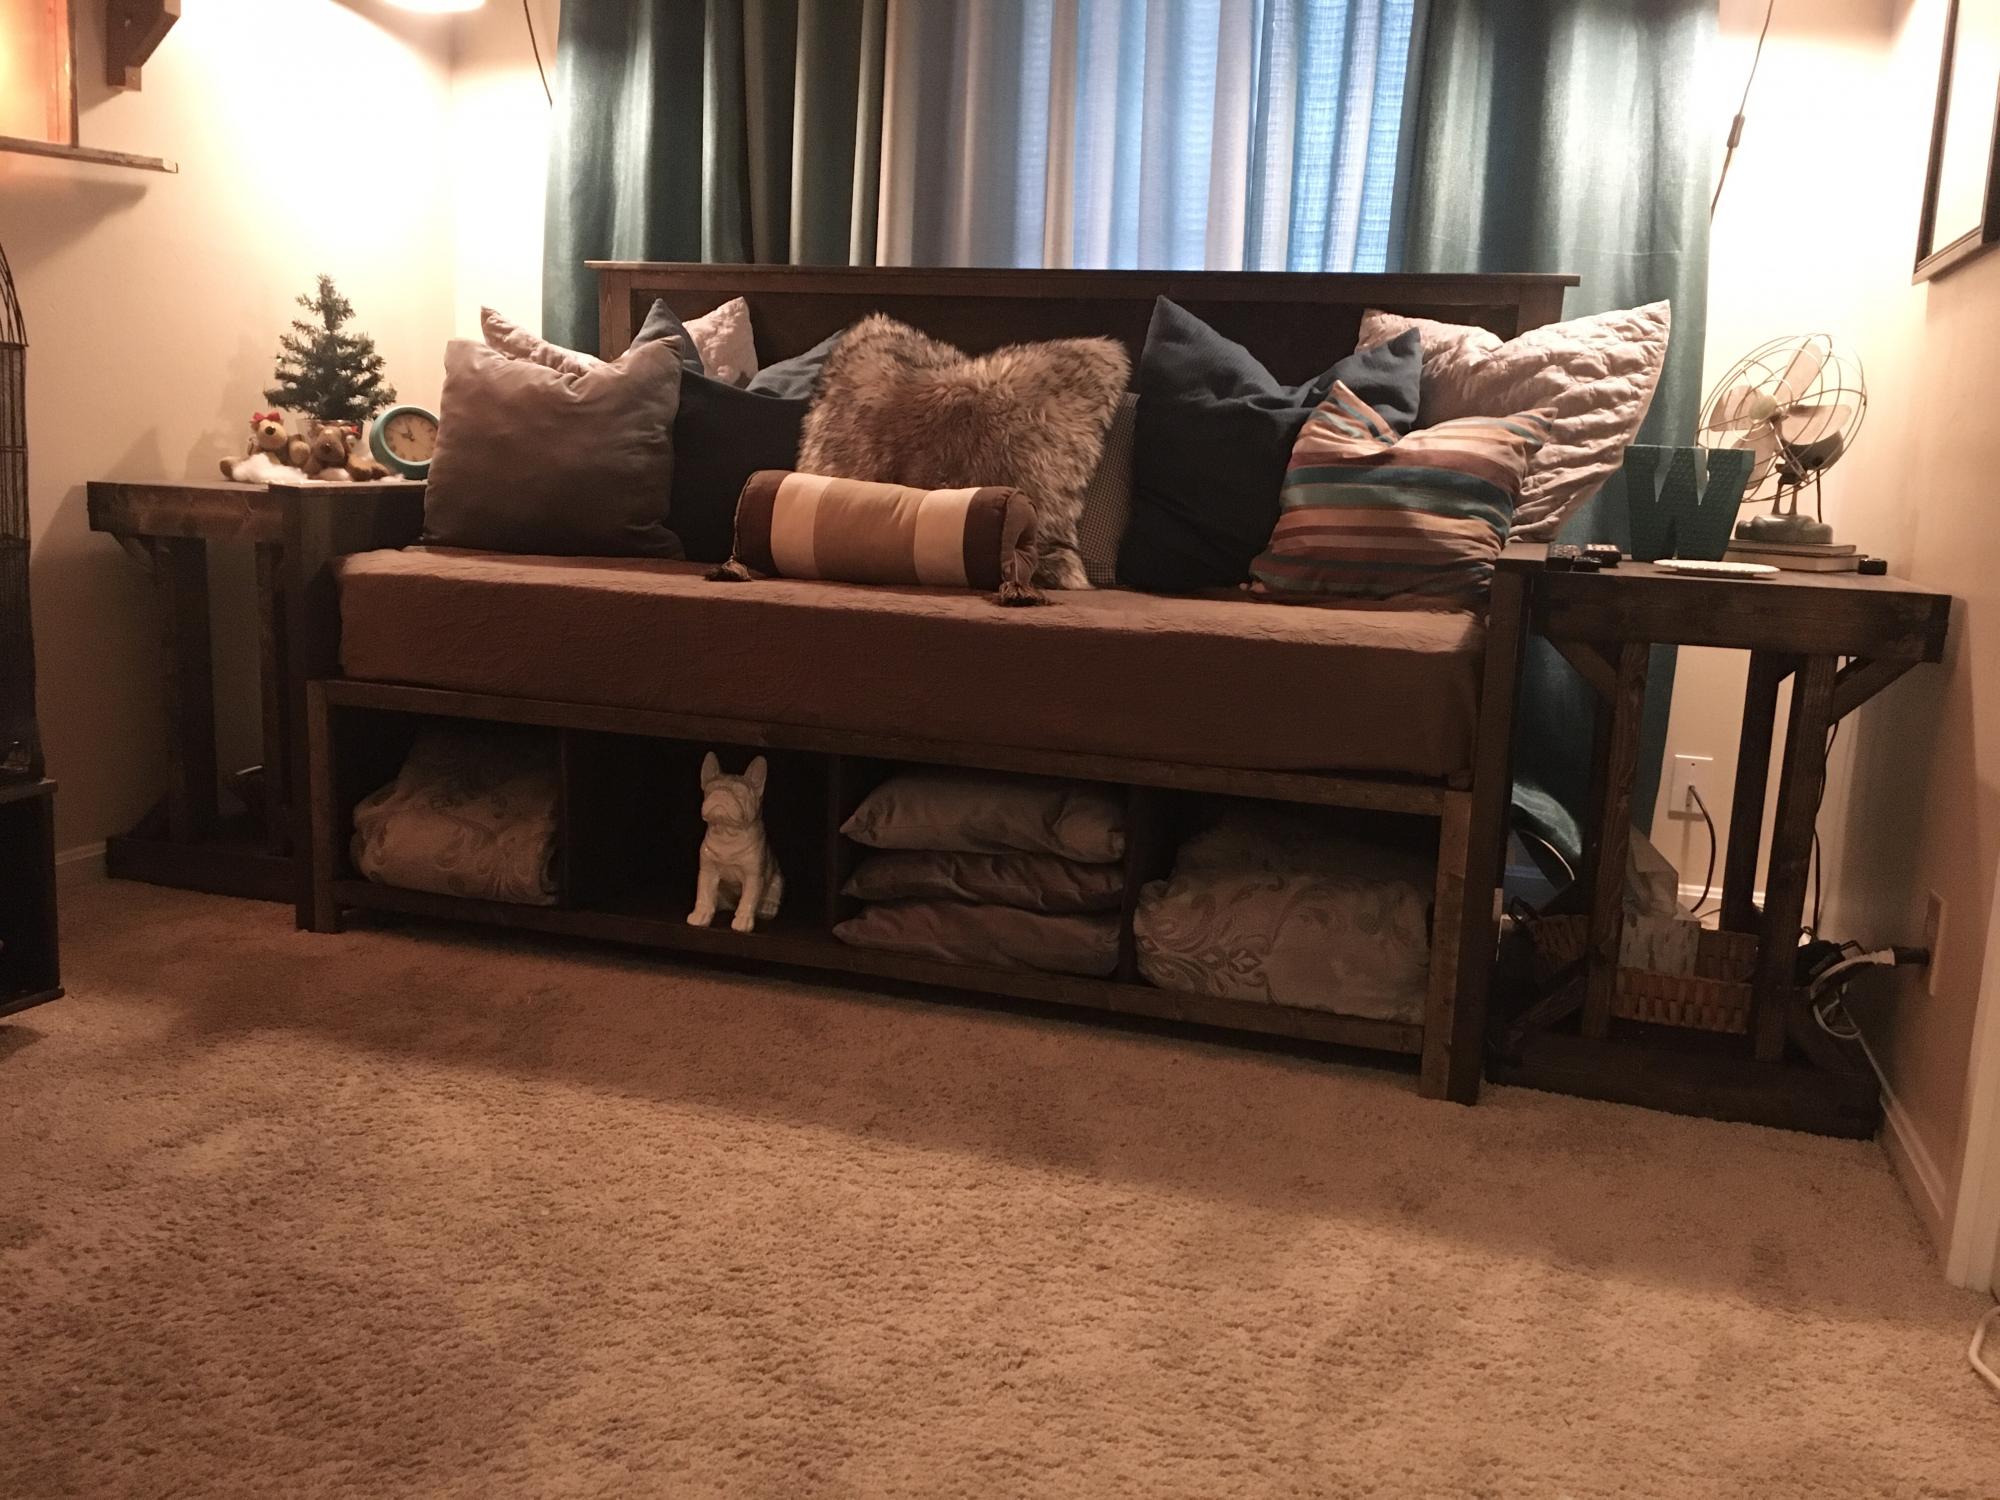
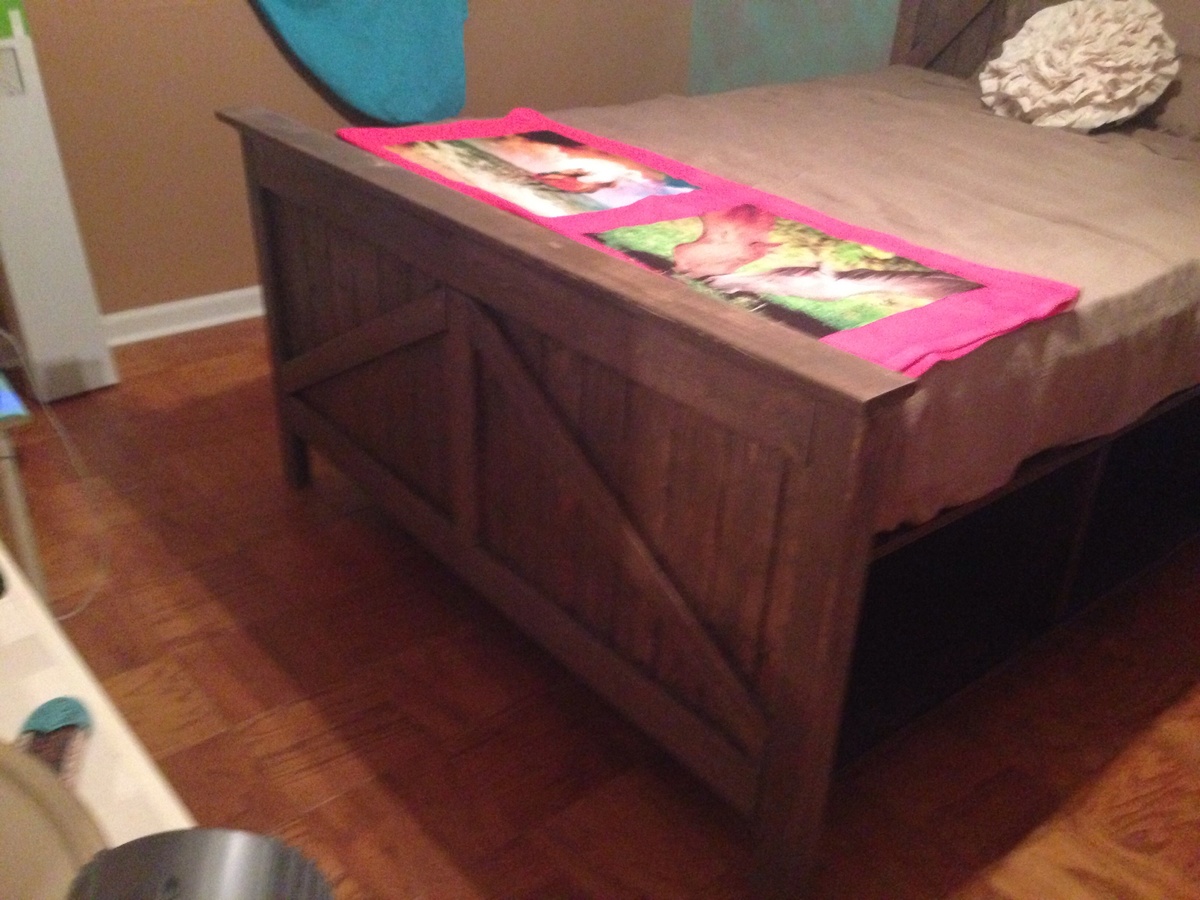
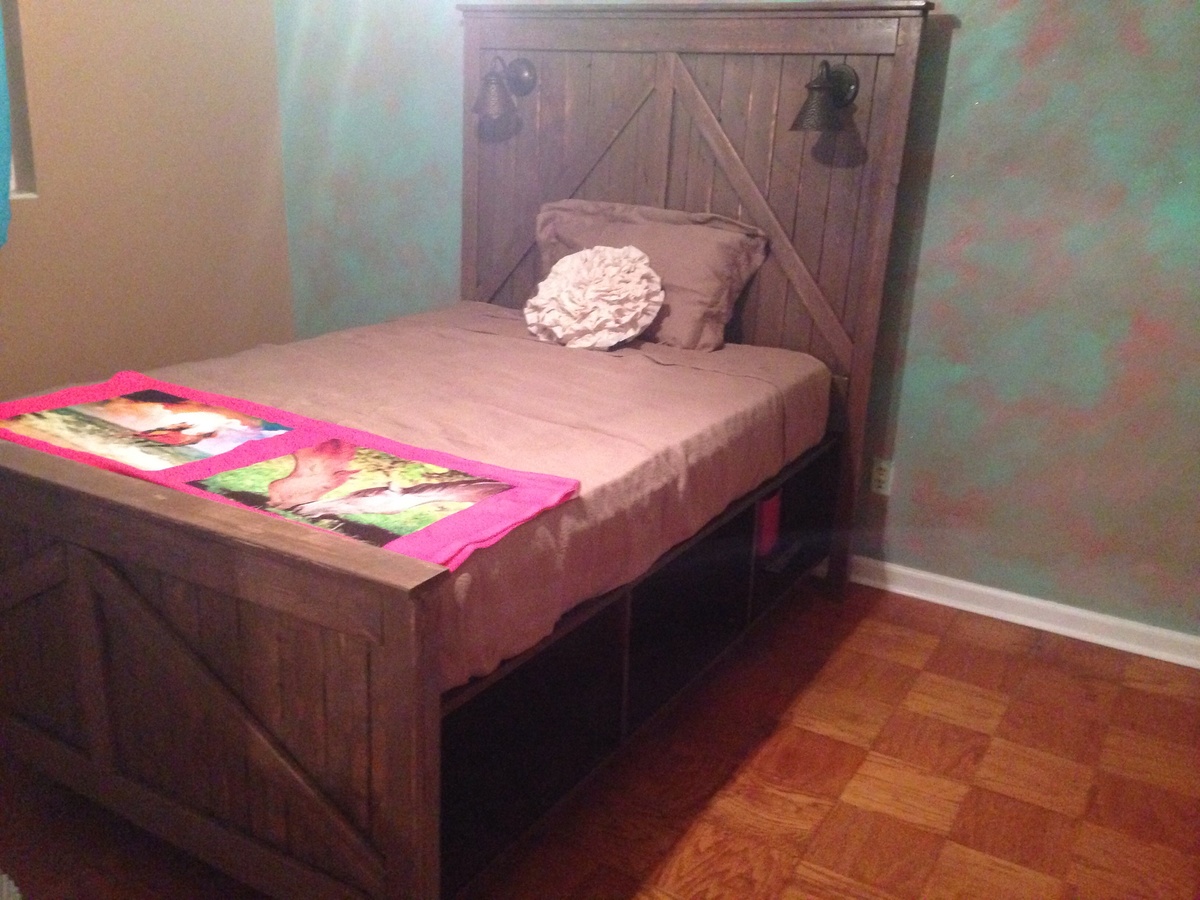
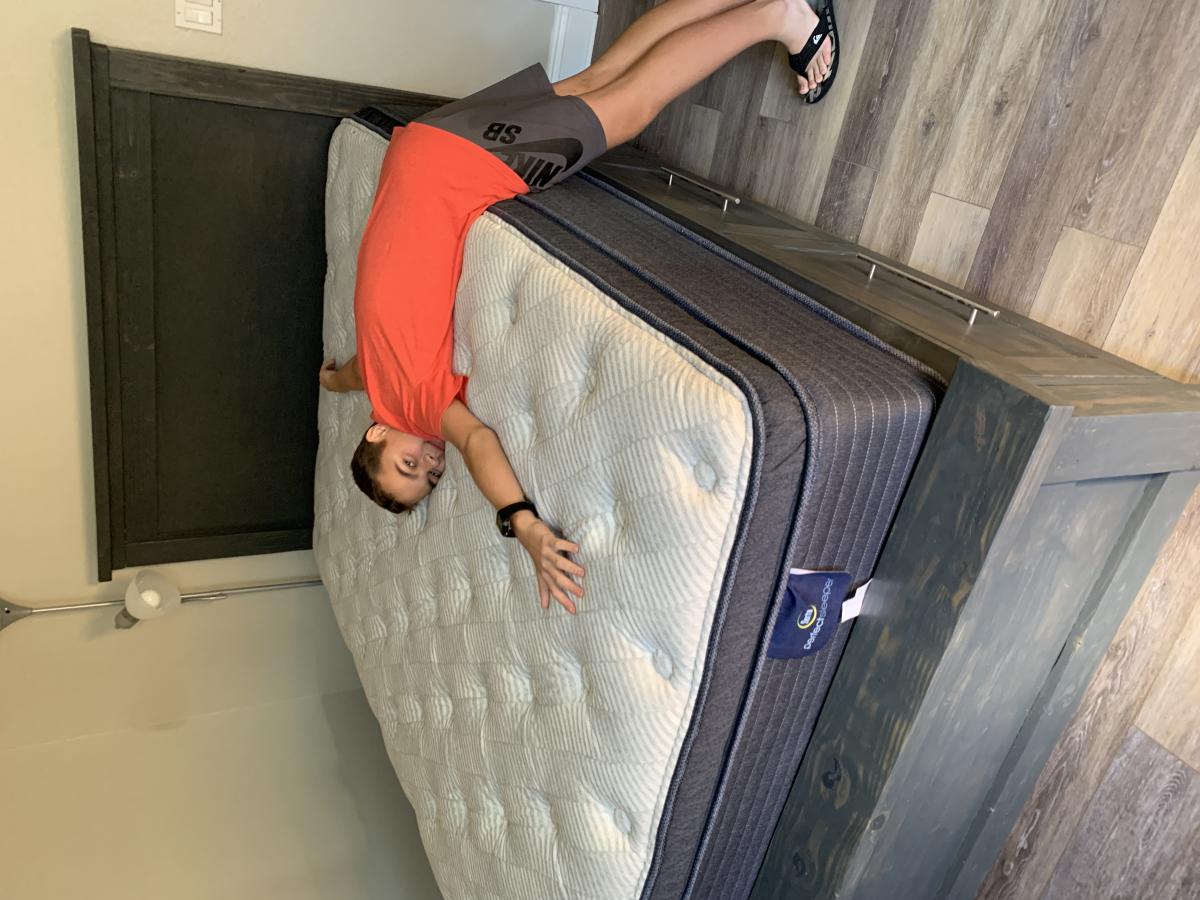
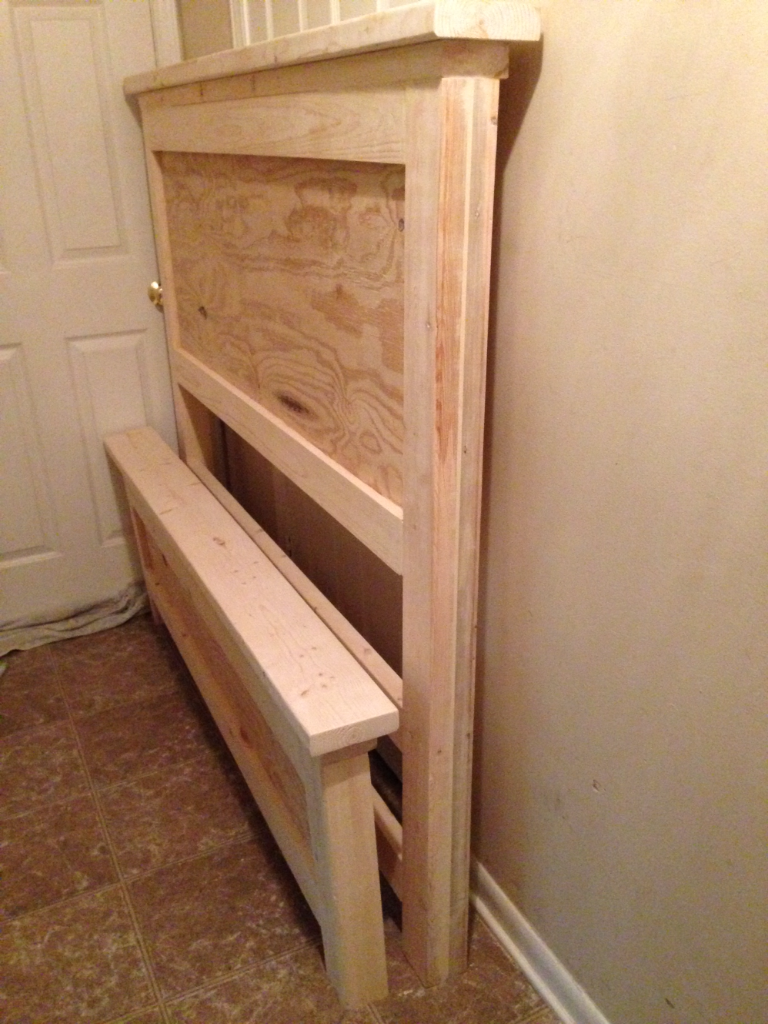
Farmhouse Storage Bed
Absolutely loved making this bed! It became my summer project and I needed it done in a two week time frame. Between working on it after i got off work and on my days off, it came out exactly how I wanted it to.
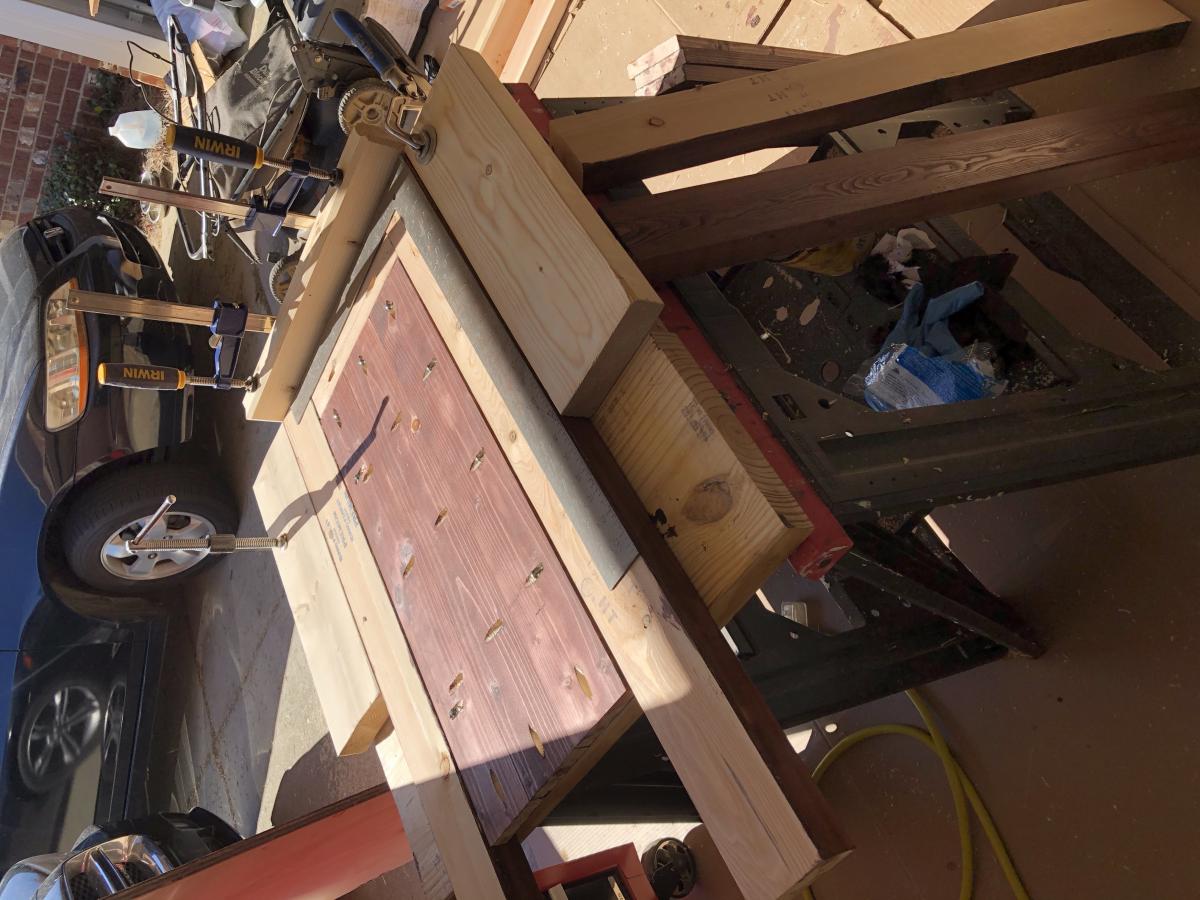
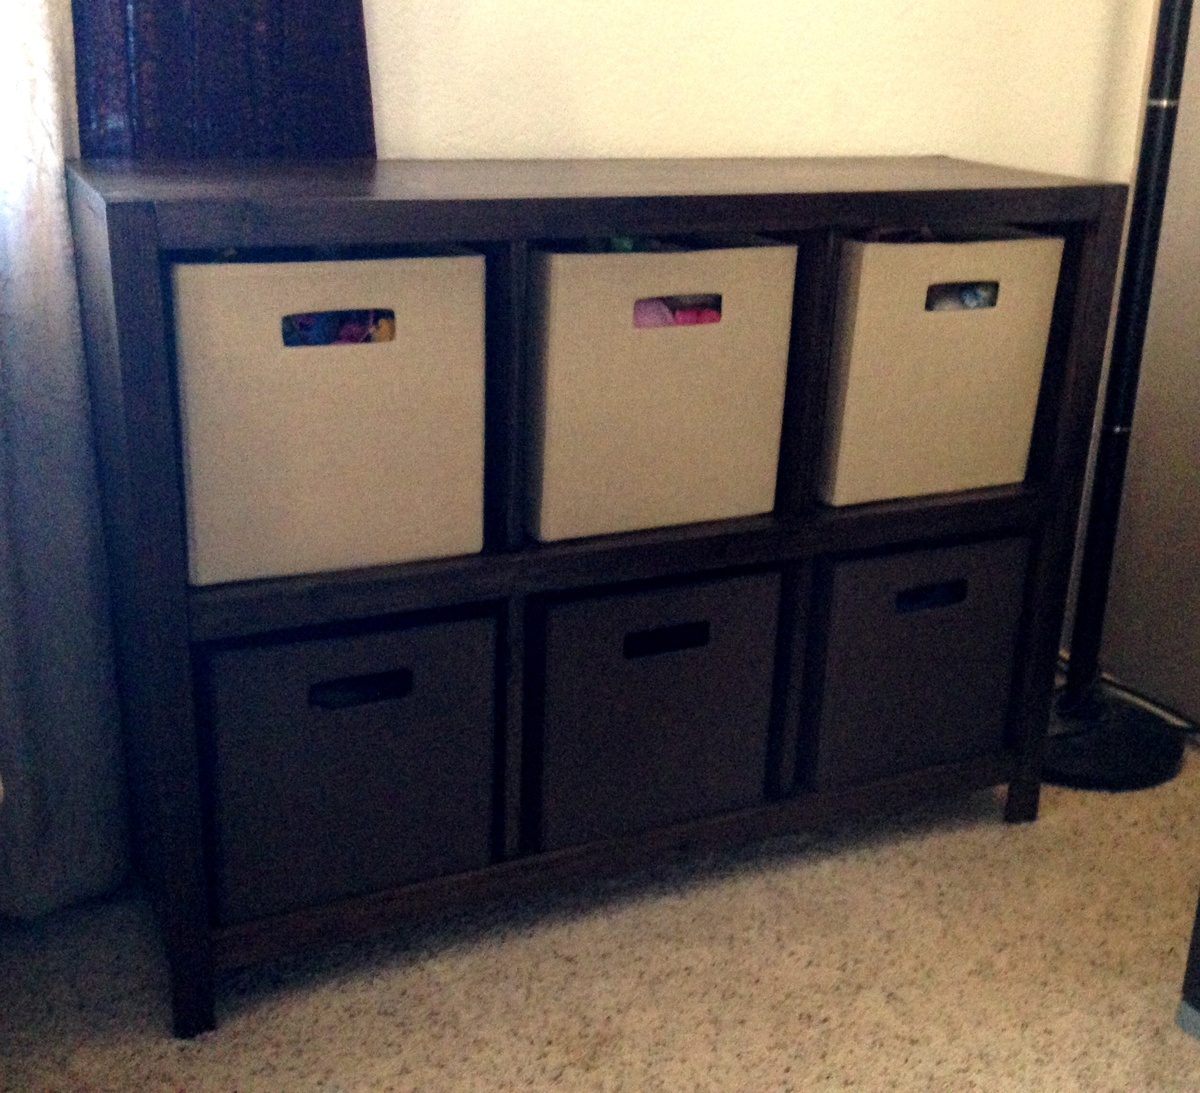
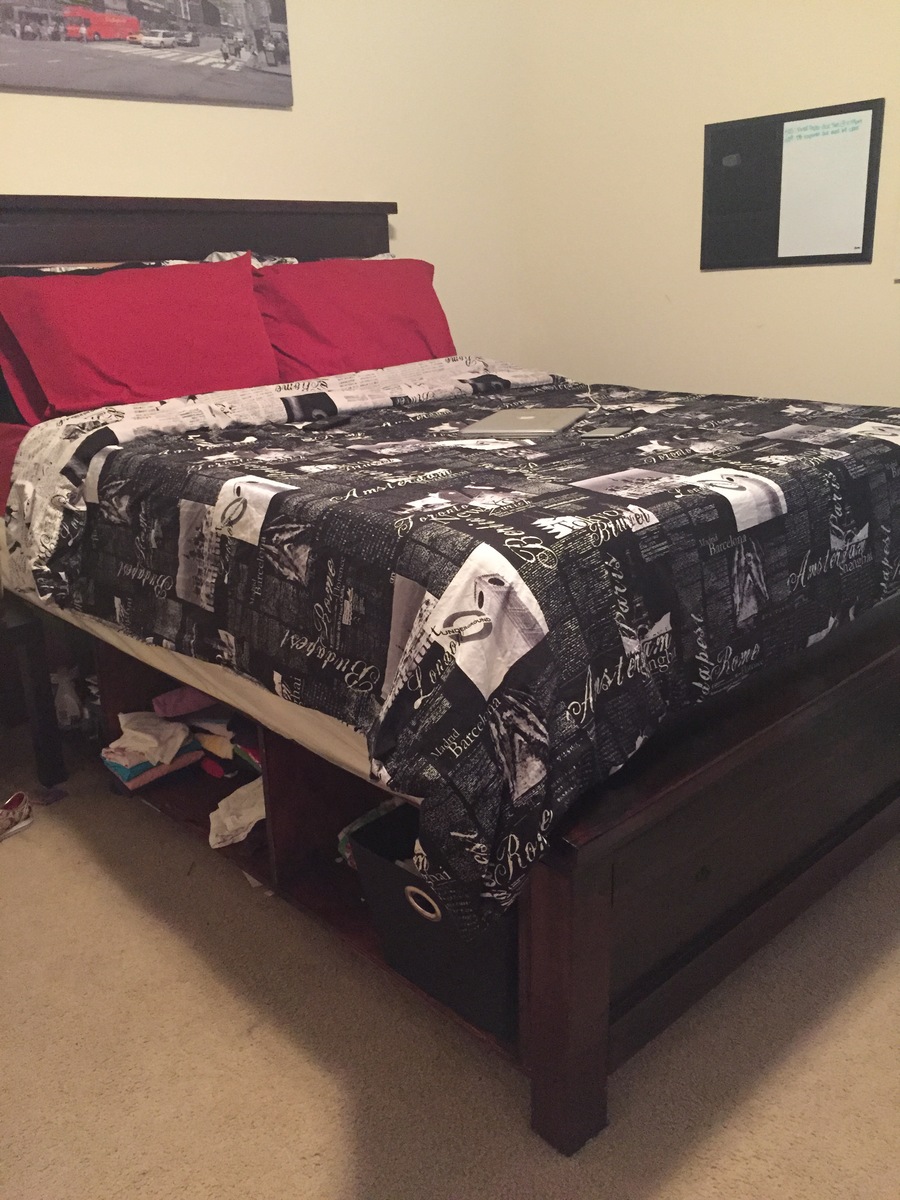
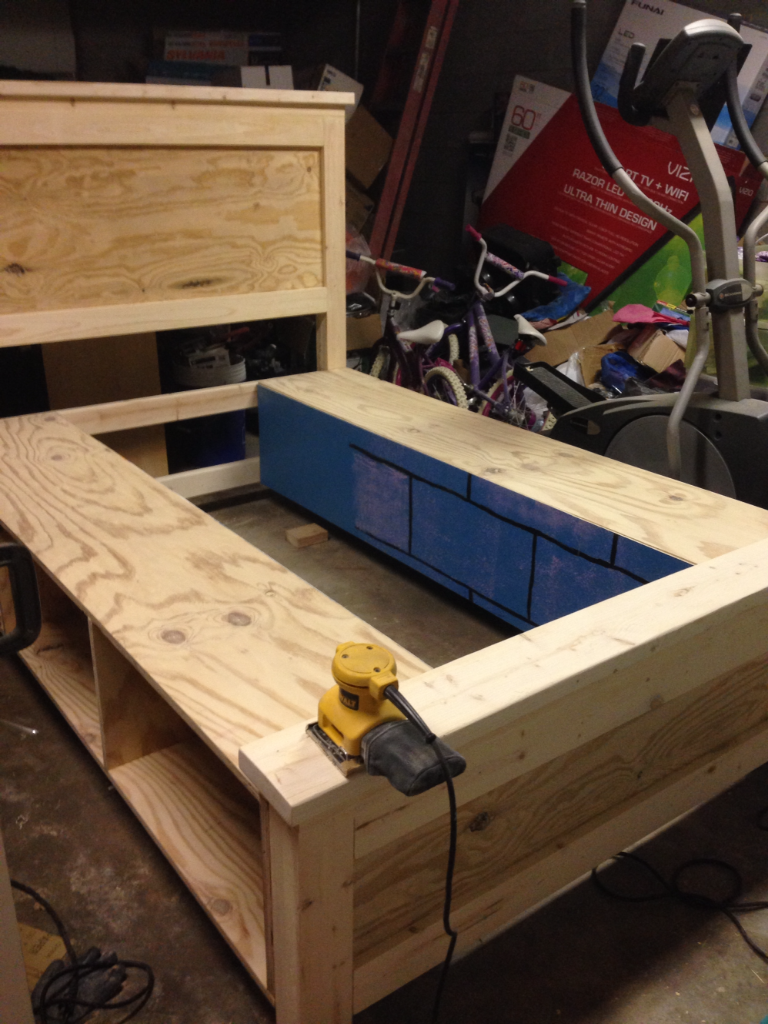
I only ended up spending a total of $140 dollars by using scrap wood around my garage and new nails and screws and such. This was the absolute way to go before moving into my first apartment with little to no furniture! The storage boxes were the perfect solution to not wanting to buy a dresser. It's completely durable and I'd definitely do it again! Thanks Ana White!
Built from Plan(s)
Estimated Cost
~$140 by using scraps
Estimated Time Investment
Weekend Project (10-20 Hours)
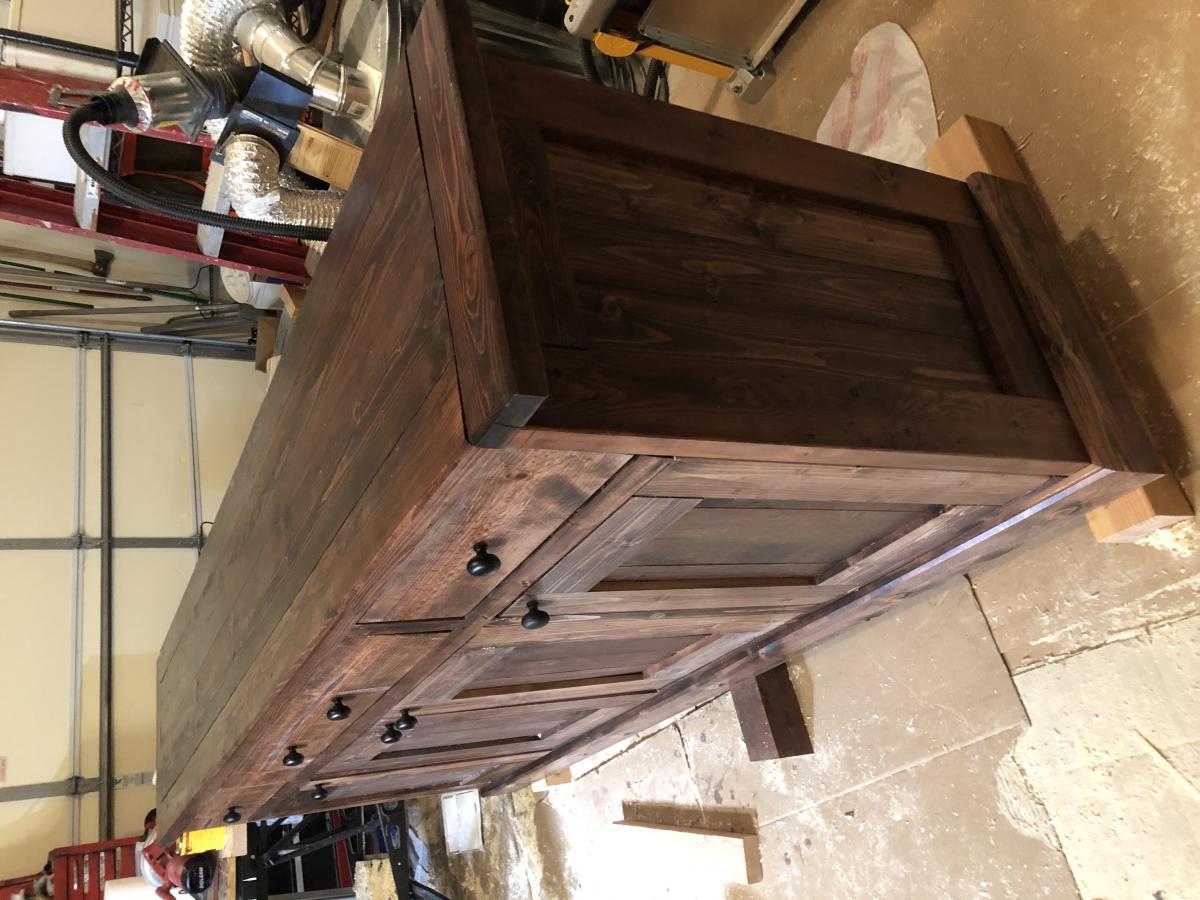
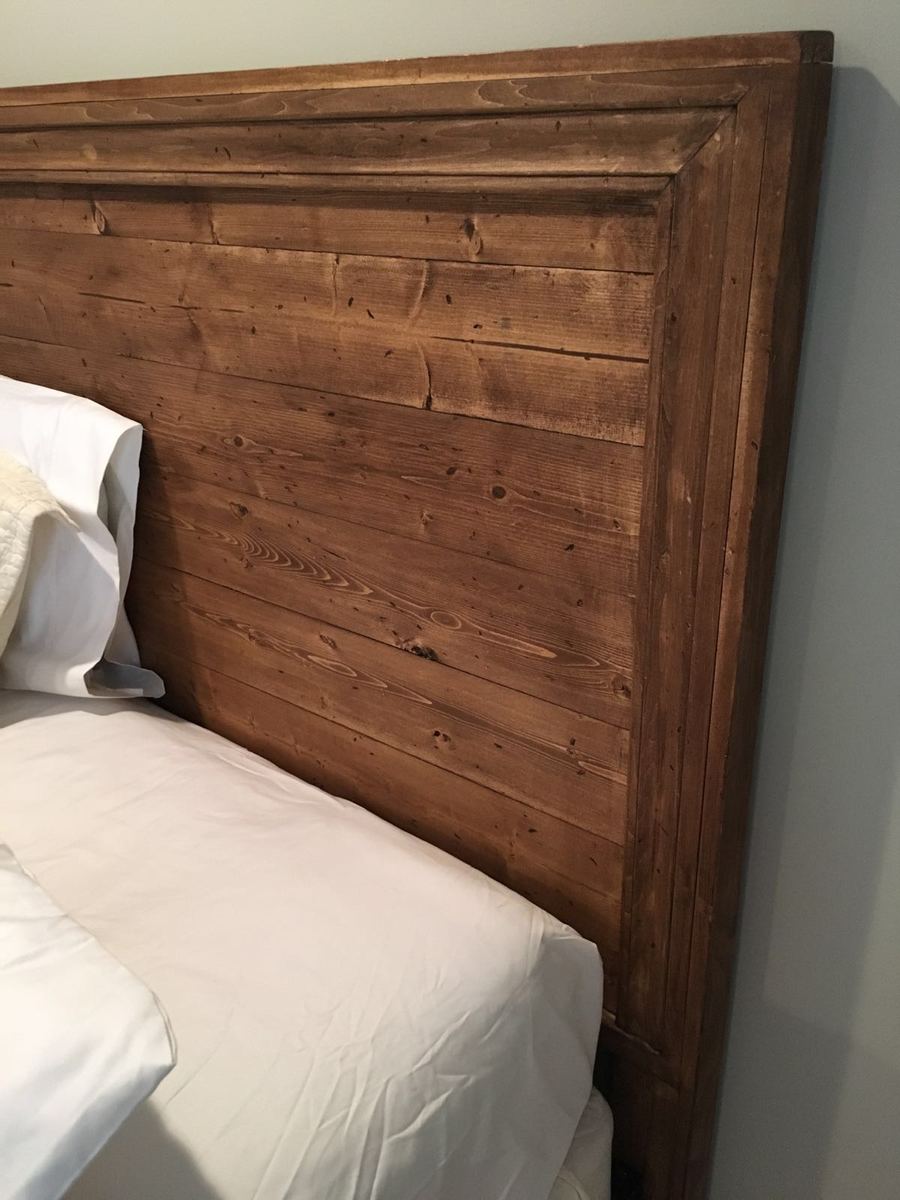
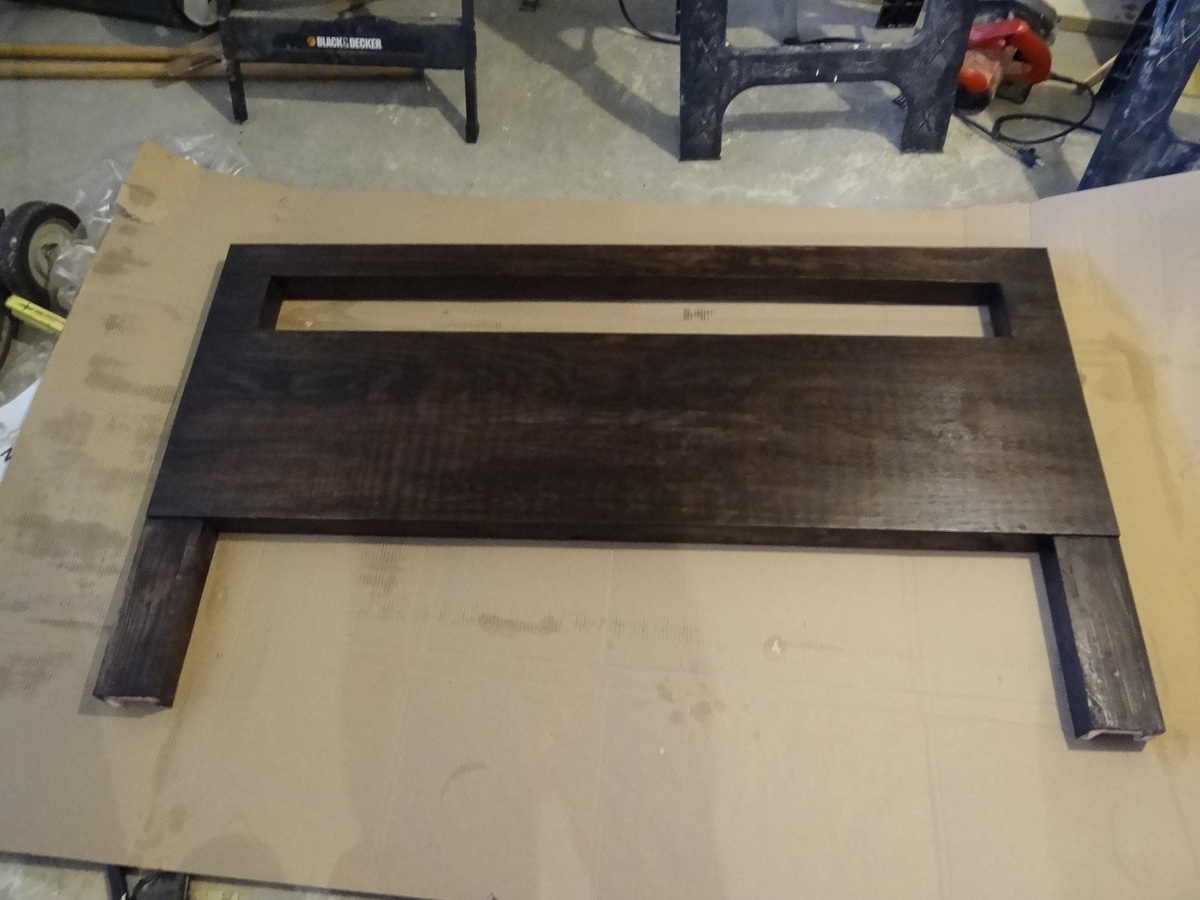
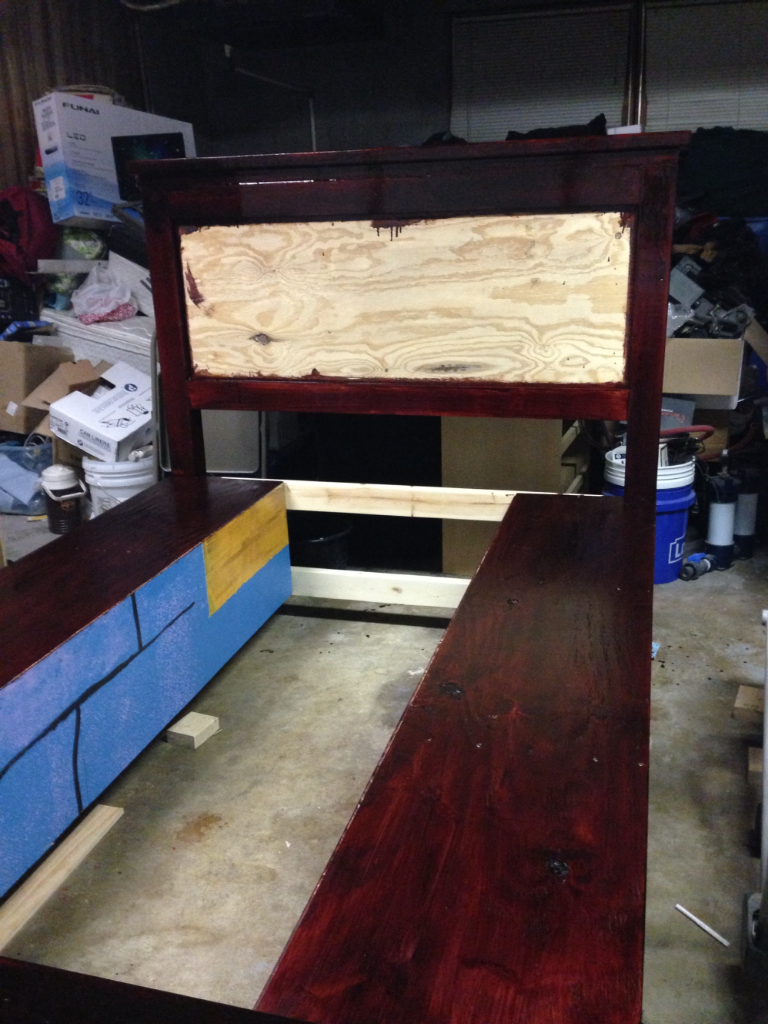
Finish Used
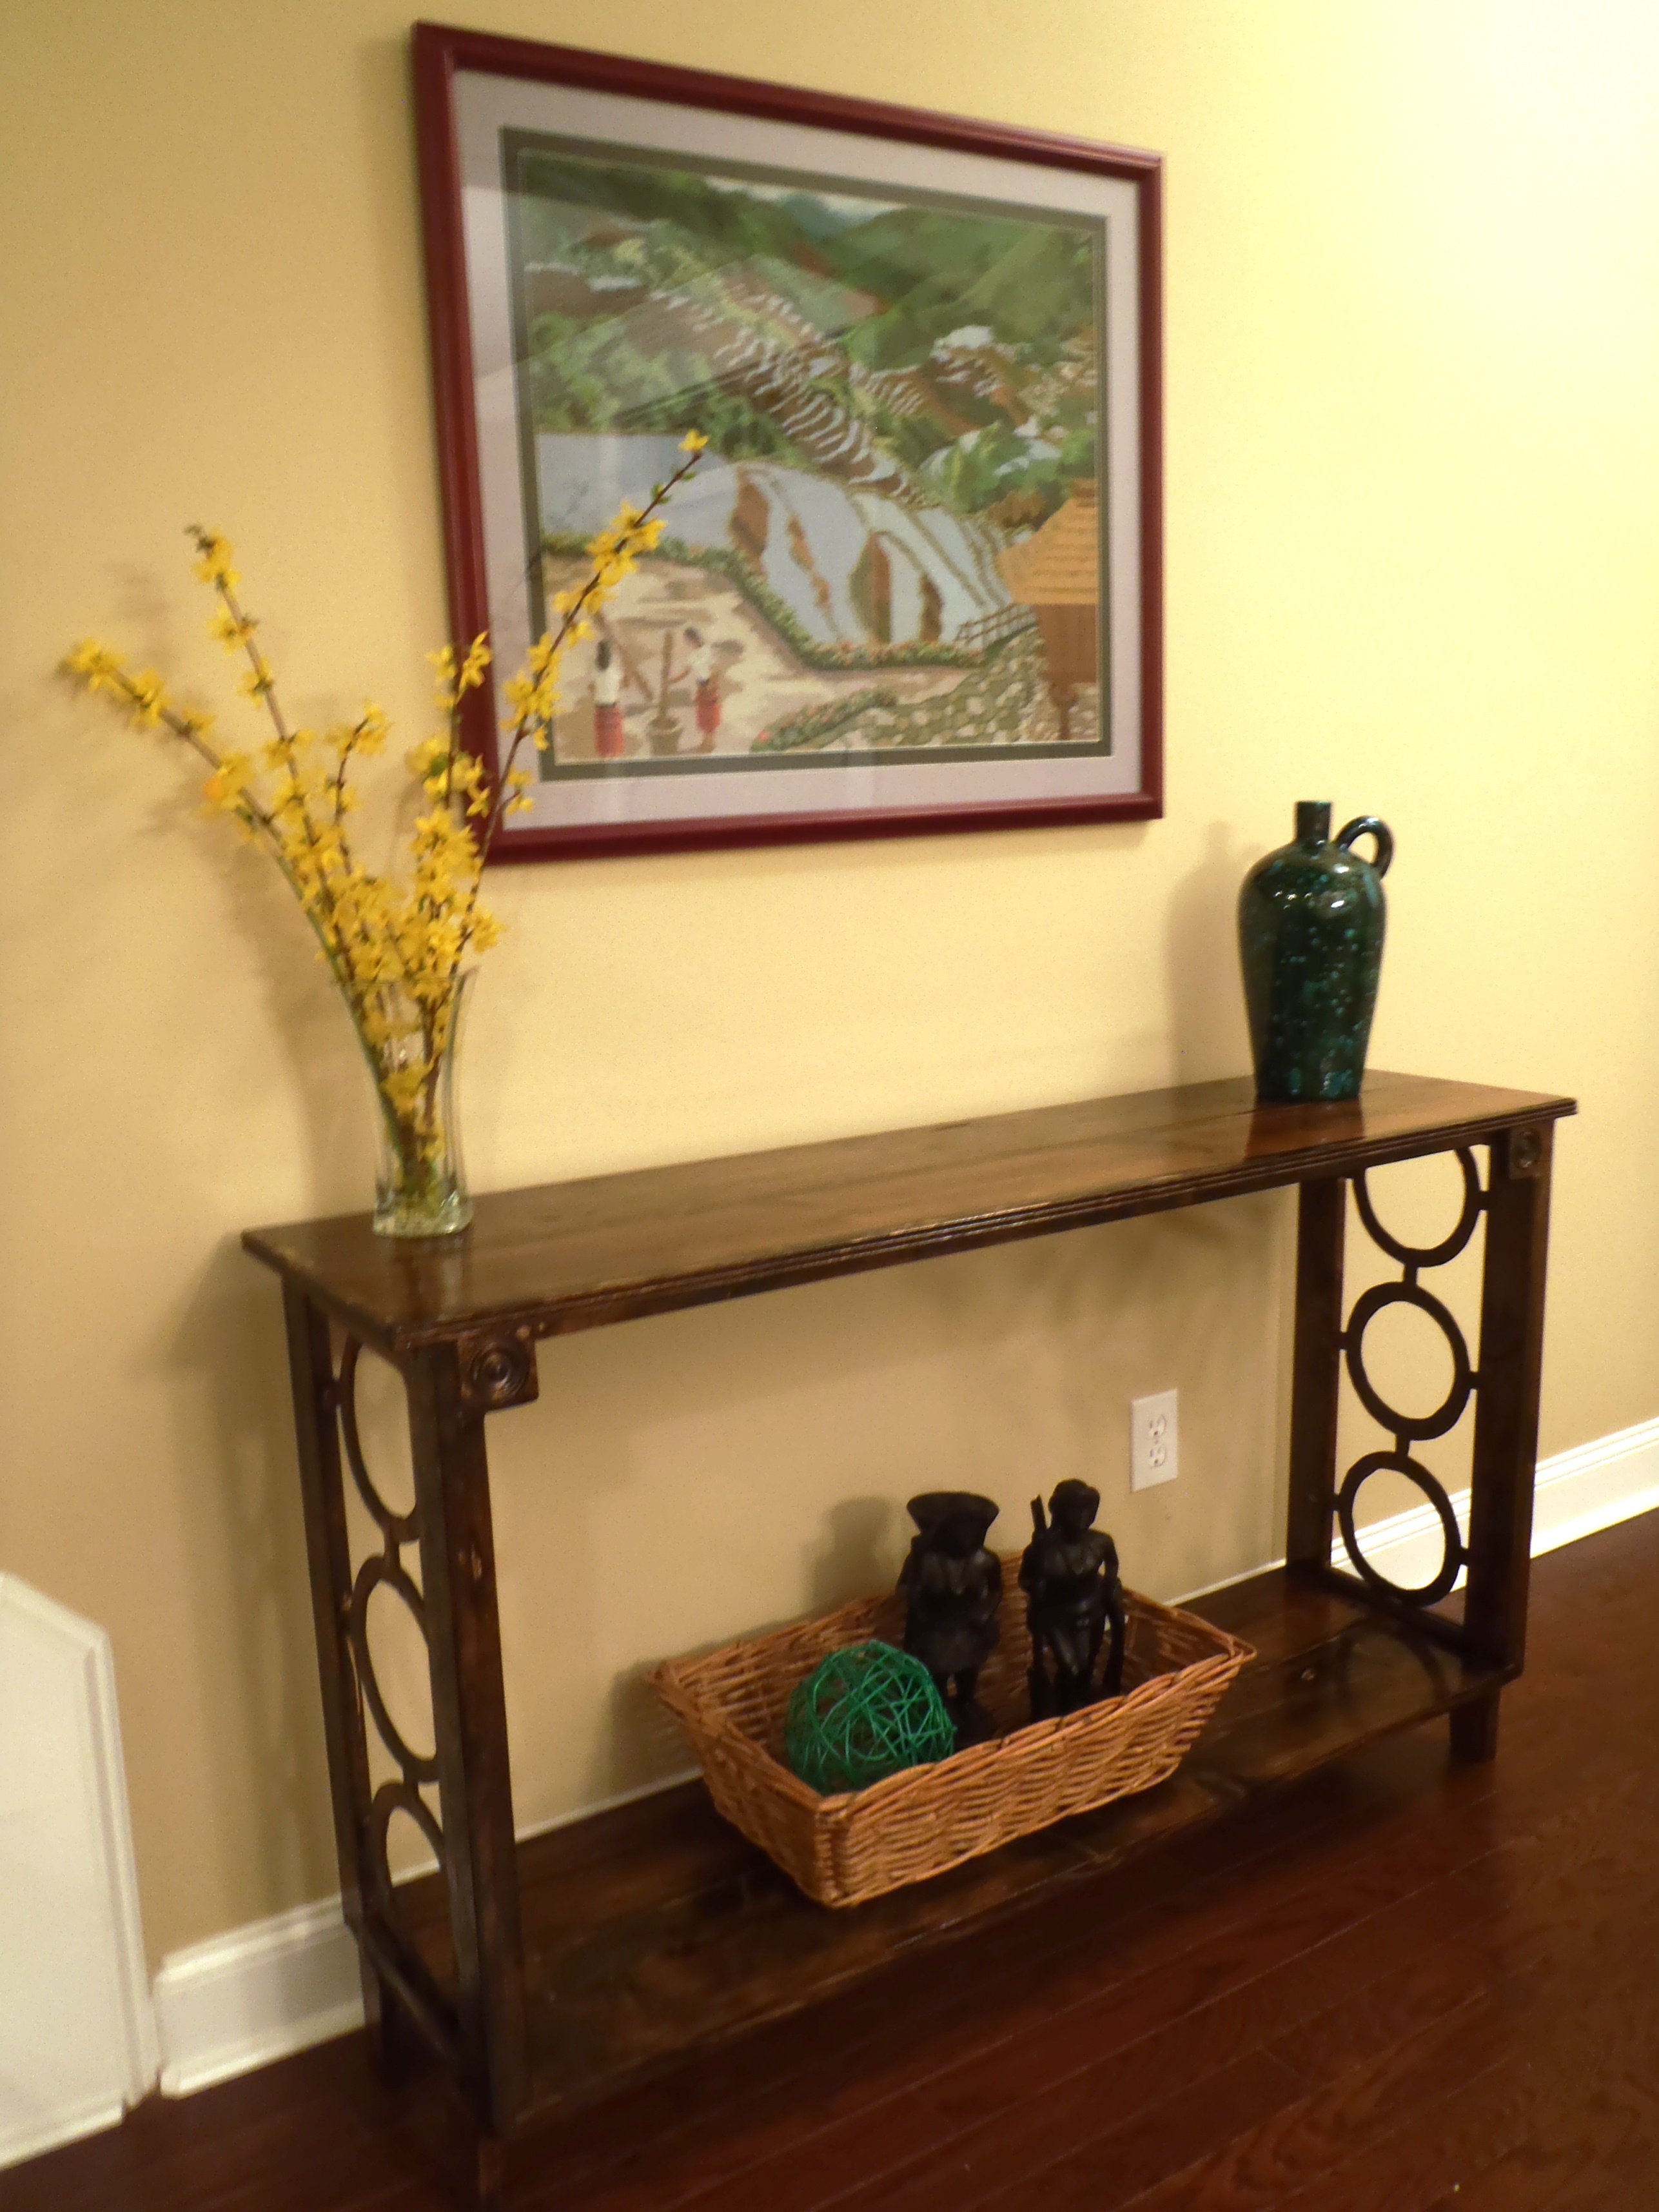
Minwax PolyShades Bombay Mahogany Gloss Stain and Polyurethane
Recommended Skill Level
Beginner