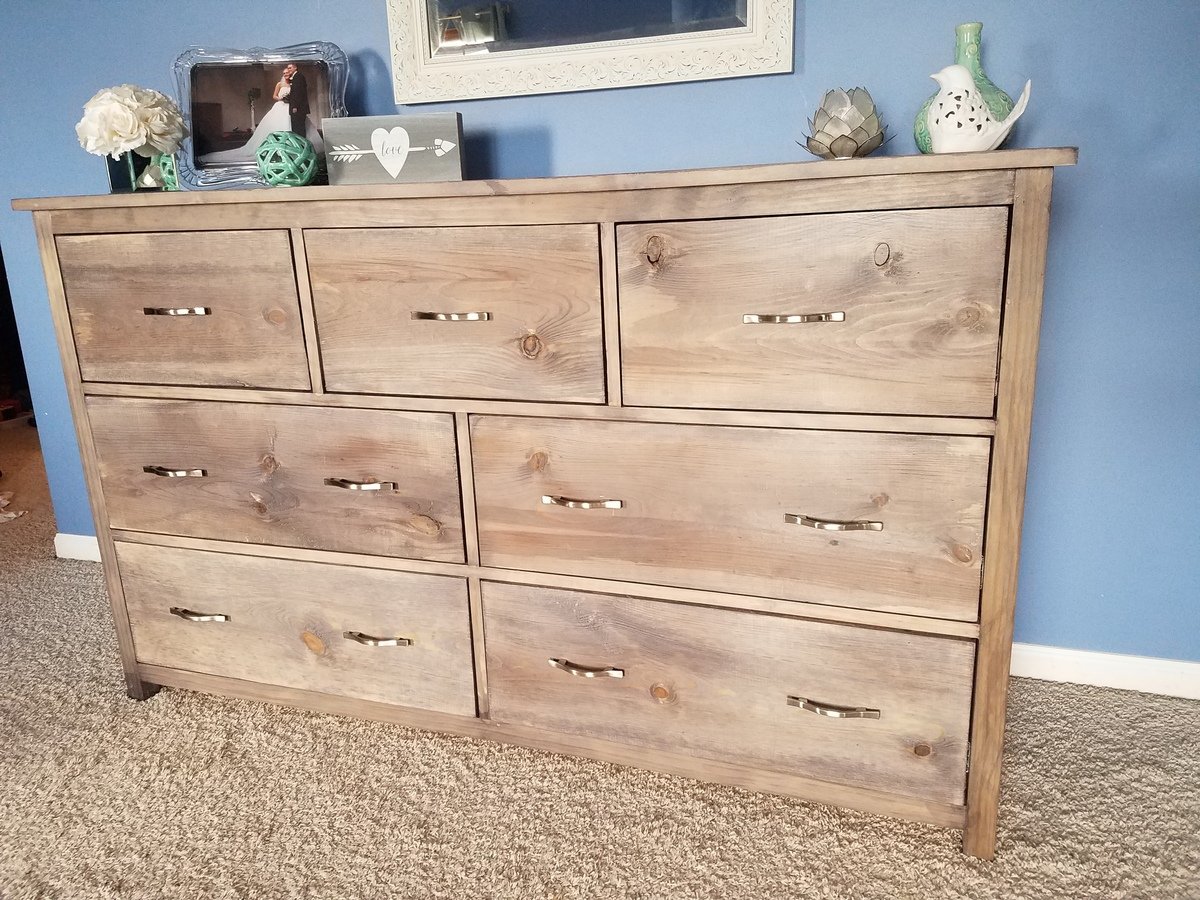
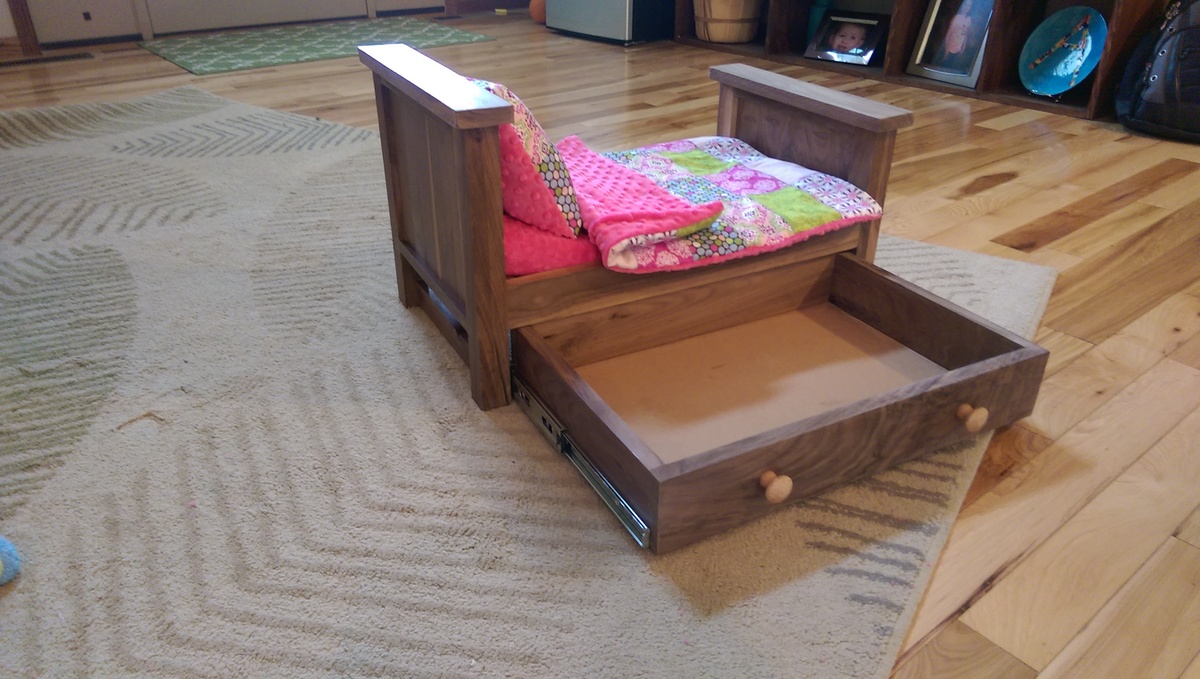
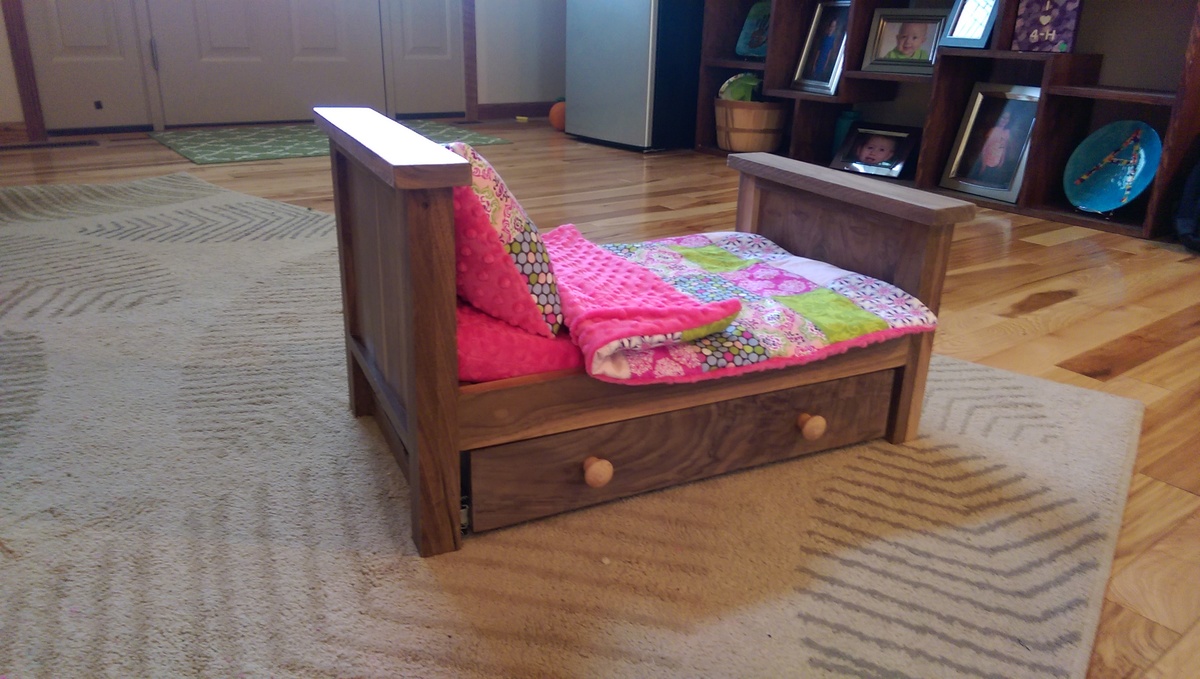
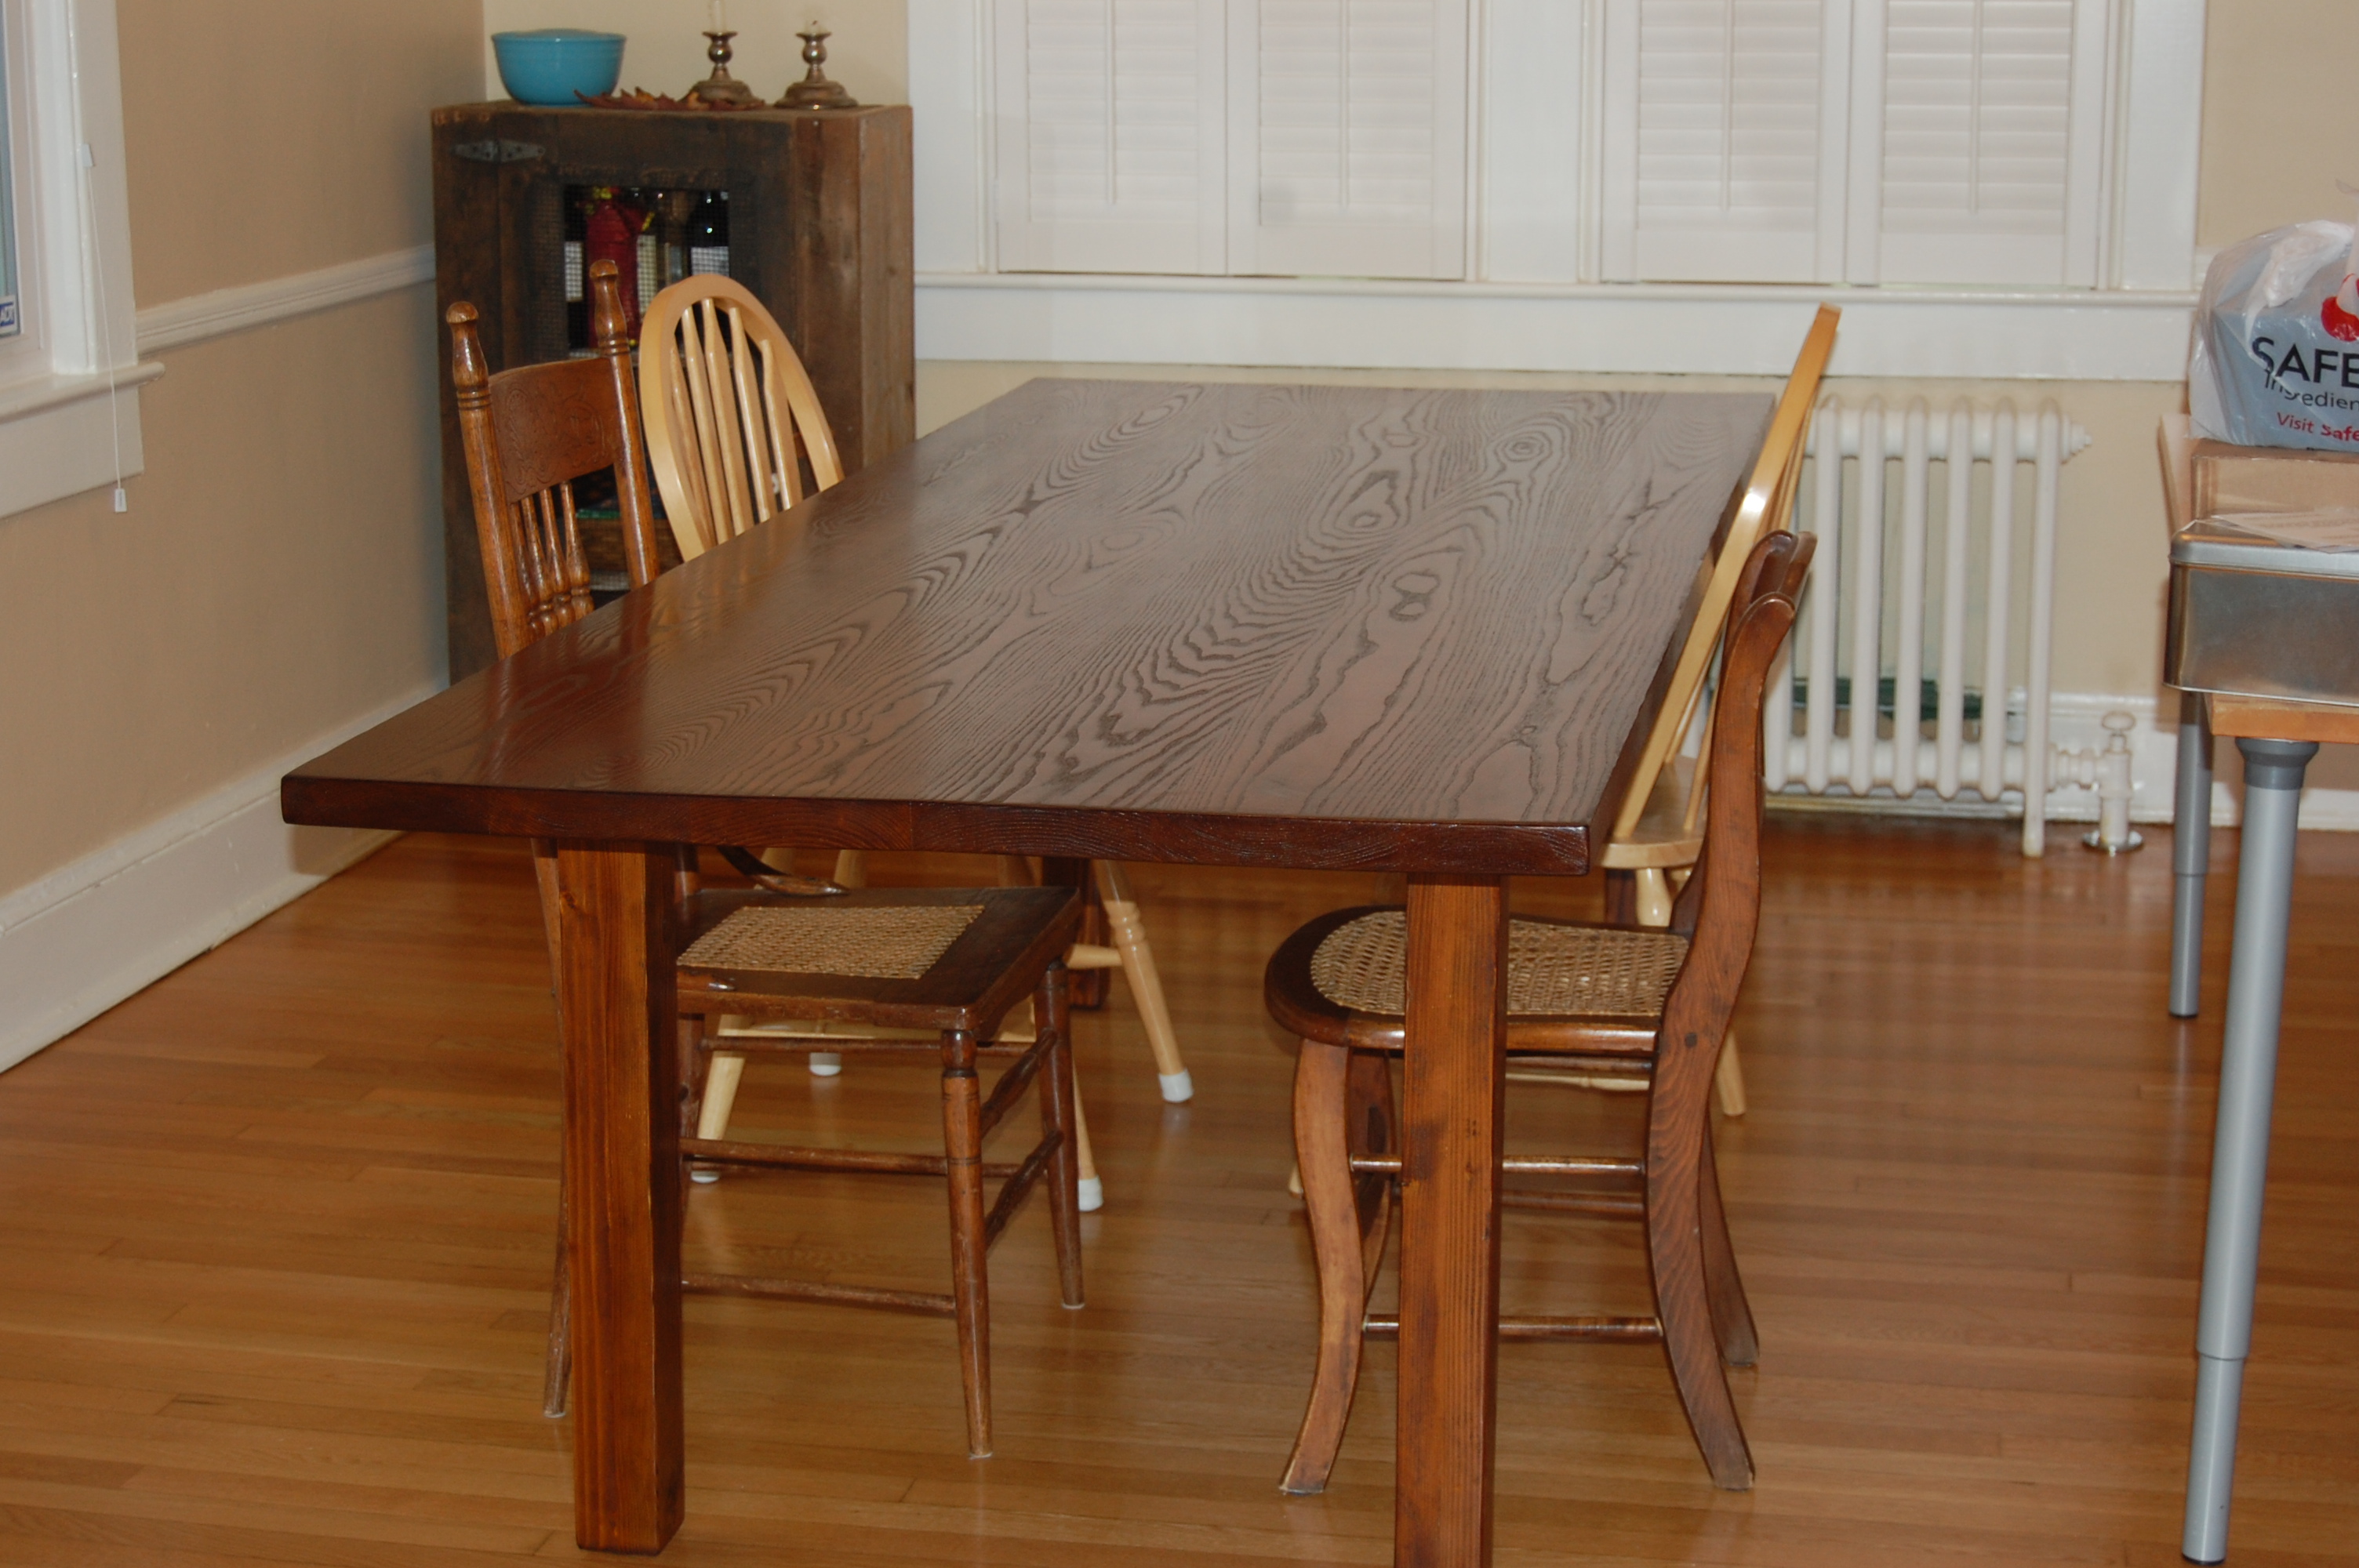
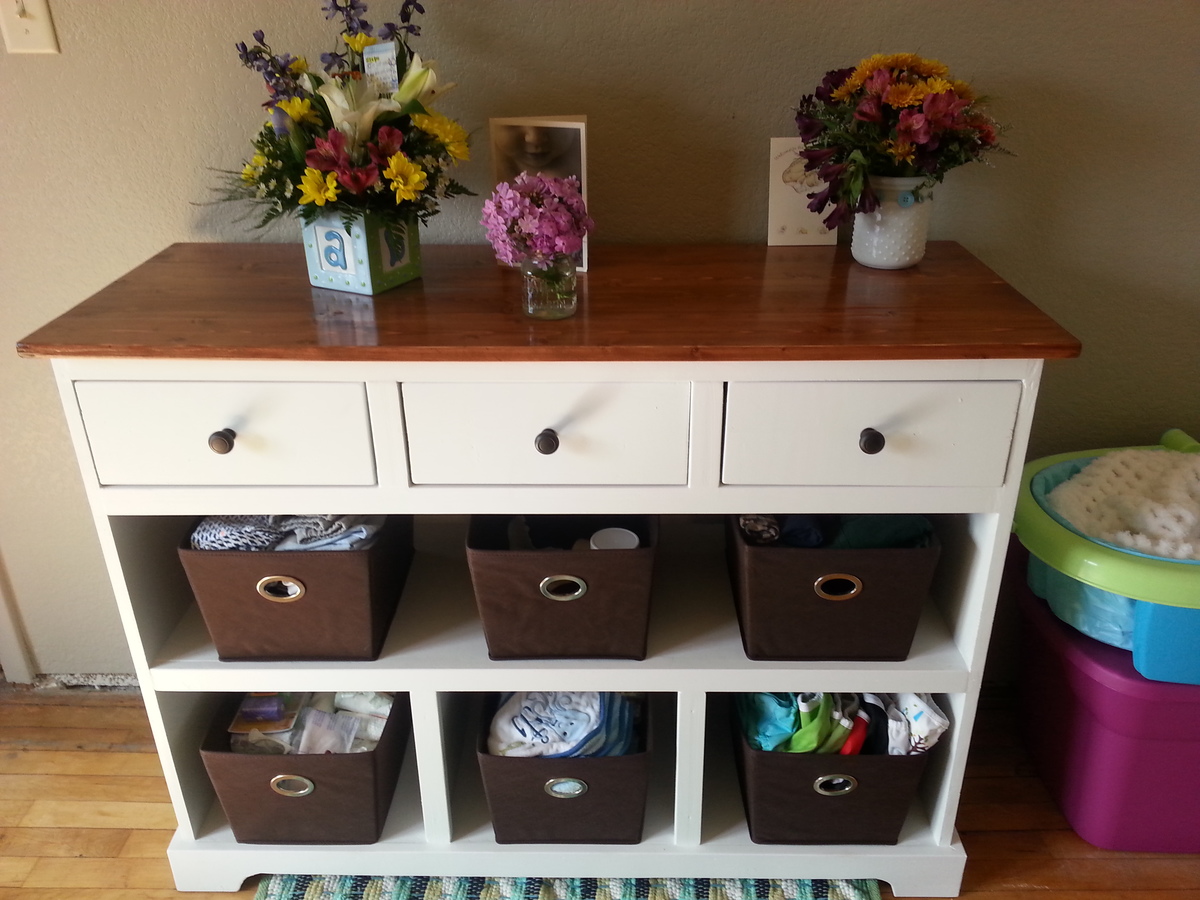
Bedroom Dresser
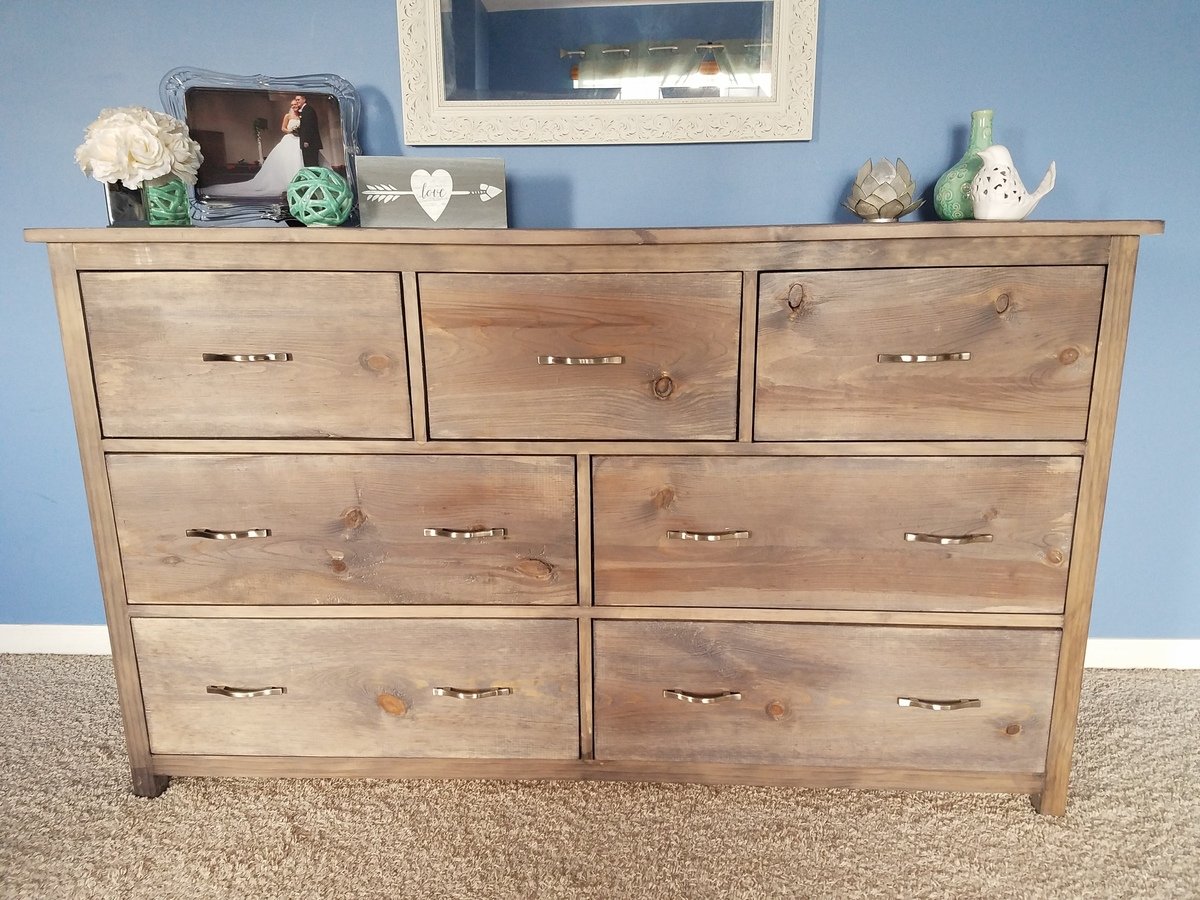
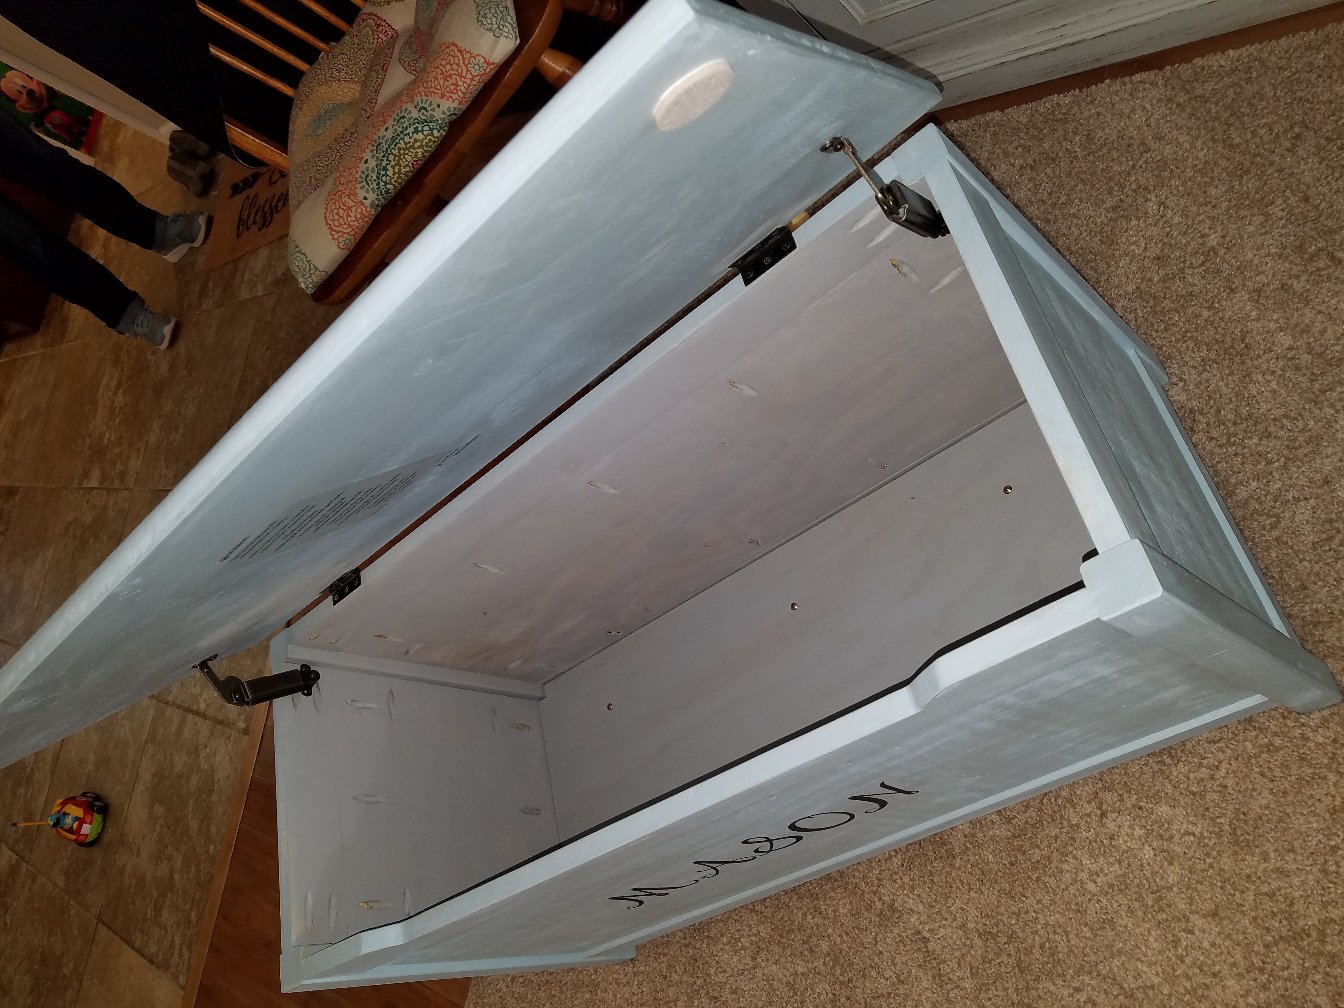
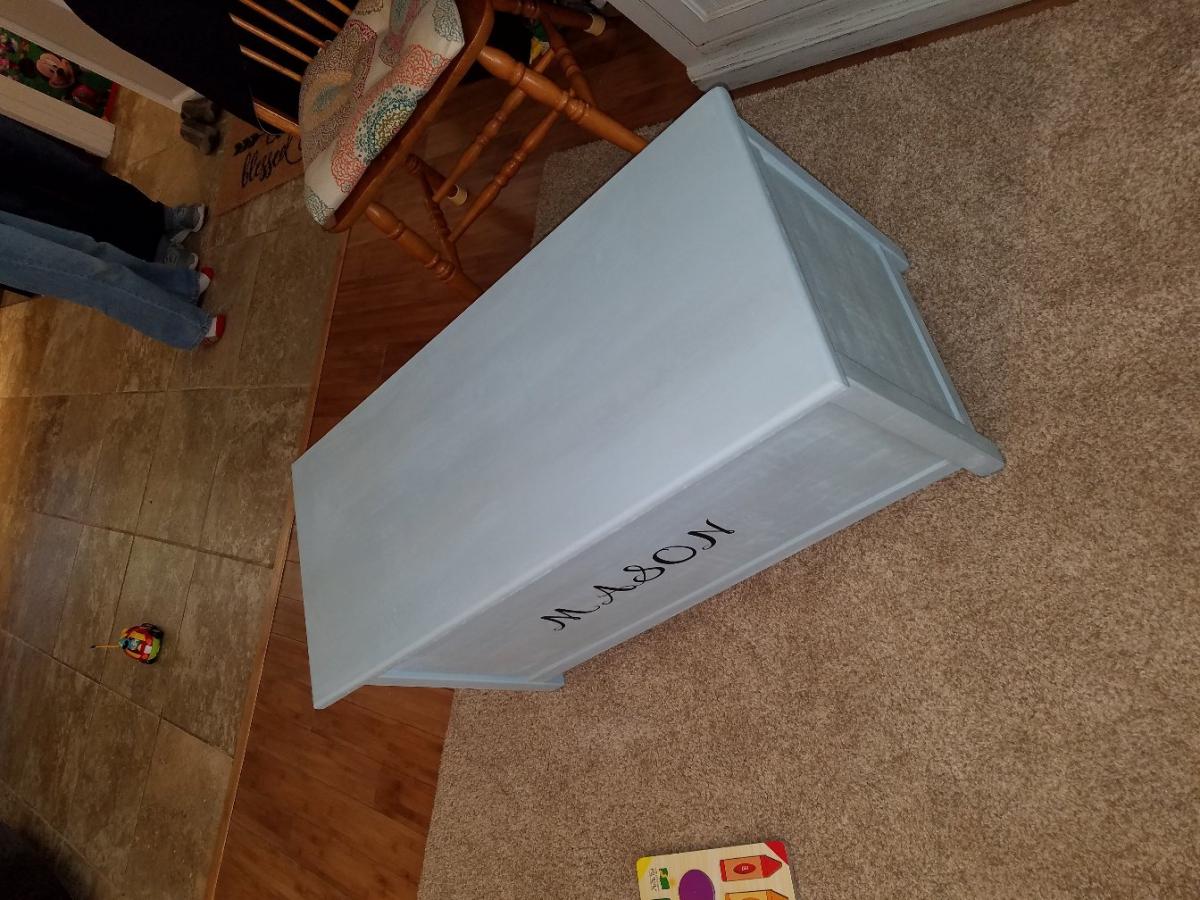
First time using drawer slides, and what a learning curve it was! The color is Varathane Weathered Wood Accelerator. This piece is huge and heavy! Absolutely love it and rebuilding other bedroom pieces to match this color. I also built a matching dresser which is taller and much more narrow. It can be found here: http://www.ana-white.com/2018/08/DIY_furniture/tall-bedroom-dresser
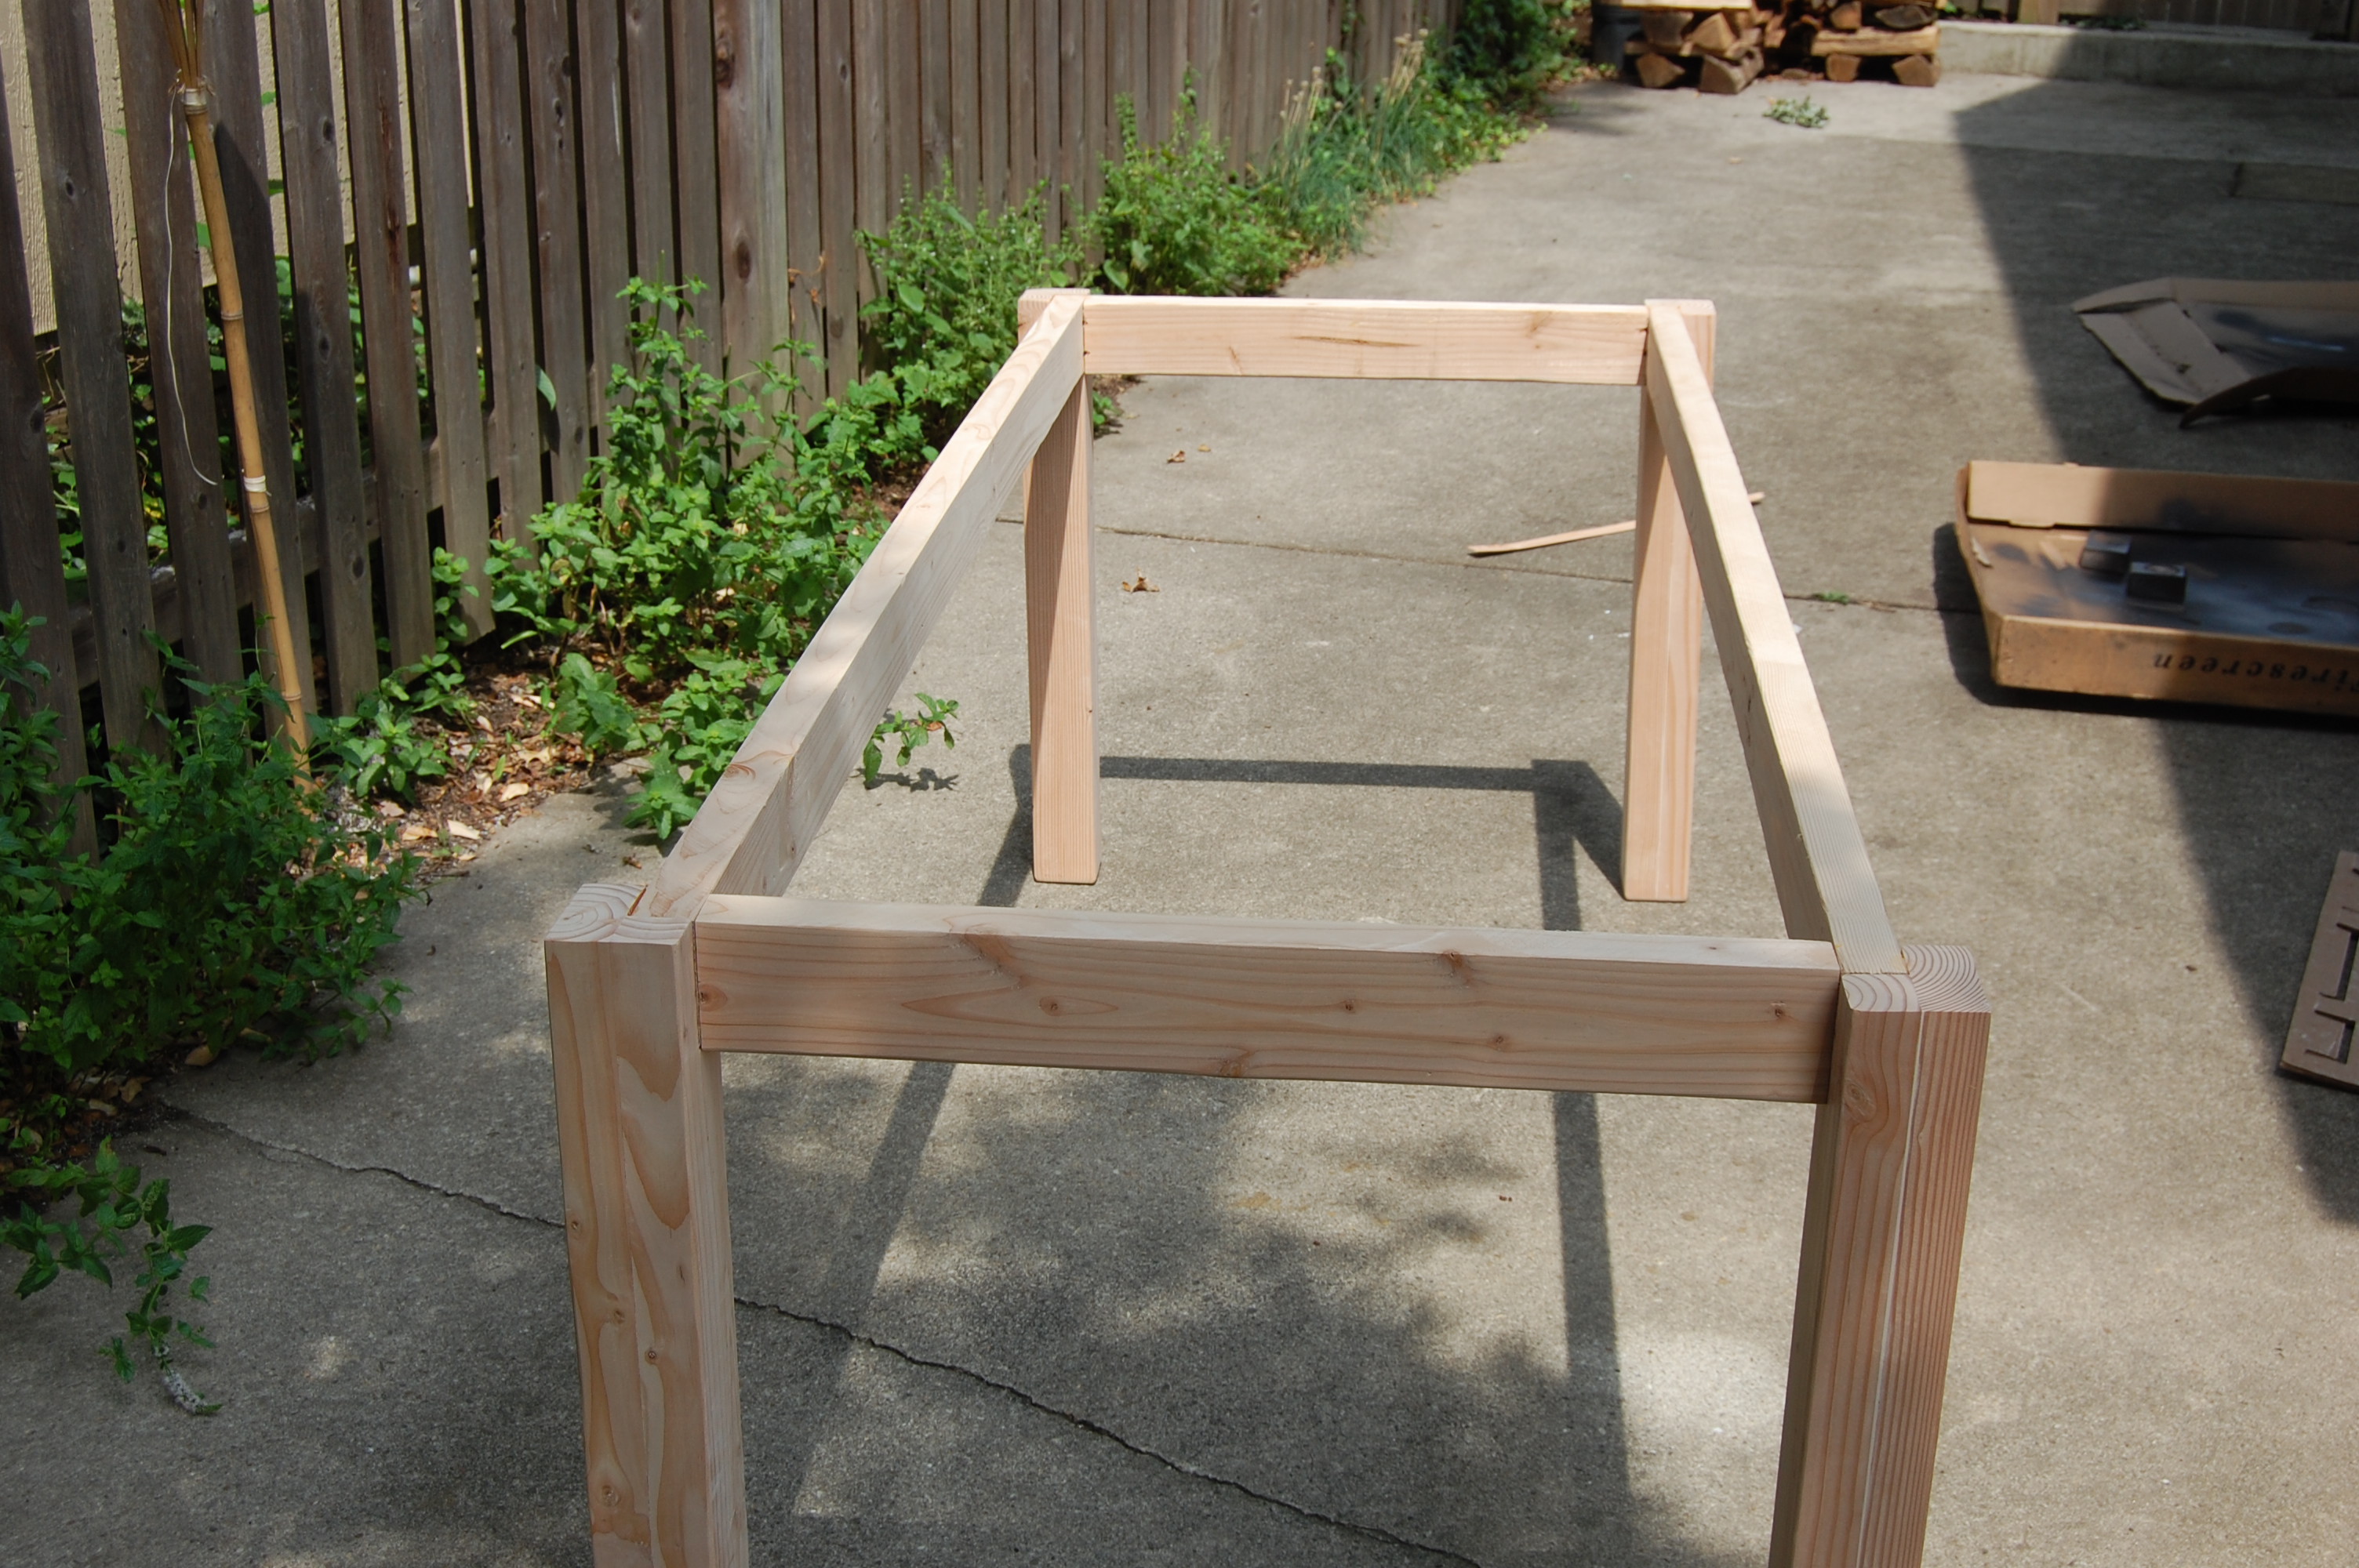
Built from Plan(s)
Estimated Cost
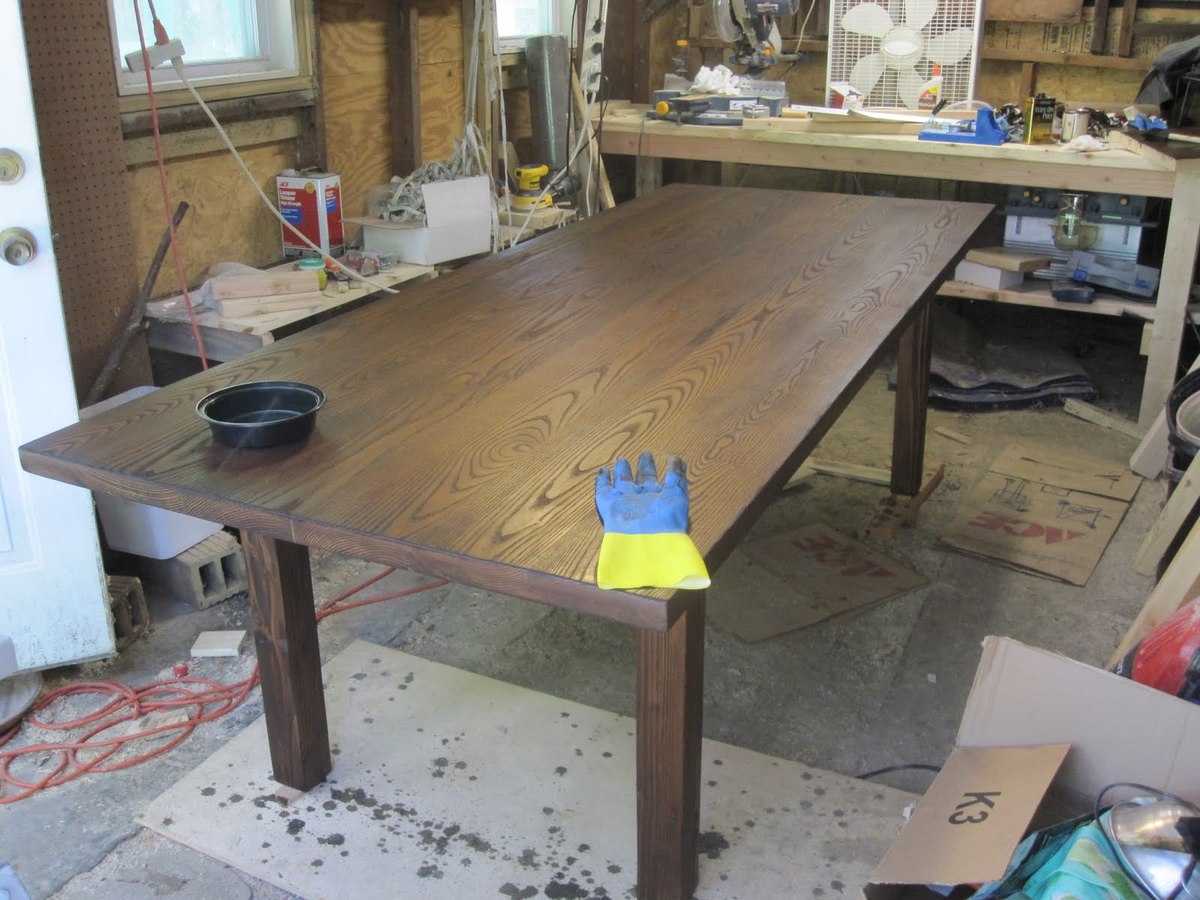
$200-$250
Estimated Time Investment
Weekend Project (10-20 Hours)
Finish Used
Varathane Weathered Wood Accelerator, Varathane Poly
Recommended Skill Level
Advanced


Comments
Angelize529
Mon, 03/01/2021 - 12:41
Are there plans for this…
Are there plans for this dress, or the tall matching one?
Angelize529
Mon, 03/01/2021 - 12:42
dresser*
dresser*