Community Brag Posts
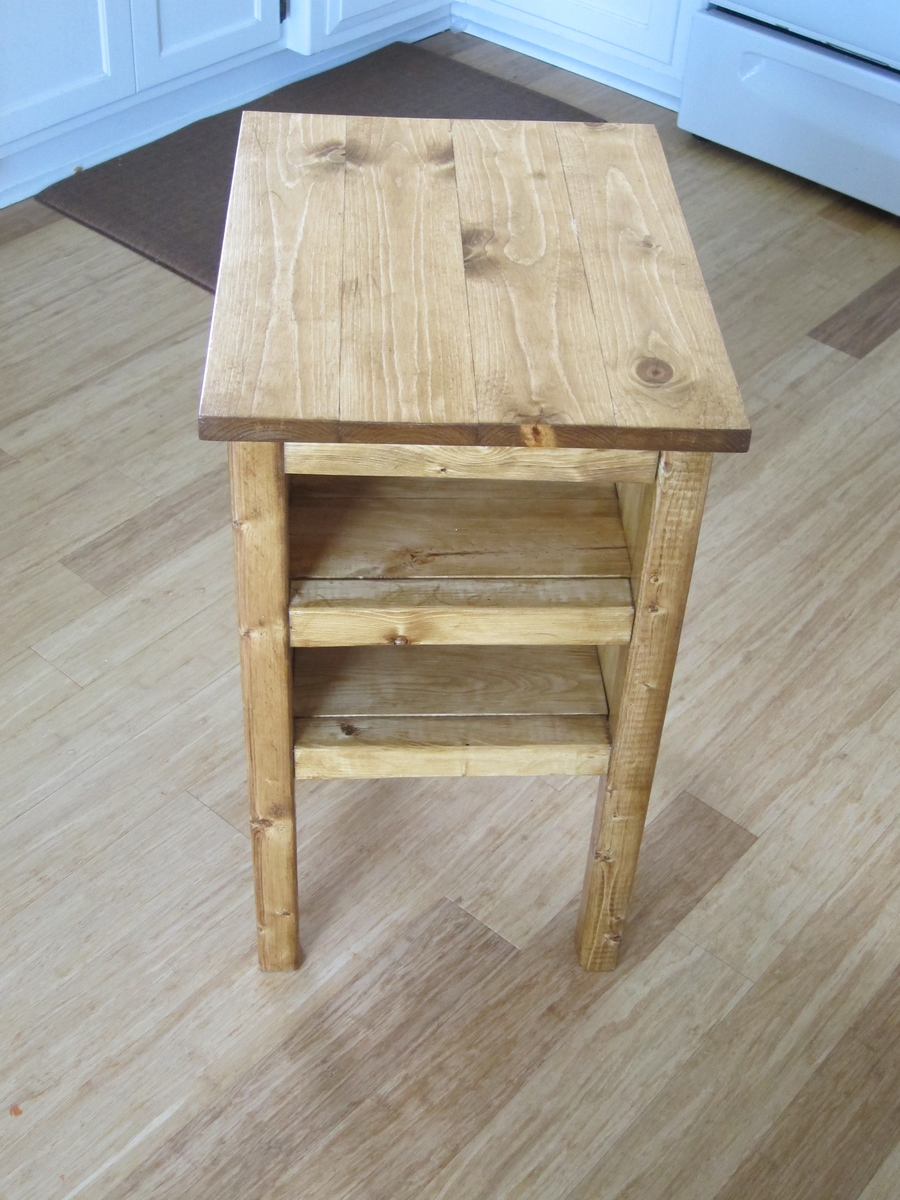
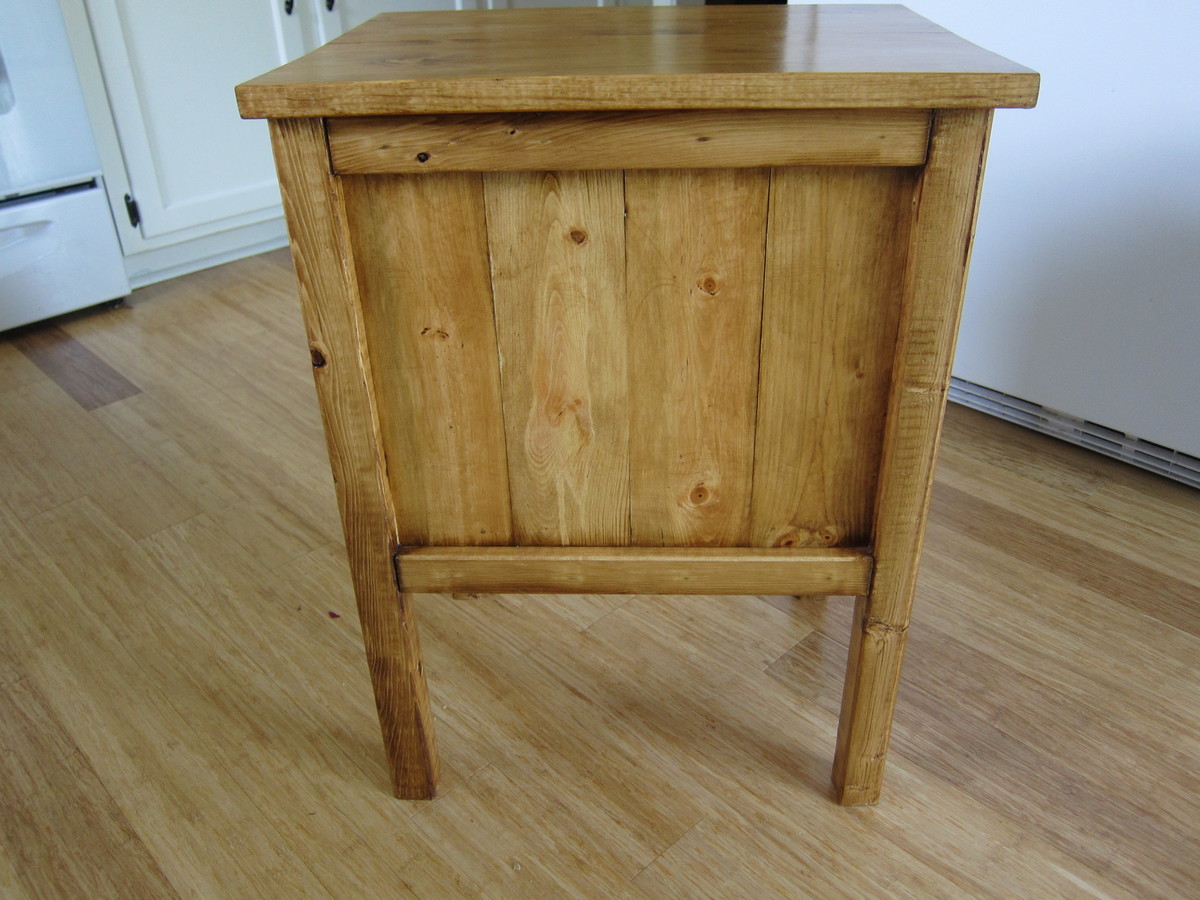
"Tidy Up" End Table
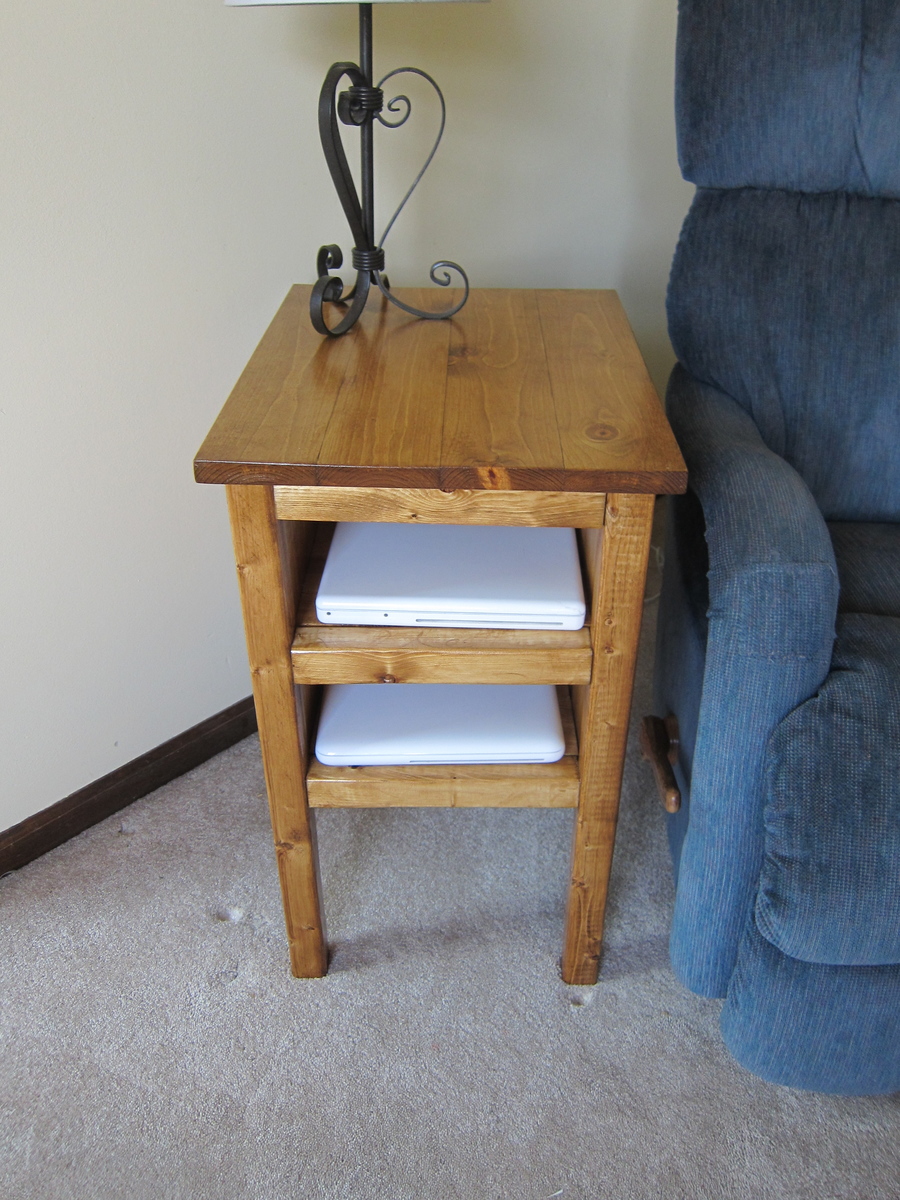
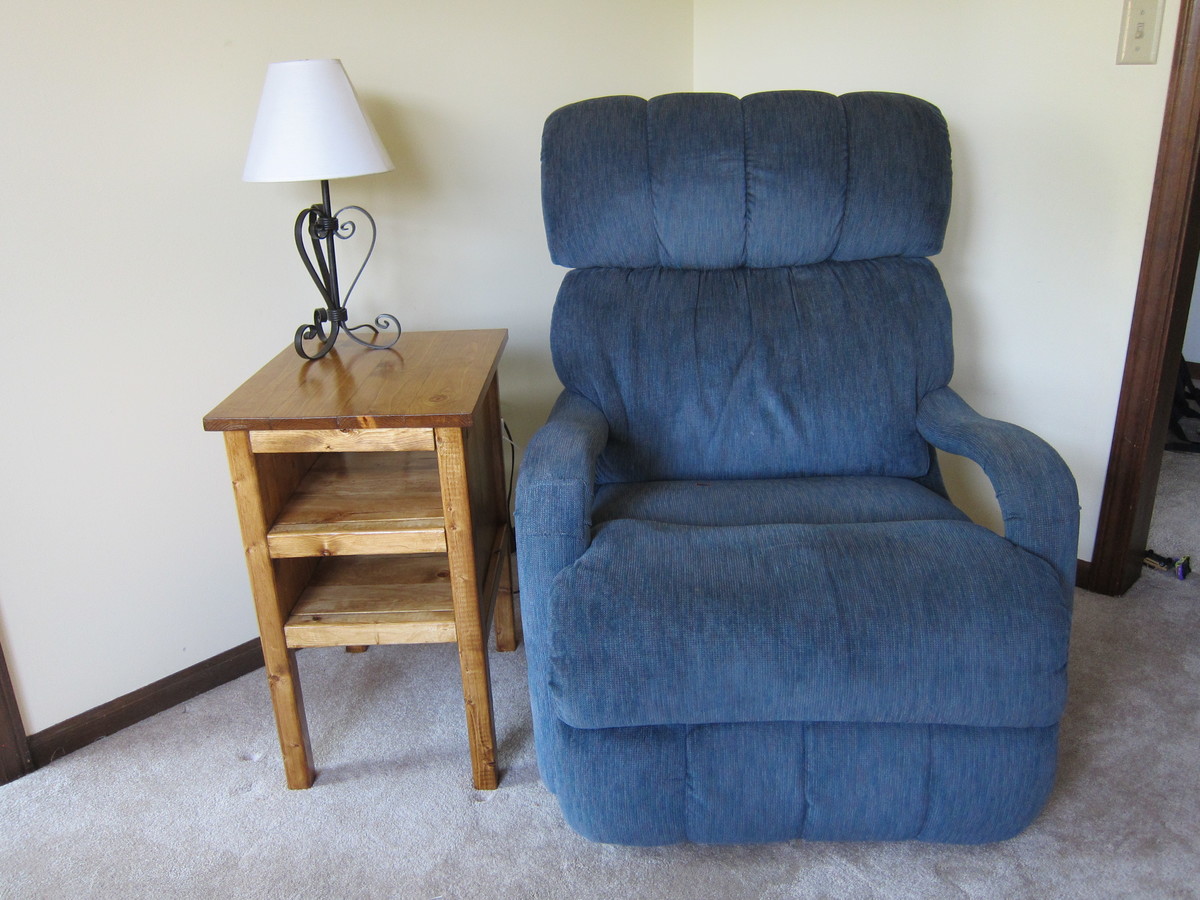
This is a variation on the tidy up end table. The dimensions for the tidy up end table were too big for my space, so I made it a little smaller and added an extra shelf to store our laptop computers. This makes it easier to charge our laptops and keep them out of the way. It took me a little longer than it should have because I had a 3 year old and a 5 year old "helping" me.
Comments
Thu, 11/14/2013 - 21:33
End Table Variation
What a good idea, adding an extra shelf to tuck the laptops away for charging! Looks great!
Val
artsybuildinglady.blogspot.ca
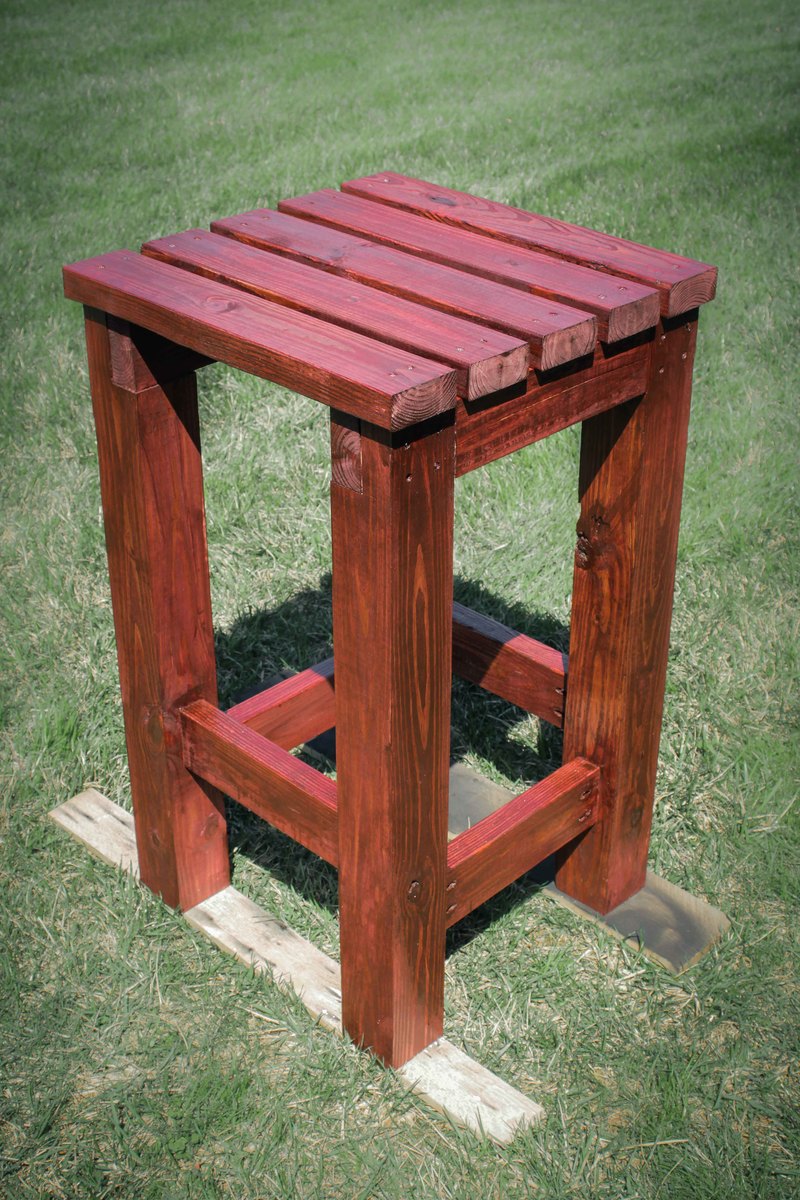
Rain Barrel Stand and Installation
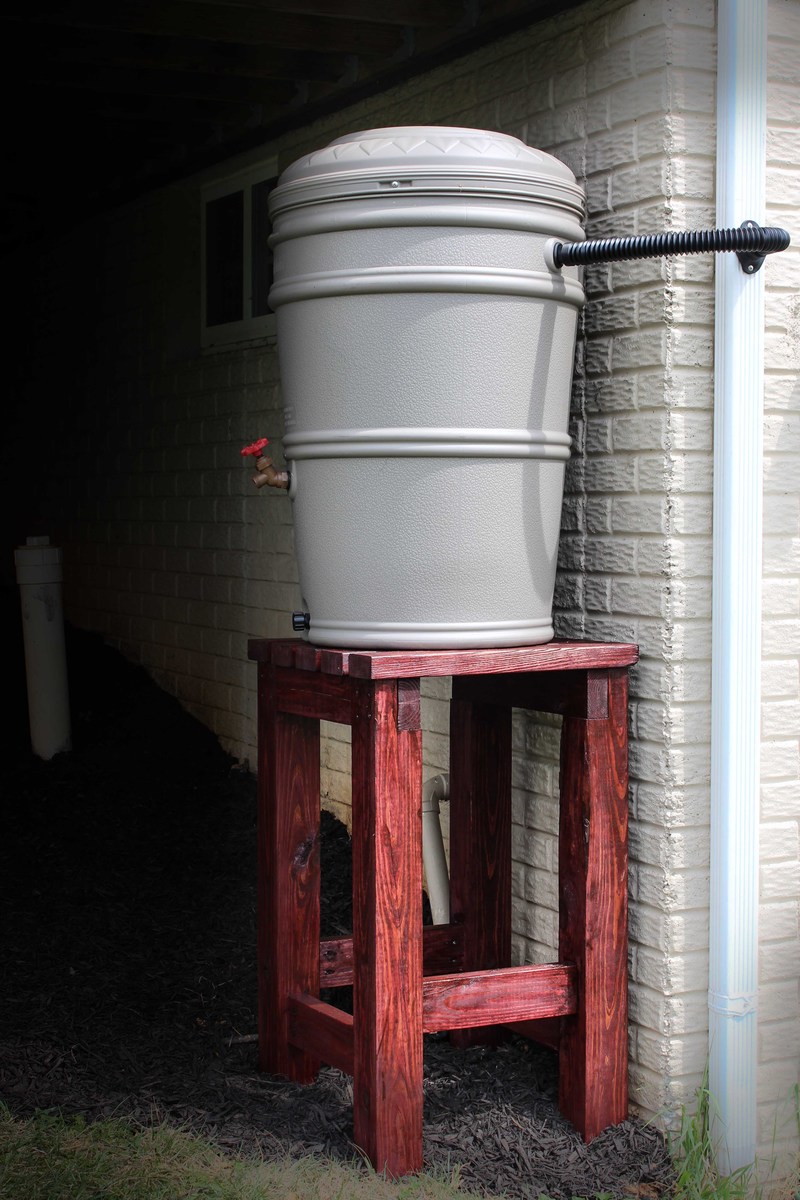
Build Instructions;
http://www.instructables.com/id/Rain-Barrel-Stand-and-Installation/
Video of Build:
Chair Build with Loveseat Modification
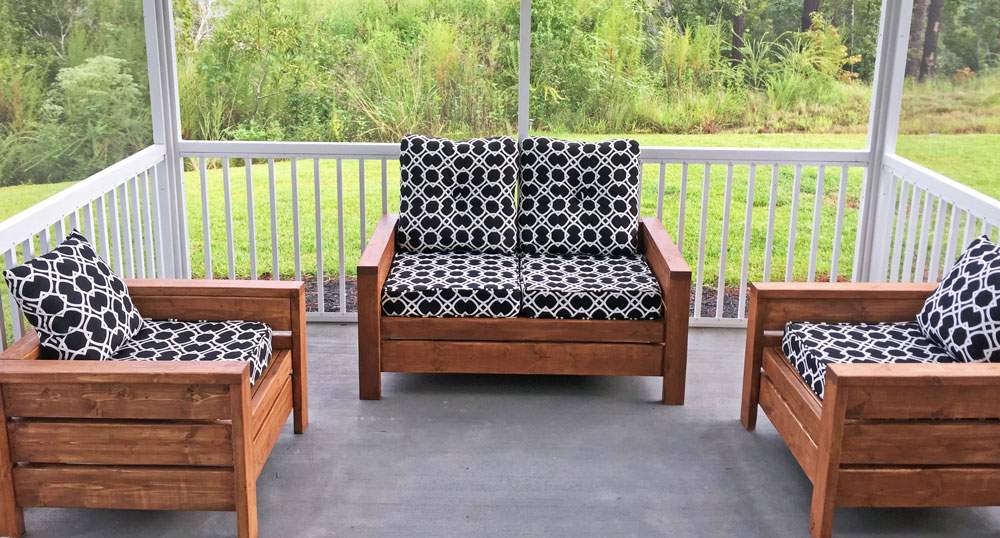
Built the 2 chairs according to the plans, and then modified it for a bench that's 48" (our cushions are 23.5 x 23.5). Worked really well!
Comments
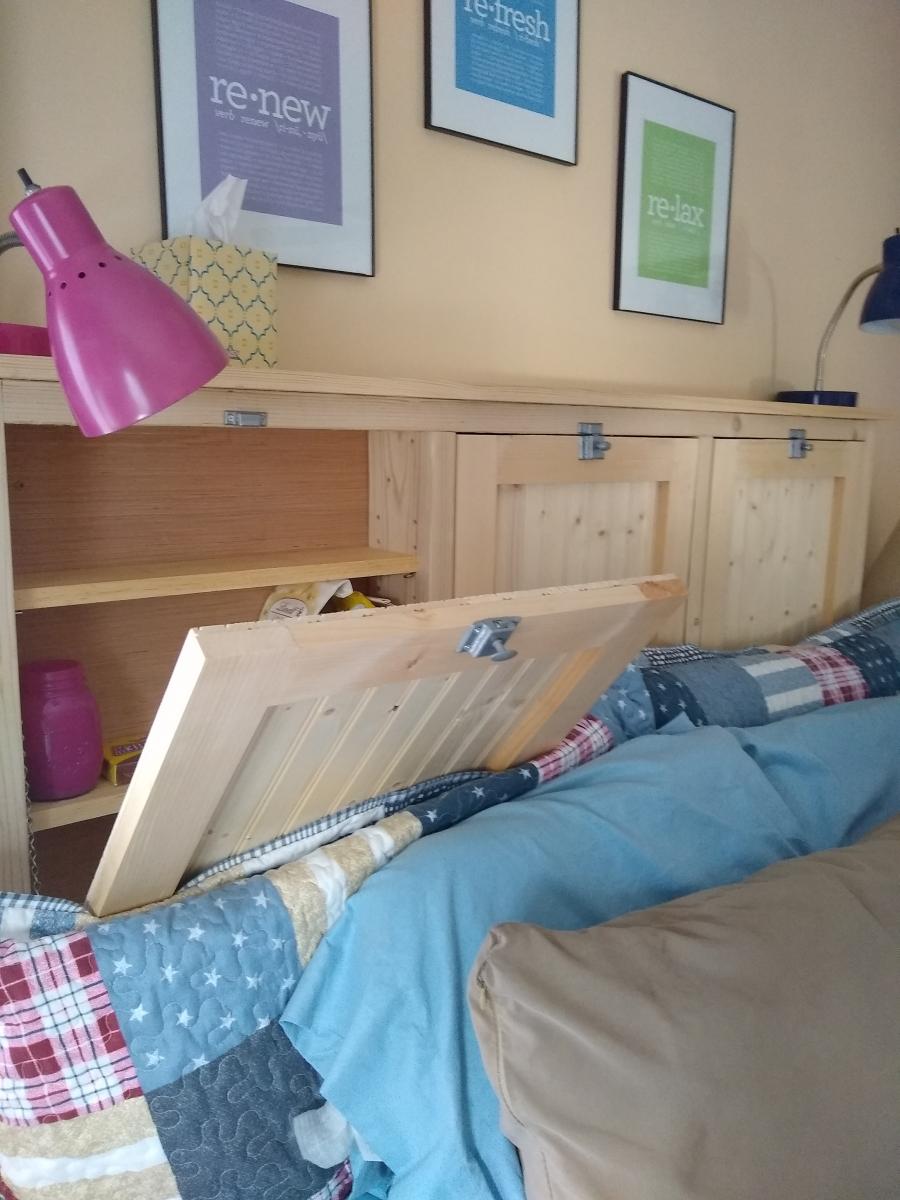
Headboard with fold down table
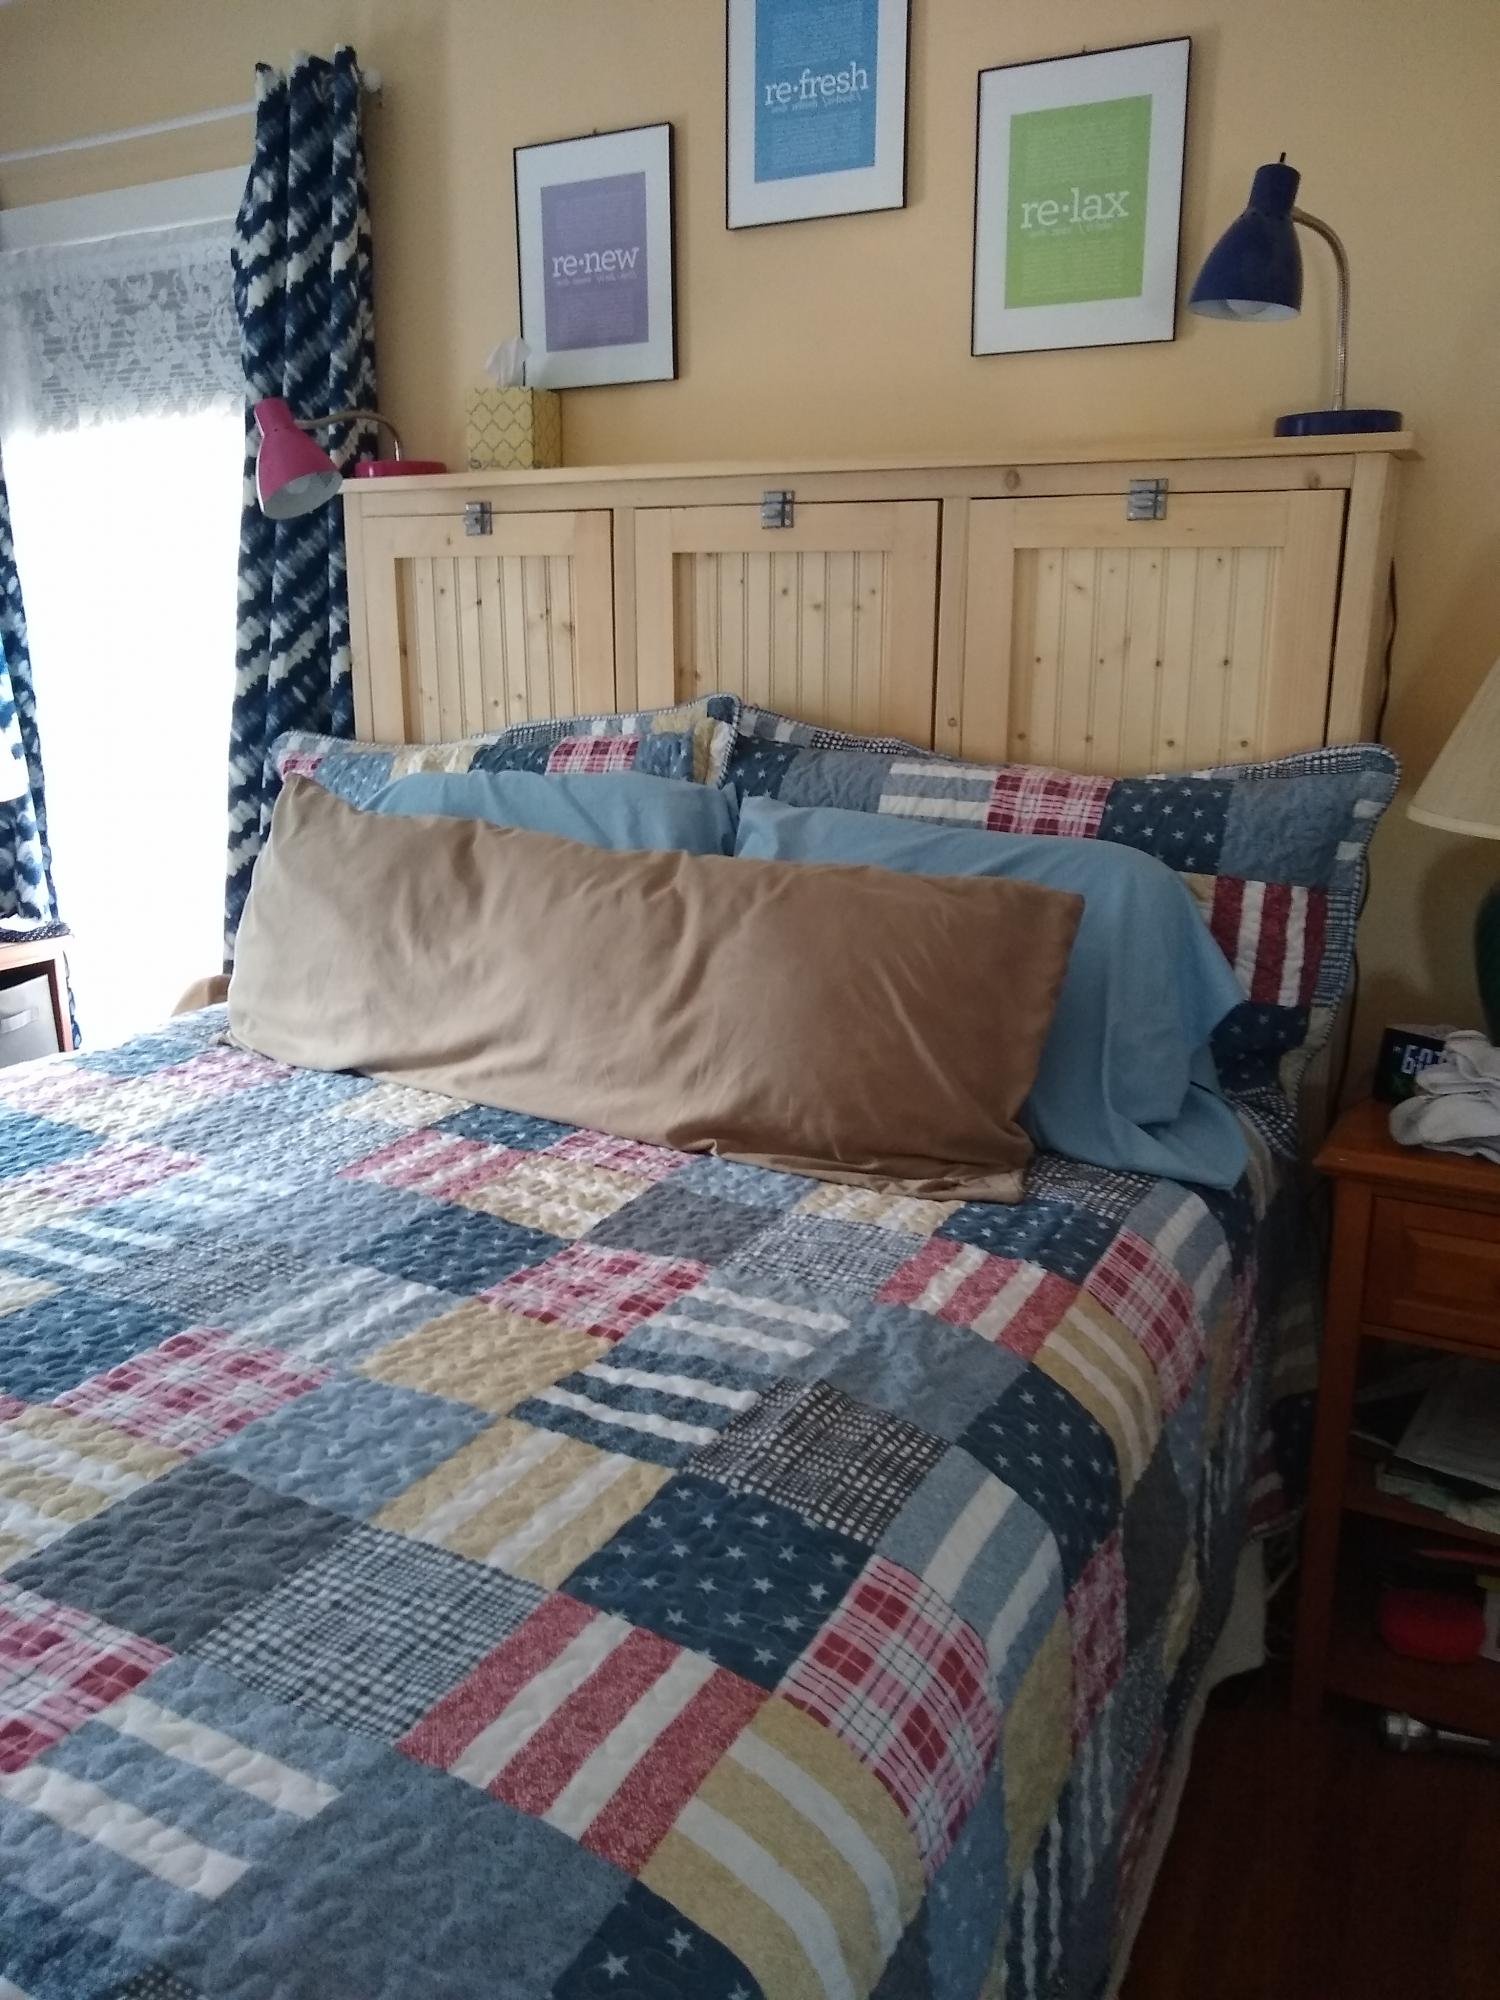
I wanted my storage a little deeper so I used 2 X 6 instead of the 2X4s. I also added a footboard. It turned out great. I may put a tea stain on it and coat it with a polycrylic.
Comments
Coat Tree
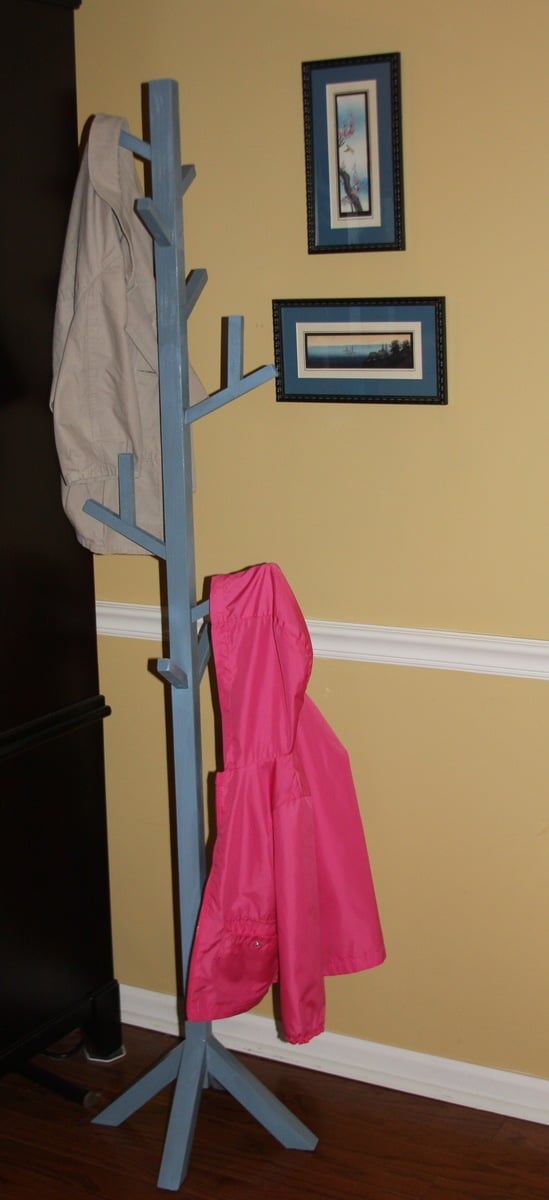
With my 3 young kids and all of their winter gear, I needed a coat rack that they can use. Since I don't have a miter saw, I asked my Father-in-law to make the cuts for me so I can't claim to have done that (although I am asking for a miter saw for my birthday!). Assembly was pretty easy with 2 pocket holes each on the roots and one for each of the limbs. With the small pieces of wood, it was tricky to get the holes centered using my Kreg Jig Jr. so I added some small finishing nails to some of the limbs for more support. (Think young kids tugging to get their coats down!) Some things I learned: Sand all pieces to the way you want them BEFORE assembling as it's nearly impossible to do later. Stagger the bottom roots because screwing in 8 screws to the same center point does not work. I ended up using shorter screws than the 2 1/2" recommended and had to add felt pads to stabilize the legs that were moved up to allow for me to fit the screws in. I am pleased with this project and while it's not perfect, it will get a lot of use around here!
Farmhouse Table with Butcher Block
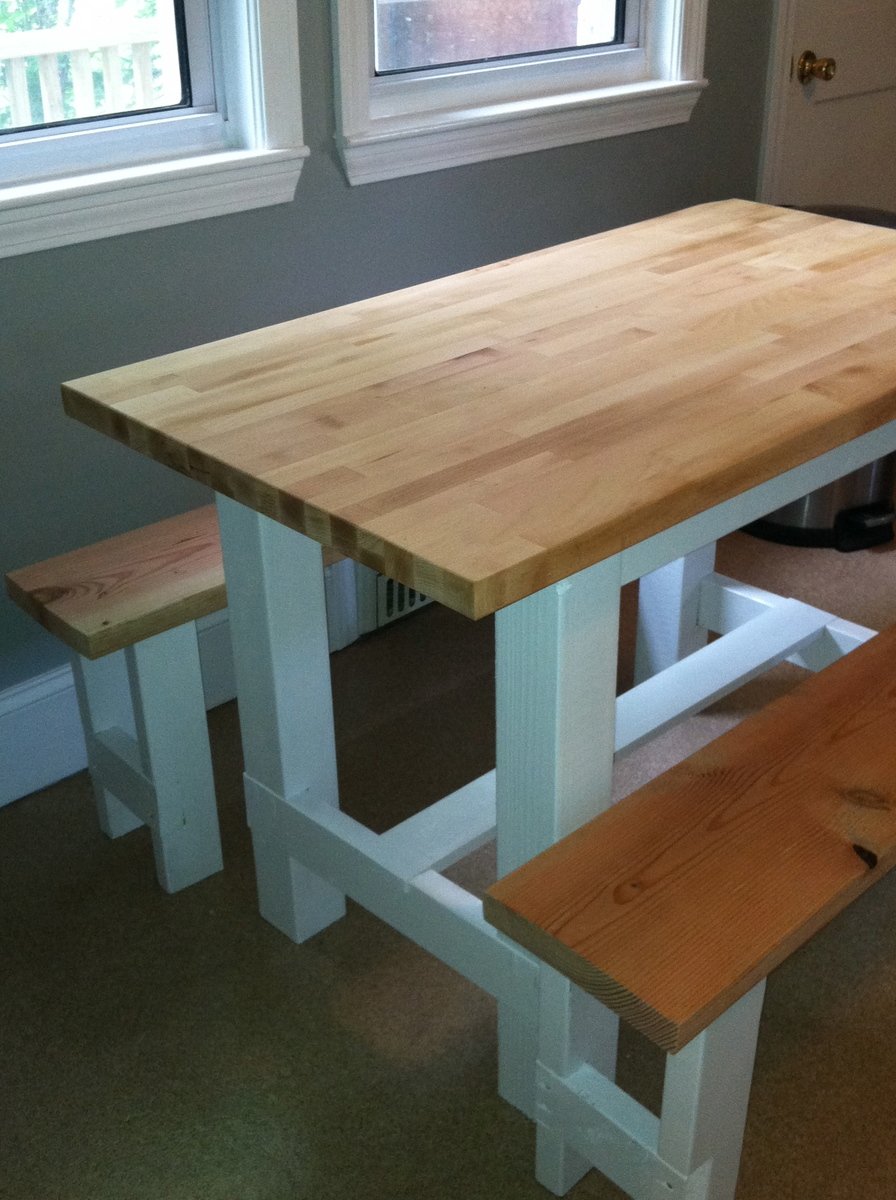
We are selling our house and needed a small table for the corner of our kitchen. Since we had leftover butcher block after replacing the countertops, I modified the Farmhouse Table and bench plans. The piece worked perfectly in the space and the house sold immediately after our open house.
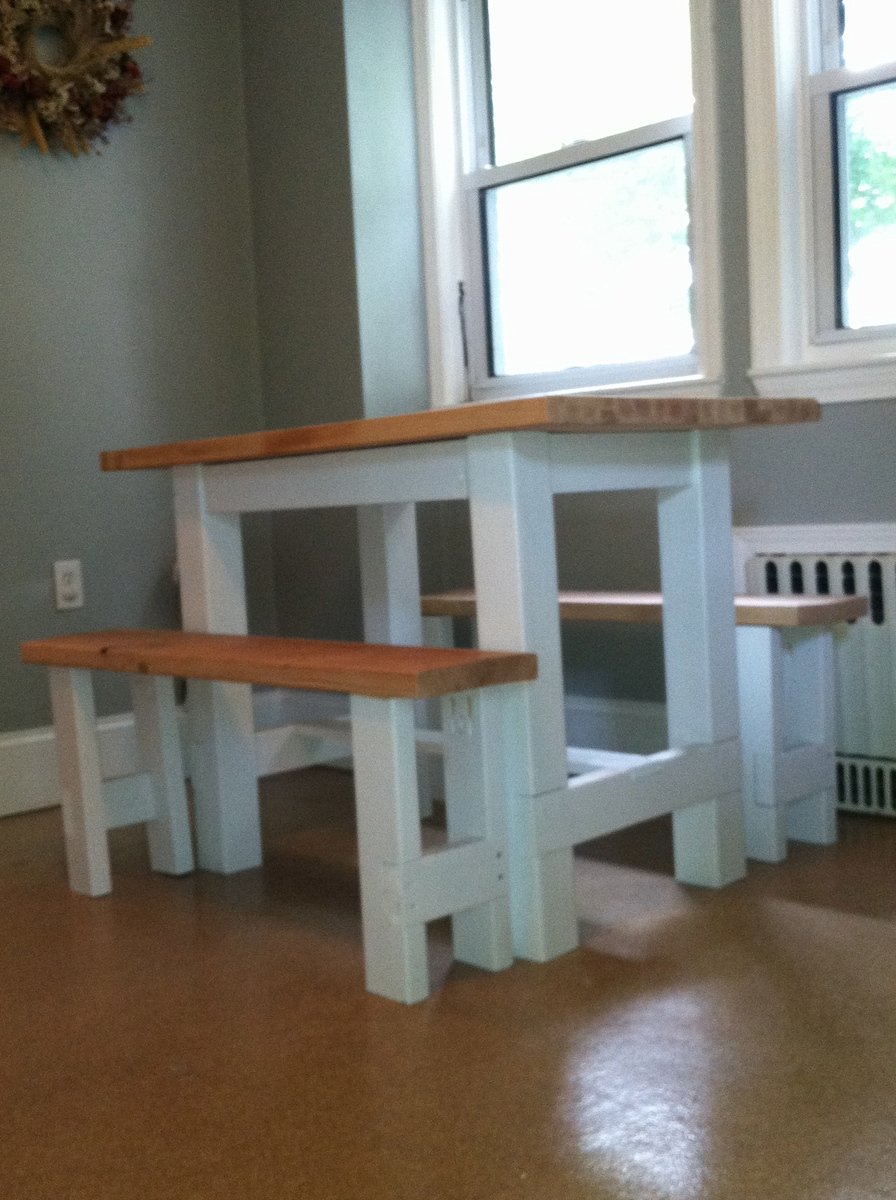
Triple foot farmhouse table with runner, triple pedestal bench
My first attempt at a real furniture project, I would have never tried this without all the plans and support here at Ana-White! These are 7' for the kitchen/breakfast area. Since the table is only 7', it has 2 pedestals. I modified these a bit from the triple pedestal farmhouse bench and table plans by using a runner along the floor instead of a stringer board on the table and adding triple feet on the outside pedestals. I also added 1x3 trim under the arches to add some detail and hide the grooves between the three 2x4 leg supports. The top has mitered 2x4s around the outside with 1x6s on the inside. One issue I ran into was that the 2x4s shrank a lot as they dried, while the kiln-dried 1x6s did not. To make an easier to clean surface I planed the top smooth, and then added minimal texture by hand scraping. My plan is to build a big 12' version of this table for the dining room.
Comments
Small version of the X coffee table
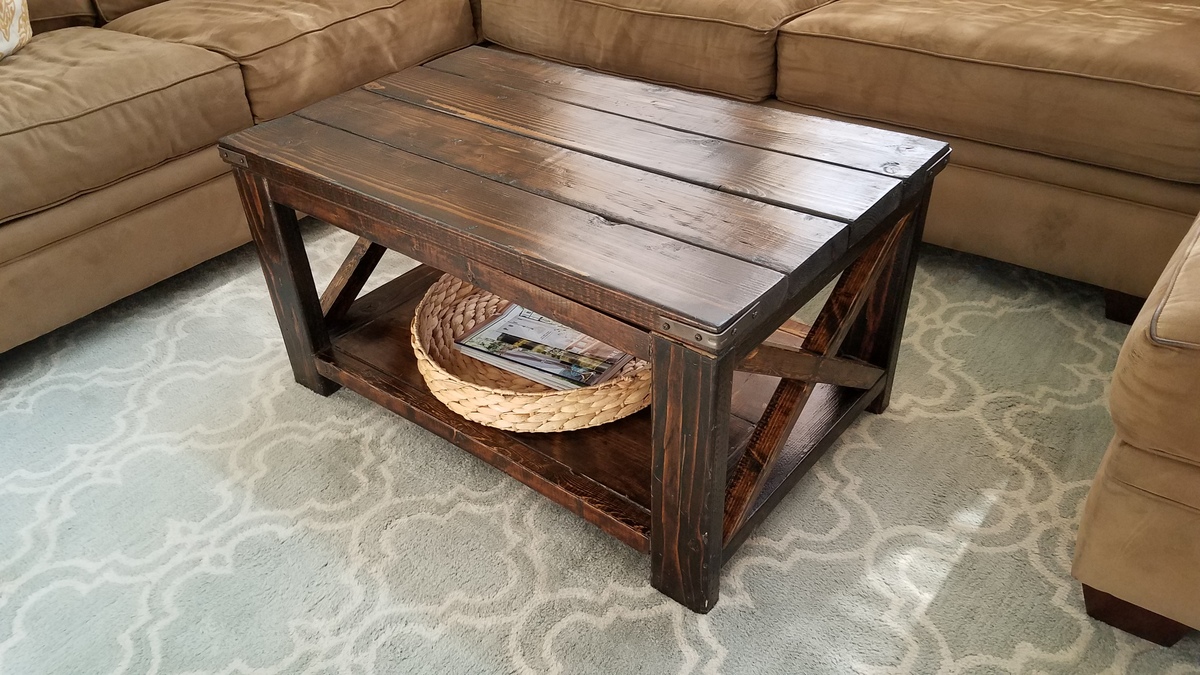
I loved Ana's version of the coffee table but it was way too big for my space, so I scaled it down quite a bit and it fits perfectly!
King Size Farmhouse Bed and Nightstands
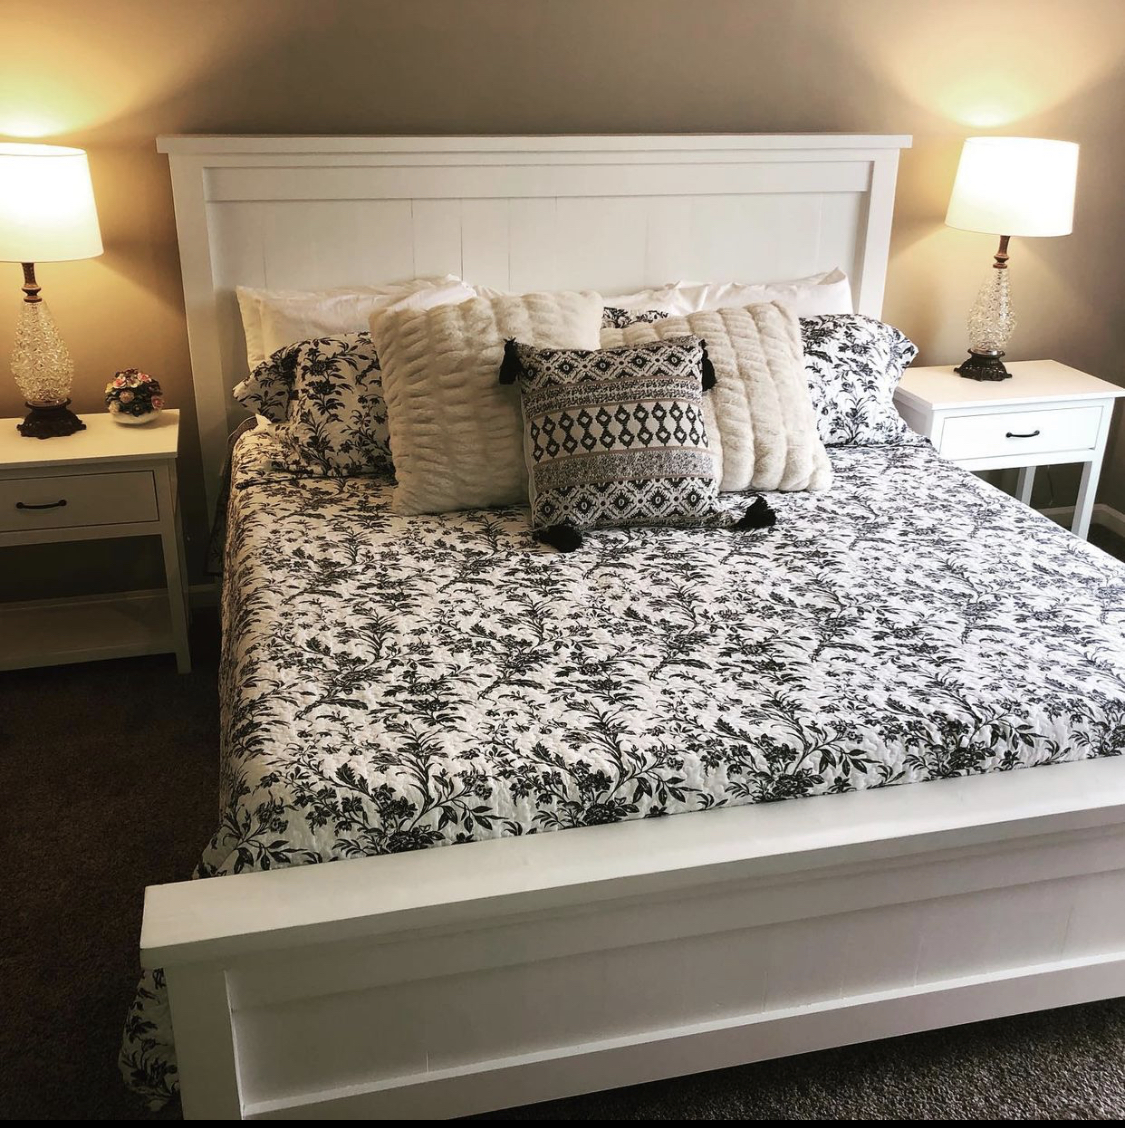
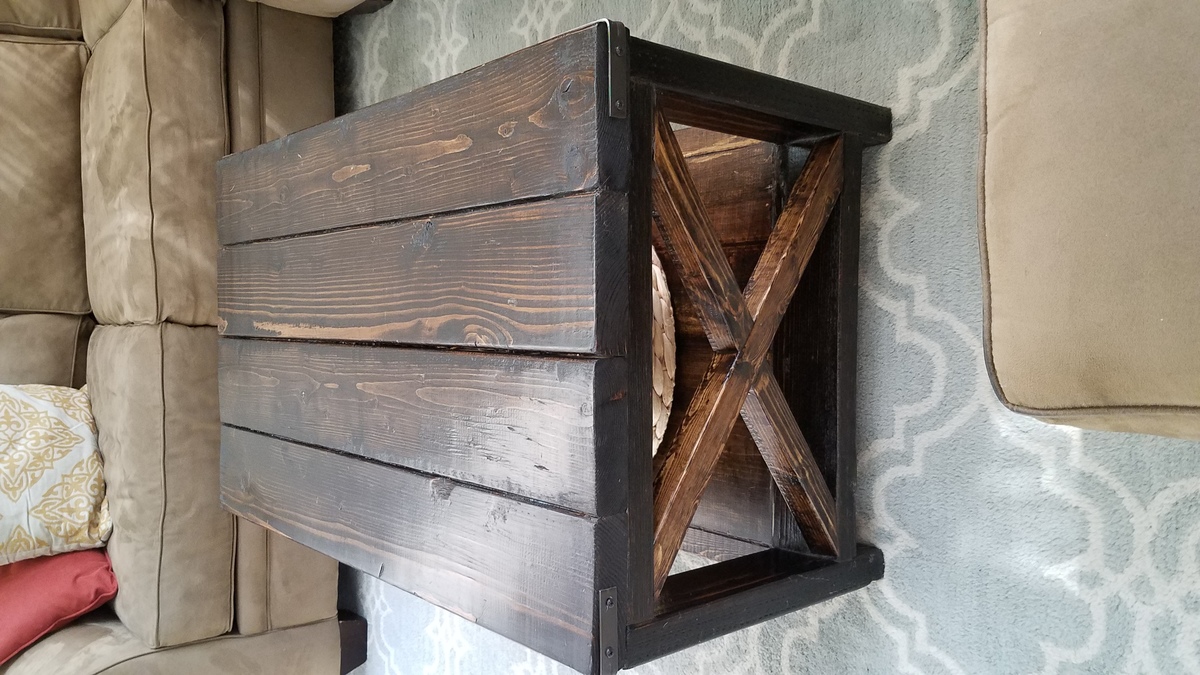
This was the biggest project I have made to date. The plans made it almost easy. Thank you very much!
Comments
Wed, 10/06/2021 - 10:12
Pretty Bed and Nightstands!
That all looks gorgeous together, something to be proud of for sure!
Storage Bed
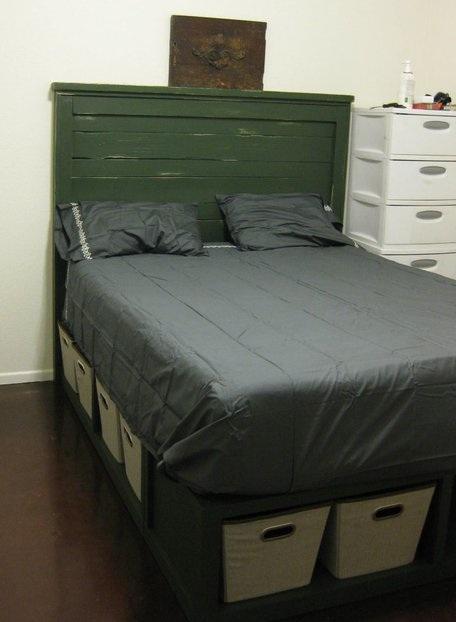
So we really needed a better bed than the flimsy moderny thing that would shift at least a few inches when I would get into the bed. And I like storage. So this was a great fit. The folks at blue were really good to me and help me cut all my lengths of plywood. I did modify the headboard to be 3 inches taller. Otherwise the plans were great! I had one hiccup in adding the divider to one of the benches. It came out kind of slanted. So I would recommend having a lot of light and measuring it out in the back of the box when you are inserting the divider
Entry table/console table
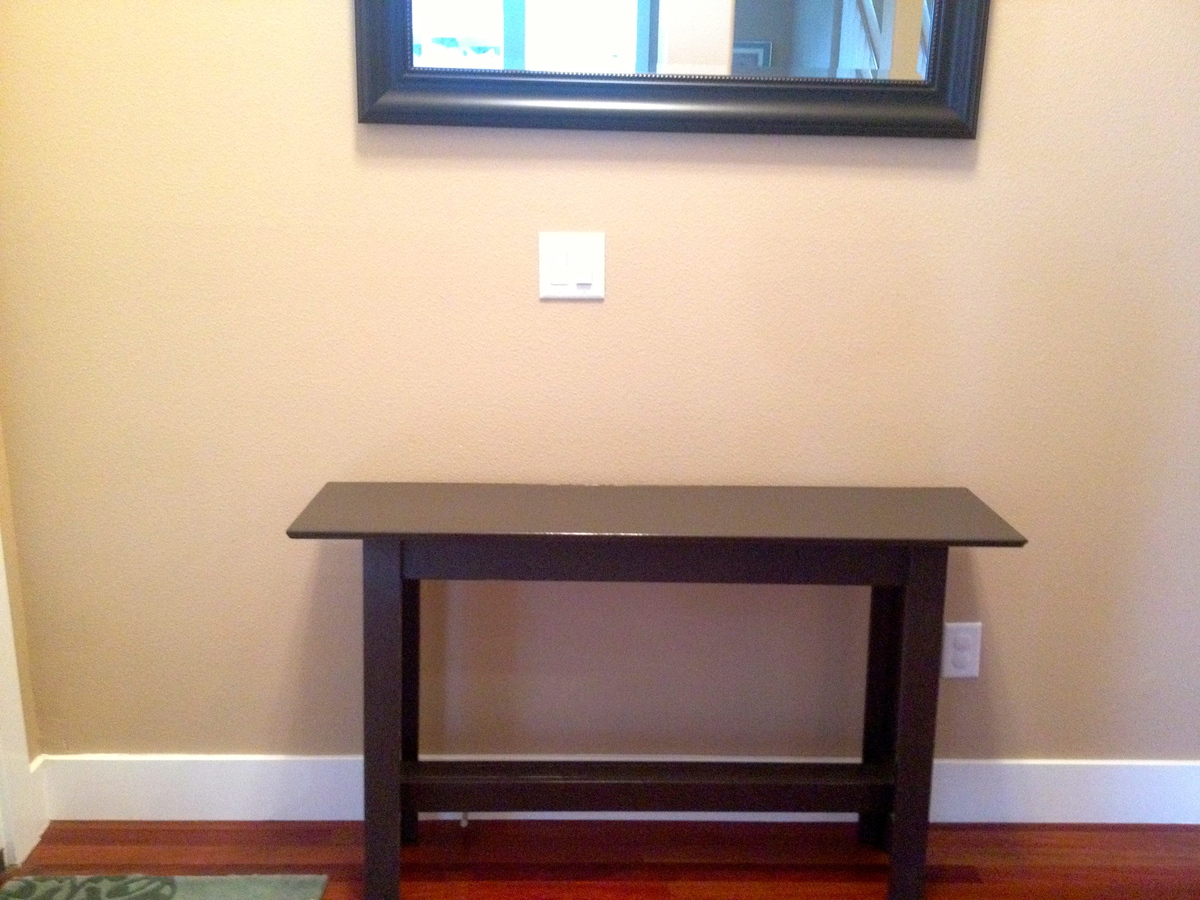
I made this entry table to go by our front door. It's a spin off from the "console table" posted by Anna. I read some of the comments from people who had problems with her plans as a result of different standards in lumber and decided to alter this some!
I cut the side braces short enough so when I included the measurements of the legs the actual table top extended approx. 3/4" further past the legs and apron of the table. I also went with one sheet of wood on the table top and finished it up with some trim around the edge of the table top.
Farmstyle Table based on Ana's plans
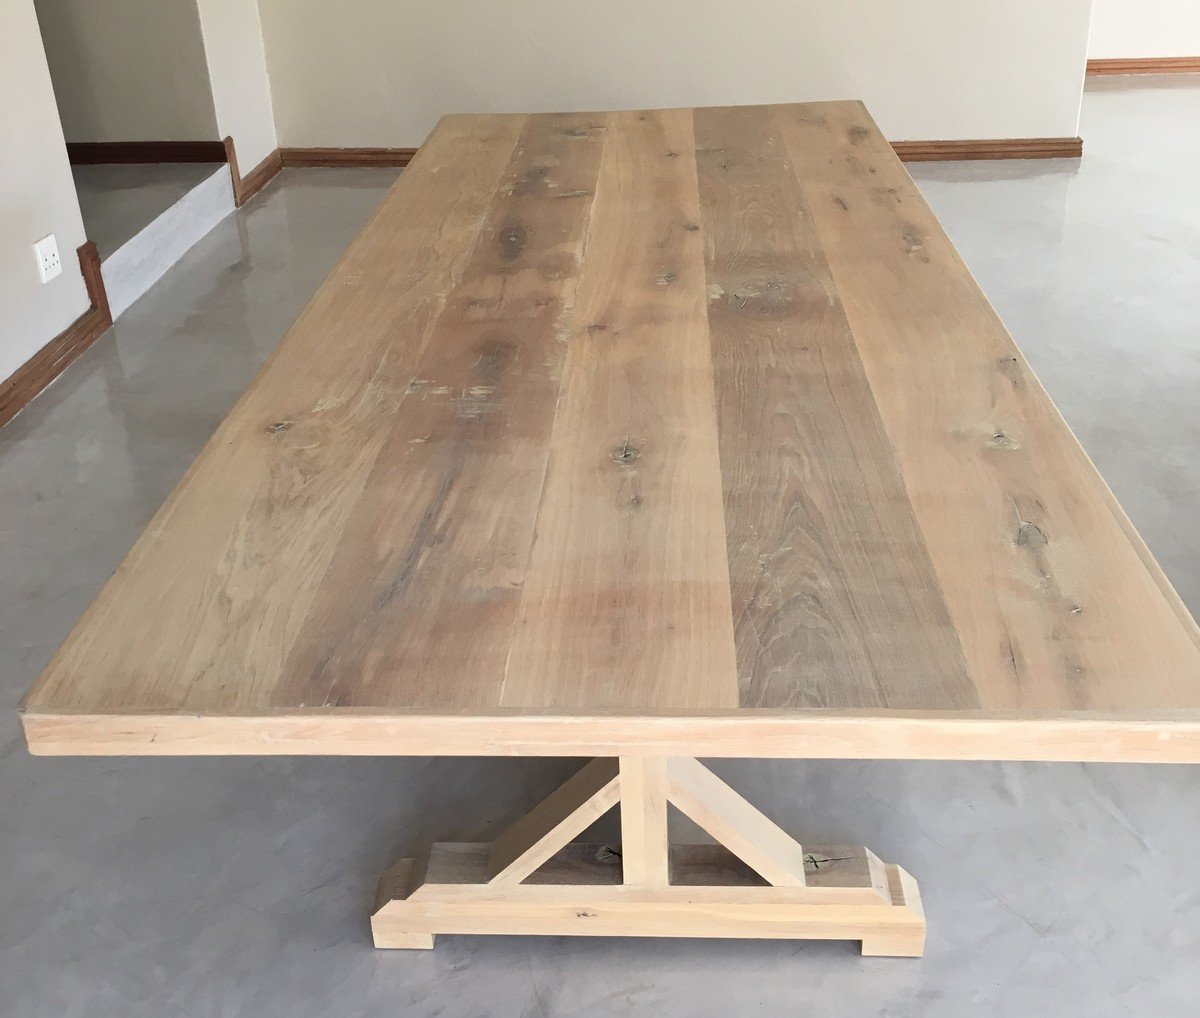
This table is made out of Solid Oak and took me +- 6 weeks to complete.
Thanks to Ana White for the plans as I followed them to the "t" with some minor changes in the size
Final size is 10ft long x 47 1/4 inch wide and 29 9/64 inches high
Farmhouse Bench
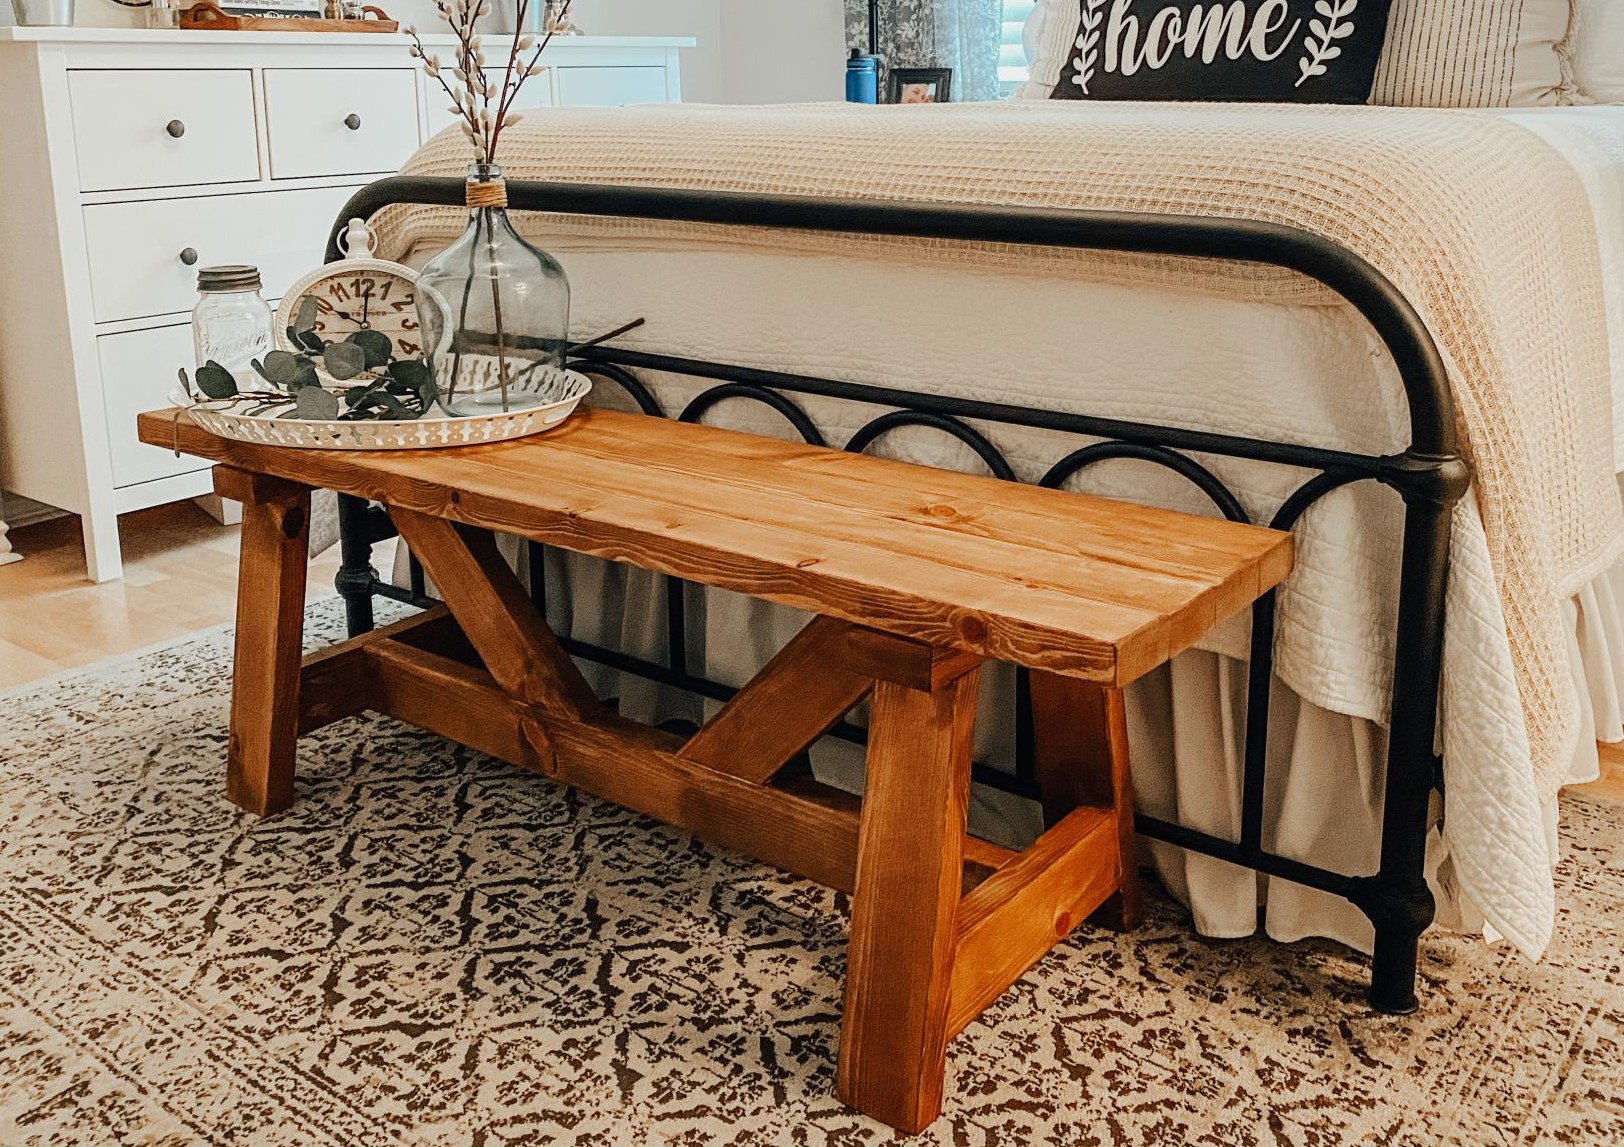
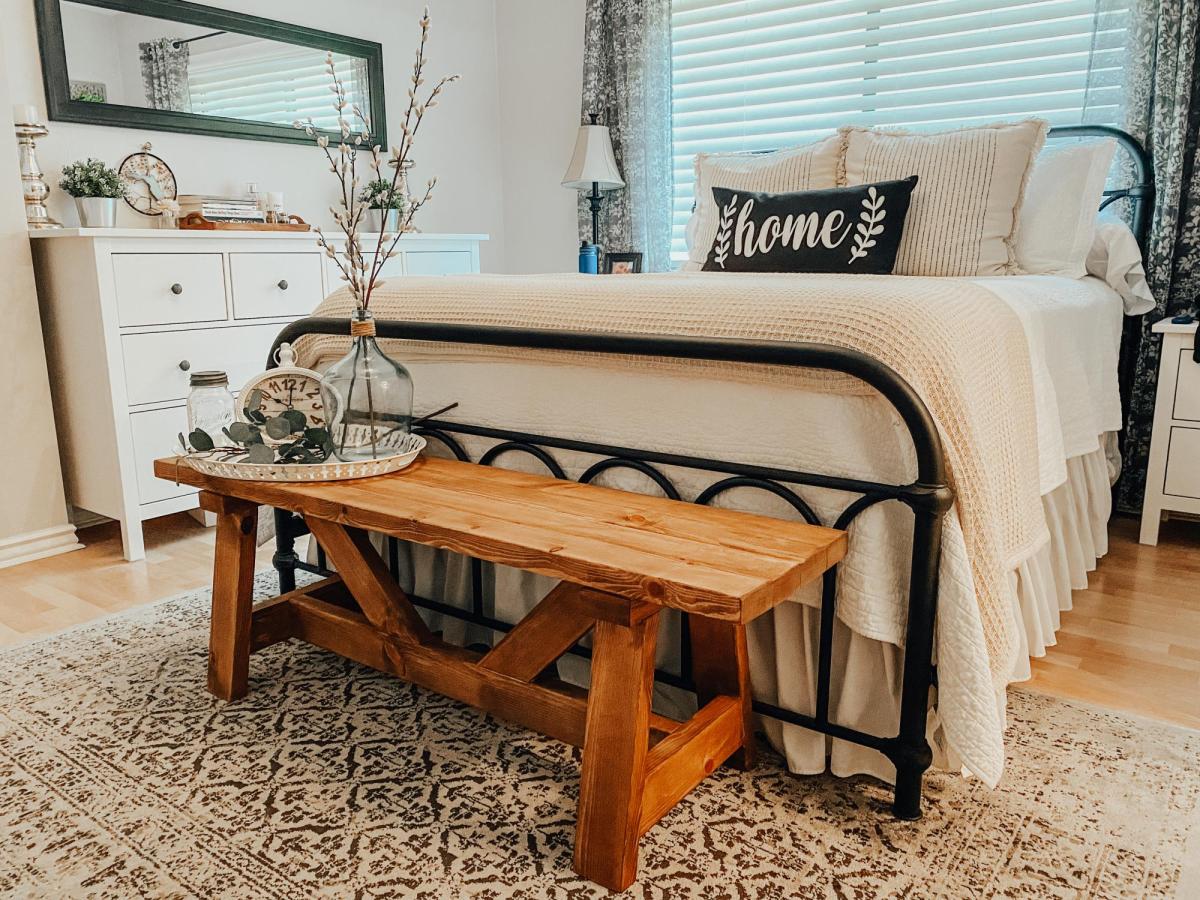
I used the plans from the site and it came out perfectly! Didn’t even make a wrong cut-pretty good for a super beginner.
Comments
Loft Bed
I made this loft bed for my 4-year-old son. It is plenty strong. It can easily hold him and his daddy for bedtime stories. I followed the plans to the letter. I found this a challenging but attainable second project and only needed help with final assembly. I'll start working on some bookshelves for under it but need to figure out how to work around the supports I already added (that are omitted in the bookshelf plans).
Simple Outdoor Table
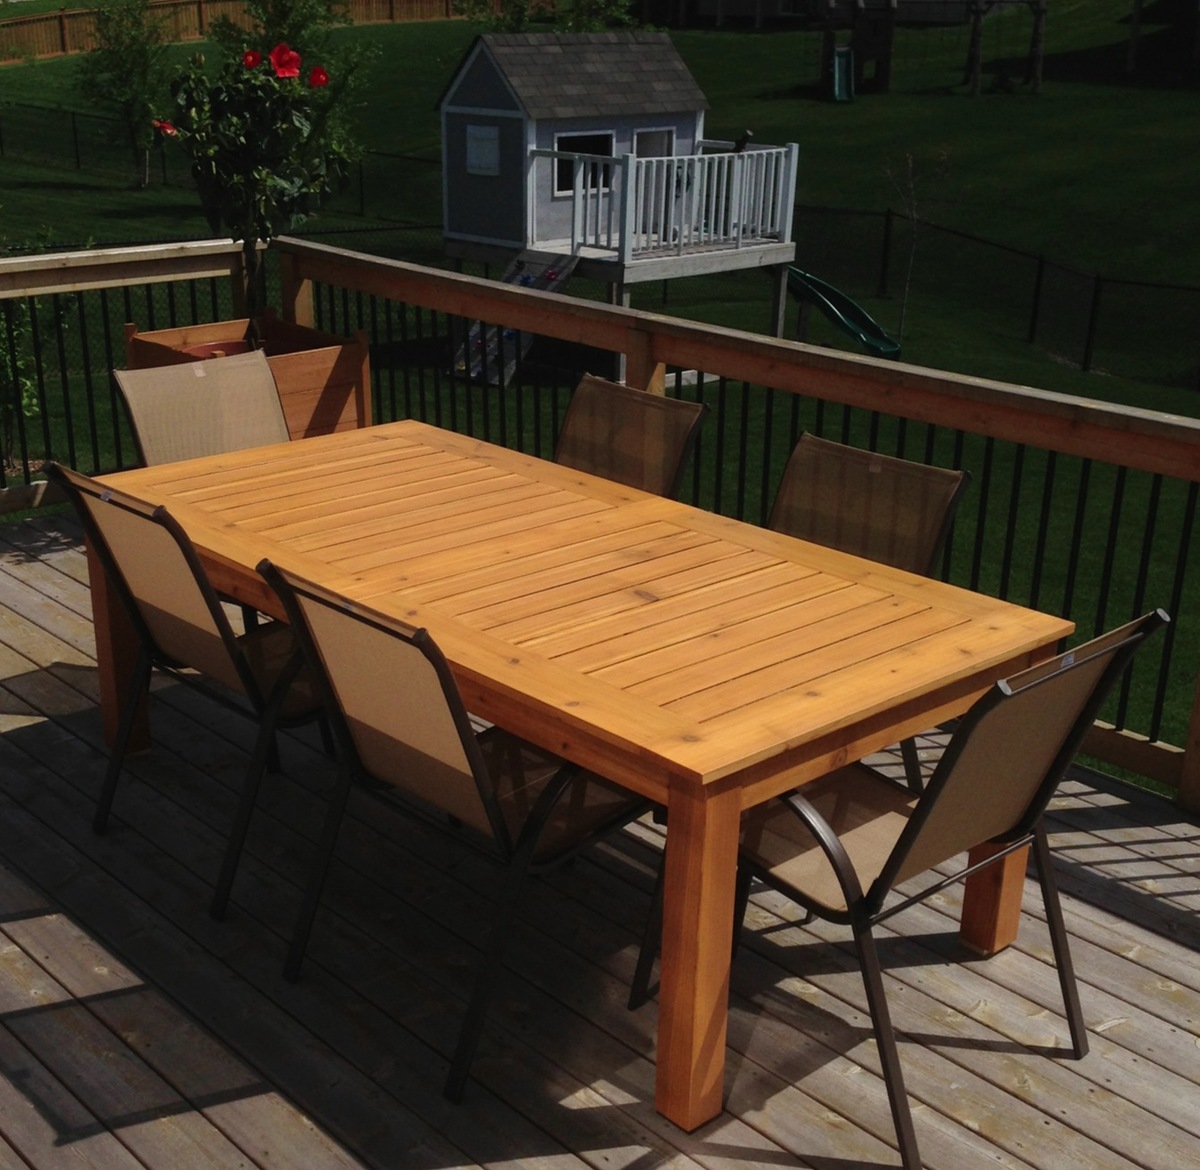
I took the Simple Outdoor Table along with a table I had seen at Pottery Barn and kind of put this together. It made of cedar and stained with a natural to keep the pretty color.
Comments
Mon, 06/03/2013 - 16:58
Size?
I really love the way you did this table! I've been considering a bunch of different plans and haven't been entirely satisfied with any of them. What are the dimensions of your table? And do you have measurements, or did you just figure it out as you went?
In reply to Size? by storchinsky
Wed, 06/05/2013 - 08:33
size
I started out with the size of 8 ft by 40 inches. It isn't exact but it's real close. After I had the initial measurements I just kind of pieced it together. I got ideas from looking at different tables on here and followed the pattern of the one I liked at Pottery Barn.
Used 2X2s to support the wings.
I essentially stuck to the main plan - except to support the wings I used 2X2 boards and standard hinges.
I was worried that there may not be enough space for my Ryobi 10" sliding miter saw because of the slide however, it fits nicely and there is plenty of space.
Thank you for the wonderful plan. This was my first project of this size and I am very happy with the results!
Comments
Fri, 05/01/2015 - 08:10
Fantastic!
This is great. I am currently getting my Dad's help to turn an old kitchen cabinet into a miter saw cabinet with wings like this. (it was a 1940's solid wood kitchen cabinet we took out of the house when we remodeled). I really like your 2x2 support struts. Have you considered putting a shelf in the middle of your box? It would add extra support and also more room to store stuff.
Sat, 05/02/2015 - 09:09
re: shelf idea
Good idea. I did consider adding a shelf however I have now decided to use the lower area to store my small router table. I discovered that it would fit in the spot however it leaves not enough room for a shelf.
Mon, 05/18/2020 - 14:12
I know it’s been a while but…
I know it’s been a while but do you remember the angle you used on the 2x2 supports? I struggle when it comes to cutting angles.
Stackable kids chair
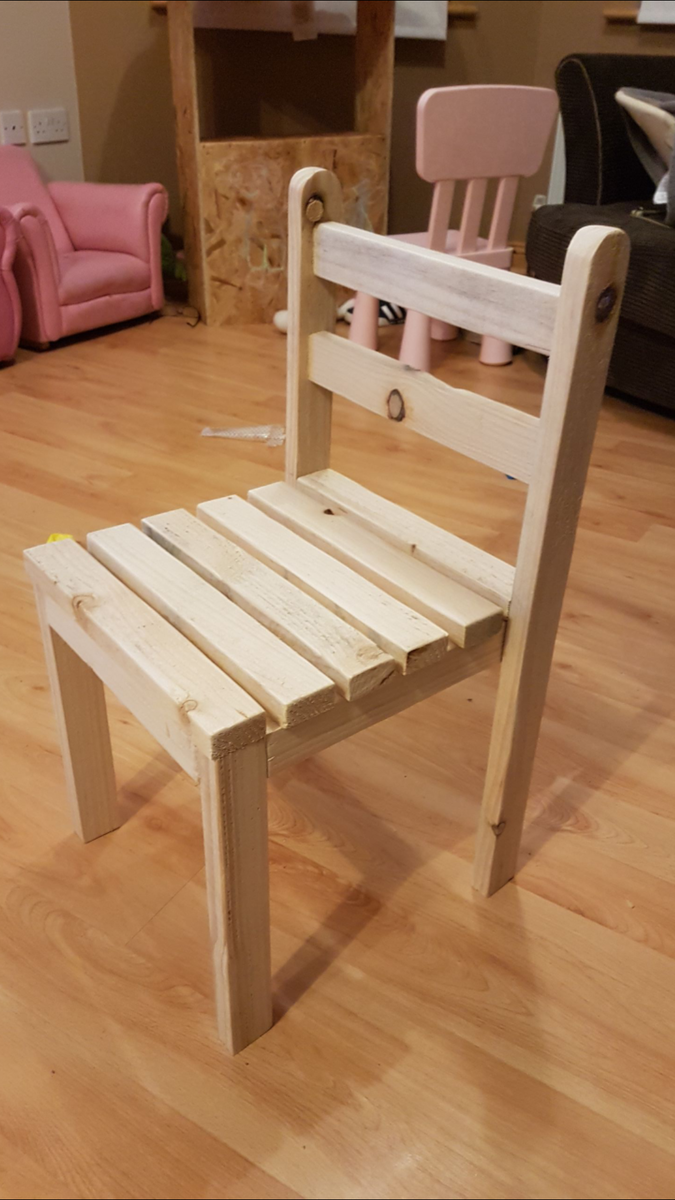
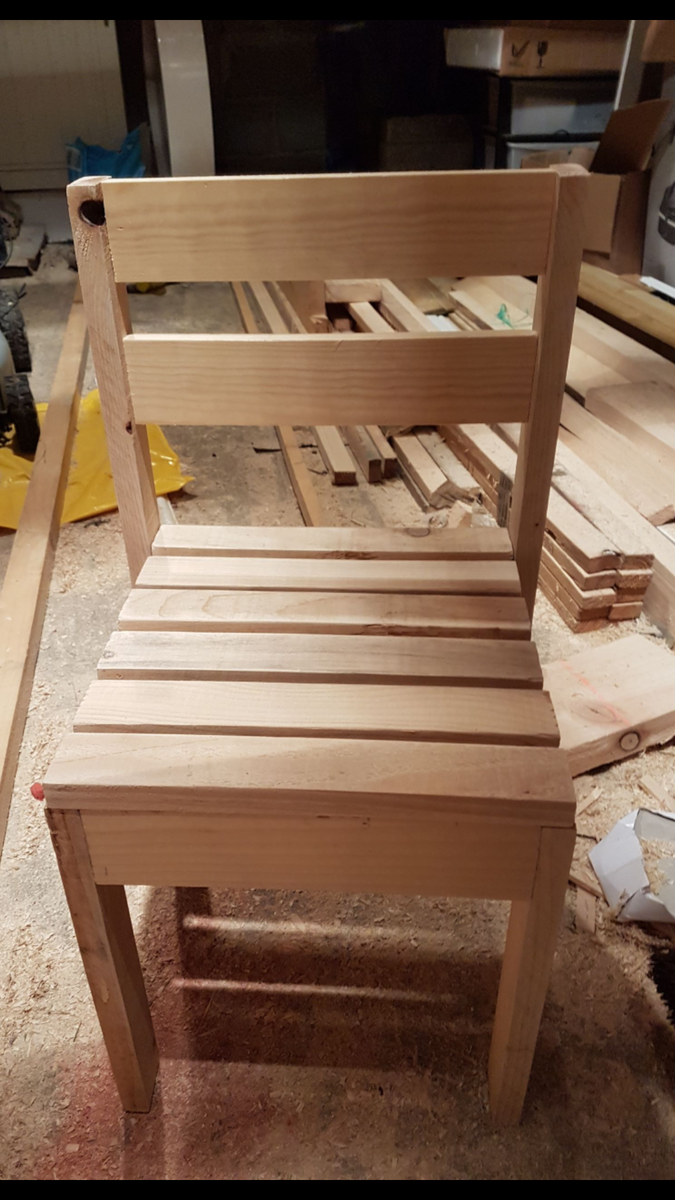
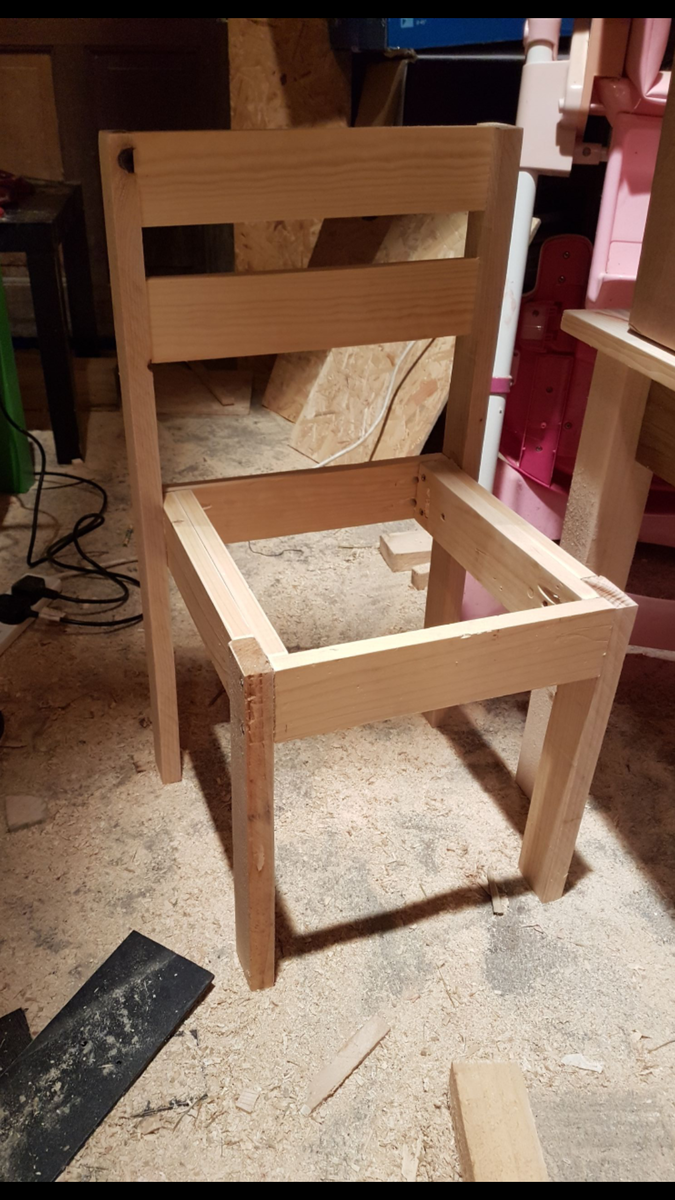
Made two of these chairs for my little girls. The second one I managed to conceal all the screws too.
Farmhouse Coffee Table and end tables
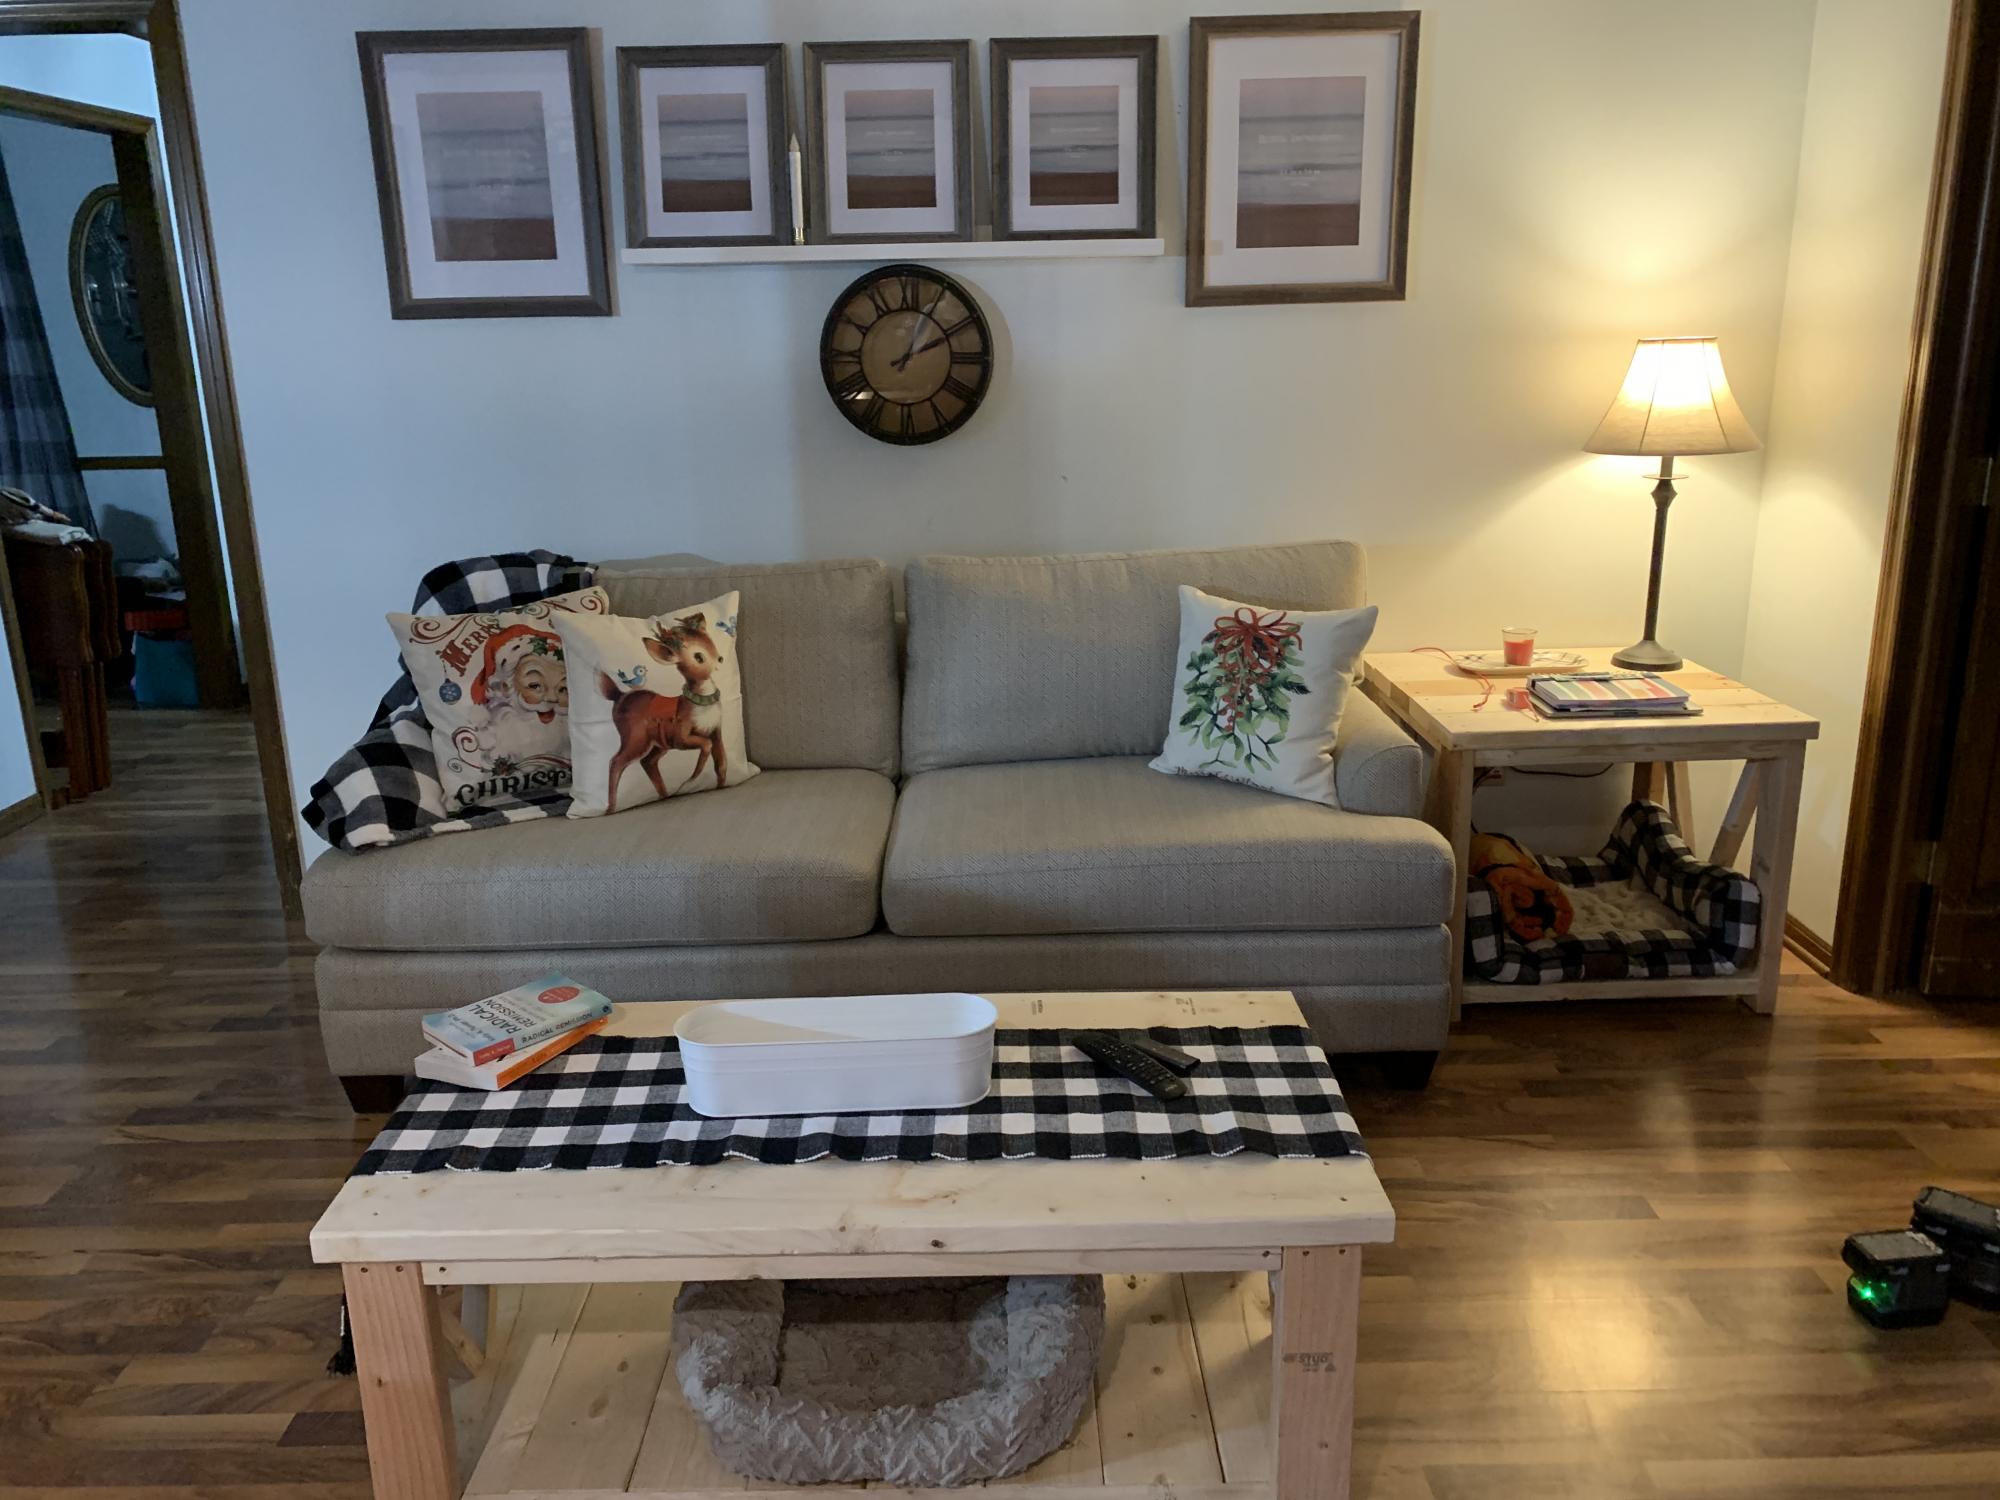
My dad and I built these amazing coffee and end tables during a Christmas last year. We modified the ends to for a “M” instead of the traditional farmhouse “X”. Our last name is Mayberry-so the M was fitting. Sadly, my father lost his battle to cancer and this was the last project we did-one that will forever hold precious memories! Thank you for the fabulous plans!
Comments
Fri, 10/08/2021 - 10:41
Beautiful table that is invaluable...
Thank you for sharing, a wonderful memory was made and to see this reminder everyday is very sweet. We are very sorry for your loss~
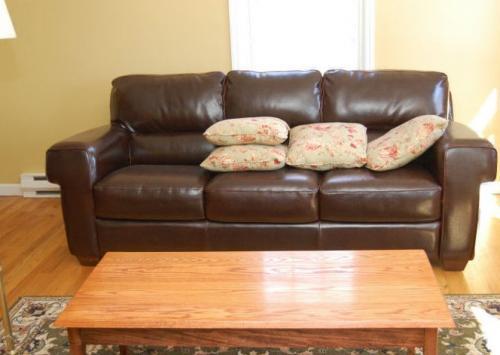
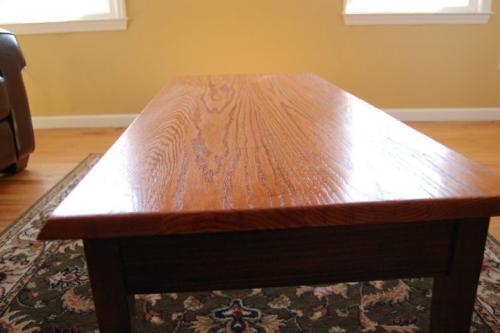
Coffee Table
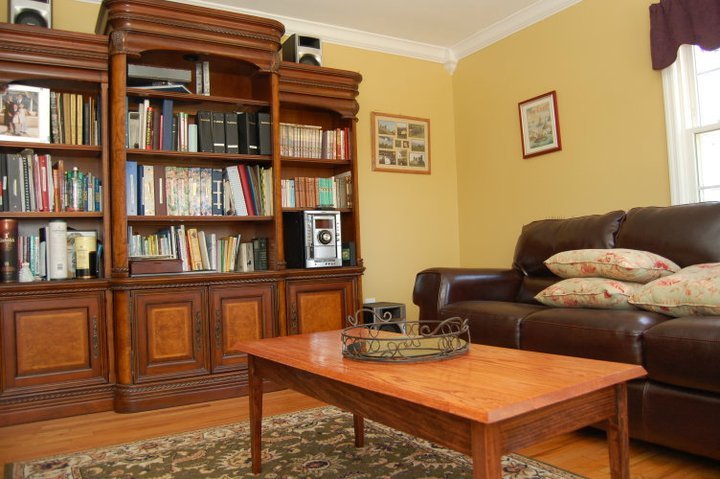
My wife said she did not want anything for her birthday, so instead of buying her
something after she said that, I decided to try and make something. We did not have a coffee table in our living room - when we hosted Christmas, we had a piece of plywood over boxes, covered with a table cloth. So I decided to try and make a coffee table for her.
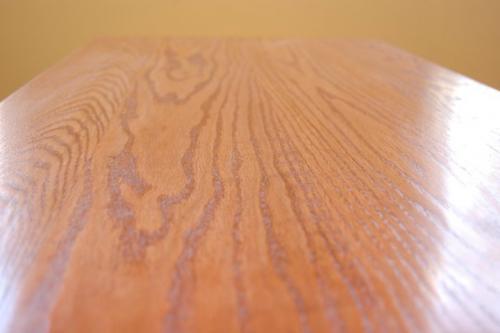
Made some mistakes sanding the top, so then had to spend a lot more time sanding out the gouges.I did not use a plan per se, but when I started looking here, it was remarkable similar to Clara's Table, with differeing dimensions. The cost was a little higher due to the oak boards for the table top. Those alone were $50.
