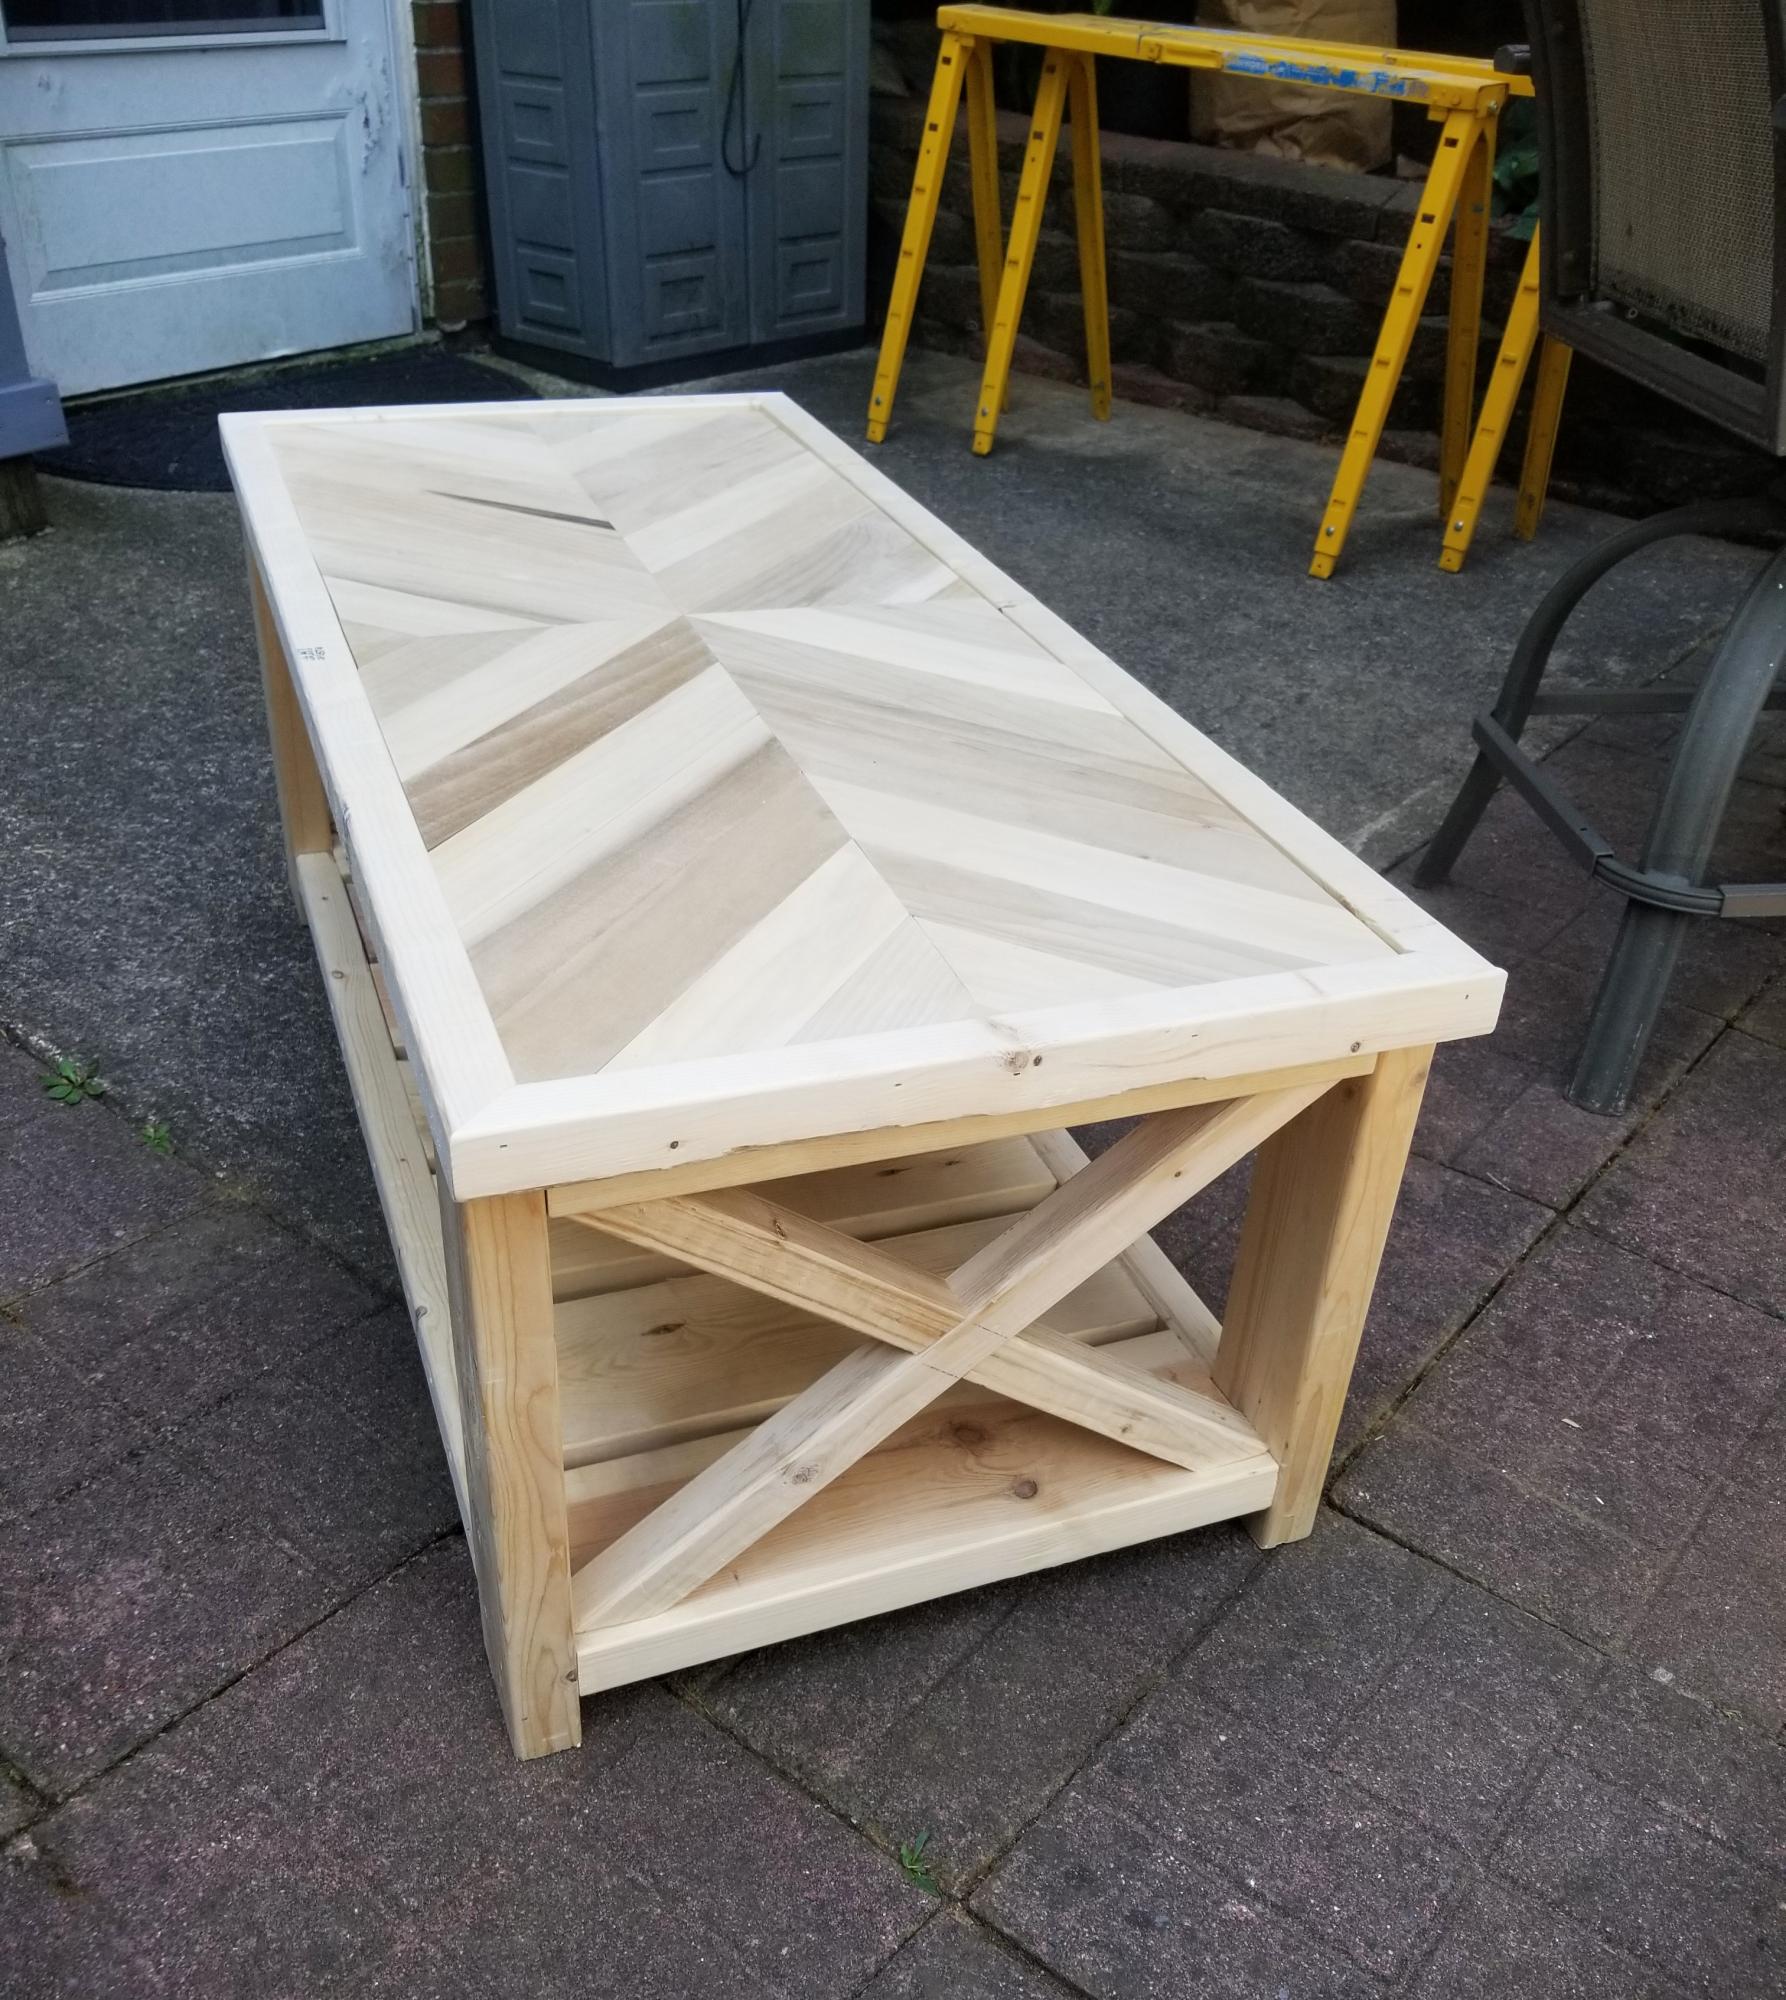
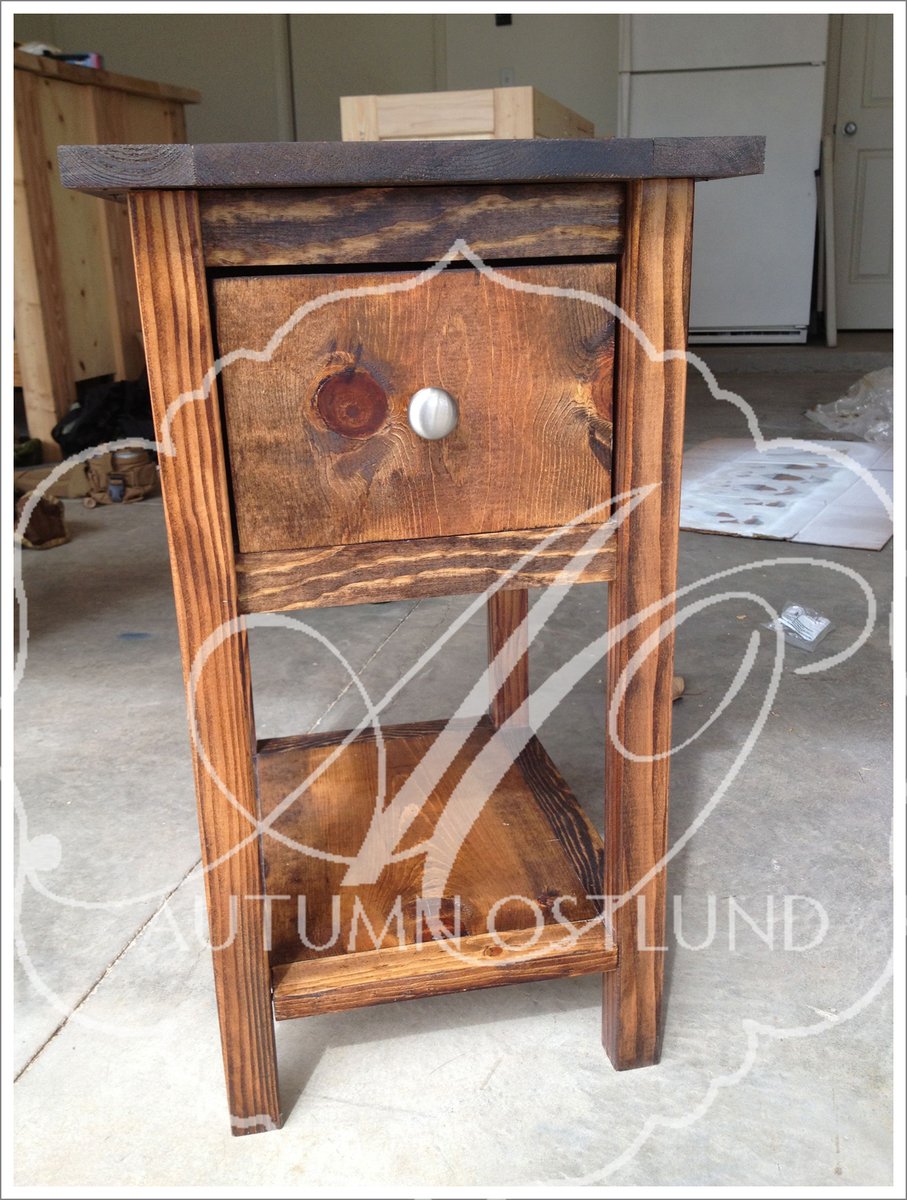
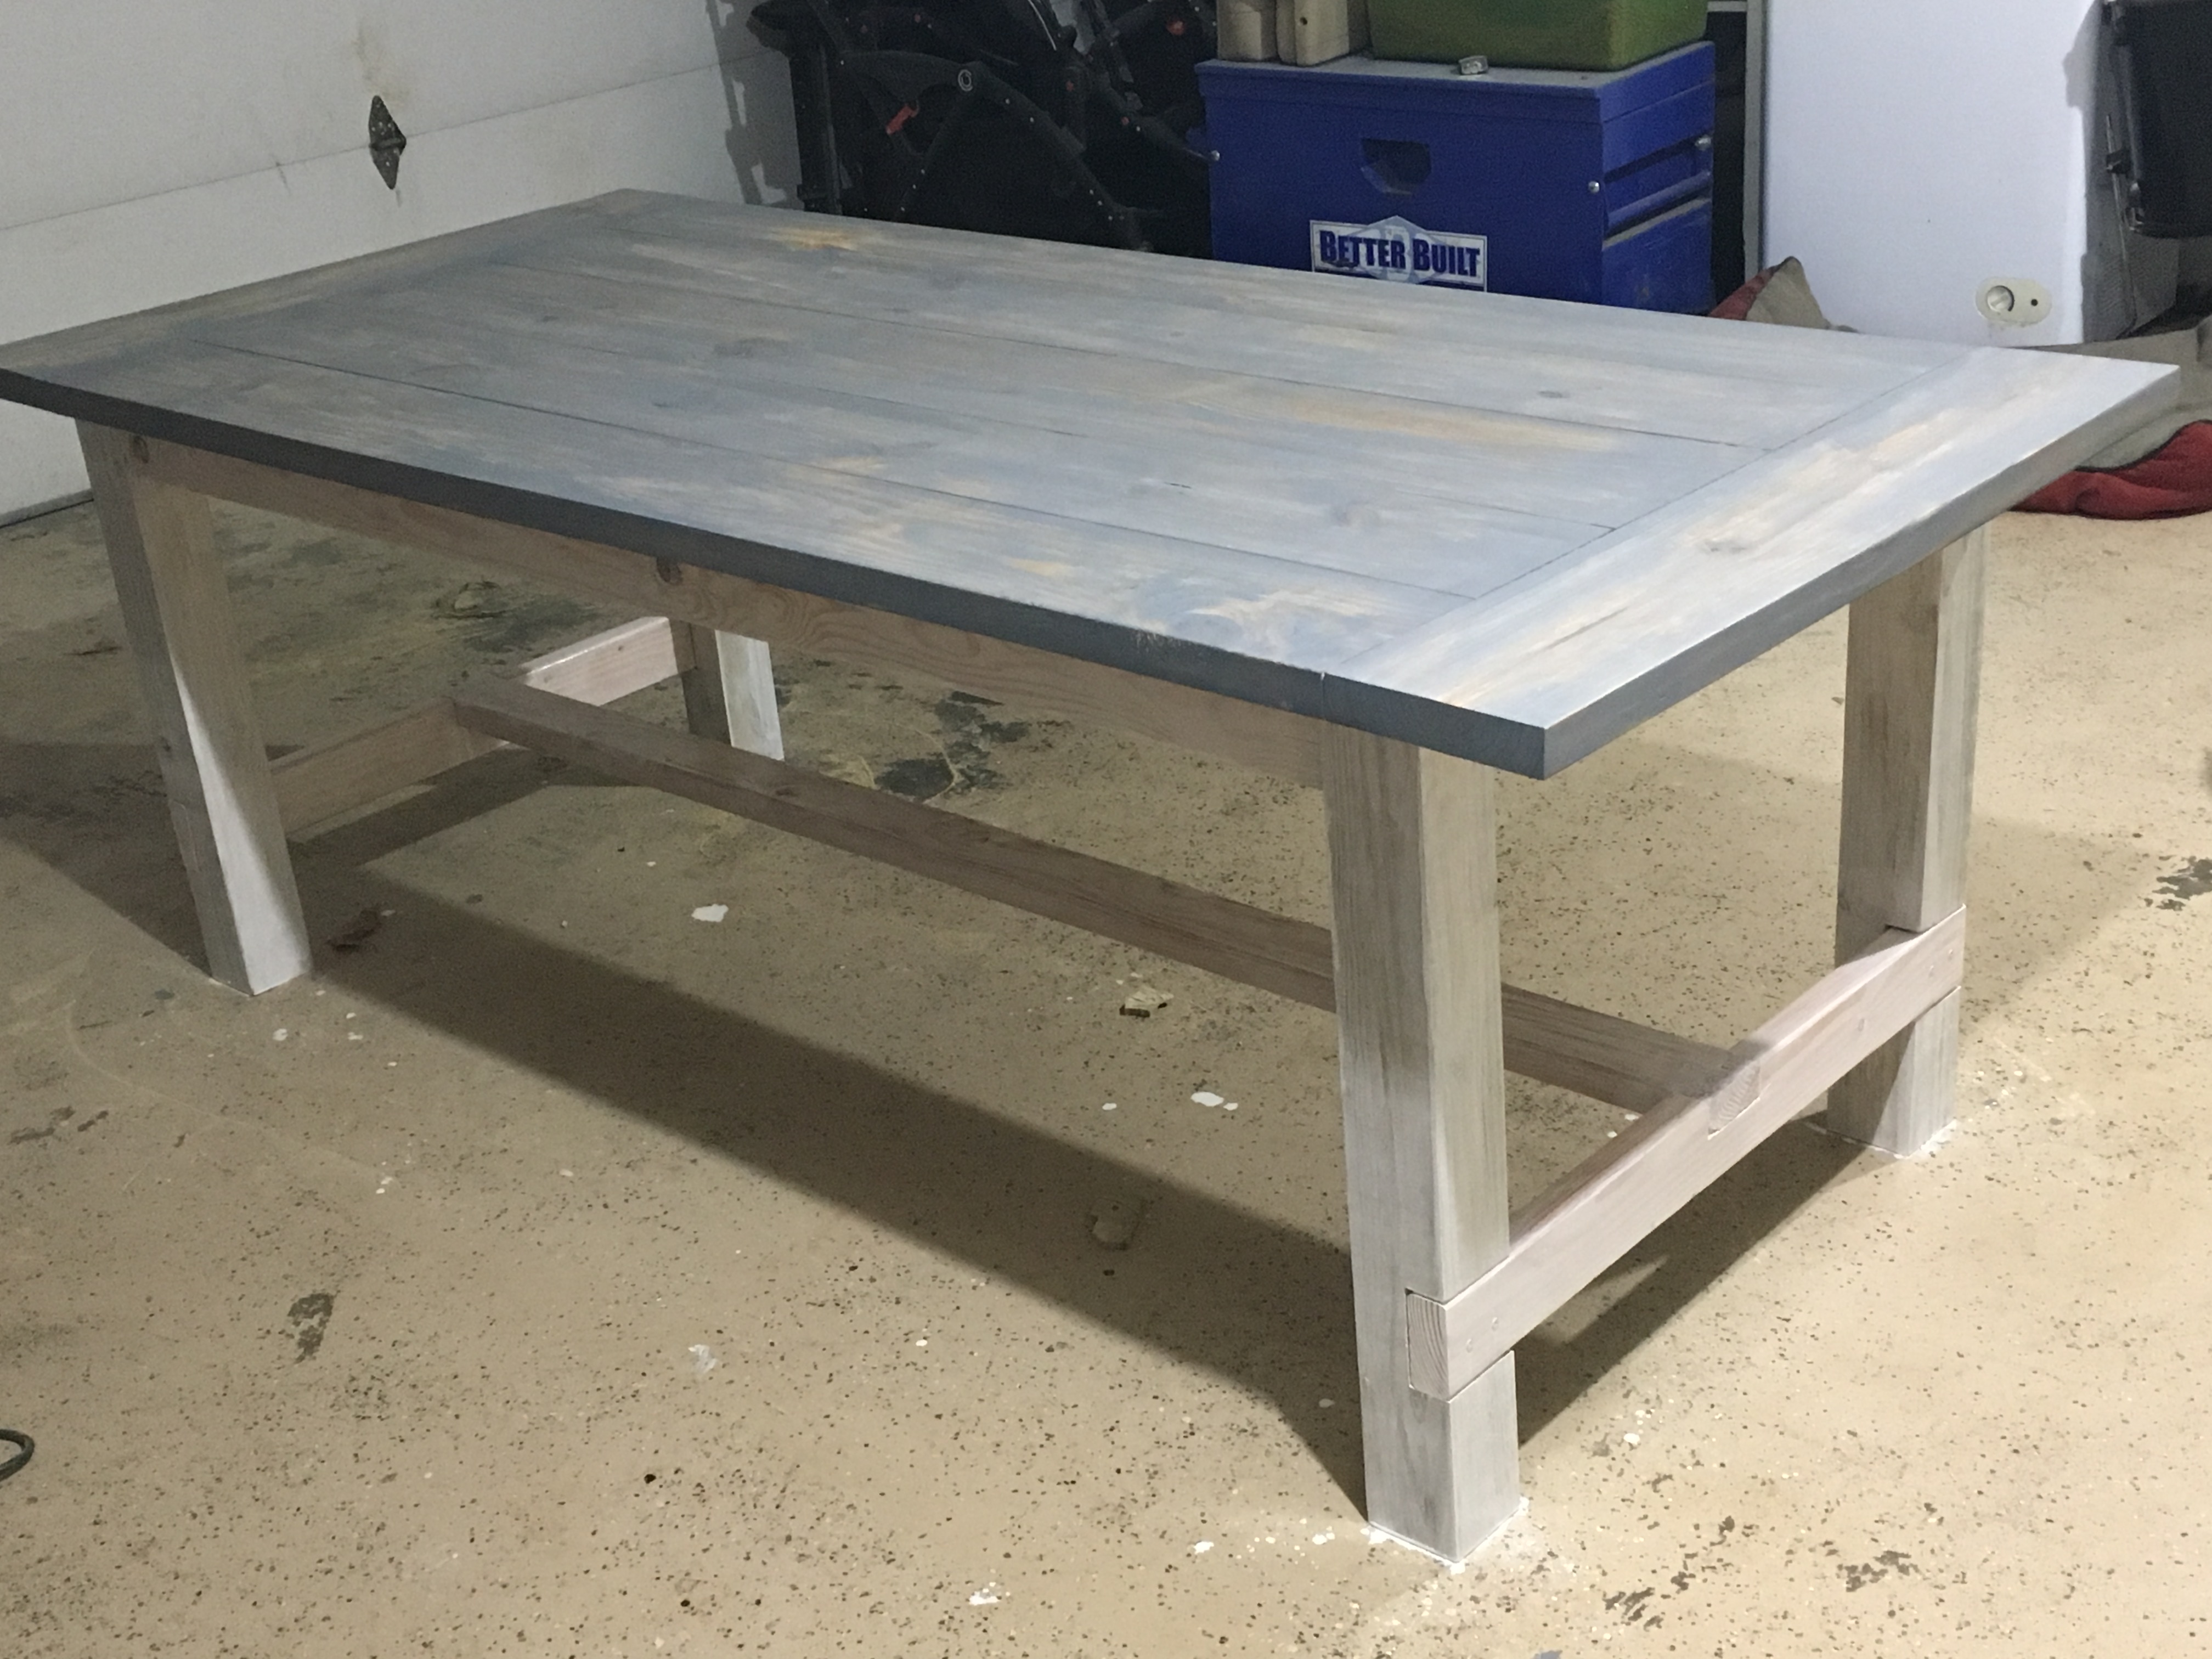
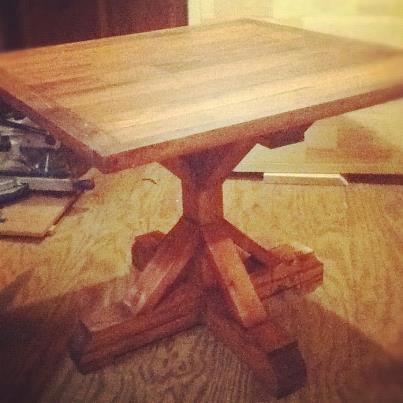
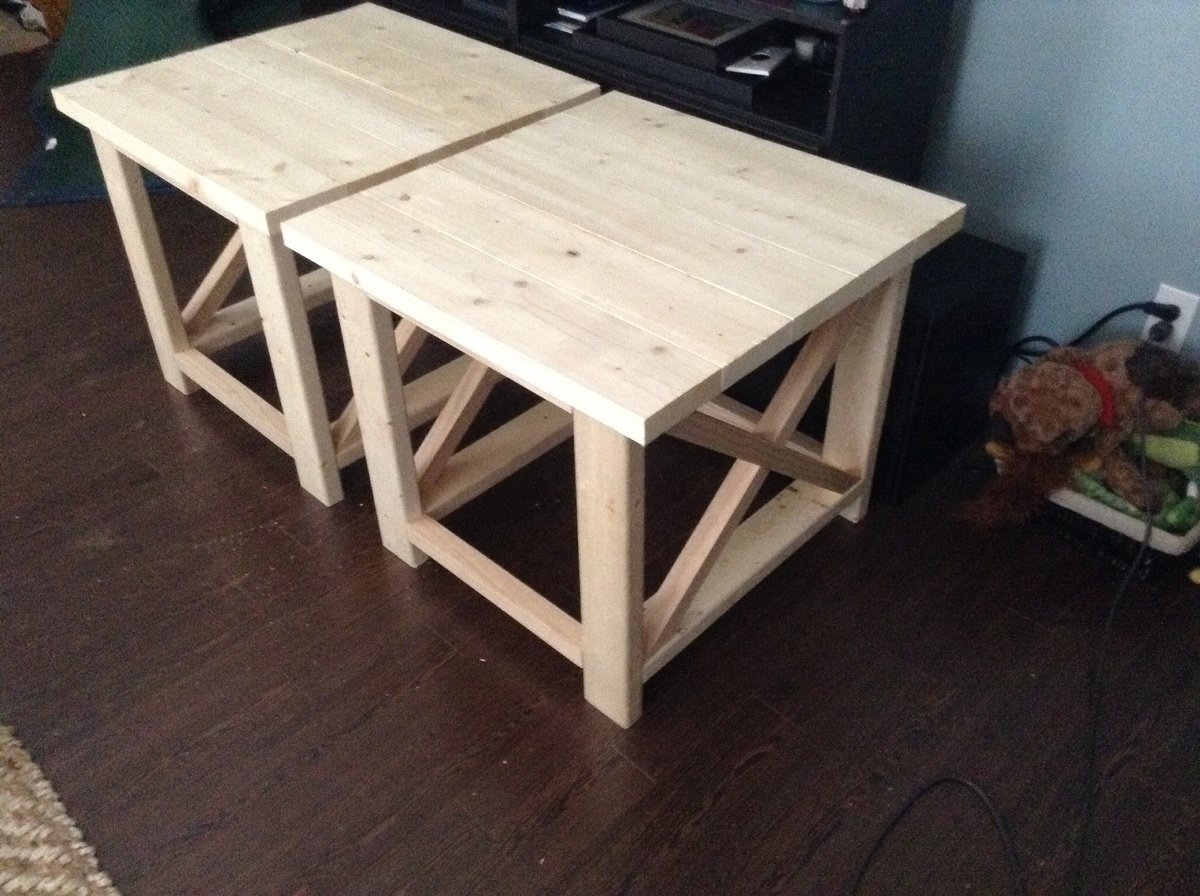
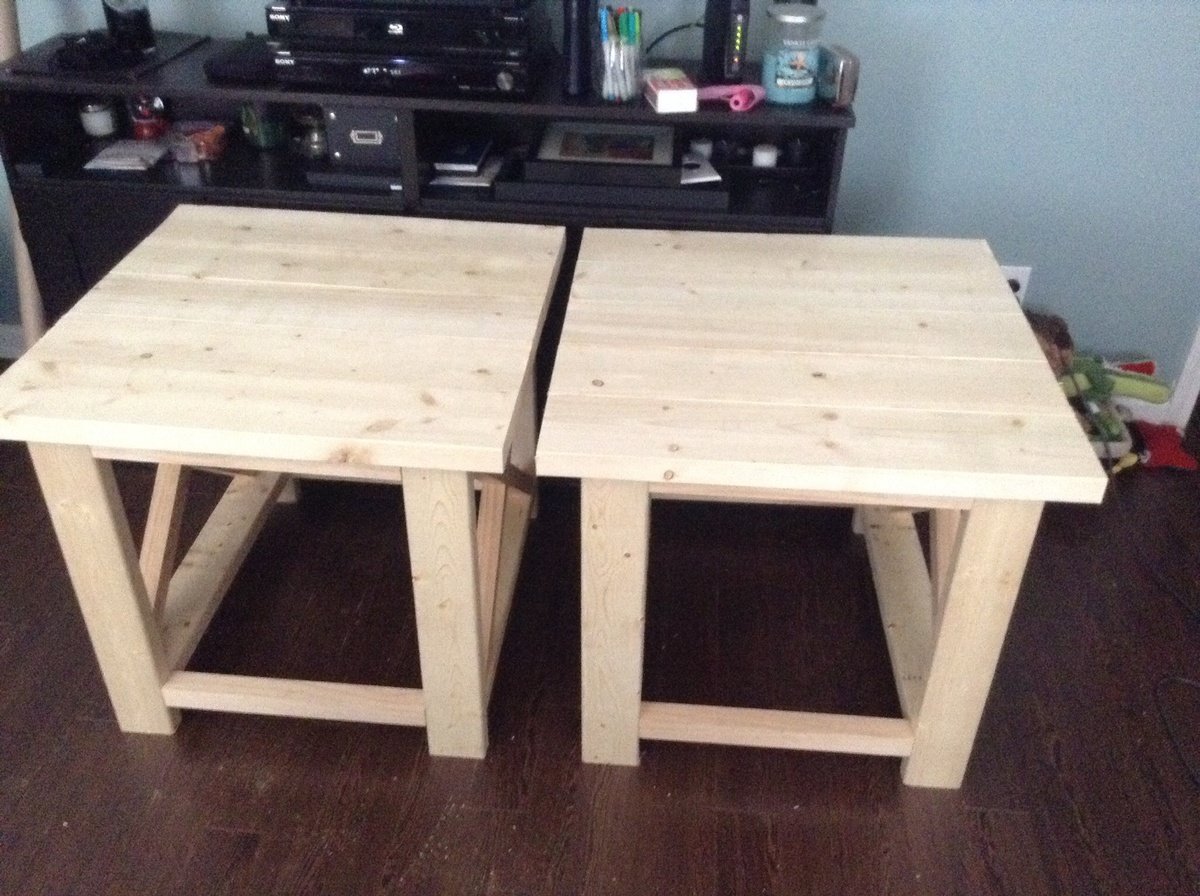
Jordan's Rustic X End Tables
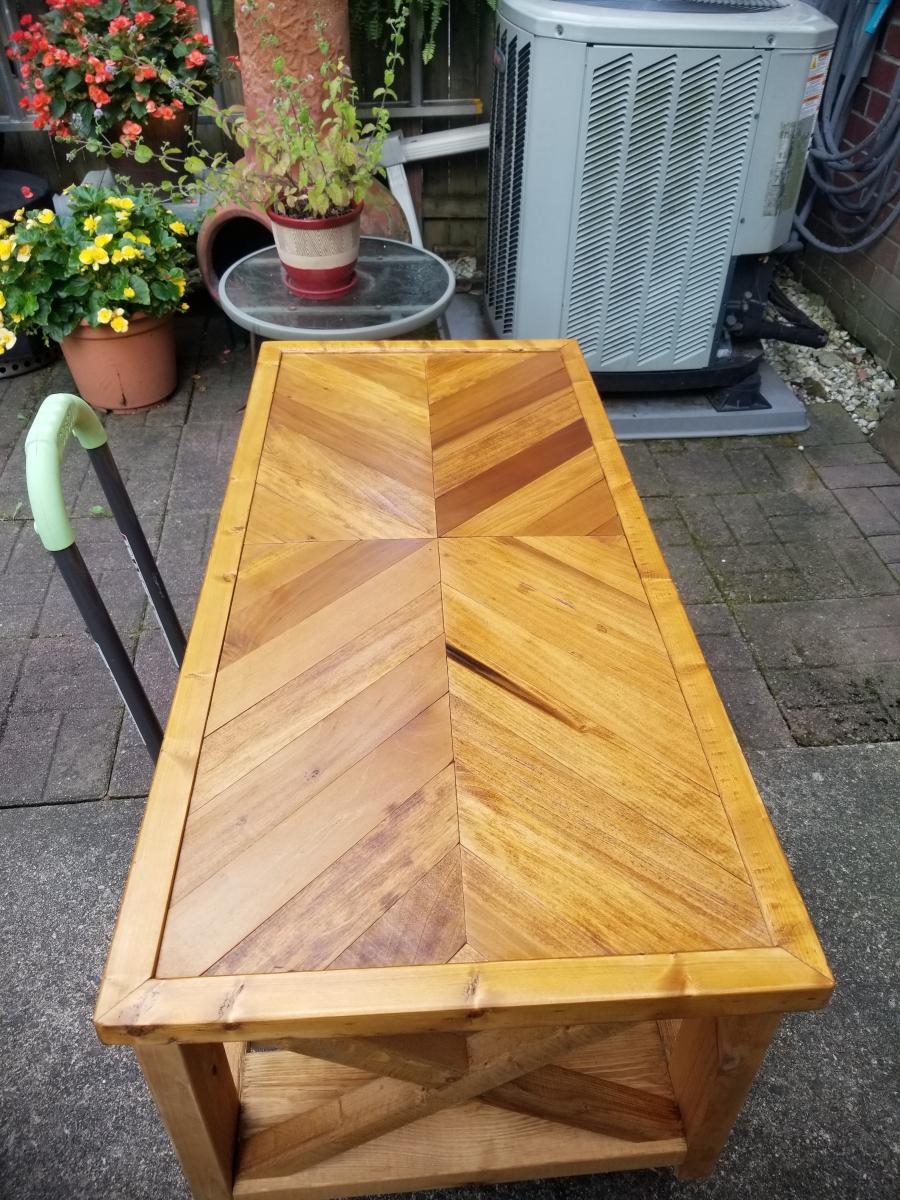
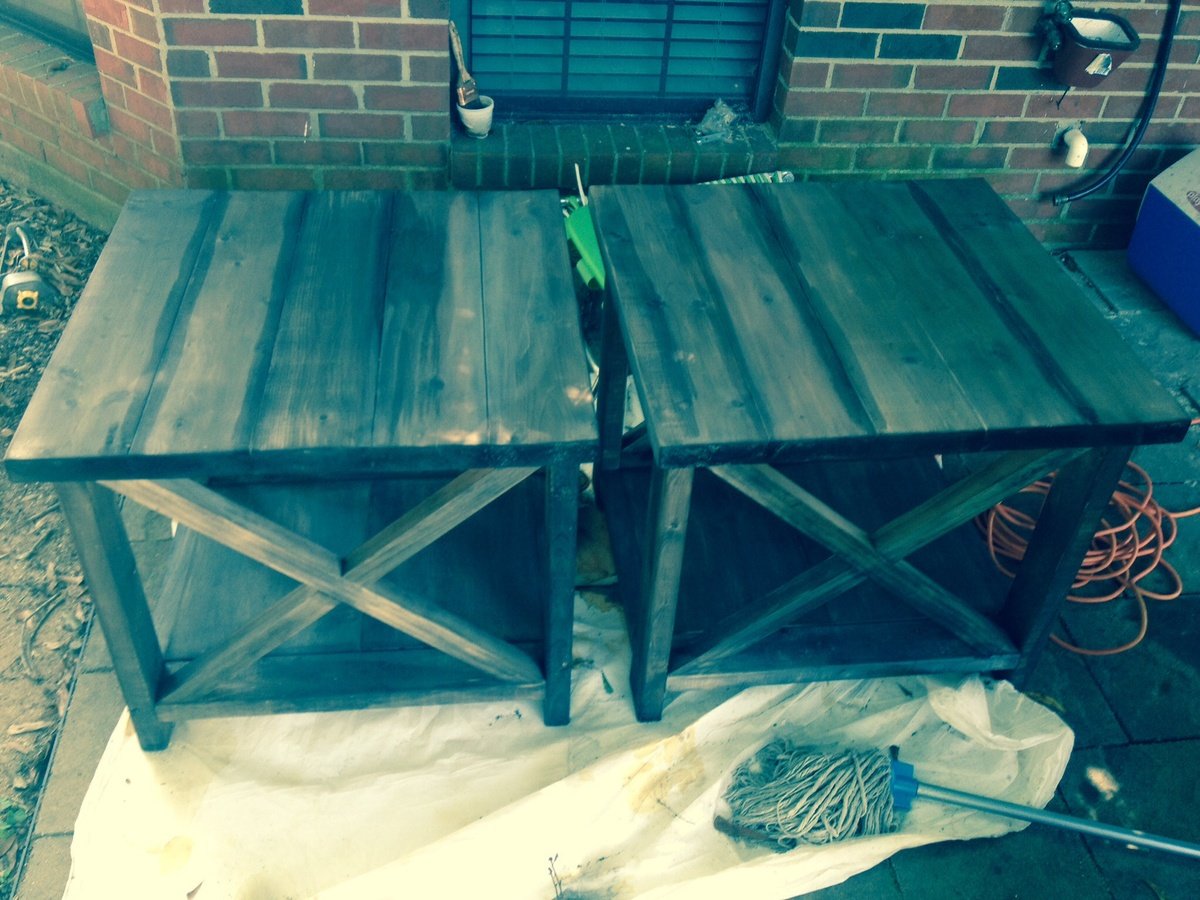
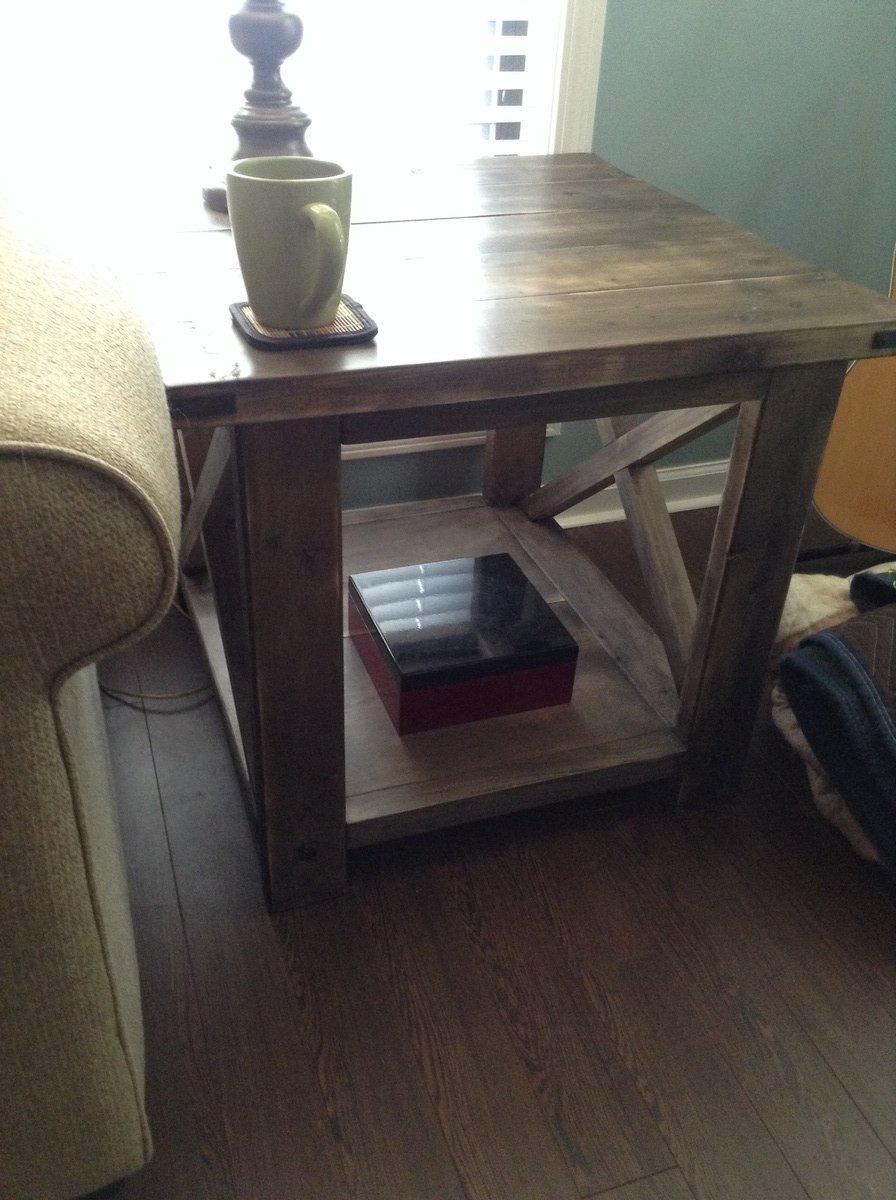
After building the iTable coffee table, I decided the move on to building some end tables. I do wish I had modified the plan so that they weren't quite so wide, but I absolutely love them . I used Hillary's oxidized finish with the steel wool/vinegar solution about 4 days old, and I brewed 12 bags to 32 oz. of water for the black tea.
I just finished off the tables with Minwax Finishing Paste Wax, as it's a little bit more readily available than the items Hillary used. The wax really warmed the wood up; I was debated mixing in some Minwax Wood Stain with the wax because the raw oxidized finish was so gray, but just the clear wax did what I was looking for.
Built from Plan(s)
Estimated Cost
$125
Estimated Time Investment
Weekend Project (10-20 Hours)
Finish Used
Hillary's oxidizing solution followed by Minwax Finishing Paste Wax in Clear
Recommended Skill Level
Intermediate