Kids Adirondack Chair
The Kids Adirondack Chair. I love these little chairs! Simple and easy to build. This one was a birthday present for my niece's daughter. Read more about this project on my blog.. Thanks Ana!!
The Kids Adirondack Chair. I love these little chairs! Simple and easy to build. This one was a birthday present for my niece's daughter. Read more about this project on my blog.. Thanks Ana!!
Easy to follow, we made in a weekend. We tweeked our dimensions a bit but otherwise pretty straight forward. We ended up staining half and leaving other half natural then put a varnish over the entire shelf. Turned out pretty neat with the two tones.
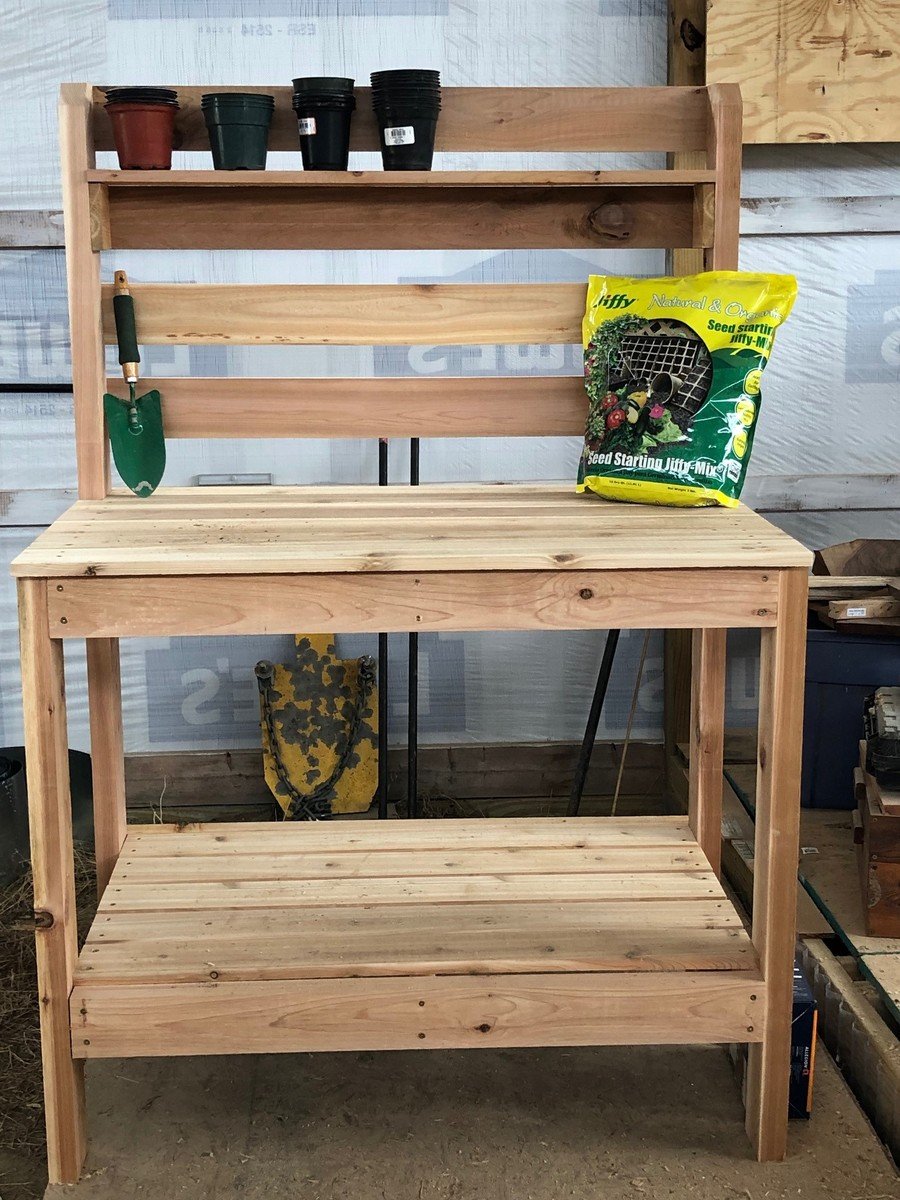
I decided to build my potting bench out of all cedar. I added some extra reinforcements, especially under the table top and shelf, since cedar isn't the strongest wood around. But I love the look!
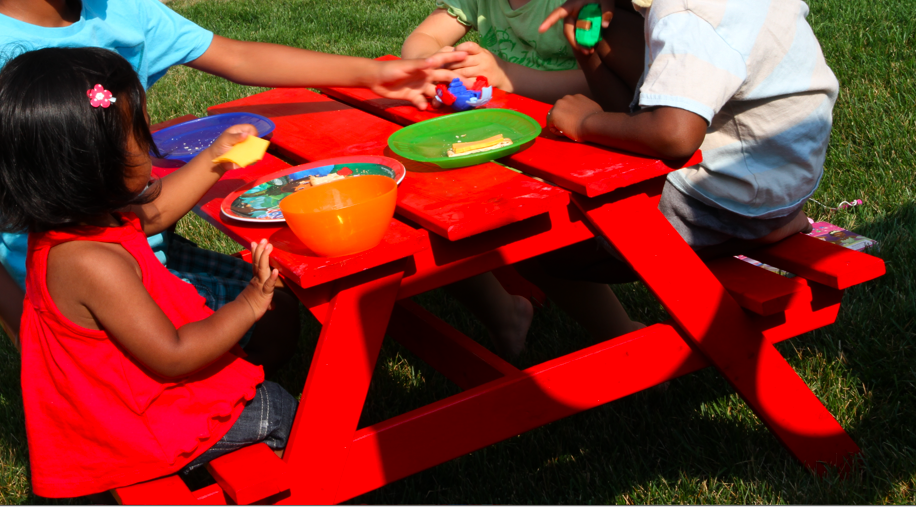
This was a fun cute project to start with. My husband assembled it (though I wanted to do it he didn't let me). I used spray paint. Though I wish I had made it with a bit sturdier wood or maybe used wider sizes. but overall this turned out well and the kids LOVE IT! thanks Ana!

When I presented my husband with the plans for this piece that is inspired by "Restoration Hardware Printmaker’s Sideboard," I thought he would tell me I was crazy! But he looked over the well-written and thought out plans Ana provides and set out to tackle this cabinet. It turned out BEAUTIFUL! We are so happy with it and can't wait to decorate around it now.
Sun, 10/06/2013 - 17:31
Lovely! I want so badly to make this! But I've got a line of projects that must be done first. So I must be patient...
Thu, 10/10/2013 - 10:45
I know what you mean about line of projects! This one got bumped to the front:) And now lots of little things to do. Finding this website was a blessing (for me!) and a curse (to my husband). haha! I told him I get to build the next project!
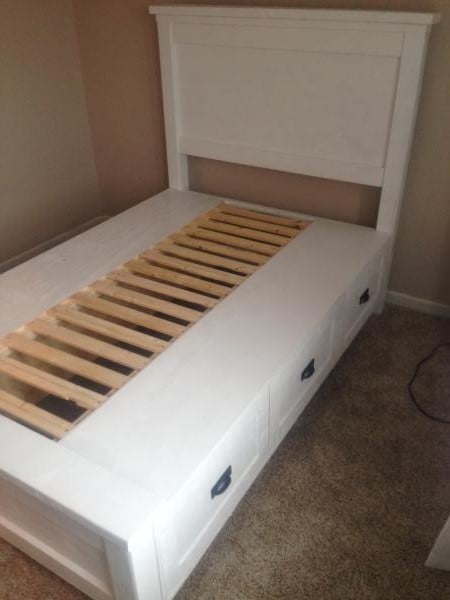
I built this in a full size. Took some time to adjust all the measurements. I used cheap lumber since I was painting it and it cost a little over $350. Then I spent another $75 because I screwed up measurements. :). This was only the 3rd thing I ever built, so I think I did alright. The plans were great! Watched several videos on YouTube about squaring drawers and that helped.
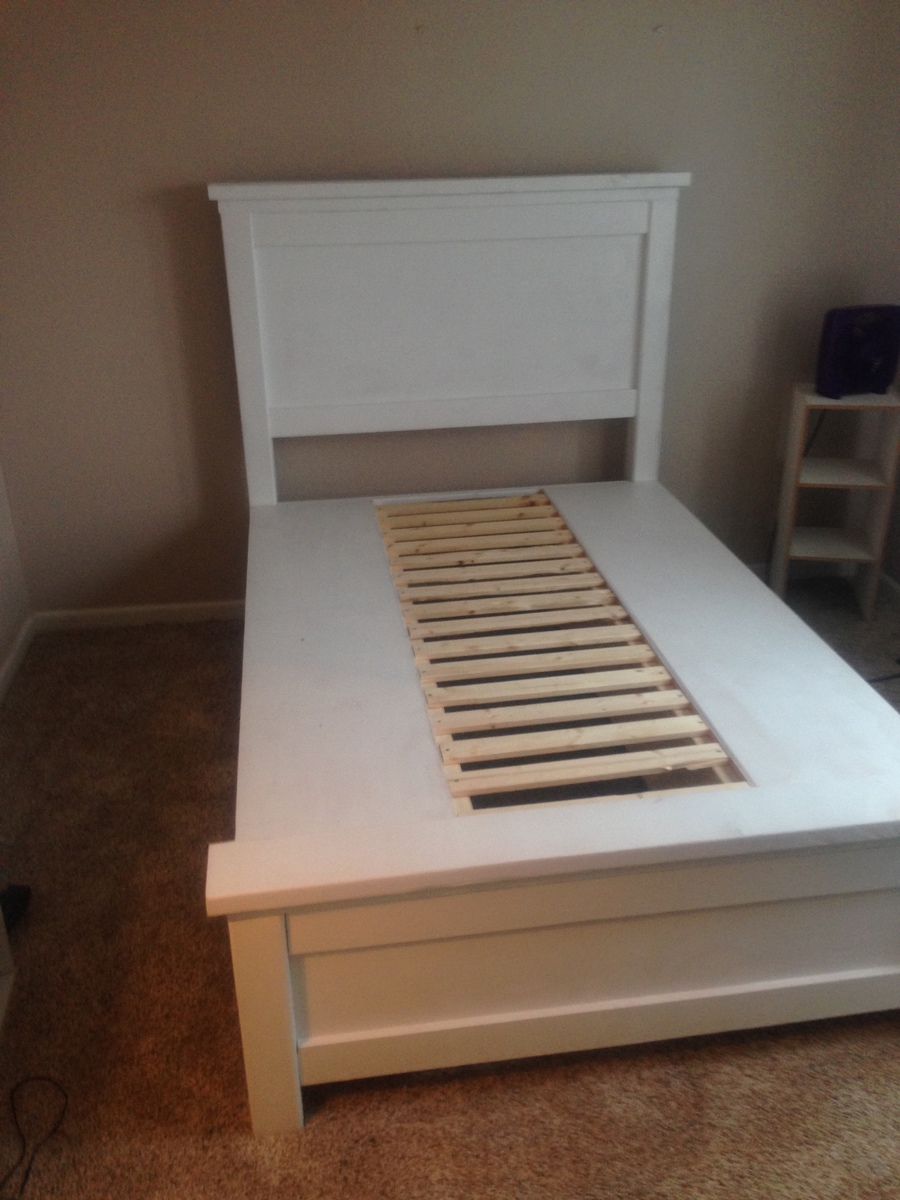
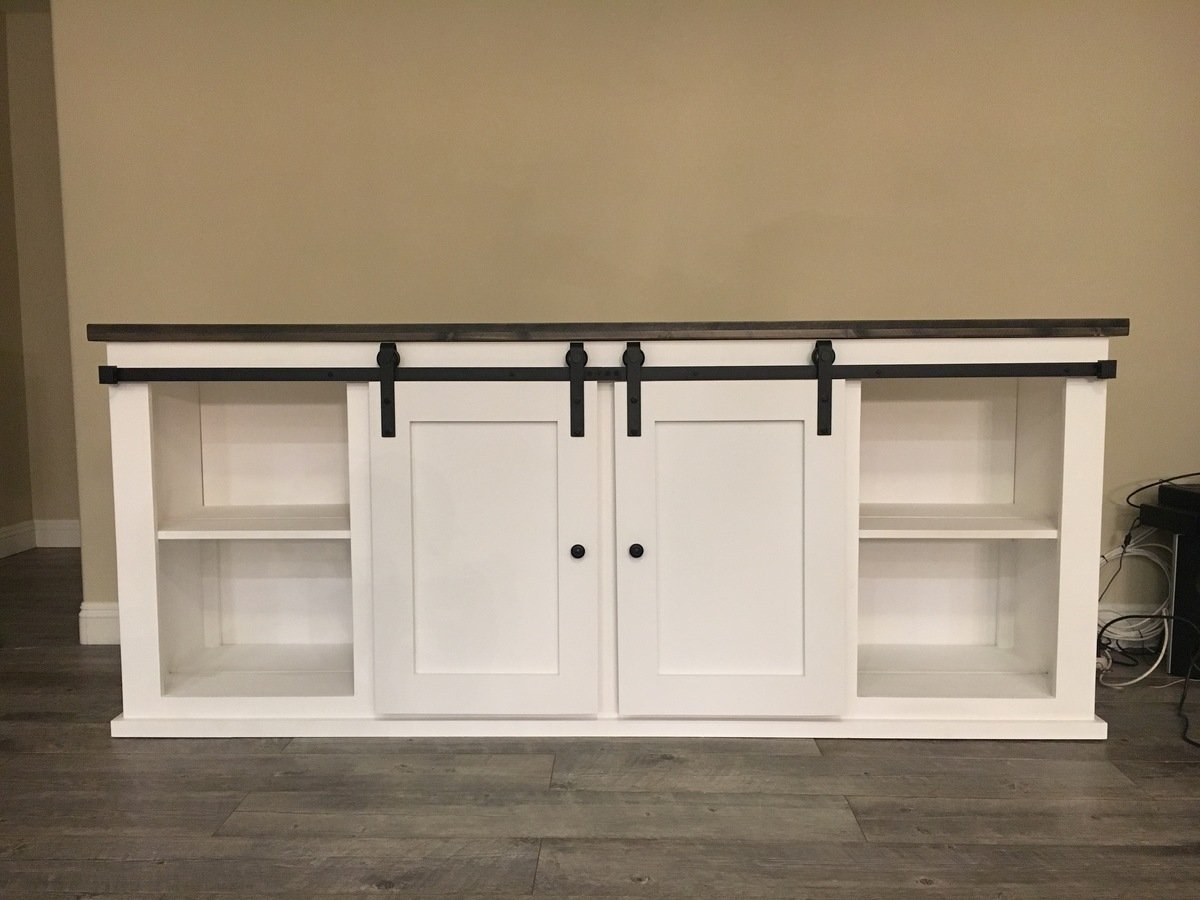
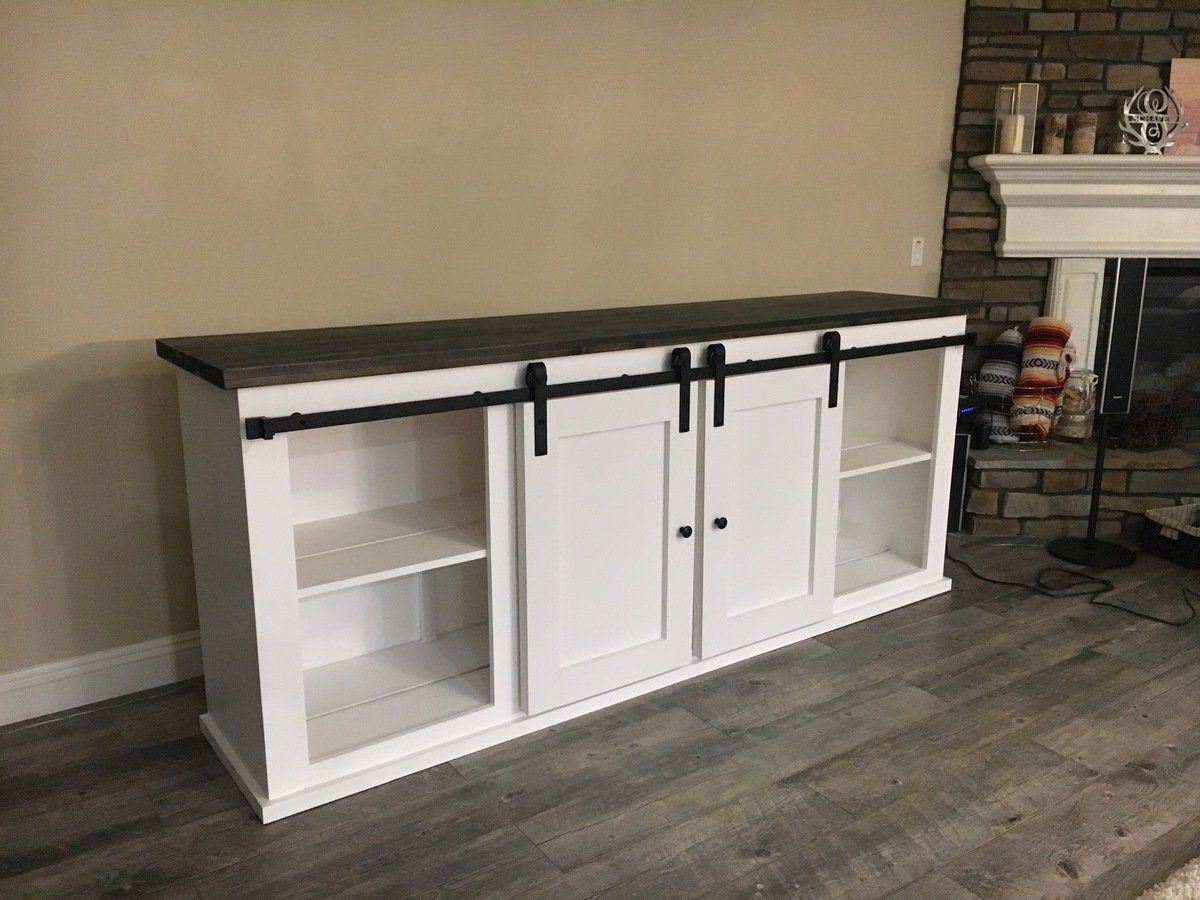
Built this from the exact plans given. Very easy to build and learned a lot. Built whenever I had time after work
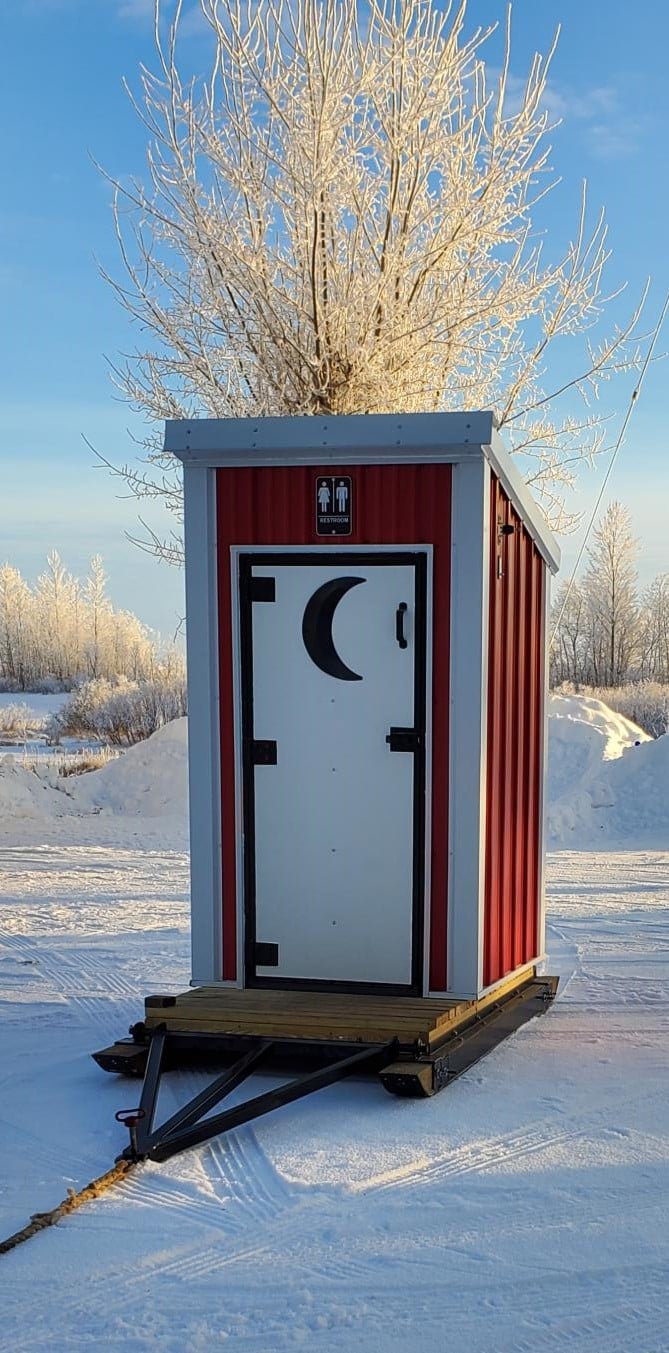
Your outhouse design was modified for a snowmobile club project as the building needs to be towed across a lake to a site next to a warming shelter. An LED light with a timer switch and solar battery charger were installed to provide light in a remote area of Lake of the Woods.
A steel hitch and skids with hyfax were added to the design.
Thank you for providing a design that allowed us to make modifications for winter outdoor recreation accommodations.
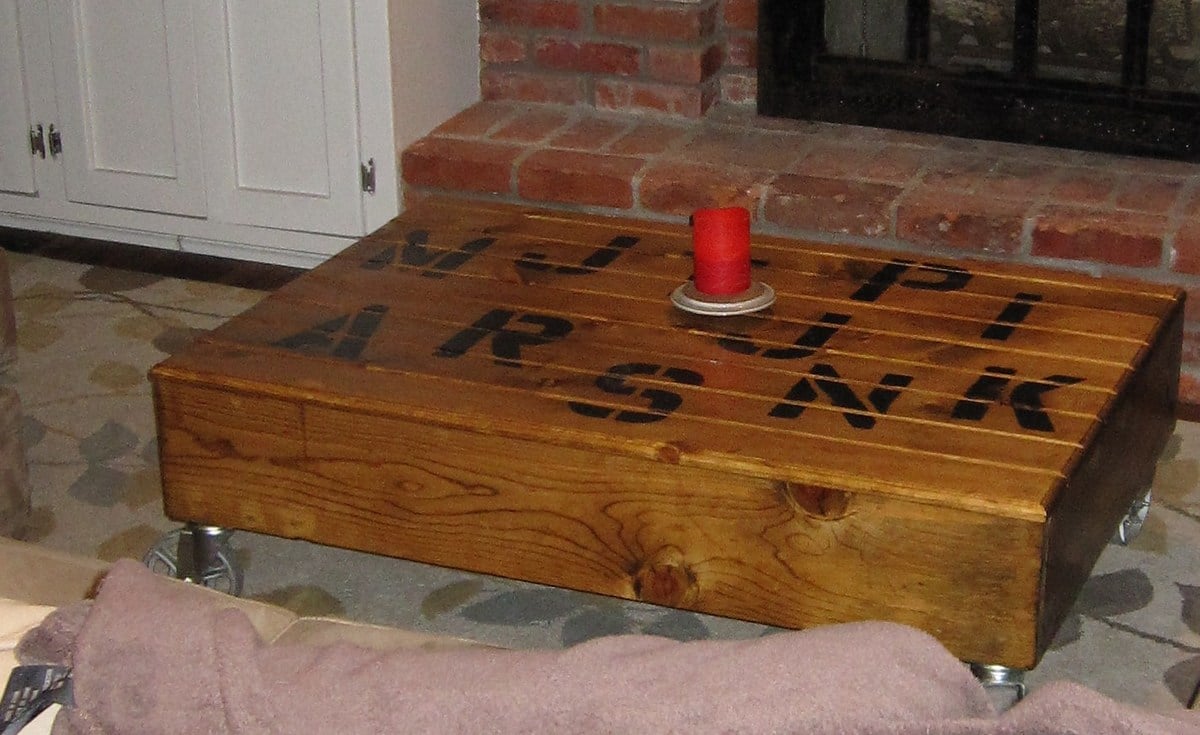
We modified our plan by use a router on the edges and stenciling the top. We used pine. We left our wheels the original industrial metal .
**This is one sturdy table and easily serves as an ottoman with large groups .
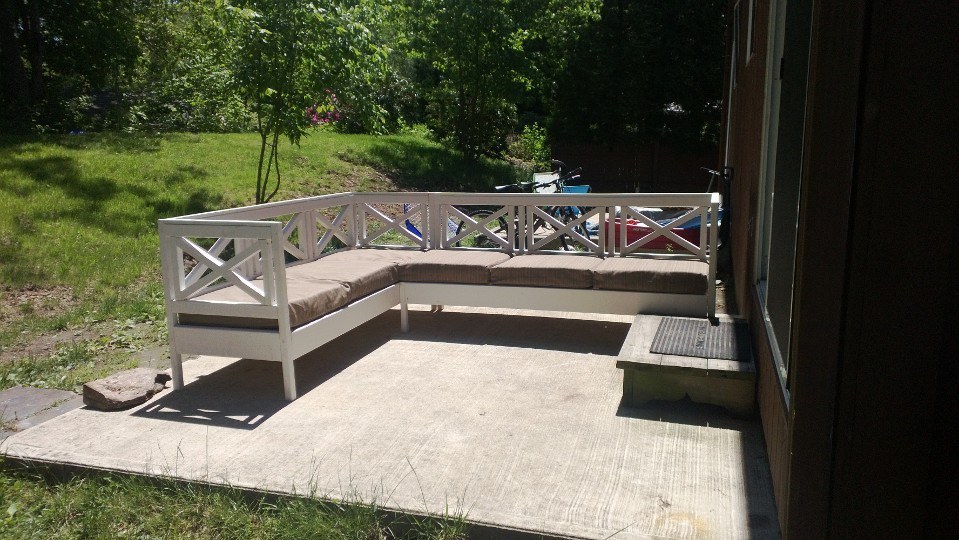
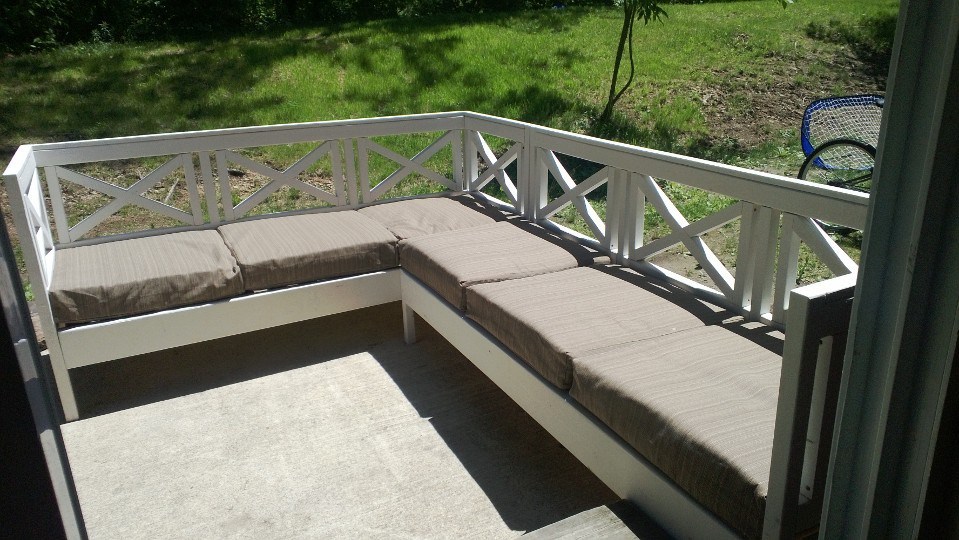
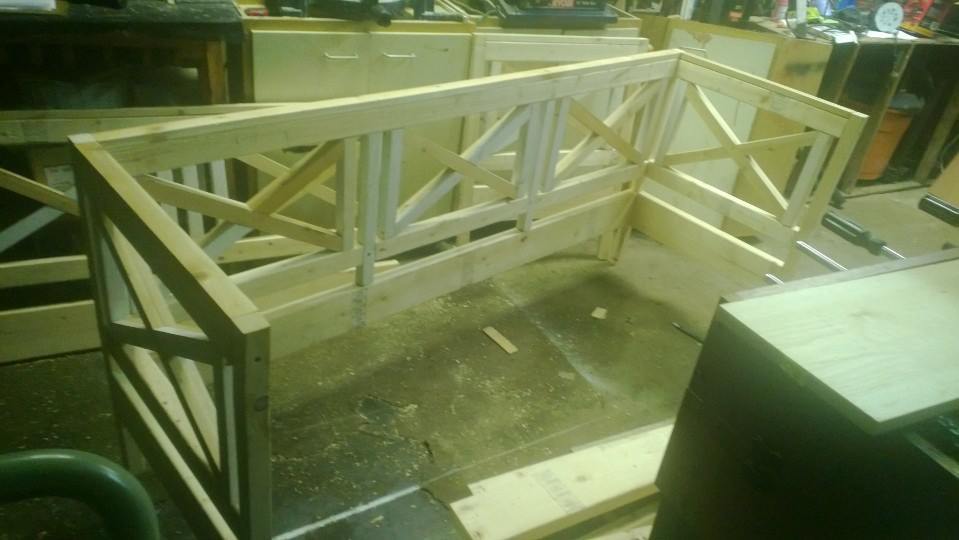
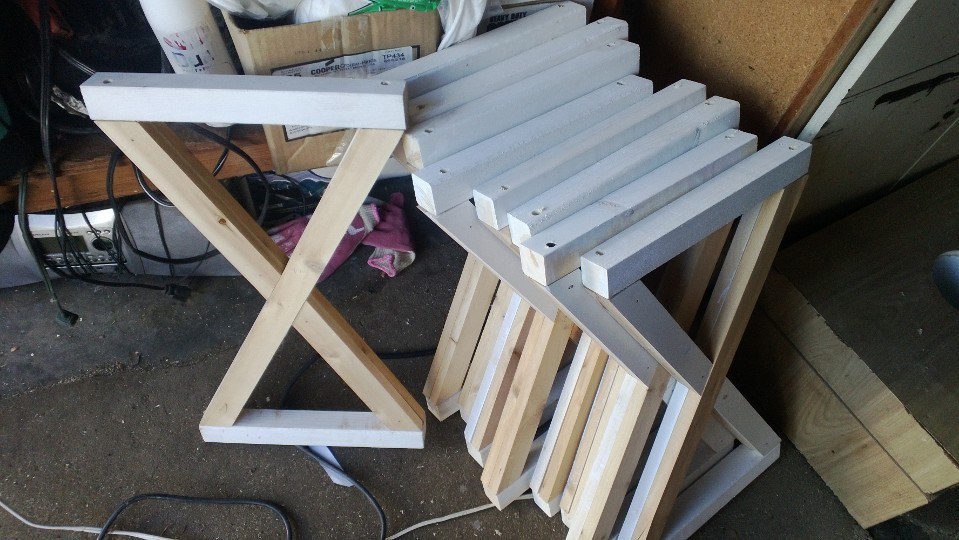
This was my first project ever! I was very happy with the way it came out! I just did a little adjusting to get it the size I wanted =) Cushions for a decent price was very hard to find, I ended up going to walmart and I actually really like them.
It took me a while to complete as I have a little one (turned a yr the wknd I finished) and only worked at night and during naps!
Tue, 10/08/2013 - 19:12
This looks really nice, good job. Isn't it fun to build just what you want!

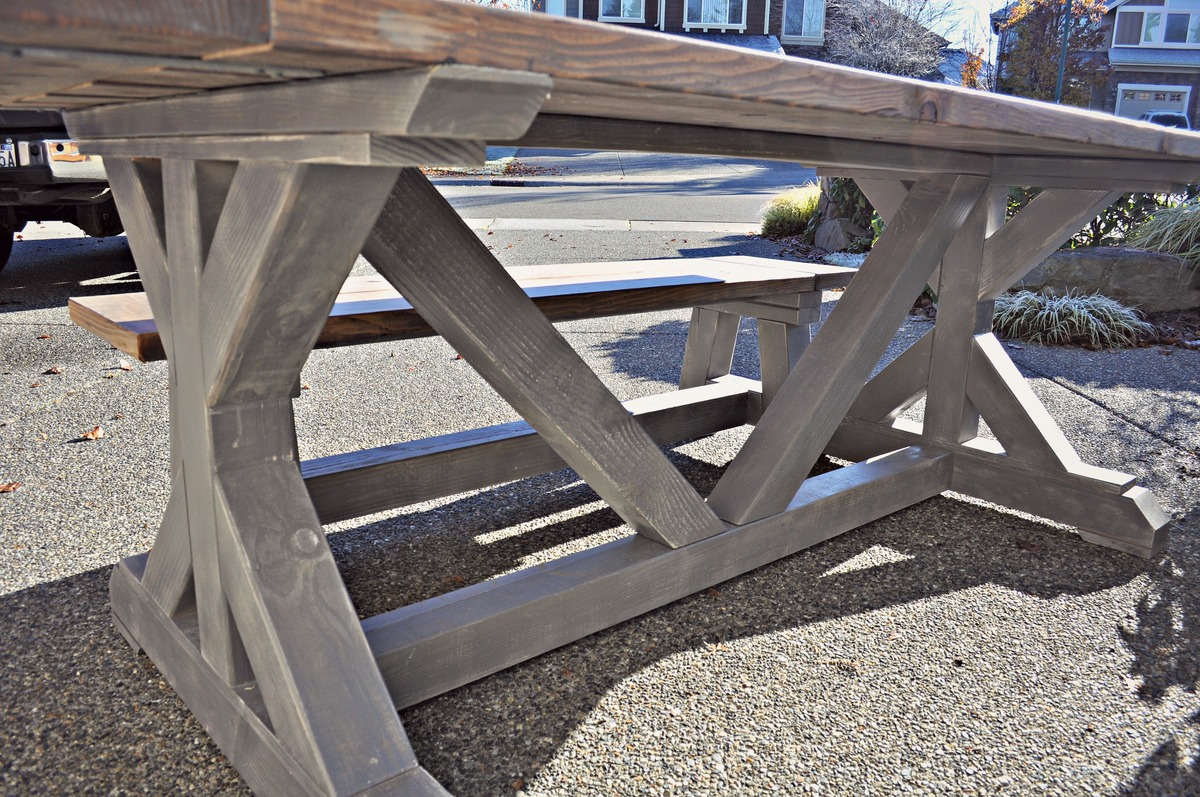
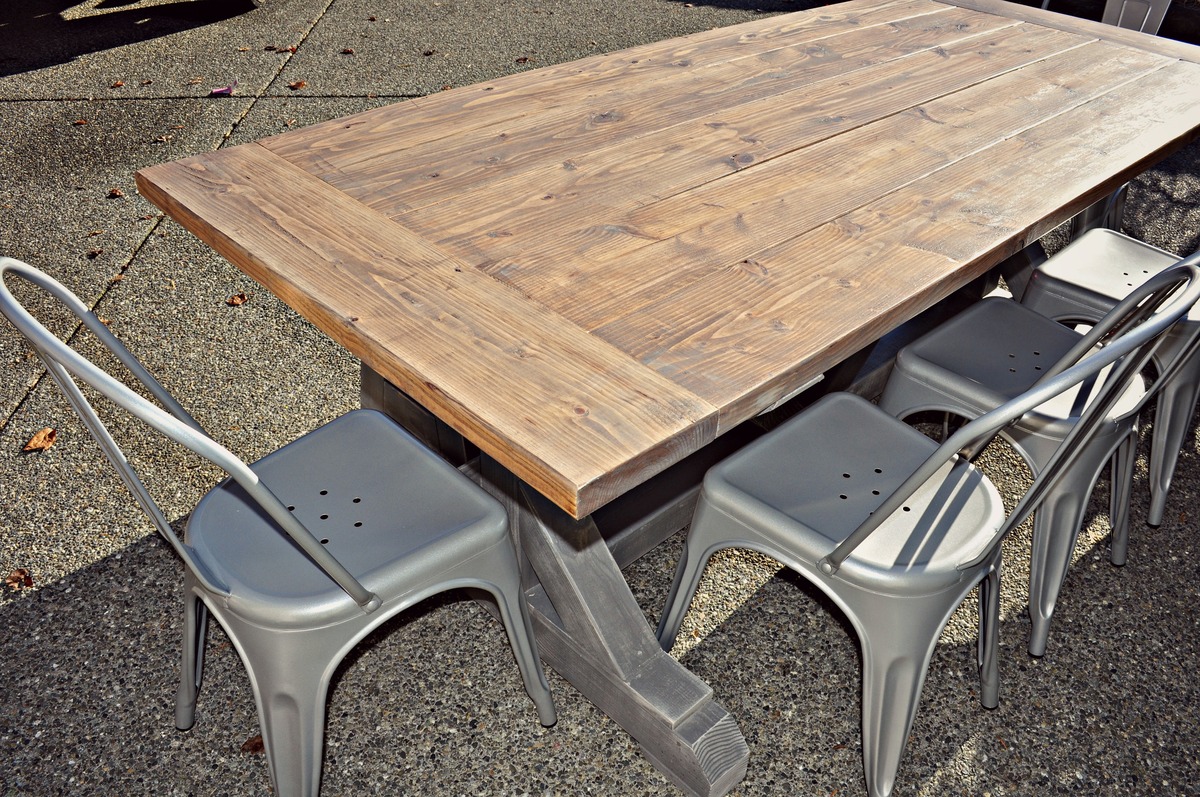
This was an adaption of the Fancy X Farmhouse Table using 4x4s as the base. Please check out my blog article for more details. Thanks for looking!


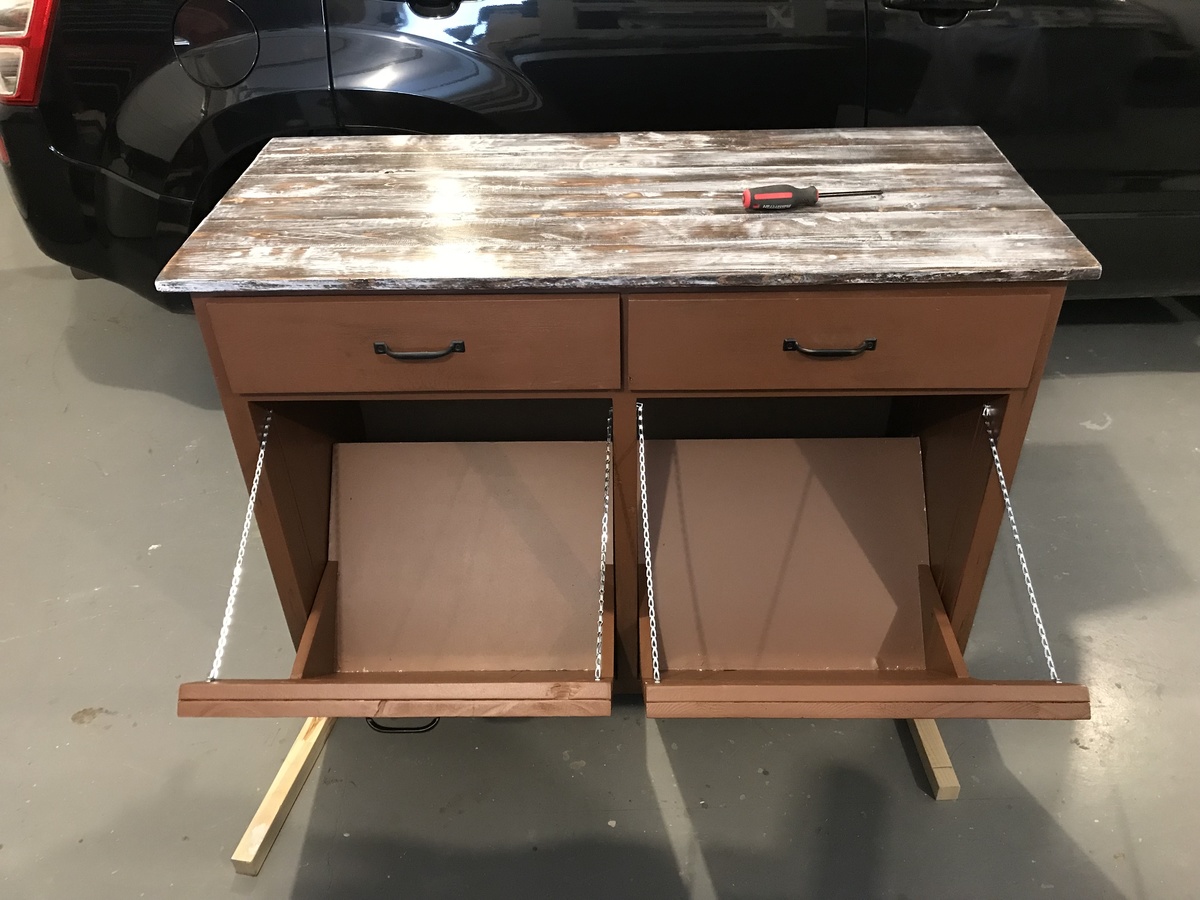
I just started building "stuff" a few years ago and love Ann's plans. I have built several of your dining and coffee tables. This cabinet was a bit challenging and took me a while. I have had built drawers before but they turned out OK. I really like the top I create from some scrap 1 x 4's. Thanks for the great projects.
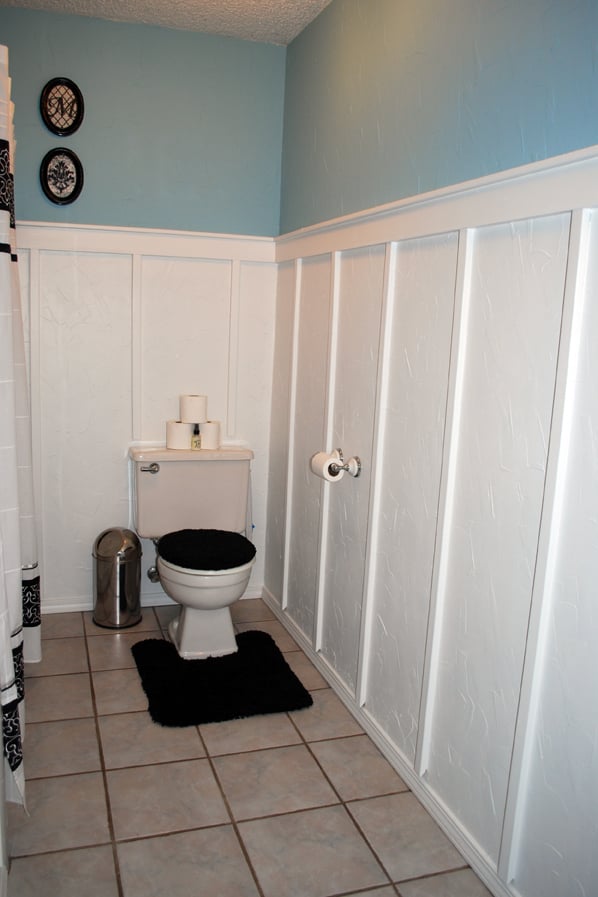
My first project with raw wood and power tools! All I have is a circular saw and electric sander, but it went really well. It took about 3 days because I couldn't work straight through (silly life and all it's appointments!). Thanks for laying out all the prep work with your instructions, Ana!! My next project is a cubby shelf for towels.
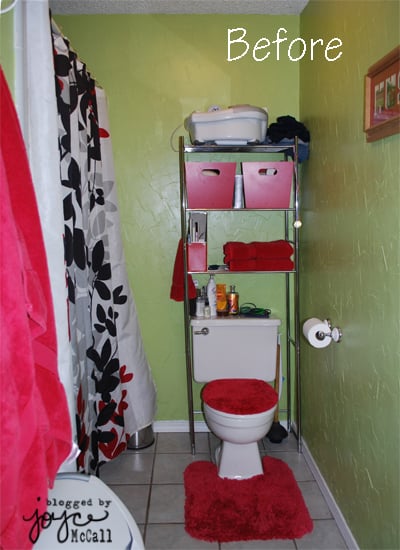
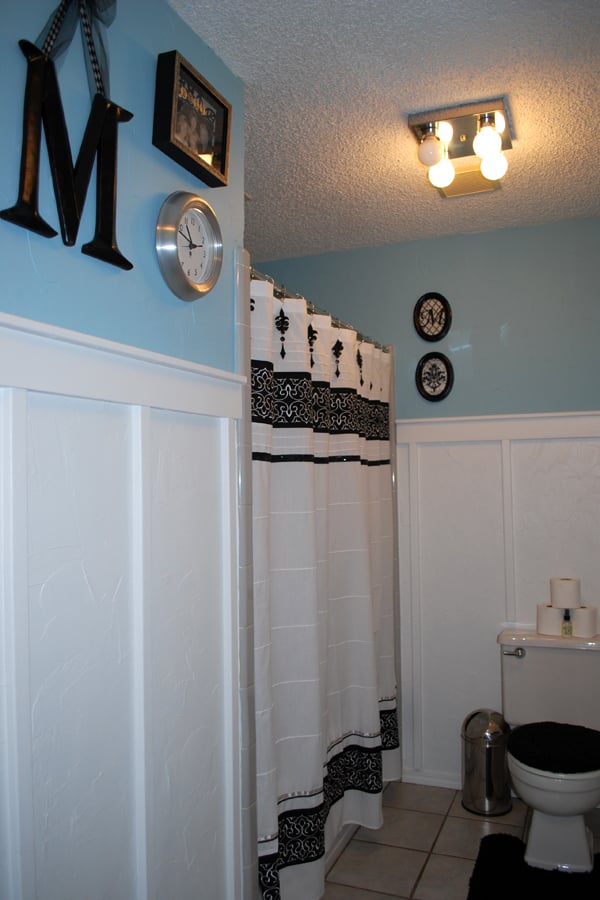
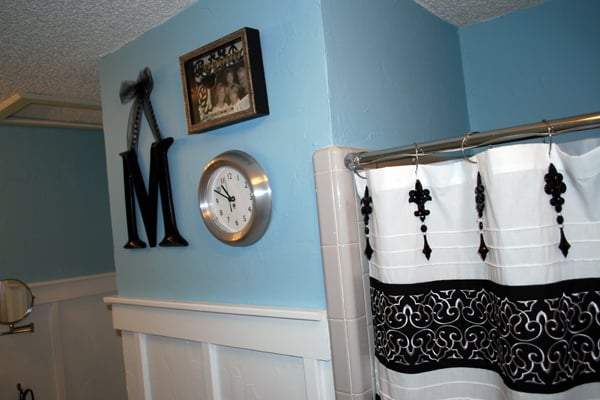
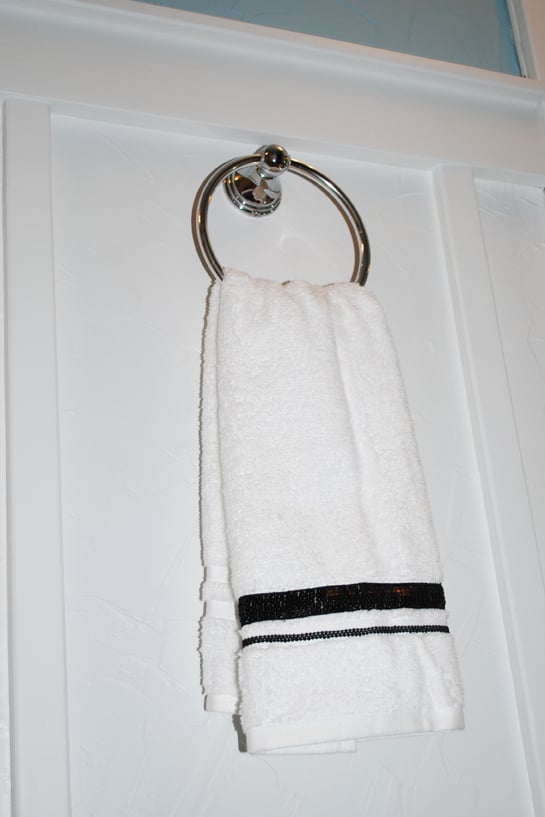
Tue, 10/11/2011 - 21:29
What a nice change! Great job. You should be proud of yourself!
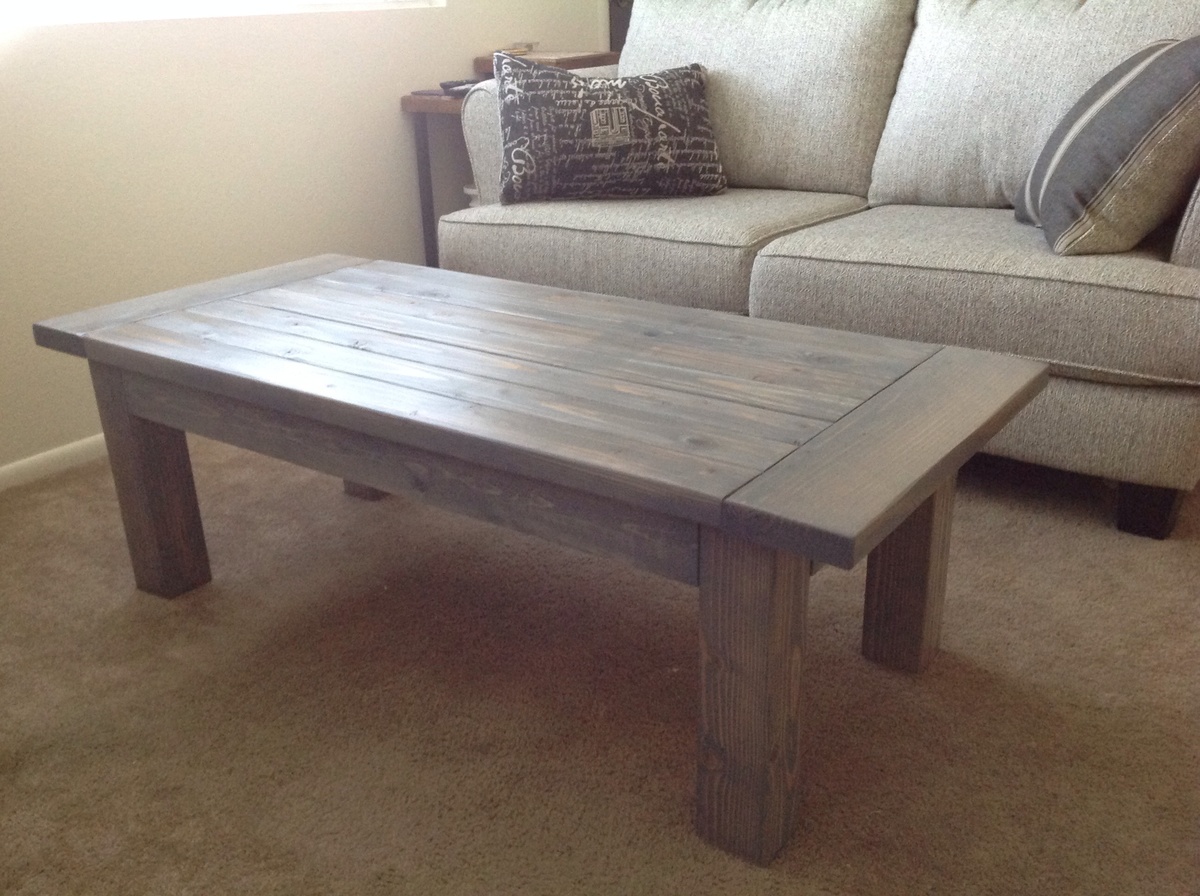
This was a fun easy to do project that can be done in a day.
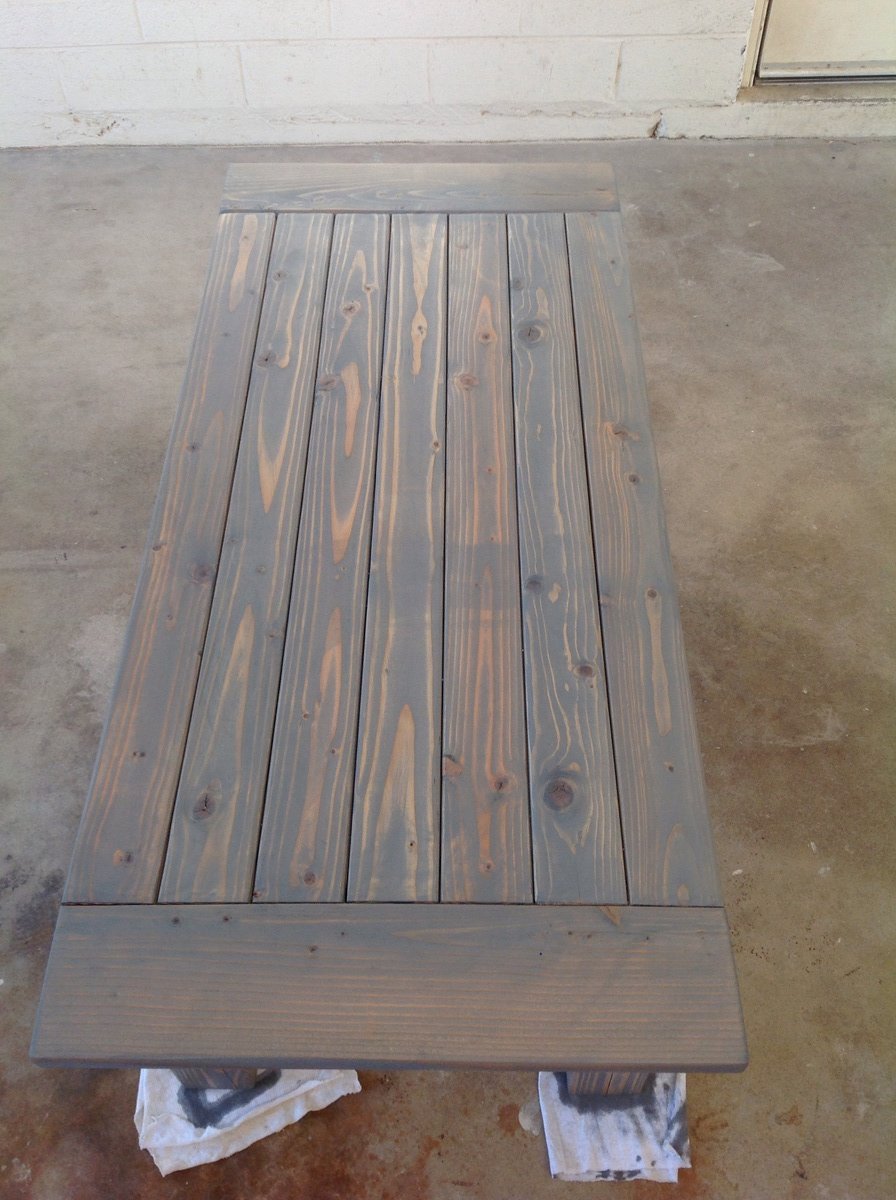
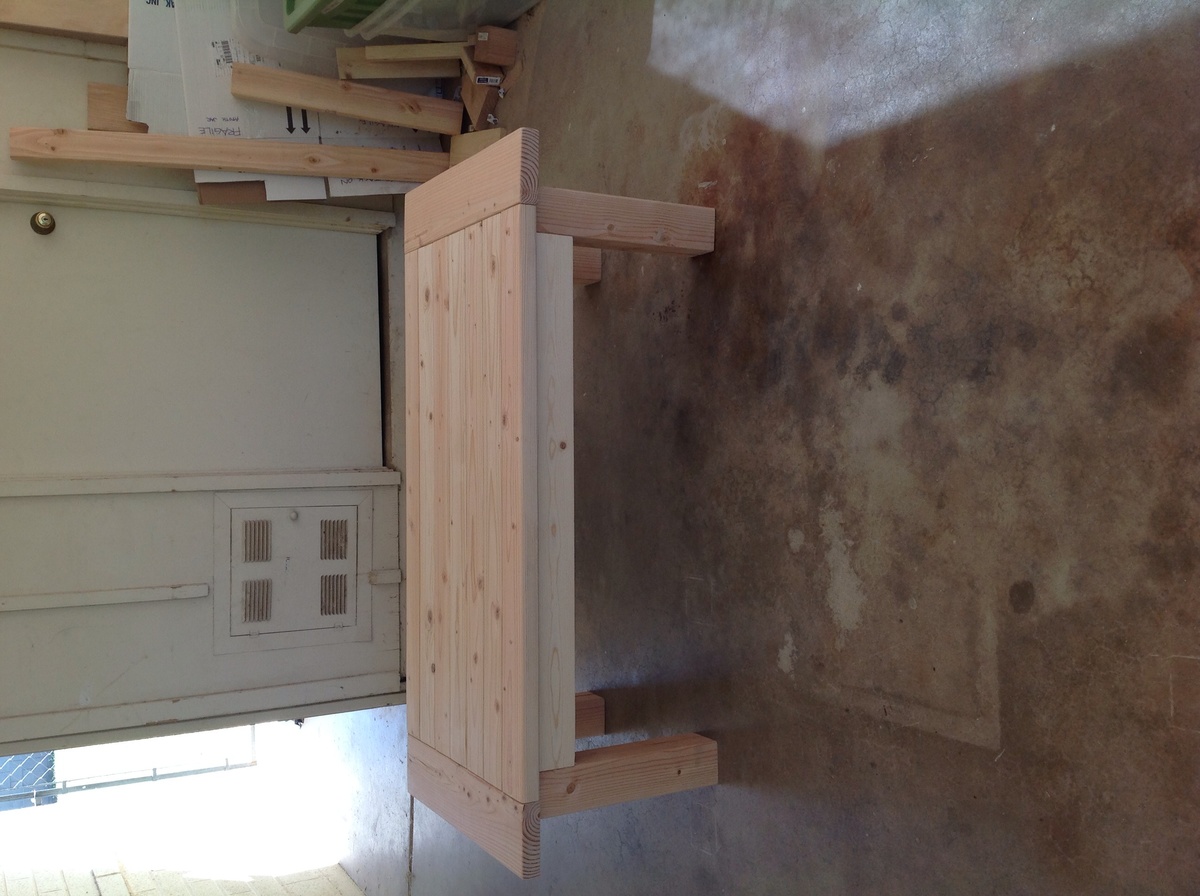
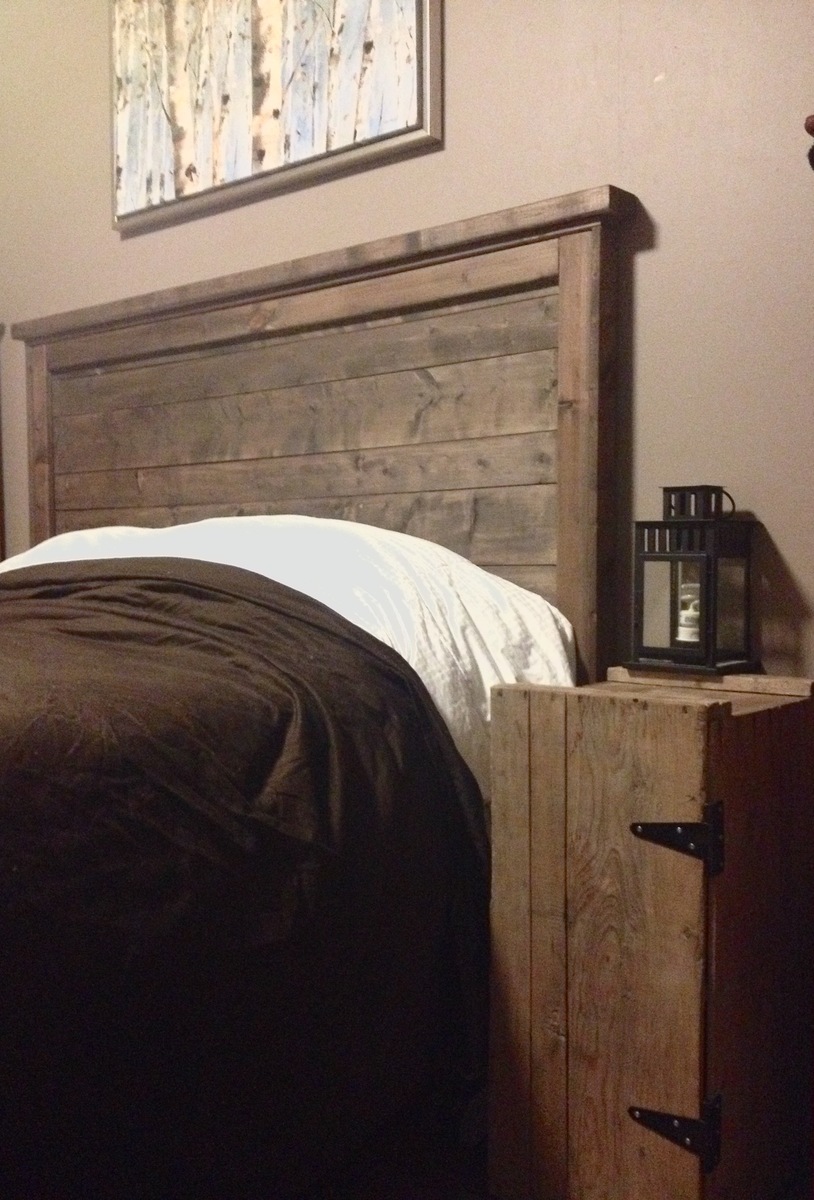
this was a super fun afternoon project! I used the specs for the Queen size headboard, and they were bang on. no modifications needed. i did reinforce with some screws from the back, as well as I used a 1x3 vertically in the centre of the back of the headboard, which i used to give extra stability to the horizontal pieces. i secured each horizontal board to it using 1" screws from the back, as my boards were not quite flush and I am a bit of a perfectionist! lol
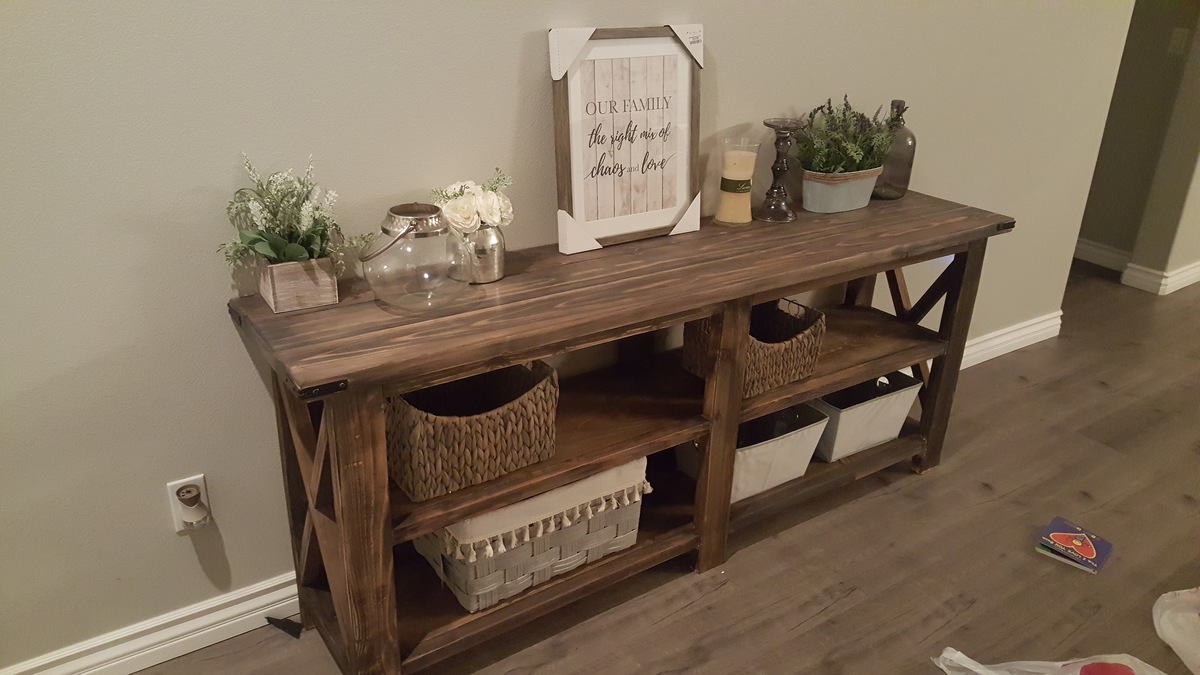
This is my first ana white project and my first woodworking project. I think i like this new hobby i just picked up.
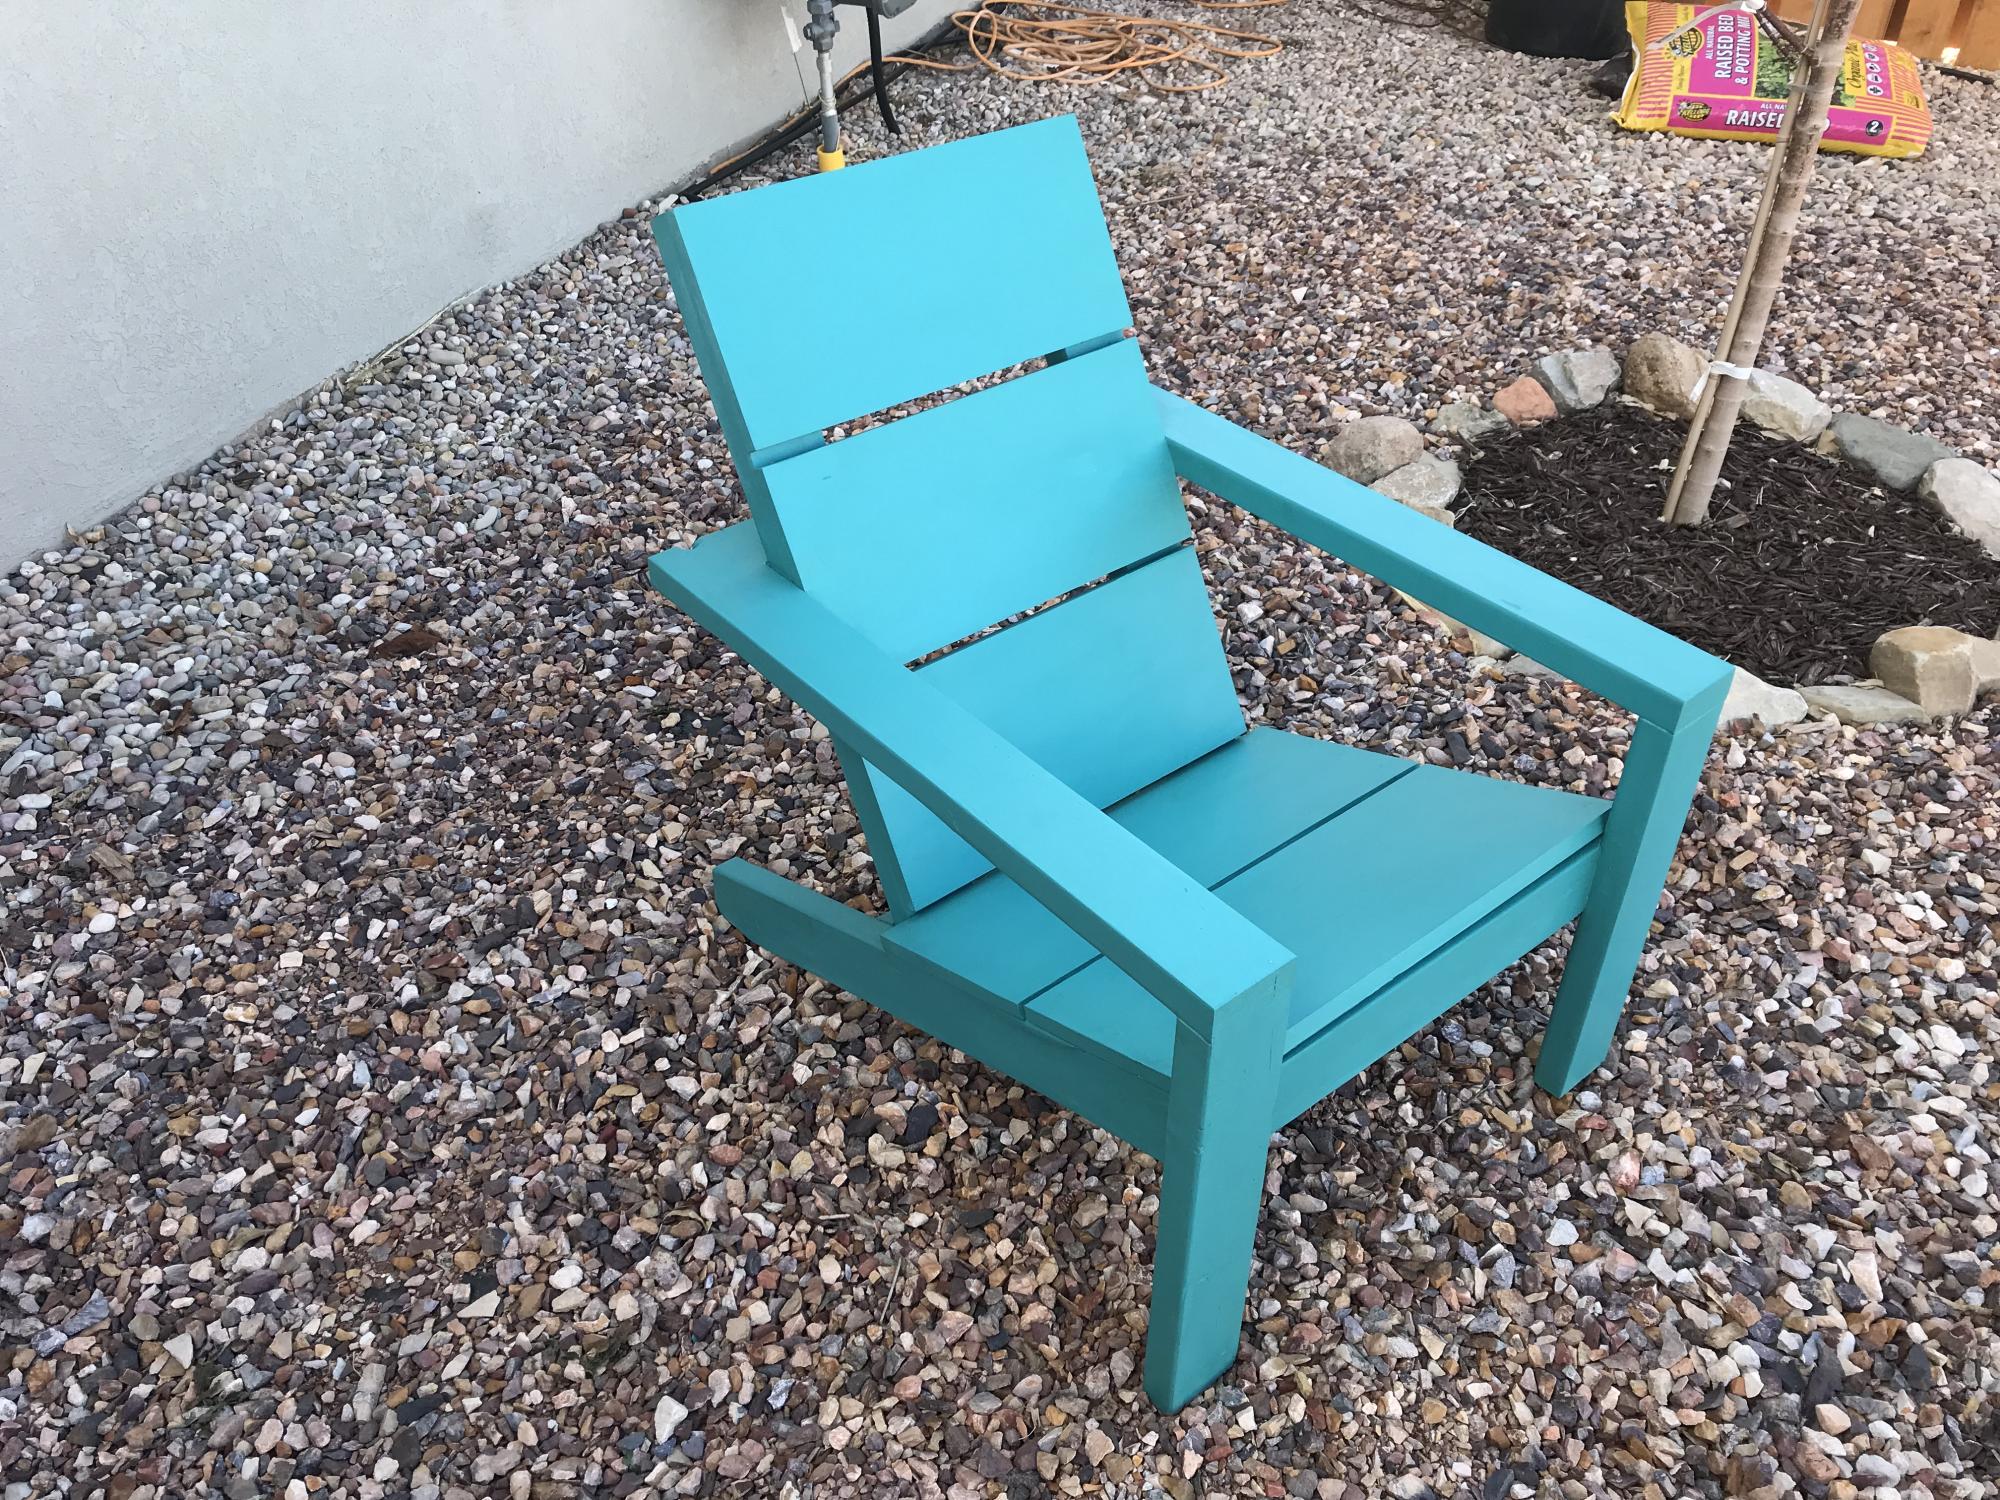
I built a couple of these for the garden area and they are wonderful to sit in. As an experiment I painted these with chalk paint then finished them with several thin coats of spar urethane. After a couple of years in the sun, they seem to be holding up pretty good. I may sand and apply more spar urethane this summer just to keep them looking good.
Fri, 02/03/2023 - 12:45
Looks fantastic, thank you for sharing, so glad you are enjoying them!
We love our new coffee table! Thanks for the idea!!
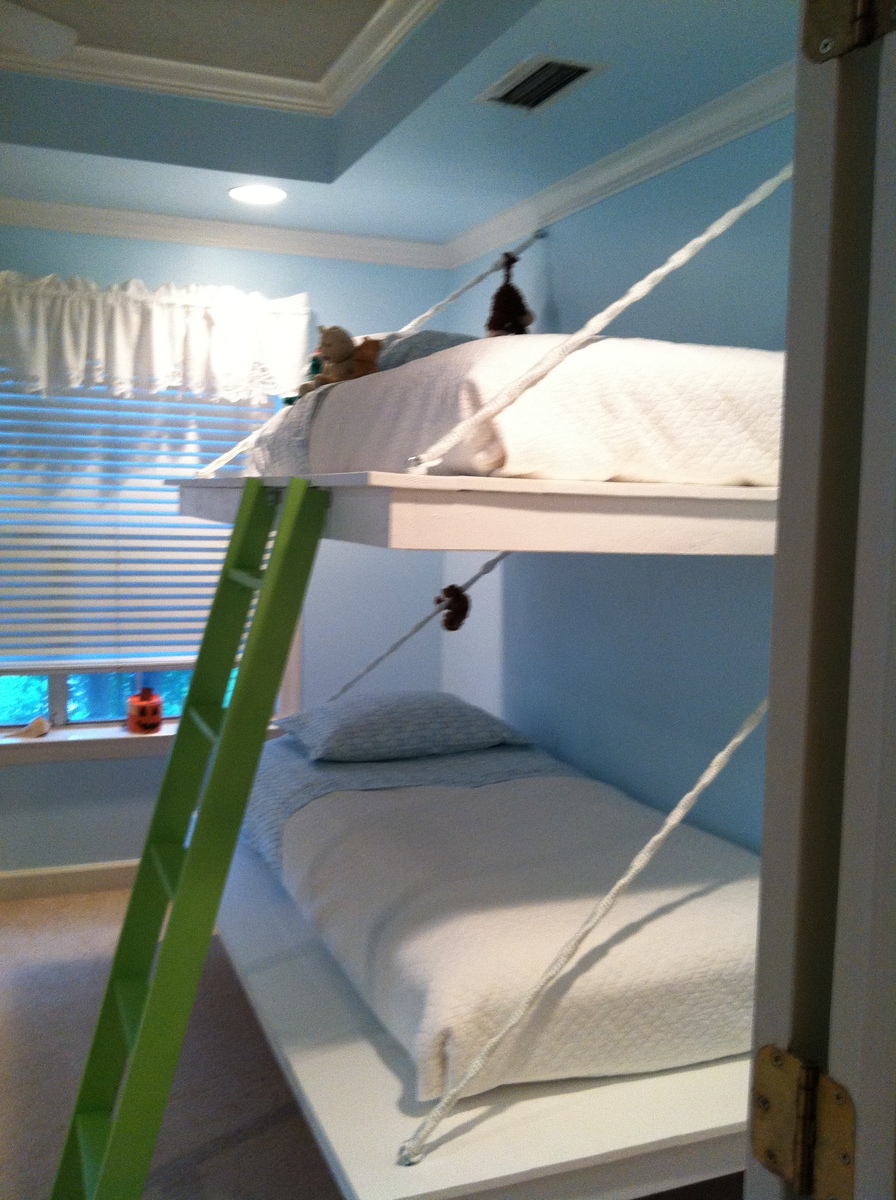
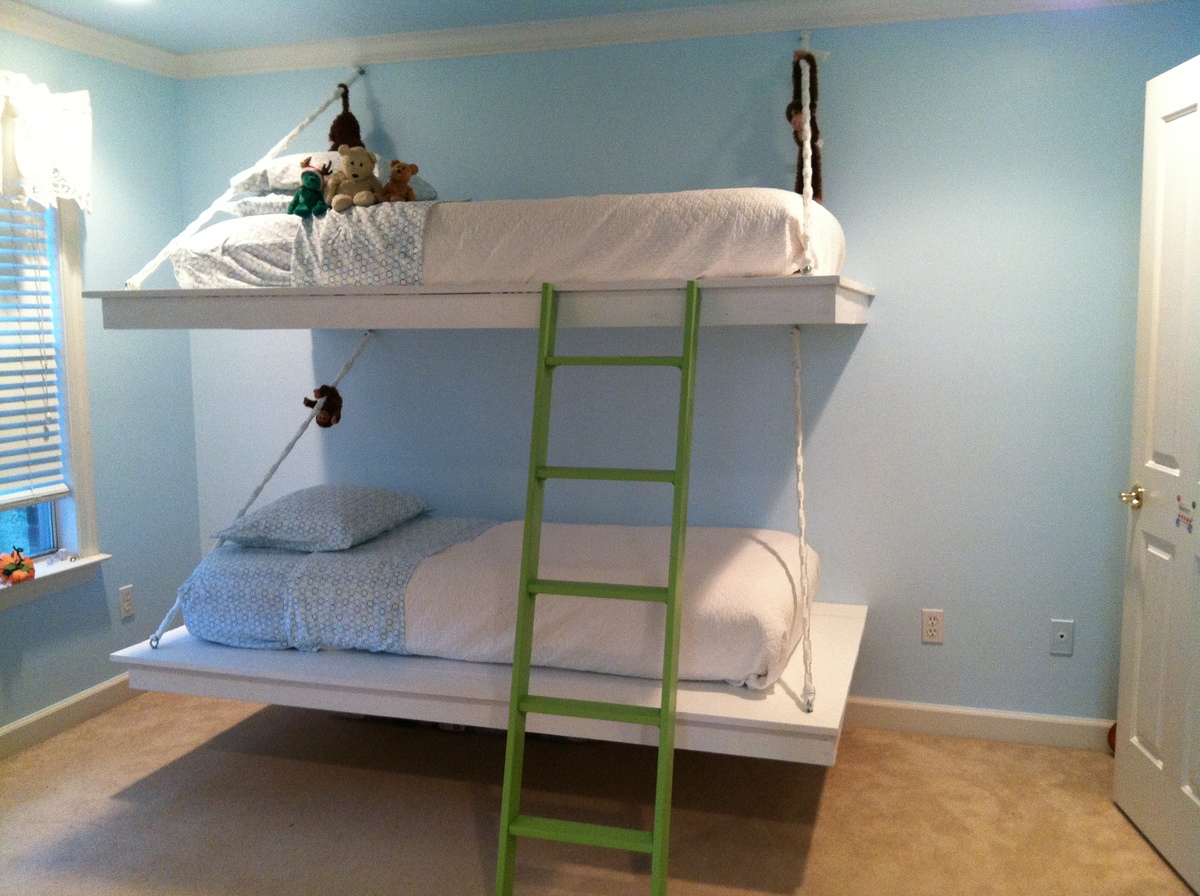
I saw these beds featured in a Sherwin Williams paint mini magazine, fell in love w the idea, and customized them to work for my daughter's room. She loves them! Thx Ana White!!
Sat, 03/14/2015 - 12:18
I LOVE the green ladder. the white bedding is beautiful
Fri, 10/21/2016 - 20:39
How did you tie your rope? I made the beds but having a difficult time finding a secure way to tie the rope so it's study and won't slide