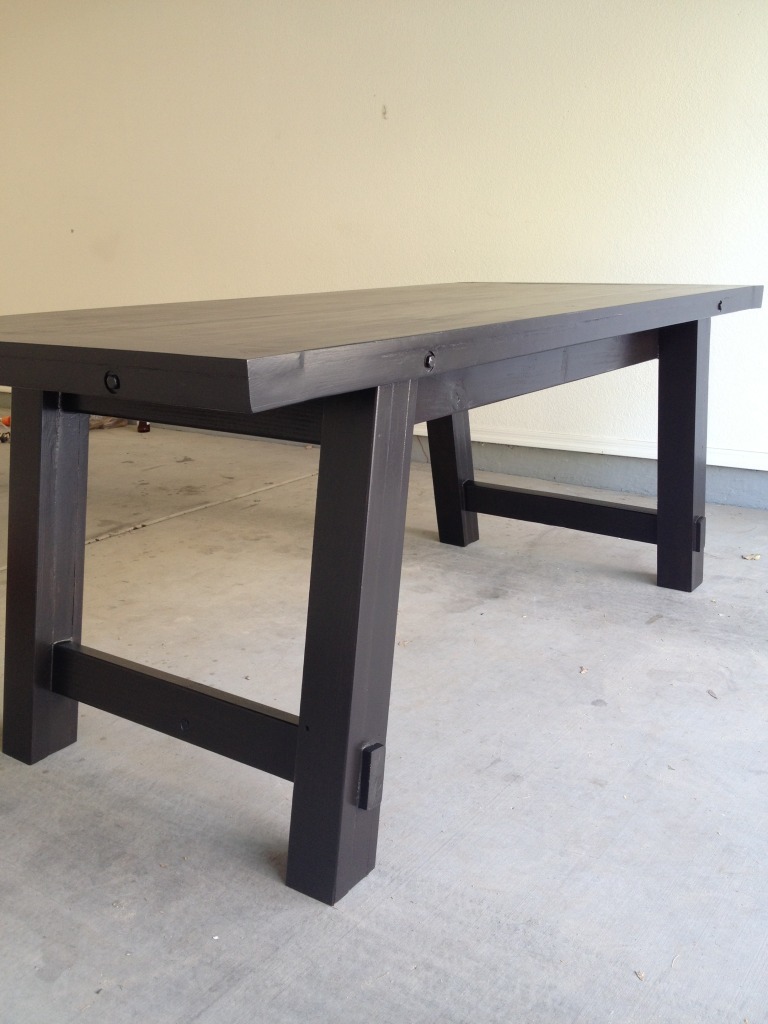
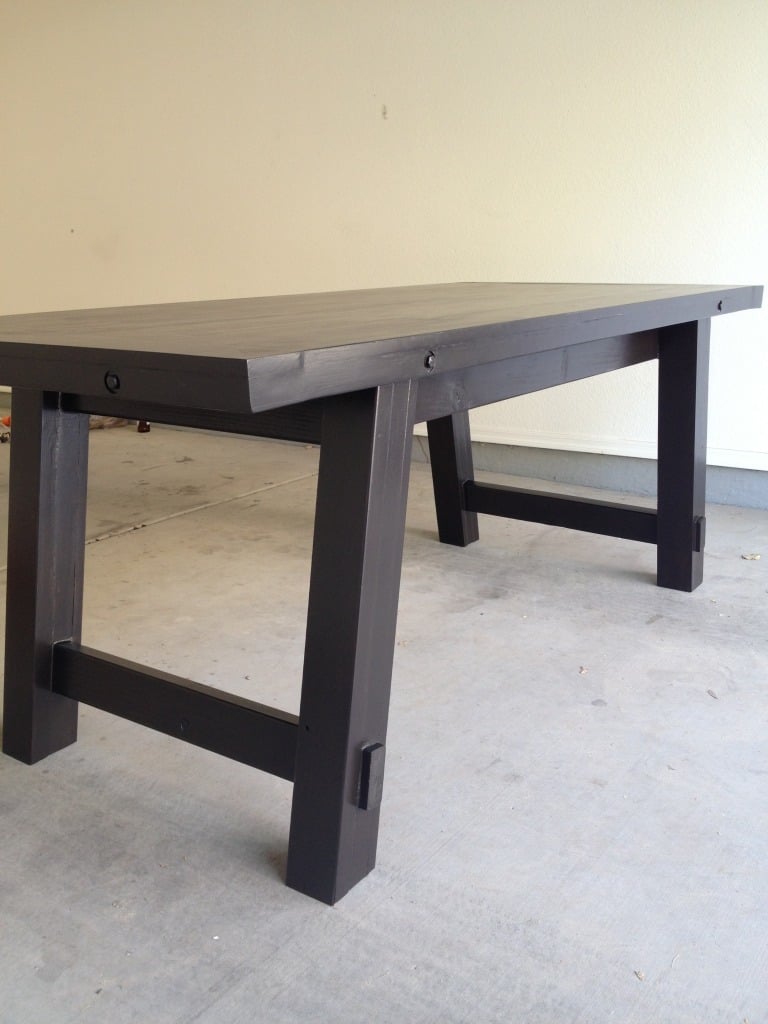
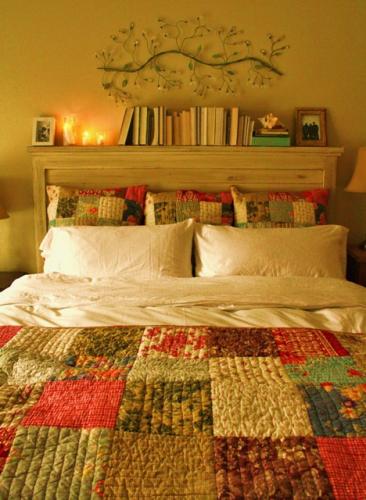
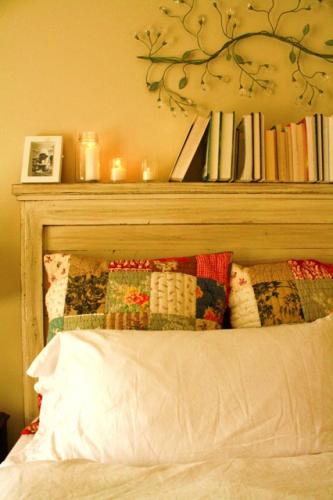
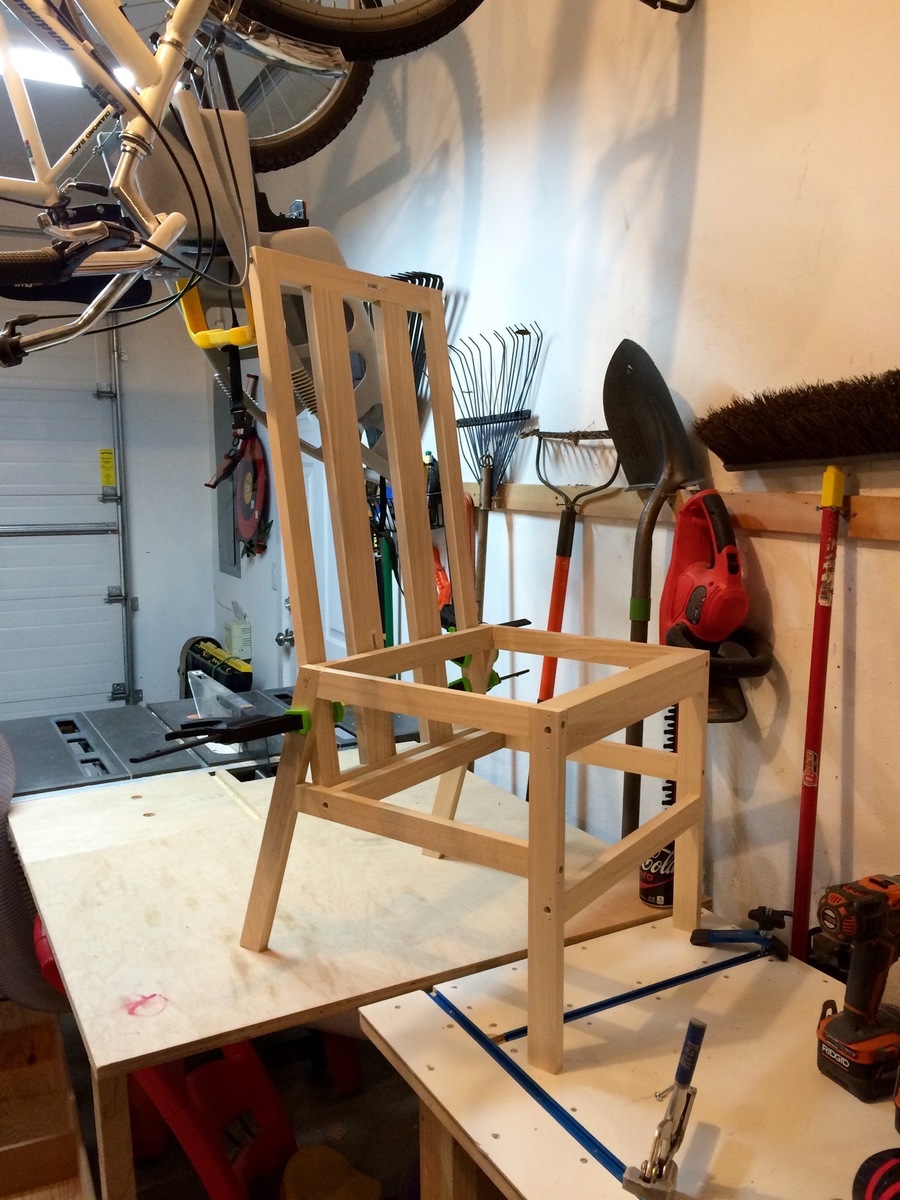
I have added hundreds of plans on my to do list, and some of them may have been a little easier, but I really wanted this table. Badly.
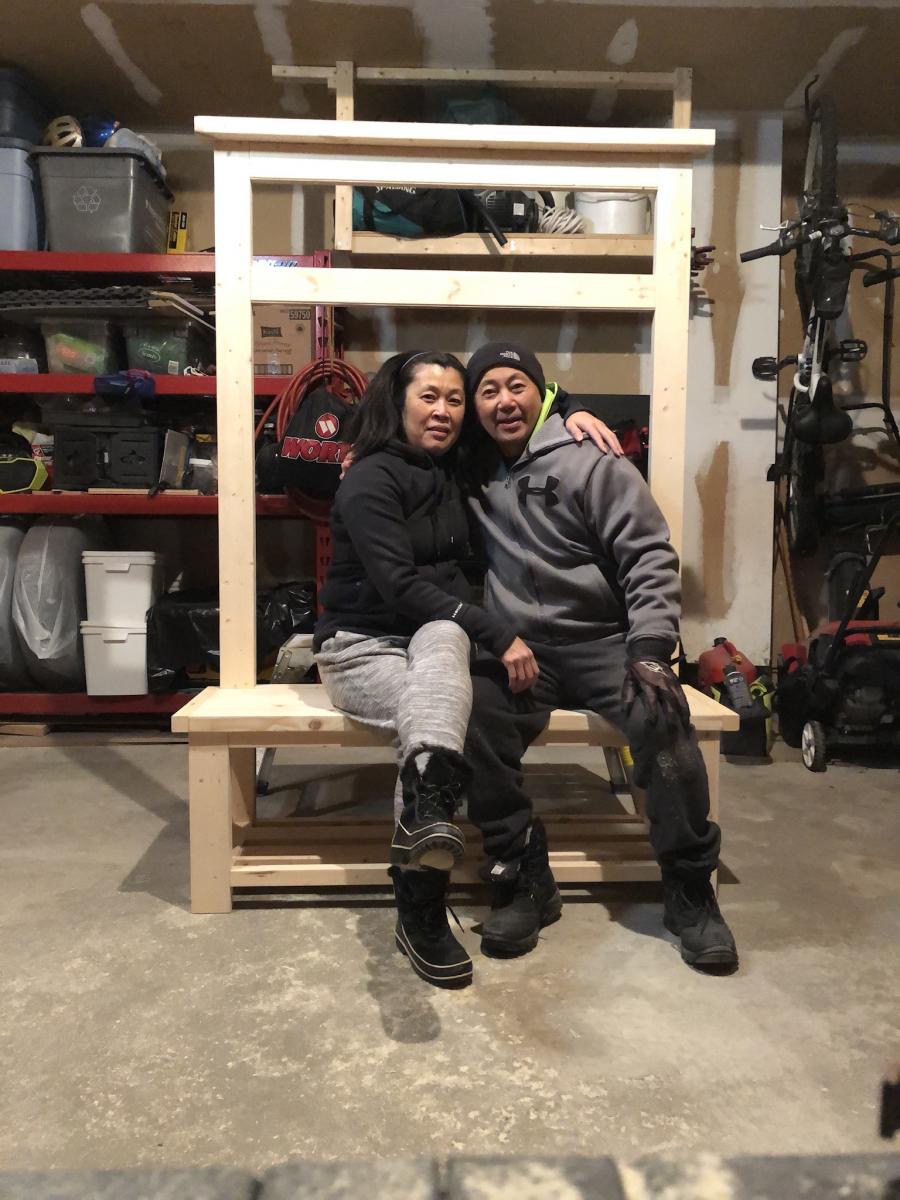
So, my husband and I, decided one weekend to build the Modern Farmhouse Table. Even though we have a saw, we decided since this was our first project, we would have Lowes cut our wood. Big mistake.
When we got home, we organized the wood as to what is what, and measured. It was while we were measuring, when we noticed that a lot of the wood was cut wrong :(
So let that be a lesson...ALWAYS CUT YOUR OWN WOOD!
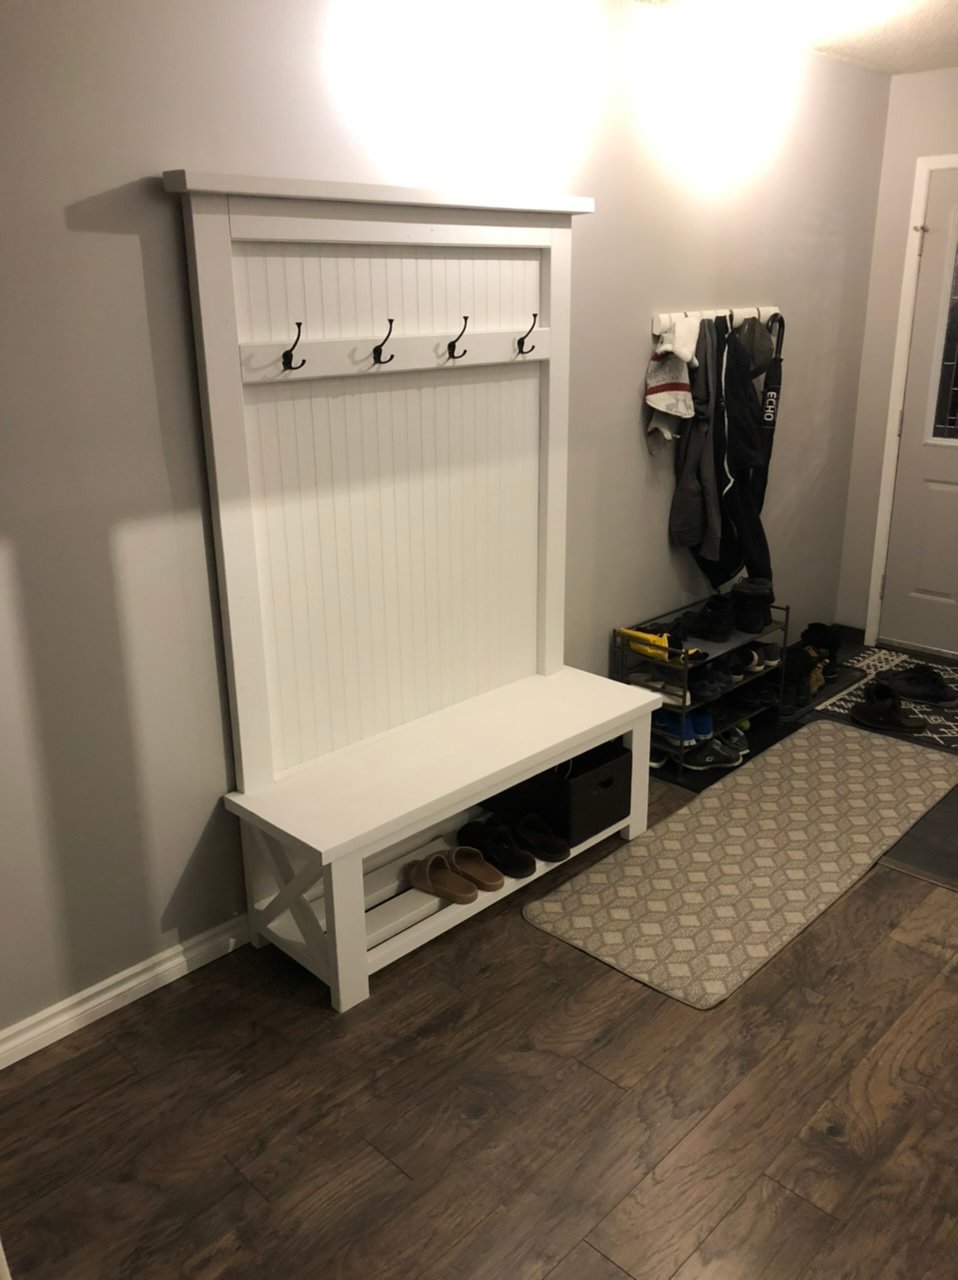
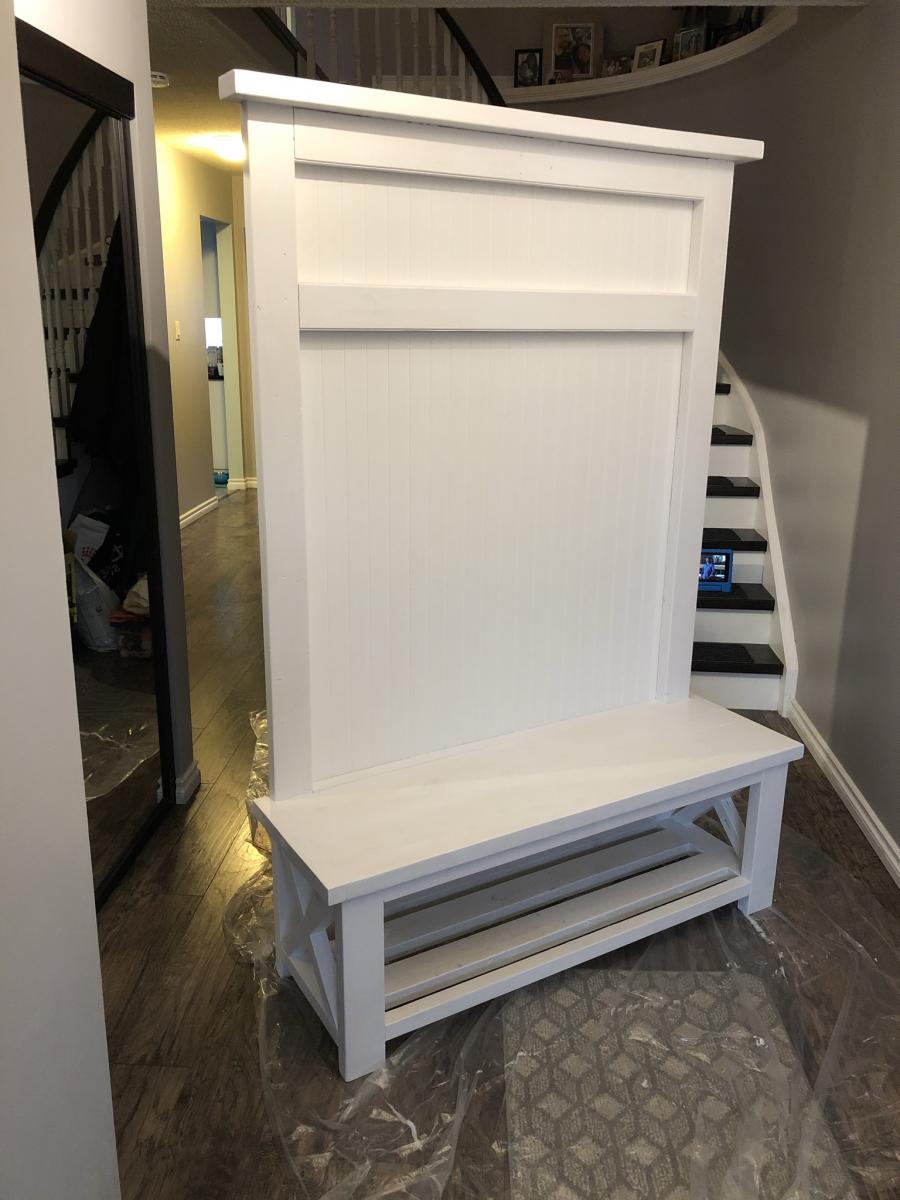
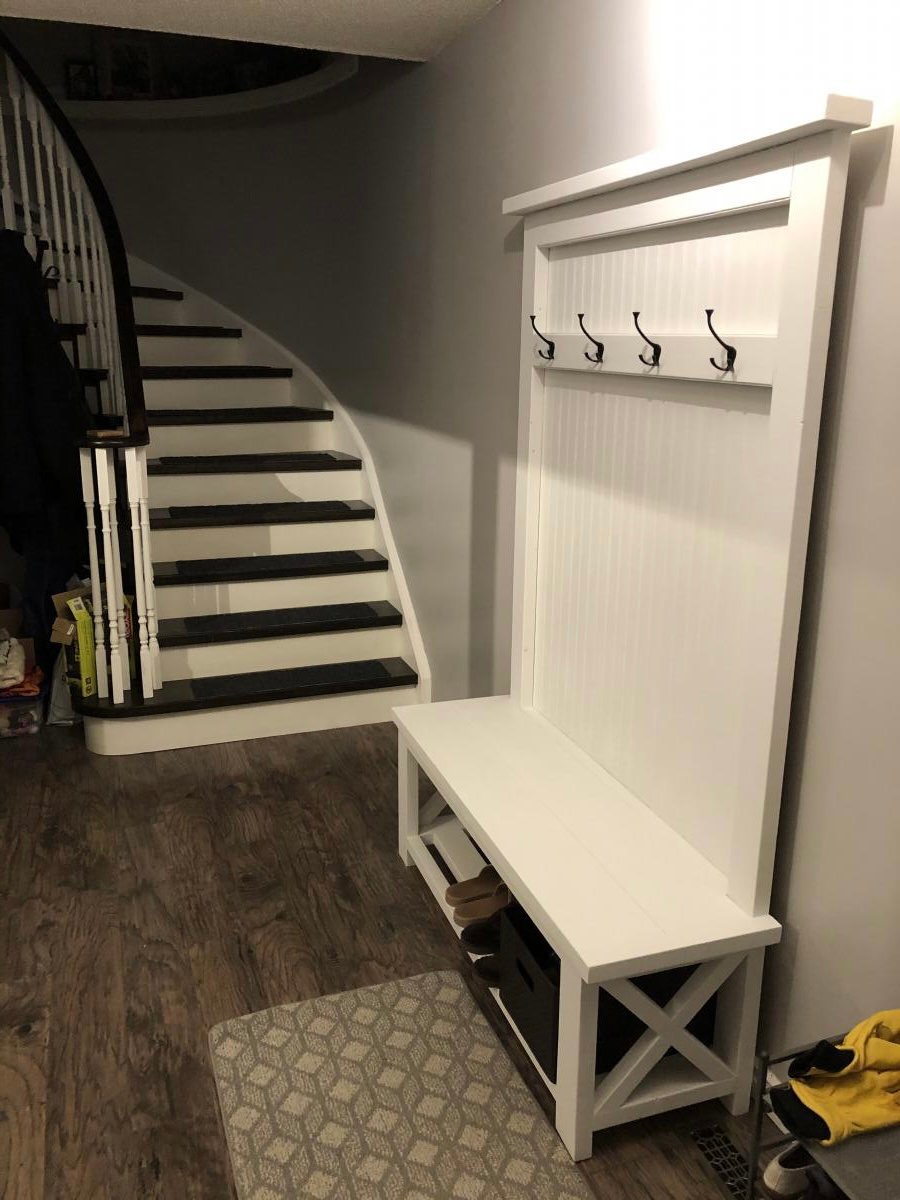
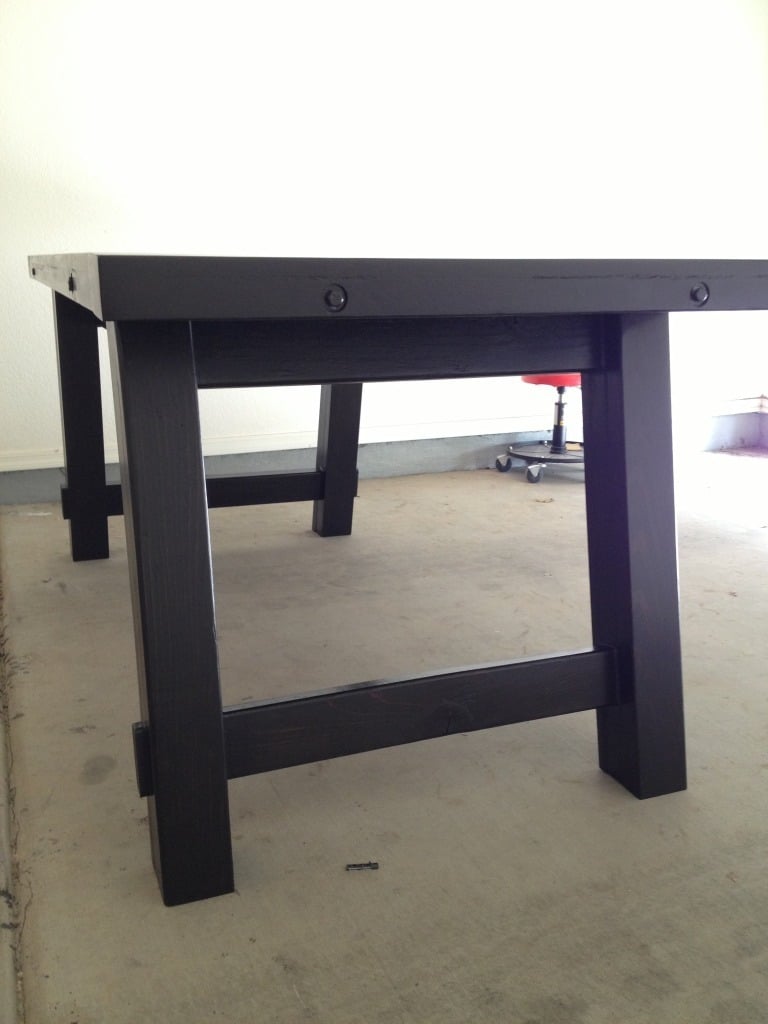
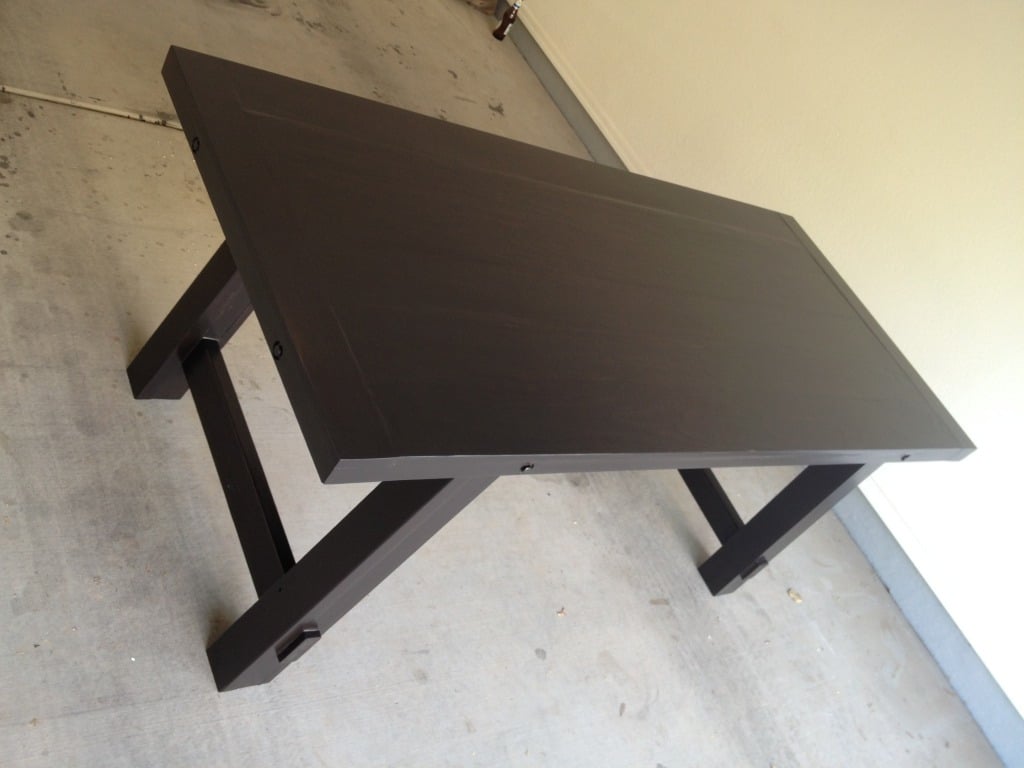
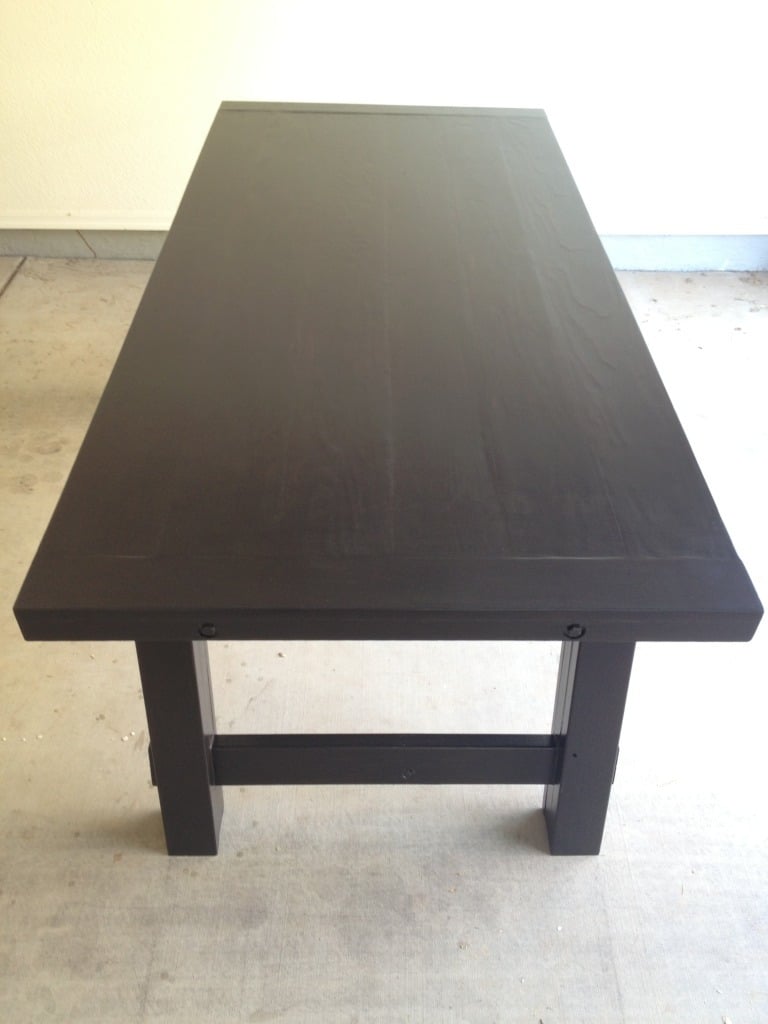
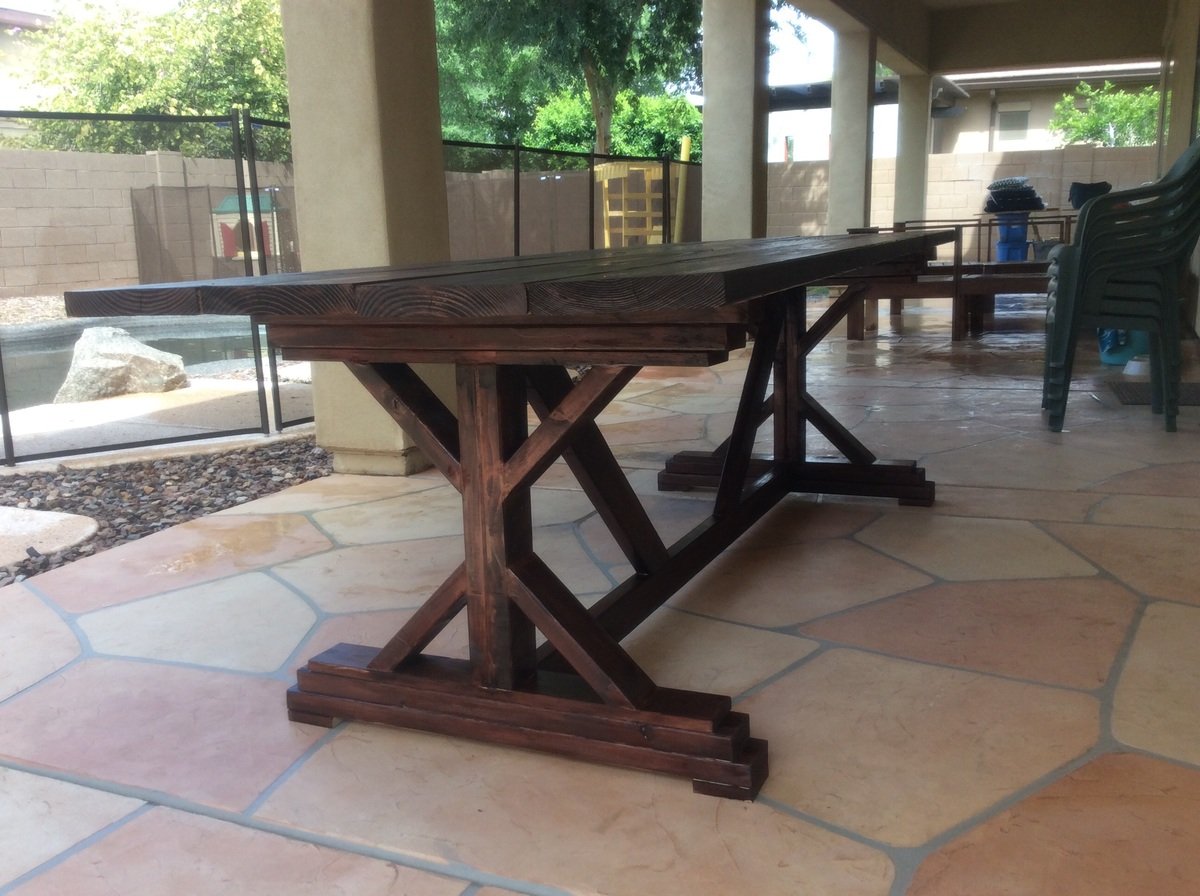
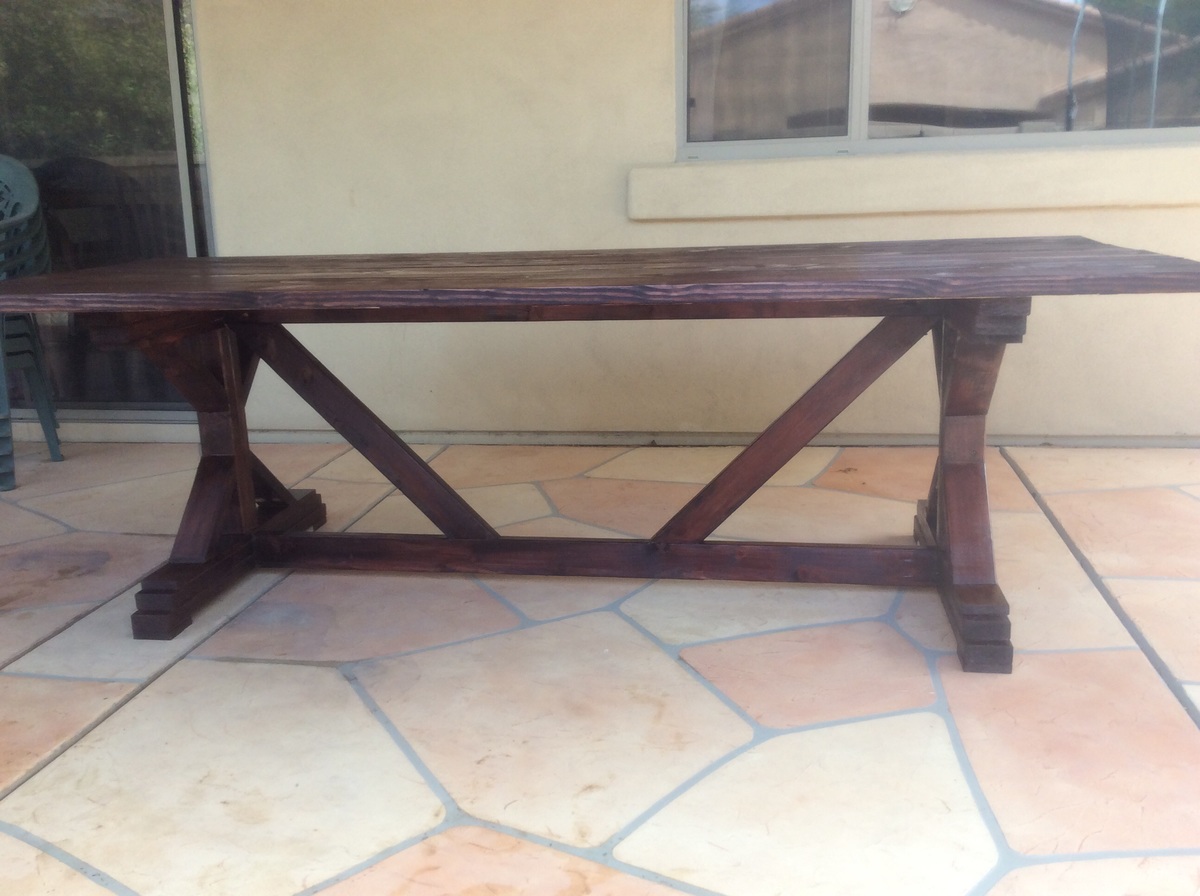
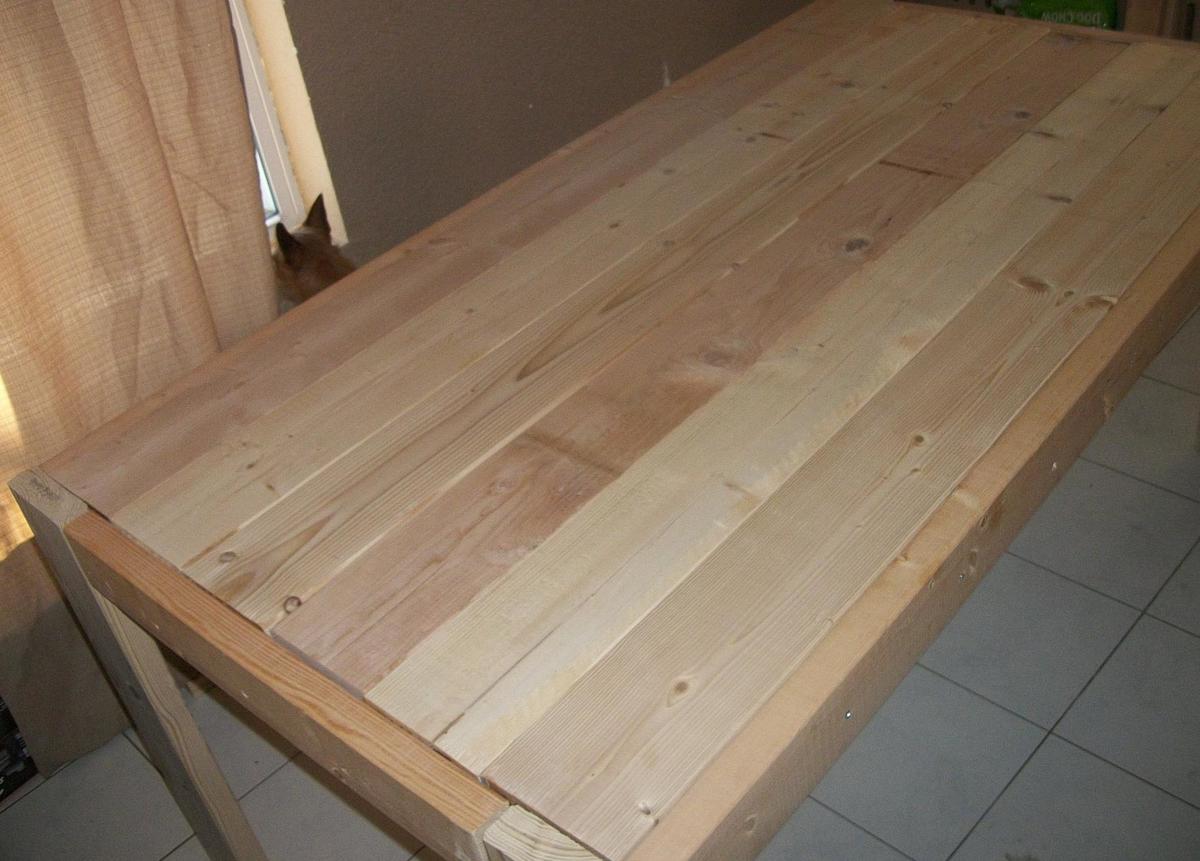
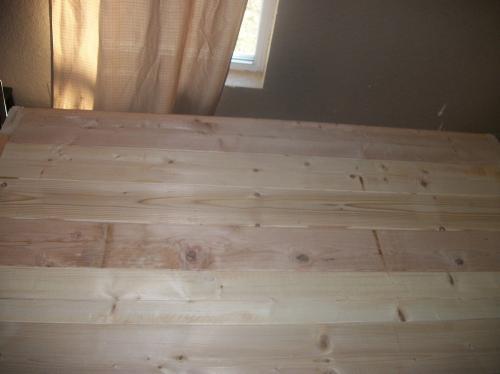
We went ahead and put the table together, and even though there are some gaps, which I'm planning on filling, I am proud with it.
It's been 3 weeks since we've built the table, and I still have A LOT of sanding to do, and I still need to finish it, but I am proud of what my hubby and I built together so I have to brag!
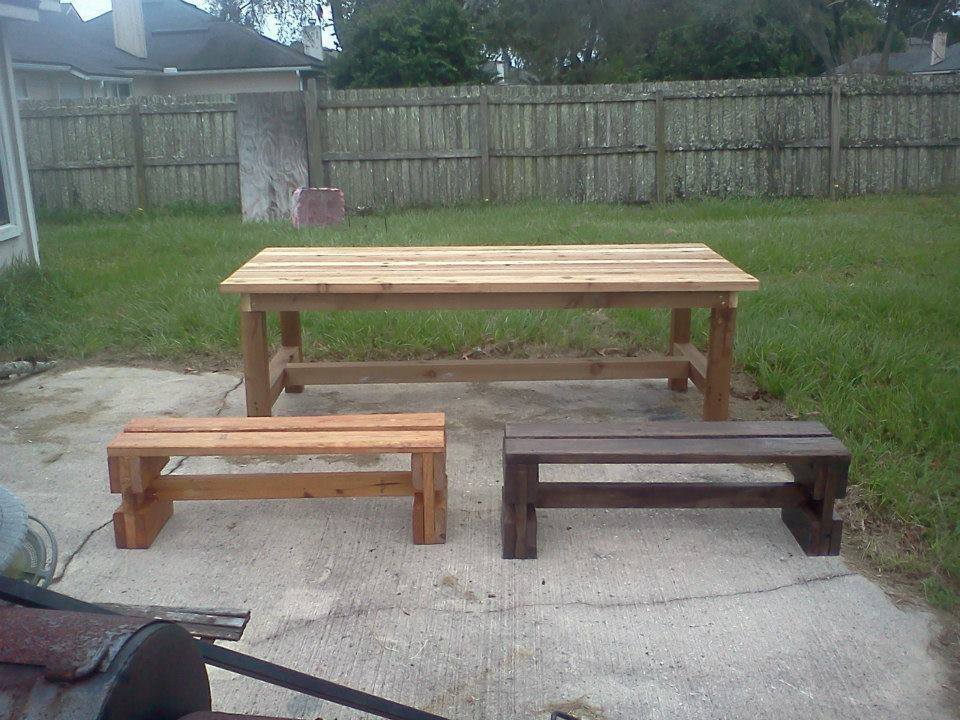
Next on our list is to build the benches...