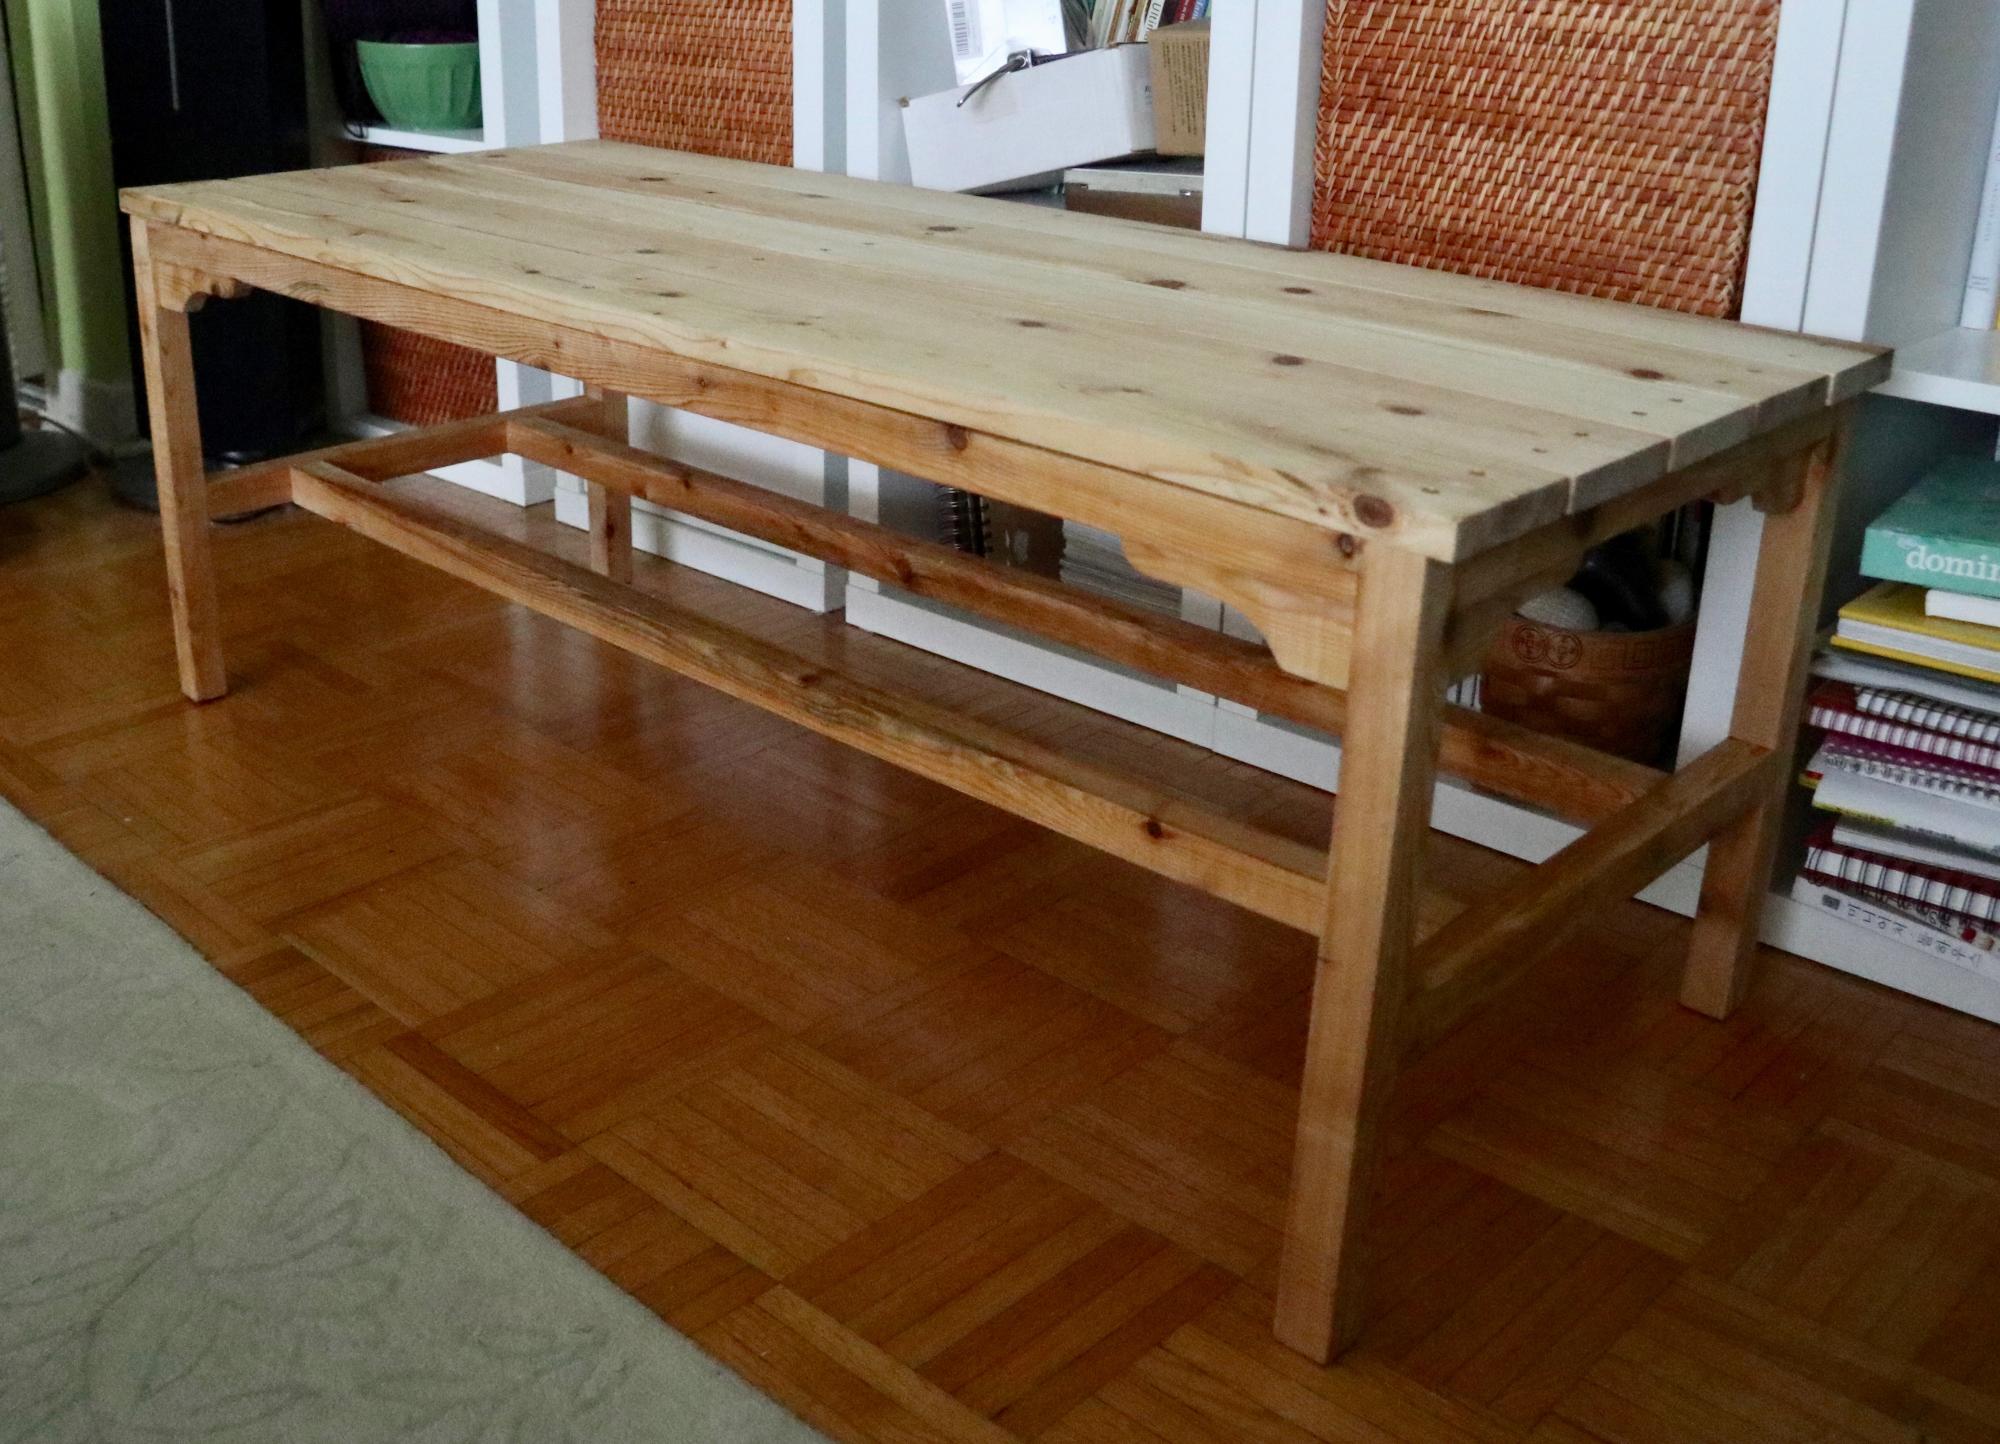
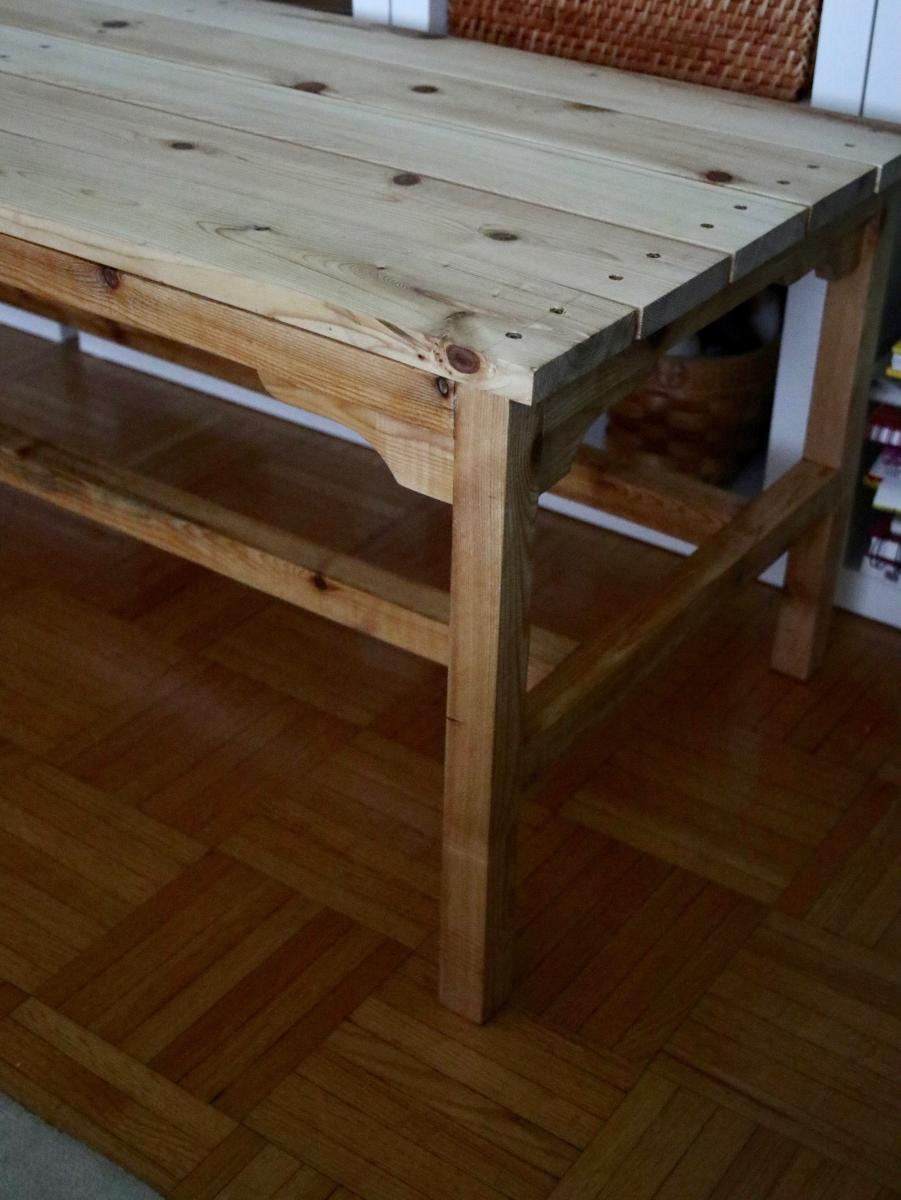
Sturdy Workbench Sink
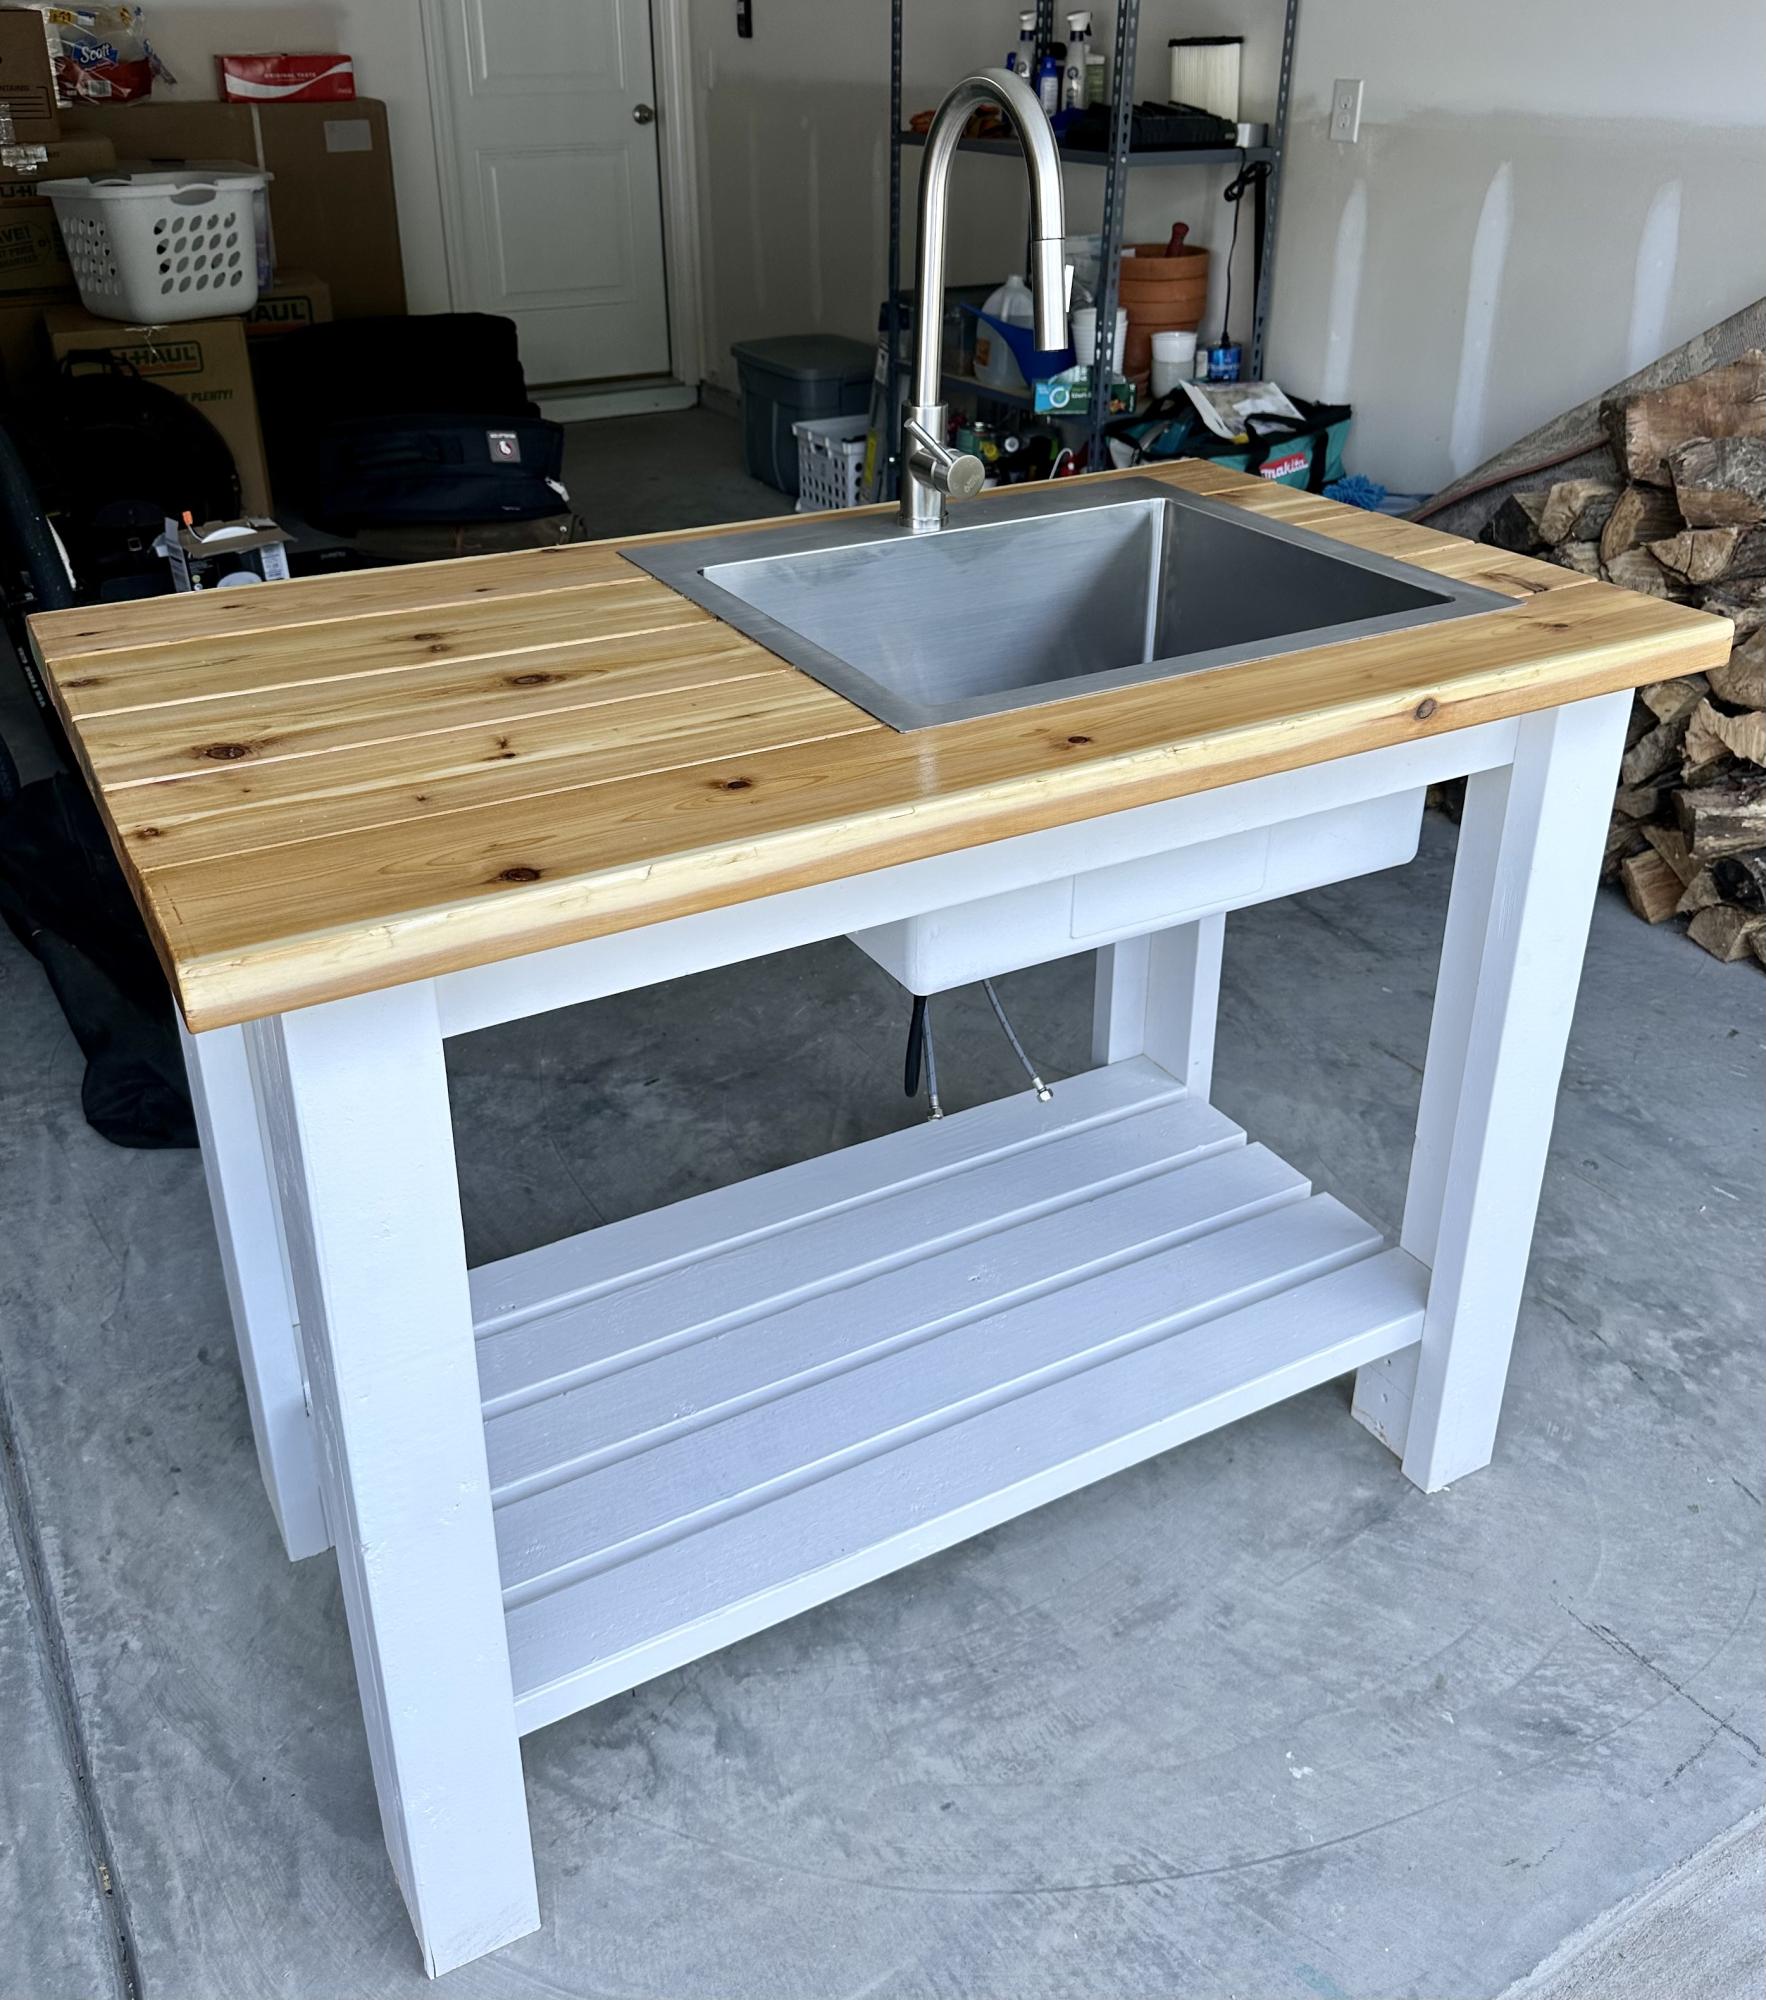
Used sturdy workbench plans with 2x6 cedar top for outdoor sink. Turned out much better than I expected!!
Built from Plan(s)
Used sturdy workbench plans with 2x6 cedar top for outdoor sink. Turned out much better than I expected!!

I did this bed today in just a few hours. I am new to this site and have lots of project to be posted. I thank my wife for the lovely display. I am stationed in the Navy overseas and good furniture is hard to come by. The Euro makes stuff expensive and the military store carries lots of expensive "cheap" stuff. I started with a picnic table for the kids this past summer and my Facebook went out of control with request to build stuff. So, I do a lot of look a likes. I get to build things and my fellow service members get nice furniture for the cost of wood.(I get a little for me too). I hope you enjoy my projects because there are many more to come. If you want plans just ask I keep them in my head and can type them down and email them to you. Thanks Ana White for the great ideas! Happy New Year everyone.
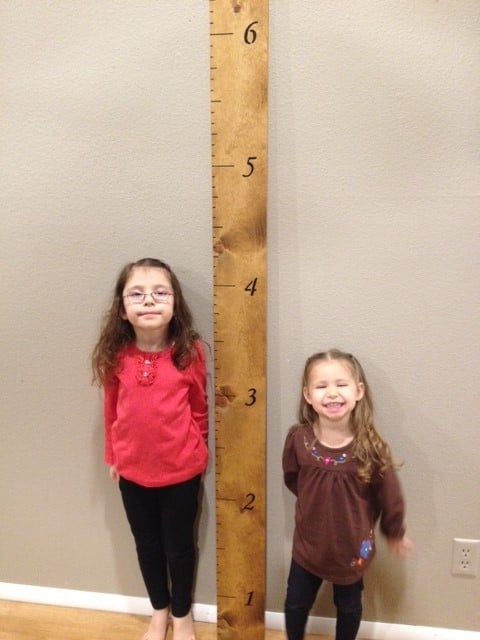
This was a super easy project and I like the way it turned out. I just got a 1x6 board in pine (that cost about $3.50) sanded it, stained it and marked all the inches with a pencil. I then used a painter's pen in black along with my square to get all the lines straight. Then I used some stencils to do the numbers - also with the painter's pen. The whole project took probably an hour to do (besides waiting for the stain to dry).
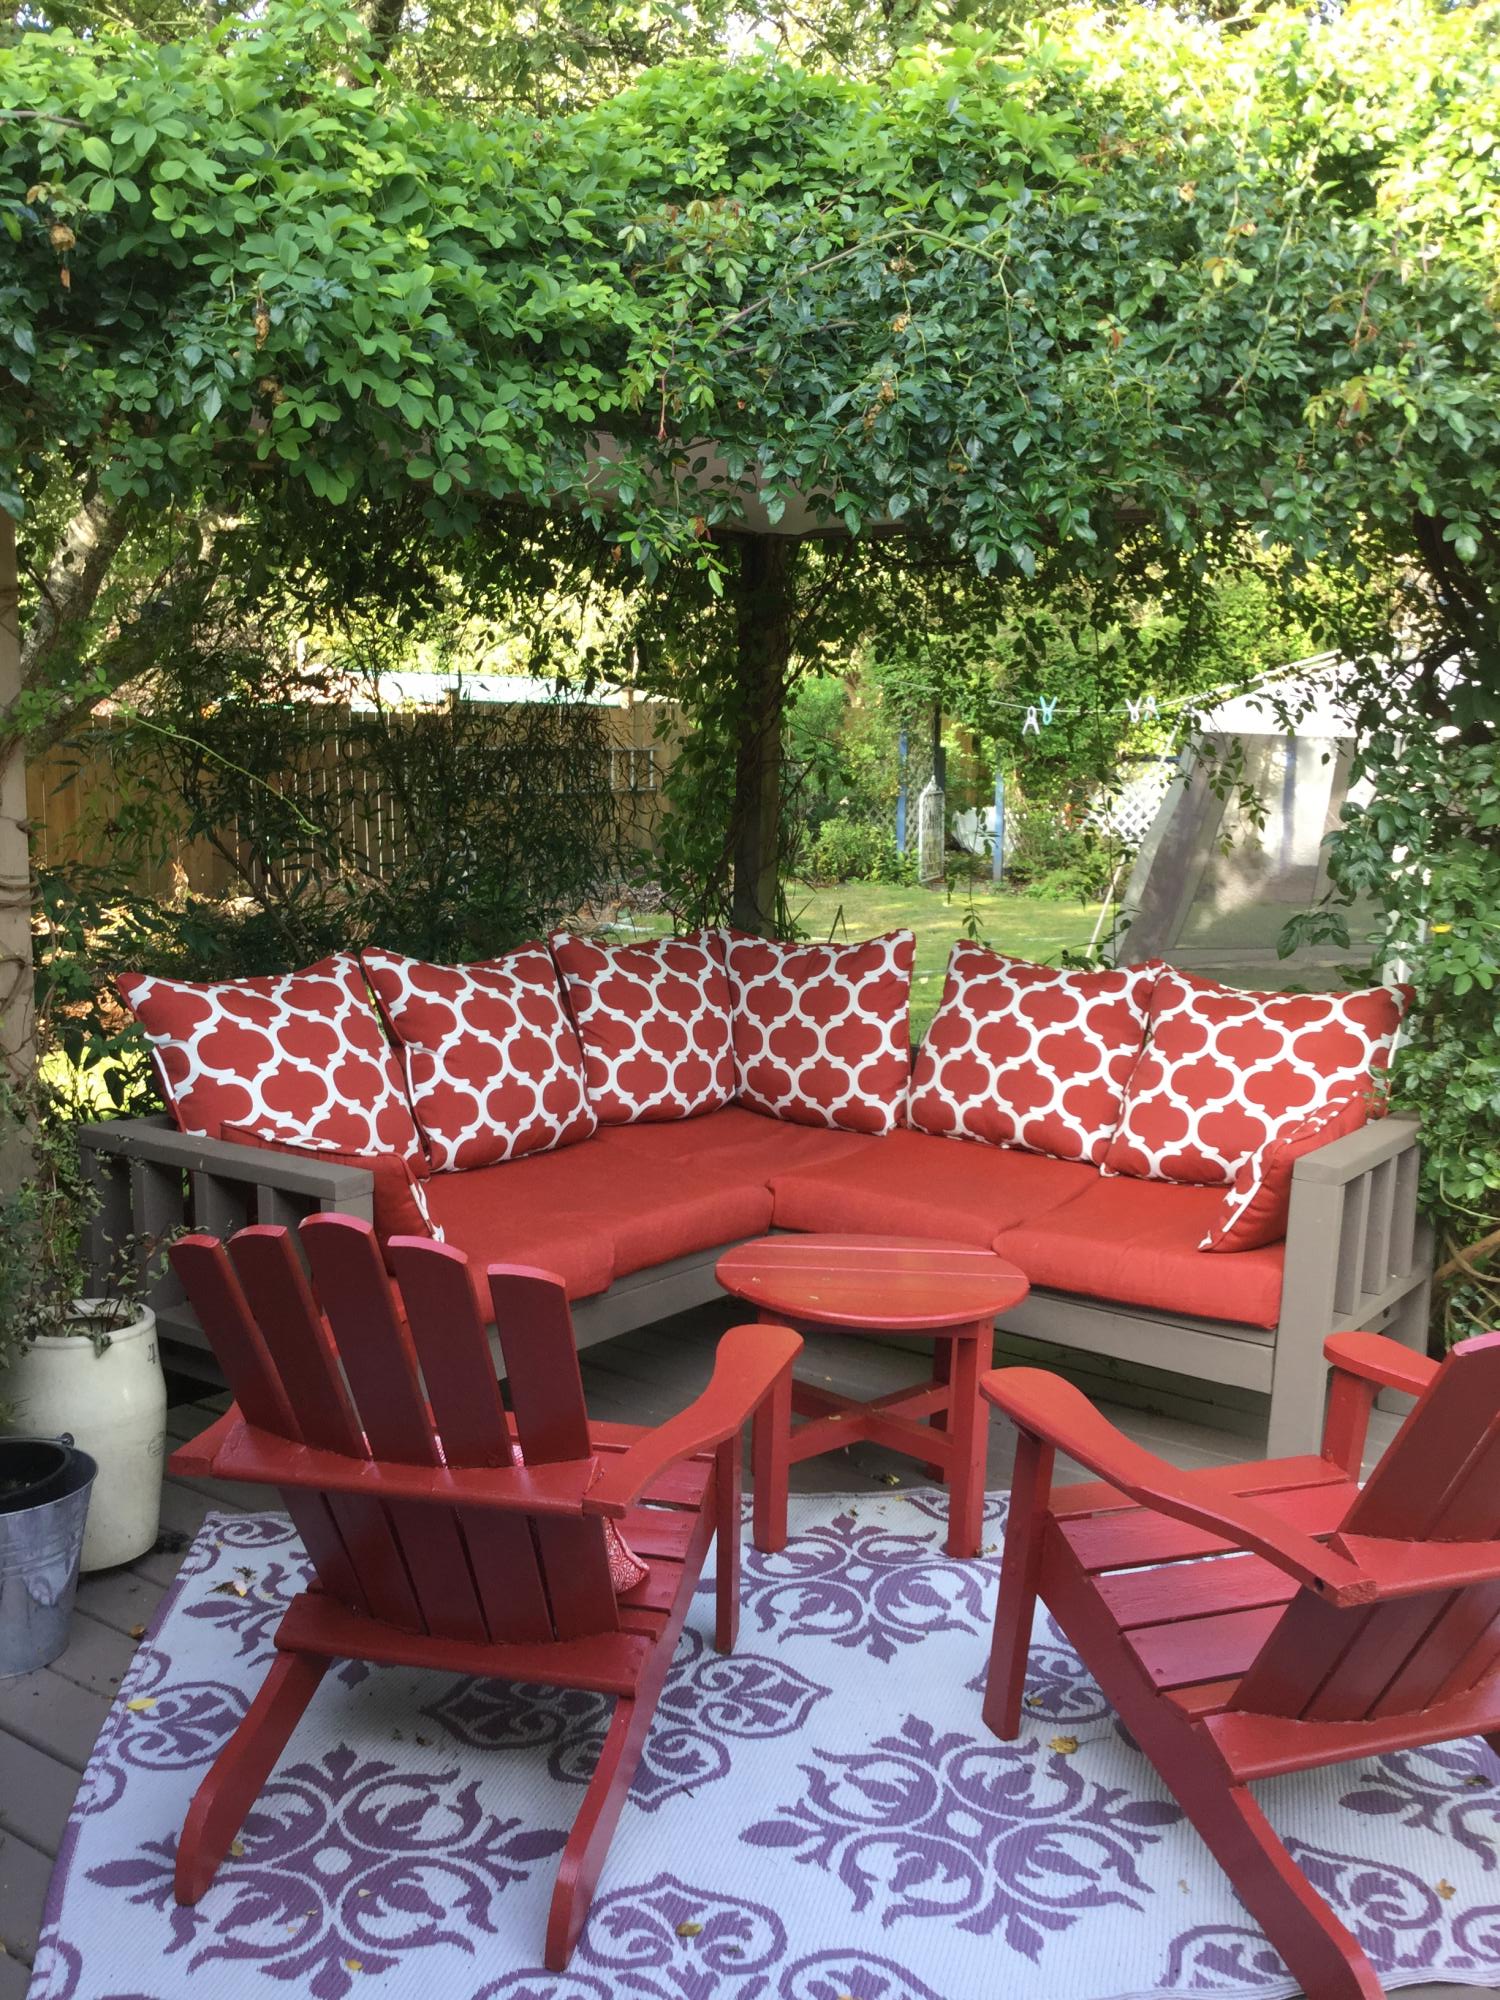
We Love our deck sectional!! We changed the pattern arms a bit and made it to fit our outdoor space and stained it to match our deck stain. Cushions from Home Depot on sale. I move them around regularly to extend their life. I LIVE on the deck in the summer now and we have plans for an outdoor fireplace next. Thanks Ana!!

Mon, 08/19/2019 - 12:02
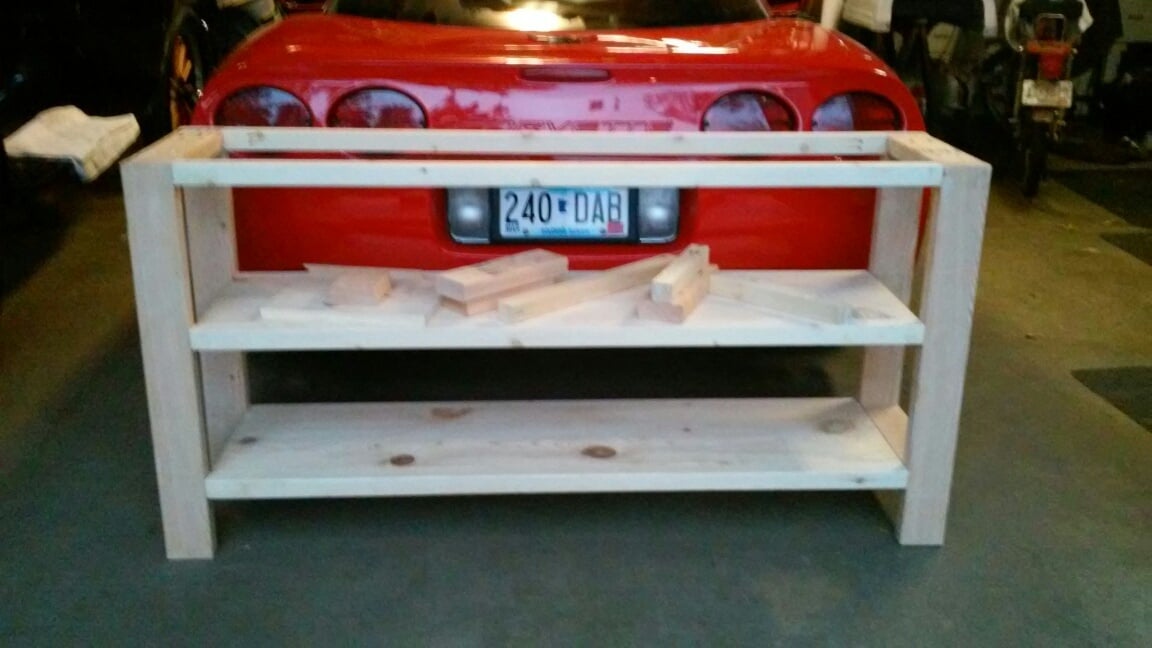
Thank you so much for sending a brag post our way! We love it! The red color really pops!

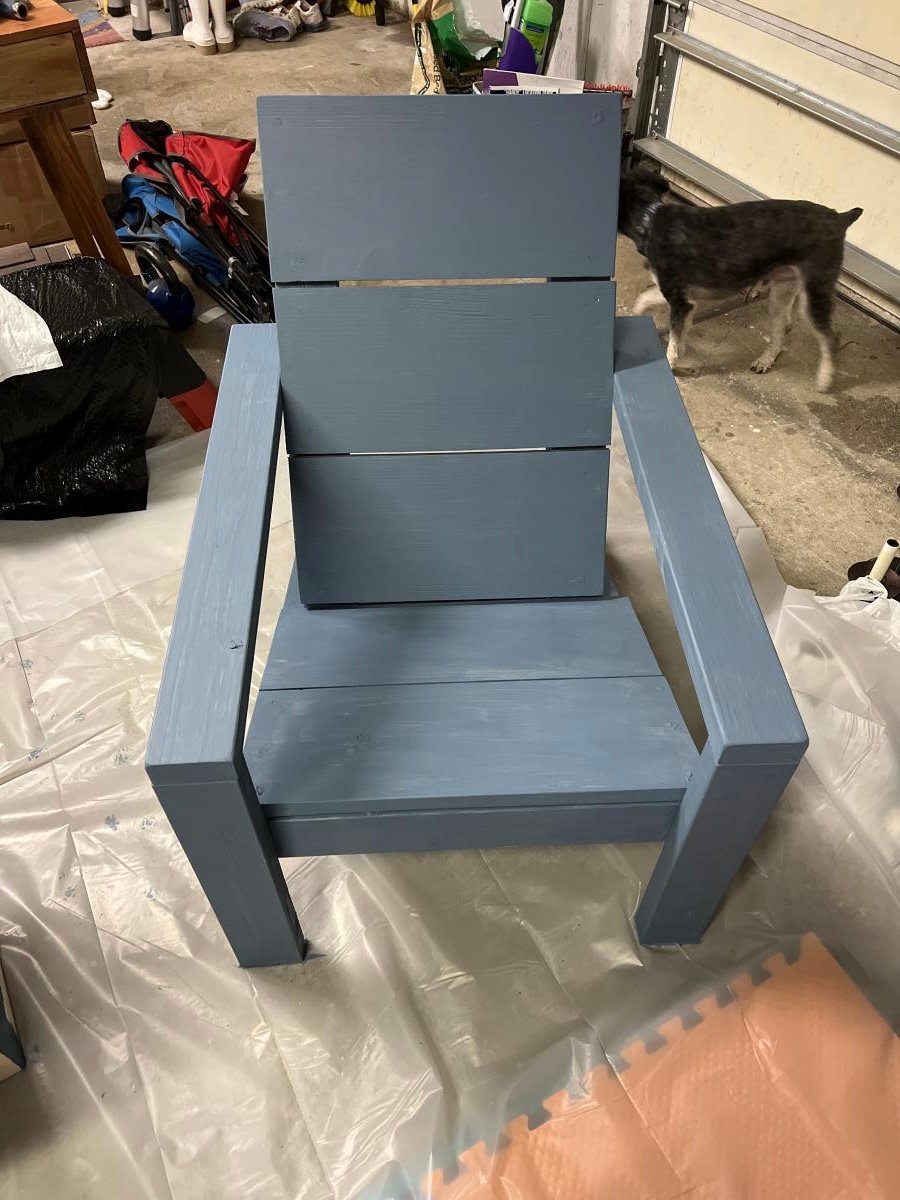
So I followed the plan except I tried to use more pocket hole screws. I managed to use them for all parts except the seat and back. Looking at them I see how I can use them for those areas too ( just a little pre planning next time)
I’m using Behr Wedgwood waterproofing stain and sealer to complete the project.
I love all your plans and can’t wait for my next project.
Sat, 05/06/2023 - 07:39
The chairs loolk really great, love the finish! Thanks for sharing.
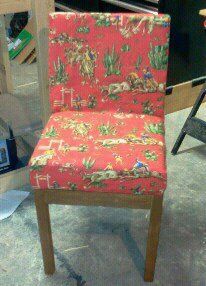
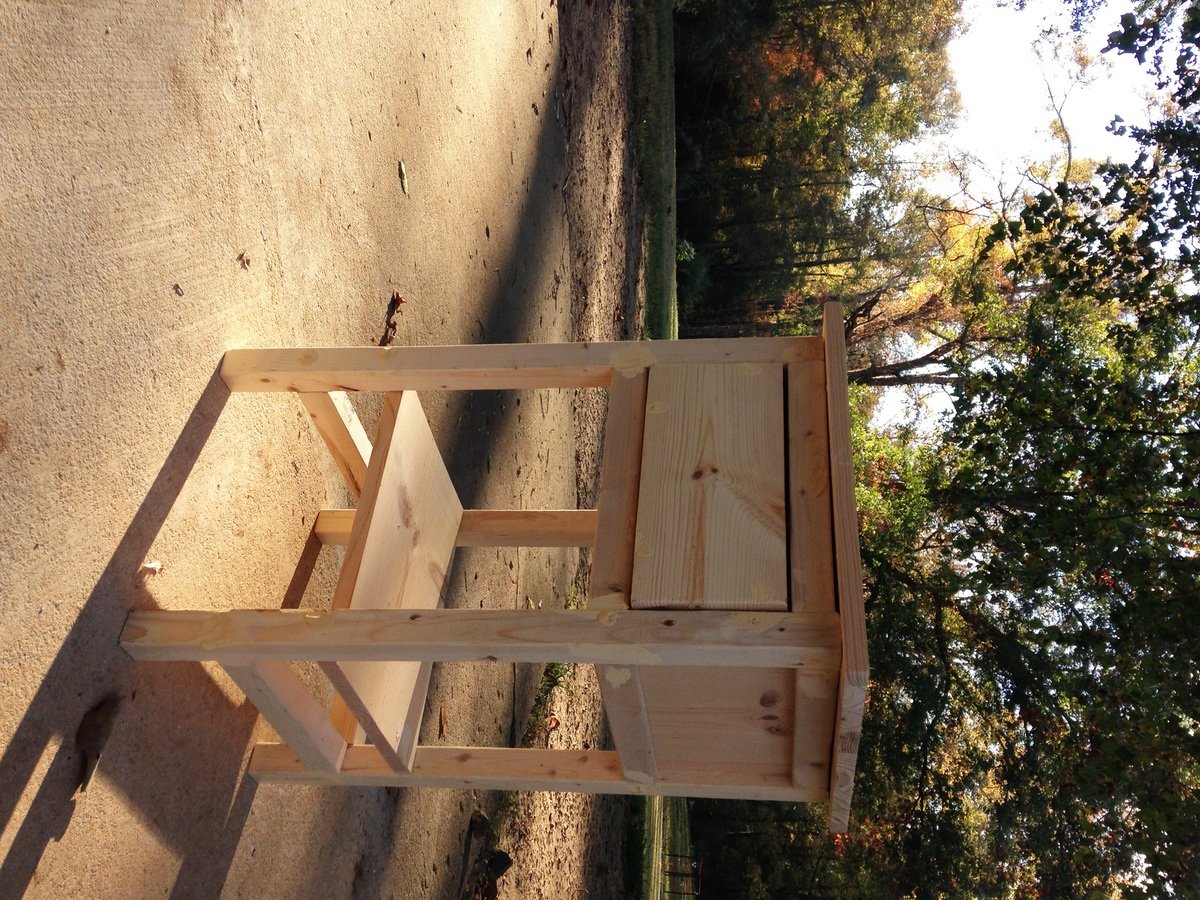
Made this for my son's playroom. I added the cross supports in the base to make a sturdier chair.

Thu, 01/05/2012 - 07:25
I LOVE the fabric! I could never get tired of cowboys!
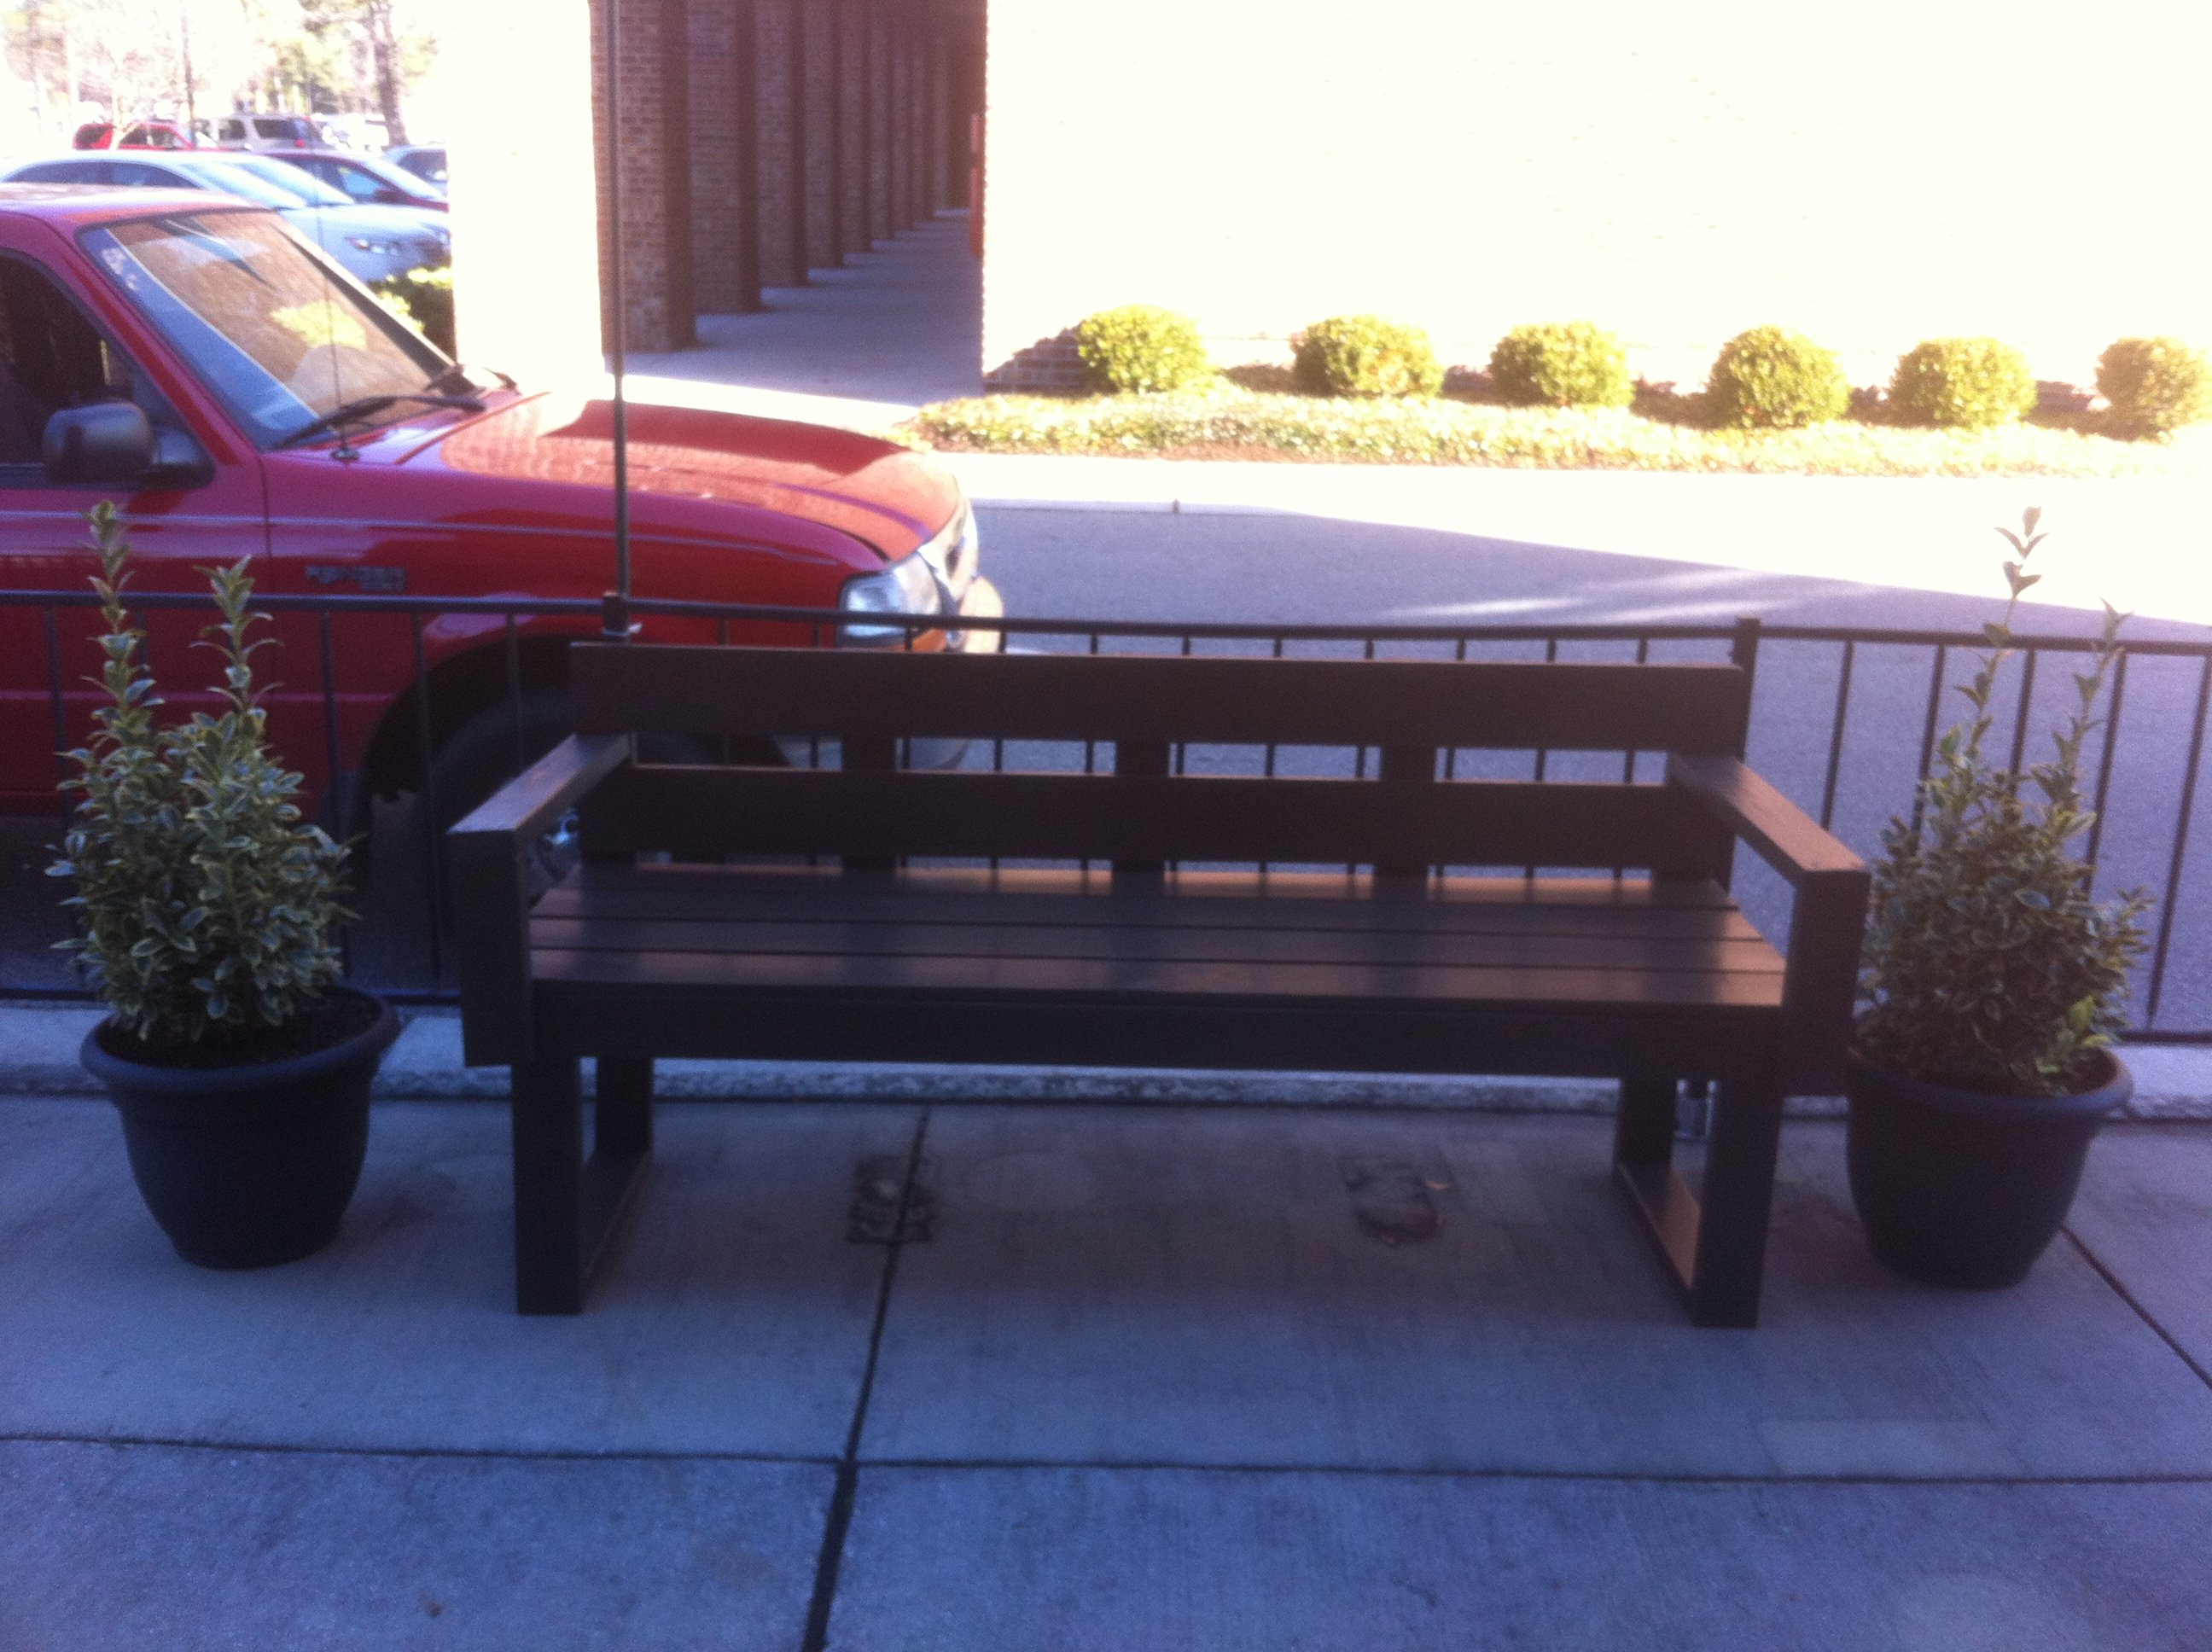
Really simple edition to make this project portable and efficient for group functions. Add some legs lol. Measure the height you want from your kitchen seat, cut, and screw to the bottom. The pictures should help with how to place them.
Hope you like it
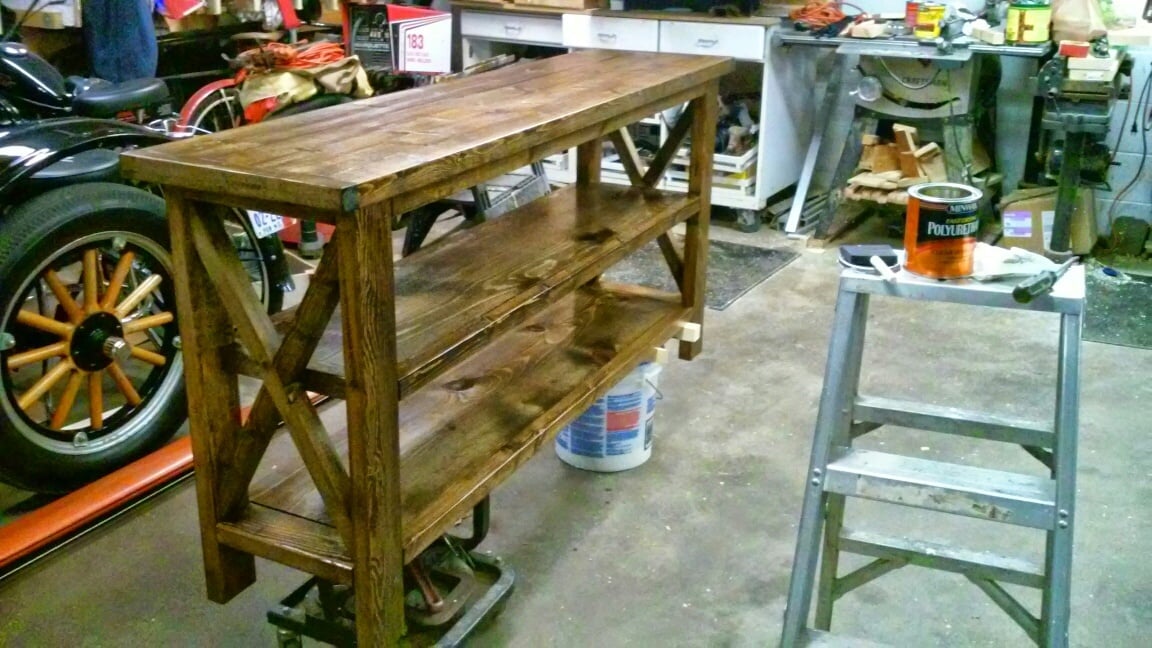
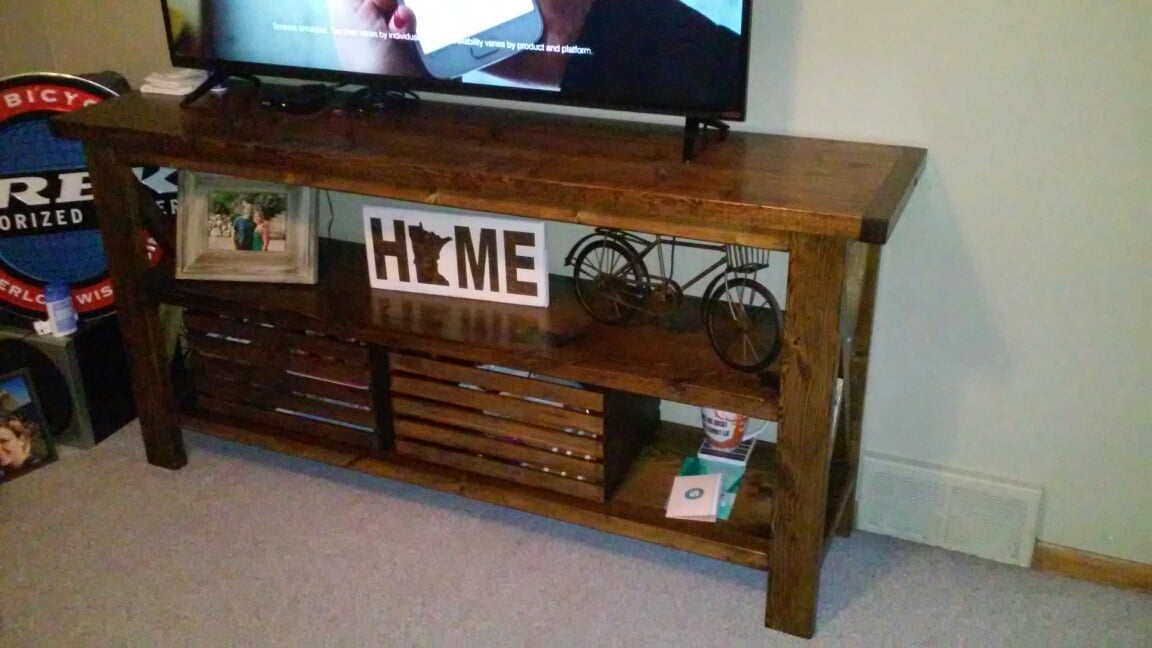
I started the project on a day off and finished it over a few long nights in the garage after work. It turned out pretty nice. I ommitted the middle legs, shortened it from the original plan to 65" long, and made it 31.5" tall. I also added breadboard style ends to the top to show less end grain. It is shown with a 55" TV on top of it for perspective.


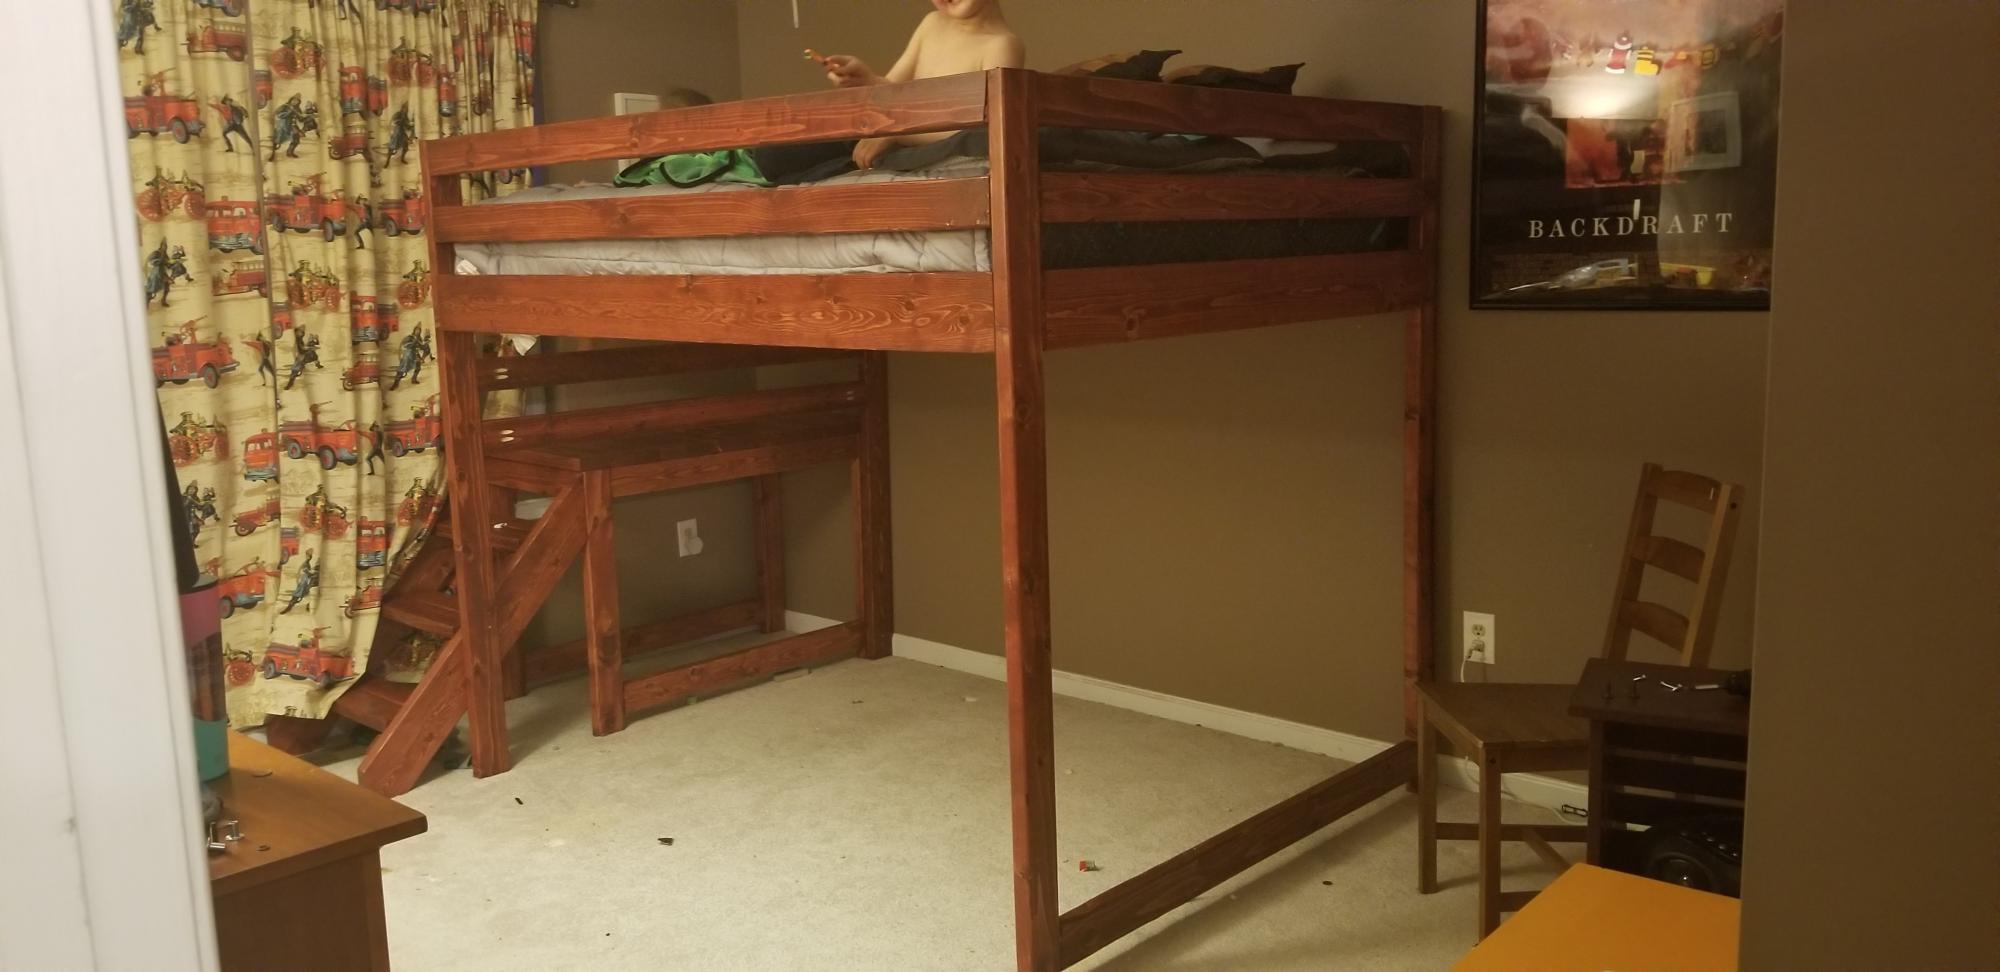
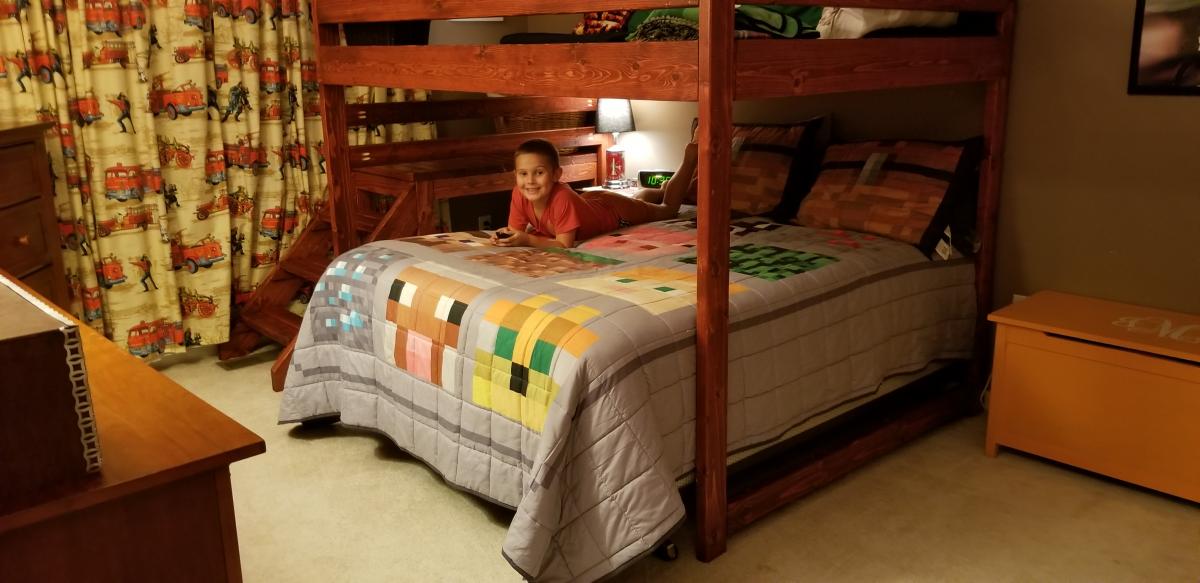
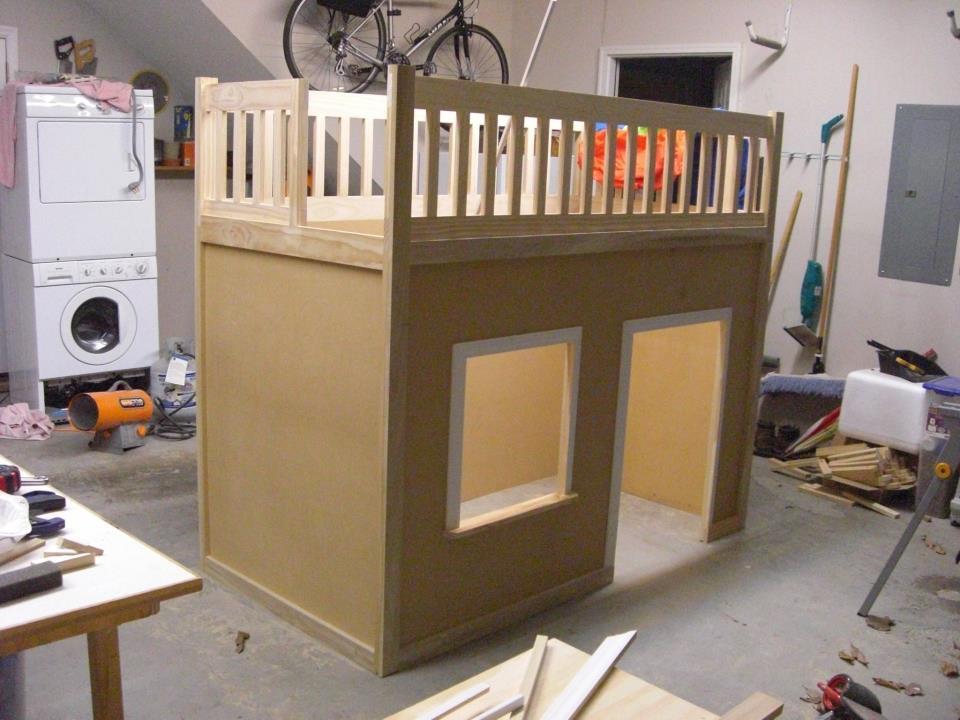
Initially, I made this loft bed so my son would have more room to play on the floor, but what I found out was that he was playing in his bed and sleeping on the floor. About 3 months after having the bed in his room, we put his bed underneath, on a frame, and I put plywood and wood looking wall paneling on the bottom to make a floor. We moved the twin mattress from the floor to the loft, so now he has a place to play with his friends.

Mon, 07/11/2022 - 14:26
What adjustments did you make to the slats. I’m wanting to build a slightly oversized full loft bed for my daughter. The extra space is for a reading chair and maybe shelves. Dimension would be ~100 x60. I’m nervous about the slats spanning the 60 inches and what I need to modify from the junior loft instructions
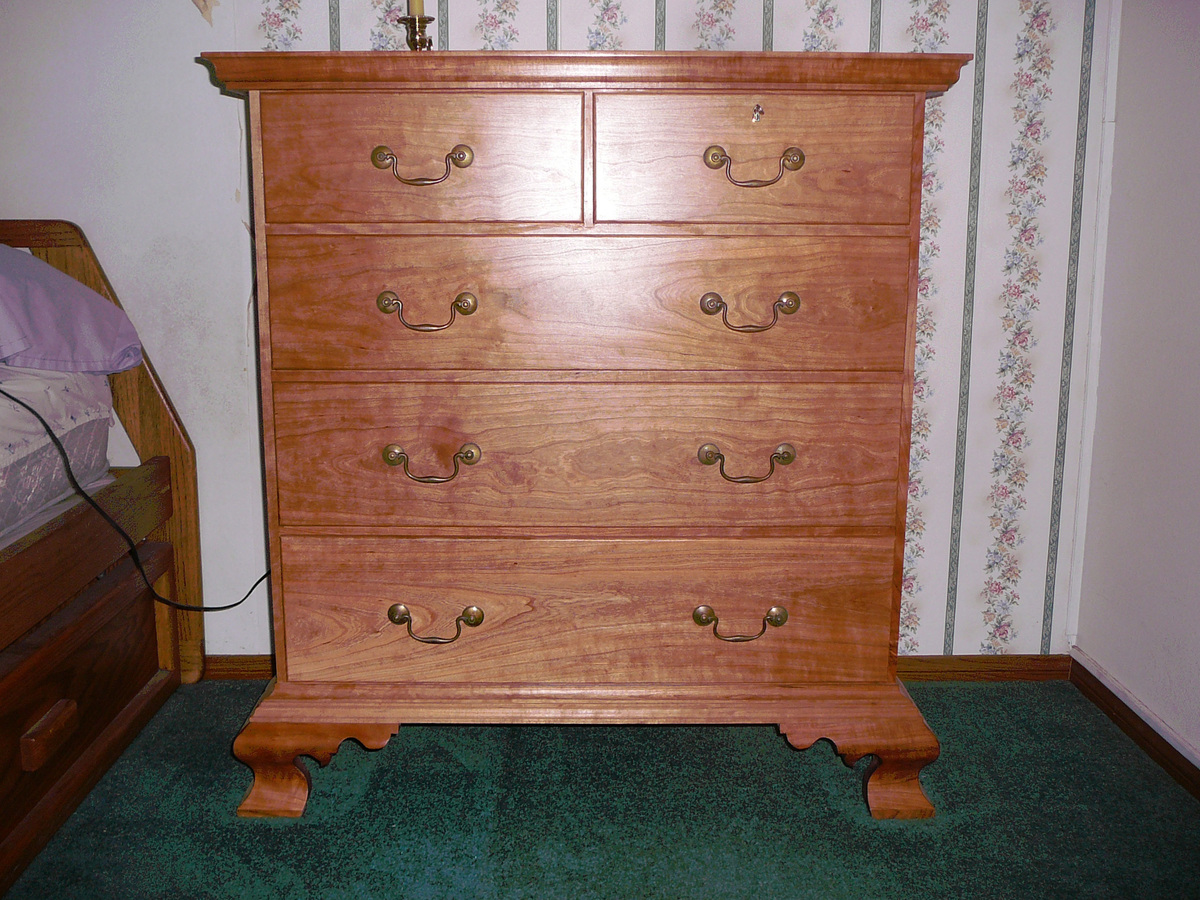
This is a Chippendale Chest of Drawers in Cherry. I did it a couple of years ago and it is still holding up very well. It was my first experience with ogee bracket feet and I was very happy with the way the feet turned out. It is a lot easier than it looks. There is no secondary wood, it is wholly out of American Black Cherry (prunus seritina). It took about four months to build and it has exposed dovetails on the top as the carcass is dovetailed together. Brasses are from bail pull type brasses.
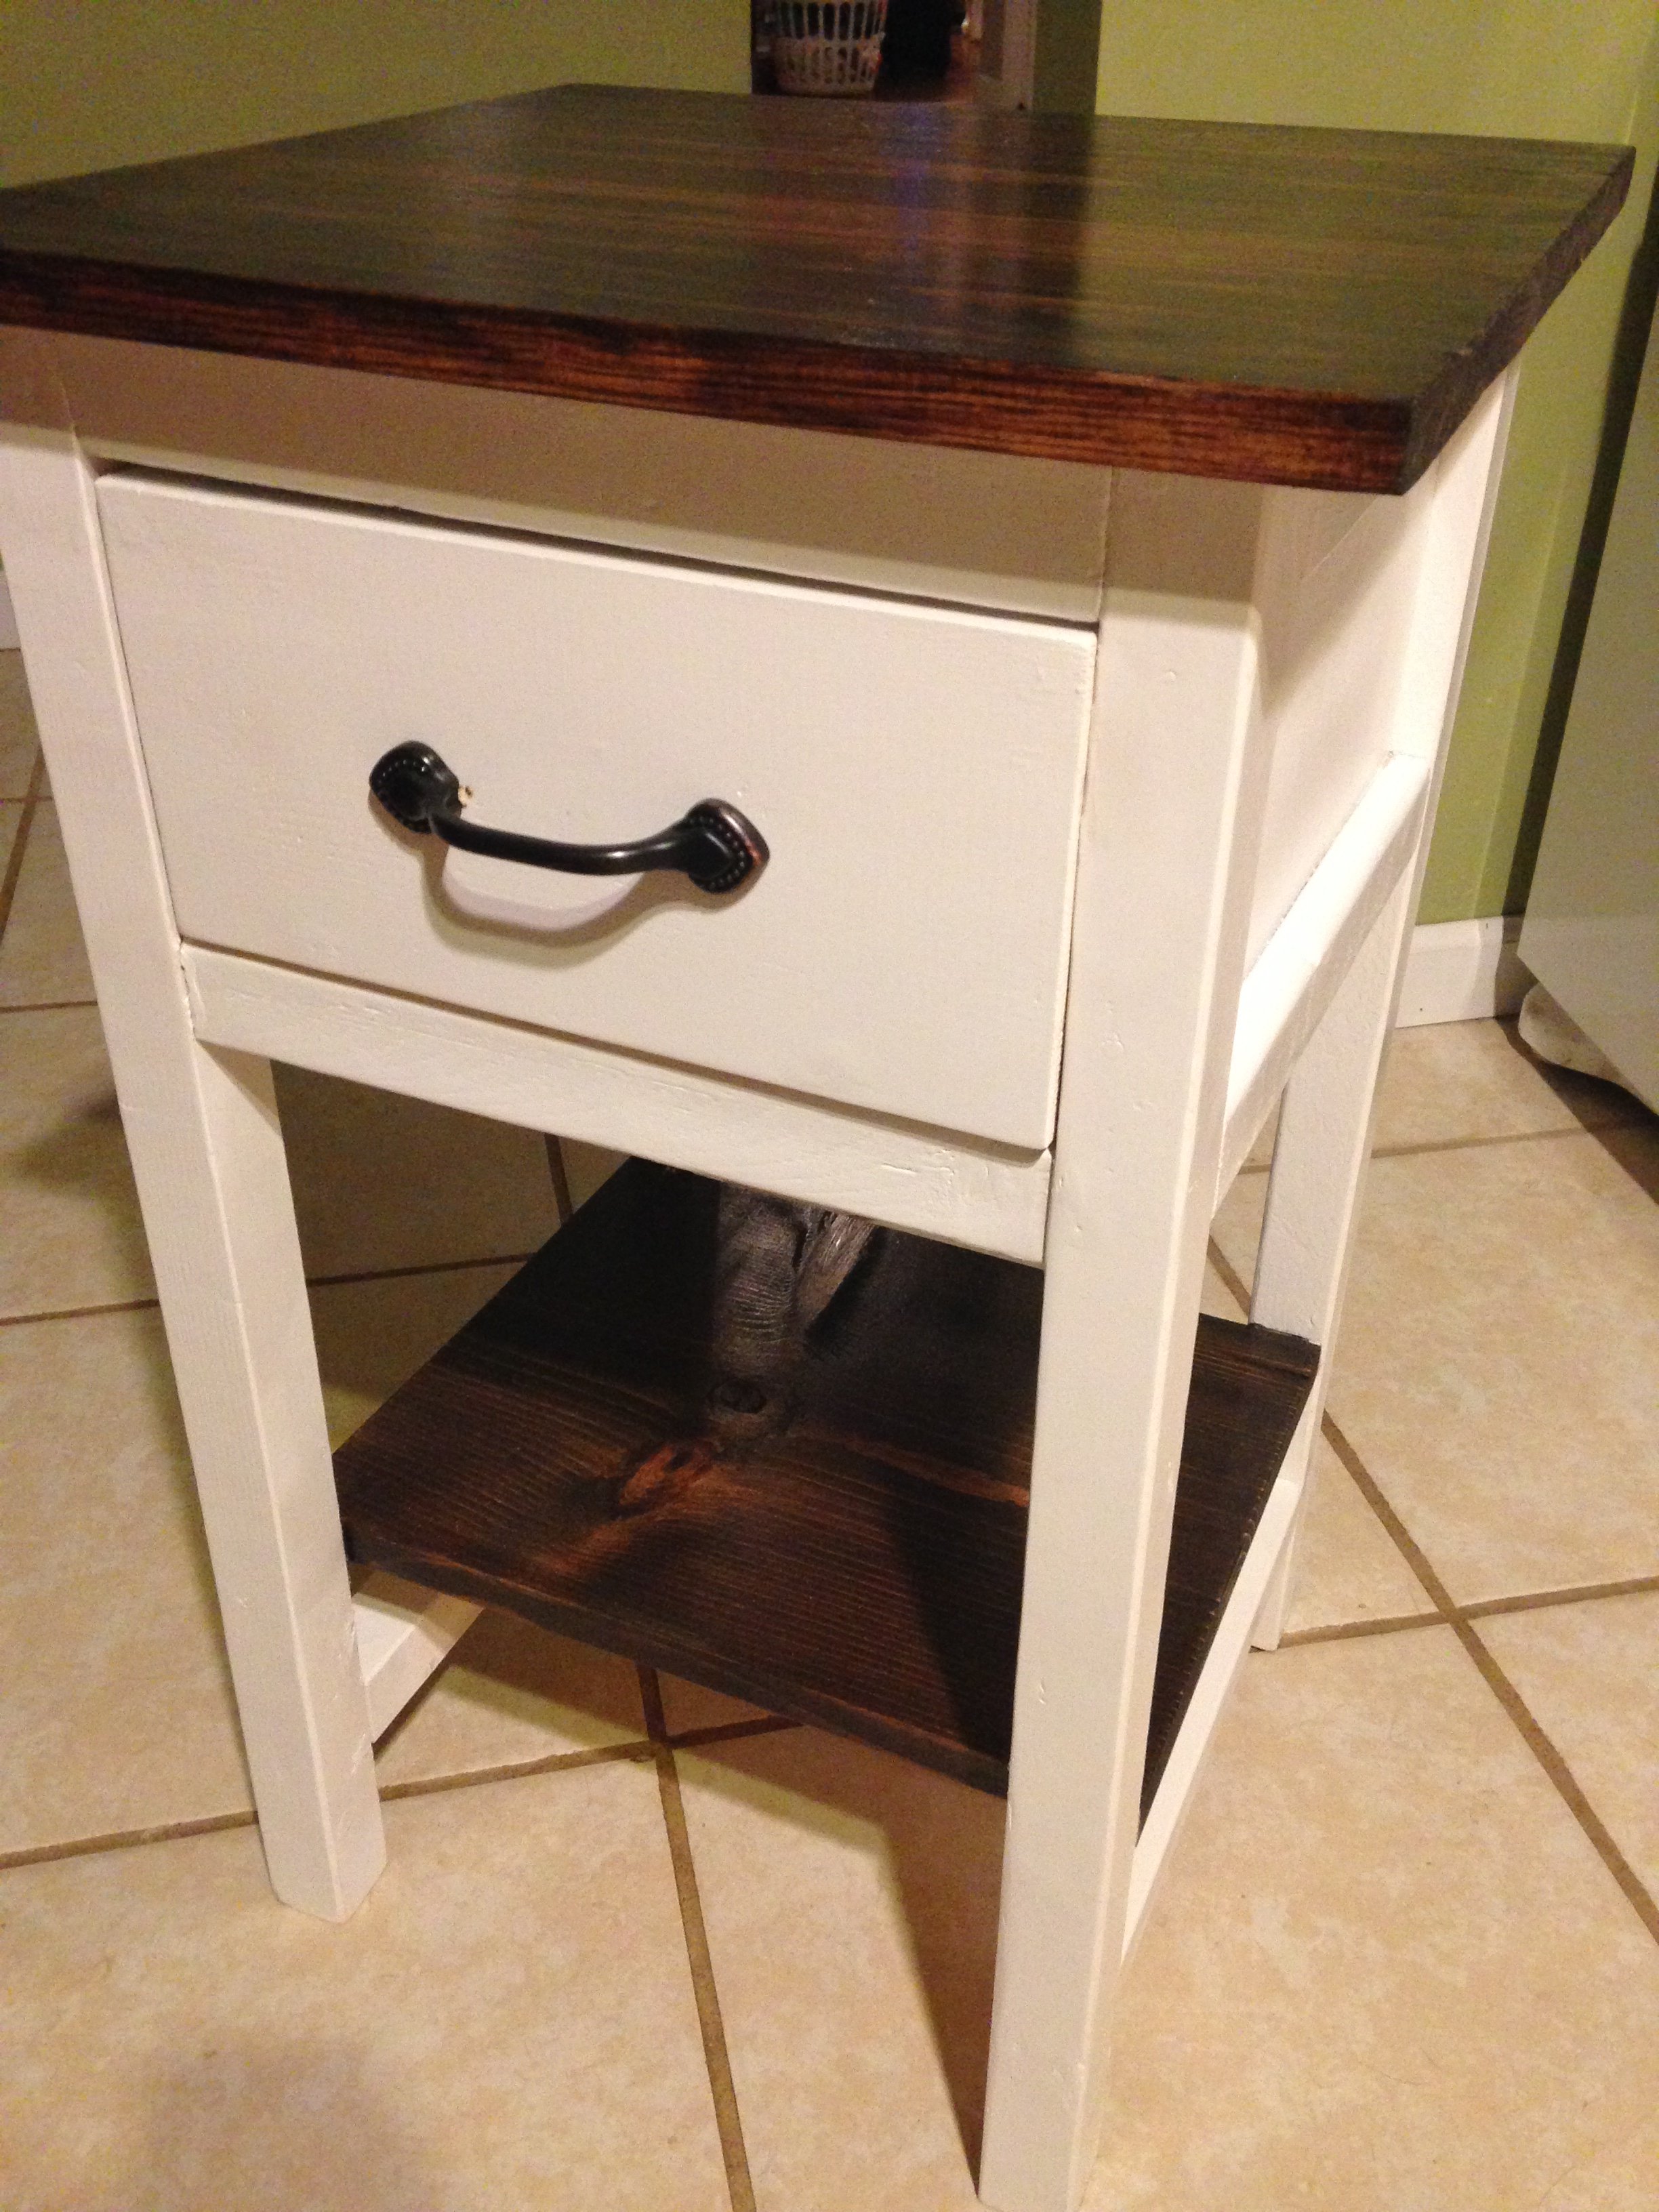
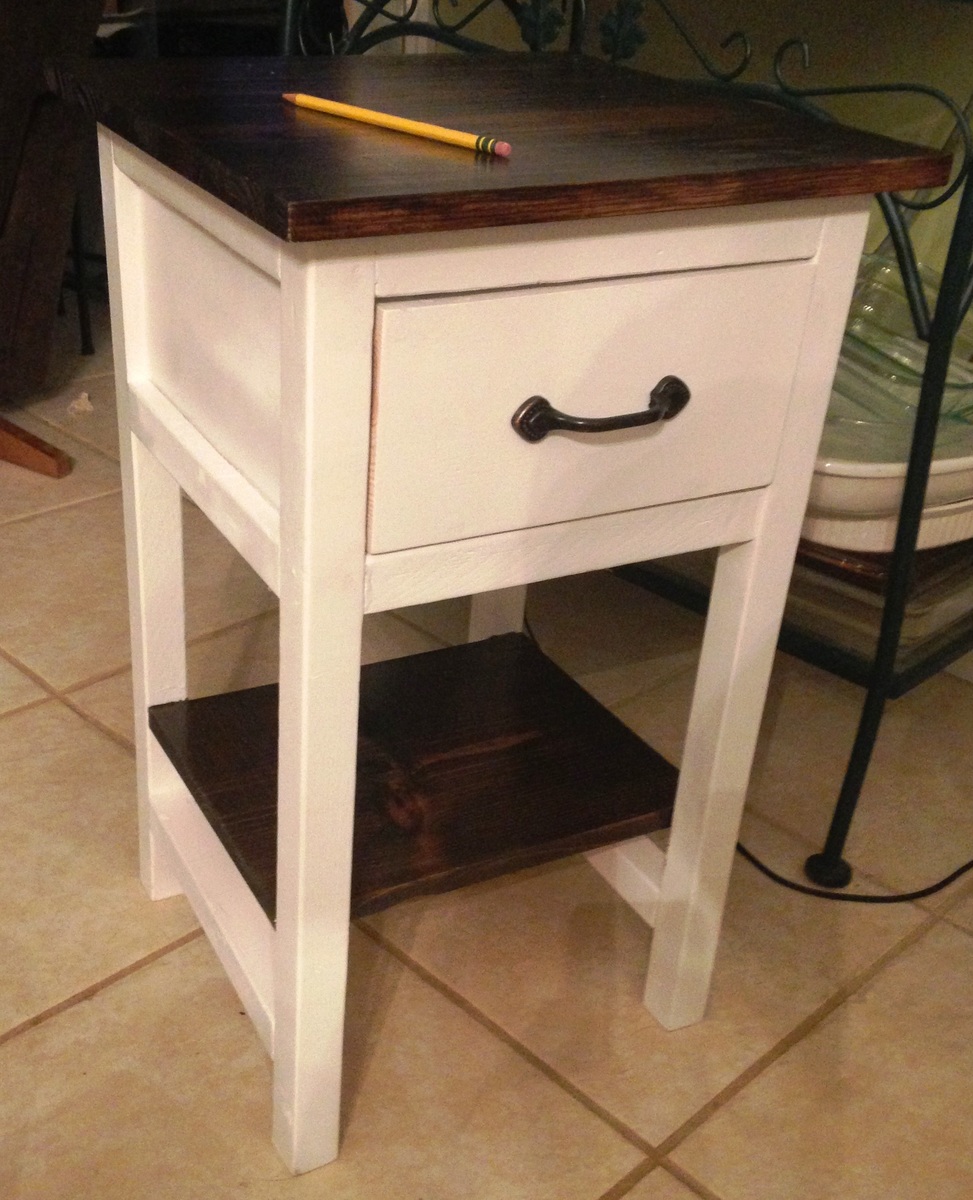
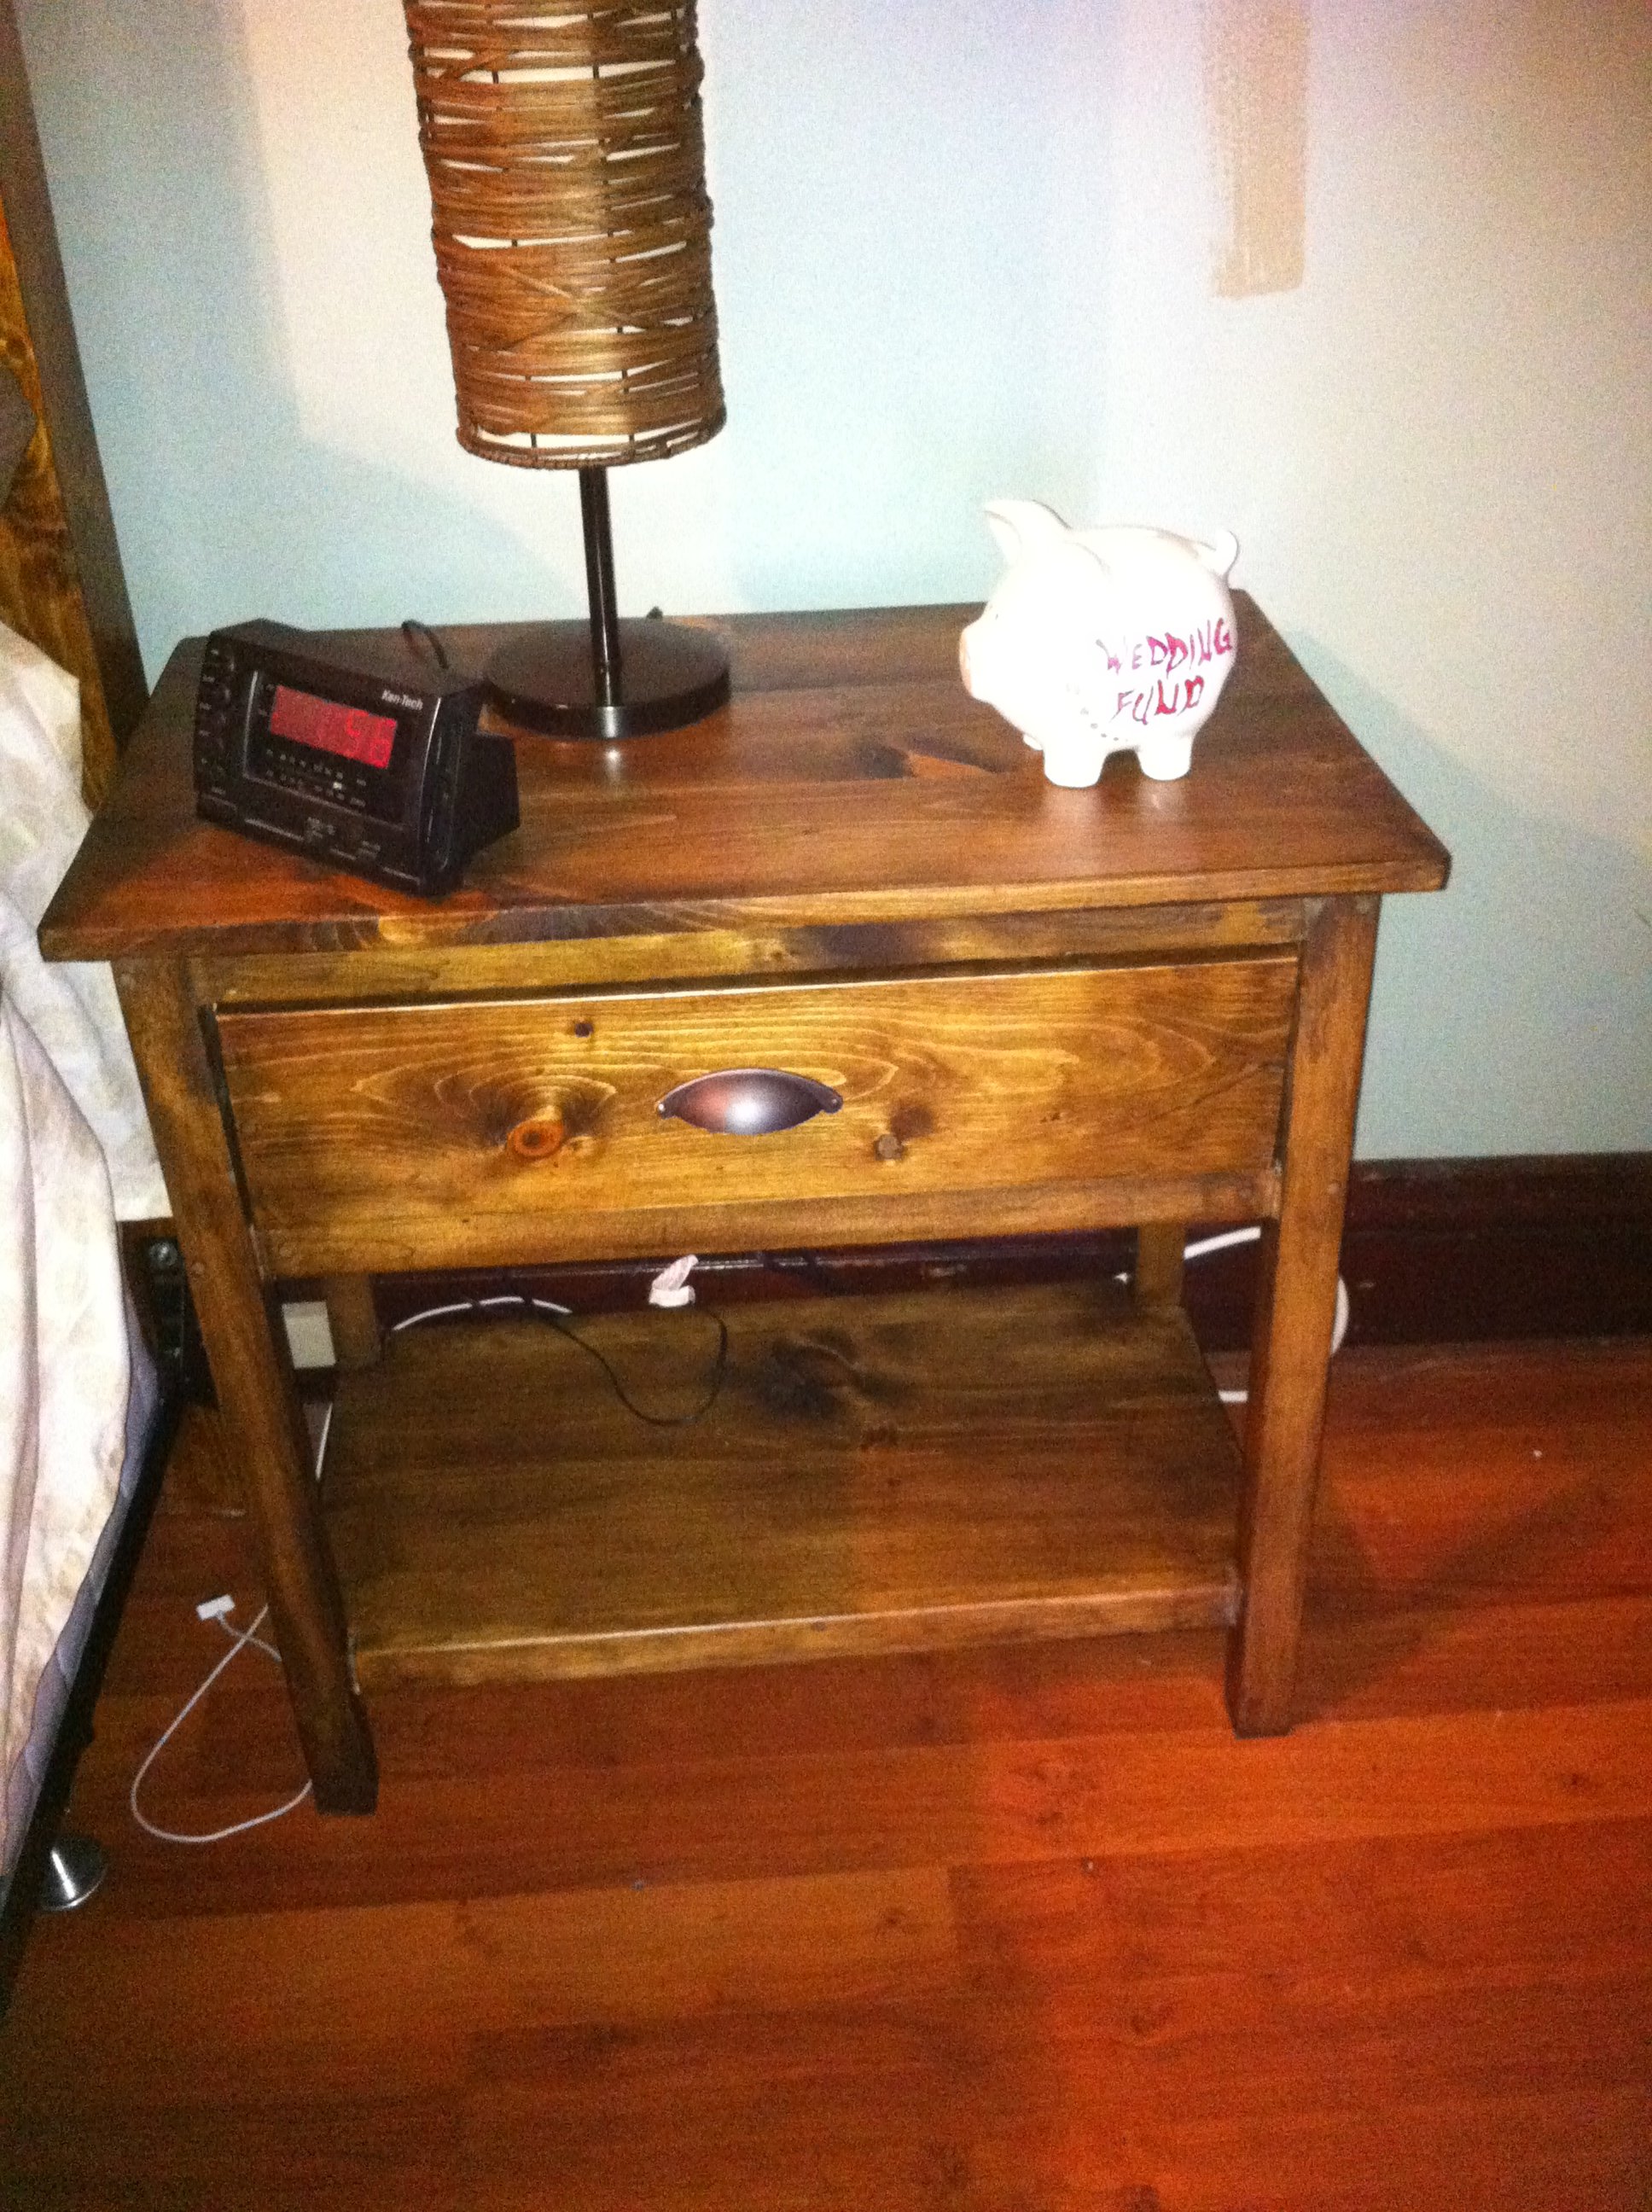
I made the mini farmhouse bedside table as my first attempt at wood-working! It was really fun, and turned out pretty good for my first shot. I need to learn how to cut more consistently and get better at making things square. Thanks for the plan!

We are slowly remodeling our 1972 townhouse and it was time to do the guest bedroom closet so that we could get a bit more storage in the house. I contemplated getting a pre-made organizer but decided to make my own after perusing Ana's site. Its my first "from scratch" furiture-type of project and I chose the cheapest quality plywood, which was a mistake and cost me extra hours in trying to "pretty" up the wood. but overall I'm happy with how it turned out!
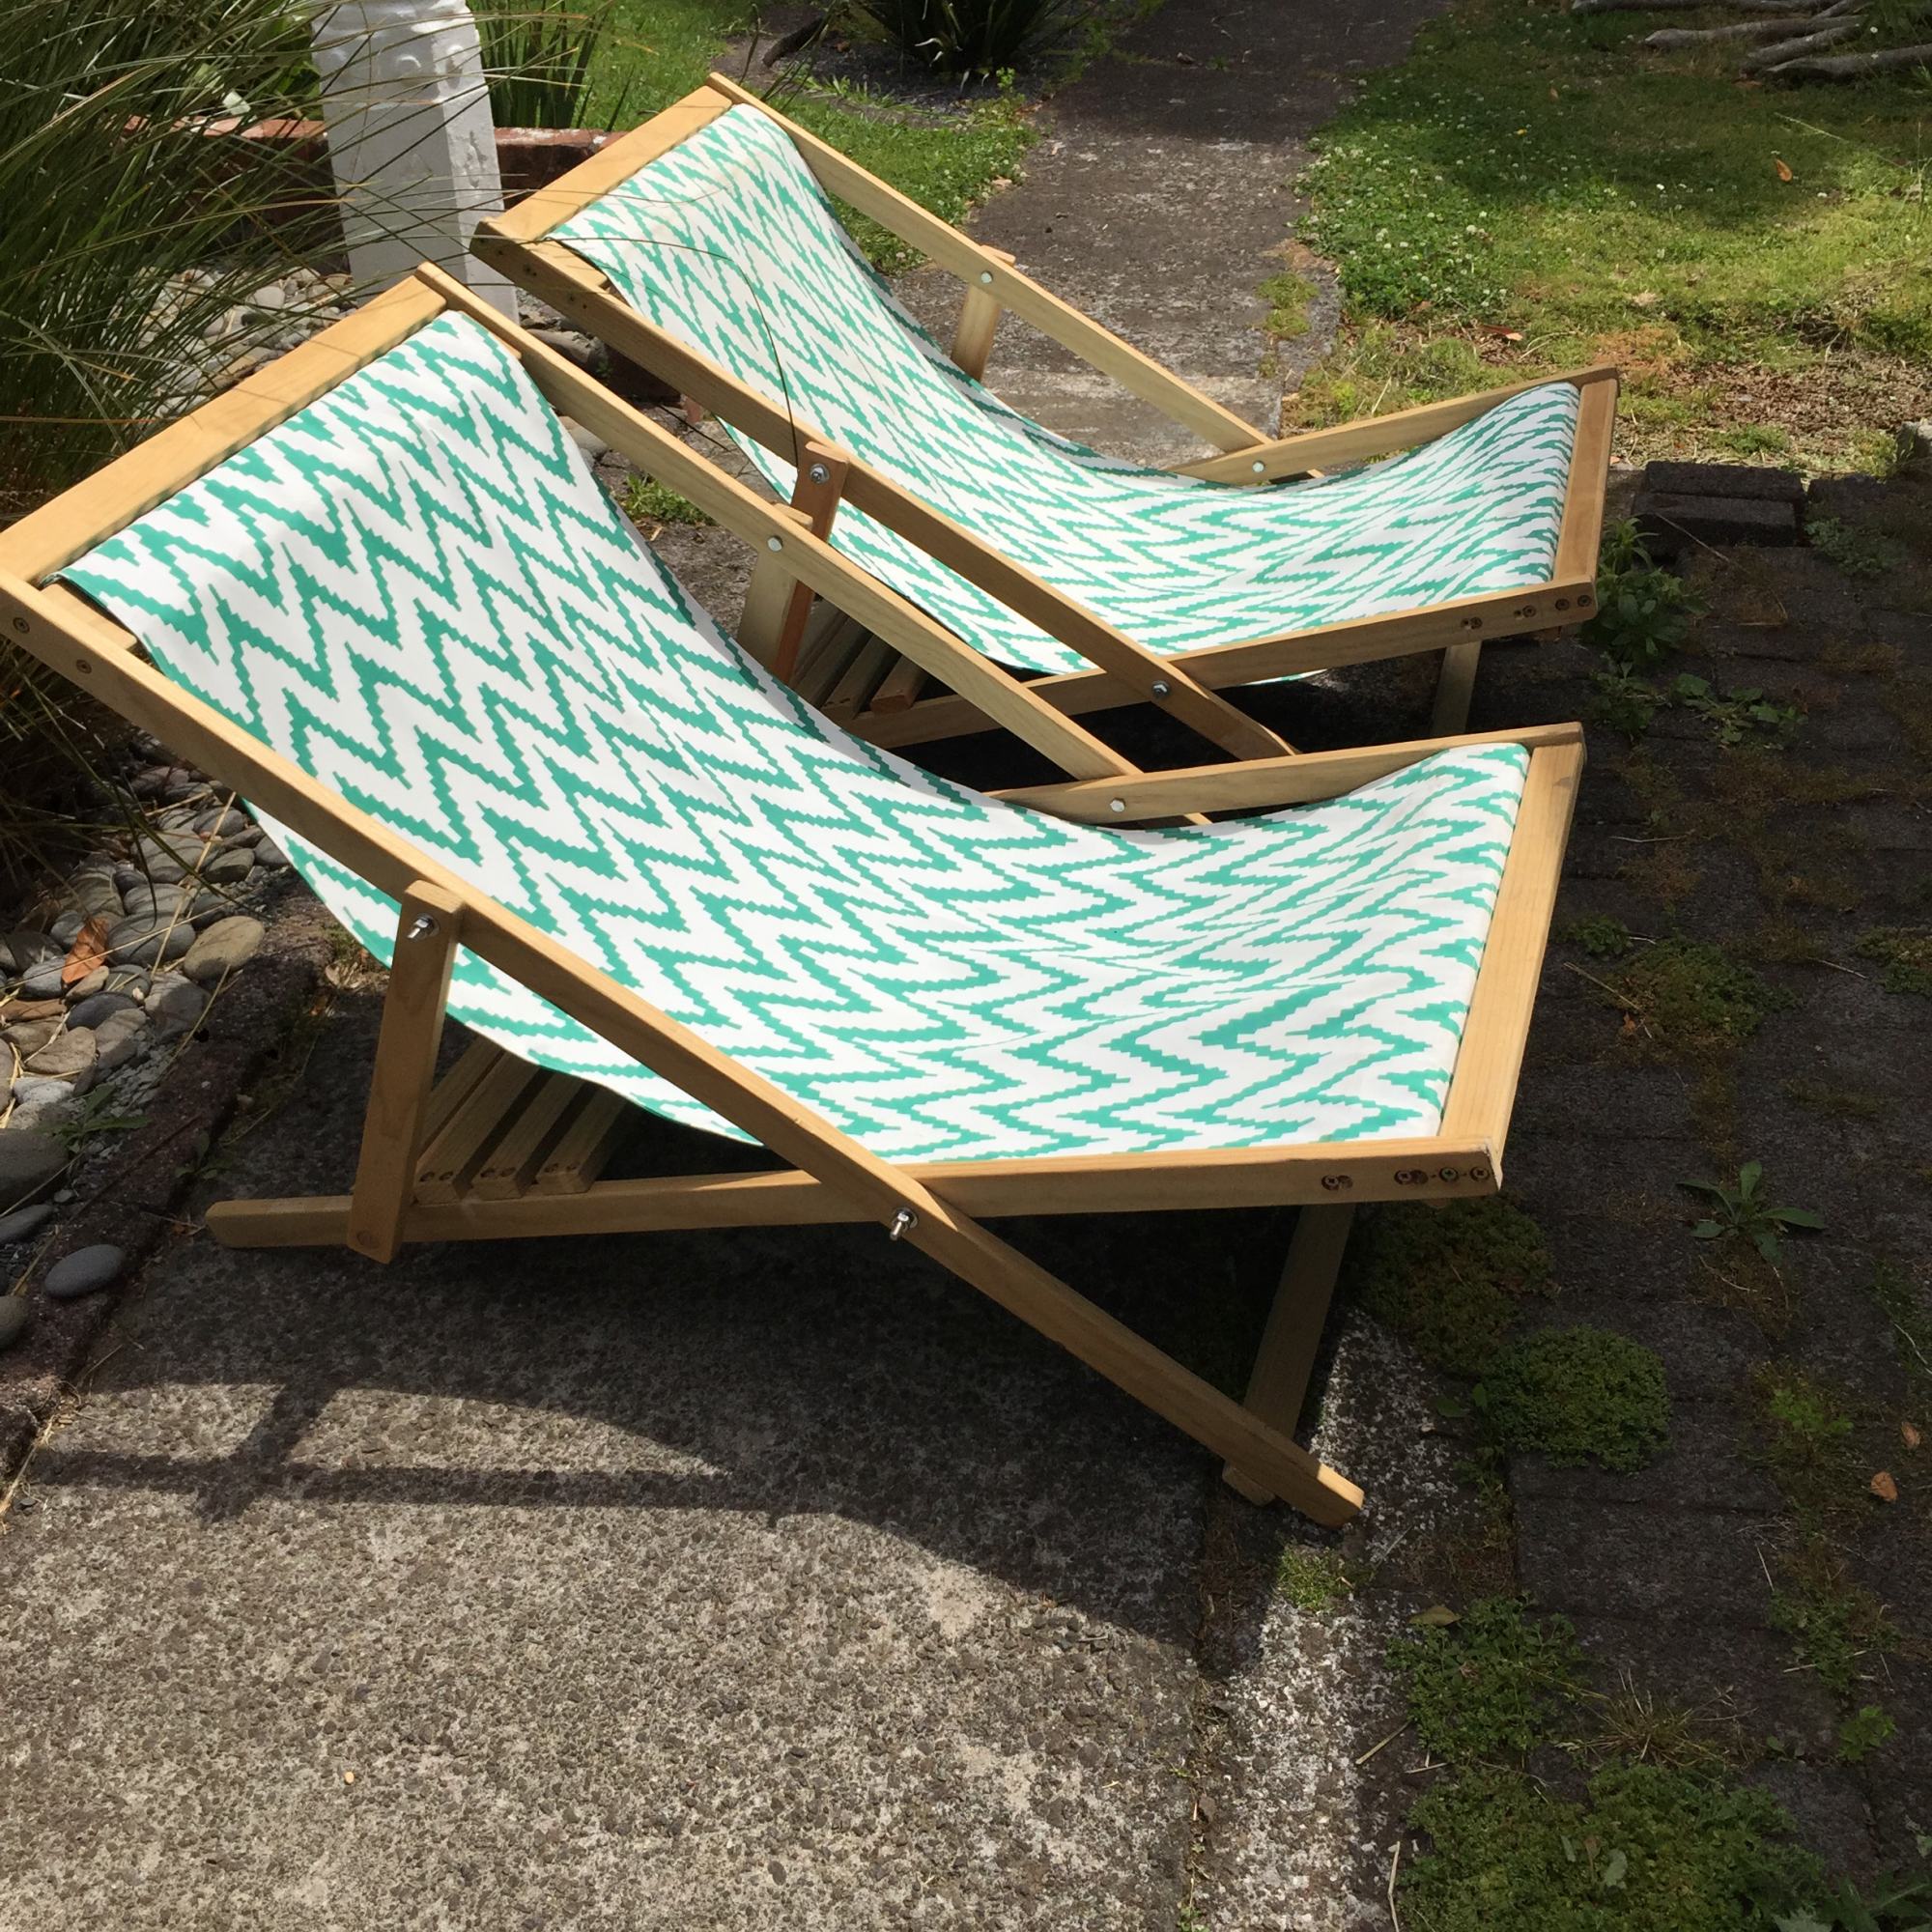
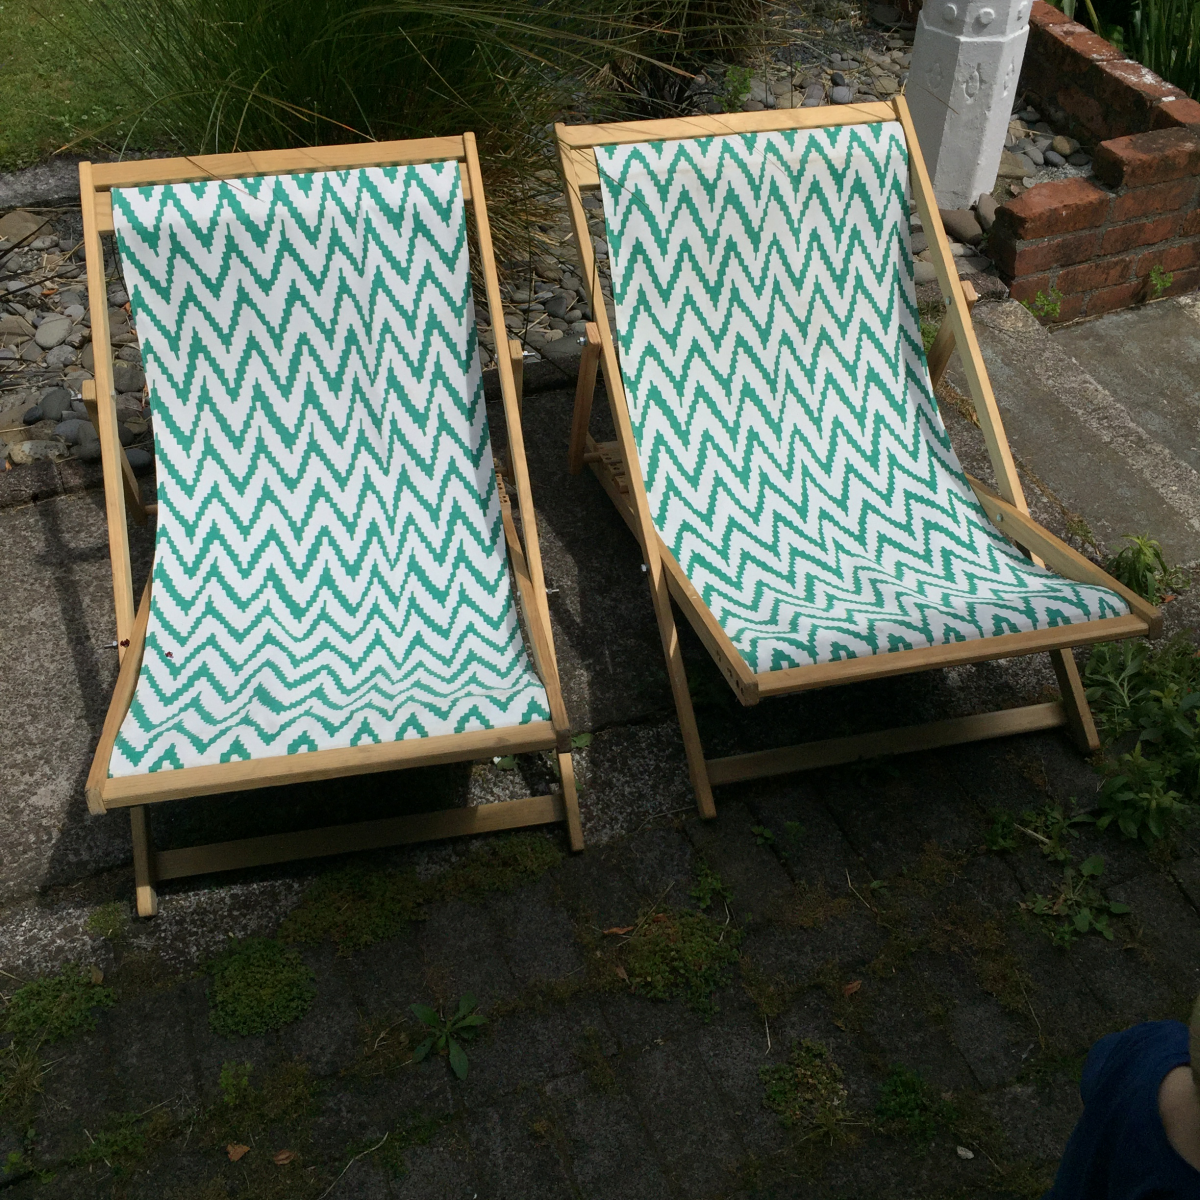
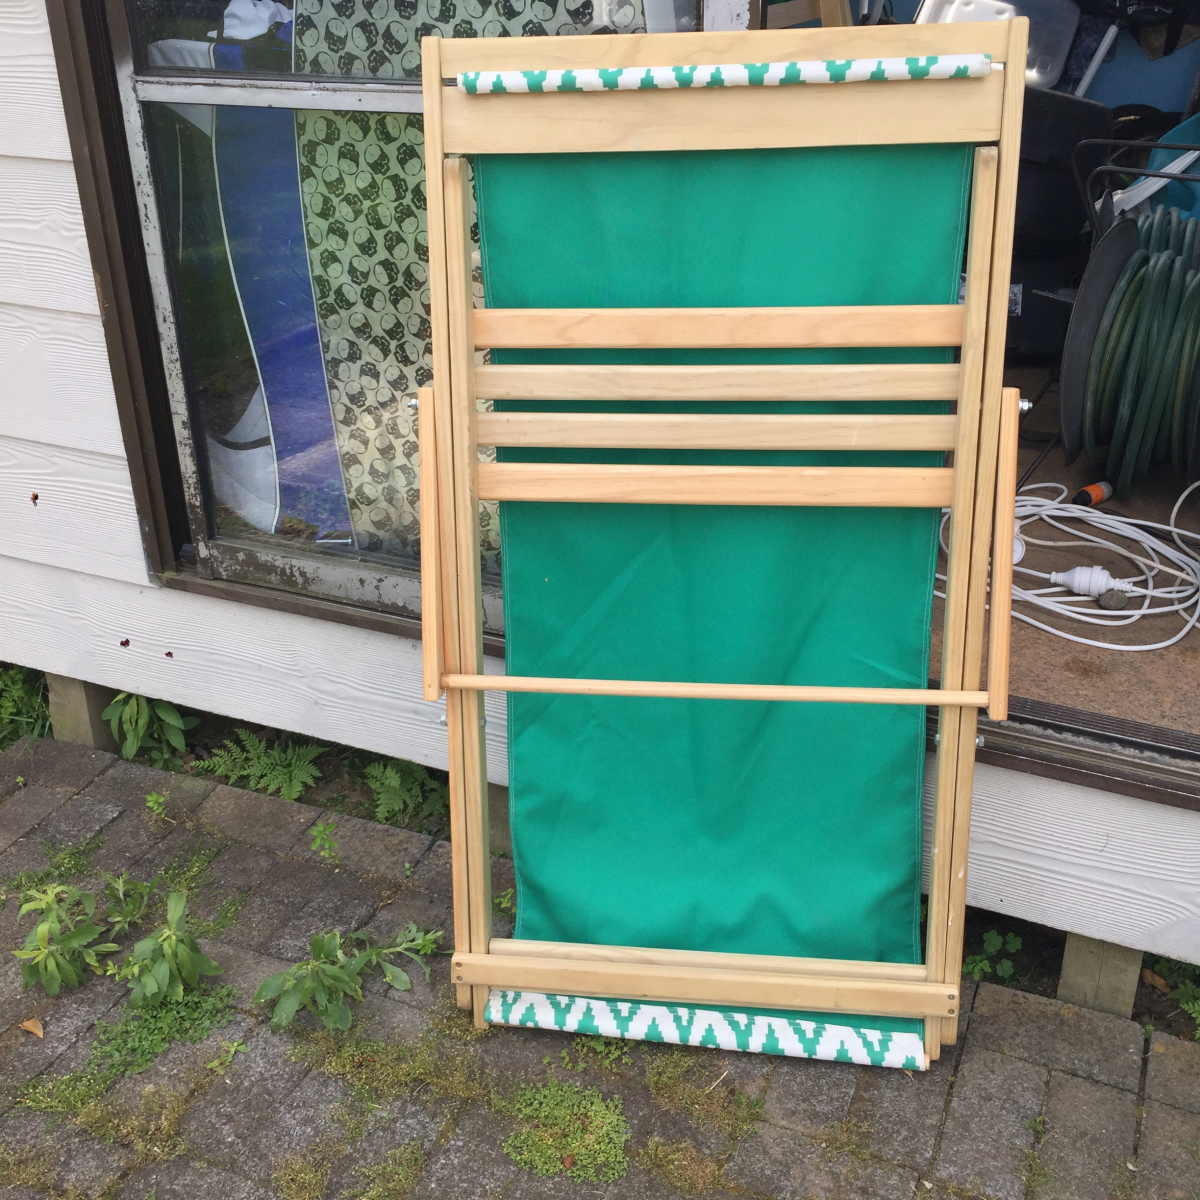
Wood working is a hobby I got into because my wife realised I needed something to take my mind off my job. I worked in IT when I started and I was coming home frustrated, annoyed, and often angry. I think she had an ulterior motive because when I suggested wood working she seems to have come up with a bunch of projects pretty quickly from Pinterest.
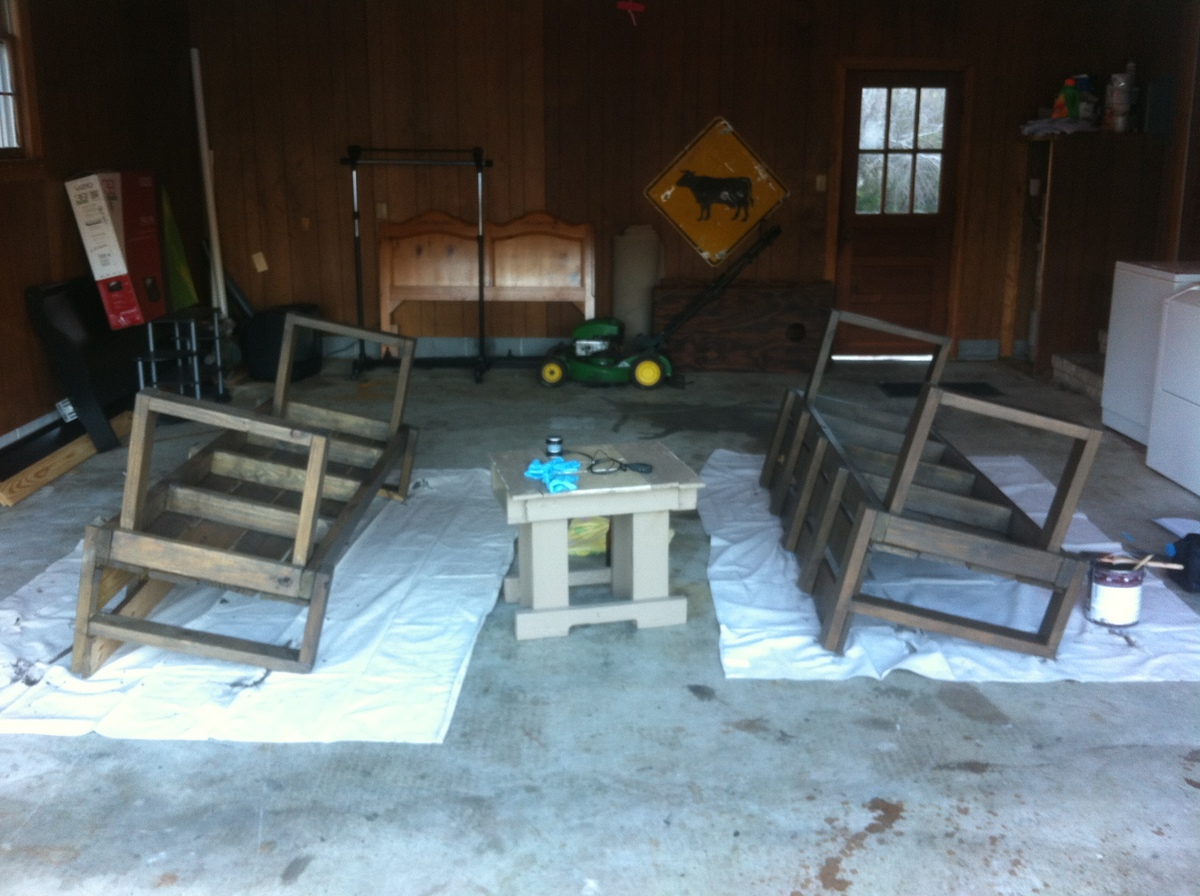
My first real project these deck chairs which I really enjoyed making. I've made a couple of changes to these since making them by removing the bolts and replacing them with 20mm dowel with a 4mm dowel pin. These work really well and stops us from getting shredded by the bolts.
I purposely left unfinished because I was basically developing them at the time and then just kind of liked the look as they got older. Basically these chairs are now about 6 years old and still going strong.
I'm looking at making some more sets for friends.
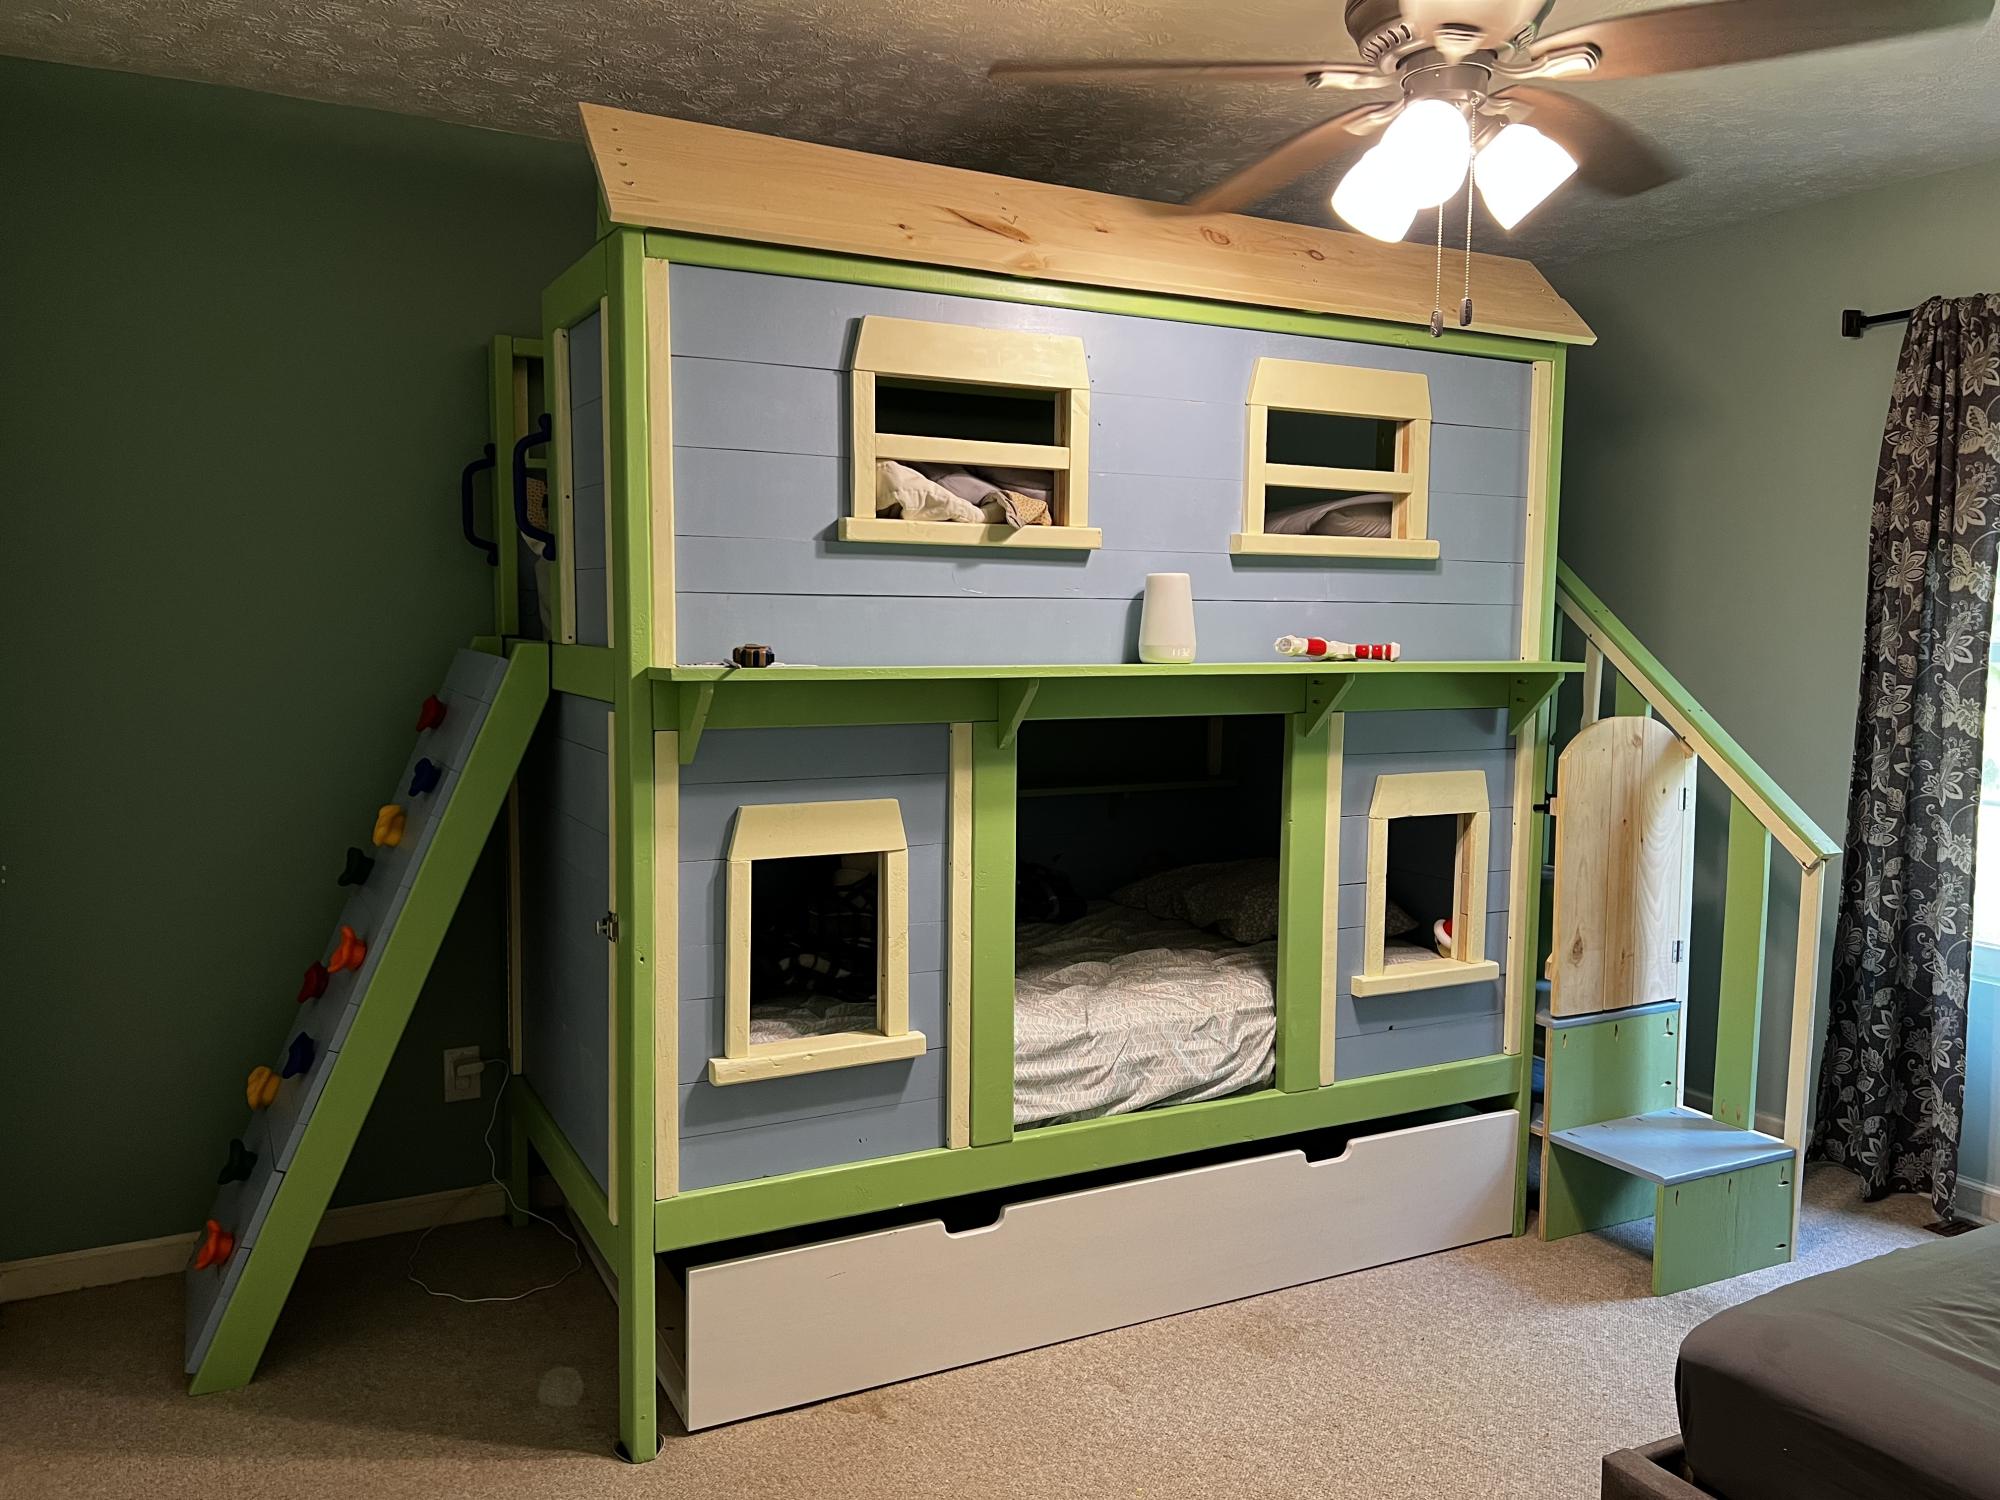
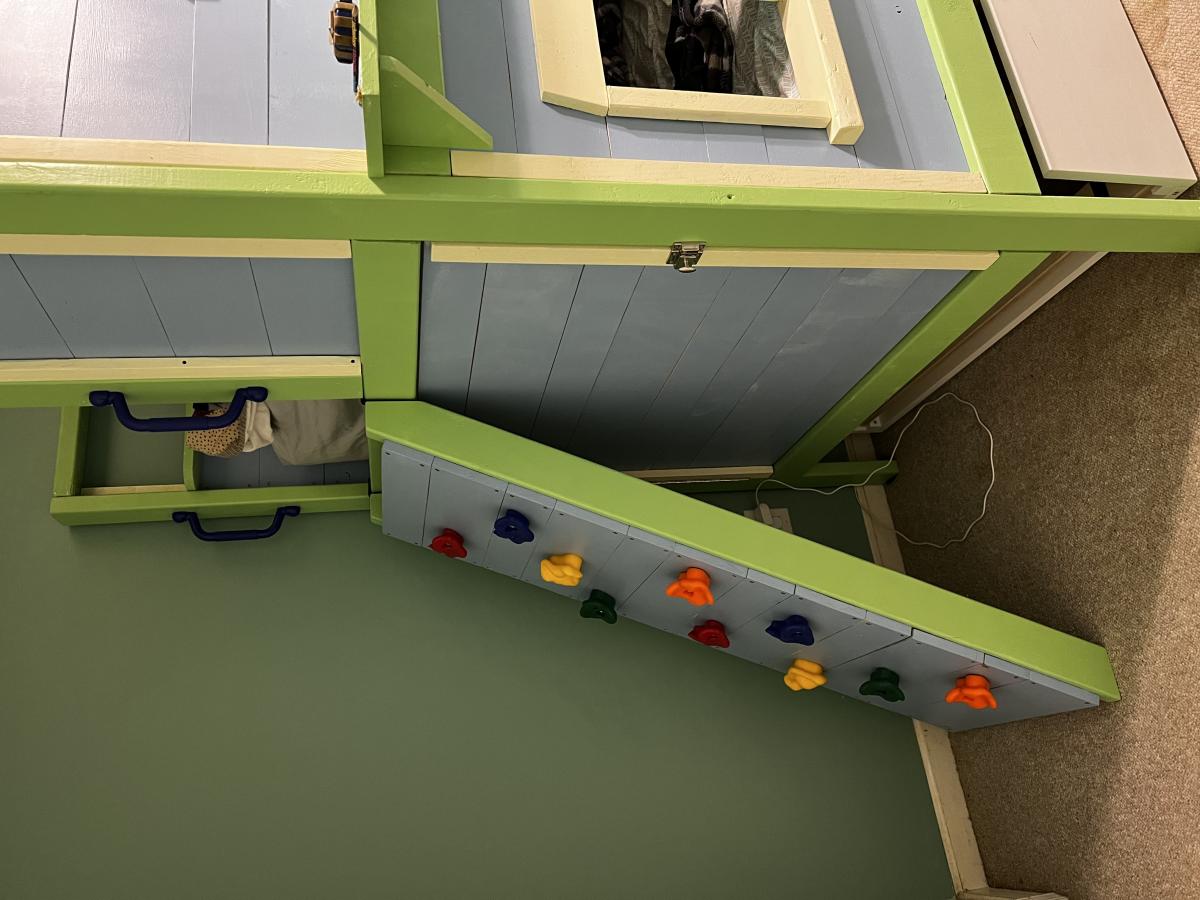
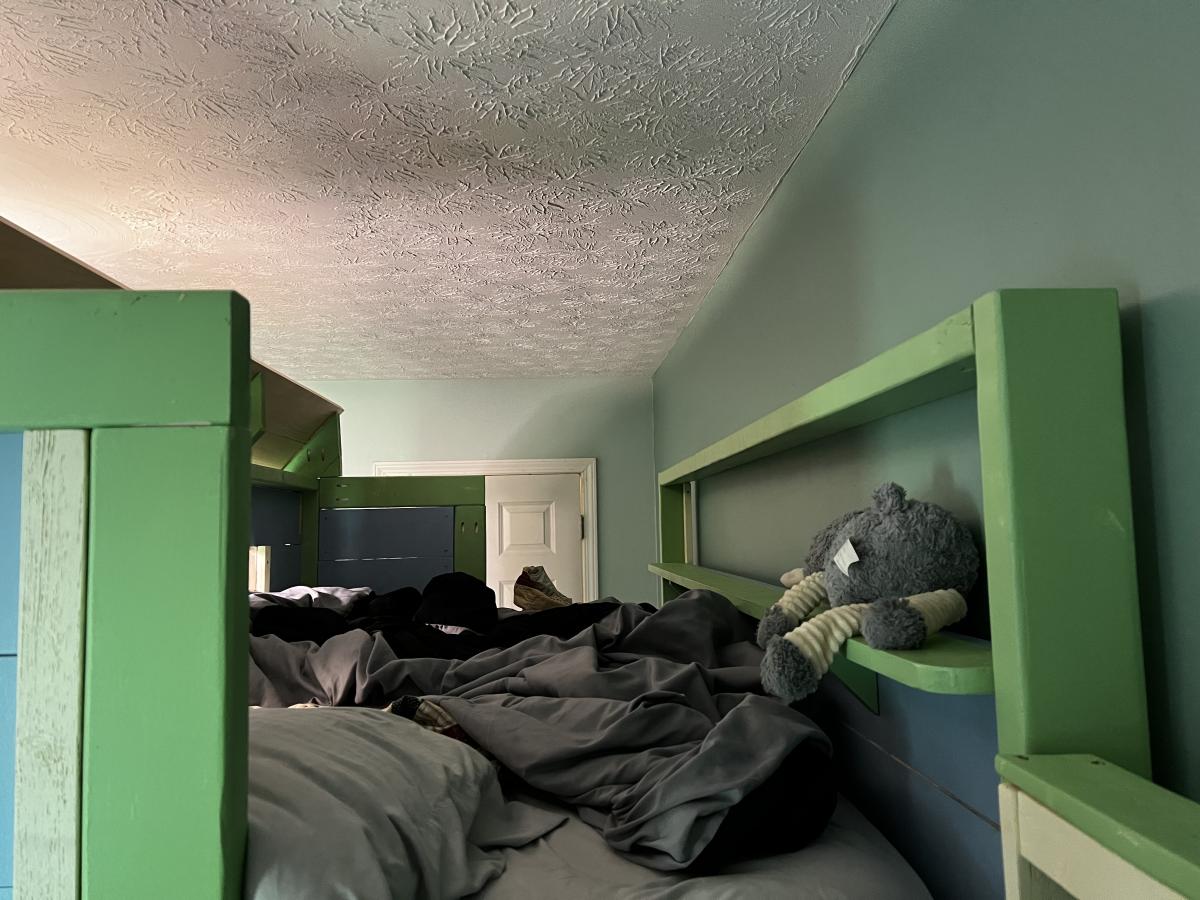
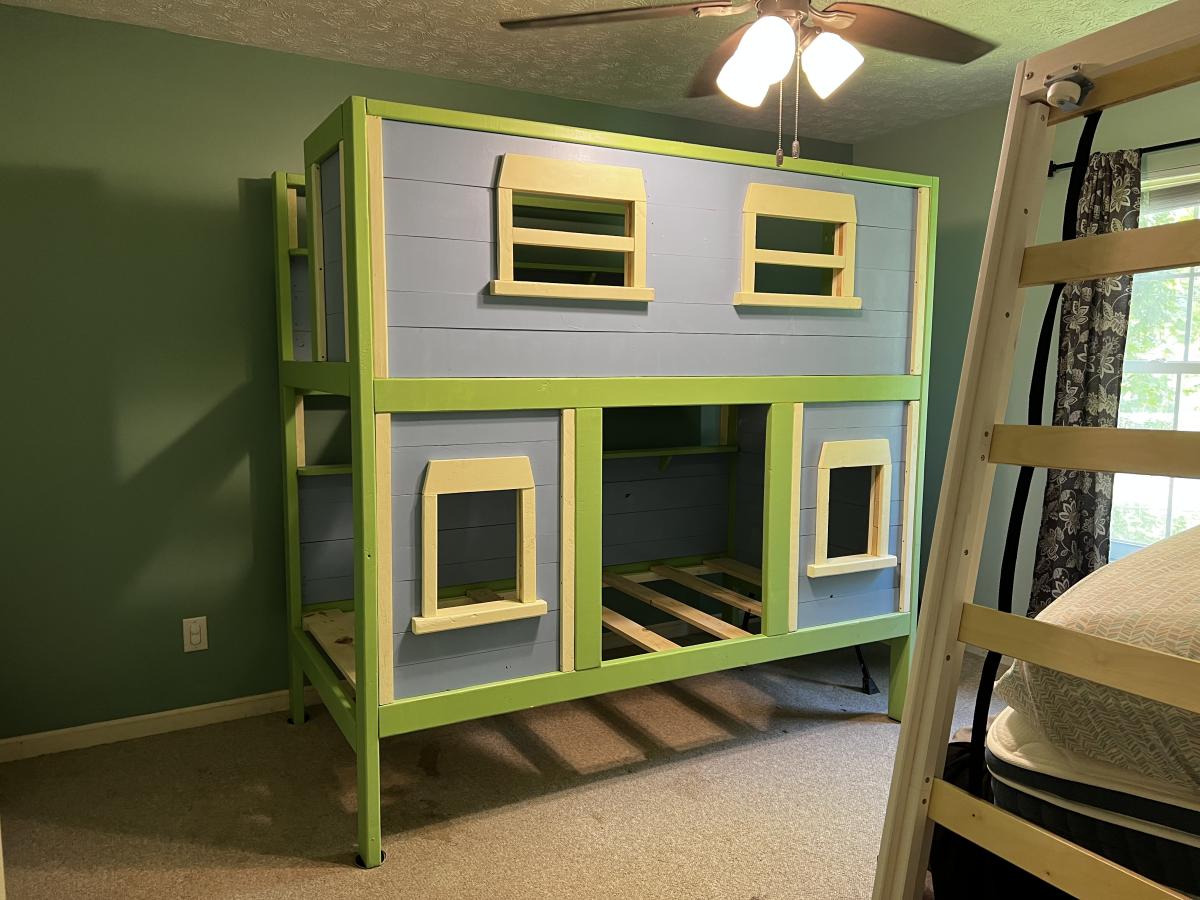
My oldest boy has been begging for Bunkbeds. With his birthday coming up, I searched to purchase some bunks. I didn’t really like what I found and remembered this site. I fell in love with the sweet pea bunk bed and knew I had to make it for my boys.
It took about a month for me to complete. But I was working about 3 hours daily. One during nap time and two after bed time.
Overall, the plans were very clear. There was one part I can’t remember where the measurement was wrong. Definitely read the plans to make sure. I’m sorry I can’t remember where it was at the moment. These beds are awesome! They are so cozy and fun. Both of the boys love it and my oldest definitely thinks I’m the best mom ever! Thank you for the free plans!

Sat, 05/20/2023 - 16:20
WOW, this is amazing, thank you for sharing! I'm sure they love it.
I just Built two of these for my wife and I. the plan was great and easy to follow for the most part i would really suggest spending as much time on the drawers as possible it makes such a big difference getting them to slide easily. now hopefully with anyluck ana will find time in her busy life to post a farmhouse tallboy dresser plan or something close to it!

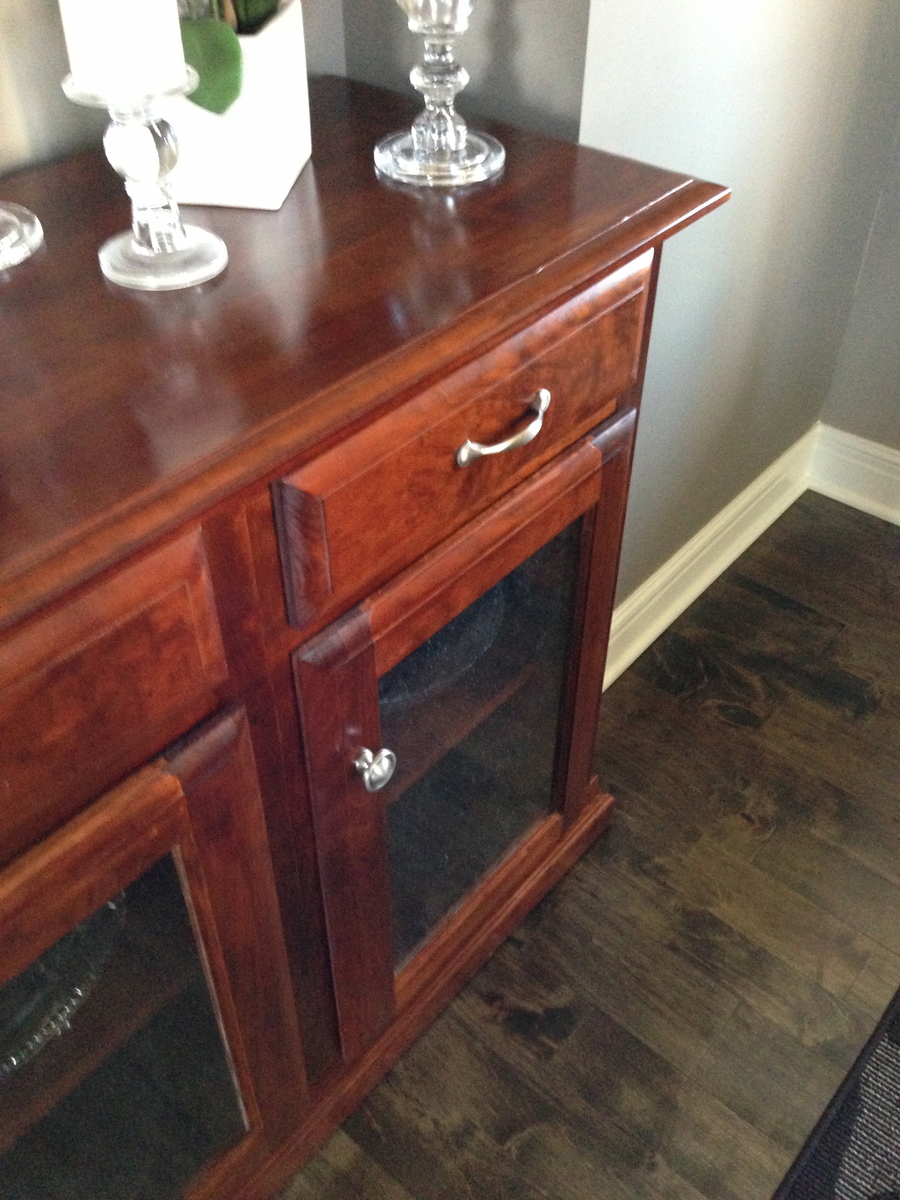
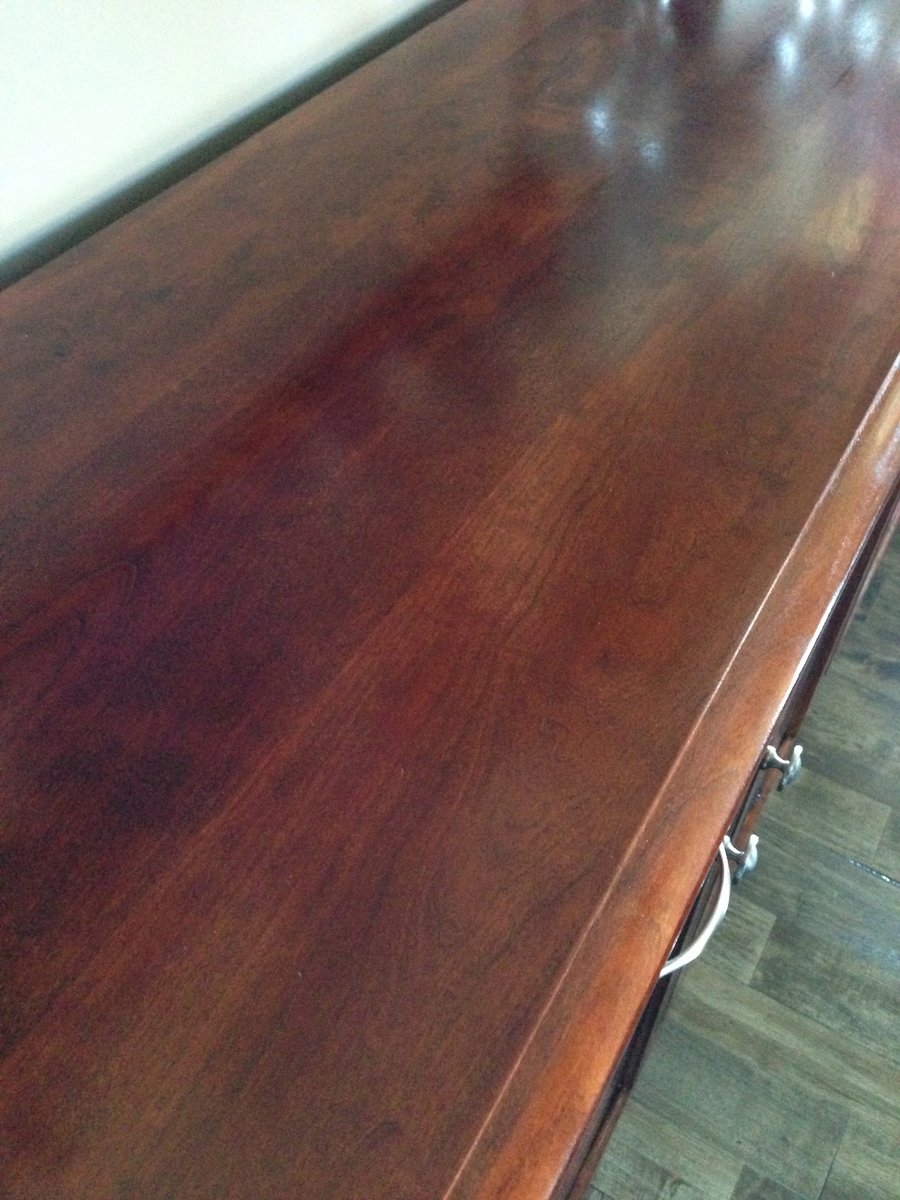
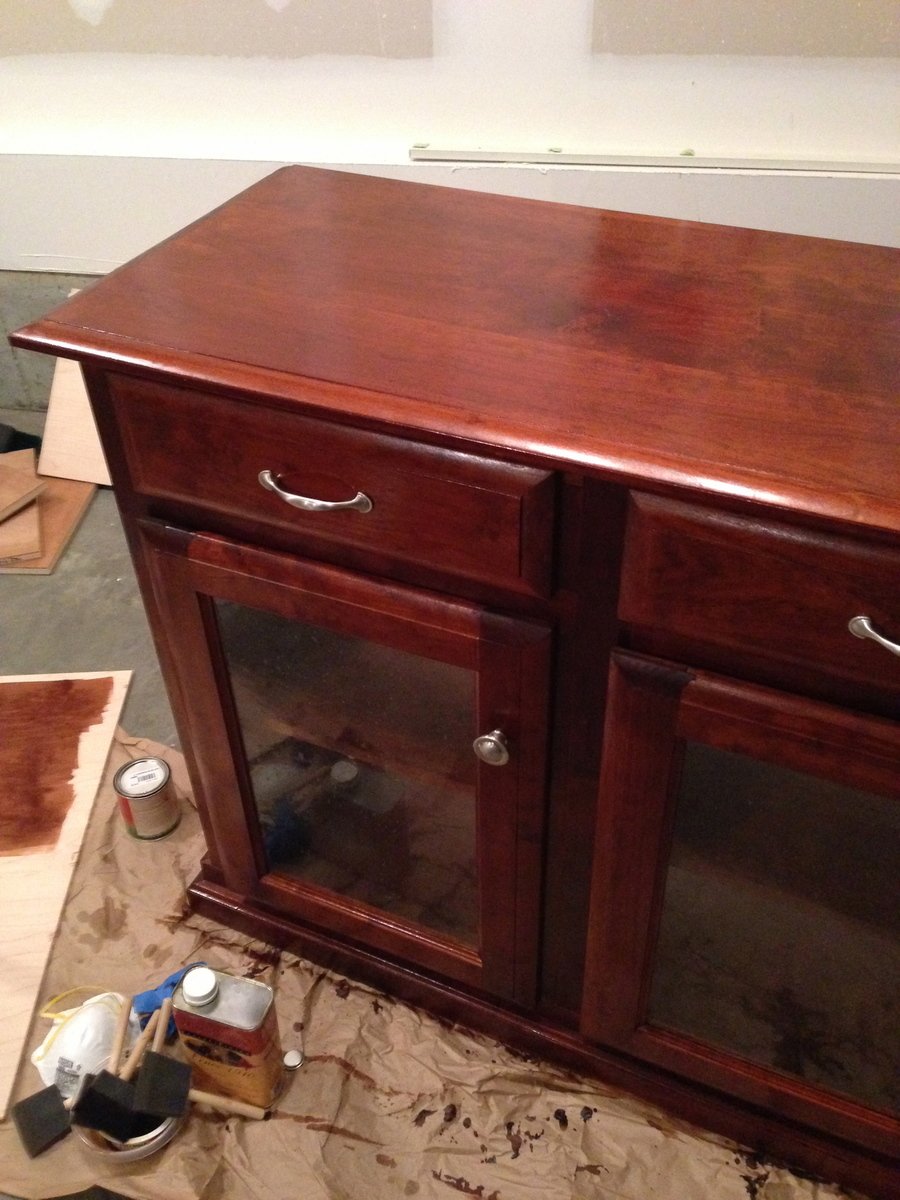
Worked on this piece on and off for about 4 months! Was hard, but worth every penny. Spent about $300 on materials. Has seeded glass inset cabinet doors with soft close hinges. 80" long x 34" high x ~ 20" deep (I think). Bought black cherry through a specialty lumber supply (I highly recommend cherry!!). Used a cherry dye on it, and Waterlox original to seal it.
Sat, 11/30/2013 - 12:22
Hey johnhawkfan56,
It looks awesome man. Great job! Got some questions. Would you mind telling me a bit more about the top? I'm assuming you used 3-4 boards glued together? Would you mind sharing some details about making and gluing up the panels? Did you use pocket holes or maybe biscuit joints to keep them even? Did you use a jointer or a thickness planer for the boards? Lastly the finish is incredible. Any pointers or tips on applying the dye or Waterlox?
Thanks
Joey
Sun, 12/01/2013 - 13:08
Joey-
Used a biscuit joiner to put top boards together, it was 3 boards of differing widths. A lot of times with the different woods (cherry, walnut, etc) the boards aren't as uniform. Don't have a planer or jointer, so just got lucky/used some heavy sanding with orbital to smooth things out. The finishing was really easy. Go to a specialty wood shop and ask for cherry dye that penetrates the wood well. Only one coat is needed. Keep in mind, some folks don't recommend dyeing or staining cherry because sunlight naturally darkens the wood to that color. For waterlox, make sure it's in a well ventilated area. I sanded to 240 and did not sand between coats. 3 coats would be enough. Waterlox on cherry alone looks fantastic as well, but it's not that red right away.
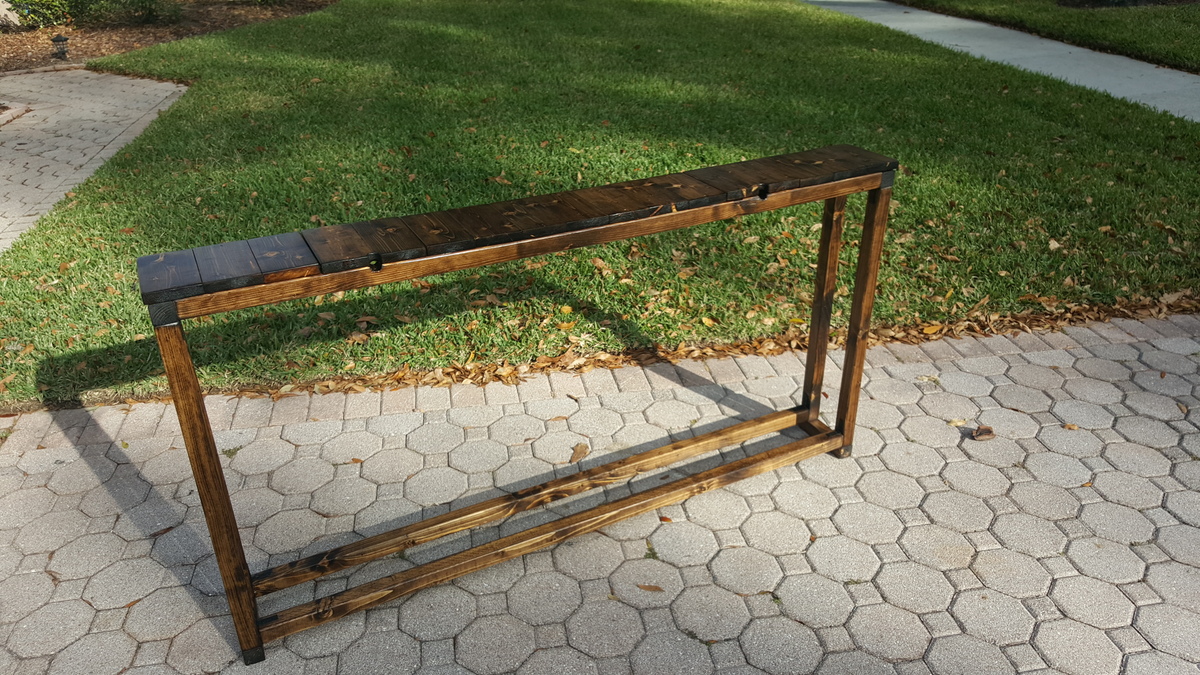
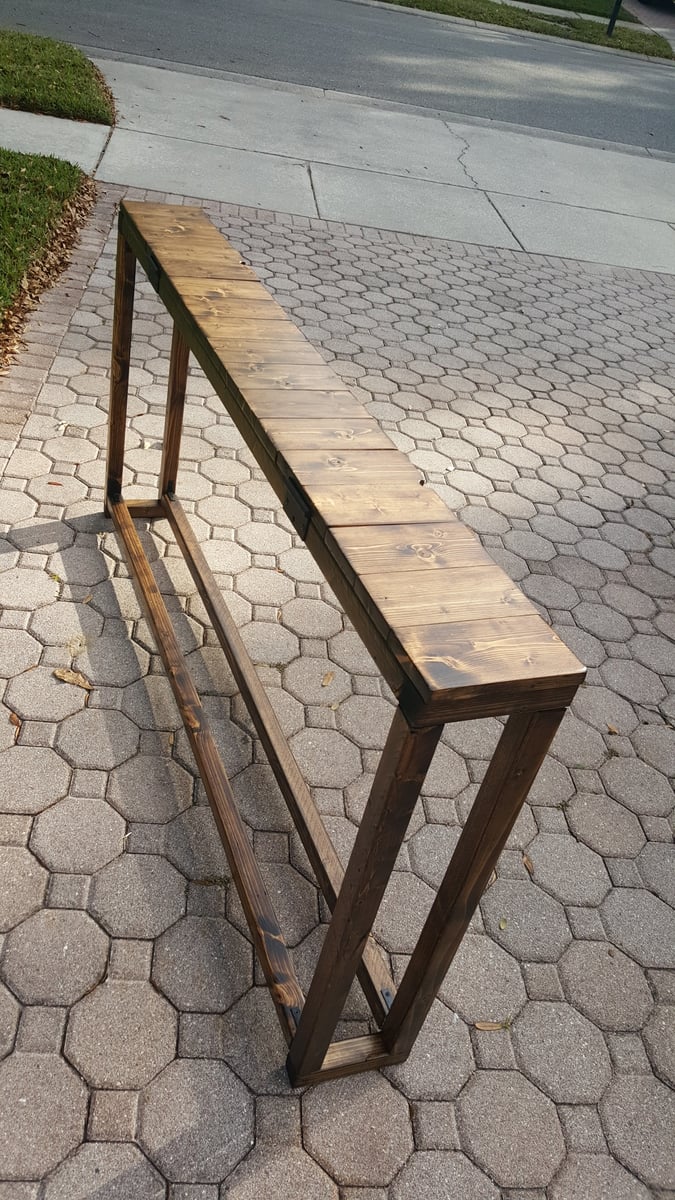
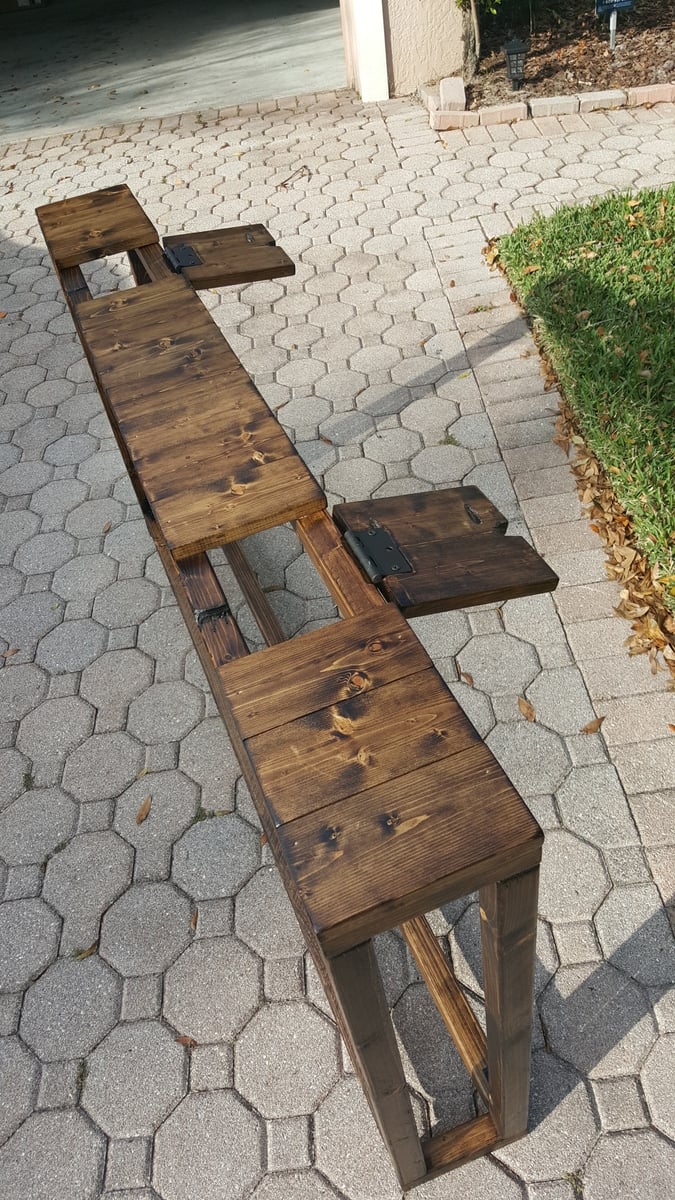
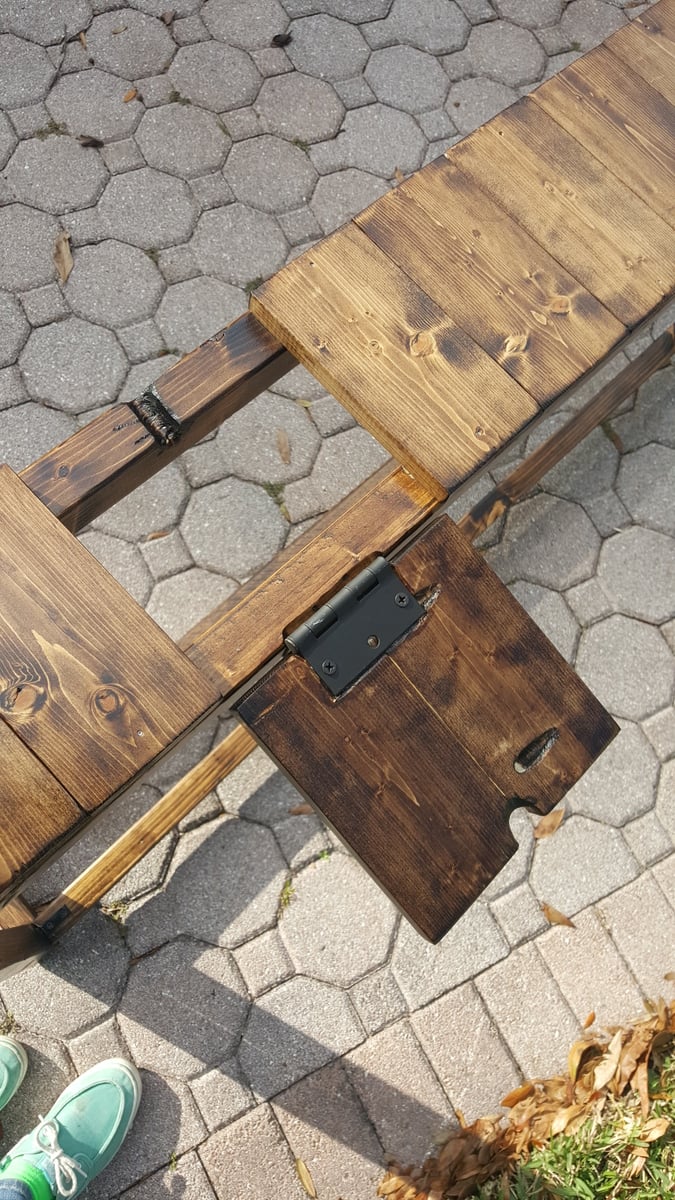
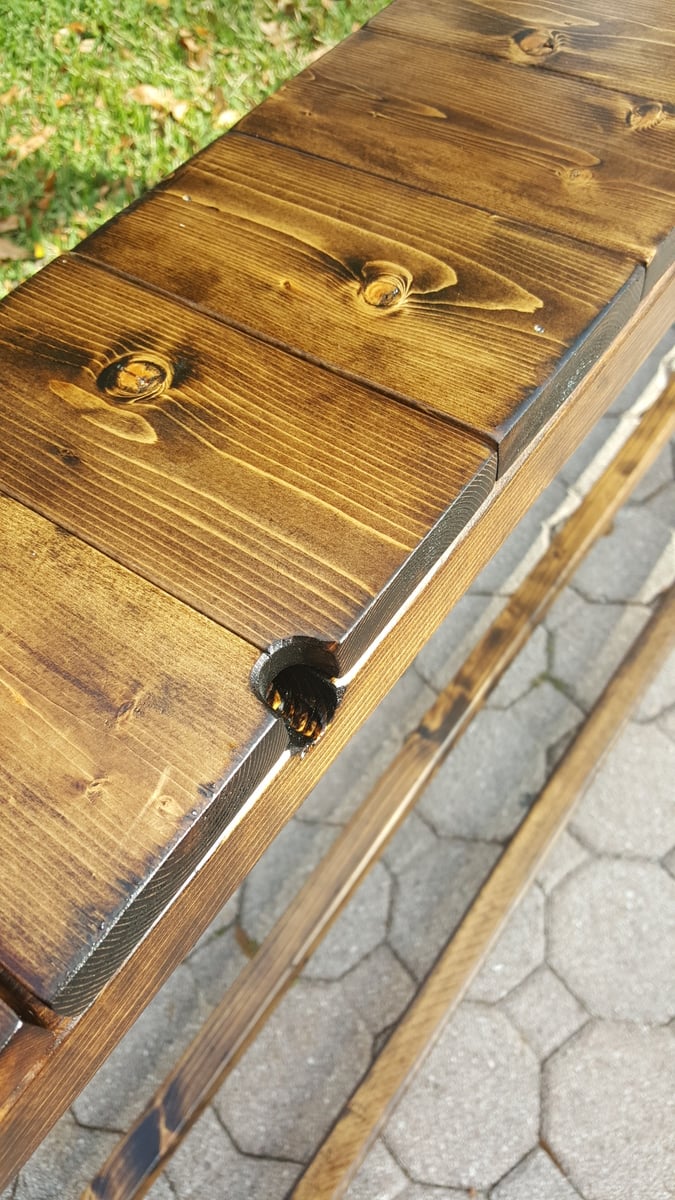
I based this design of the simple Sofa Table by Jenna Sue. Instead of a 2x8 across the top, I opted to use 1x4s side by side. This slatted look matched some of the other items in the house and to allowed me to create two hinged sections. These sections allow for easy access to wall plugs and include small notch for the cables to come through.

Have loved watching Ana's youtube channel for a few years now and finally got the nerve to try and make some thing. I have always made doll furniture so I thought that I would try and make 1:1 scale furniture. I loved that video she did on the no-pour concrete paver outdoor coffee table and thought that the plans would make a wonderful bench. It took me a couple of weekends but I did it. Added some little accent pieces to the corners cause the bench did seem a bit wobbly. But it still turned out well and I love it. You get such a great high off of making and completing a furniture build. Gave it to my Mom for christmas. She loves it. Only one problem is that everyone who sees it says that it's a lovely coffee table. lol
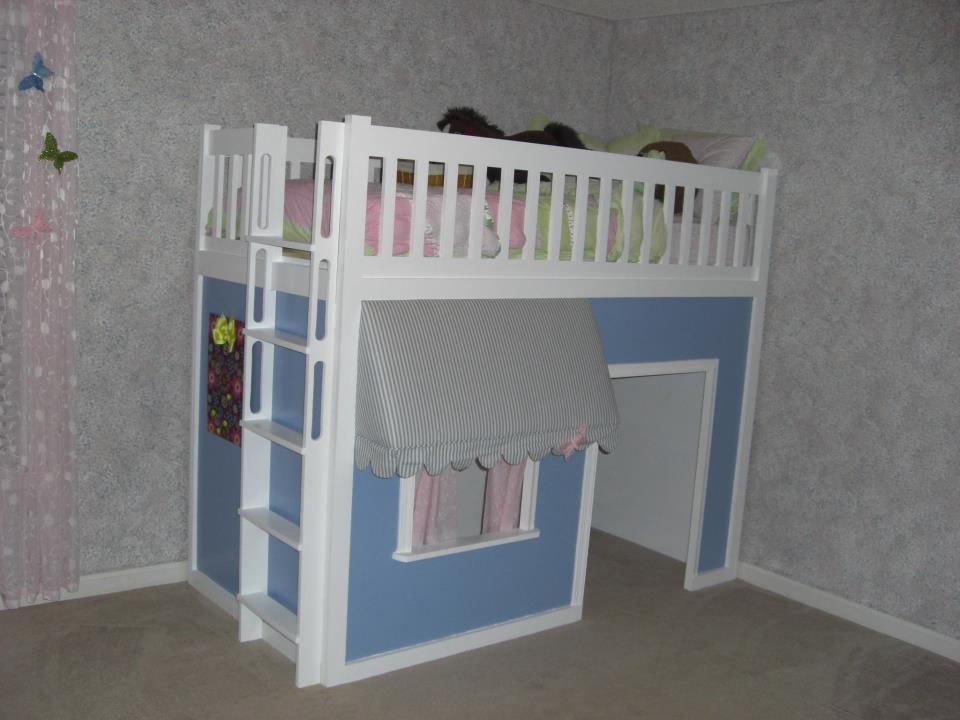
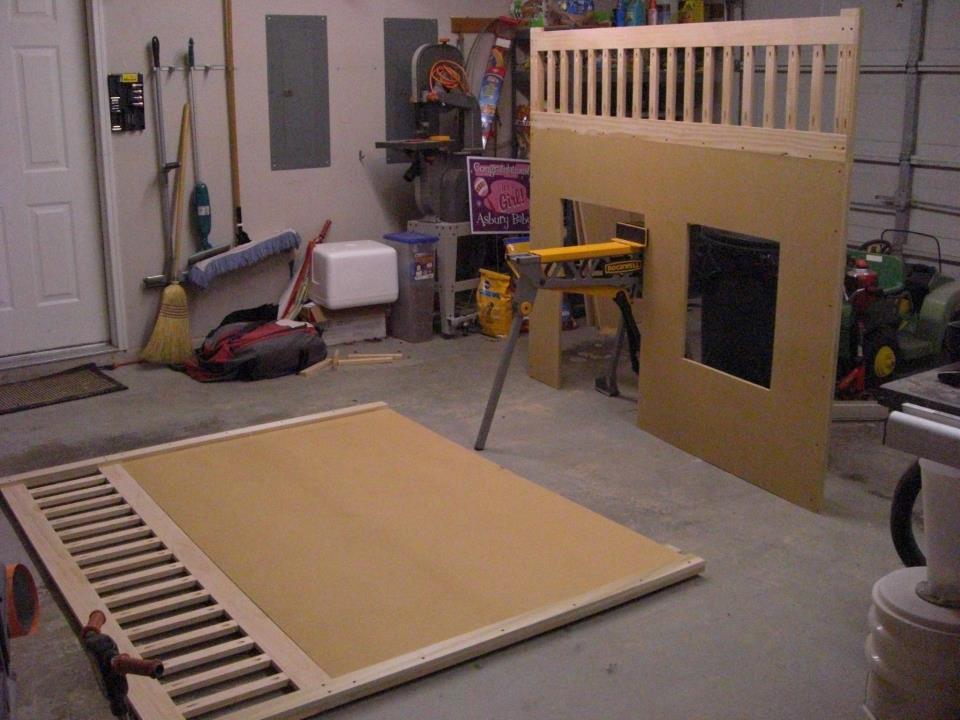
This is another one if your popular loft bed houses. Thanks very much for the plans! I changed a few things, but not as dramatic as others have done. Was a fun project and my daughter actually helped. One spur of the moment idea was to allow her to paint a mural on the backside so that in few years when she out grows it we'll be able to look back and remember how we built it together.


Thu, 01/12/2012 - 19:36
Love the awning! And the painting on the back with the date. Nice touches!
Fri, 01/13/2012 - 18:02
Super cute! What a great project for you and your daughter!
Sat, 01/14/2012 - 10:34
You guys did a great job - very cute! I also love the idea of a hidden mural that you get to revisit in the future. So cool!

This workbench was really easy to make and is, in fact, very sturdy. I modified it slightly, taking inspiration from (I think) the first brag picture on this and added a pegboard, work light and top shelf, which in my opinion drastically improves the overall functionality. The plans call for 9 2x4s but in order to get the result as-is, you only need six. PS- I'm not sure why the pictures are coming out sideways, but I don't see a rotate button!

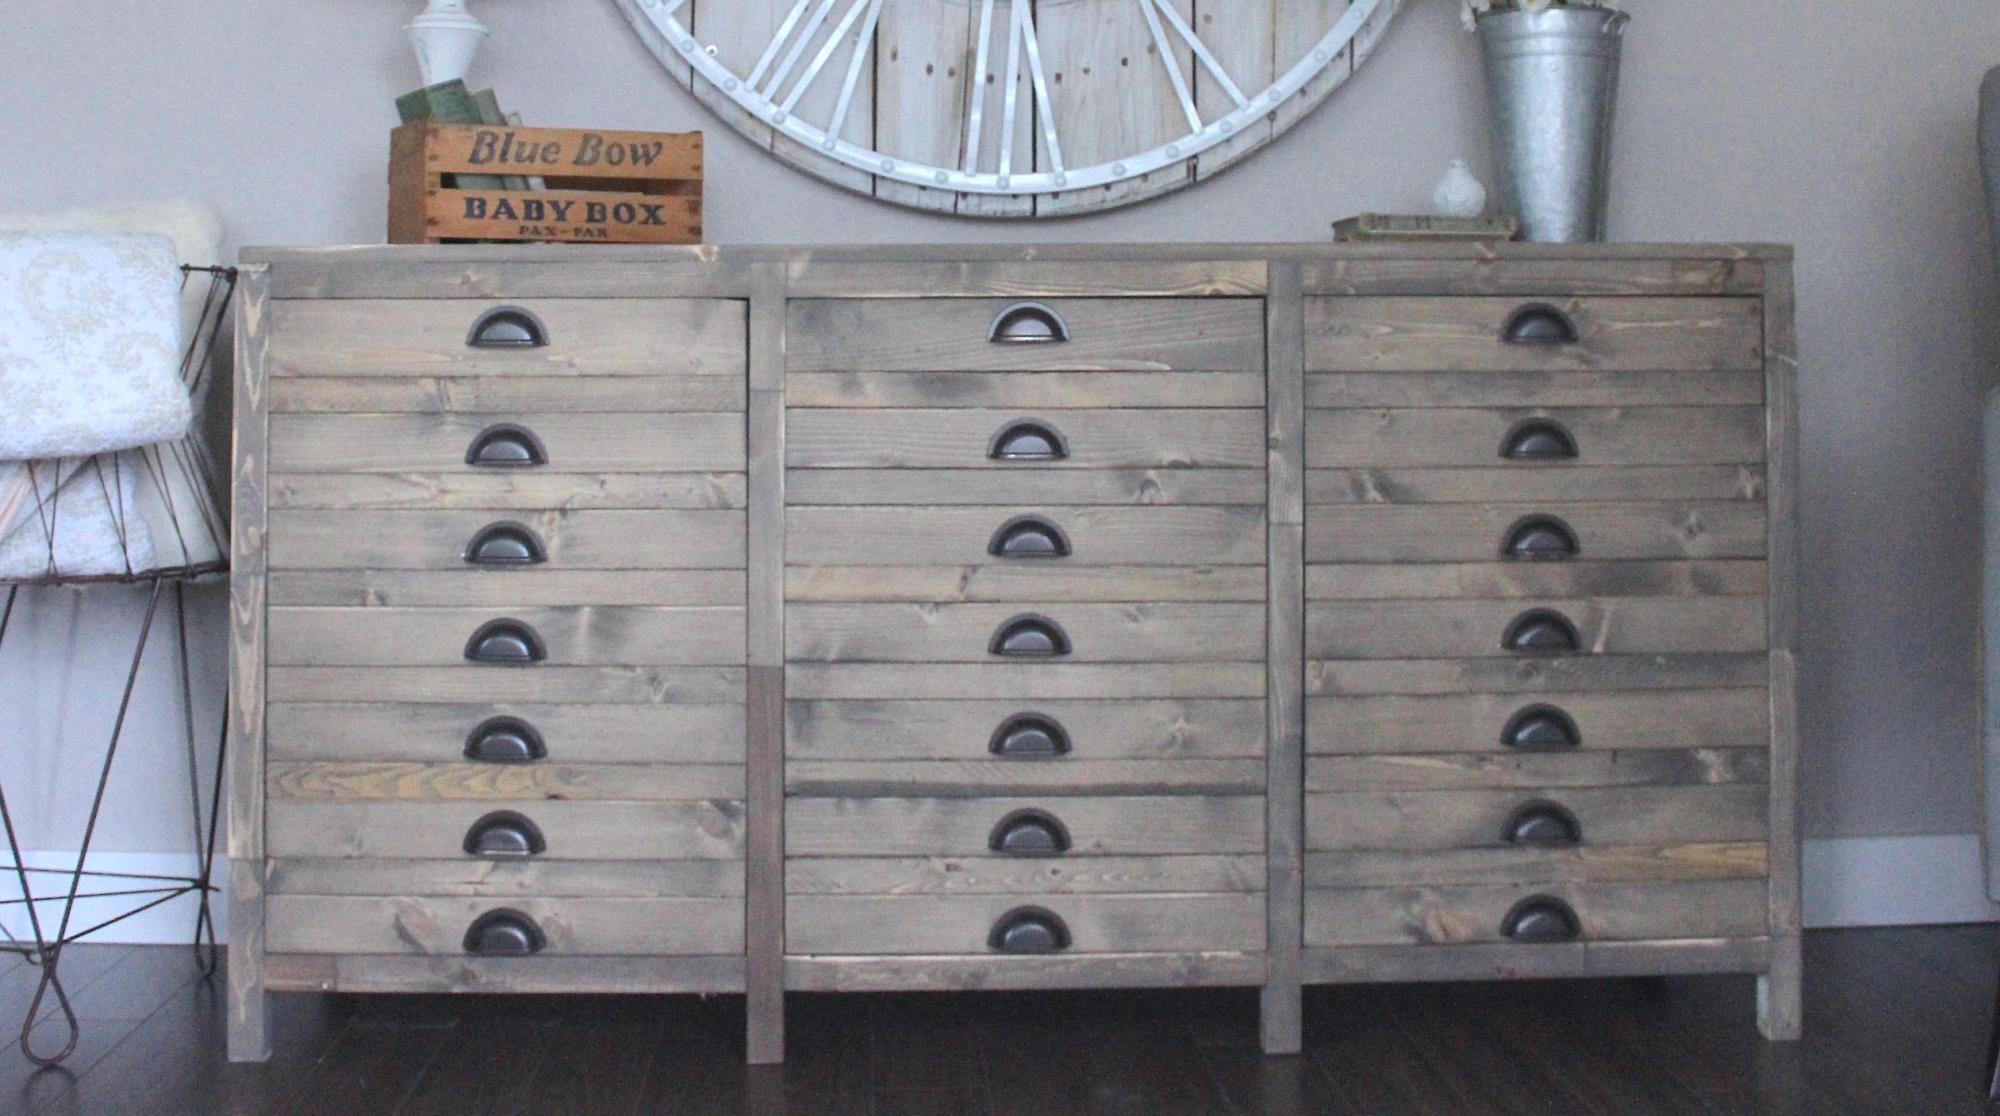
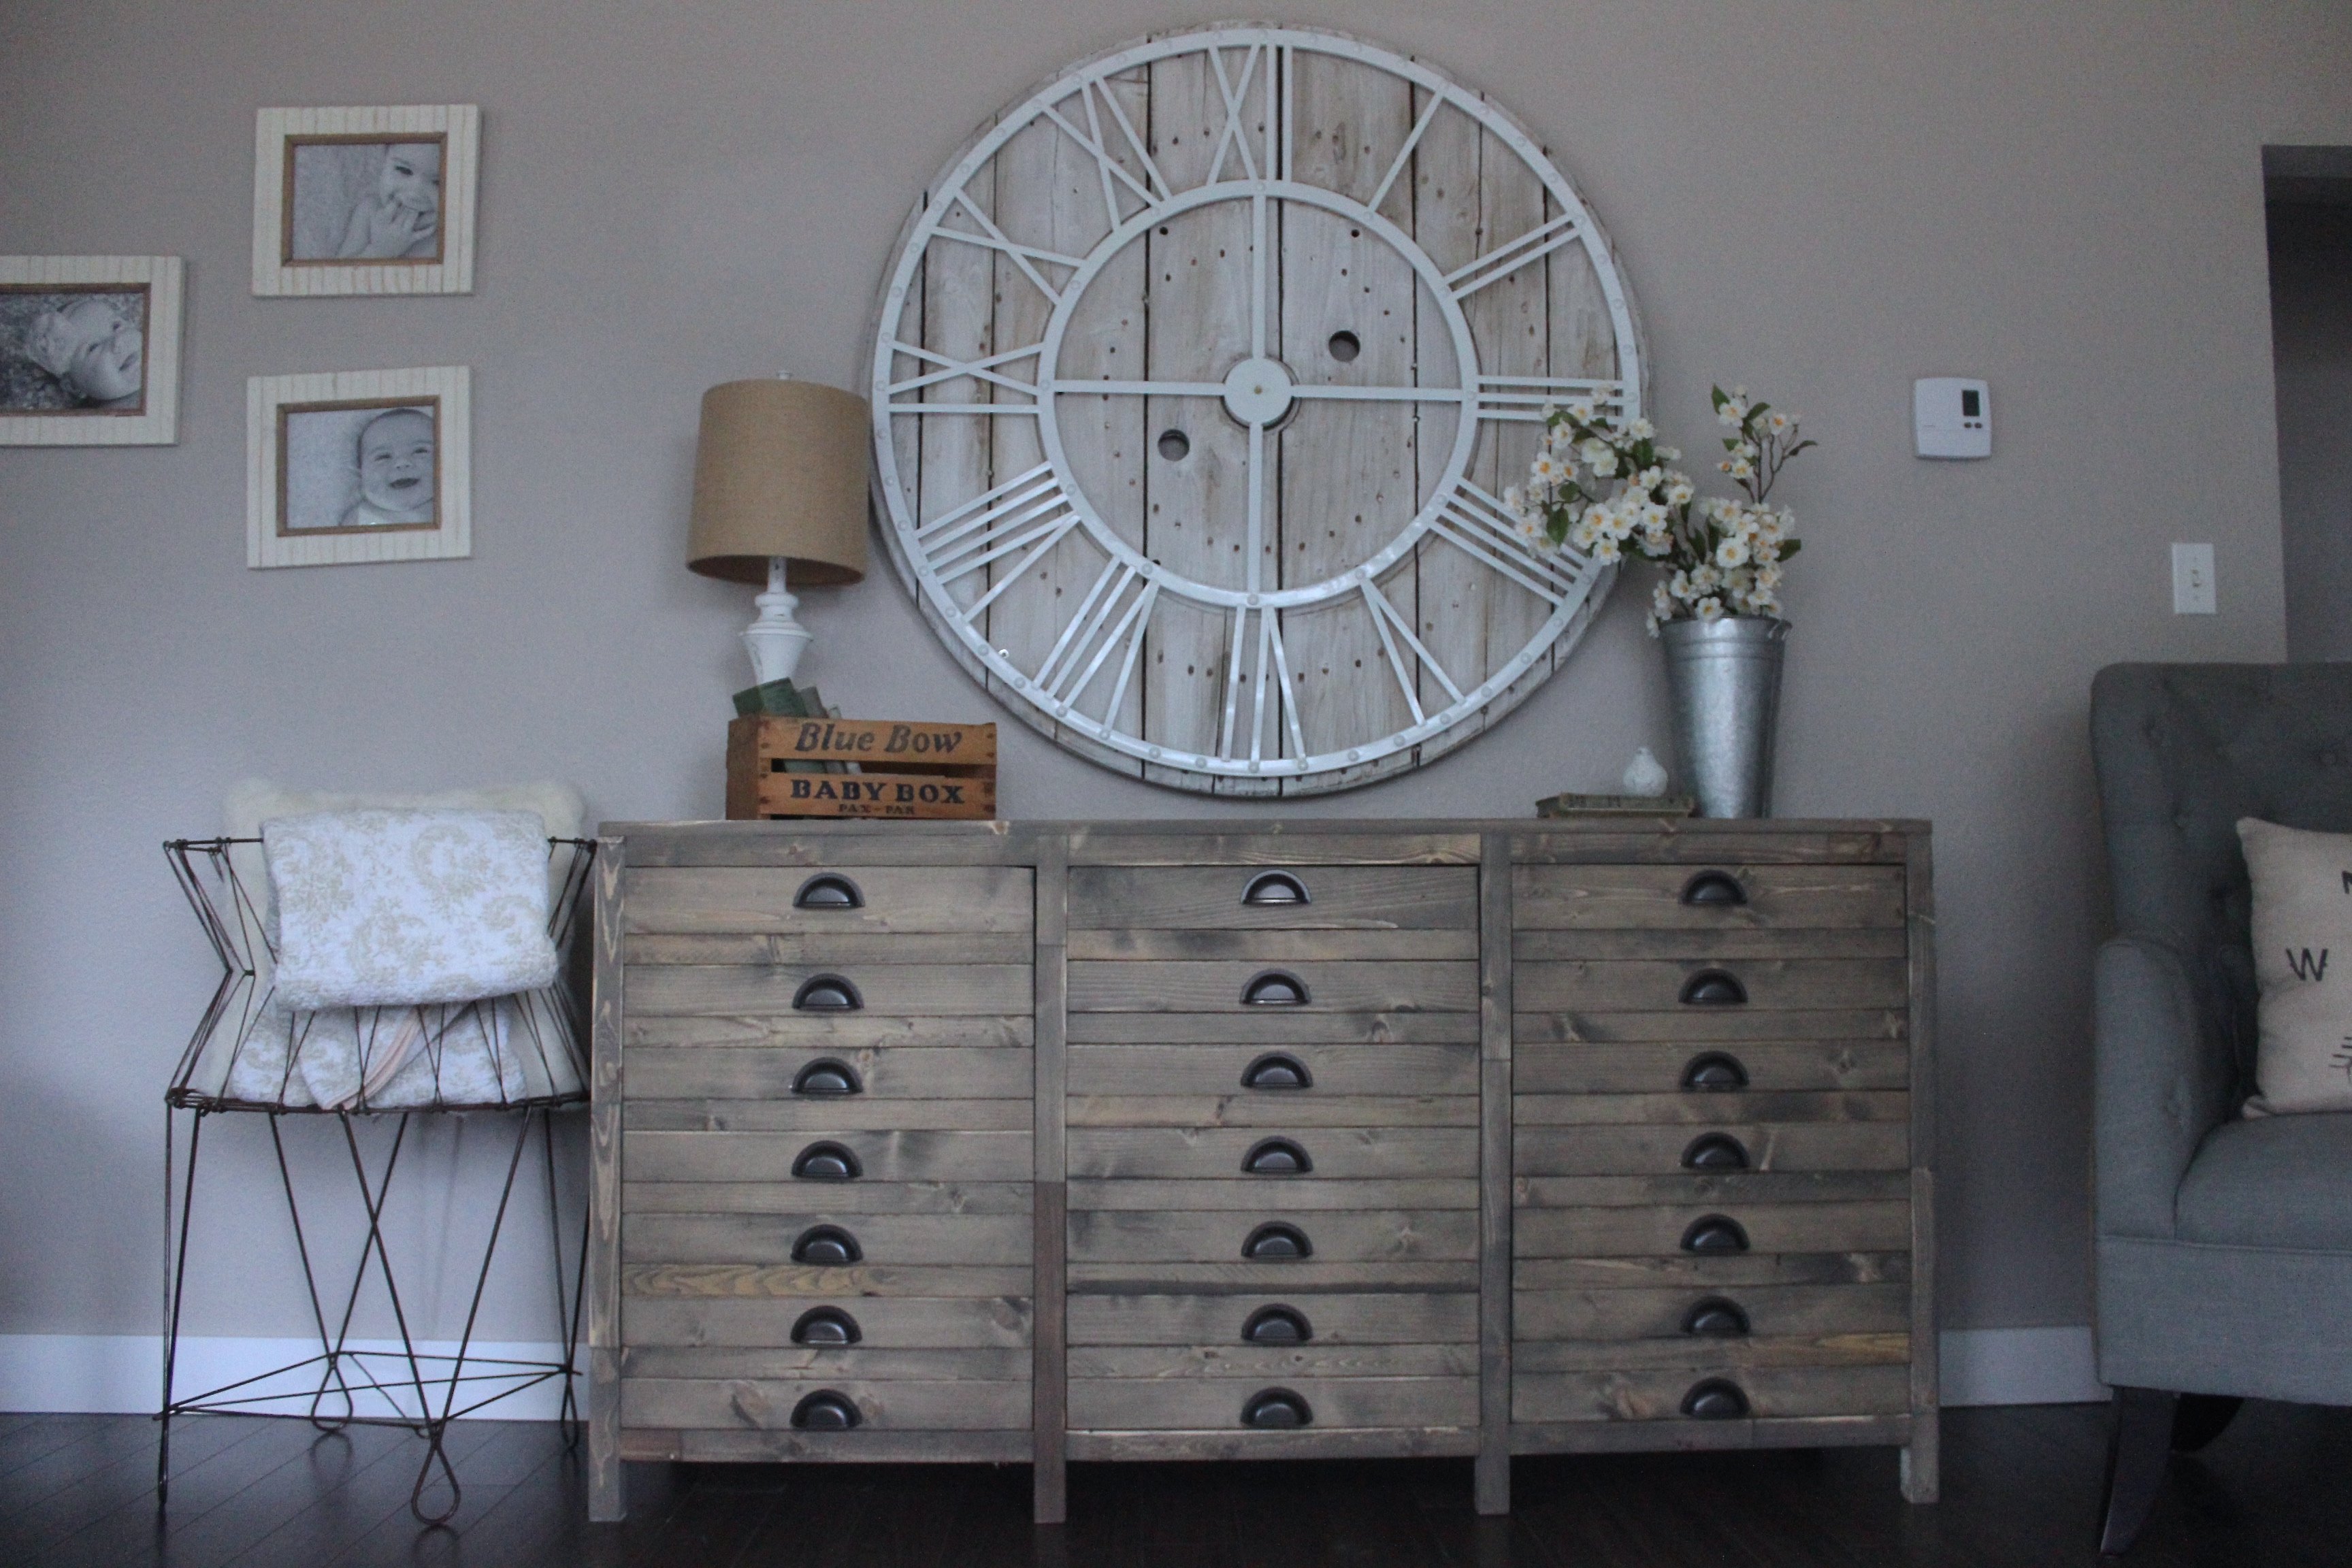
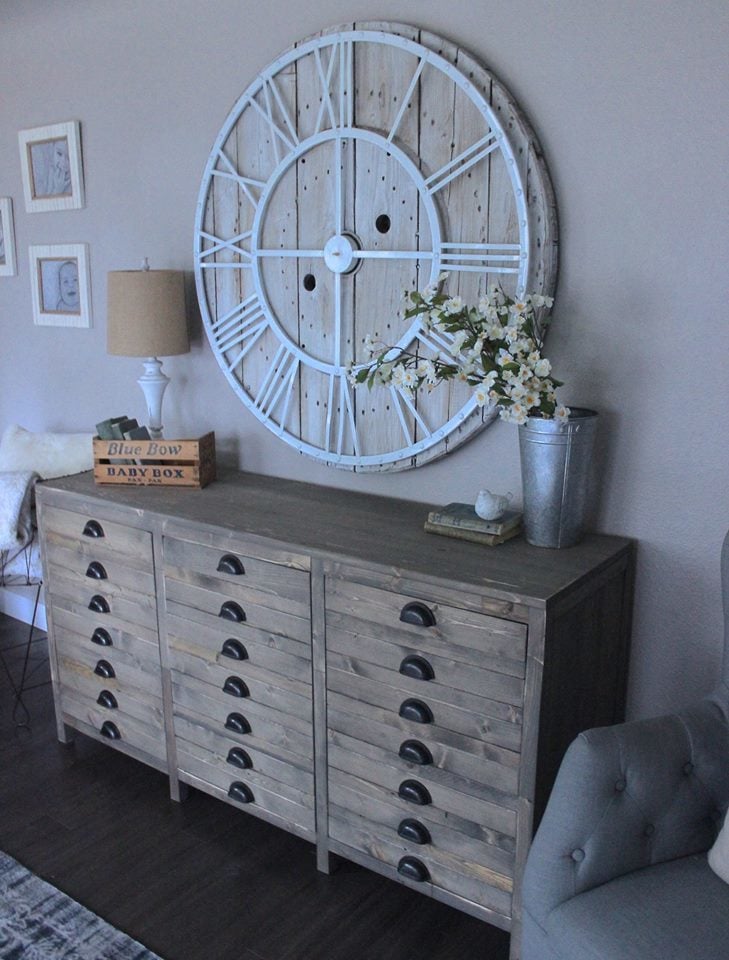
I've been seeing these gorgeous printer cabinet everywhere. I mean everywhere. I had wanted one for a long time but they looked complicated. I mean, they do, look complicated.
Finally we bit the bullet and got to working on this. We started at 3:30 on saturday, worked until 6:30 and then worked on it 9 am - 12 pm on sunday. 6 hours and we made this.
I know it might take some a lot longer, but we build furniture for a living so we might be a bit faster in the building department.
Husband built, I sanded, stained & varnished.
It is stained in our custom beachwood mix. Head on over to our blog to read the full story.

Comments
Ana White Admin
Tue, 05/02/2023 - 07:09
This is so great!
Way to go, it is beautiful and functional! Thanks for sharing.