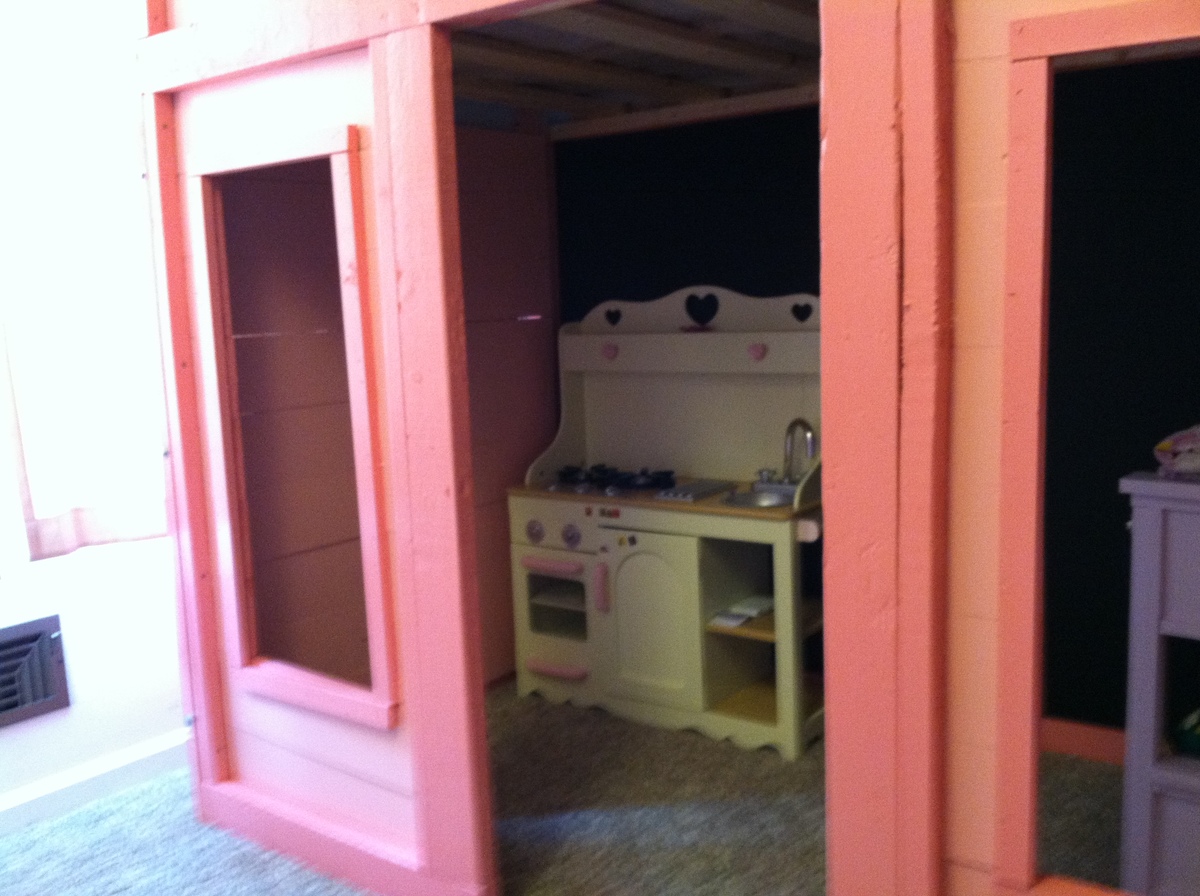
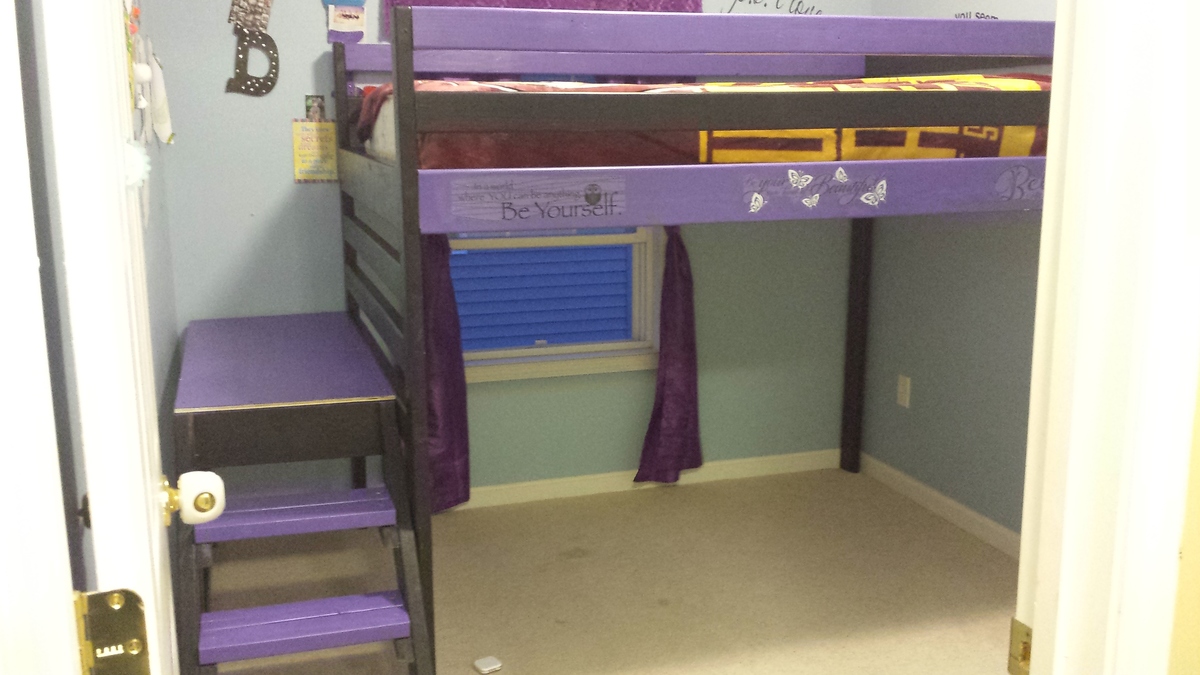
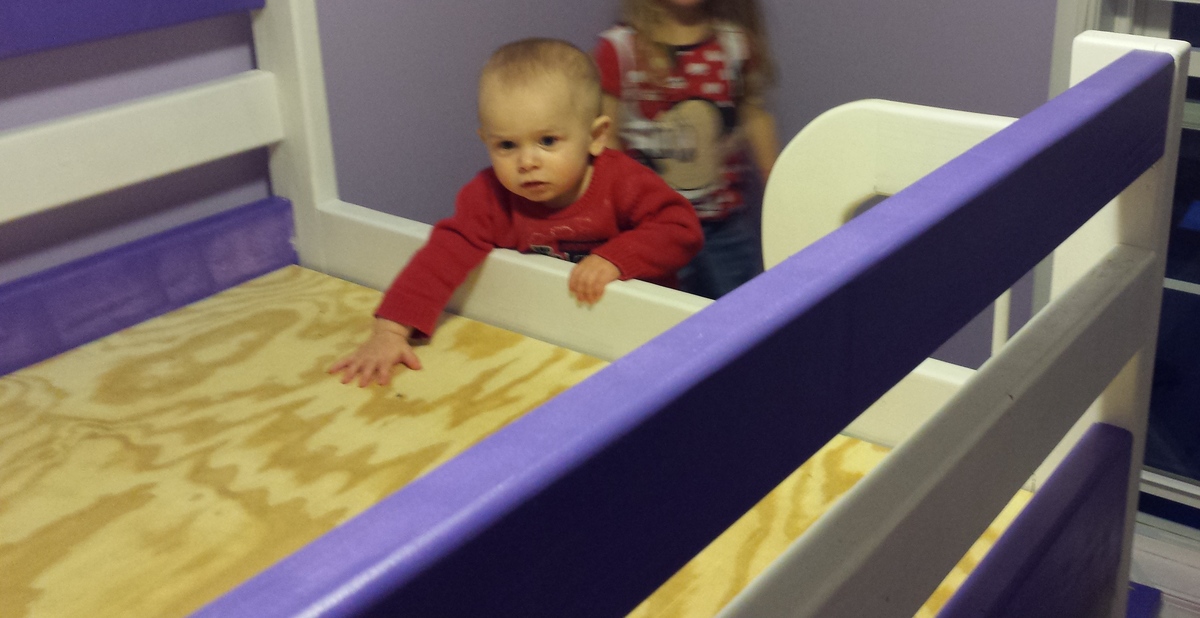
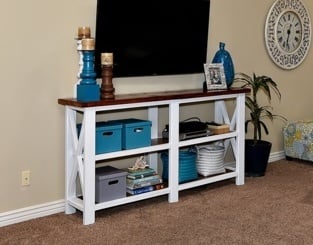
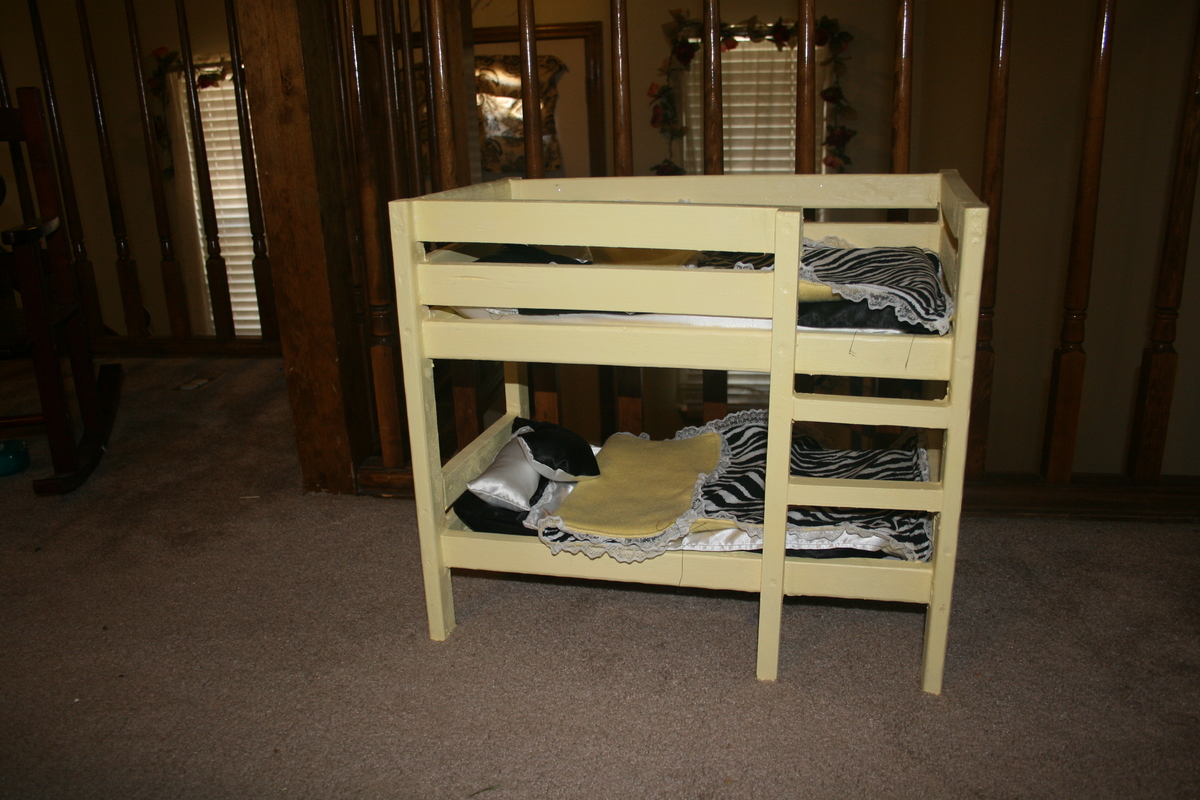
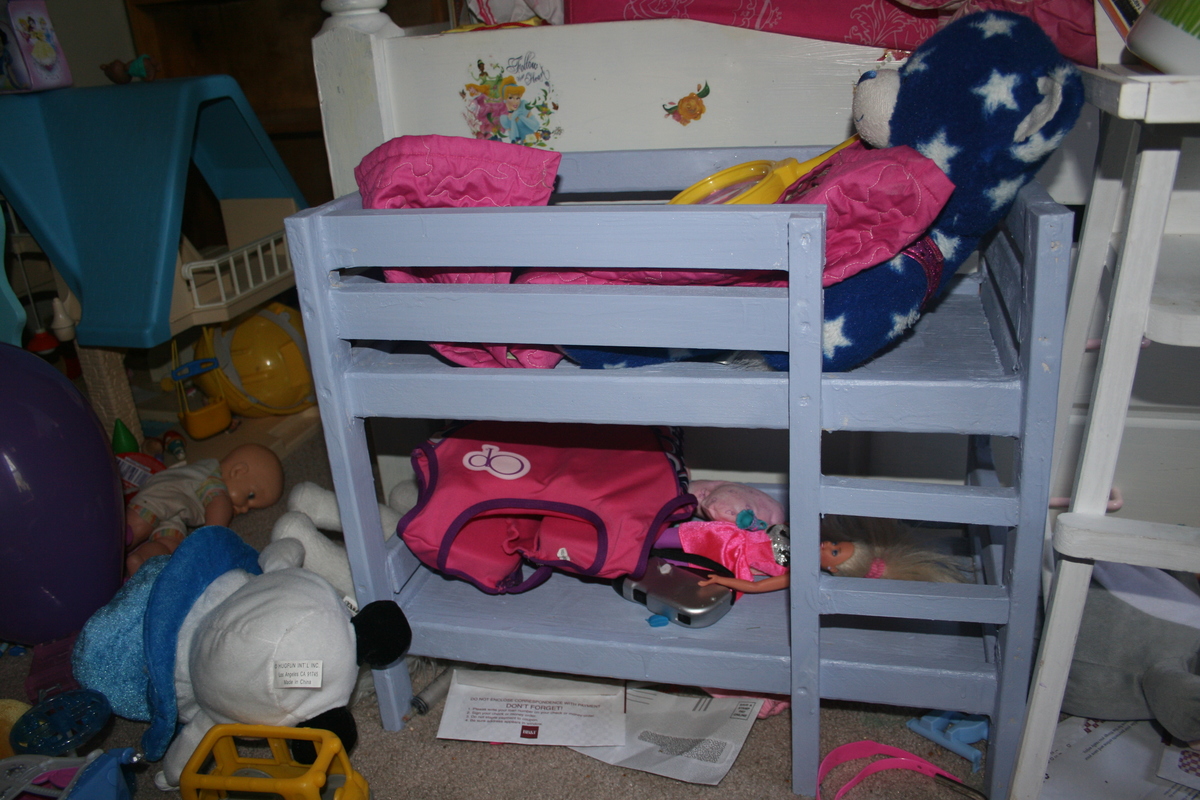
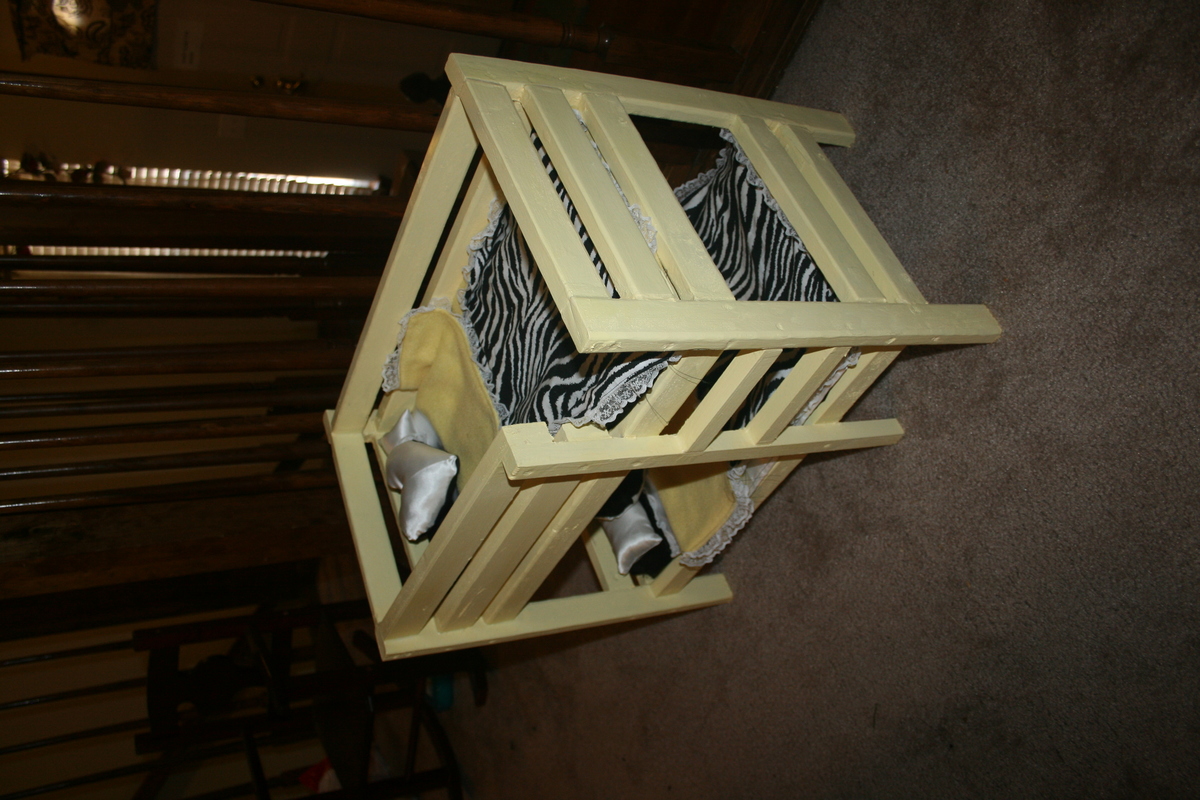
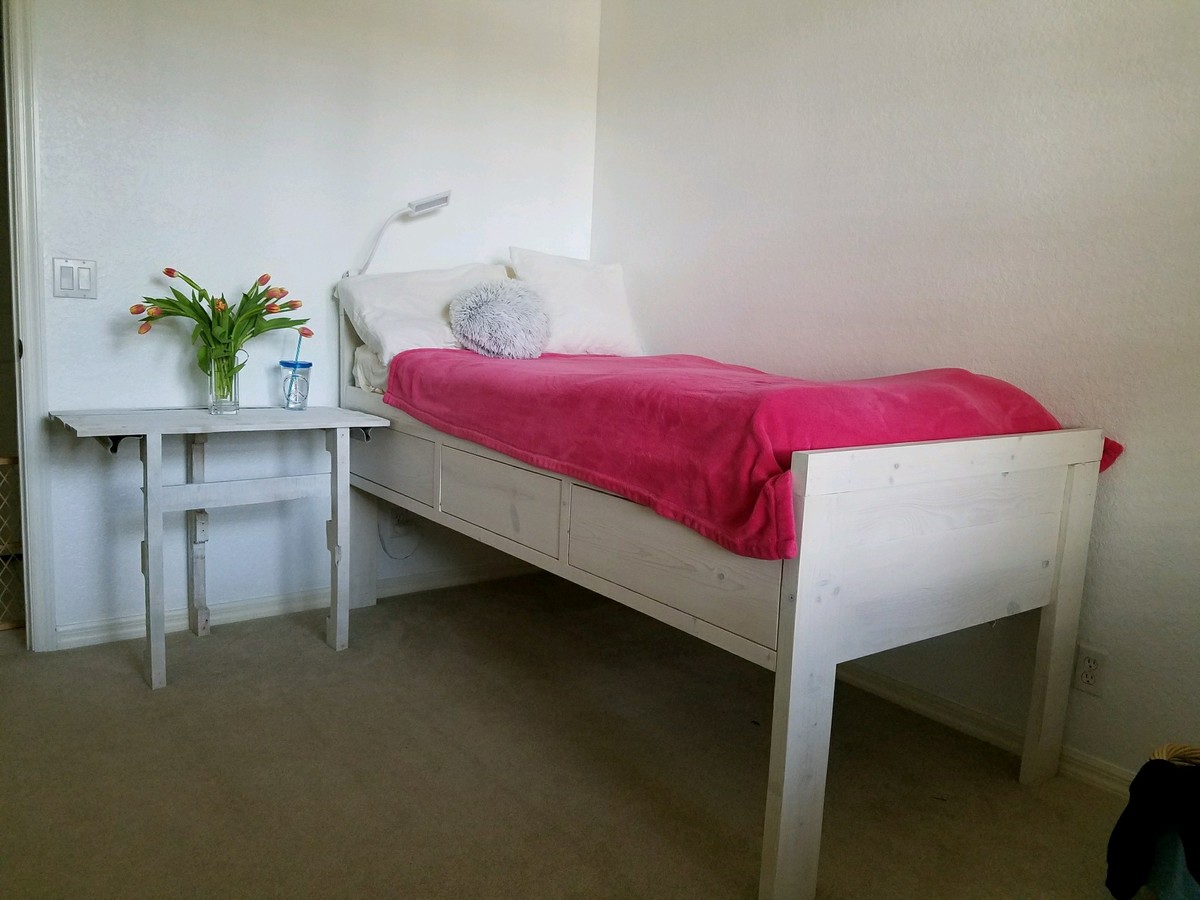
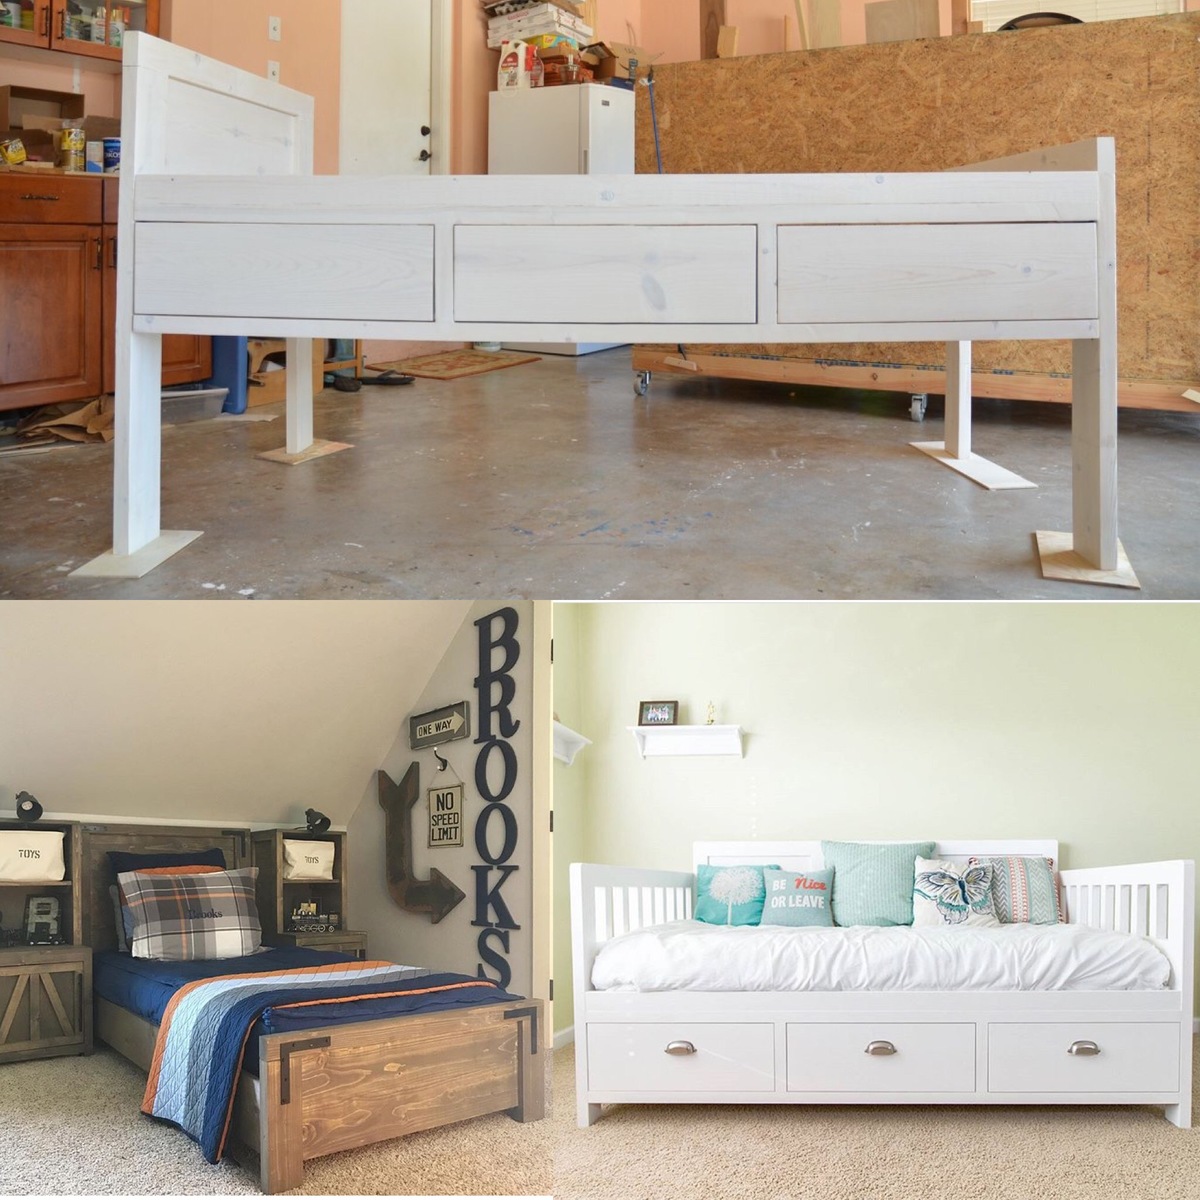
The first picture is of our oldest daughters bed (purple/black). We took the original design and increased measurements to fit a full size mattress and adjusted platform to fit room size. The remaining pictures are of our youngest daughters be (purple/white), which is only a twin.
Some of the tweaks we made were:
* building for a full size bed
* adjusting platform and stair width so the entire bed went from wall to wall
*adding brackets in all 4 corners for extra support (not shown in purple/black bed - weren't added at time picture was taken, just used triangle pieces of extra wood for brackets)
* Used plywood as bunkie board for both beds. Twin - 1 sheet just layed on top of cleats, fit perfect; Full - 1 1/2 sheets, used 'H' clips to hold the two pieces together when on frame and screwed down onto the cleats.
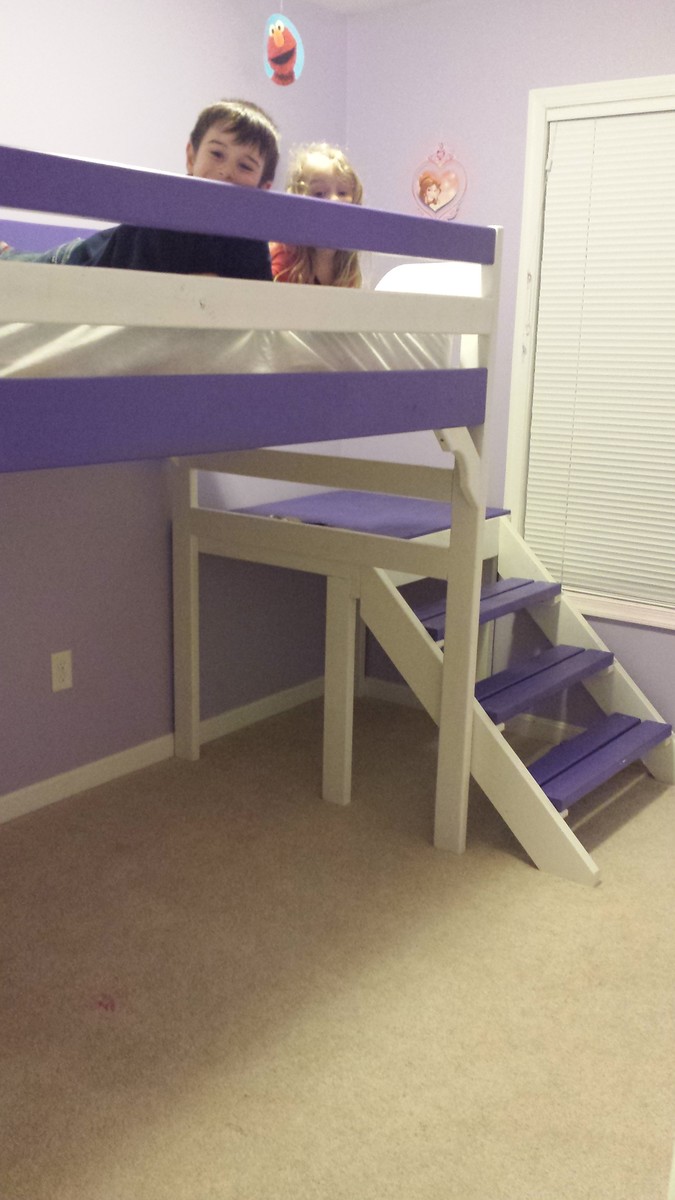
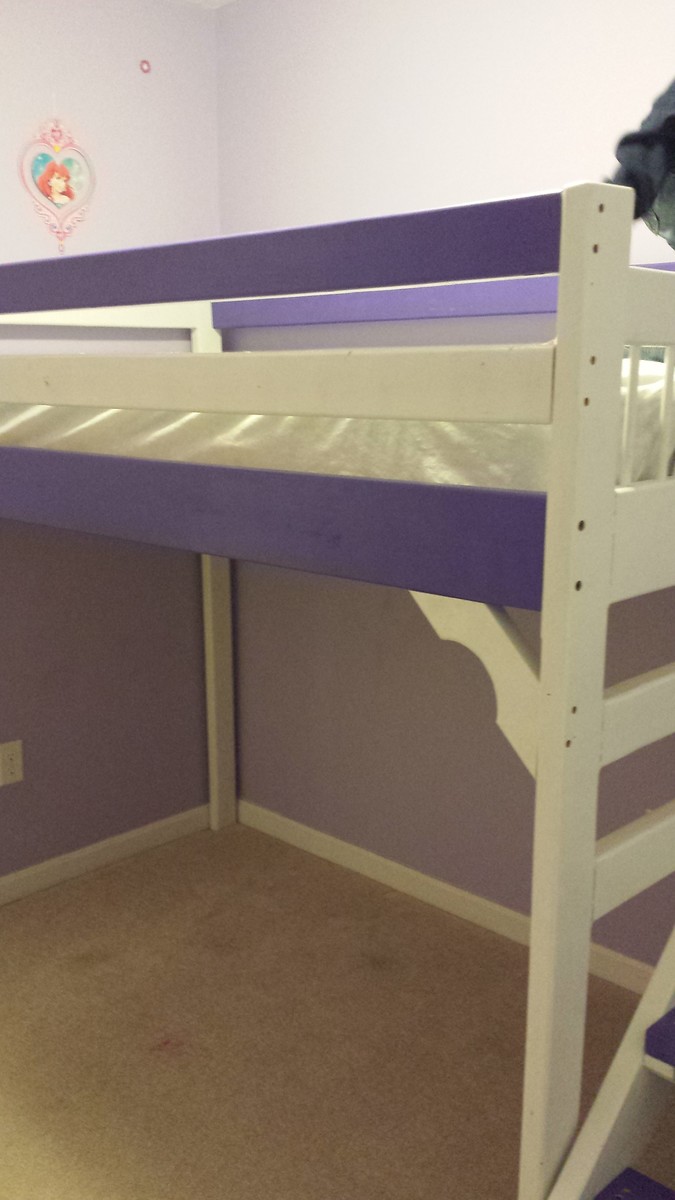
* shortened platform on purple/white bed bringing the stairs back a little to go under window
* added design element at end of purple/white bed to ensure entry on and off the bed would be safe and always on platform since it was shortned
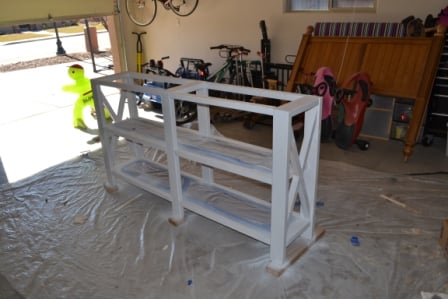
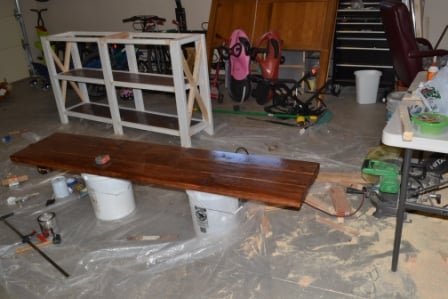
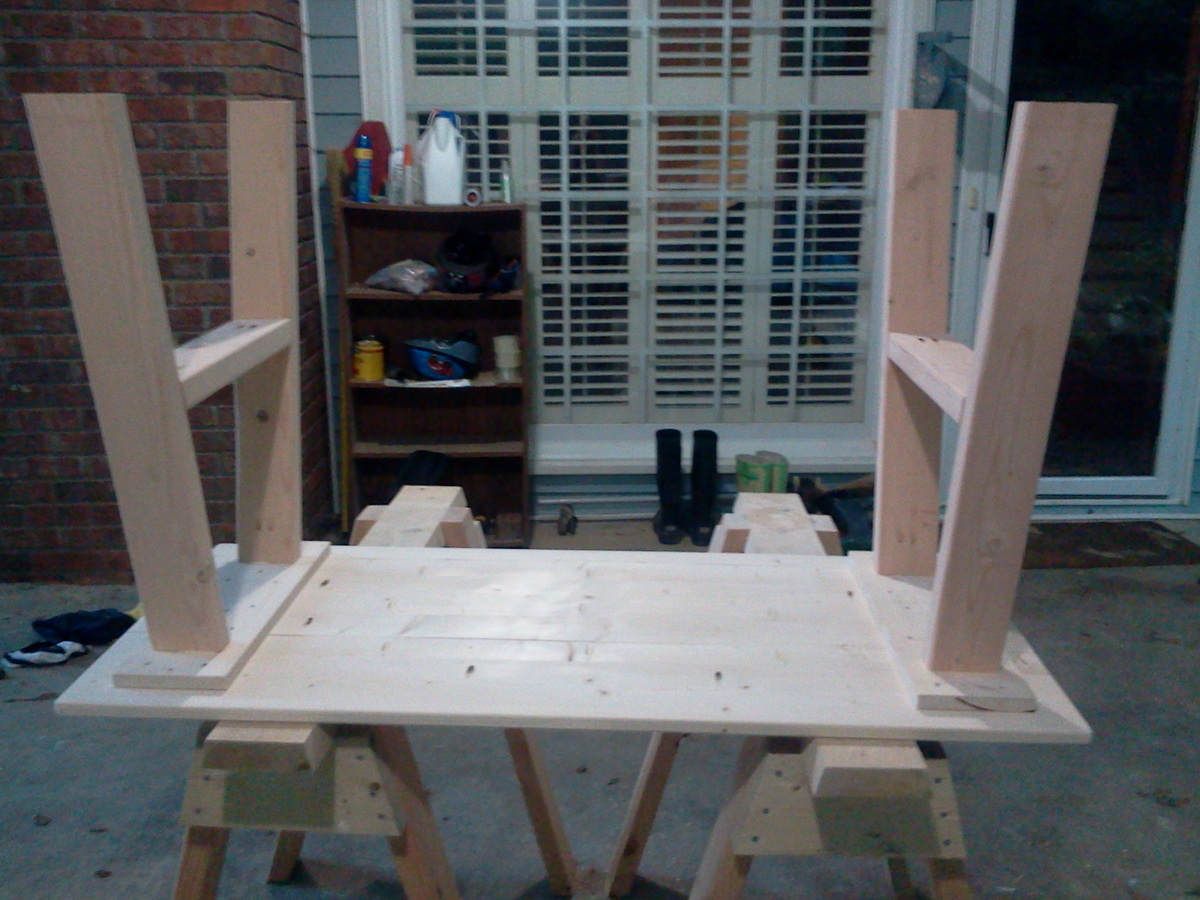
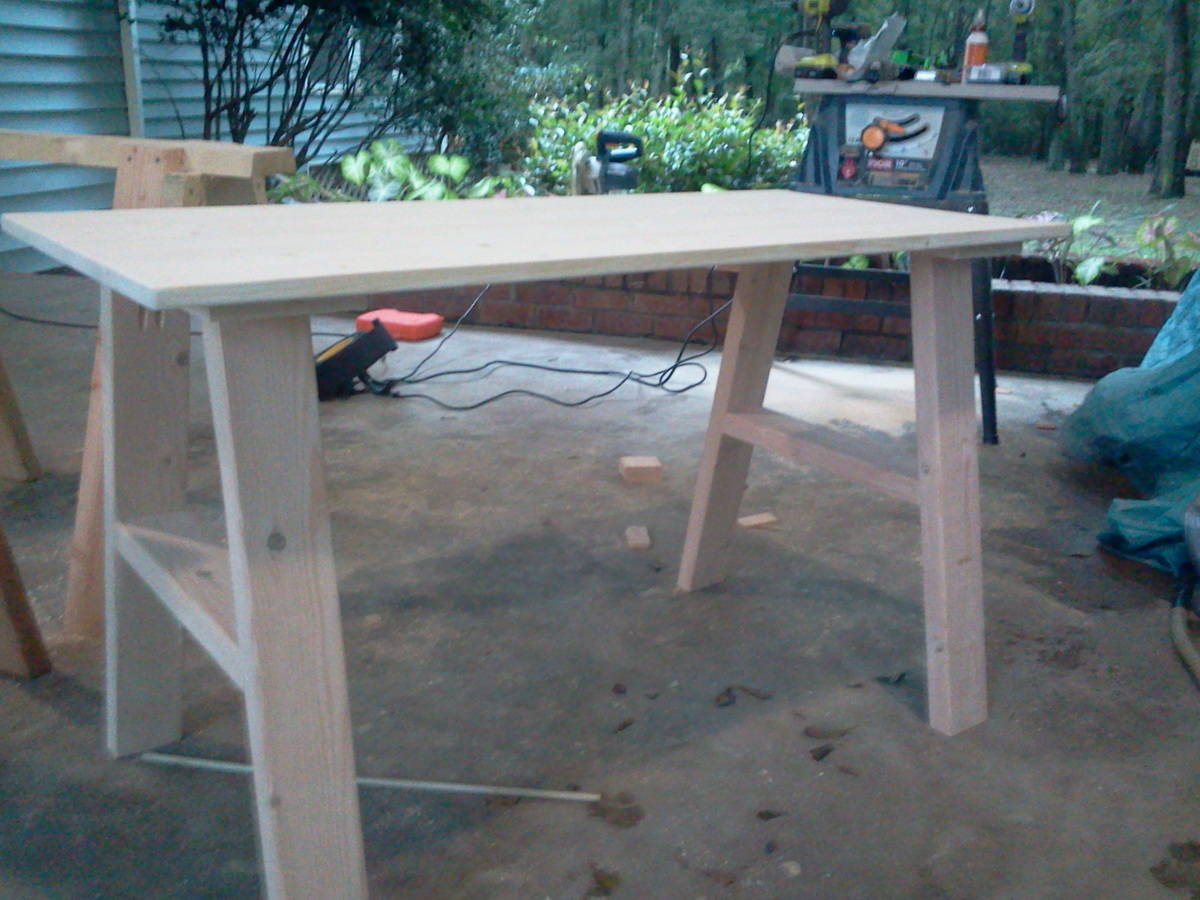
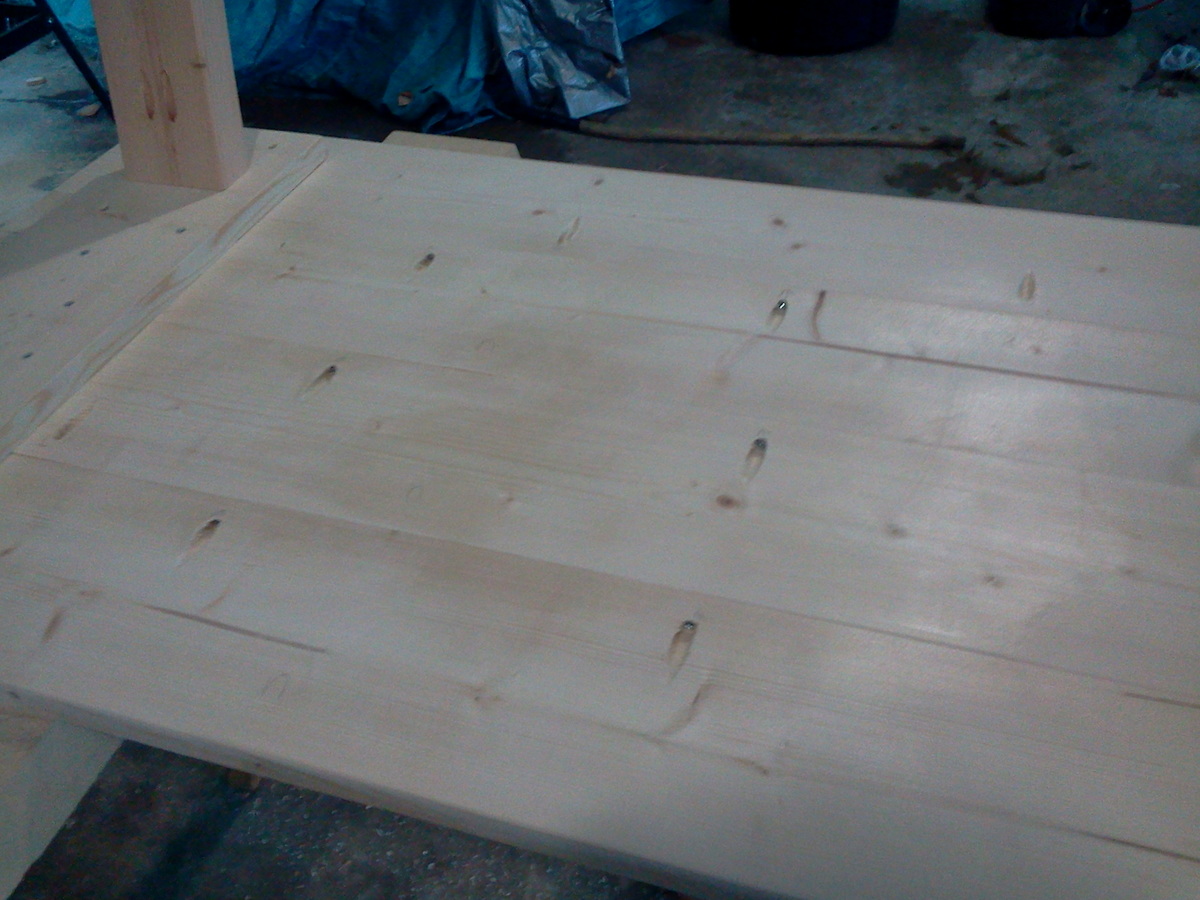
One thing we did that wasn't mentioned in original plans, unless I either overlooked them or is a standard procedure when working with wood (seeing as I am a complete novice) all the wood we purchased need to be checked for quality - needed straight boards with minimal cracks and all the wood needed to be sanded down. Overall the project wasn't difficult, but I was guided by an expert. It took us about 20hrs over a period of three weekends to finish both beds from purchasing material to setting up in room. But that was due to emergencies, work schedules and traveling to the workshop we were using.