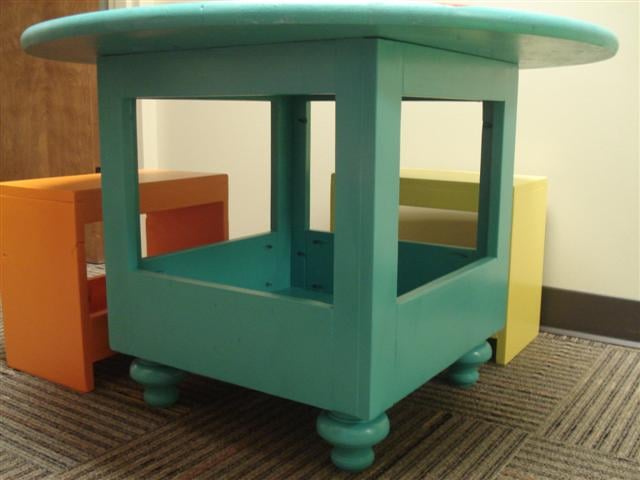
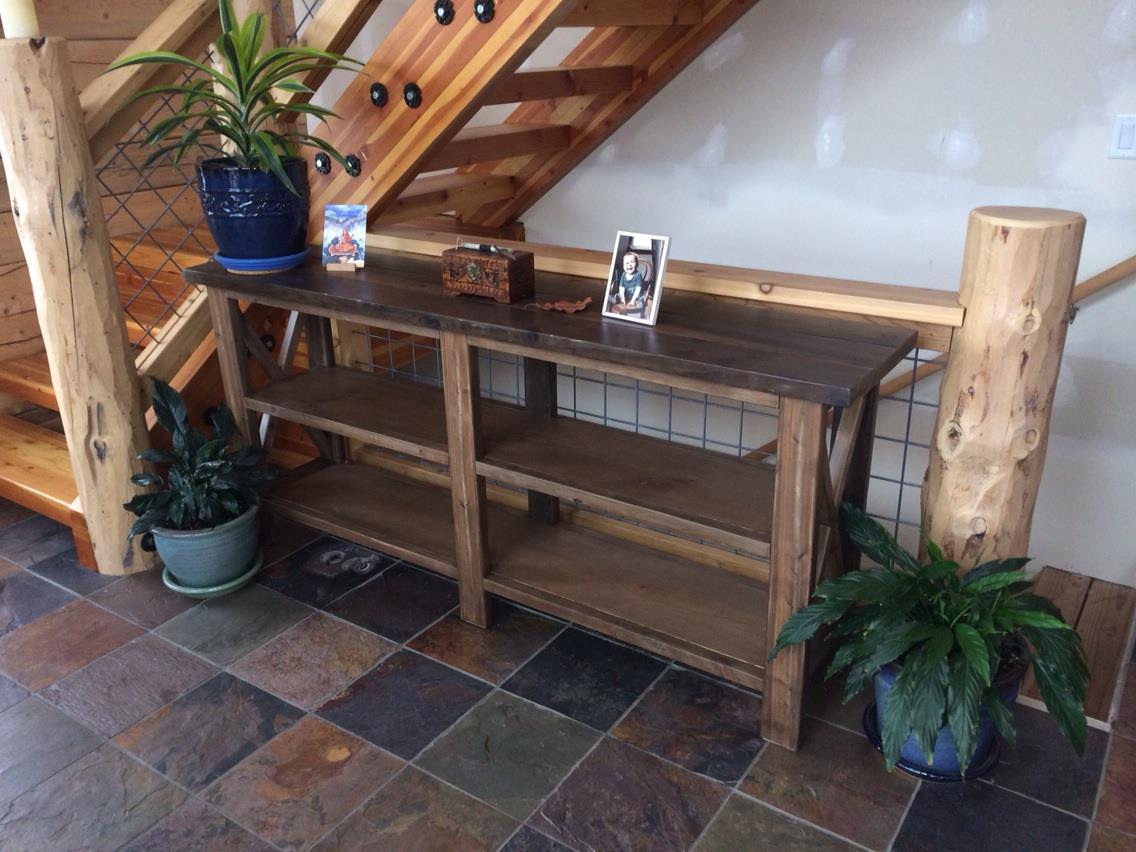
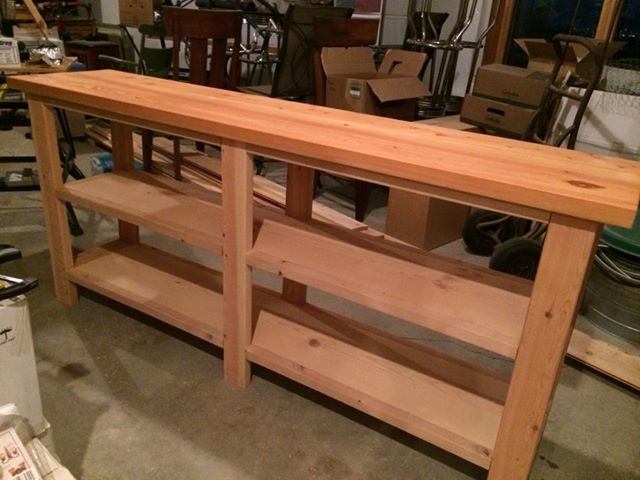
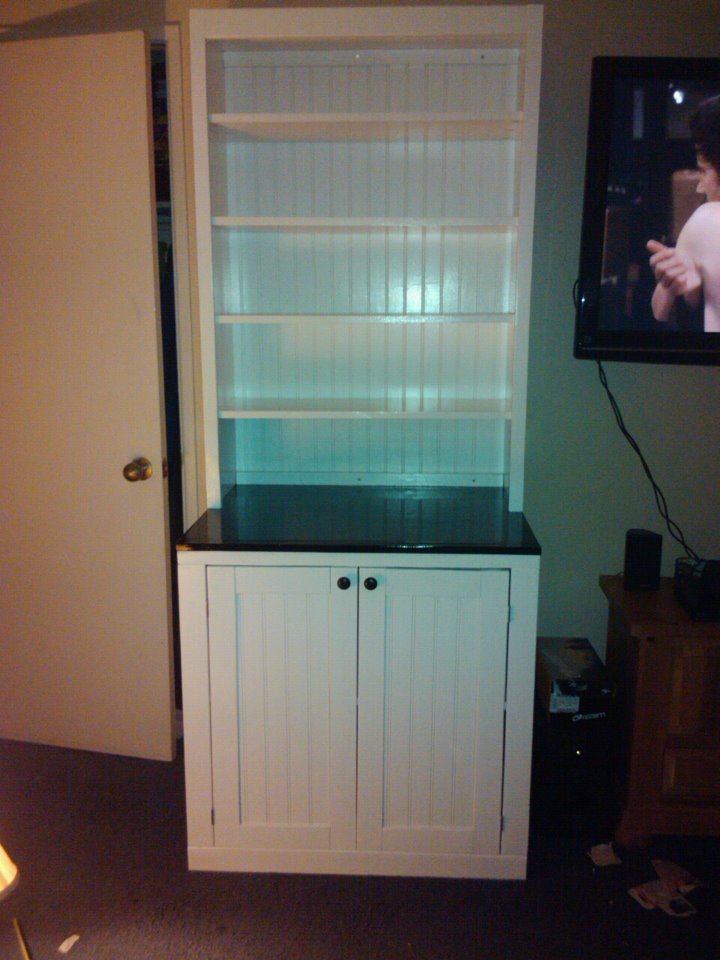
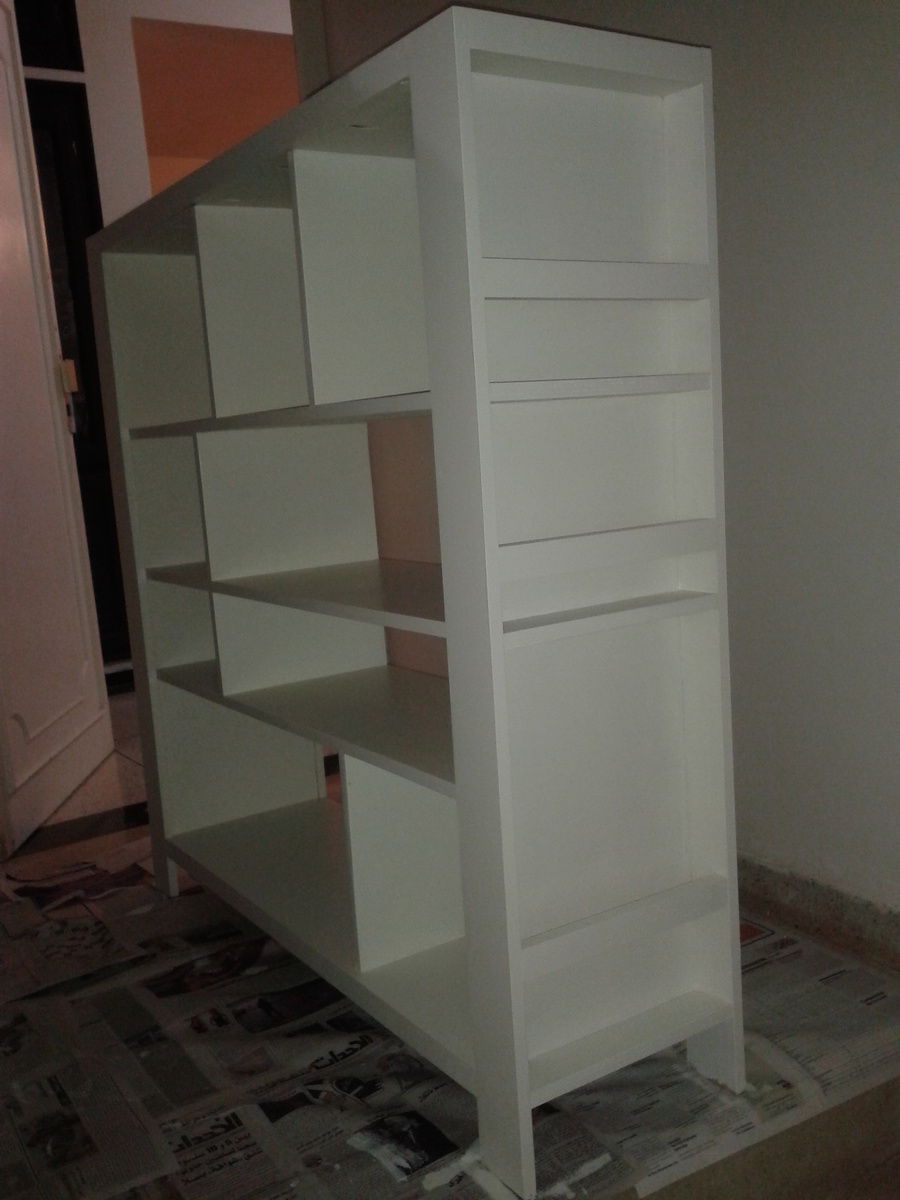
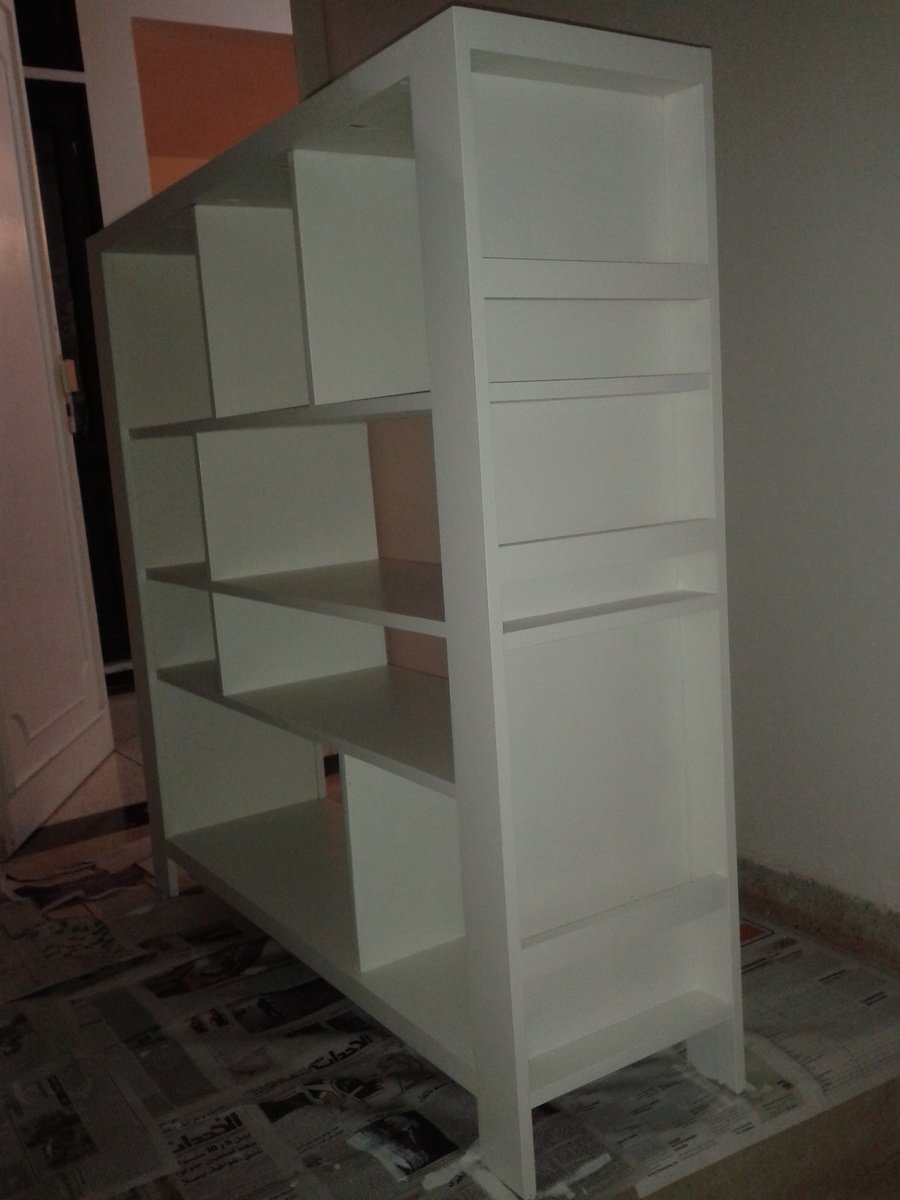
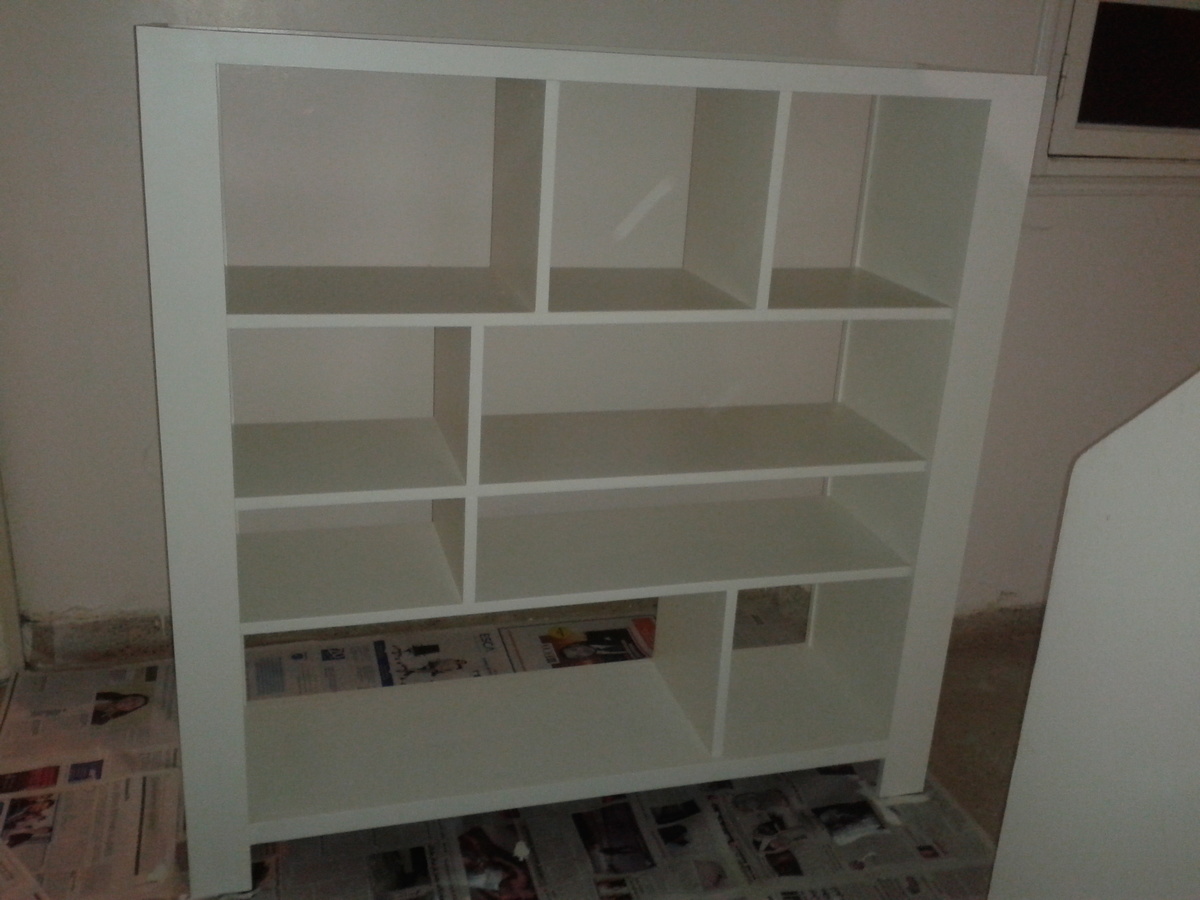
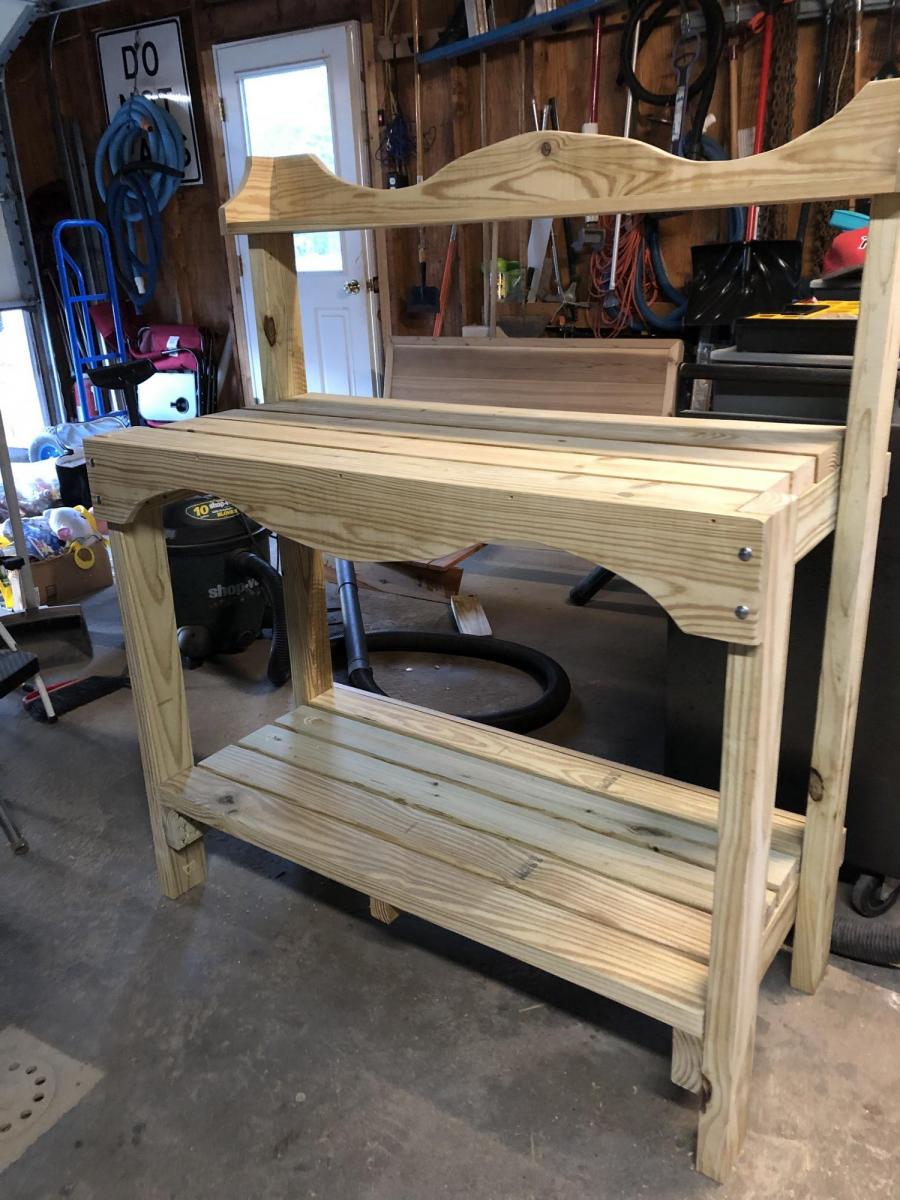
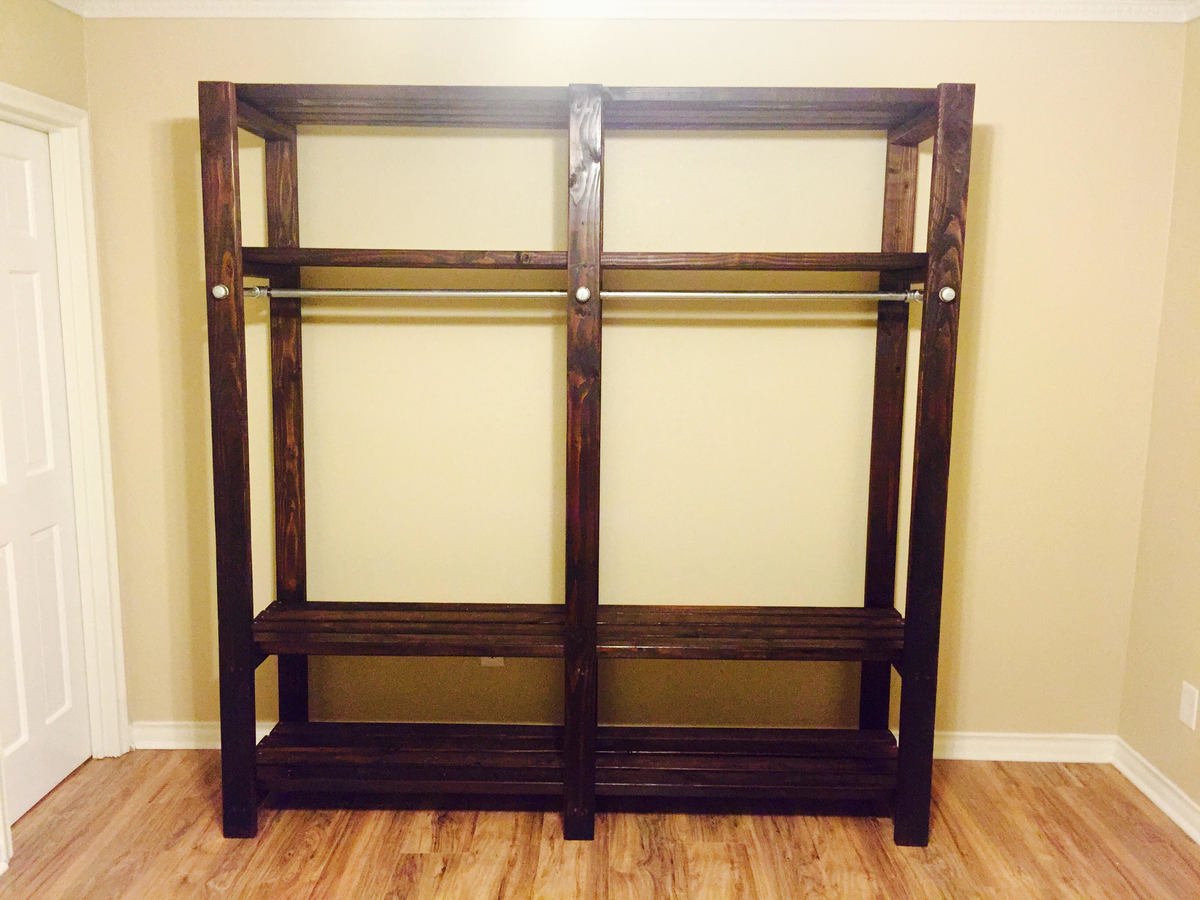
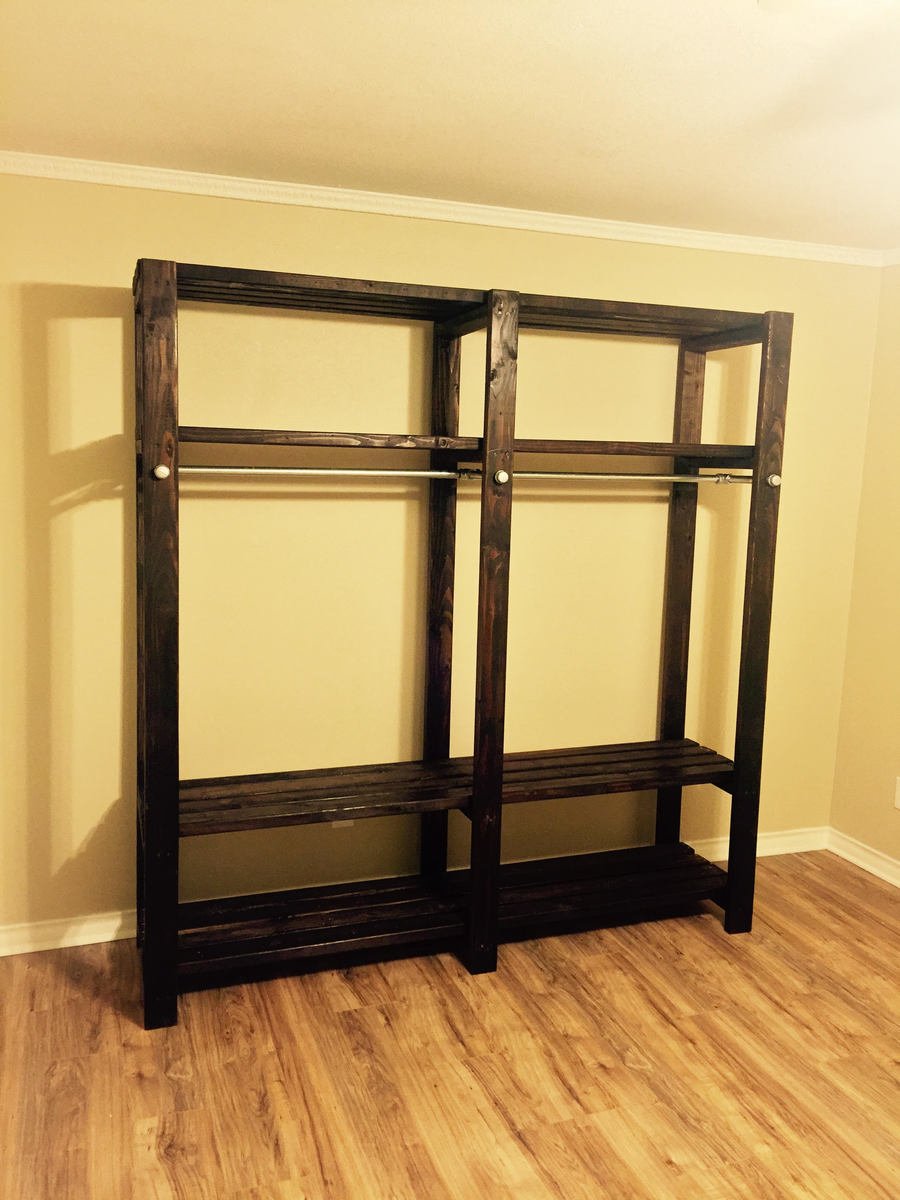
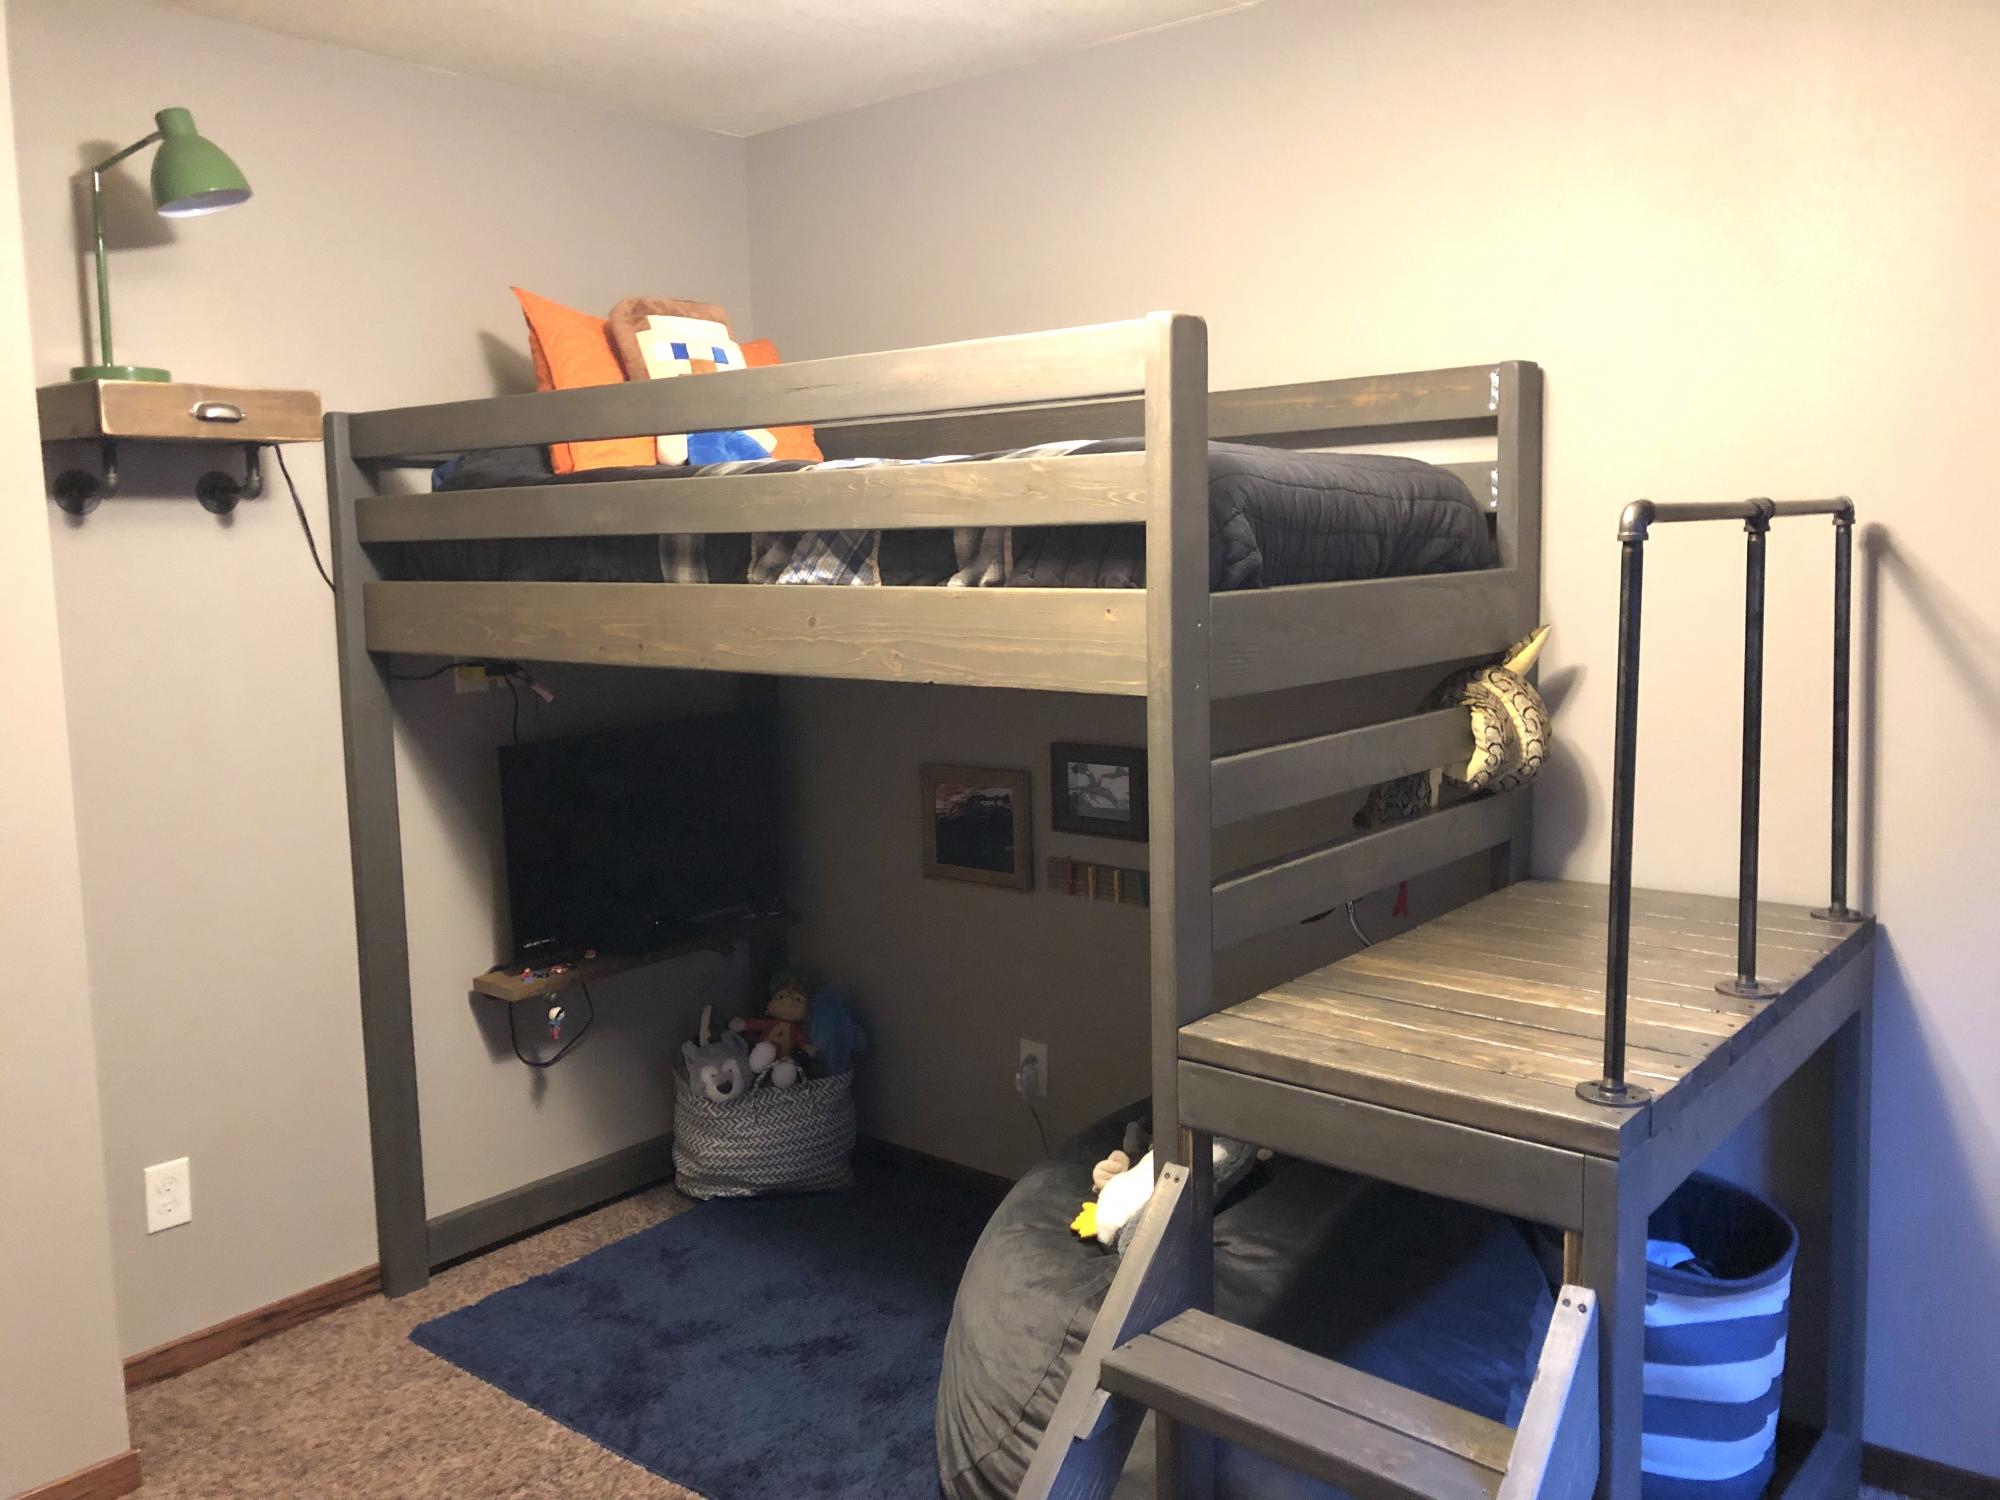
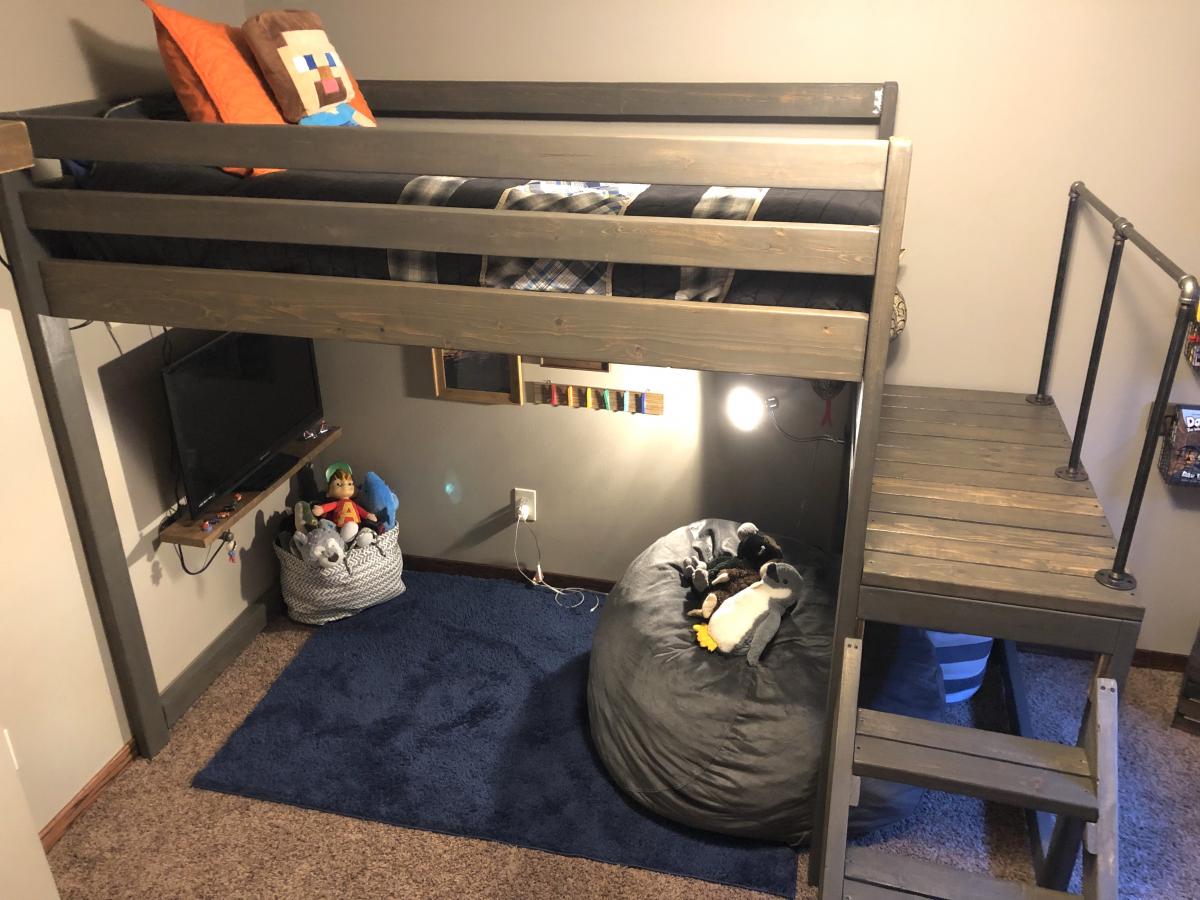
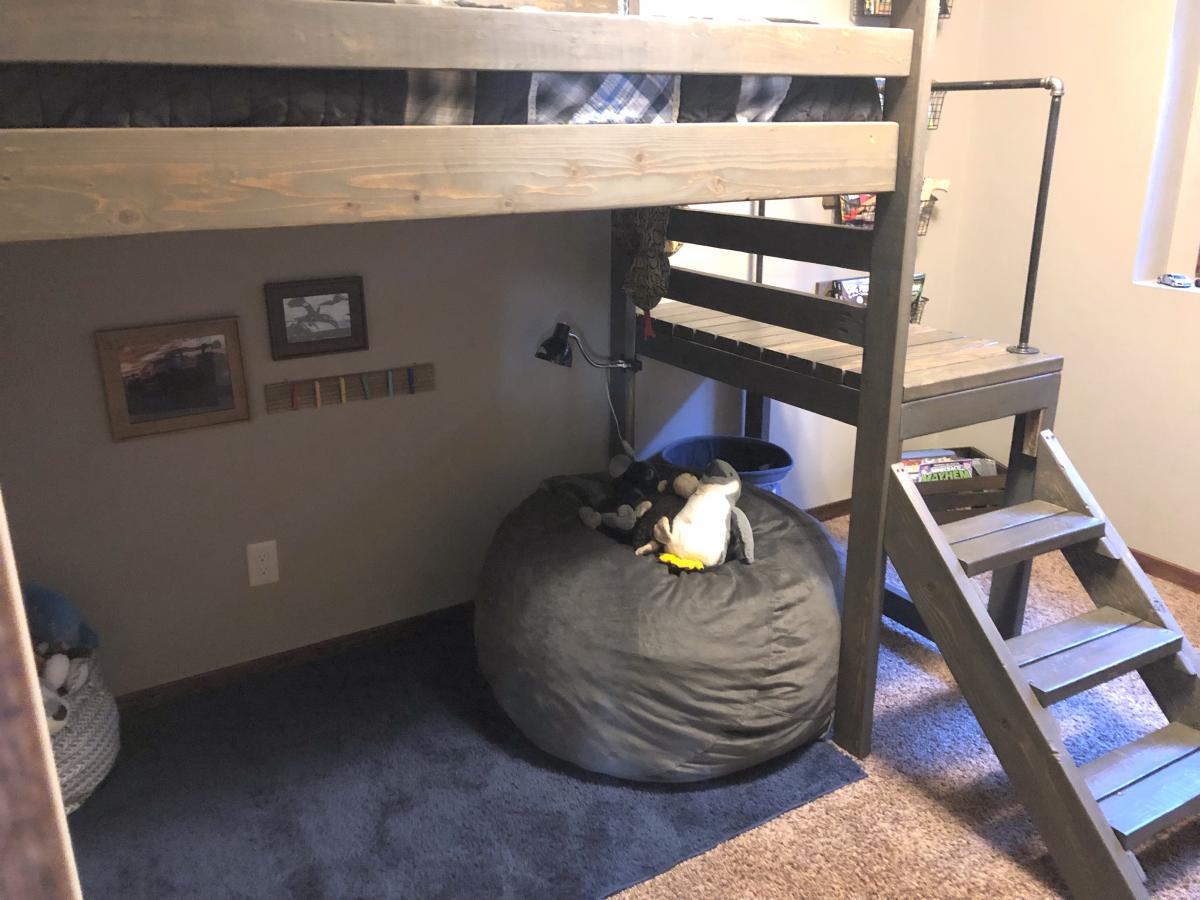
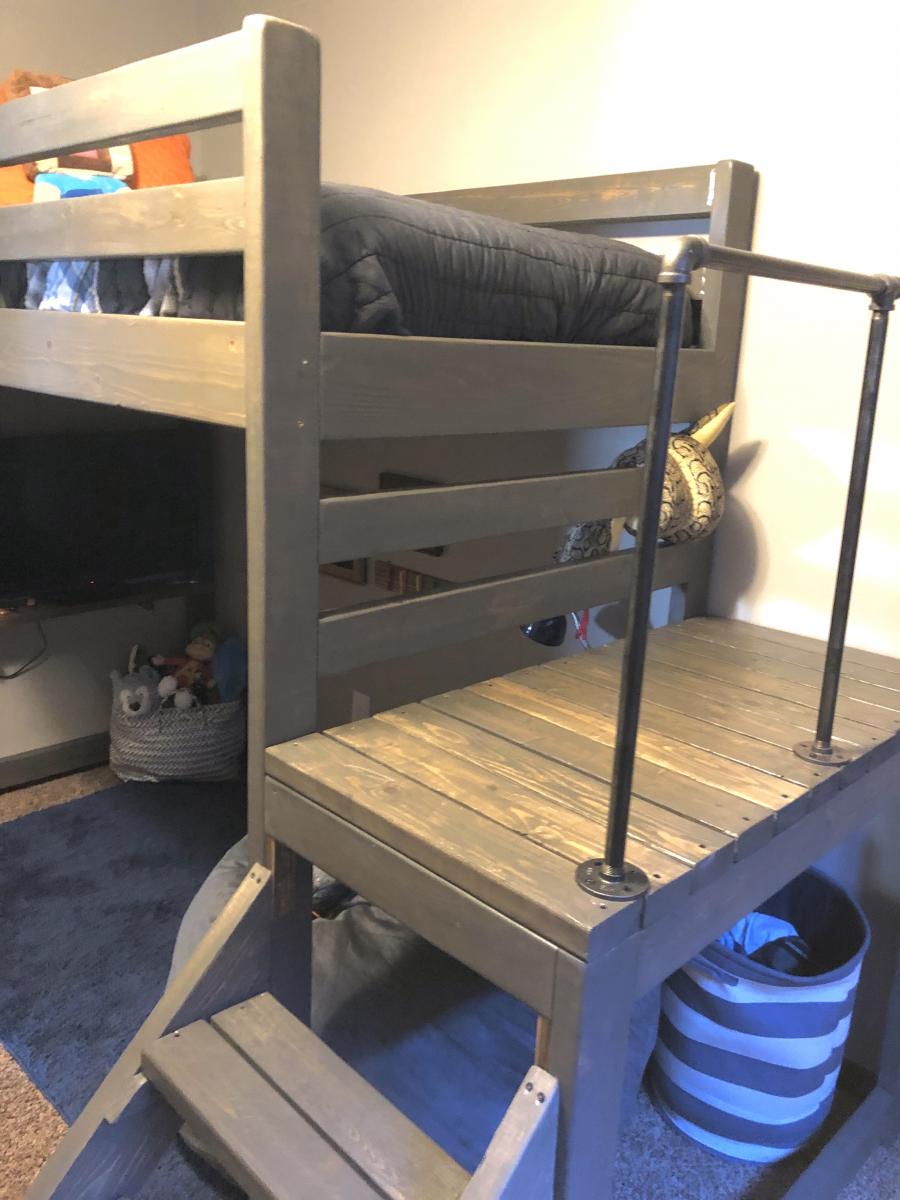
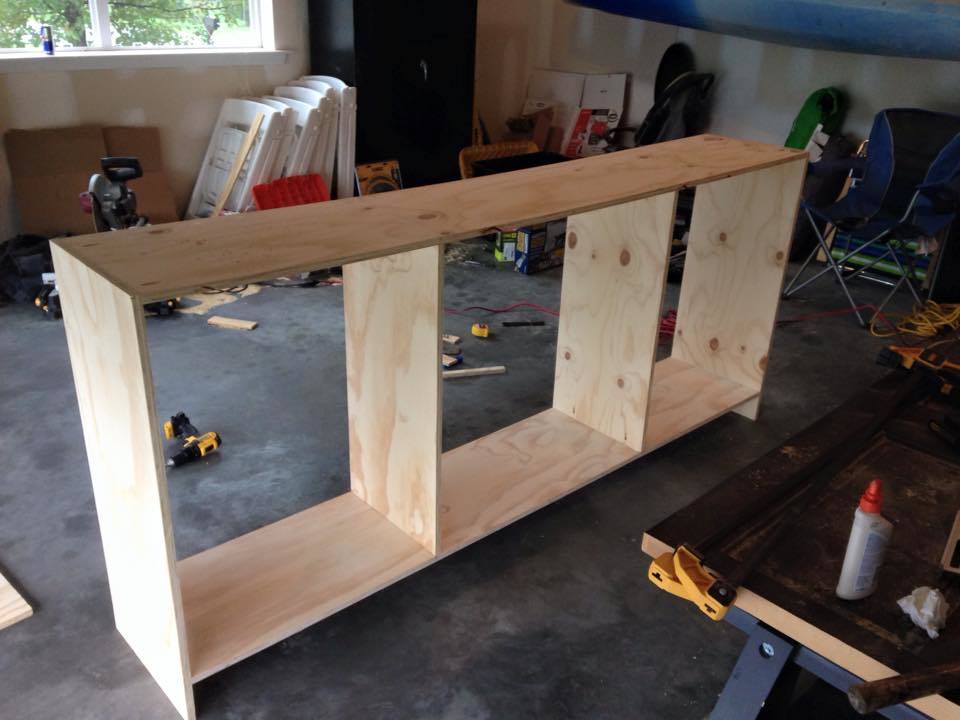
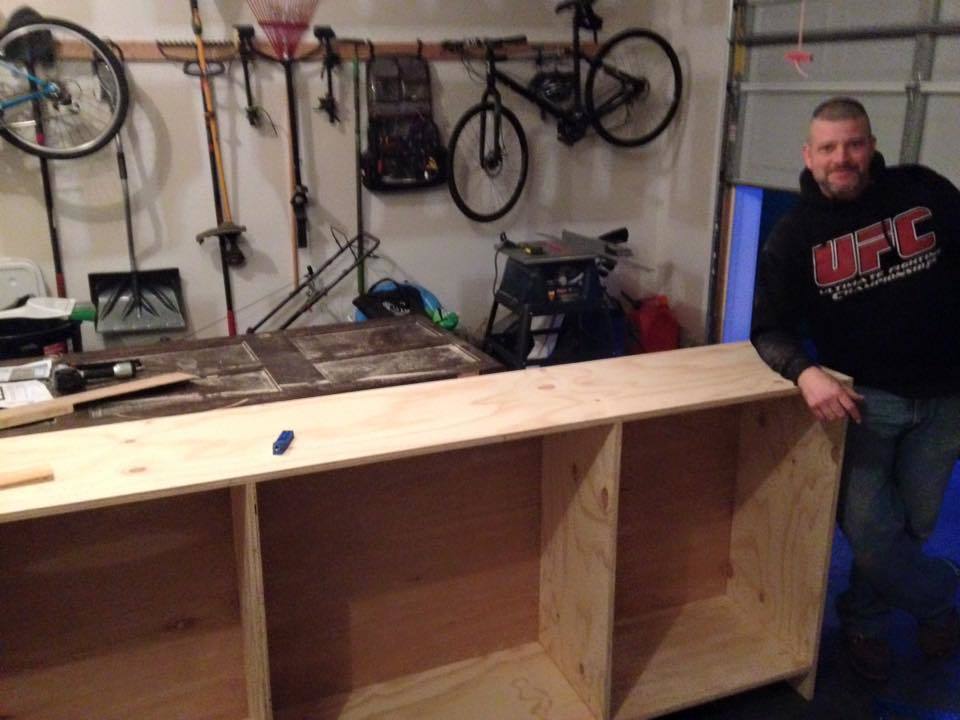
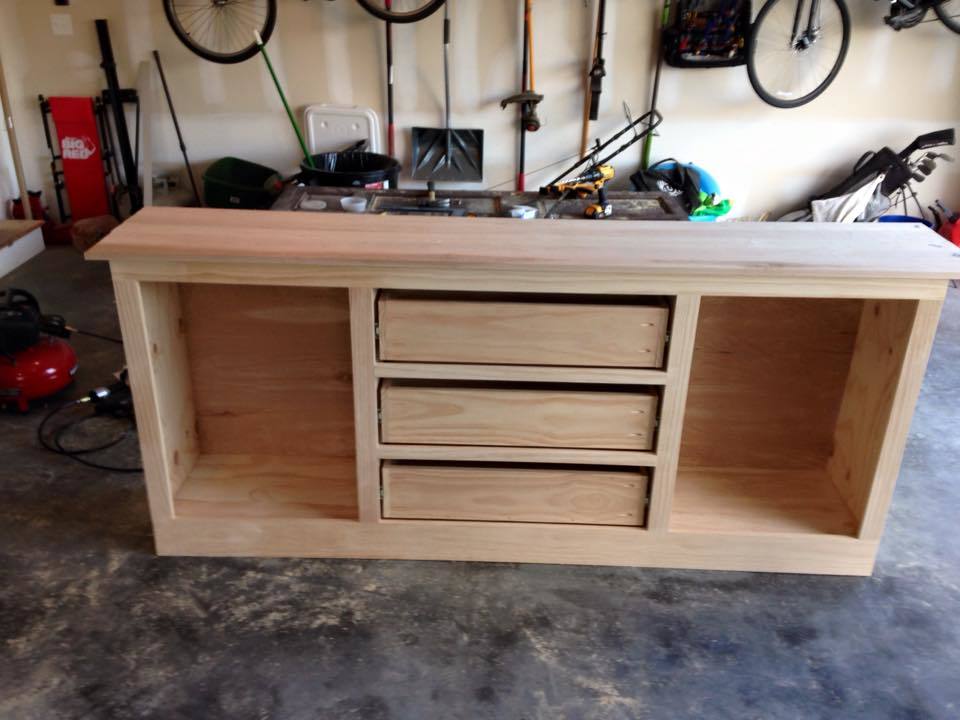
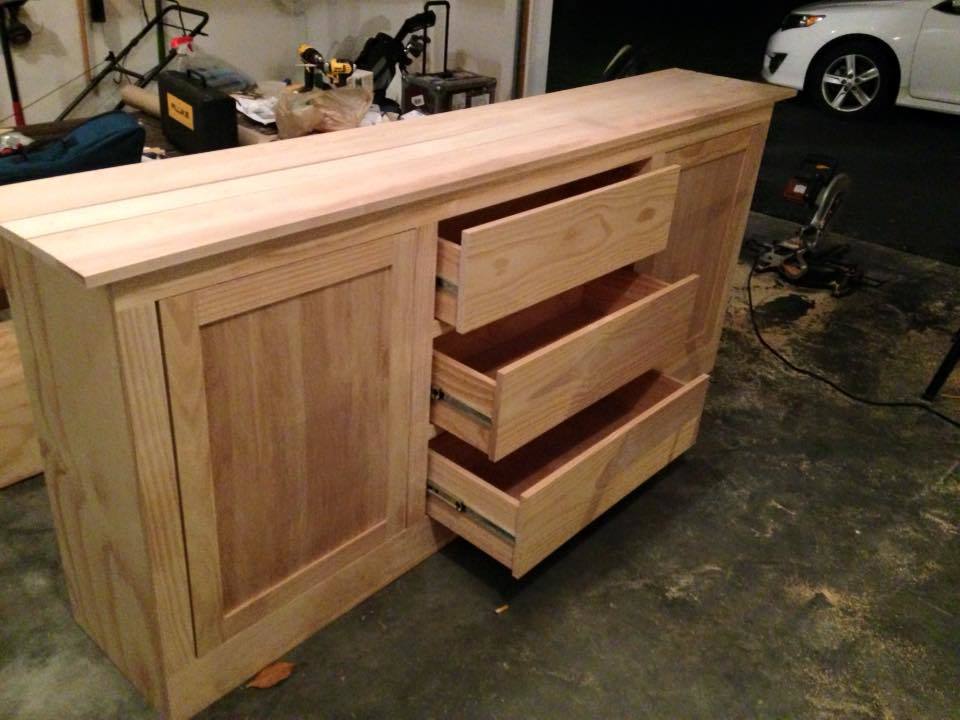
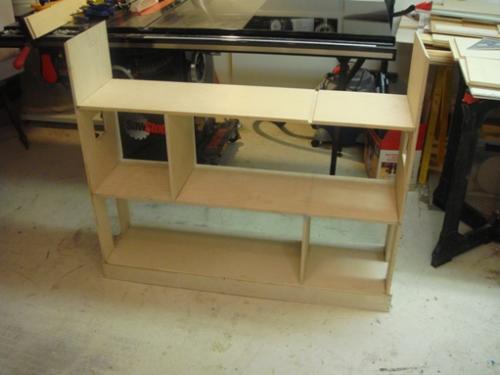
I built this closet for a room in a newly renovated house which was improved from a 3BR to a 4BR but the new additional BR didn't have space for a closet. The entire closet is made of only cheap 2X4's and galvanized pipe found at the local hardware store.
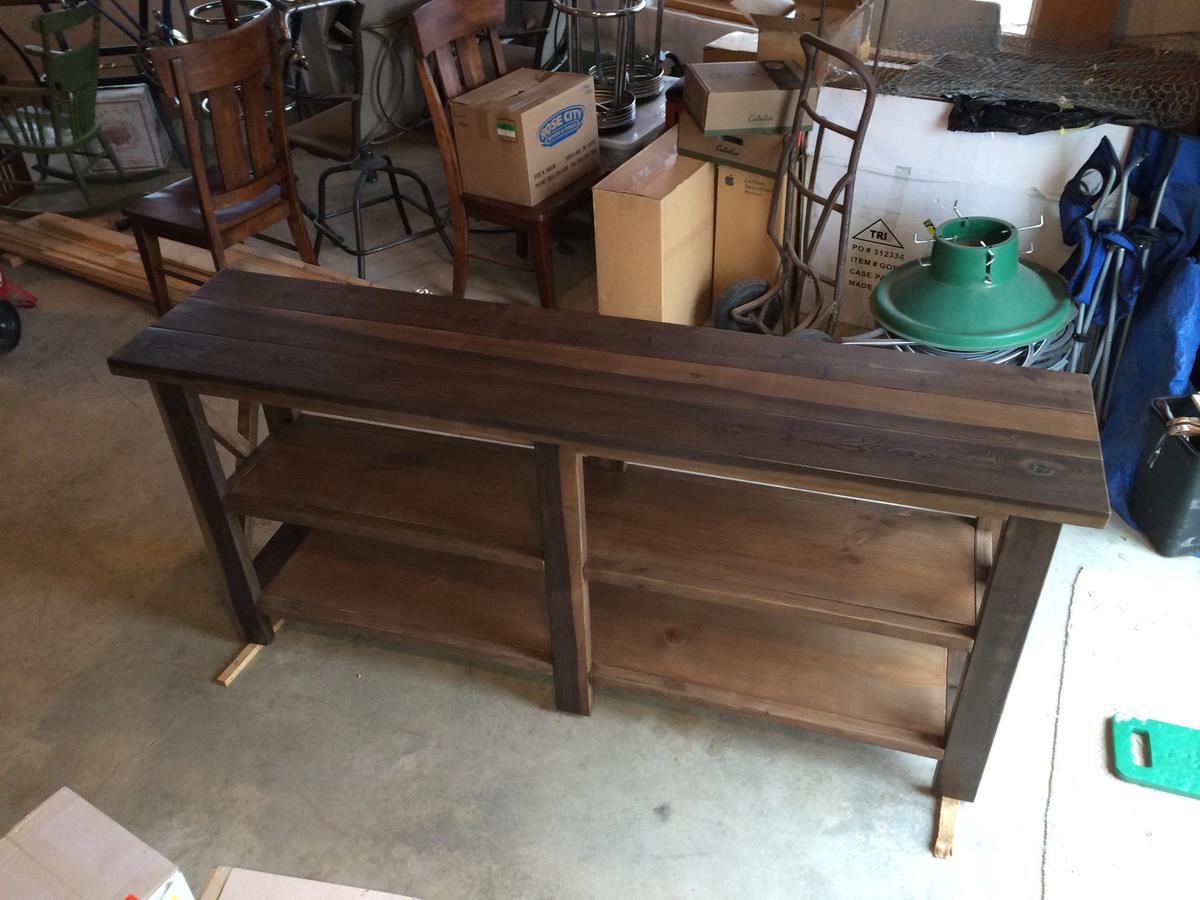
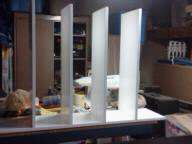
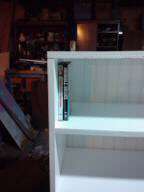
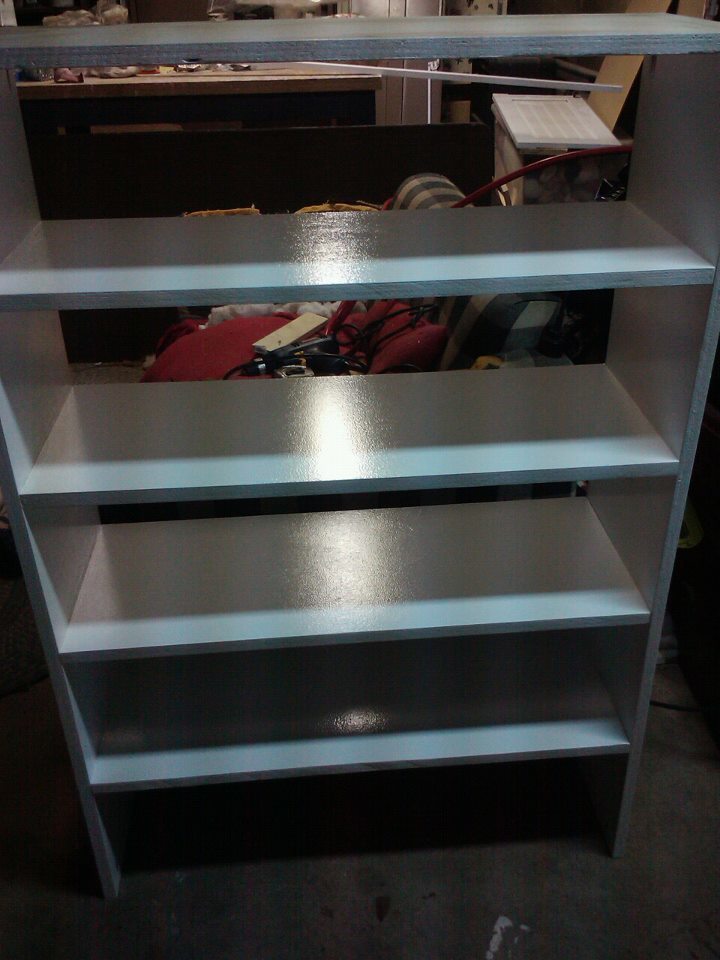
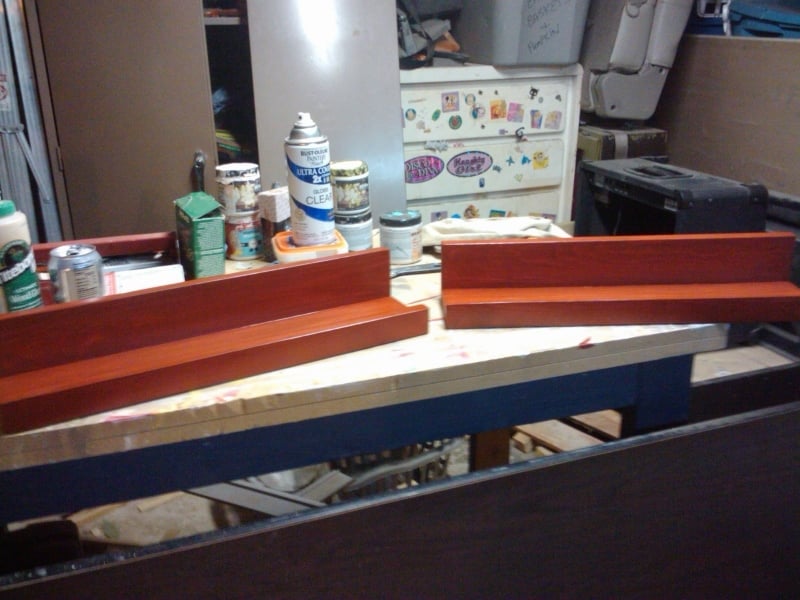
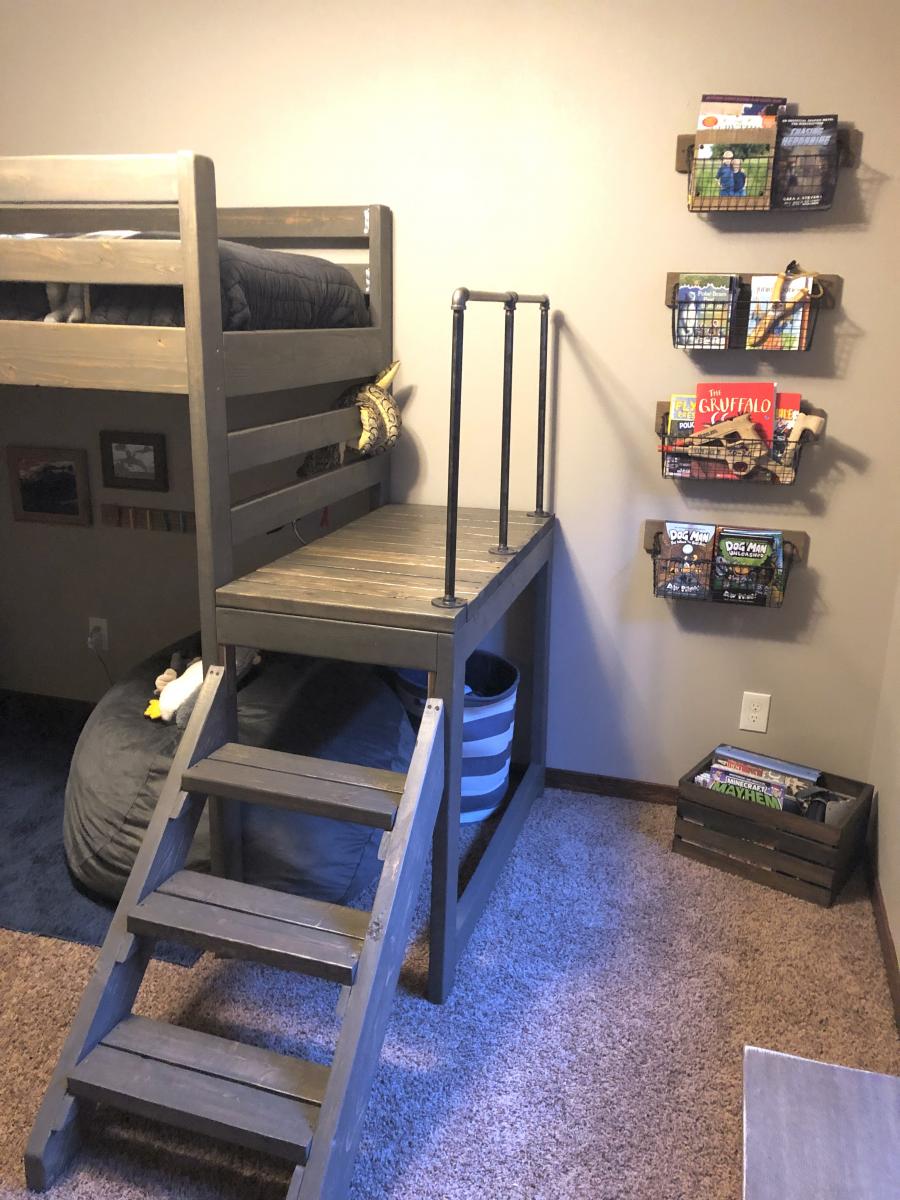
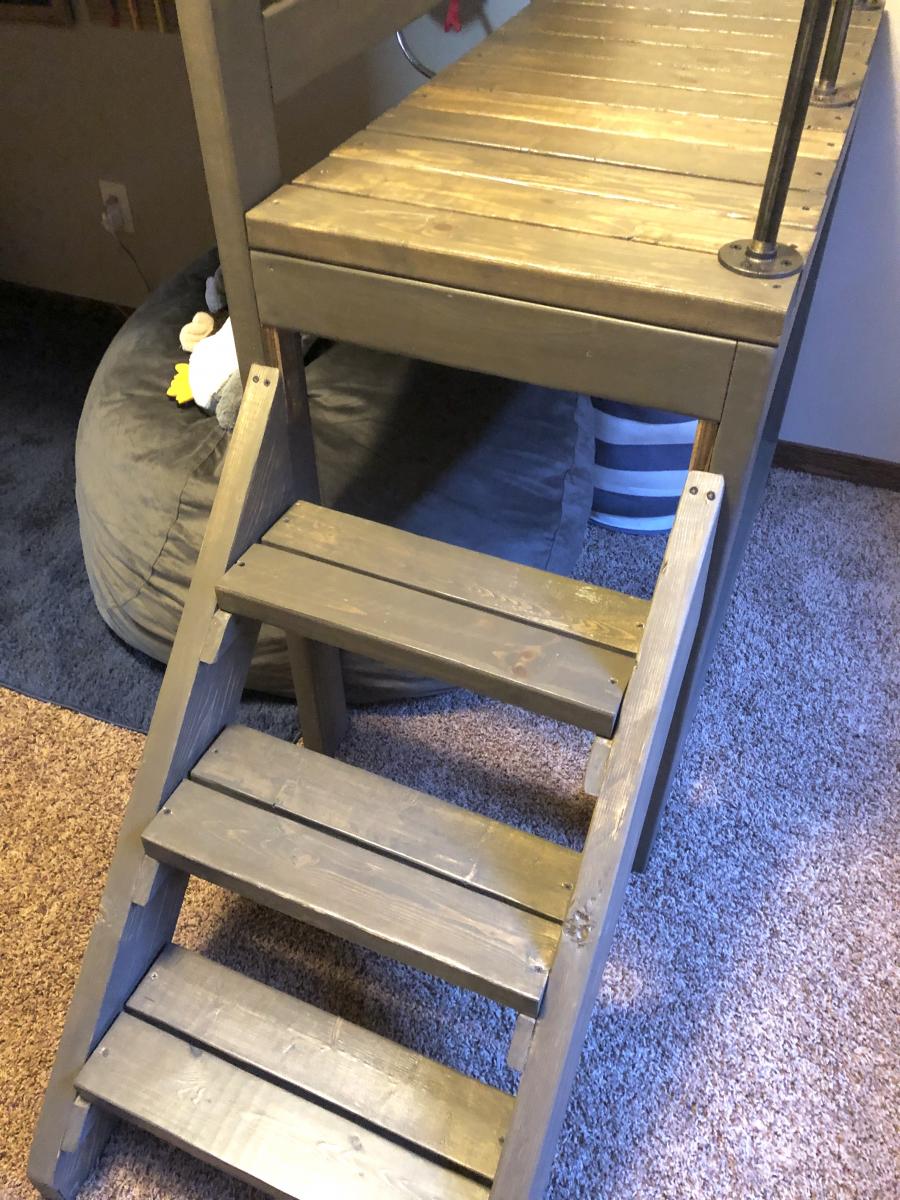
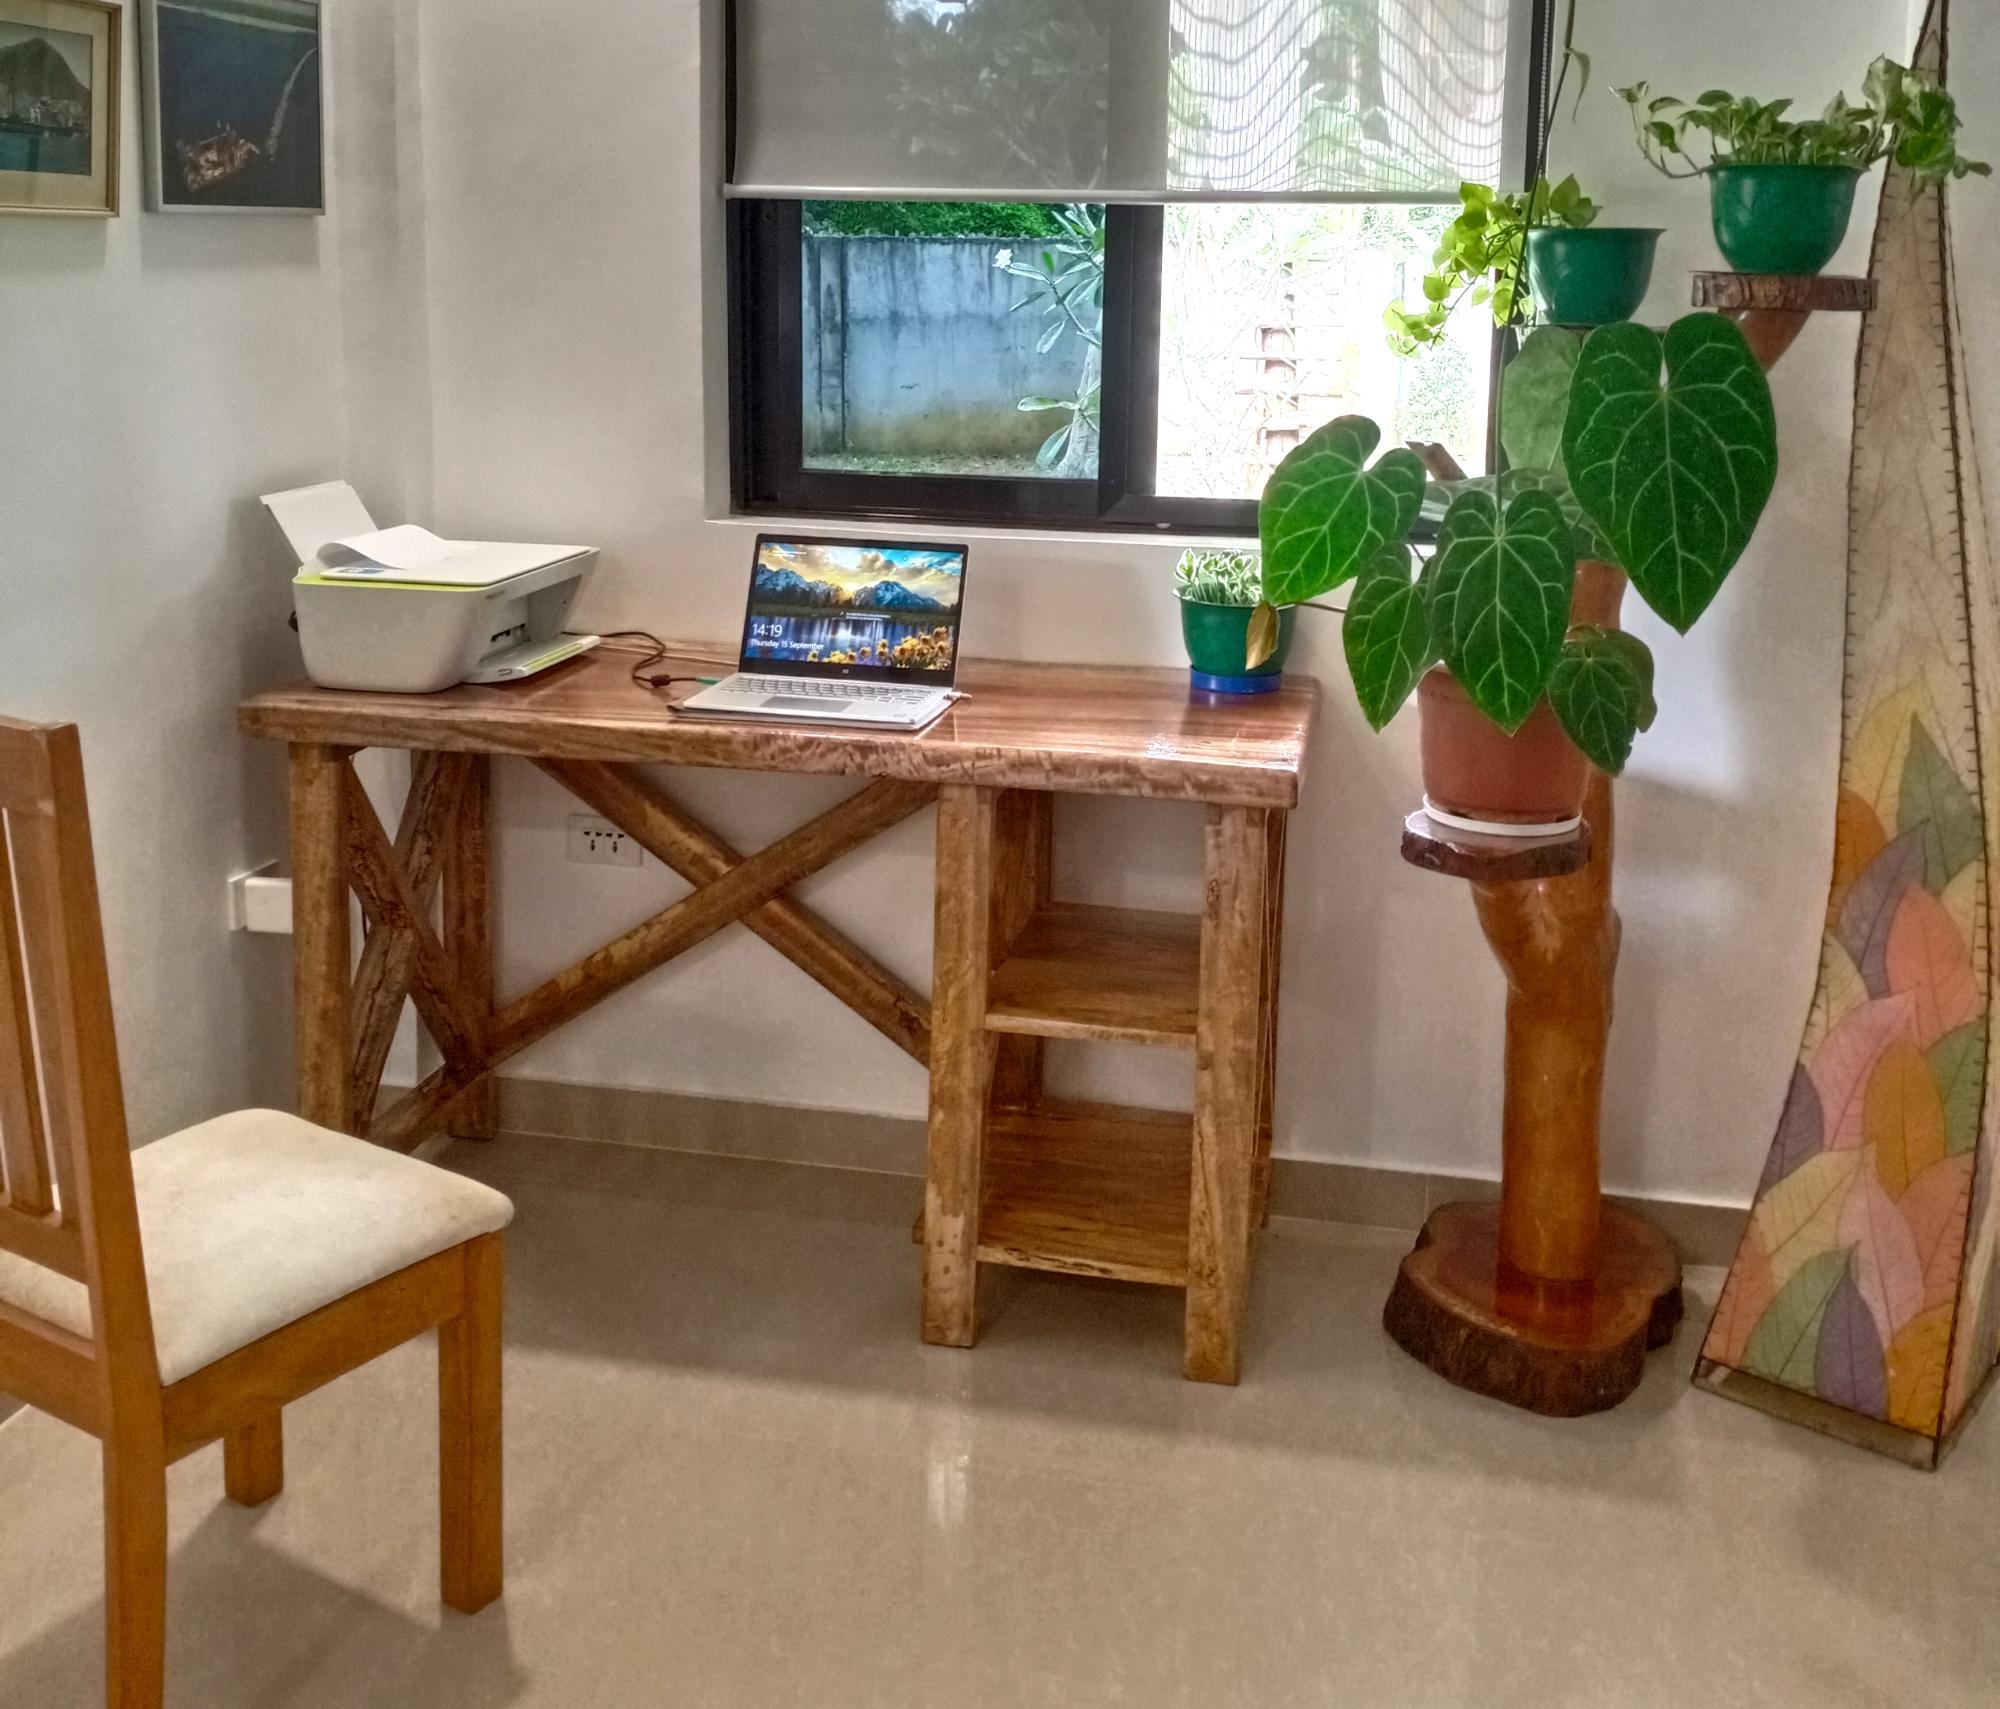
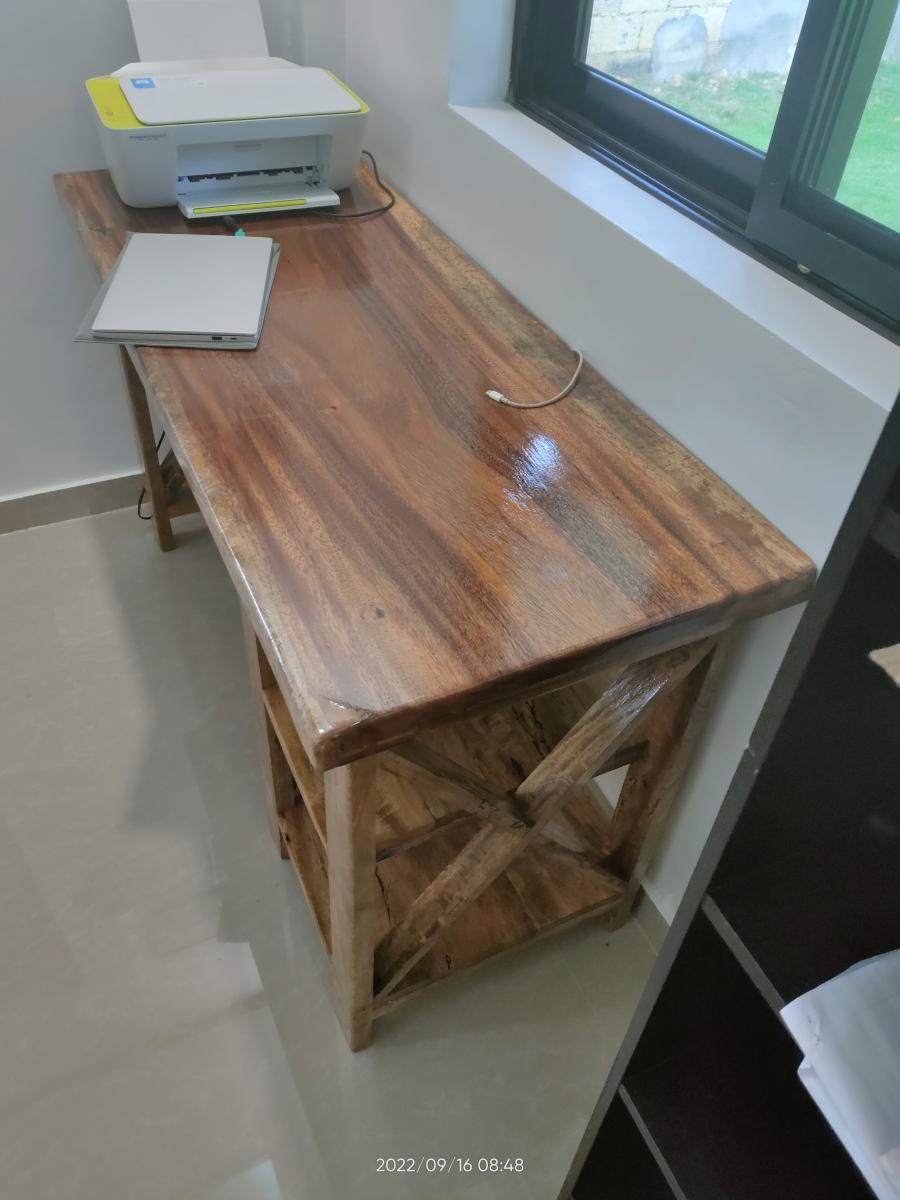
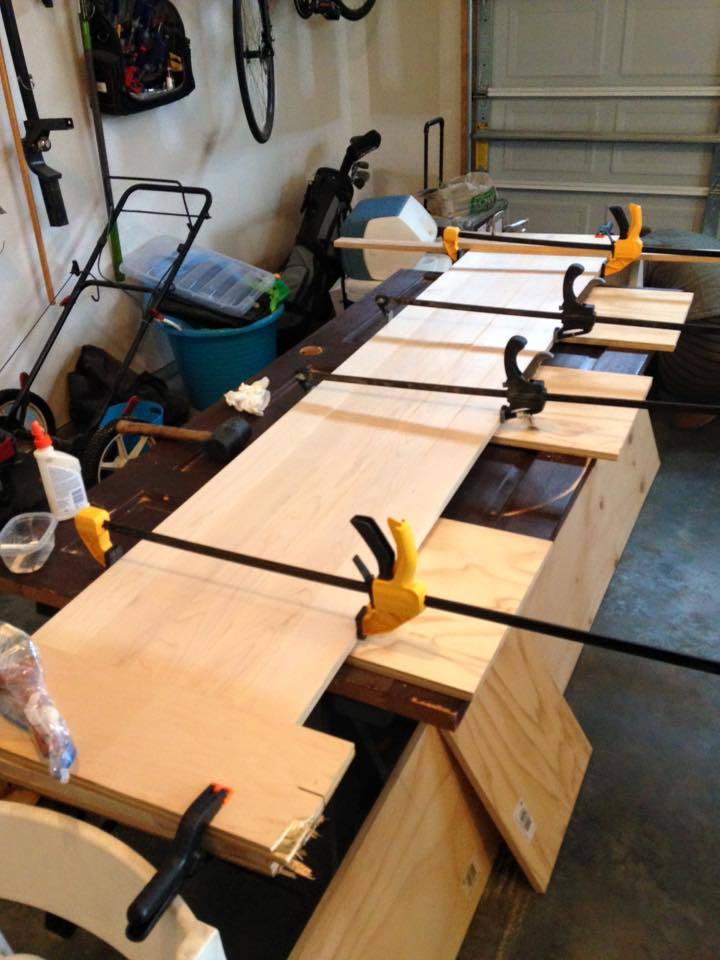
The user didn't need the middle shelves so I modified the original plans to make it shorter in width but 4 inches deeper by using 10" nipples instead of 8". I sanded and stained all the 2X4's first before doing anything. Then I created the 3 legs first (end boards - 82" inside boards - 17.5"). Once the legs were ready, I cut the boards for the shelves at 79" (4 boards for each shelf, evenly spaced out). Before putting the shelf on the legs, I laid each leg on the ground and unscrewed one side of the shelf and added wood glue in the hole, then screwed it back in to increase stability. Next, drill the pipe holes evenly and connect the pipe. Once the pipe is connected, place (4) 79" 2X4's evenly distributed on each shelf and drill 2 screws from the boards into the bottom of the legs on both ends and the middle to stabilize the shelf. From here, I took some pledge and wiped it down which smoothed down the surface. The longest part of the project was making sure the stain was dry and evenly applied.
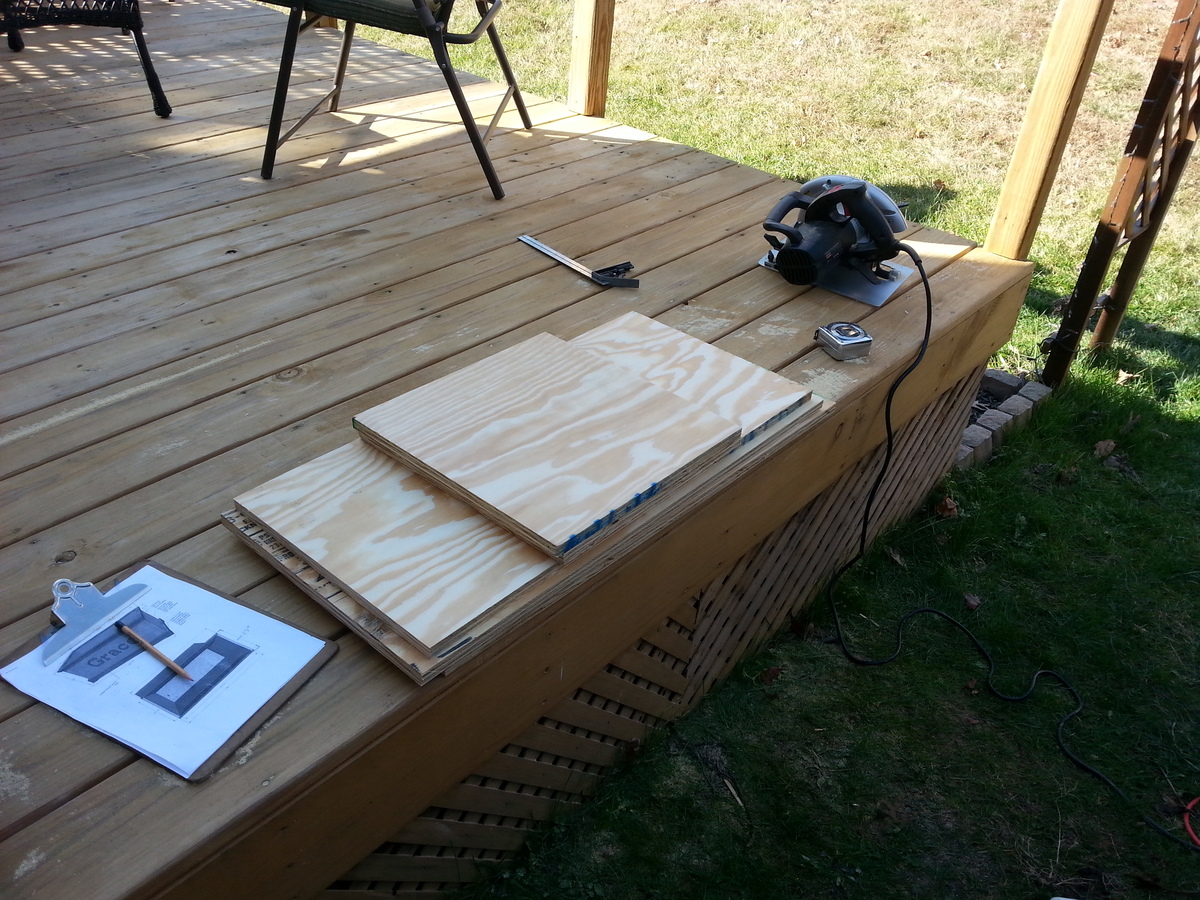
I recommend using a miter saw for straight and smooth cuts and take the time to sand the wood (even the ends after you cut it).
2X4 Studs - 28
10" 3/4" Galvanized Pipe - 6
36" 3/4" Galvanized Pipe - 2
3/4" Galvanized Pipe T - 2
3/4" Galvanized Pipe Cross - 1
3/4" End Caps - 6
Pipe Wrench for tight connections
2.5" Screws (Drill pilot holes for everything)
1 1/8" drill bit for each hole
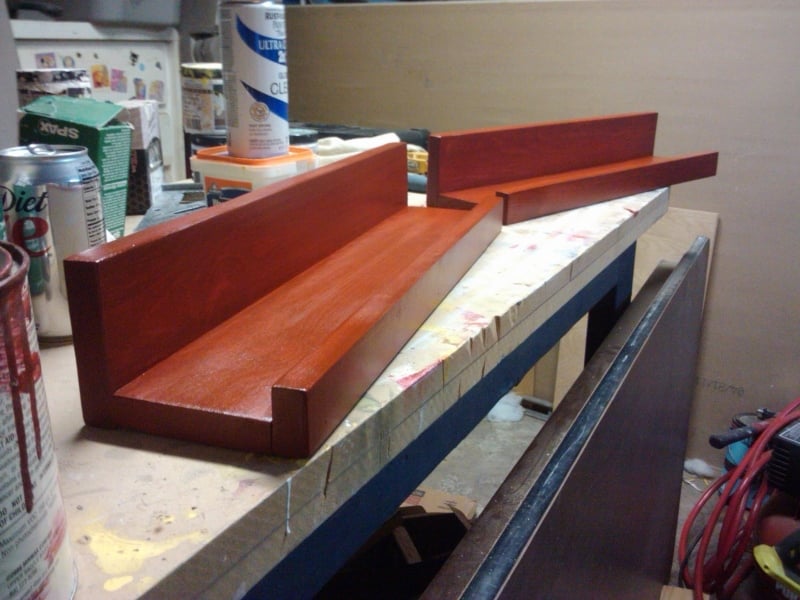
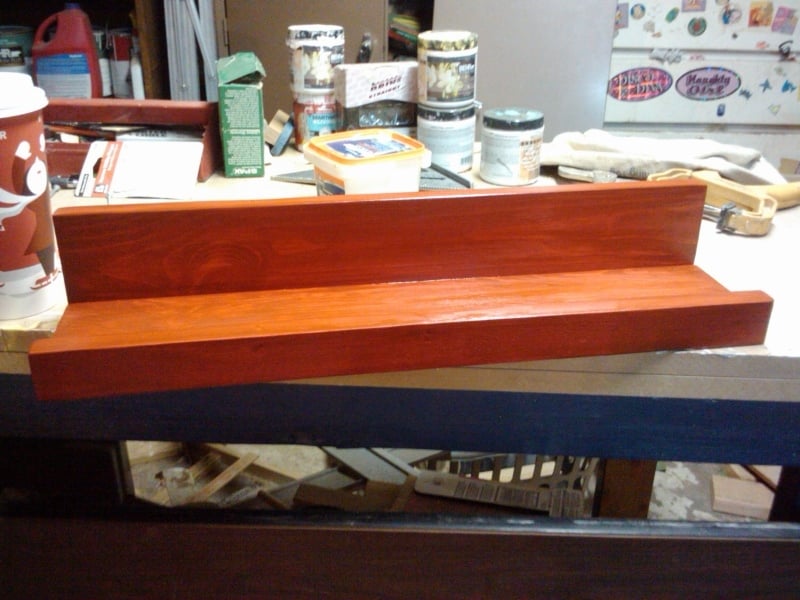
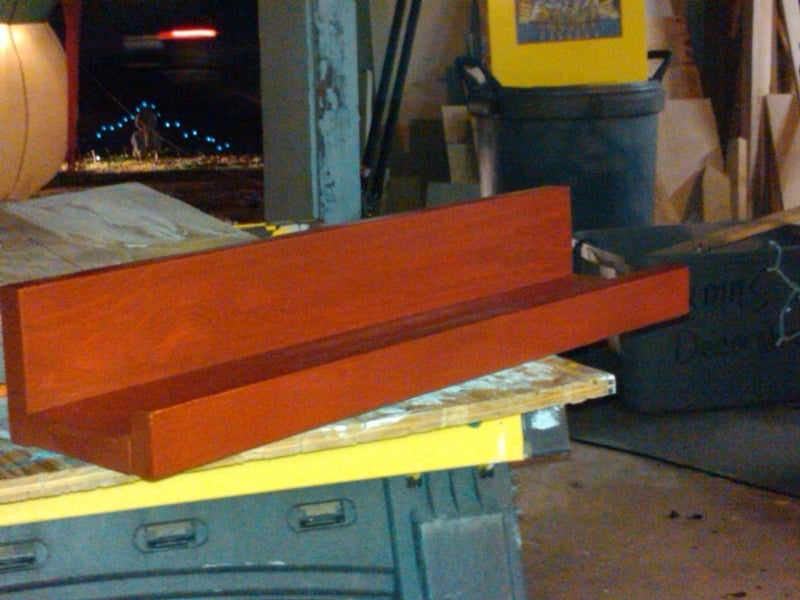
Stain - Minwax Espresso
Wood Glue


Comments
ana8178
Thu, 02/02/2012 - 07:51
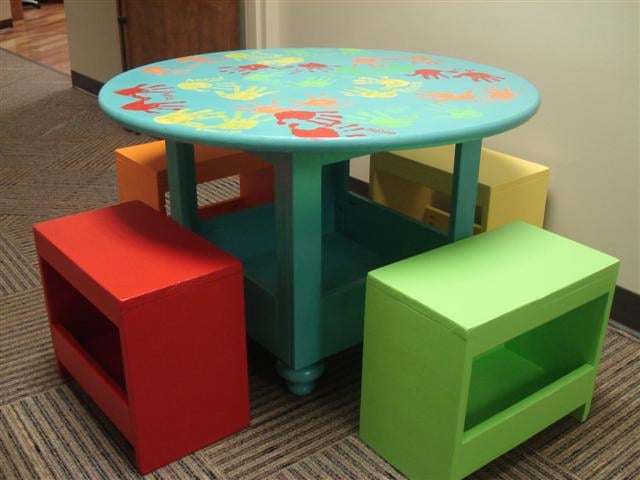
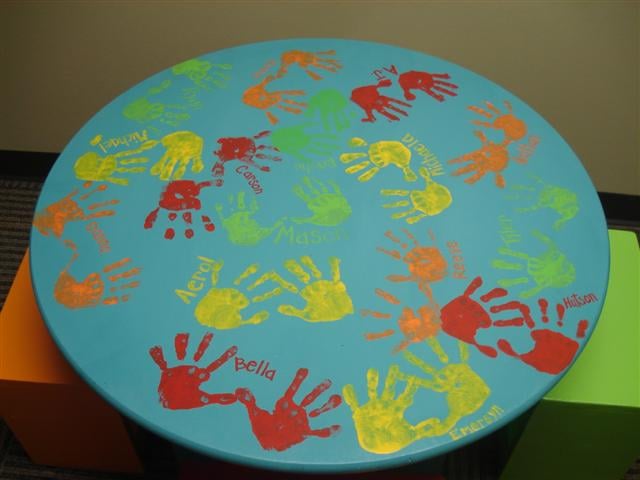
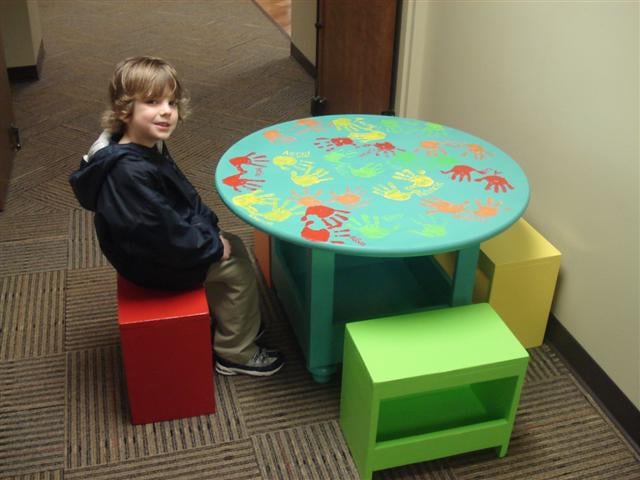
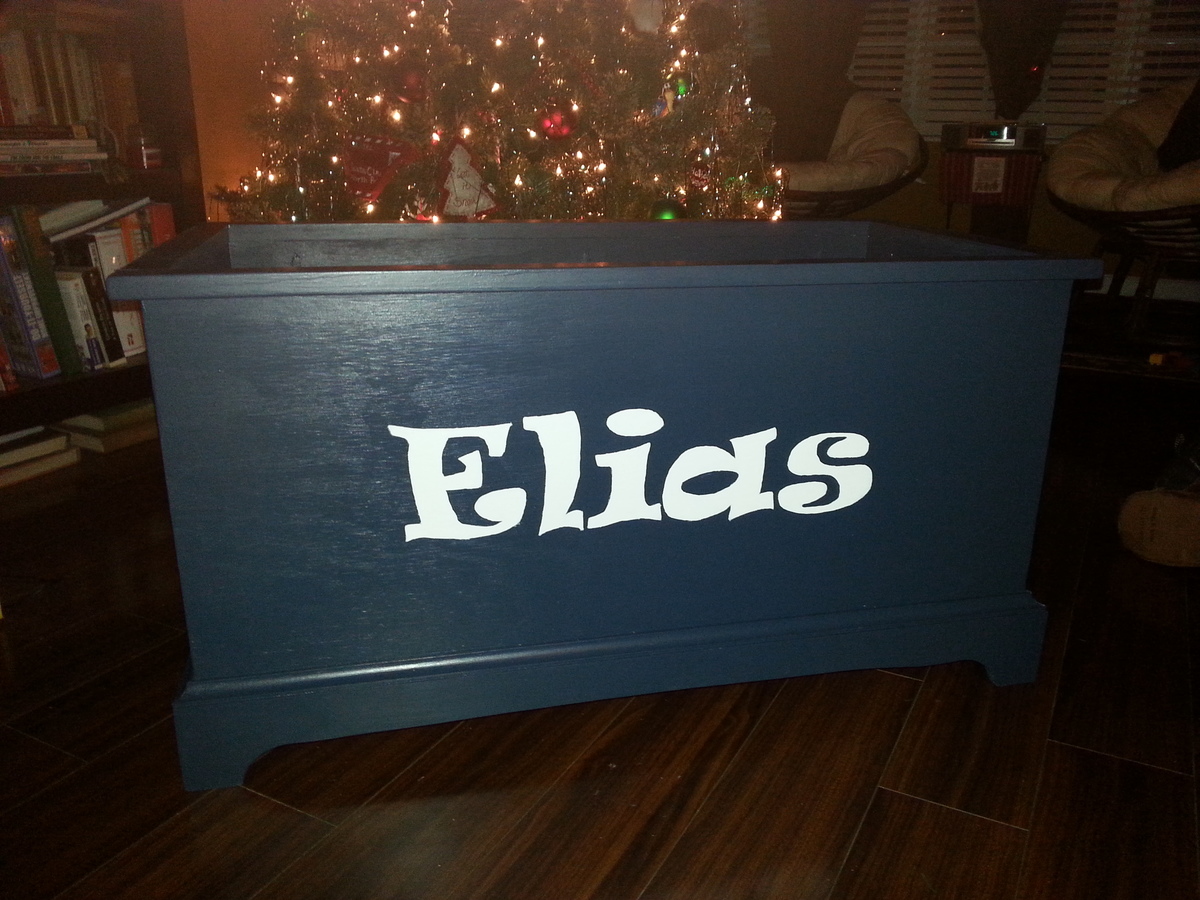
Love the hand prints! Too
Love the hand prints! Too cute.
monicacaptri (not verified)
Tue, 07/03/2012 - 09:03
Part of a class I am taking
Part of a class I am taking involves this particular subject and I am researching for information to use in an upcoming report. Your post is really helpful; do you have any others on this topic?
http://www.britecarpetcleaners.com/