Community Brag Posts

Farmhouse Kitchen Table

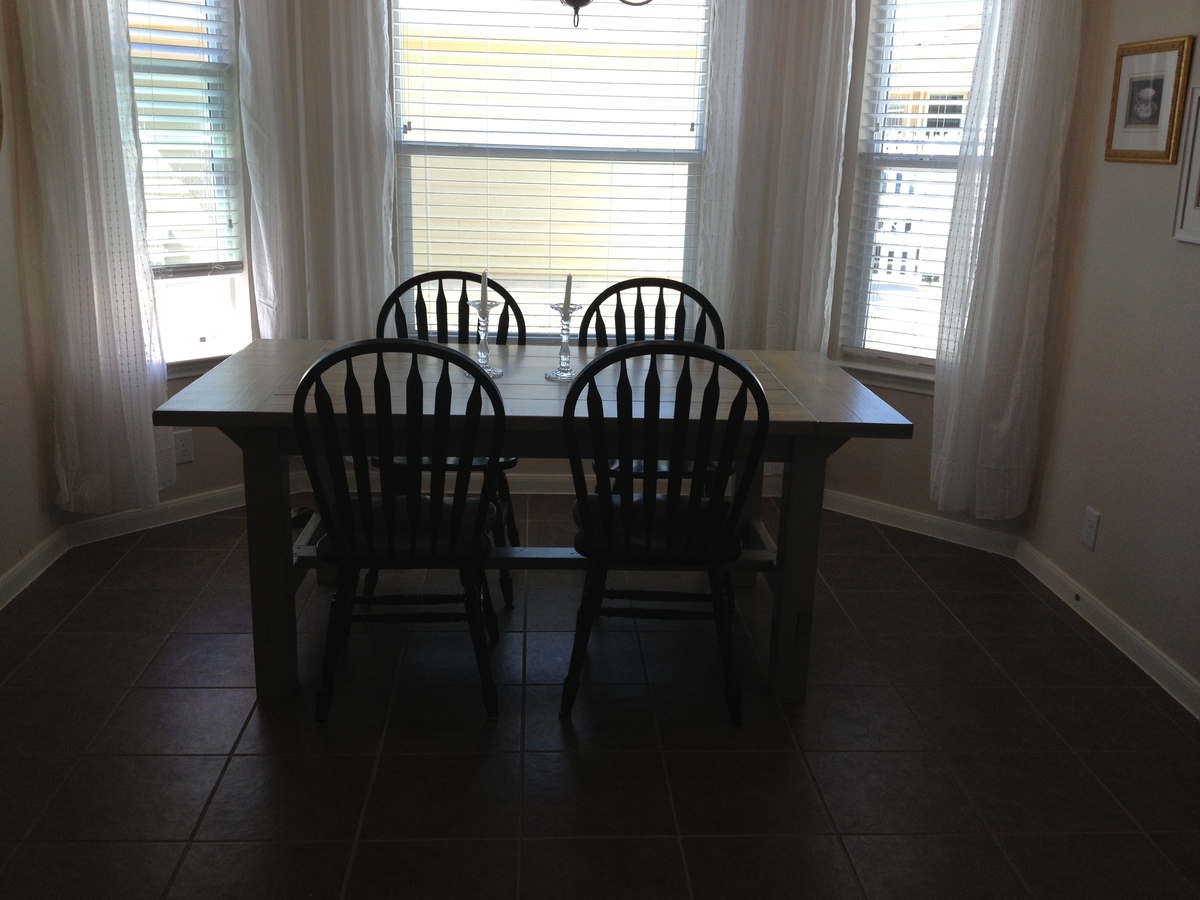
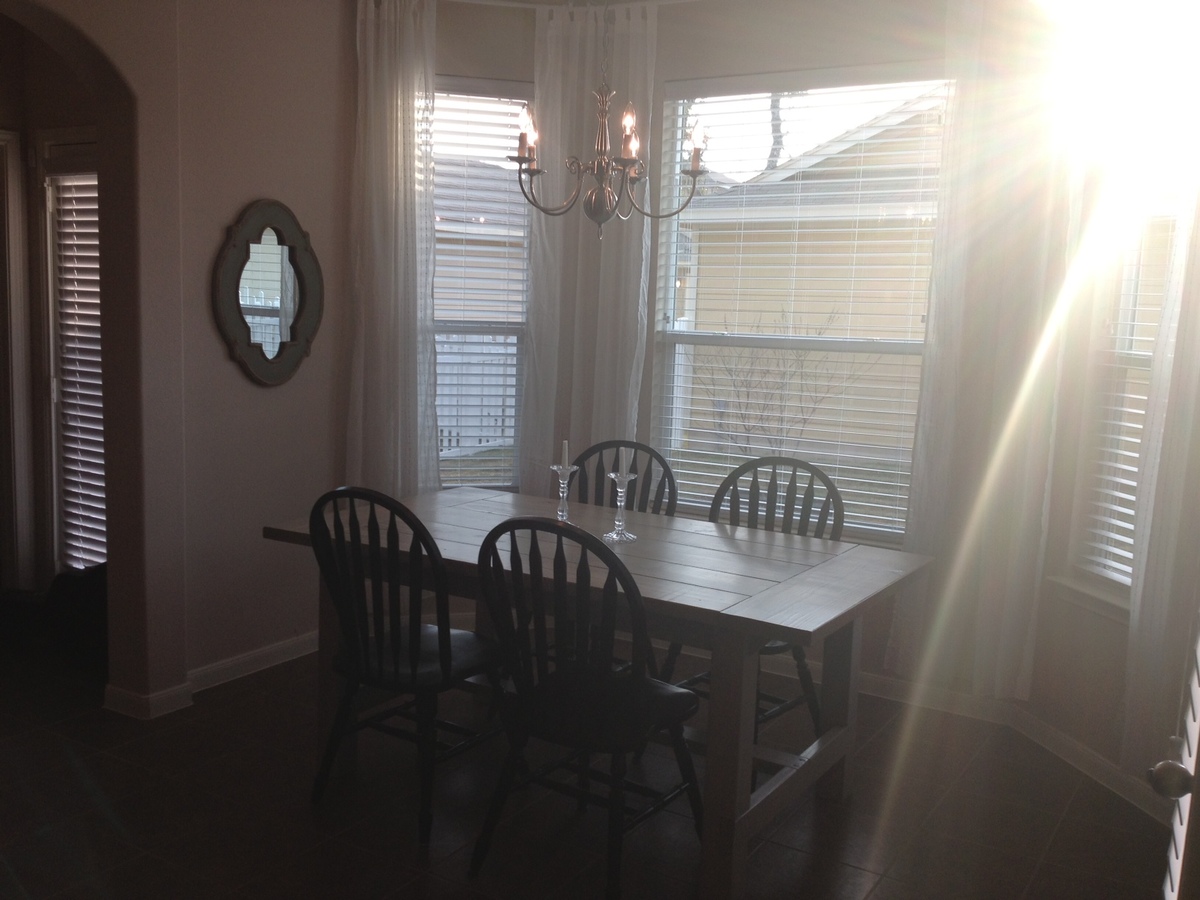
My husband and I recently bought our first home right outside of Austin, Texas. One of my favorite features of the house were the beautiful bay windows in the kitchen. I wanted to have a table that accented the windows and created a centerpiece in the kitchen. I stumbled upon this blog, found the Farmhouse Table, and decided I was going to build this table! With the help of my dad, I was able to complete my first wood-working project, and I couldn't be more thrilled with the way it turned out!

Estimated Time Investment
Weekend Project (10-20 Hours)
Recommended Skill Level
Intermediate

Comments

Nelson55

Sat, 10/19/2013 - 10:44

I was wondering if this table was white? I cant tell by the lighting, but I was looking to make this table for myself stained white. Yours is the first I've seen that looks white, if so could you tell me the color of the stain? Thanks the table is beautiful!

Rustic Kitchen Island DIY

Submitted by kstruthers on Fri, 01/16/2015 - 07:57

Modified the plan in order to use 12 inch drawer slides and to fit the 1X24x48 project panel found at Lowes. The 2 inch swivel casters and drawer hardware were found at Home Depot.

Built from Plan(s)
Estimated Cost
$150-$200
Estimated Time Investment
Weekend Project (10-20 Hours)
Finish Used
Behr Premium Plus Ultra in snowfall with Minwax dark walnut stain for top. Sealed with General Finishes High Performance topcoat in flat.
Recommended Skill Level
Intermediate

Comments

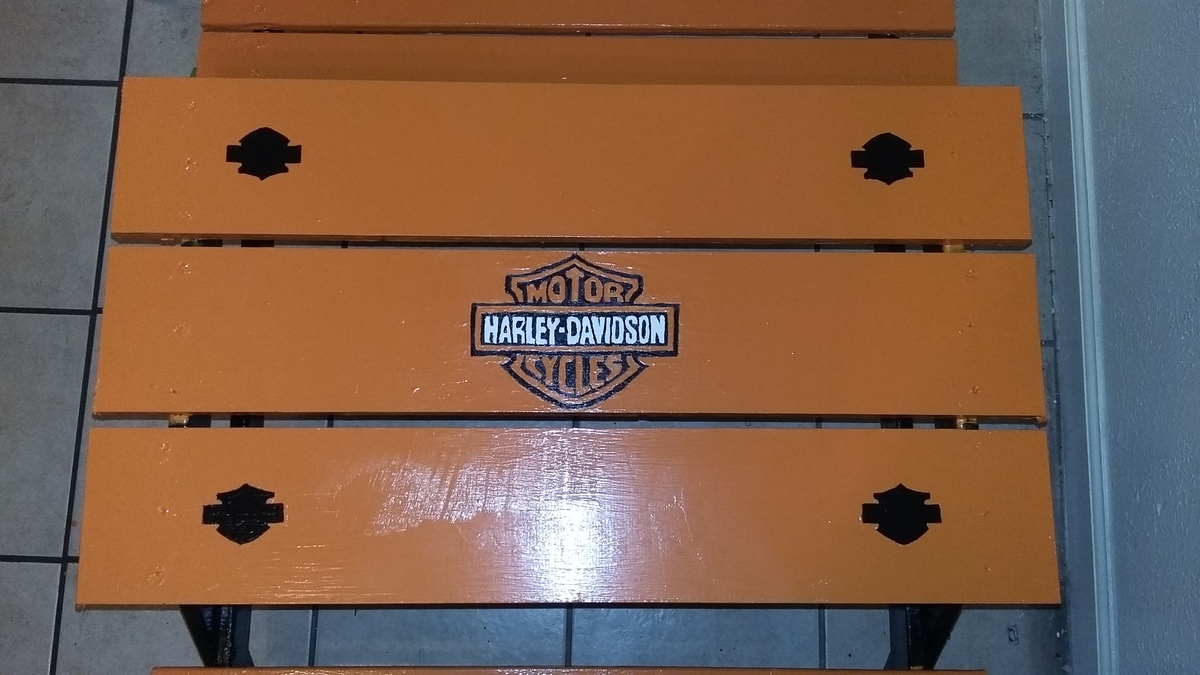
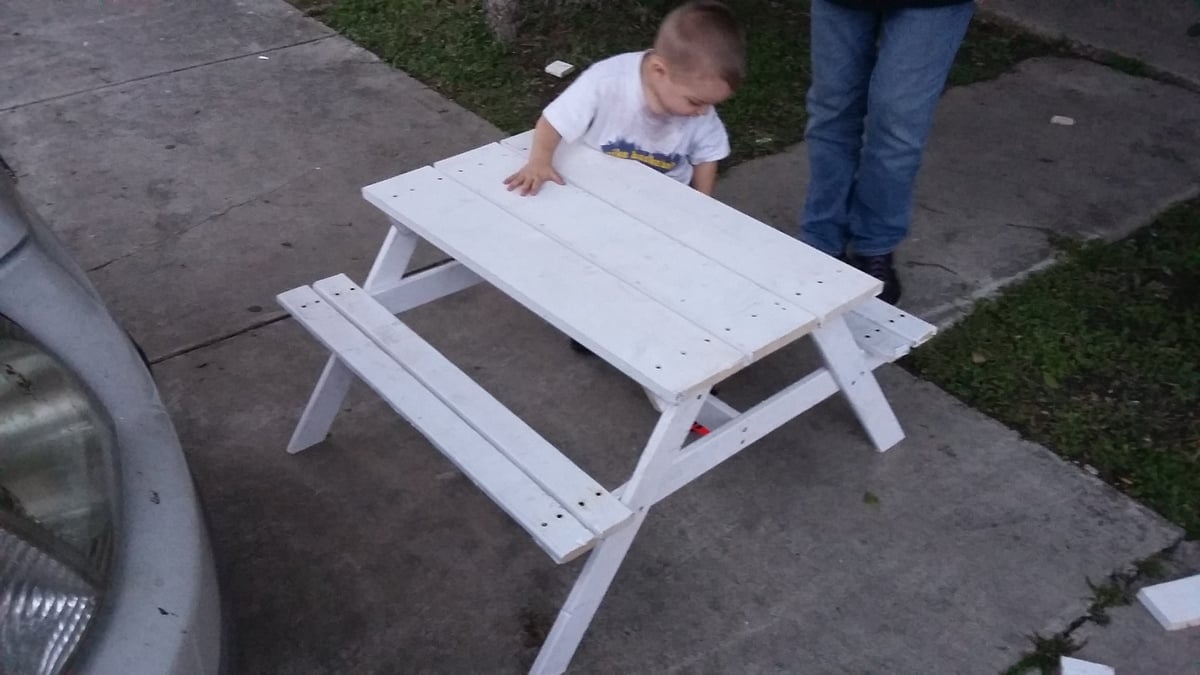
Grandkids LOVE IT!

Submitted by Anonymous (not verified) on Tue, 04/18/2017 - 05:31

Simple to build, took longer to paint it than it did to build it!

Built from Plan(s)
Estimated Cost
65 dollars (45 was paint).
Estimated Time Investment
Weekend Project (10-20 Hours)
Finish Used
primed with Kilz, painted with Glidden. Harley symbols were hand painted.
Recommended Skill Level
Beginner

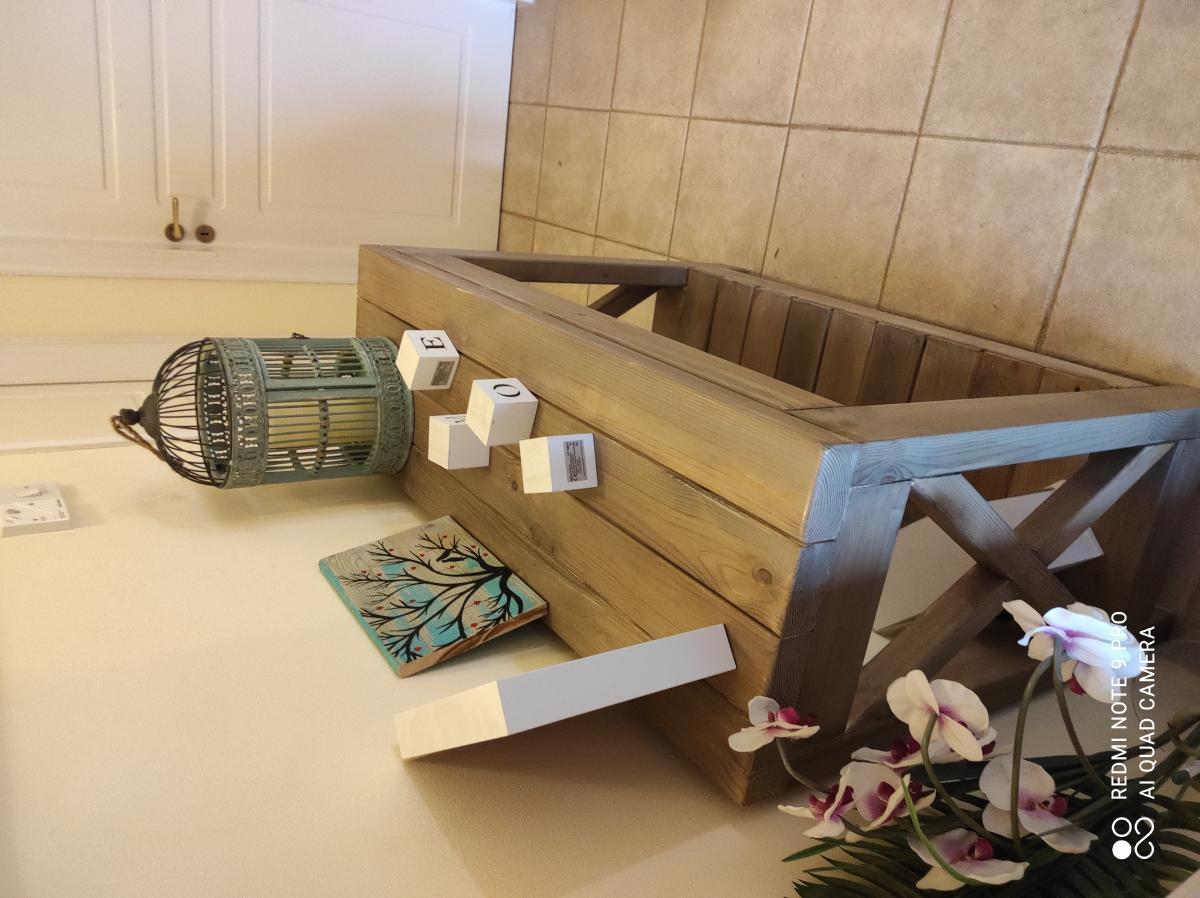
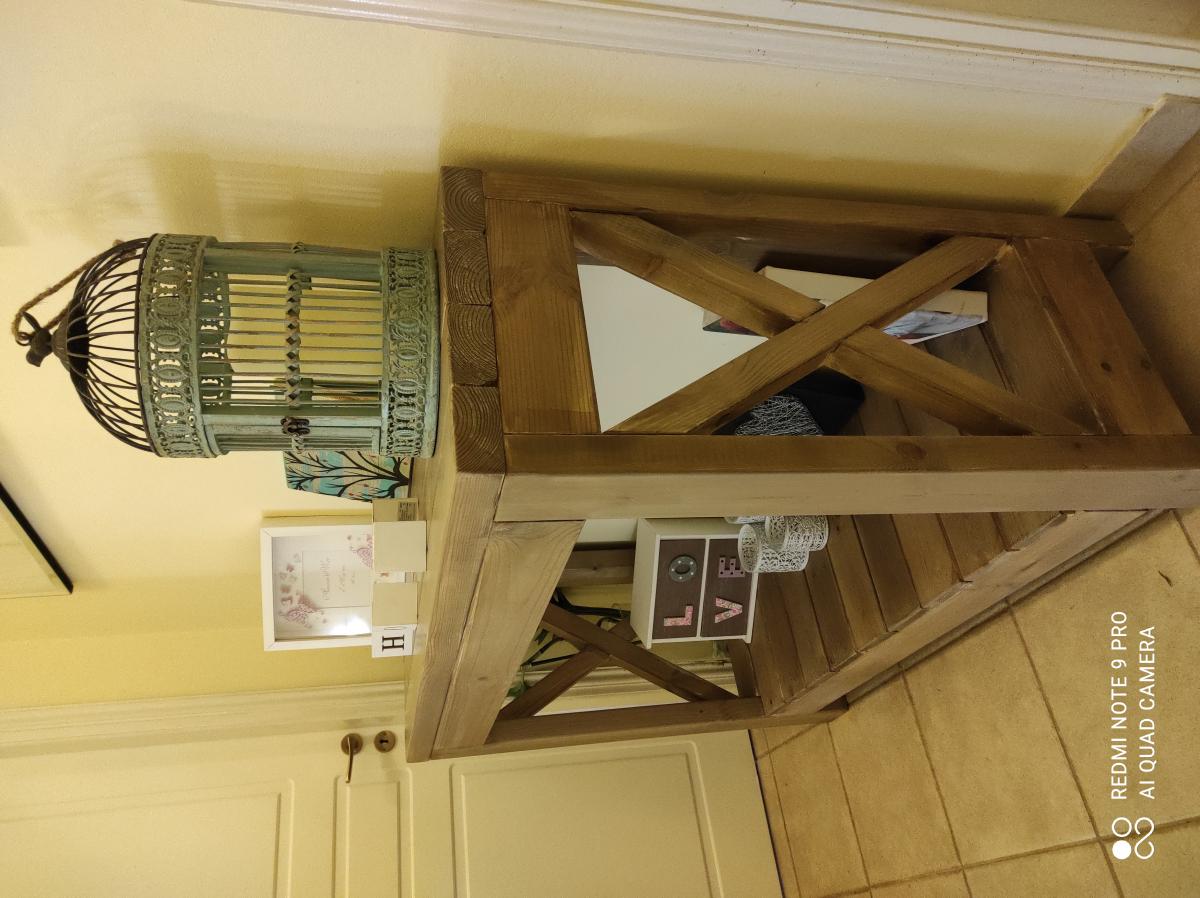
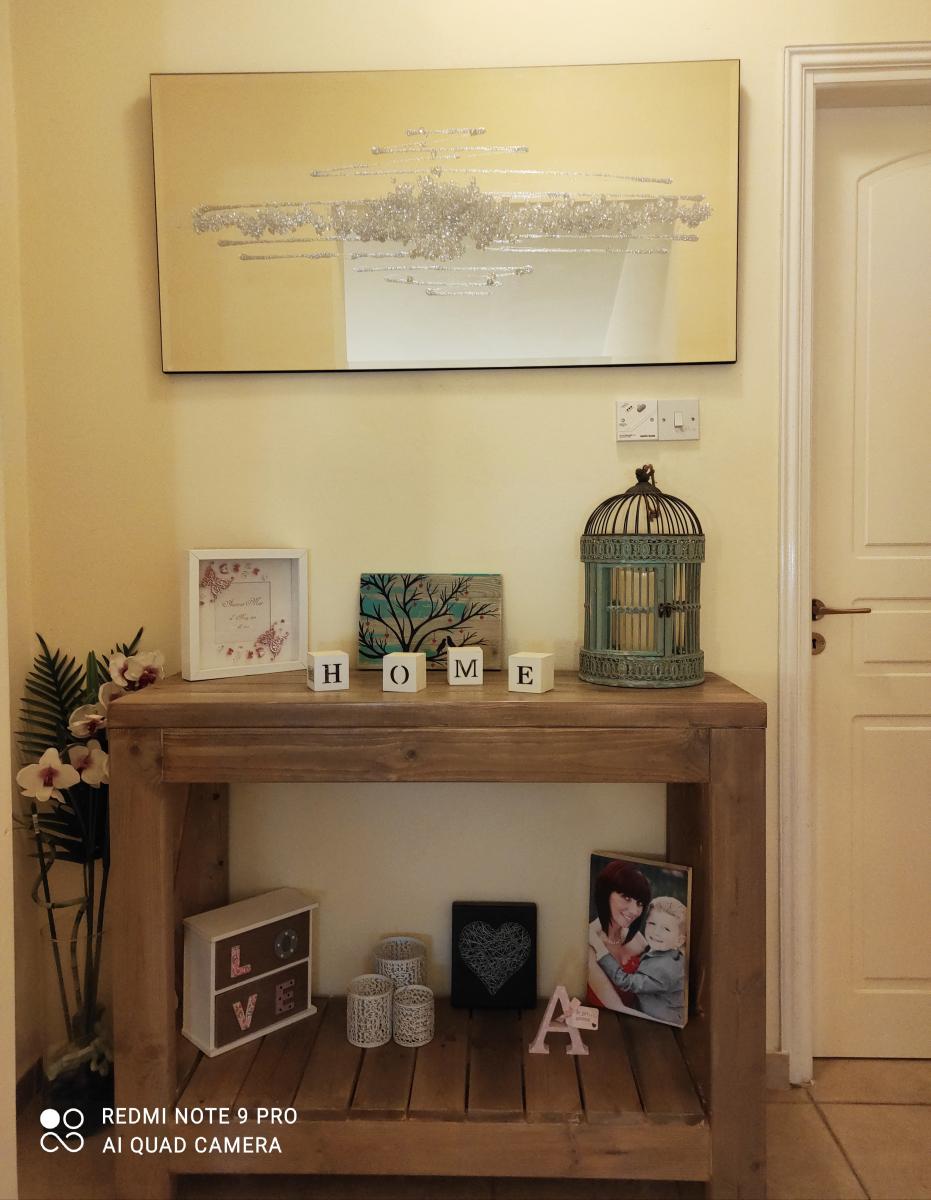
Rustic x console table

Submitted by Markb25 on Fri, 03/19/2021 - 14:39

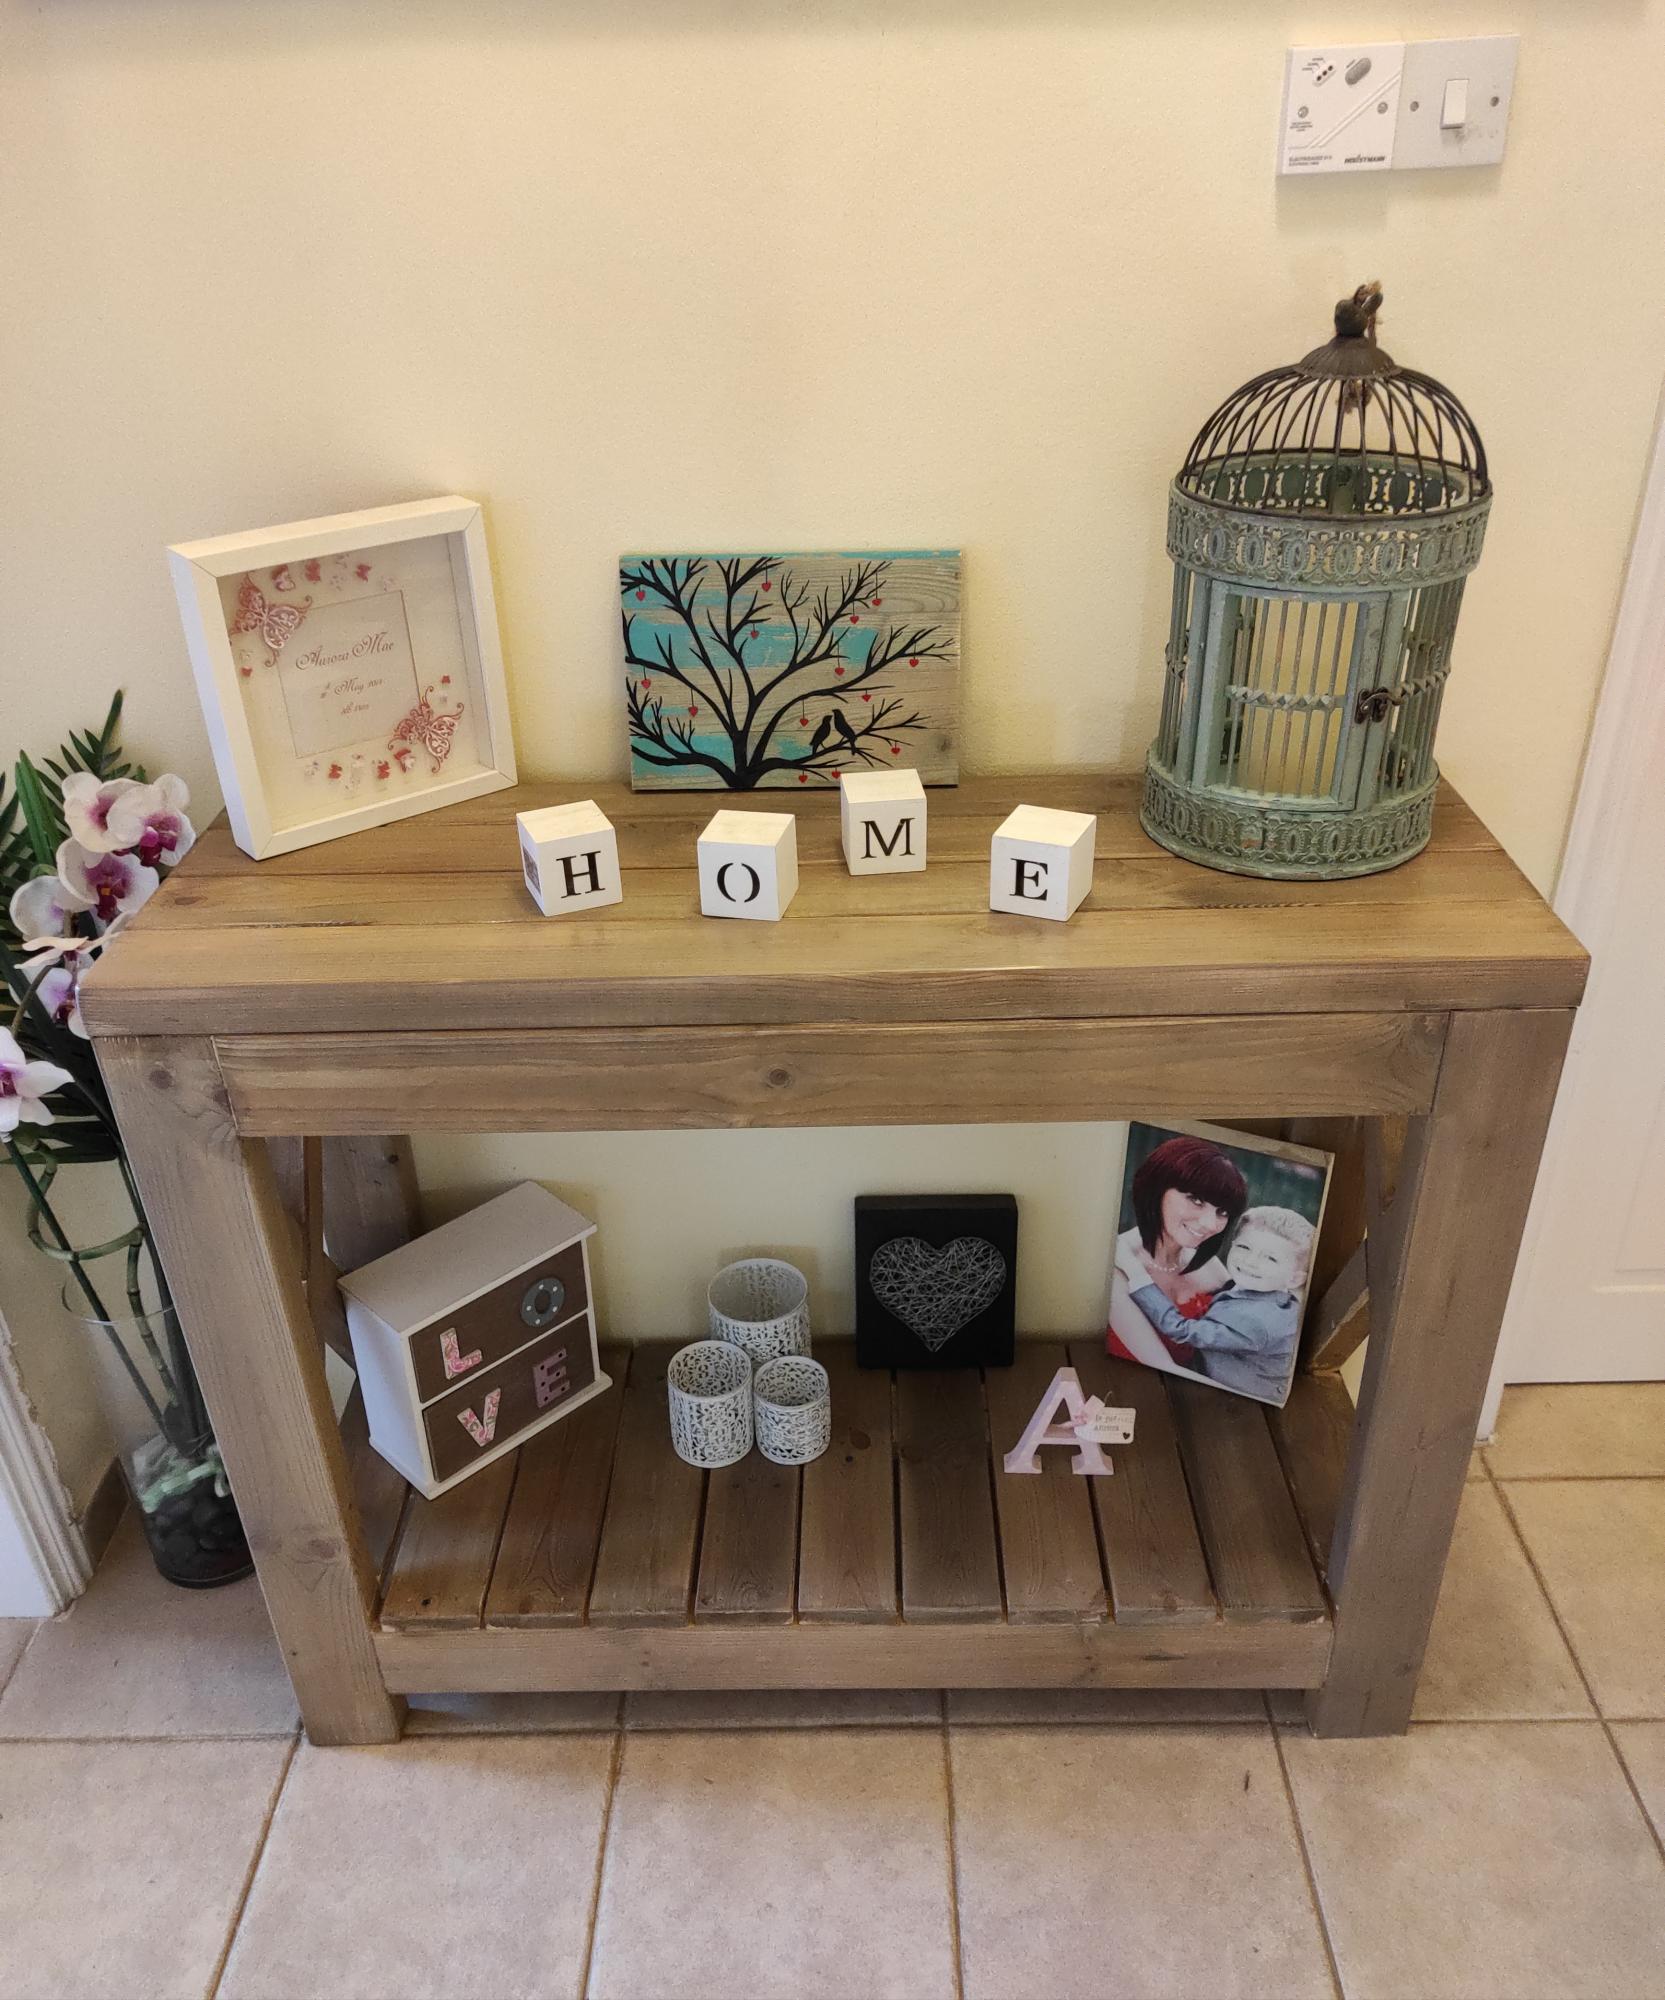
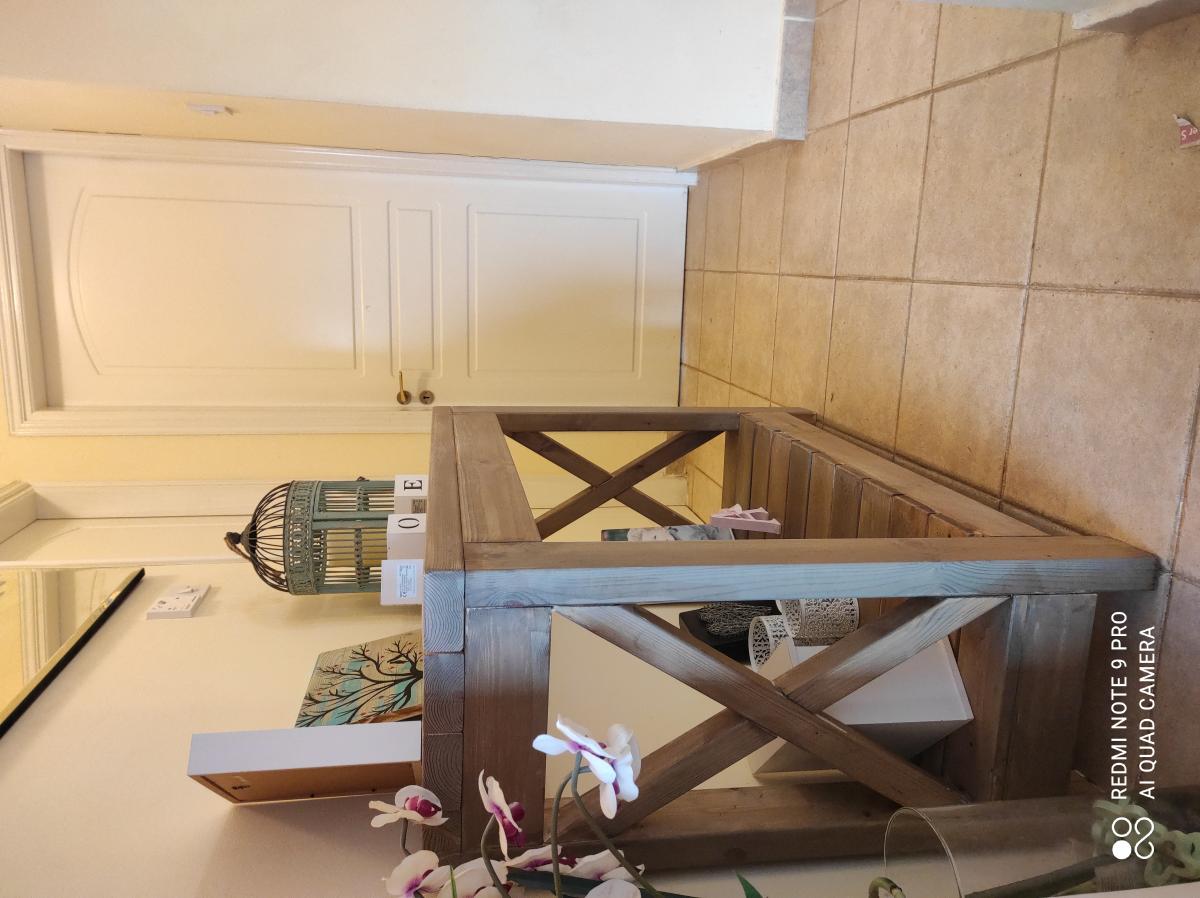
Based on the rustic x console plans with a few small changes to cater to the space available.

Built entirely from 2x4 with the exception of the X's which are 2x2; I choose to use half-lap joints to make these, ordinarily I'd have these a lot neater but chose to leave them visable to add the the rustic feel.

For the finish I've oxidised the wood with a steel wool and white vinegar solution and then applied a light grey wash over the top.

Built from Plan(s)
Estimated Cost
50
Estimated Time Investment
Afternoon Project (3-6 Hours)
Finish Used
White vinegar and still wool solution, grey wash and rustolium clear wax.
Recommended Skill Level
Beginner

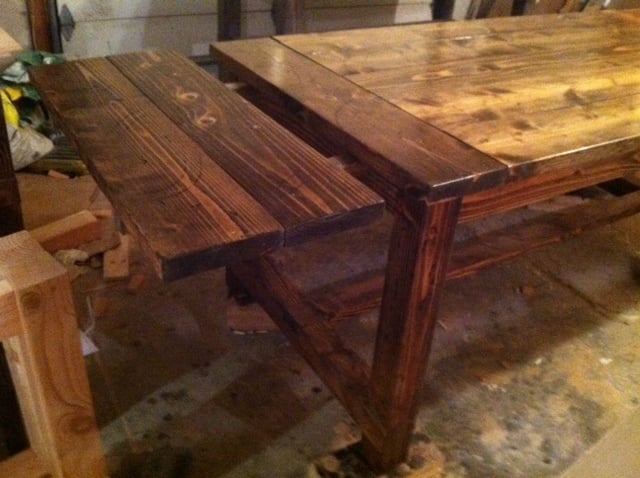
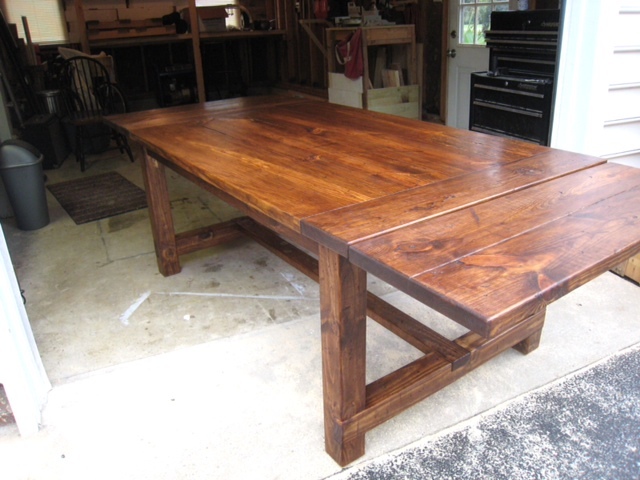
Farmhouse Table with Extenstions

Great Plan from Tommy and Ellie Farmhouse Table. Have built 3 for family members for holiday gifts. I thought I found his plans from on here but don't remember where. So all I do to refer back is google tommy and Ellie Farmhouse table.

Estimated Cost
140
Estimated Time Investment
Day Project (6-9 Hours)
Recommended Skill Level
Intermediate

Comments

Farmhouse Table

Fun and challenging build, be sure to square the edges of lumber before assembly to get a better fit

Built from Plan(s)
Estimated Time Investment
Week Long Project (20 Hours or More)
Recommended Skill Level
Intermediate

Comments

Fancy X farmhouse table

Submitted by Anonymous (not verified) on Wed, 04/19/2017 - 19:09

Built this table using the Ana White plans everything worked great.

Built from Plan(s)
Estimated Cost
NA had the wood already
Estimated Time Investment
Week Long Project (20 Hours or More)
Finish Used
Used Minwax espresso stain and polyurethane
Recommended Skill Level
Intermediate

Comments

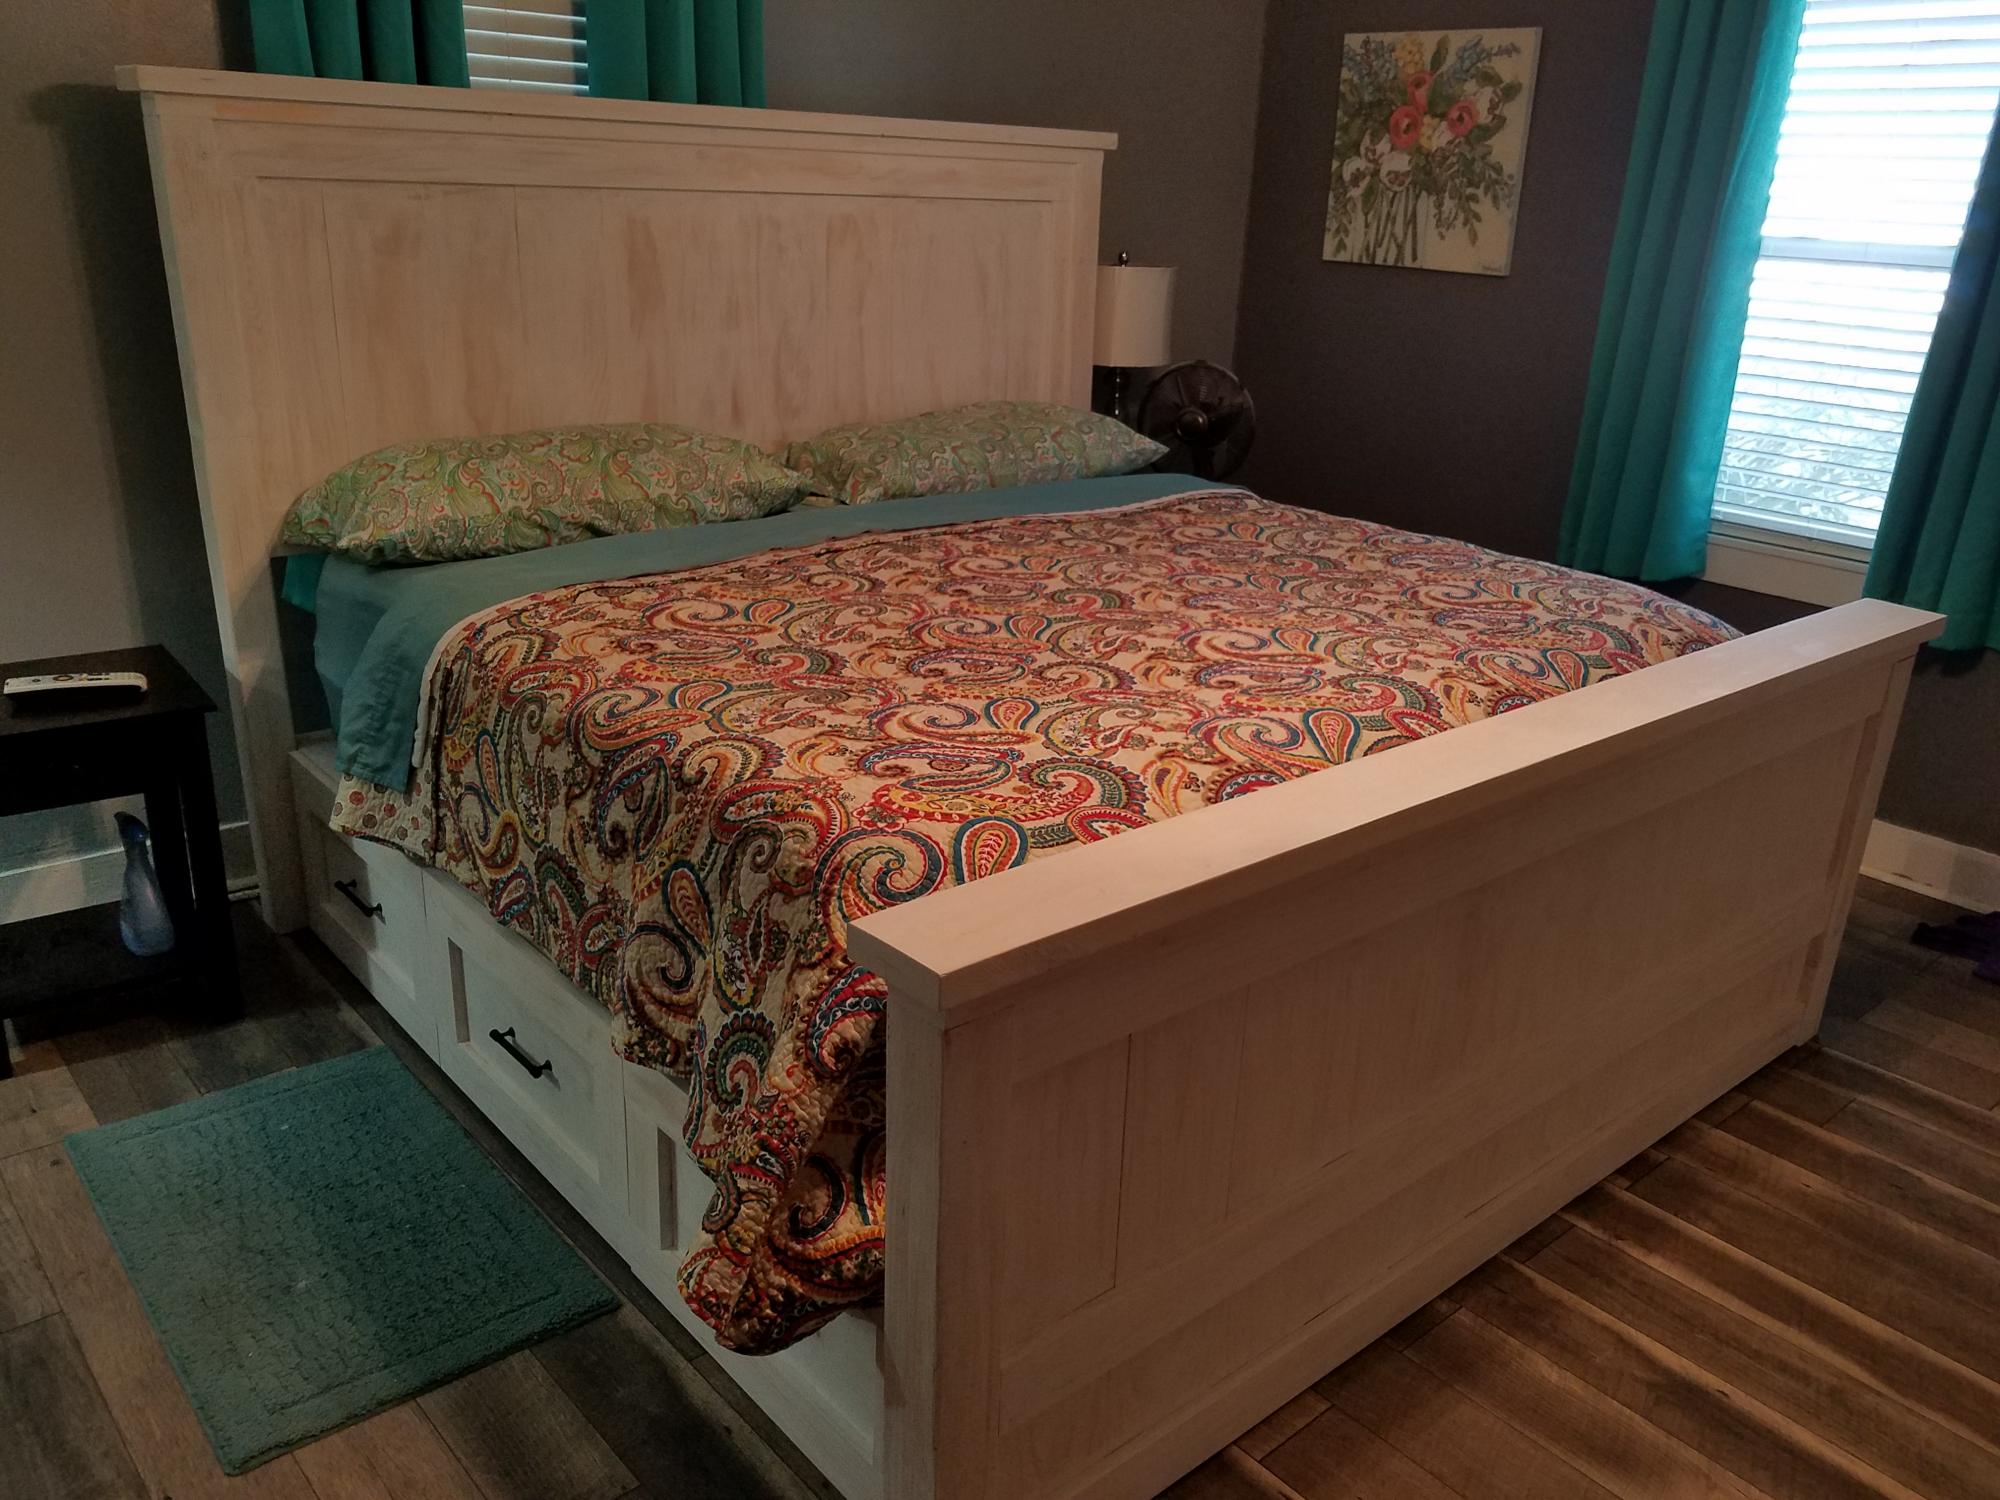
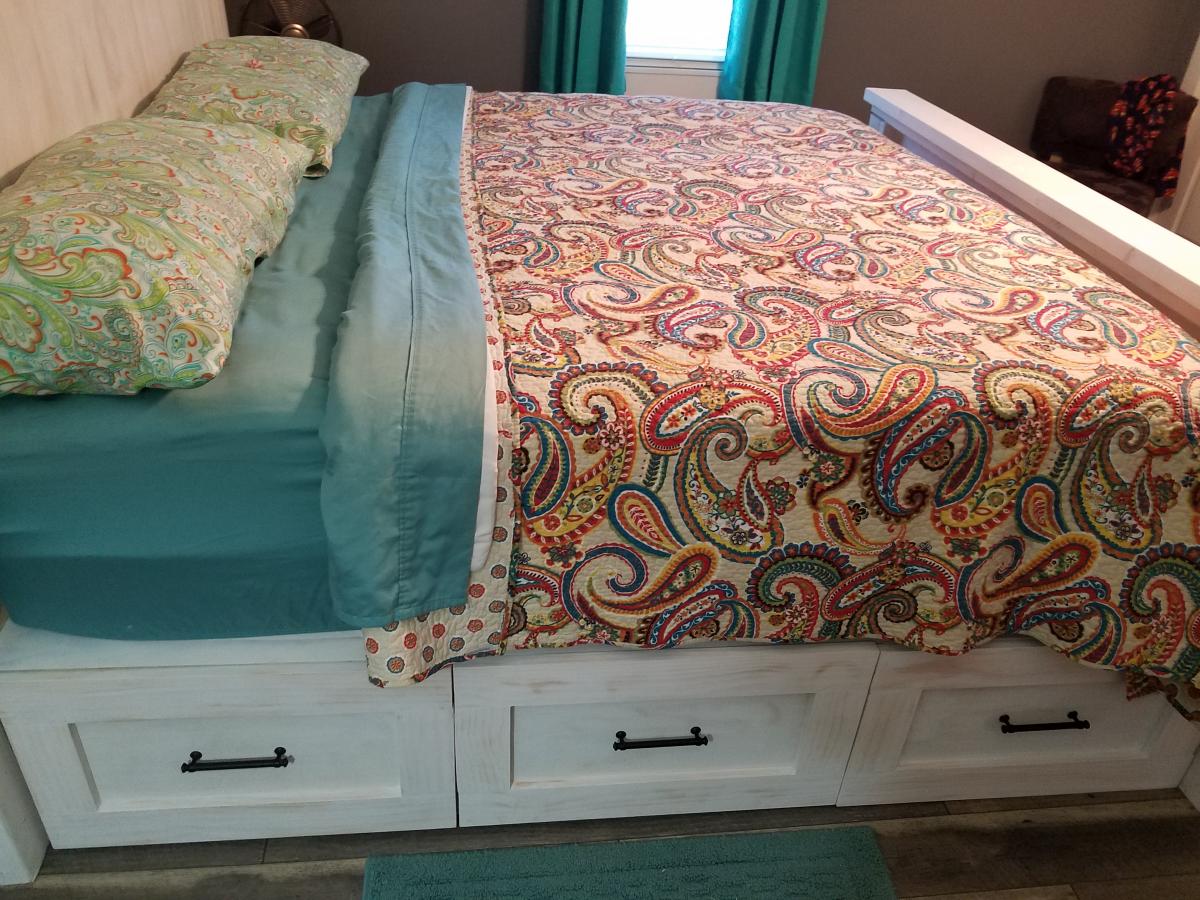
Farmhouse bed king with drawers

Submitted by 1AIRCRAFt1 on Sat, 03/27/2021 - 18:36

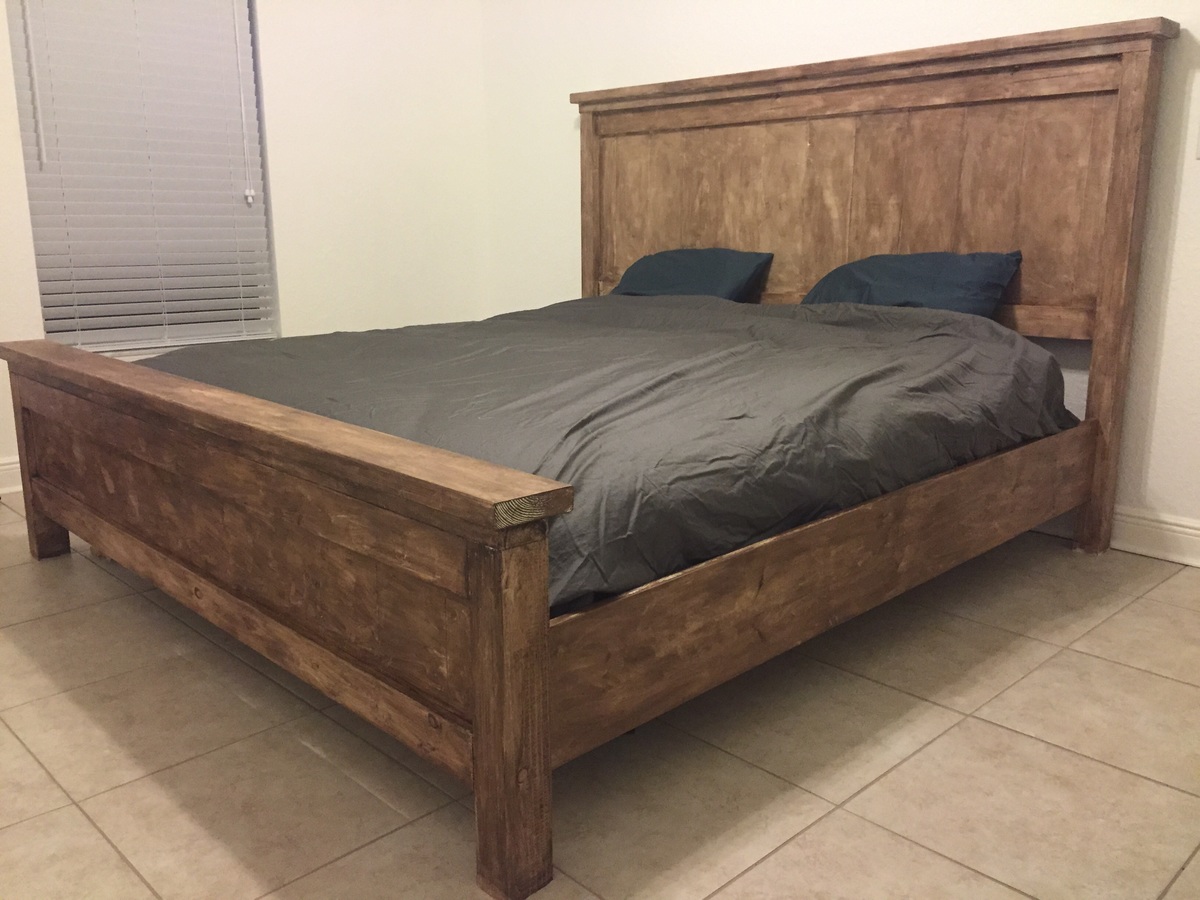
Hi Ana! I'm new to these internet sites, my wife was showing me your Farmhouse Bed so I gave it a shot. this is the first furniture piece I have ever built. I did make a few changes to your plans, I hope you don't mind. I added drawers on both sides of the bed. I also king sized it. let me know what you think of it. I think it turned out well. (of course) It sleeps better that any bed we have ever had. Because of the built in storage we were able to remove a large dresser giving us more room in the bedroom. I really enjoy your site, thank you! P.S. I still don't understand what the "PIN" thing is or how to work it.

Estimated Cost
$550
Estimated Time Investment
Weekend Project (10-20 Hours)
Finish Used
White Wash
Recommended Skill Level
Beginner

Comments

1AIRCRAFt1

Mon, 03/29/2021 - 16:16

Thank you. I would have never tried it without your drawings. I gotta tell ya, your really good at what you do. your the only one I follow. Thanks once again. Love your work!!!

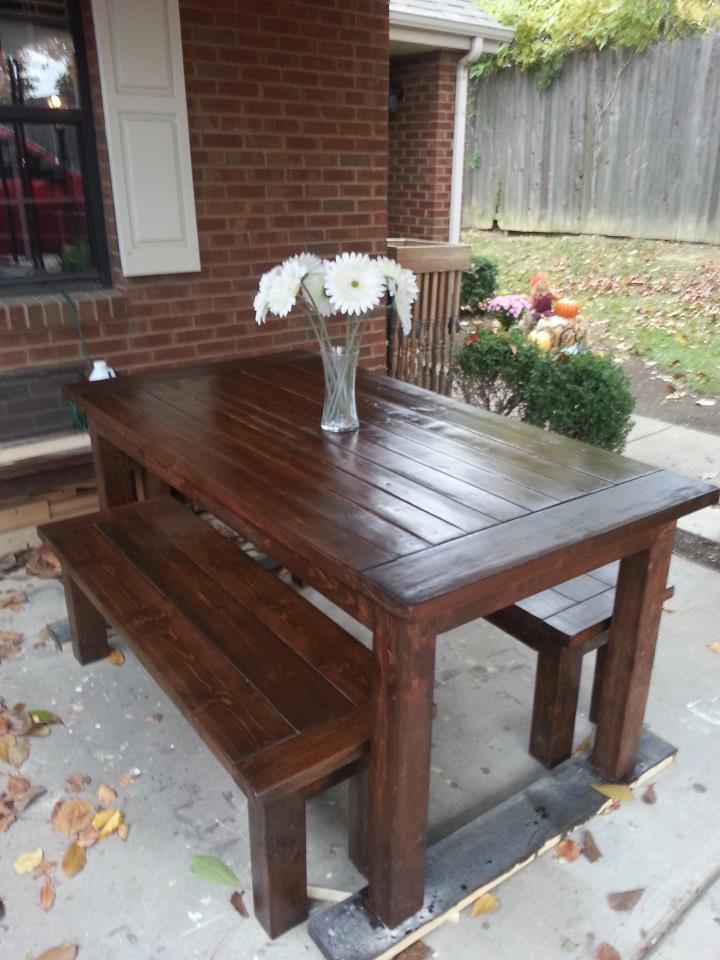
Farmhouse Table

Submitted by SamWiseMan on Thu, 03/14/2013 - 11:55

I used the idea of the Farmhouse Table and Coffee Table to build this table and benches. I used simple whitewood for the table because it's cheap. This table doesn't take long to build, only a few hours. But this time I used oil-based stain and had to swap out a few boards because they were warped so it took longer than expected.

Estimated Time Investment
Weekend Project (10-20 Hours)
Finish Used
Some type of Minwax Walnut stain.
Recommended Skill Level
Beginner

Comments

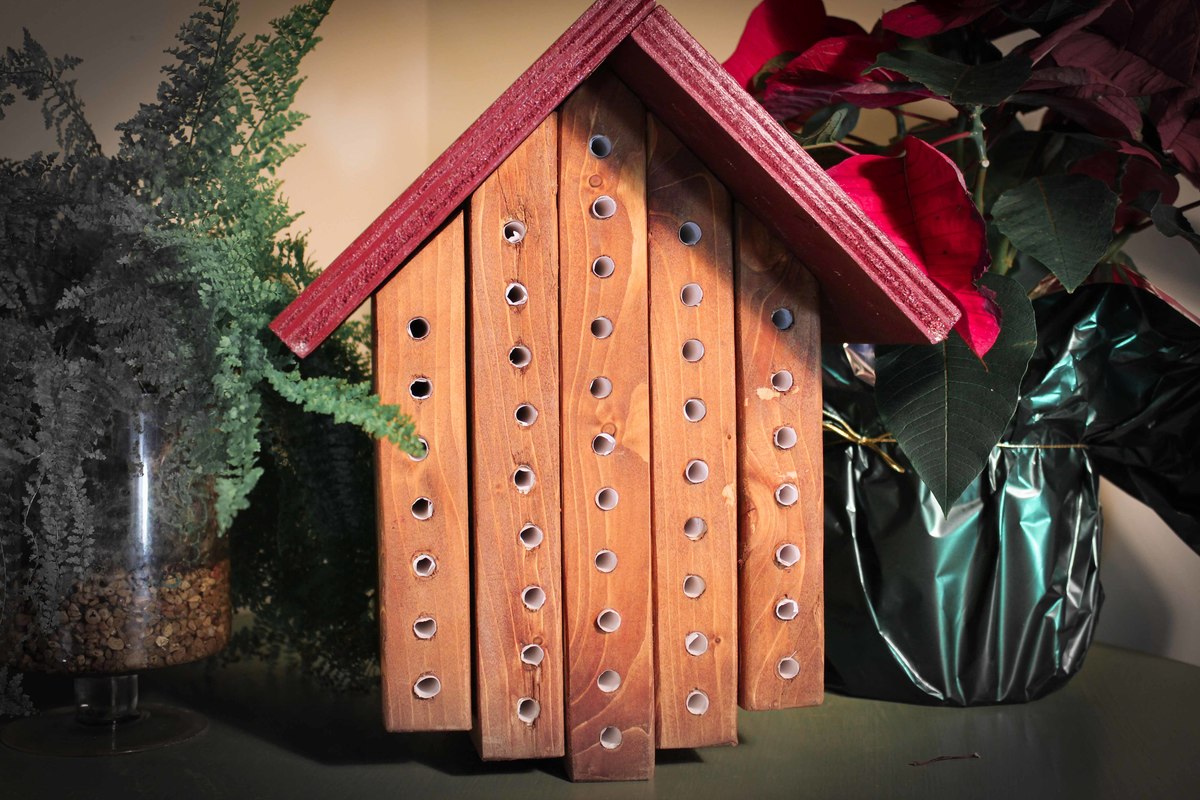
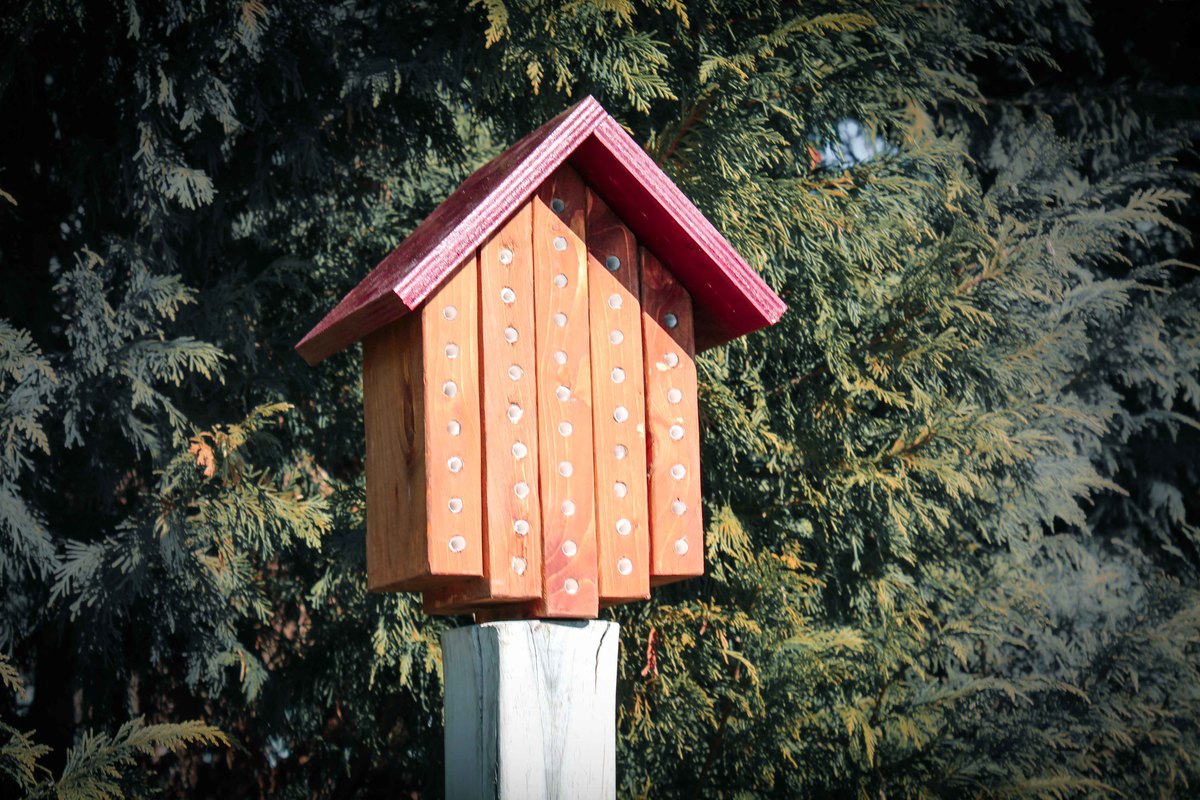
Mason Bee House

Submitted by mtairymd on Wed, 01/21/2015 - 16:32

Video of Build:

https://www.youtube.com/watch?v=yDwXPVC4m58

Build Instructions:

http://www.instructables.com/id/Mason-Bee-House/


Native mason bees can be housed to protect them from pests, diseases and predators. They are excellent early season pollinators for orchards and other early season fruit crops. Mason bees can do more work than non-native honey bees, even on a cloudy rainy day. Also, mason bees are solitary non-aggressive bees, which makes them ideal for folks with pets or children. The initial step for the care of mason bees is to build a nest block or mason bee house.

Estimated Cost
$10
Estimated Time Investment
Afternoon Project (3-6 Hours)
Finish Used
Paint (roof)
Natural stain (body)
Recommended Skill Level
Beginner

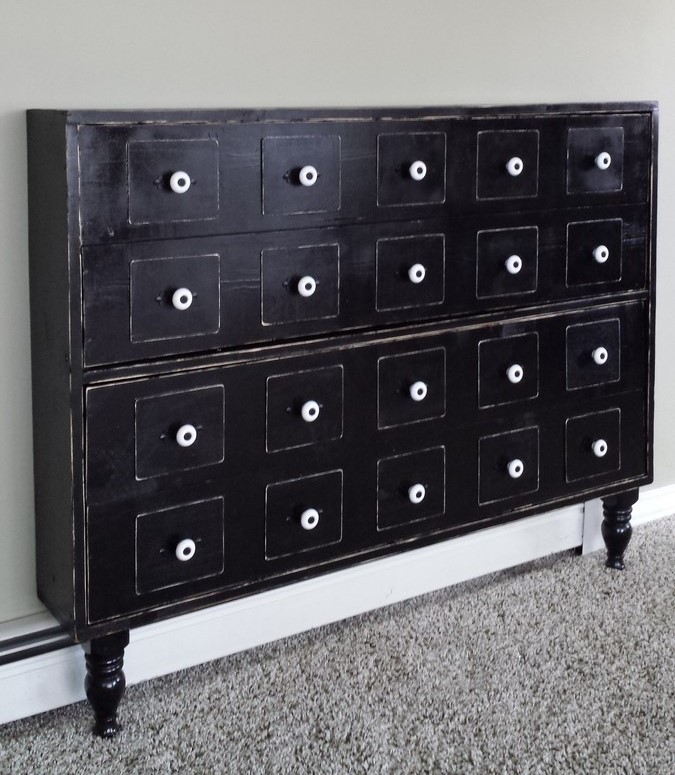
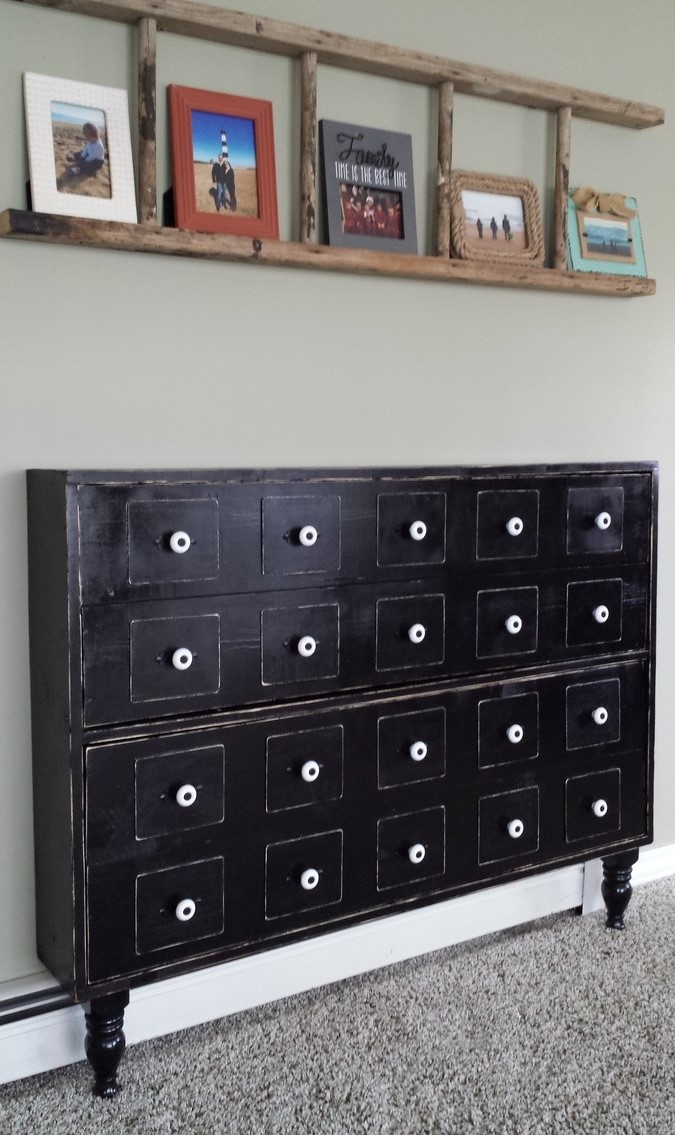
Shoe Dresser

Submitted by Anonymous (not verified) on Sat, 04/22/2017 - 13:54

Loved this project!  We had an old headboard so my wife came up with the idea to cut off the top posts and use them as legs.  

Built from Plan(s)
Estimated Cost
125
Estimated Time Investment
Day Project (6-9 Hours)
Recommended Skill Level
Intermediate

Mudroom bench

Submitted by Dan Kielty on Thu, 04/01/2021 - 18:16

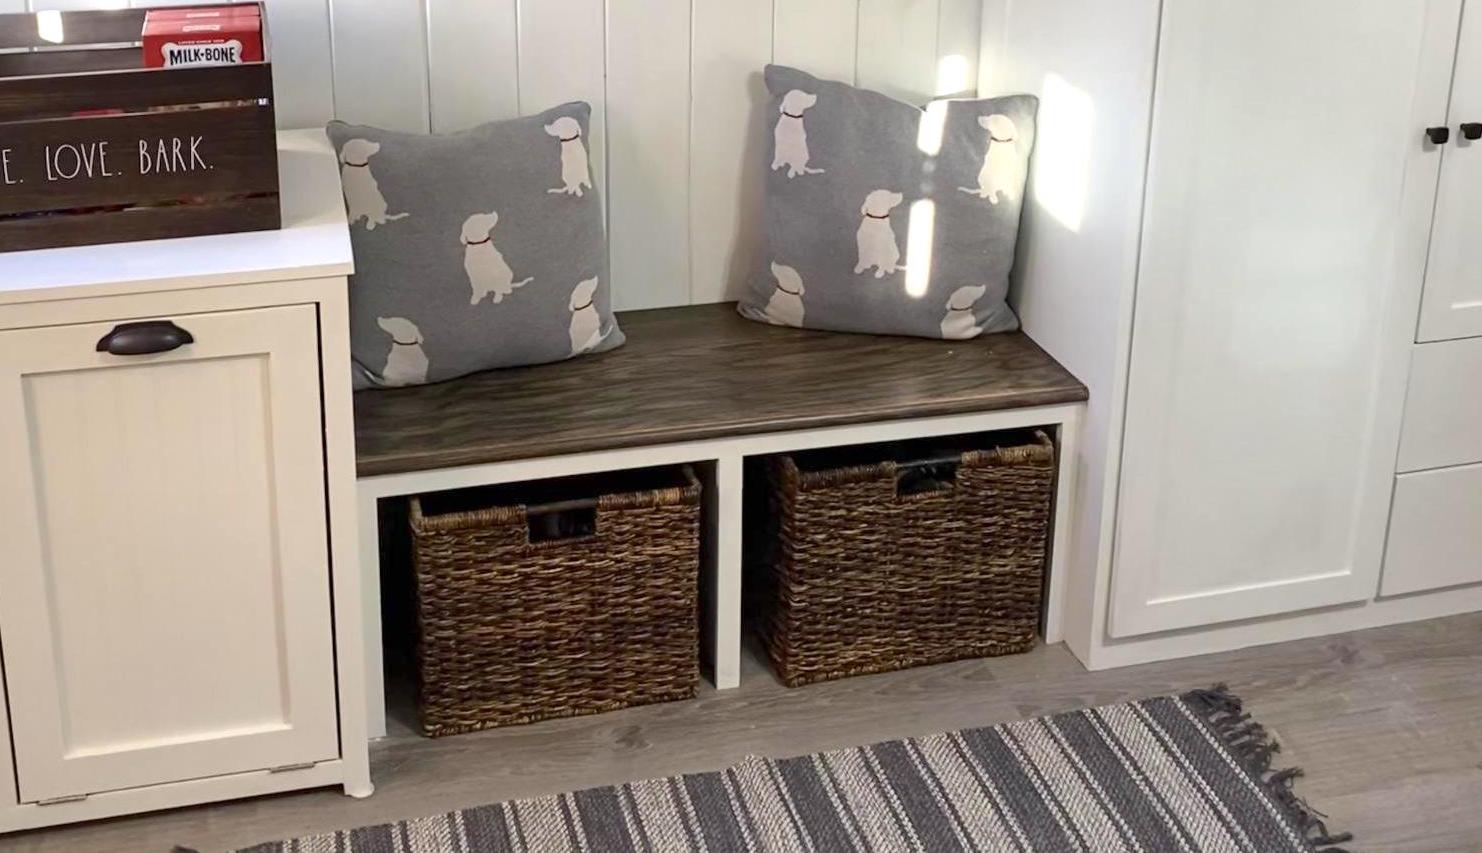
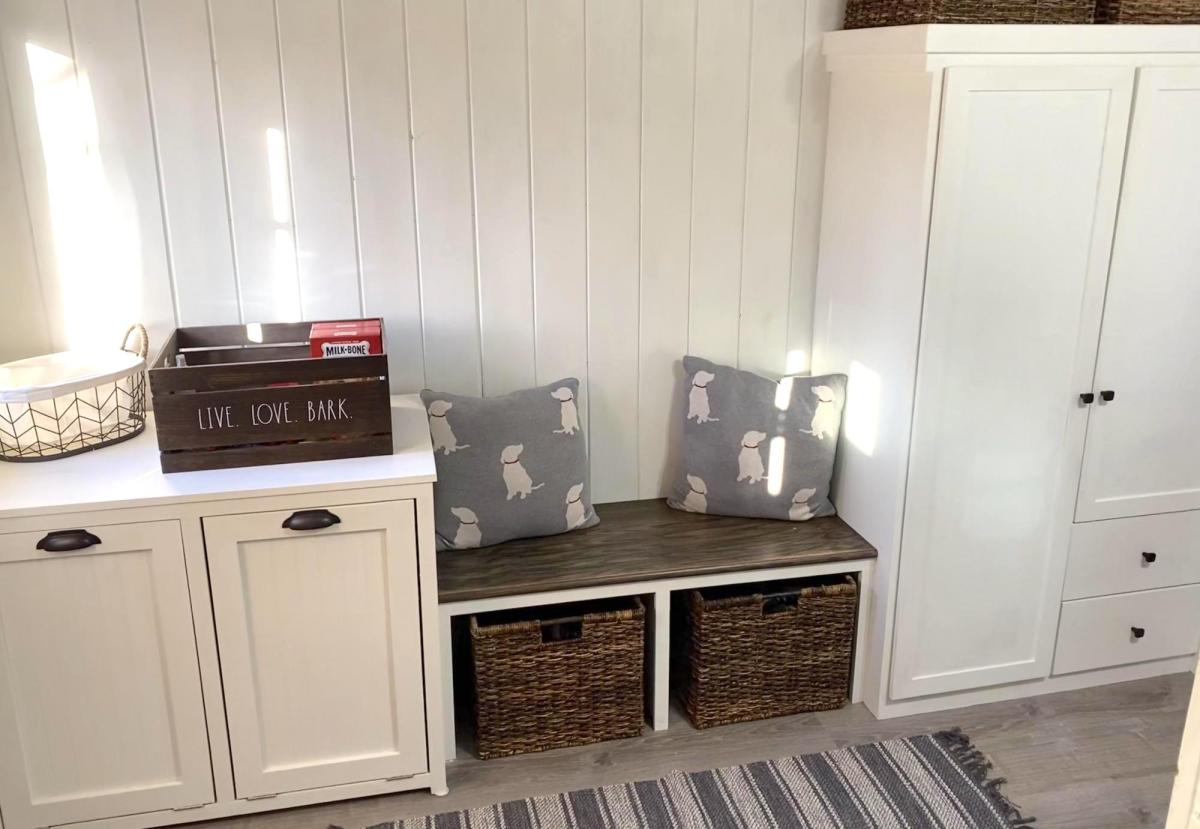
Mud room bench with recycling cabinet

Estimated Cost
$300
Estimated Time Investment
Weekend Project (10-20 Hours)
Finish Used
Behr chalk paint, Minwax ebony
Recommended Skill Level
Intermediate

Comments

King Farmhouse Bed

Submitted by kabbey1901 on Sat, 01/24/2015 - 17:29

This was my first project and I had a ton of fun working on it. My grandpa has a professional wood shop, but as he has gotten older it hasn't been used as frequently. Most of my time was spent fixing broken equipment. I made a couple wrong cuts and had to go back to the store. All in all I love my new bed, I spent quality time with my grandpa, and it is a solid piece of furniture built for a fraction of what a bed should cost.

Estimated Cost
$180
Estimated Time Investment
Weekend Project (10-20 Hours)
Finish Used
White latex Paint base, Walnut Stain. I painted the base on and then sanded the base paint a little bit, then put the stain on and wiped as much as I could off.
Recommended Skill Level
Beginner

Comments

Toybox

Submitted by Anonymous (not verified) on Mon, 04/24/2017 - 20:00

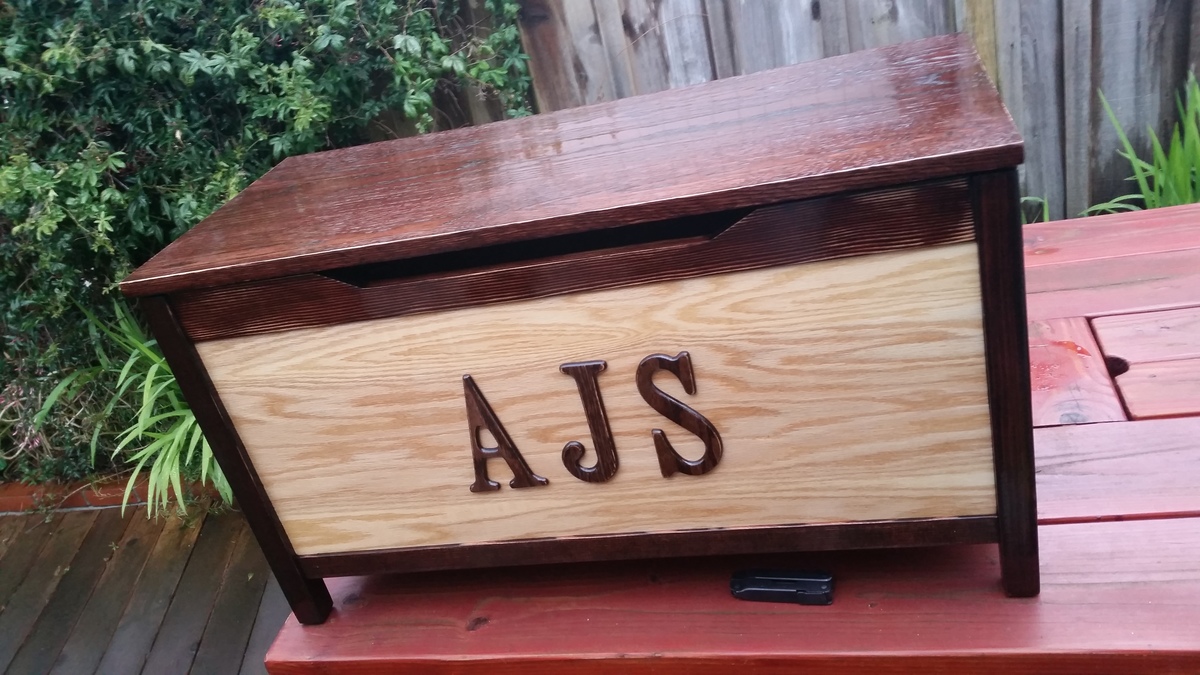
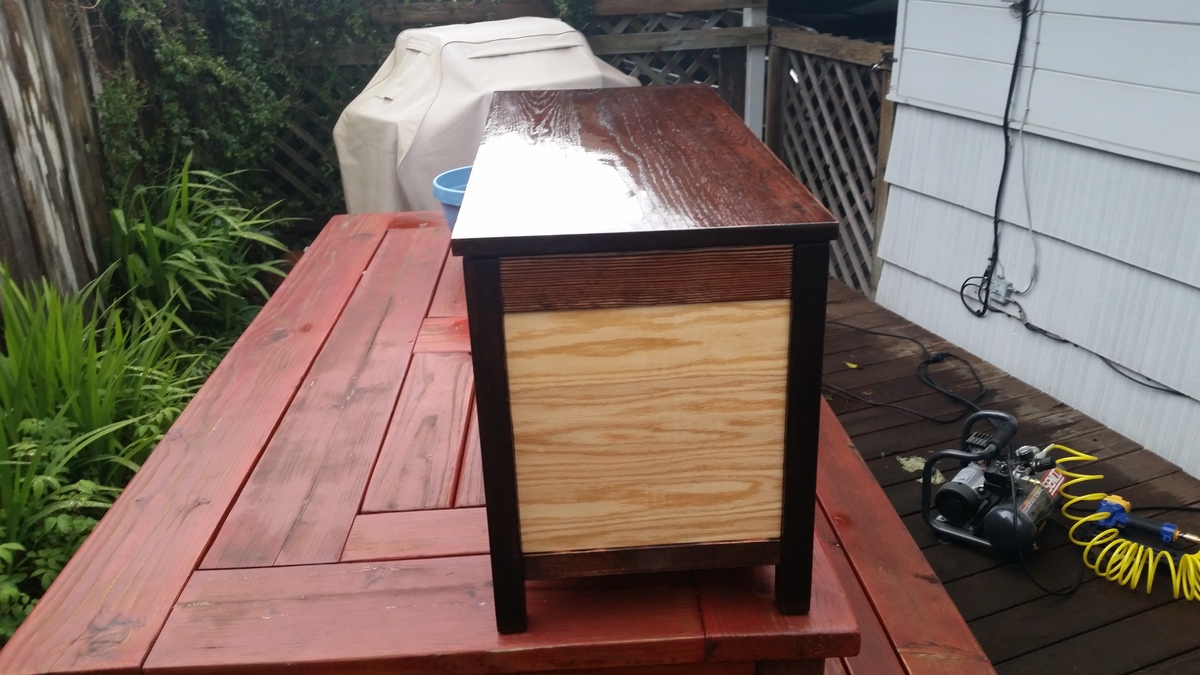
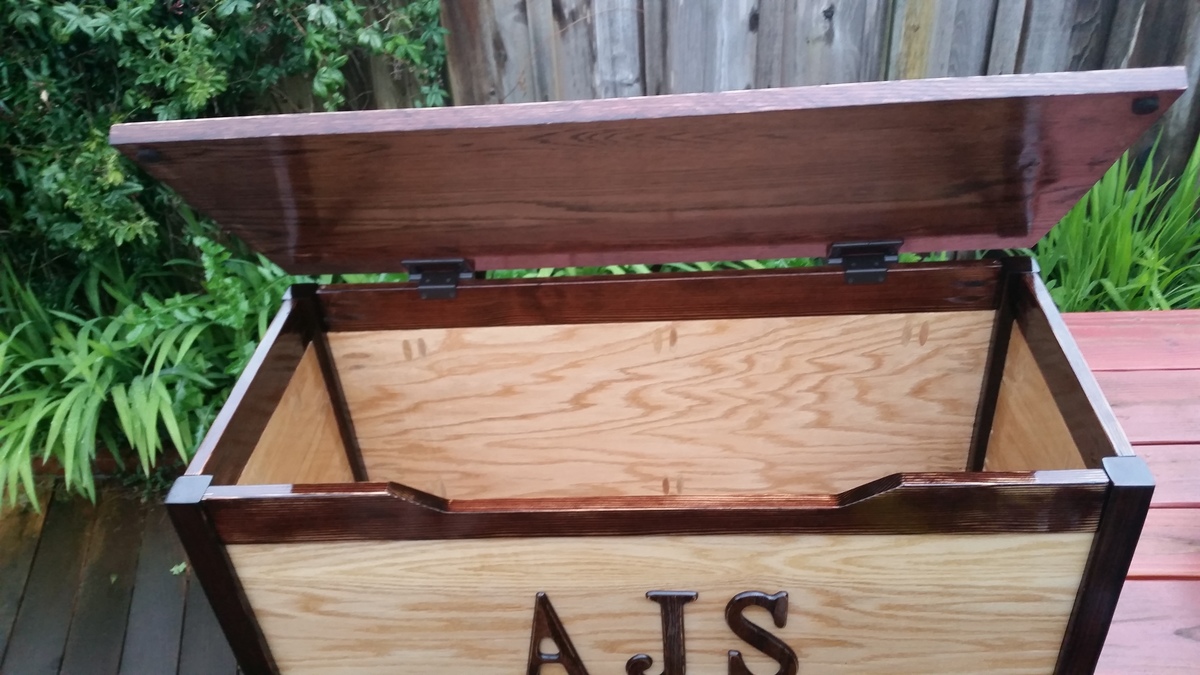
I'm just a novic so this was a challenge and lots of fun! I Made this one and just finished. I used oak plywood, oak lid, rocklar hinges, stained and poly coated ever thing about 3 times. Looks great!  Those hinges a expensive but work great.

Estimated Cost
$200
Estimated Time Investment
Week Long Project (20 Hours or More)
Finish Used
Minwax polyurethane gloss
Recommended Skill Level
Intermediate

Clubhouse - low edition

Submitted by Anonymous (not verified) on Wed, 04/07/2021 - 22:44

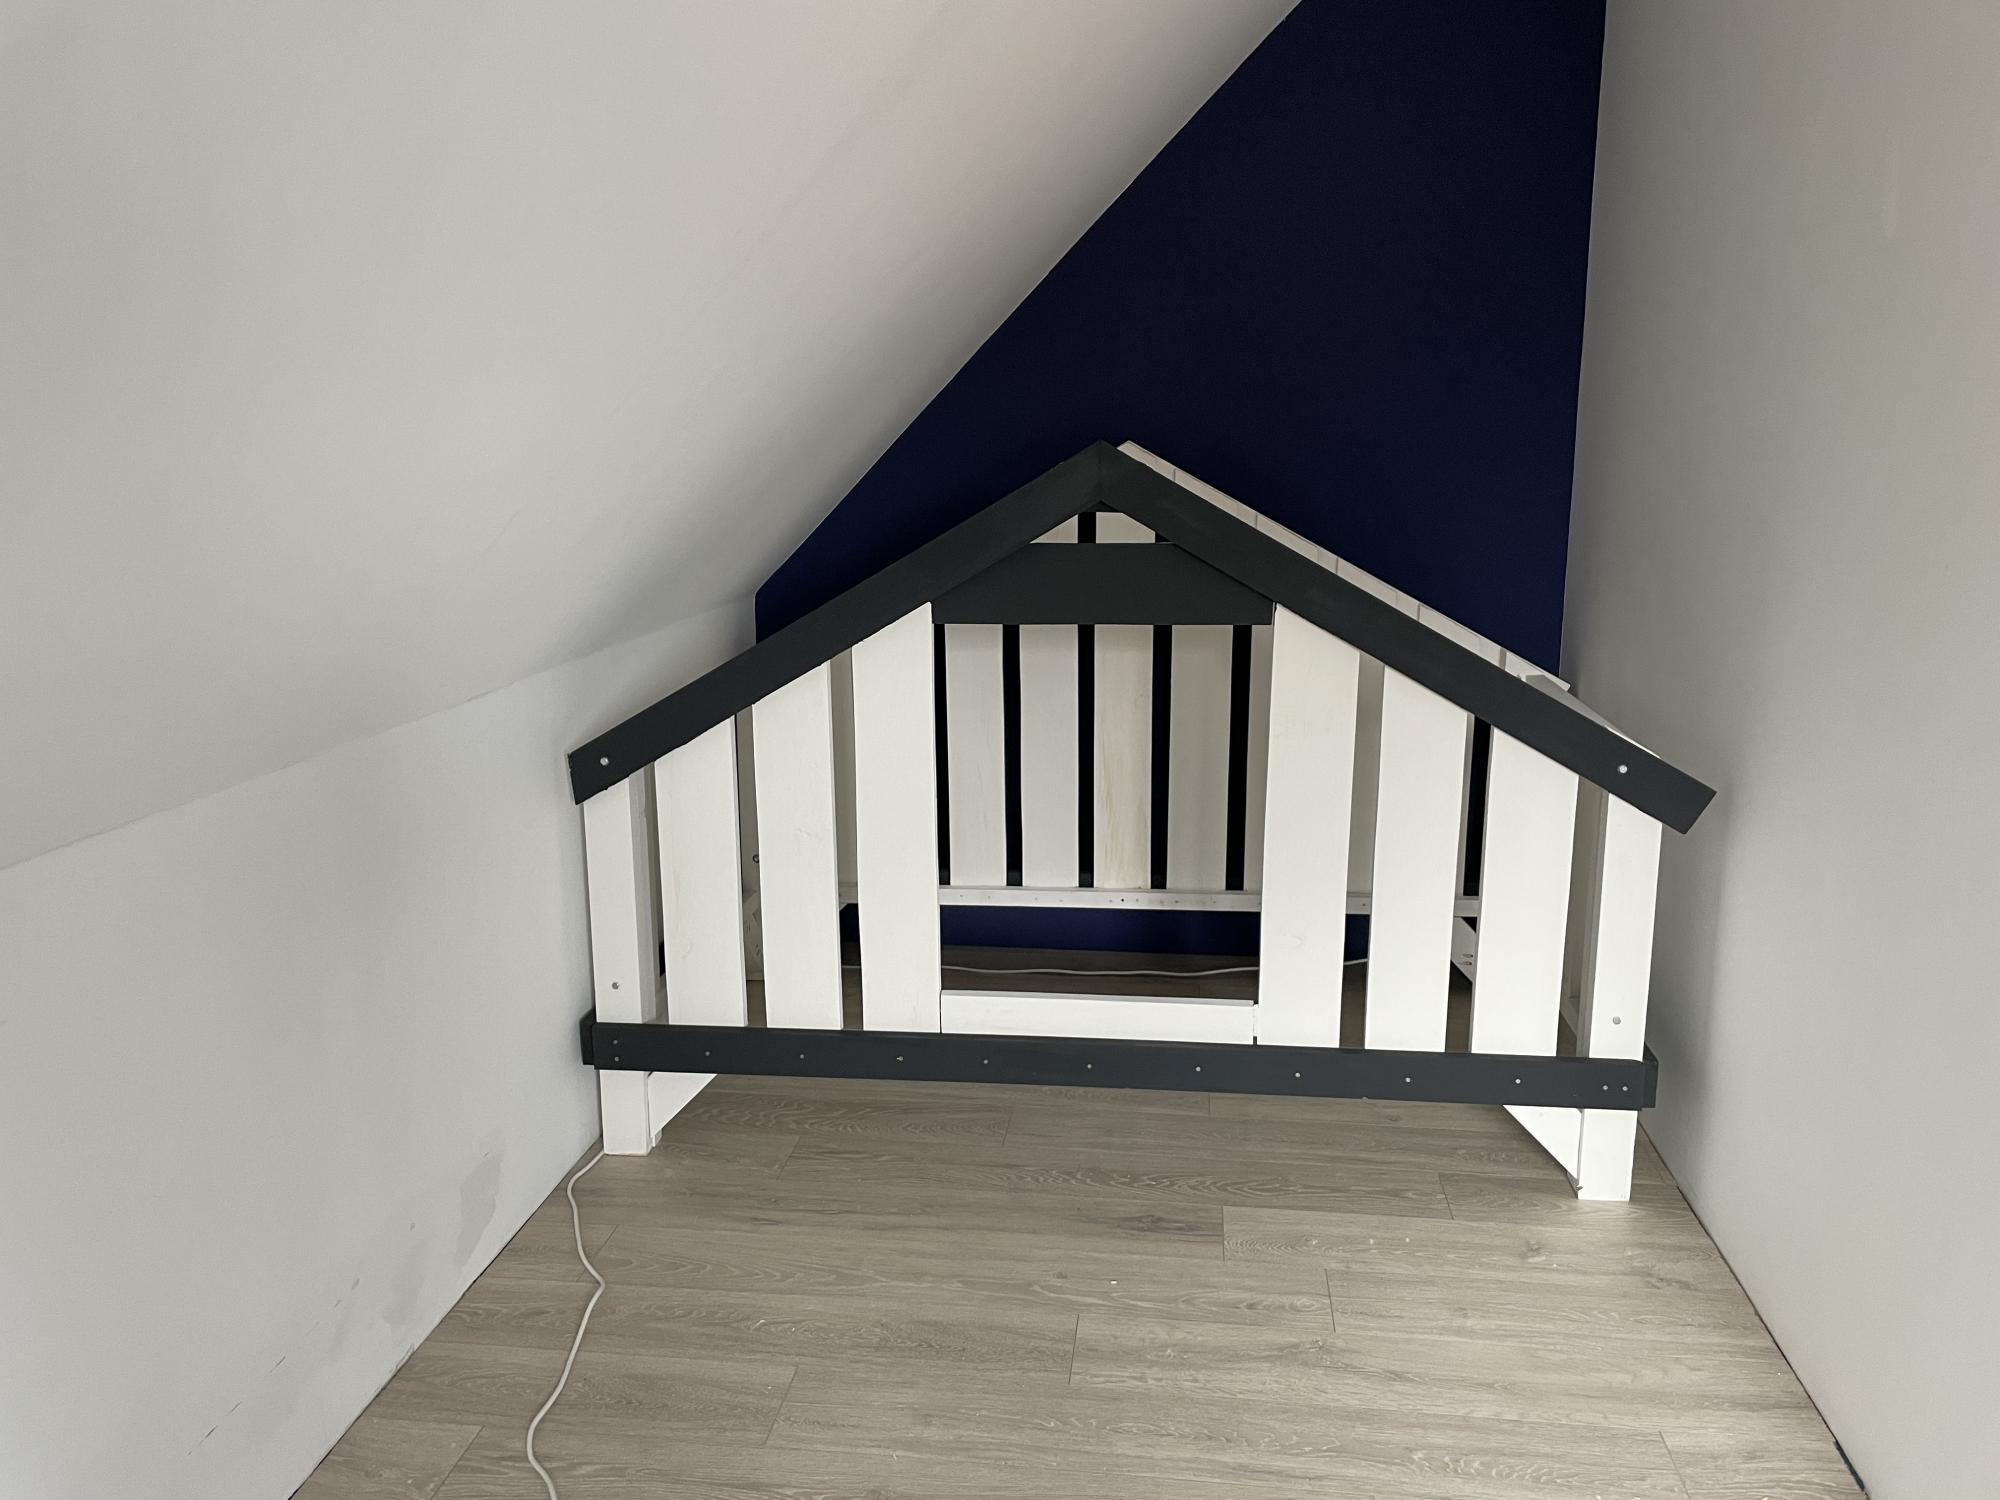
Come across these plans when looking for a new room/bed for my 2,5yo. Unfortunately the room is under the roof so I had to lower the entire house. I am currently building a drawer from leftover wood that fits under the bed (for bed linnen or maybe even a mini bed for our dog to sleep in 🥰)

Built from Plan(s)
Estimated Time Investment
Weekend Project (10-20 Hours)
Recommended Skill Level
Beginner

Comments

Christmas Farmhouse Doll Bed 2

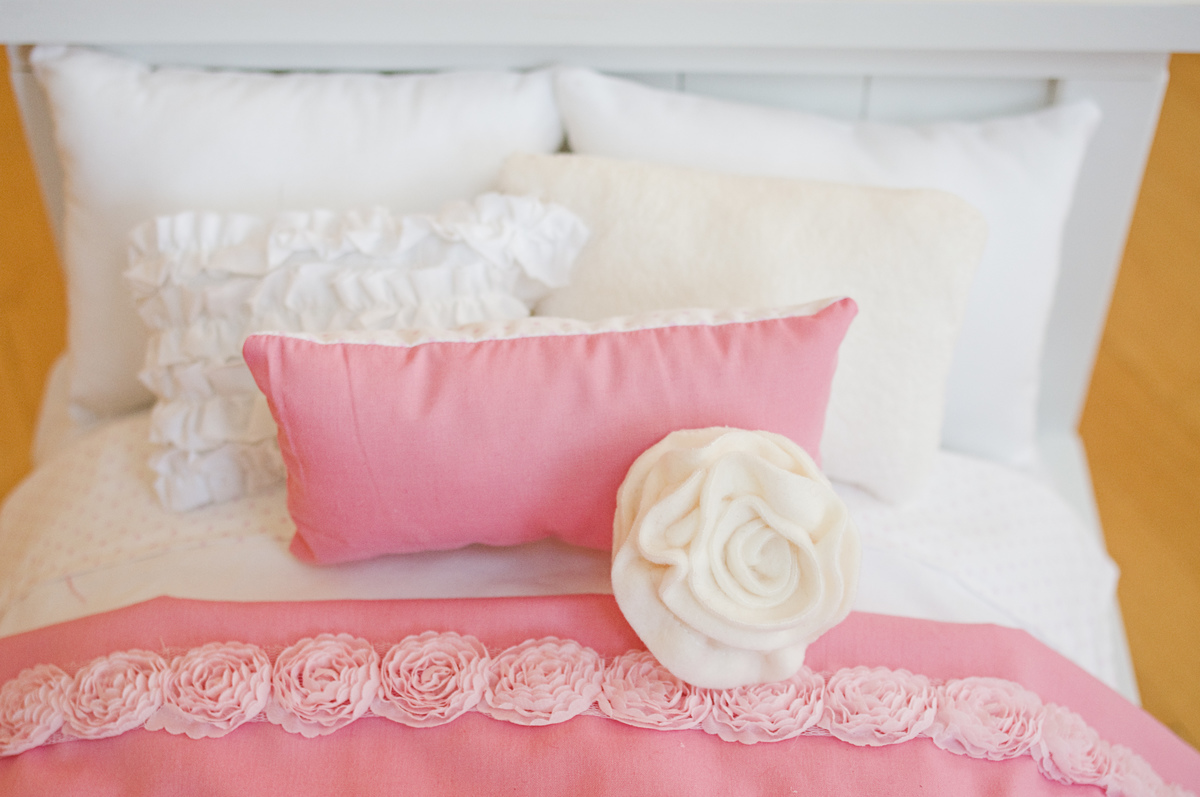
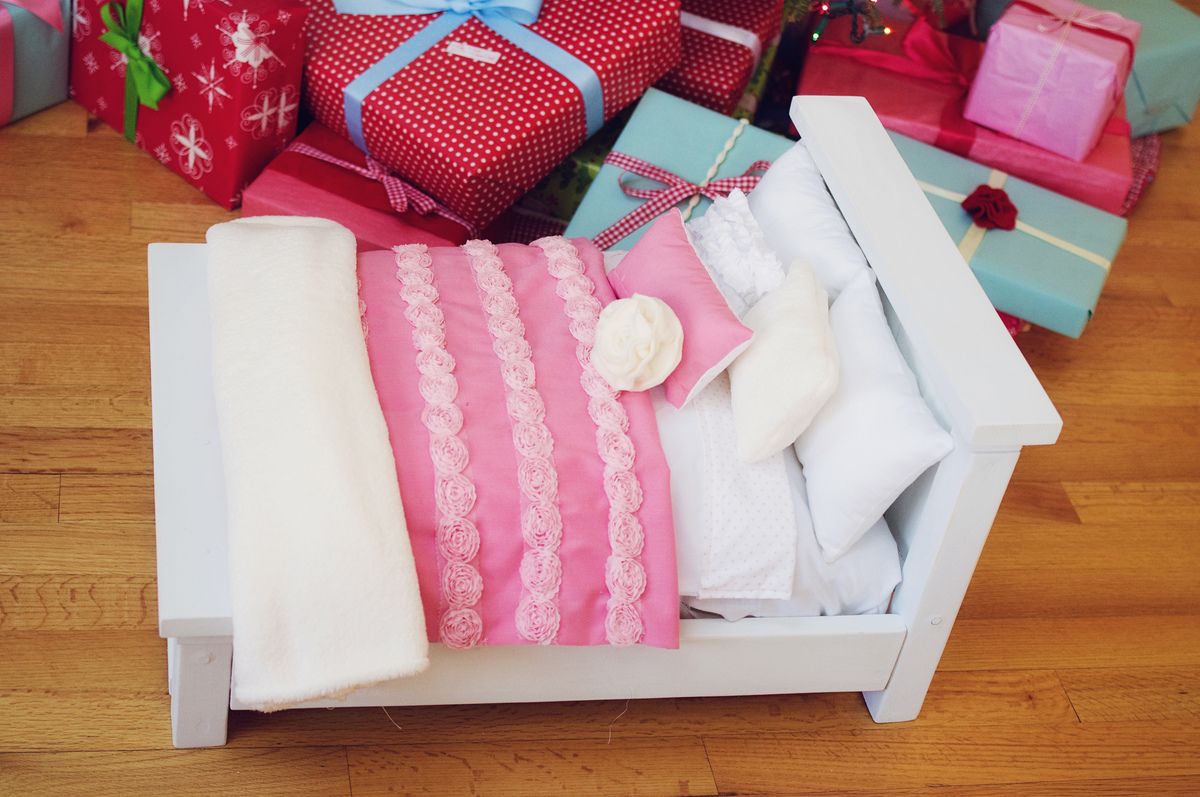
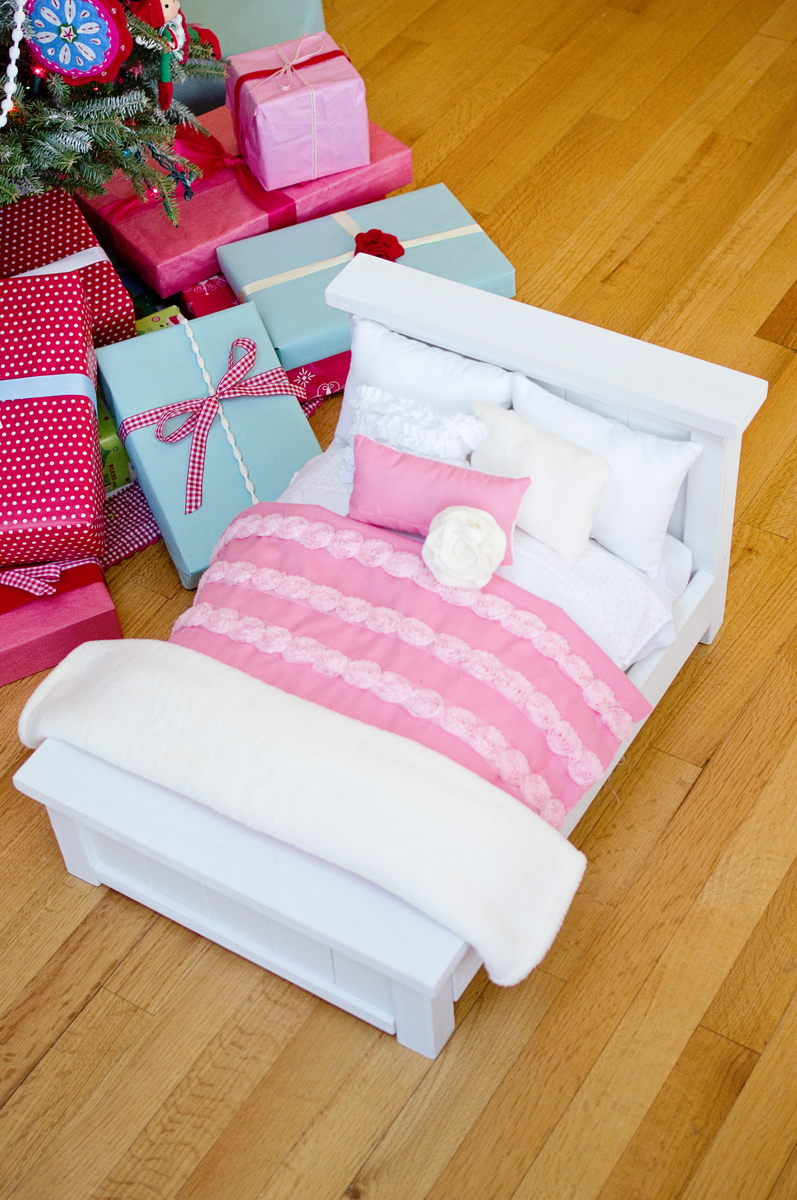
Made this for our daughter's American Girl doll for Christmas. The mattress is a basic box pillow, made out of the cheapest bleached muslin from Joann, and stuffed with polyfill. I had to make a couple before I got it right. It needed to be a little longer and wider than the dimensions of the bed to fill the space all the way. It's been a while since I made them, but I'm pretty sure I cut the box corners at 2" and added an inch to the width and length of the actual bed measurements, plus a 1/2" seam allowance on each side. It makes for a feather bed look. The coverlet is 2 pieces of broadcloth sewn right sides together (leaving an opening to turn) and then turned right side out. Then I sewed trim in rows down the front. The blanket at the foot of the bed is furry minky fabric from Joann. It was really fun to build this bed and design the bedding. Thanks for the plans! My daughter loved this!

Estimated Cost
$15
Estimated Time Investment
Afternoon Project (3-6 Hours)
Finish Used
white spray paint
Recommended Skill Level
Beginner

Comments

spiceylg

Wed, 03/20/2013 - 05:51

Another bed that came out great, but that bedding, wow! Especially love that little rosette pillow!

kitchen island

This was my first build, I never picked up a drill until now, but my mom really wanted something nice to hold her microwave but everywhere we looked for an island that would support it was just to flimsy so when I saw these plans and how cute it looked I told her I'm gonna build you this. I didn't add a drawer manly to force my family from putting junk in there that doesn't belong in a kitchen. I had a lot of fun building this and definitly learned a lot. Thanks for the plans.

Estimated Time Investment
Weekend Project (10-20 Hours)
Recommended Skill Level
Intermediate

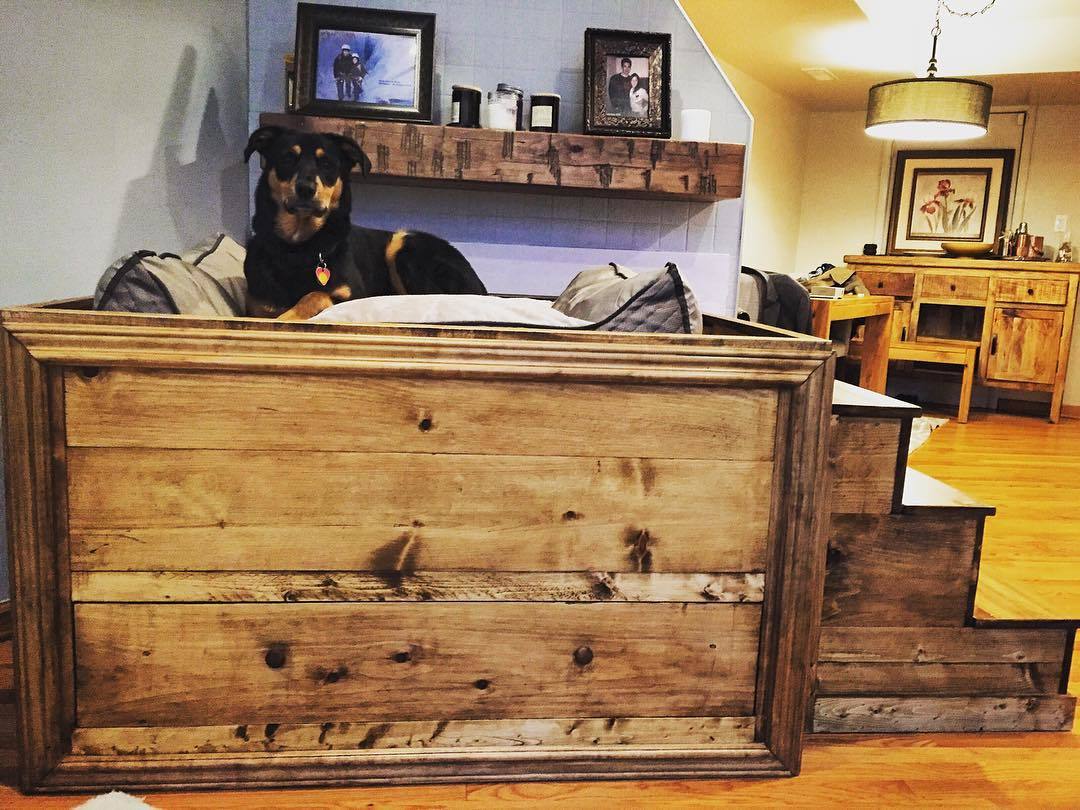
Dog bed with stairs and storage drawer

Submitted by abbpim on Sat, 04/29/2017 - 10:45

This dog bed was built with furniture grade pine and stained in Minwax Golden Oak.  I added stairs and a storage drawer in the bottom.

Estimated Cost
$60
Estimated Time Investment
Weekend Project (10-20 Hours)
Finish Used
Minwax Golden Oak
Recommended Skill Level
Intermediate

Comments

Outdoor furniture for my daughter

Submitted by Anonymous (not verified) on Mon, 04/12/2021 - 16:22

Made two chairs, side table, coffee table/ bench from Ana’s pattern

Built from Plan(s)

Comments

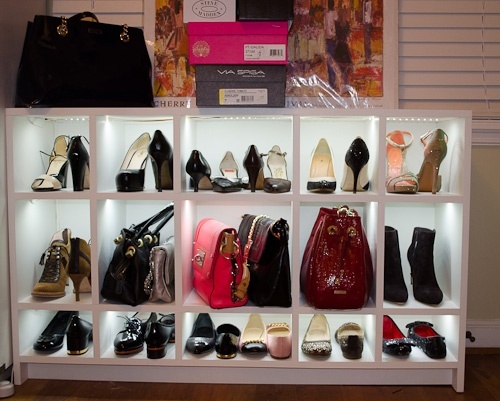
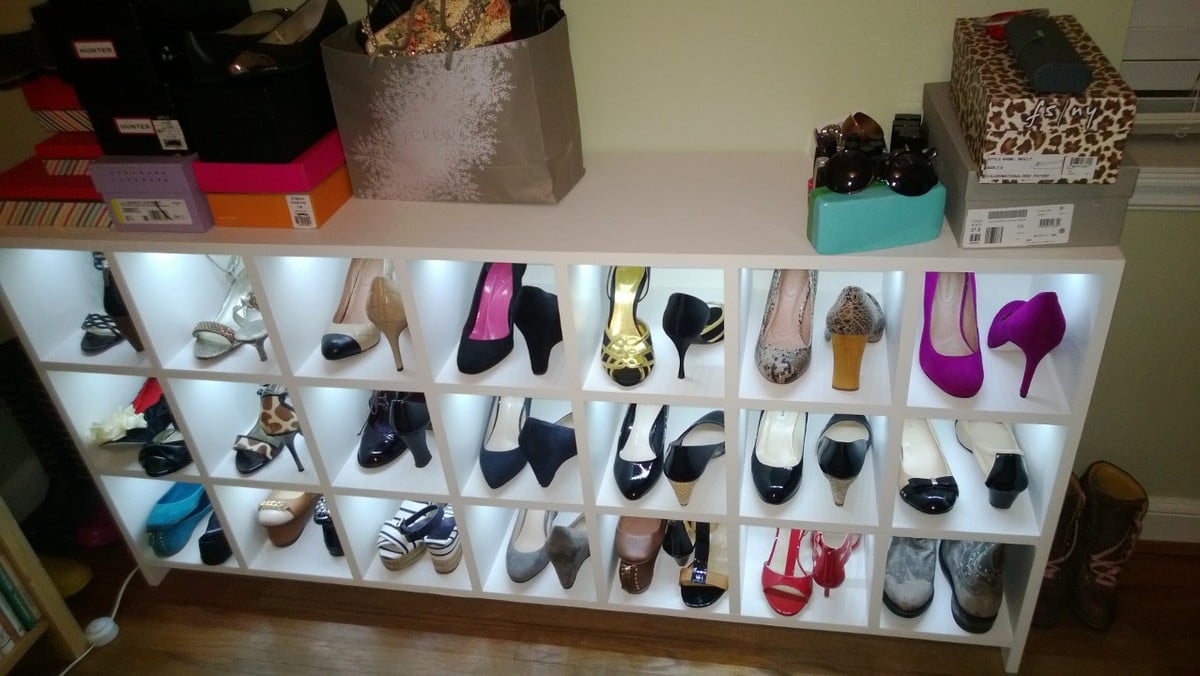
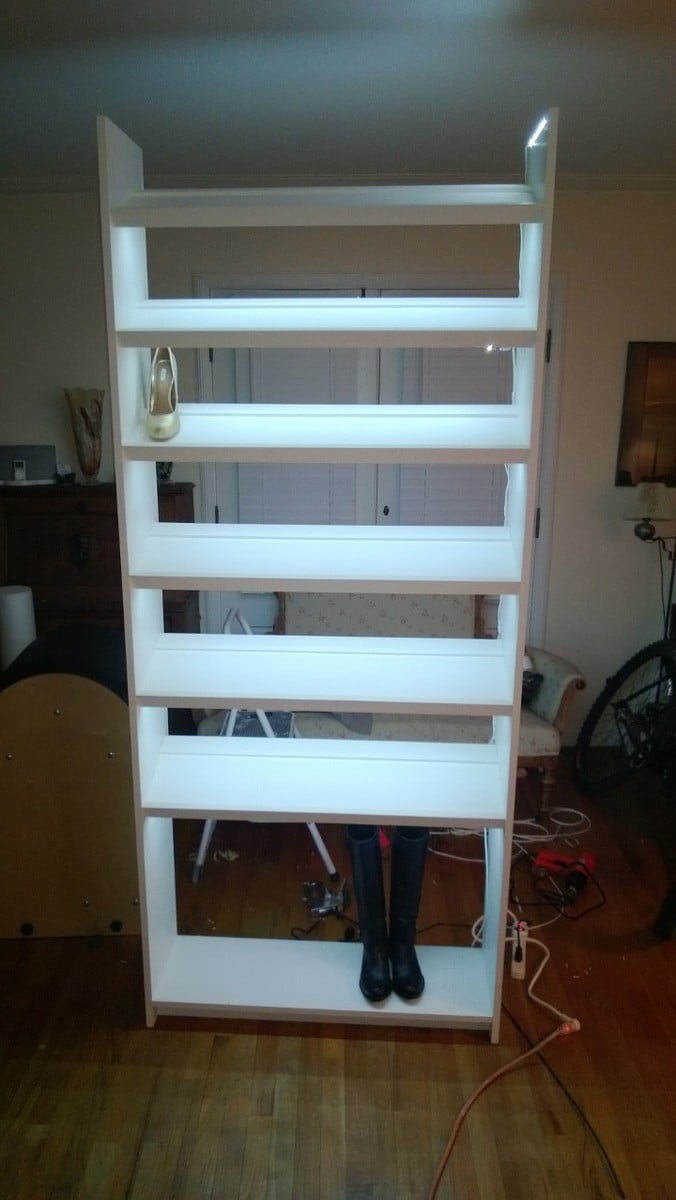
Adapated shoe cubby to on its side with LED lights.

Submitted by forbeskm on Thu, 03/21/2013 - 22:26

This is an adaption of the shoe shrine shelves. Since I didn't have a closet or other room than the bedroom to put these, I put them on their side. I modeled these off the shoe shrine shelves.

Each cubby is 11 3/4 deep x 8 x8 for the long version. The 2nd version I made was only 48 inches wide and did not divide well so I simply left the center cubby wider. I also made the 48" version to have different height shelves for purses in the middle and flats on the bottom.

I basically flipped the shoe shrine's on their sides and added LED lights. This also inspired a tall version for a cubby we had upstairs.

I used a panel saw to cut the plywood and then assembled with a Kreg pocket hole jig for horizontal pieces and biscuits for the top and the dividers. I did not want to fill the holes or I would have used Kreg instead of the biscuits.

I used 3/4" paint grade plywood and a 1/4inch back panel.

LED lights came from LED wholesalers on amazon. This step requires electrical knowledge! Not much more than a wiring a light but do not attempt if you are not qualifed to do so. LED strings required a fine tip soldering iron, wire and heat shrink.
Built from Plan(s)
Estimated Time Investment
Week Long Project (20 Hours or More)
Finish Used
Latex Behr Swiss Coffee sprayed on.
Recommended Skill Level
Intermediate

Comments

forbeskm

Fri, 03/22/2013 - 11:50

The LED's came after we designed them. I was like there is no light where these are going and its hard to see inside the cubbies. This is true for the bottom cubies which are only 5 inches tall. So for 30 bucks a cabinet it was a quick and easy addition that really made them pop. Only downside is it can make the room look like you are in Nordstom's :) so she doesn't leave the lights on regularly.

Kai777

Thu, 09/18/2014 - 01:42

Very nicely done.  Do you mind telling me more about which particular LED product you used and the process to wire them in?  Did you mill out any part of the cabinet to set the lights?  How are they activated?  Thanks in advance.  You can also email me at [email protected].  Much appreciated!

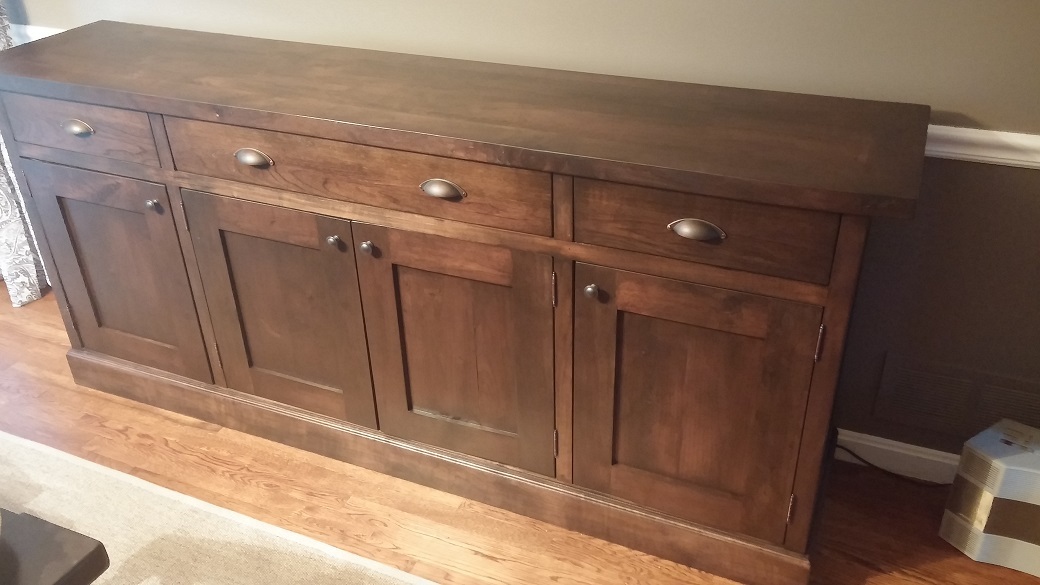
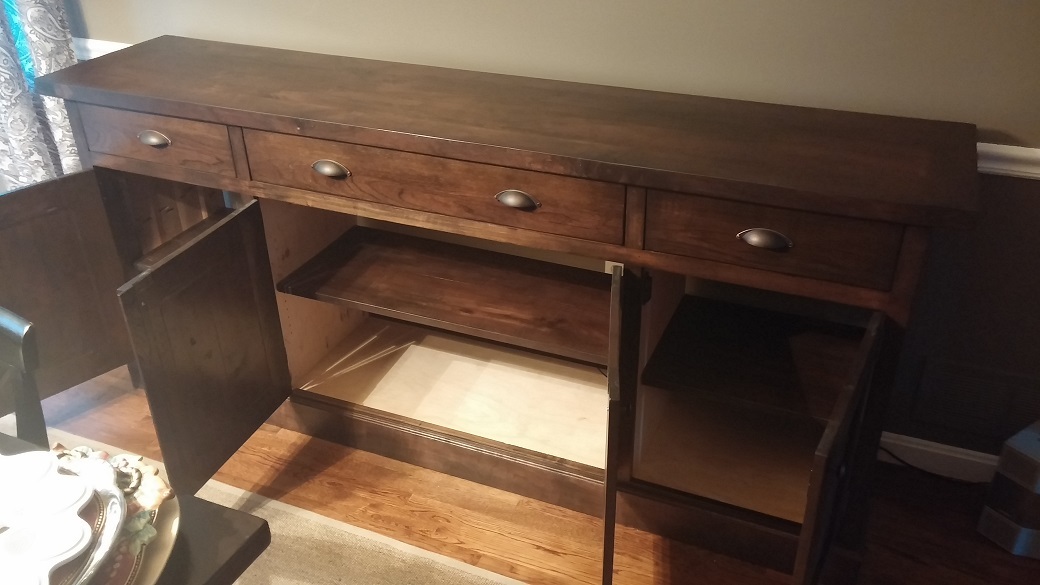
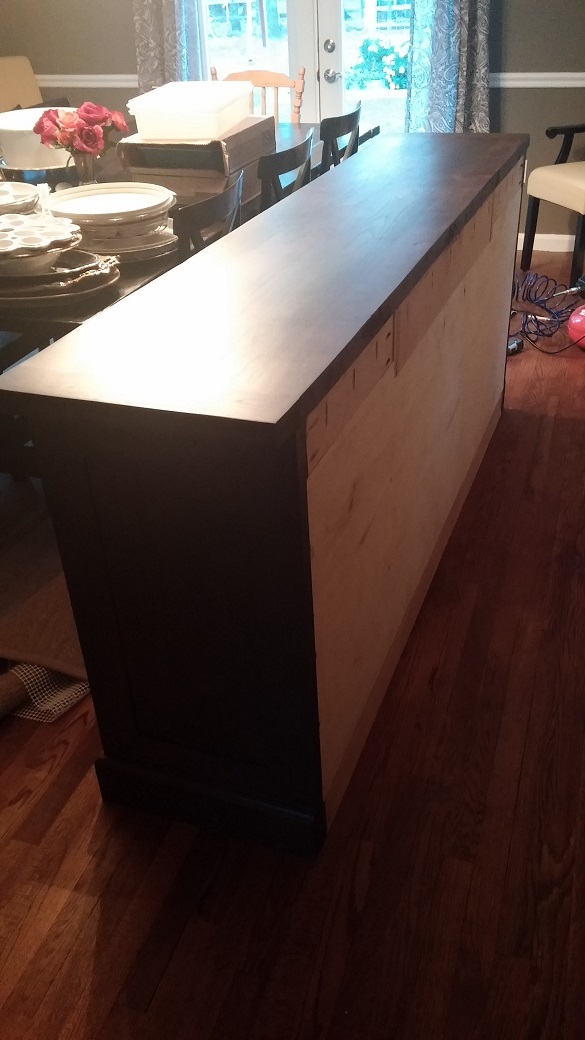
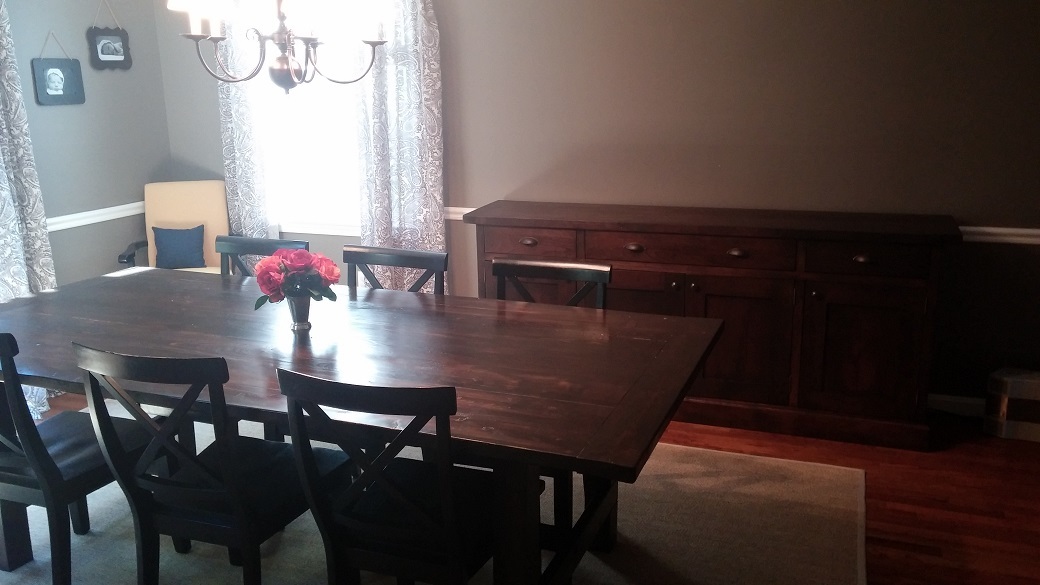
Walnut Sideboard Variation

Submitted by DanGuyver on Mon, 02/02/2015 - 17:08

This project was a labor of love for sure.  It took me an hour here, an hour there over the course of several months before I finally finished it.  I have never felt so proud of something I built, and I truly could not have done it without the plans written up on this site!  Thank you so very much for the service you provide with your free plans!  

I started with rough-cut American walnut from a guy's basement.  It had been stored for over 50 years in a nice dry climate.  After planing it, running it through a jointer, and trimming off the crooked parts with my table saw, I was able to get everything to line up pretty well.   I will say the drawers sure gave me a run for my money!  Those are so difficult to get perfect! 

The stain I used is a Kona stain from Varathane.  I truly couldn't be more pleased with how it turned out.

Built from Plan(s)
Estimated Cost
$400
Finish Used
Varathane Kona
Recommended Skill Level
Intermediate

Comments

JoanneS

Mon, 02/02/2015 - 18:10

This walnut sideboard has real Wow factor! Absolutely love! The finish looks awesome, and I'm so impressed with all the work you put into making the old walnut boards ready for building. It's an Instant Heirloom!

DanGuyver

Wed, 02/04/2015 - 06:14

Thanks for the comments! I should also mention, that table was the "Rustic Farmhouse" from this site as well. And since that picture was taken I have built two more pieces from this site. I found a source for rough-cut oak lumber, and also managed to win an auction for a huge stack of maple that is currently drying in my basement. Hopefully I'll have many more projects coming soon. =)