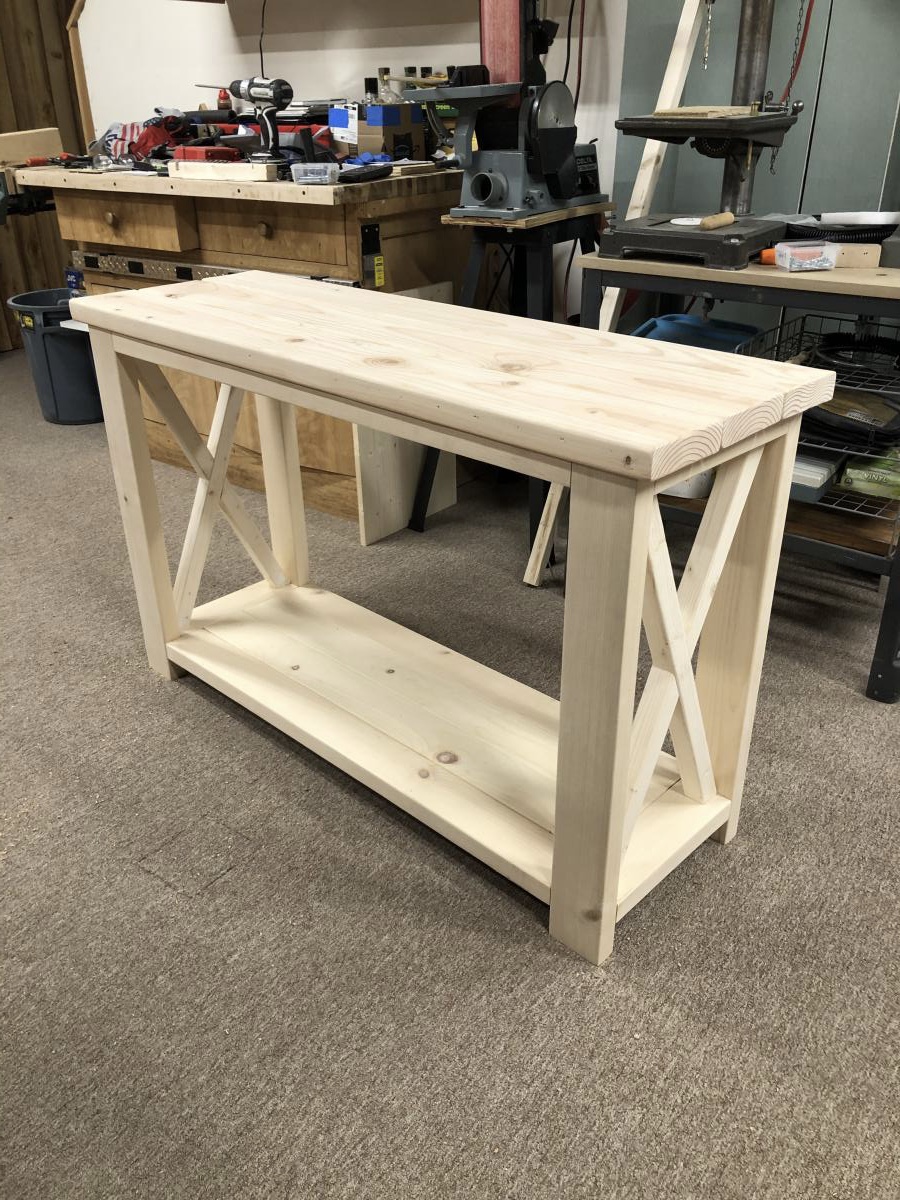
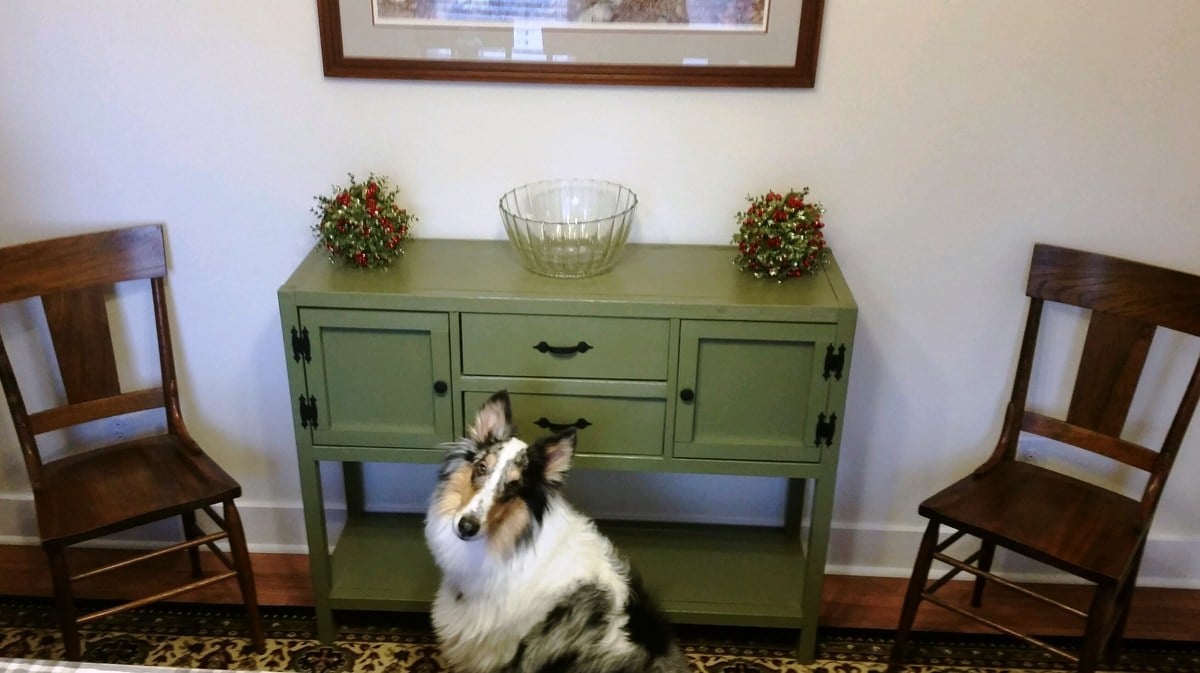
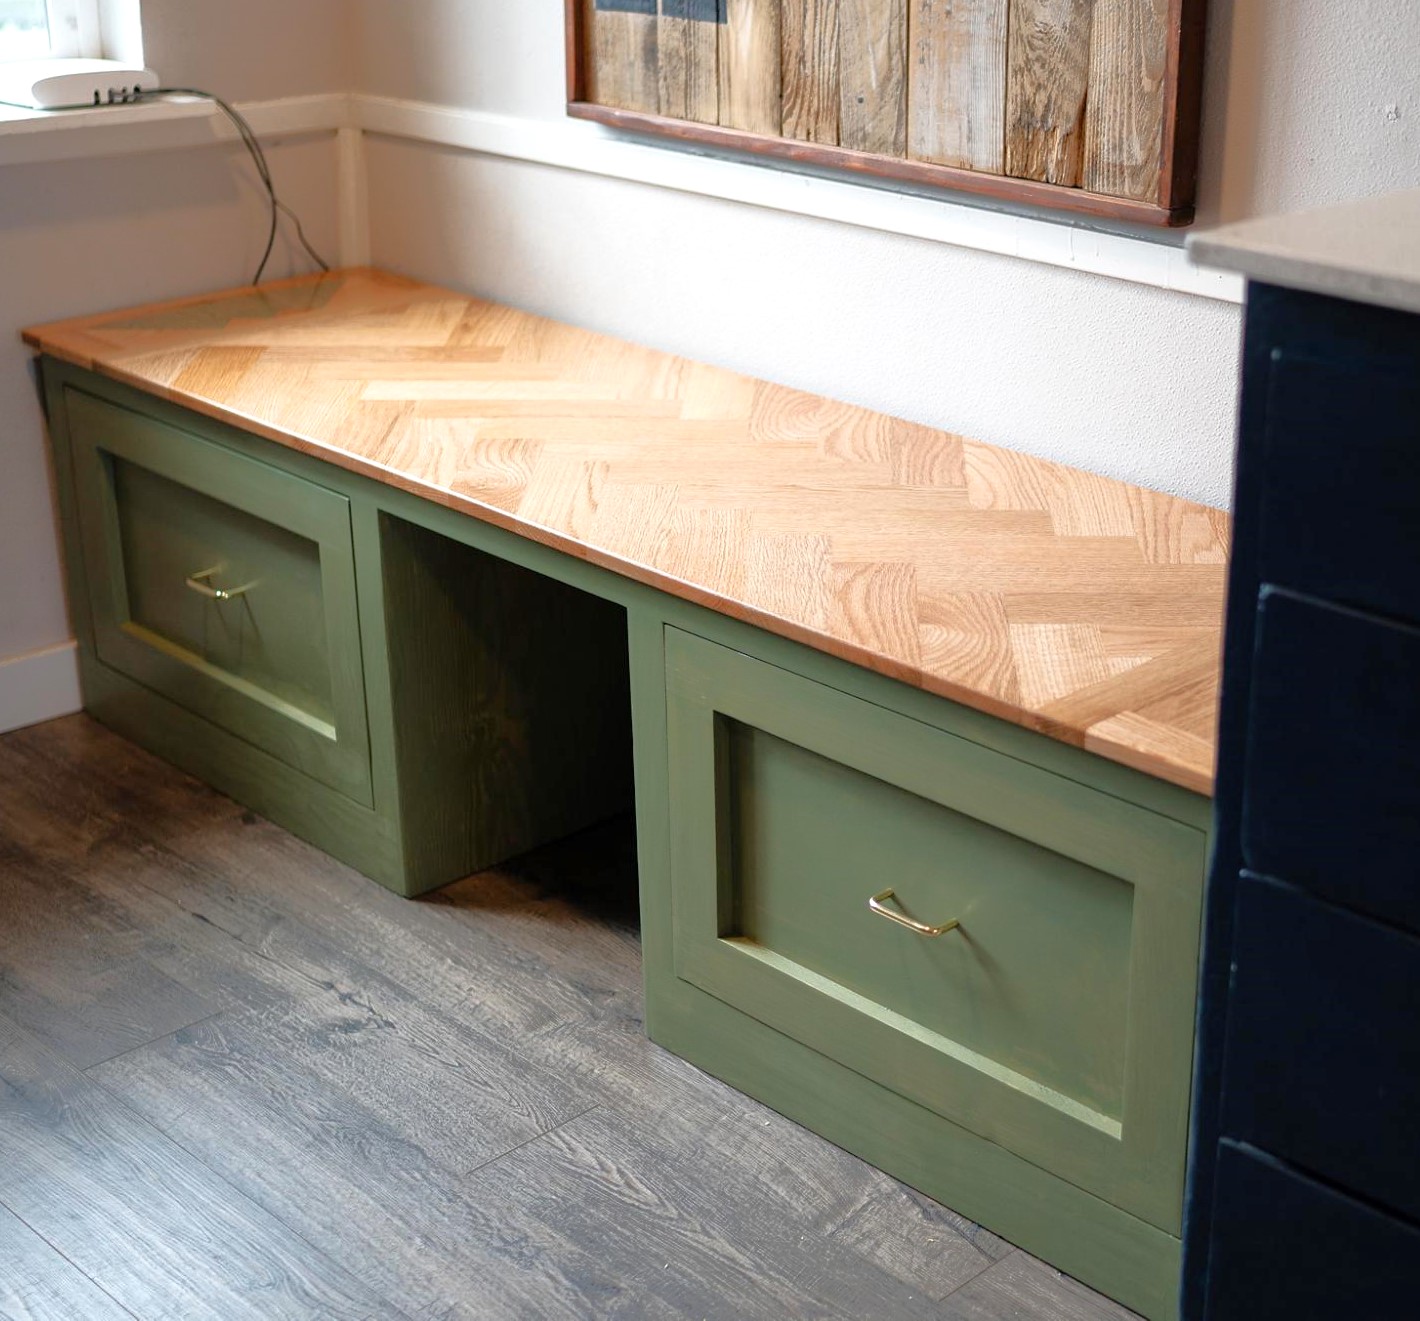
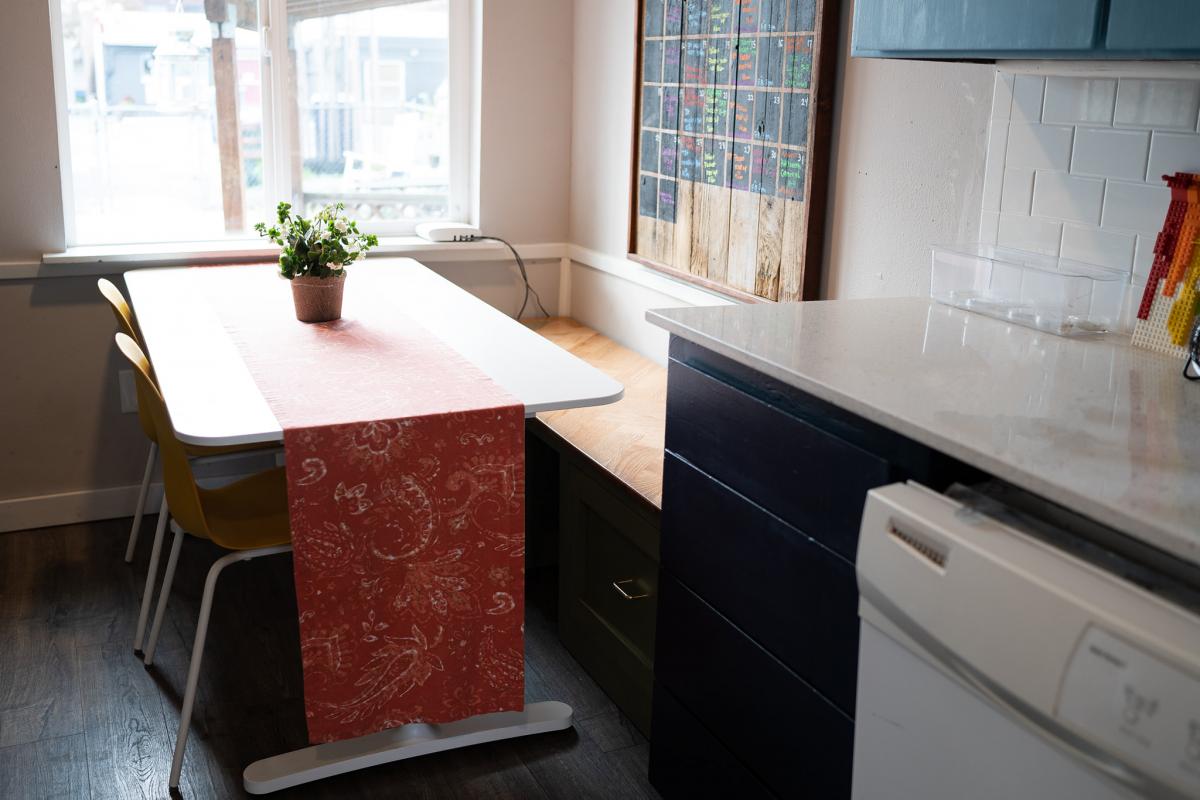
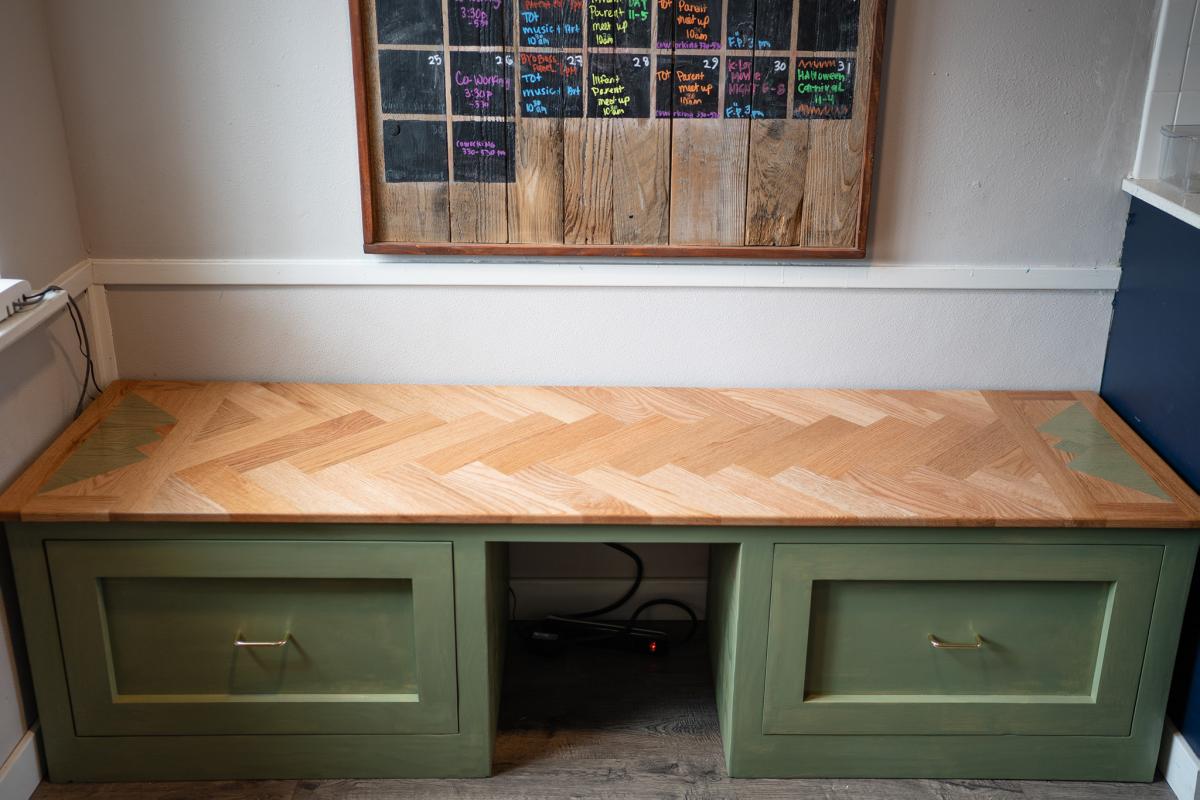
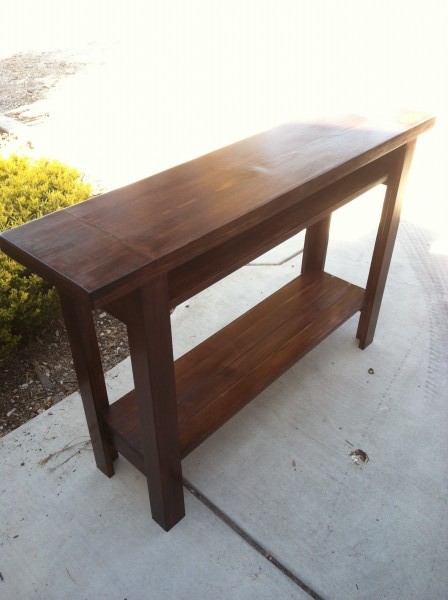
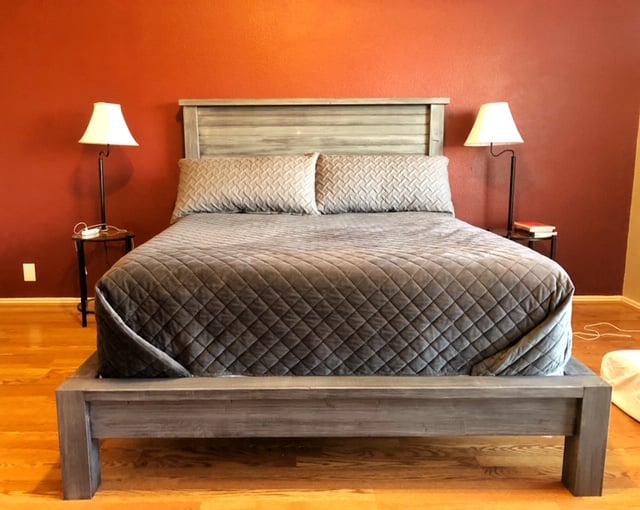
Farmhouse Console Table
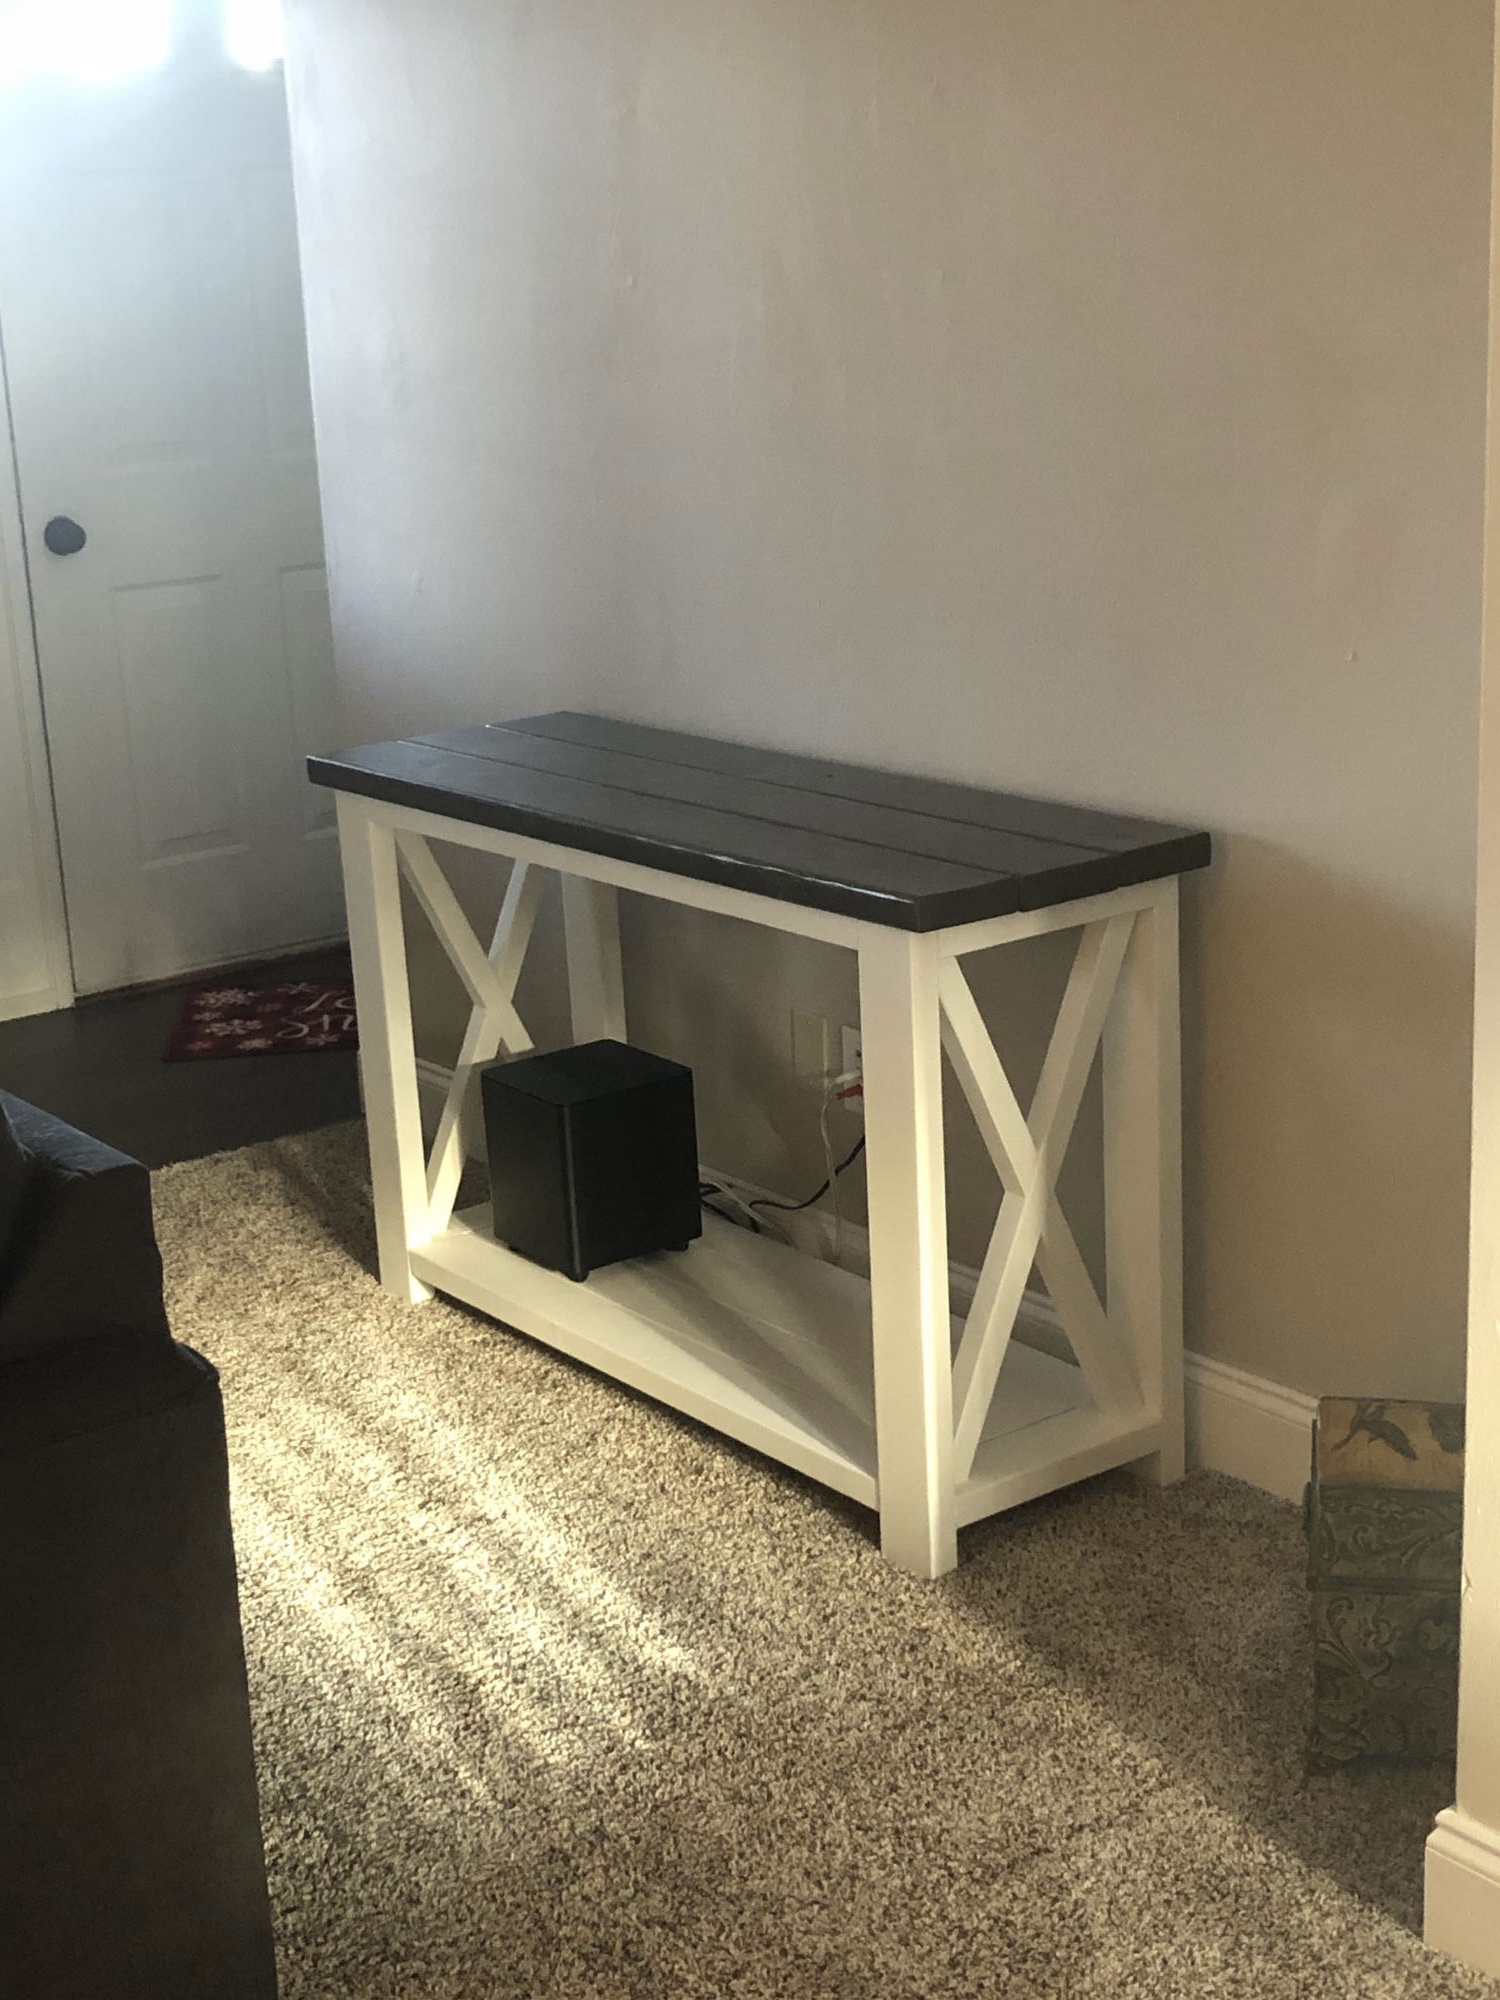
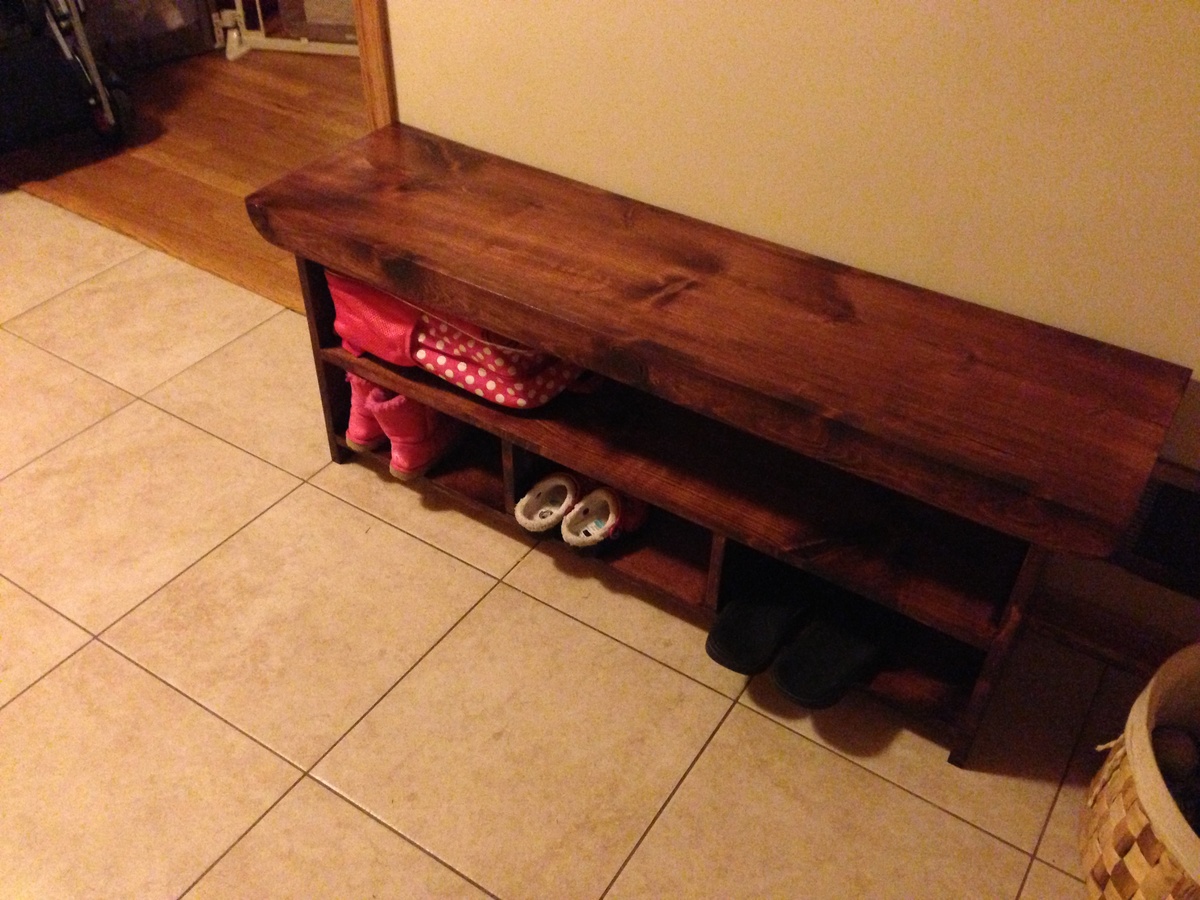
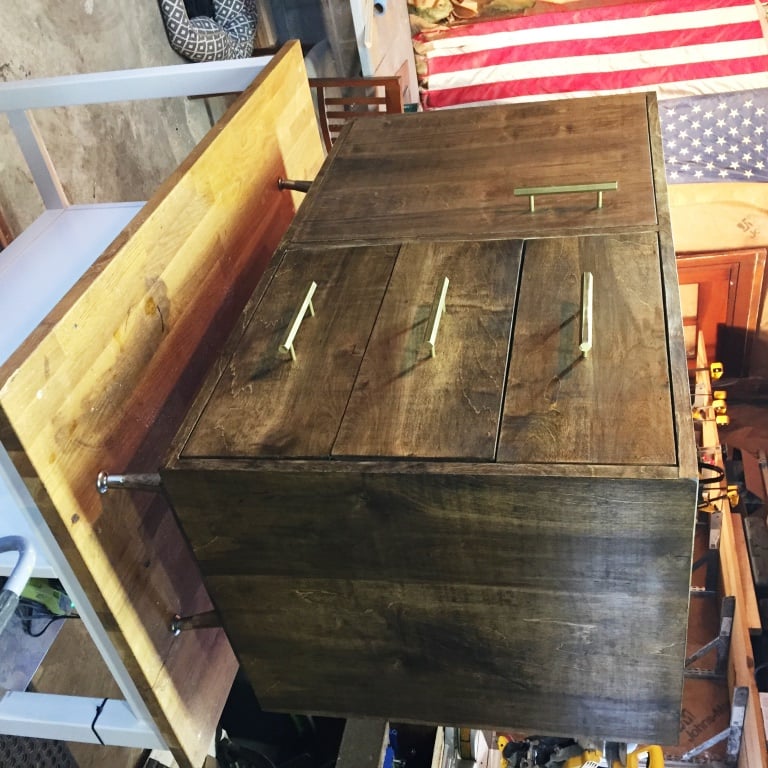
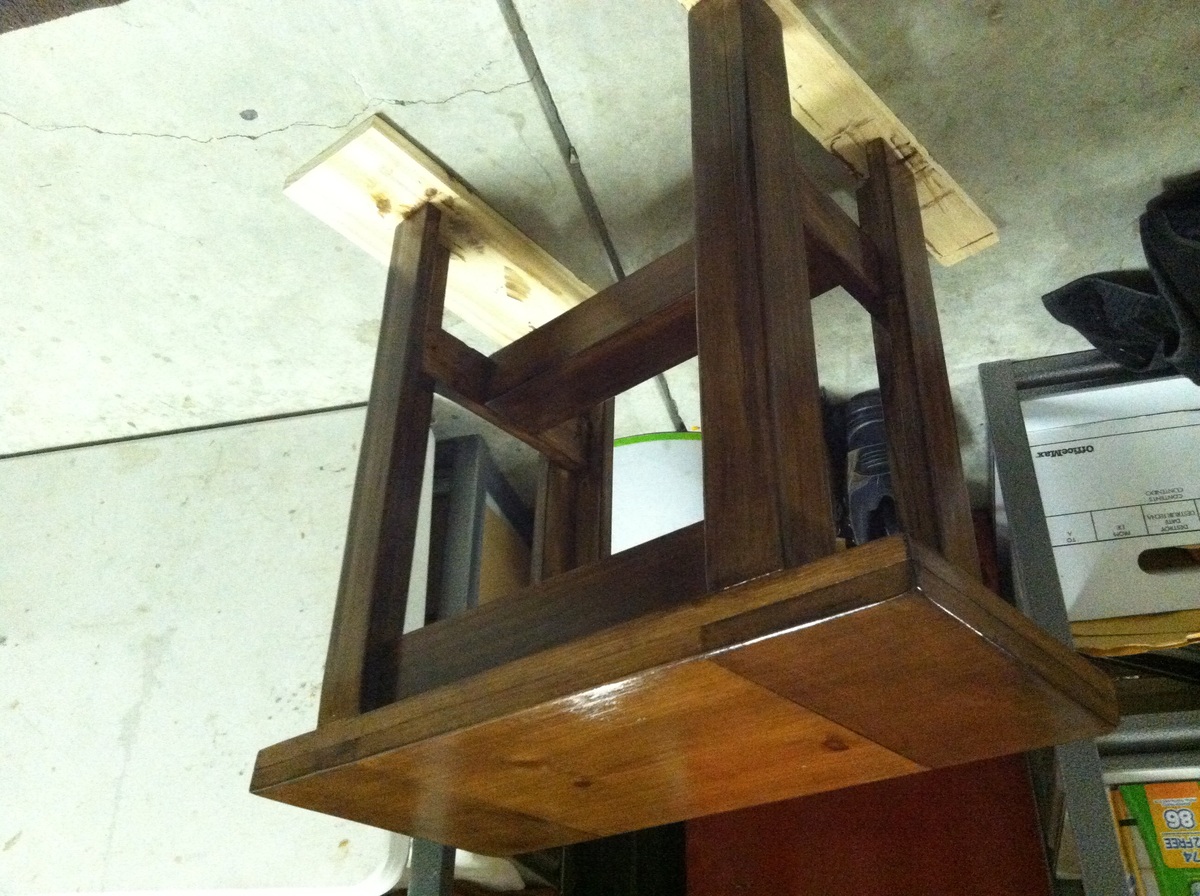
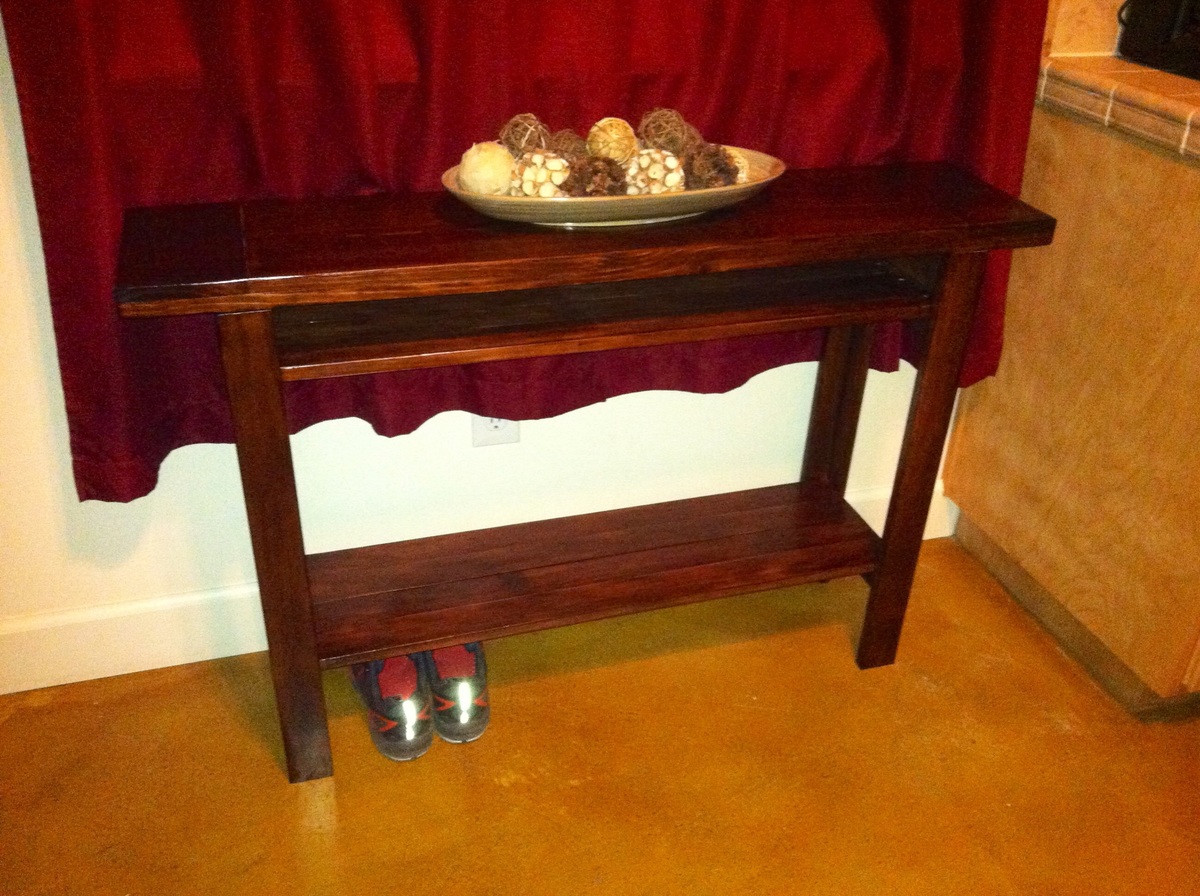
I built this console table modeled from other diy plans on the Ana White website. The construction took 1 afternoon, but the project start to finish was 3 days to allow time for finishing. The overall dimensions are 49”W x 16 1/2” D x 30” H.
Built from Plan(s)
Estimated Cost
$70
Estimated Time Investment
Weekend Project (10-20 Hours)
Finish Used
Minwax Pre Stain Conditioner
Verathane Brairsmoke Stain
Mini wax Satin Polyurethane
Behr Farmhouse White Chalk Paint
Behr Clear Finishing Wax
Verathane Brairsmoke Stain
Mini wax Satin Polyurethane
Behr Farmhouse White Chalk Paint
Behr Clear Finishing Wax
Recommended Skill Level
Intermediate


Comments
Ana White Admin
Mon, 12/07/2020 - 09:47
Very pretty!
Yes the finishing seems to always take the longest! It looks fabulous, thanks for sharing:)