Well, here we are, well into December, well past Thanksgiving .... and no tree up yet.
I've been dreading putting a tree up.
And here's the reason:

The one in the little HAPPY suit.
His arms are much longer than they look.
So what to do?
The only thing I could think of short of building a gate around the tree was to elevate the tree with some sort of wood base crate thingy.

I love this one from That's My Letter (full tutorial here)

And this one from The Turquoise Home (nice tutorial here)
But I needed something a little taller, a little more enclosed ... and it's Sunday (which means all the stores are closed within 100 miles of me, so I gotta use scraps and work with what I have on hand).
So I came up with this!
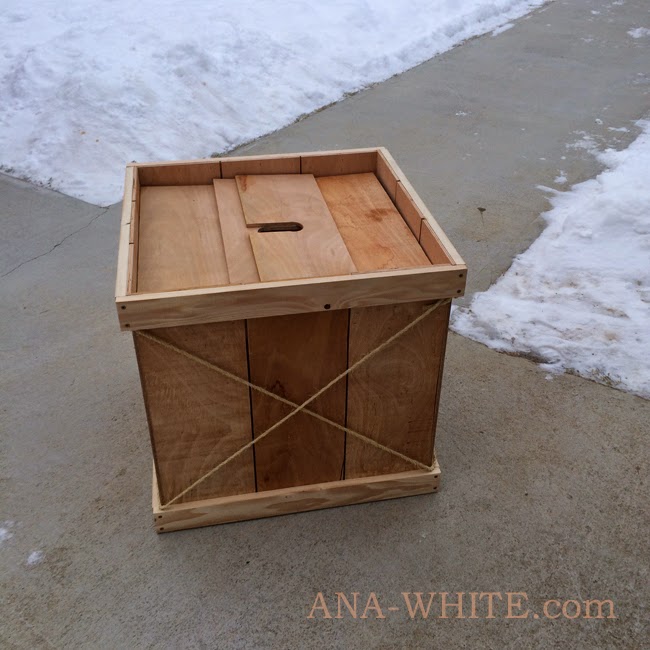
Not bad for a couple hours work and TWELVE BUCKS in lumber.
Yes, that's right.
I love cedar fence pickets. And 1x3 furring strips.
So here's how I made it -
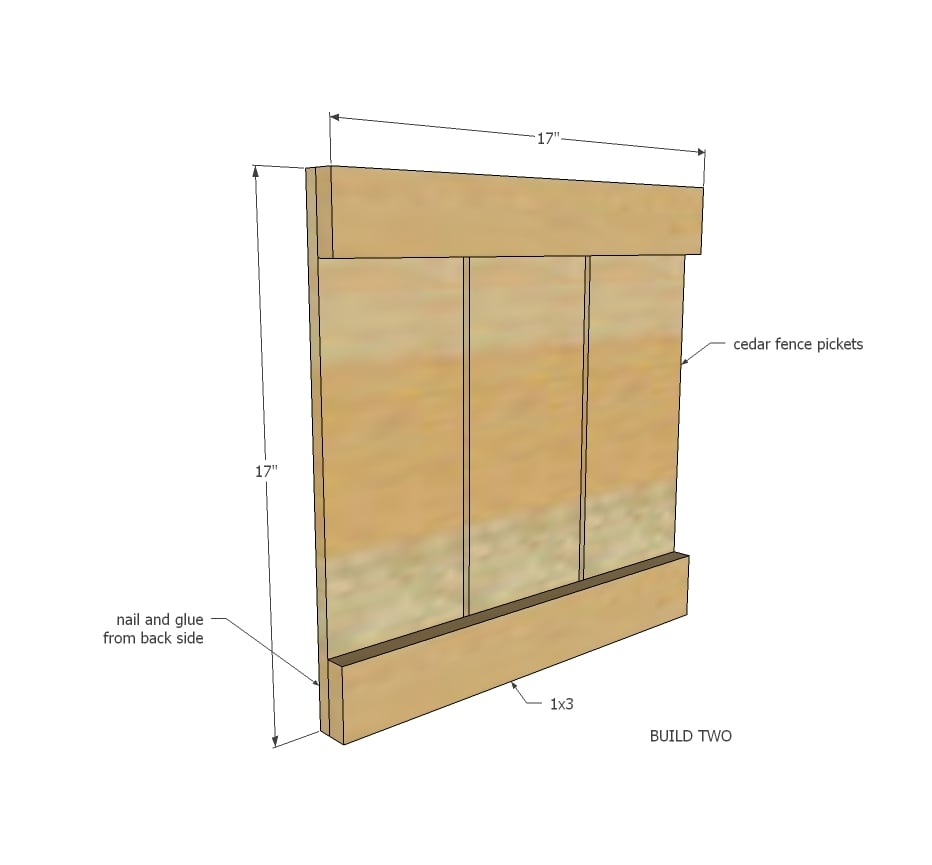
After cutting all my boards (I used a compound miter saw), I applied glue to the 1x3s,

I loaded up my Ryobi Airstrike stapler with 1" staples (if you don't have one of these bad boys, seriously, beg Santa for one)

Then attached the two outer boards to the 1x3 from the back.

Being square is always a good thing. NOTE: If you measure diagonally from outside corner to outside corner, the two diagonals should match. If they don't you are out of square and need to adjust by pushing the longer diagonal end points together. Do this before you put tons of staples in or let the glue dry.
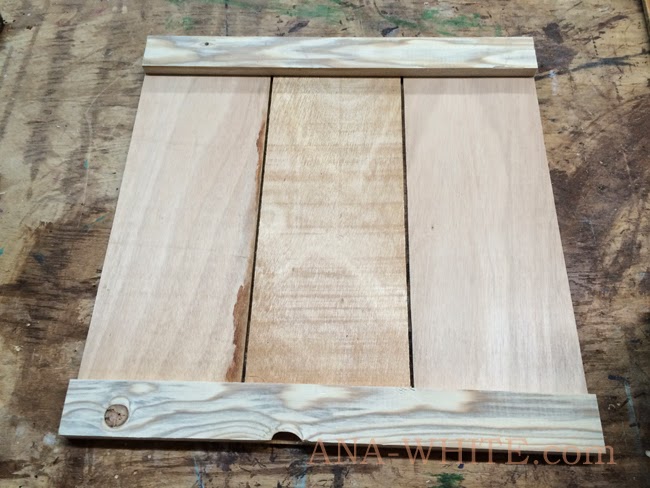
Then I just centered the last remaining board in the middle and nailed it down. This is the smaller side panel complete.
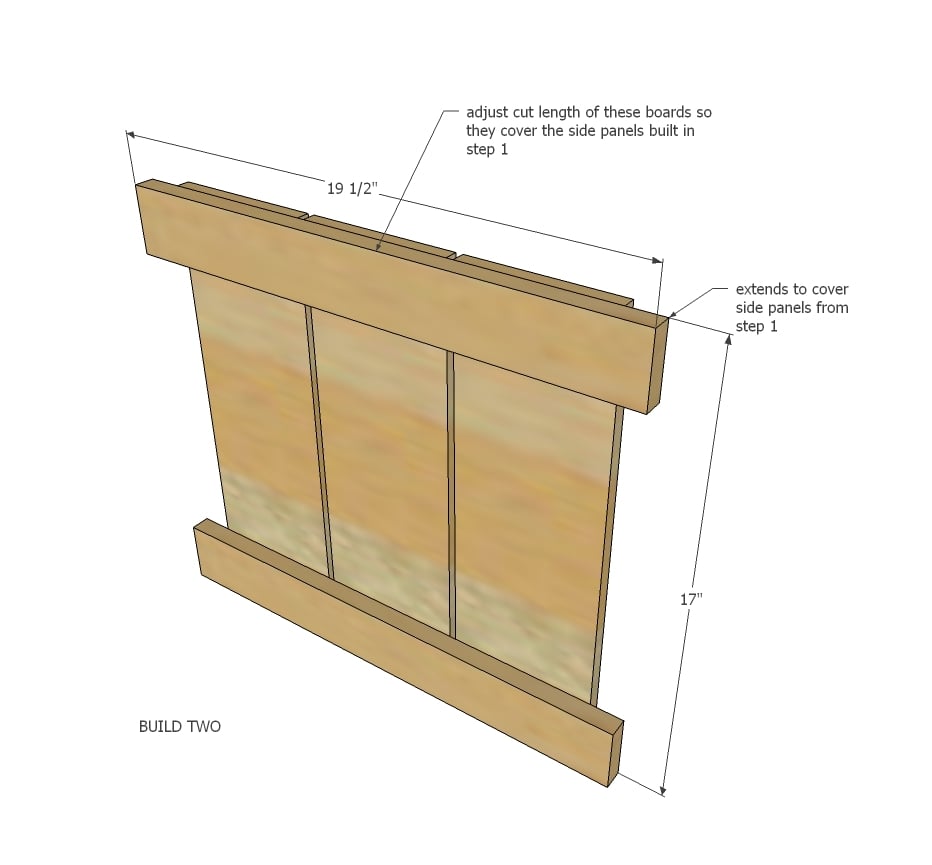
To build the two larger panels that need to cover the corners of the smaller panels, I took a quick measurement of the 1x3 plus the paneling, and cut my next 1x3 sets that much longer (times two for each end).

Then I marked this distance in on the 1x3s - for those of you with eagle eyes, I did not have enough cedar fence pickets so I made my own out of 1/4" thick plywood ripped down in size for this project, but this plan calls for the fence pickets because they have more character and are easier to work with because you don't have to rip them to size.

Then I just stapled the remaining two end panels together, leaving the 1x3 to overhang the ends as measured.

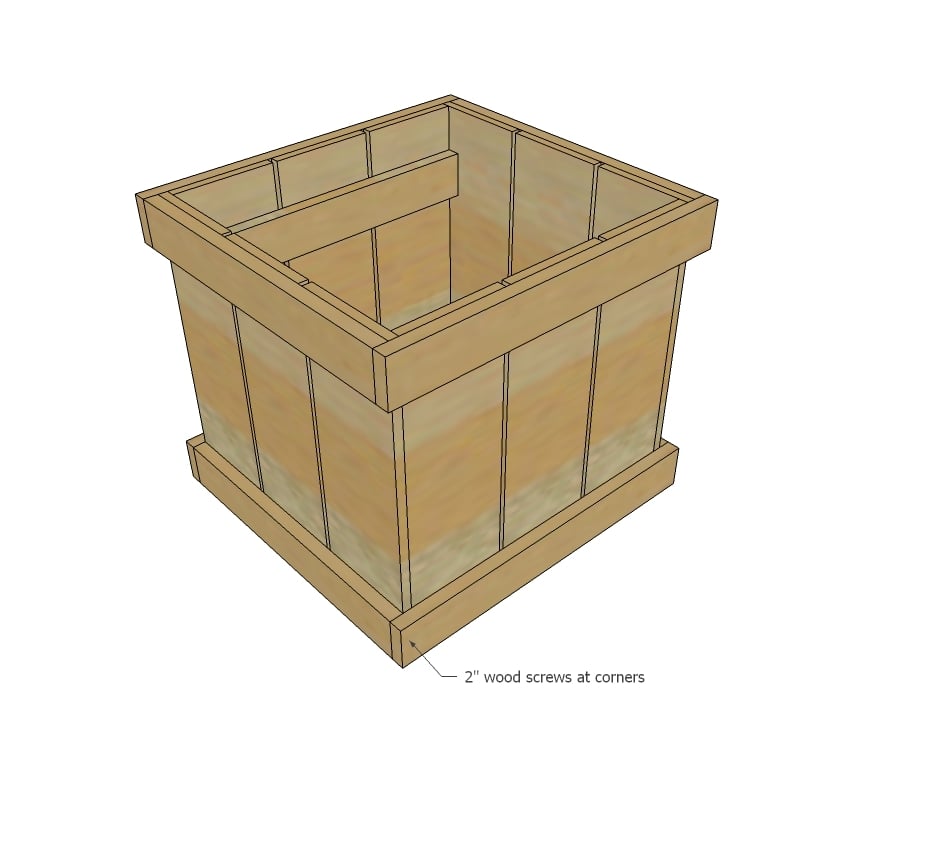
I then predrilled two holes on each end of the 1x3s where they overhang,

And used 2" wood screws to attach together the four panels at the corners through the predrilled holes. I opted not to use glue here so I can take the stand appart after the holidays are over.

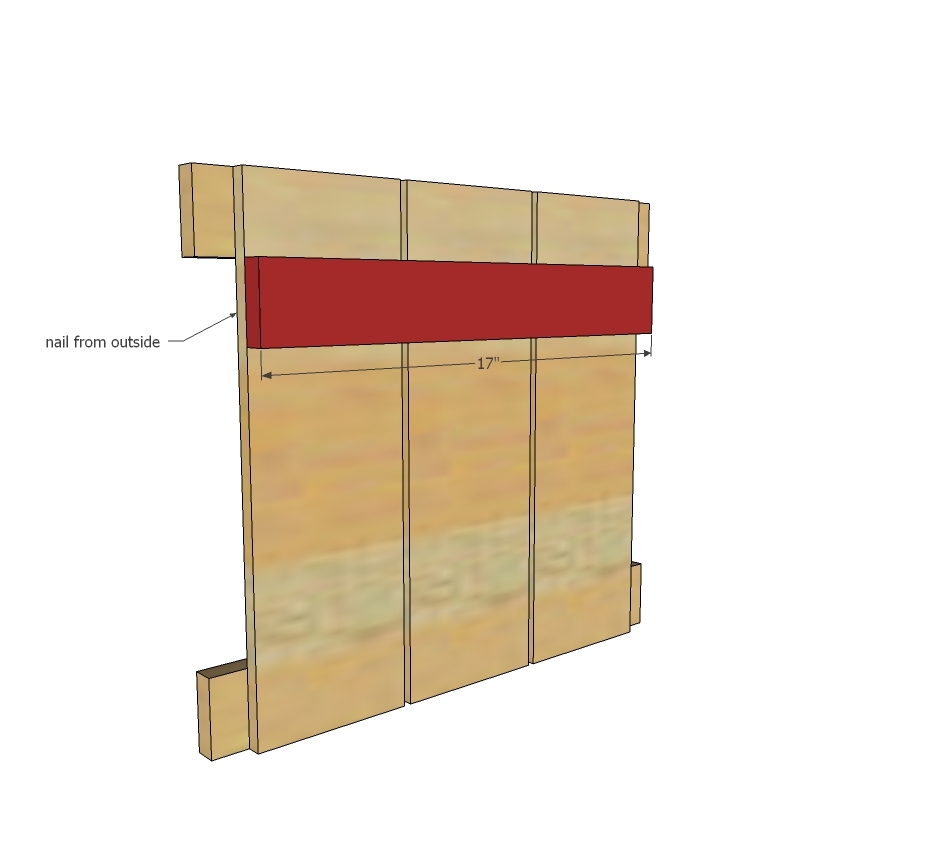
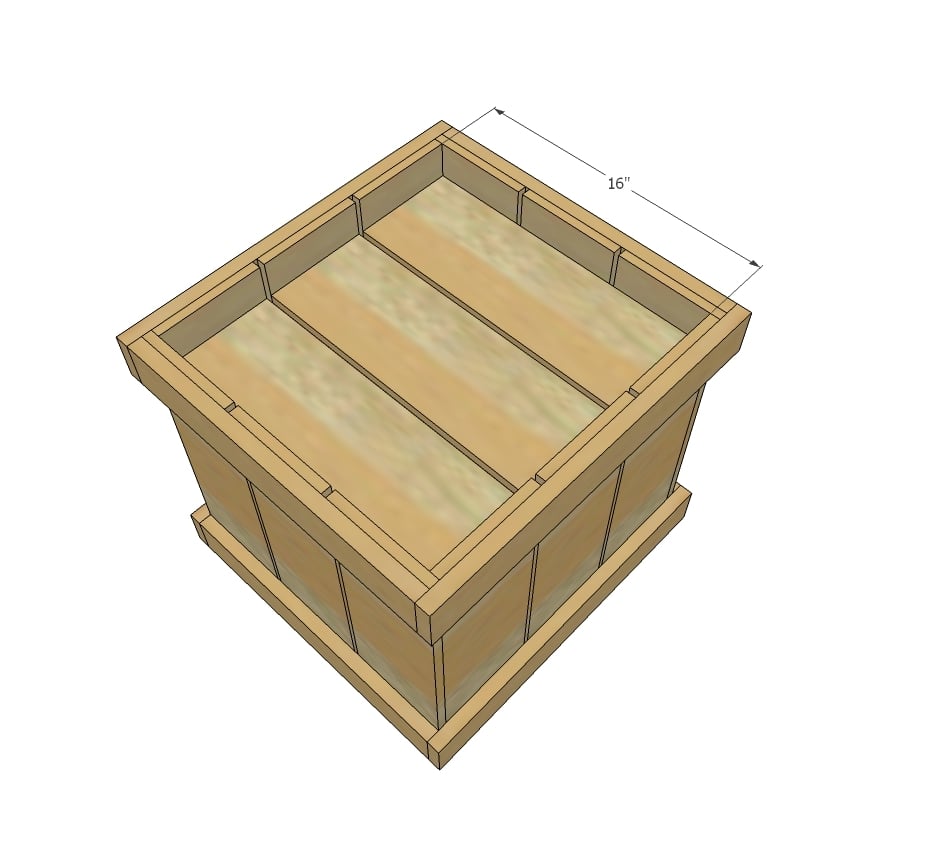
To cover the top, I just added a few 1x3 cleats inside, and rested more panels on top. That way I can get in there and water the tree easily (and it will also remove and store flat with the rest of the tree cover stand)
For the tree trunk hole, I drilled holes in the two remaining panel pieces with a hole saw bit,

And then just used my compound miter saw to cut the hole out to the side.

With the two pieces cut like this,
 The tree trunk just sits in the middle,

And the two pieces just slide together to cover the opening.
 For added detail, I stapled rope around in an X shape.

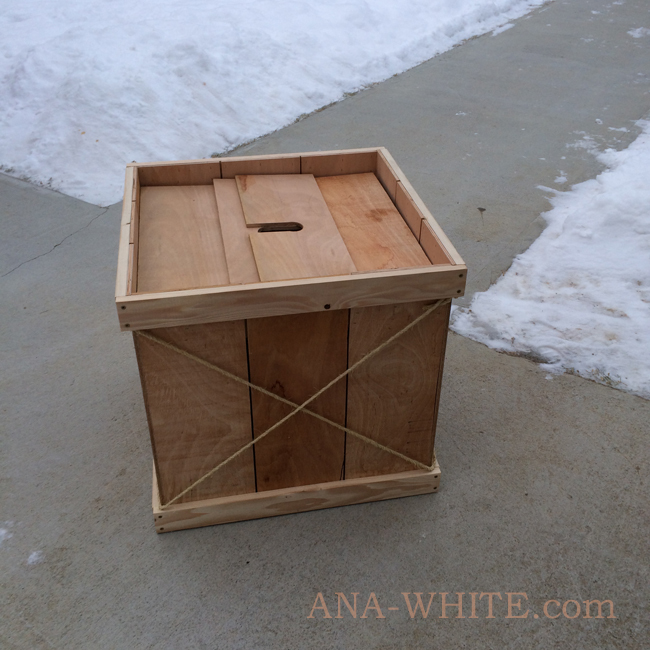
All done and ready for a tree!!!
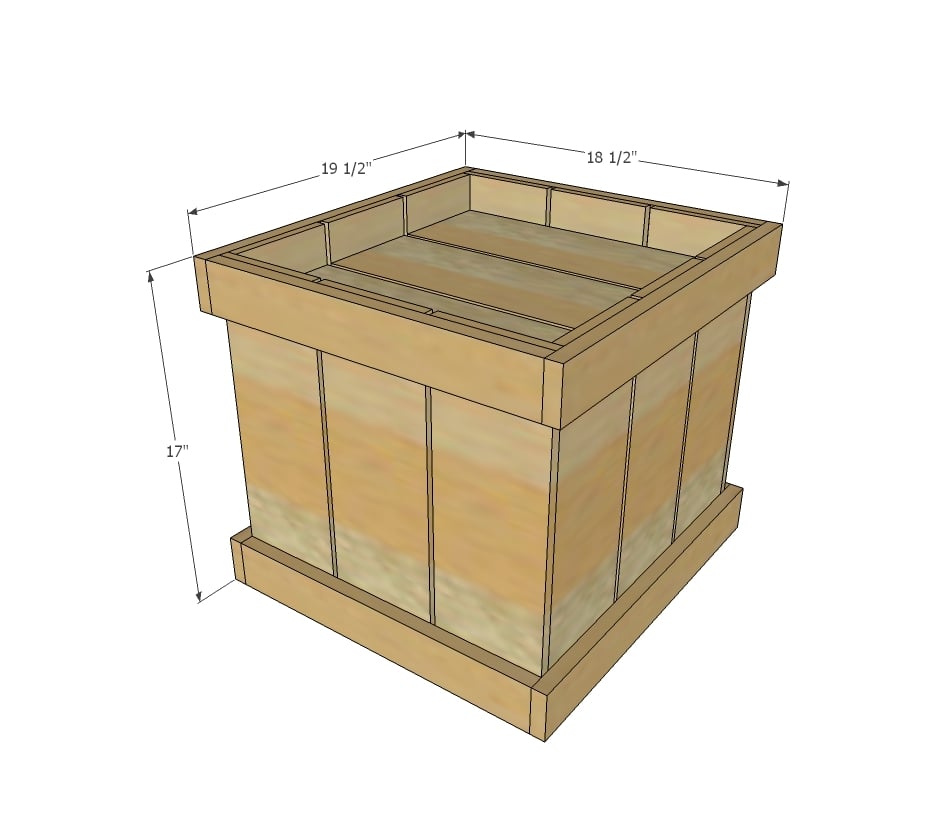
The plans follow, if you build, please share! I'd love to see your Christmas tree stand cover too!
XO Ana + Family



Comments
Pam the Goatherd
Tue, 12/09/2014 - 16:00
This is very helpful! My
This is very helpful! My husband complains every year that our tree stand is too big for the tree that we get (which I find ironic because he always has the last say on what tree we cut for Christmas). A box like this would come in handy for holding a smaller trunked tree. Can't wait to try it.