Search Results
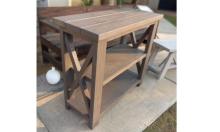
… My modified simple, cheap, and easy console …
Read More
Brag Post
… through the stiles, H, into the end edges of the rails, I, to make a door. Use 2 1/2" nails and glue. After you have completed the door frame fill holes with putty, sand and paint, and then add your …
Read More
Project Plan
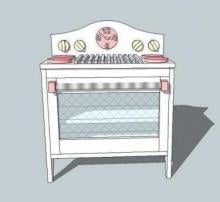
… into the base unit. Make sure there is about 1/8″ gap around the door. Check to make sure the type of hinges you choose will als fit in the door. Trim the back if necessary. Then use 5/8 staples or brad nails and …
Read More
Project Plan
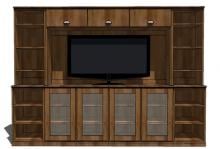
… Inspired by Pottery Barn Printer Collection Welcome to your new media suite. With today's … together. Make sure you measure your tv - like the Pottery Barn Printer hutch, there is only 28 1/2" of clearance for a flat …
Read More
Project Plan
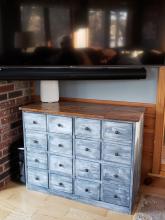
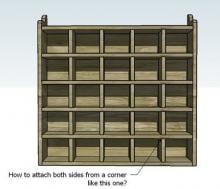
… you have wrote me saying you love this Cubby Organizer from Pottery Barn, and I'm sure many of you have accumulated quite a scrap pile. I … SMART DIMENSIONS I really liked and was inspired by the Pottery Barn Cubby Organizer, but I made this design slightly larger because, if …
Read More
Project Plan
… pieces are 1x2s, except the trim at the bottom and the trim above the door. Use glue and 1 1/2″ nails. Whenver possible, use 2 1/2″ nails to … hinges after you have painted the project. … The doors for the front door are 1x12s. Follow the guidelines in step 7. … The “Vent” is …
Read More
Project Plan
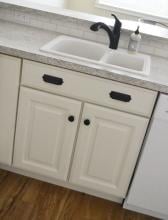
… a 1/2" reveal of face frame between all doors and drawers. For these door sizes you will need 1-1/4" Concealed Euro Hinges, 2 per door. For the false drawer front on the sink, simply nail and glue in …
Read More
Project Plan
… doors this time around: We opted for simple 1x4s for the window and door casings. We pre-painted the boards on sawhorses with a paint … .... I love how the window trim is turning out!!! We trimmed the door headers out in the same manner, I love how the simple but more …
Read More
Blog Post
