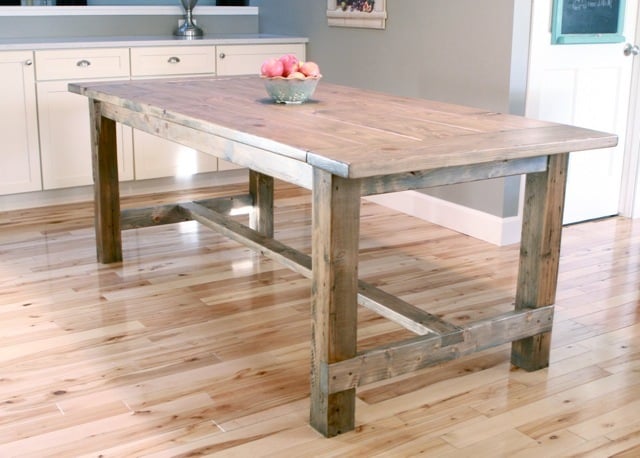


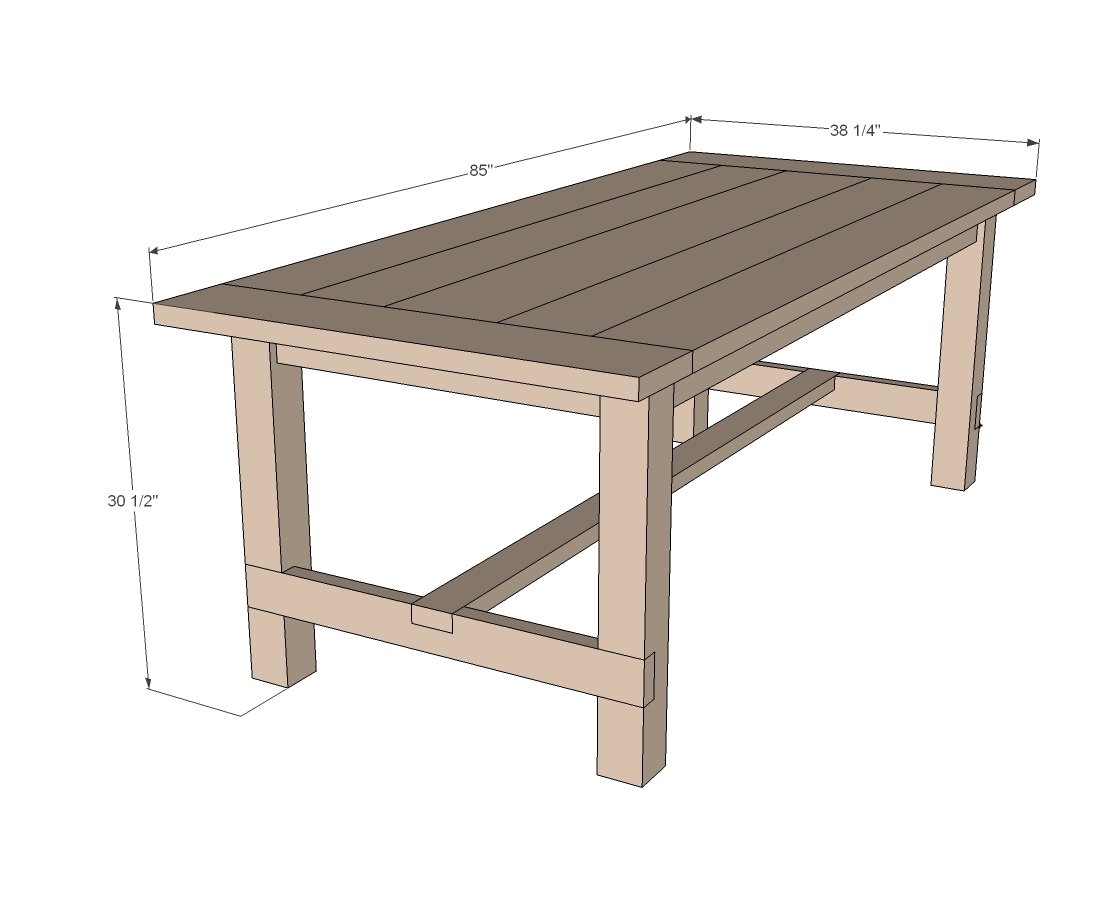
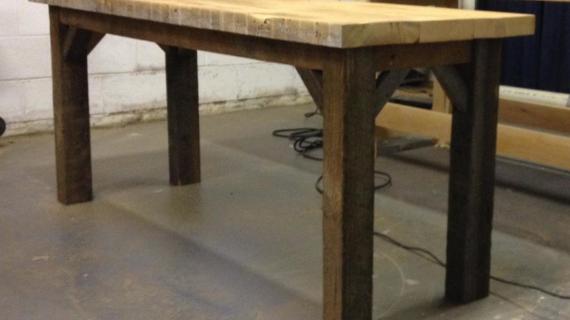
Free plans to build a Farmhouse Table. This table has been built tens of thousands of times and is loved the world over for it's basic material composition, simple clean lines, easy to build steps, and sturdy, functional size. Our step by step plans with diagrams make it easy.
This plan uses pocket holes and is the updated plan. We also have this plan available to build without pocket holes.
Farmhouse tables can cost thousands of dollars.
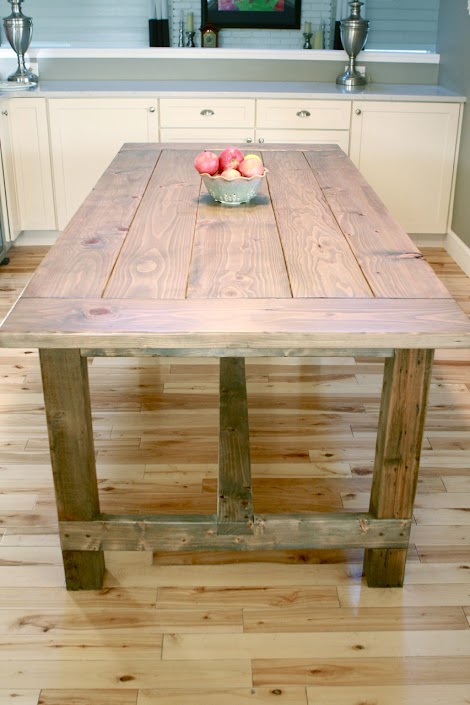
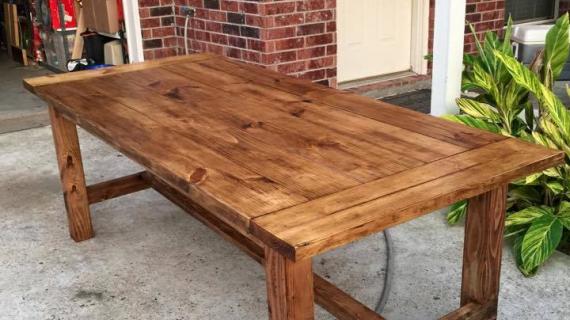
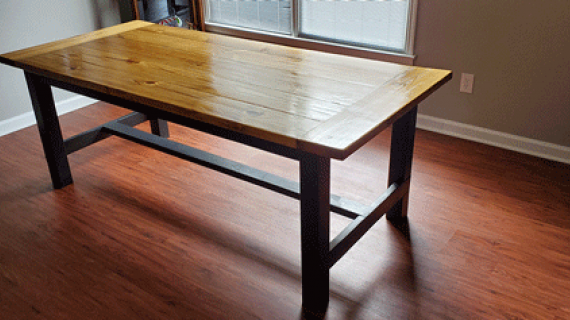
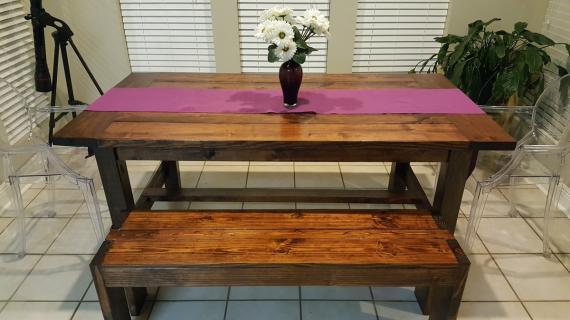
The good news is you can build your own for between $100-$200, and it will be sturdy, repairable, and have a rustic wood top to beautify every meal.
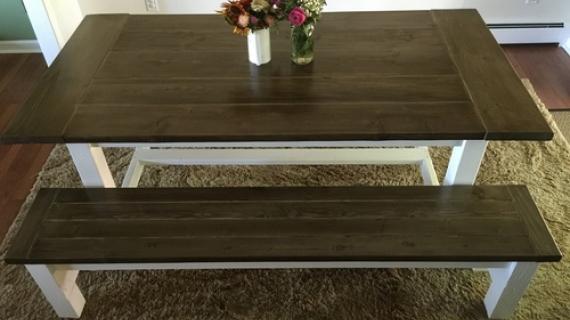
A DIY Farmhouse Table has a rustic wood top that beautifies every meal.
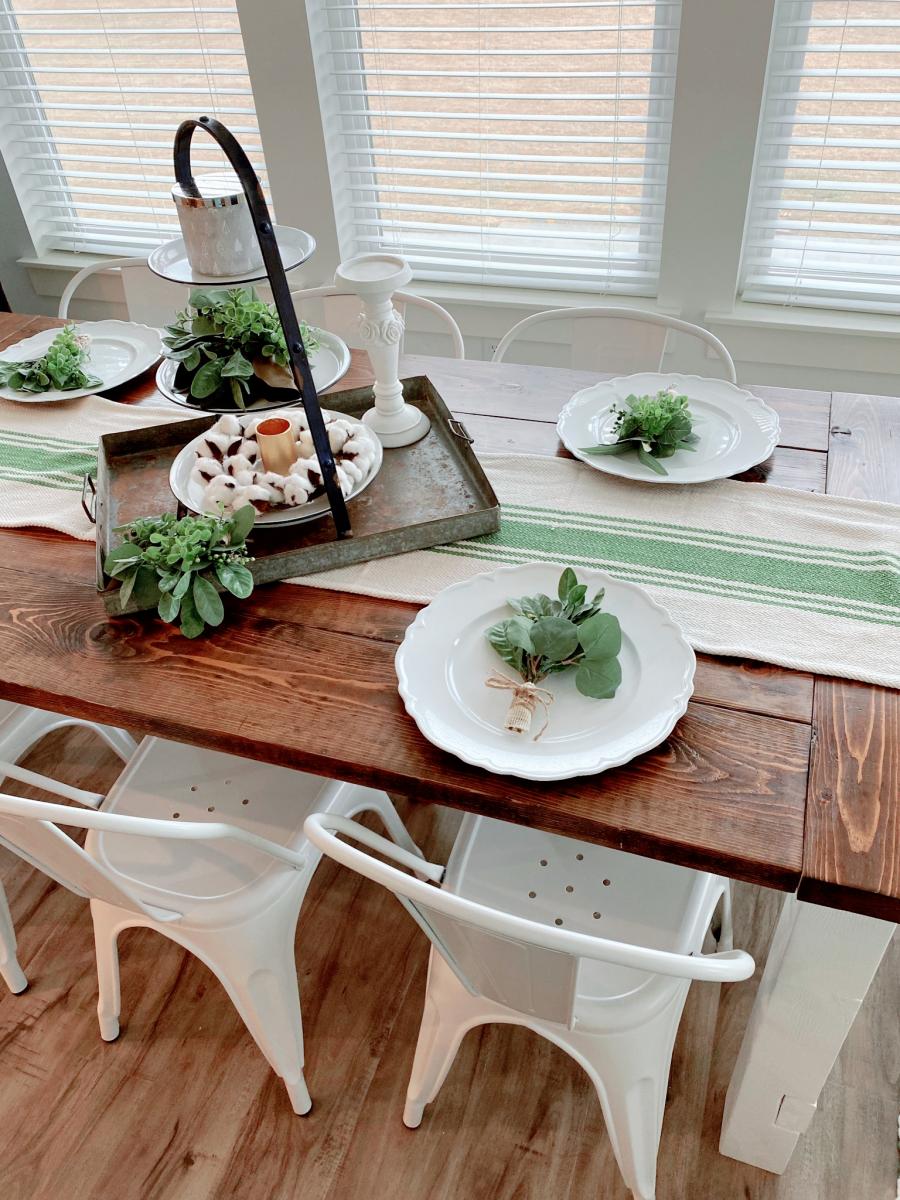
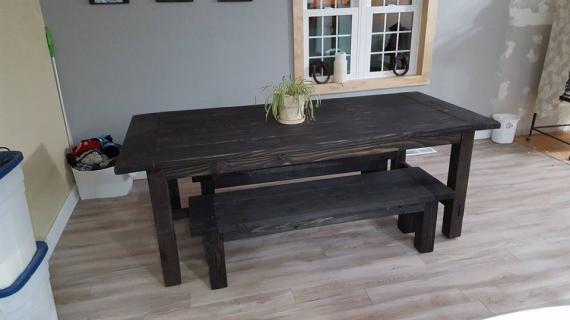
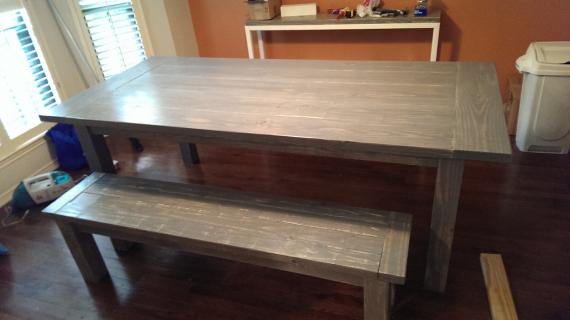
Paint or stain, or both, to make your farmhouse table beautiful and unique.

A DIY Farmhouse Table will cost about $100-$200

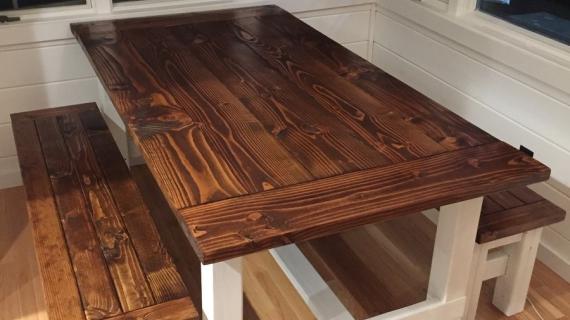
Built by Hillary at The Friendly Home, we upgraded the farmhouse table for pocket hole joinery (no visible fasteners) and easier construction.

Hillary made this table with pocket holes instead of adding the 2x2 supports as done in the original plan, saving a ton of cuts and holes to be drilled, which saves time and money.
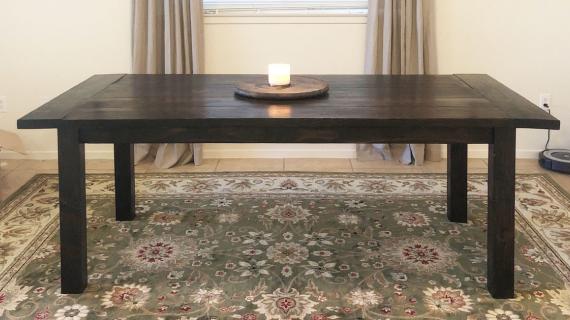
Also, by using pocket holes, we hide most all of the screw holes, so a beautiful stained finish like Hillary's is very easy to do.
The easy to do pocket hole plan follows if you want to build this table.
And as always, Hillary delivers a beautiful finish, and you can get all the details on how Hillary finished her table here. I love the stain color and will have to try it as well!
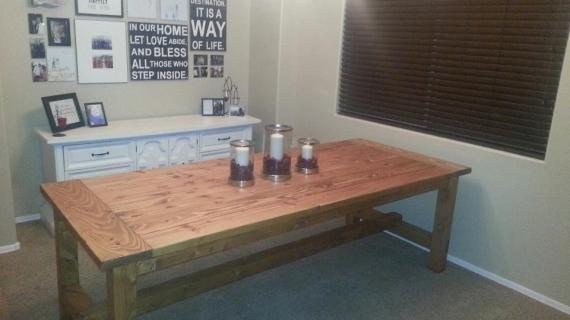
PS - Don't have a pocket hole jig? Here's the original Farmhouse Table Plans.
PSS - Have trouble finding 4x4s? Check out this beginner friendly 2 Tool/$50 Farmhouse Table plans
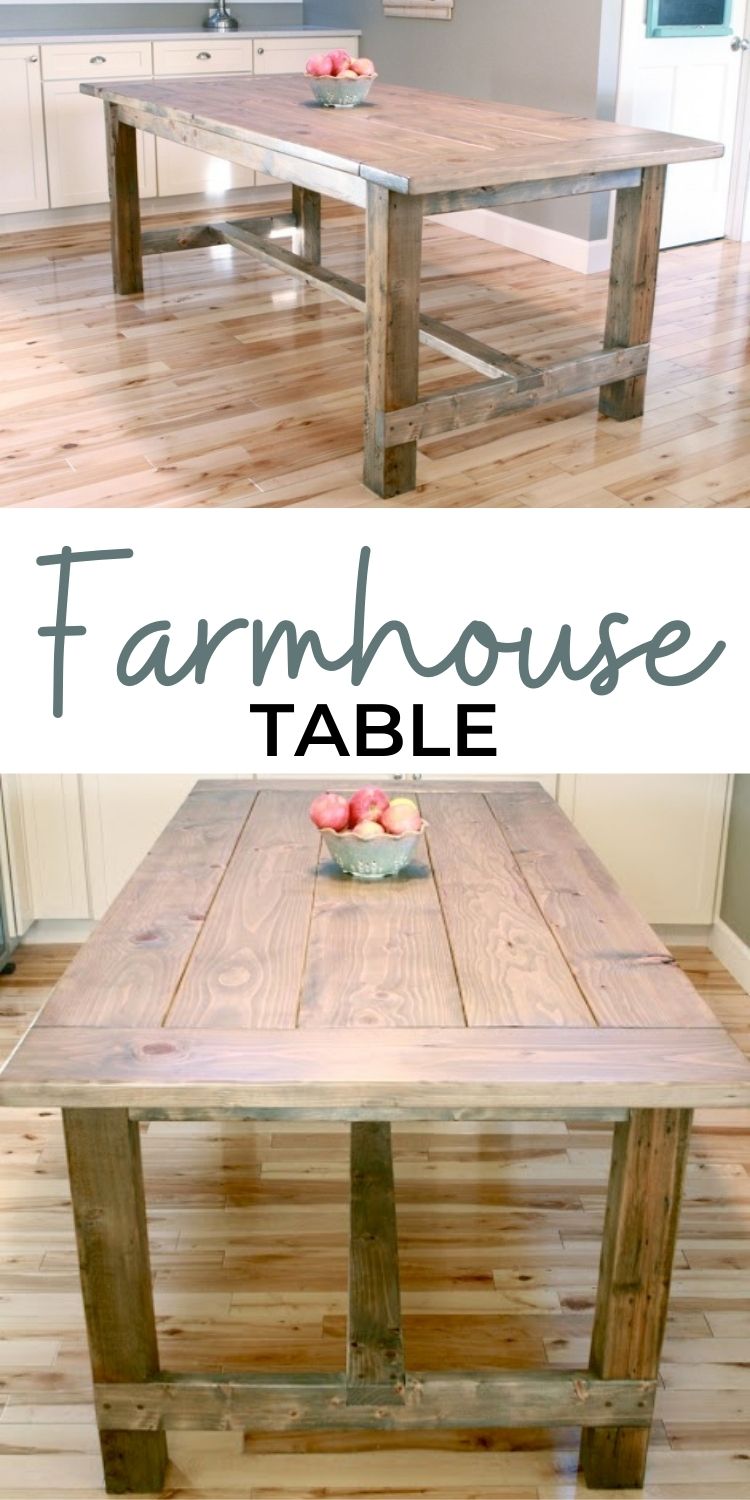
Pin For Later!
Preparation
- 4 - 2x4 @ 8 feet long
- 1 - 4x4 @ 10 feet long
- 4 - 2x8 @ 6 feet long
- 1 - 2x8 @ 8 feet long (breadboard ends)
- 1 - 2x10 @ 6 feet long
- 4 - 4x4 posts @ 29" (legs)
- 2 - 2x4 @ 67" (long aprons)
- 2 - 2x4 @ 27" (short aprons)
- 1 - 2x4 @ 74" (stretcher)
- 2 - 2x4 @ 34" (stretcher supports)
- 4 - 2x8 @ 70.5" (table top planks)
- 1 - 2x10@ 70-1/2" (center table top plank -- I had to use one 2x10 to get the right overall width)
- 2 - 2x8 ~38" (breadboard ends -- measure your joined tabletop before cutting these)


Please read through the entire plan and all comments before beginning this project. It is also advisable to review the Getting Started Section. Take all necessary precautions to build safely and smartly. Work on a clean level surface, free of imperfections or debris. Always use straight boards. Check for square after each step. Always predrill holes before attaching with screws. Use glue with finish nails for a stronger hold. Wipe excess glue off bare wood for stained projects, as dried glue will not take stain. Be safe, have fun, and ask for help if you need it. Good luck!
Instructions
Step 1

First, cut and notch out the 4x4s. If you can get your home improvement store to make square cuts, ask them to cut your 4x4s. Otherwise, you'll need a 12" (maybe a 10" will work too) miter saw or set your circular saw to the deepest possible cut. Cut one side, flip the 4x4 and finish the cut on the bottom side. Sand until cut is smooth. You'll probably add cork or felt pads under the legs later on to level table up and protect your floor.
Then notch out the stretcher joint as shown in diagram. Definitely practice first on a scrap if you can. This is easier to do than it looks - just be sure to get the top and bottom cut right, and it will all work out!
Step 2

Notch out the stretcher support board first, then attach to the 4x4s. Remember the screws will show here, so drill in pattern. Use 3" screws to attach.
Do both ends.
Step 3
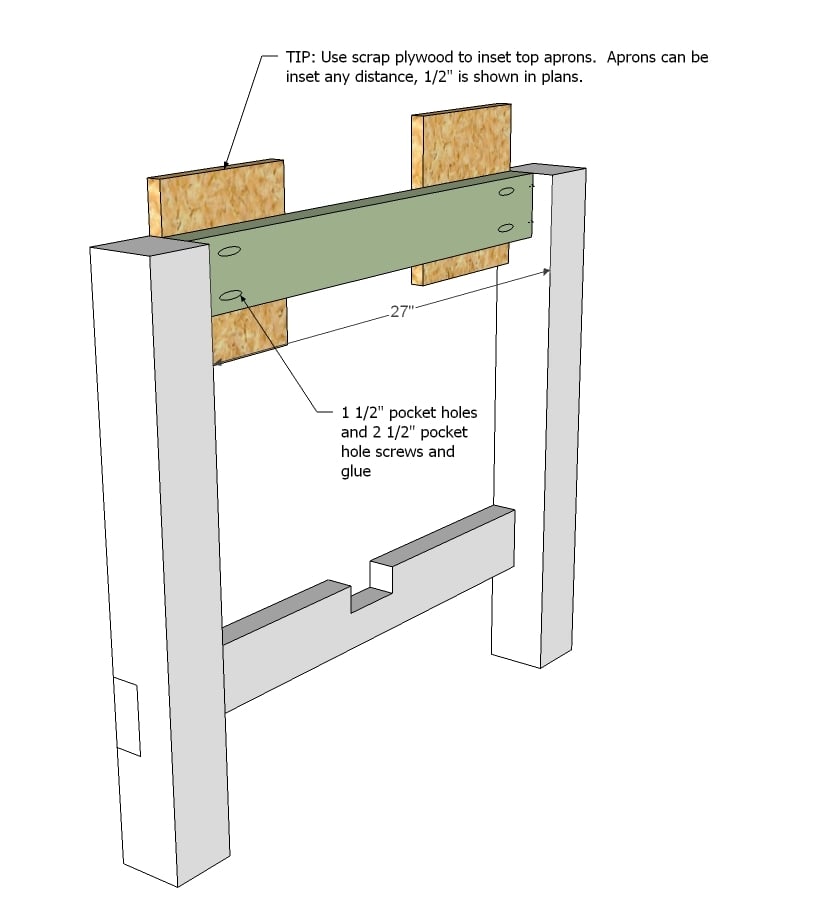
Then add your top aprons with 1 1/2" pocket holes and 2 1/2" pocket hole screws.
NOT SHOWN: Drill 1 1/2" pocket holes on the insides of your aprons facing upward for later attaching the the tabletop too. Drill three holes per end apron.
Step 4
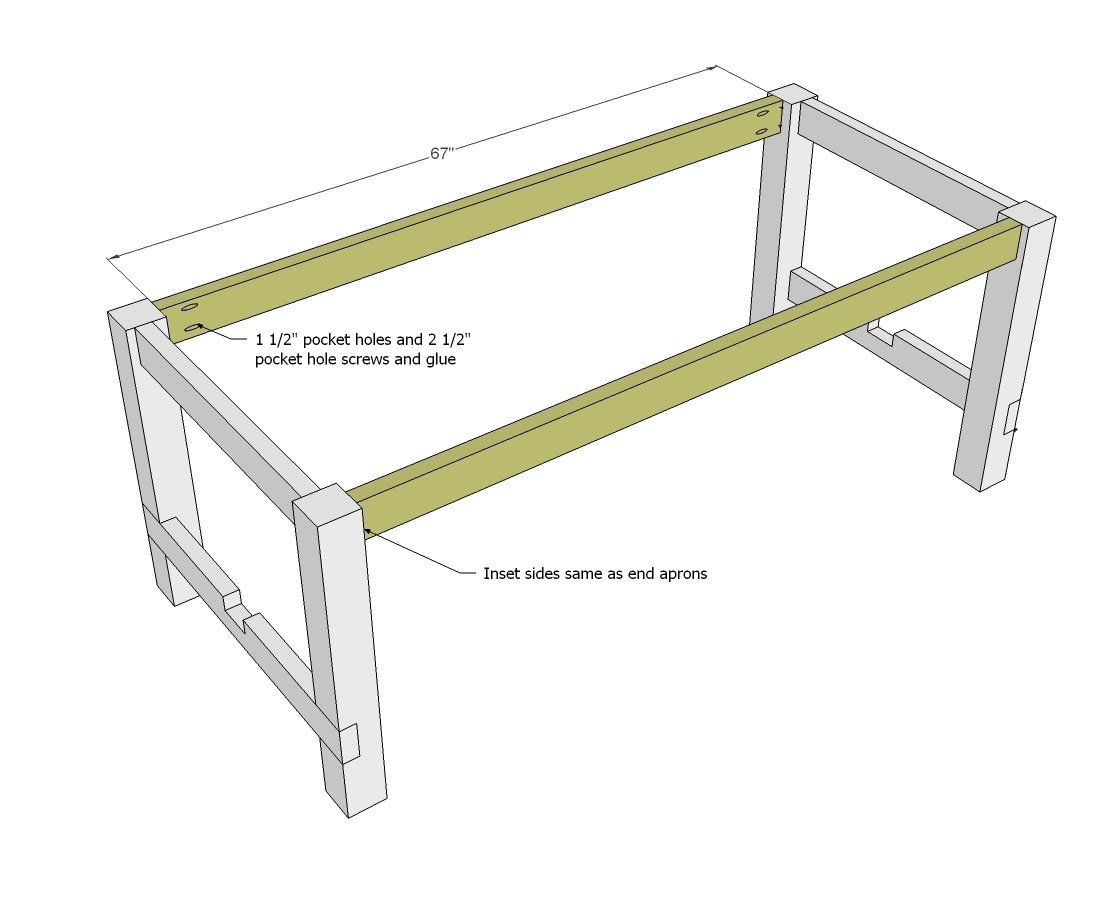
Now attach the two ends together to create your table frame.
NOT SHOWN: Drill 1 1/2" pocket holes on the insides of your aprons facing upward for later attaching the the tabletop too. Drill five holes per side apron.
Step 5

Attach base stretcher with pocket holes underneath.
Step 6
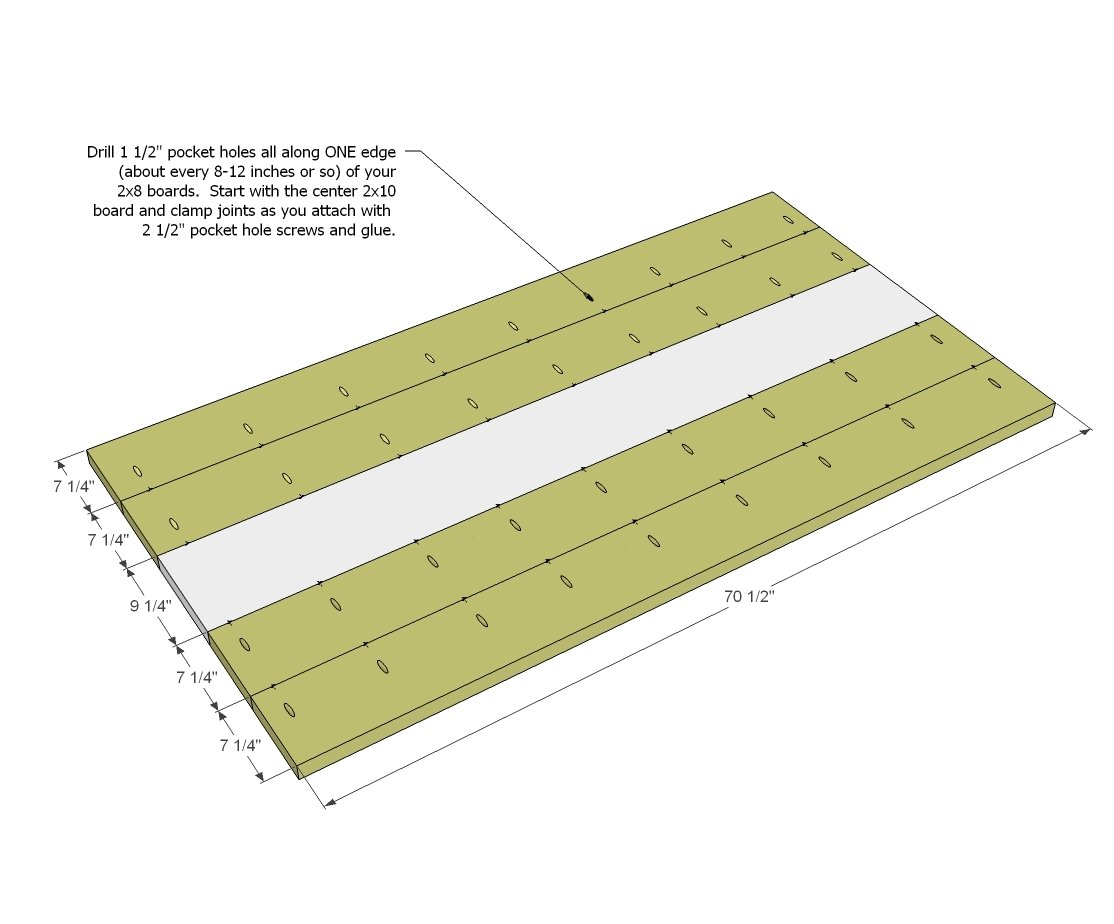
Now start building your tabletop.
Step 7
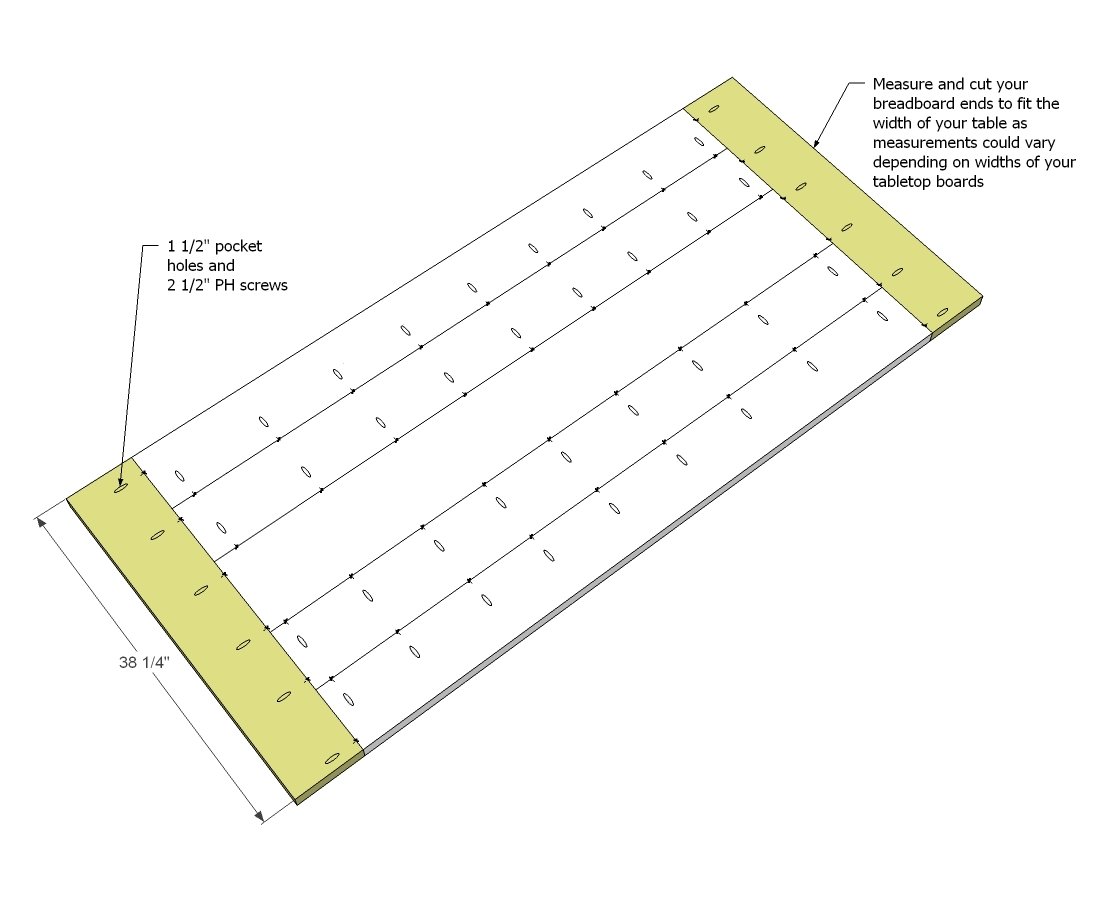
Measure and cut your breadboard ends to fit and attach to tabletop.
Step 8
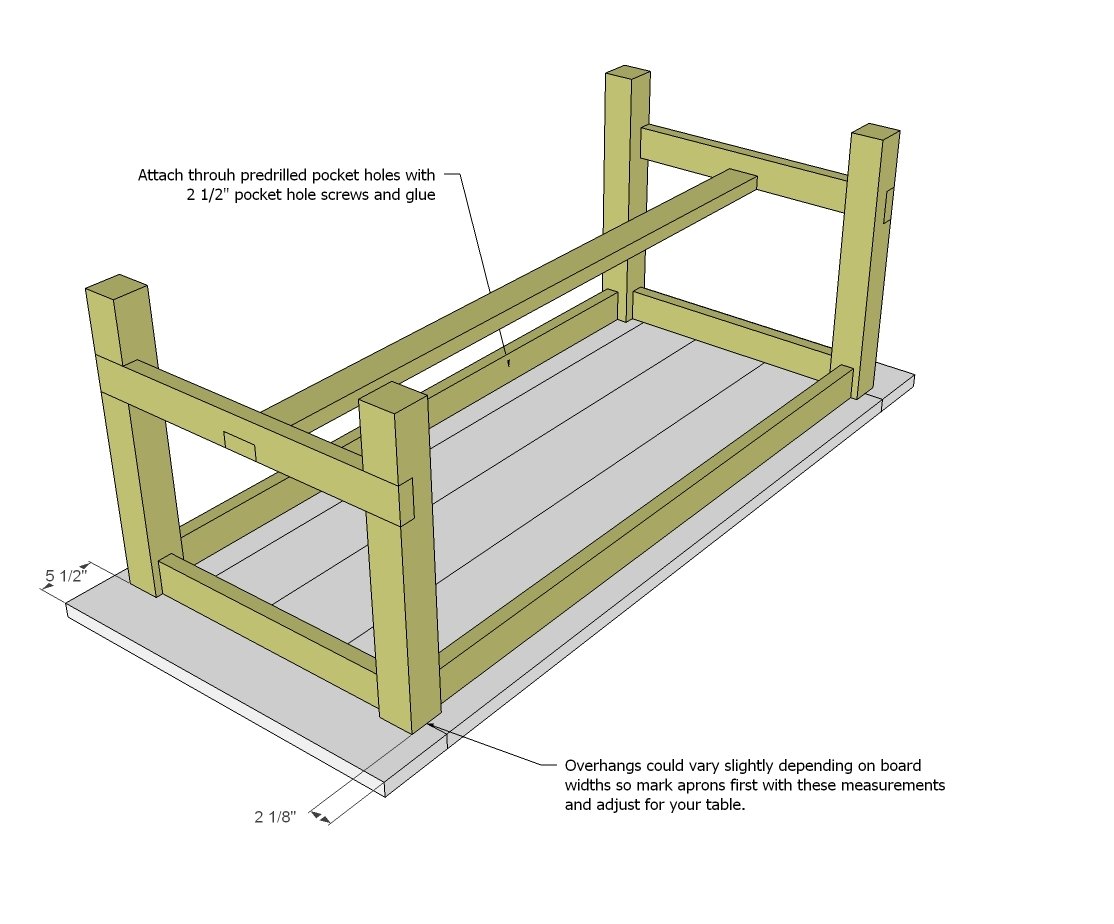
Then attach the base to the tabletop through predrilled 1 1/2" pocket holes with 2 1/2" pocket hole screws.
It is always recommended to apply a test coat on a hidden area or scrap piece to ensure color evenness and adhesion. Use primer or wood conditioner as needed.


Comments
Felindre1
Sun, 03/21/2021 - 07:32
Farmhouse table
I think the plans look admirably simple and will be making a table for an imminent move. However, I may be being very thick but the cut list and plans don’t seem to match. The support wood is shown as 2x4 and jet joints 2x3 1/2? Also cut list says 7x 6x2 (=42) but measurements show a width of 38 1/2 for breadboard??
Or is the difference that cut list is rough timber and construction is planed I.e. 4x2 becomes 3 1/2 and 1 3/4?
Lauren Small
Wed, 05/05/2021 - 20:17
Lumber has the name its…
Lumber has the name its called and then an actual measurement which is a little bit smaller. So a 2x4 is actually smaller that 2x4".
trainer999
Tue, 08/31/2021 - 12:06
Yes, a 2x4 is actually 1.5x3…
Yes, a 2x4 is actually 1.5x3.5