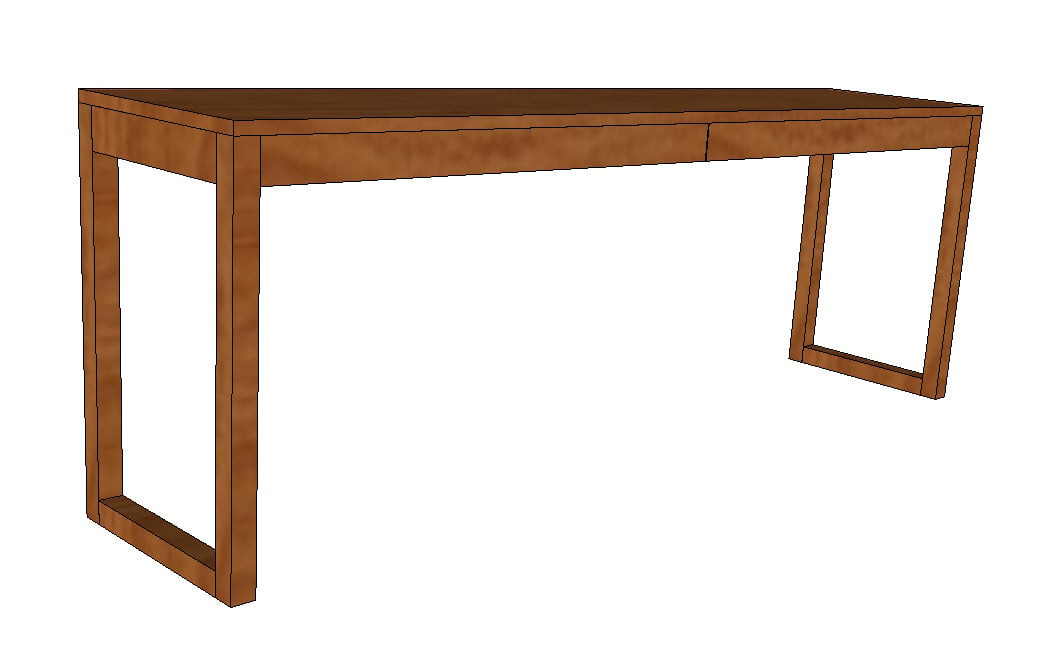
This is inspired by the Ikea Besta Burs desk.

Preparation
1 49x97 MDF Sheet
165 3/4" or 13' 13/16" of 2x2
93 3/4" or 8' 5/8" of 1x3
2 sets of 10", 100-lb. full extension drawer slides
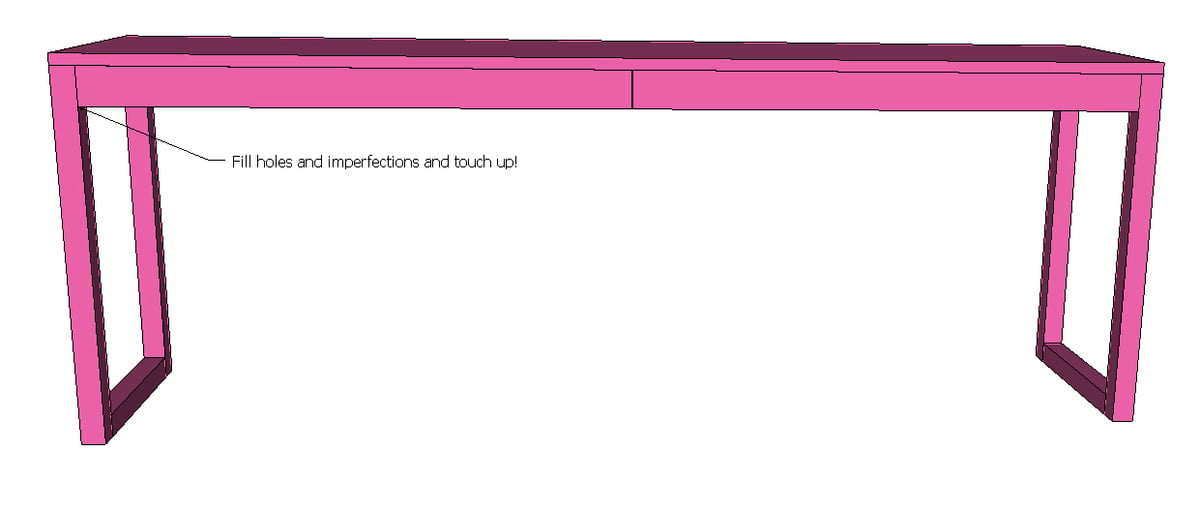
4 2x2 @ 24 3/8" (Desk Legs)
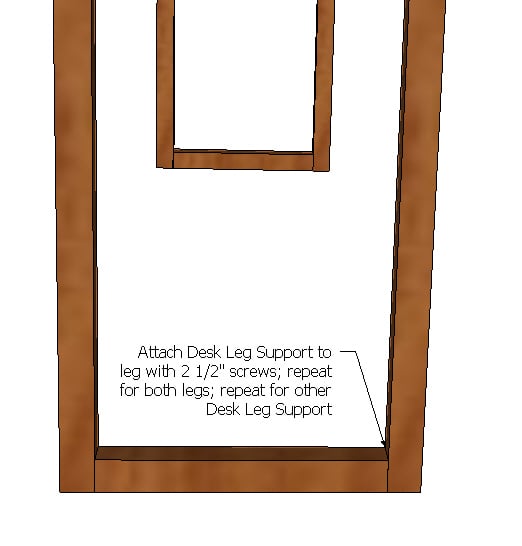
2 2x2 @ 12 3/4" (Desk Leg Supports)
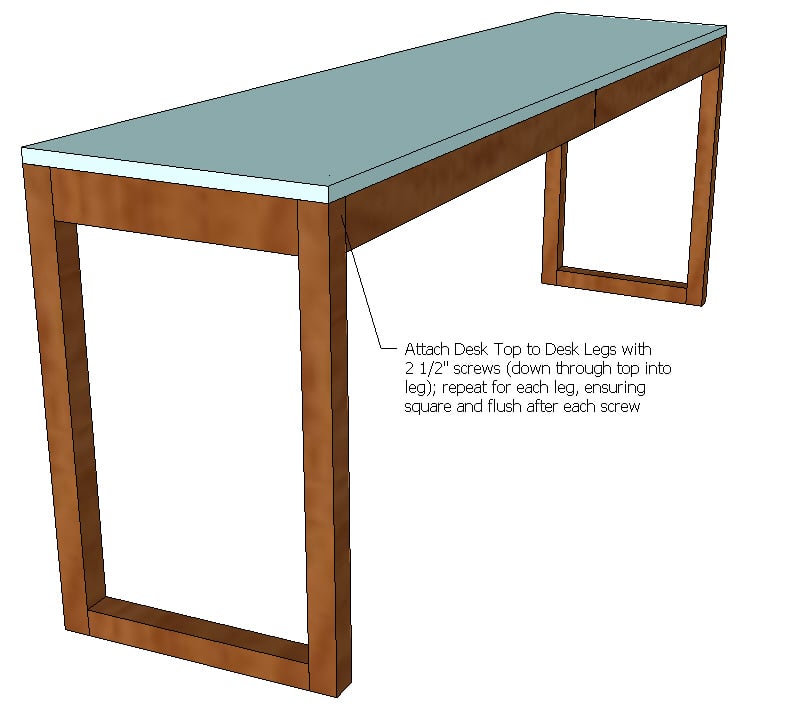
1 1/2" x 15 3/4" x 70 7/8" MDF (Desk Top)
2 1/2" x 2" x 30" MDF (Drawer Backs)
2 1/2" x 12 1/2" x 30" MDF (Drawer Base)
2 1/2" x 3" x 34" MDF (Drawer Fronts/Faces)
4 1/2" x 12" x 2" MDF (Drawer Sides)
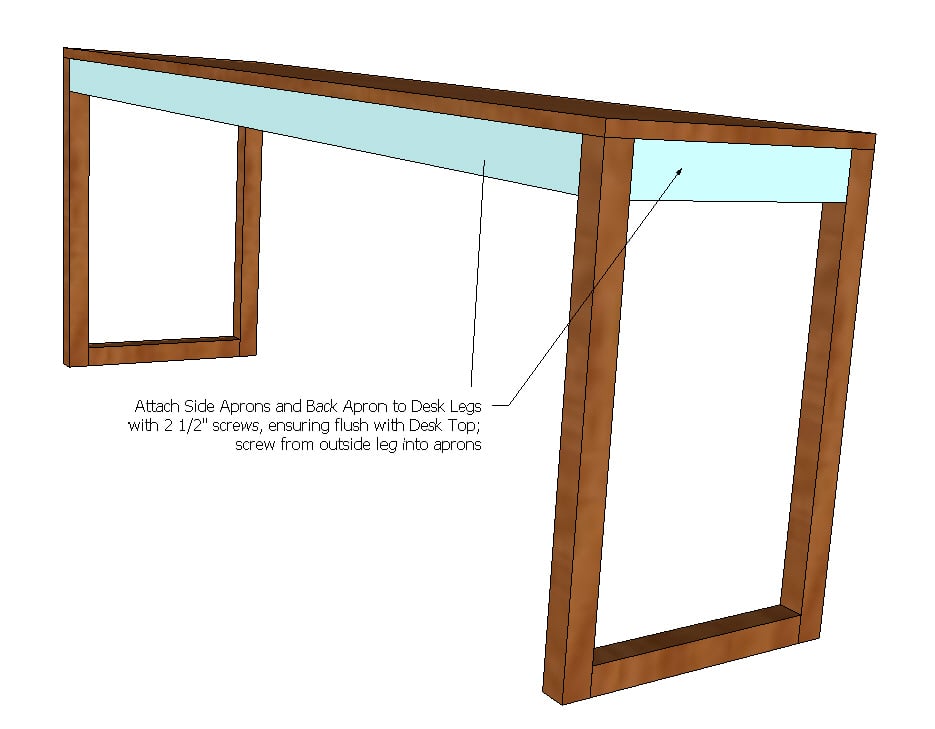
1 1x3 @ 67 7/8" (Back Apron)
2 1x3 @ 12 3/4" (Side Aprons)
3 2x2 @ 14 1/4" (Underside Support Beams)
Please read through the entire plan and all comments before beginning this project. It is also advisable to review the Getting Started Section. Take all necessary precautions to build safely and smartly. Work on a clean level surface, free of imperfections or debris. Always use straight boards. Check for square after each step. Always predrill holes before attaching with screws. Use glue with finish nails for a stronger hold. Wipe excess glue off bare wood for stained projects, as dried glue will not take stain. Be safe, have fun, and ask for help if you need it. Good luck!
Instructions
Step 1
Step 2
Step 3
Step 4
Step 6
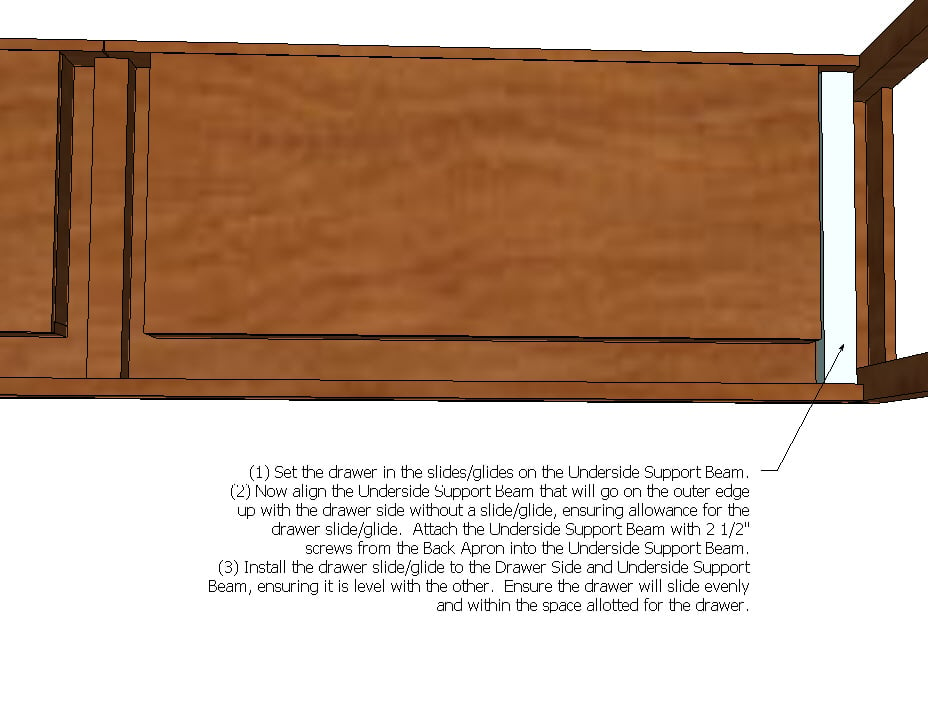
(1) Set the drawer in the slides/glides on the Underside Support Beam.
(2) Now align the Underside Support Beam that will go on the outer edge up with the drawer side without a slide/glide, ensuring allowance for the drawer slide/glide. Attach the Underside Support Beam with 2 1/2" screws from the Back Apron into the Underside Support Beam.
(3) Install the drawer slide/glide to the Drawer Side and Underside Support Beam, ensuring it is level with the other. Ensure the drawer will slide evenly and within the space allotted for the drawer.
Step 7
It is always recommended to apply a test coat on a hidden area or scrap piece to ensure color evenness and adhesion. Use primer or wood conditioner as needed.


Comments
Ana White
Mon, 03/14/2011 - 20:42
Thank you for adding!
Just wanted to say a big thank you for adding this desk! I have been trying to get the last few plans migrated over, this being one of them, and I'm so thankful that you were able to post it! This is so detailed too! Thanks again. Ana
mikejillnelson
Tue, 05/26/2020 - 06:13
center support help
I need to build a desk like this, without drawers, that's 10' long. My question is how to create center support without adding a middle leg? It's a desk that will be used as a sound engineering desk. At times, 2 or 3 people will be sitting at it so there needs to be room for legs and chairs ... I've considered 20x13 angle brackets in the center. Would this be enough? Thanks in advance!