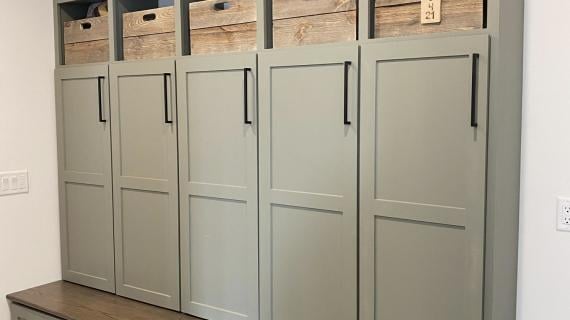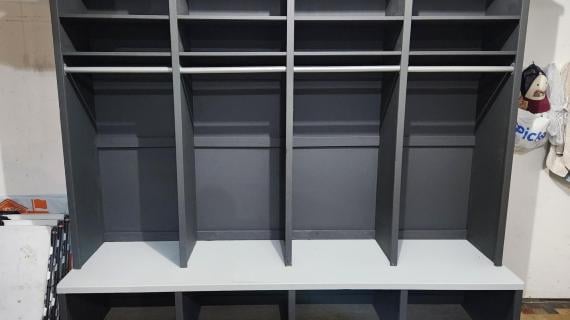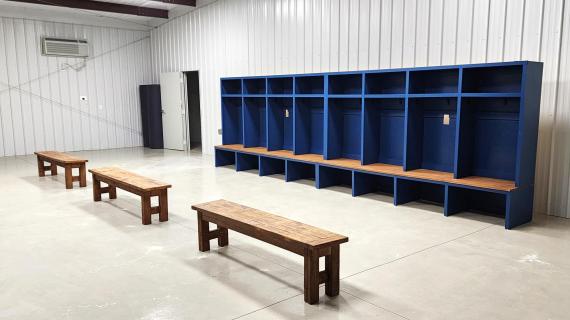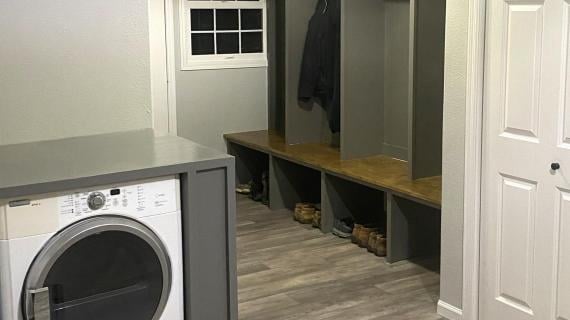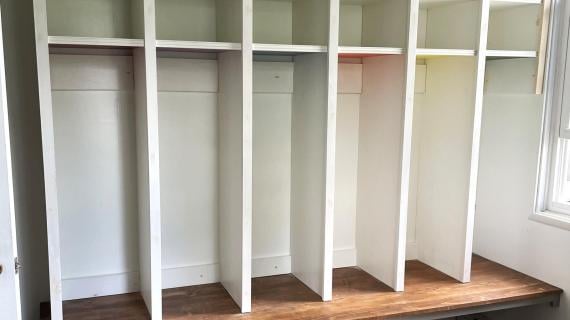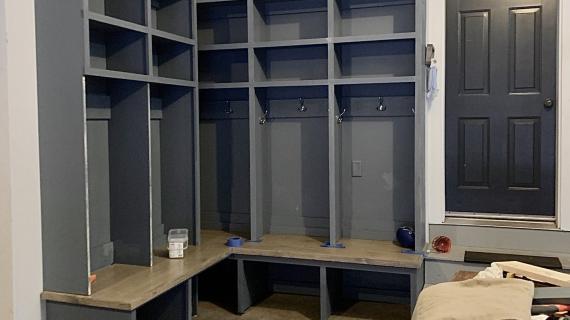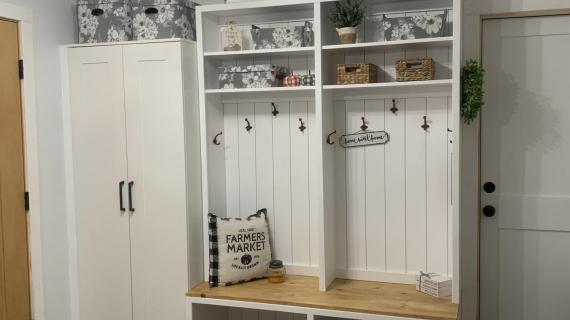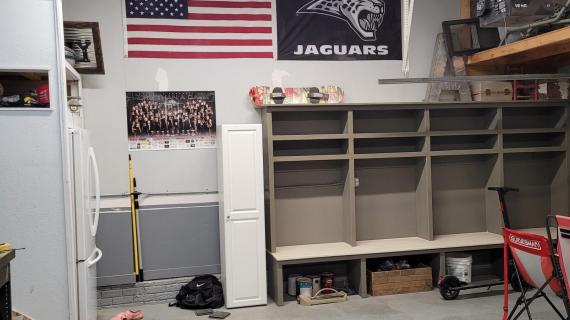
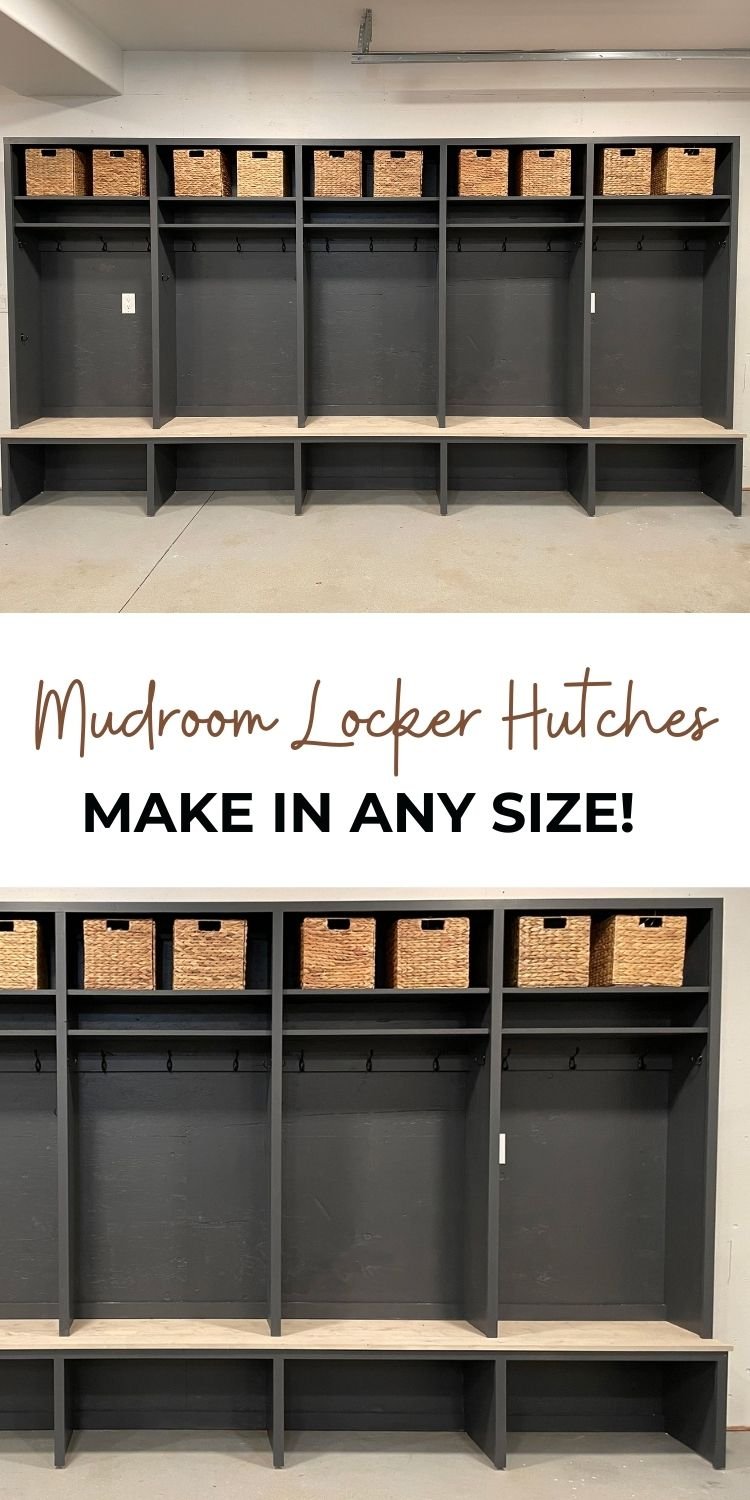
Build your own mudroom system! This is a free woodworking plan with video tutorial showing you step by step how to build your own mudroom lockers.
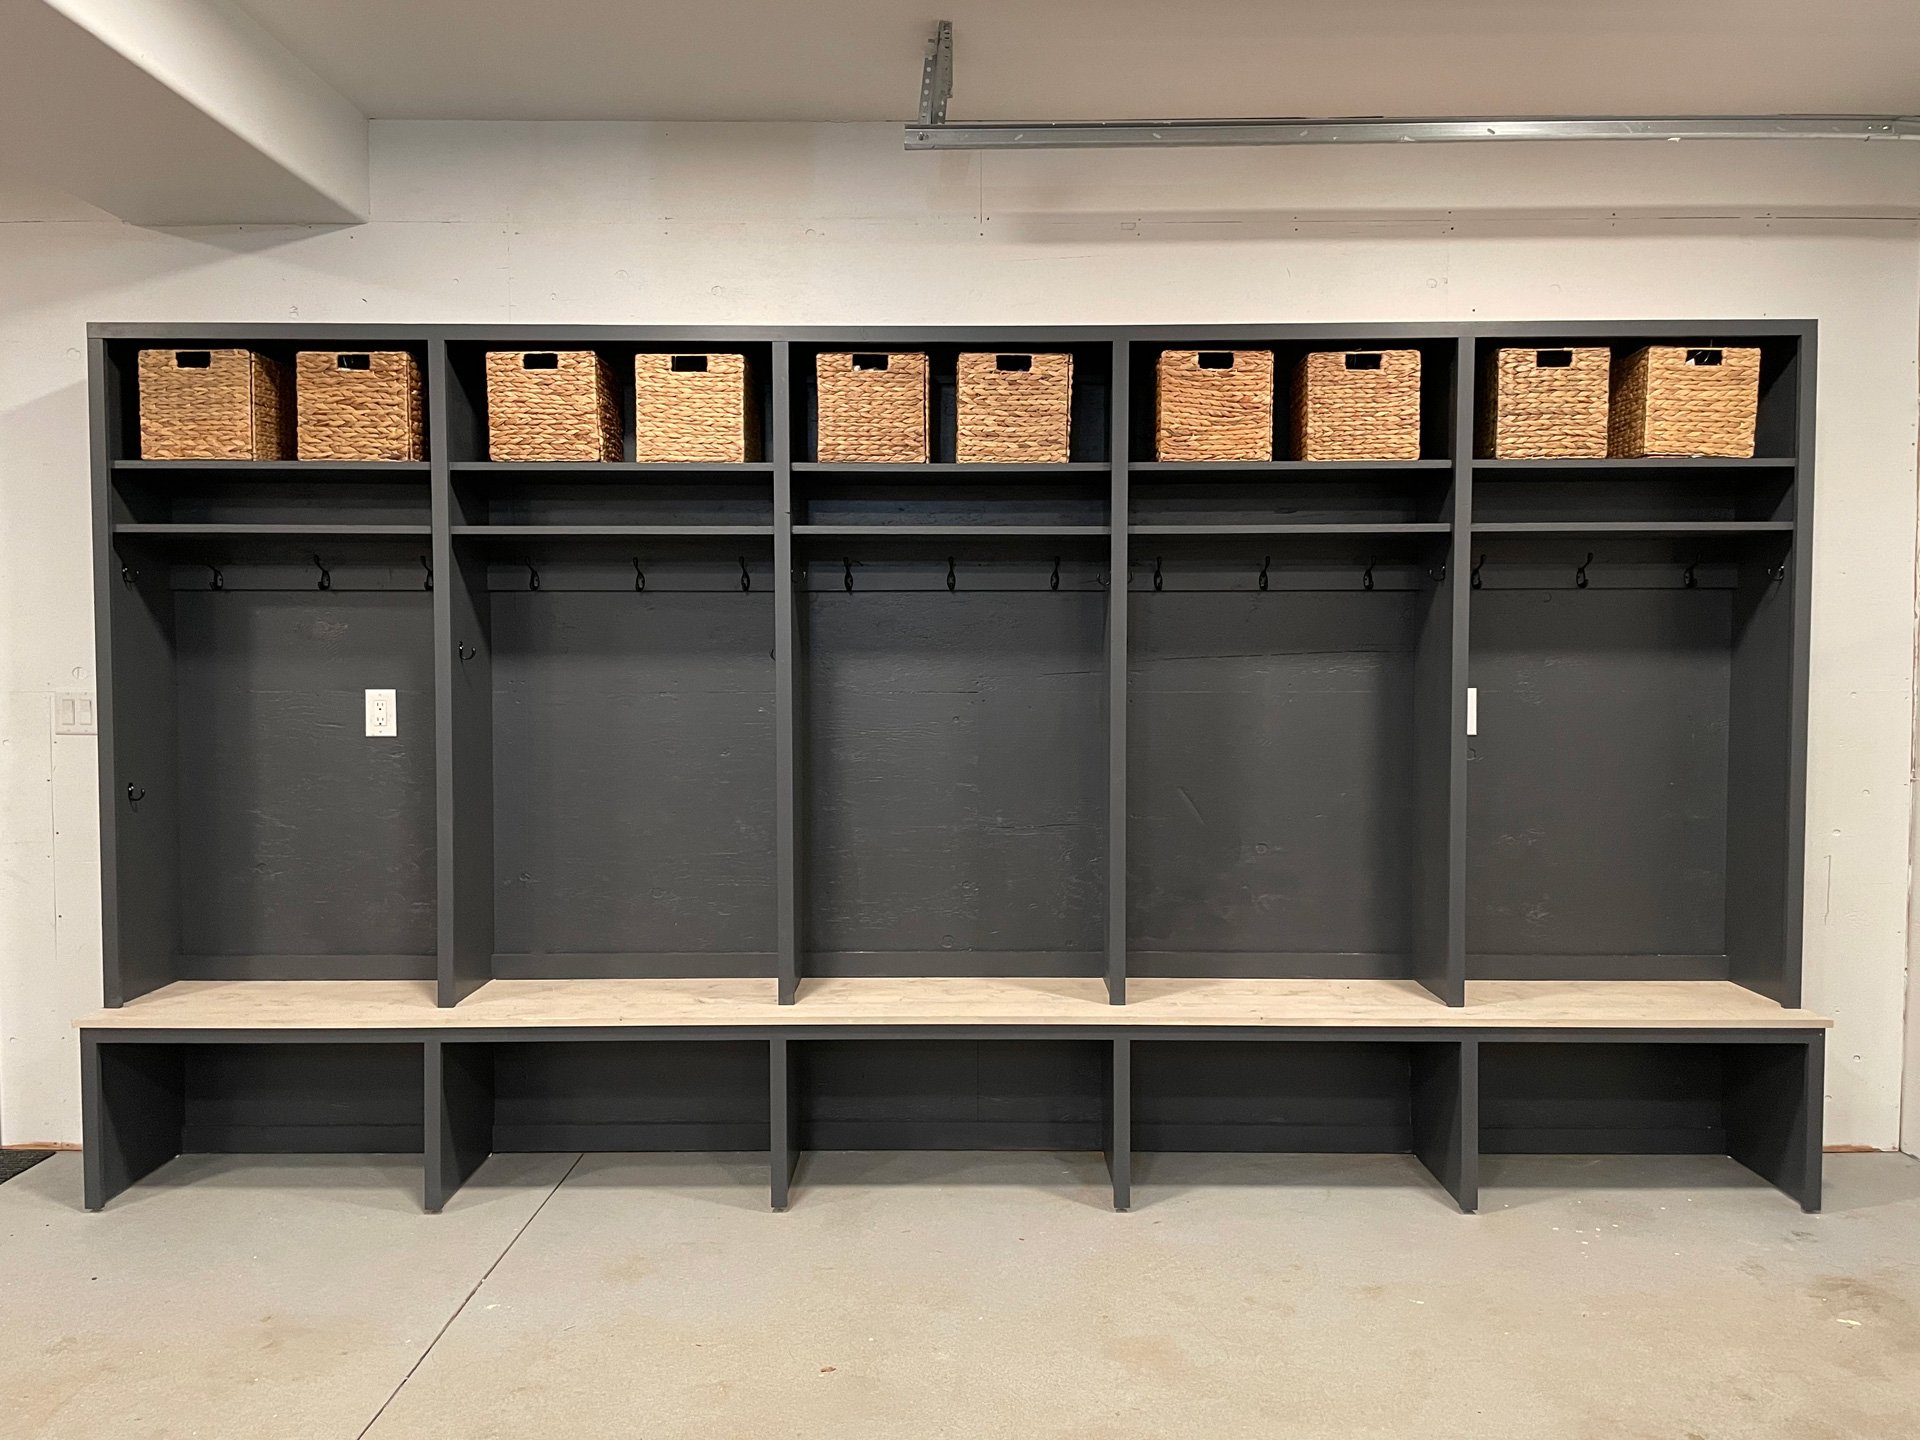
I built my own custom mudroom cabinetry in a custom size, for thousands less then buying it. Mudroom cabinetry is actually pretty easy to build, and with this tutorial, you'll be able to get just the right size.
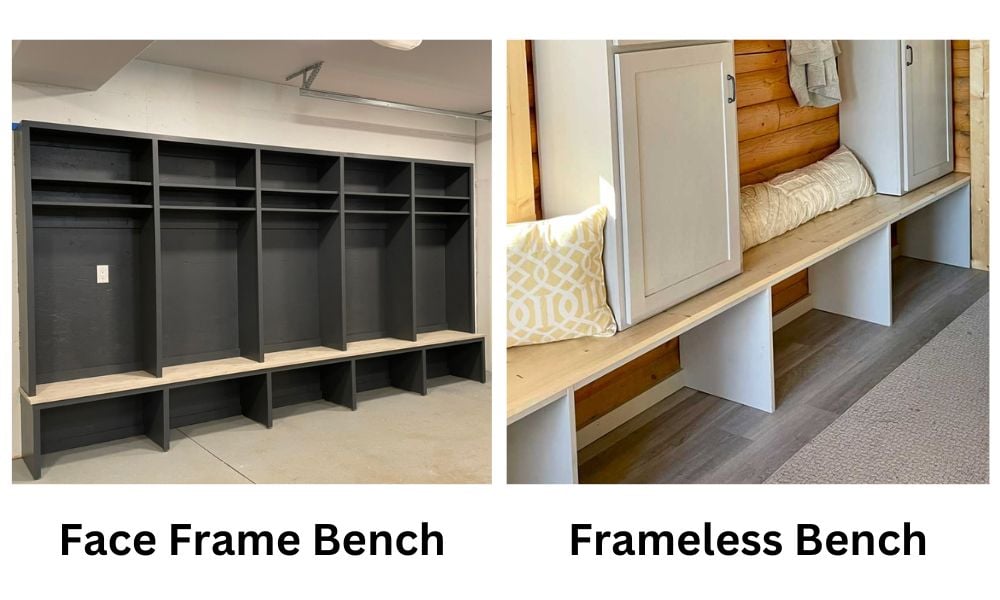
I also built the mudroom bench - the bench tutorial is here.
Pin For Later!
Preparation
- 1x12s or 3/4" plywood* ripped into 11-1/4" wide strips
- 1x2 trim pieces
- 1x6 and 1x3 bay support pieces
- 1-1/4" pocket hole screws
- 1-1/4" brad nails
- wood glue
- wood filler
- medium grit sanding block and/or sand paper
- paint or stain in desired color
*If using plywood, you will also need 3/4" edge banding and an iron and edge banding trimming tool
For long term durability and more professional results, I recommend using a pocket hole joinery system for wood joints. Here is a video with tips for using a pocket hole jig:
Instructions
Step 1
Designing Your Mudroom Cabinetry Hutches
Take measurements of your space, and determine widths and heights.
HEIGHT: Remember that the bench underneath will be about 18" tall. If possible, build the bench first. Also consider that the top of the hutches can be used for storage, so you don't have to go all the way to the ceiling.
WIDTH: Determine desired number of lockers, keeping locker widths less than about 36" to avoid sagging shelves. I don't recommend smaller than 12" per locker width, as it will become hard to reach inside and hang things.
DEPTH: The depth should be about 12" - you can use a 1x12 or plywood ripped to 11-1/4" wide.
SHELVES: Shelf heights are all up to you and your needs - you could add a tower of shelves for accessories, or keep it open with hooks, or any combination.
Cutting the Carcass
You can use 1x12 boards, make sure they are straight and with minimal knots, finger jointed 1x12s (I find at Lowes) that are pre primed are a great option. You can also rip 3/4" hardwood plywood into 11-1/4" widths and apply edge banding to the front edges of any shelves (this is what I did). You don't need edge banding on most of the project, as it will be trimmed in 1x2s (see step 3).
Once you have the boards, cross cut with a miter saw to the dimensions given in the plans you downloaded from my configurator.
Assembling the Carcass
I recommend assembling with 3/4" pocket holes and 1-1/4" pocket hole screws. Three screws per joint is recommended. Mark out all the pocket holes, drill, and attach. Keep all edges flush on the front.
TIP: On upper shelves, you may wish to place the pocket holes on the top, facing down, so they are hidden above the line of sight.
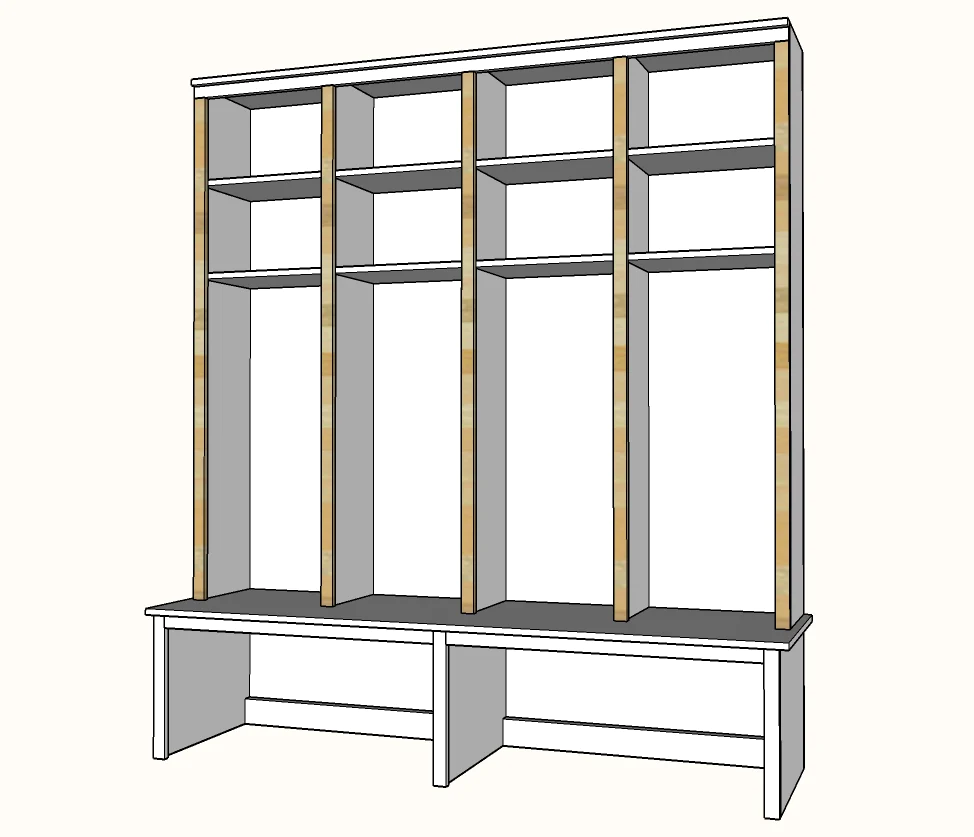
Depending on your project size, you may wish to build in sections, and then place on the bench for final assembly. Note that there is still bay supports to add, so don't finalize placement yet.
Step 2
Adding Bay Supports
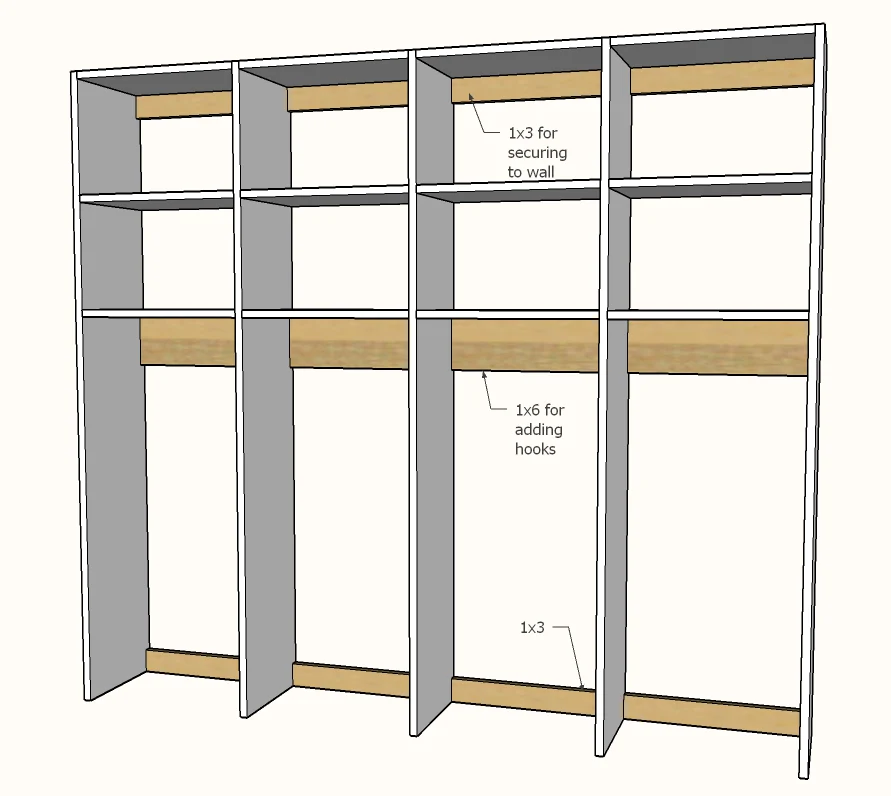
Inside the lockers, you'll need to add "bay supports" to keep the lockers square, and also to give you somewhere to install hooks. The bay supports are cut to the same length as the shelves in the bay. Attach with pocket holes on the back side.
Once the bay supports are in, install the entire hutch on top of the bench and attach to the wall behind into studs, through the bay supports. I used 2-1/2" self tapping wood screws. You don't want this project tipping forward.
Step 3
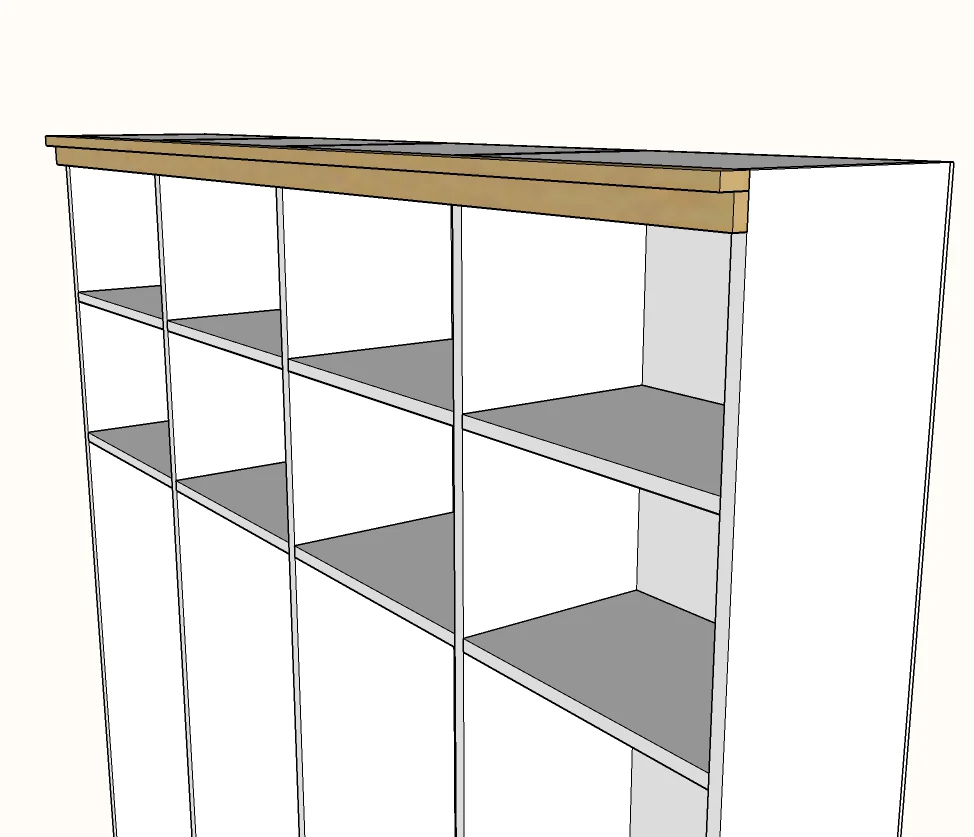
Top Trim
Trim will make the project look finished and beautiful. It also serves as a "frame" to create margins around gear, helping make the finished mudroom appear less cluttered.
For top trim, I used 1x2s. You can buy 1x boards in long lengths.
Measure and cut with miter saw. Attach with glue and 1-1/4" brad nails.
Then I sanded the entire mudroom cabinetry with 120 grit sandpaper, sanding in the direction of the wood grain.
Then I removed all sanding residue with a vacuum with a soft bristled brush. I also wiped down with a lint free cloth to remove all remaining sanding residue.
I taped the outside of the project for paint.
I applied two coats, using a brush and roll method, with a cabinet roller.


