Community Brag Posts
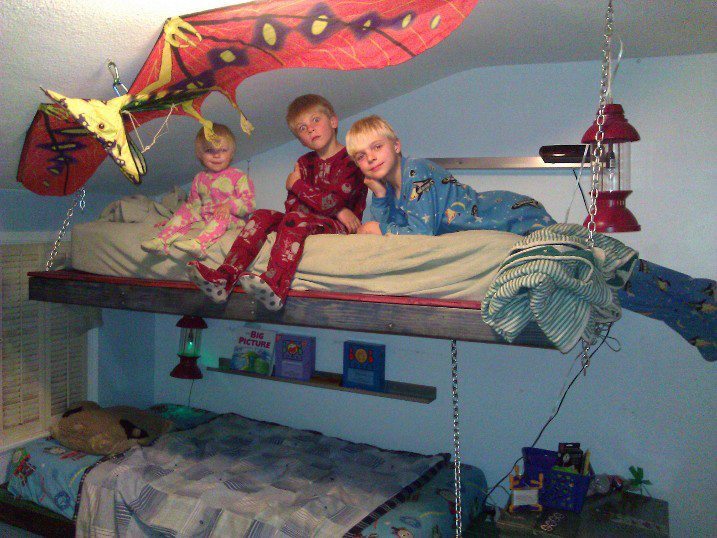
Boys Bunkbed Makeover
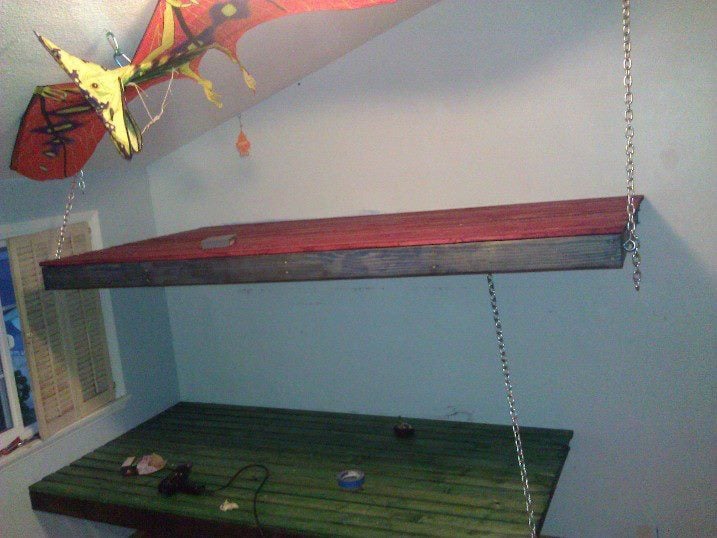
My hubby and I took the weekend to remove the loft and twin bed that was squeezed underneath it to give our boys more space in and around their beds. Thanks for the idea Ana, we like wood, but we also like color so the beds where stained two colors one for the frame and one for the slats. The boys chose red and blue, and green and black. We decided to hang the beds with chain from a stud in the ceiling. They were so exicited to sleep in their new beds that i believe bedtime will be much easier! Thanks Ana
Built from Plan(s)
Estimated Cost
$100
Estimated Time Investment
Weekend Project (10-20 Hours)
Finish Used
2 X 4 pine
1 X 3 pine furlings
Stained with color tinted Minwax stain and clear polyeurathane sealer.
1 X 3 pine furlings
Stained with color tinted Minwax stain and clear polyeurathane sealer.
Recommended Skill Level
Beginner
Corner Cabinet
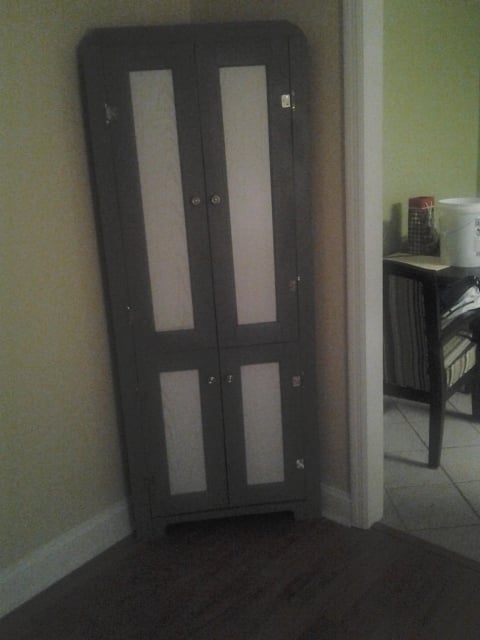
This was such a fun project. I had been shopping for a corner cabinet for months before I decided I either couldn't afford what I liked and didn't like what I could afford. So I built it! I added the top doors... I didn't need one more thing to dust.
Estimated Time Investment
Weekend Project (10-20 Hours)
Recommended Skill Level
Beginner
LOVE these....
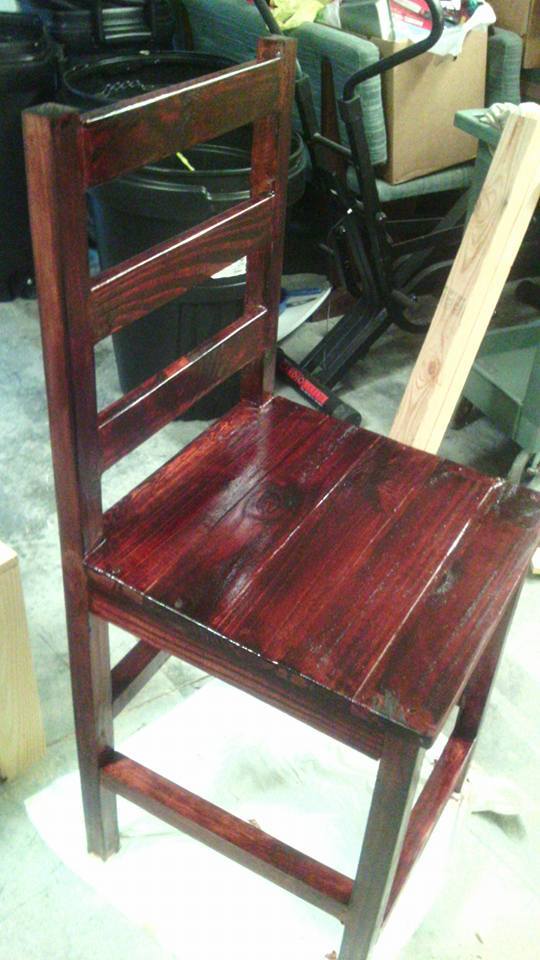
My mom moved into an apartment and had a bar that needed some bar stools so I made two of these bar stools that she loves.
Built from Plan(s)
Estimated Time Investment
Afternoon Project (3-6 Hours)
Recommended Skill Level
Beginner
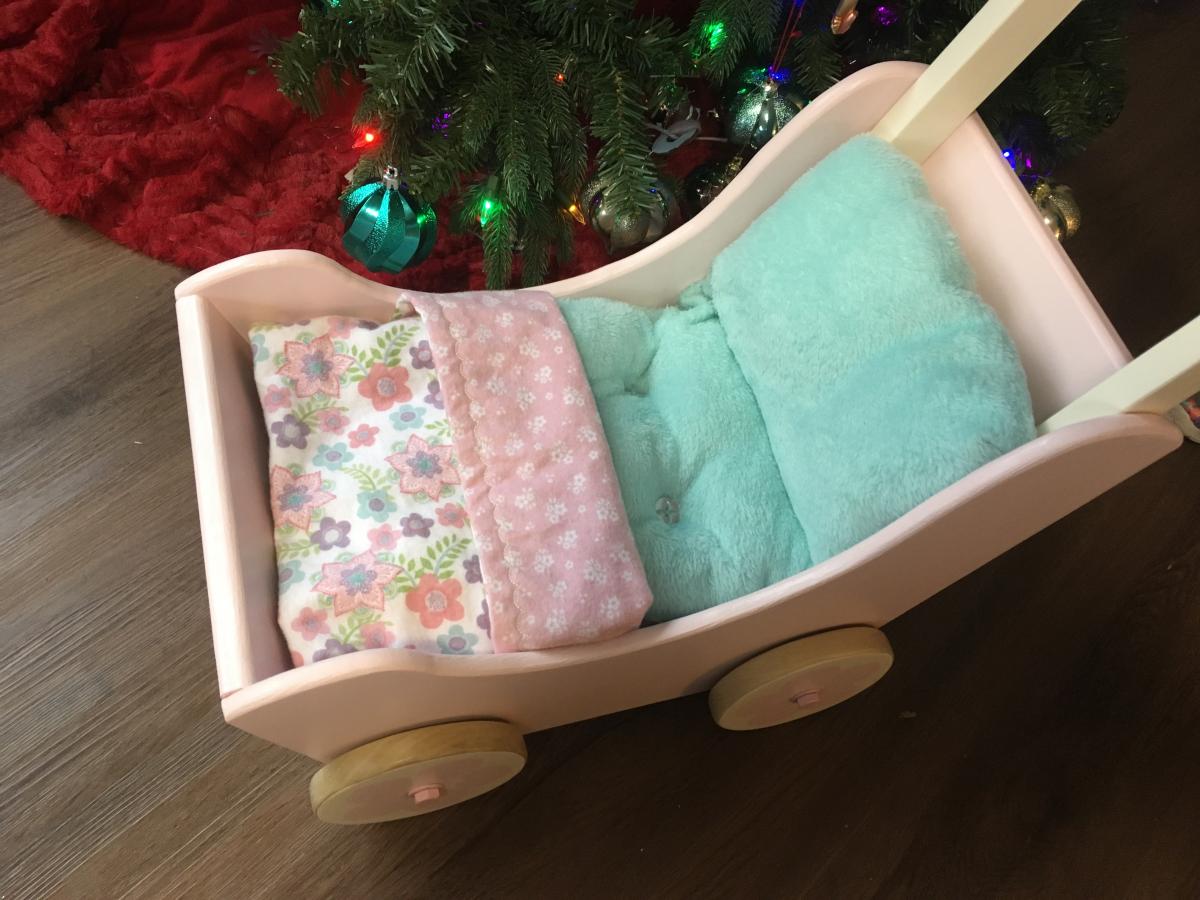
Doll Stroller
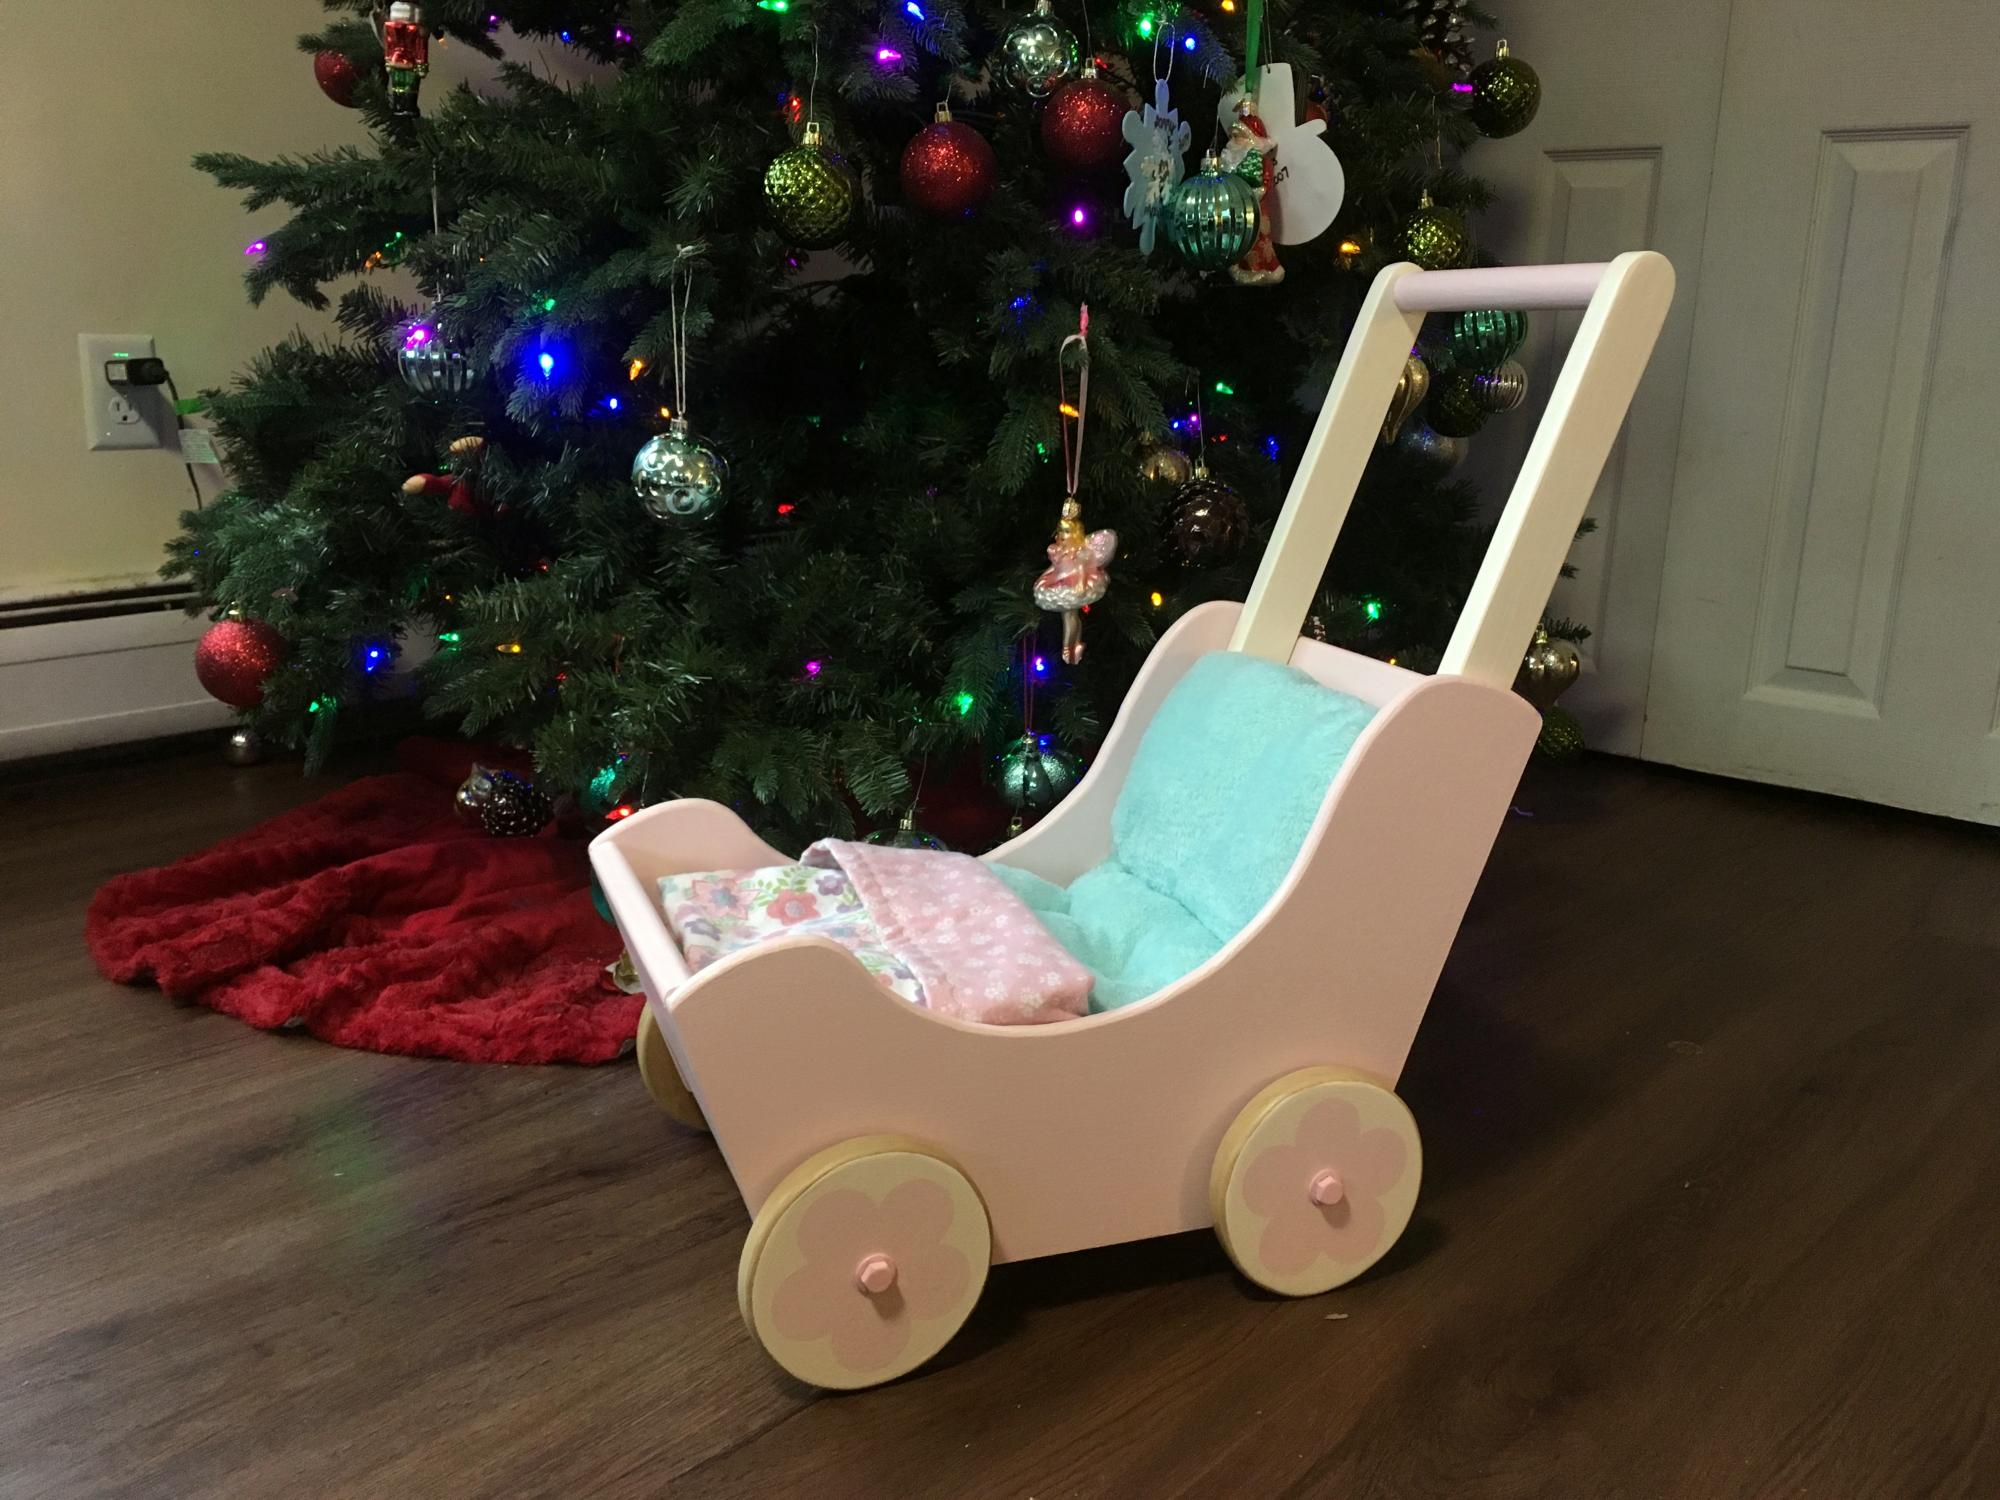
I made this stroller to donate to a charity fundraiser. I'm very pleased with how it turned out! I routered the edges with a small round over bit, which I think makes it a bit safer for little ones. I attached the 1x2's of the handle 3" above the stroller bottom, which gives it a height similar to other doll strollers. I also decide to change the way the wheels were attached. In the picture, the wheels are attached as the plan shows. I decided I would use (2) 3/8" metal rods as axles, washers for spacers, and an axle cap on each end. This works really well, and the axle caps look nicer than the painted bolts. Unfortunately, I donated the stroller without taking updated pictures!
Built from Plan(s)
Estimated Time Investment
Weekend Project (10-20 Hours)
Finish Used
Behr Ultra Ceylon Cream and Radient Rose
Valspar satin polyurethane - on the wheel backs and edges
Valspar satin polyurethane - on the wheel backs and edges
Recommended Skill Level
Intermediate
Seasonal And Holiday
2x4 Truss Bench
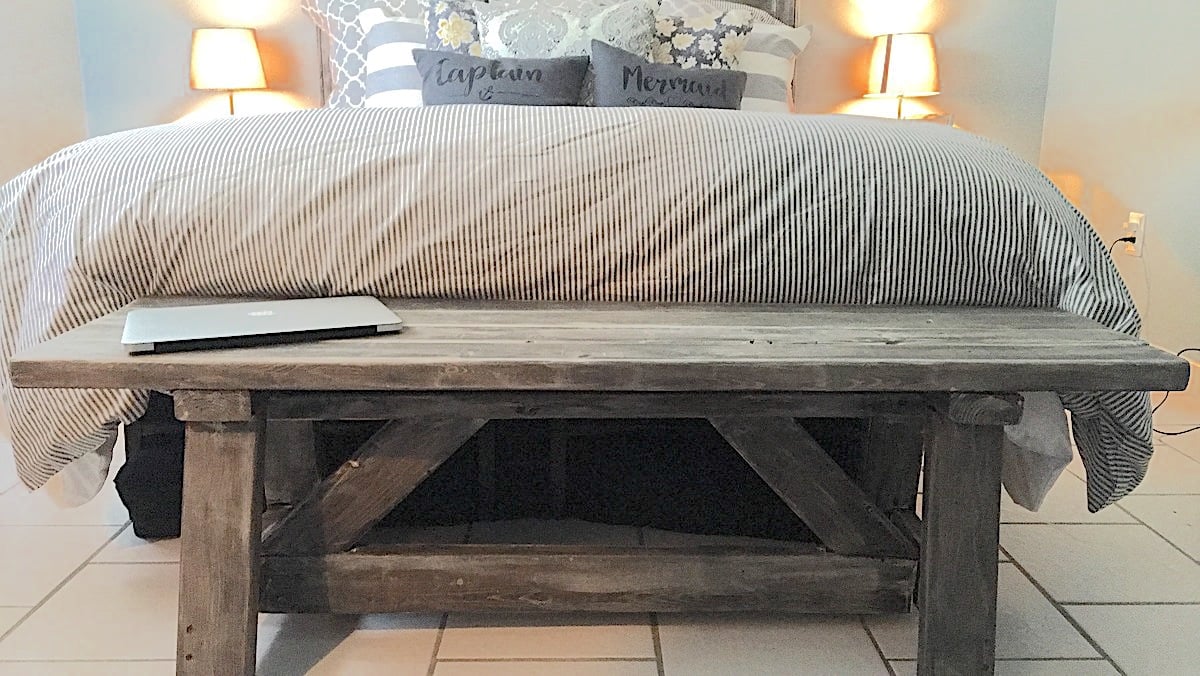
More Photos and details: https://www.ana-white.com/community-projects/reclaimed-wood-headboard-q…
Built from Plan(s)
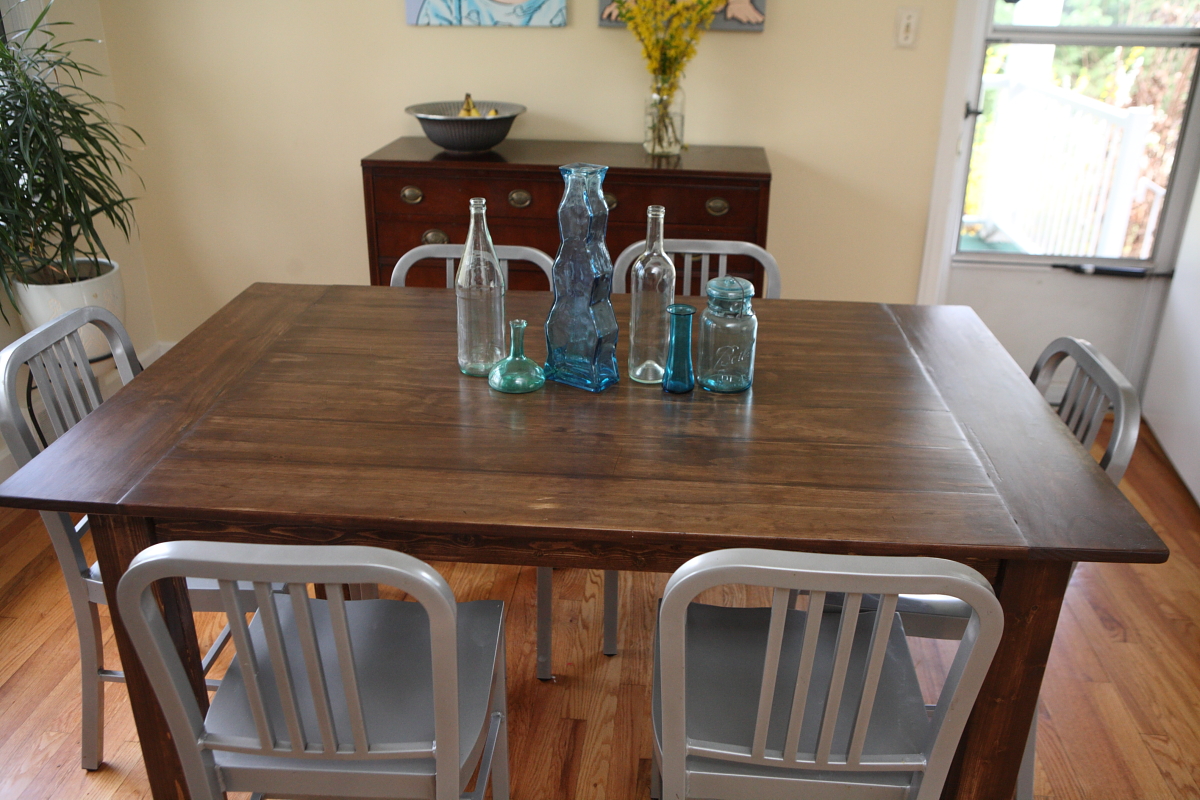
Farmhouse Dining Table
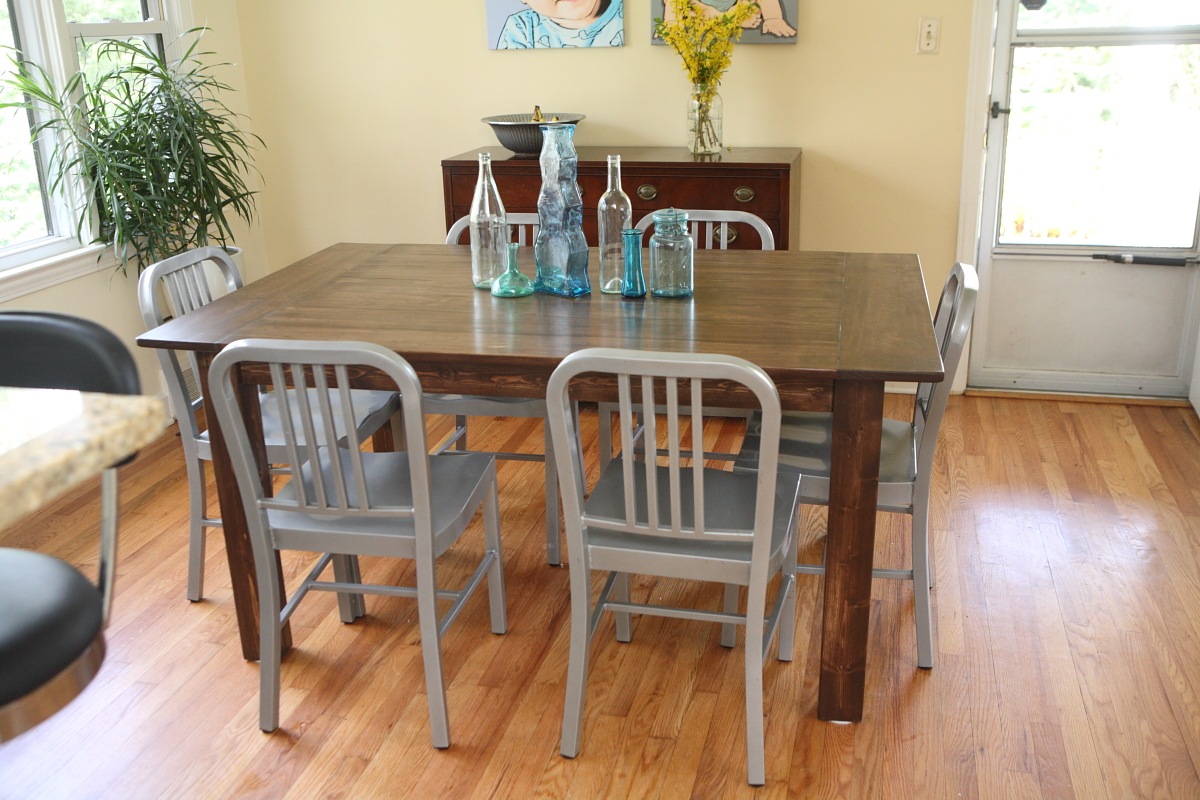
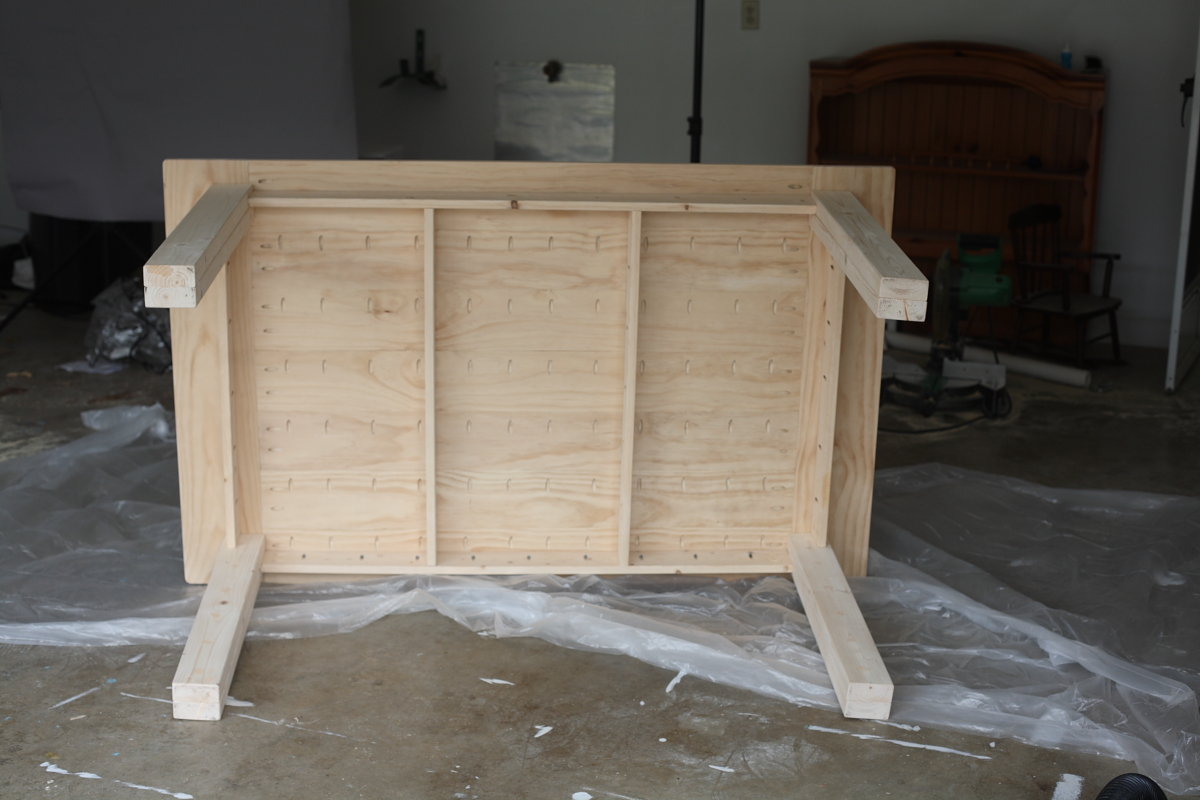
I used the basic construction of the turned leg coffee table, but used 2x4s screwed together for the legs, added a couple of supports, and made the dimensions larger (38.5" x 62" for a dining table that seats 6). I used pocket holes for all the joints and it came together pretty easily. (One day, though, I am going to build a project without drastically altering the plans. One day.)
Built from Plan(s)
Estimated Cost
~$180, including finishing
Estimated Time Investment
Weekend Project (10-20 Hours)
Finish Used
Minwax wood conditioner followed by two coats of Minwax stain in walnut, and then, because the stain looked splotchy, one coat of Minwax gel stain in hickory. The gel stain evened things out a bit and was great to work with. Then a few coats of wipe-on poly on all that.
Recommended Skill Level
Beginner
Comments
Sun, 07/22/2012 - 02:00
Where are those chairs
Where are those chairs from??
Ps. The room looks great.
Tue, 08/21/2012 - 05:29
Chairs
The chairs are from Overstock. Here's the link:
http://www.overstock.com/Home-Garden/Steel-Silvertone-Side-Chair-Set-of…
Thanks!
Closet tower from scraps!
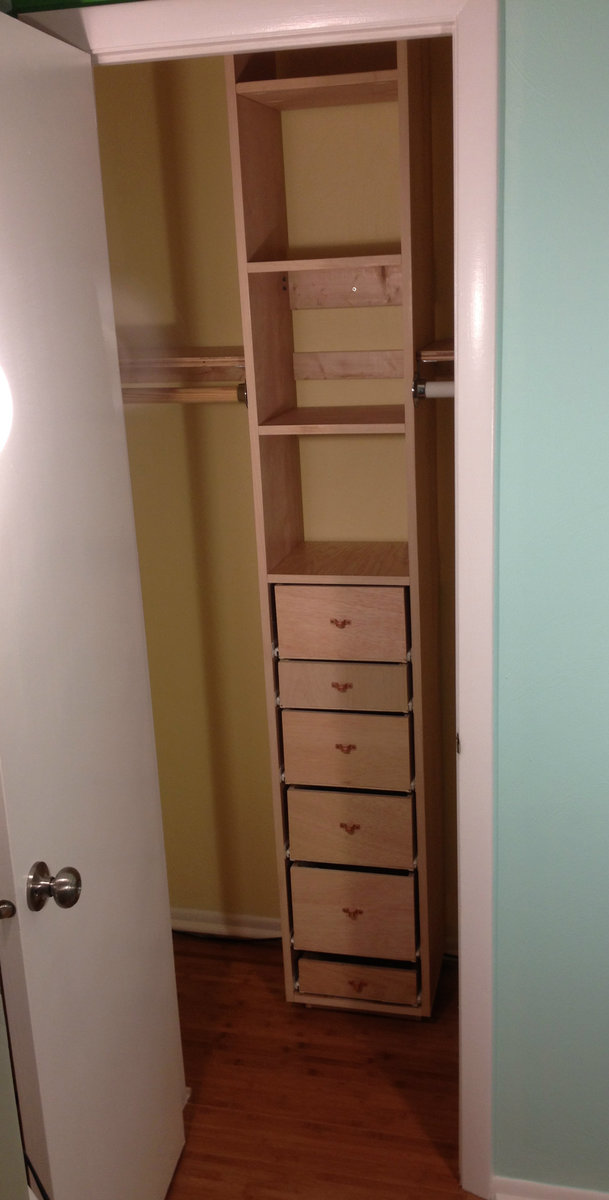
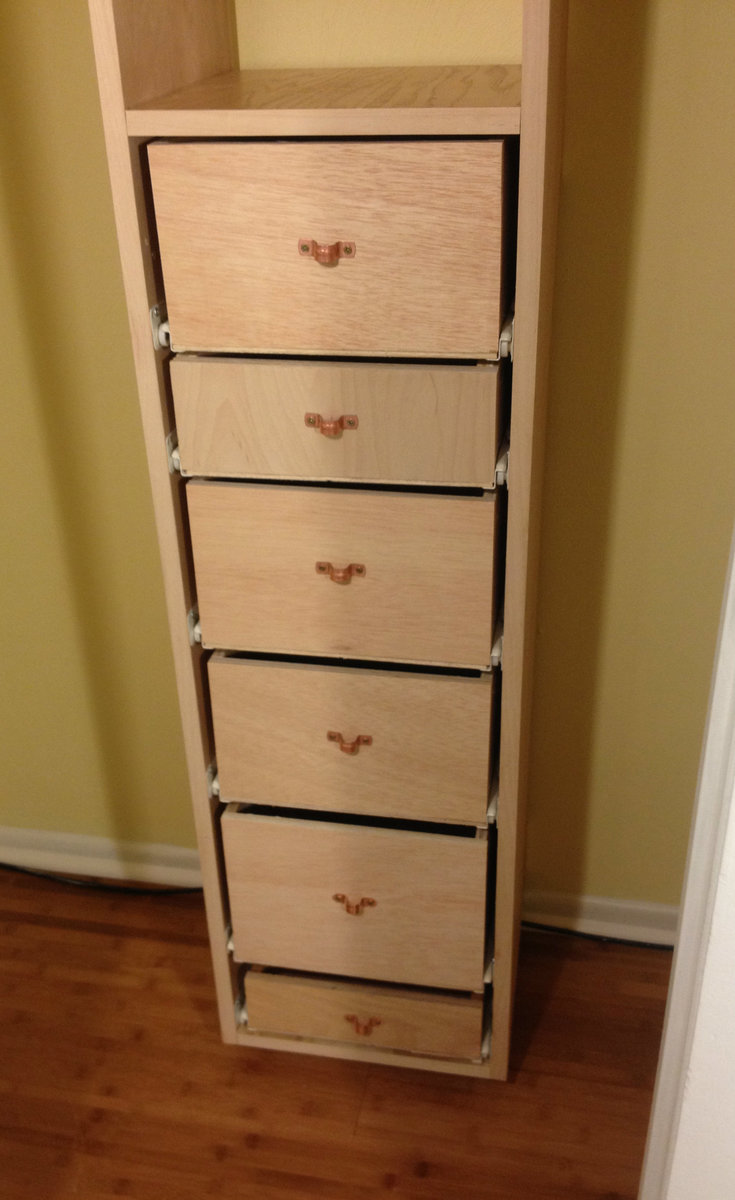
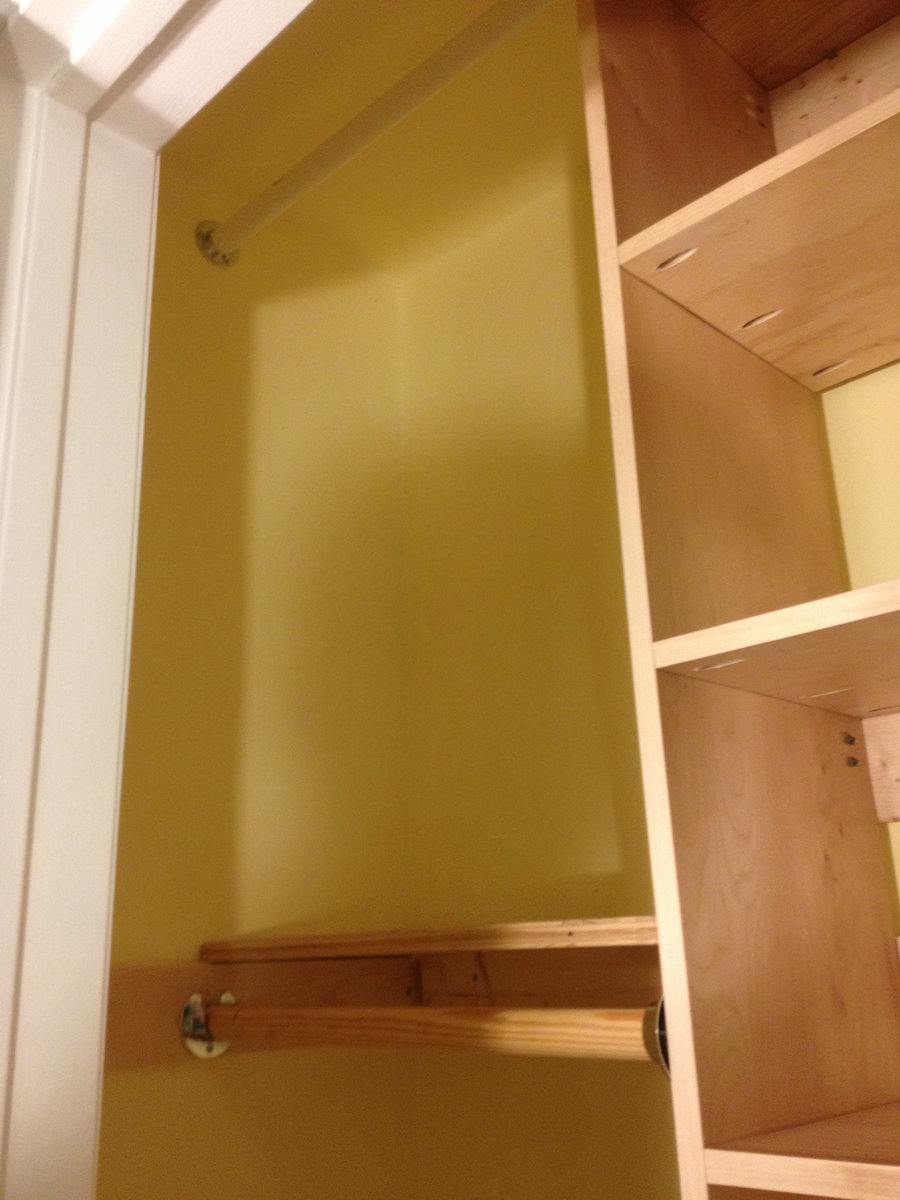
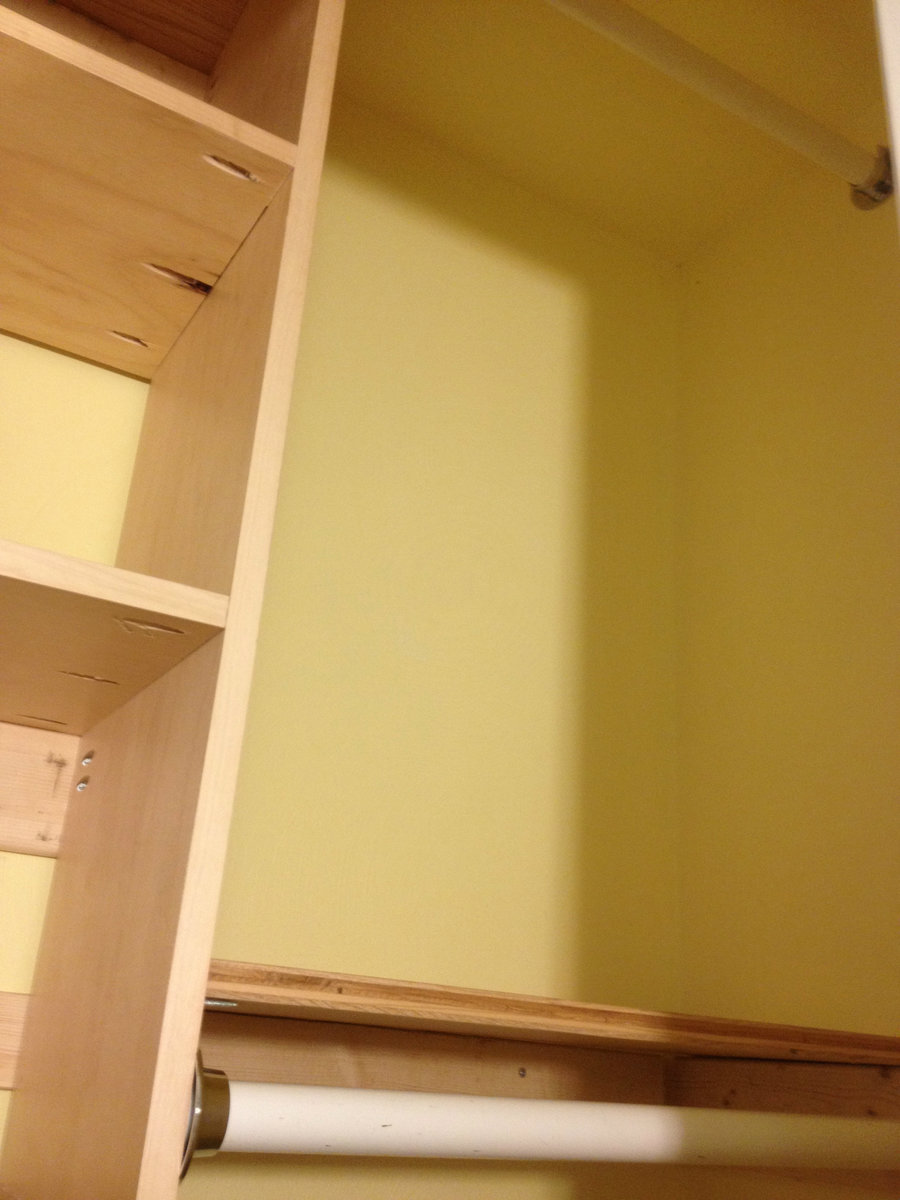
I needed some organization in my small closet, which originally only had one rod and one shelf. This is what resulted, and I made it from scraps from other projects, which is why the closet rods are mismatched...they'll be covered up with clothes hangers soon anyway. I had to buy the drawer slides and one more set of closet rod holders. I had some copper pipe straps and decided to use them as pulls on the drawers. I plan to make some crates out of cedar fence pickets to fit the shelves.
I just got the Kreg Micro Jig and used it on the drawers, which were made out of 1/2" plywood. I prefer to make drawers by using the table saw to create overlap rabbets and then use the nail gun to put them together, but it was 15 degrees outside today so I opted for the micro drill. It went pretty well...definitely caused less splitting in the 1/2" plywood than the regular kreg jig.
Built from Plan(s)
Estimated Cost
$40...I already had the plywood and closet rods
Estimated Time Investment
Weekend Project (10-20 Hours)
Finish Used
Polycrylic in Satin finish
Recommended Skill Level
Intermediate
Comments
Fri, 08/22/2014 - 21:34
I just wanted to give you
I just wanted to give you props on your organizer! It's so cool! I love the drawers and are those casters on the bottom? I looked at yours before I did mine and your comments helped!Thanks for posting this!

Wed, 08/27/2014 - 16:43
Love your closet tower!
I love projects made from scraps - yours is awesome! You did a great job on all those drawers, and the idea to use the copper pipe straps as drawer pulls is so creative!
Pokemon Center

My son is obsessed with Pokemon, and has amassed quite the collection of Pokemon plush toys. I wanted a simple way to keep them contained but accessible, and this was the perfect solution! I changed a few things in my build to make it shorter and square, and used shock cord instead of rope for more give. My son loves it!
Built from Plan(s)
Estimated Time Investment
Afternoon Project (3-6 Hours)
Recommended Skill Level
Starter Project
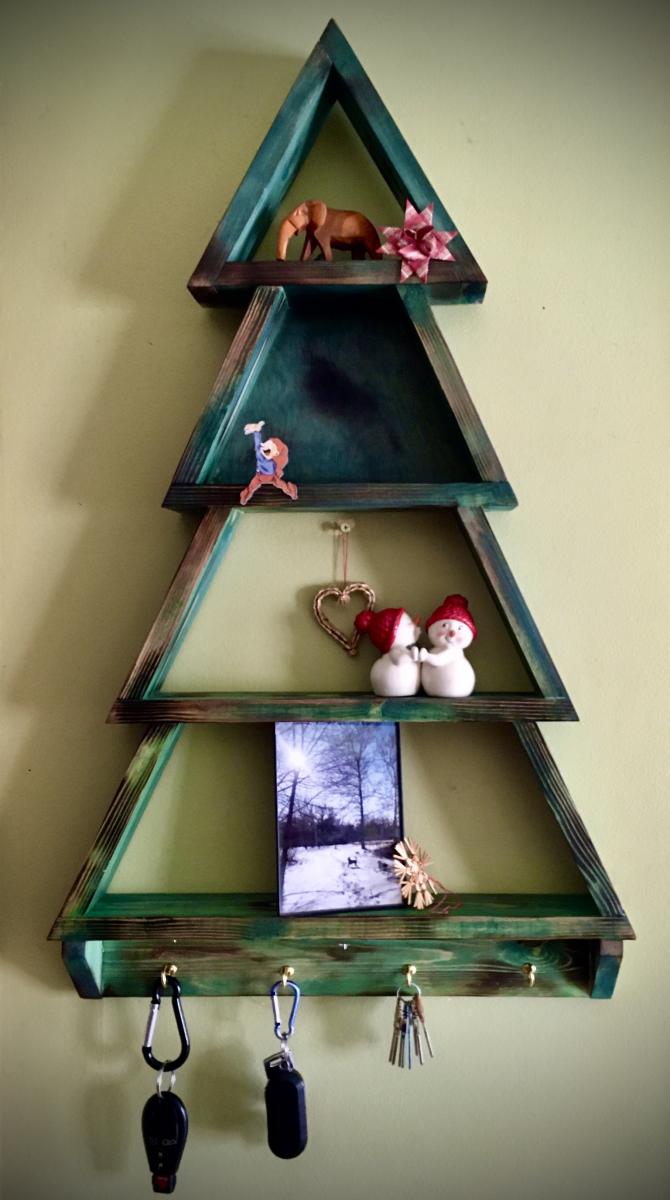
Christmas tree
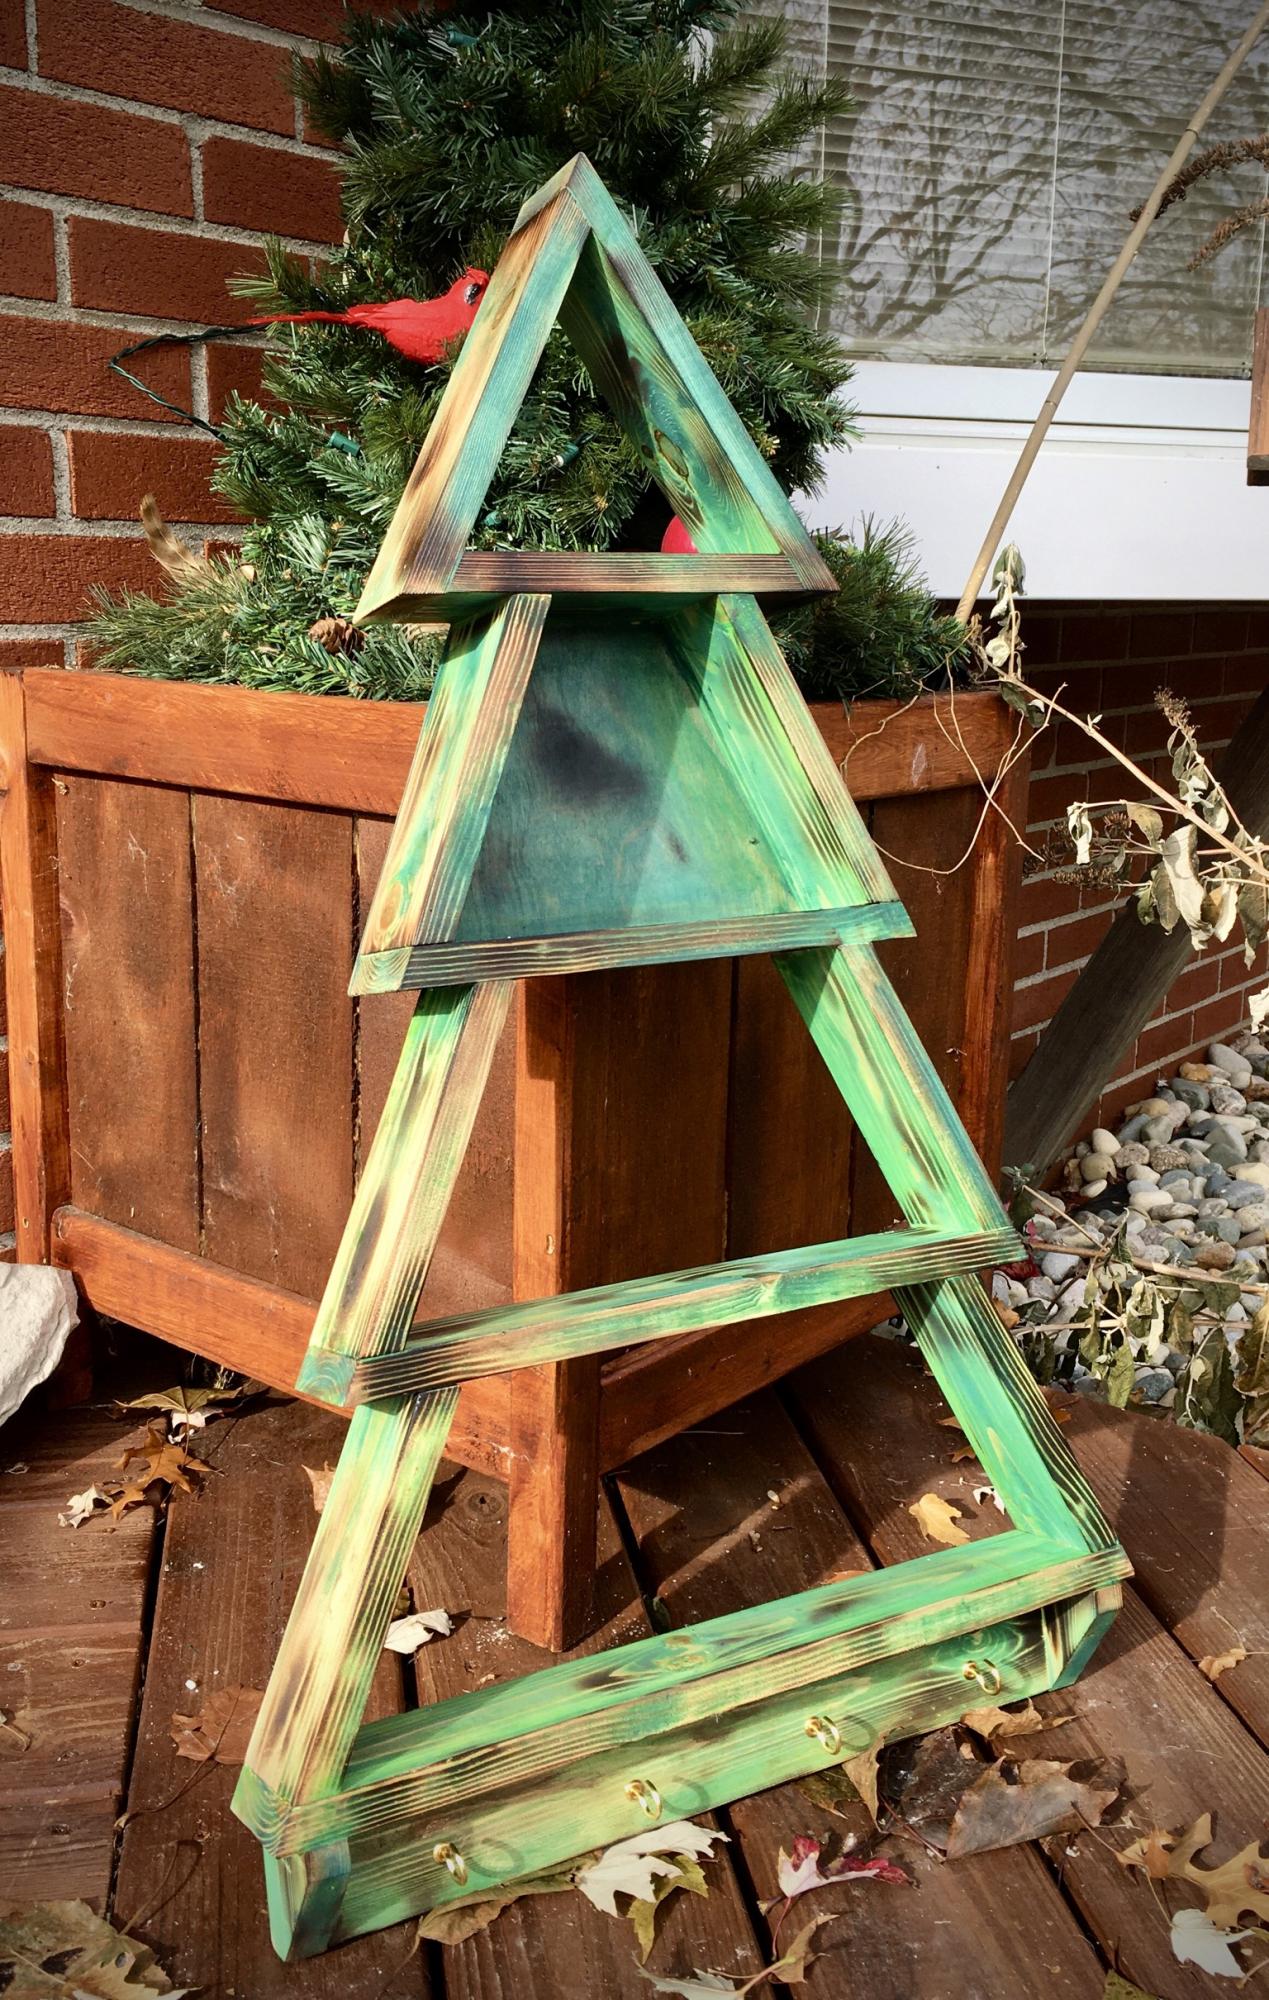
Modified the plans slightly to make each shelf taller. Stained and used a heat torch for the burnished effect. I like it!
Built from Plan(s)
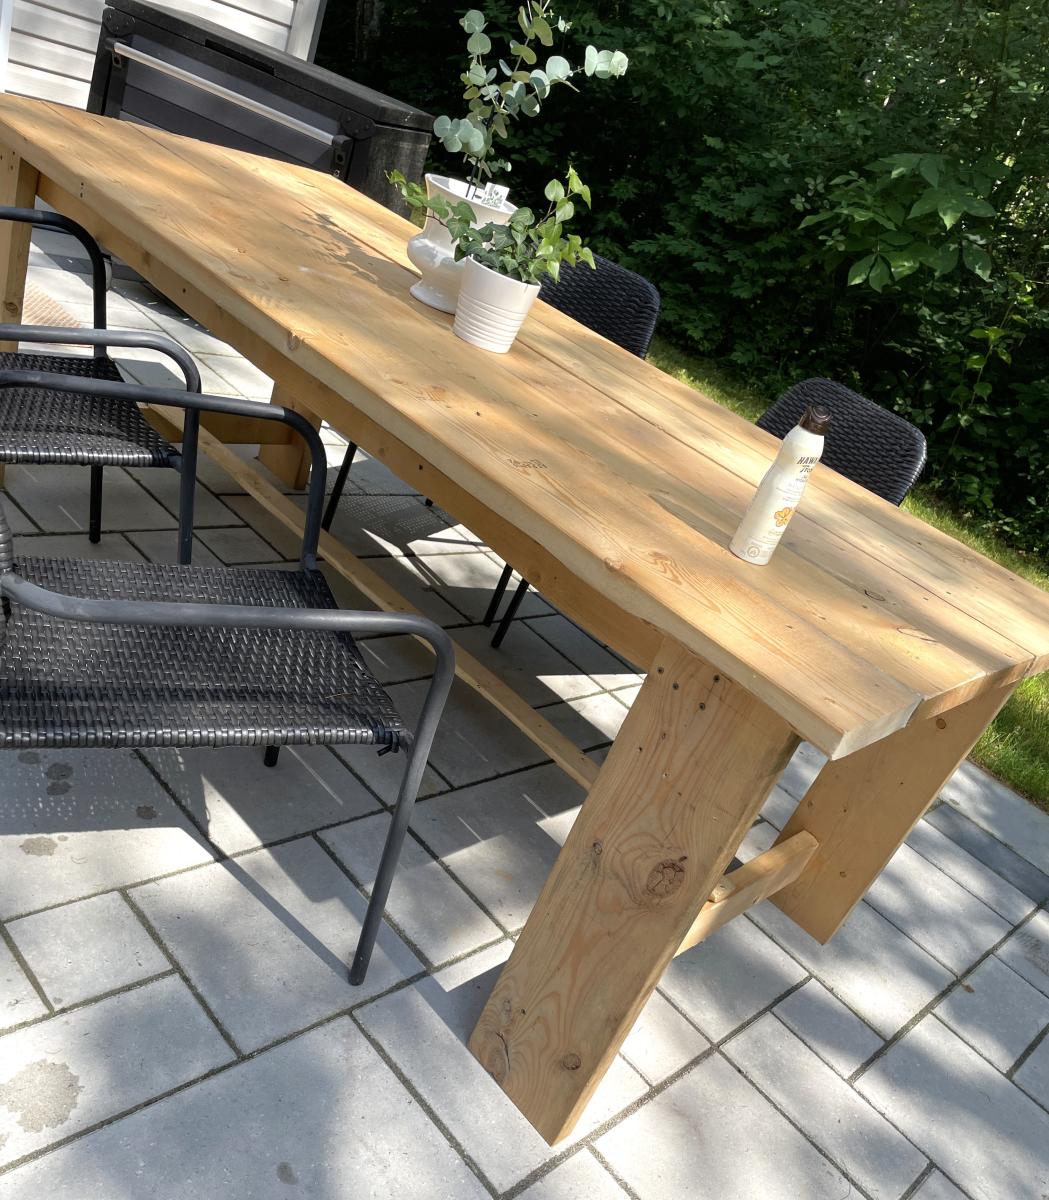
Outdoor Farmhouse Table with Chunky Legs

I decided to build a table and followed your plans (loosely). You inspired me and now love my outdoor harvest table.
Amanda www.nurtureyourbeauty.ca :)

Built from Plan(s)
Round Farmhouse table
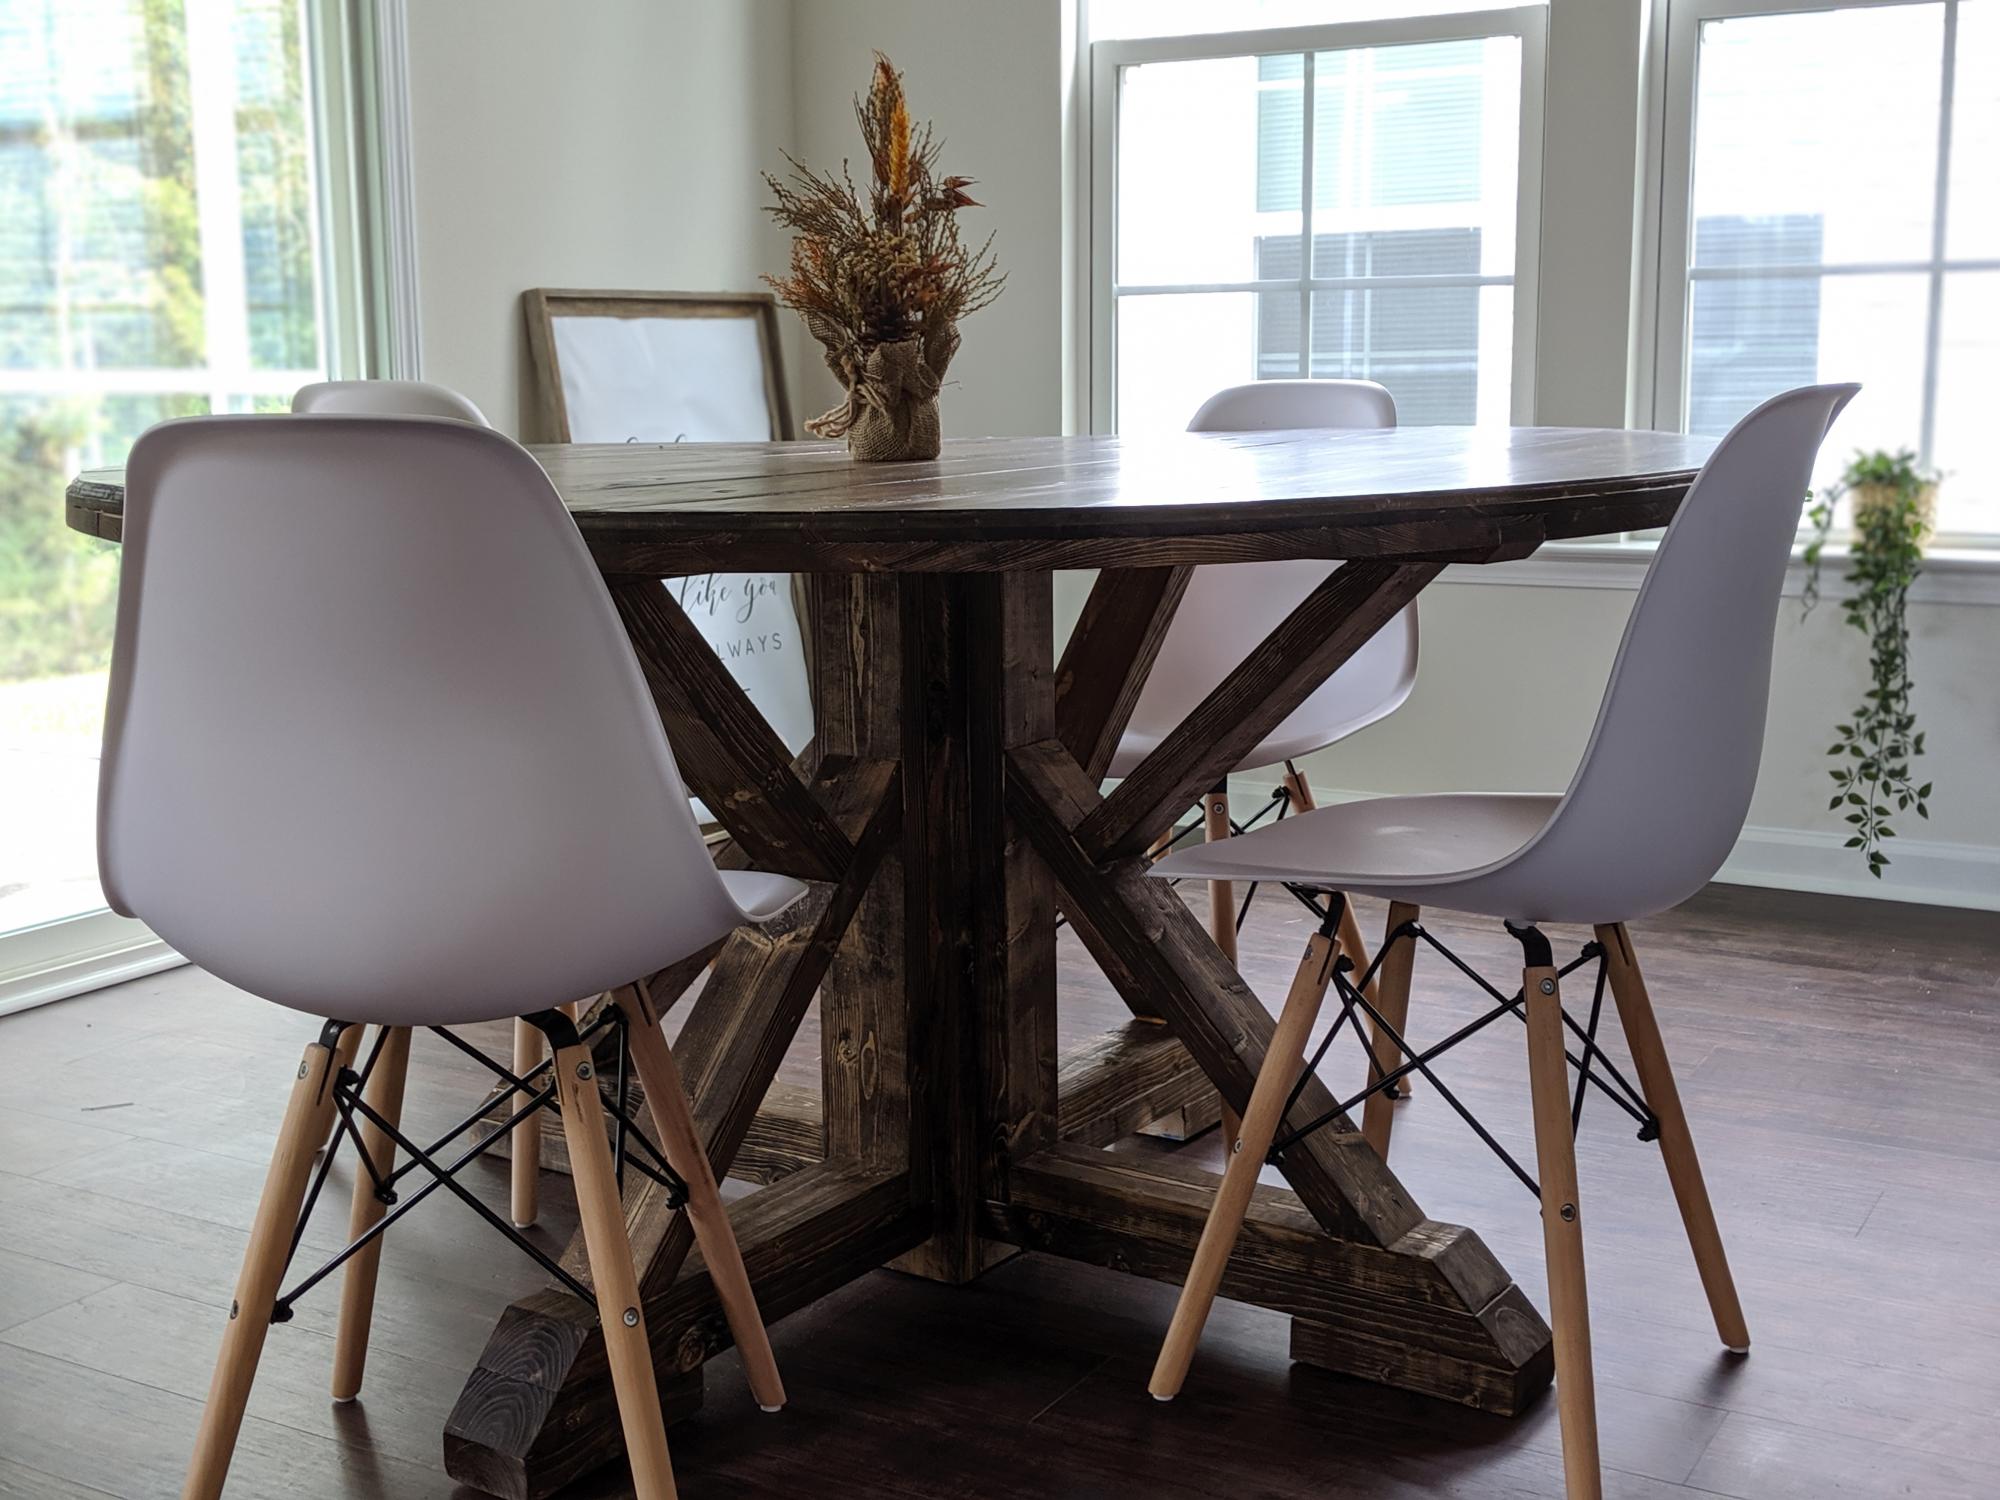
I took on a little bit more than I could chew with this one, but after a little R&I(Resourcefulness, and Ingenuity) I was able to figure it out. I love how it turned out though! Thanks for the inspiration!
Built from Plan(s)
Estimated Cost
$120
Estimated Time Investment
Weekend Project (10-20 Hours)
Finish Used
Dark Walnut with Matte poly top coat
Recommended Skill Level
Intermediate
Comments
Potting Bench with Granite Top
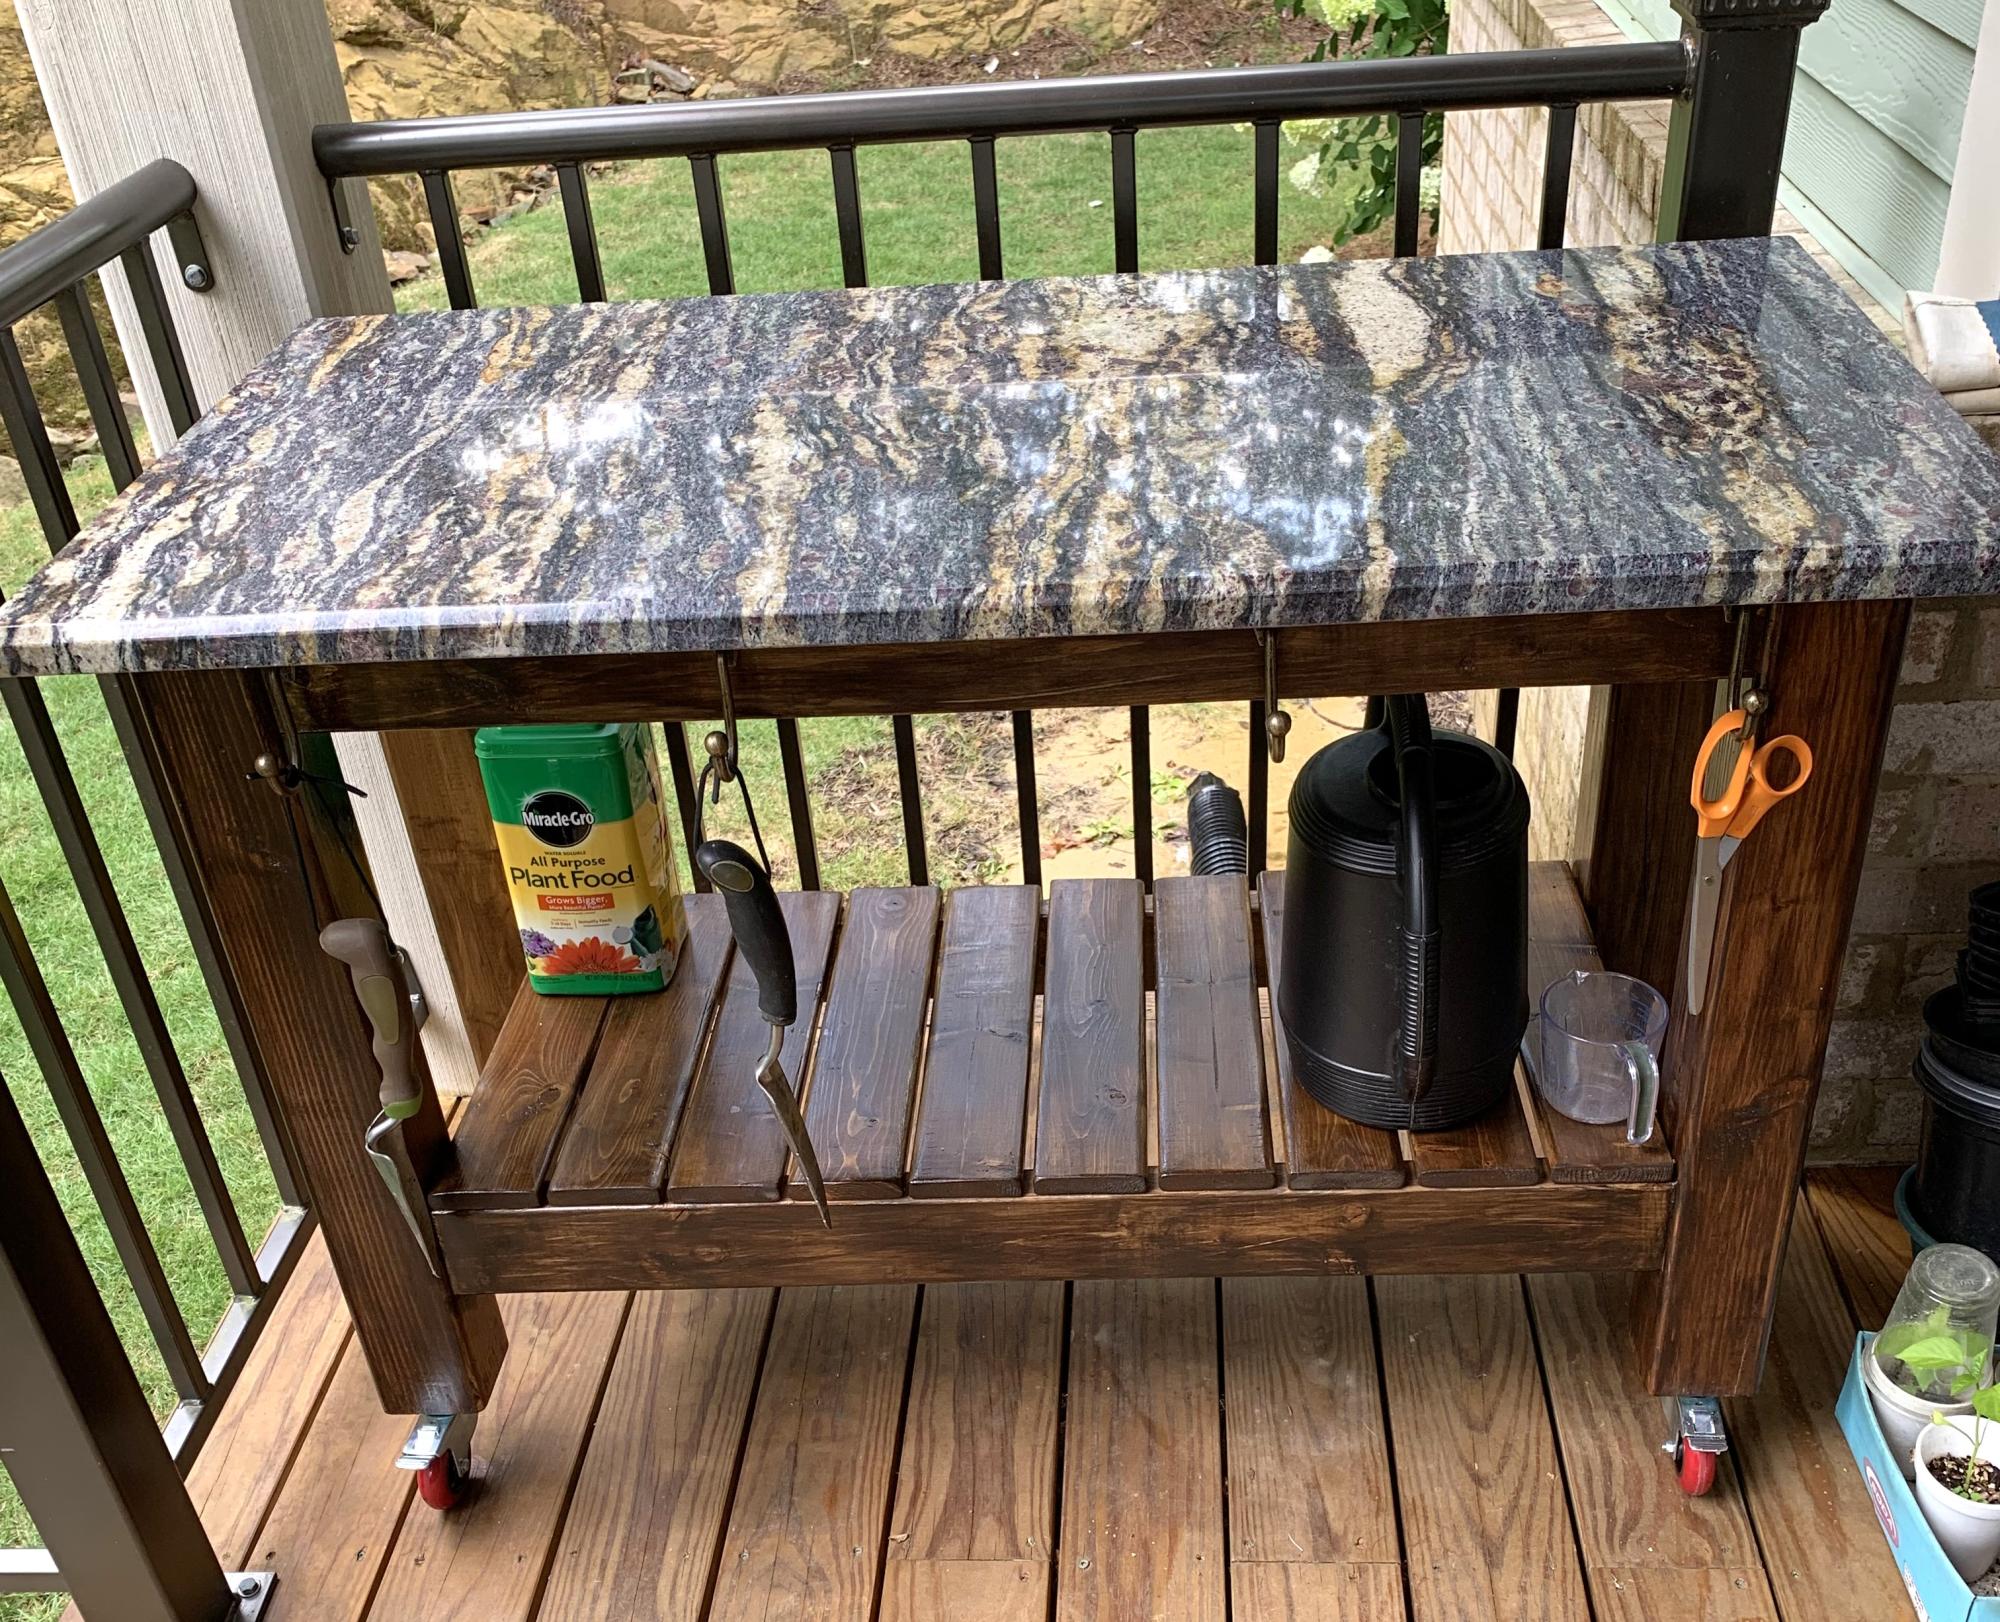
Your potting table selection inspired me. Used pocket holes to join and found a remnant granite piece for the top. My wife used it immediately and it also serves as an extra serving table when needed.
Brad L. - Alabama
Built from Plan(s)
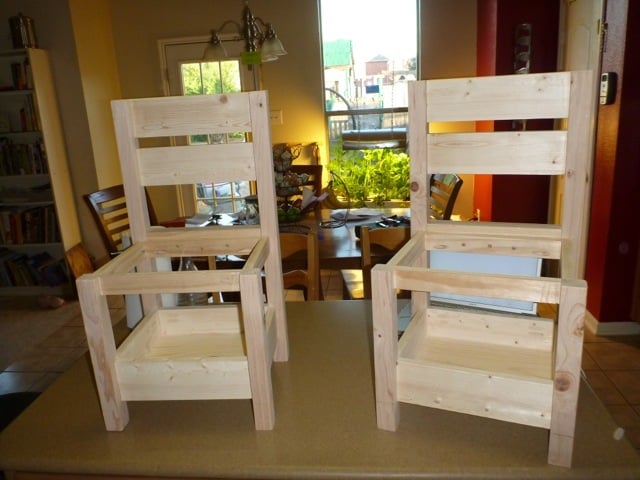
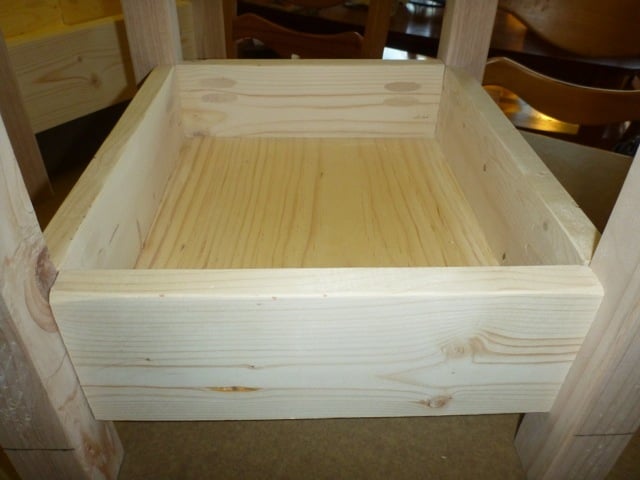
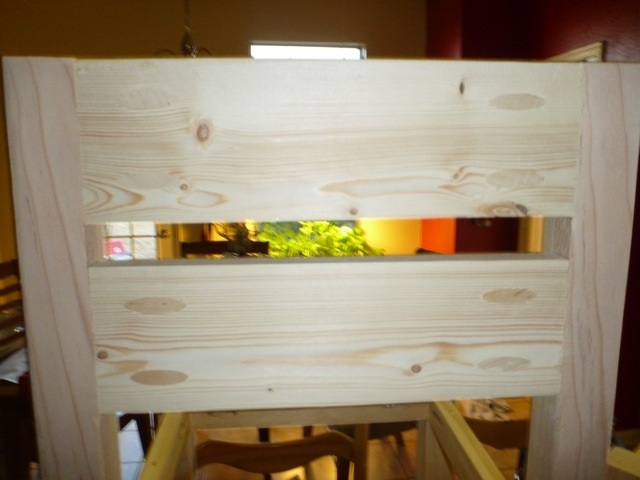
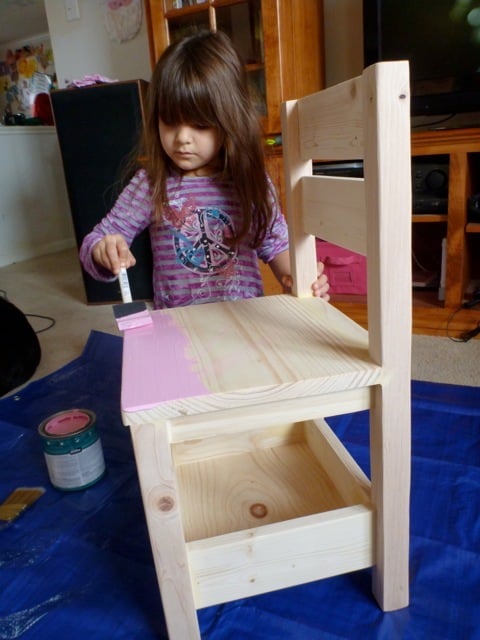
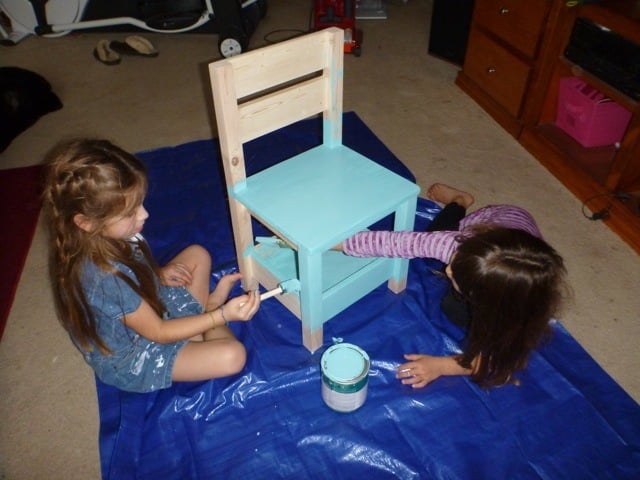
The girls storage chairs
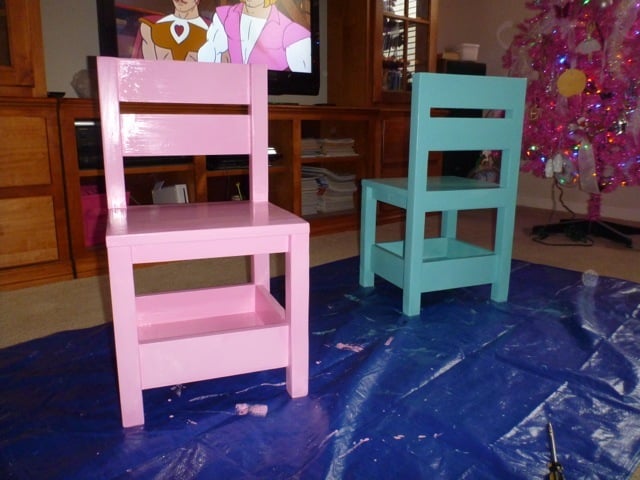
We have not added the final details but the chairs are already getting regular use. They are very sturdy so the girls use them for climbing as much as they do for sitting. I was a little worried that my chairs would not sit correctly but following Ana's "trick" for leveling them out worked like a charm. Now we just have to find the time to make two more so the girls will have room to accommodate friends when they visit... but there is that long list of other projects on my "to do" list... Thanks Ana! we are growing more confident every day! ;-)
Estimated Cost
30ish
Estimated Time Investment
Weekend Project (10-20 Hours)
Finish Used
No Voc semi gloss for easy cleaning...
Recommended Skill Level
Intermediate
Comments
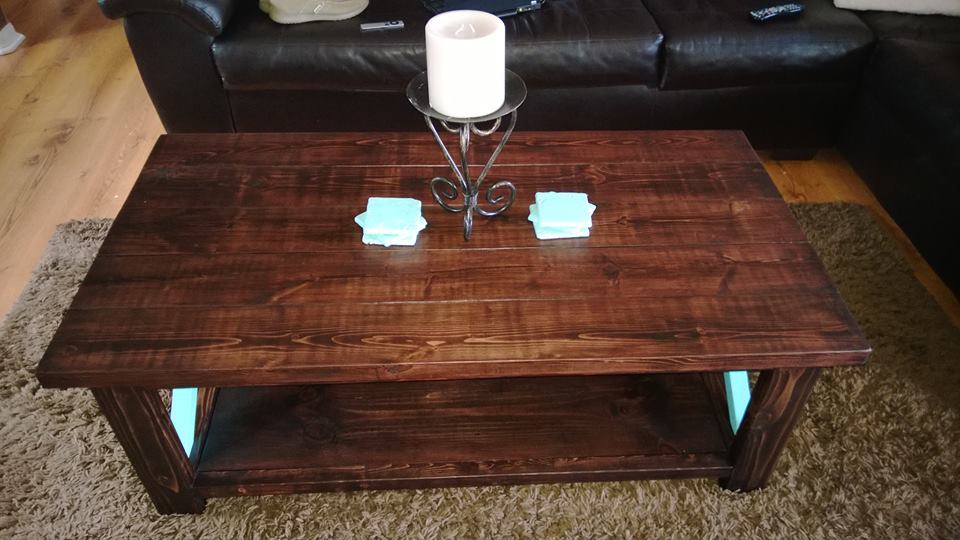
Rustic X with turqoise x's

Put together this rustic x table in about a week of spare time. I finished using Ana's espresso finish tutorial with the red elm gel stain but it was too red after three coats. I bought some regular black stain and put two coats of that on the project and it turned out great.
My wife wanted to incorporate some turquoise into the project. I did not. :-)
We compromised with the turquoise x's. I think the colors go well together.
I spent about $50 on wood and $40 on new stain, spray poly and paint. But that stain and paint will last the next 3-4 projects. So I'd say the total cost for this actual project was around $70.
This was my first ever project I put together. Now I have a list of about 8 things I'll be building in the next few months.
Built from Plan(s)
Estimated Cost
$70
Estimated Time Investment
Day Project (6-9 Hours)
Finish Used
Minwax Red Elm Gel Stain, Minwax Black Stain, Turquoise Glidden Indoor Satin Paint, Minwax Spray Polyurethane (Satin)
Recommended Skill Level
Beginner
Comments
Tue, 02/18/2014 - 15:10
Balance beam
Great looking balance beam! My daughter wants one so bad haha. Oh, and the table is gorgeous too...haha
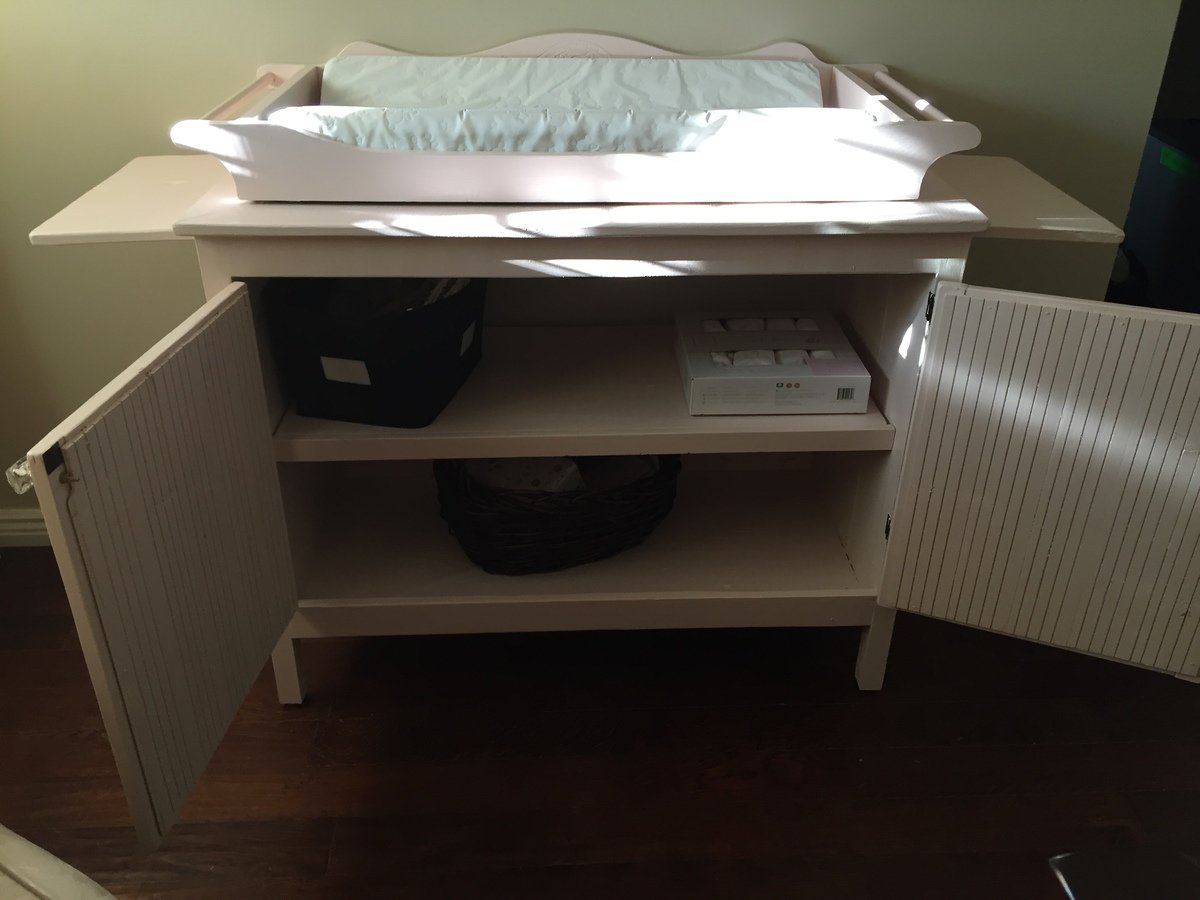
Changing table for upcoming first baby girl
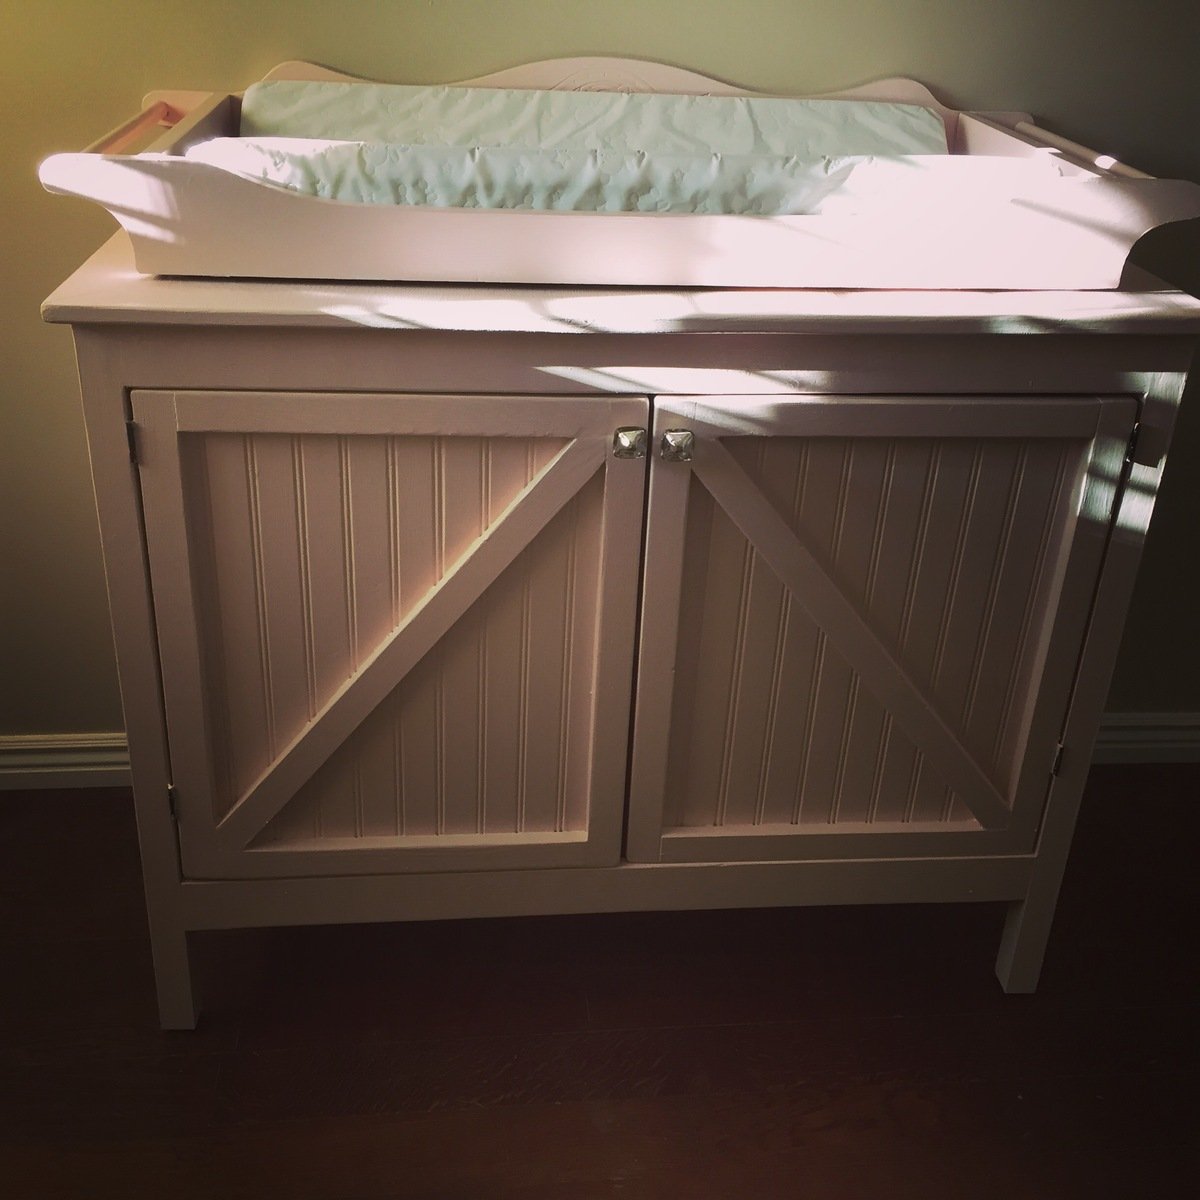
After finally getting the hang of 2 boys we just found out a baby girl is coming our way... So I decided to take the brookstone plan and make her a changing table a little less masculine. I went with the pull outs in the sides as well. Followed pretty much the way the plans layed out, replacing the drawer with a shelf. Had some issues with the doors with it being my first time making those, all in all I am pretty excited for her to have it
Built from Plan(s)
Estimated Cost
About $100
Estimated Time Investment
Weekend Project (10-20 Hours)
Finish Used
High gloss enamel paint, with poly acrylic topcoat
Recommended Skill Level
Intermediate
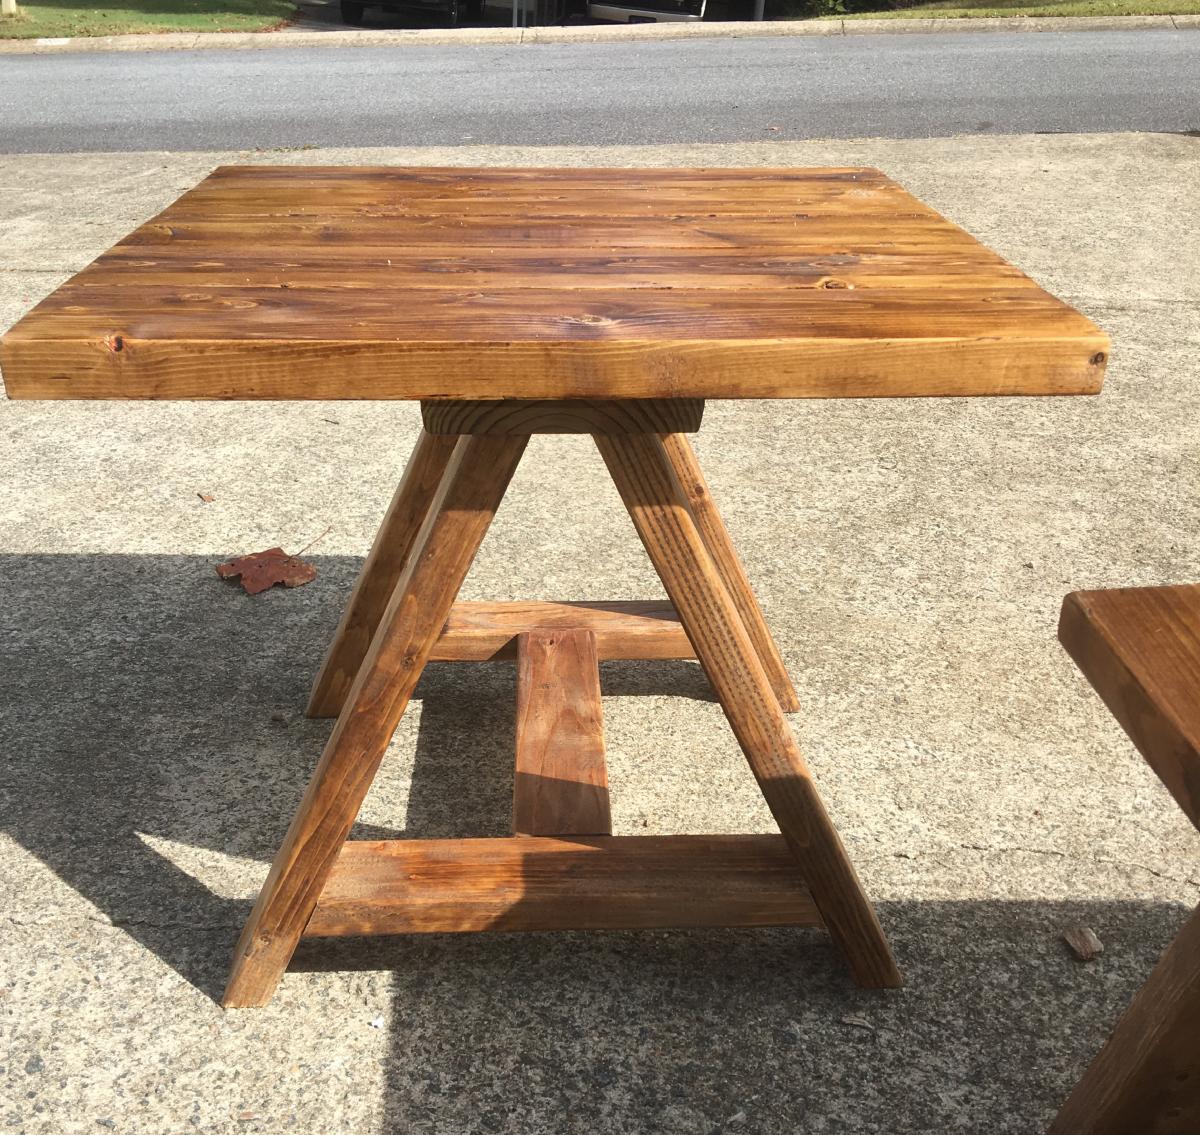
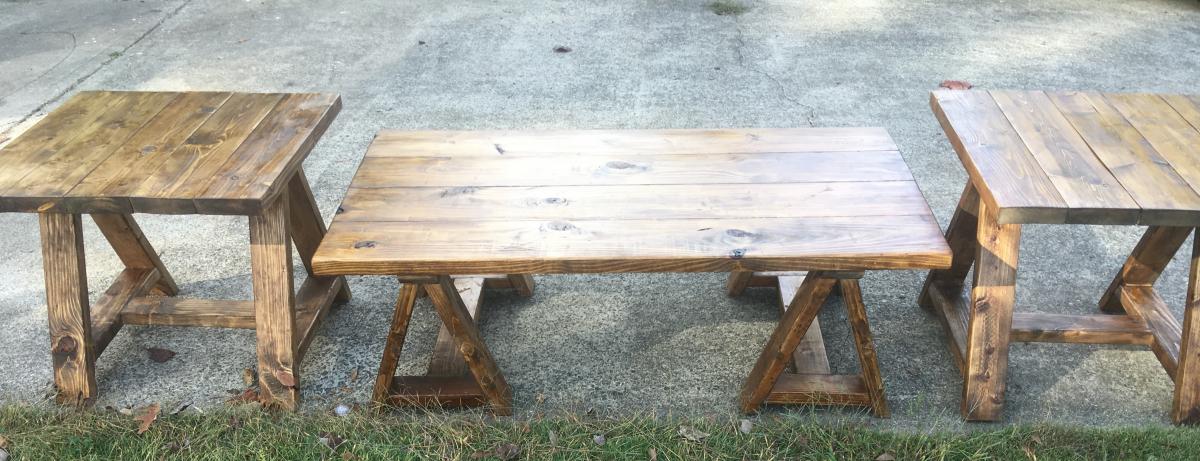
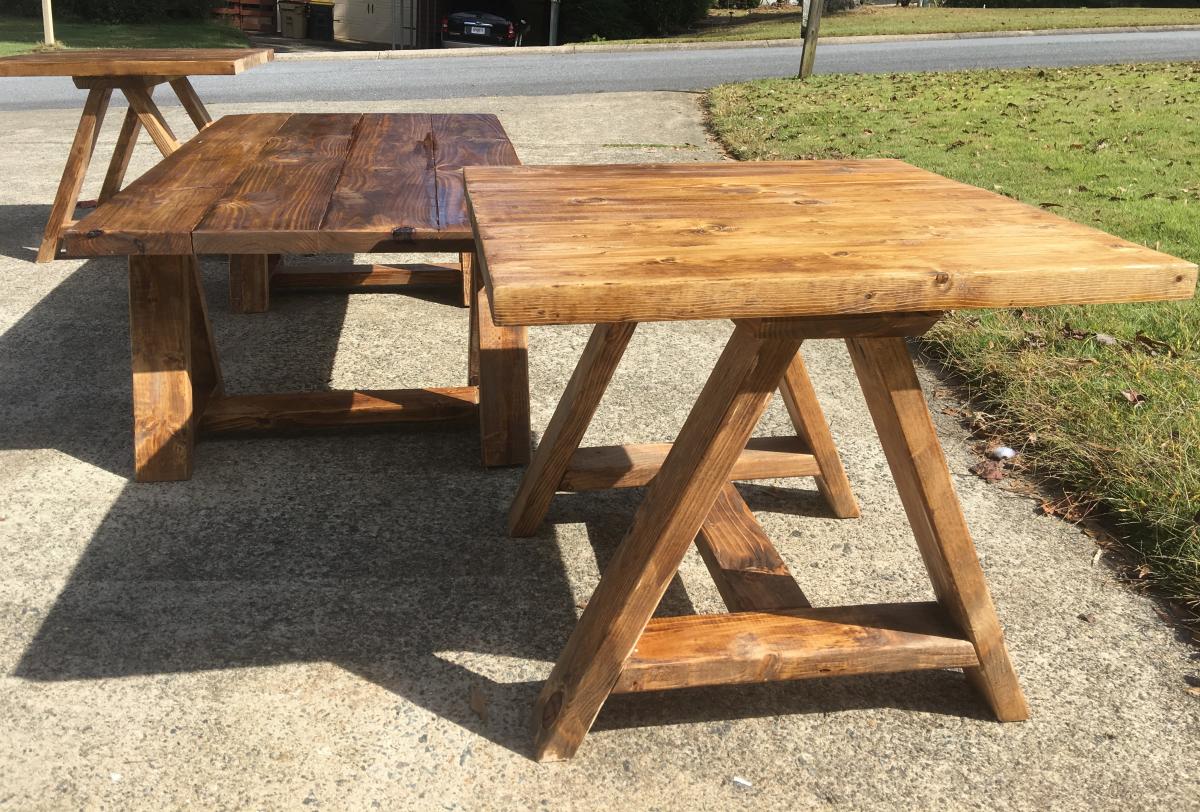
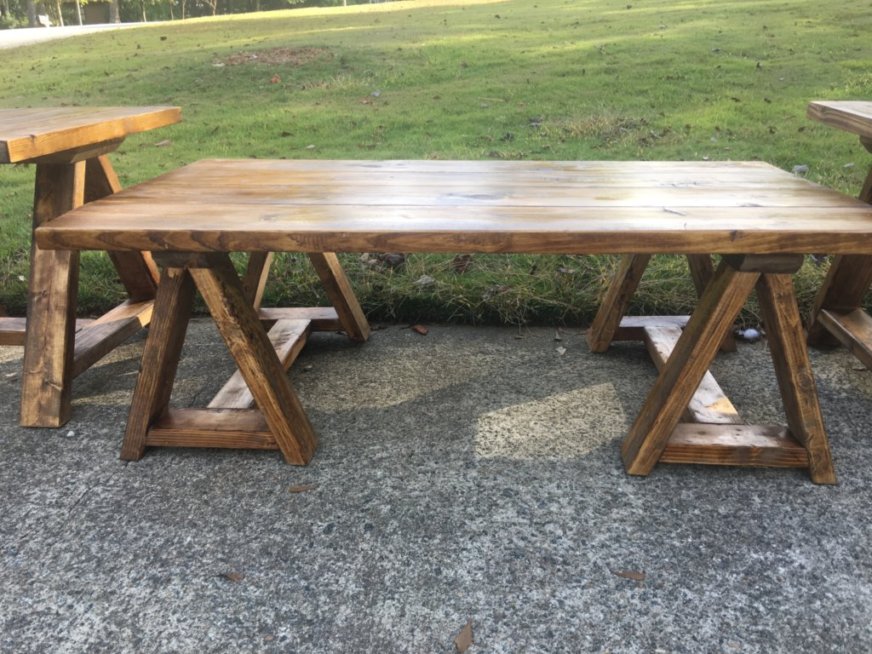
Sawhorse Coffee & Side Tables

I made this as a gift for my friends son. They are expecting a new baby so I made sure every inch was sanded, and sanded and sanded. This was a fun different build. The slightly angled table legs need extra attention in order to guarantee level.
Built from Plan(s)
Estimated Cost
Around $100 for all 3 pieces
Estimated Time Investment
Weekend Project (10-20 Hours)
Finish Used
Watco Medium Walnut however it did not cover as well as I would have liked on this particular wood. sand really well before staining. I used 240 grit sandpaper and vacuum wood between applications. I ended up mixing the stain with small amount of Mix Wax Medium Stain to get better coverage.
Recommended Skill Level
Beginner
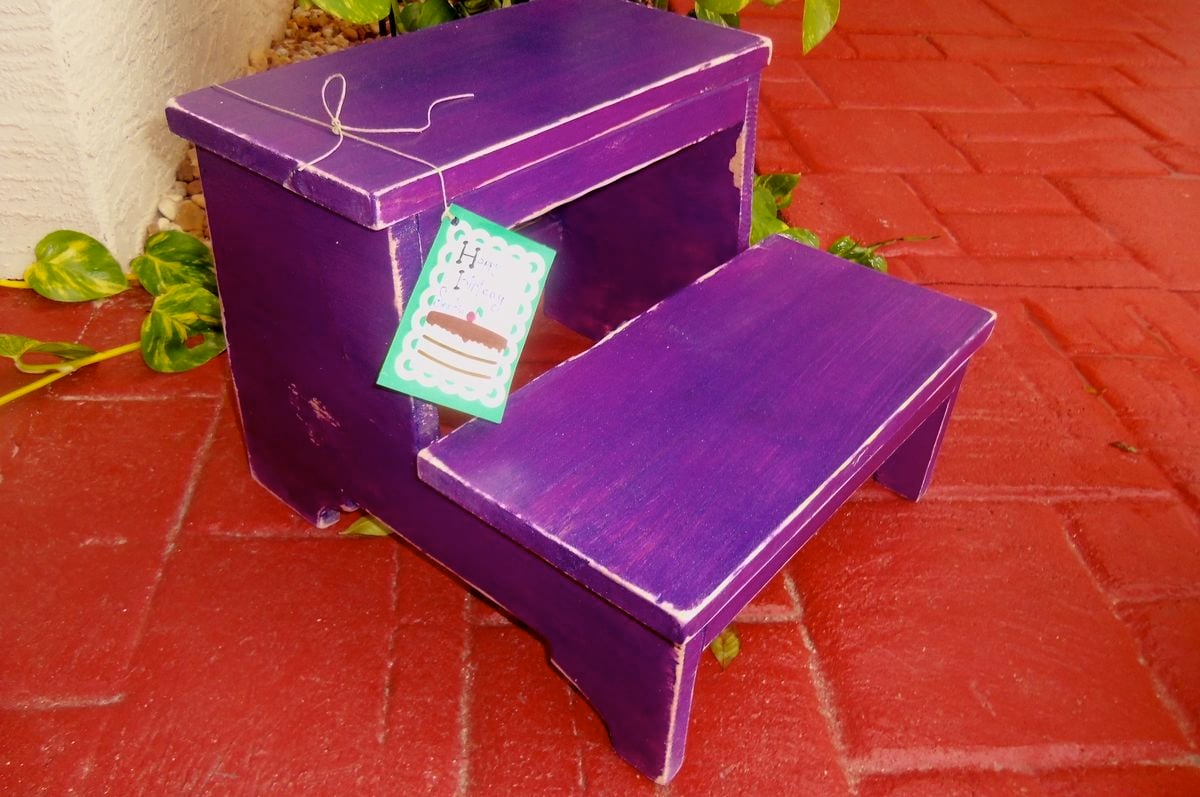
Step Stool for Birthday Present
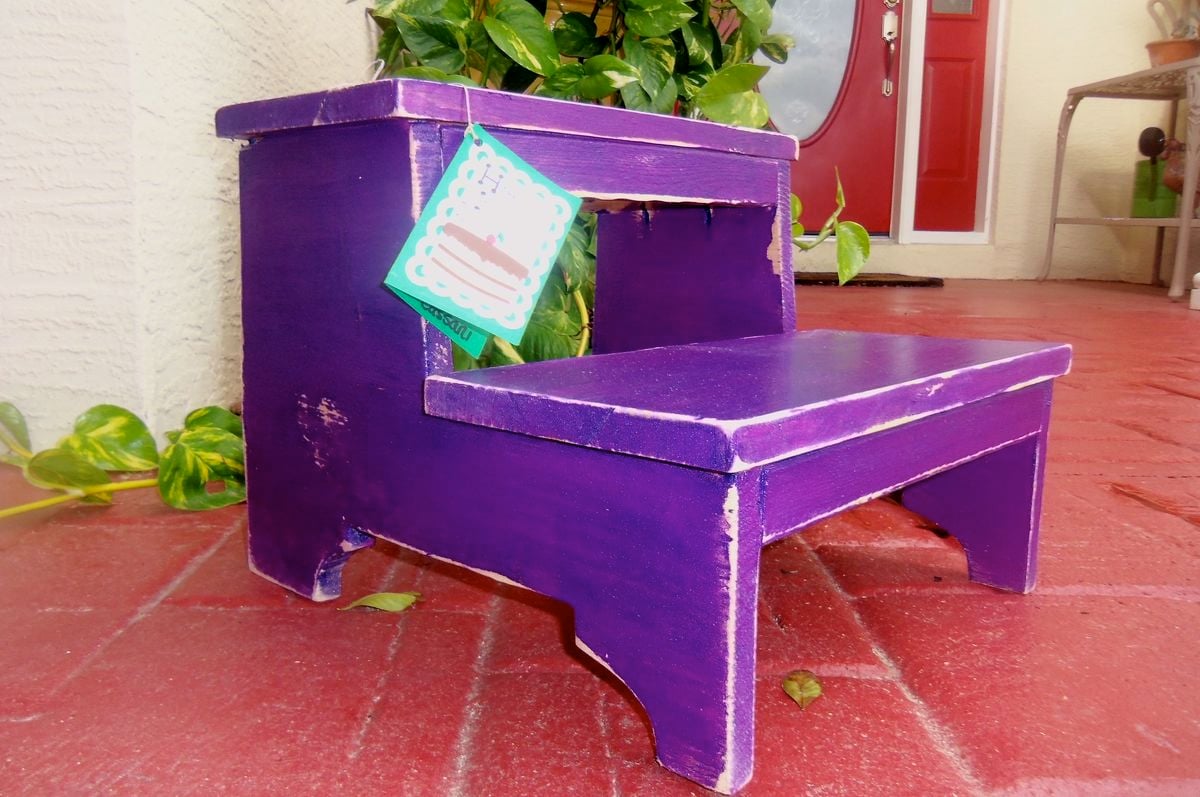
Loved this project. I bought a jig saw, and I had so much fun. I bought the black and decker one it was around $25.00 and works great for small projects like this one. Another birthday present for a beautiful girl who is turning 5 and I know there is always space for a step stool in the house with young ones. Hope she likes it.
Thank You Ana I have been having so much fun!!
Built from Plan(s)
Estimated Time Investment
Afternoon Project (3-6 Hours)
Finish Used
Purple paint and Martha Stewarts Purple Glitter paint. Use Glitter paint over a base color or else it looks streaky and takes way to much time. Also sanded lightly to keep it vintage like I like at http://chippedandcrackled.blogspot.com/
Recommended Skill Level
Beginner
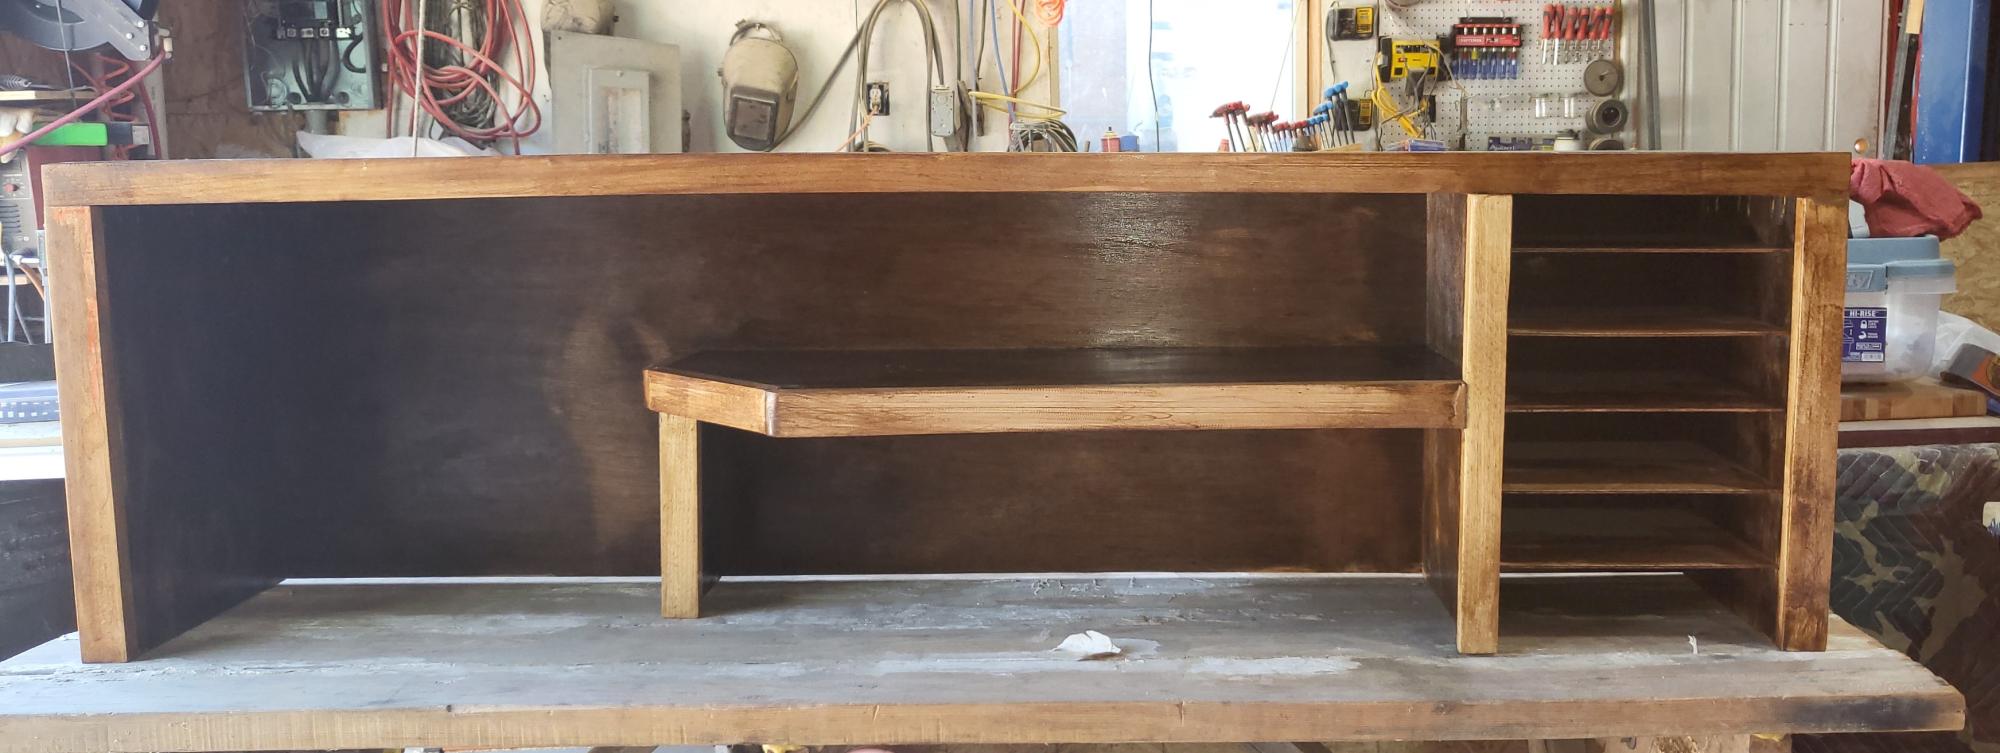
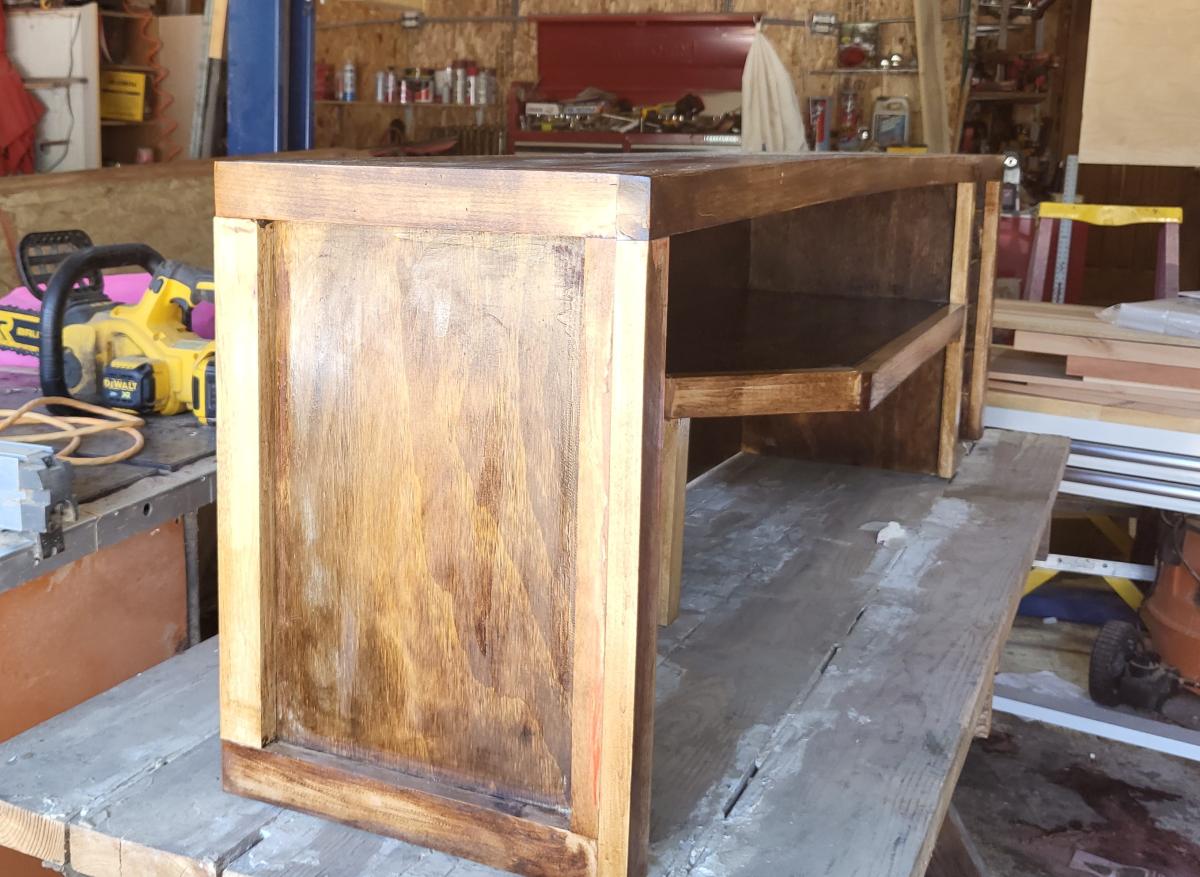
Learn the Router -- Build a Box
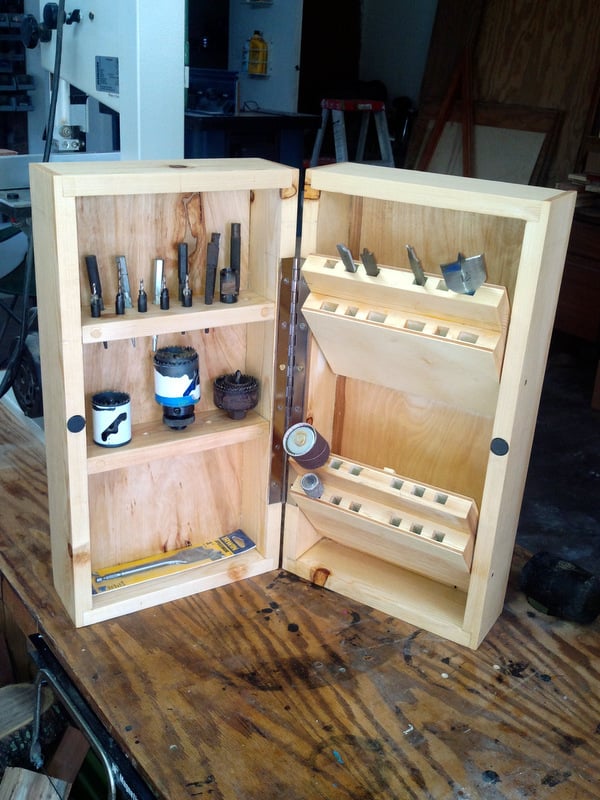
About six months ago I got my first router. I tore up a few boards with it experimenting but mainly used it for basic round-overs. I wanted to learn more so at Christmas Santa brought me the router table. My first real project was to build a project that would be a learning experience as well as produce something useful so I chose the Drill Bit Cabinet. You can see the plans at
http://ct-web2.unh.edu/lee/drill-bit-cabinet.pdf
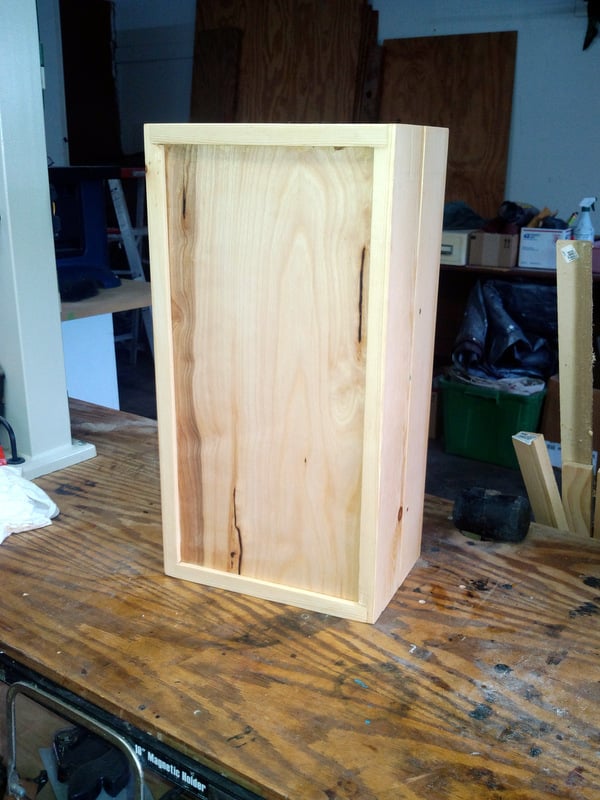
This project requires cutting rabbet and dado joints. Basic joints but also requiring accurate cutting. There are no nails or screws holding the box together. I countersunk screws into the shelves for stability. The final result is what you see in the pictures. I learned a lot. A great starter project for novice router users. I took two days to complete the project but a knowledgeable worker could do it in a day.
I also deviated from the plans somewhat out of a desire to make the build easier and less expensive:
1. The plans called for cutting boards from a 1x8 but I chose to stay with the full size 1x8s I had in the garage. So the final dimensions became: Height 19-1/2 inches, Width 10-1/8 inch (closed or 20-1/2 inches open), and Depth 3-1/2 inches (open or 7-inches closed).
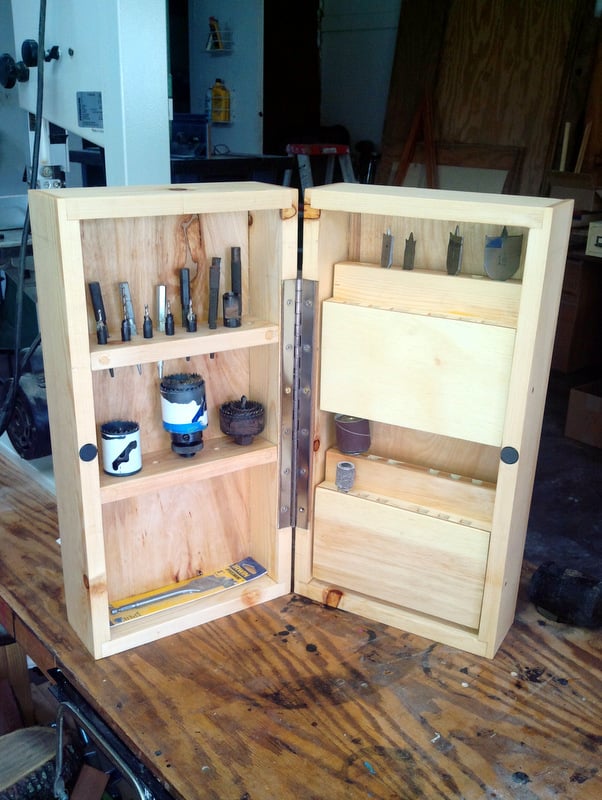
2. I could only find 30 inch and 12 inch piano hinges so I went with the 12 inch. Works fine. I must say I really need practice installing hinges. Took me two tries to get this one right.
3. The instructions call for cutting the box in half with a table saw but I don't own a table saw. So I cut the box in two pieces using a straight bit on the router table advancing about 1/8 inch at a time until I was within about a 1/16 inch from breaking through. I used a regular saw to finish the job and the sander to remove the little bit that was left. Worked fine.
4. The plans call for screws to act as the pivot for the two tiltable bit carriers. Instead I just inserted 1/4" dowel. Works fine.
Estimated Cost
Fairly inexpensive. The hinge cost about $8. Magnets about $1. Birch plywood about $6. The remainder I had sitting in the garage and I would put the cost at about $10. So the total cost was about $25
Estimated Time Investment
Weekend Project (10-20 Hours)
Finish Used
Sanding to 120 grit and then one coat of Cabot Natural Wood Stain.
Recommended Skill Level
Intermediate
Comments
Tue, 01/14/2014 - 17:38
Router Table
Santa brought me a Bosch router table. It was on sale for $148 and free shipping. It has most of the extras and appeared to get good reviews. It also fits my router without drilling new holes. Finding a router table that fits your router without serious adjustments is important so ask before buying. Also use all of the safety equipment and follow all of the safety advice. Have fun.
Fri, 01/17/2014 - 12:23
thank you
I will keep all that in mind when looking for one. The router is about a 1980's model craftsman brand. I have a friend that found a manual for it online and he also suggested that a table would make it easier to use. Have you seen the plans on this site for 'Patrick's router table" It is so nice!
Fri, 01/17/2014 - 12:45
Patrick's Router Table
You are right it is awesome. I considered building a table from scratch but with a limited background with the router and the great deals around Christmas I felt that the safest route was to go commercial.

Sat, 01/18/2014 - 00:36
Router table
Santa brought me a new router and router table too! This may be a great plan to learn how to use it. Thanks for sharing.
Sat, 01/18/2014 - 00:36
Router table
Santa brought me a new router and router table too! This may be a great plan to learn how to use it. Thanks for sharing.
Sat, 01/18/2014 - 04:17
safety First
Please follow all of the safety rules. That little bit is spinning at 20,000 rpm and when something bad happens it happens at the speed of light. Use eye and hearing protection as well as all of the guards provided. Feed in the correct direction otherwise you will produce a bullet that can penetrate a door. By the way the router produces an enormous amount of sawdust so plug in the vac.
Mon, 01/19/2015 - 09:55
Router for a beginner?
What router do you recommend for a beginner? I'm reading reviews on Amazon for plunge and fixed-base kits and smaller palm grip fixed-based routers. Would I be in over my head with a kit like this? http://www.amazon.com/Bosch-1617EVSPK-4-Horsepower-Variable-Collets/dp/…
I want to learn other joinery now that I've drilled a bazillion pocket holes.
Semi circular sectional
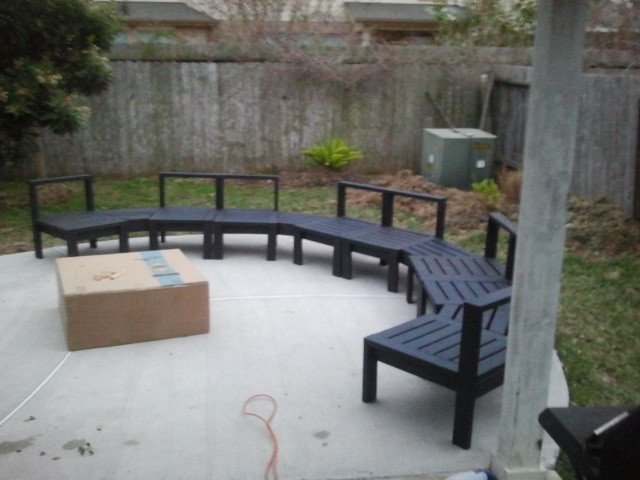
So this was a fun build. I actually finished this 2 years ago, but I never really thought to post it. It took roughly 2 weeks straight to build and stain it, Christmas holiday. I used the kreg jig alot. I also used a ebony outdoor stain. Anyway if y'all have questions let me know and I'll try to answer them as best I can. This was one of my first builds, so be gentle. :)
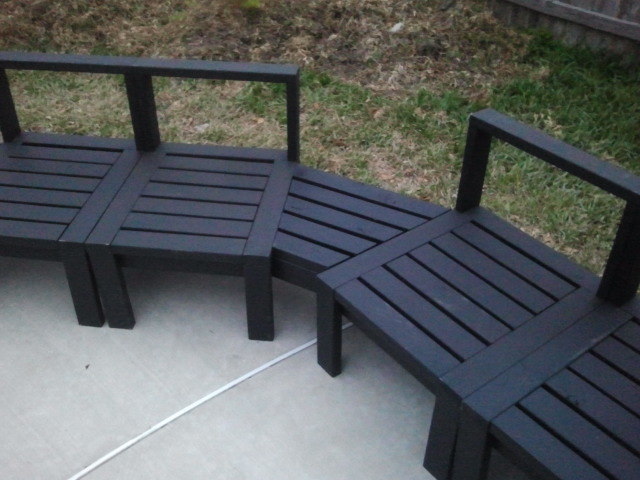
Built from Plan(s)
Estimated Cost
300.00
Estimated Time Investment
Week Long Project (20 Hours or More)
Finish Used
Ebony outdoor wood stain.
Recommended Skill Level
Intermediate
Easy Industrial Cart
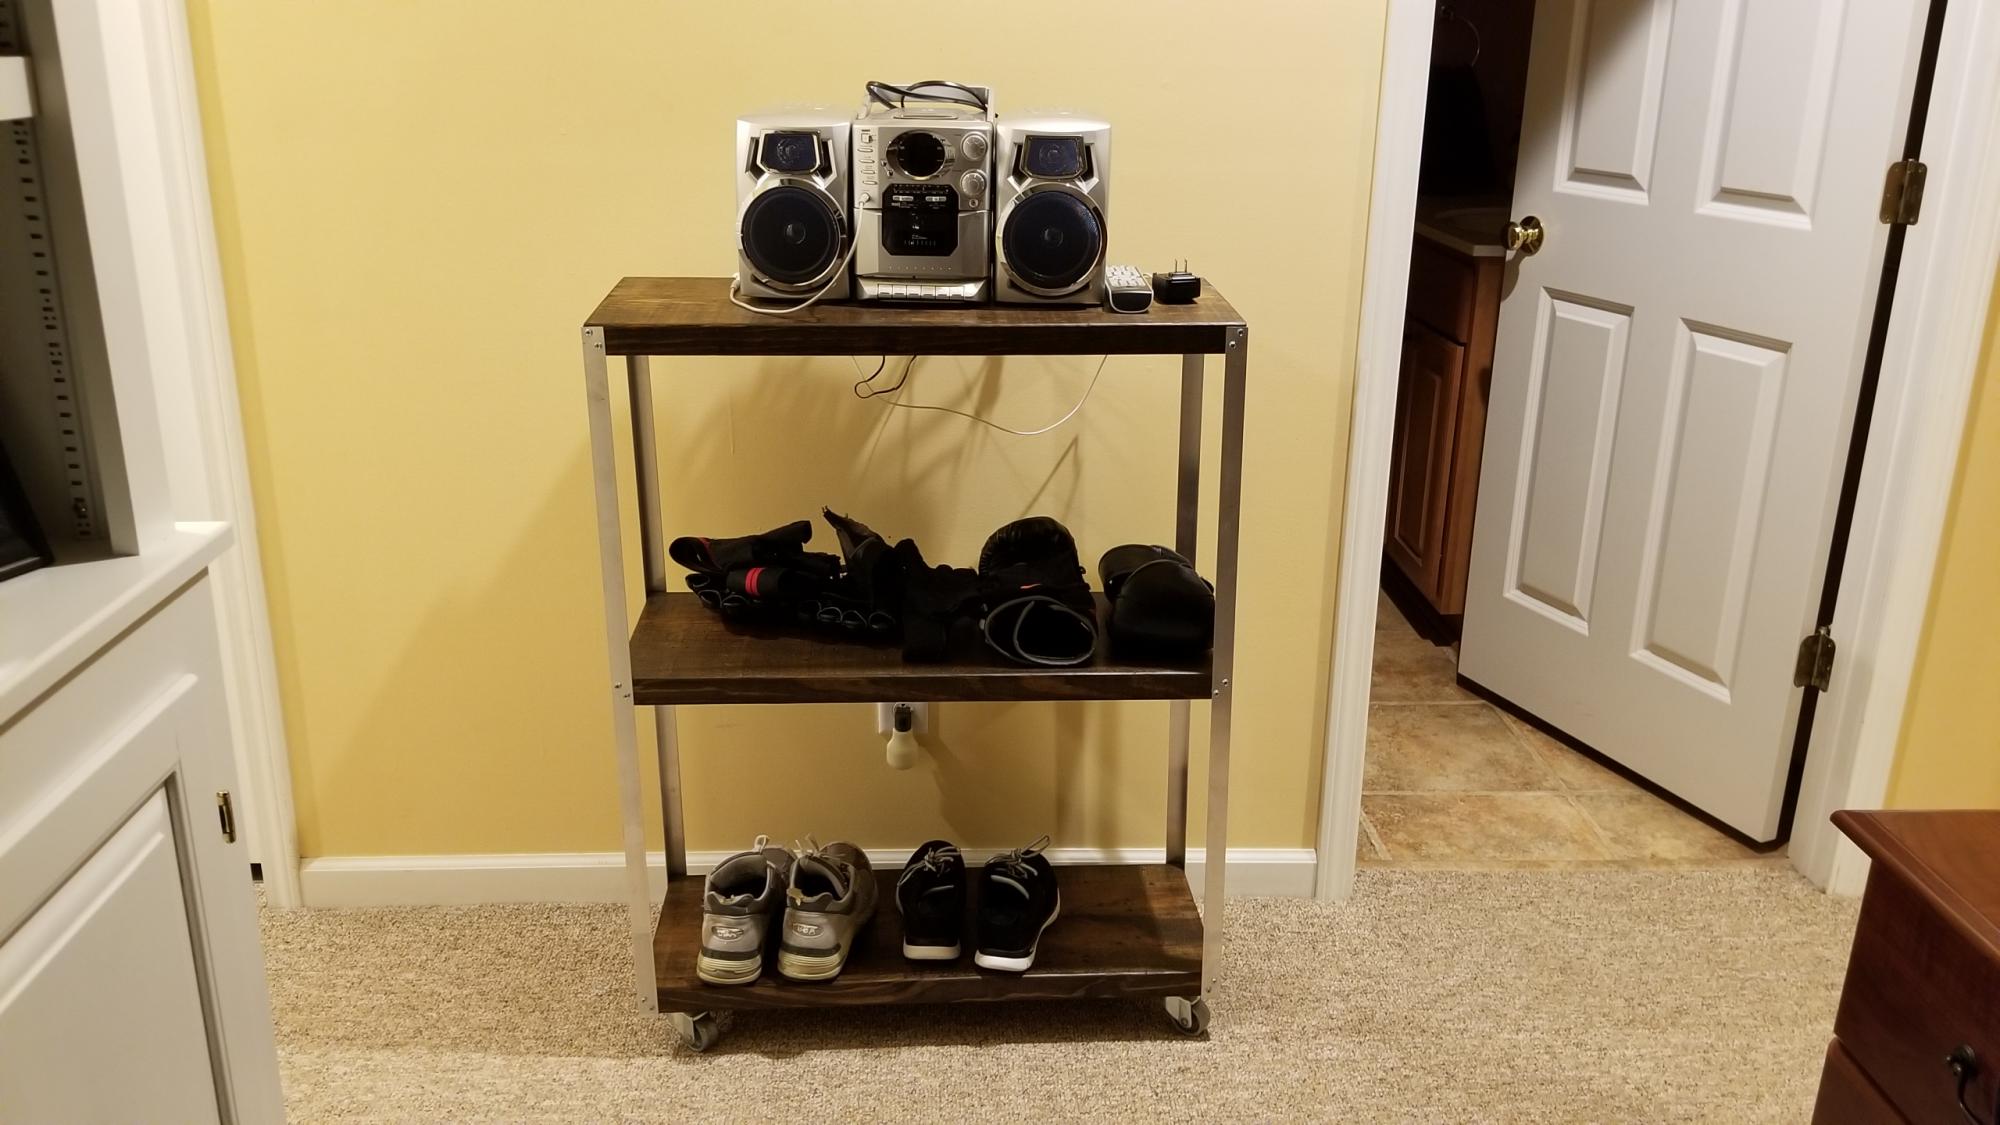
This was a super easy build, that provides a lot of storage!
Built from Plan(s)
Estimated Cost
$15
Estimated Time Investment
An Hour or Two (0-2 Hours)
Finish Used
Dark walnut stain with a coat of wipe on satin polyurethane
Recommended Skill Level
Starter Project