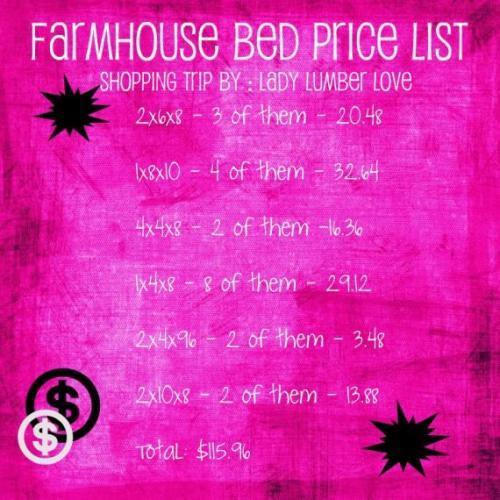
King Size Farmhouse Bed and Nightstands
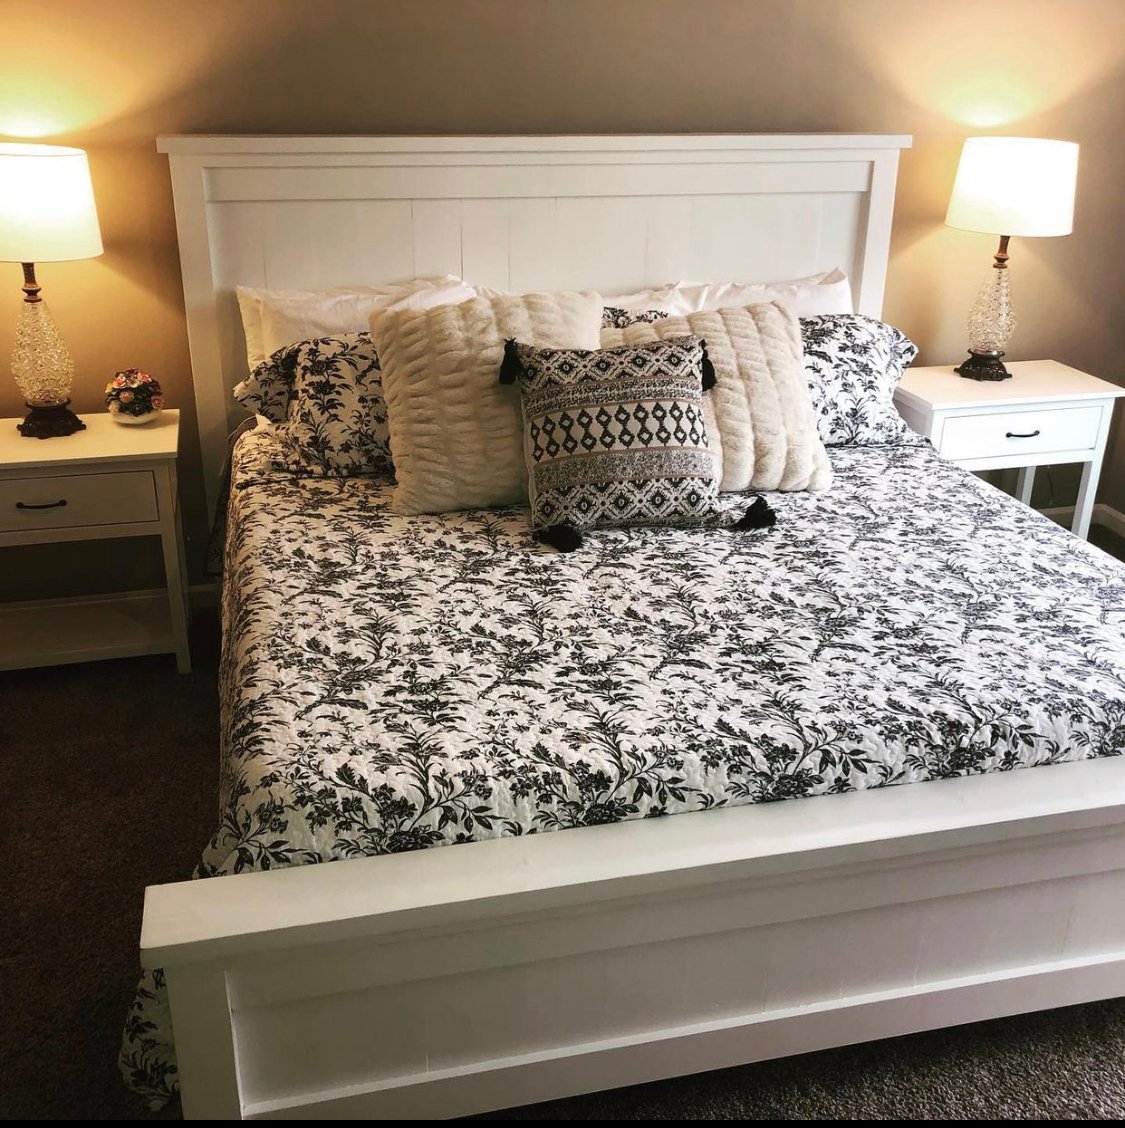
We were thrilled with how this turned out. The plans were spot on!
Built from Plan(s)
We were thrilled with how this turned out. The plans were spot on!
Our fifth build.
Built from rough pine.
Modified for 1x2s in both panels.
Footboard is stacked a little different because silly me got carried away and cut a board, before it was time to cut, and cut it too short. Oooops. Still works though. And looks superb I think.
We did not screw the joists vertical, and through the sideboards. I cut 1 inch pieces off the scraps from the joists, and mounted them from the inside, then laid the joists thick side up, and screwed them down into the mounted pieces.
For step by step instructions, and details on where to buy everything, see my blog. I blogged each step of the way. It took us a month to build this due to life obstacles and bad timing on baby naps, but you should be able to do it in one good afternoon.
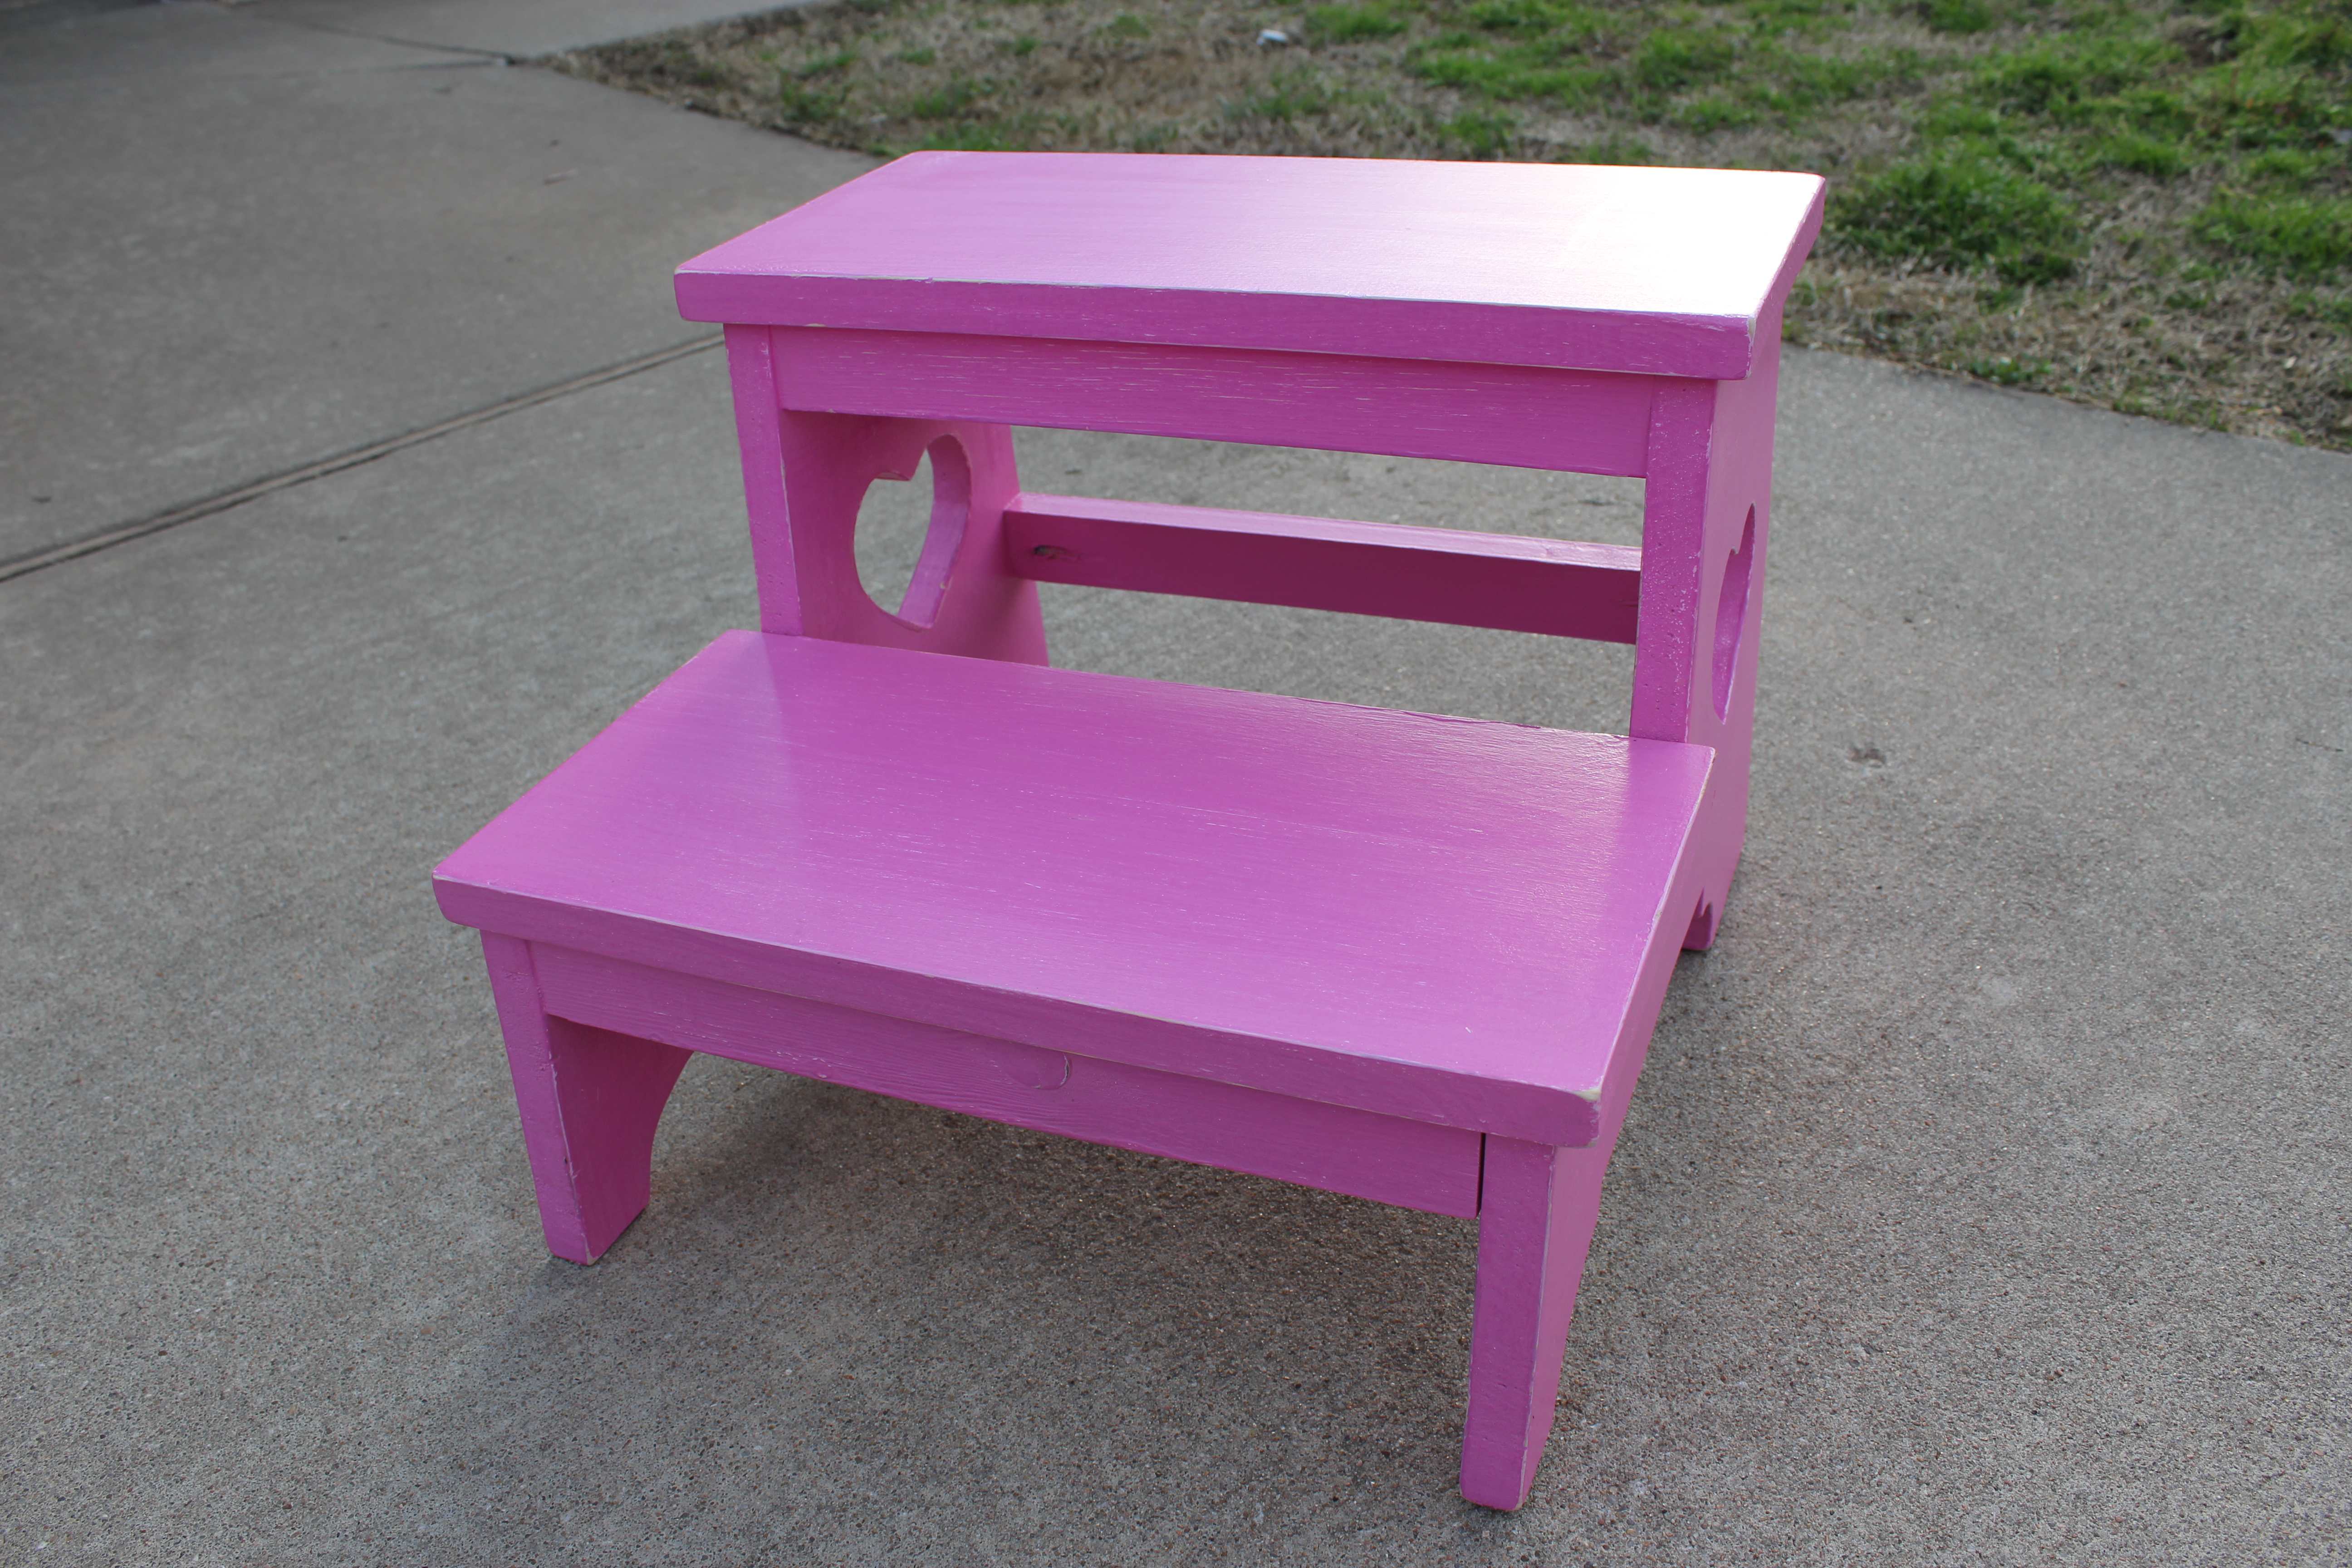
I made this awesome step stool for my daughter to be able to reach things a little bit better. It works perfectly. And the heart adds the perfect touch, don't you think?


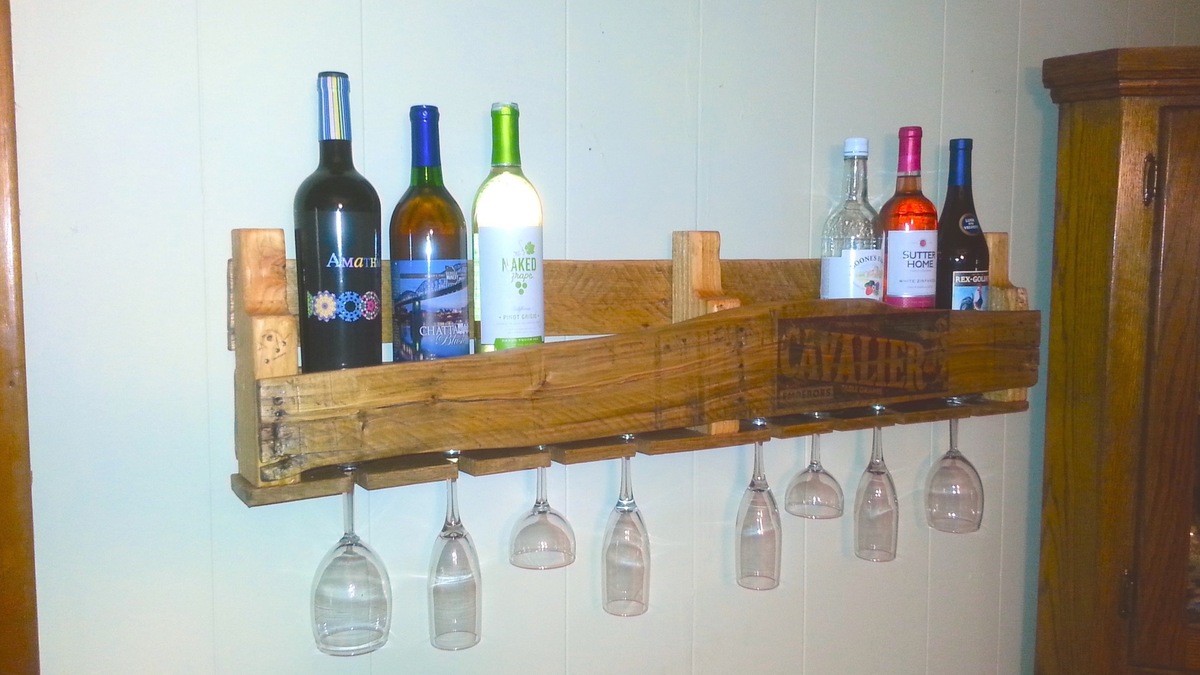
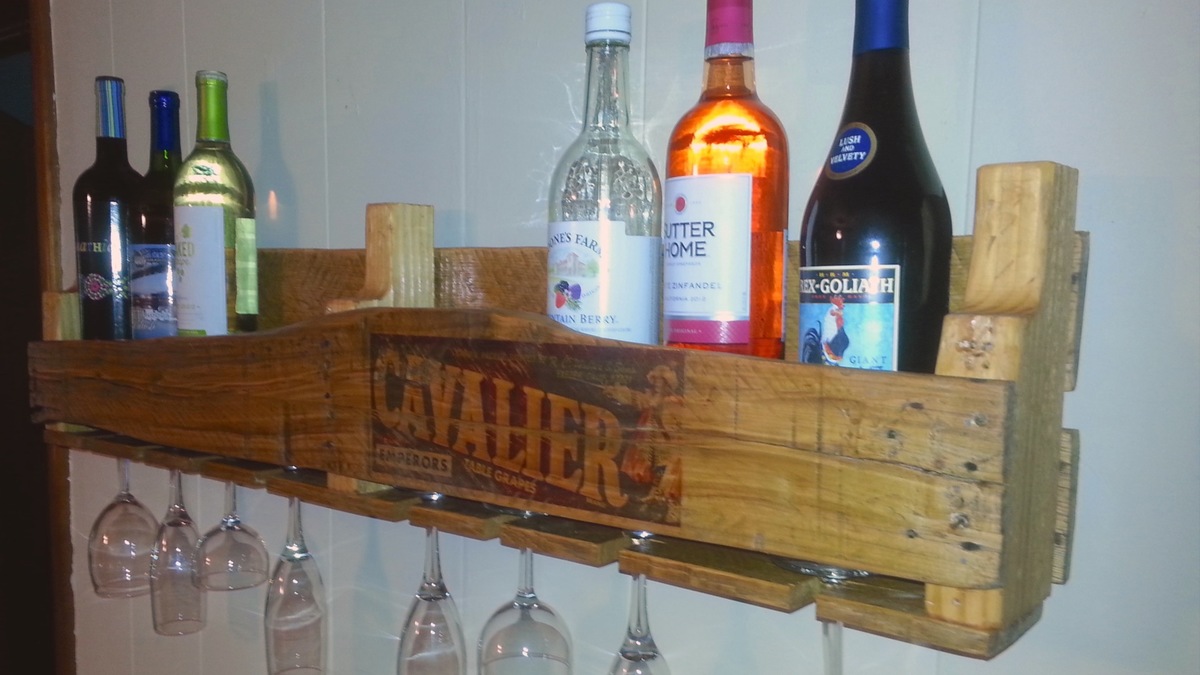
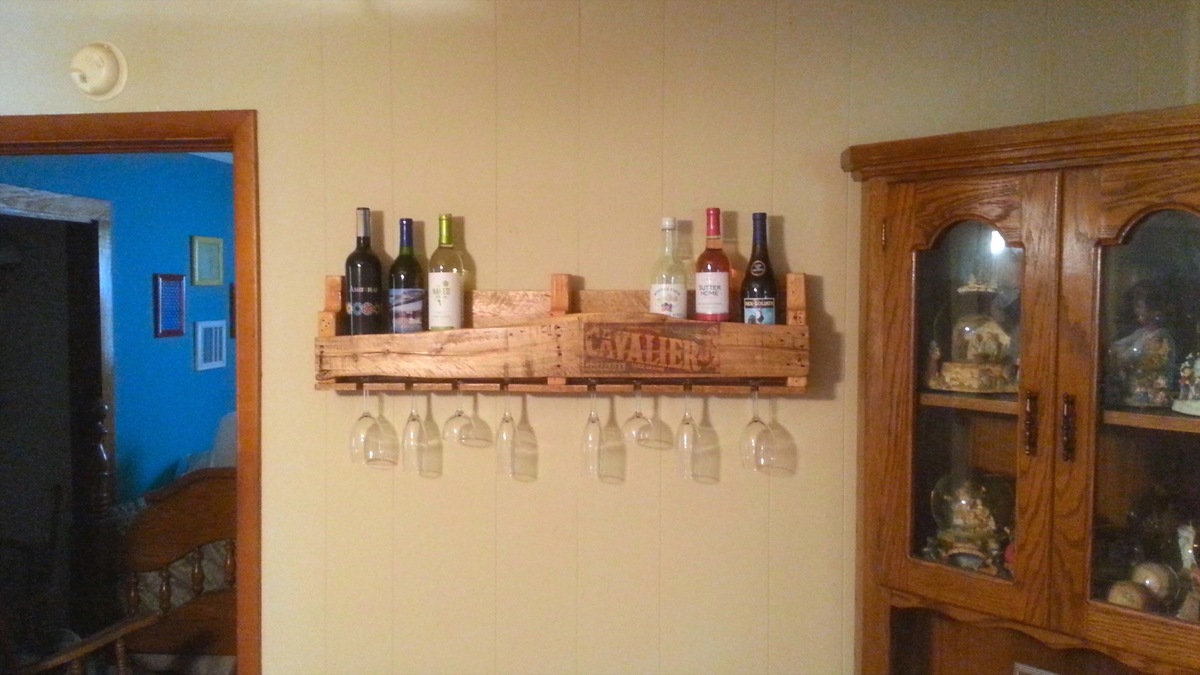
This week's project was a wine rack that I built for my aunt.
Blog: http://www.lanebroswoodshop.com/2015/04/pallet-wine-rack.html
YouTube Video: https://www.youtube.com/watch?v=NUB6UEaLXtE
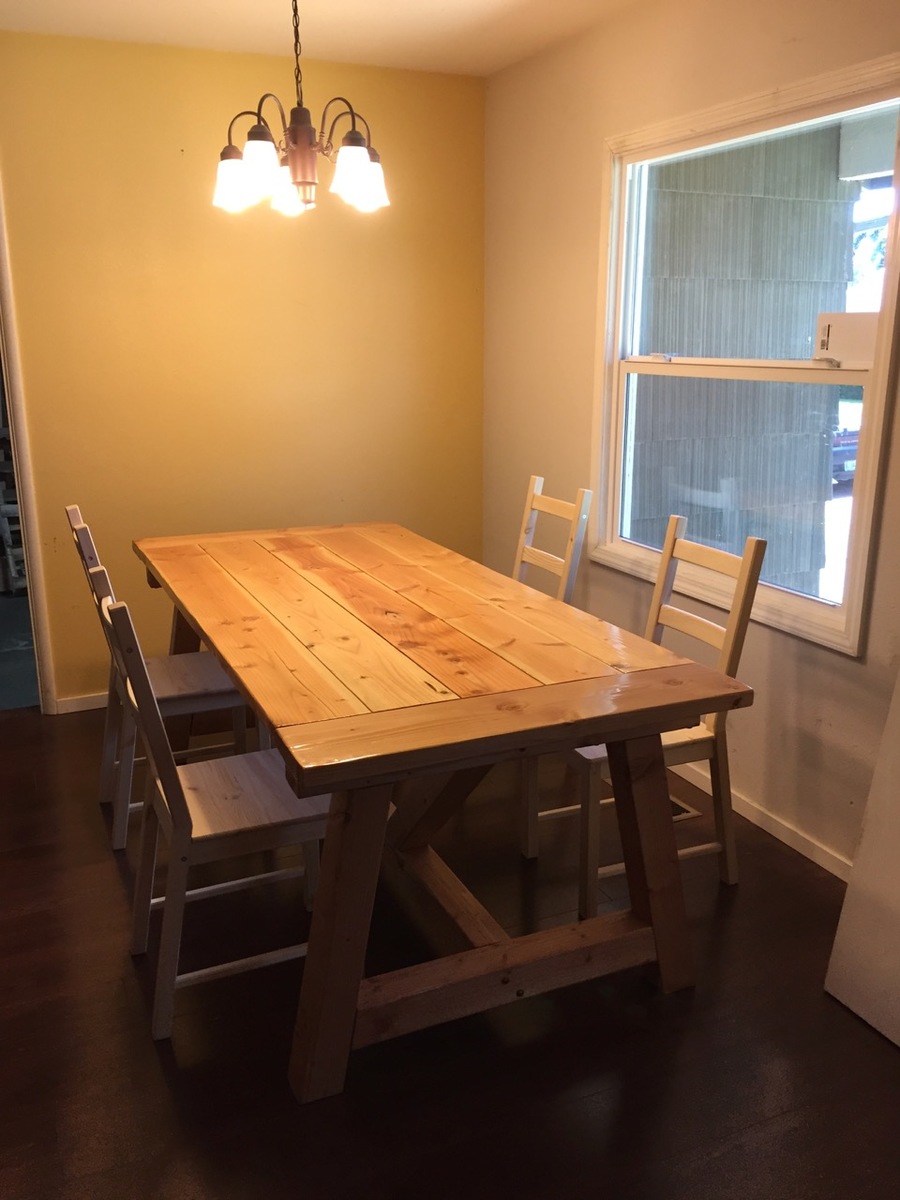
This is the dining room table I built for my house. It was based on the 4x4 truss beam table plans I found here on Ana's website. I opted against stain, and decided on a clear polyurethane finish to highlight the wood's natural beauty. I've had this table for over a year now, and it has withstood the rigors of young children quite nicely. Thanks Ana!
Sincerely,
Ron Floyd
Portland, OR
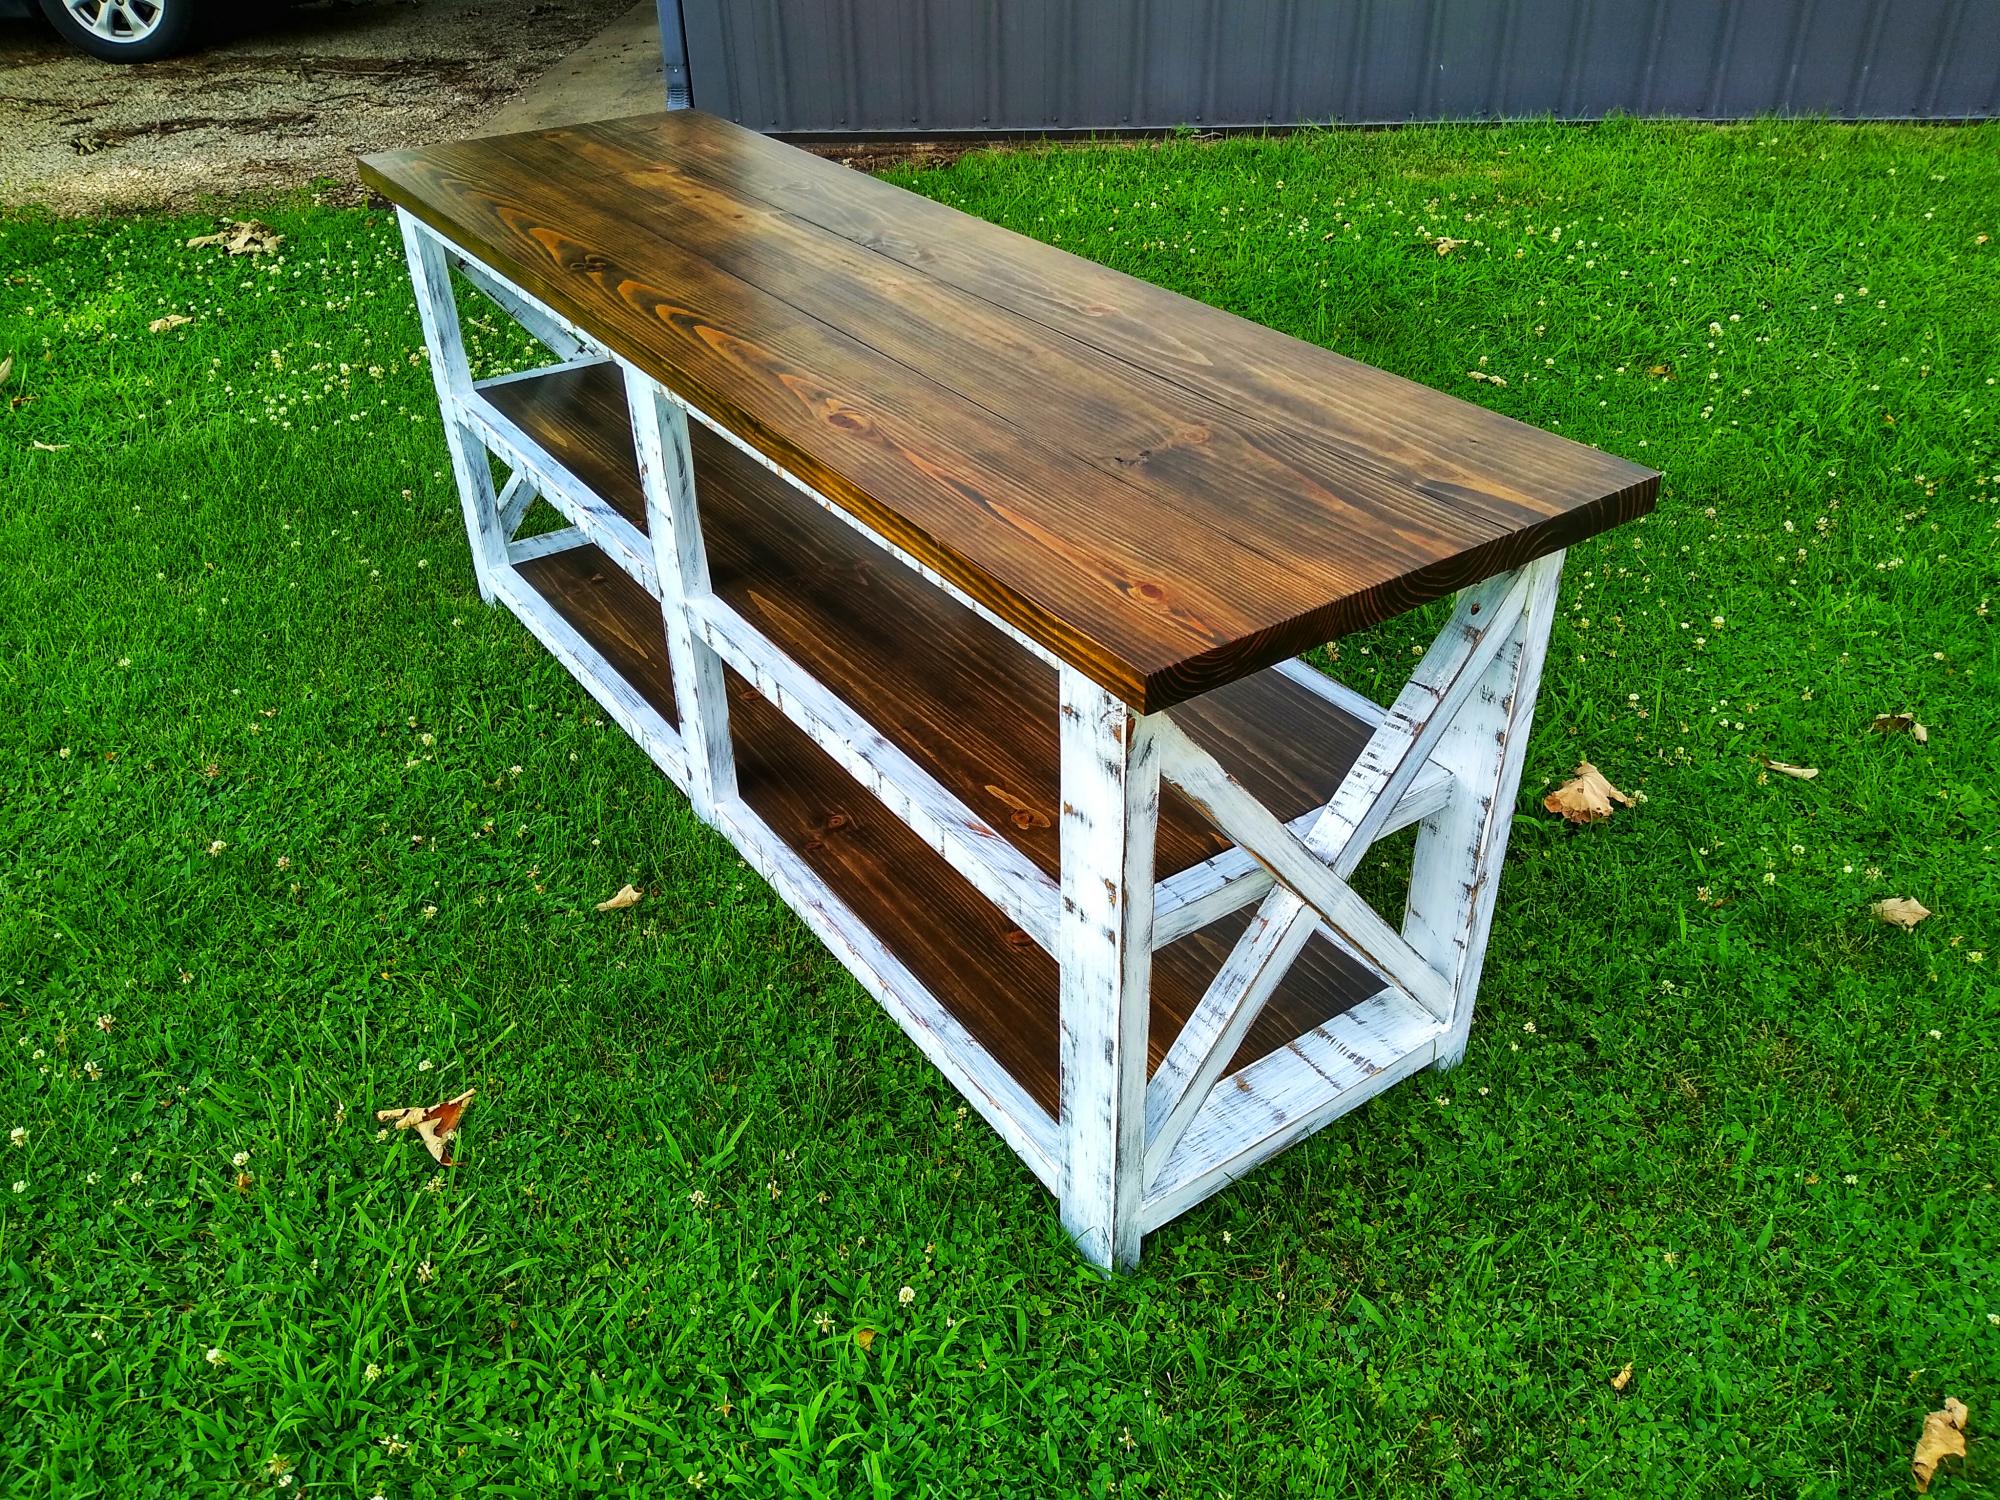
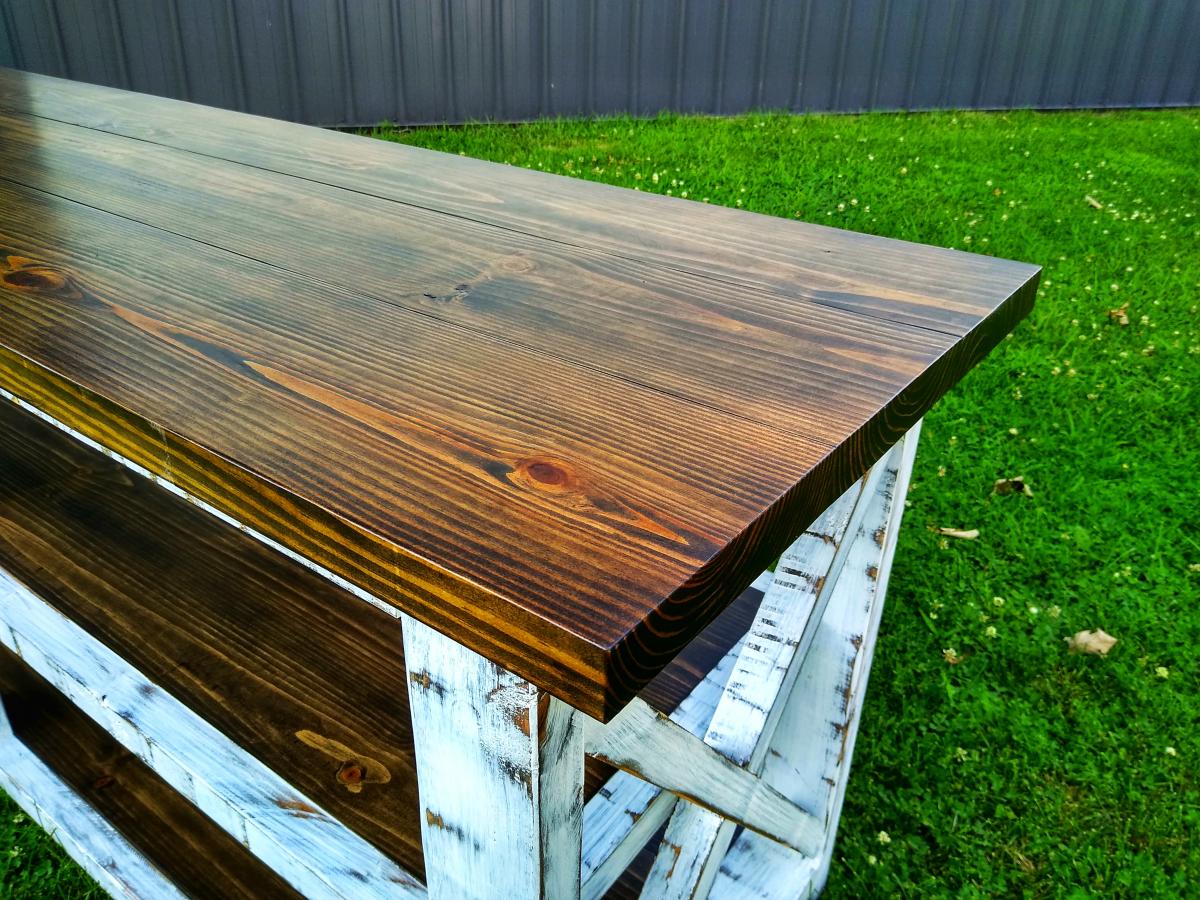
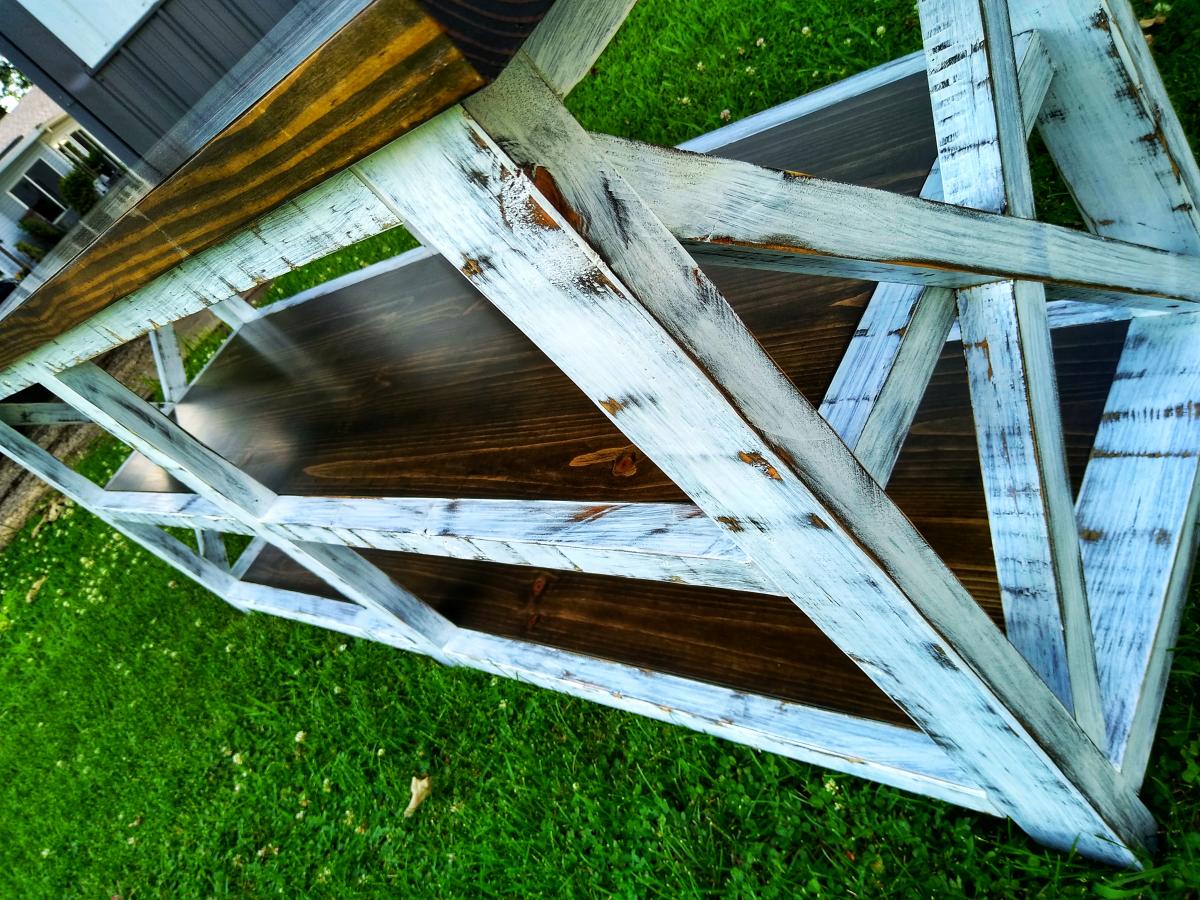
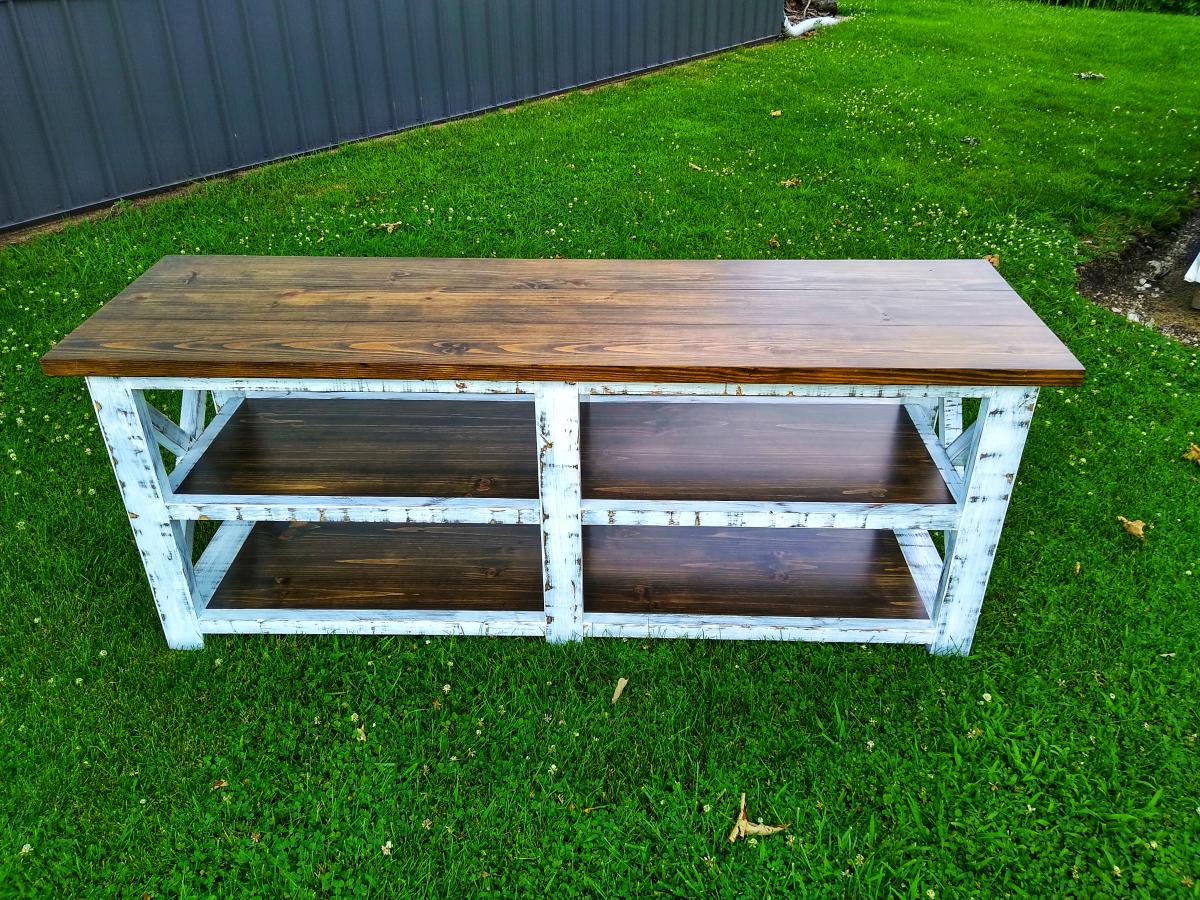
I was commissioned to build this console table along with a couple “Rustic X” bookshelves. The finish is distressed white and True Browns stain.


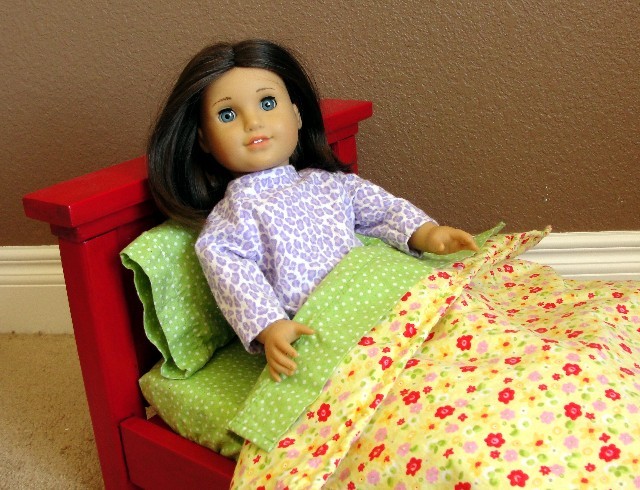
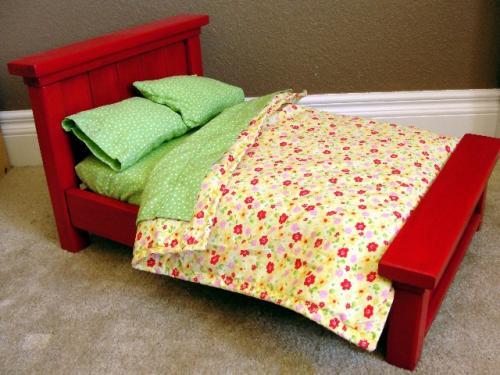
I love this little farmhouse bed. I made it for my daughter for Christmas. It is spacious for one doll and cozy for two.

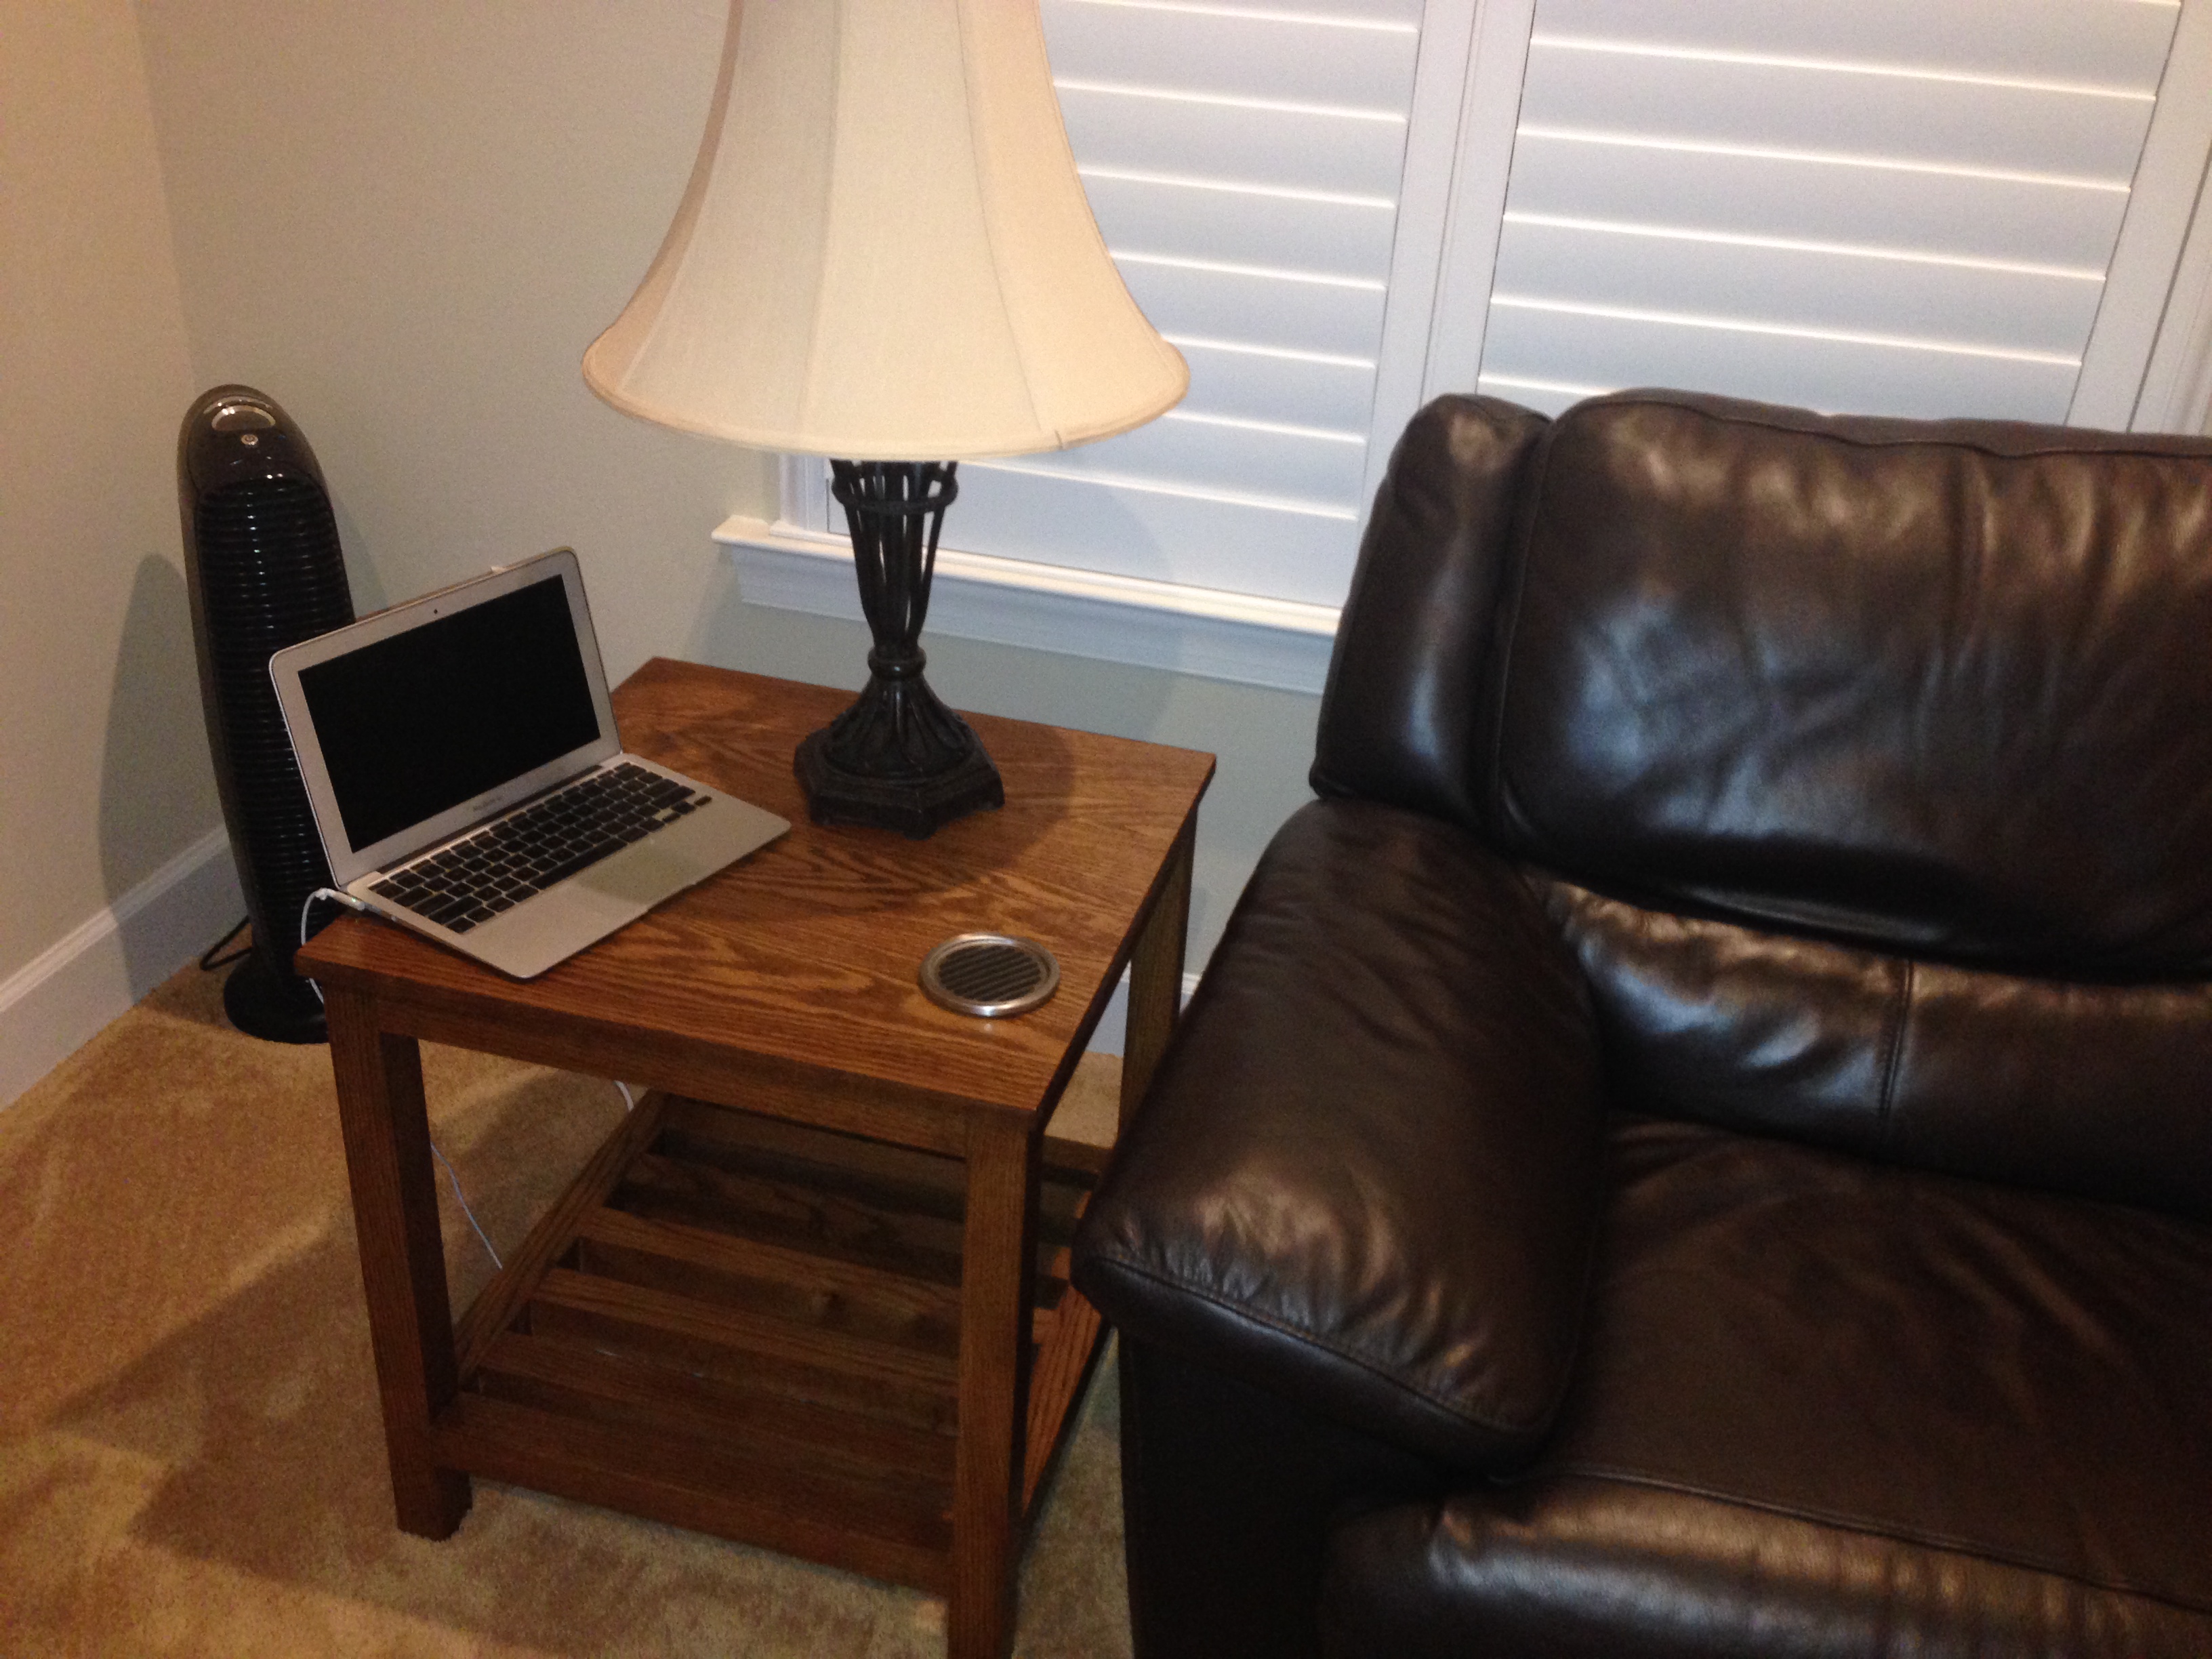
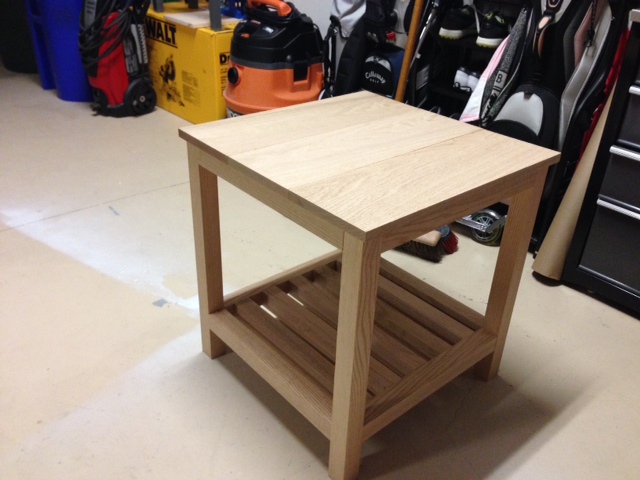
This was our first project. The directions were easy to follow. We used wood screws to put this project together as I do not have a nail gun. My five year old was in charge of the electric screwdriver. I just used 1 peice of wood for the table top and diagonally screwed into it from the bottom. It took us a few days to complete as when you are working with a little one, everything takes quite a bit longer. This was the perfect project for us to work on together! My husband requested a table to put next to the hottub so he could put his drink on it, but I don't want this to move outside! Maybe I'll have to make another one. :)

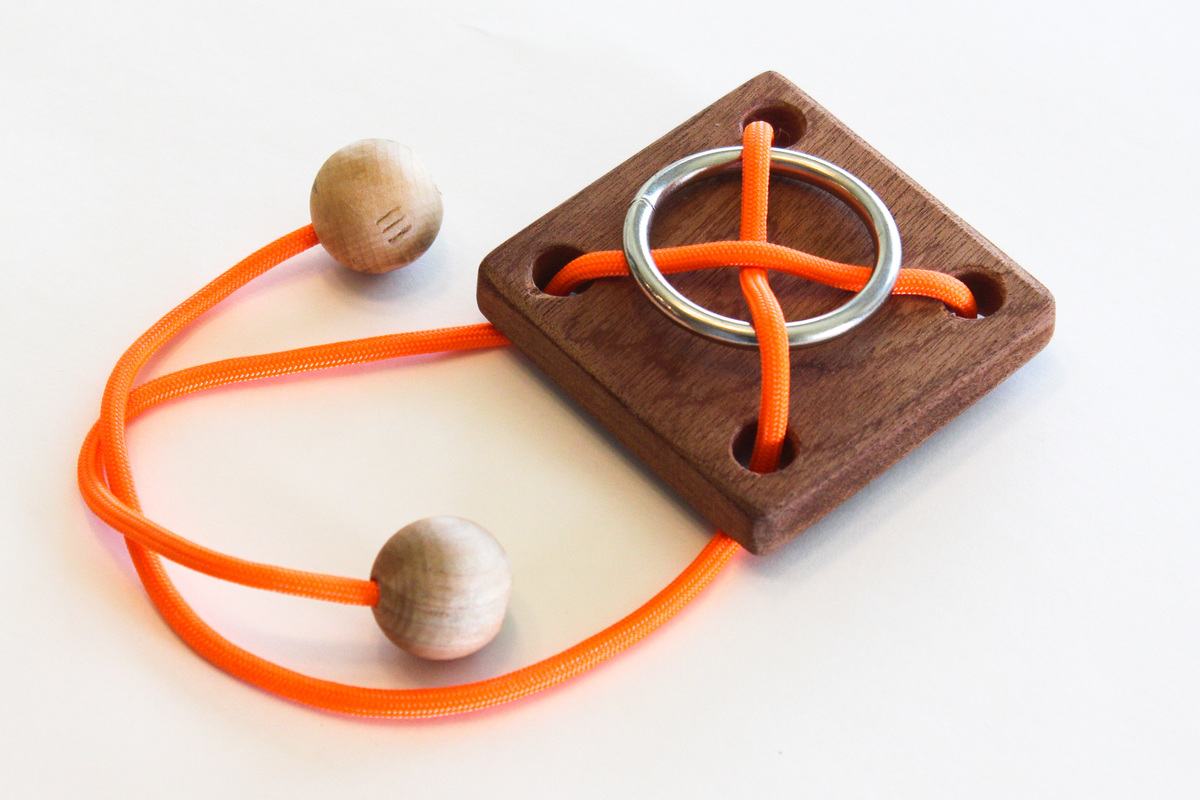
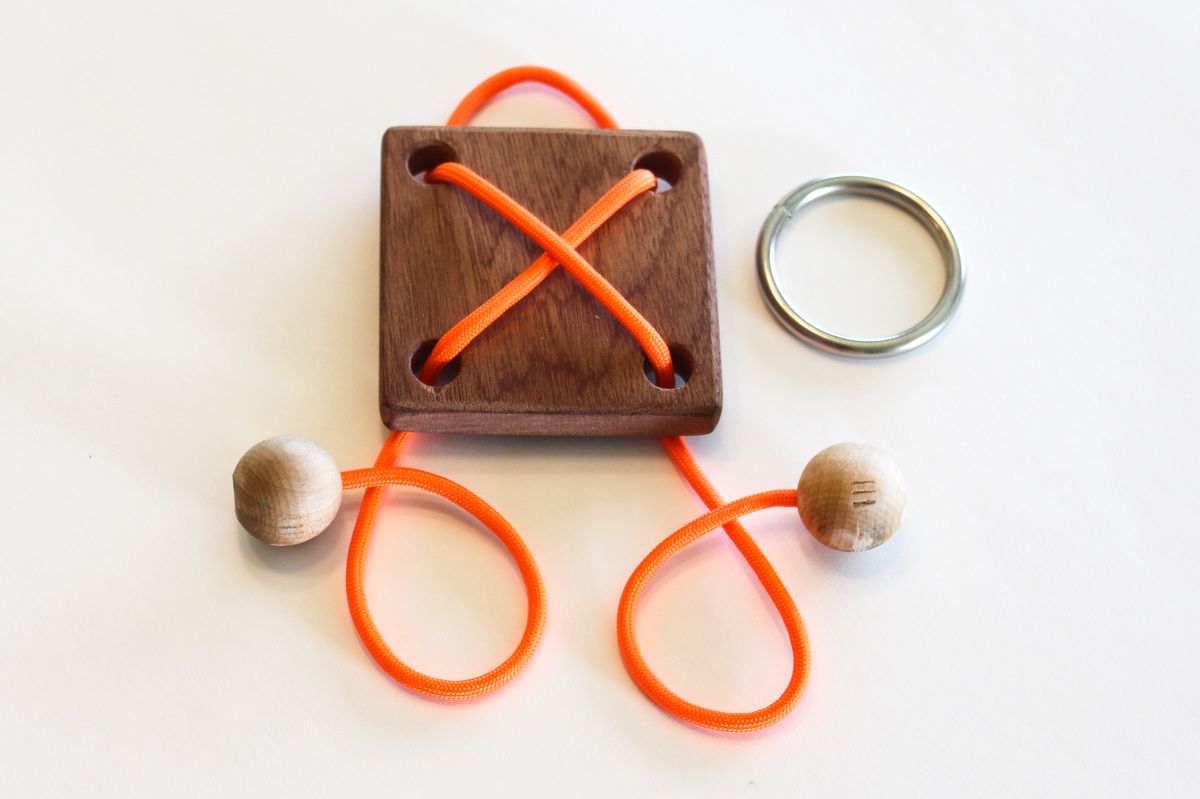
This is a really easy project to make. The goal is to separate the ring from the puzzle. Refer to the solution video if you can't figure it out.
Build Instructions:
https://www.instructables.com/id/Rope-Ring-Puzzle/
Solution:
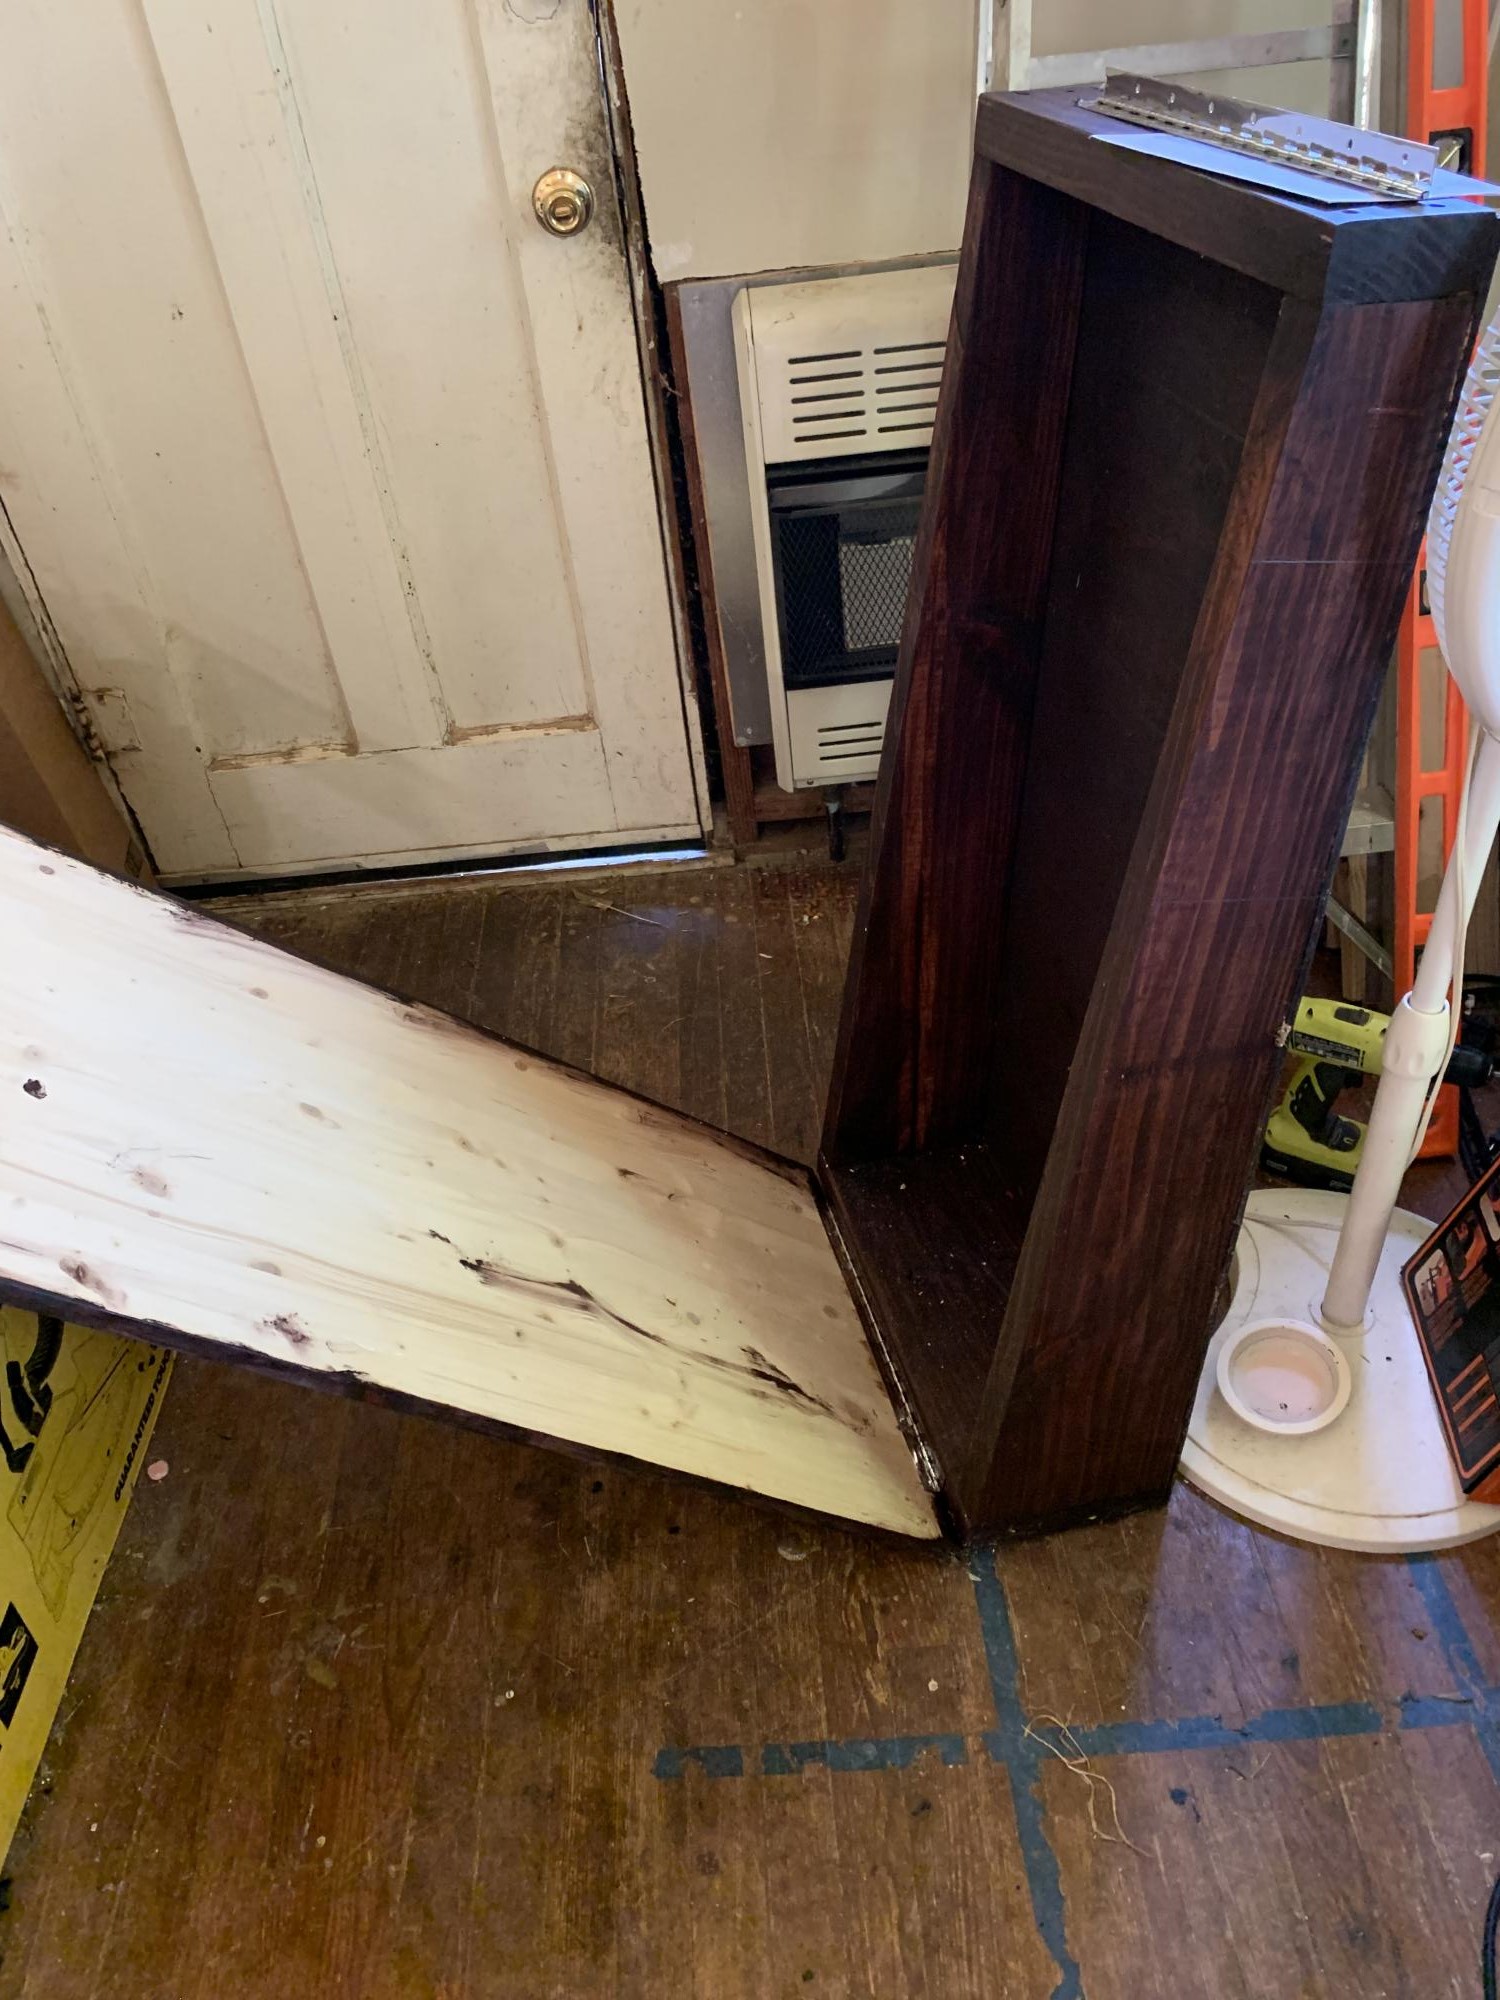
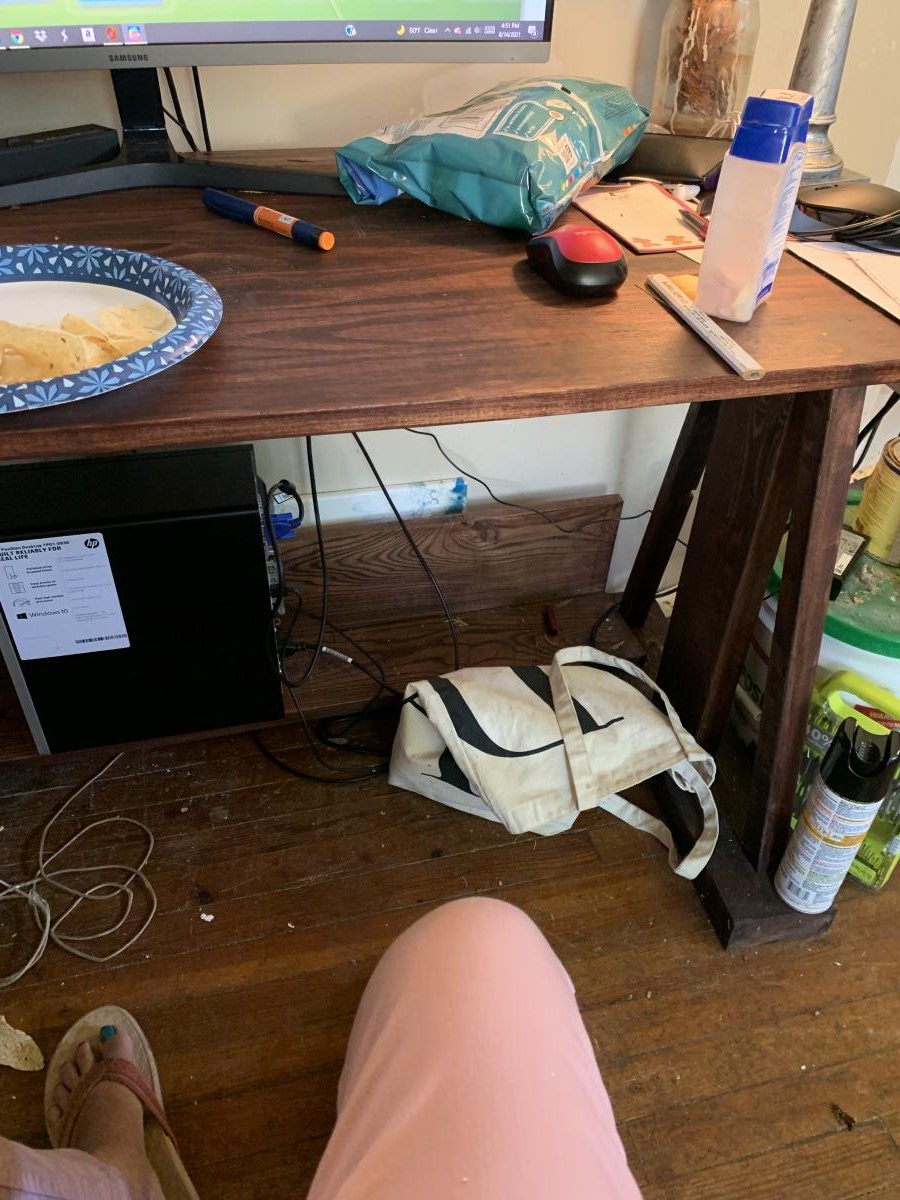
This is my desk. It’s working out great. I’m thinking of adding a small drawer for stuff. Thanks for the design.
The other picture is the desk I’m building for my grandson. I’m painting the desk top. Still have to add the legs. I had to modify the size as his space in his bedroom is limited. I get confused putting the piano hinge on. Again thanks for your help. I love all your work.
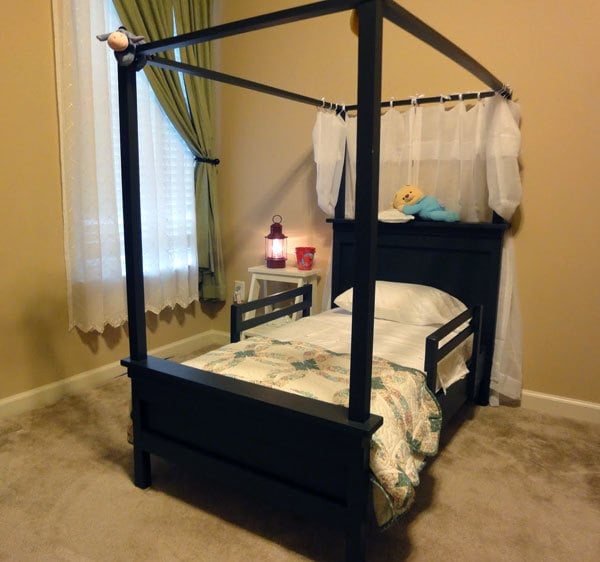
When I saw the farmhouse toddler bed plans on Ana’s site, I knew I had to build it for my daughter. I added siderails (modified from the bunk bed rail plans) and a canopy (modified from the adult size farmhouse bed canopy plans).
I can’t really give an estimate of how long this project took…I had to work on it while keeping my five year old and one year old entertained. If I’d had no distractions, it probably would have taken only 3 or 4 hours to build it (more for the painting).
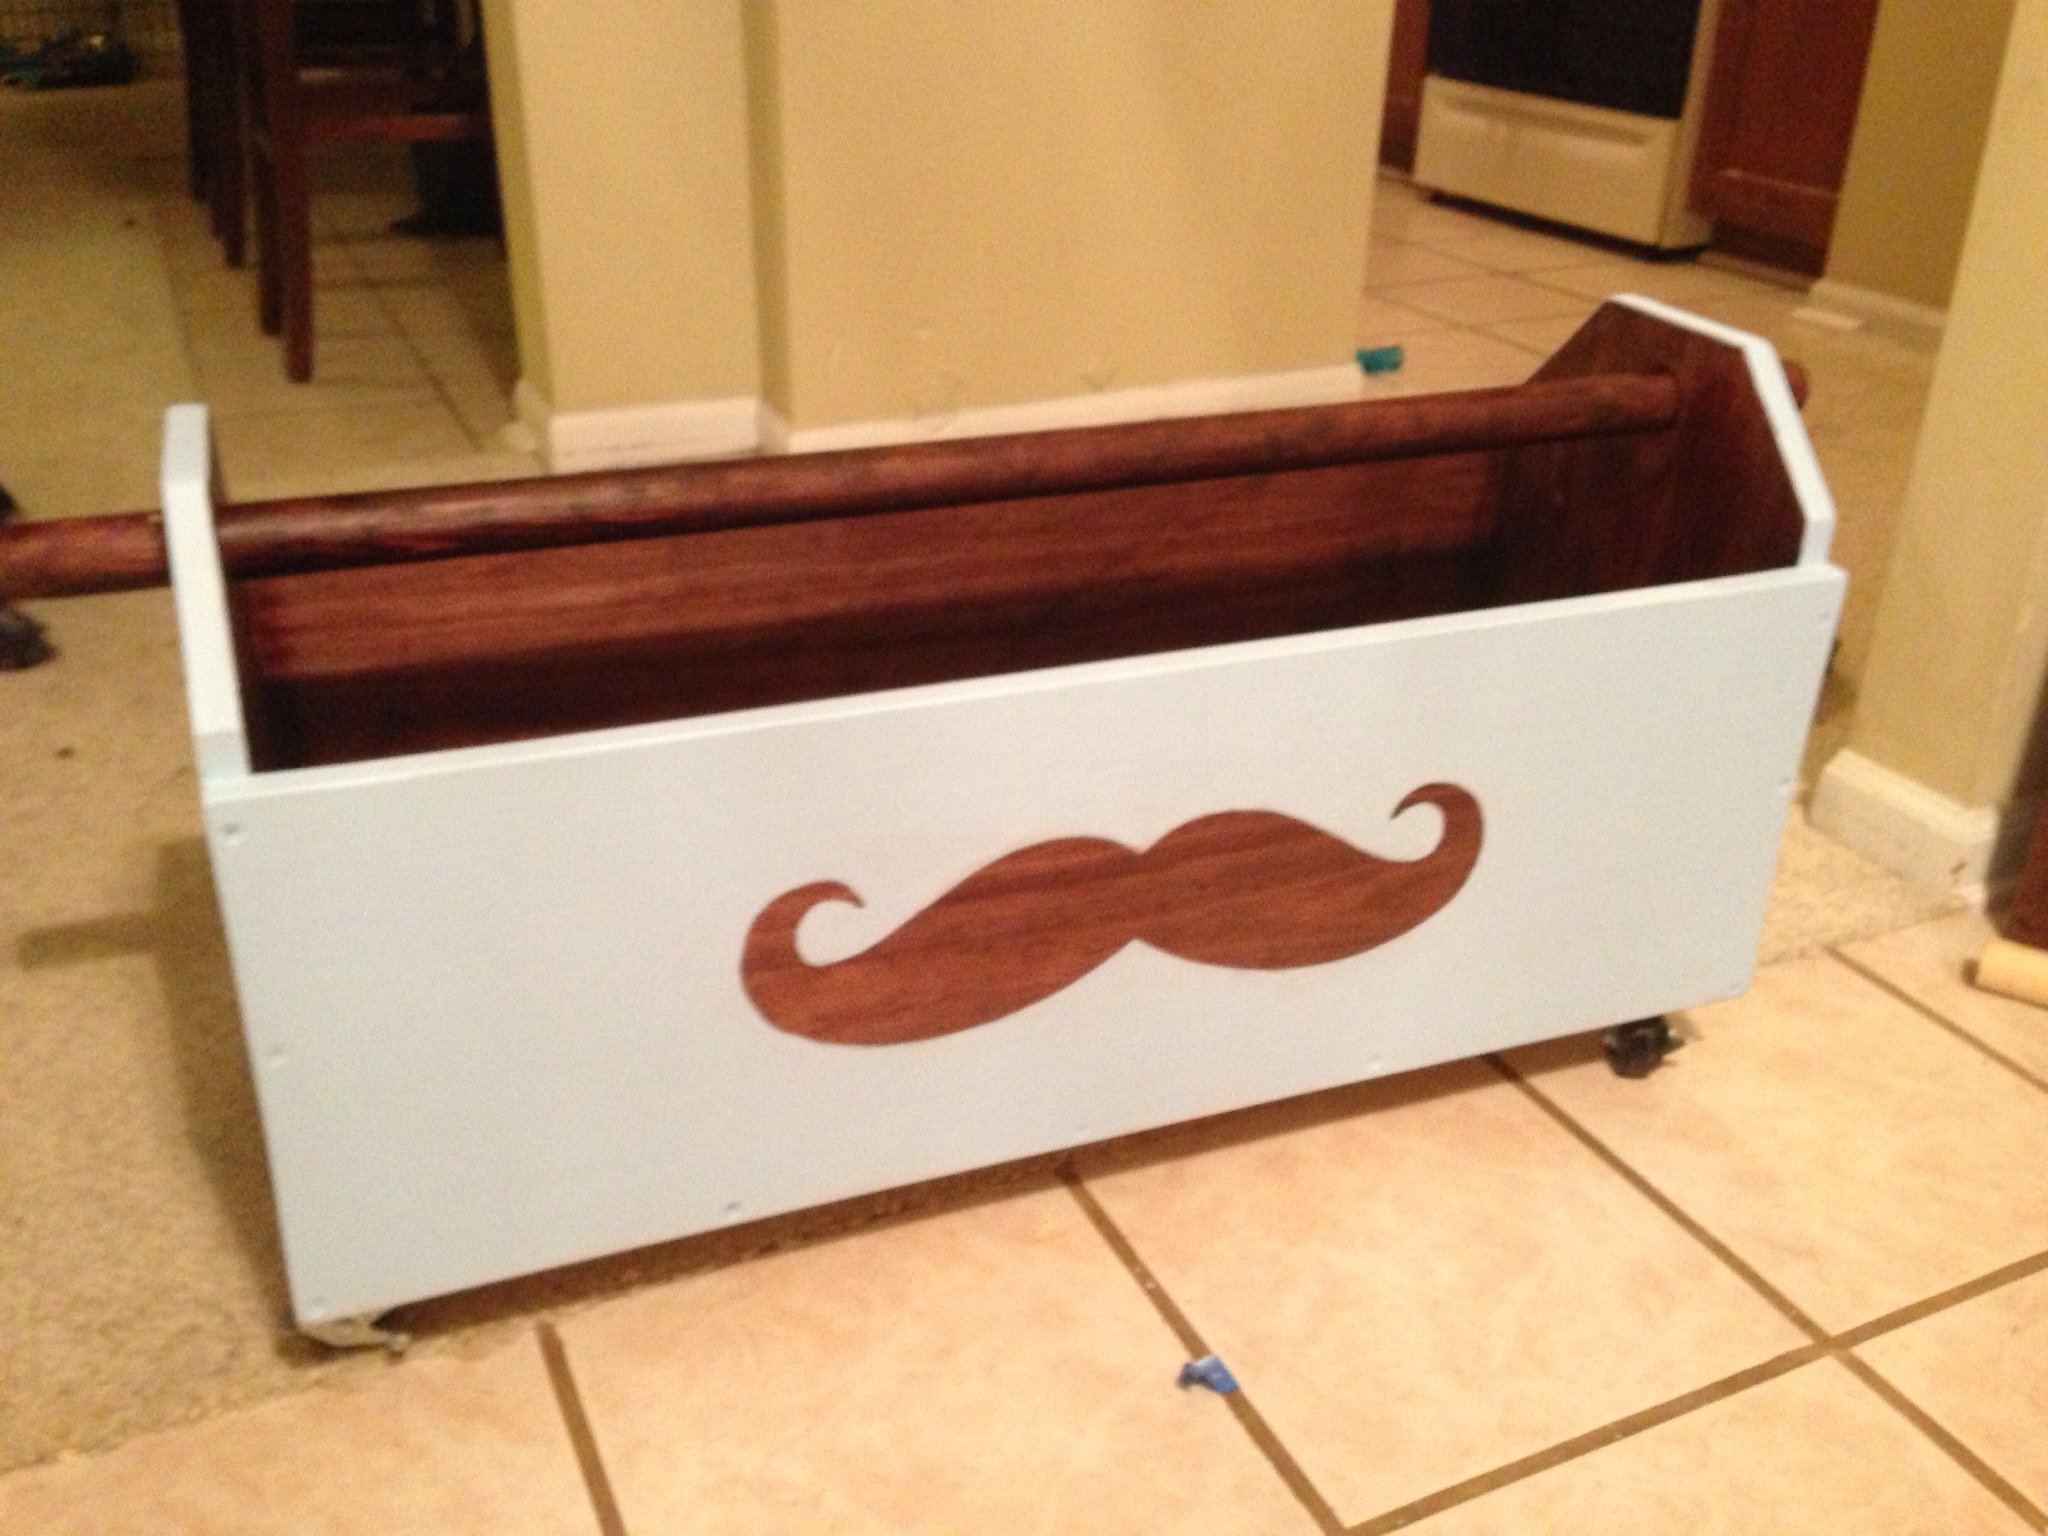
We went exactly as planned in the Build a Toybox outline, but bought 12x1 instead of 16x1. This caused a problem when we started putting it together. The two short sides were taller than the long sides. We decided to make lemons from lemonade and turn it into a toolbox/toybox, and in the end really liked the result. We added an additional cut with 1.5" holes on either side and a 1.5" diameter 36" long dowel rod for the handle. We added casters to the bottom and poof! done. Fun project! We made it for our soon to be nephew and filled with gifts for the baby shower.
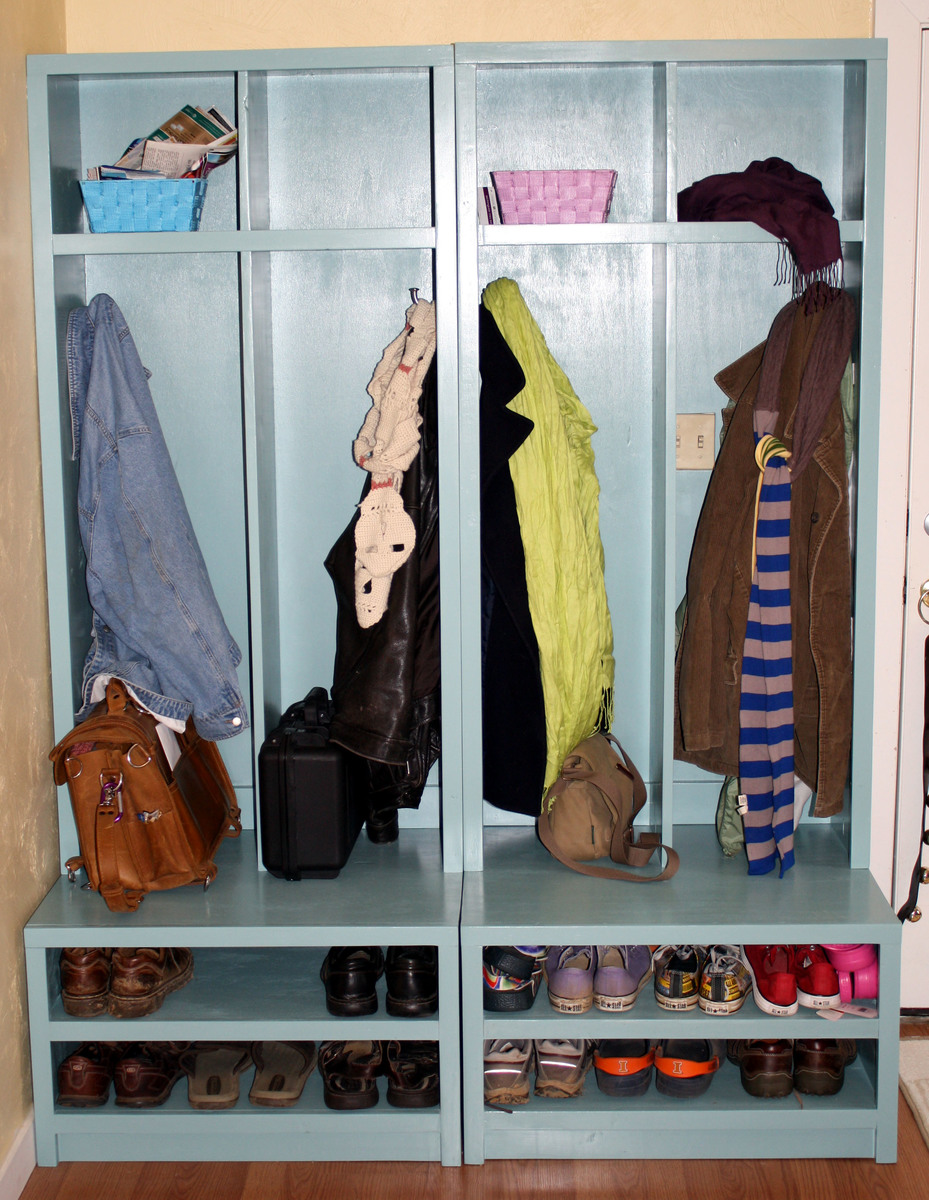
Always wanted lockers, now I have them! We built these in a couple of afternoons, but took forever to sand and finish (of course, the sudden onslaught of winter didn't help.) Added 10 inches to the height of the hutches to fit our adult coats better. We are absolutely in love with them!
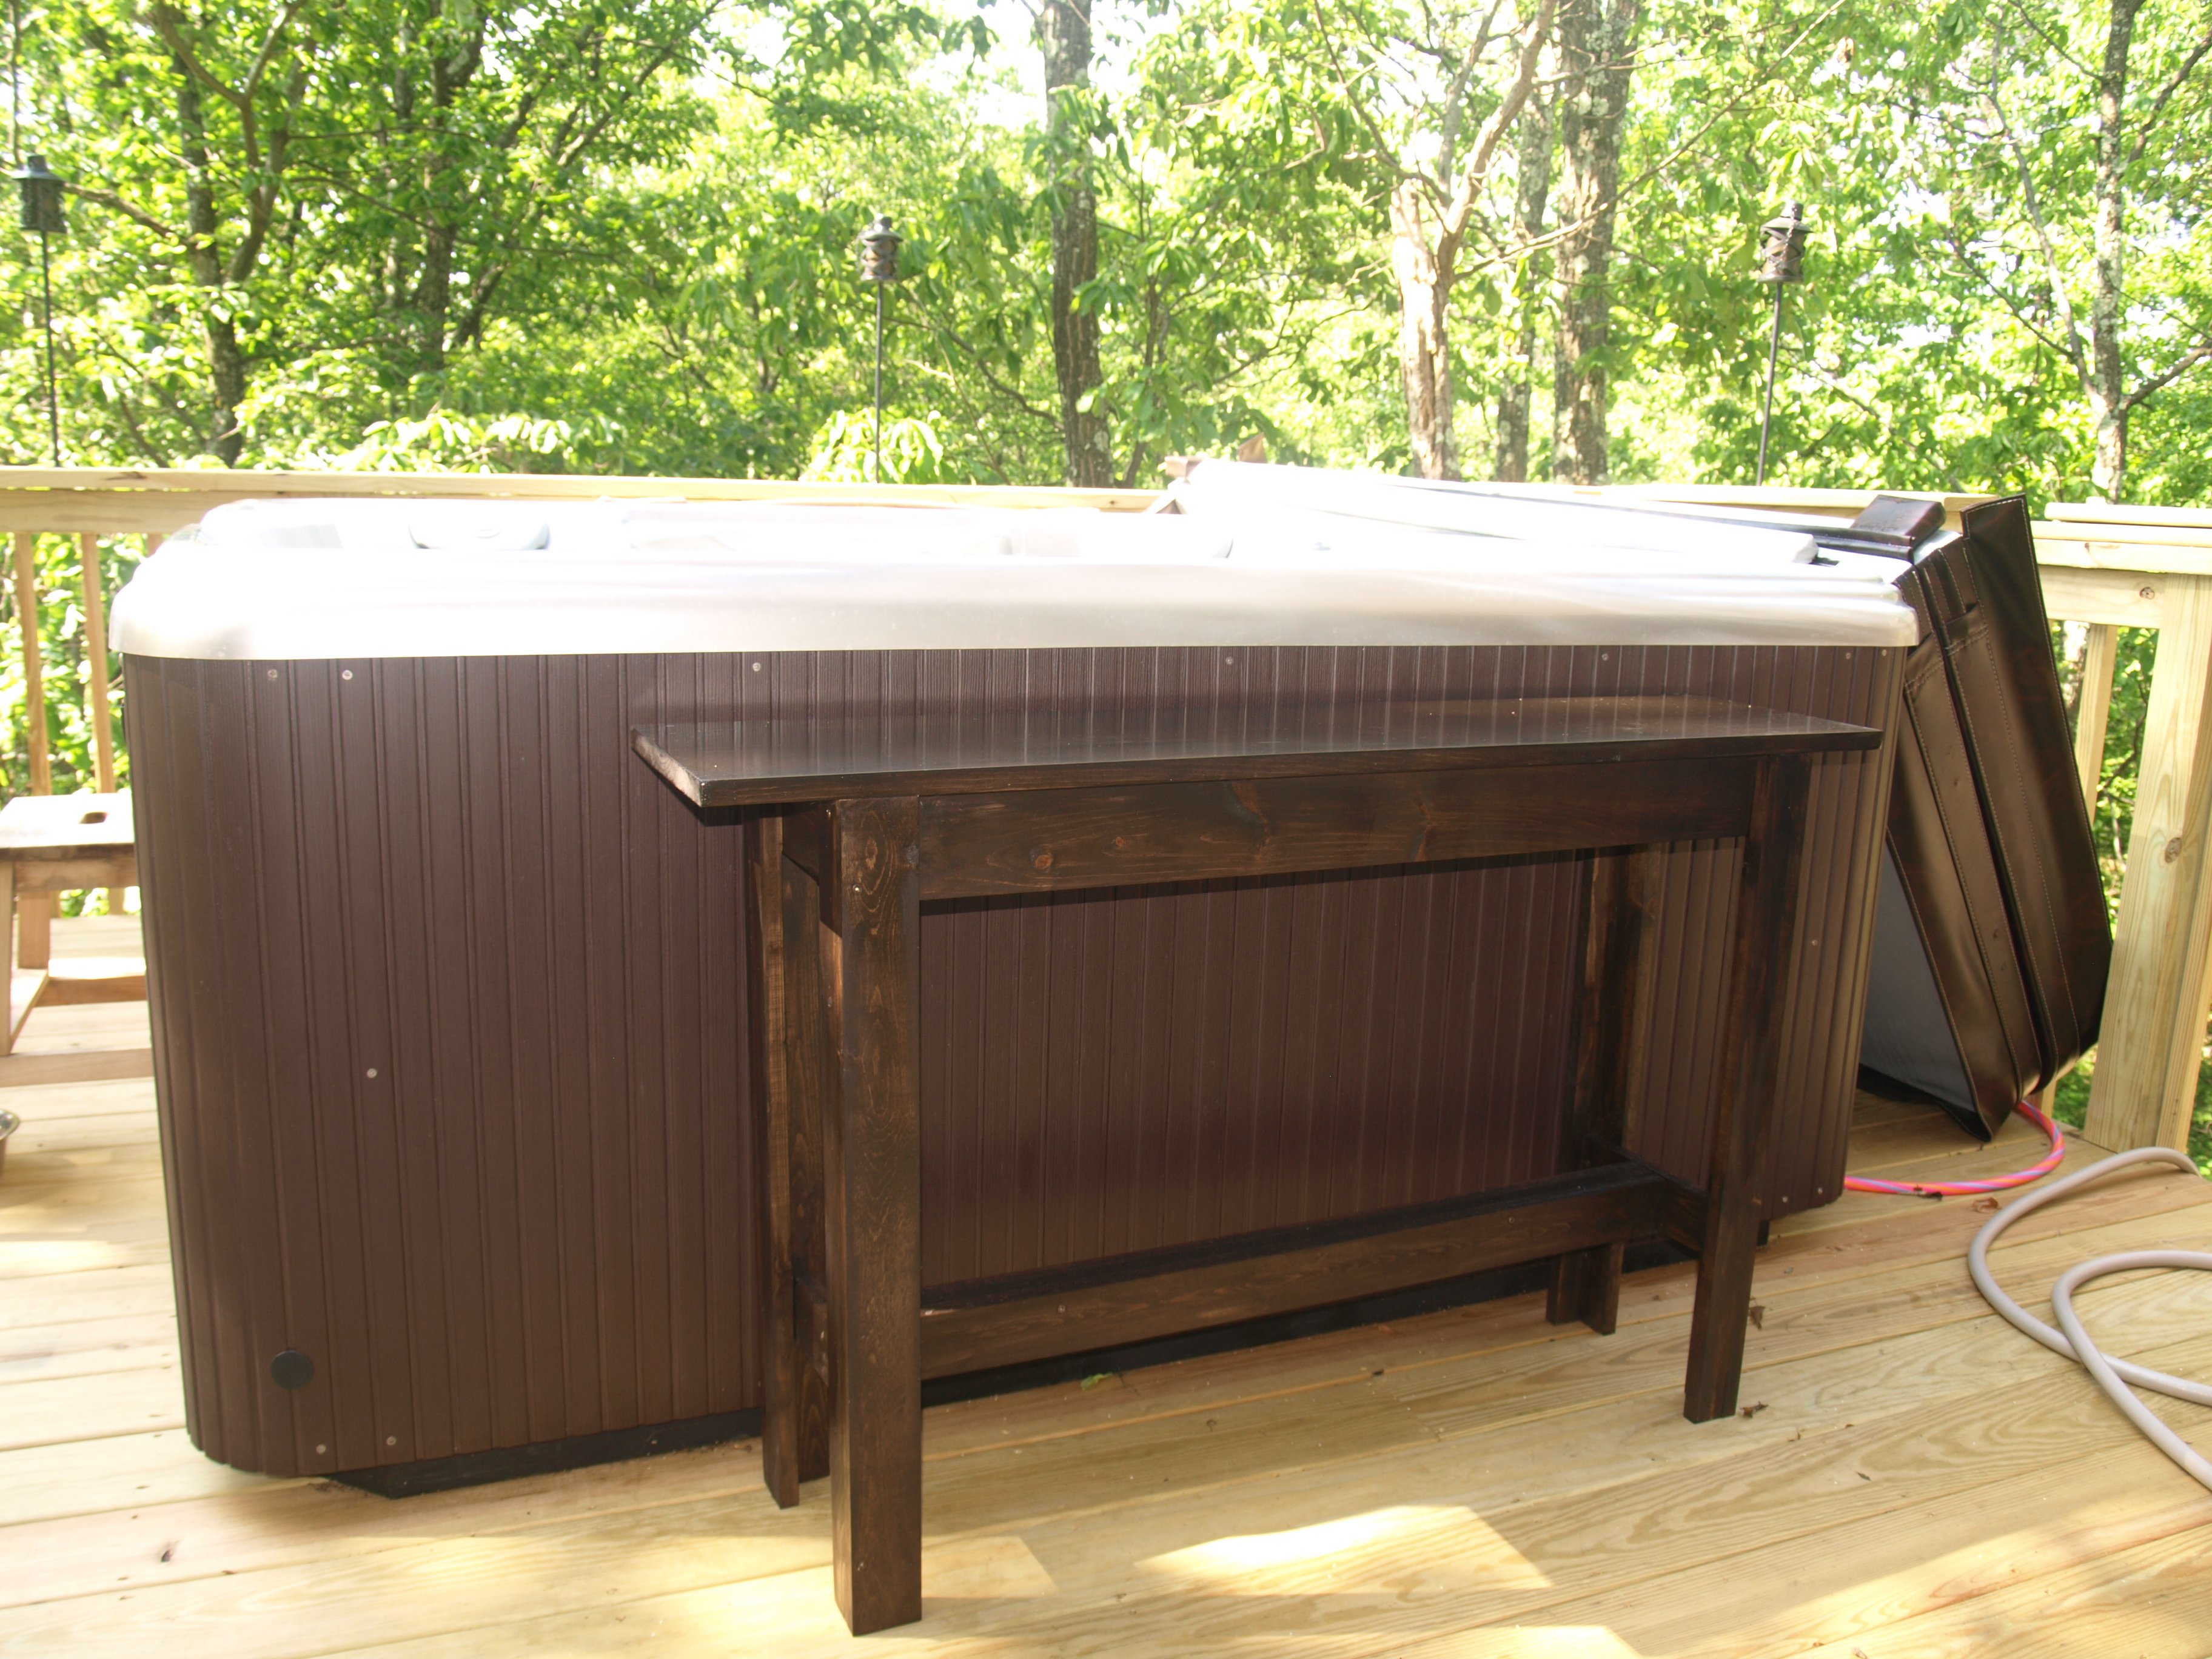
I completed this table with my 5 year old daughter as my assistant. My husband requested a table to put next to our new hot tub to set his drinks on and this is perfect. We only put one board on the top because I felt since it would be outside, I wanted a smooth top. I just screwed it in diagonally from the bottom. I also used spar varnish since it would be outside.

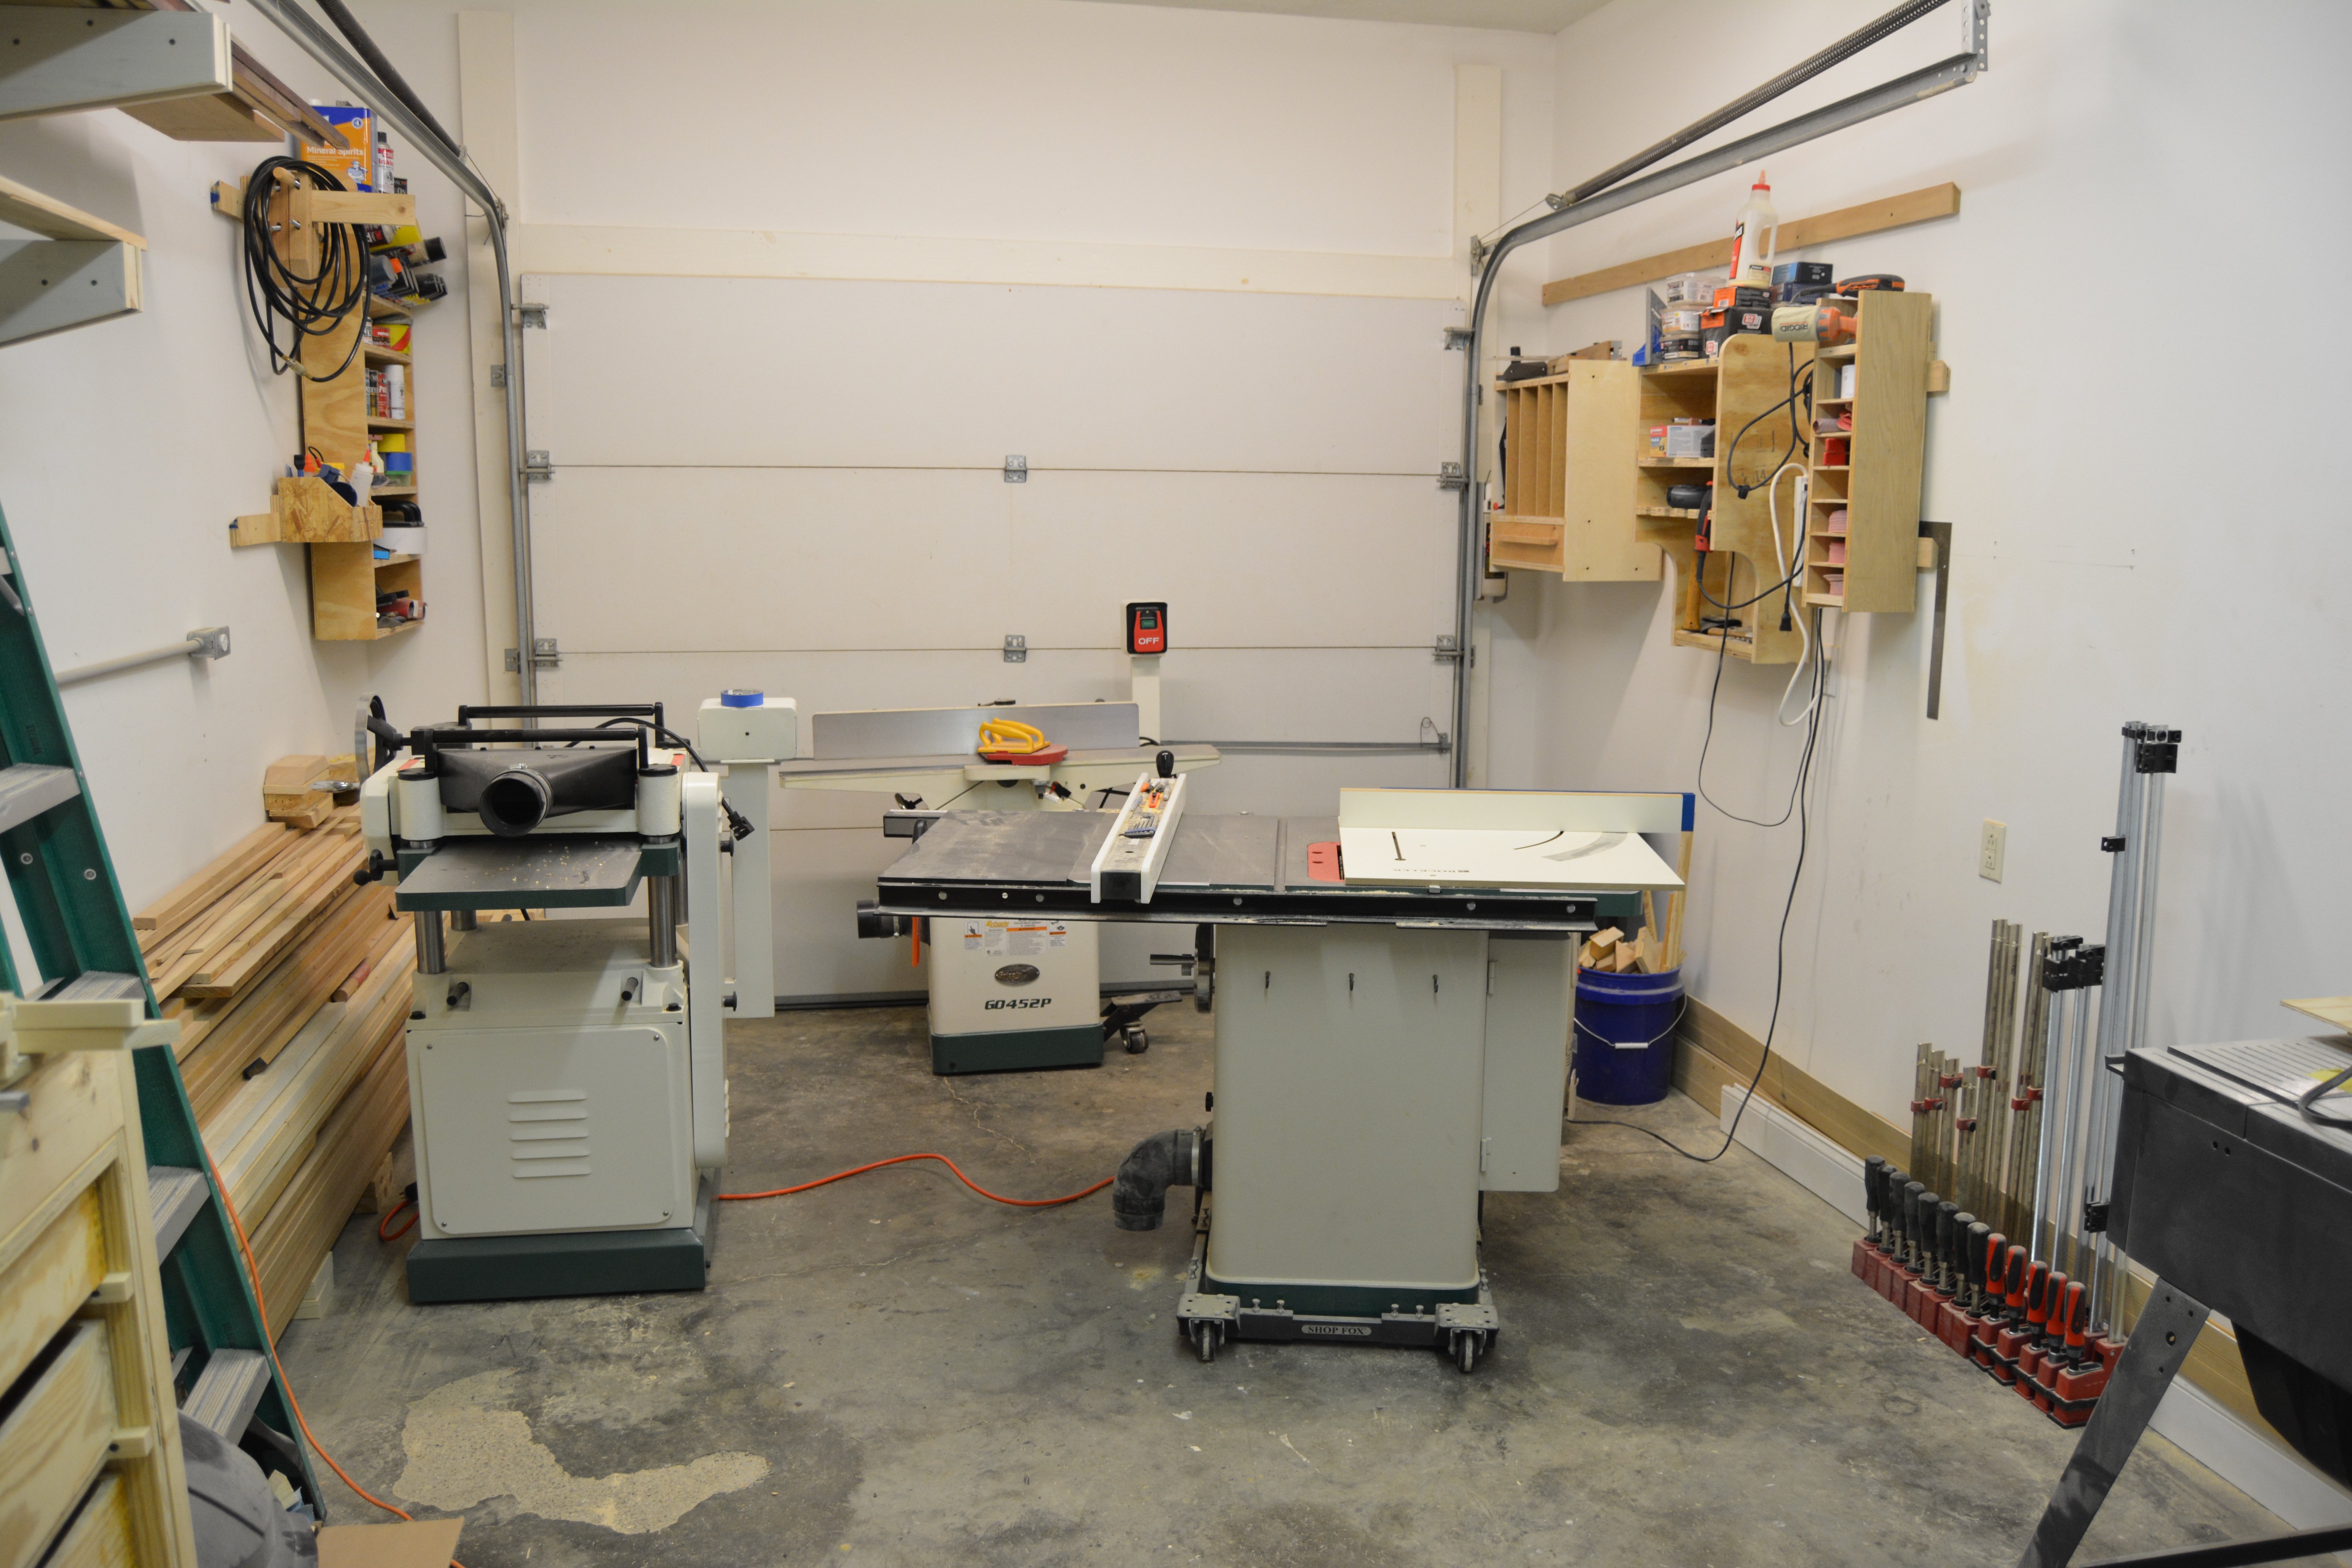
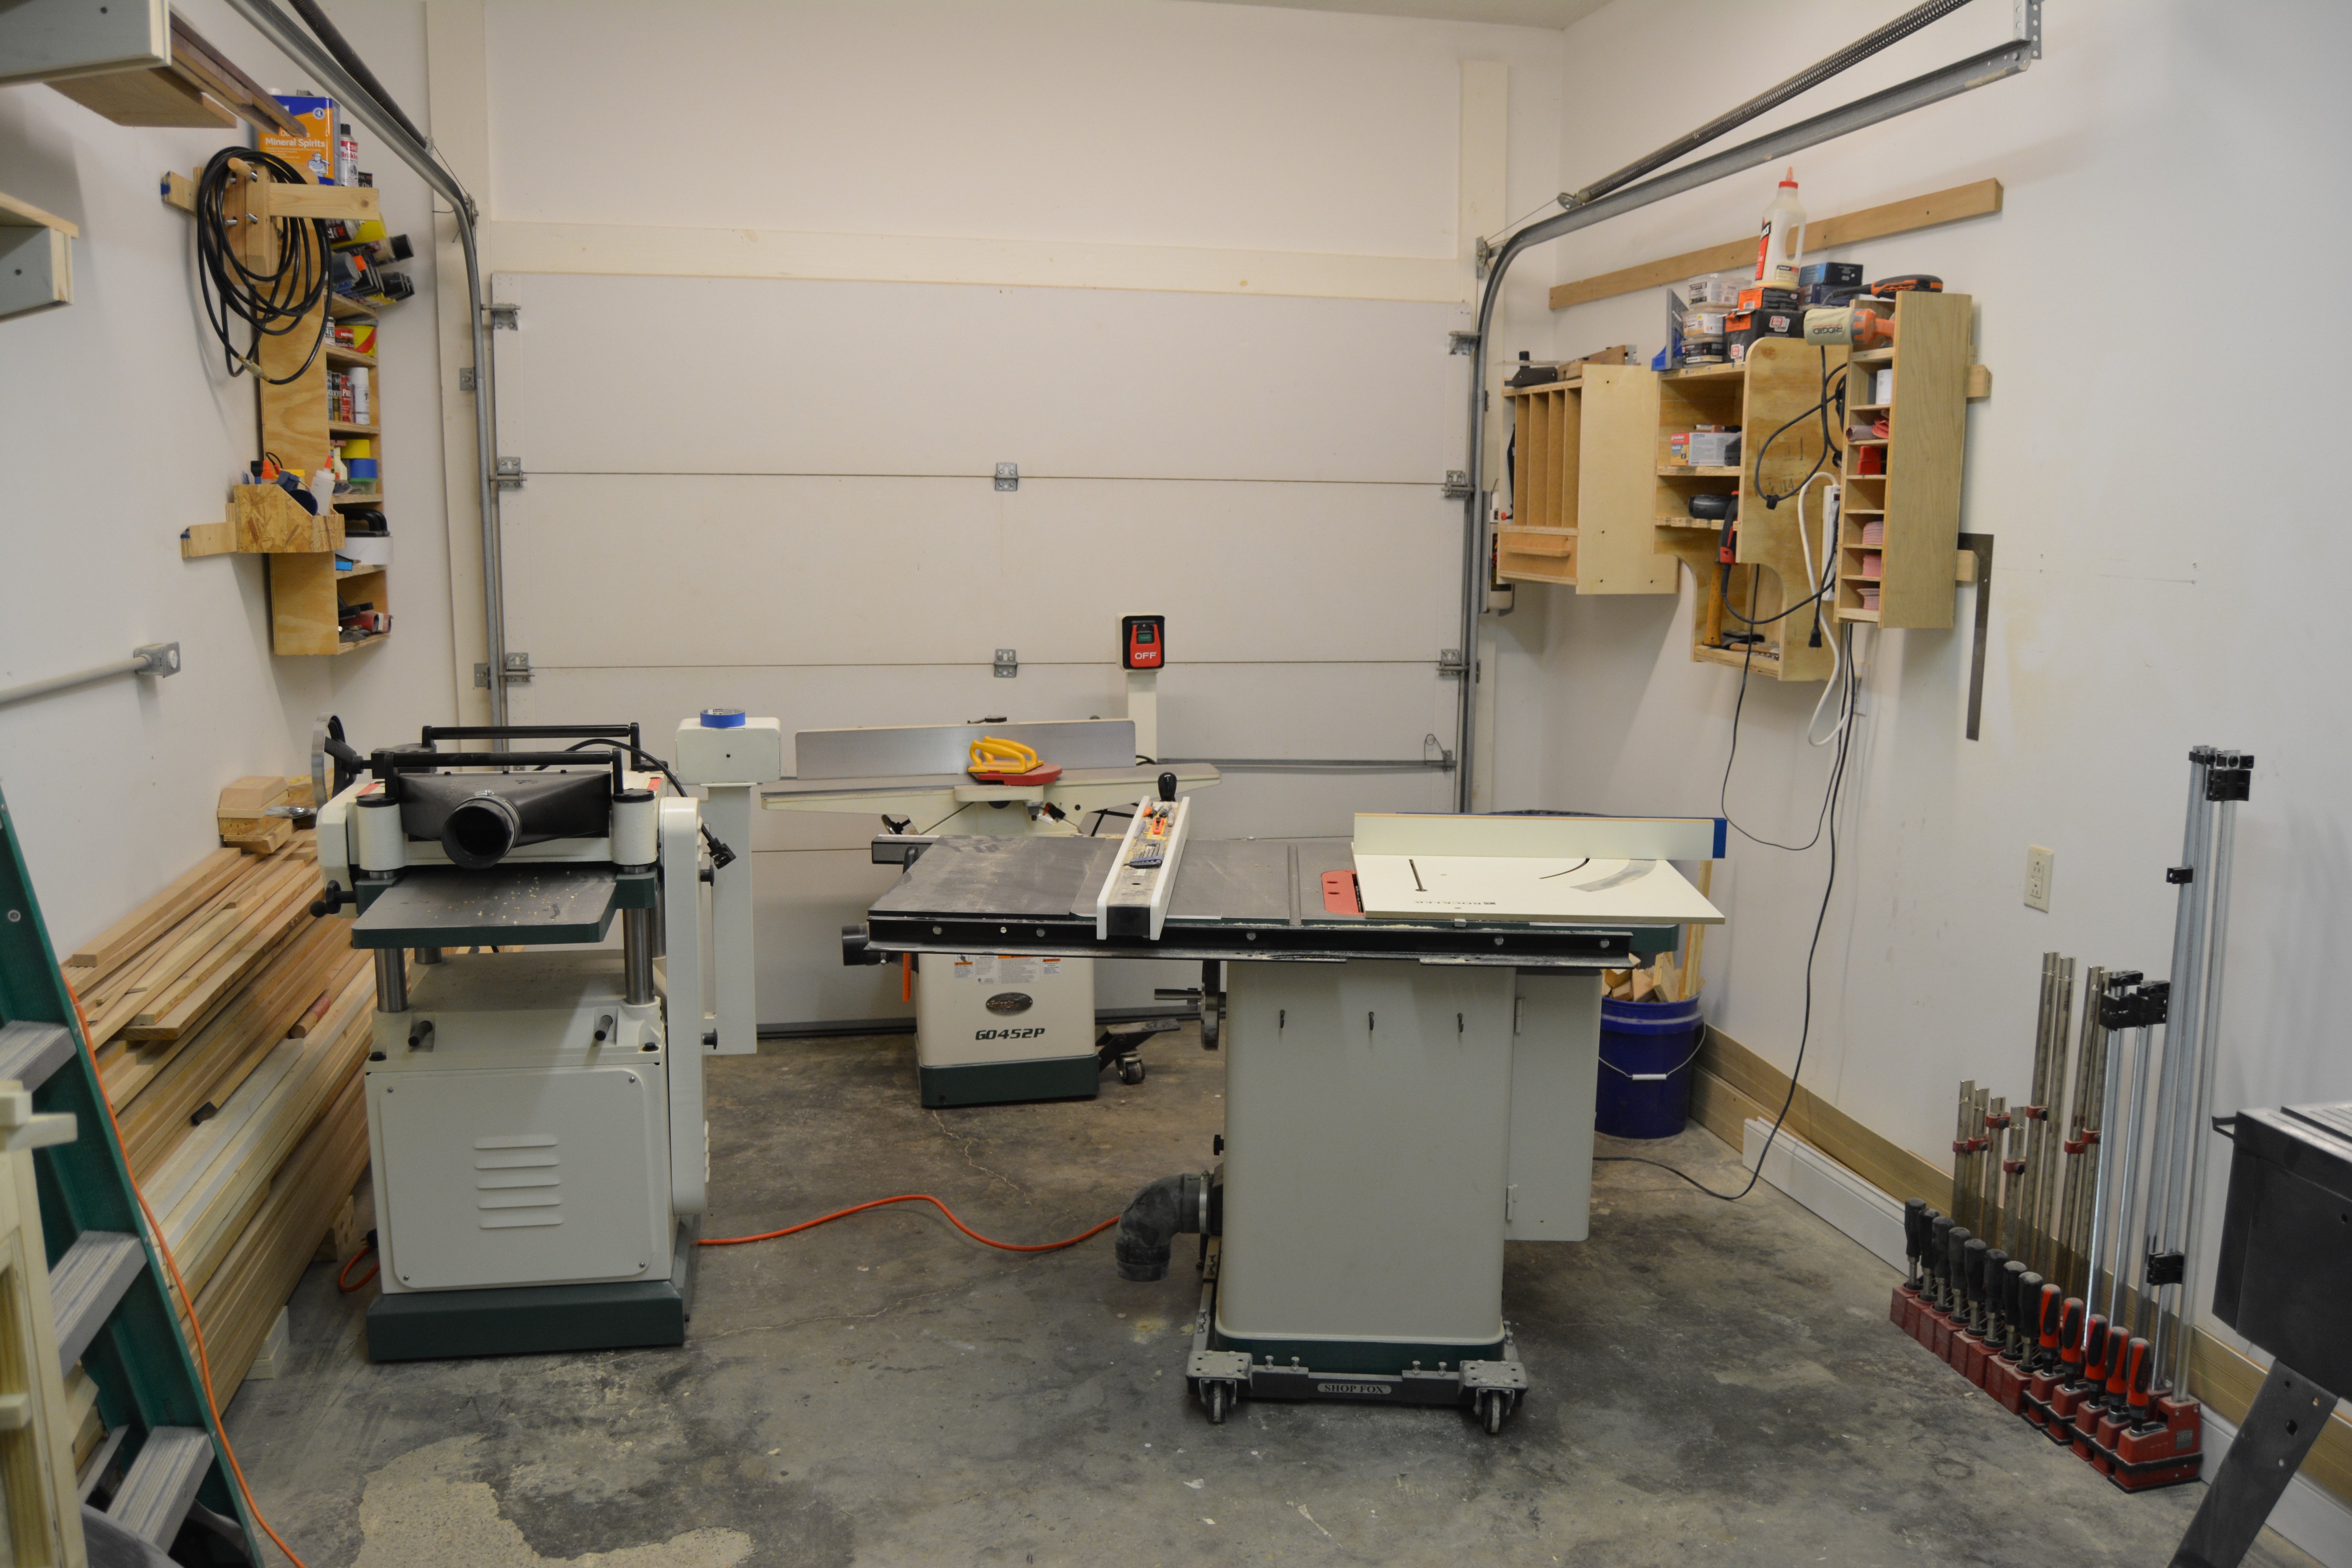
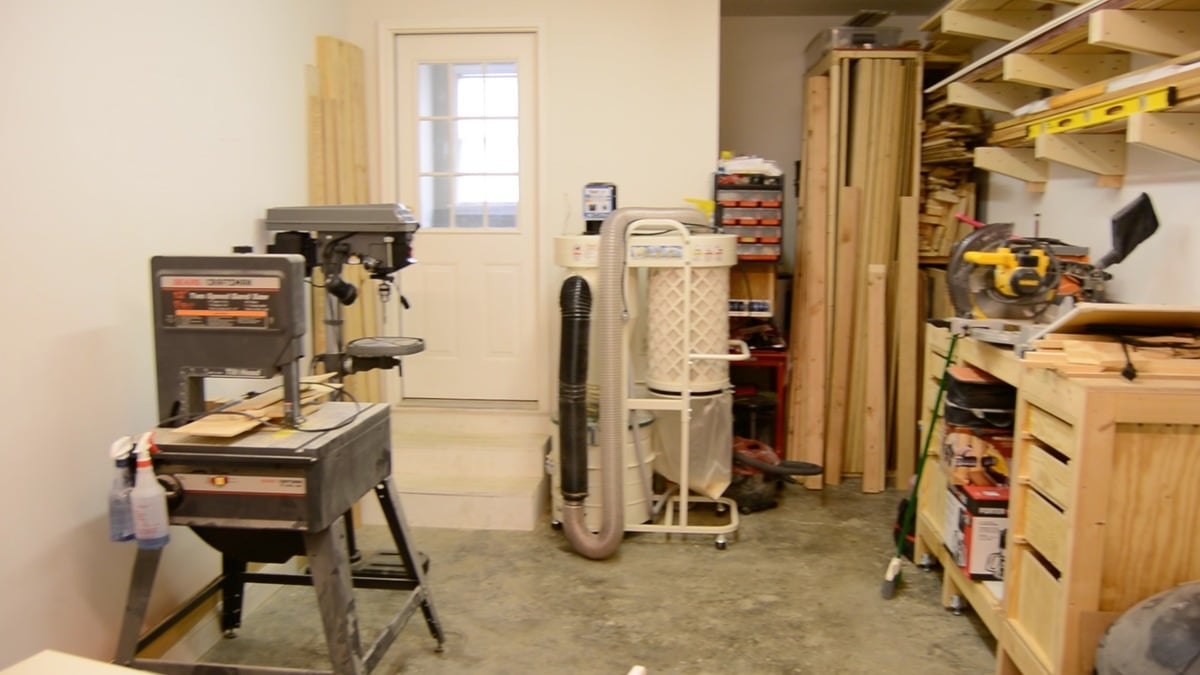
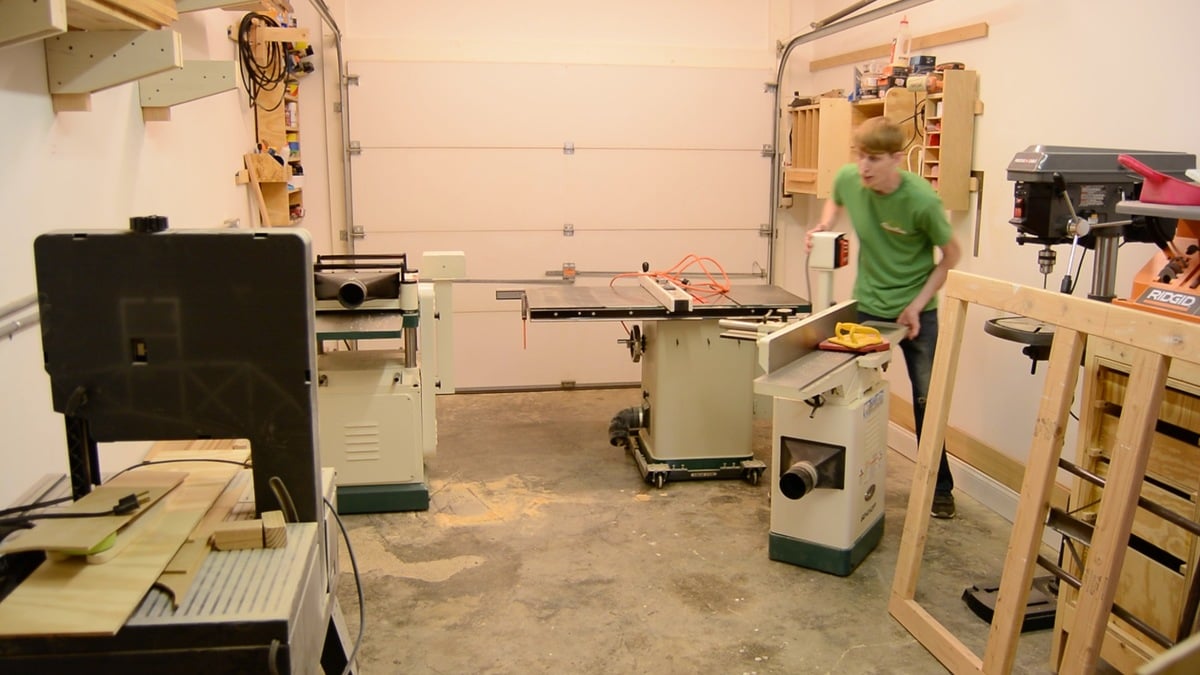
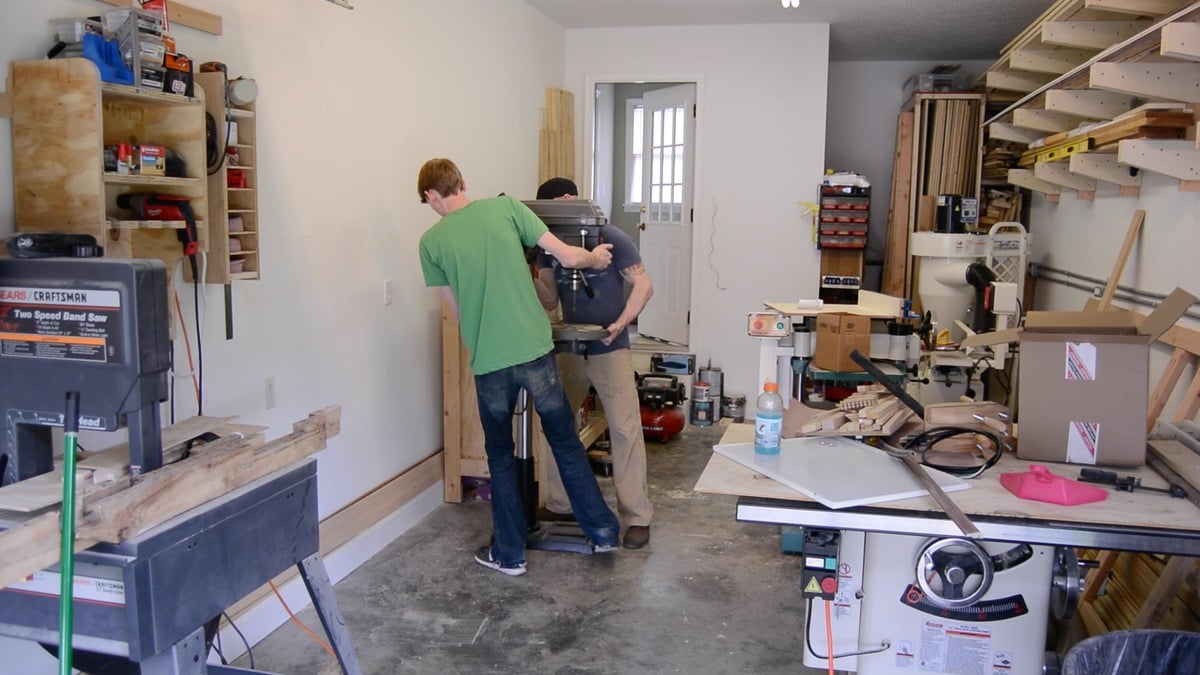
This week's project was to reorganize my small garage shop for a better layout. Hopefully you can get some ideas from my shop to better organize your own.
Blog: http://www.lanebroswoodshop.com/2015/04/new-shop-layout.html
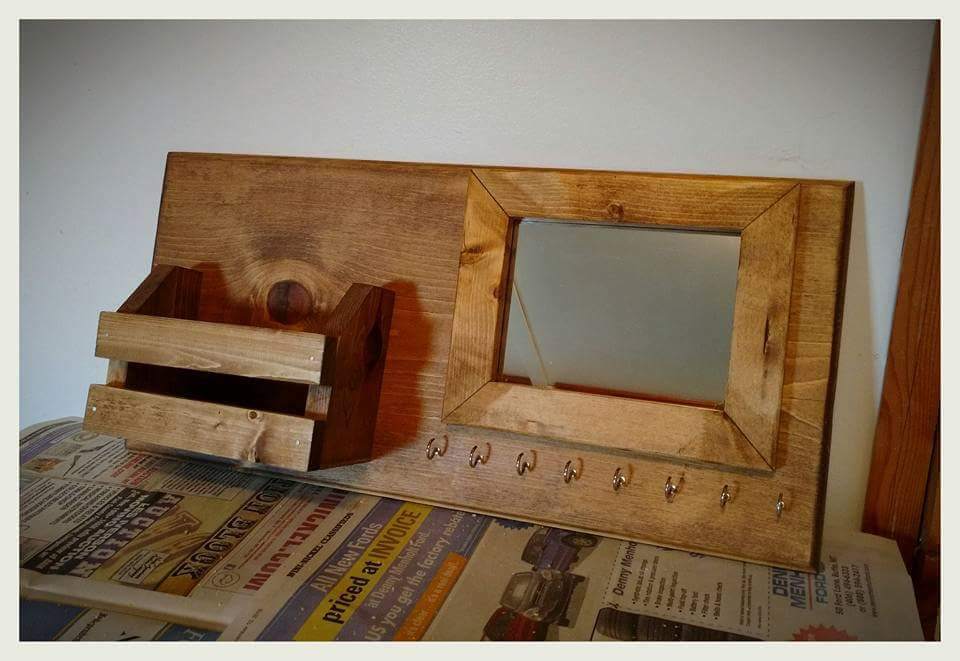
Fiance wanted some rustic bathroom decor, and asked for 3 things. It should have a makeup box, jewelry hooks, and a touch up mirror. She was super happy with the finished product. Stained in Early American and given a Semigloss poly.
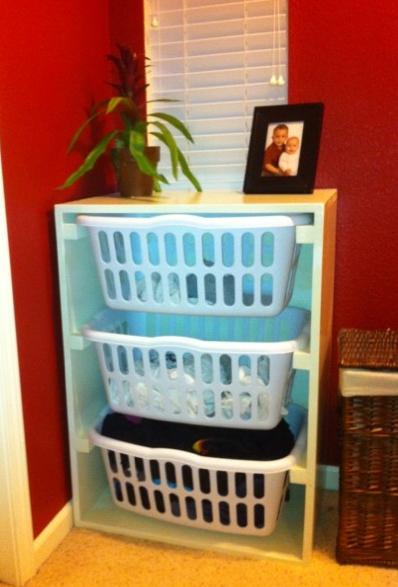
Anything to make Laundry easier and looks good I will build. This is a very simple project that is invaluable to anyone that does laundry. We have it in our master bath to help with separating our laundry.
It is sturdy, functional and is a nice looking piece. The only changes I made was to use 2x2's for the rails instead of the metal L-brackets.
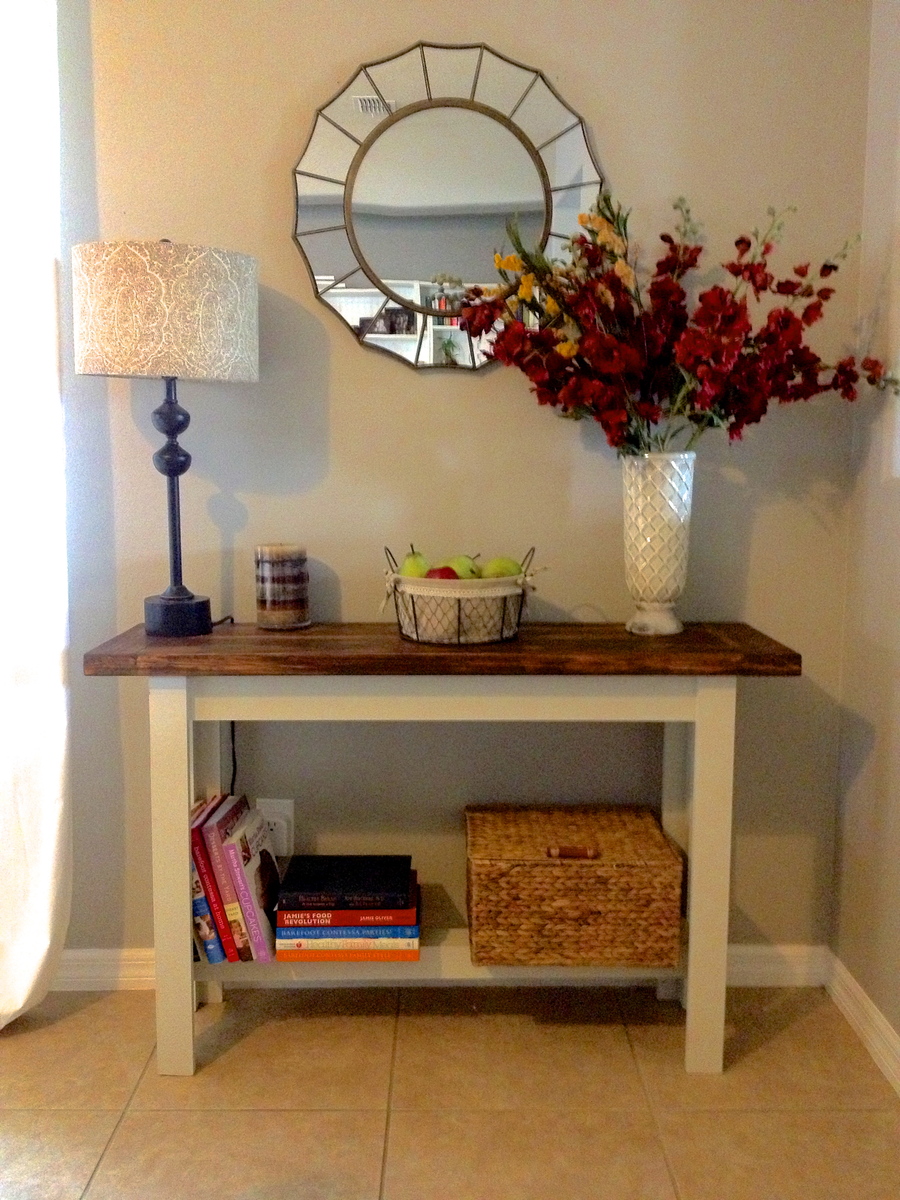
I am cheap and I have expensive taste. I love, love, love Pottery Barn. I also love Michael Kors, Coach, Gucci, Jimmy Choo, and all things pretty. Especially pretty shiny things.
So I regress...
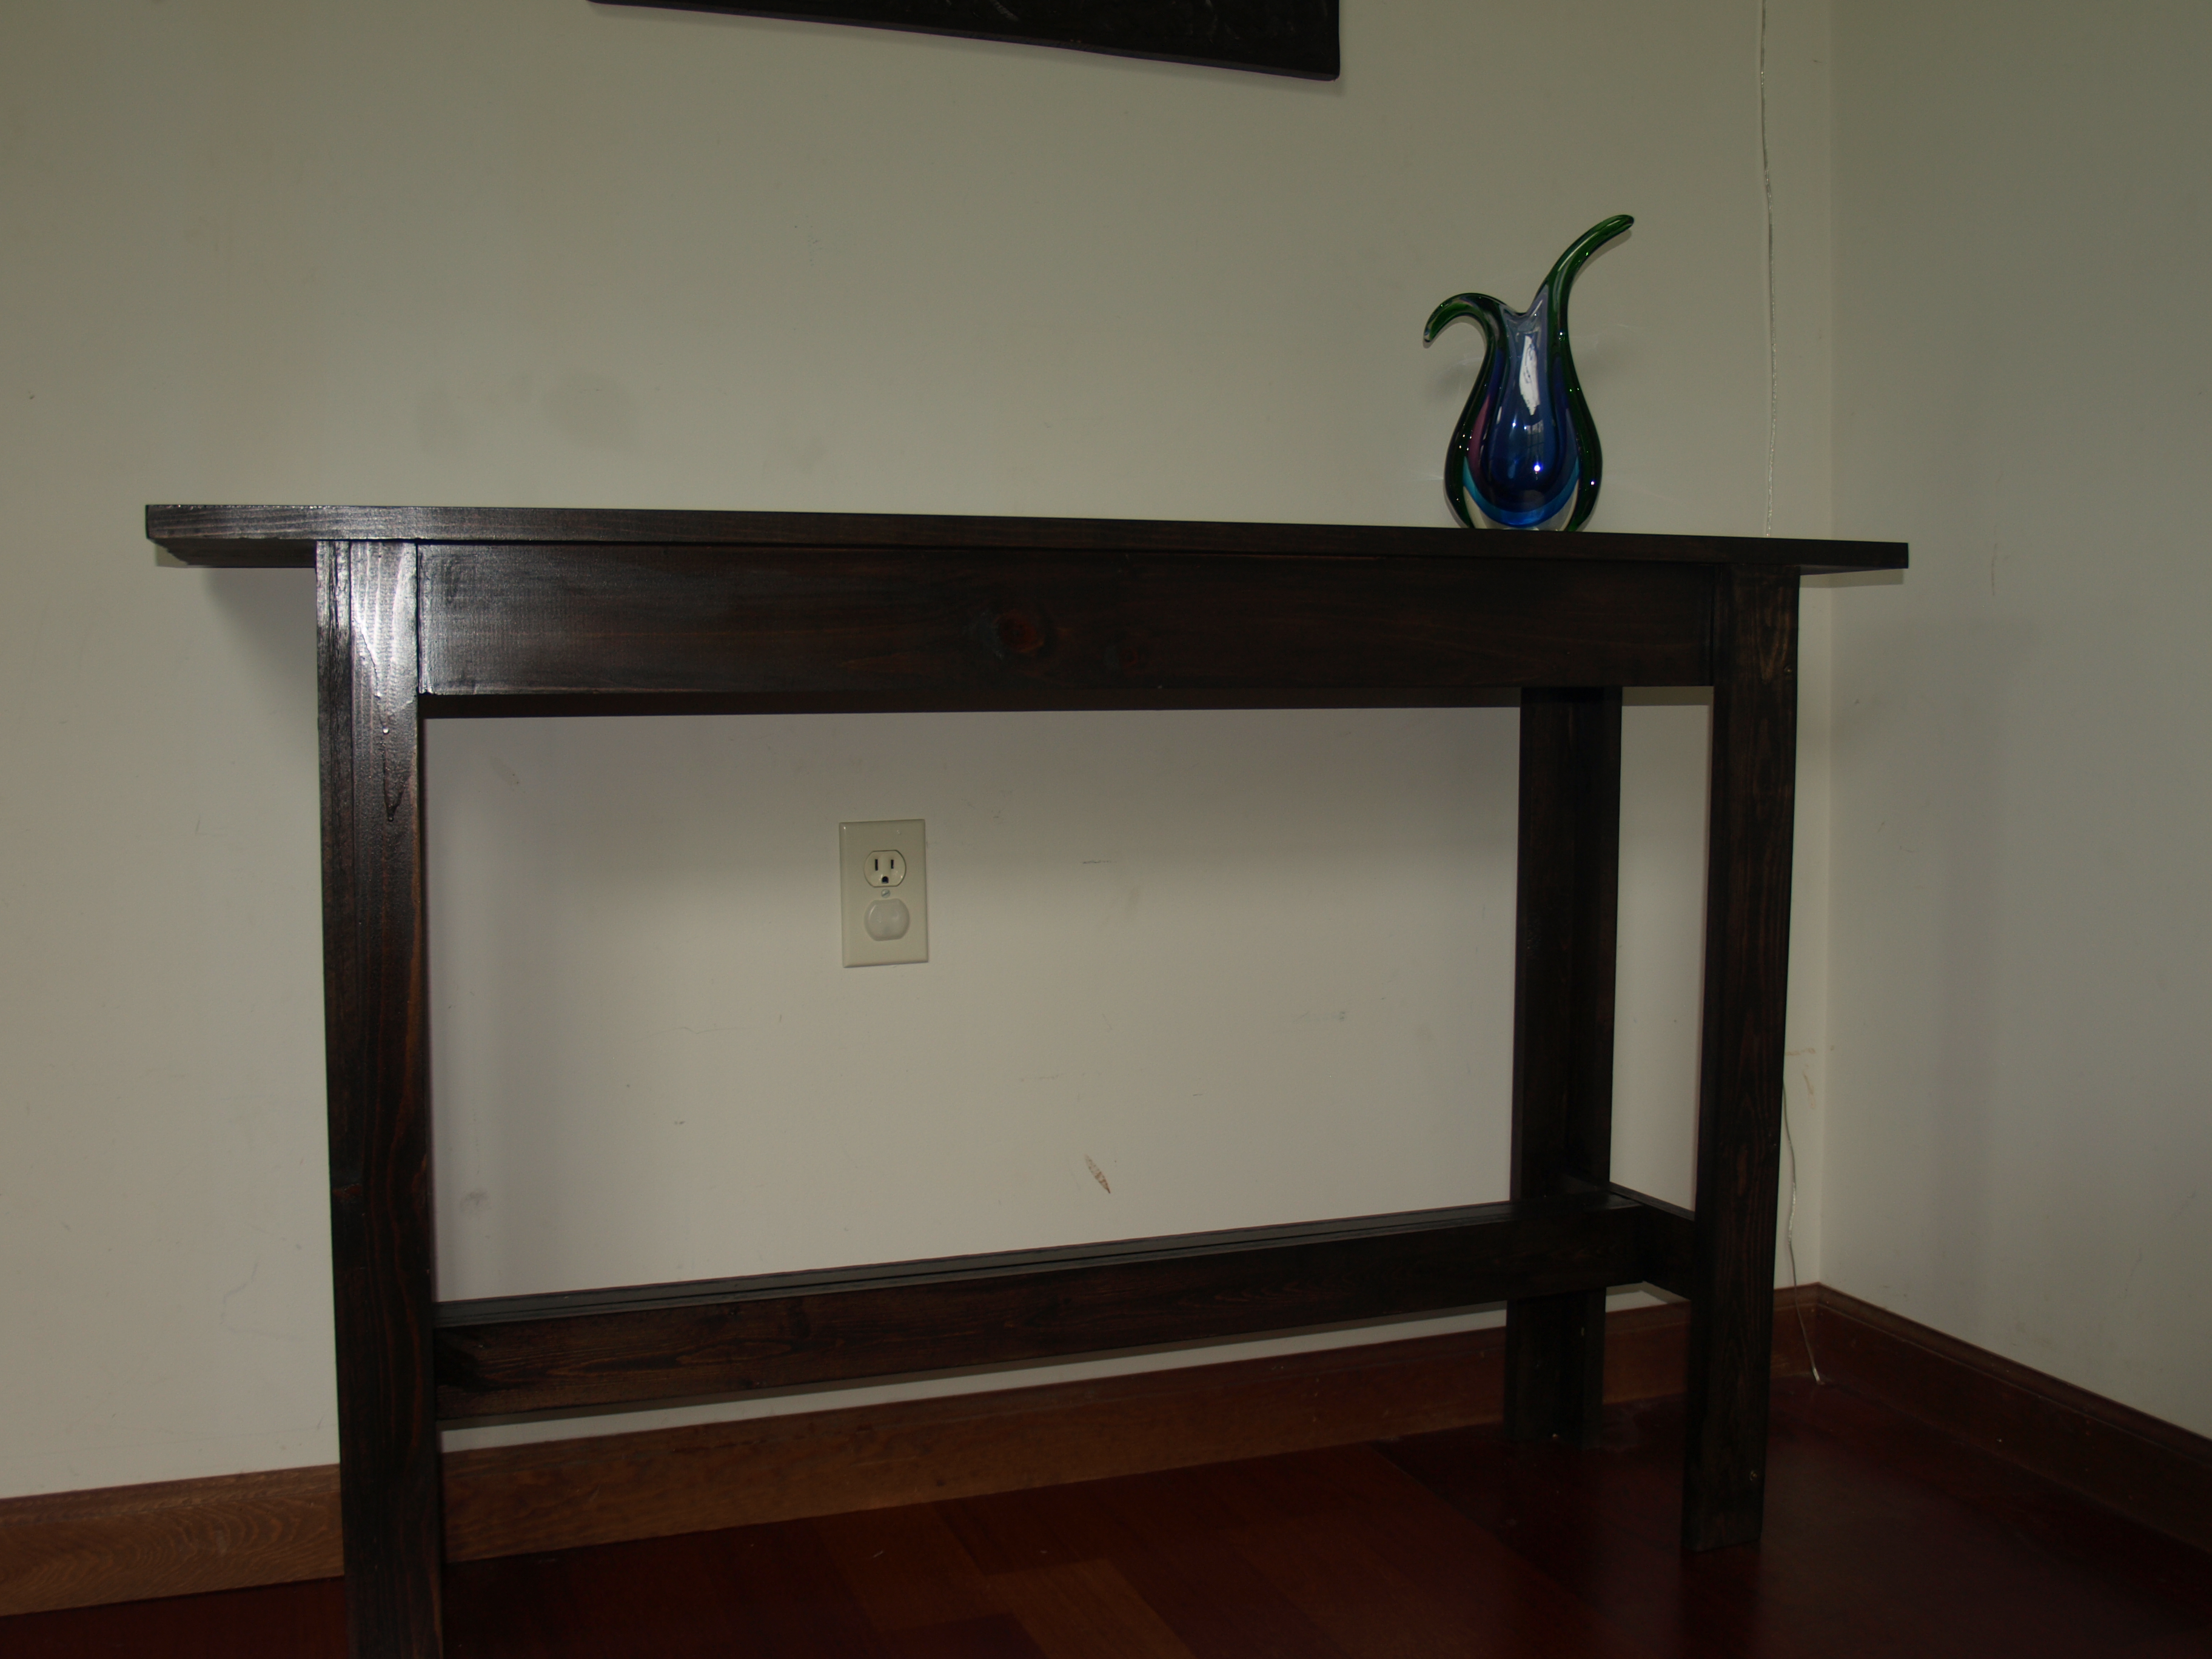
Anyways, I have had this bare spot in my living room and it has slowly been driving me crazy. Through much painstaking research I have decided that I wanted something like the Hyde Pottery Barn Console Table. Okay, not something like.... I wanted the Hyde Pottery Barn Console Table, but it also would cost $500. Hahaha. $500 for a console table. That's just ridiculous says my cheap, fugal self.
So I look at ebay and craigslist... nope, no one selling my dream table. And then a miracle happens.... I stumble across Ana White's blog. I think I've found my new blog BFF!
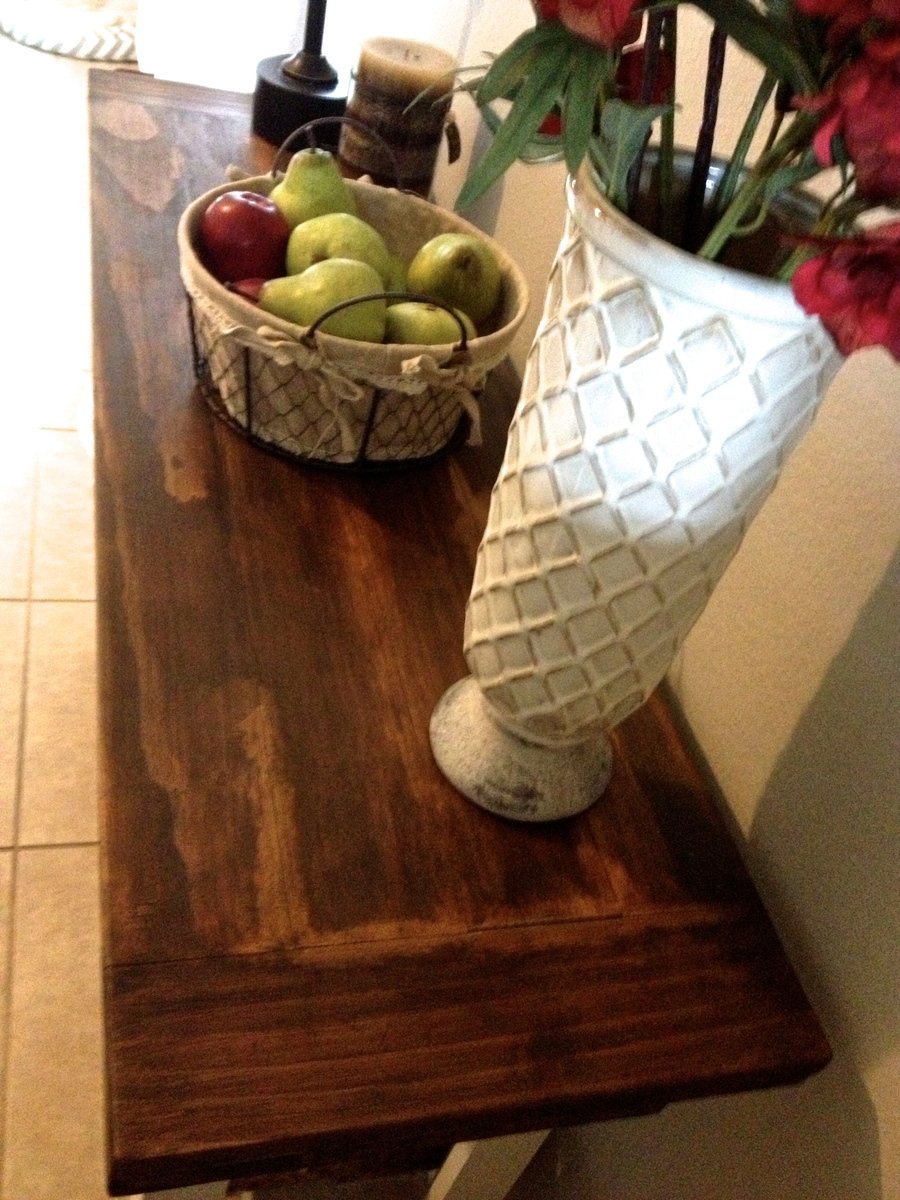
I followed her plans exactly and I decided to paint the bottom off white and stain the top walnut.
This was my first ever furniture build and I'm so excited by how it turned out!
Thanks, Ana!
Tue, 06/04/2013 - 13:57
You did an amazing job! I'm so glad you found what you wanted and were able to create it yourself!
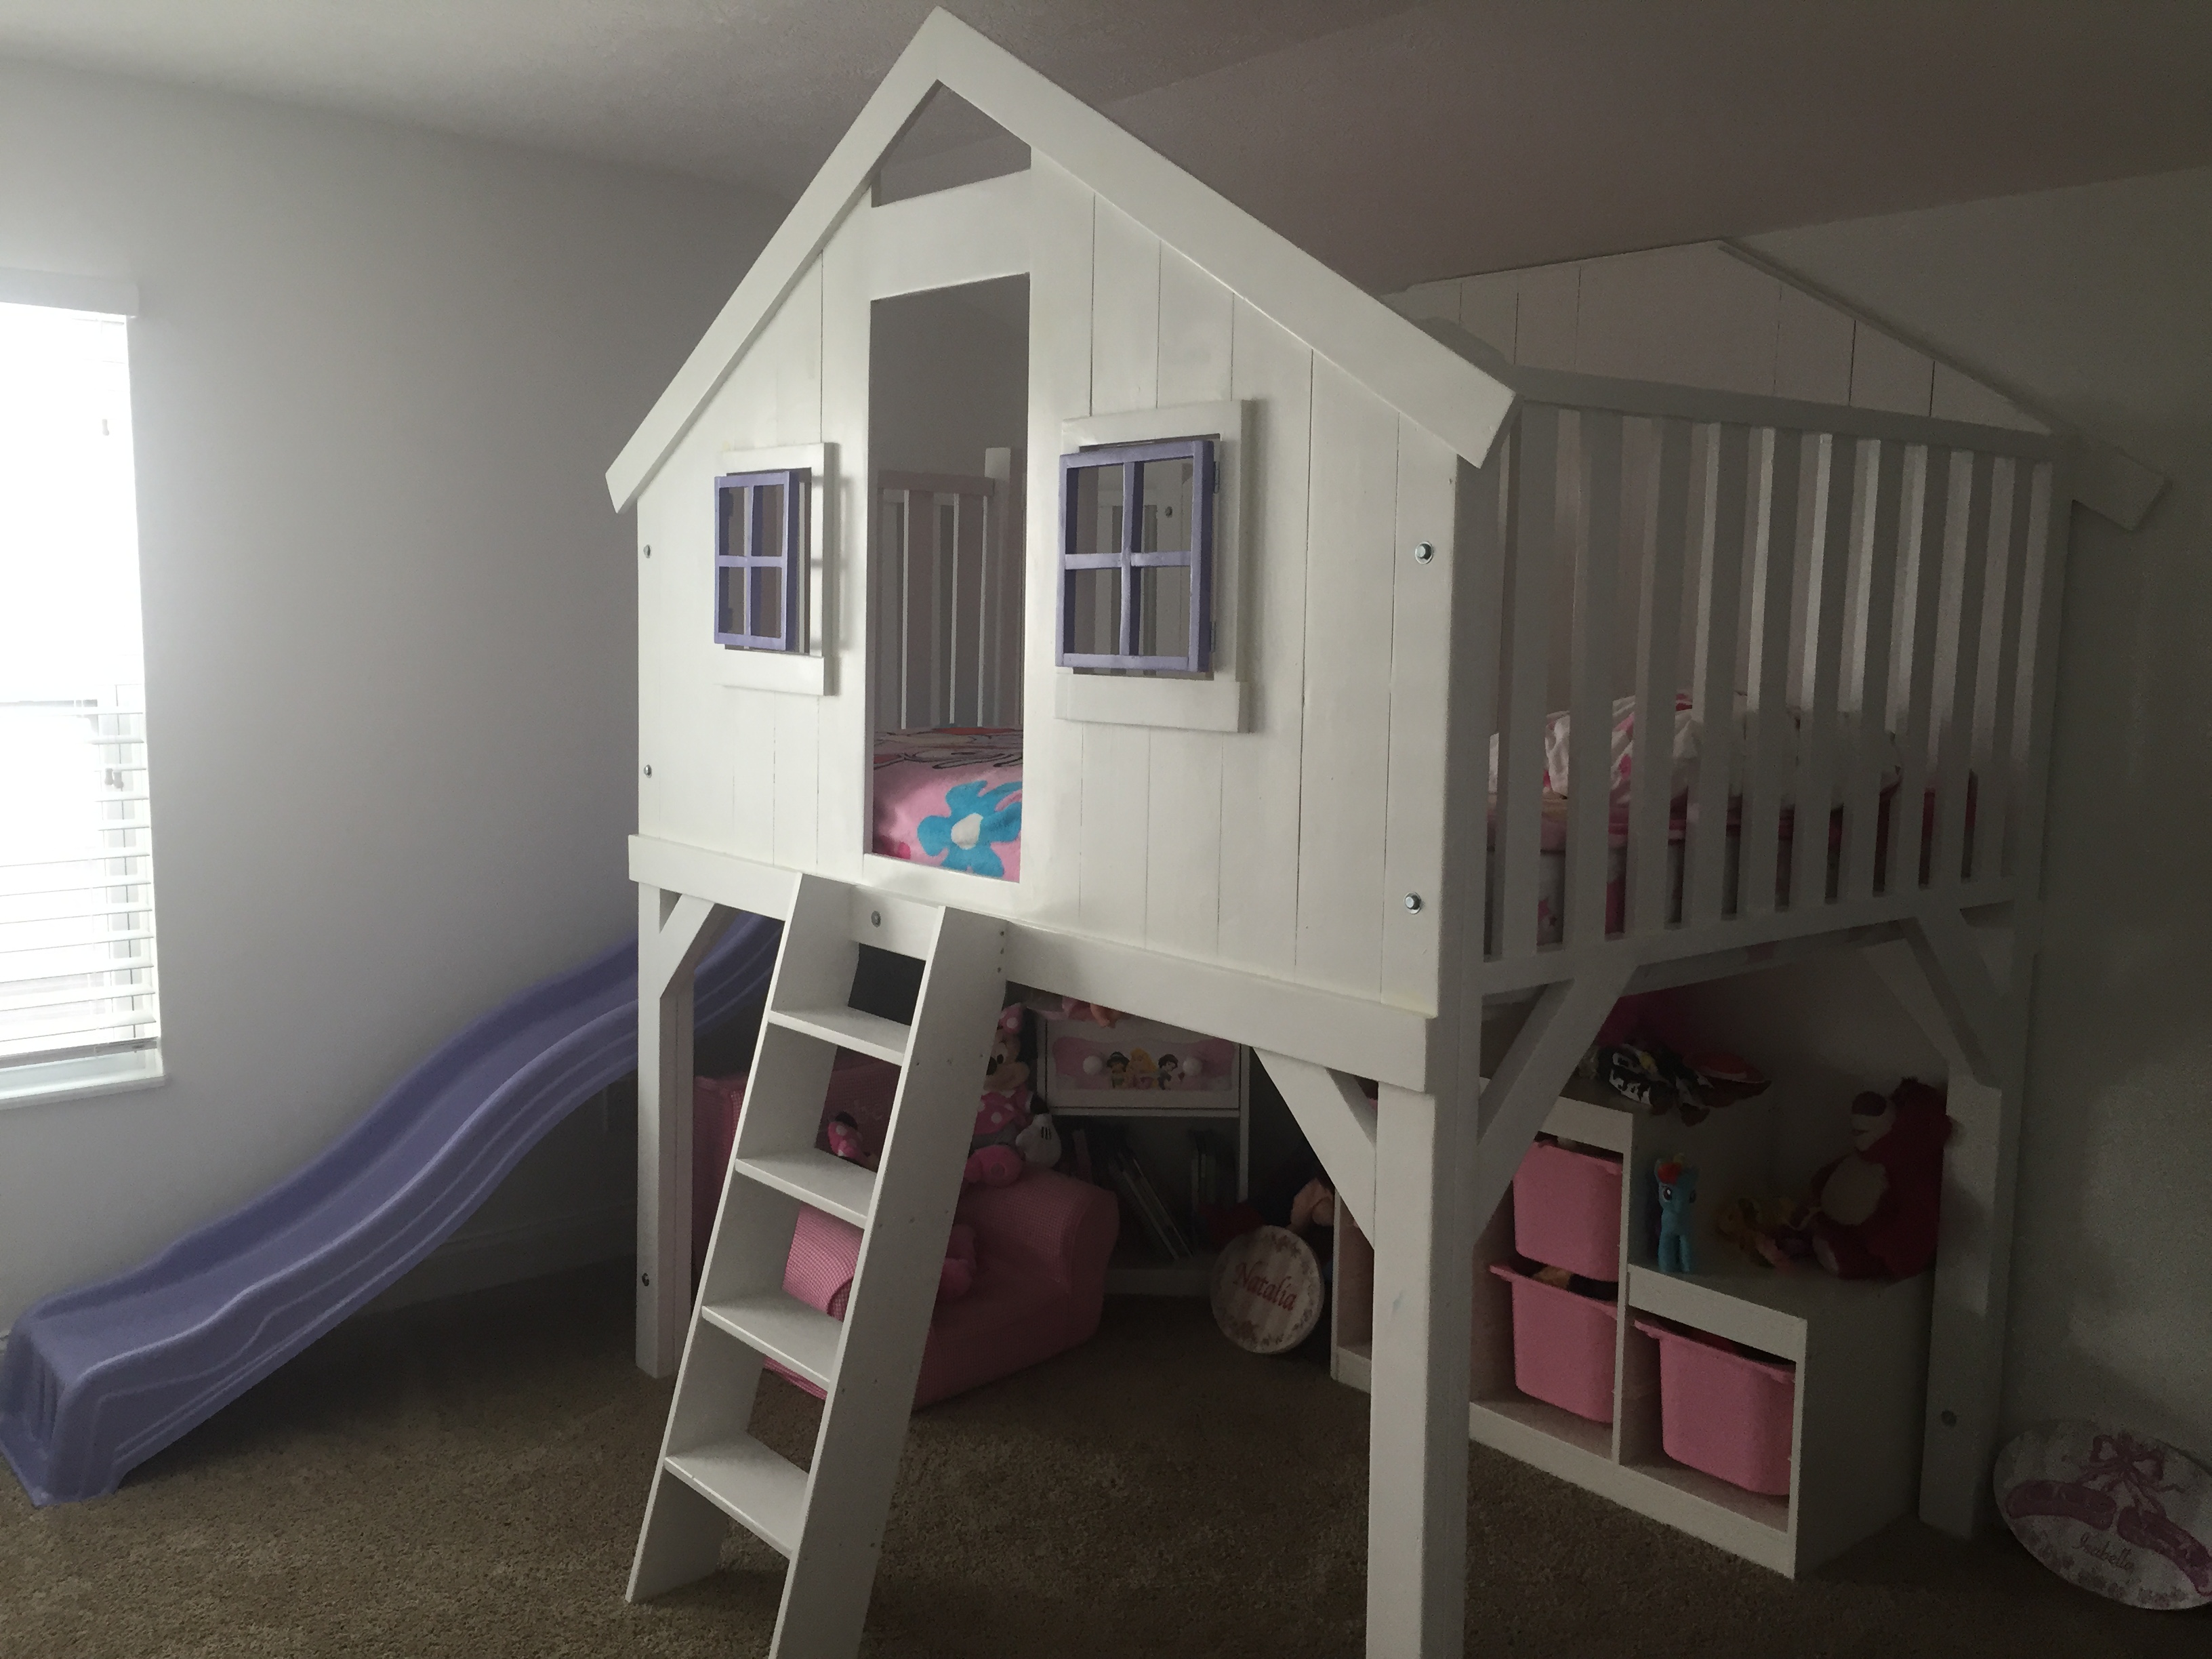
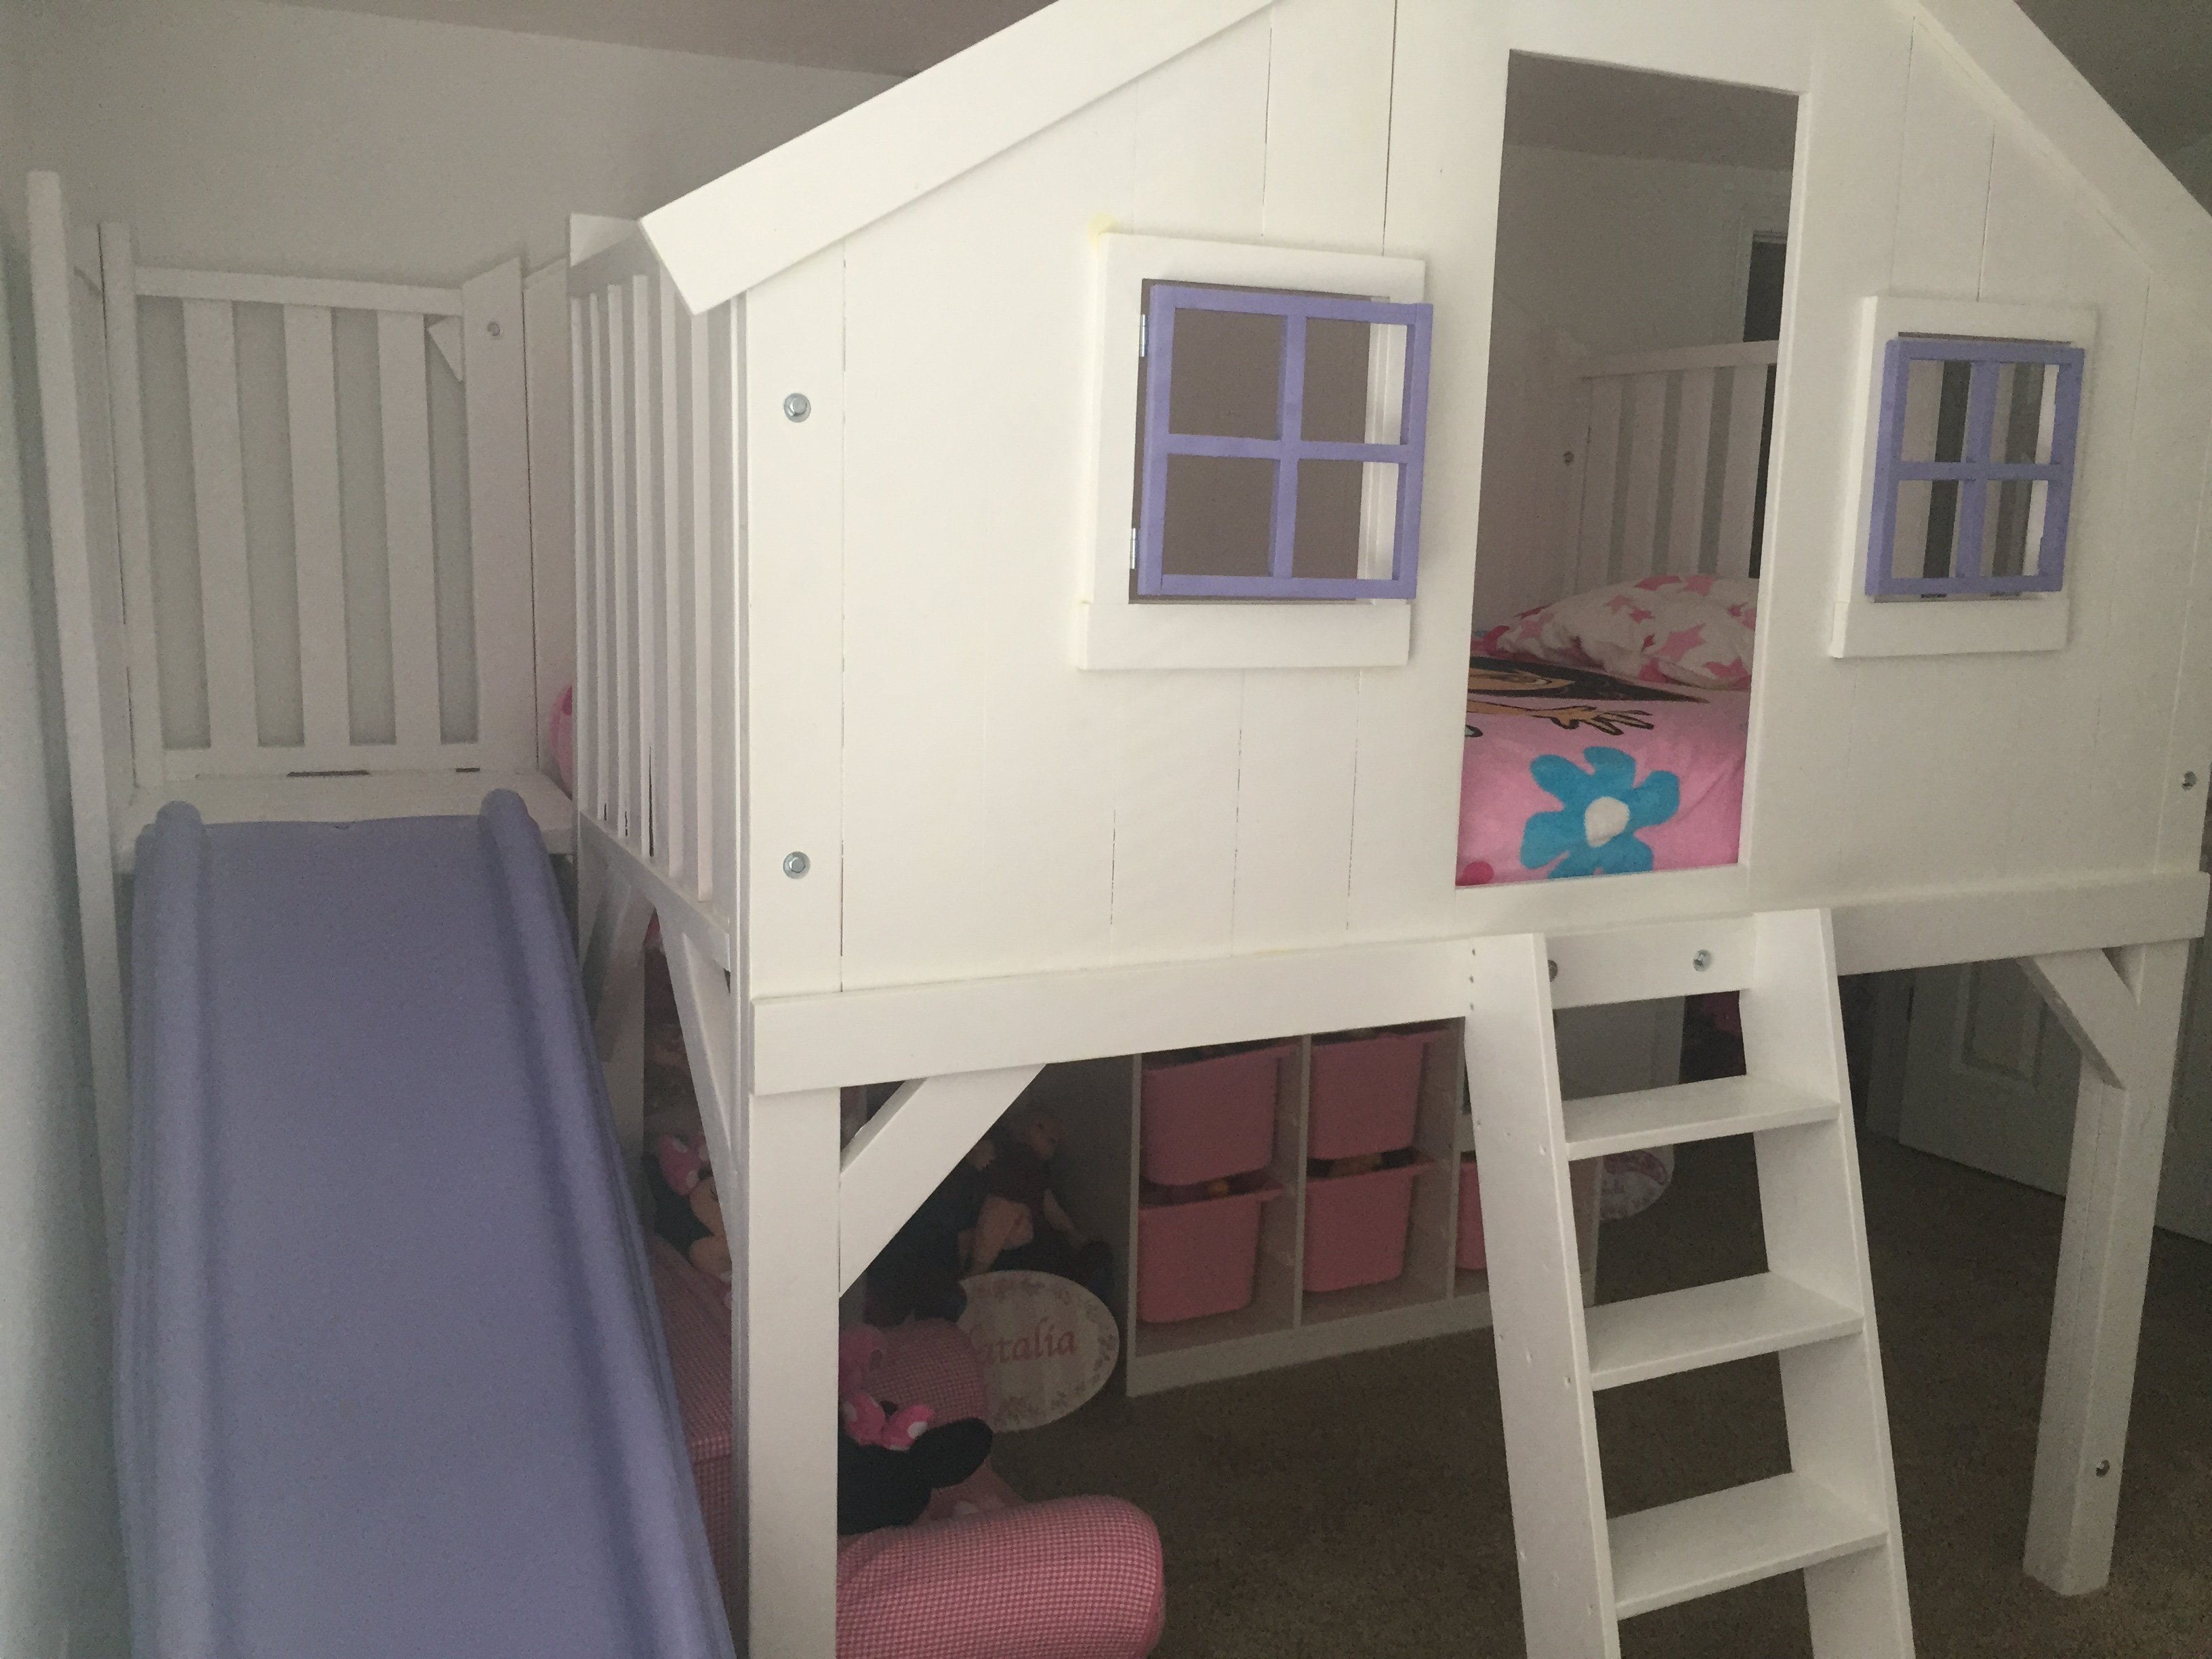
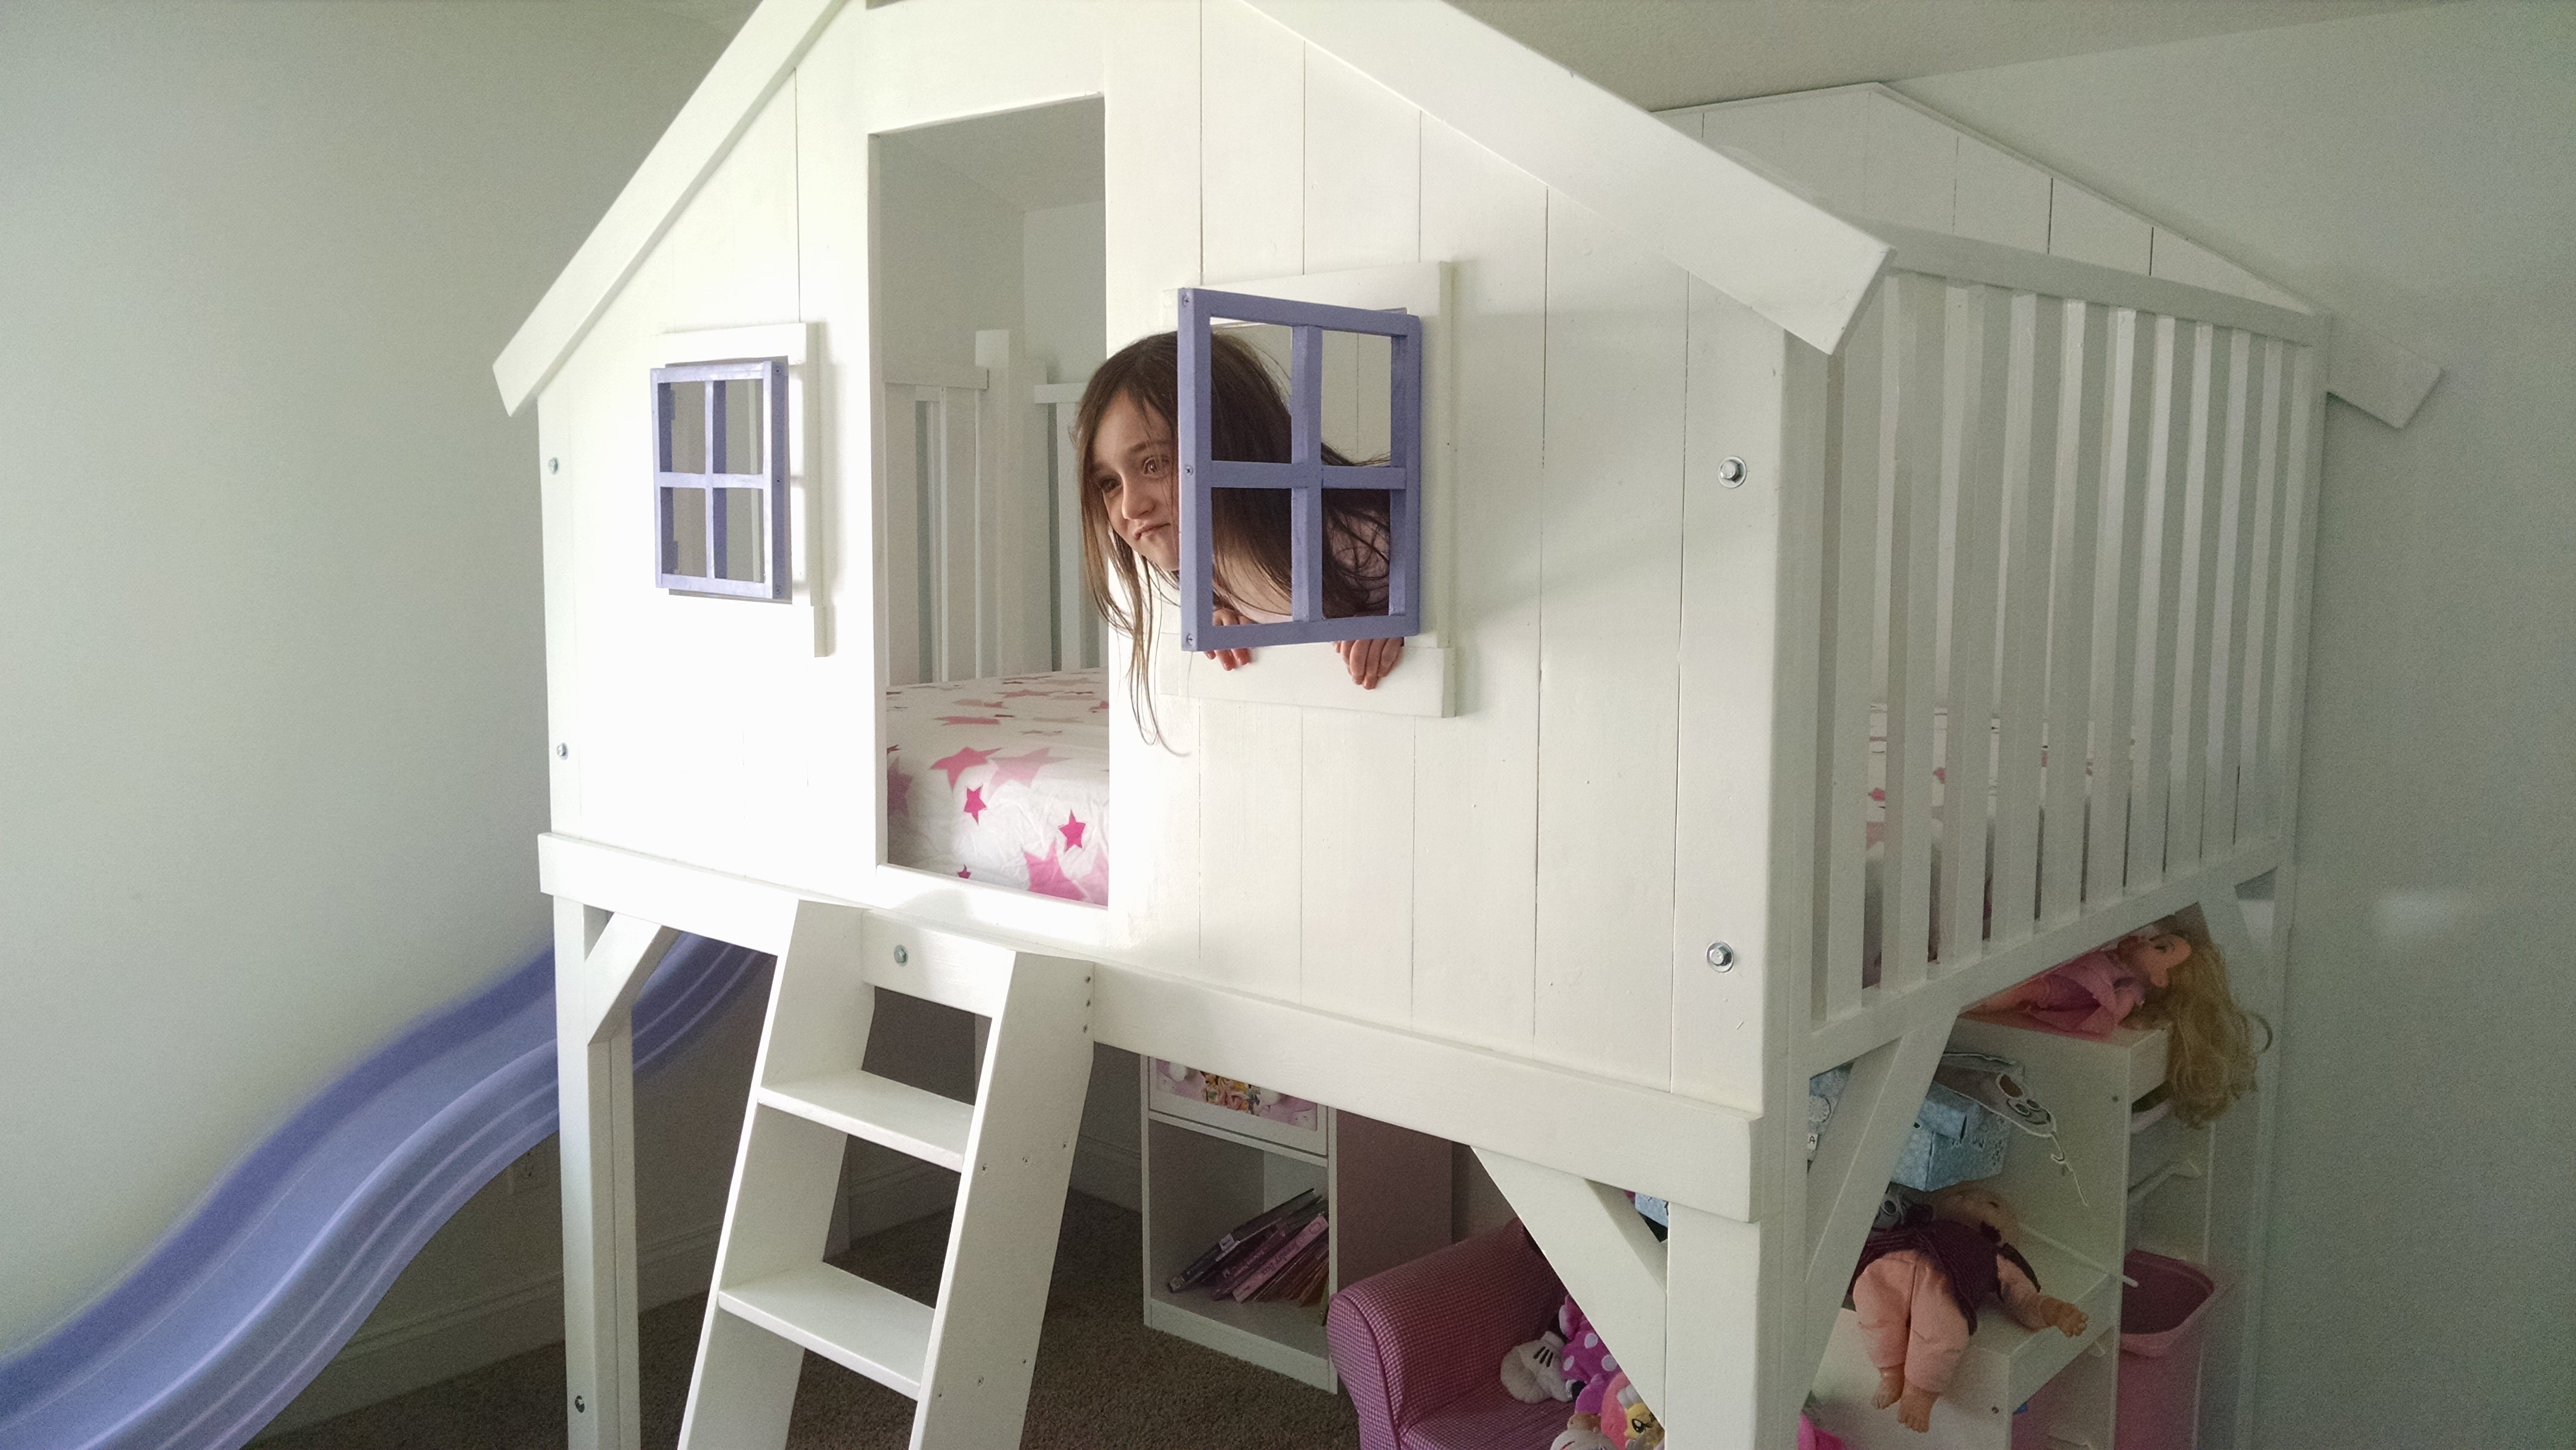
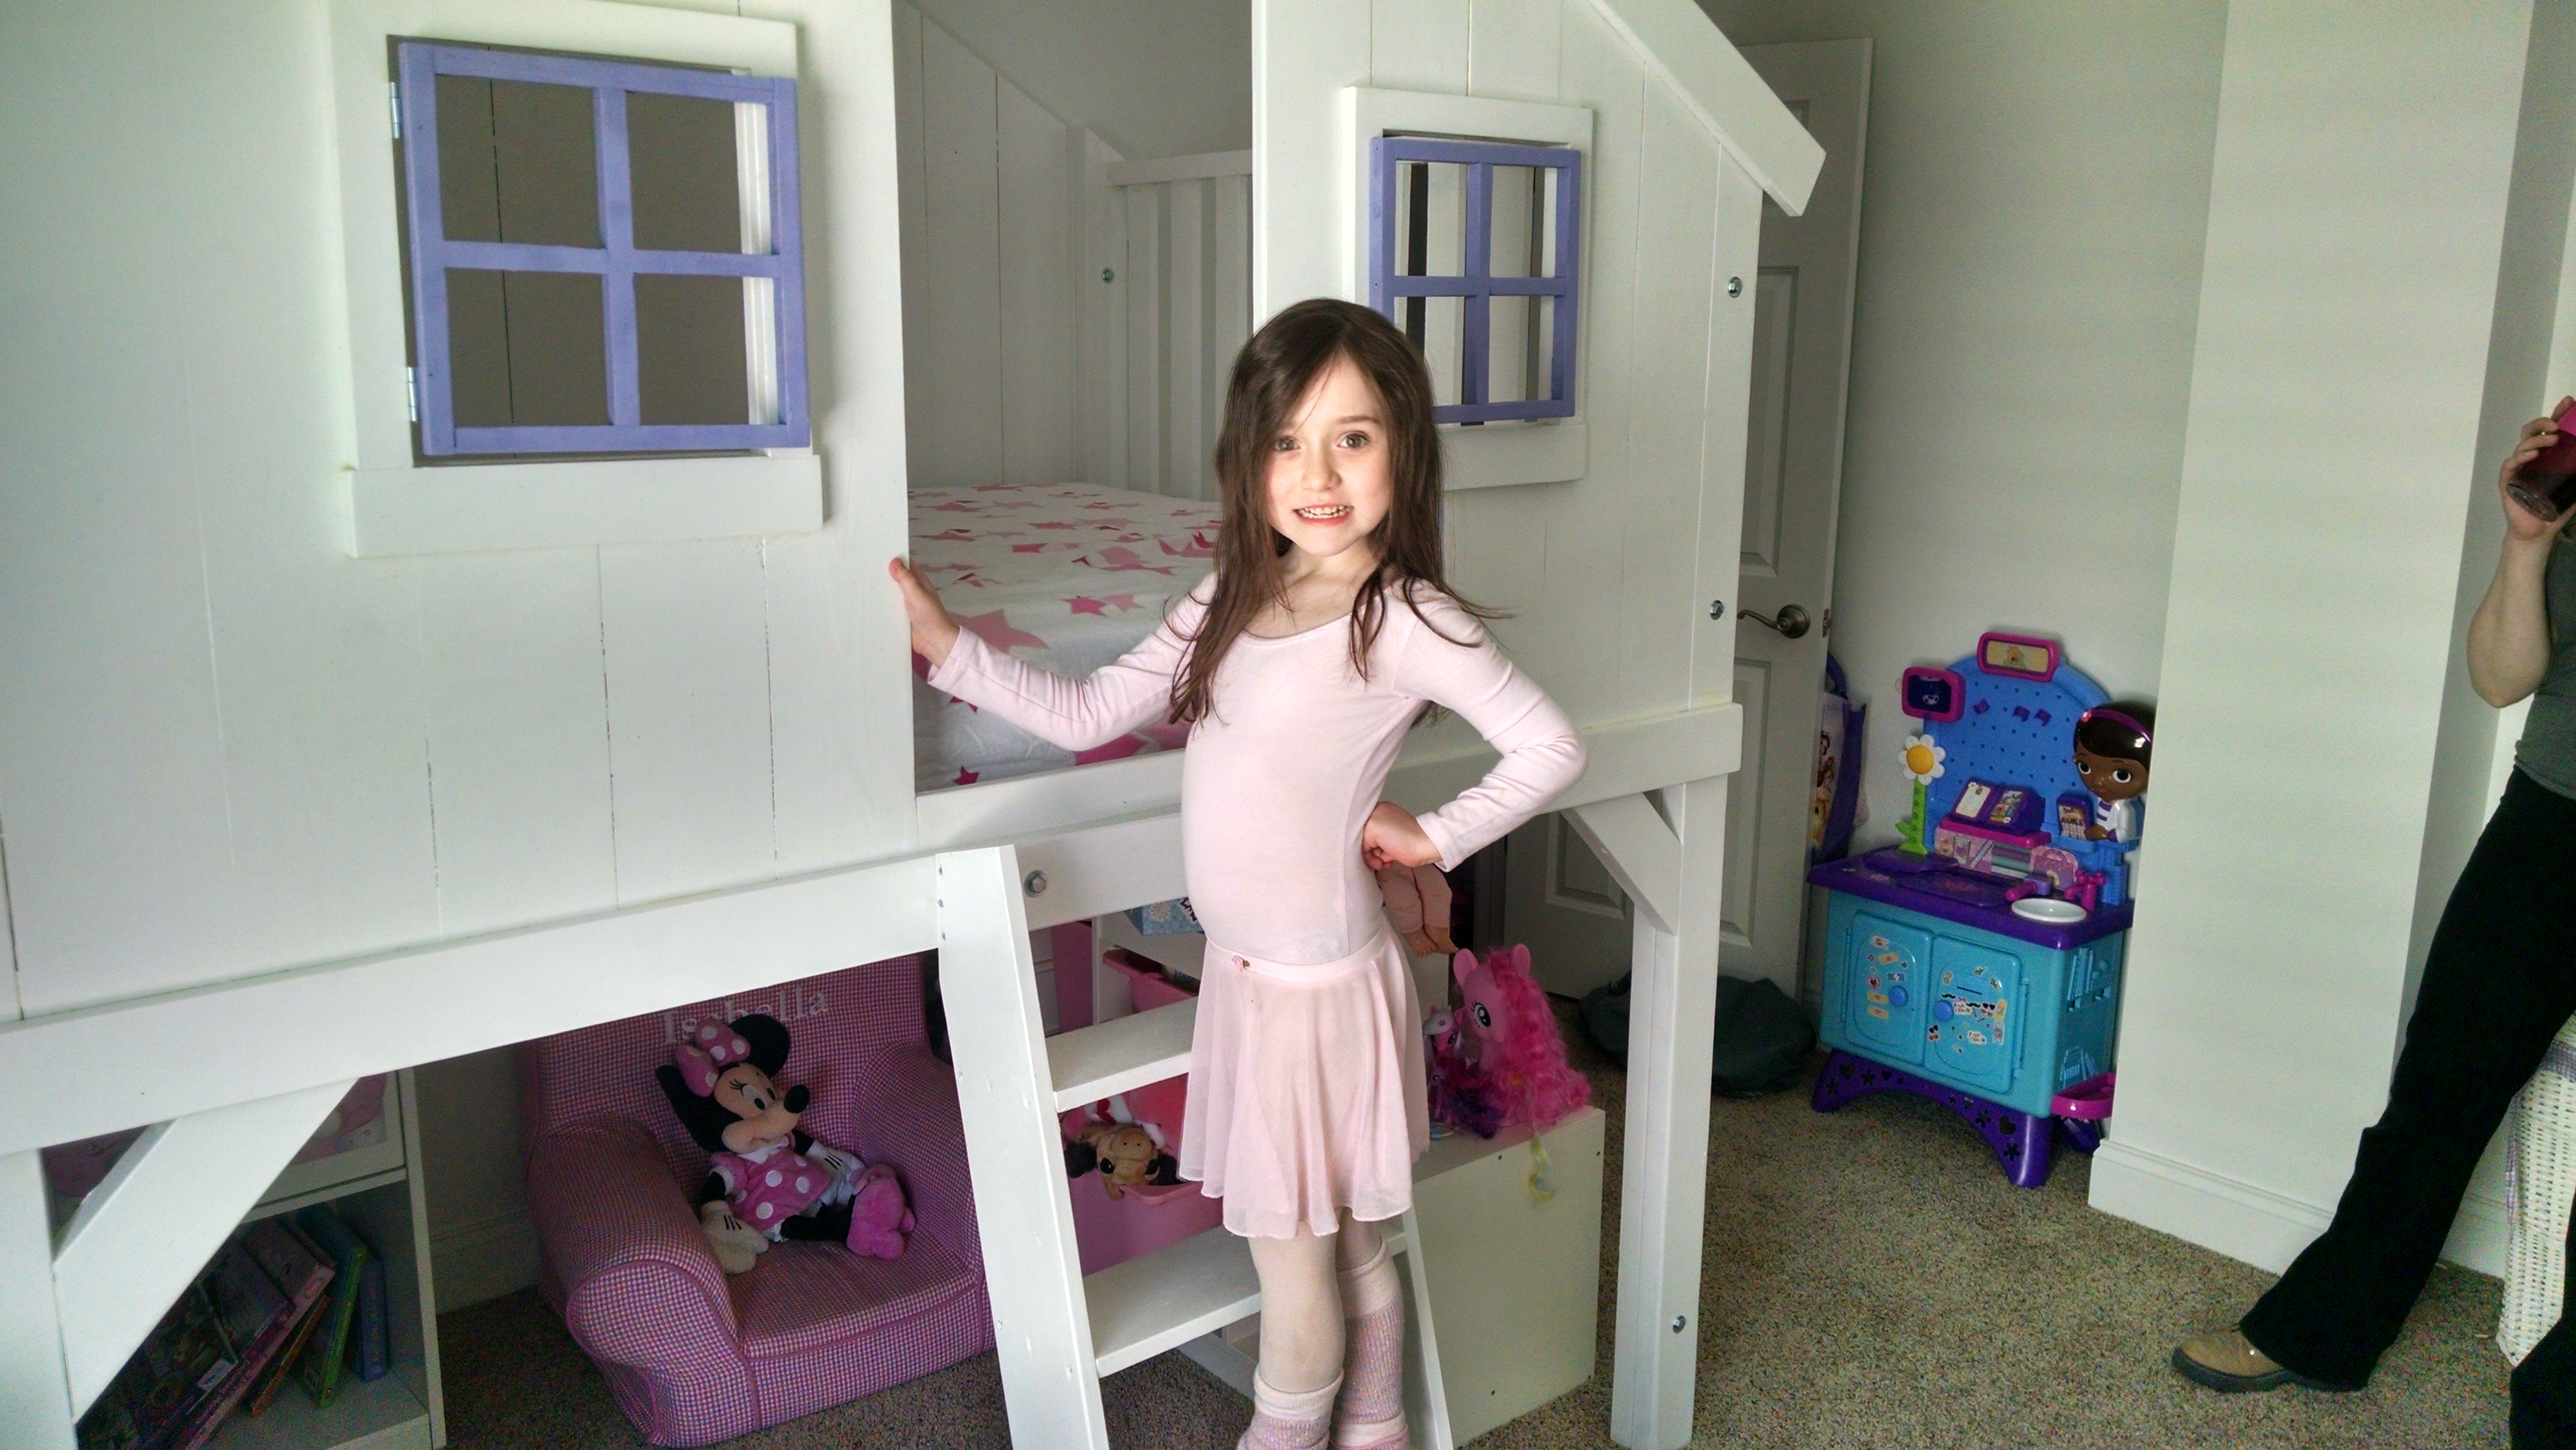
Thank you Ana for the clubhouse bed plans! I added 15" to the width of the rails to accommodate a full size mattress. On the other side I made a slide platform! I chose a standard plastic slide because I couldn't find a way to make a wooden slide at home with the swoop at the bottom to keep the kids from hitting the carpet hard :). We couldn't have a green outdoor-looking slide, am I right? I used Rustoleum spray paint made for plastic in French Lilac color. After the paint I used a top a coat of Minwax 3x polyurethane. I also used the Rustoleum spray paint for the window grids.
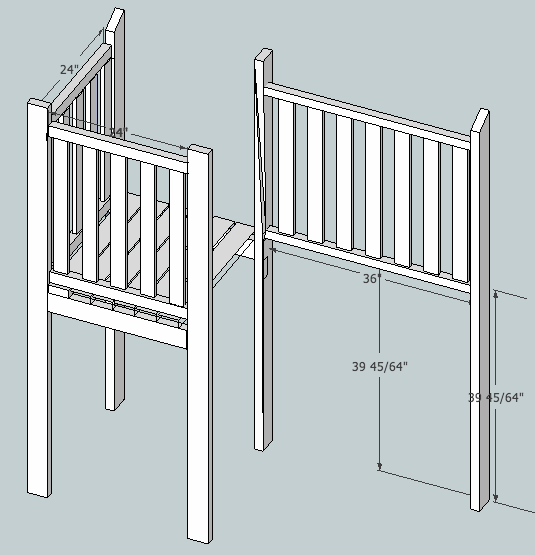
To accommodate the slide specs I needed to raise this bed 5". I just made each leg 5" longer. Also, the ceiling in my daughter's room slopes down so I cut the point off the back of the bed. Totally not noticeable. I needed to do this even if I hadn't raised the bed :)
I also added full window frames around the window to make the bed a little more girly! One unexpected result is that the bedroom looks BIGGER with this bed in it. She had a twin size step 2 plastic castle bed before but now there is so much more room to play. Win! Changing the sheets isn't too bad but you need to get in the bed to do it.
I built this bed by myself. Don't be afraid, you can do this! Once the panels are assembled they get a bit heavy so you have to be sort of creative to drag them across the garage floor :)
Next up: mailbox for the bed, shelves under the slide and window boxes!


Sun, 05/03/2015 - 07:37
This looks amazing! What an awesome job! I love the slide!
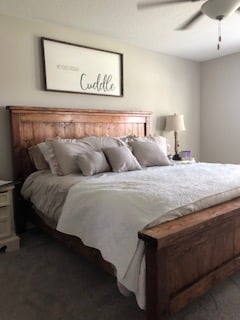
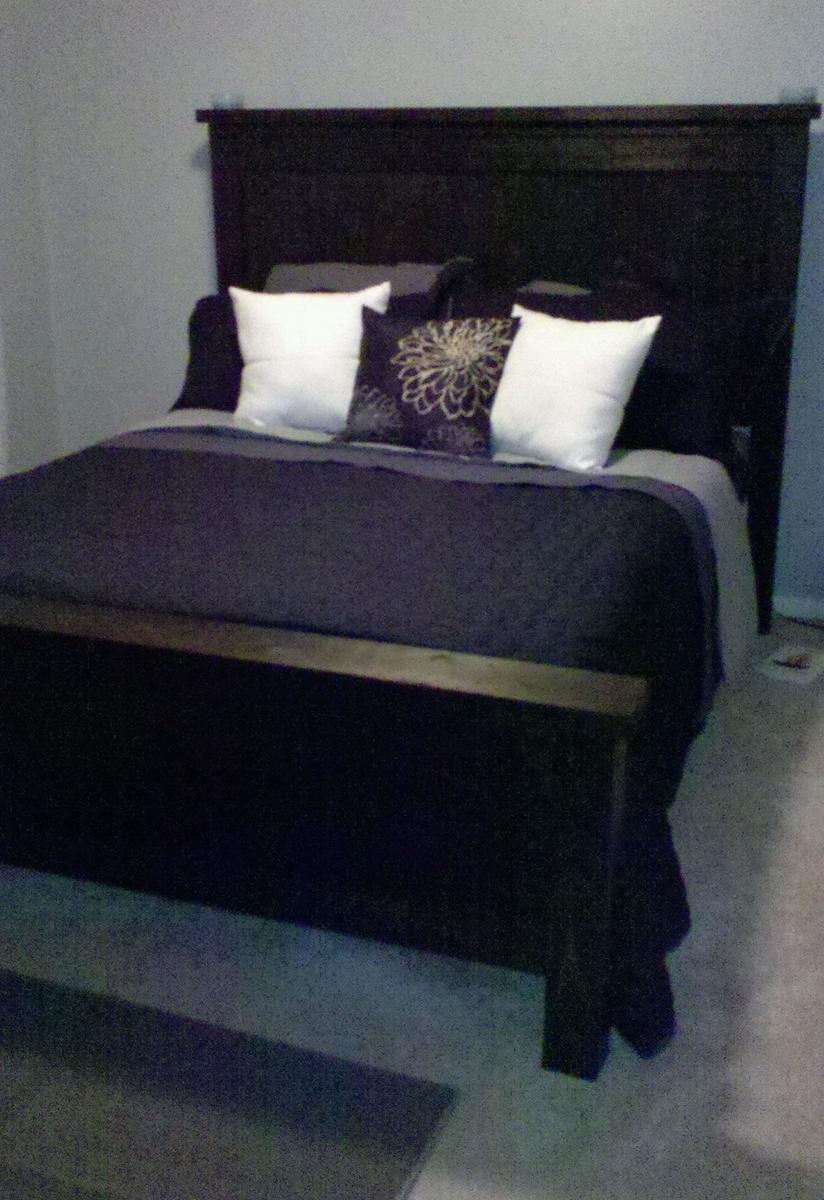
This is the kingsized original farmhouse bed. The bed was pretty easy, I didn't bother with pocket holes and assembled it pretty quickly with some help. It is sturdy and beautiful and makes me smile every time I walk in my room. I LOVE it and can't thank you enough for sharing your plans! Angela