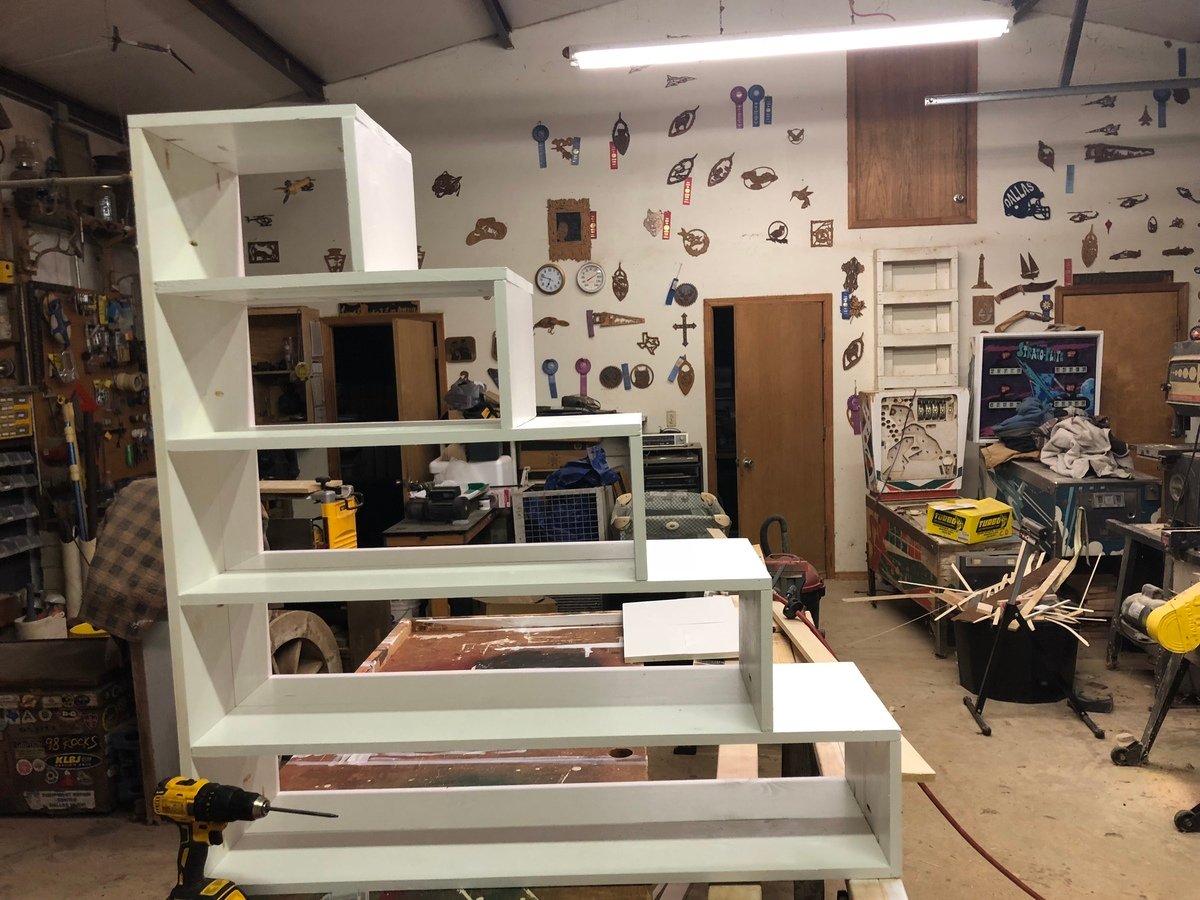
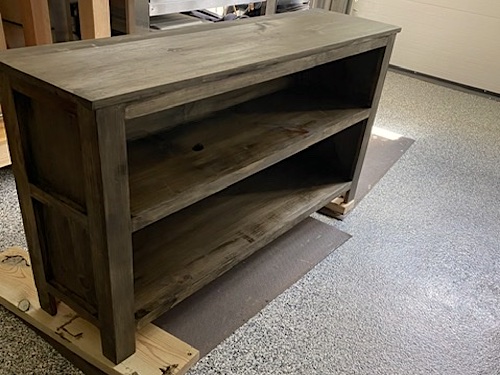
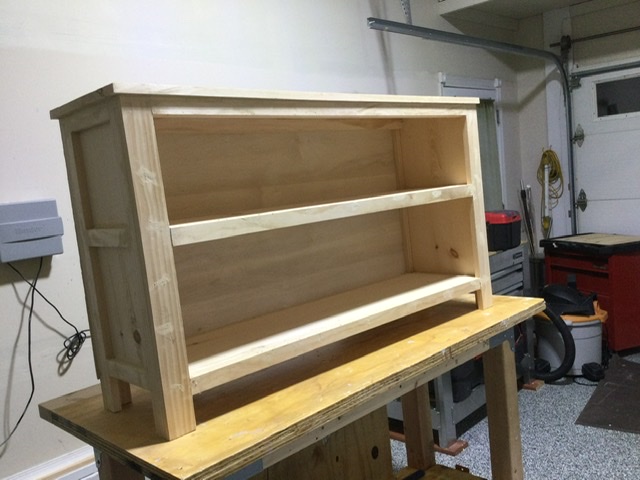
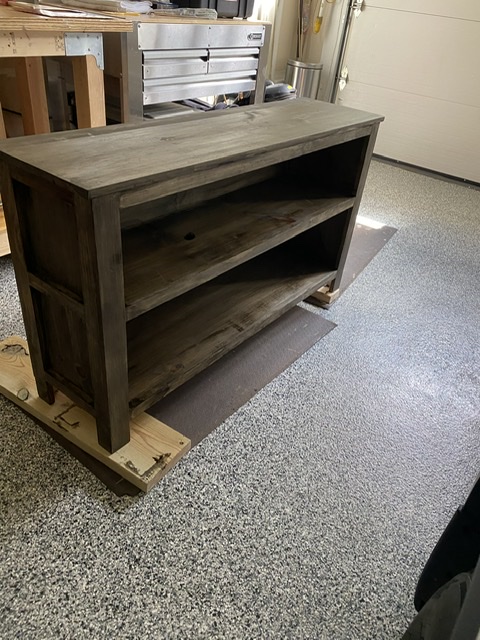
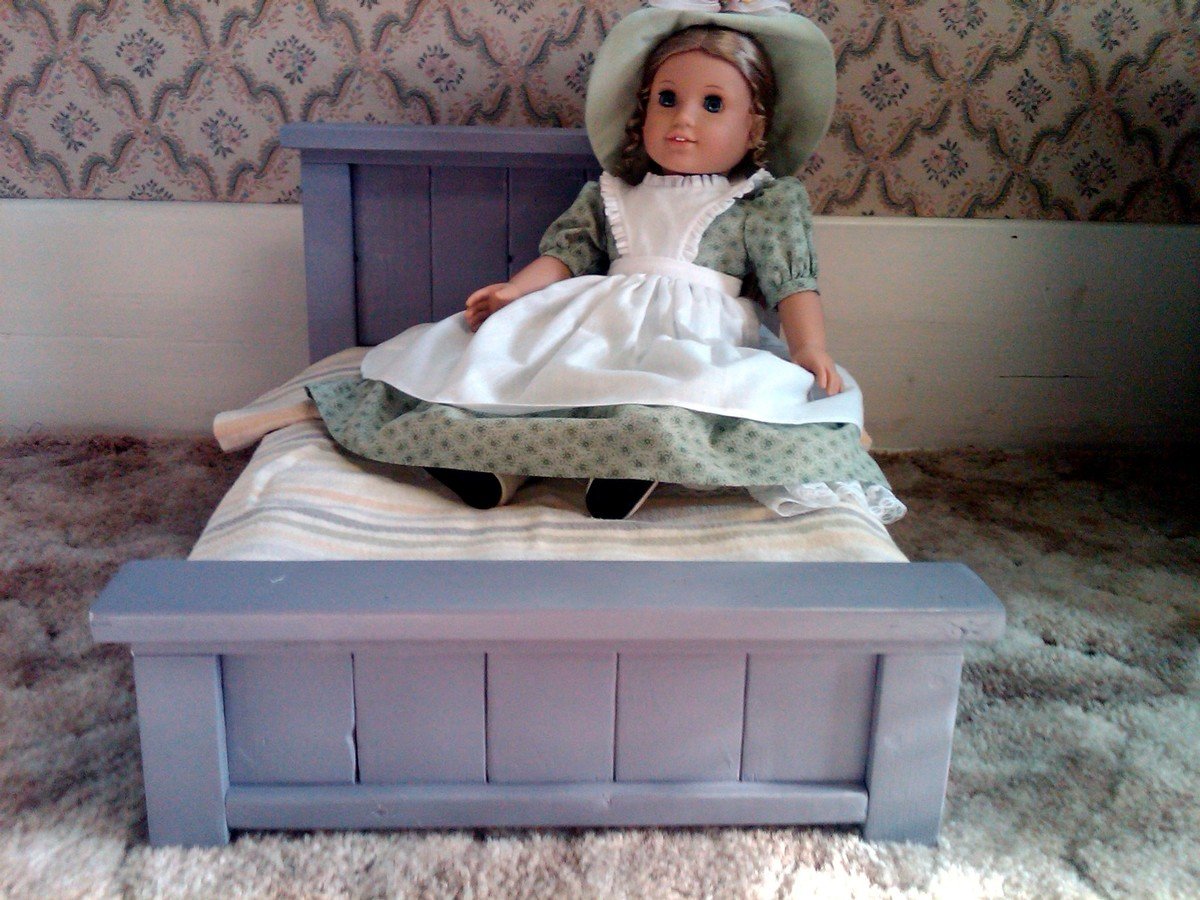
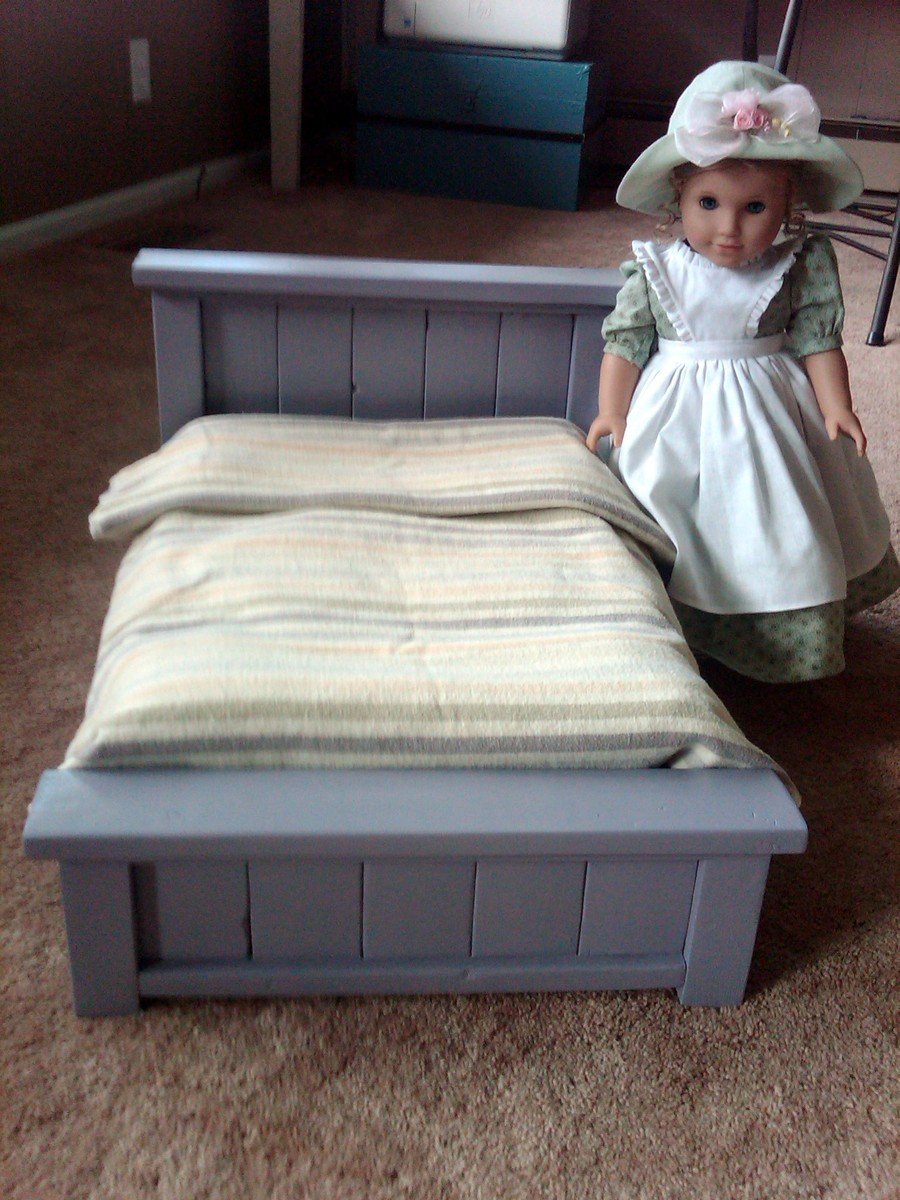
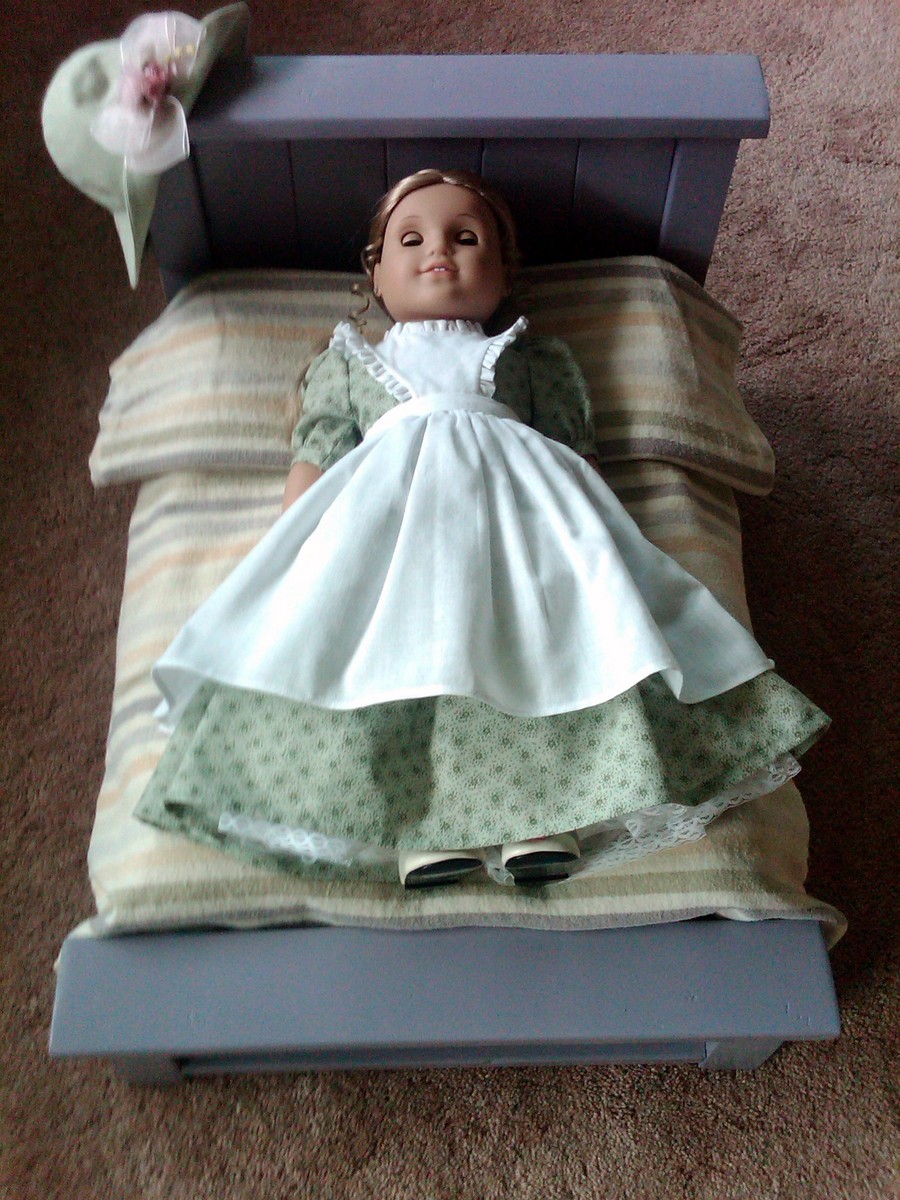
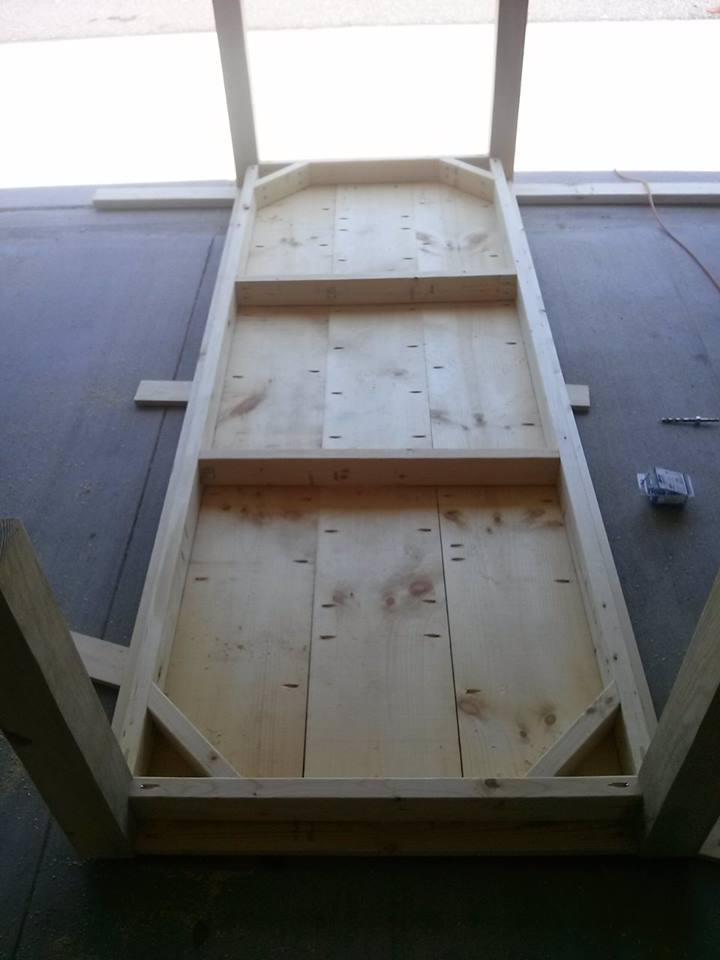
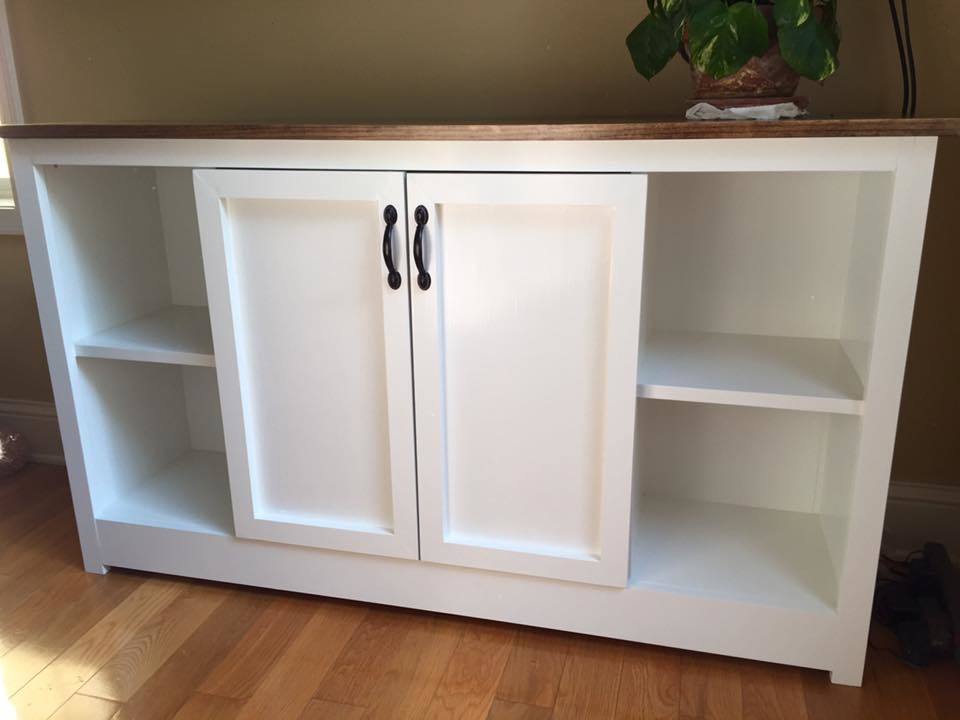
Storage Bench and Crates
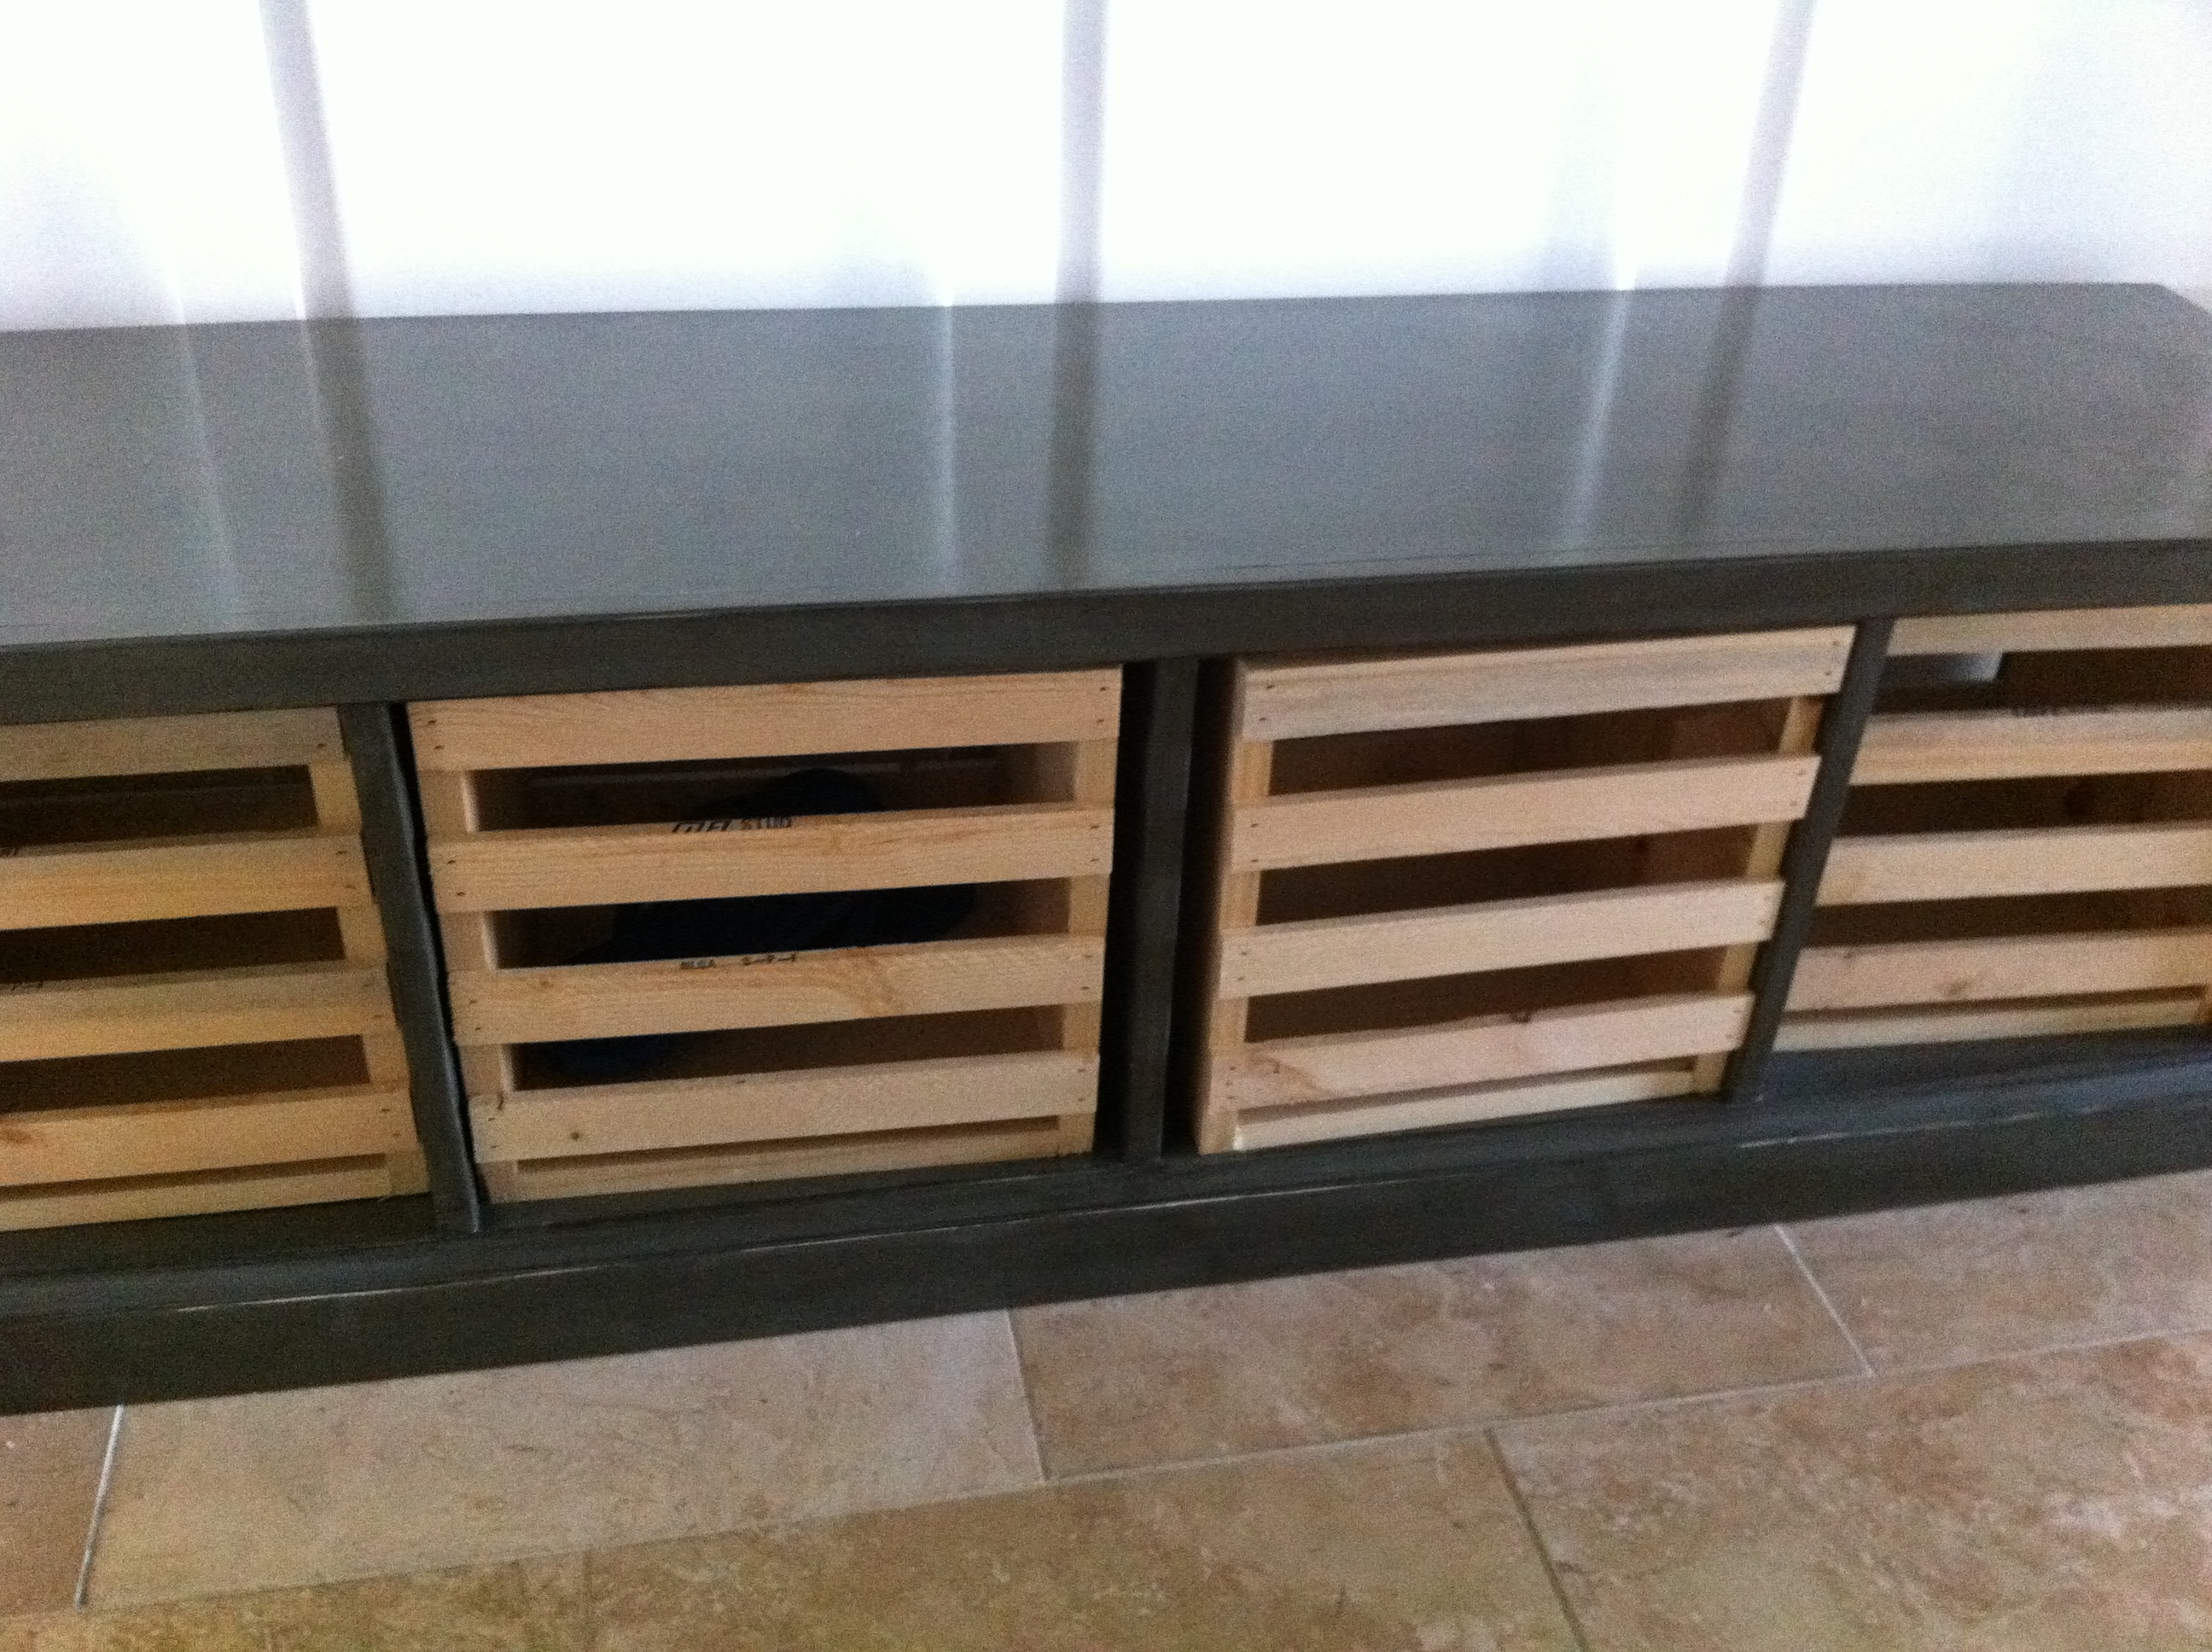
I modified the bench to make it longer and for four cubbies (for four kids and their shoes) instead of three.
Estimated Cost
$20-$25
Estimated Time Investment
Afternoon Project (3-6 Hours)
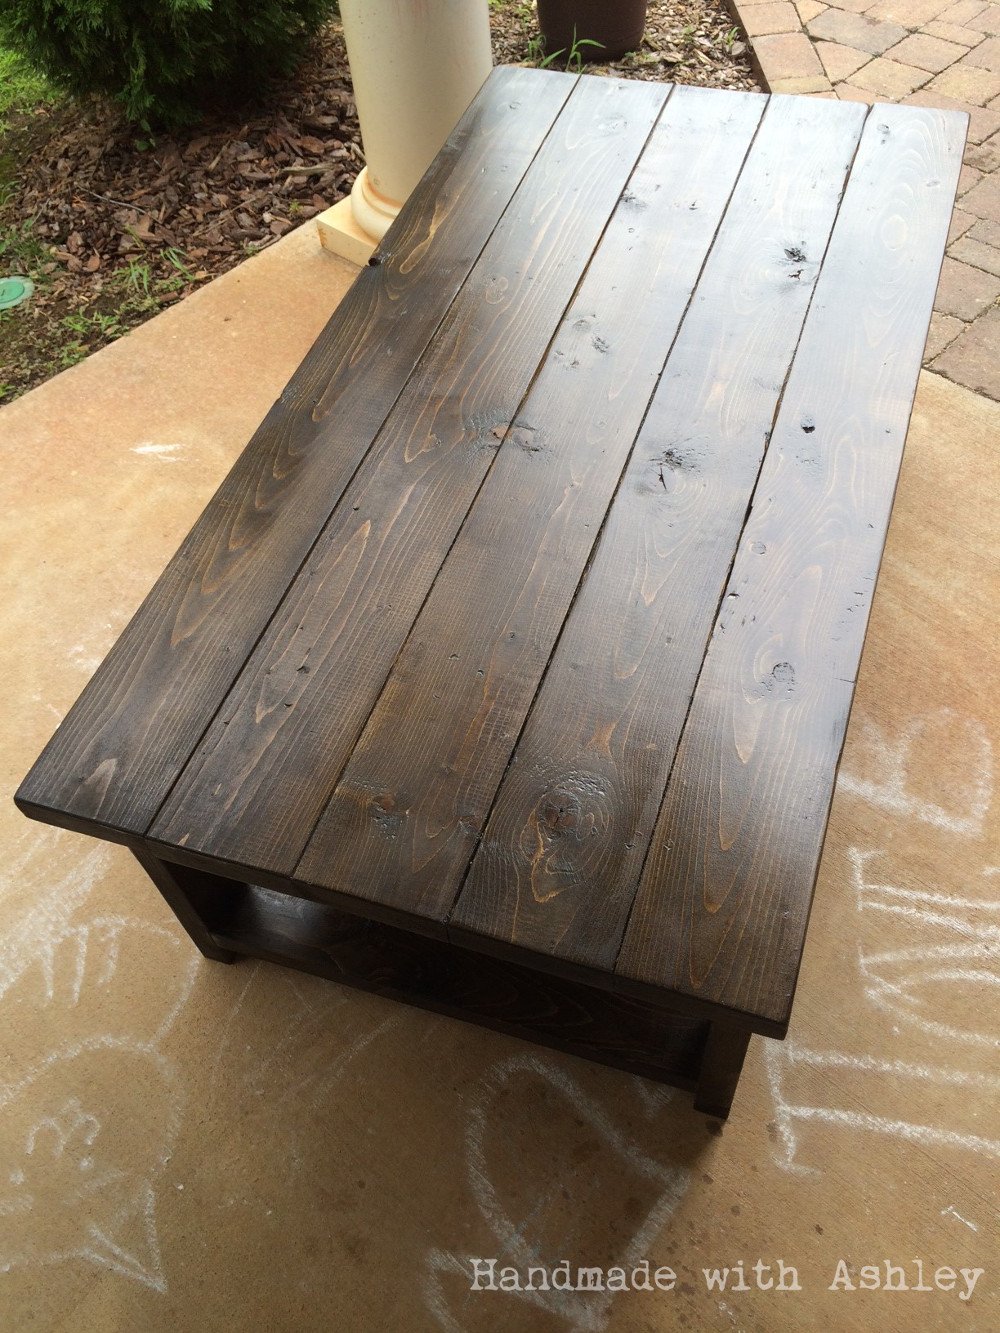
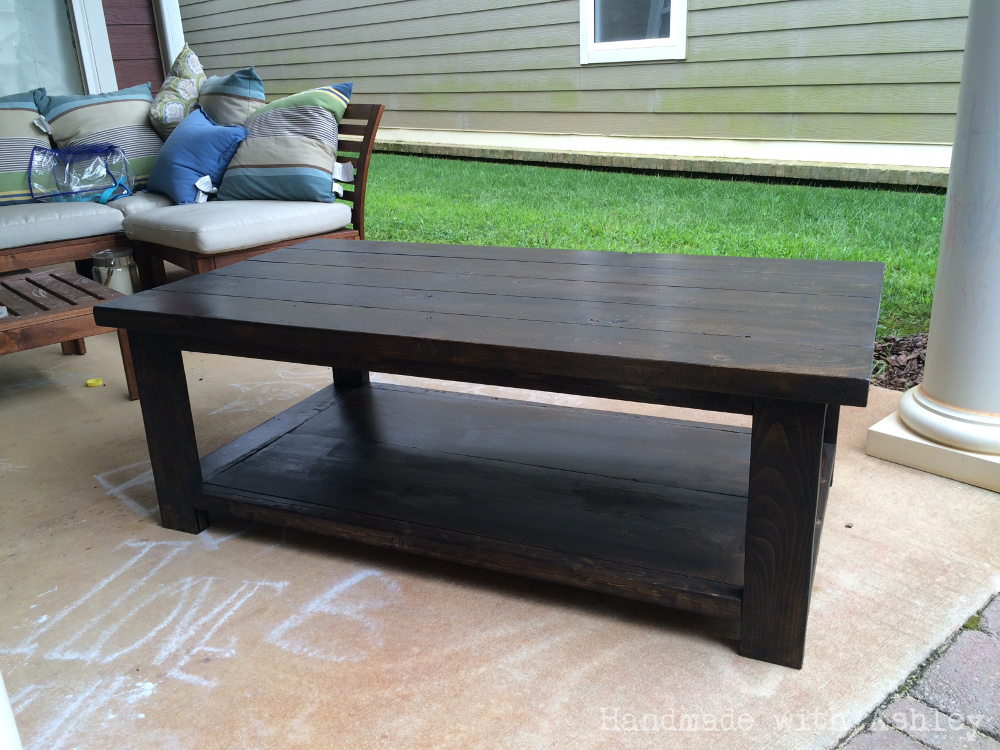
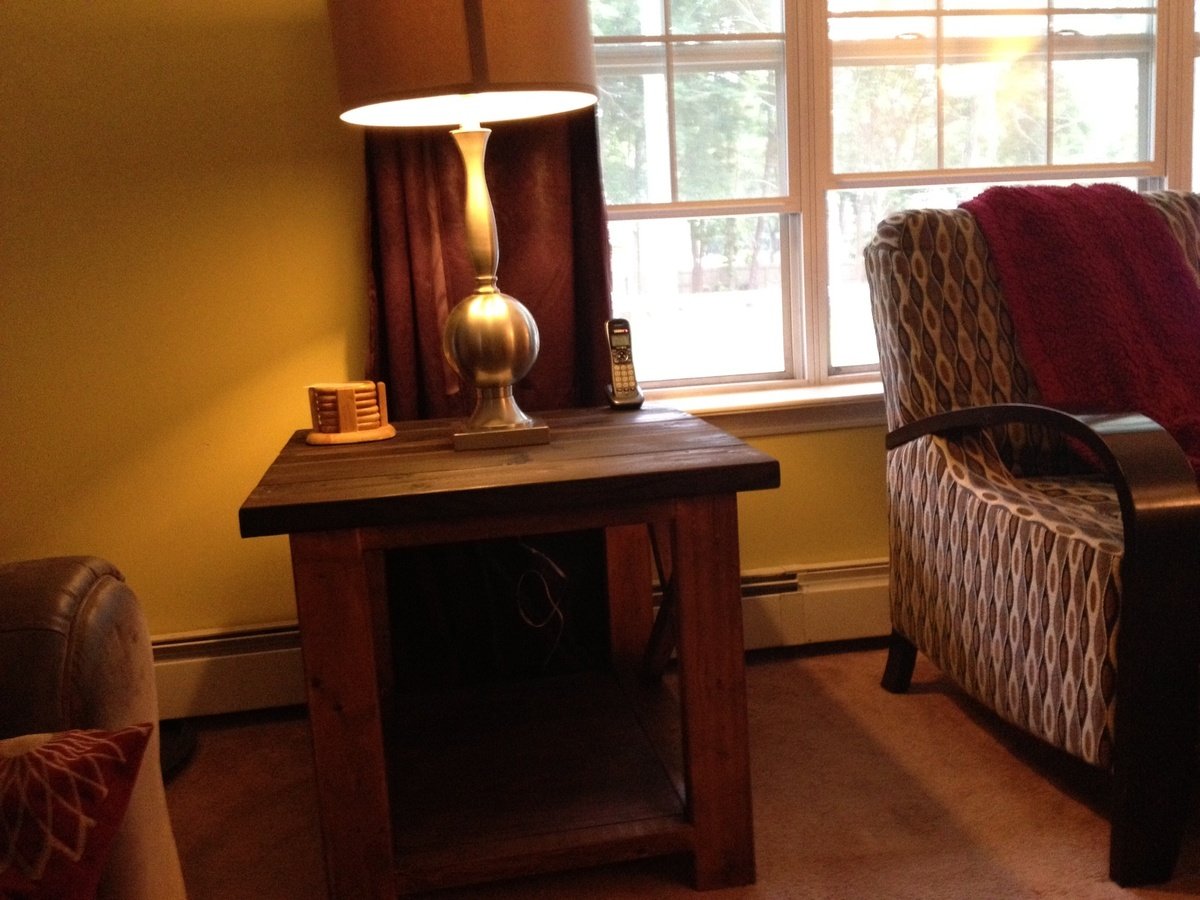
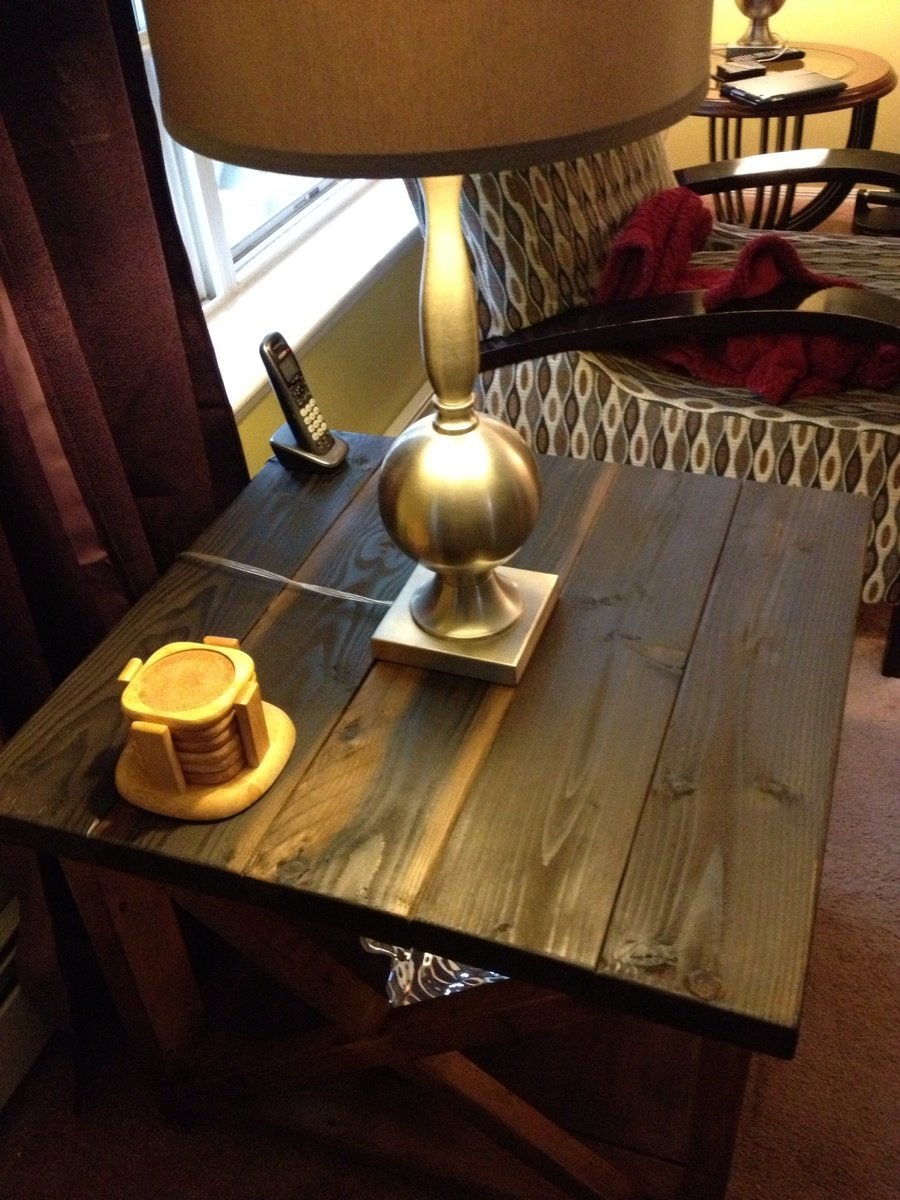
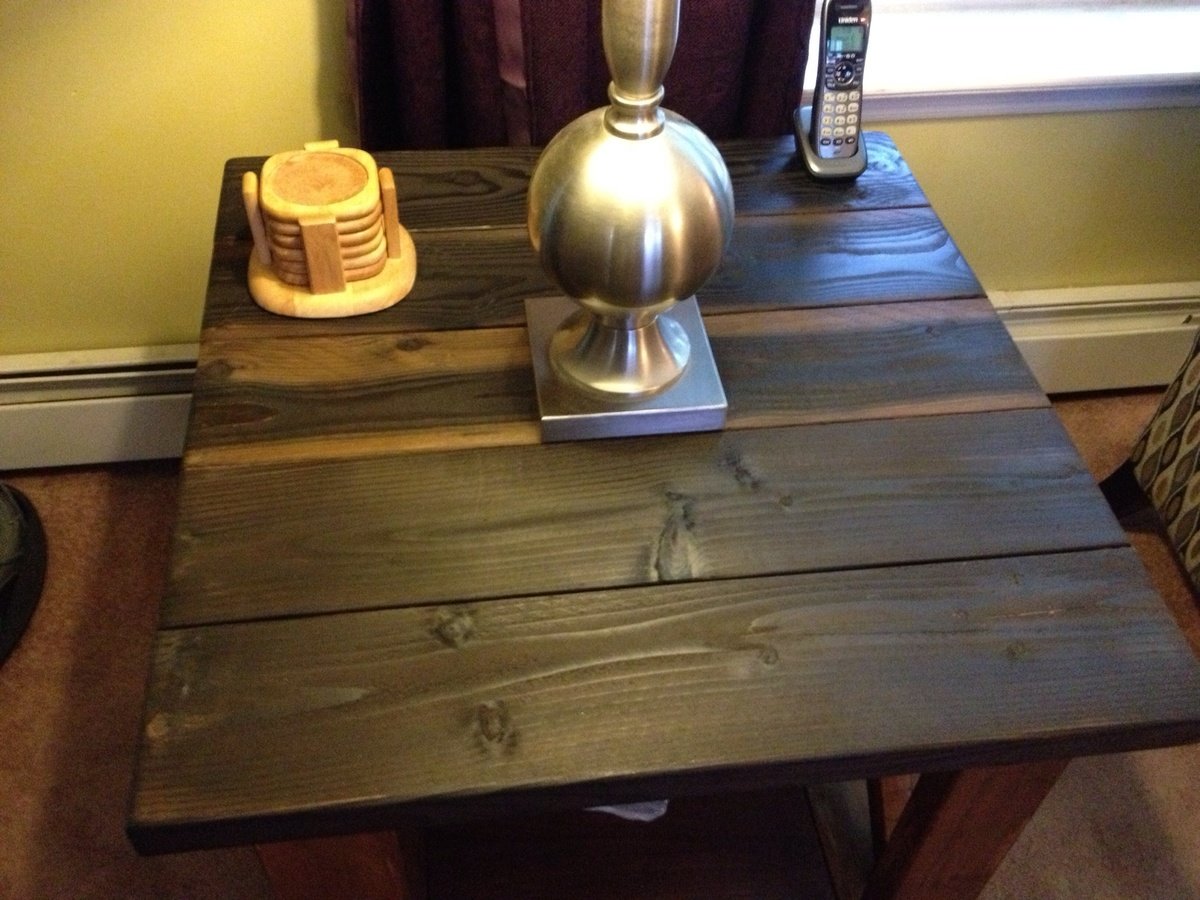
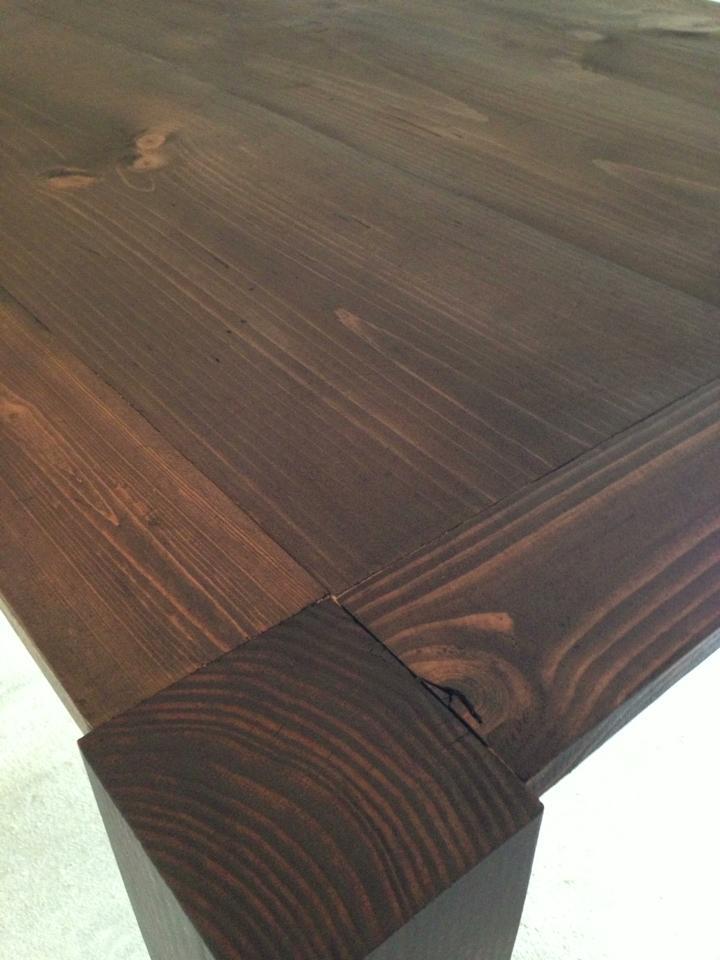
Finish Used
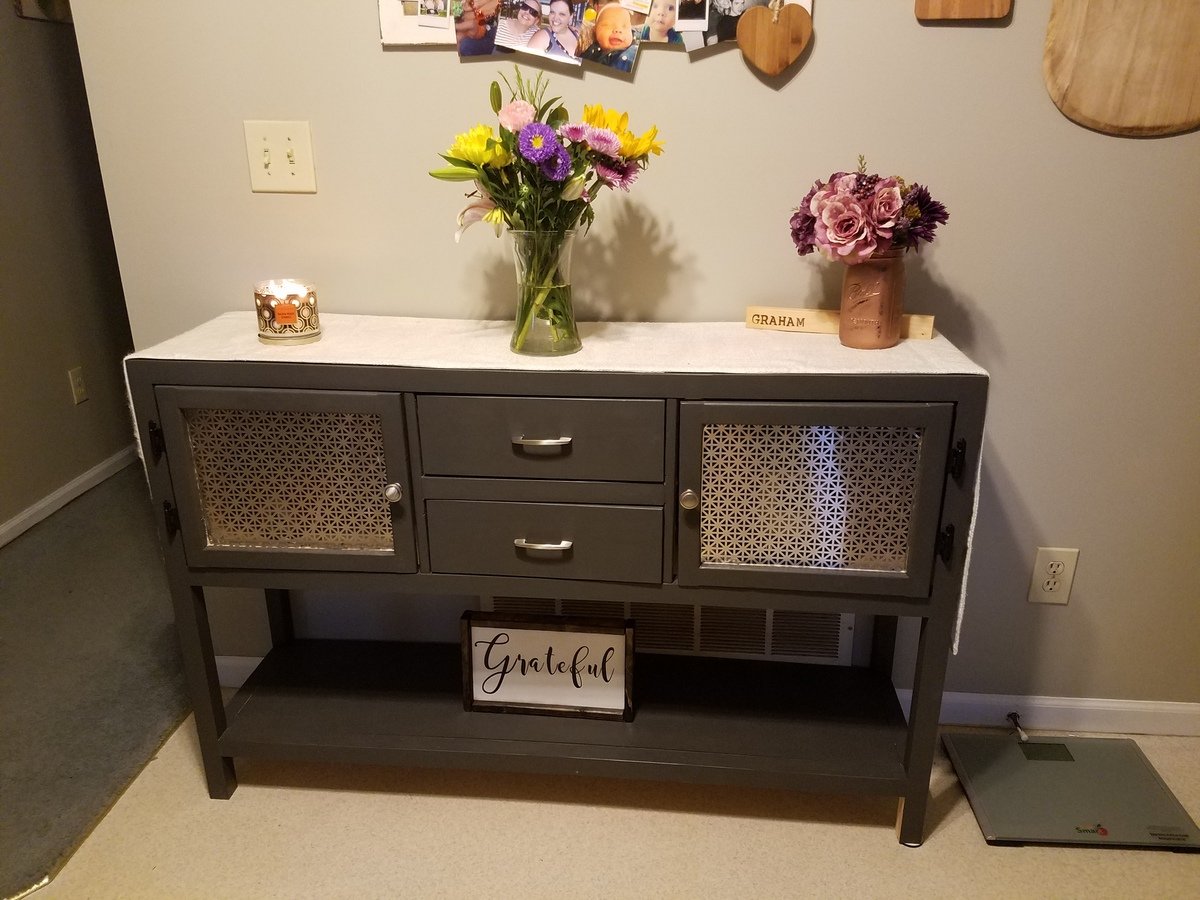
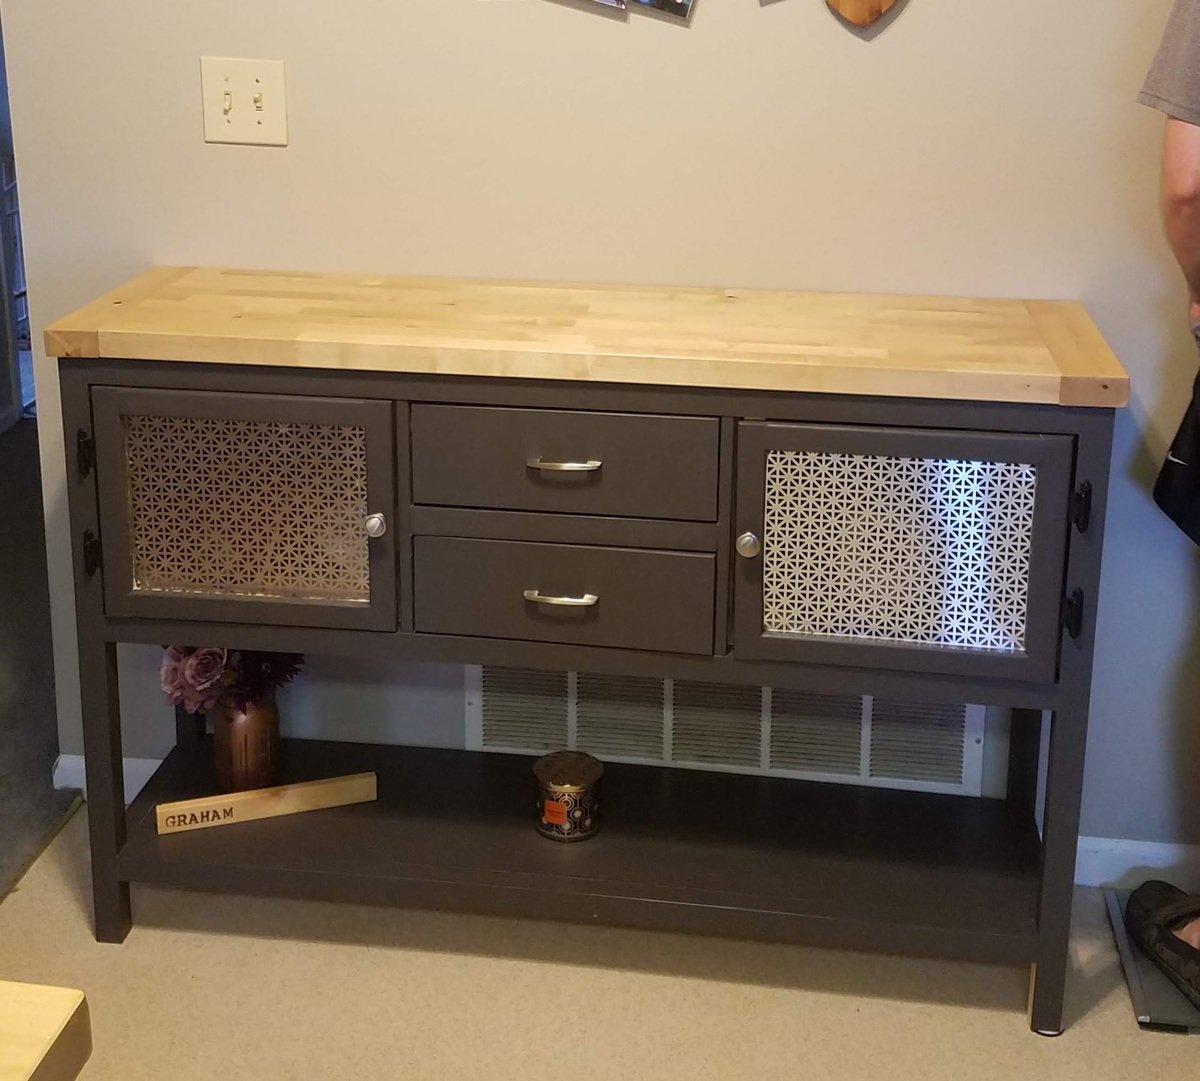
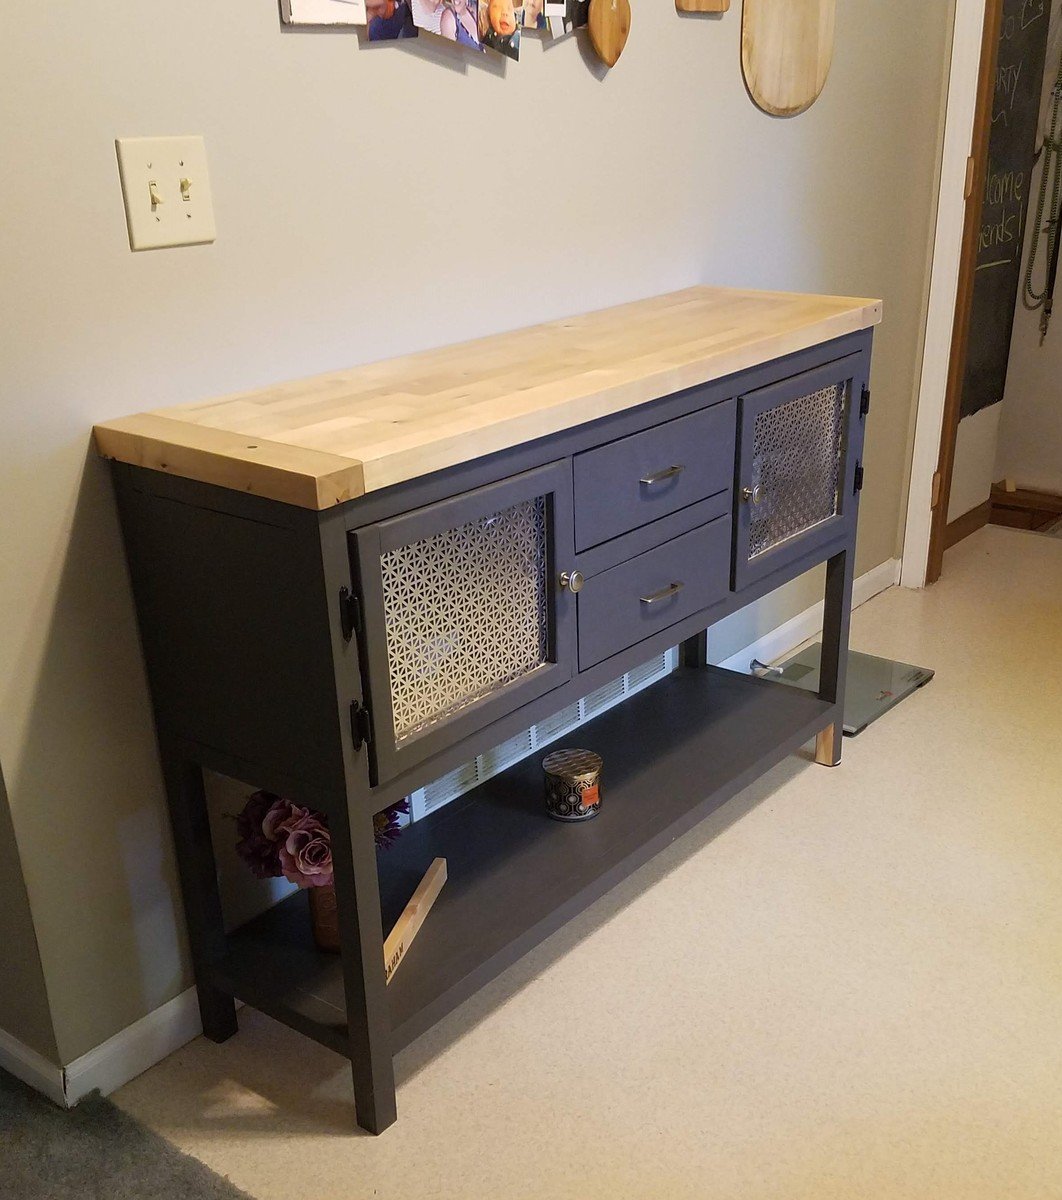
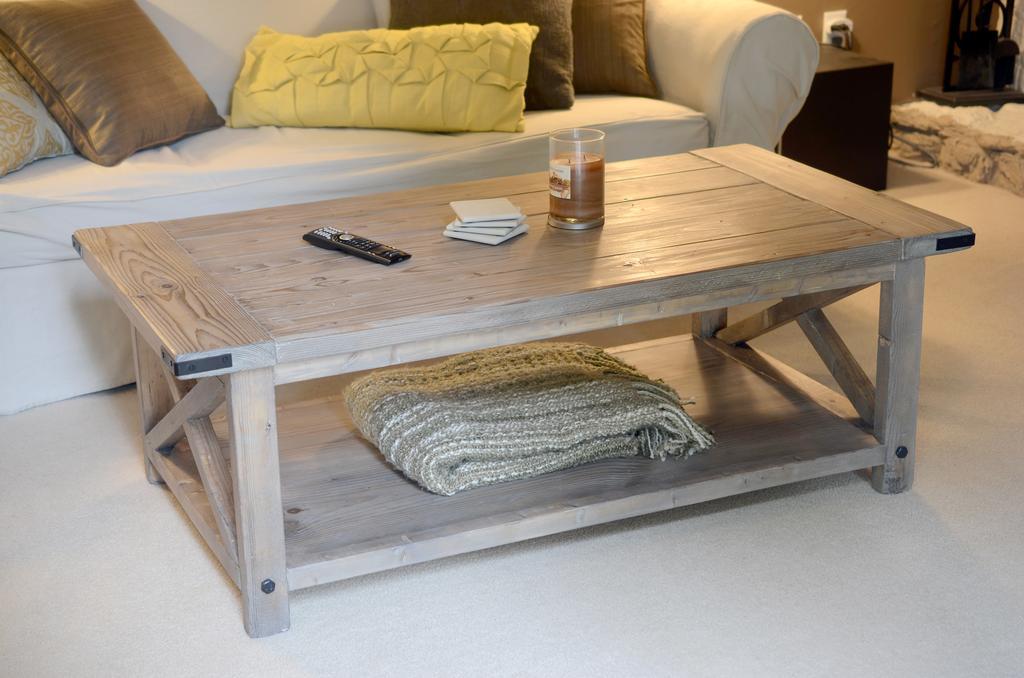
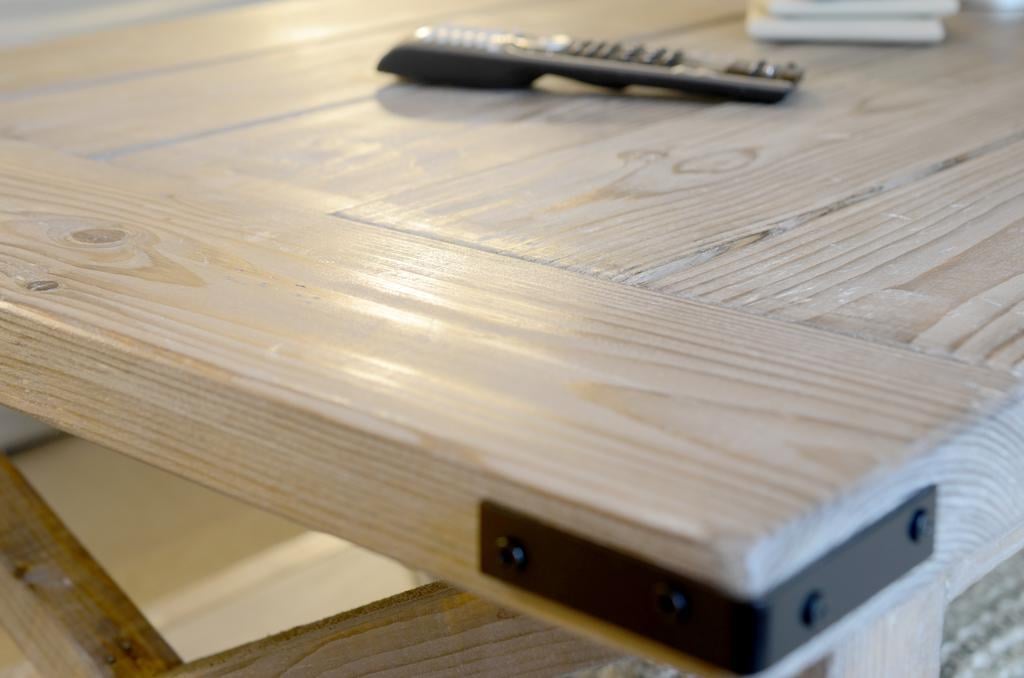
Distressed grey paint, sanded on edges with Jacobean stain used as a glaze. Three coats of poly.
Recommended Skill Level
Beginner