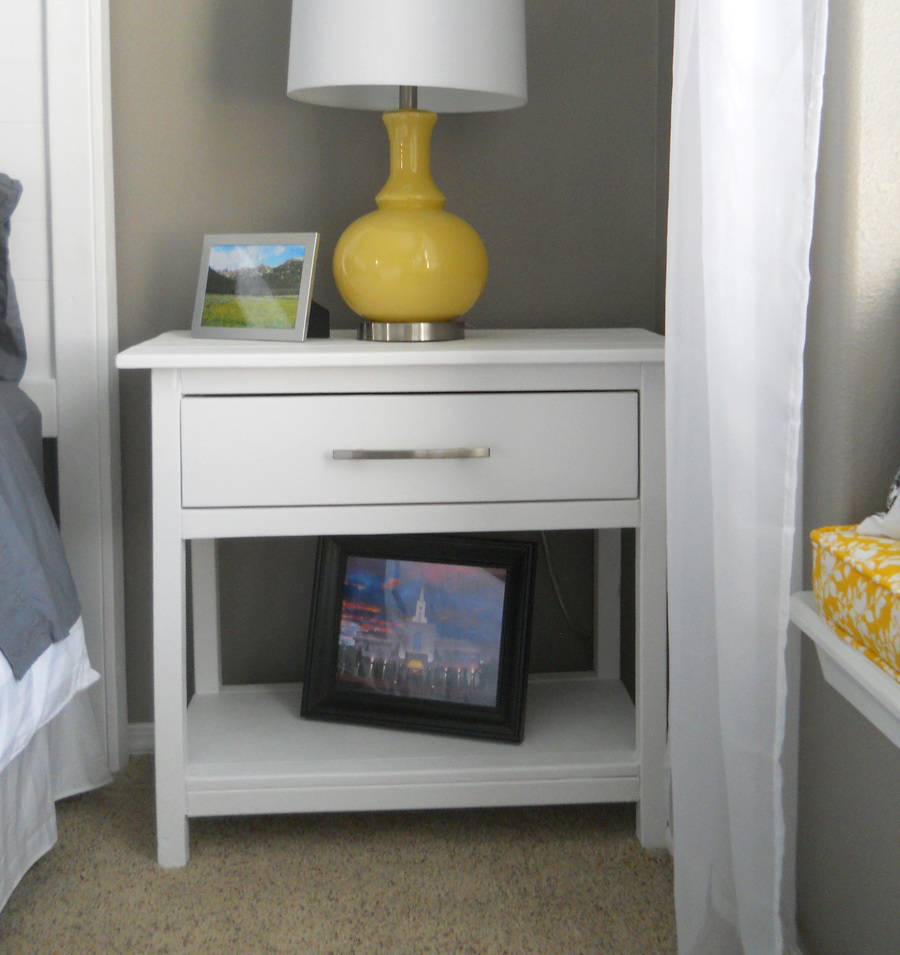
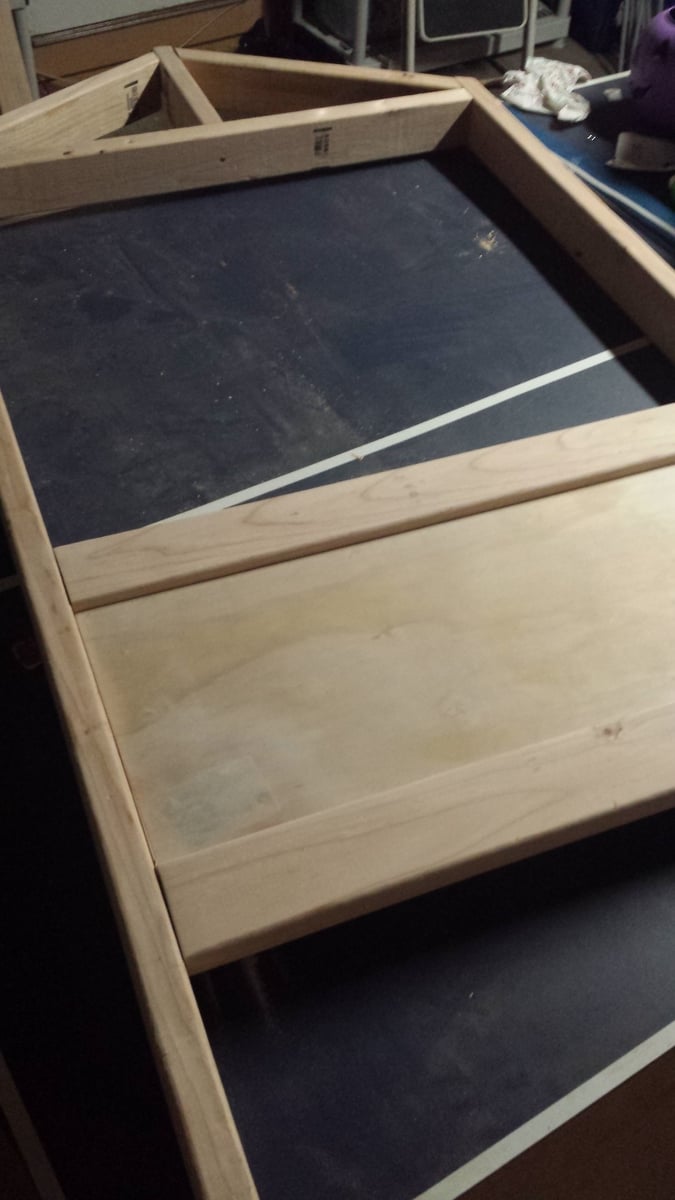
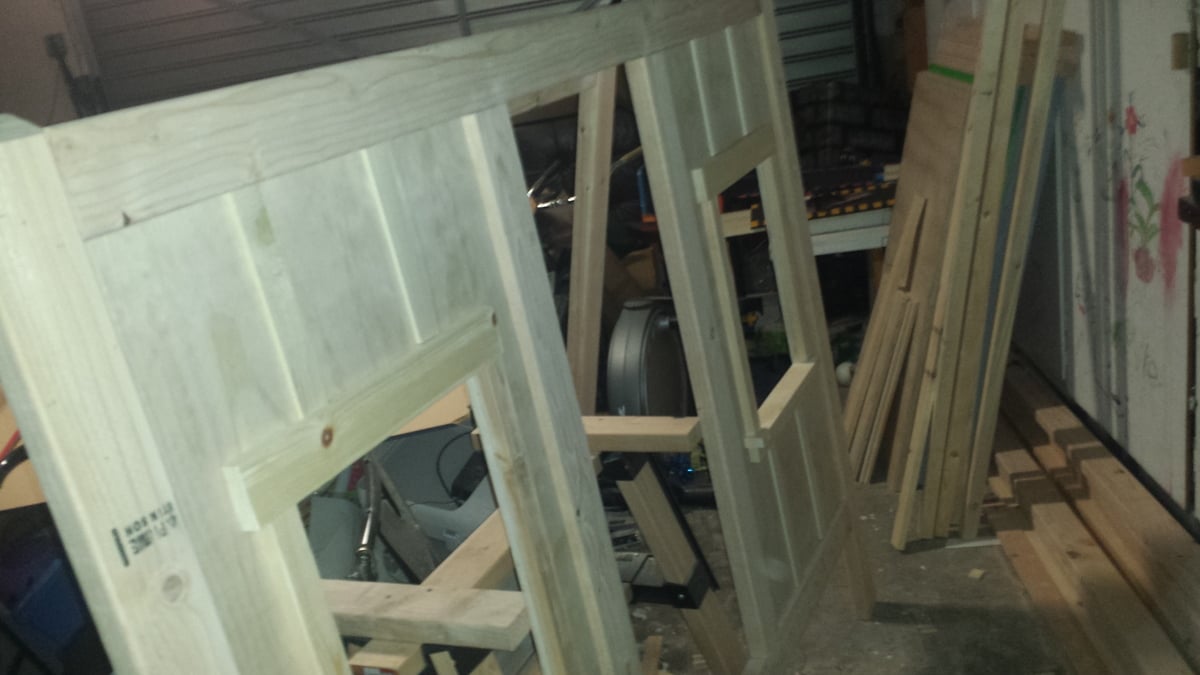
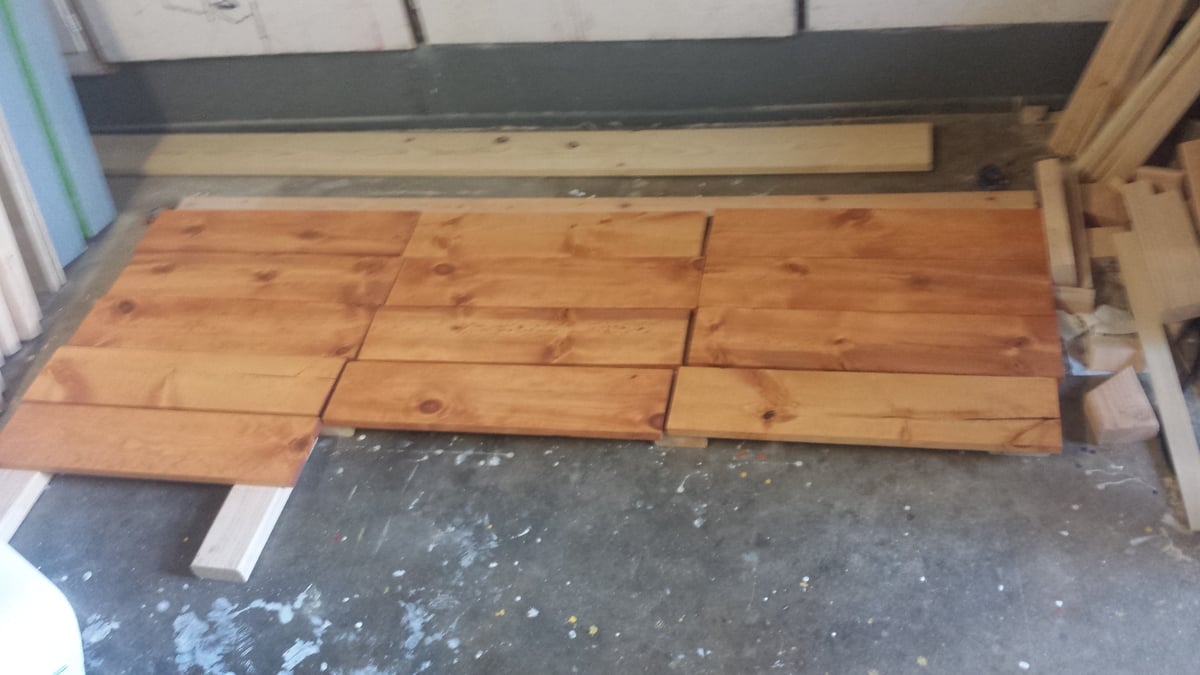
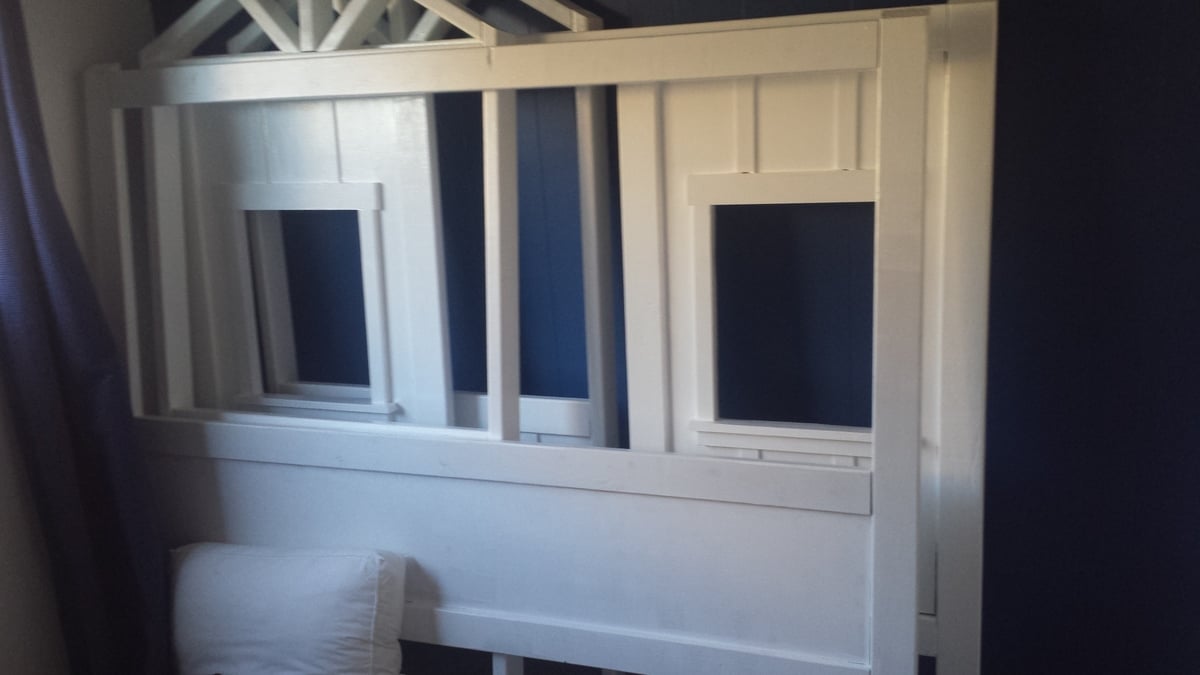
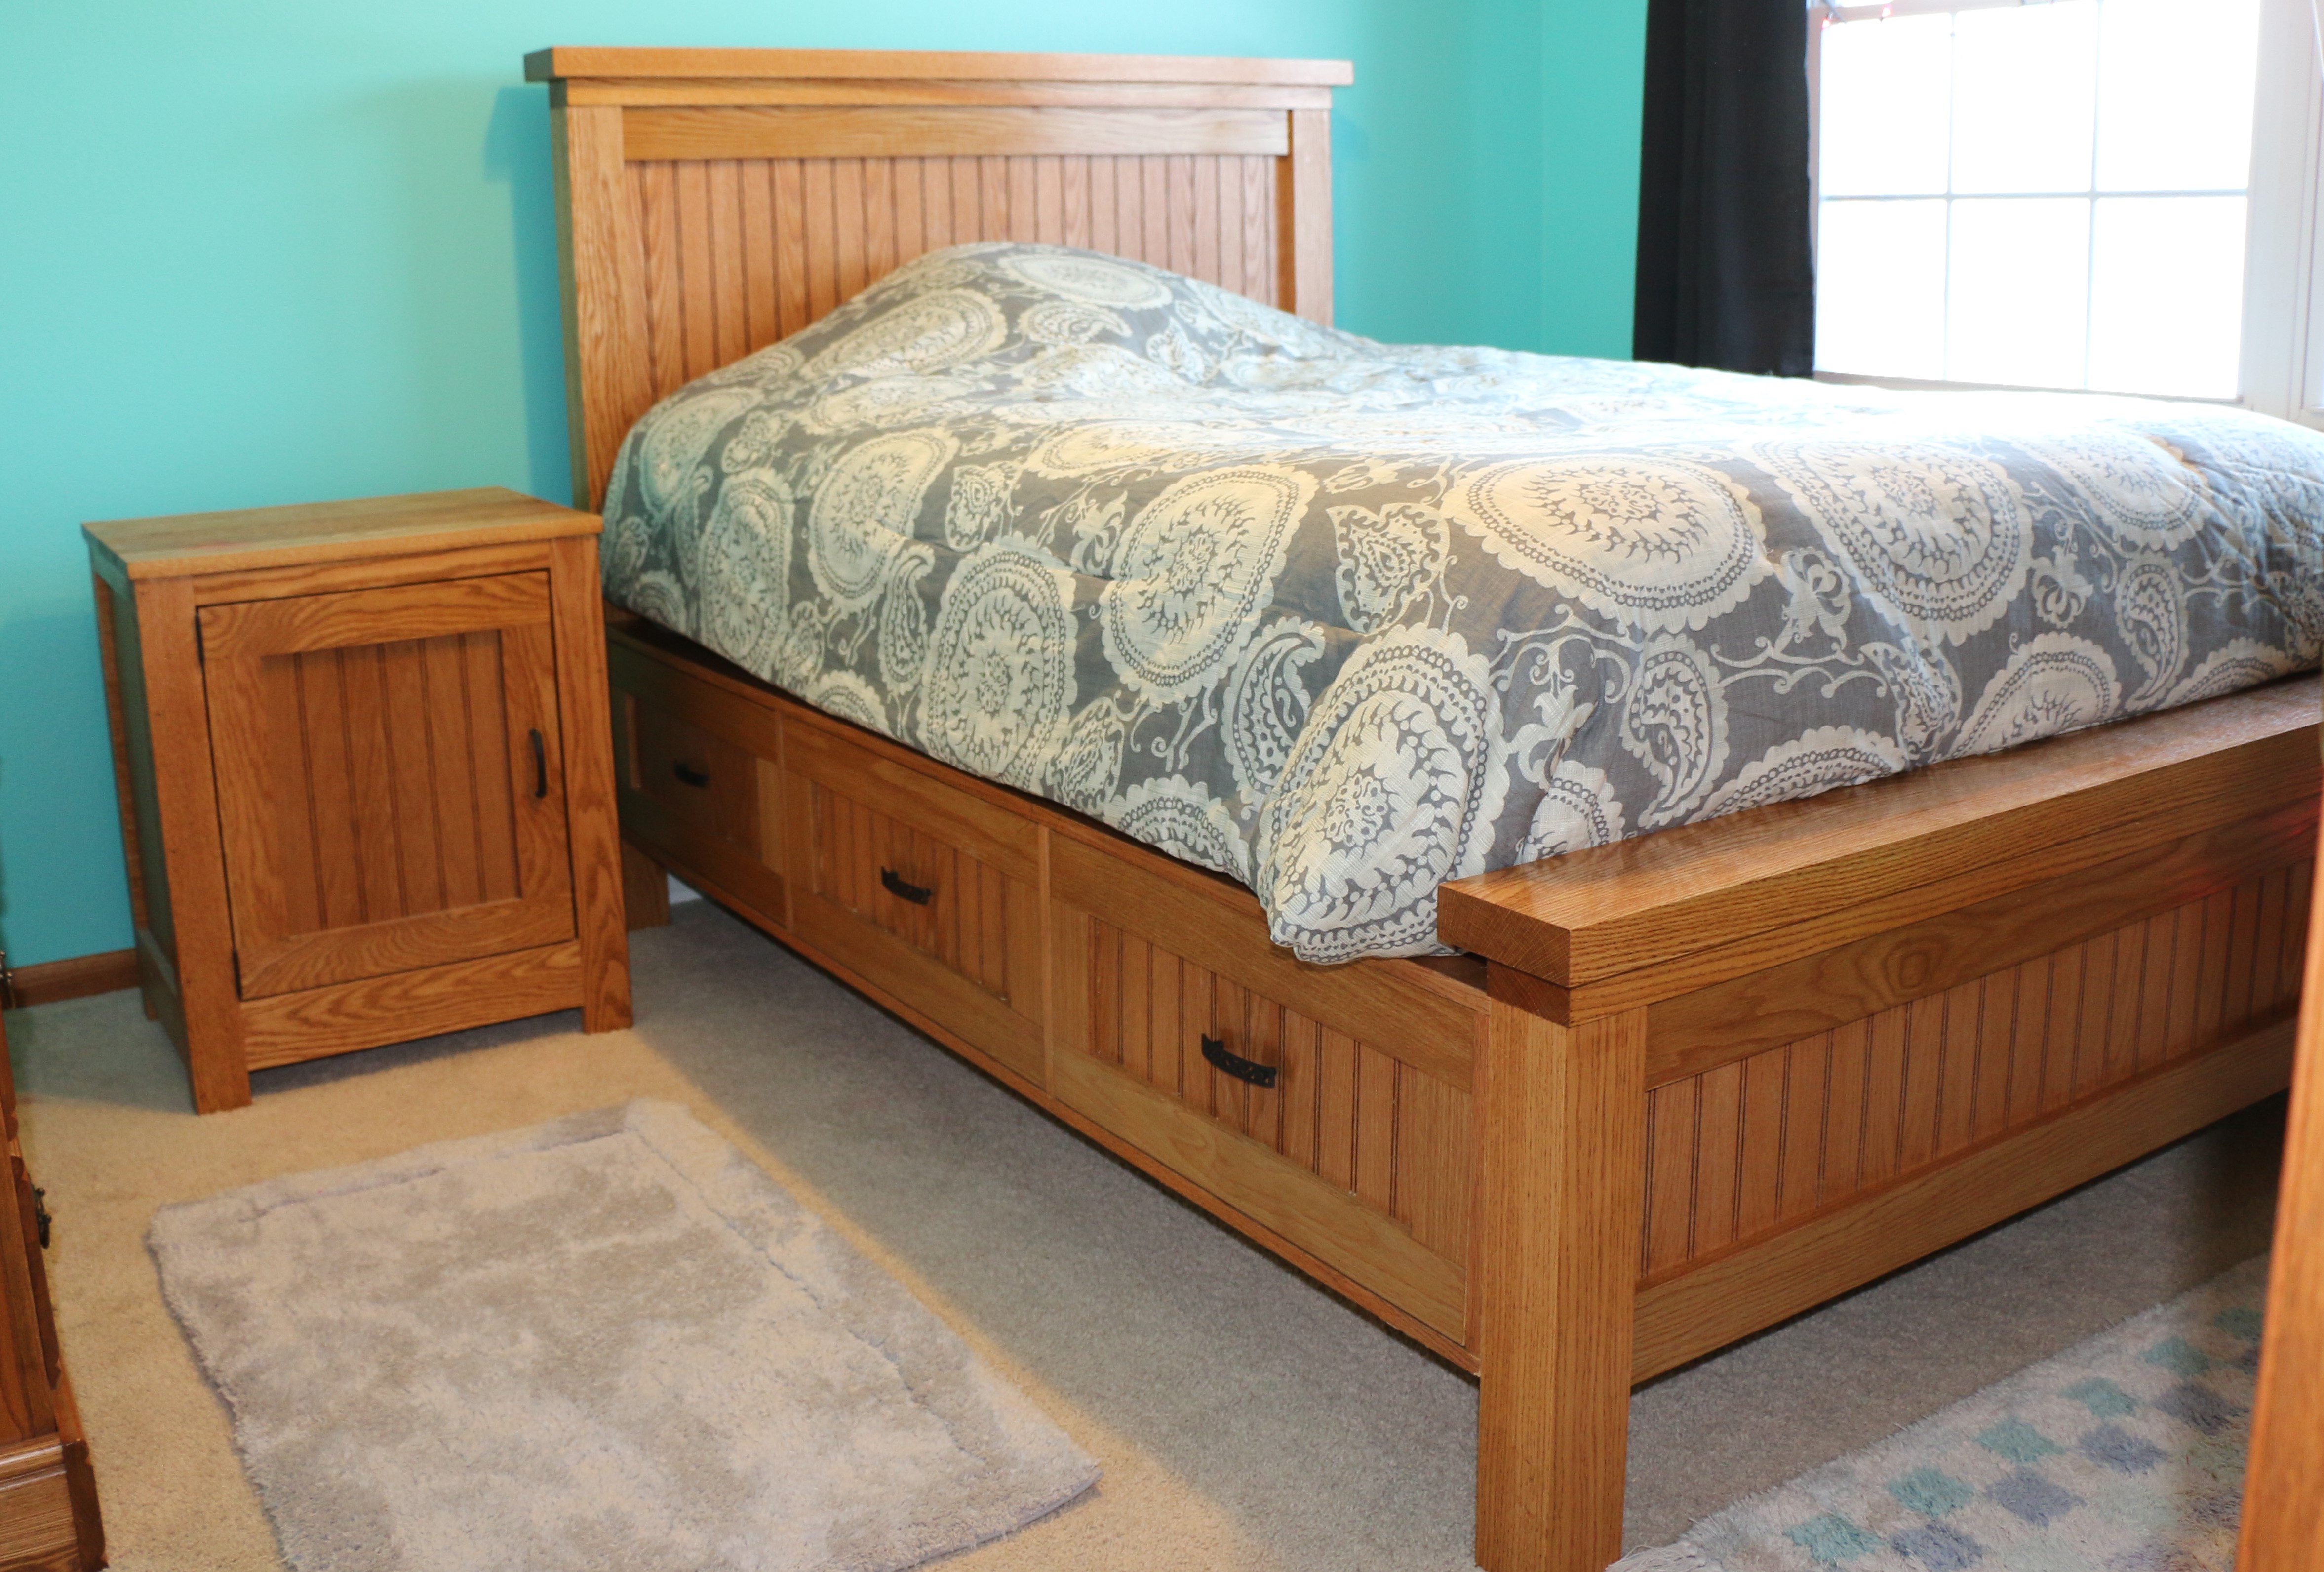
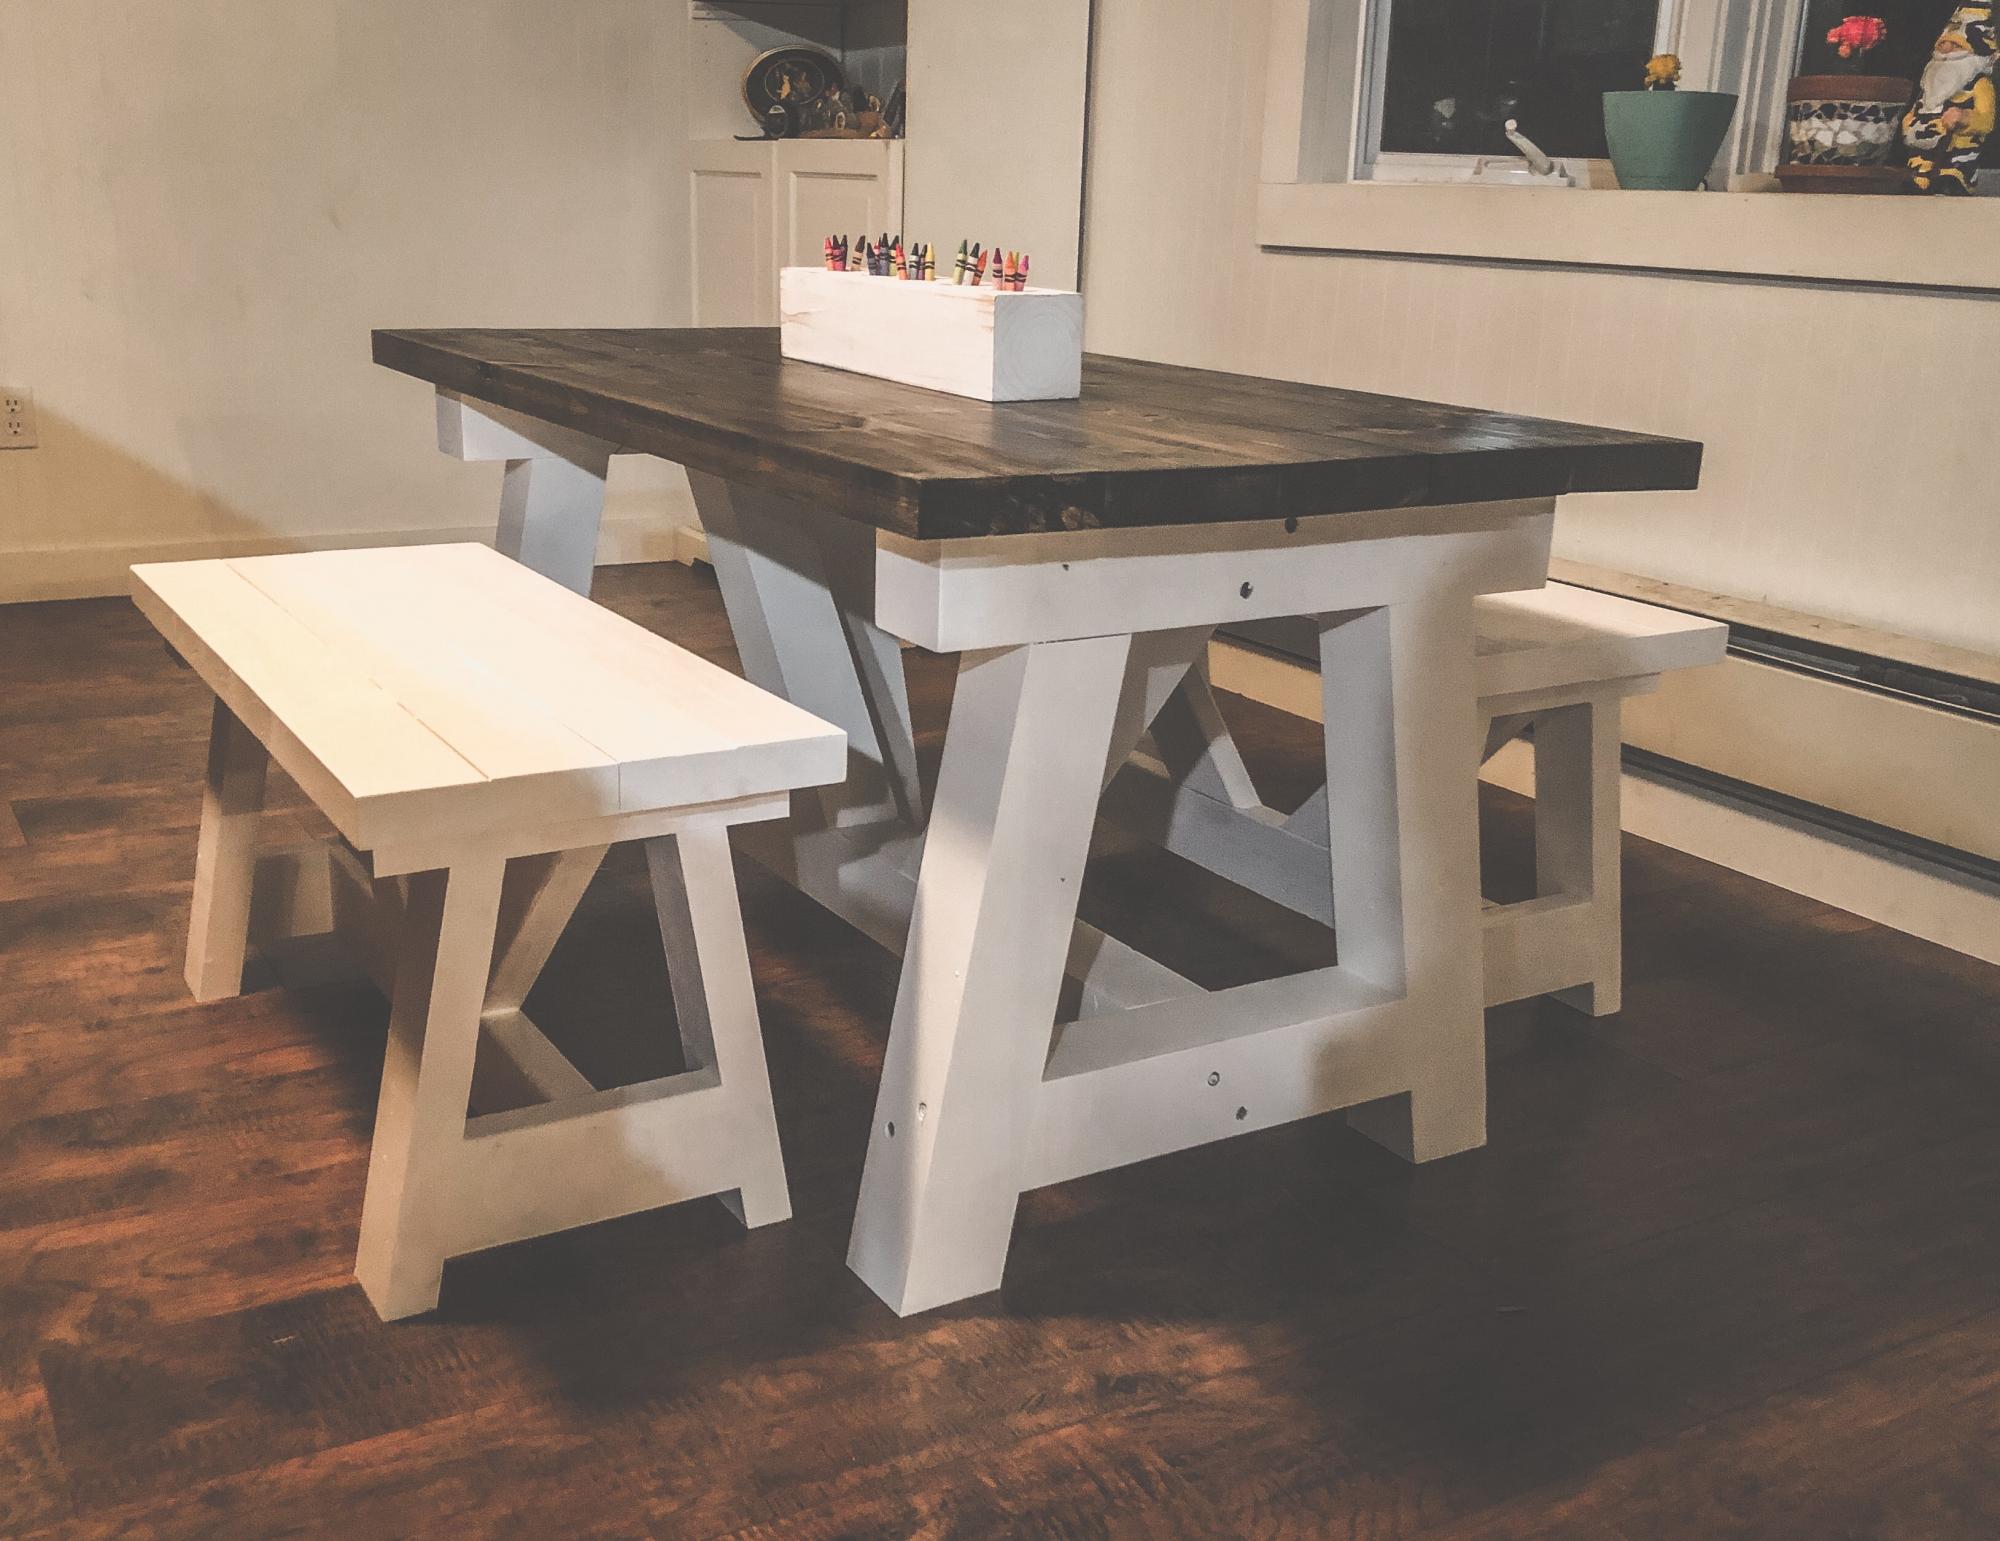
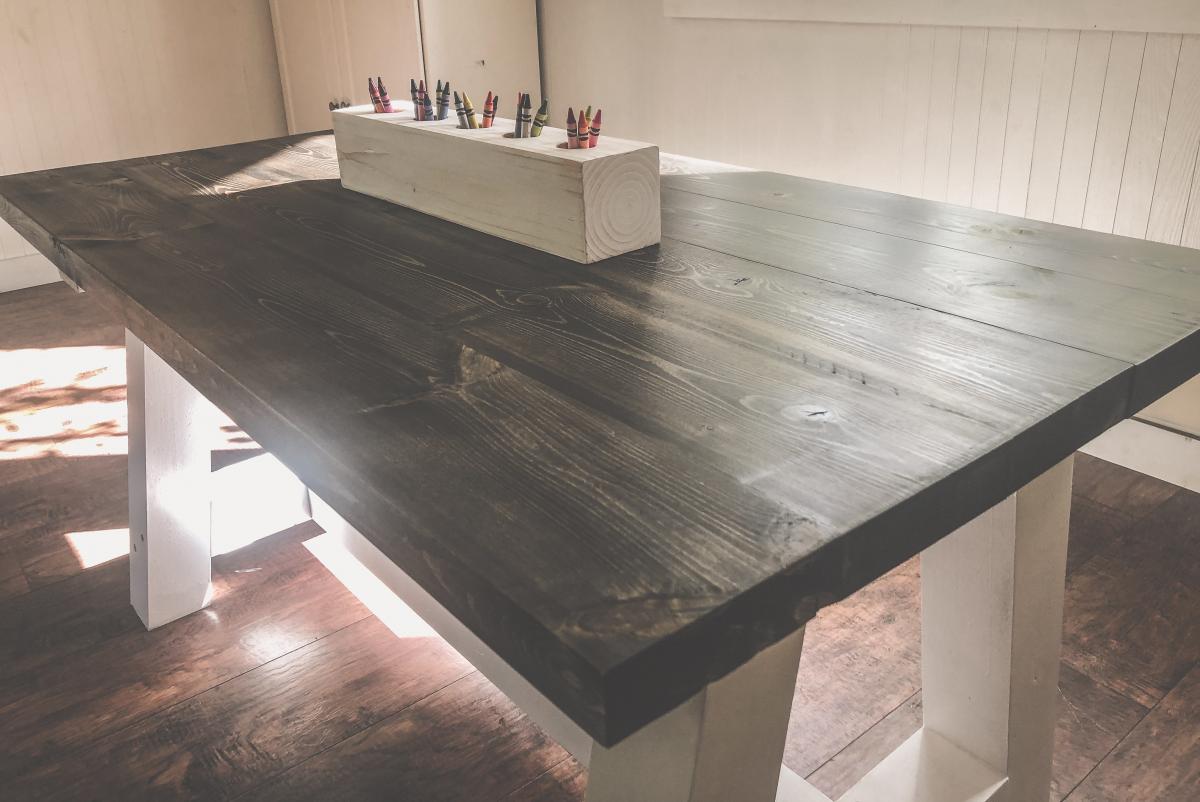
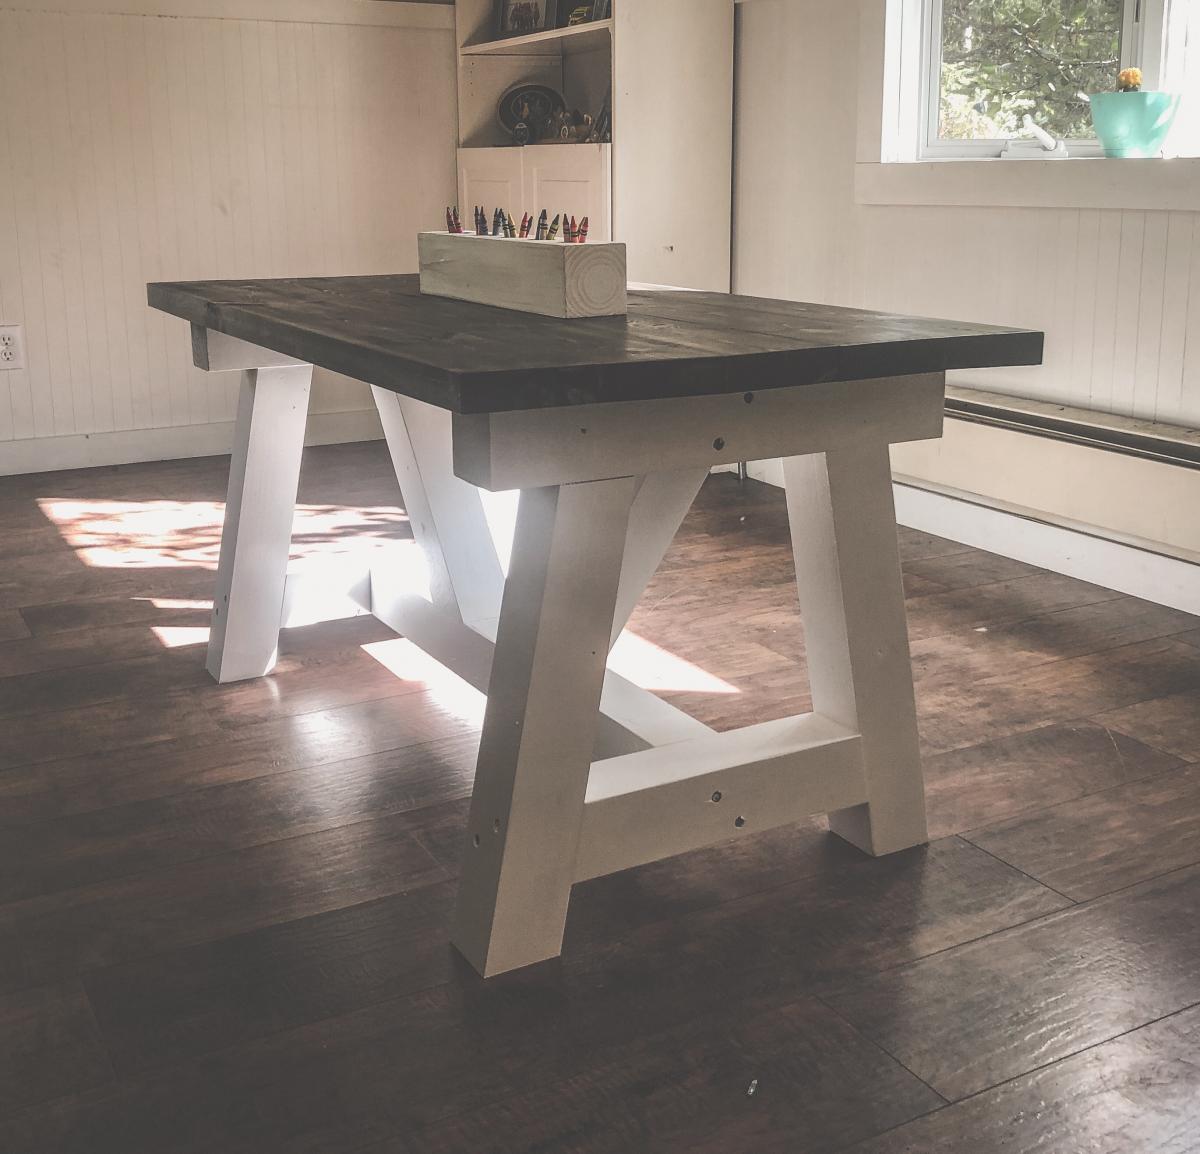
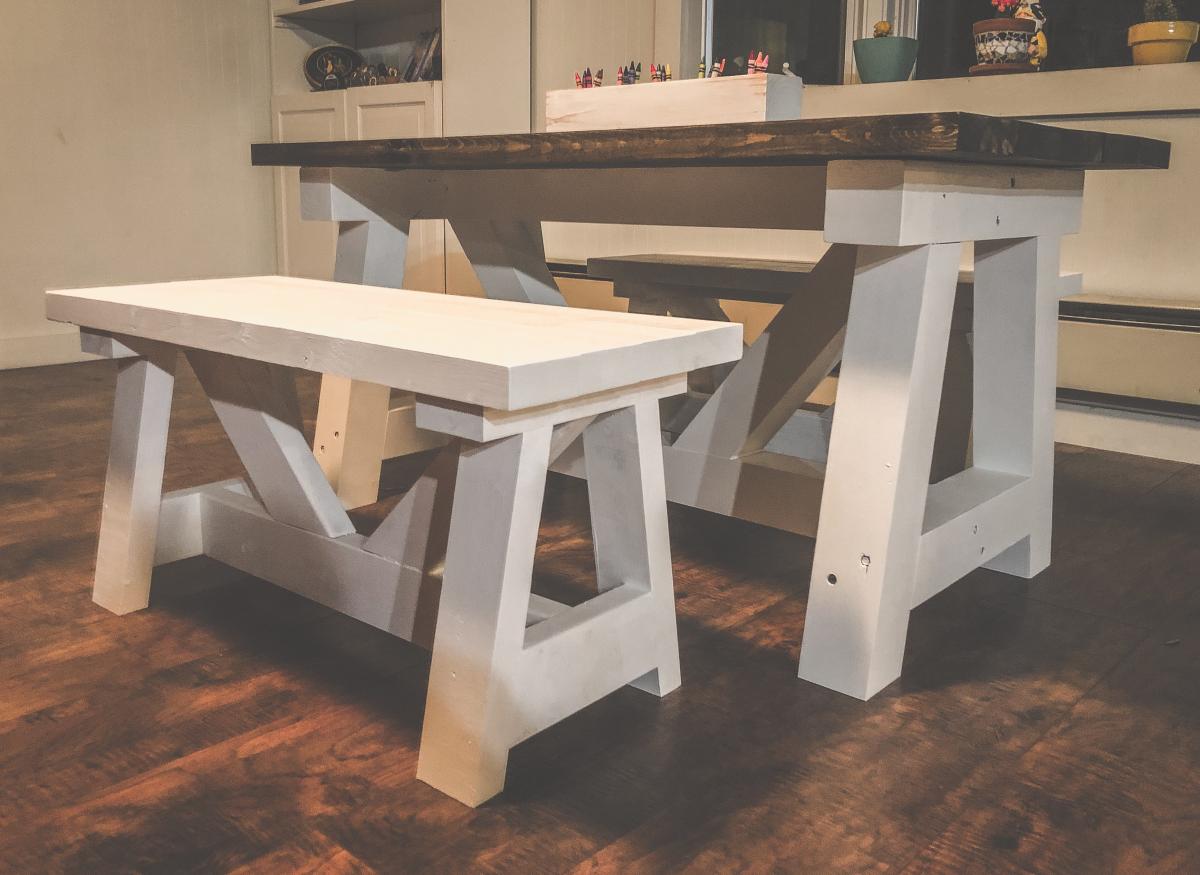
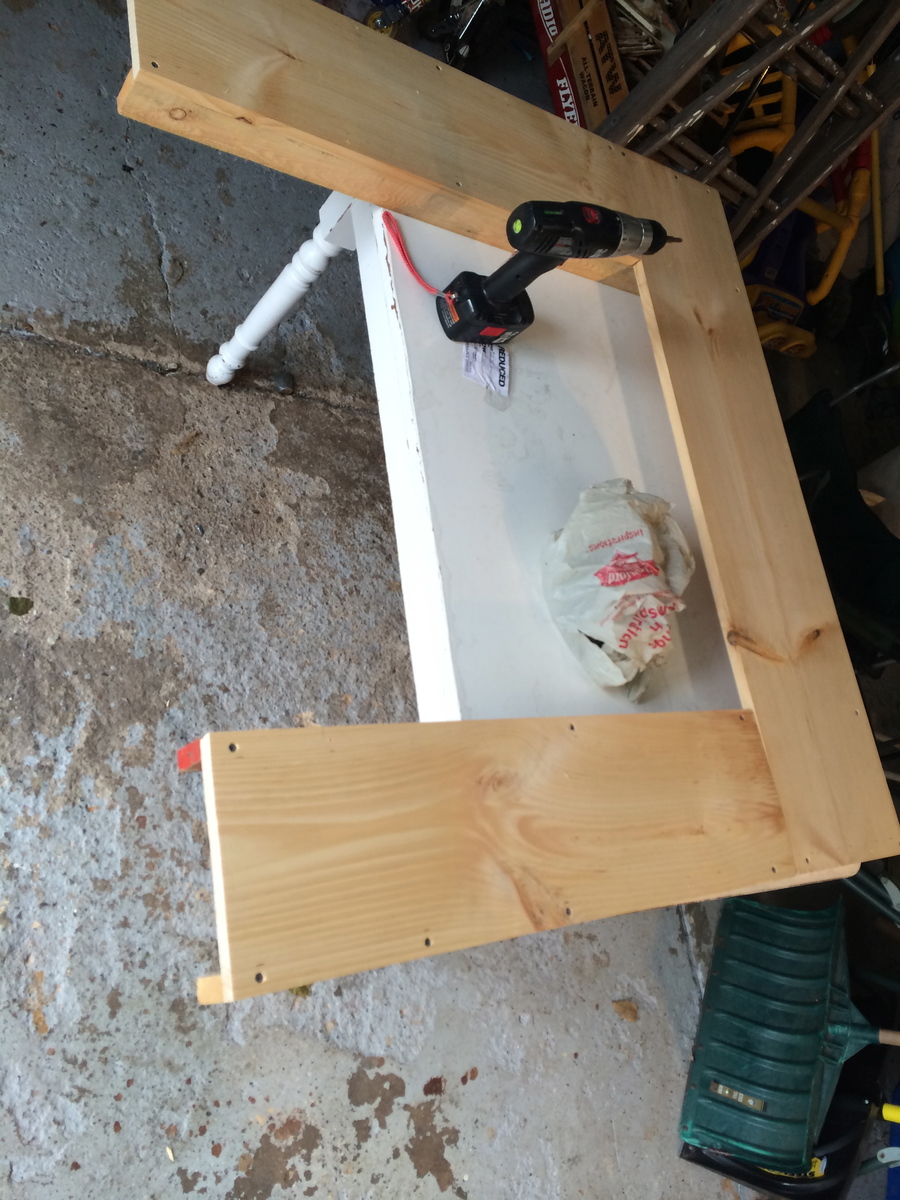
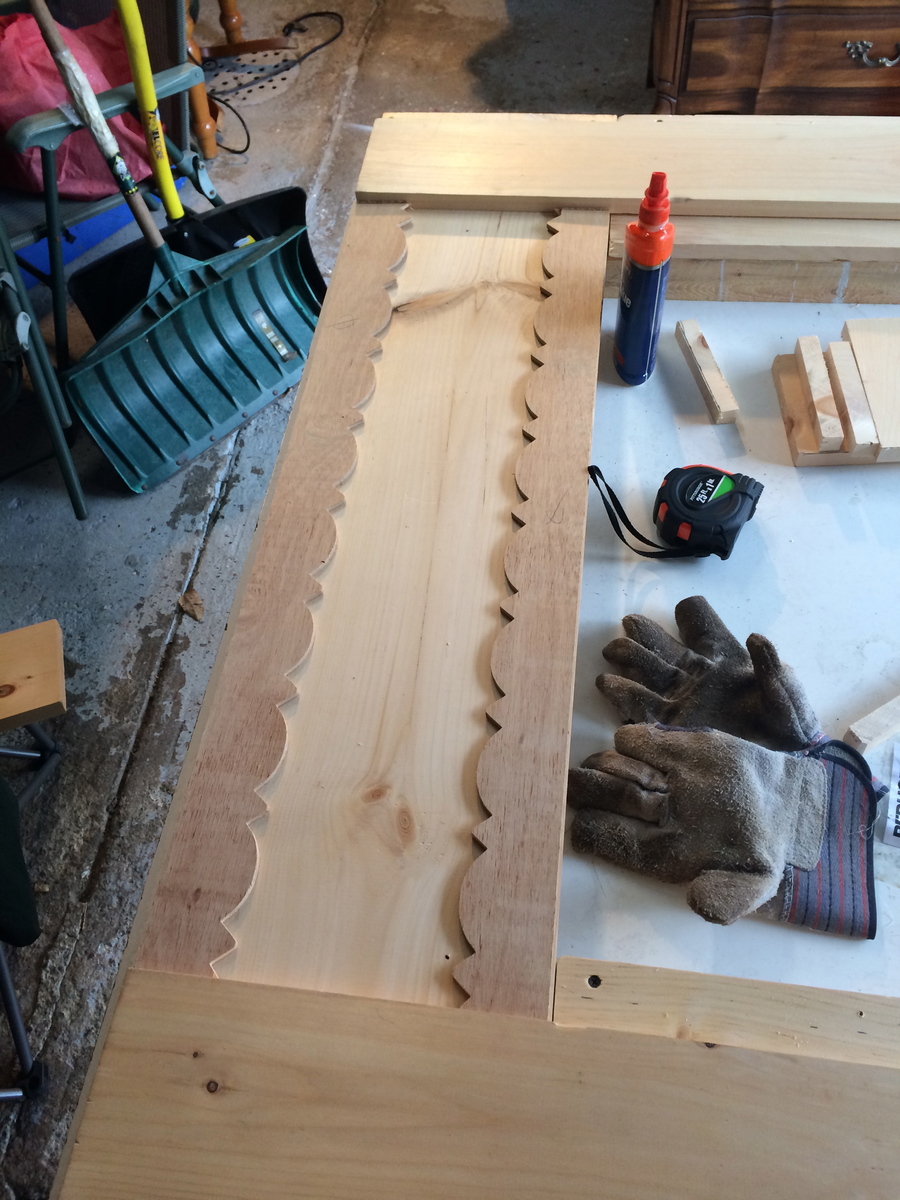
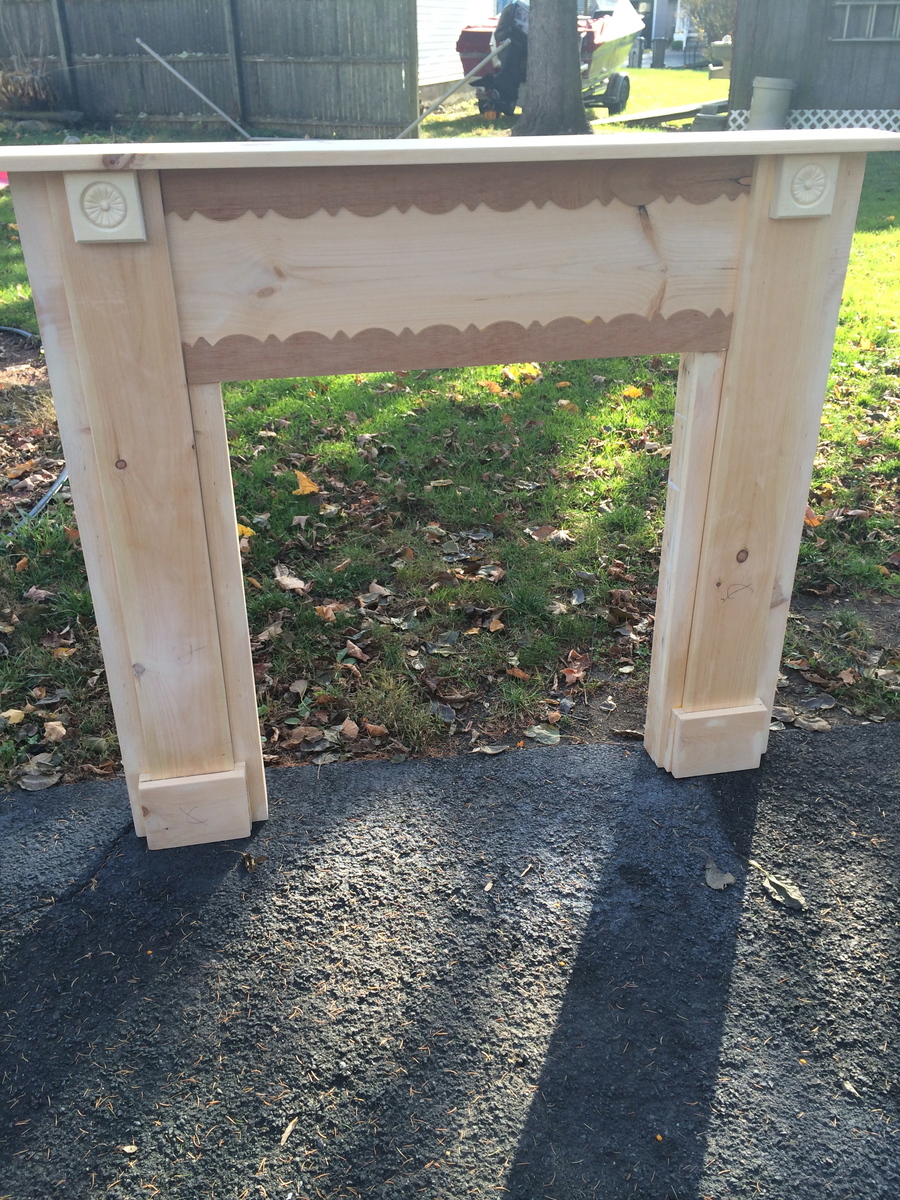
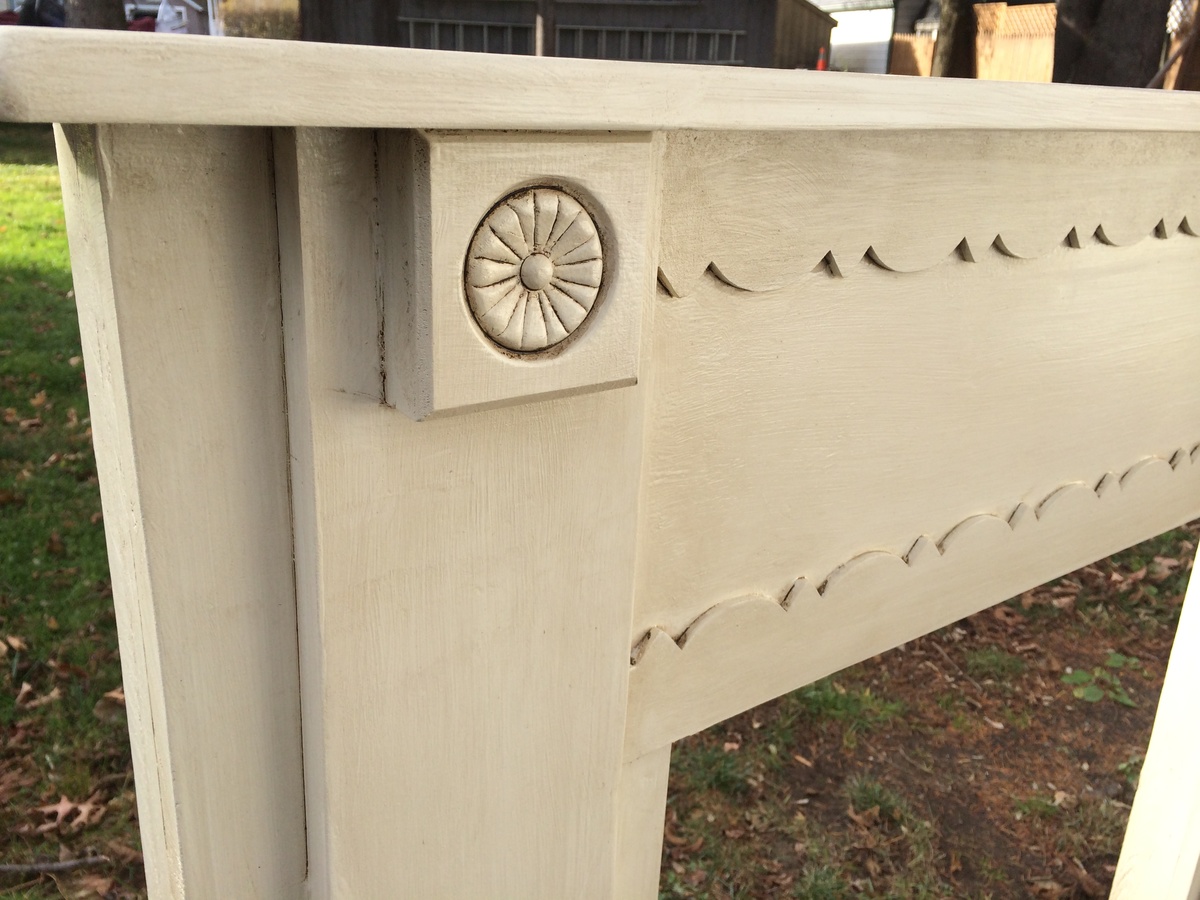
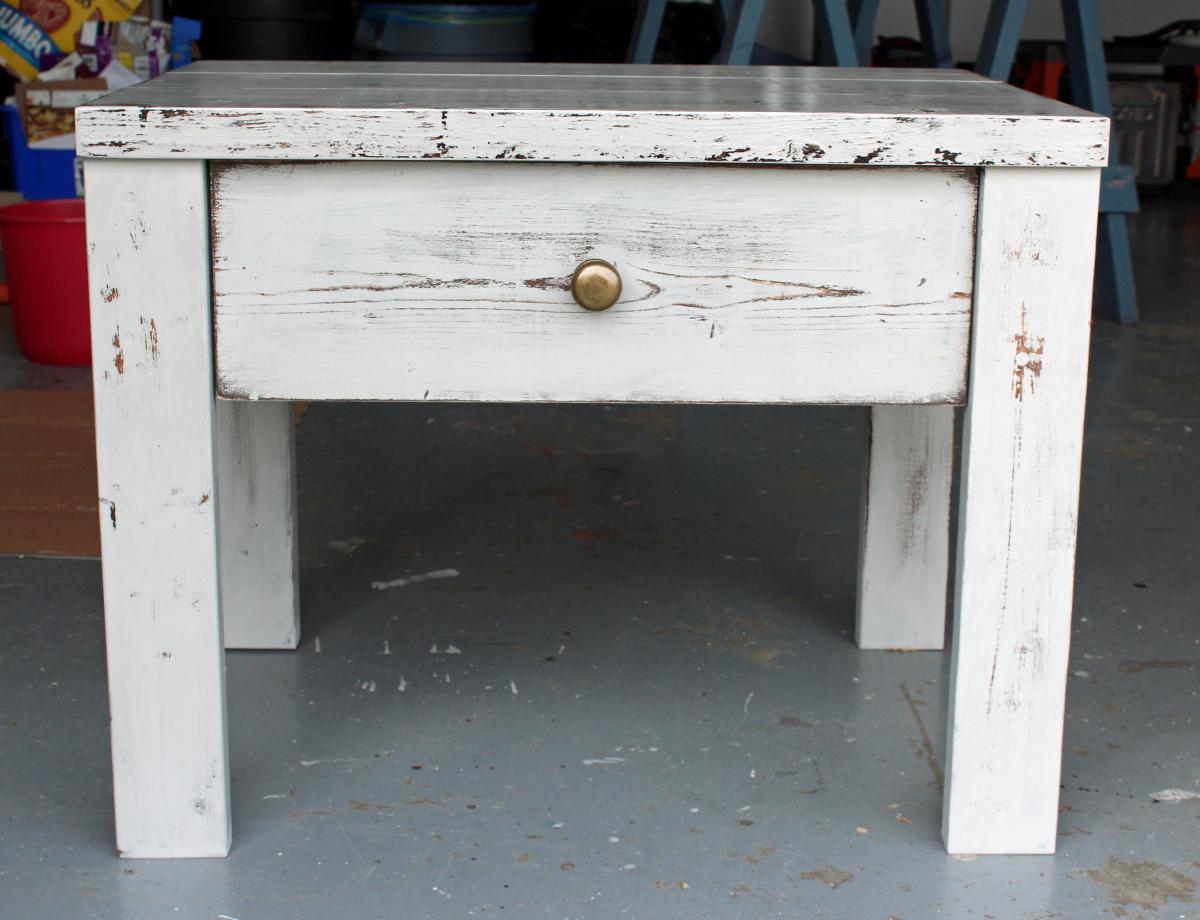
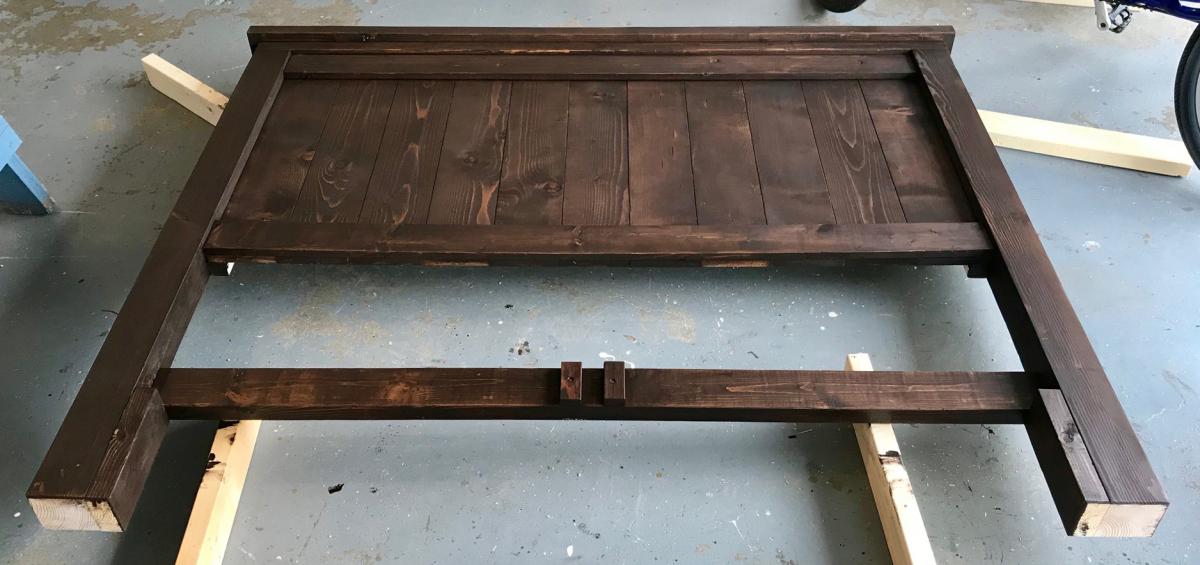
I looked ALL OVER for a bedside table that met my demands and my budget. It did not exsist. I found the Farmhouse Bedside Table and fell in love with it! It was definately a more tricky build, and my husband and I learned ALOT about what we know and what we don't know about tools, wood, angles, measurements, etc. But it was a fun project to do together and I just LOVE how it turned out! We definately surprised ourselves on this one! Only about $35, not too shabby! Only piece of advice would be to measure and cut as you go- some of the measurements didn't work out for us (not sure why...) but we were glad we didn't cut them ahead of time! We measured everypiece and double checked it. But we are new to work working, so cut at your own risk :)


Comments
Ana White Admin
Fri, 04/28/2023 - 17:08
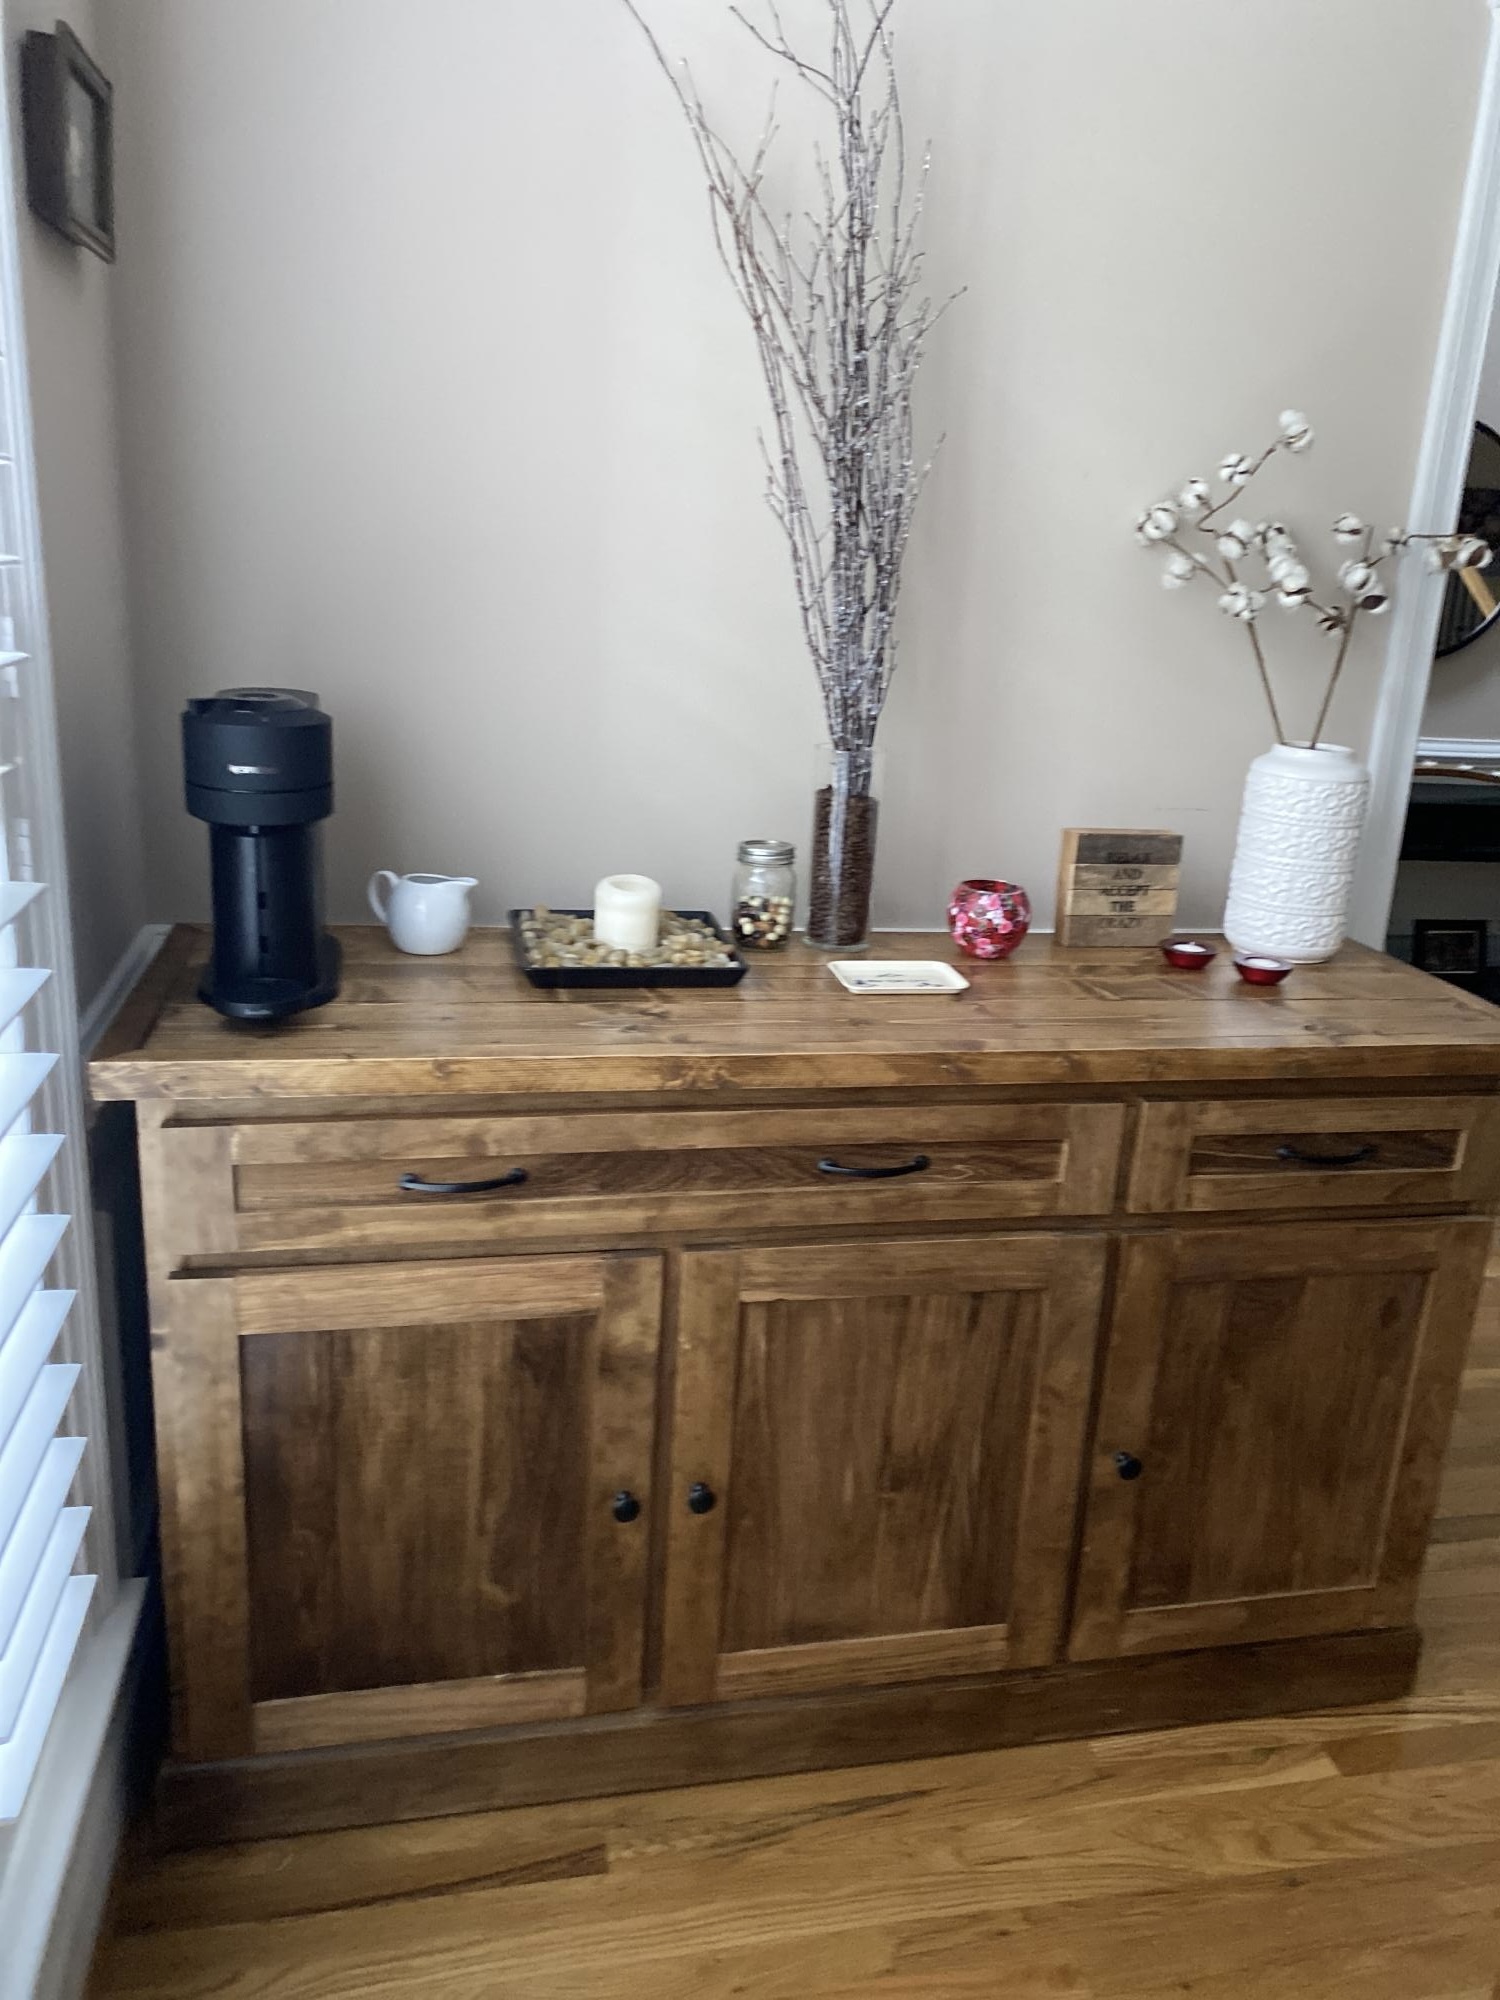
Fabulous coffee bar!
You did so good, it's gorgeous! Thanks for sharing:)