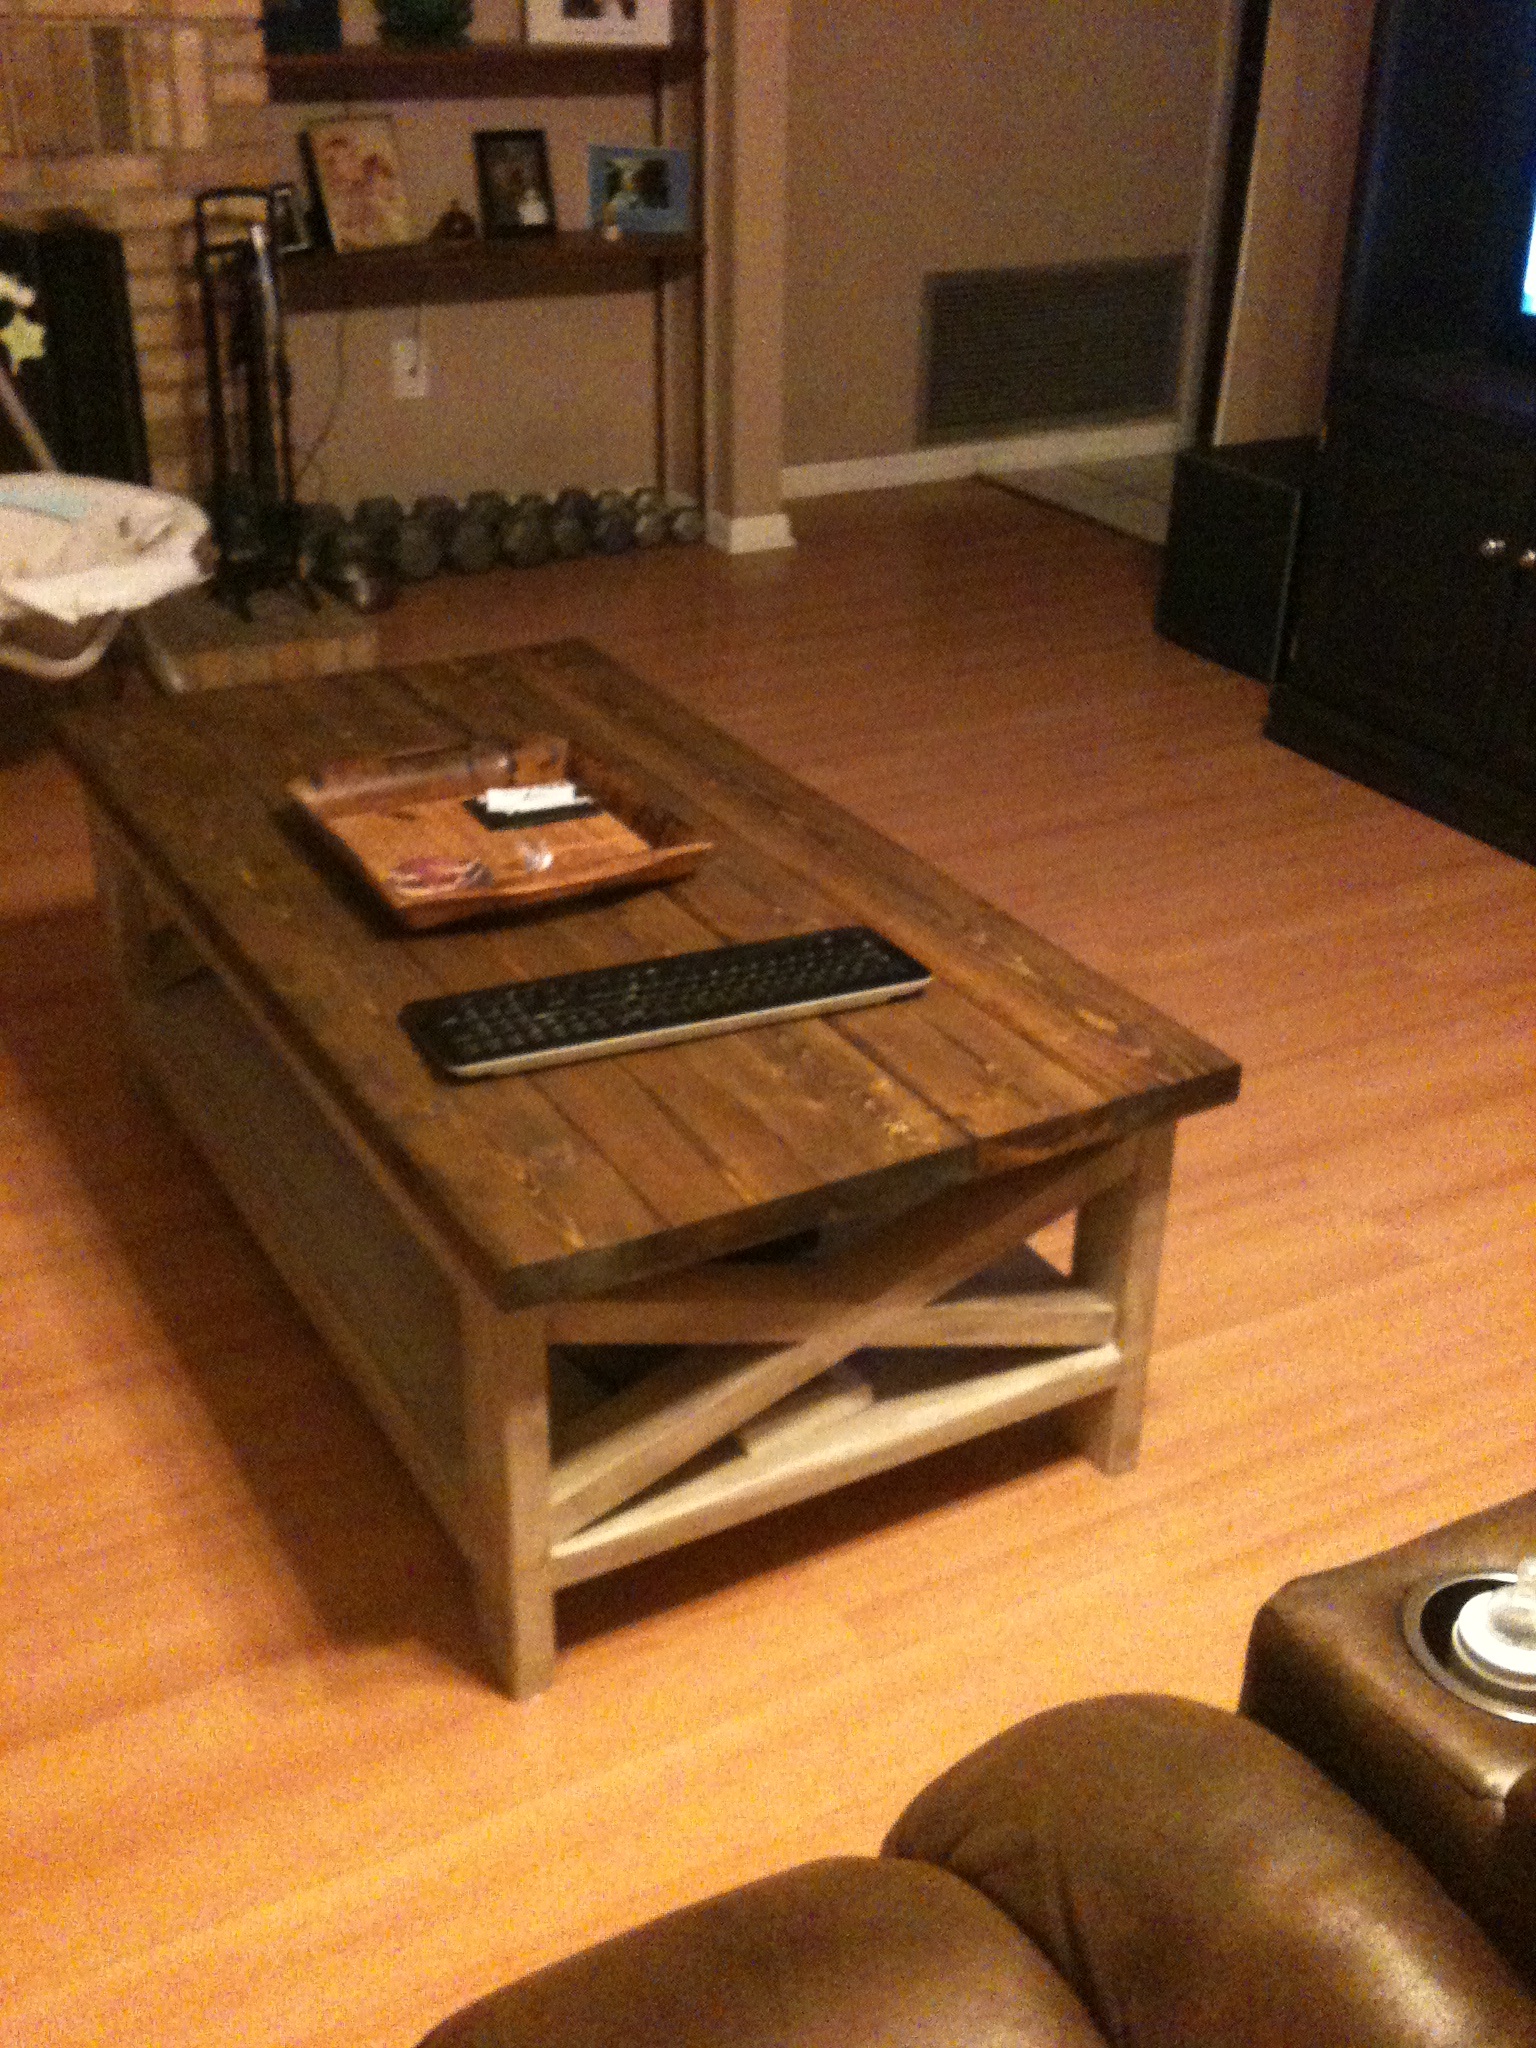
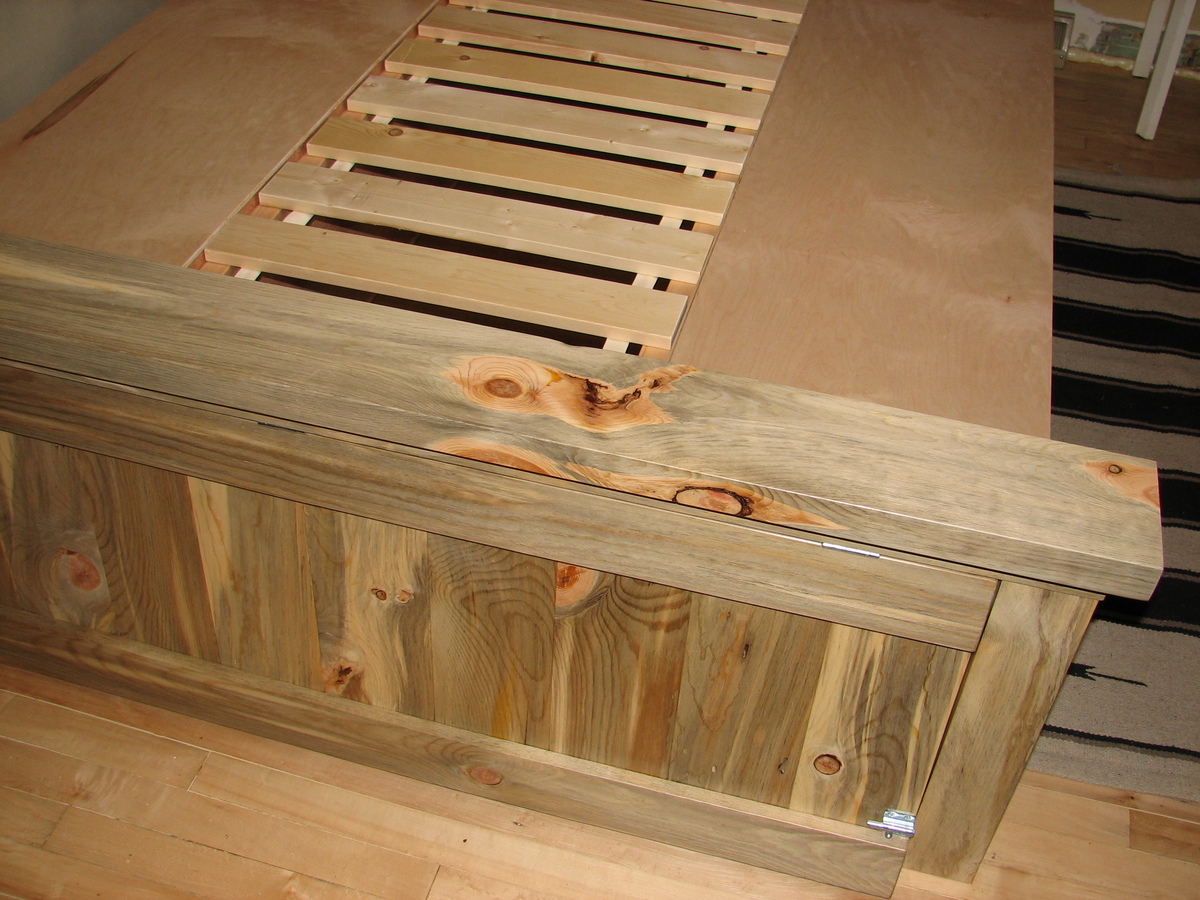
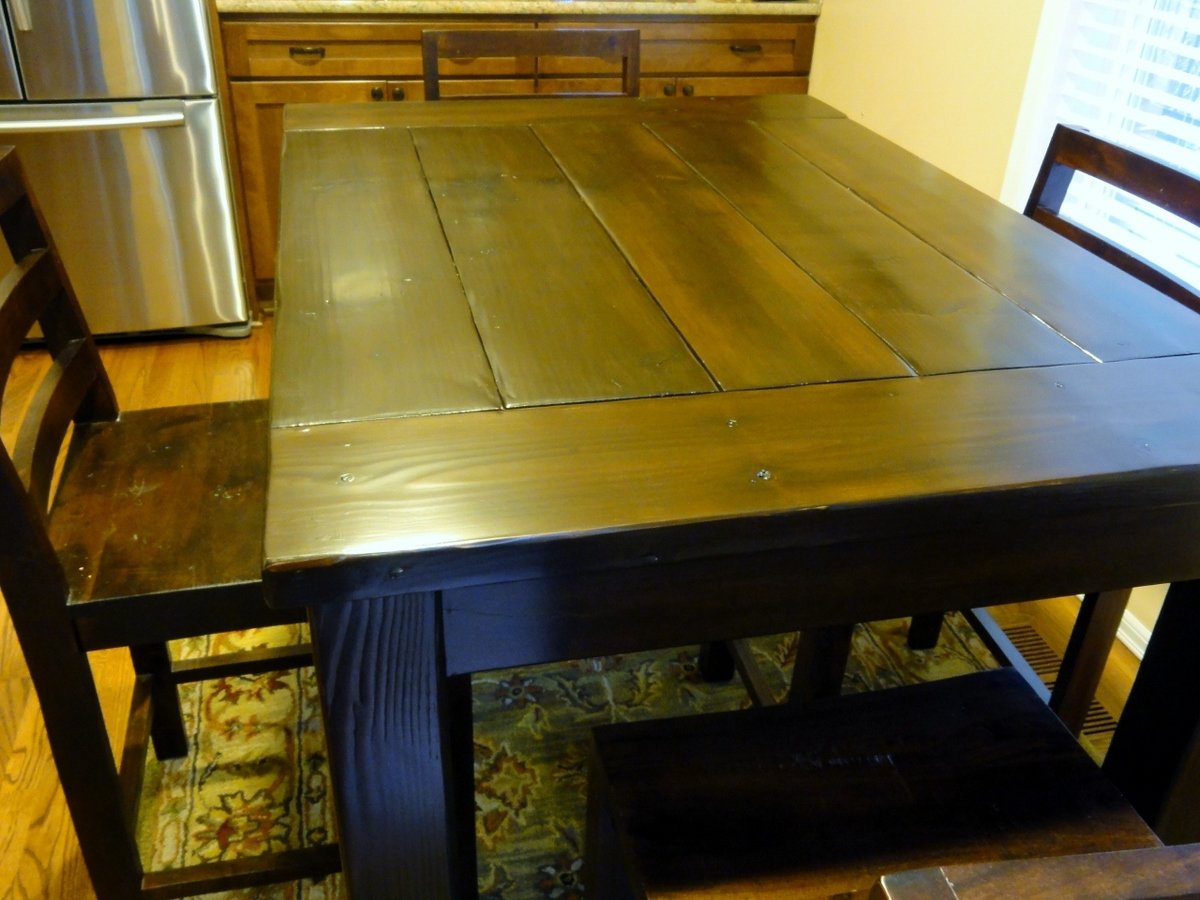
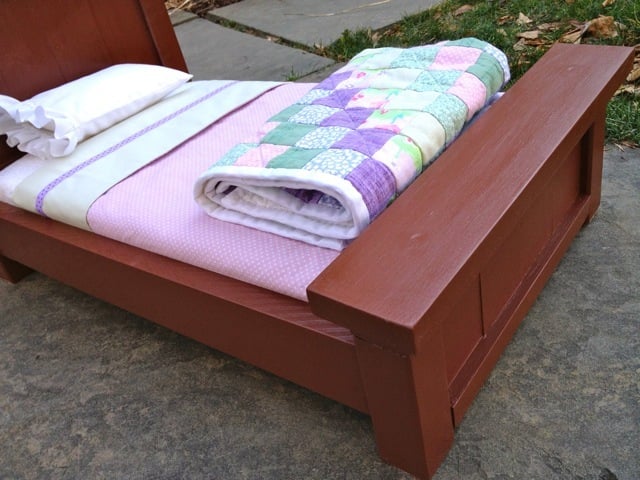
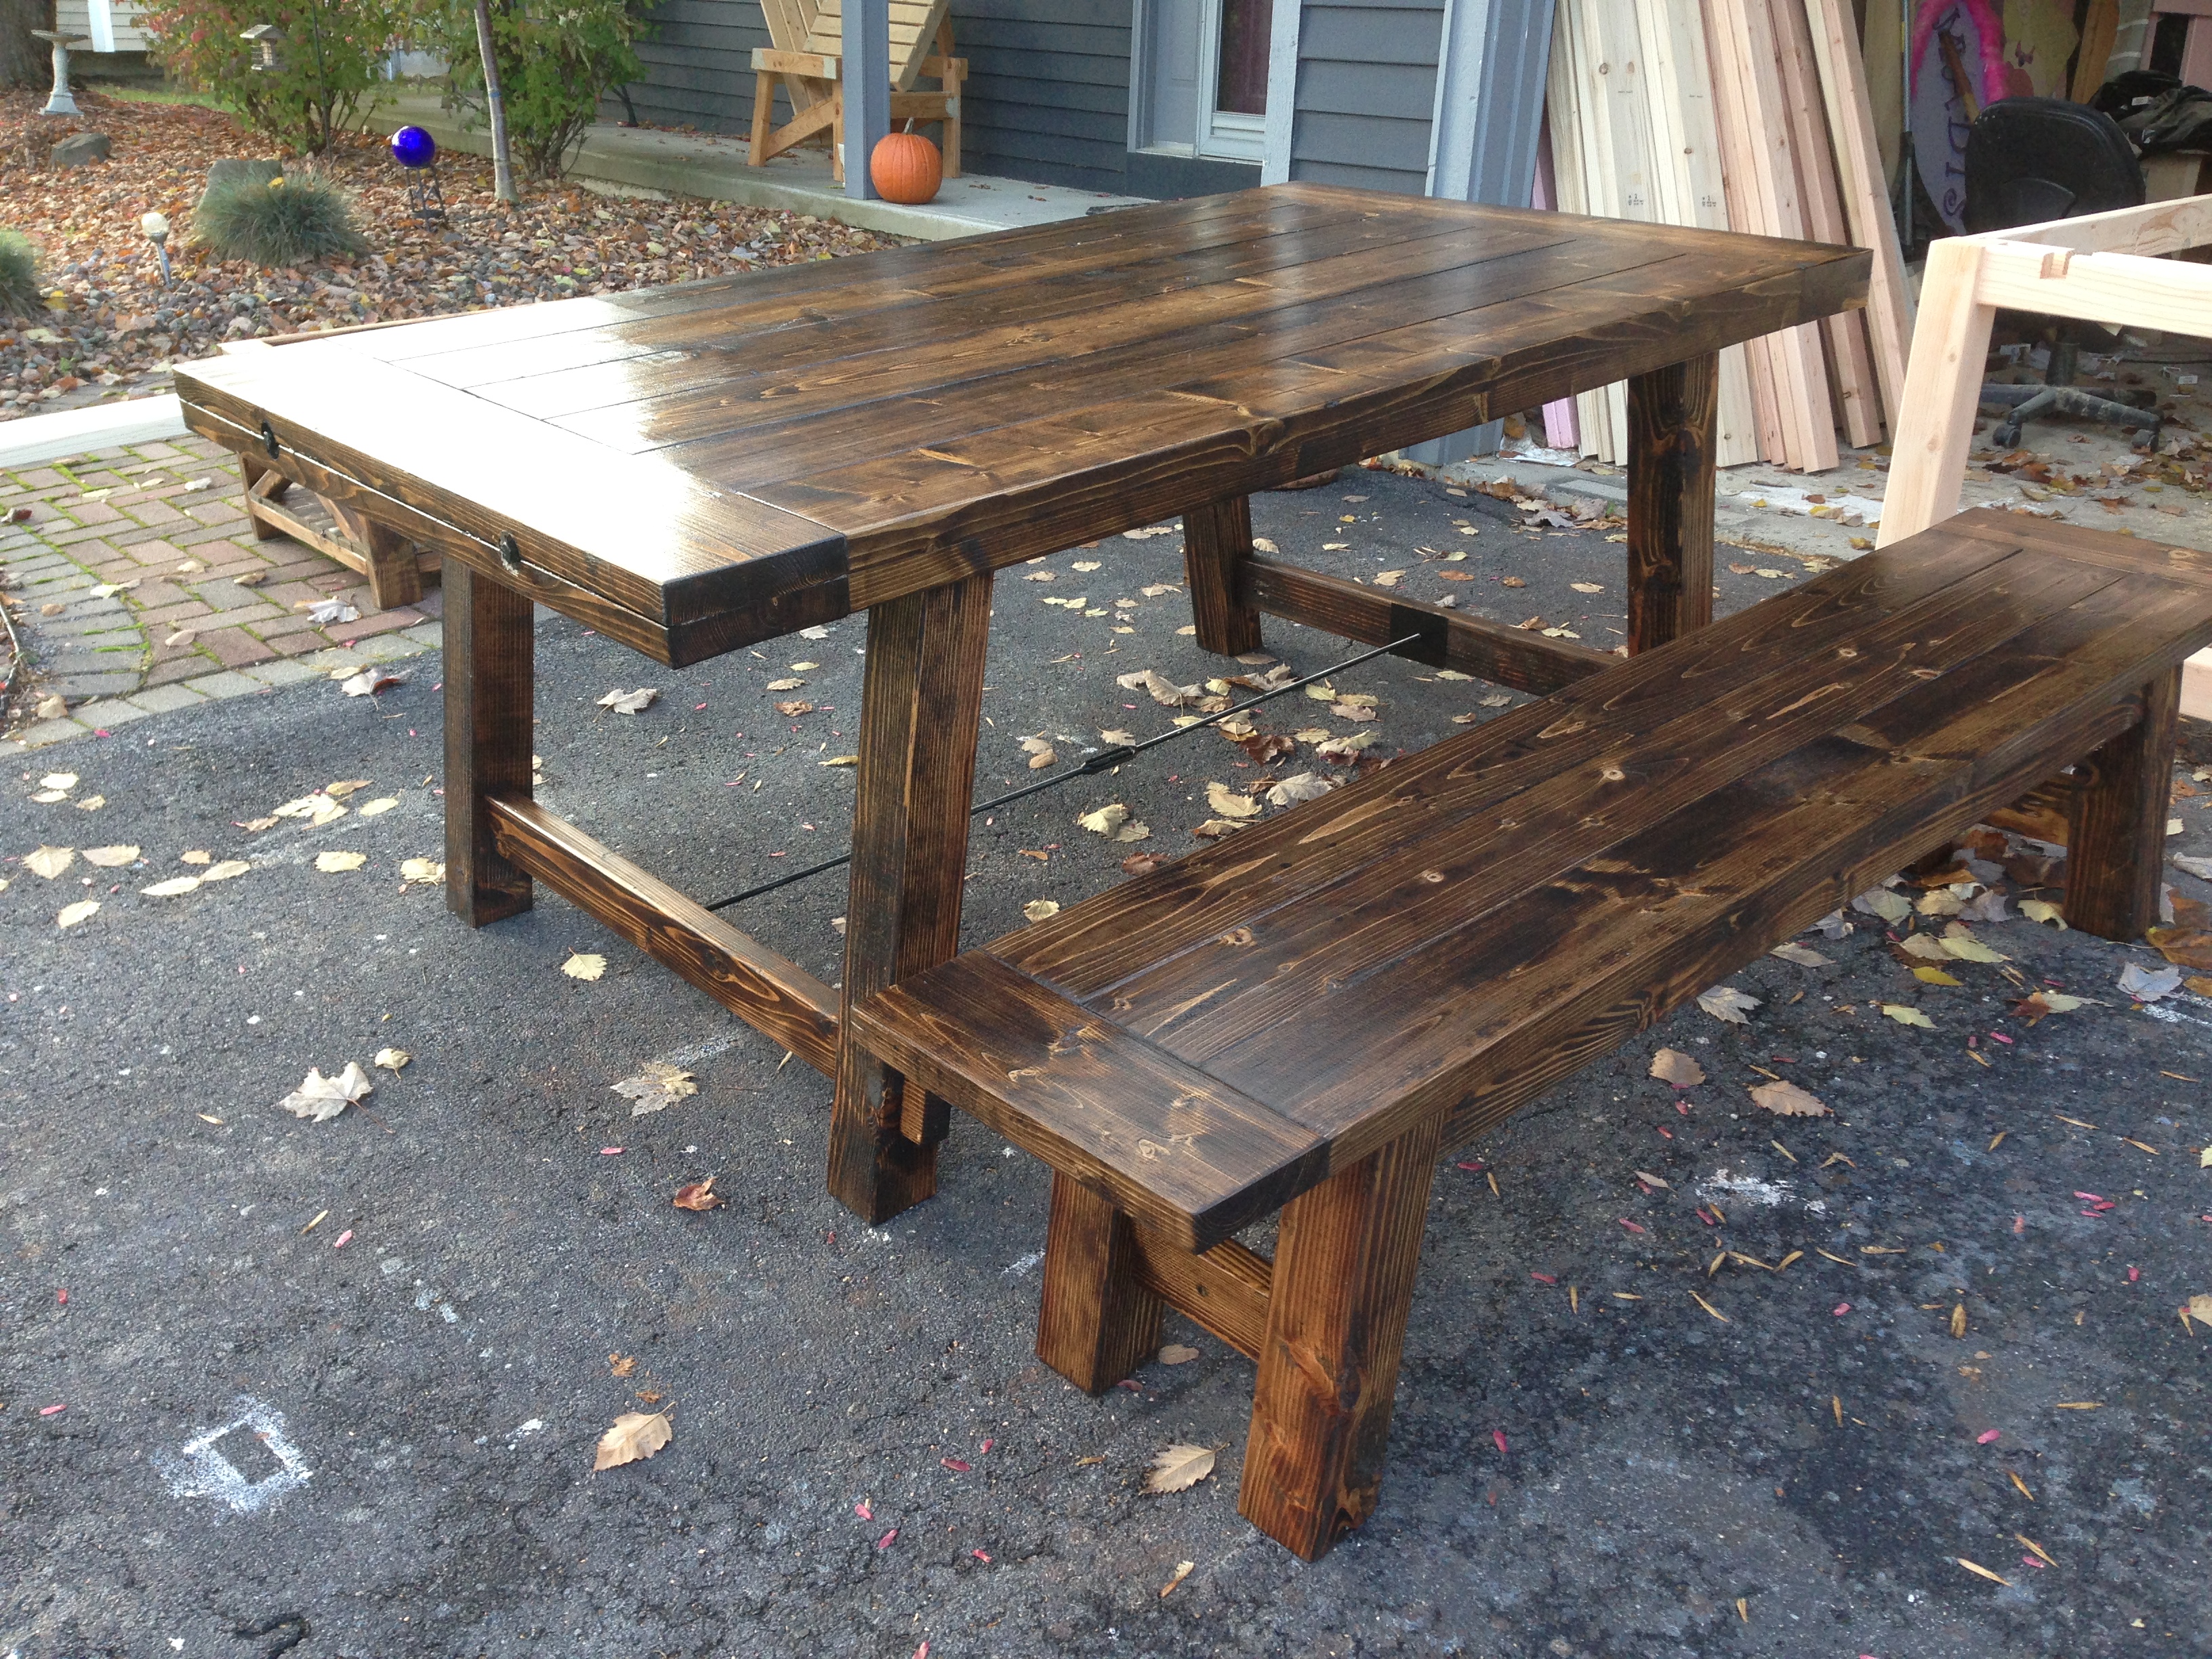
Here is a pretty simple shelf I built for my closet. Left it backless b/c I wear a 12 1/2 and needed my shoes to be able to hang out back a bit. The top 2 I am using for folded tshirts I don't hang, like undershirts and tank tops.
Material List:
1- 1x10x10 -$13.00 (2 side boards)
2- 1x10x6 - $8.00x2=16 (6 shelves)
24 1 1/4 pocket screws. Had these on hand, could sub for 1 1/2 wood screws if you do not have pocket scew jig set.
Tools:
Tape measure
Quick Square
Miter saw ( which I used) or a Circular saw
Drill
Cut list
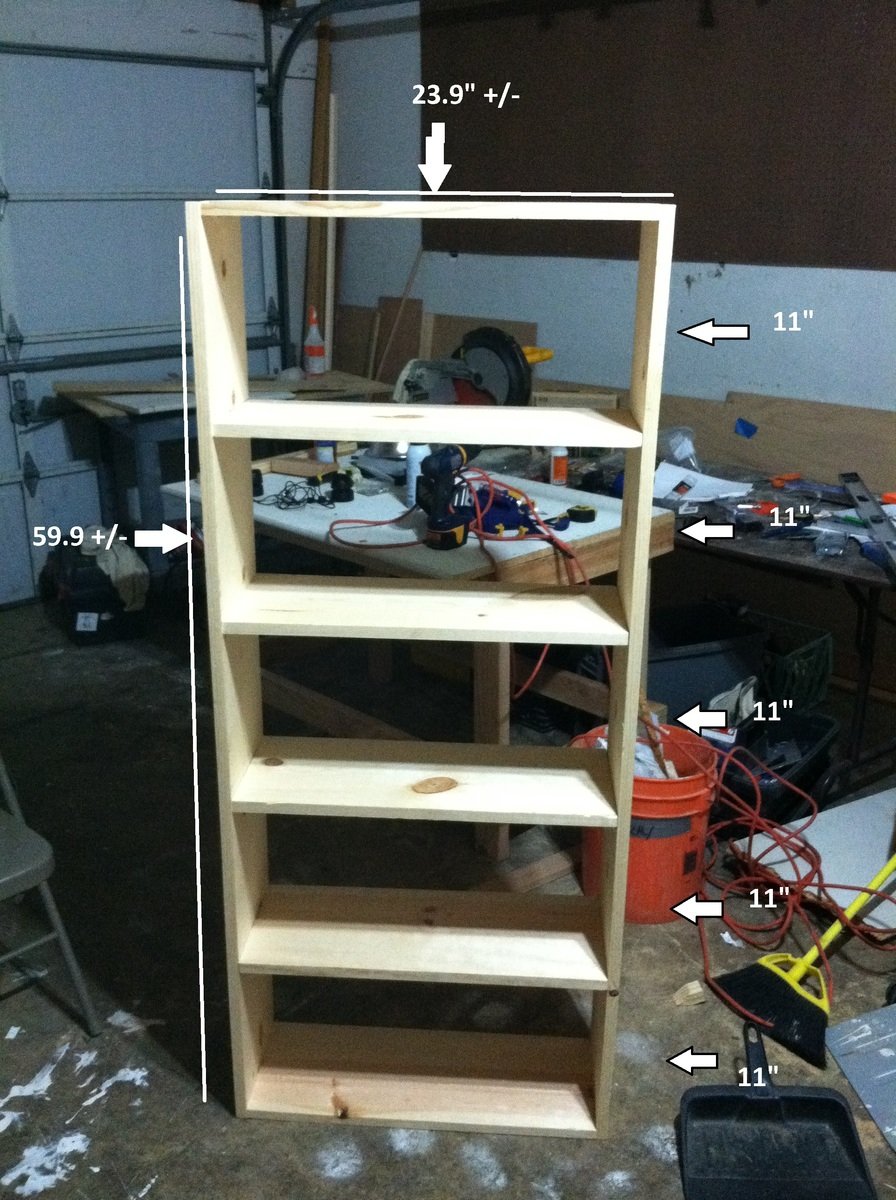
*2-59.9+- side boards
*The 1x10x10 was exactly 10ft long, so I marked off 5 feet with a line. Then I just cut on the line with the miter saw. This left me with 2 equal boards. Lets say 59.9 give or take a MM or so. Doesnt matter as long as they are even. If you mess the cut up, stack them on top of each other and recut to equal.
*6-23.9+- Shelves
*Again the 1x10x6 was exactly 6ft, so I made 2 lines, one at 2ft, the next at 4ft. Split them when cutting, and had 3 equal boards. Size can be smaller if you like, this is how I did it.
Now the fun part, and probably second longest time consuming part, behind drilling pocket holes.
I took the 2 side boards and clamped them so they would be flush and even side by side. (both face down side to side so you have one clamped board of 1x20x59.5 so to speak) I used my quick square to mark off .75(thickness of shelf boards). Start at the bottom or top, draw line. then,start next at 11 inches, step and repeat.In the end should have 5 shelves exactly 11 inches apart.
I next predrilled my 6 shelf boards with 2 pocket screw holes on each side, about 3 1/2 inches from each edge. This was most time consuming, you could use 1 1/2in screws and go from side boards into shelf boards and save time, also if you don't have pocket hole jig.
Assembling, I started at bottom, attached side boards to both side of bottom shelf, and worked my way up.The lines you pre-drew act as marker for next shelf,and help a ton when trying to keep everything square. The last one,top part, should be snug to put in. I find its best to do this way as everything keeps square as long as you have straight lumber.
Cost overall-$30.00 since I had screws, total time was around 2 hours to complete, and this was me having to explain everything to the little one lol


Comments
Cherie Heltne (not verified)
Tue, 11/22/2011 - 07:25
Beautiful! I am trying to do
Beautiful! I am trying to do a wardrobe right now, too! I am making my second of this bed today. Great job!
Boroffdon
Sat, 12/03/2011 - 07:22
wardrobe
Do u have the print for the wardrobe that u can email me
18 inch doll
thanks
spiceylg
Tue, 11/22/2011 - 08:11
Adorable!
That wardrobe is so cute and of course so is the bed. Great idea!
Christa
Tue, 11/22/2011 - 13:21
looks great!
The wardrobe is great! I especially love the decorative touches! :)
Christa
Tue, 11/22/2011 - 13:21
looks great!
The wardrobe is great! I especially love the decorative touches! :)
Robinwood
Thu, 11/24/2011 - 12:56
Added photo of wardrobe inside
I finally managed to upload a photo of the inside of the wardrobe
Guest (not verified)
Sat, 12/03/2011 - 11:29
Doll wardrobe
Where and how do I find the plans for the doll wardrobe?? I made the Farmhouse bed and love it. Thank you
Guest (not verified)
Sun, 02/26/2012 - 15:22
doll wardrobe
I'll trade you picture and info for a great doll closet for you plans for the Farmhouse bed. Our granddaughter loves the closet, so now I need to build the bed.
Thanks,
Robinwood
Sat, 12/03/2011 - 14:12
Doll wardrobe
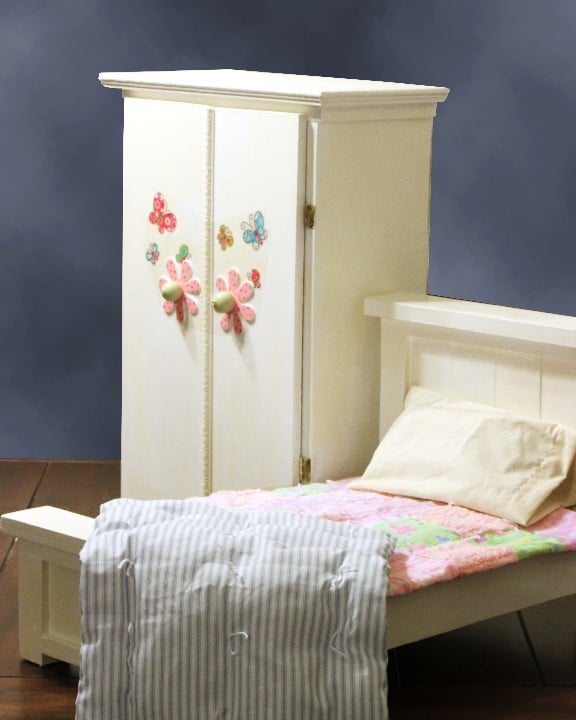
Thanks for your interest - I'm sorry, I tend to work by the seat of my pants and develop an idea as I go; so I don't really have plans. The best I can do is give somewhat of a cut list; which is:
Sides: 2@7"X19.5"
Bottom: 1@7"X13.5"
1st Top Board:1@7"X14" (hangs over 1/4in on sides)
2nd Top Board:[email protected]"X15"(hangs over 1/2in on sides and in front- it's even at back)
Doors: [email protected]"
Inside Shelf 1@7"X12" (Top of shelf is 4" below top of inside cabinet.
I just measured enough below to allow for doll hangers and drilled for dowel, but it came out just right for the longer dresses.
The front trim overlaps the left door, so that I only had to put one door catch at the bottom.
I hope this helps - I really need to learn the Sketchup program.
I used 3/4" plywood because that is what I had, but used 1/2" playwood for doors to make them lighter.
Stephanie (not verified)
Fri, 12/09/2011 - 14:41
Beautiful!
What size dowel rod did you use? I have a niece who I've made a bunch of clothes for, and I'd love to make her a wardrobe to house new clothes!
Robinwood
Fri, 12/09/2011 - 21:14
dowel Size
I believe it was 3/8 or 1/2 inch - I took one of the hangers with me and just put it on dowels until I got the right size.
sgilly02 (not verified)
Wed, 03/14/2012 - 20:25
Ribbon!
Just a suggestion for a quick way to "brighten up" the pillow case. Just find some ribbon to coordinate with the bedding and sew (or use iron on adhesive - really easy then!) around the hem line of the opening.
The wardrobe is darling. I love the flower knobs!