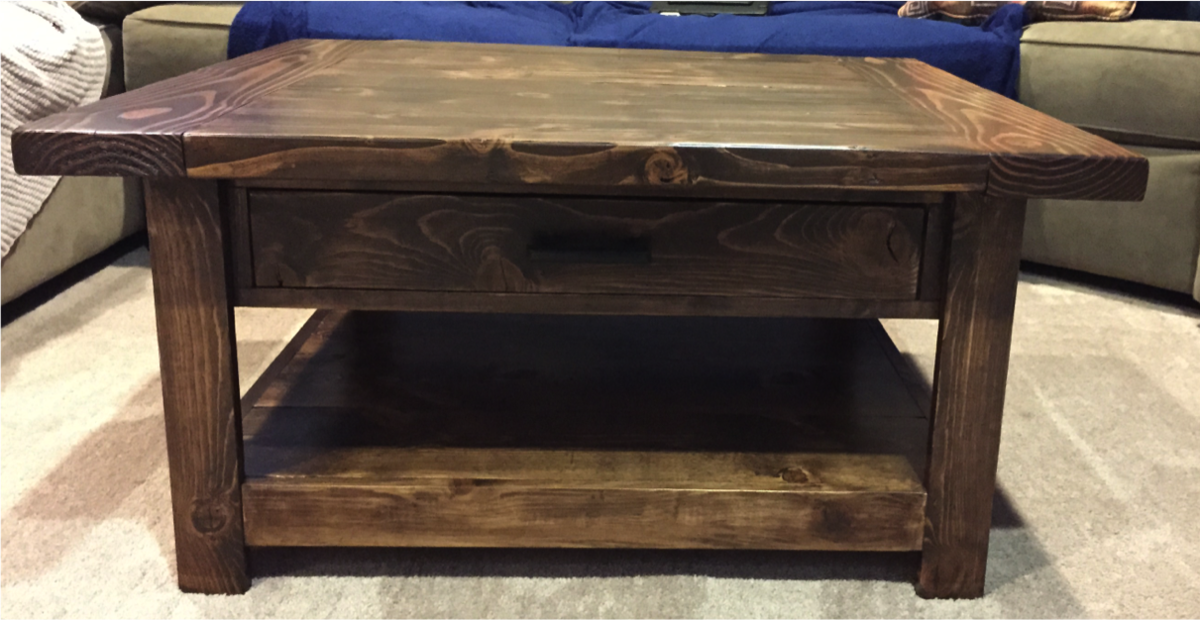
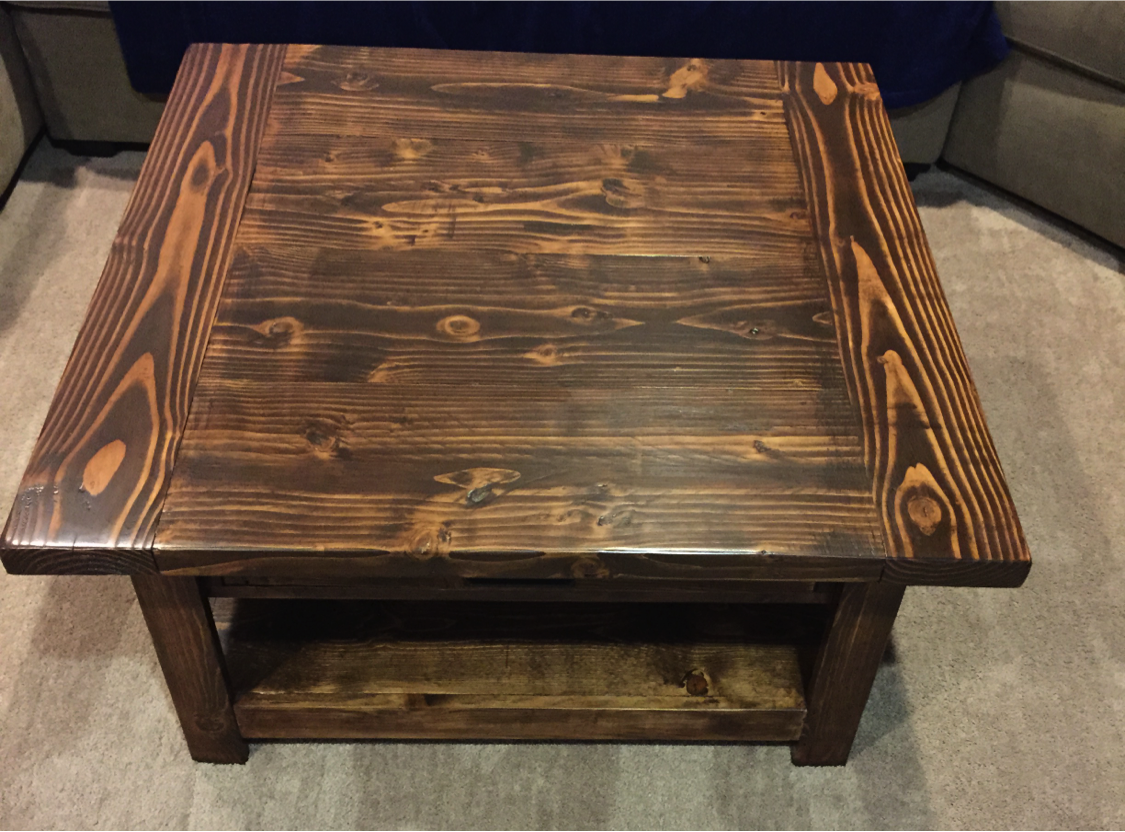
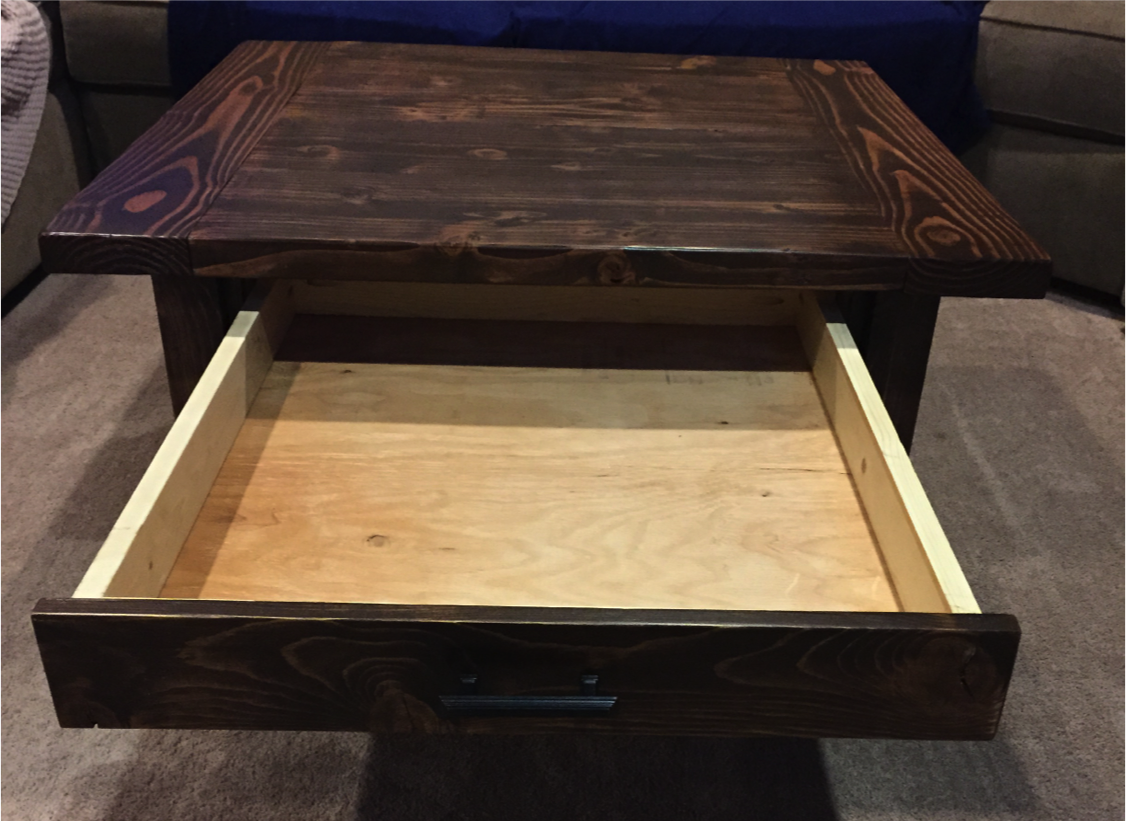
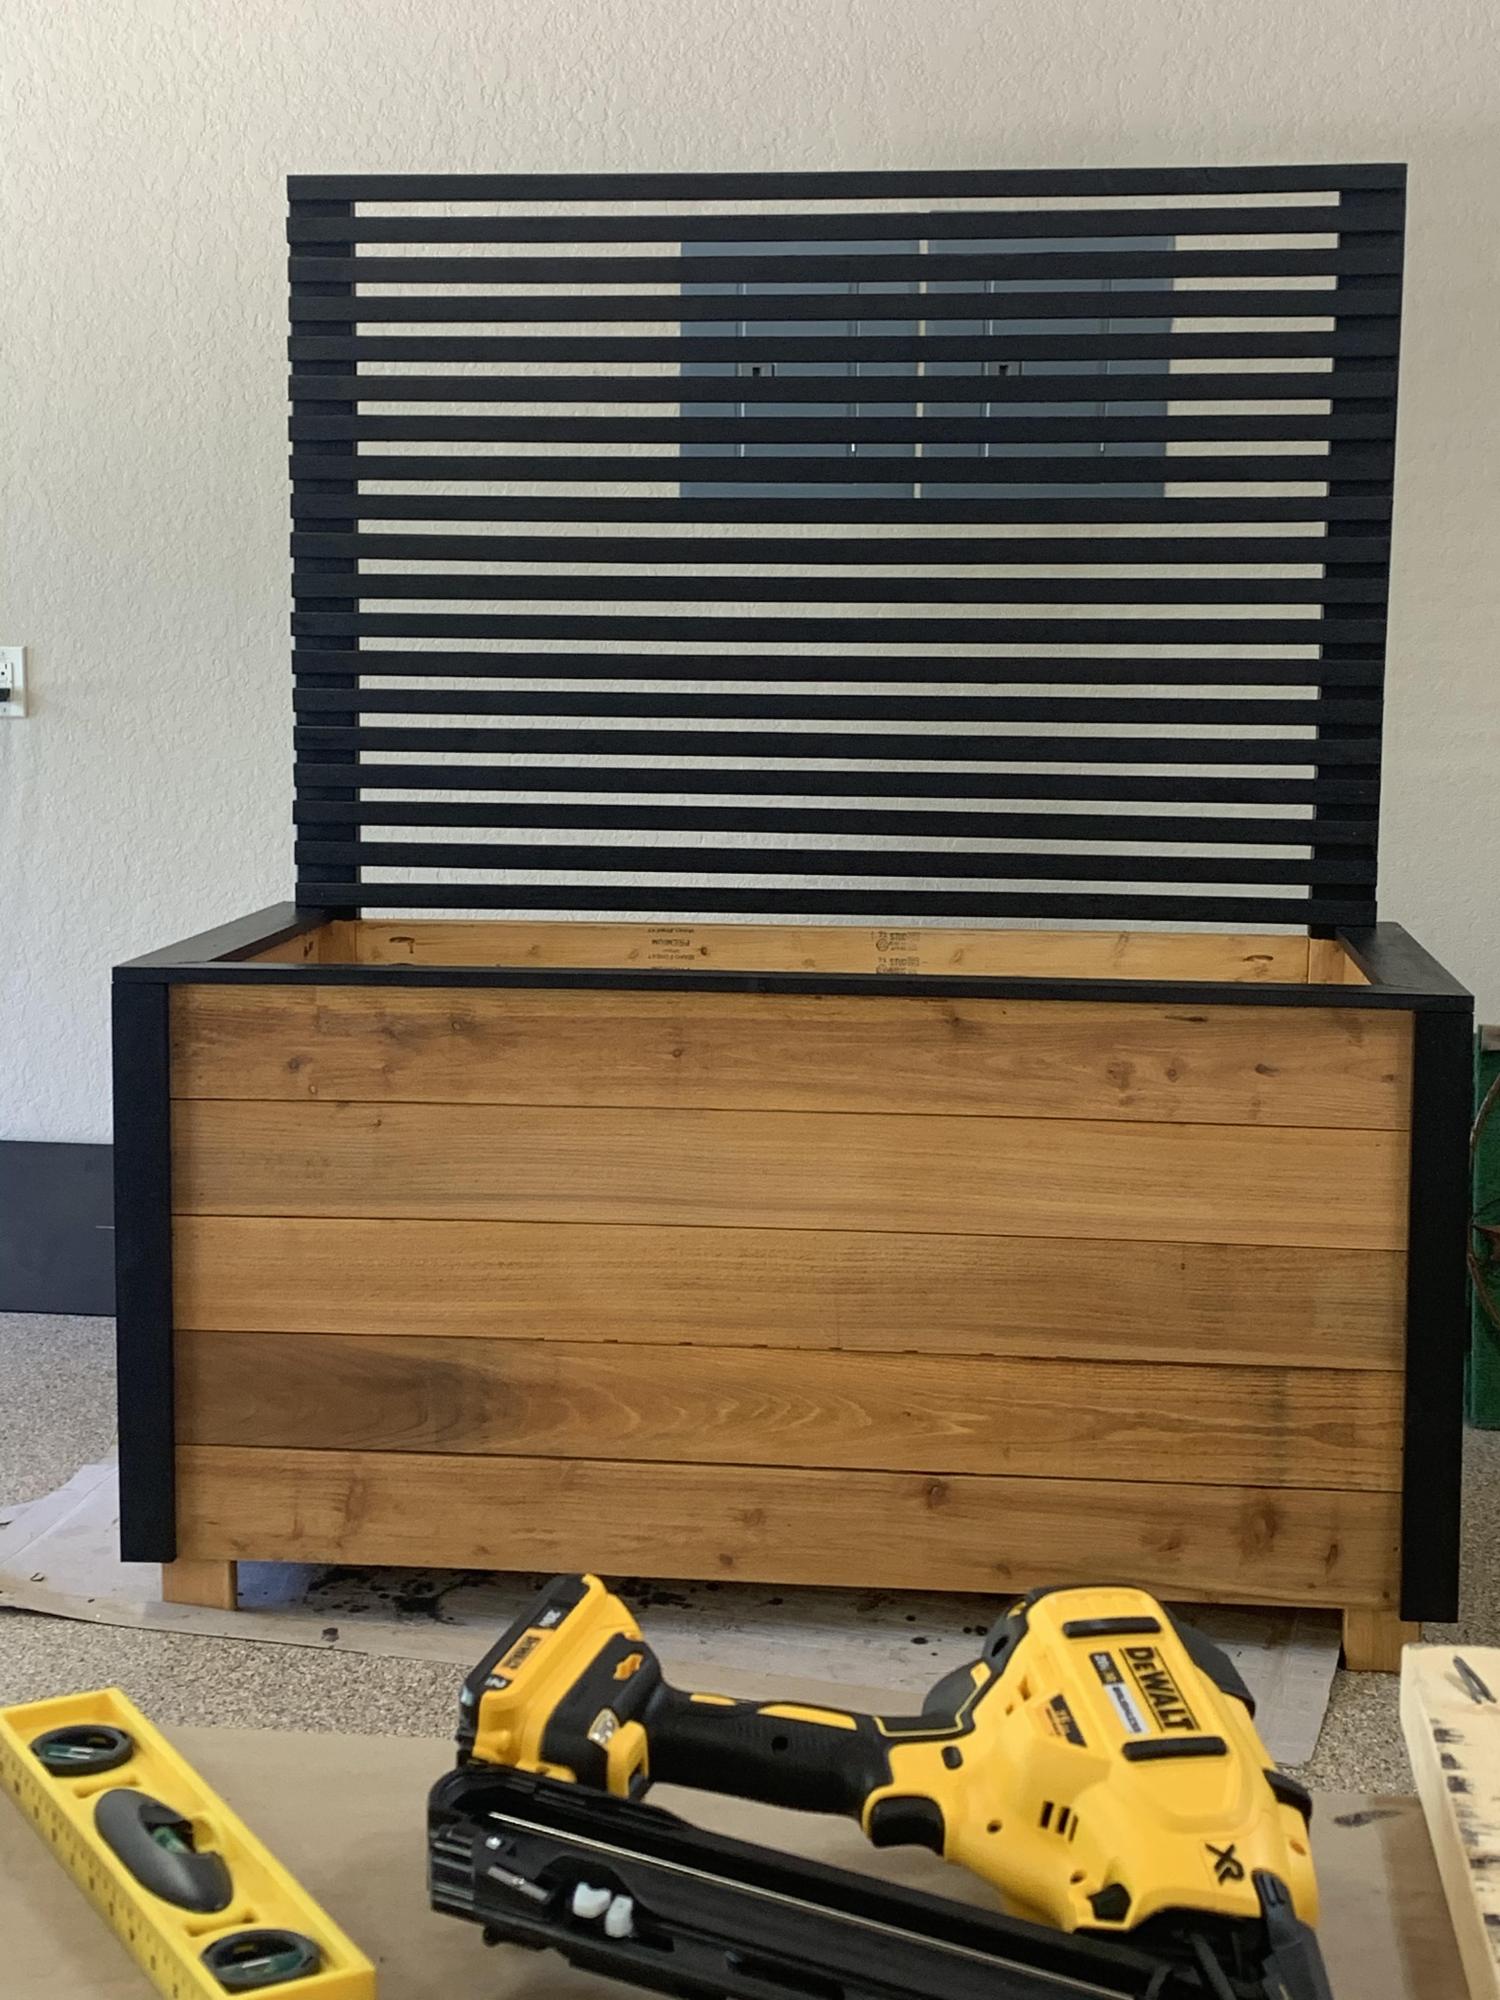
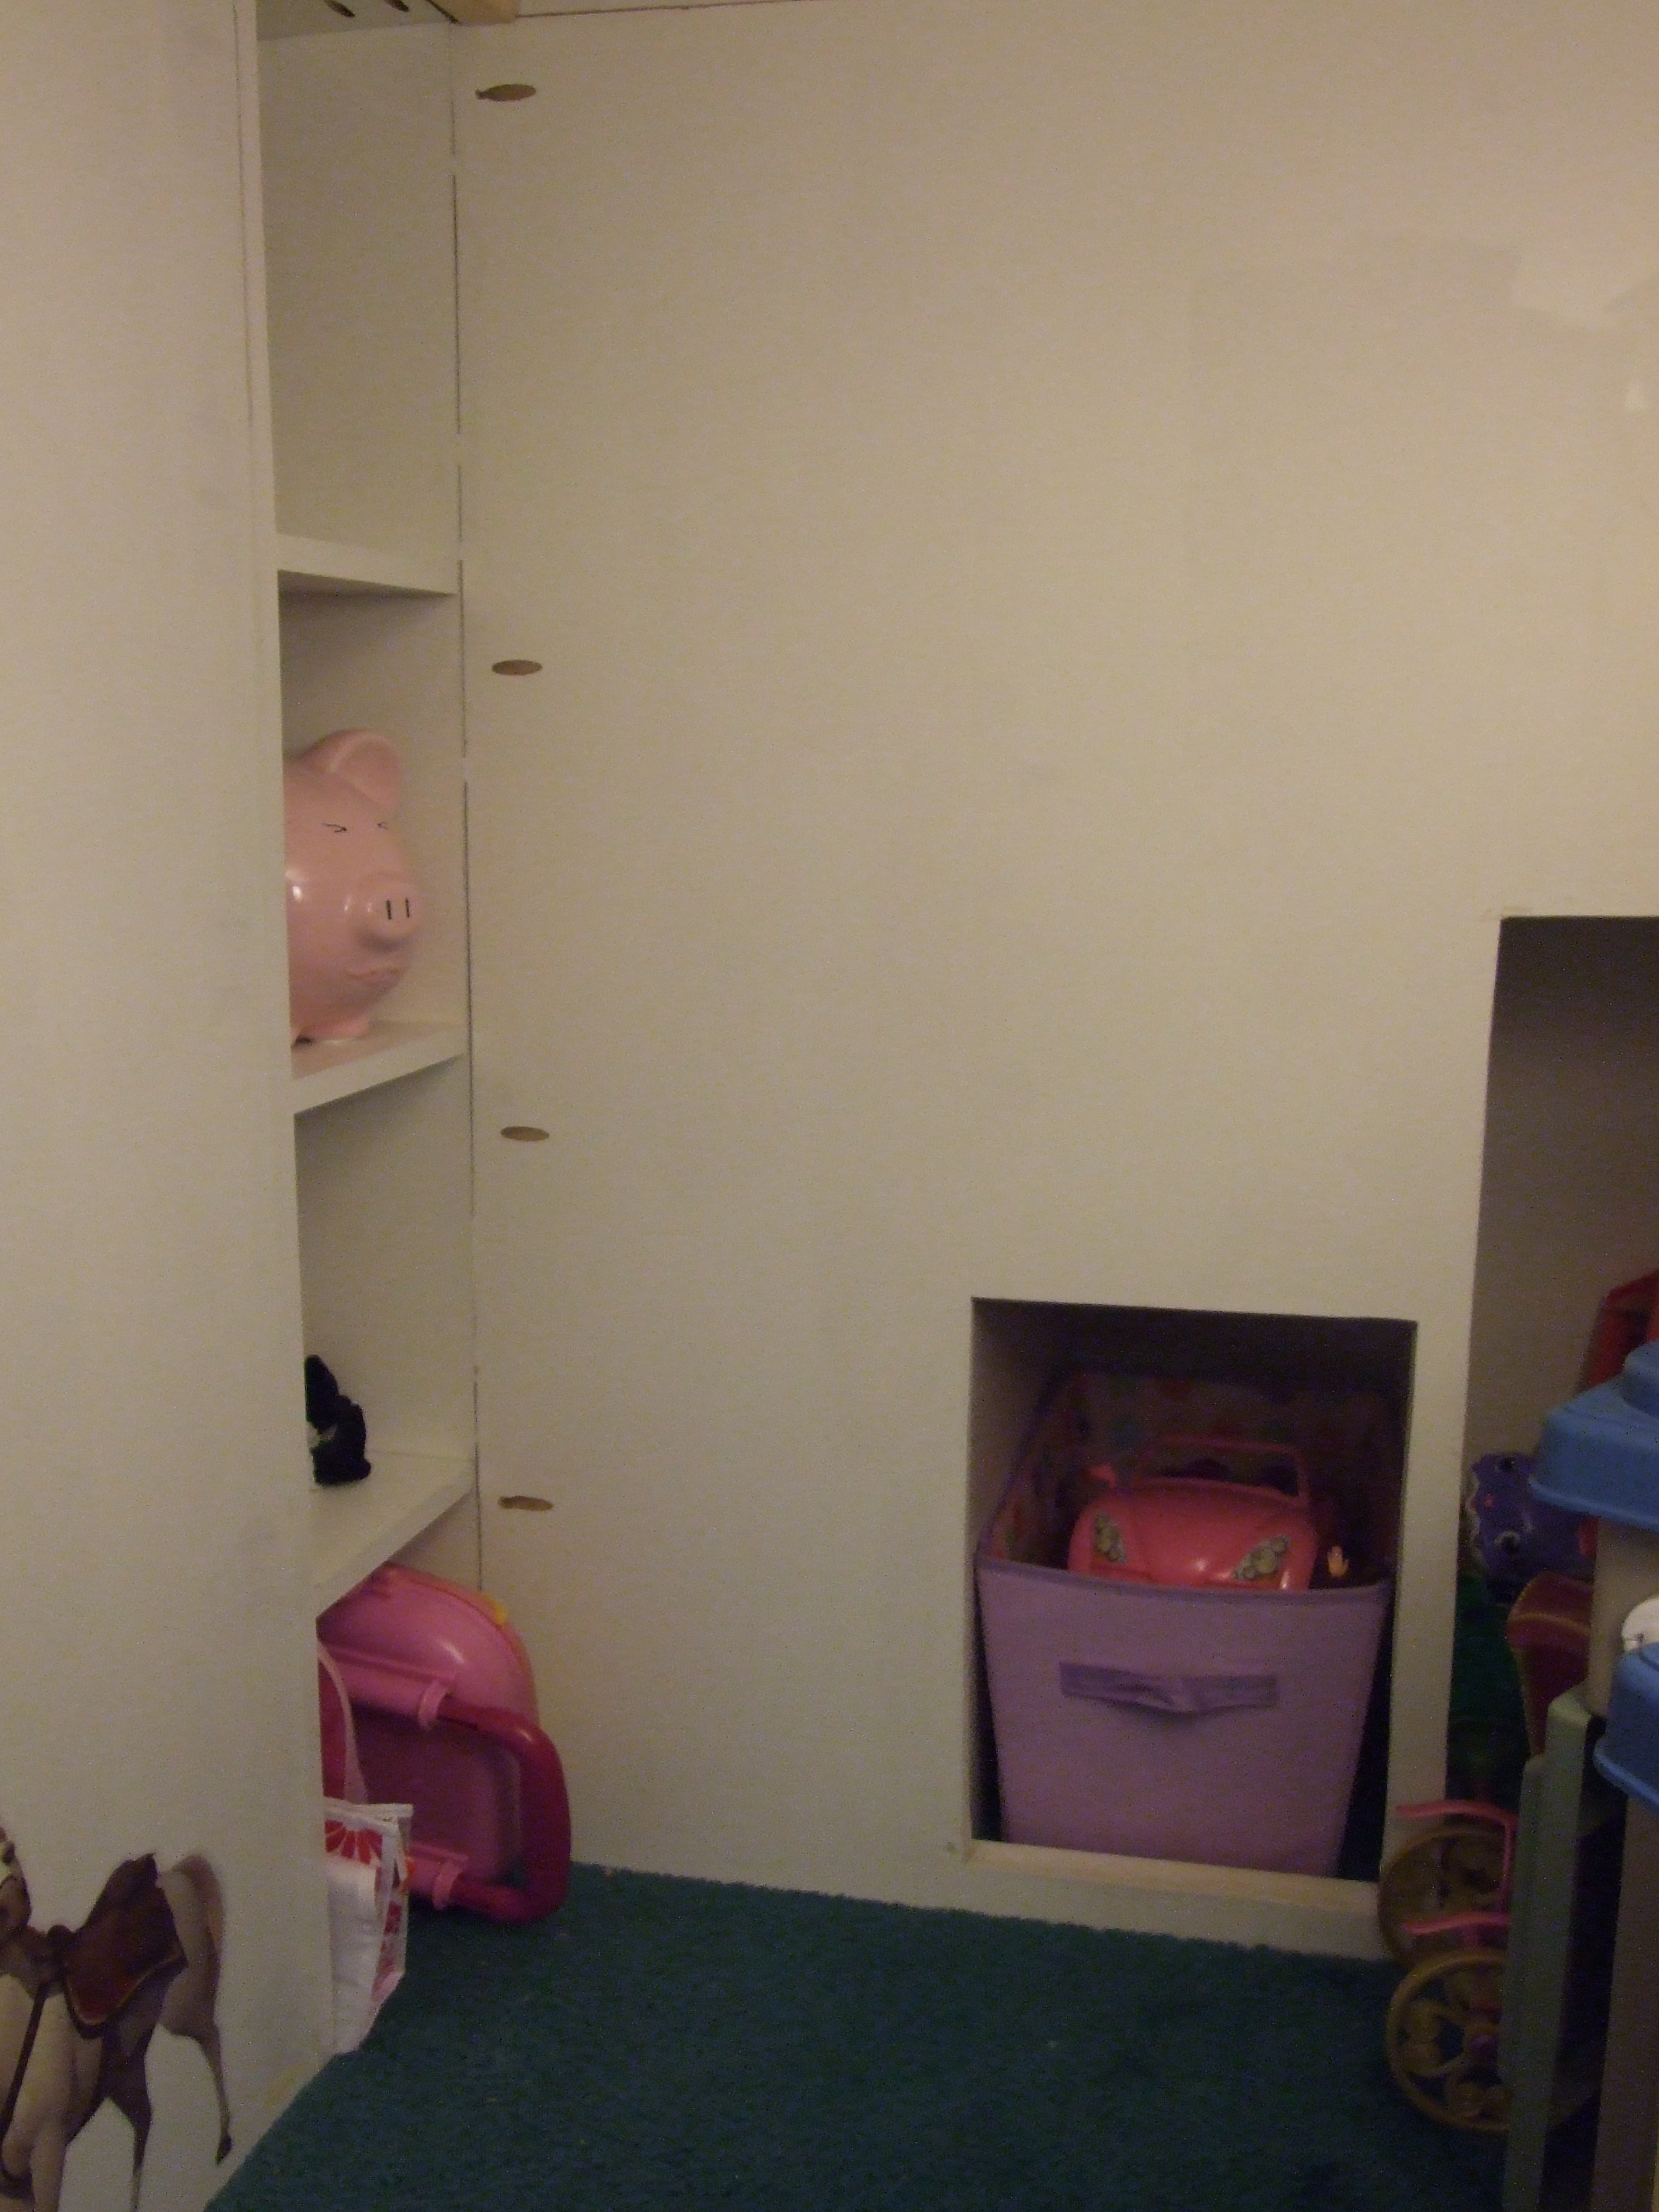
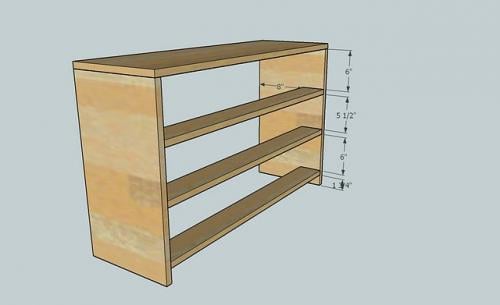
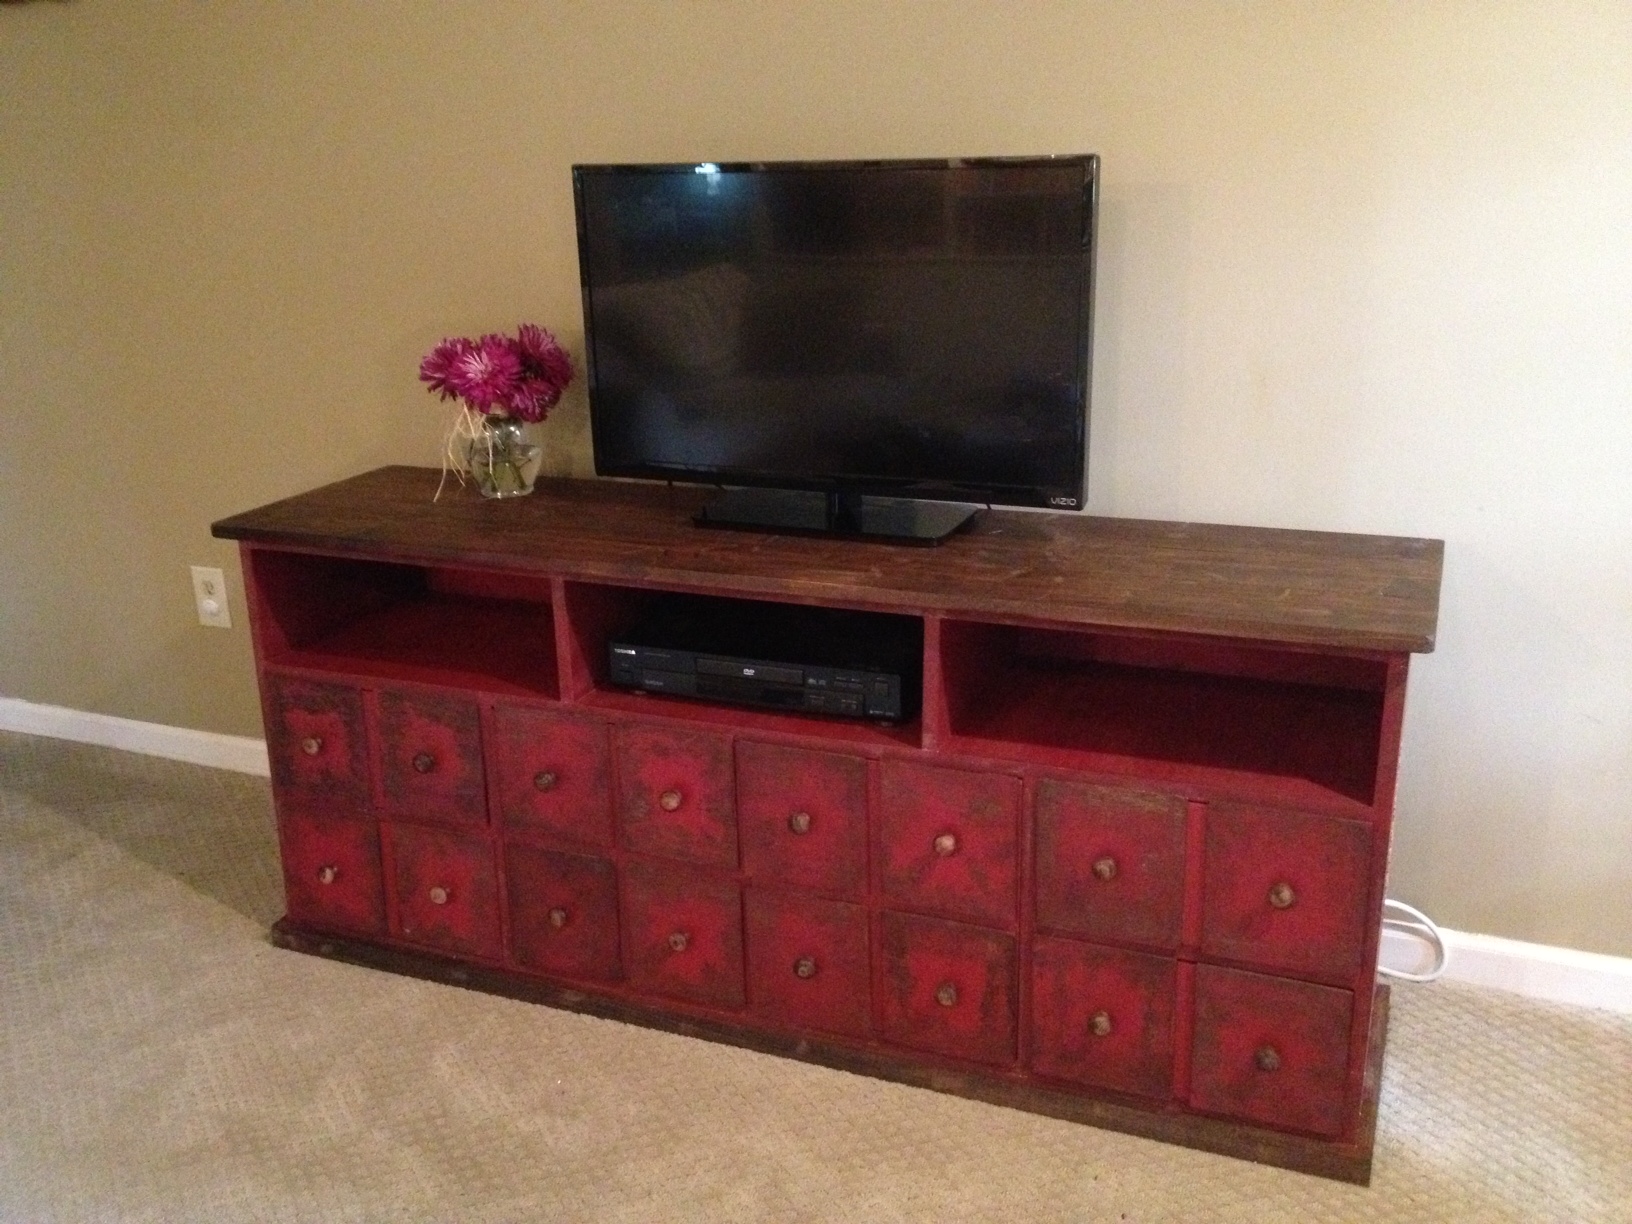
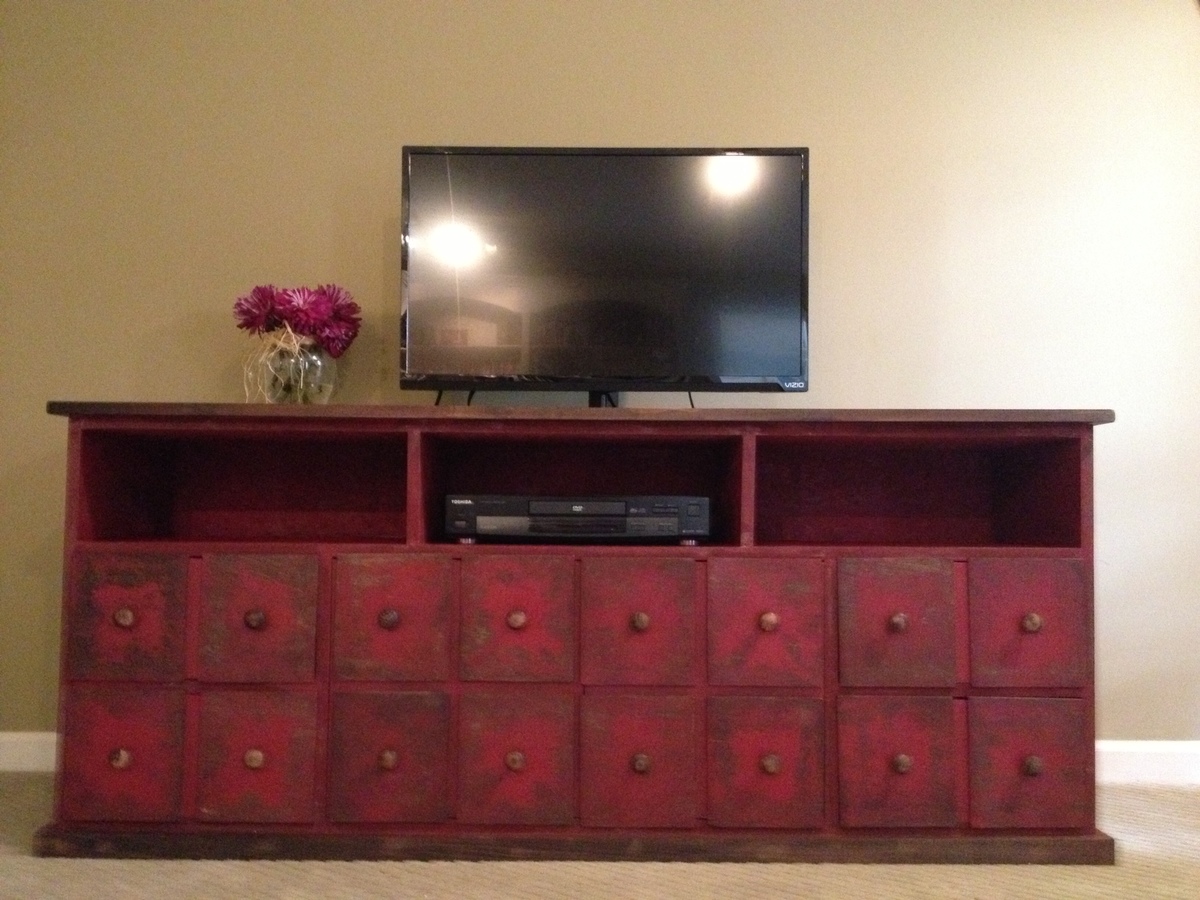
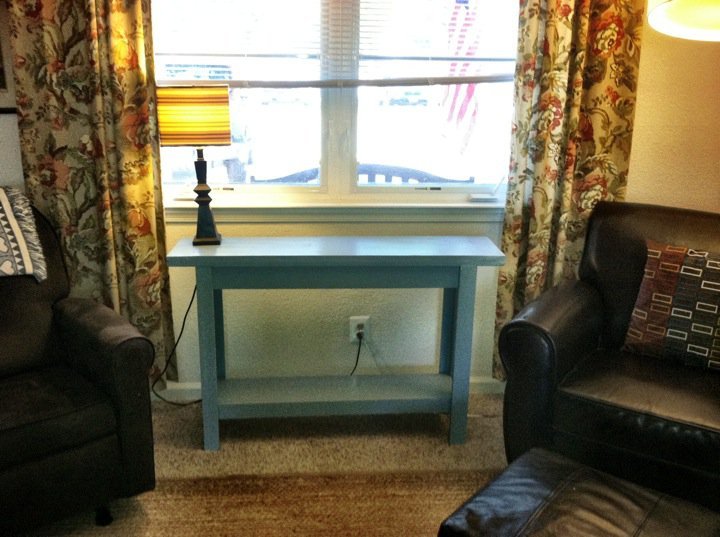
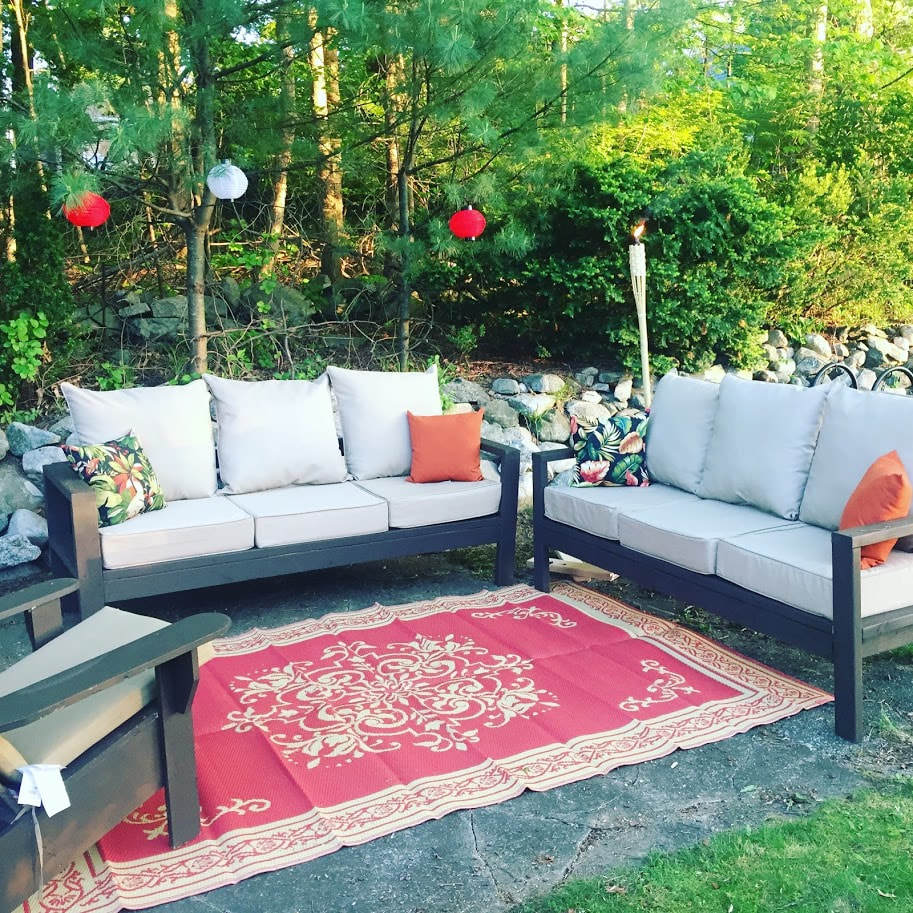
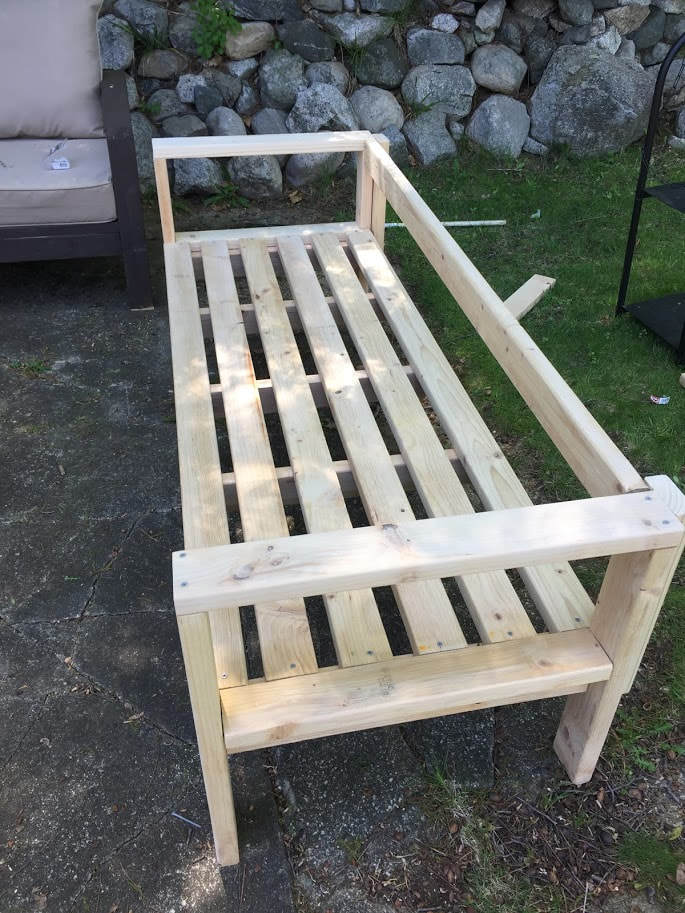
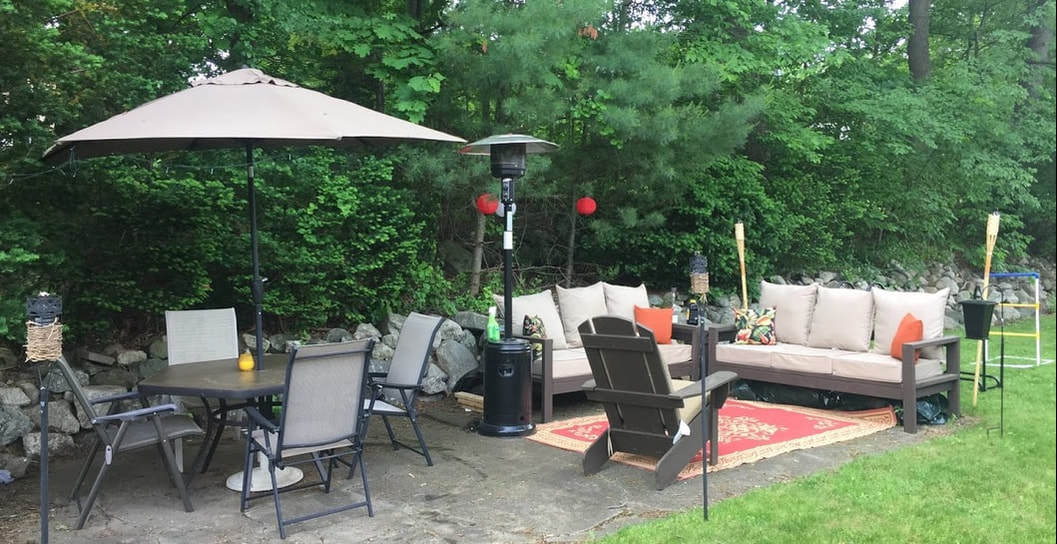
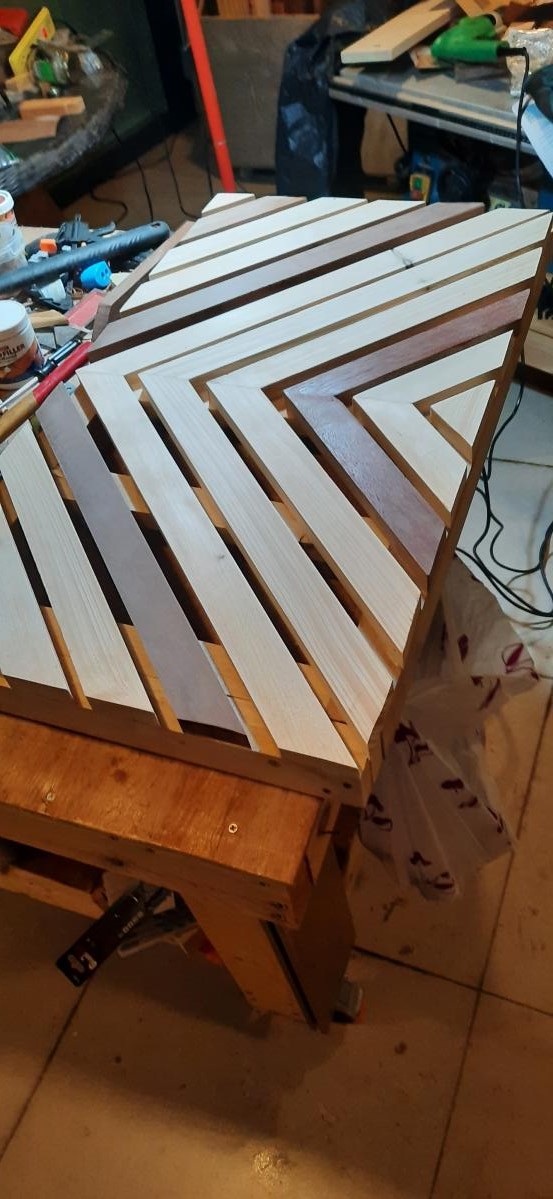
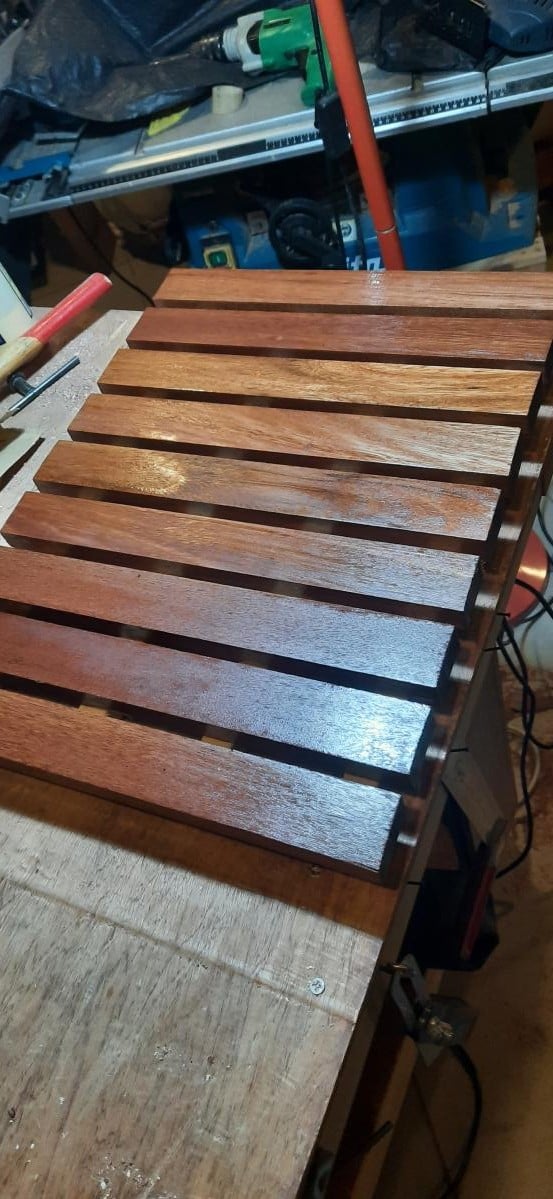
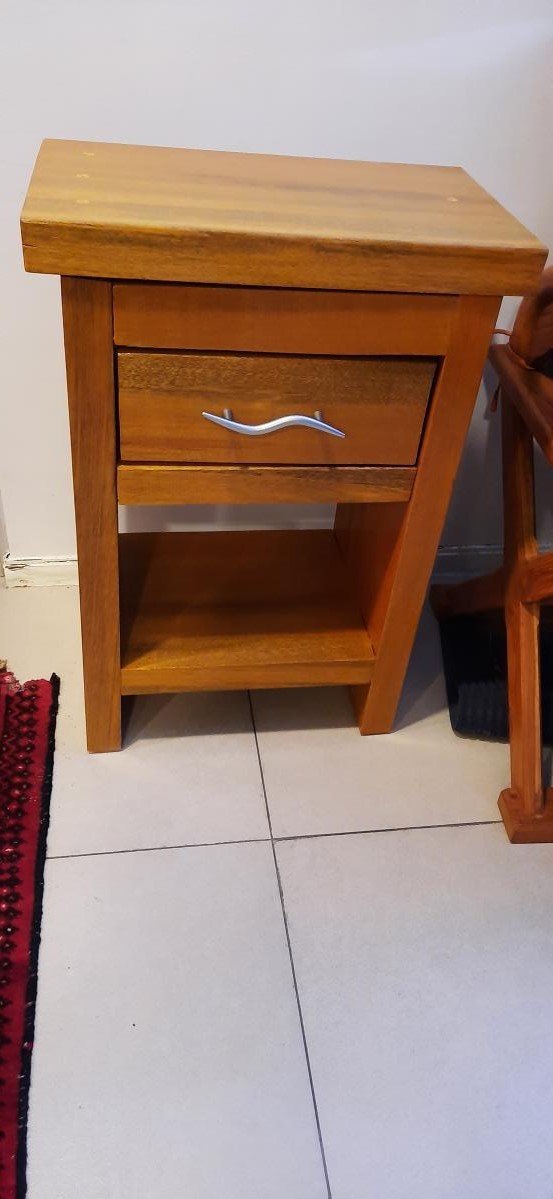
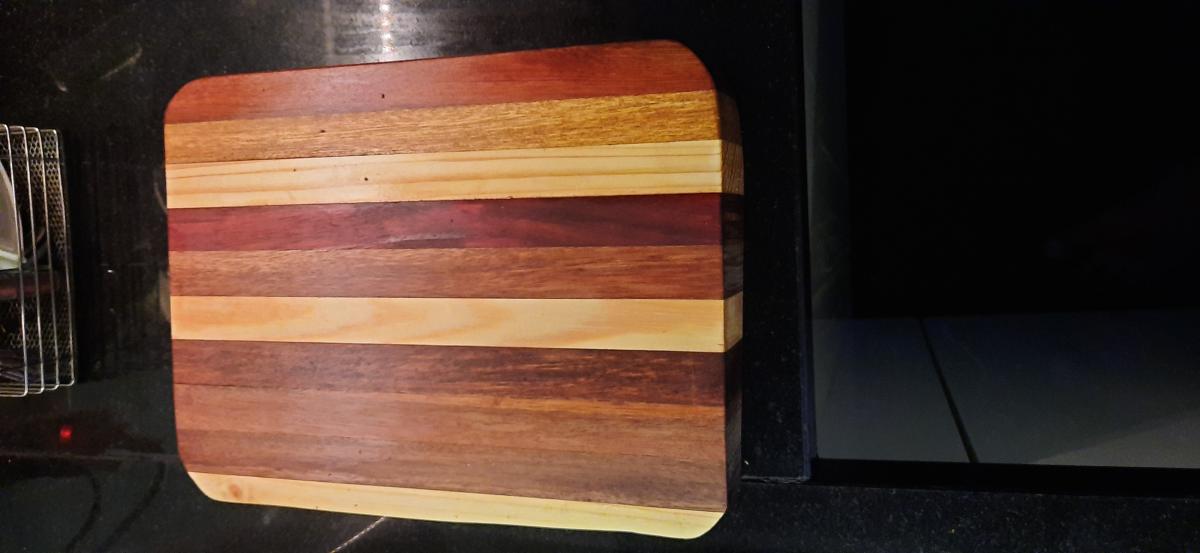
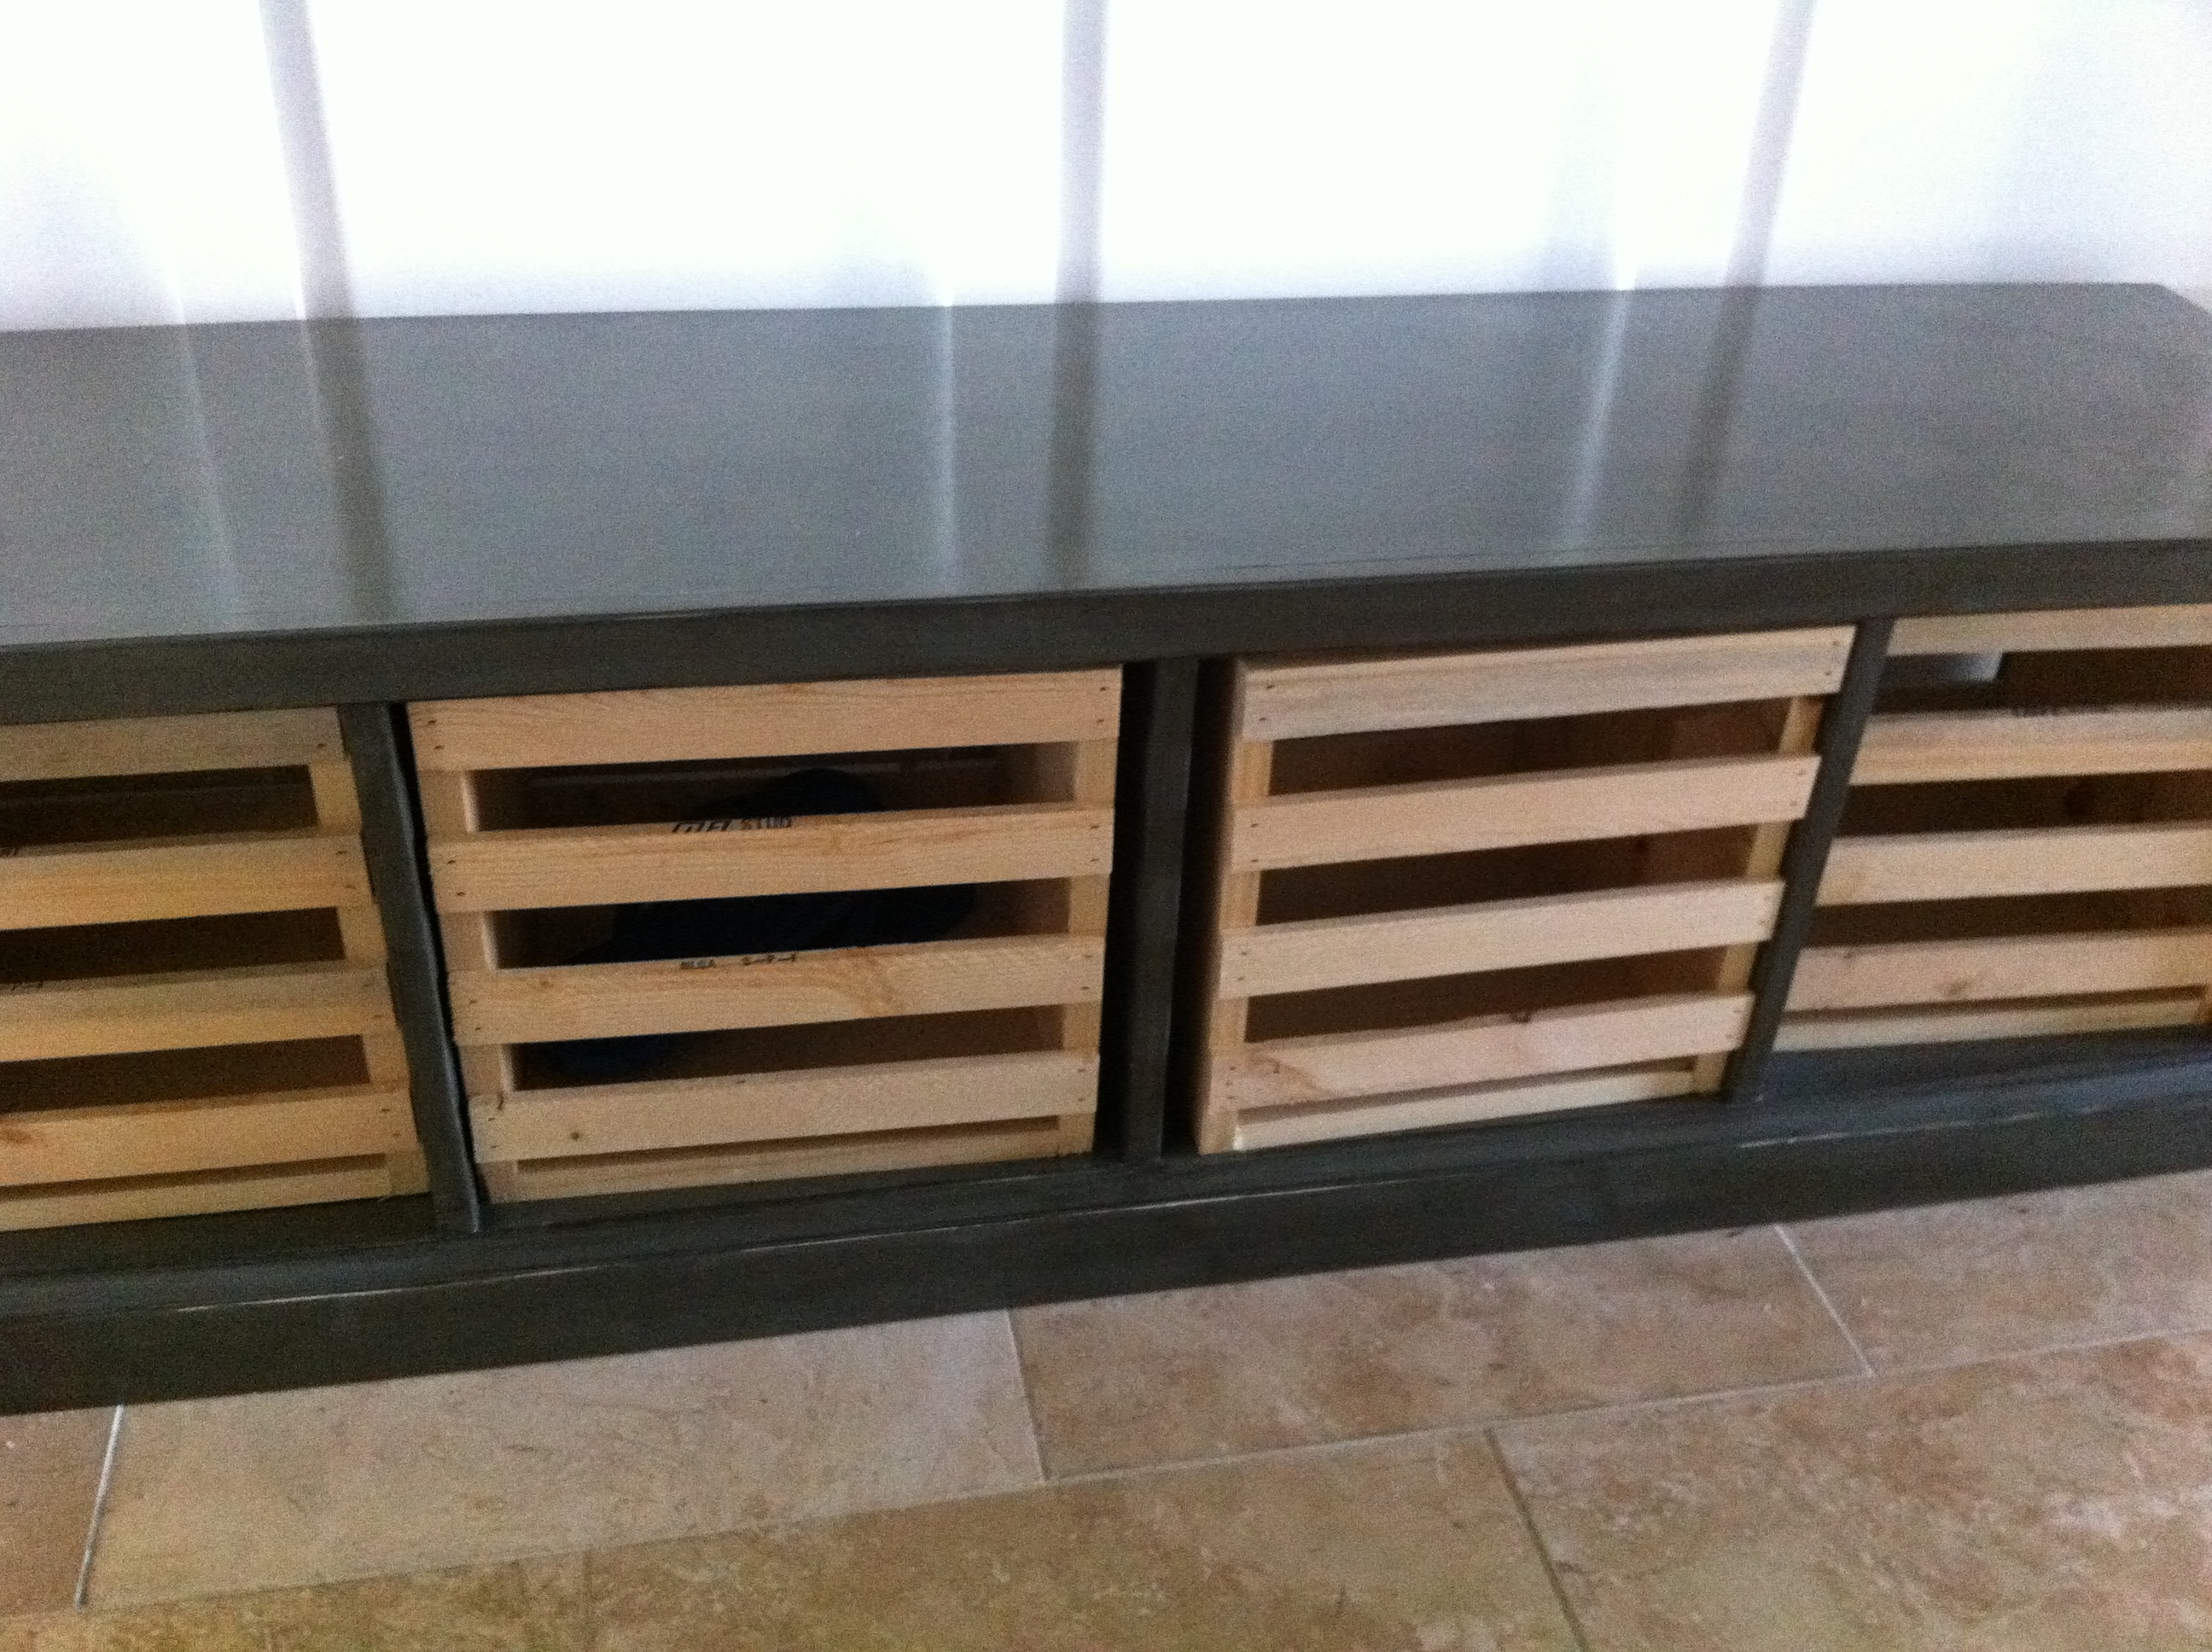
Media console and towers
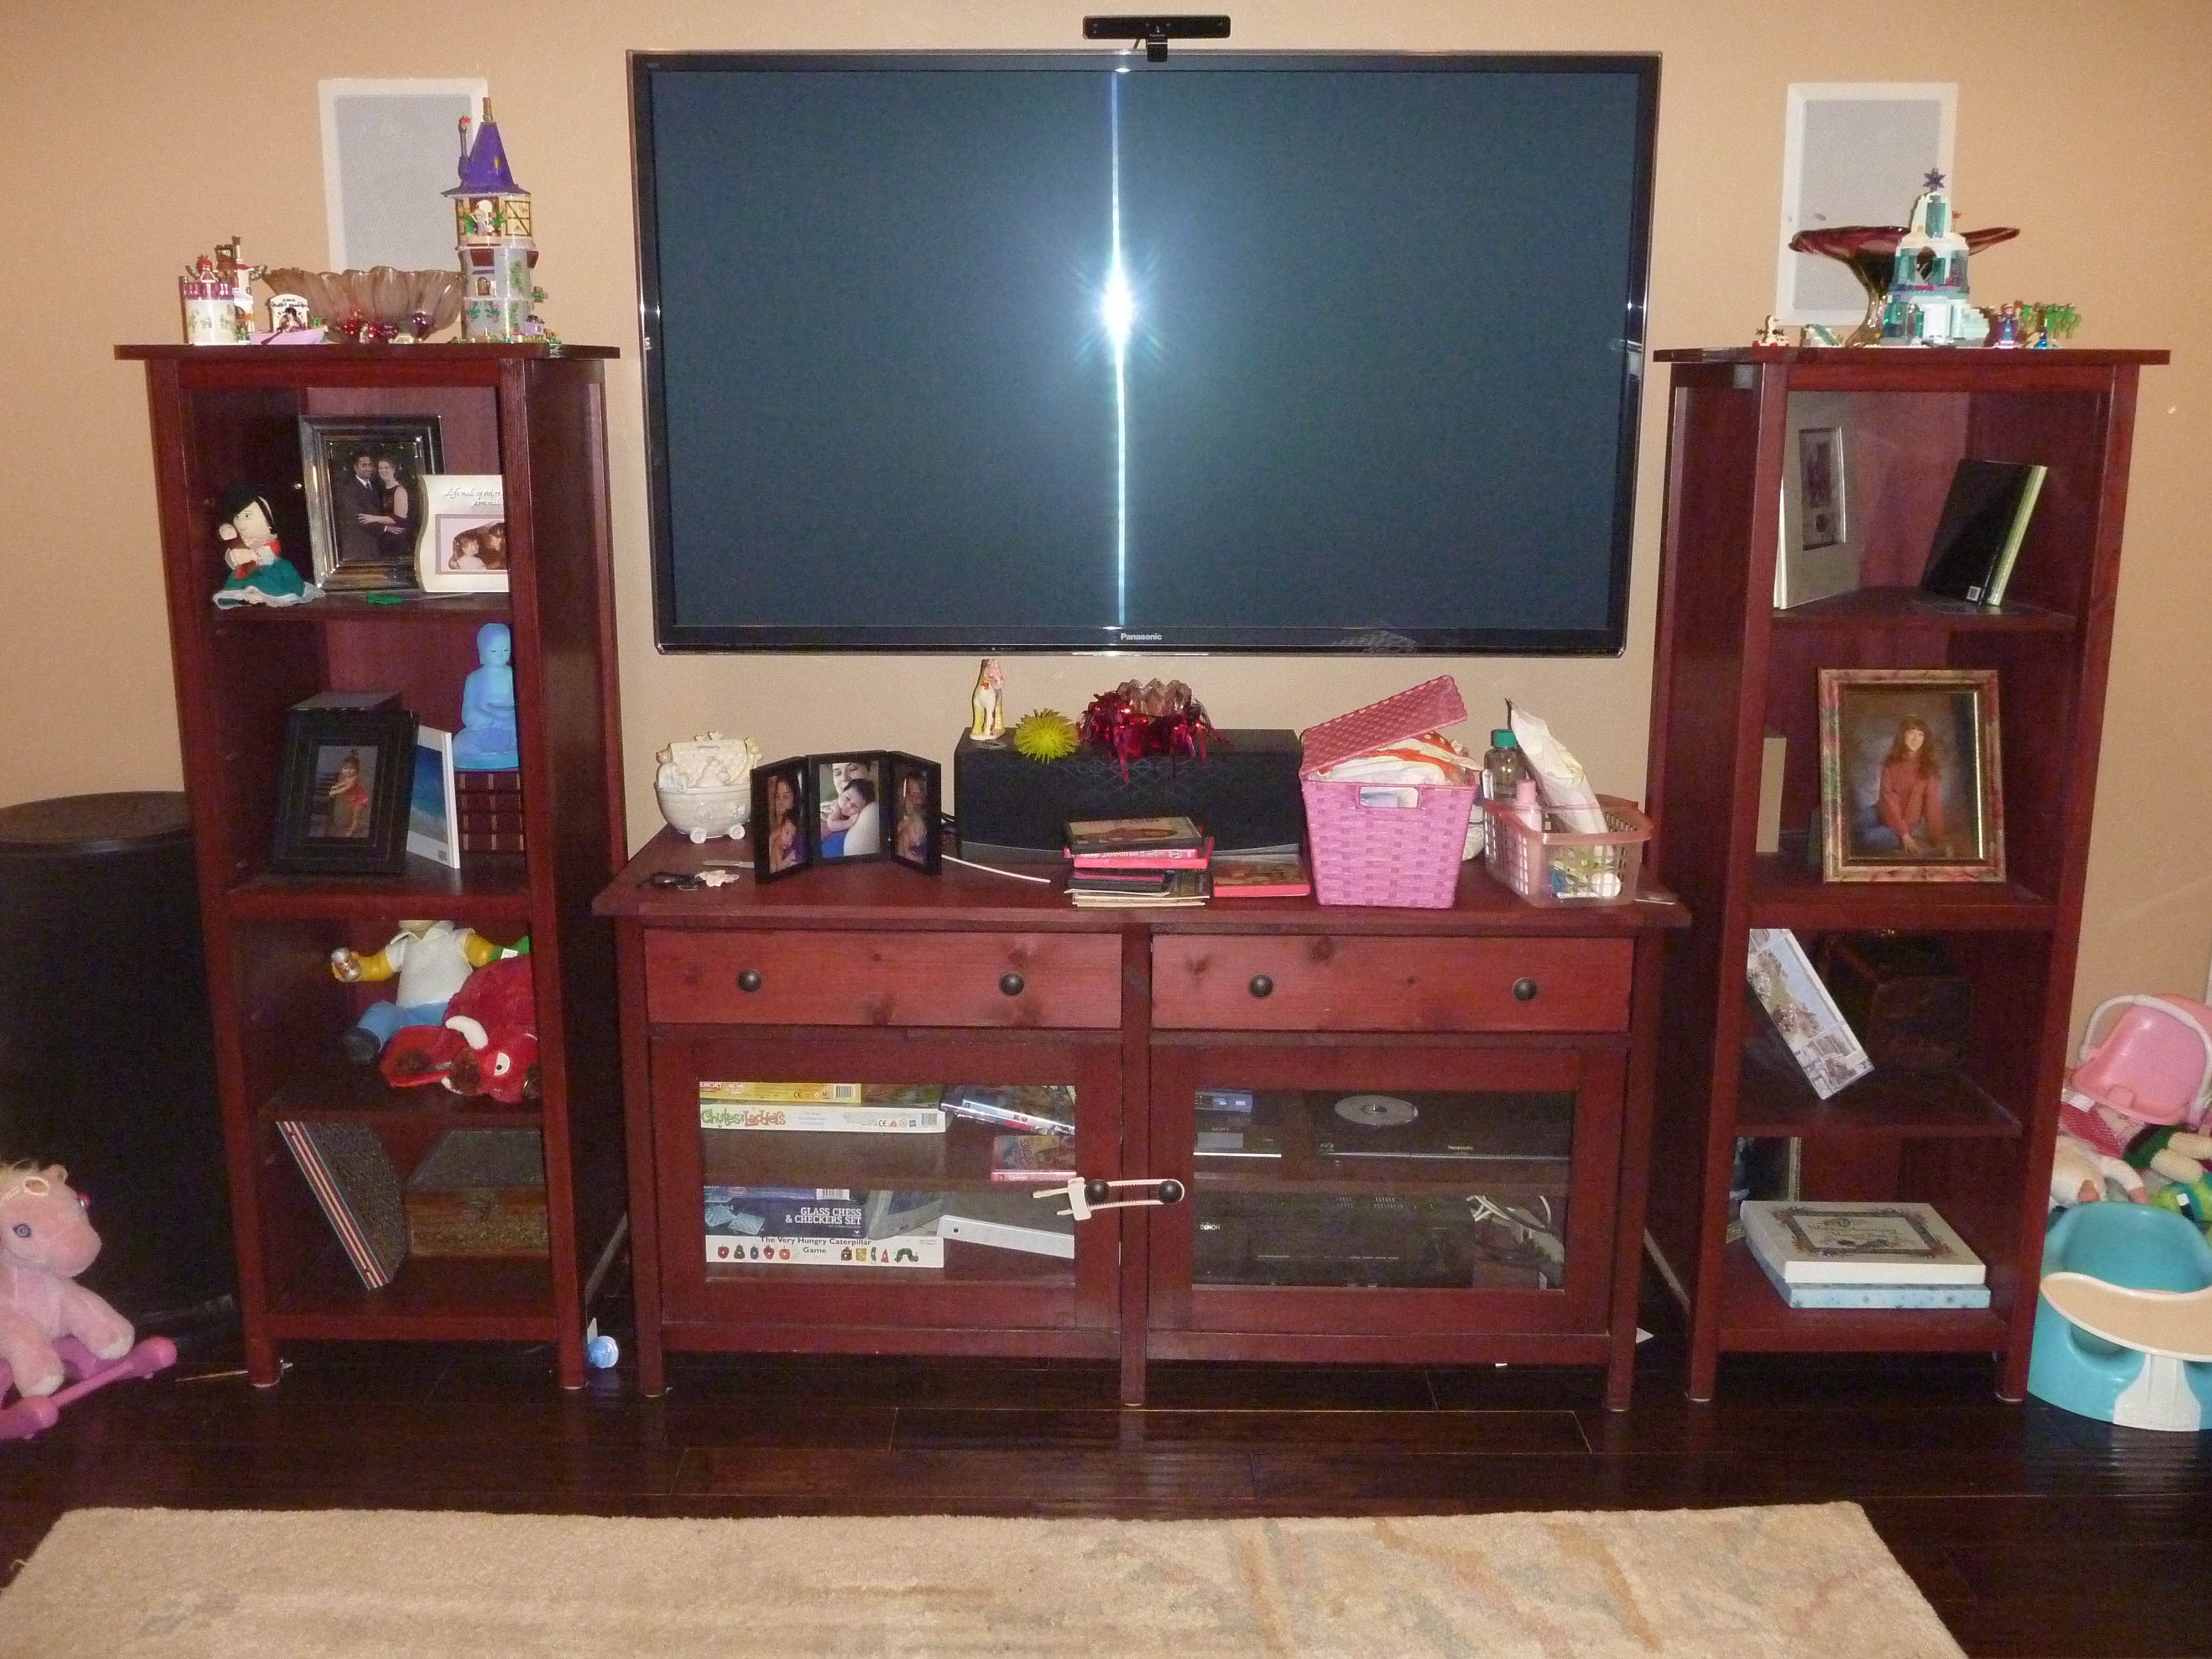
I wanted a new TV and my wife wanted new furniture...we both won...
Built from Plan(s)
Estimated Time Investment
Week Long Project (20 Hours or More)
Recommended Skill Level
Intermediate