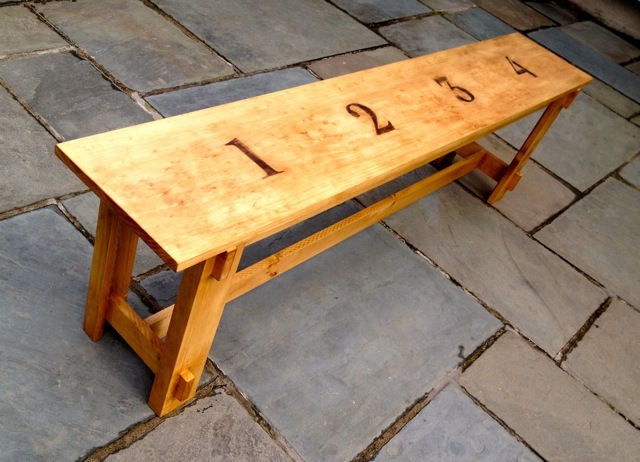
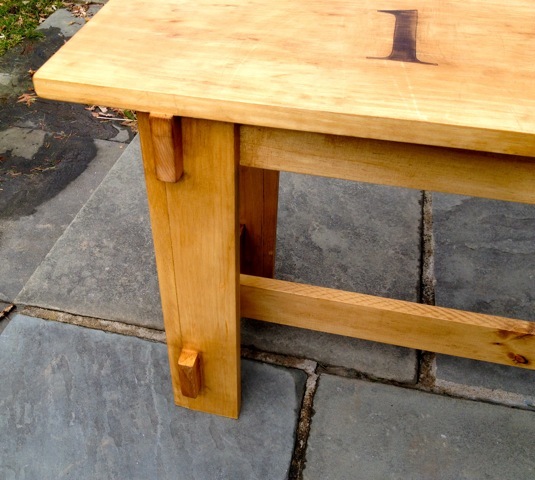
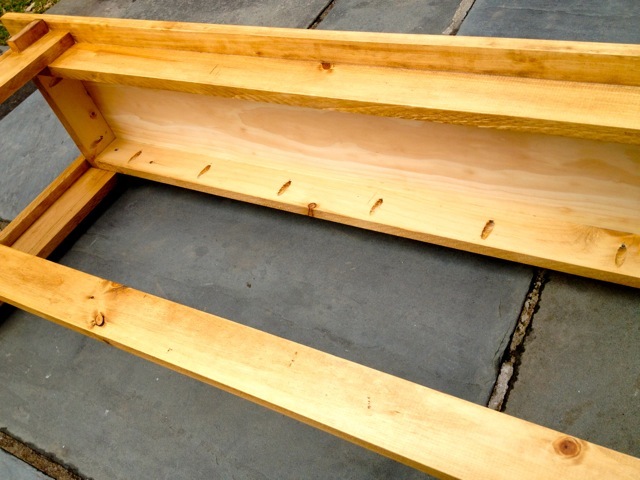
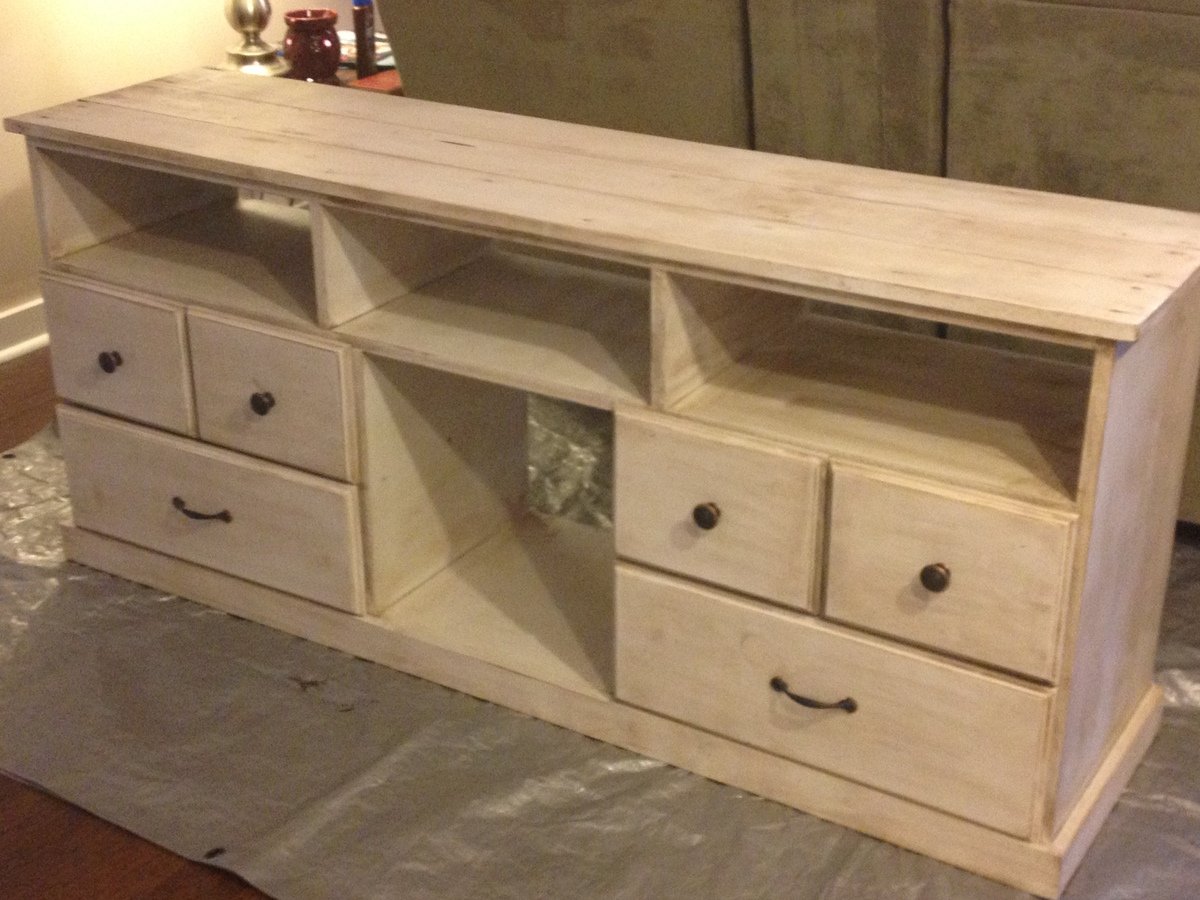
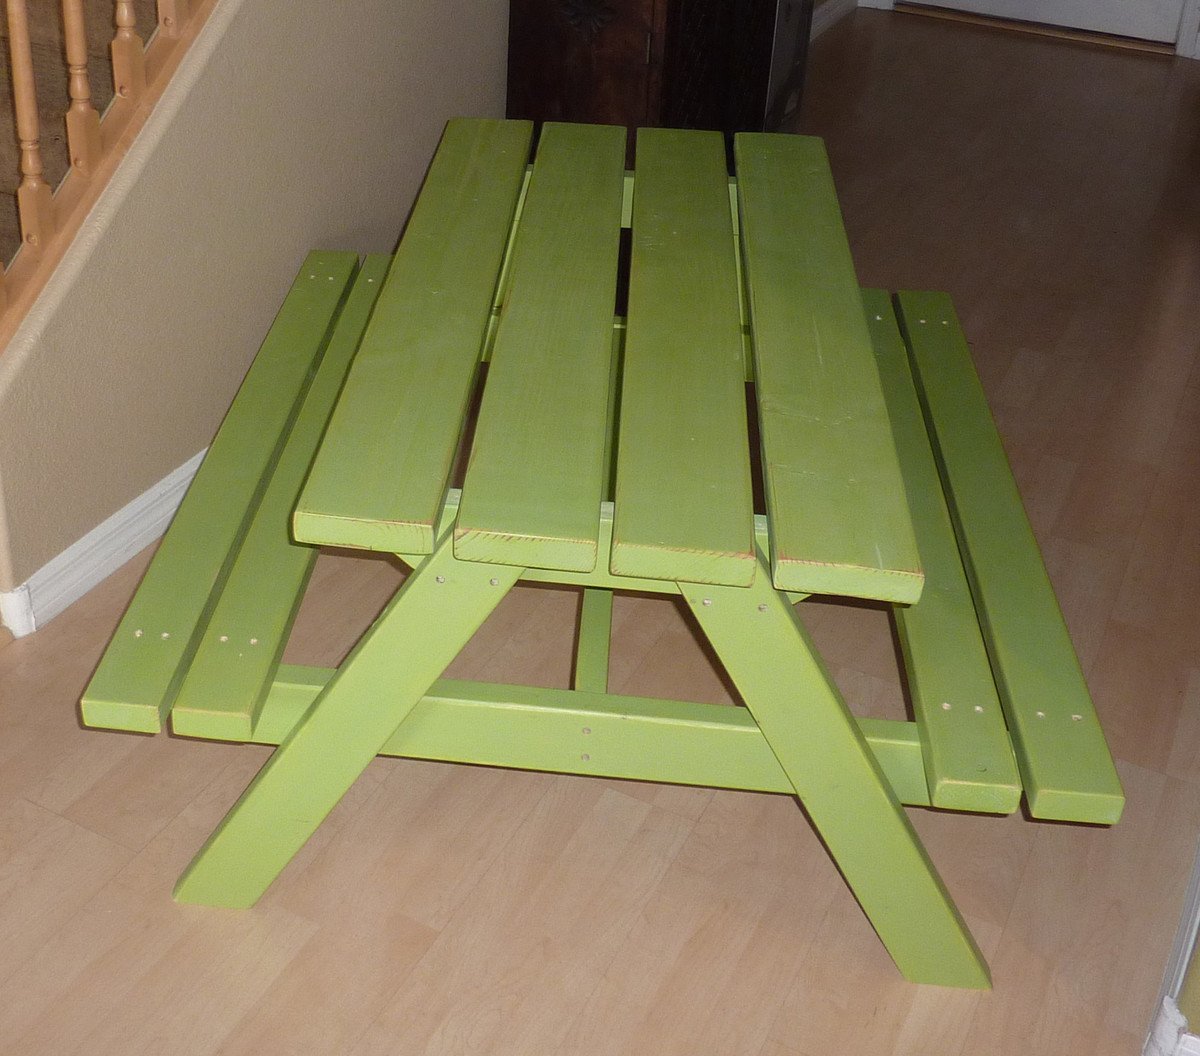
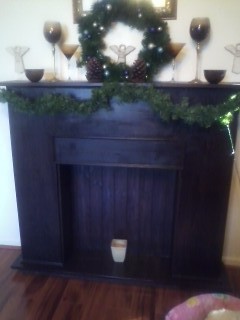
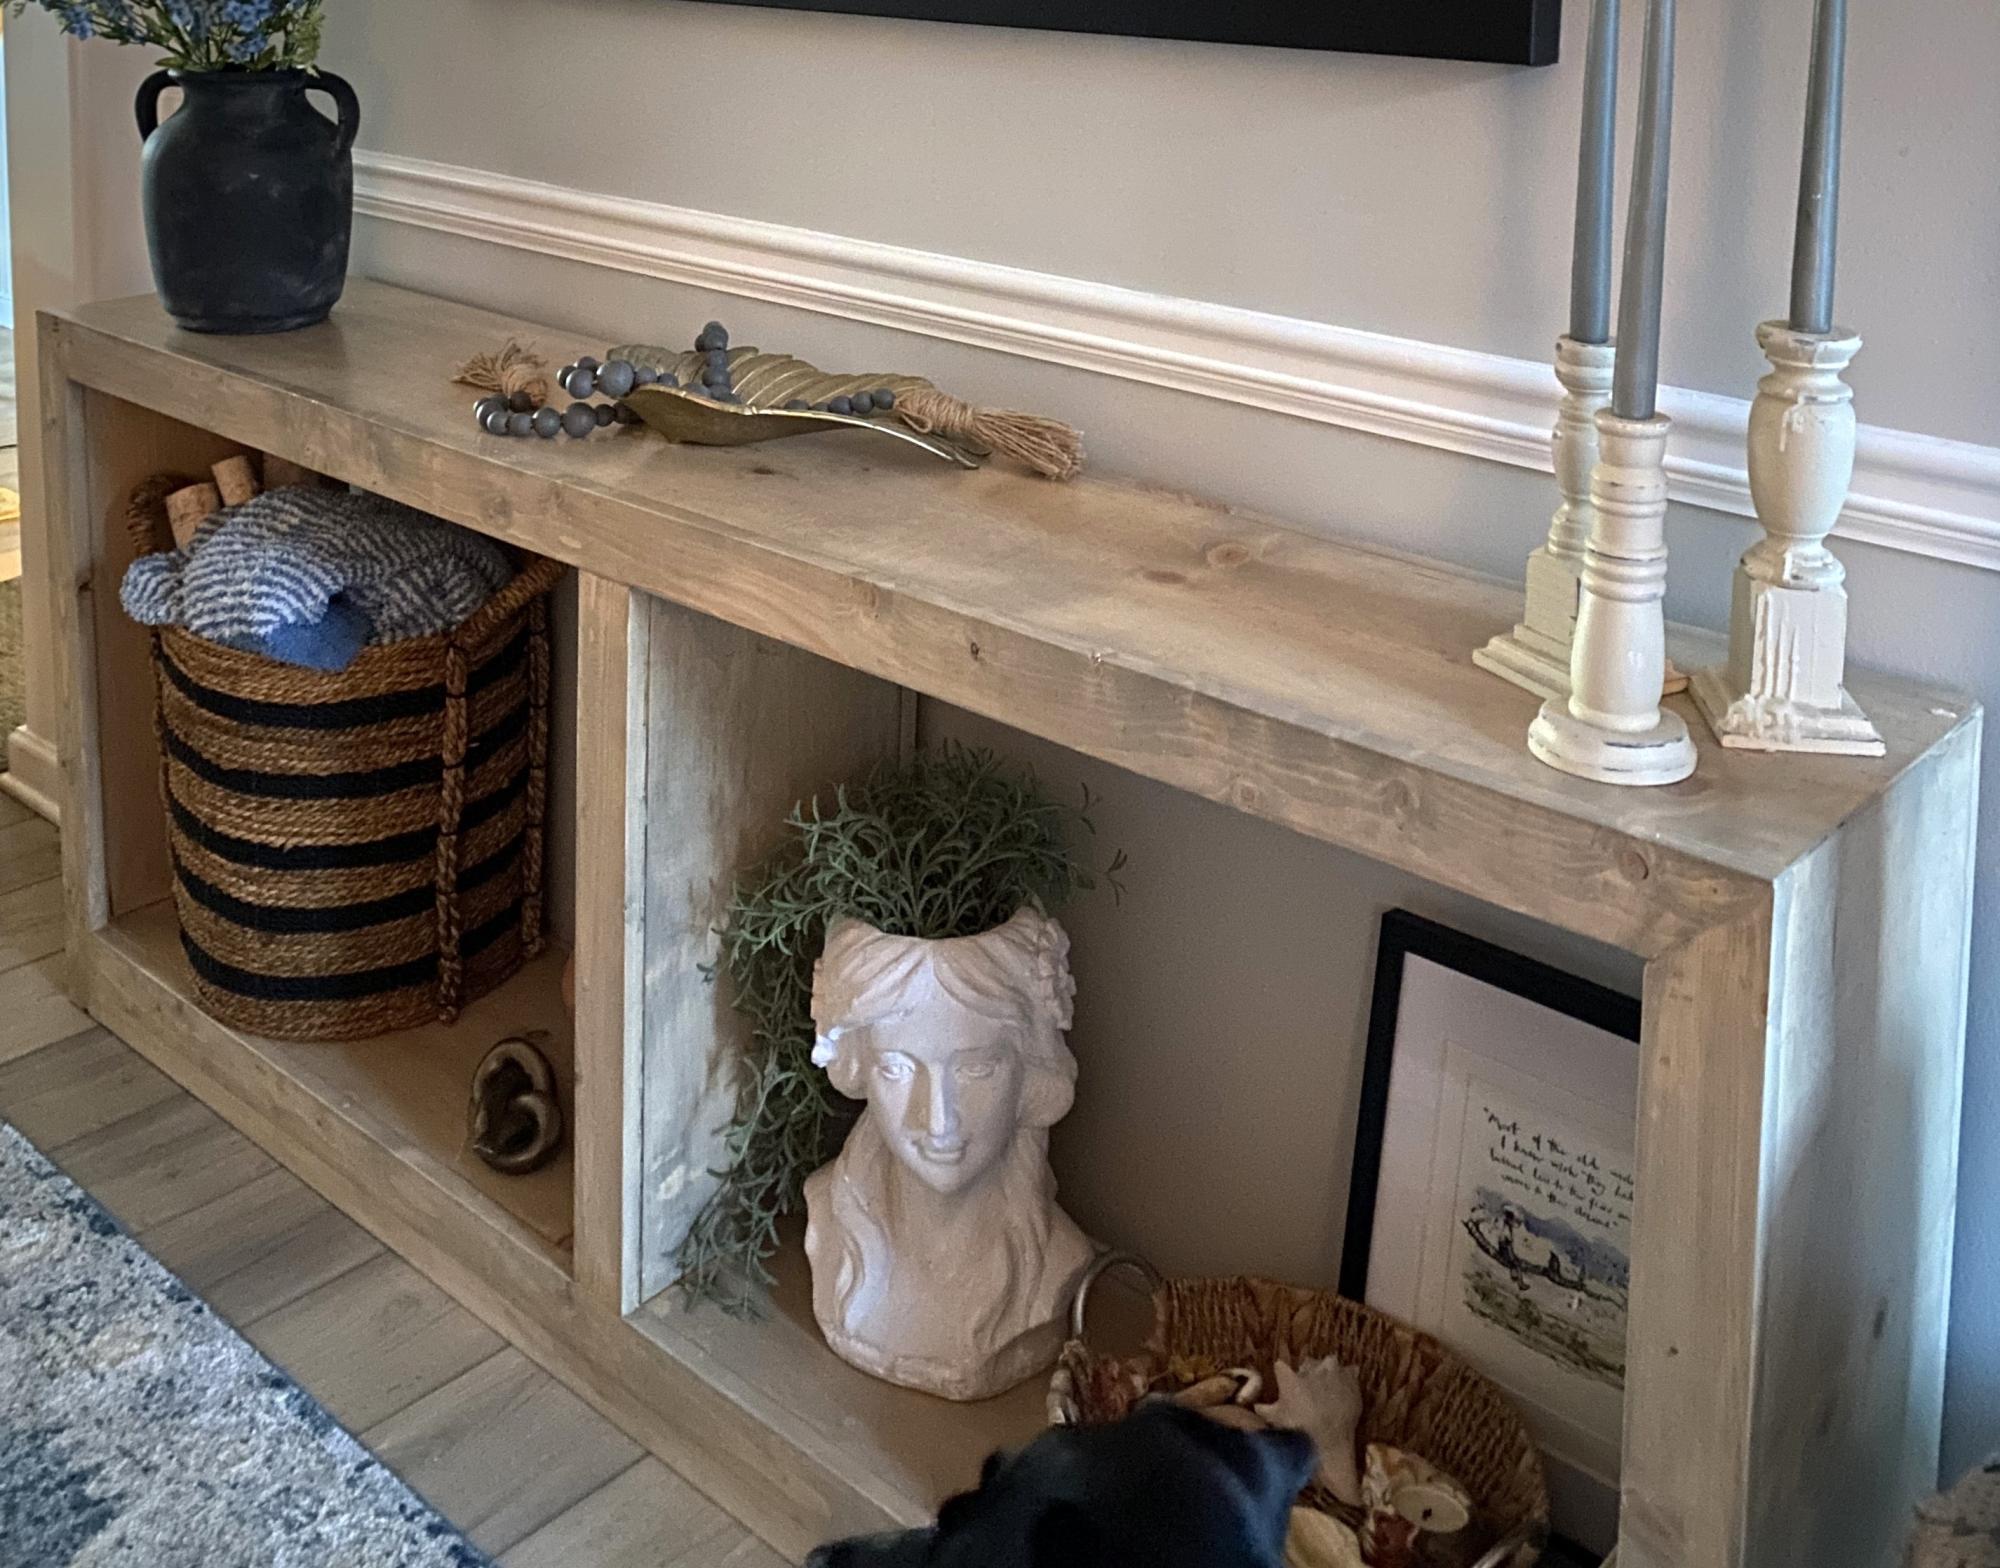
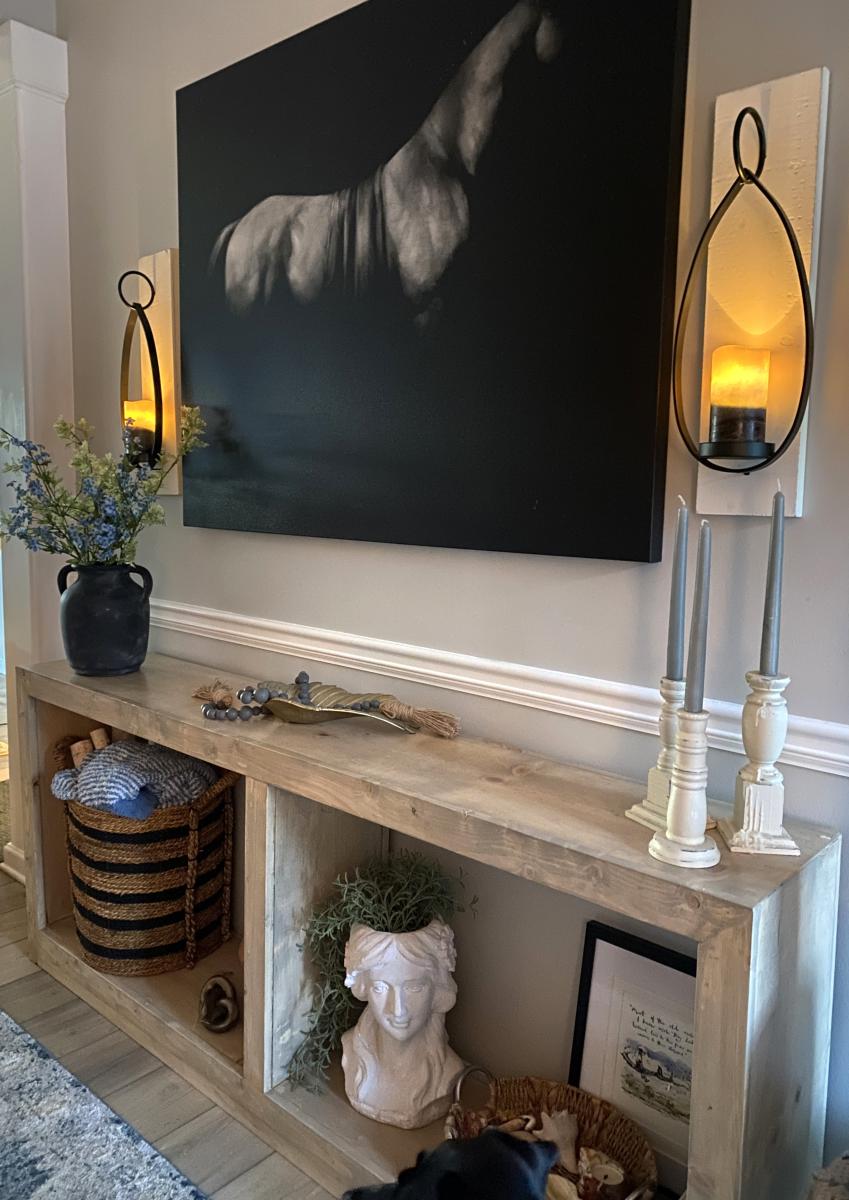
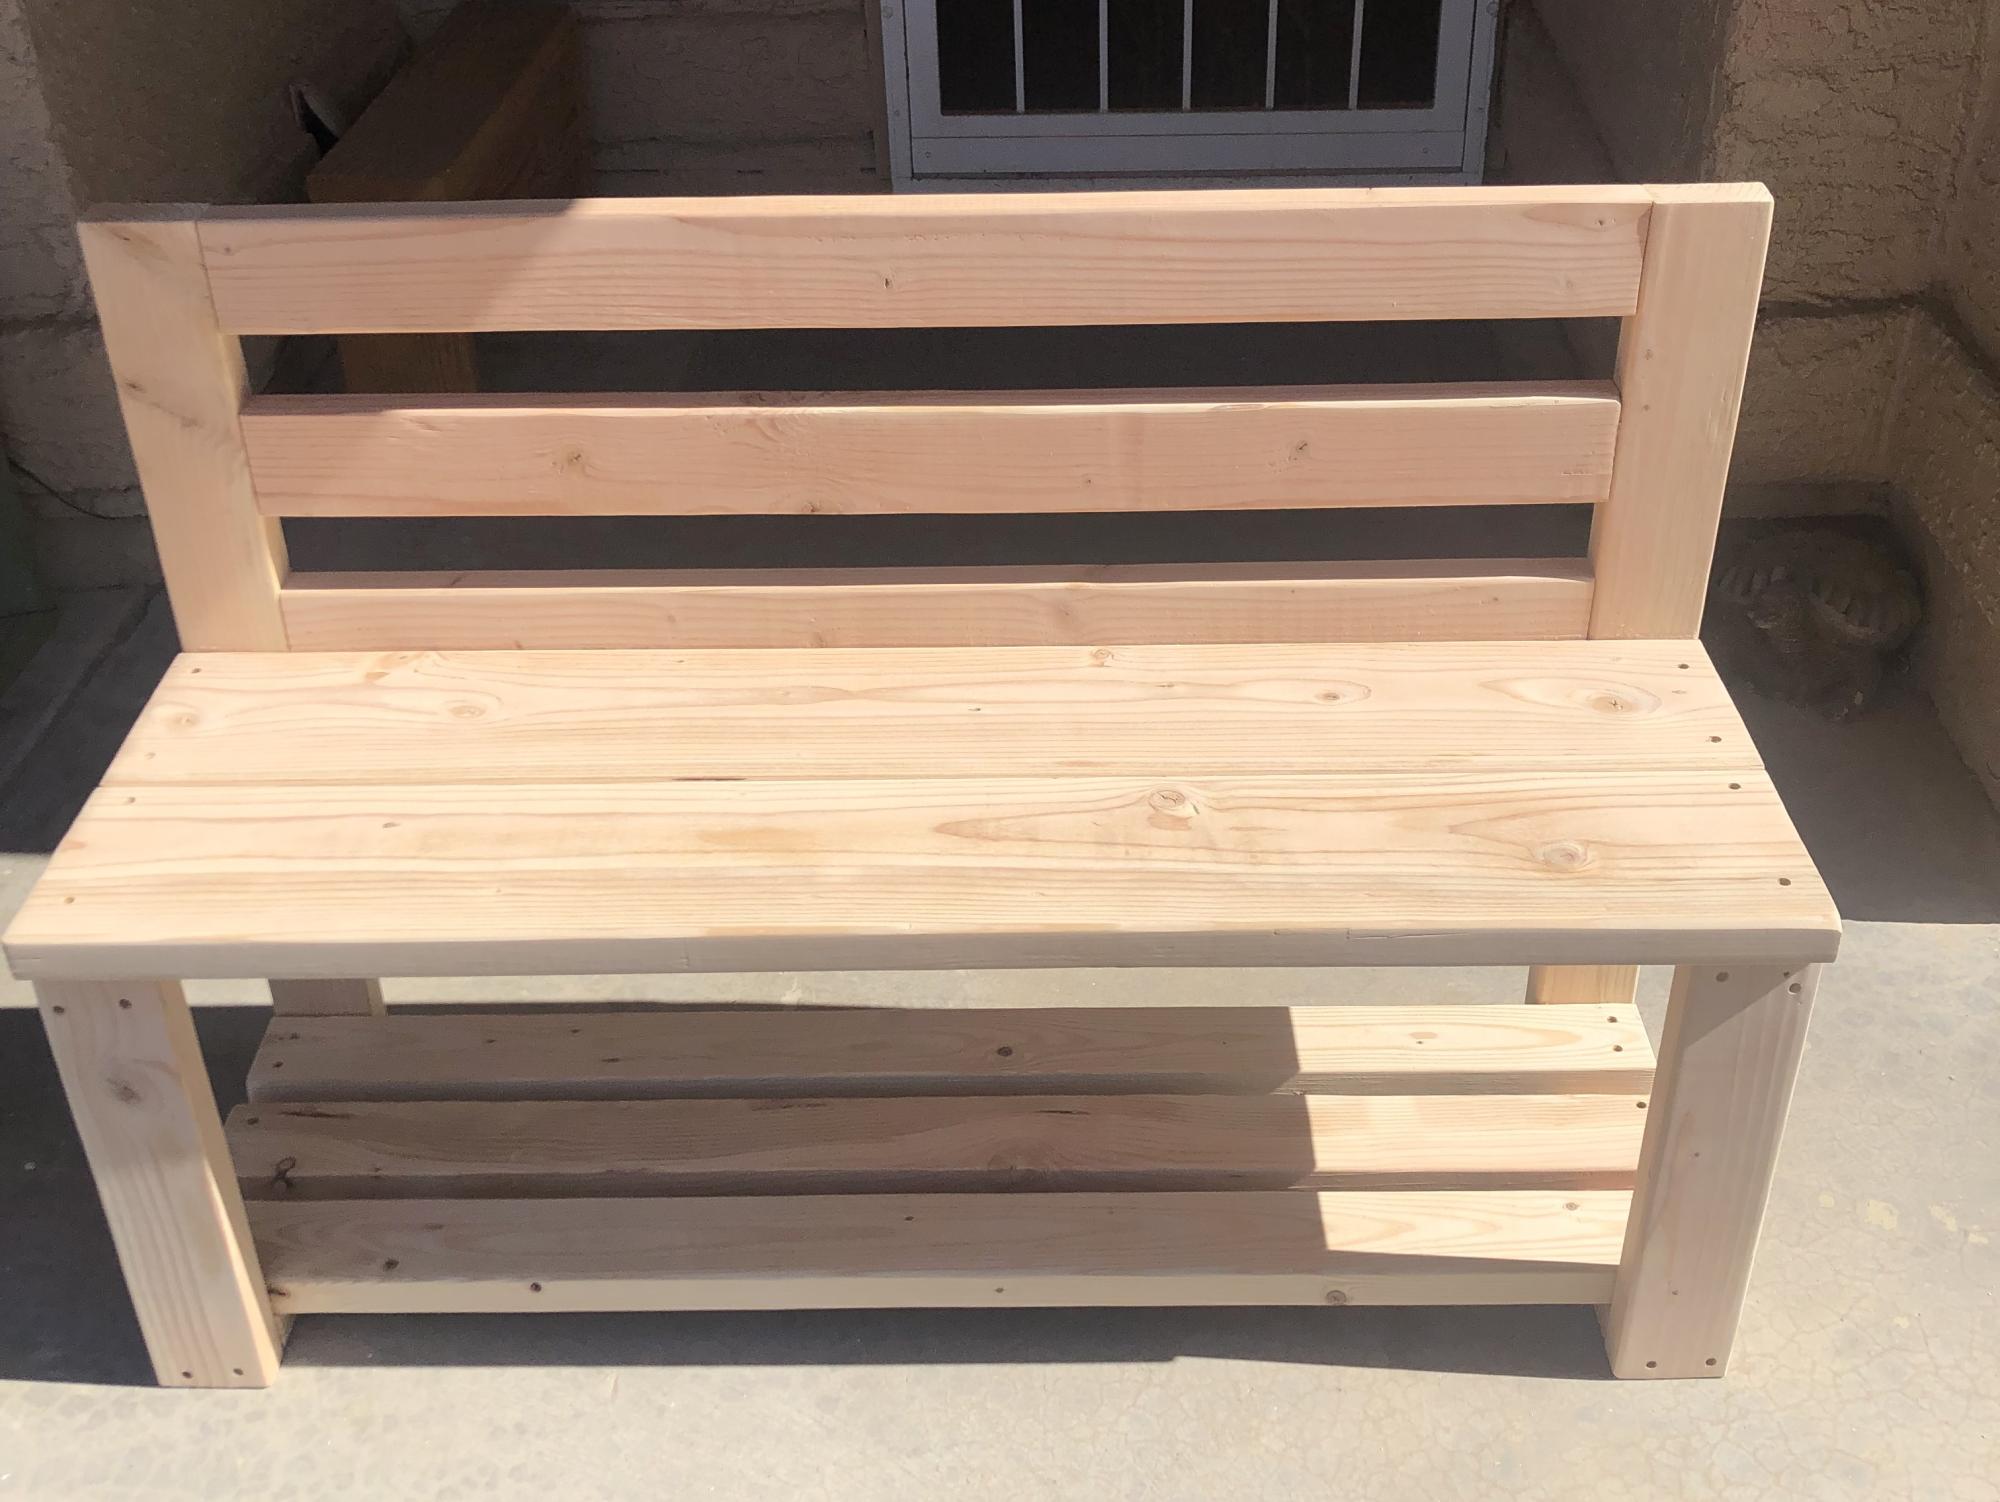
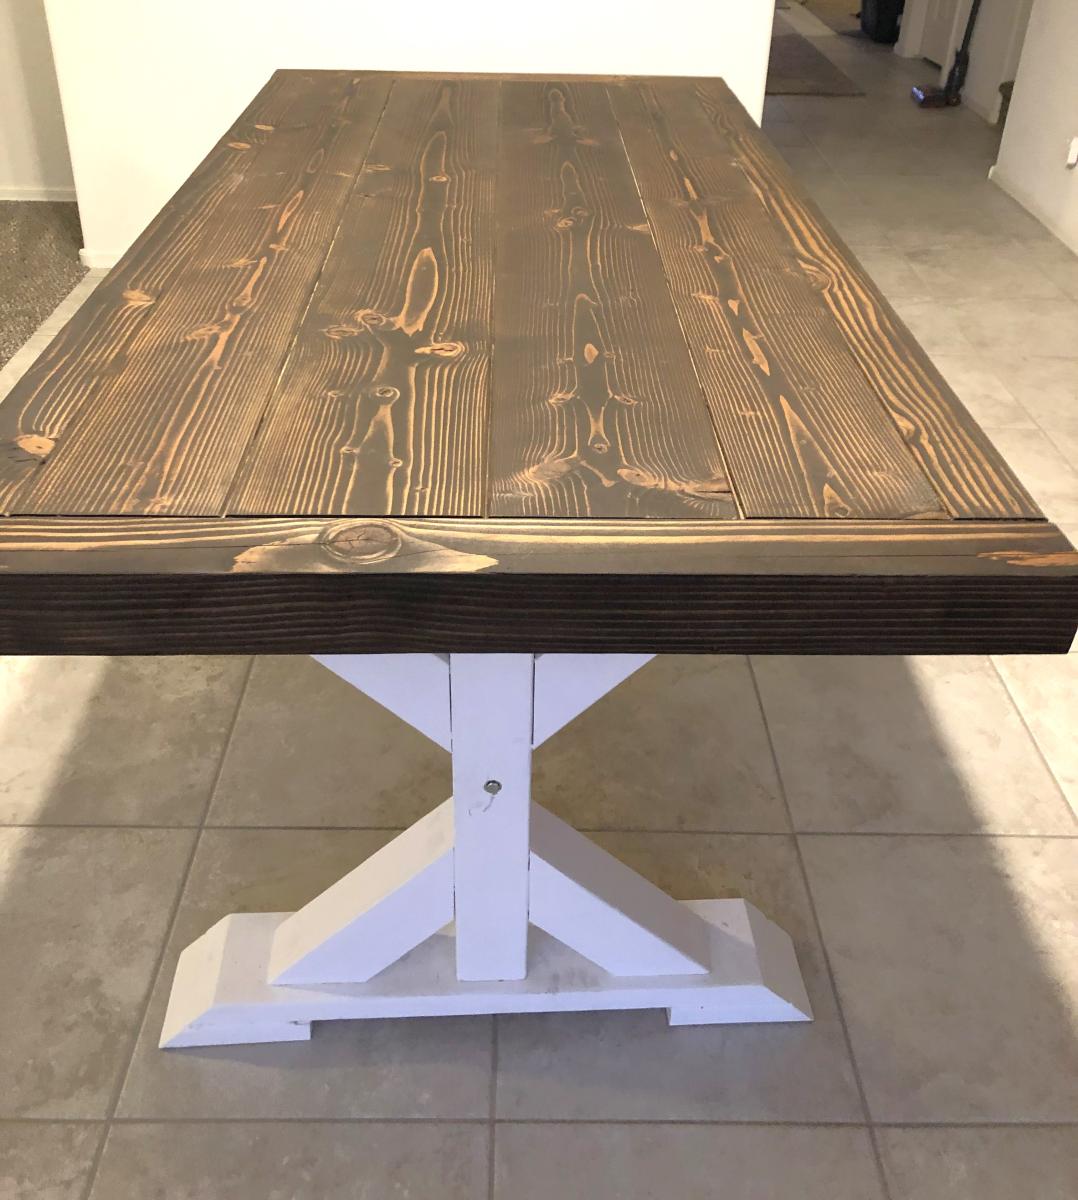
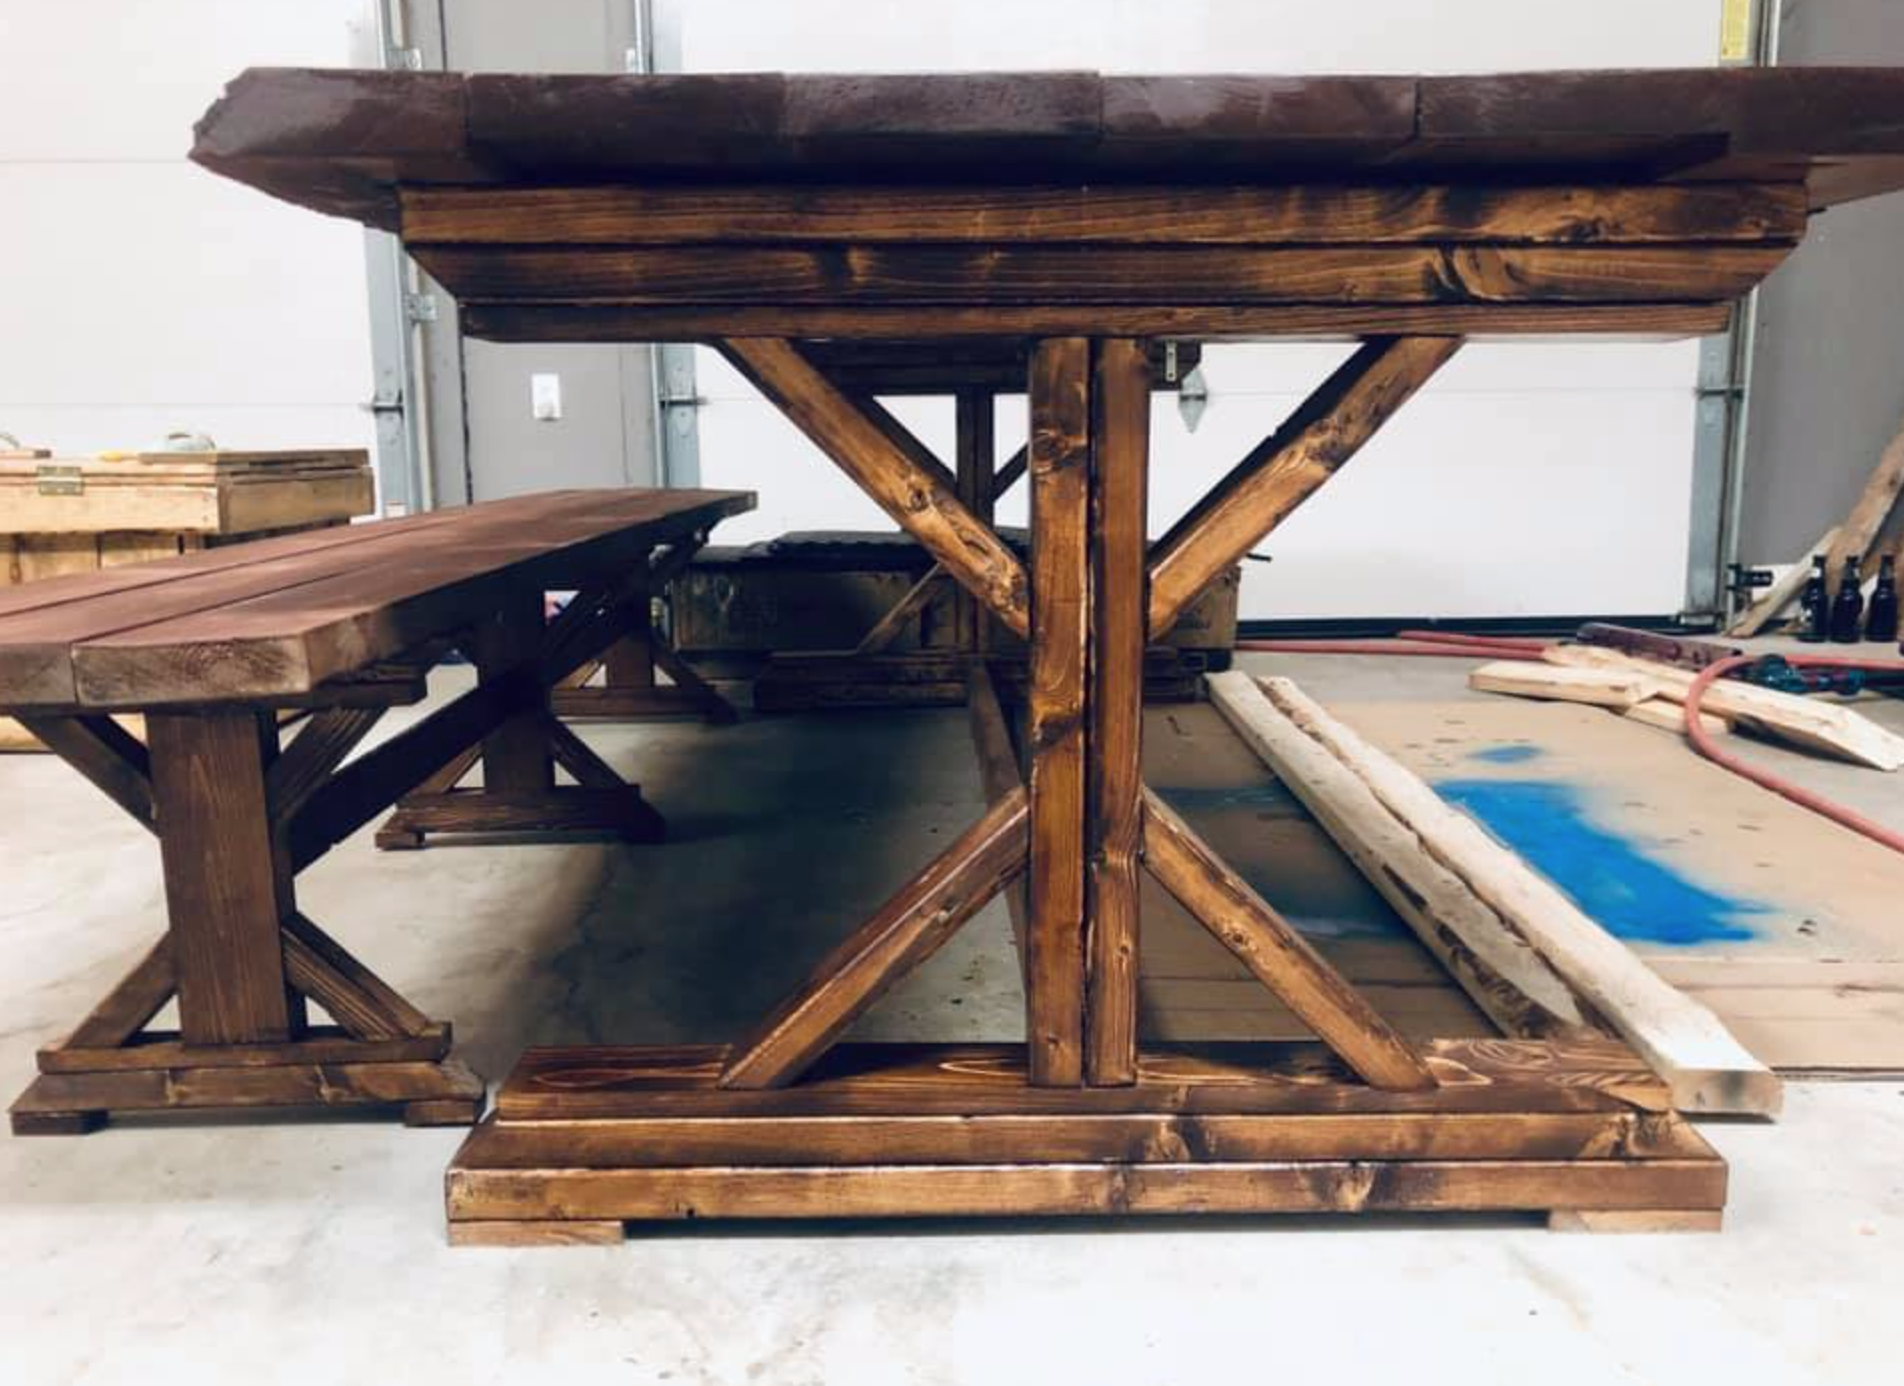
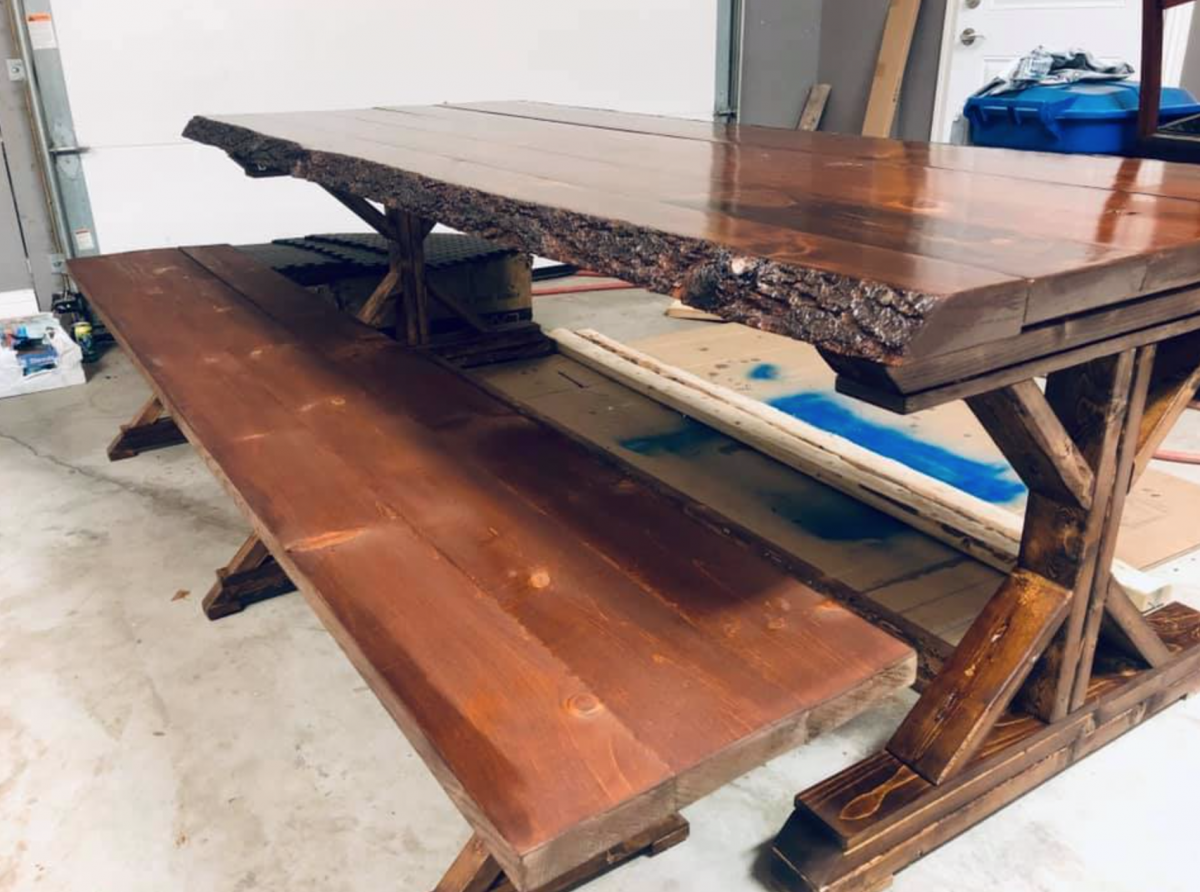
bench #5
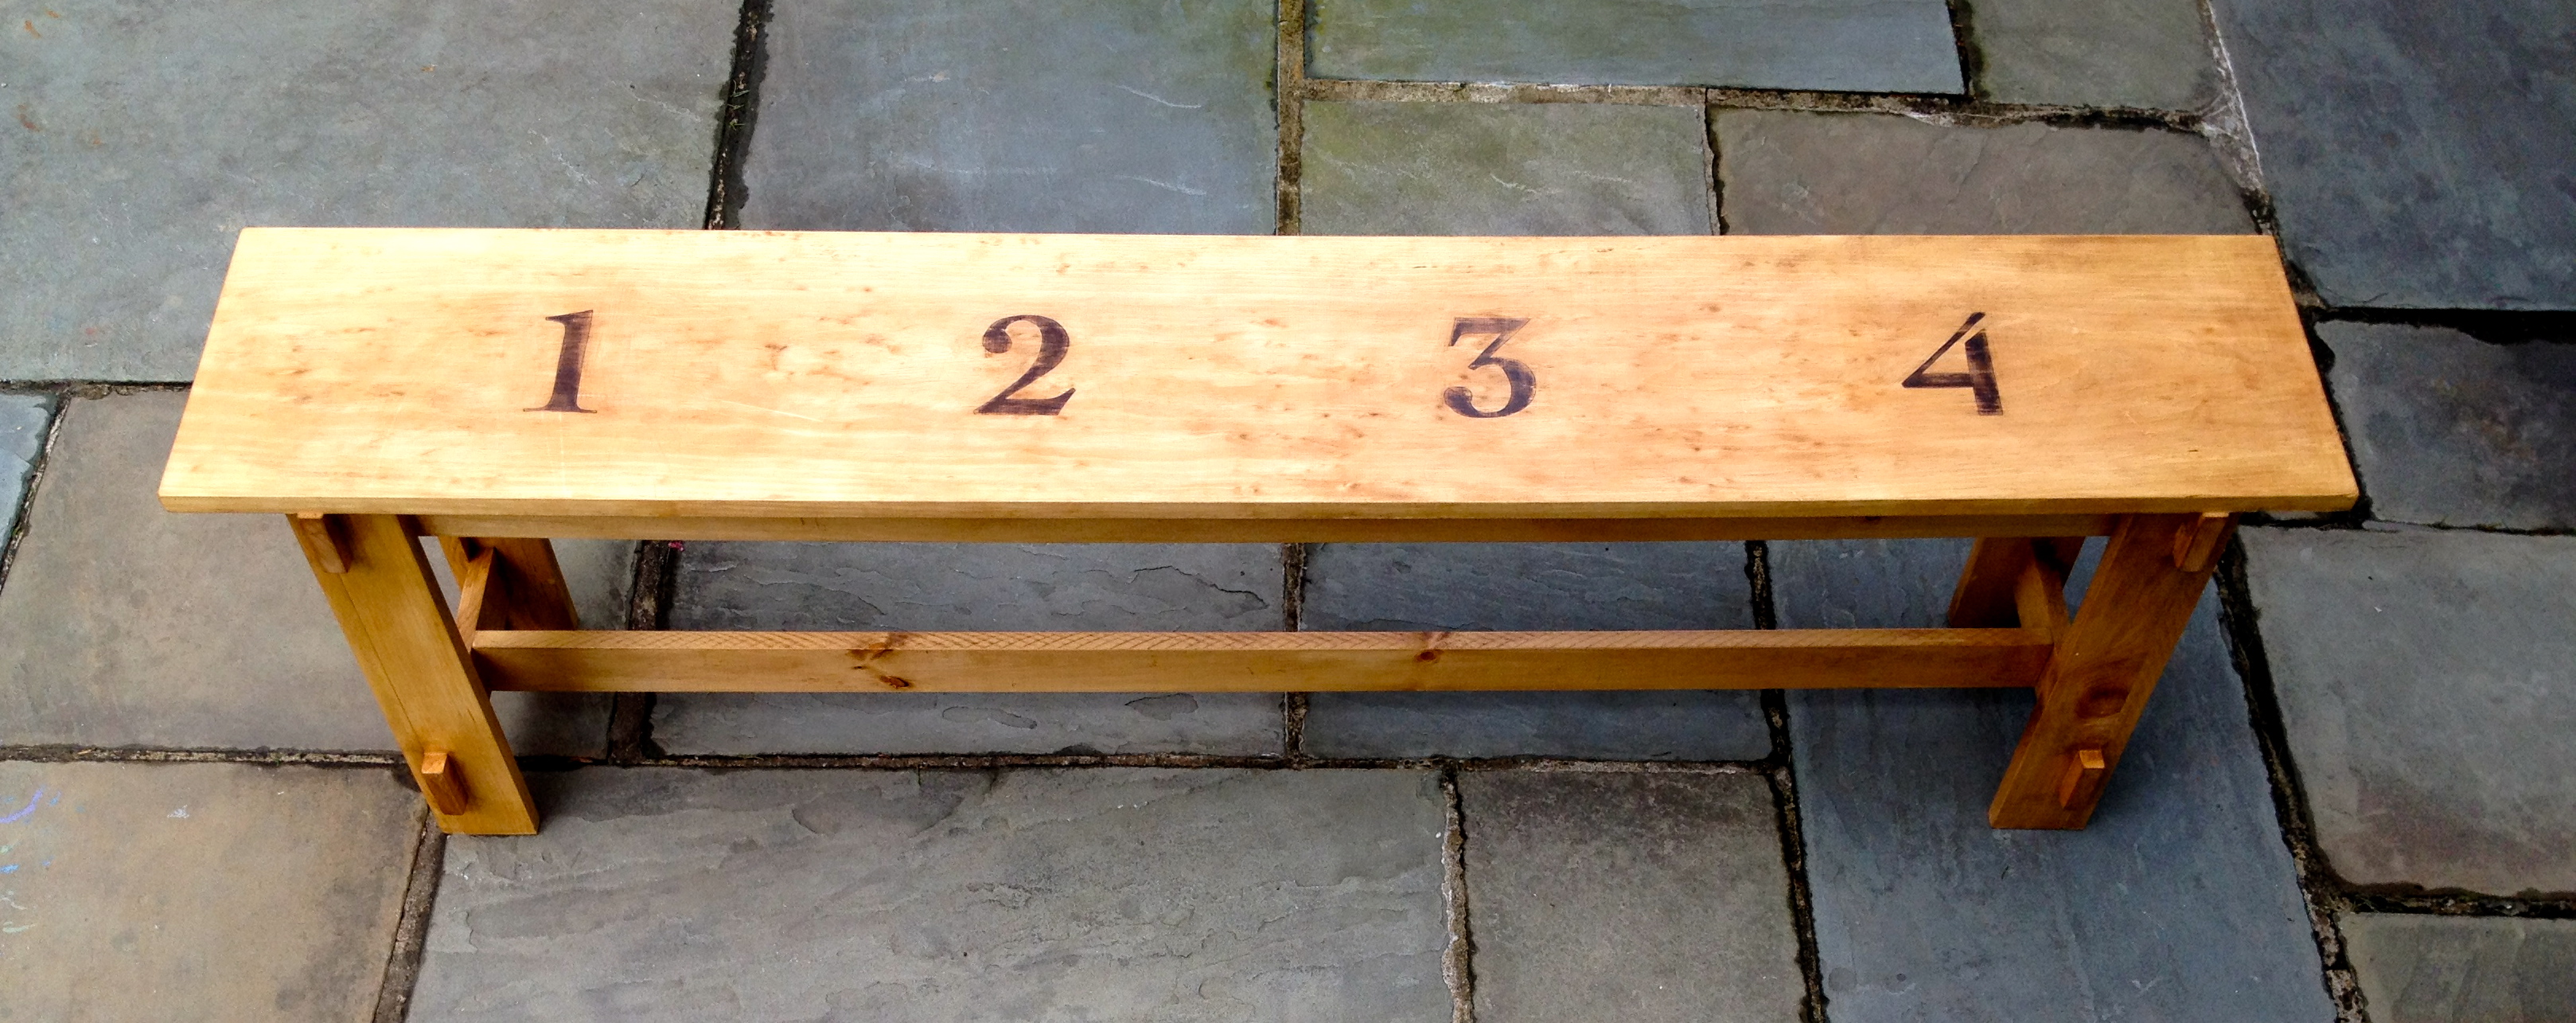
rustic bench, modified length and omitted x detail, painted numbers

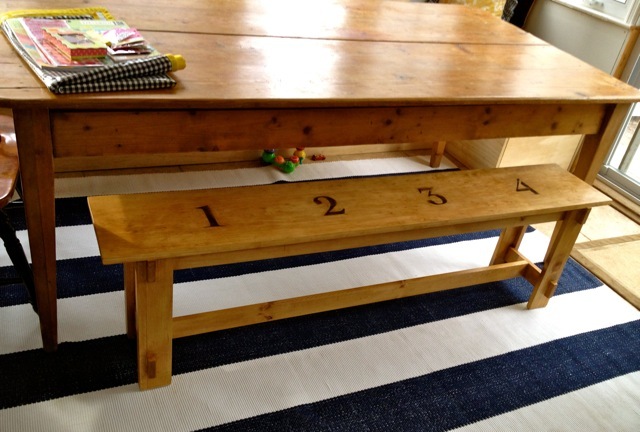
Built from Plan(s)
Estimated Cost
$35
Estimated Time Investment
An Hour or Two (0-2 Hours)
Finish Used
1. Minwax ipswich pine
2. Minwax early American
3. two coats clear satin poly
2. Minwax early American
3. two coats clear satin poly
Recommended Skill Level
Intermediate


Comments
isa de batz (not verified)
Fri, 02/03/2012 - 07:25
C'est une belle réalisation ,
C'est une belle réalisation , je veux en faire l'été prochain. Merci pour toutes vos superbes idées. Bisous Isabelle
5 tater tots (not verified)
Wed, 02/08/2012 - 08:27
Love the numbers!
Sometime I wish I hadn't been handed down such a nice dining table and chair (plus coordinating antique buffet!)set from my parents. I read about this project at your site and would love to build this for my family. We are expecting baby #6 and two benches with 1, 2, and 3 on one and 4, 5, and 6 on the other would be too cute.
I keep hoping my parents will build again, this time in the style that matches their previous set and I can "generously" give them back the heirloom set ;-).