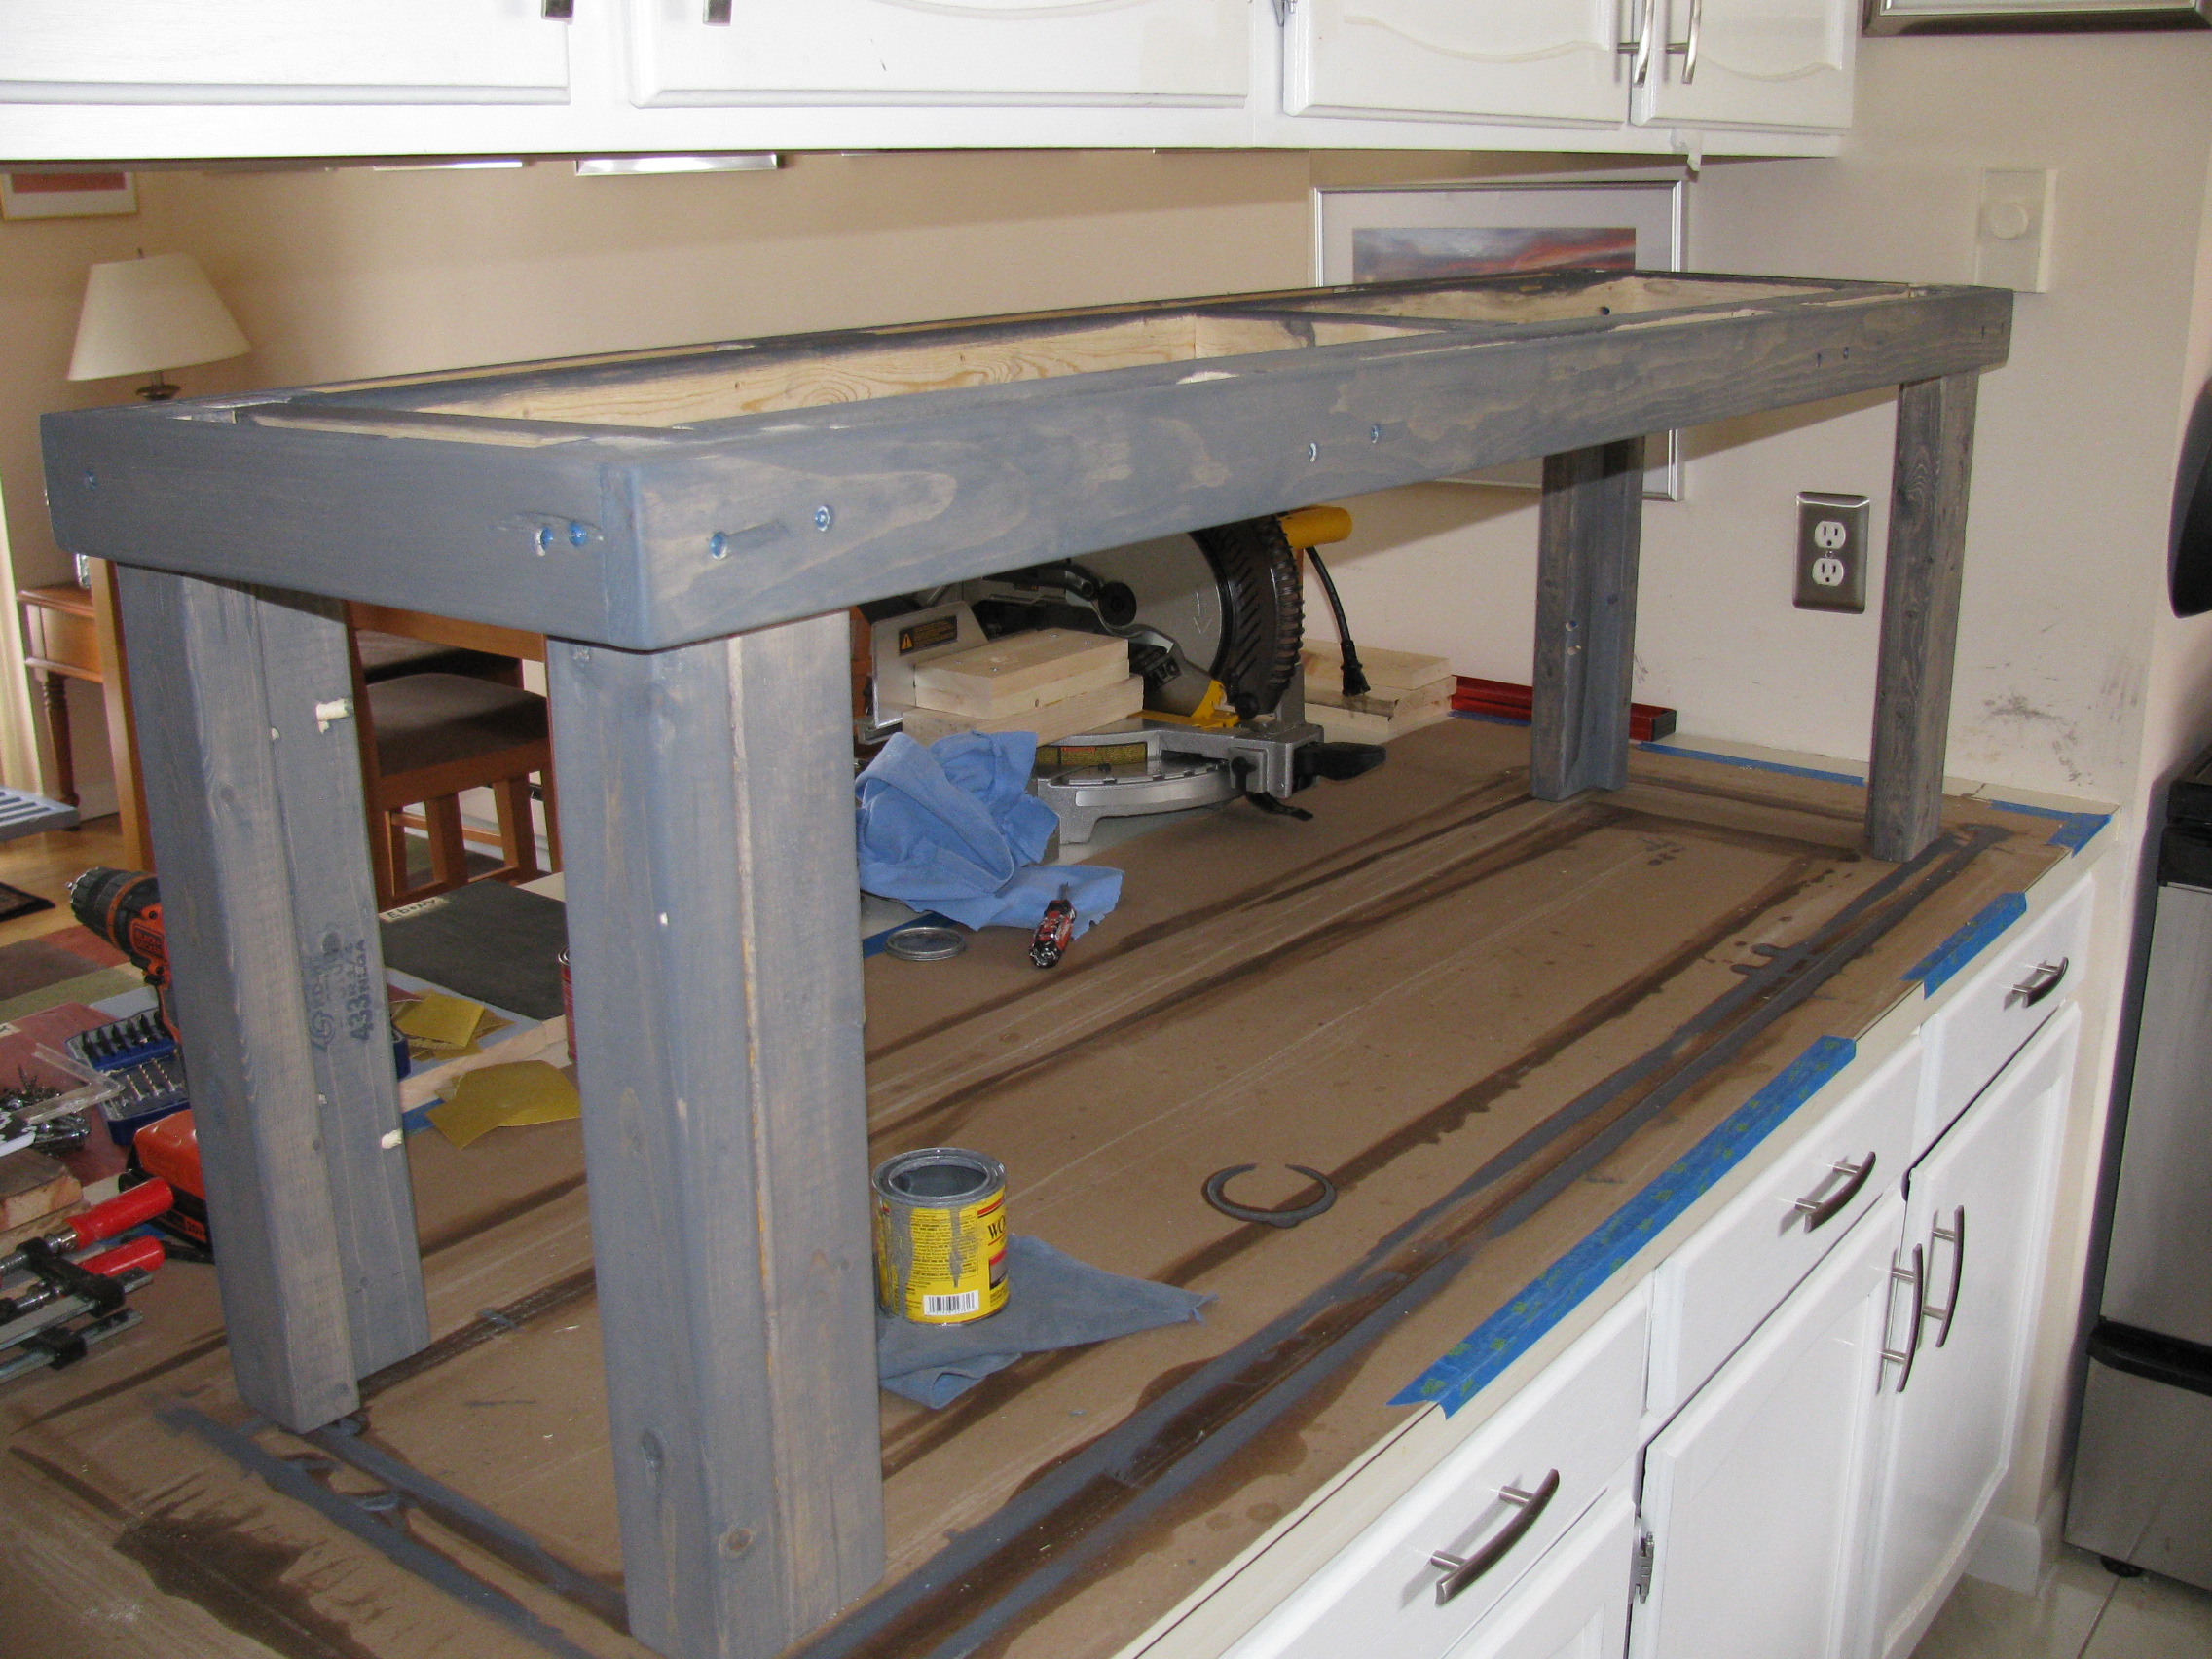
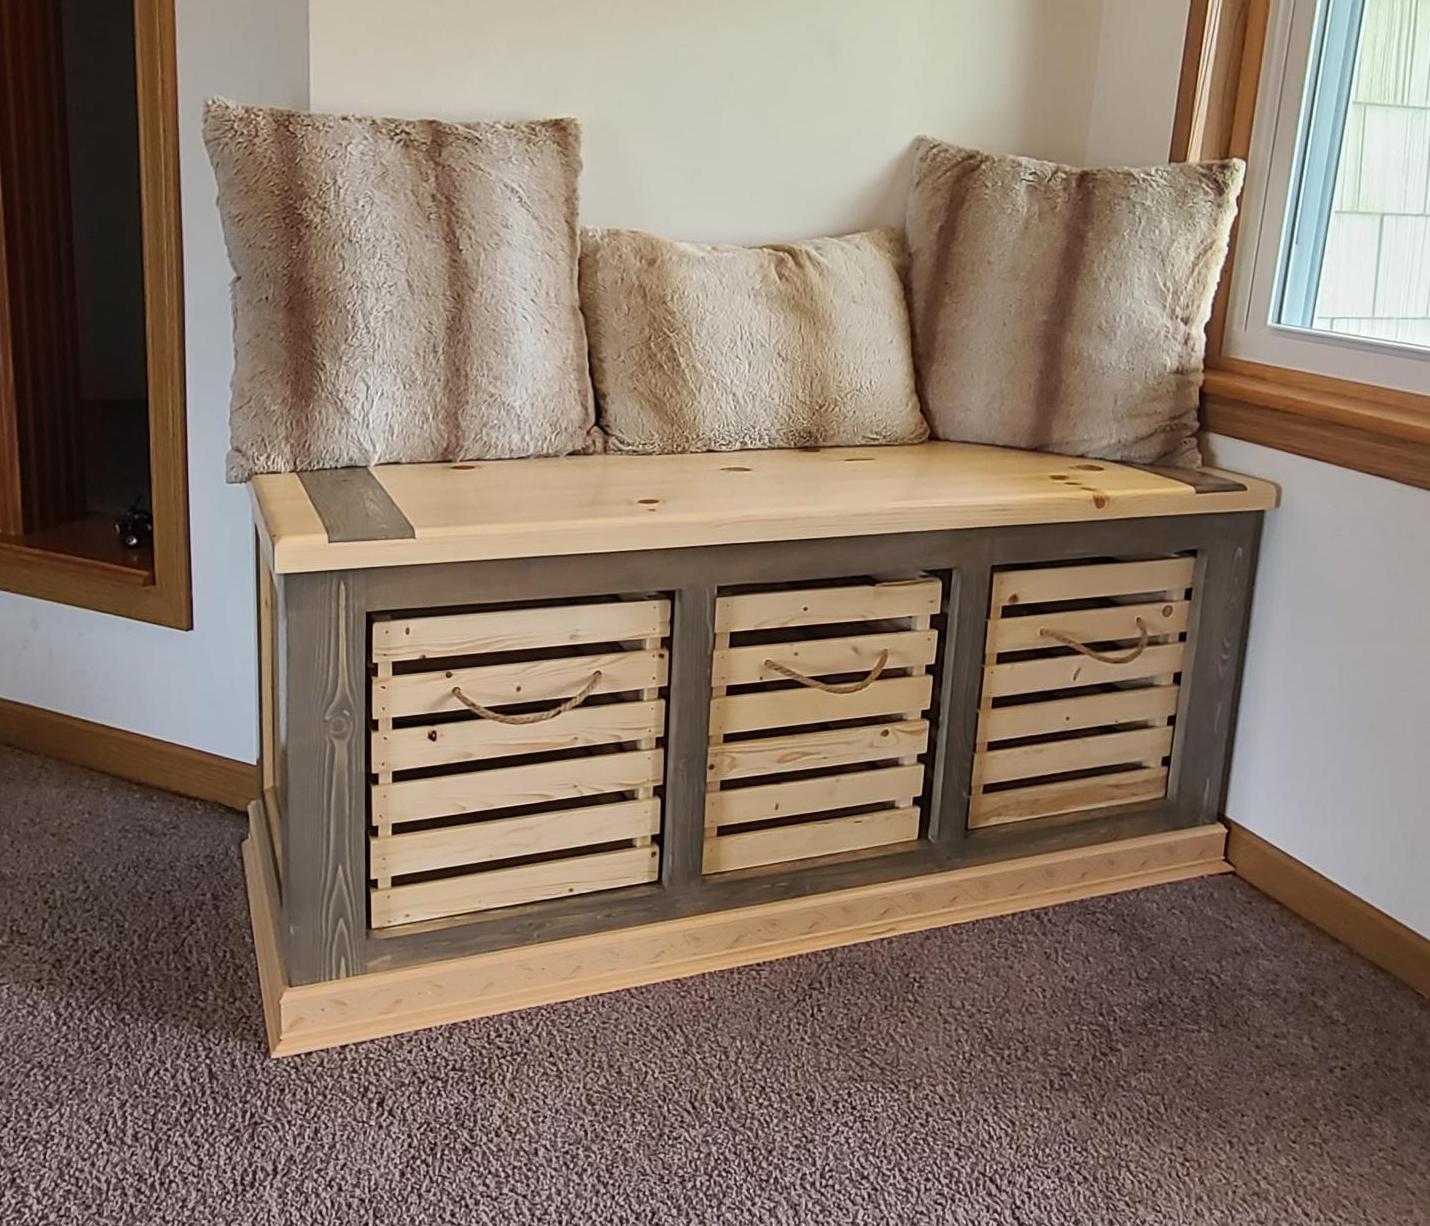
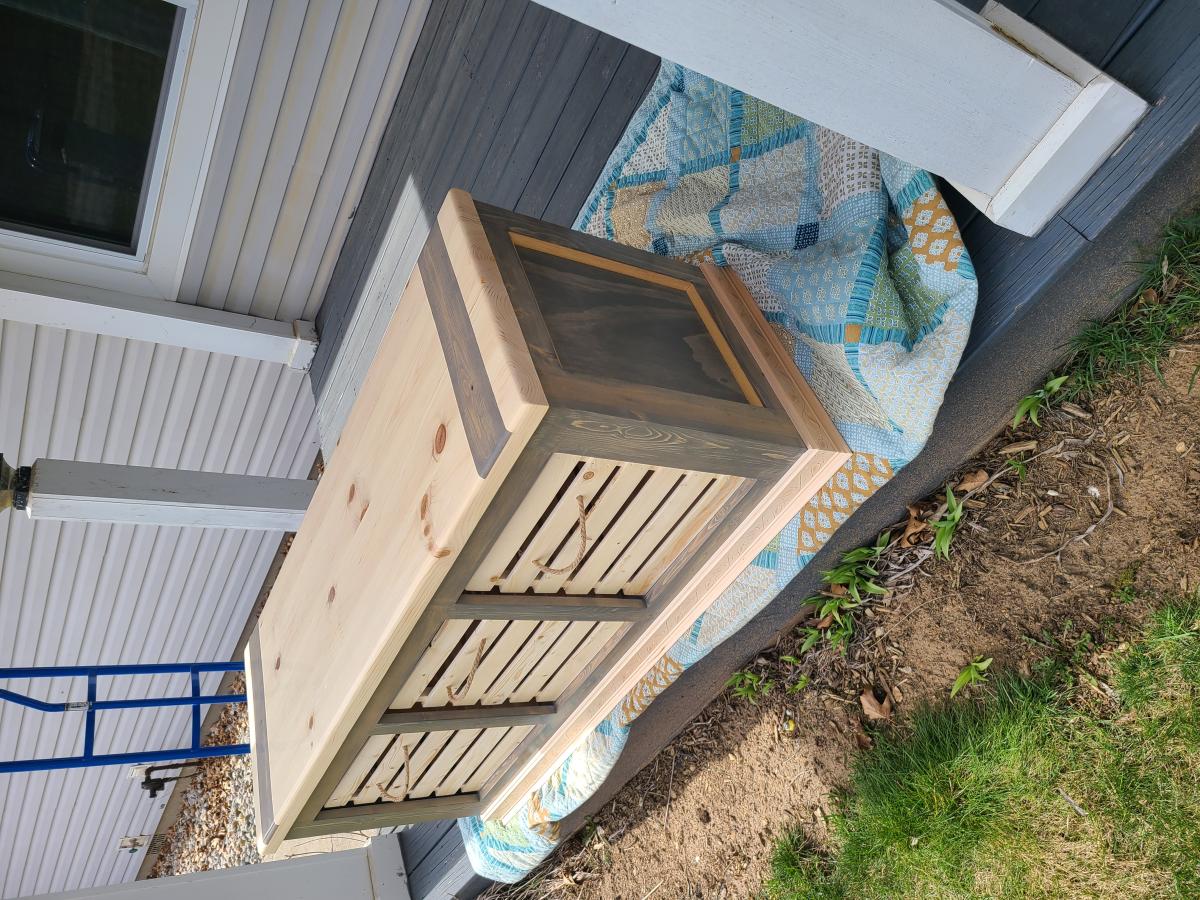
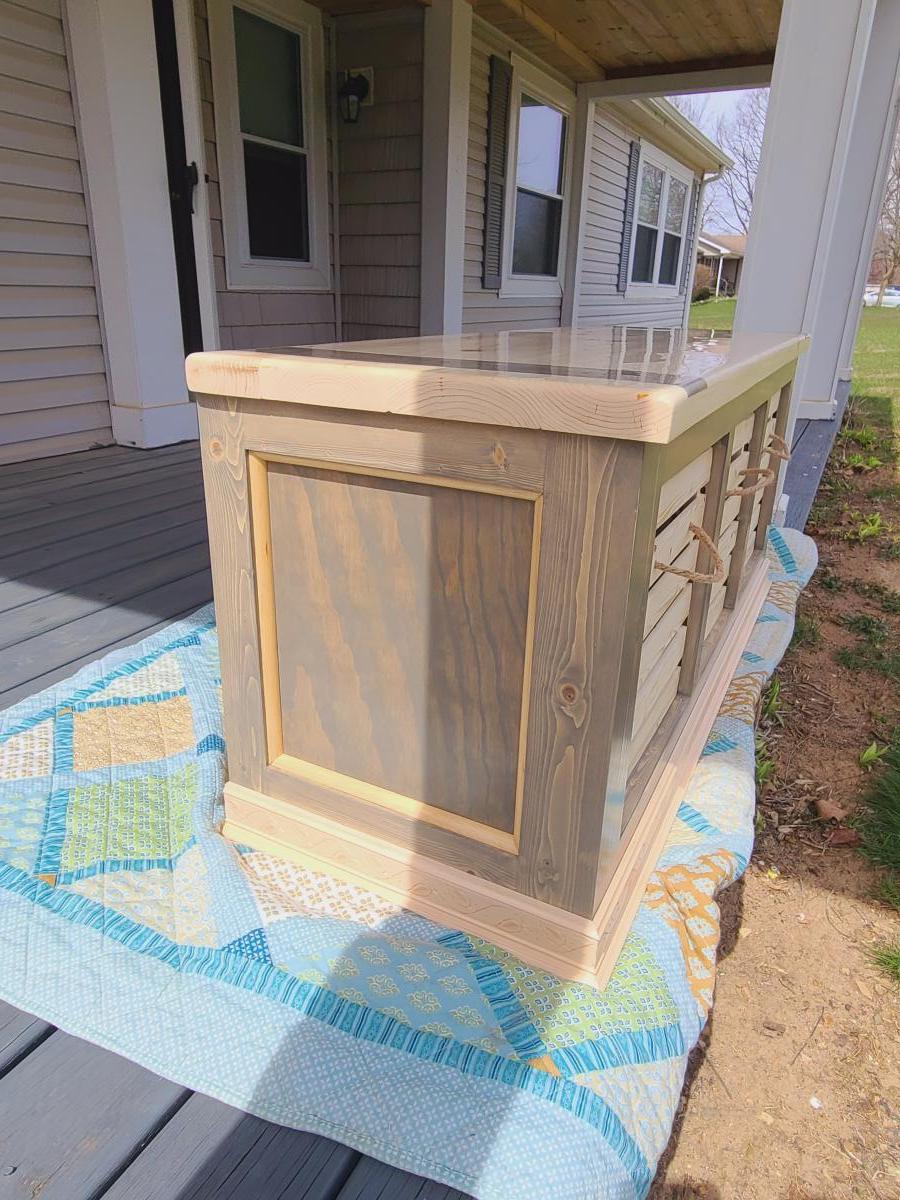
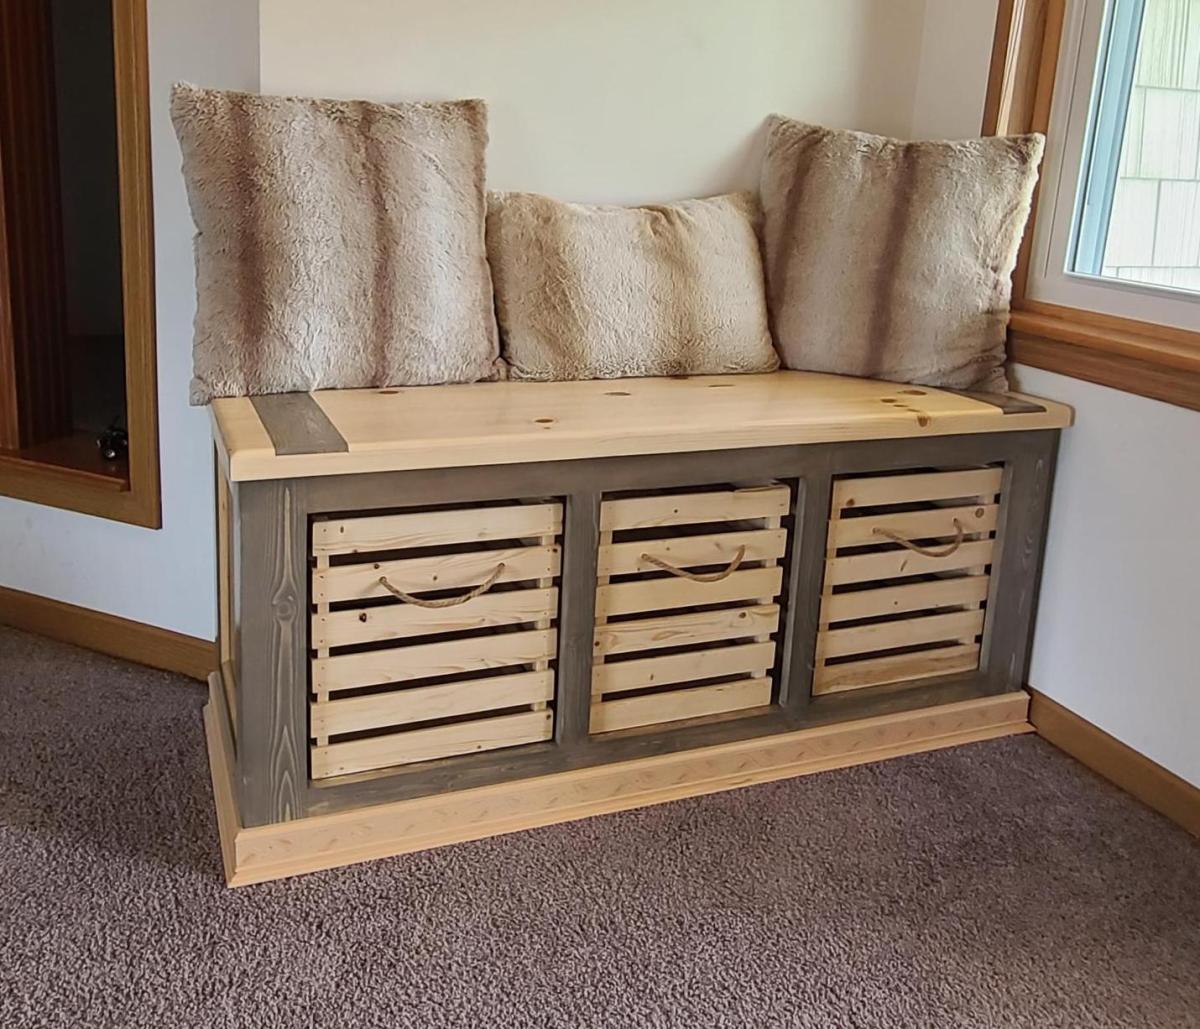
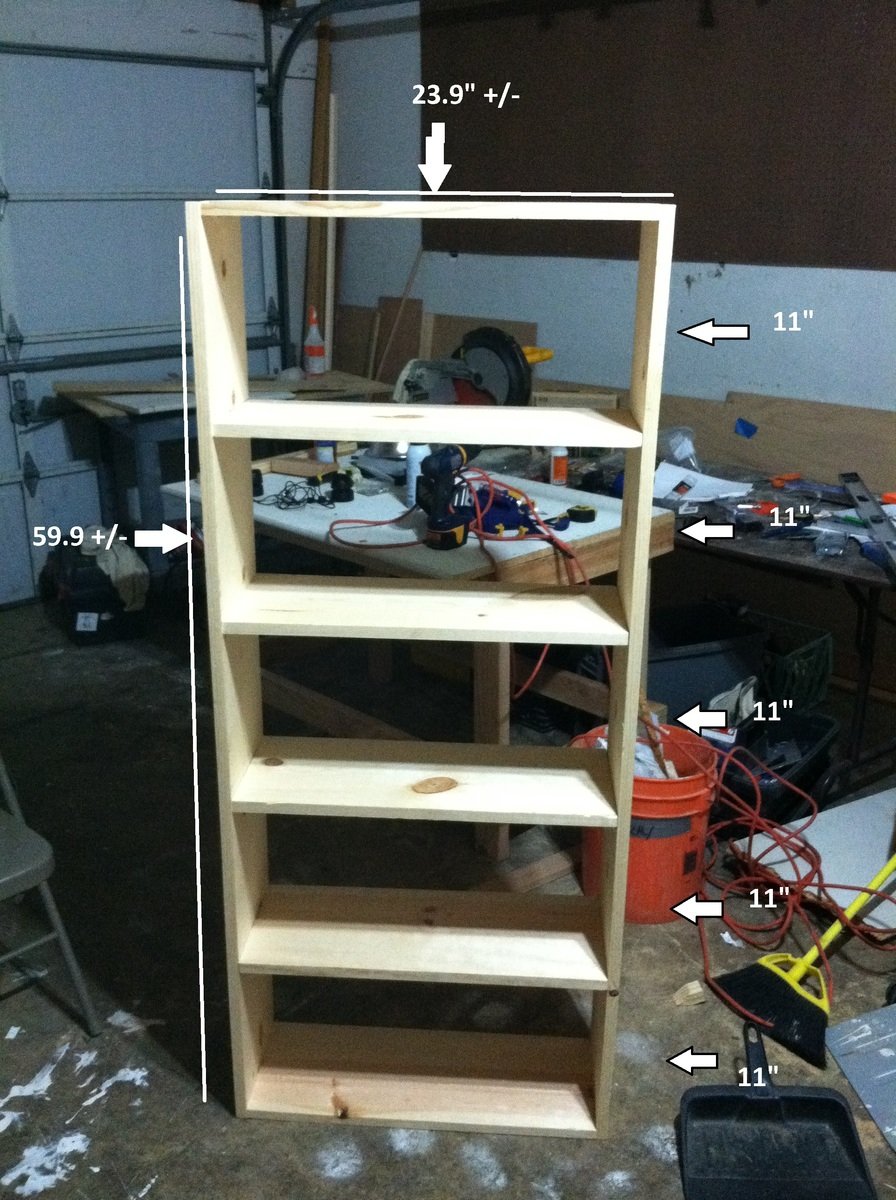
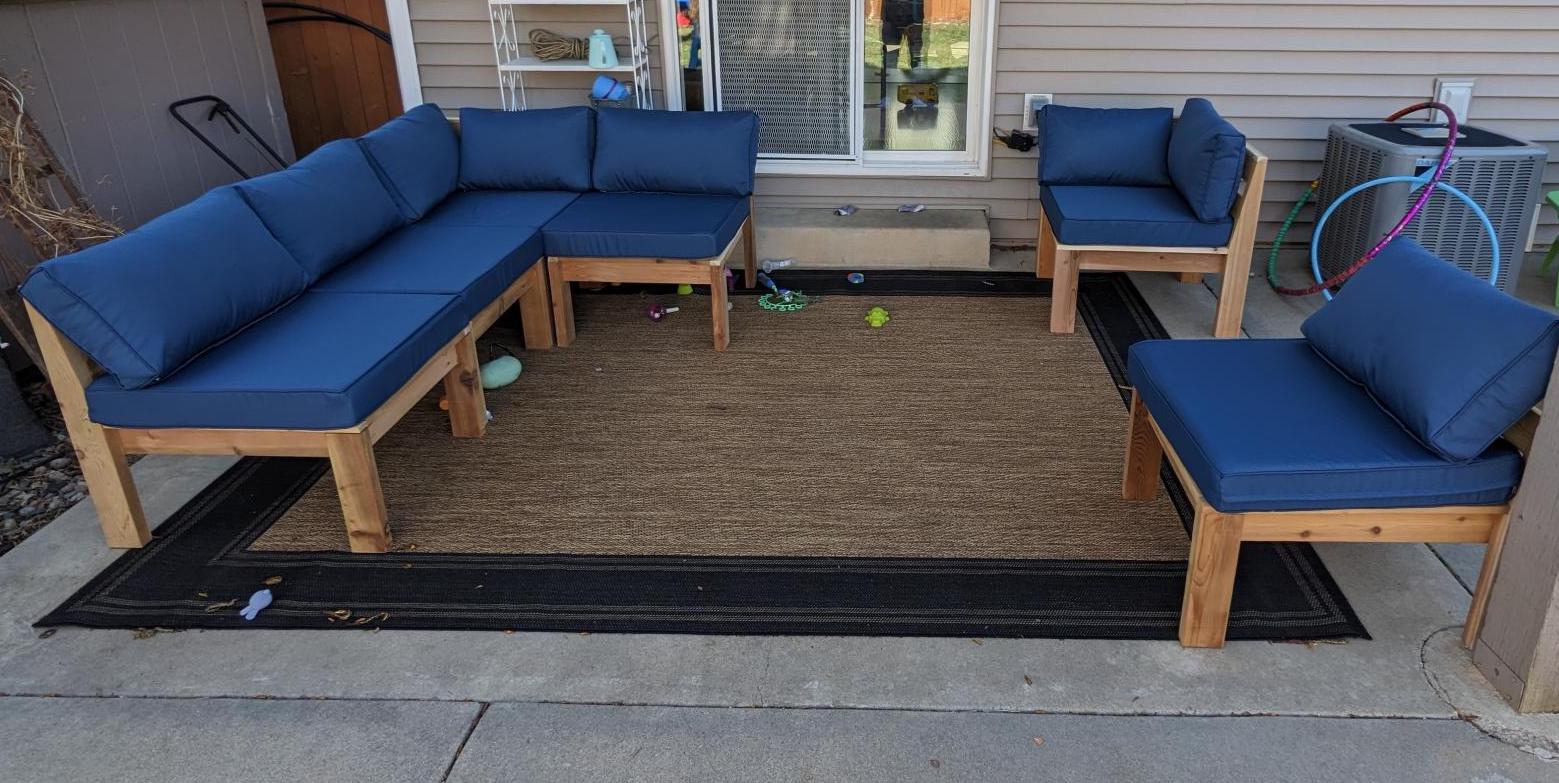
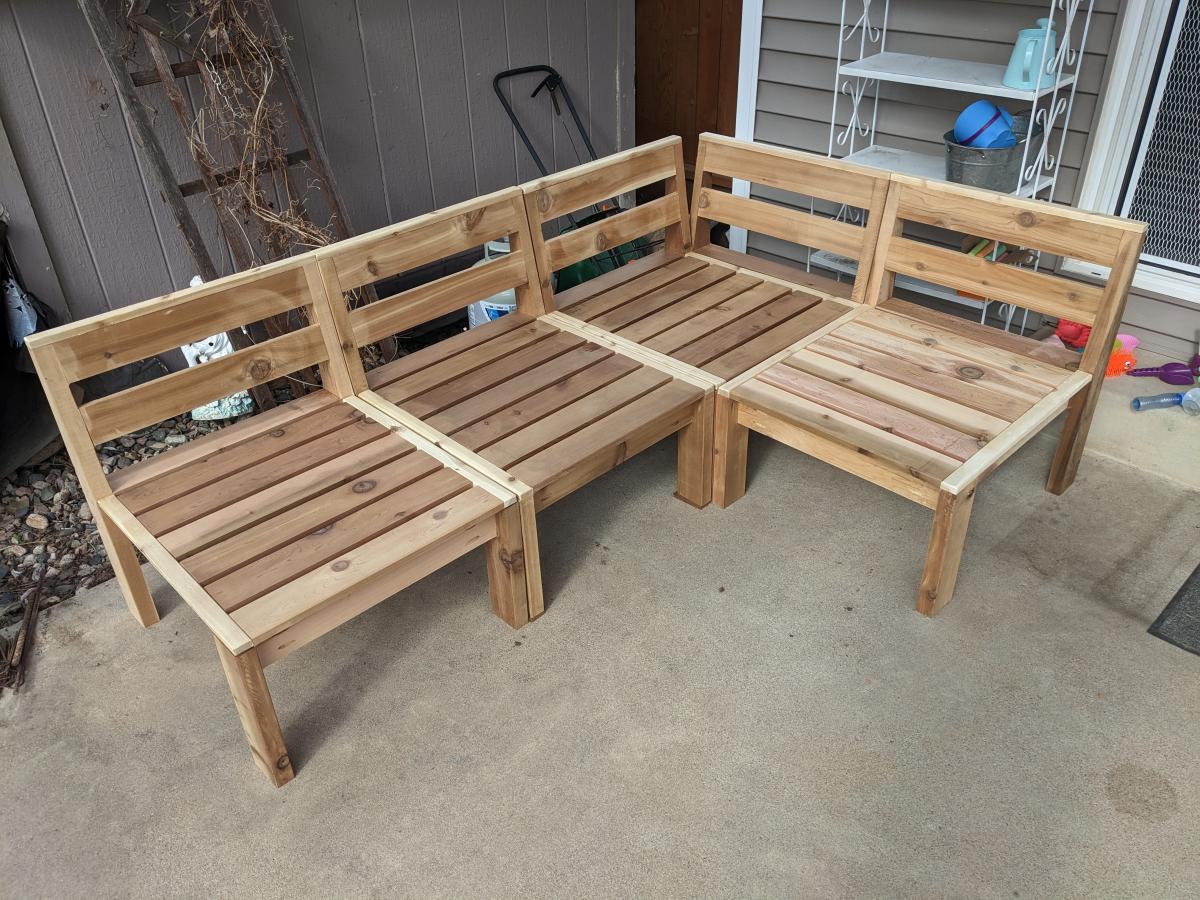
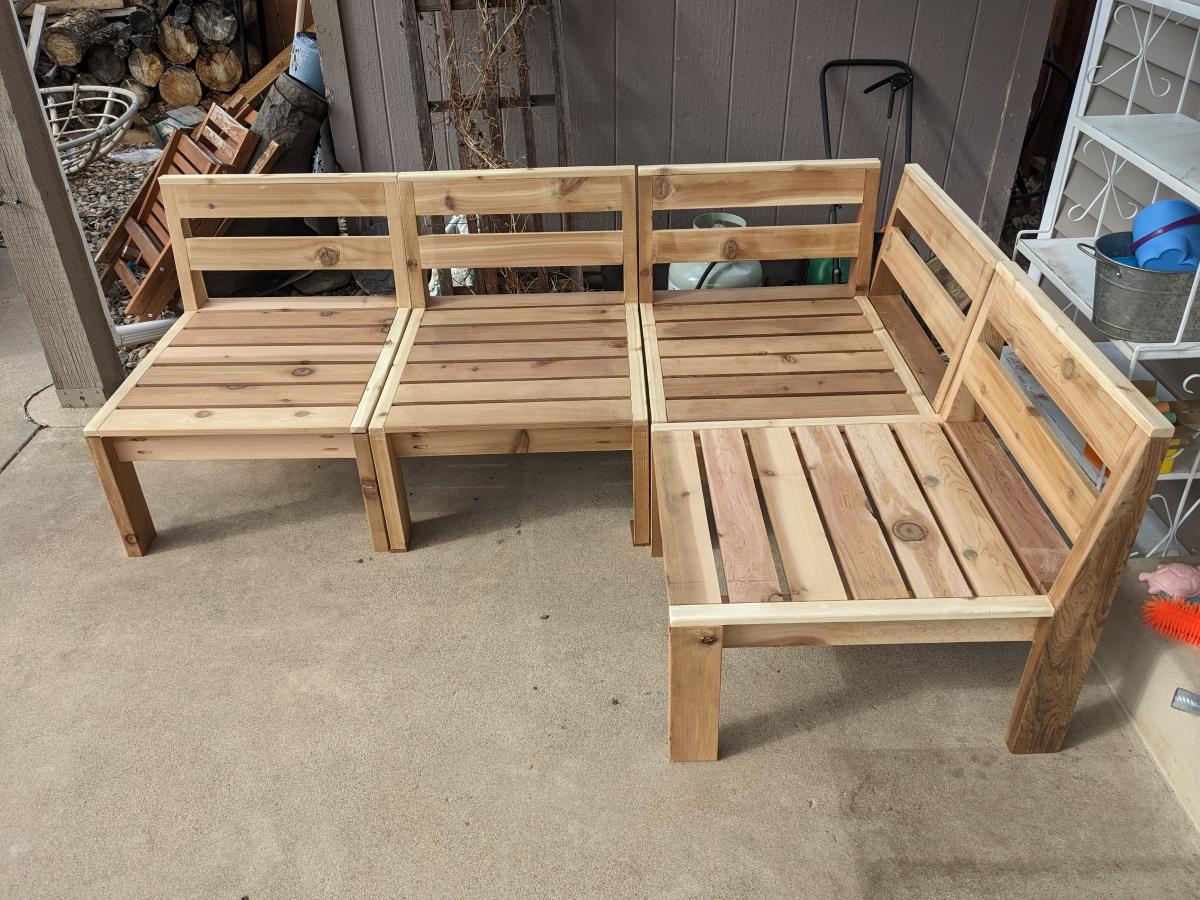
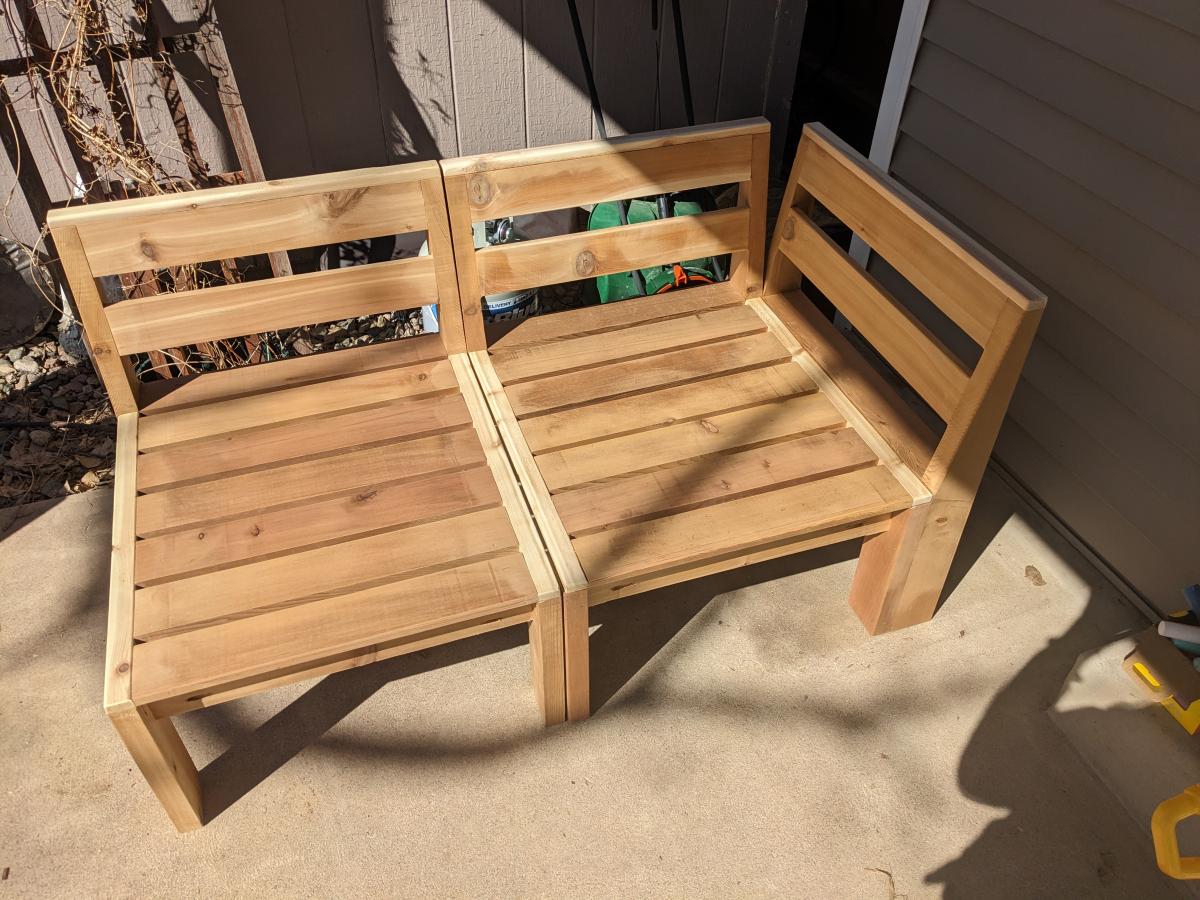
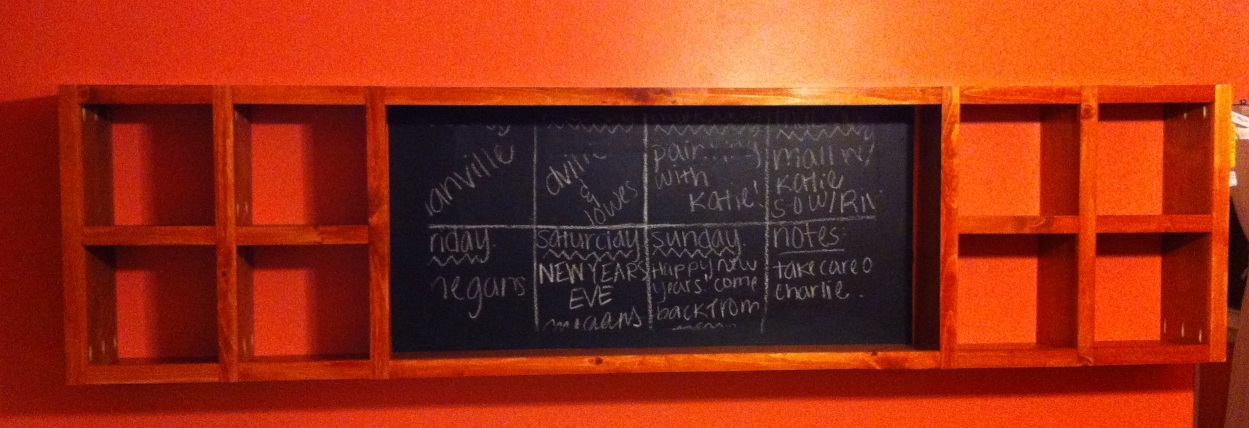
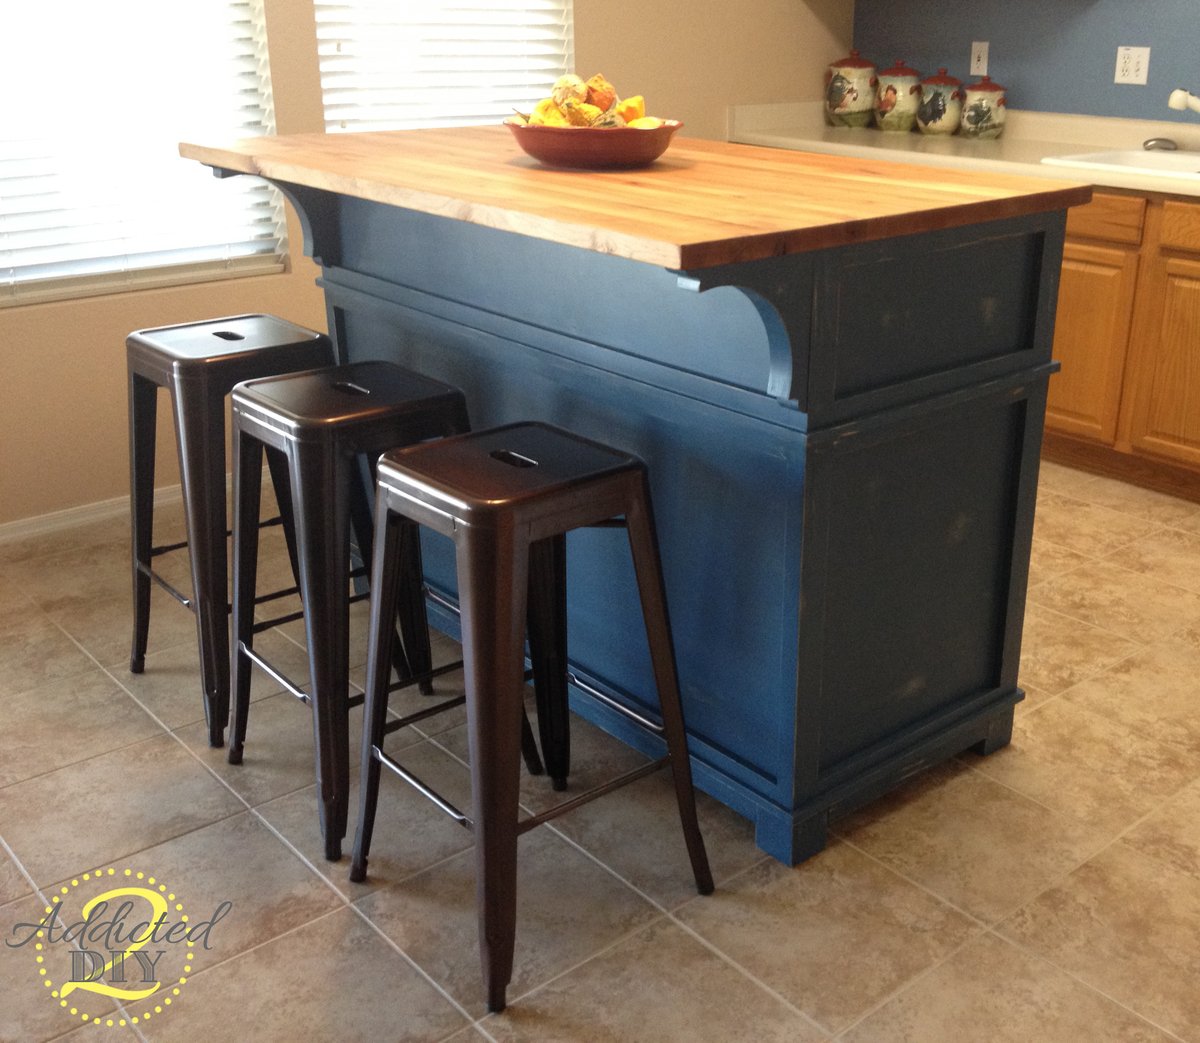
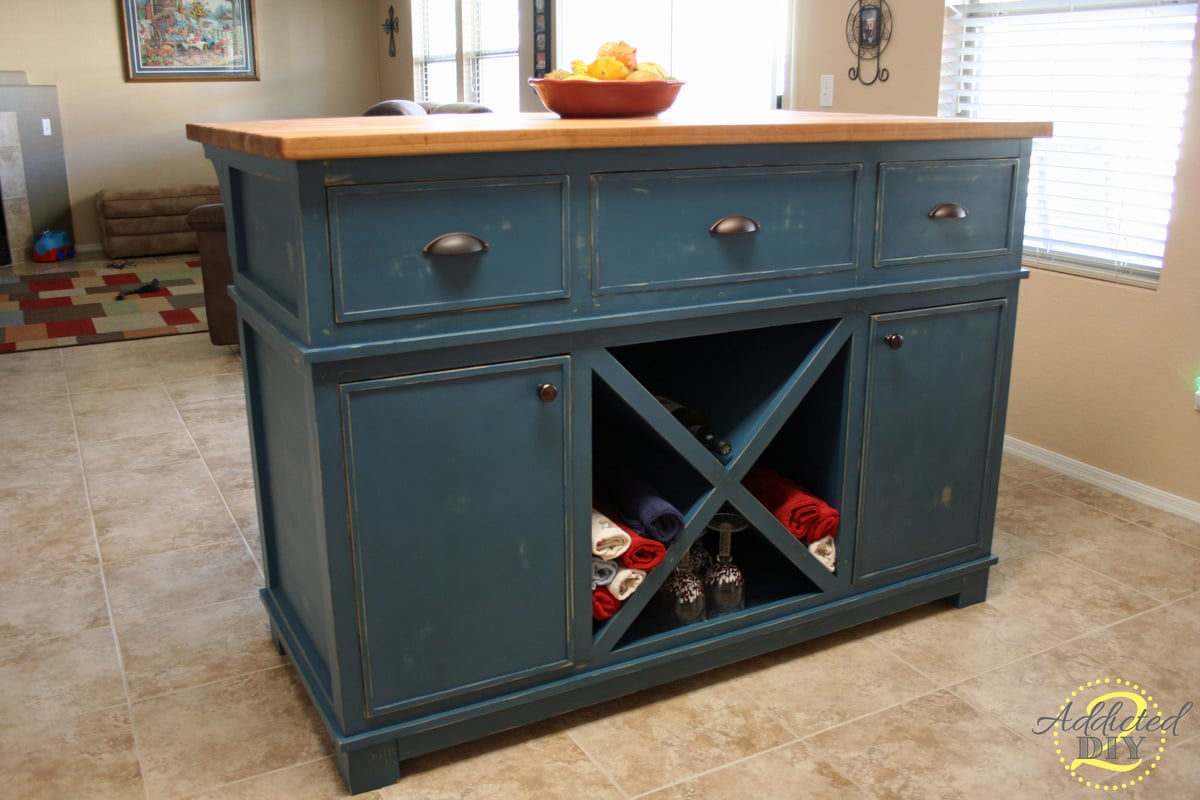
Here is a pretty simple shelf I built for my closet. Left it backless b/c I wear a 12 1/2 and needed my shoes to be able to hang out back a bit. The top 2 I am using for folded tshirts I don't hang, like undershirts and tank tops.
Material List:
1- 1x10x10 -$13.00 (2 side boards)
2- 1x10x6 - $8.00x2=16 (6 shelves)
24 1 1/4 pocket screws. Had these on hand, could sub for 1 1/2 wood screws if you do not have pocket scew jig set.
Tools:
Tape measure
Quick Square
Miter saw ( which I used) or a Circular saw
Drill
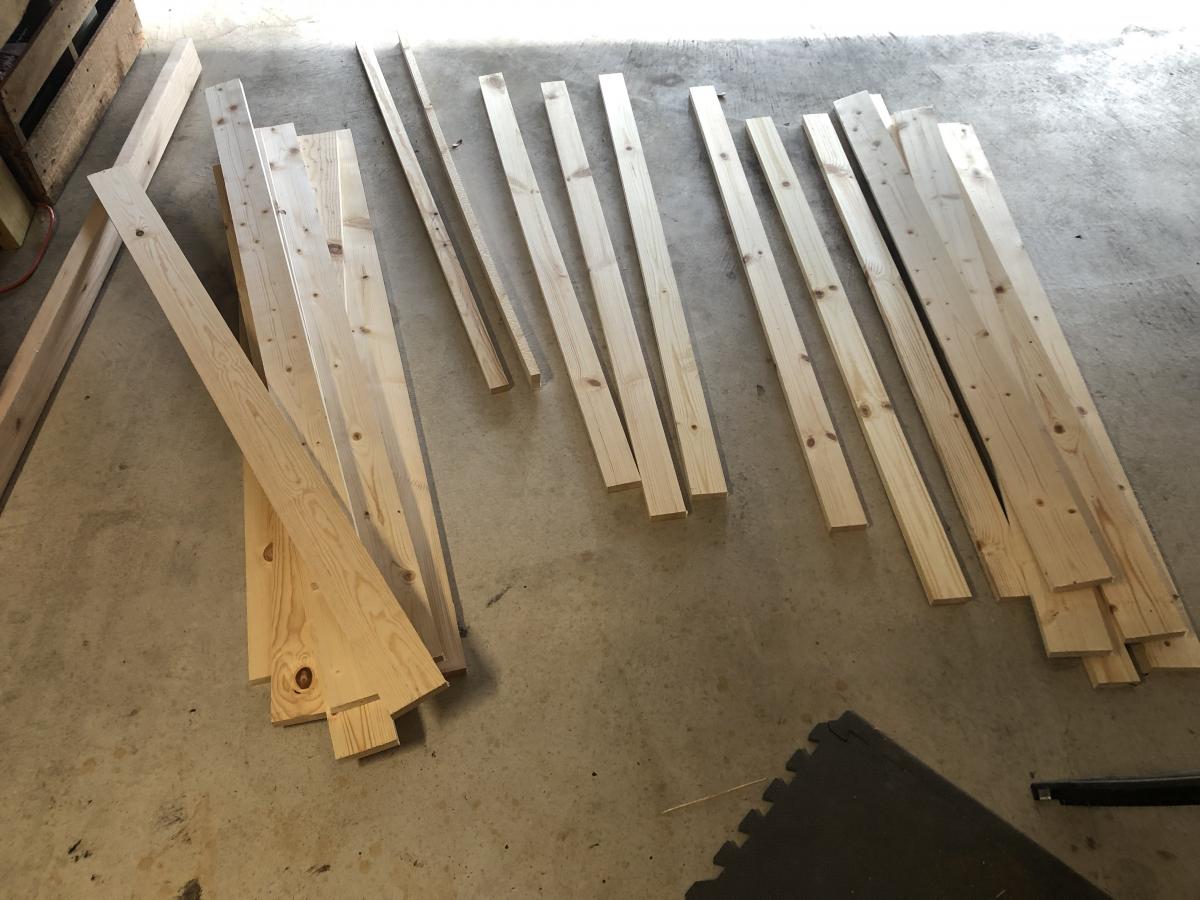
Cut list
*2-59.9+- side boards
*The 1x10x10 was exactly 10ft long, so I marked off 5 feet with a line. Then I just cut on the line with the miter saw. This left me with 2 equal boards. Lets say 59.9 give or take a MM or so. Doesnt matter as long as they are even. If you mess the cut up, stack them on top of each other and recut to equal.
*6-23.9+- Shelves
*Again the 1x10x6 was exactly 6ft, so I made 2 lines, one at 2ft, the next at 4ft. Split them when cutting, and had 3 equal boards. Size can be smaller if you like, this is how I did it.
Now the fun part, and probably second longest time consuming part, behind drilling pocket holes.
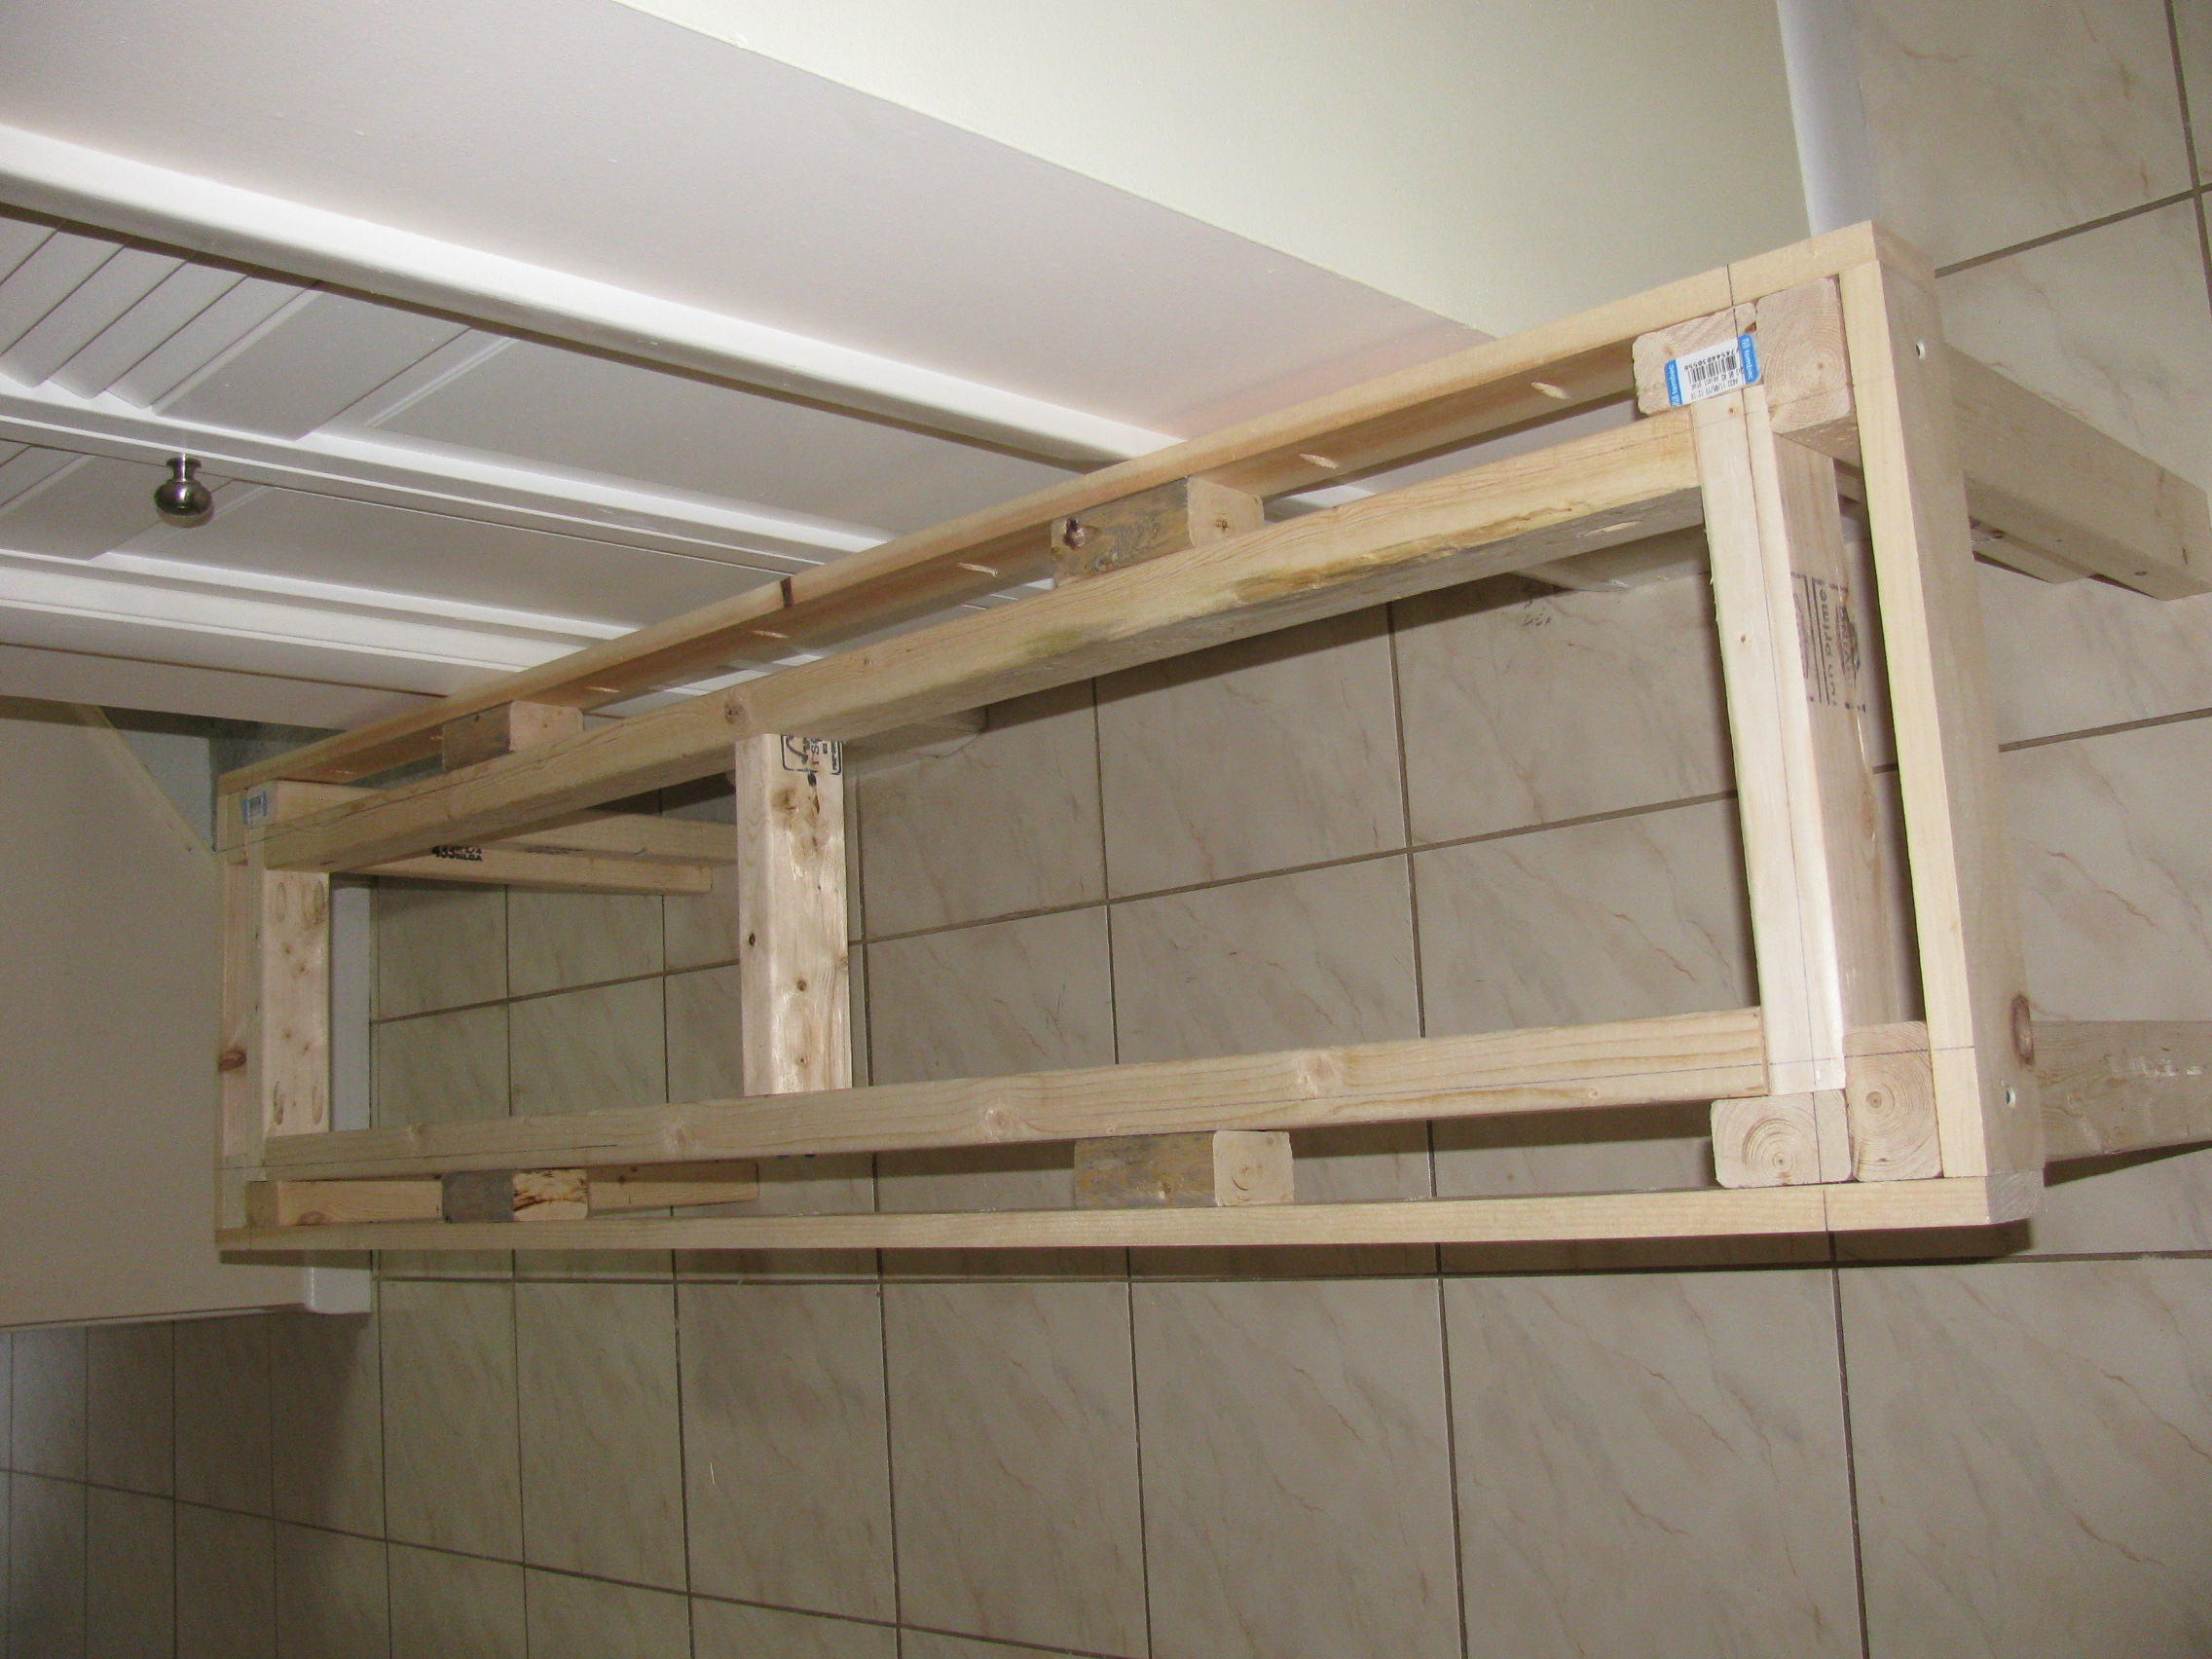
I took the 2 side boards and clamped them so they would be flush and even side by side. (both face down side to side so you have one clamped board of 1x20x59.5 so to speak) I used my quick square to mark off .75(thickness of shelf boards). Start at the bottom or top, draw line. then,start next at 11 inches, step and repeat.In the end should have 5 shelves exactly 11 inches apart.
I next predrilled my 6 shelf boards with 2 pocket screw holes on each side, about 3 1/2 inches from each edge. This was most time consuming, you could use 1 1/2in screws and go from side boards into shelf boards and save time, also if you don't have pocket hole jig.
Assembling, I started at bottom, attached side boards to both side of bottom shelf, and worked my way up.The lines you pre-drew act as marker for next shelf,and help a ton when trying to keep everything square. The last one,top part, should be snug to put in. I find its best to do this way as everything keeps square as long as you have straight lumber.
Cost overall-$30.00 since I had screws, total time was around 2 hours to complete, and this was me having to explain everything to the little one lol